Community Brag Posts
Floating bench for entryway alcove
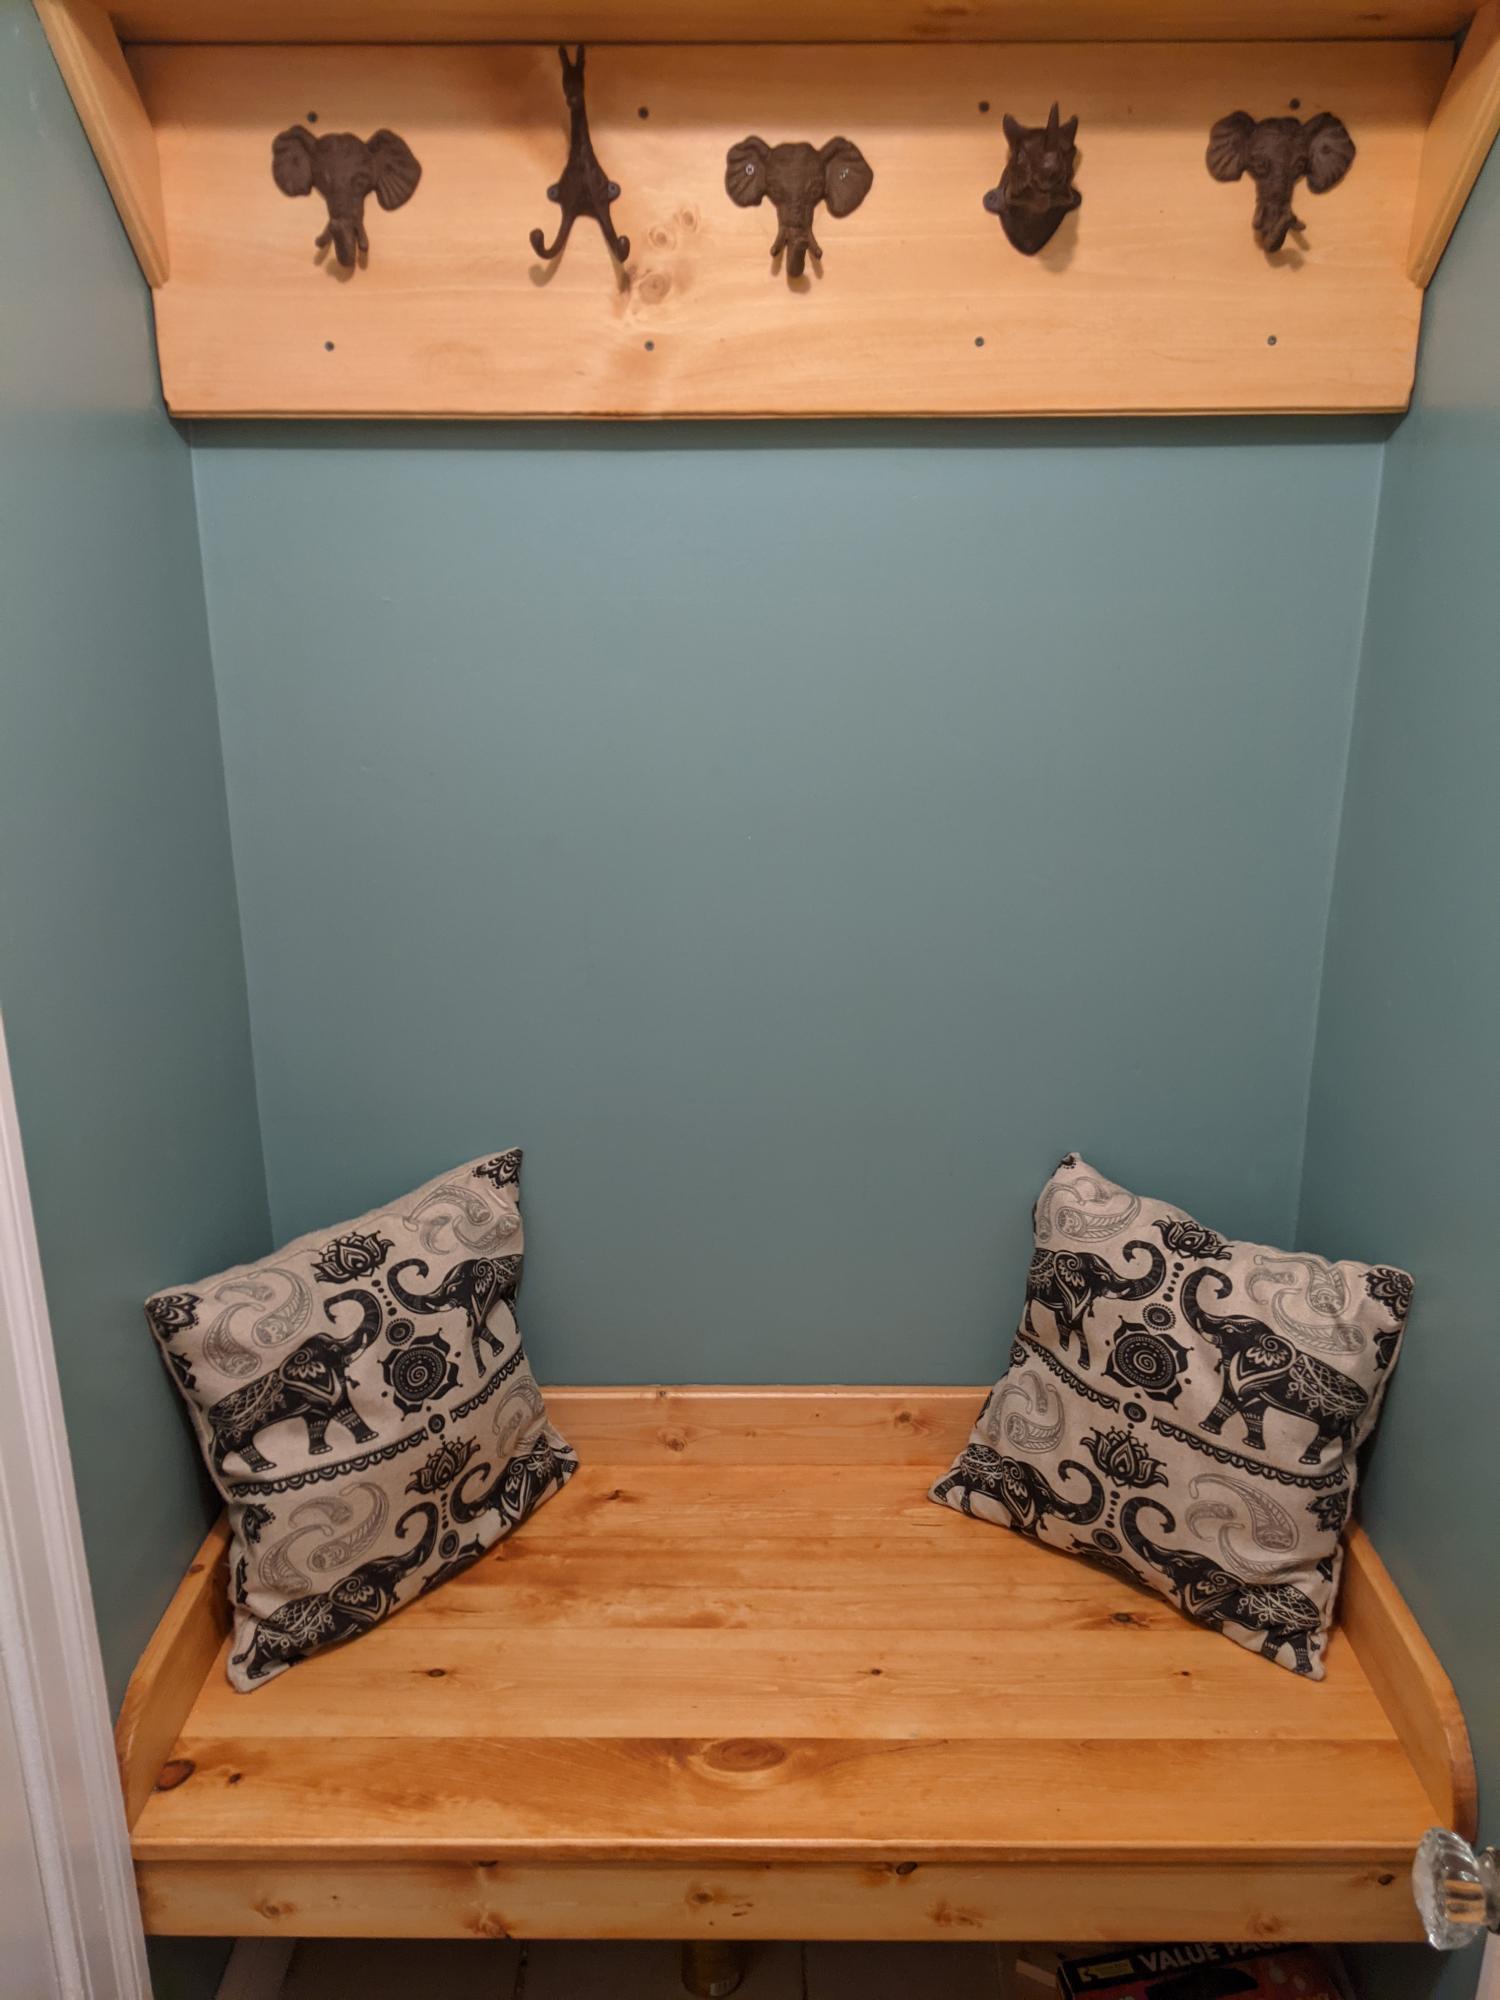
I was looking for some inspiration to clean up our small entryway room in our Cape Cod style home in Worcester, Massachusetts that was typically used for recycling and dirty shoes. These plans were very easy to follow and really spruced up the room quite a bit.
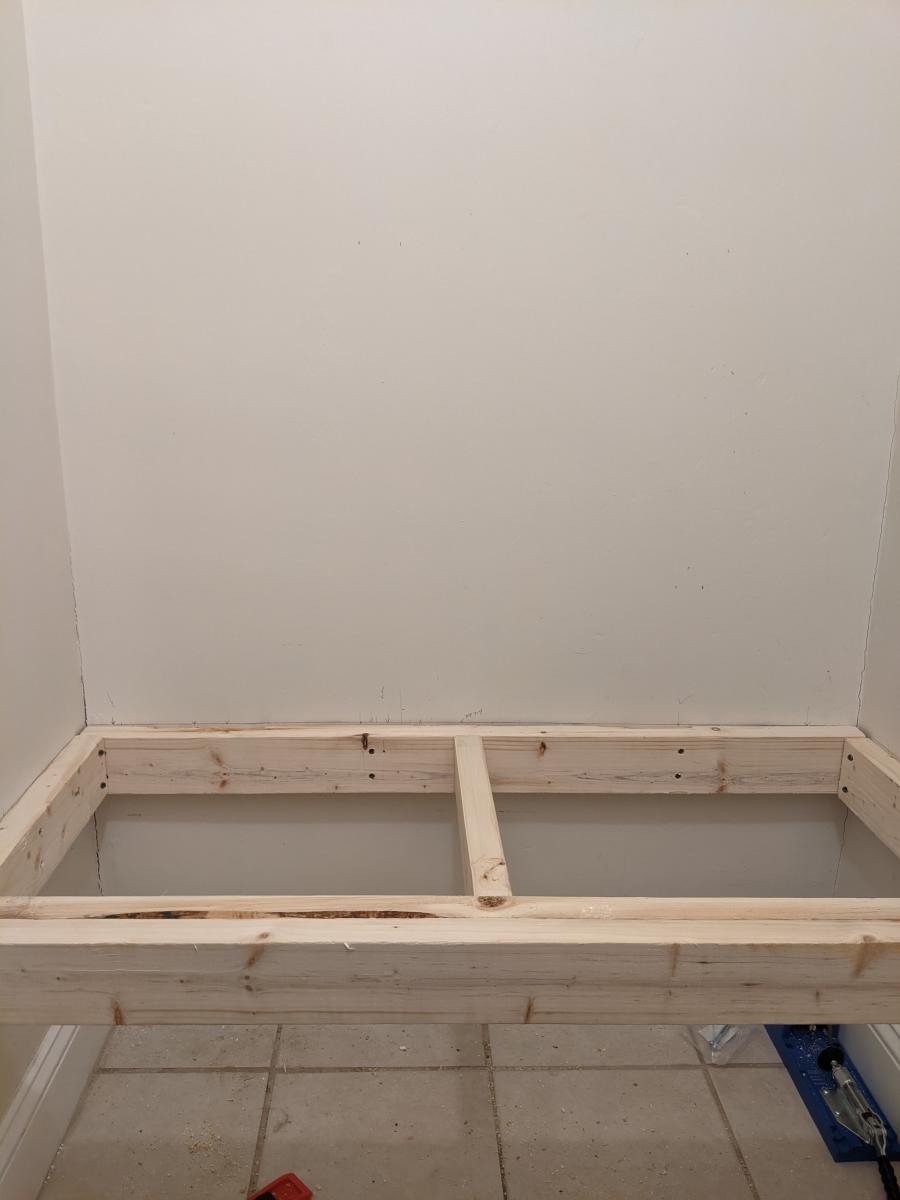
I used standard pine 2x4's for the frame and 1 inch boards for the bench platform and upper shelf features. The platform consists of four boards (3 1x6 boards and 1 1x5 board) that were glued together and sanded down. This was finished with Minwax Colonial Maple stain (a few coats), a couple coats of satin polyurethane, and then sanded down for a nice smooth finish.
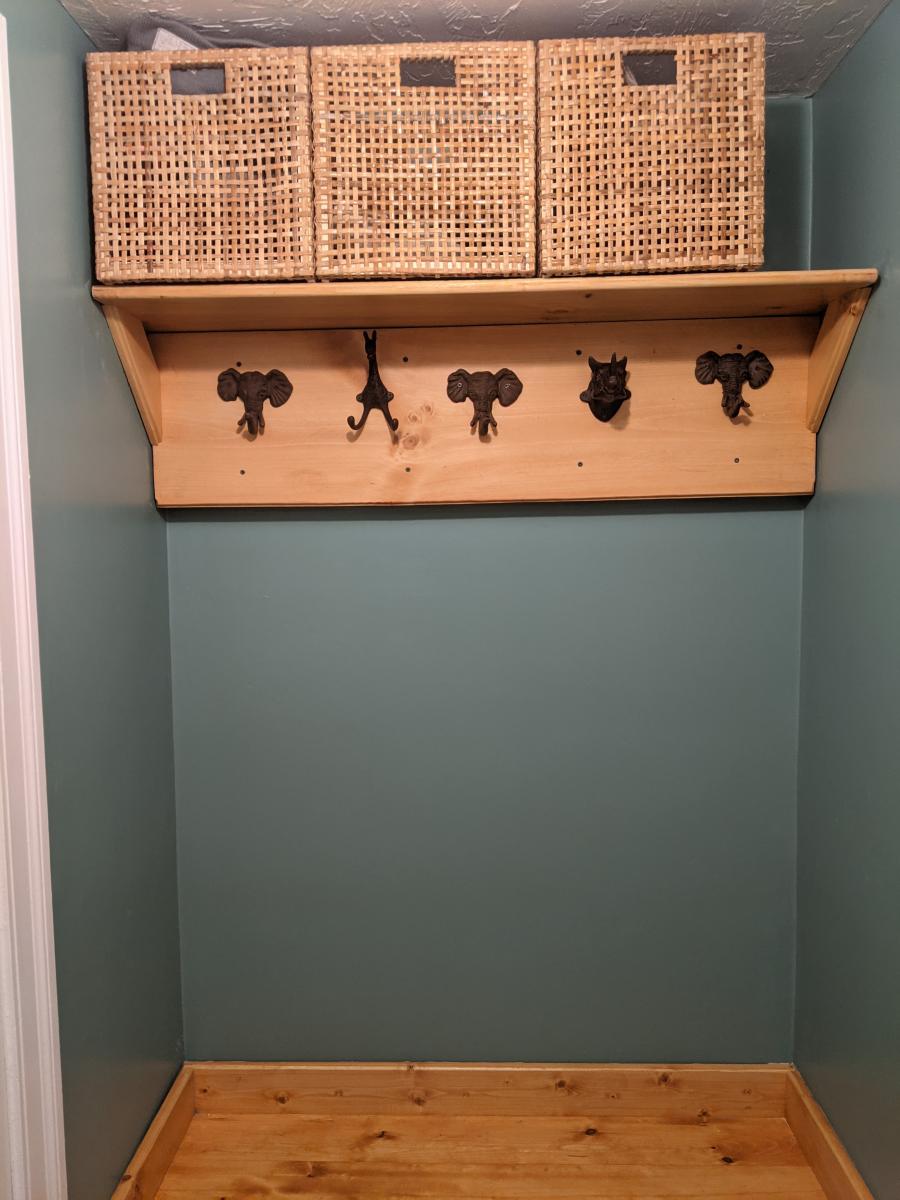
I used a couple of 2x4's behind the vertical face below the shelf, giving it some depth and better stability.
Cast iron hooks were found on etsy, ebay, and Amazon.
Minwax satin polyurethane
Automotive turtle wax for a smooth shine
Sideboard
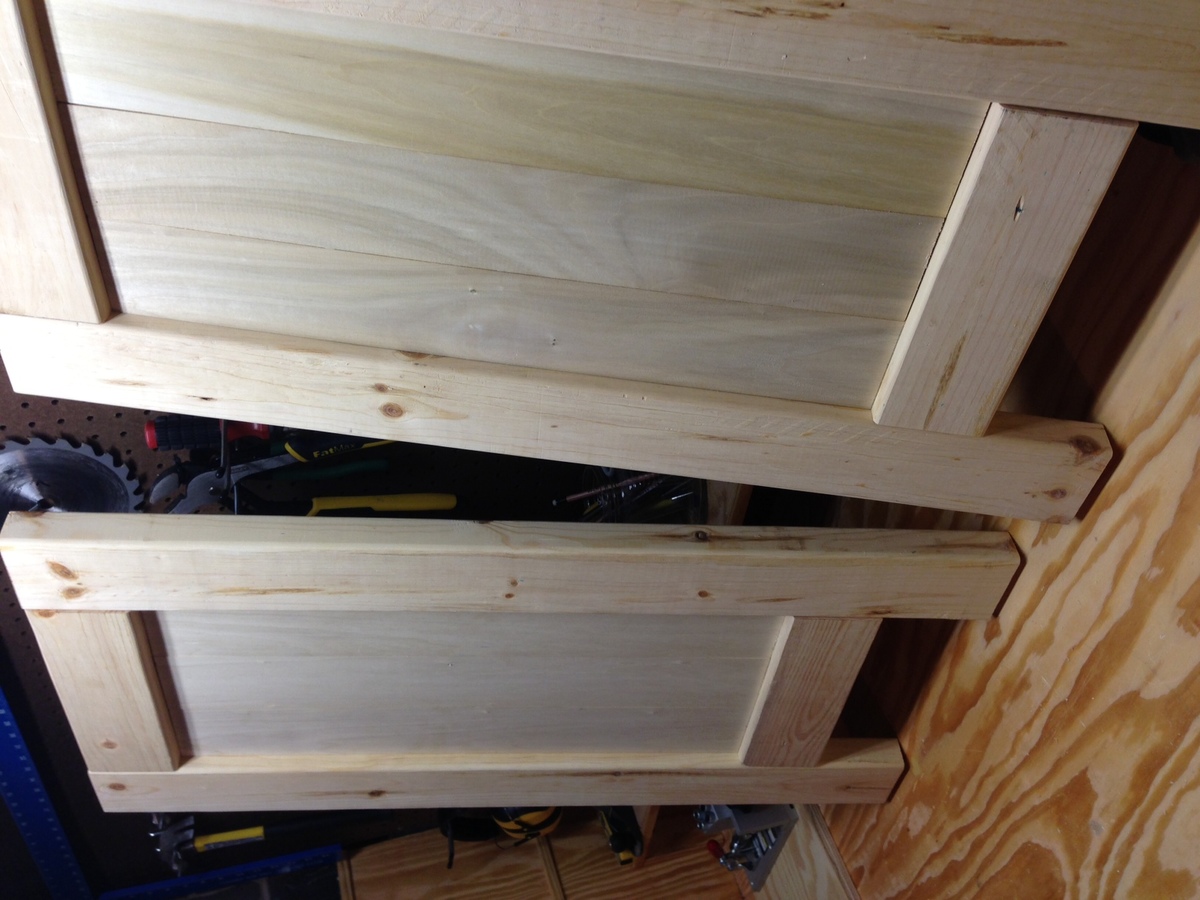
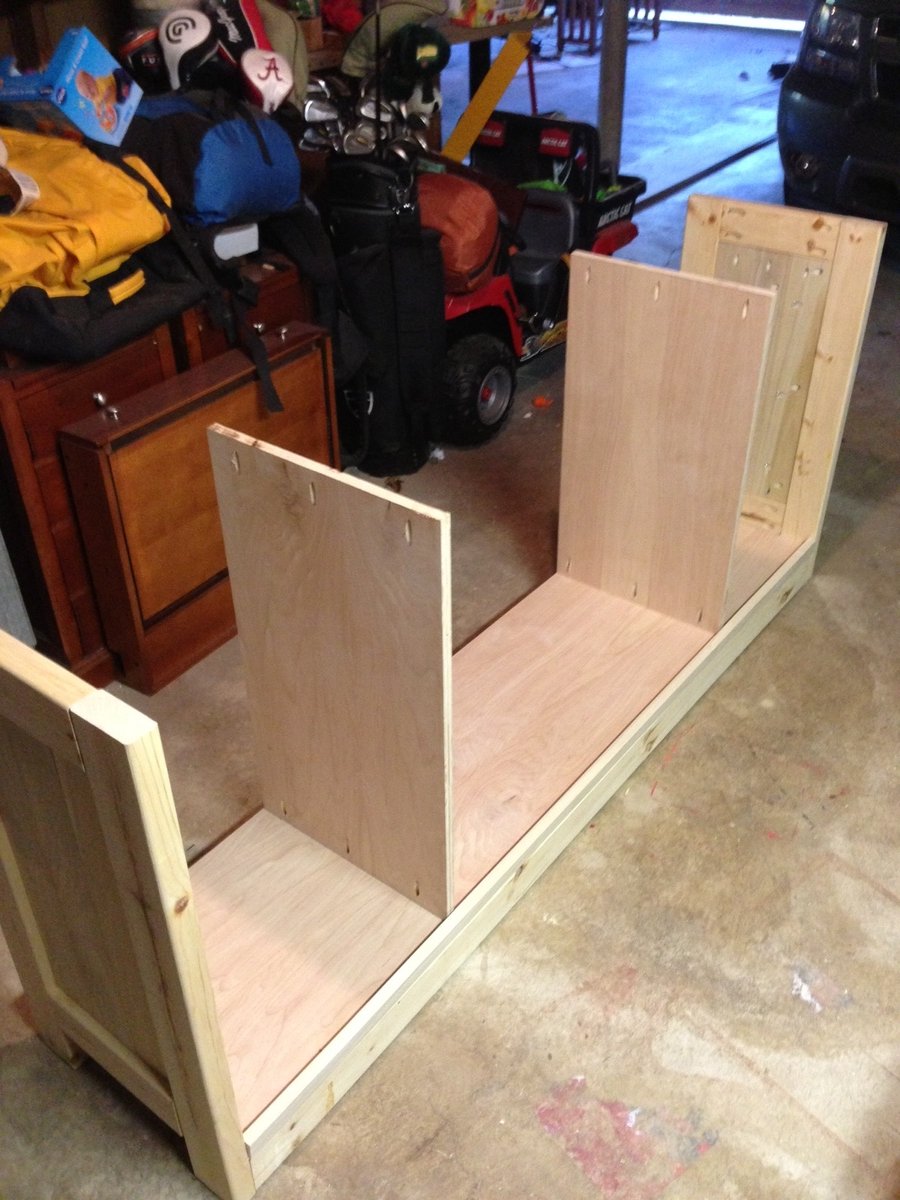
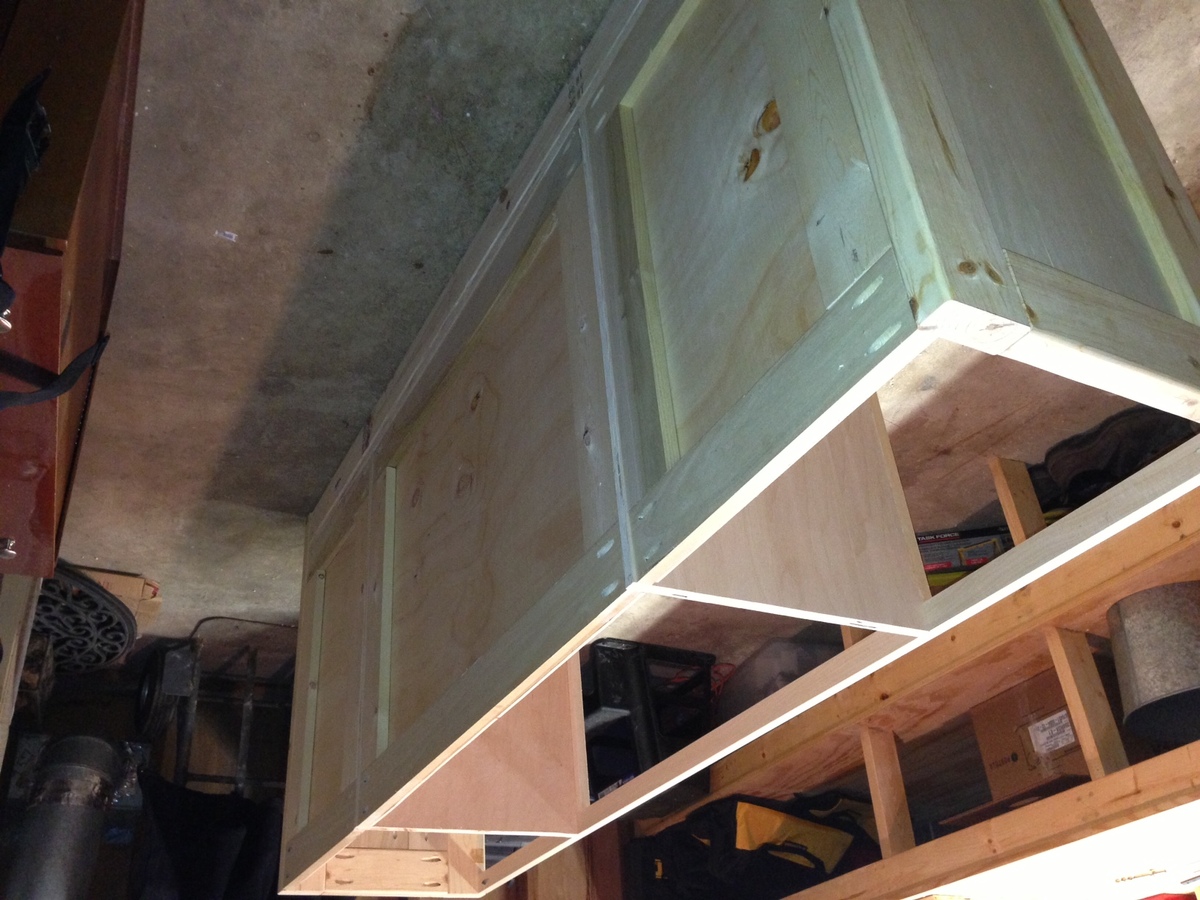
7 ft long gigantic sideboard. Removed the options for the drawers and extended the cabinet doors for extra storage needed. My favorite project to date.
Emerson Console
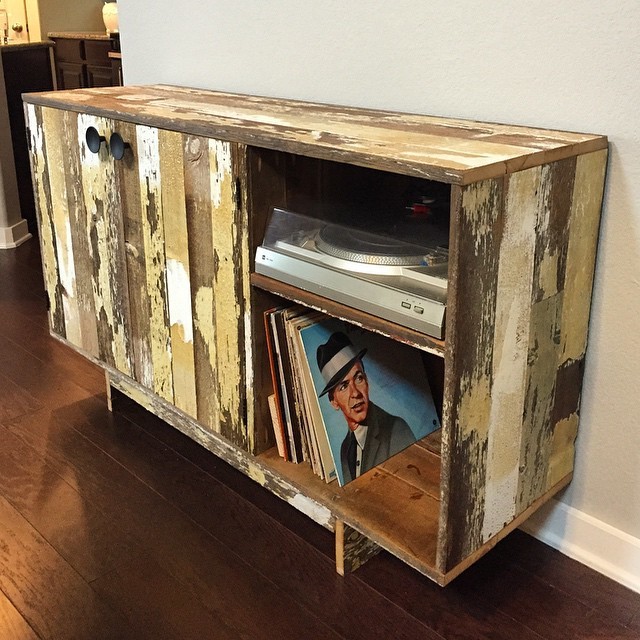
Slightly modified the plans to fit our record player and albums below. Wood is reclaimed from a barn. Bought off Craigslist. The wood was originally planned to go in a restaruant but when they sprayed it with poly the white paint turned yellow. The owners no longer liked it so I was able to buy it off of them.
Comments
Chestwick Platform Bed - King Size
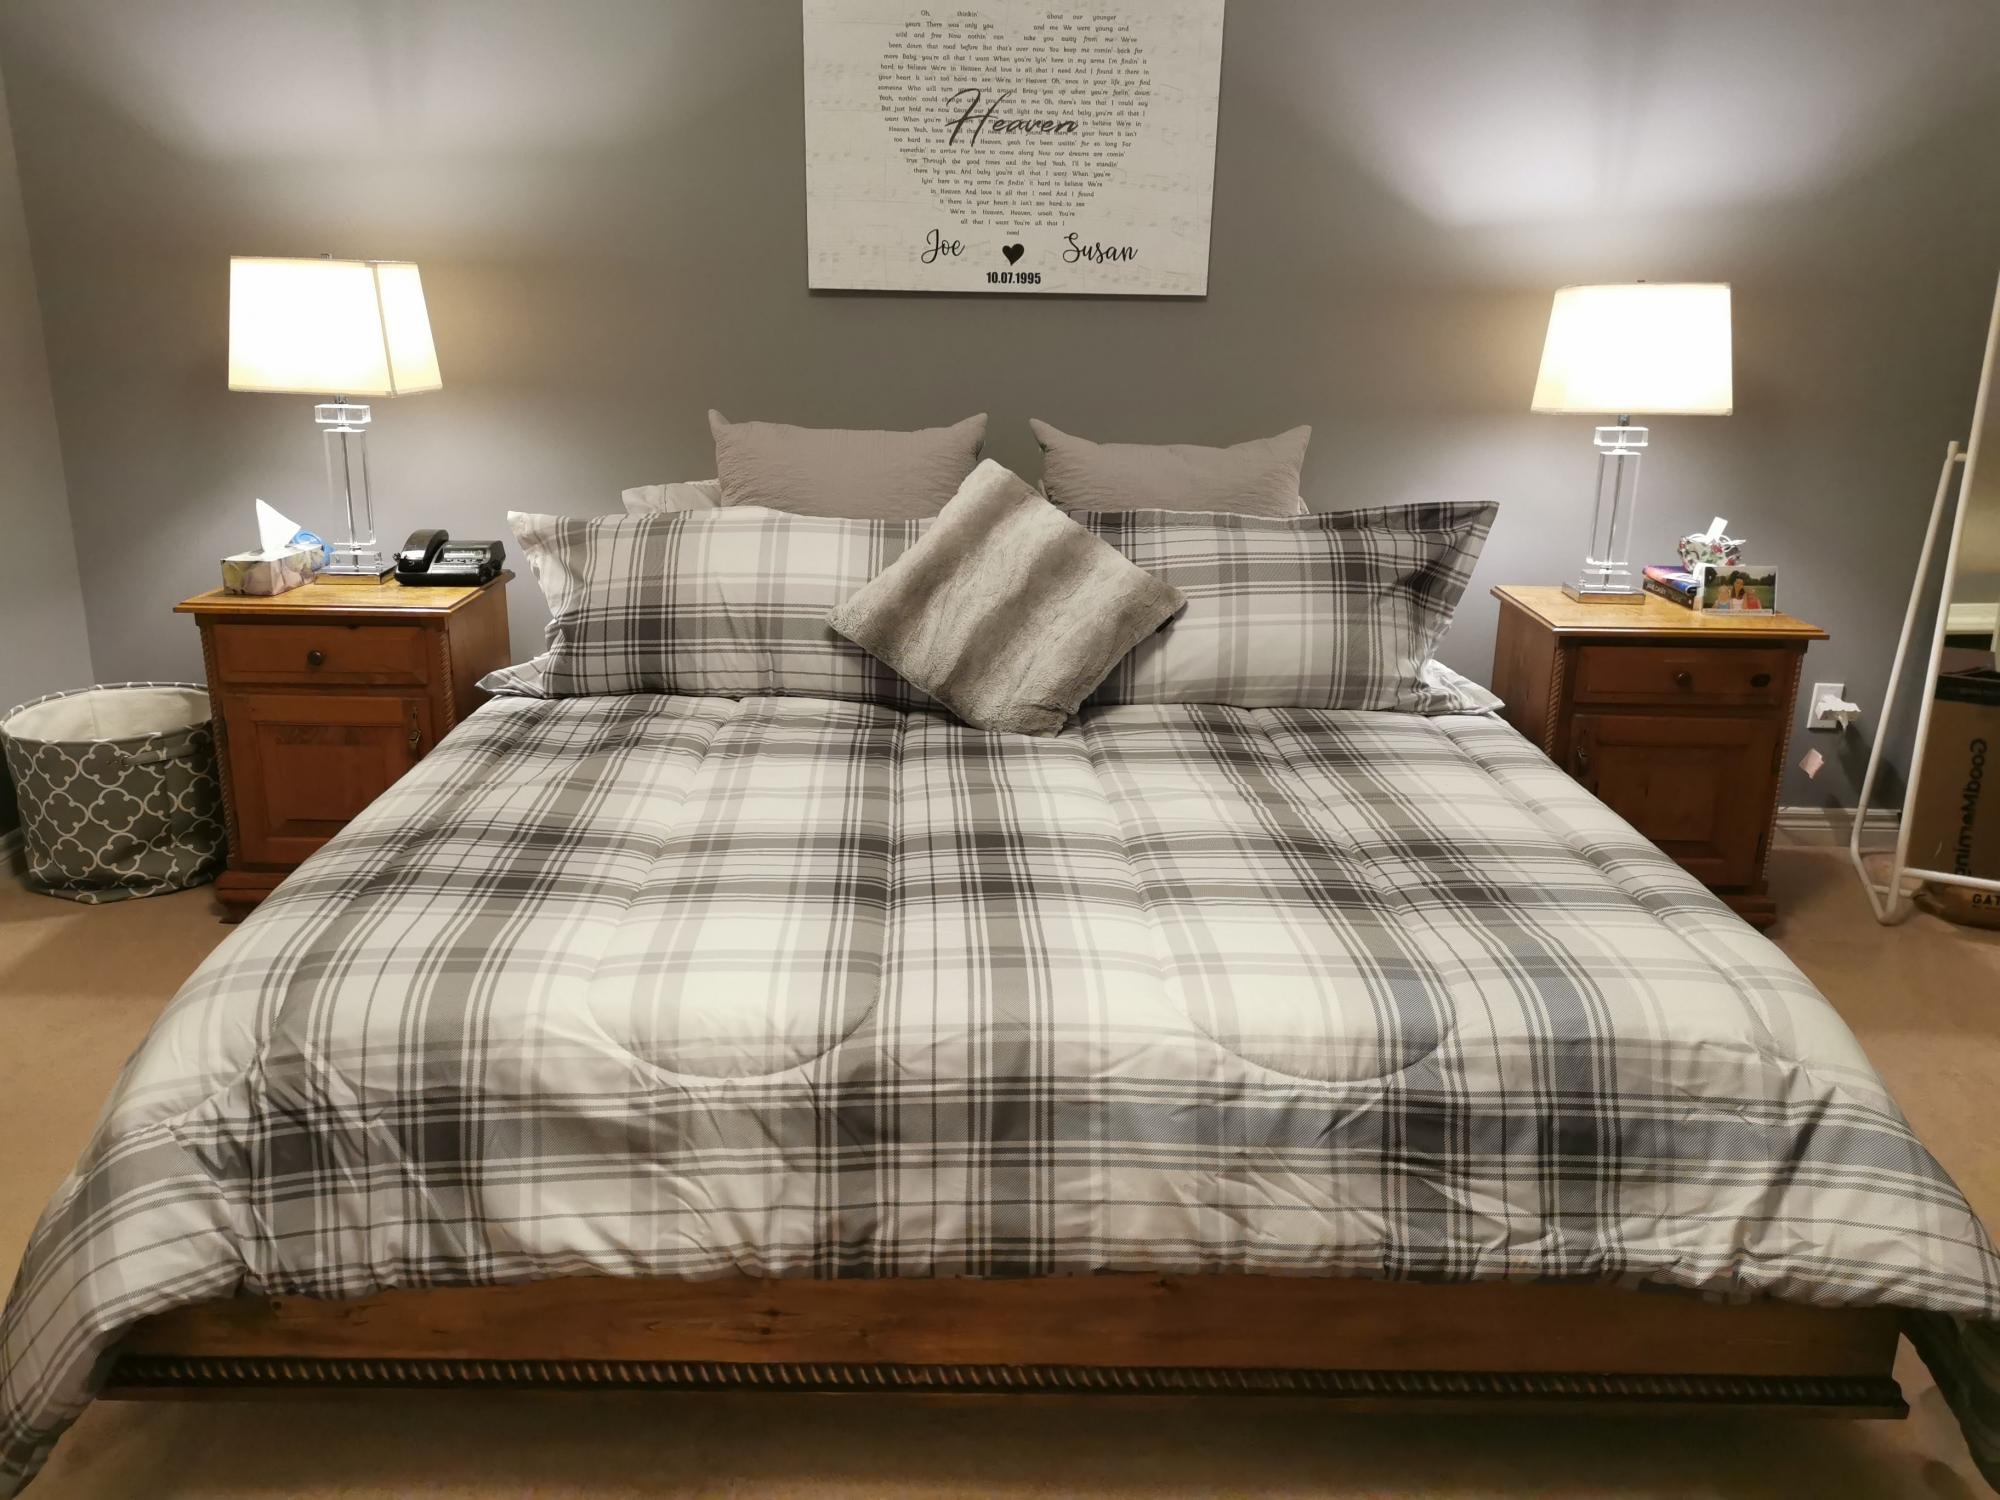
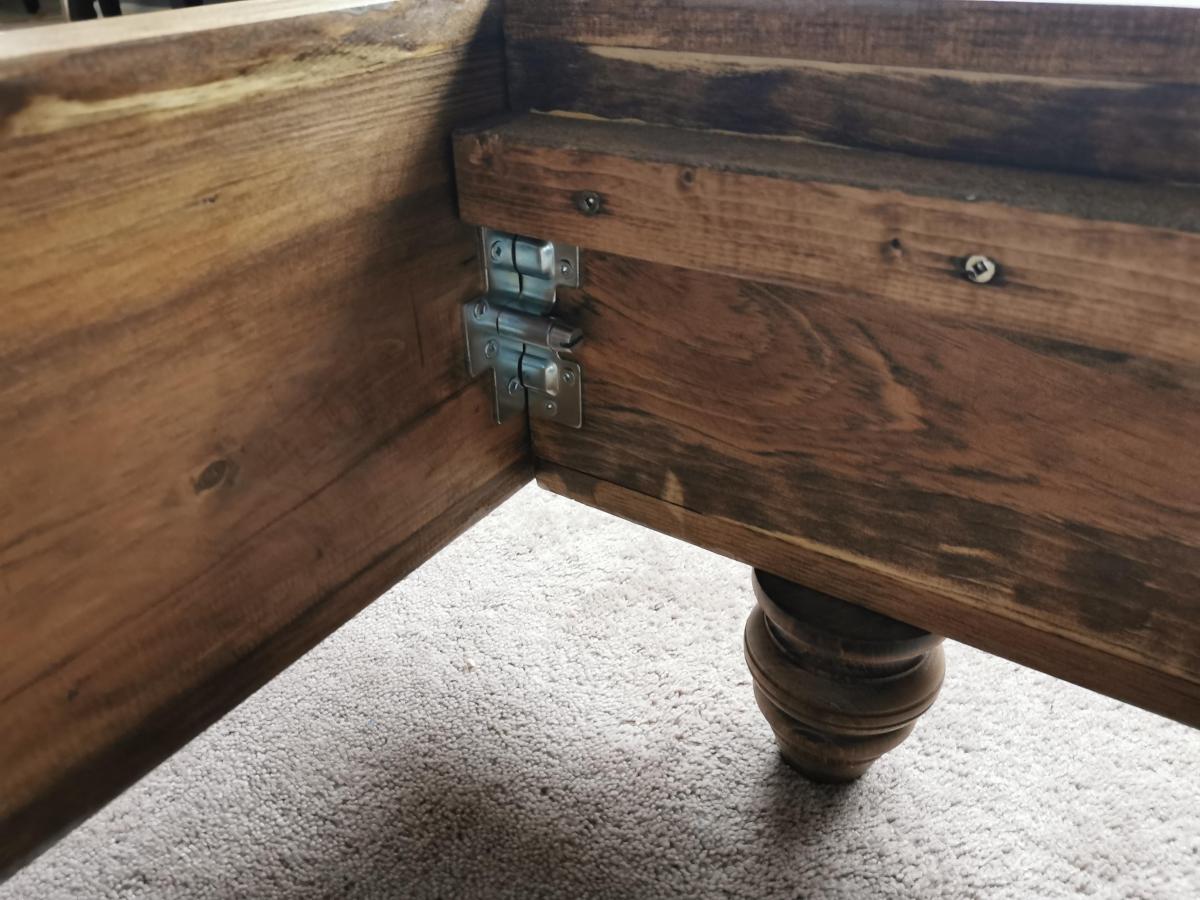
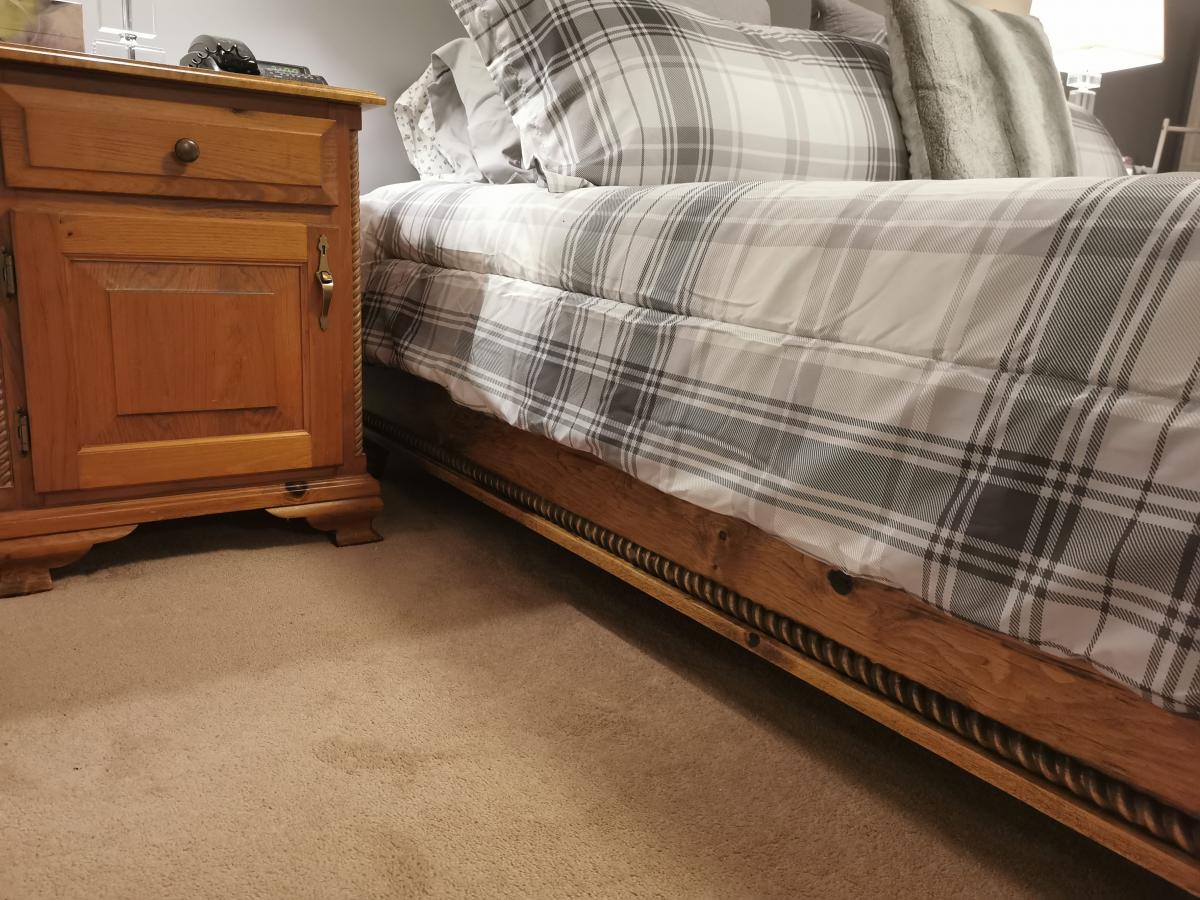
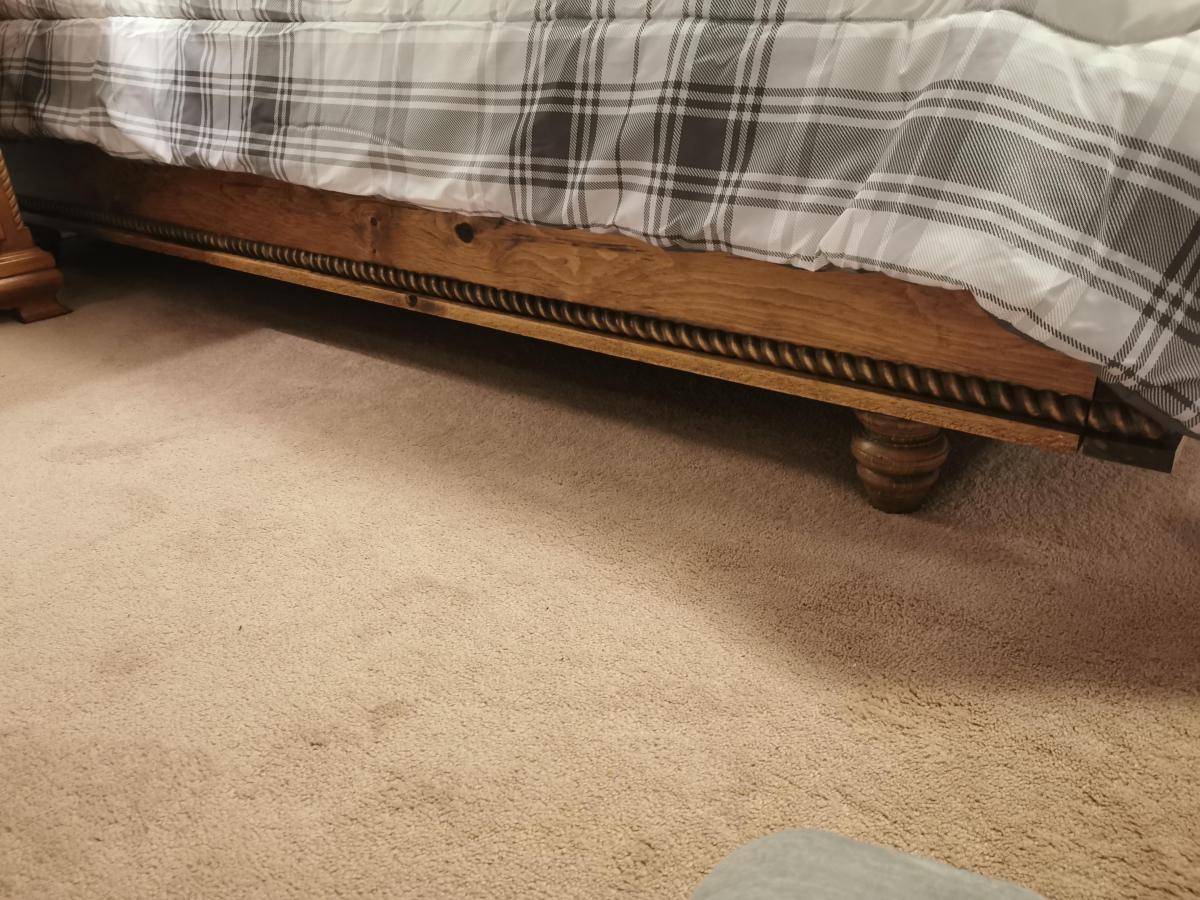
Wanted to build a simple platform bed to match our existing set that only had a queen. So I built a modified version of the Chestwick Platform Bed. Modified the plans to allow for a king size. I used rope molding at the bottom to match with our existing side tables. I wanted to be able to take it apart when needed, so I used knockdown hardware to be able to move it around in pieces if I ever needed.
Comments
Tue, 10/26/2021 - 10:46
King measurements
Can you please provide the measurements for the king? Your bed turned out amazing! I love the details.
Queen Headboard
Was my first DIY project and was surprised as to how easy it was. The directions in the plan were spot on and look forward to future projects.
Chevron simple 1x10 single step stool
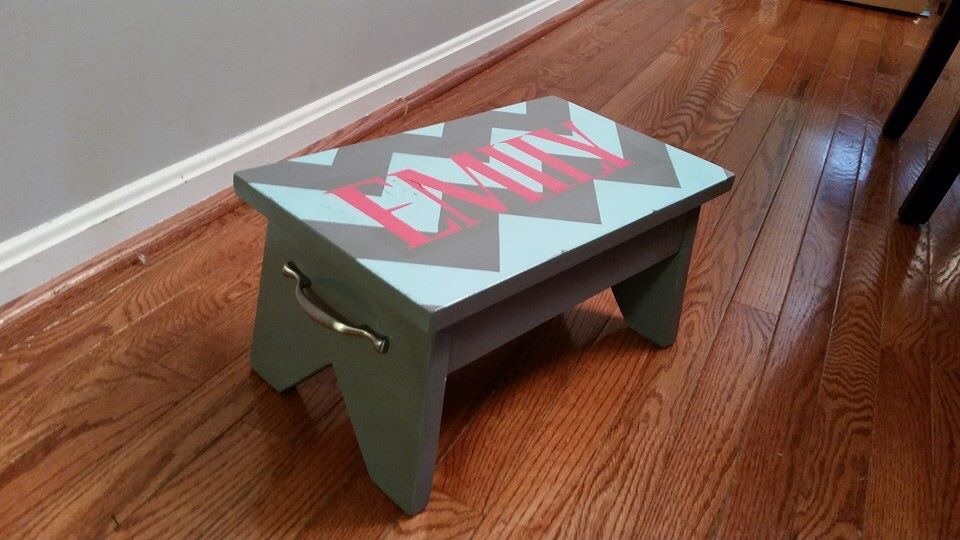
I built this stool for my niece's first birthday! It was super easy to build. The painting process was another story. In hindsight I should have just stained it but I wanted something fun and bright. I'm happy with how it turned out and I will definitely be making one for my nephew for his first birthday! Overall it took me about 2 hours to cut and put it together.
Comments
Gorgeous and easy
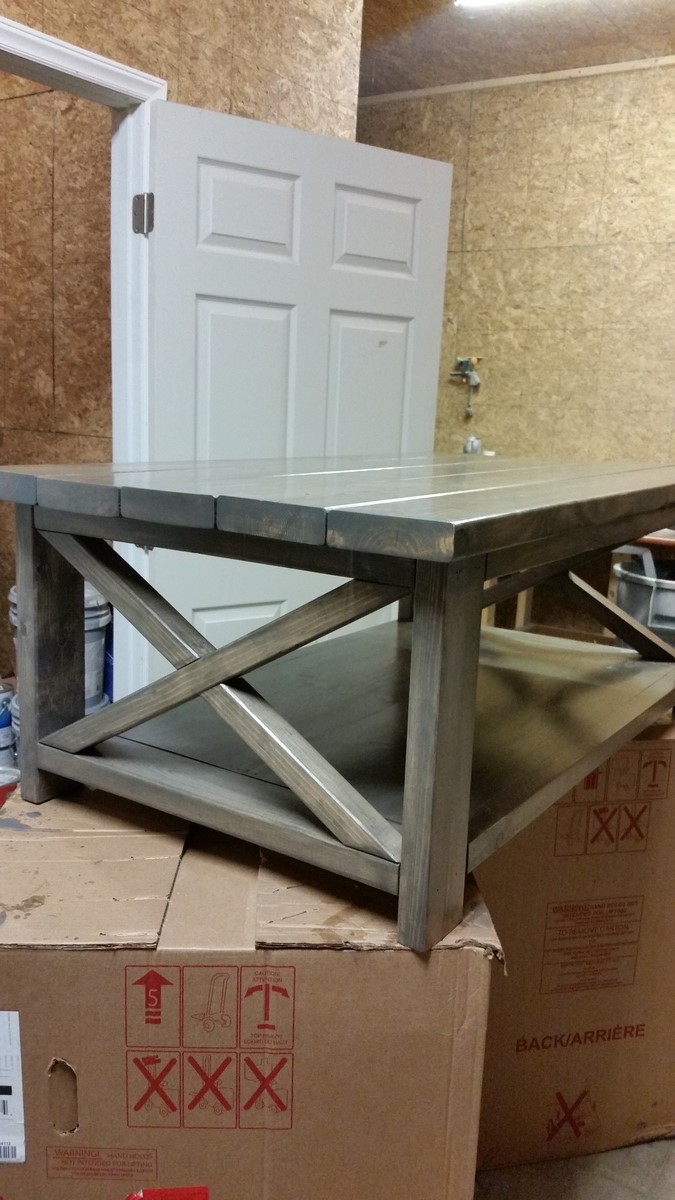
My hubby built the table and I stained it. It's GORGEOUS in our living room. Next weekend we're building the side and console tables.
Drop Zone/mudroom
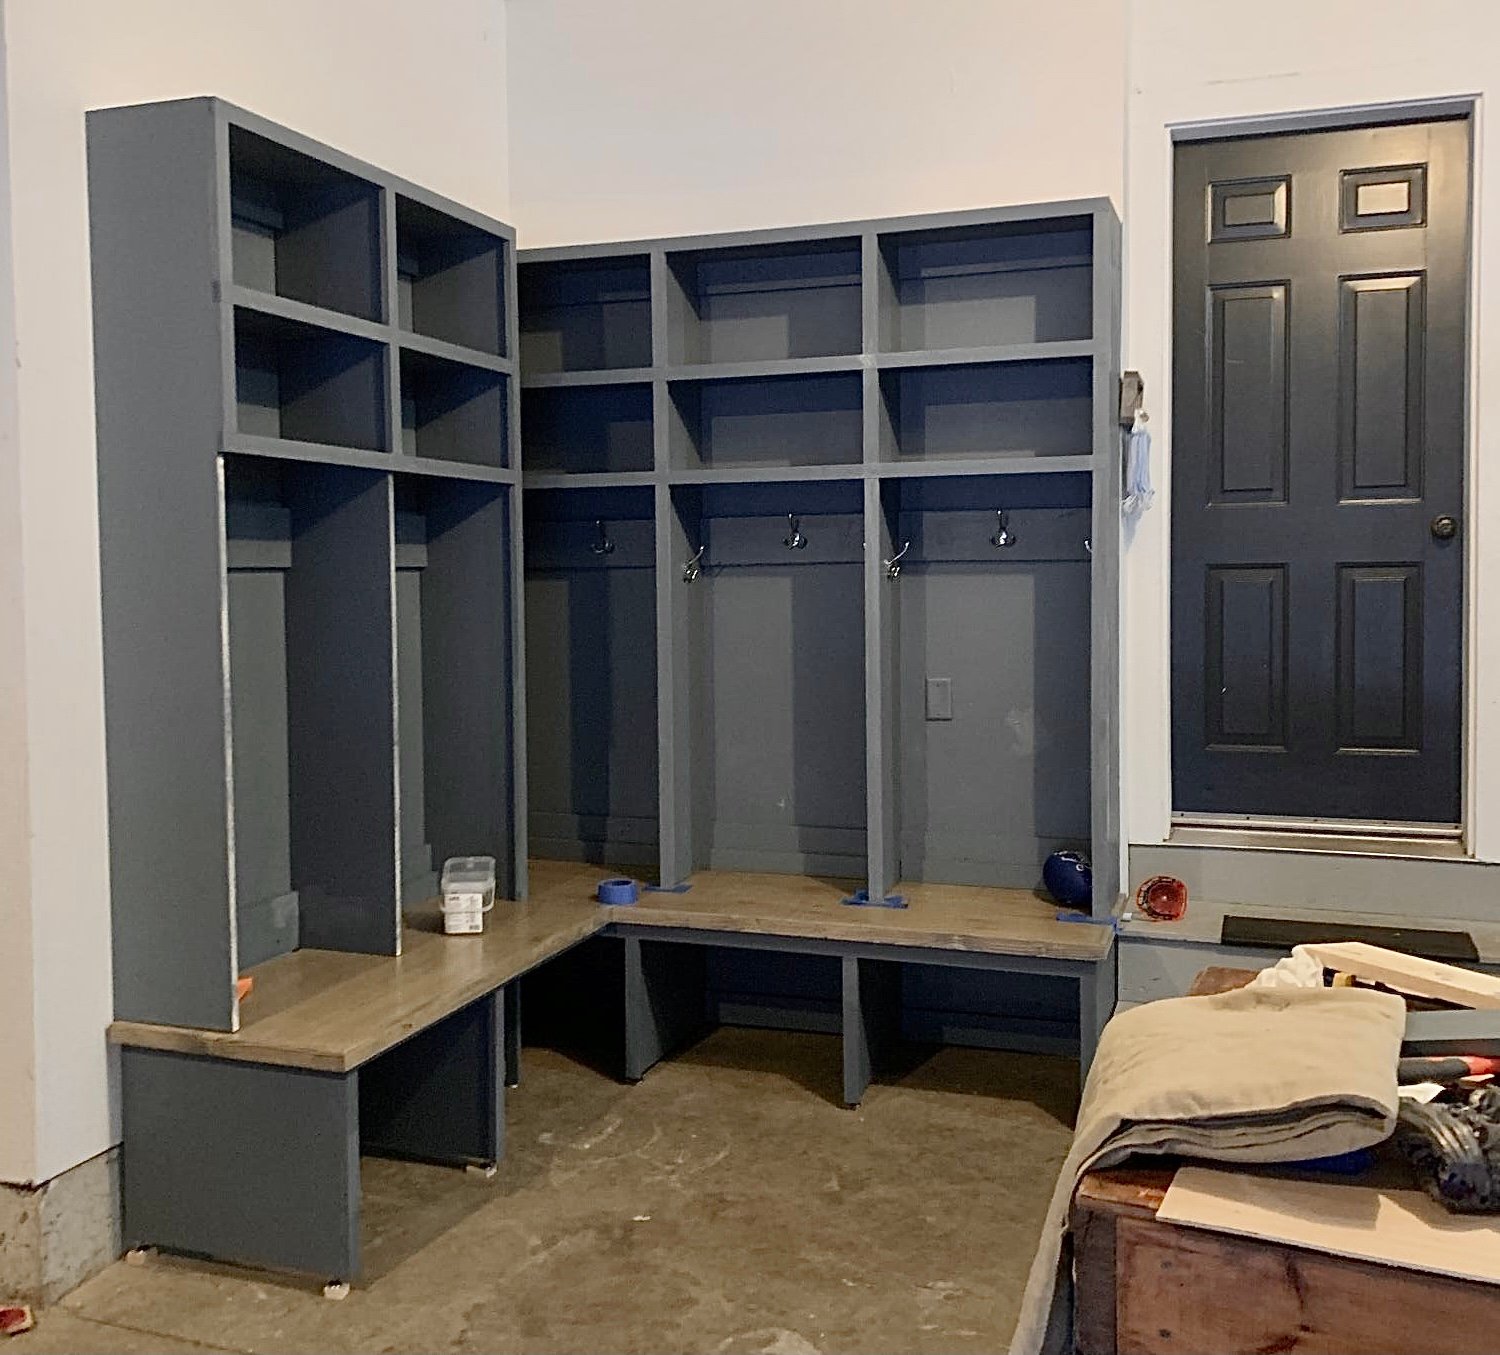
I used ShelfHelpNow which I LOVED! Got it delivered at the start of a snowstorm! Would never have made it then if I had to go get the wood myself!
Got so many compliments and requests
To build this.
Thank you for your easy plans and wonderful ideas!
In hindsight I would have either connected the two units or separated them more. I’m more a wing it/see how it goes type of builder for myself rather than a planner. 🤣
Diane
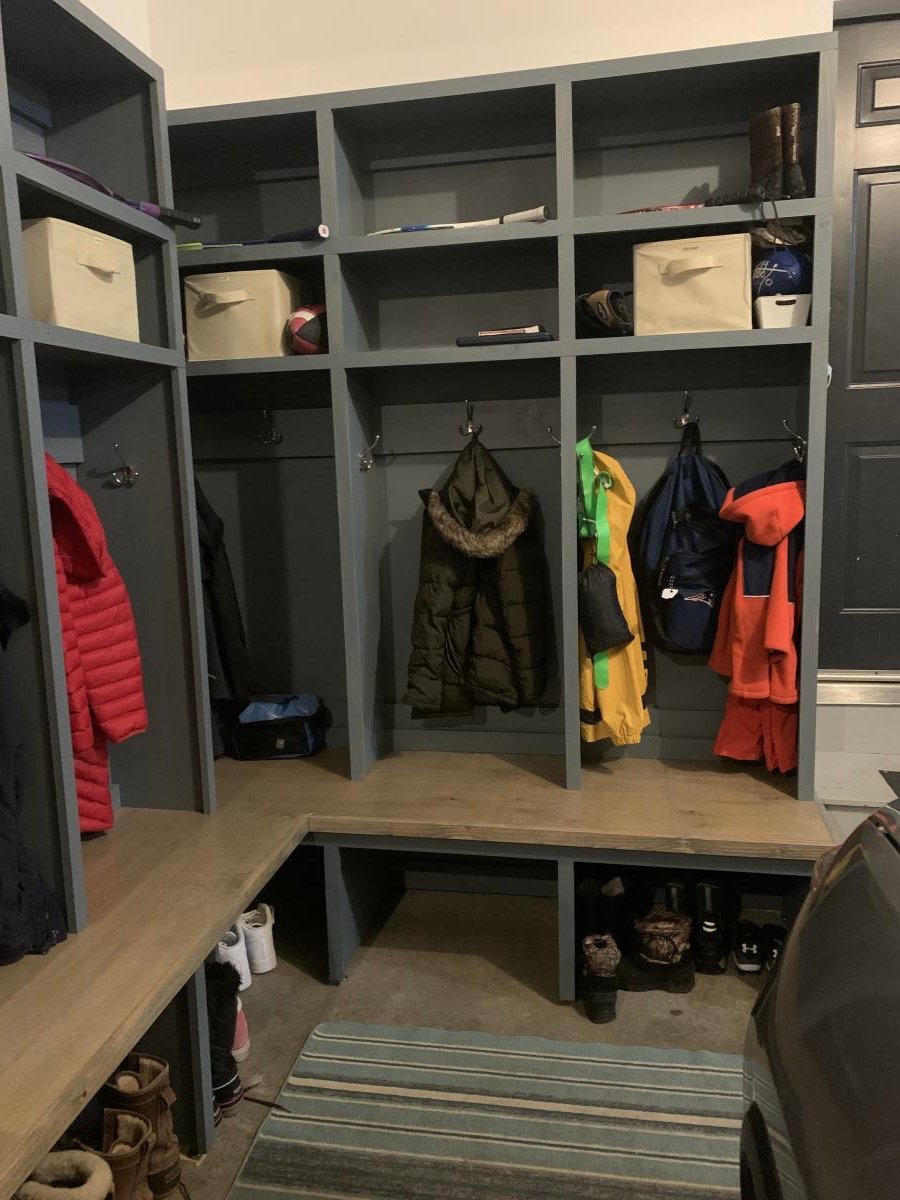
Hopefully this will free up some room in my house for more utilitarian closet/pantry.
Barn Playouse
We turned the Playhouse loft bed into a "Barn" for my son who wanted his room to be all about horses.
"Big Boy" headboard
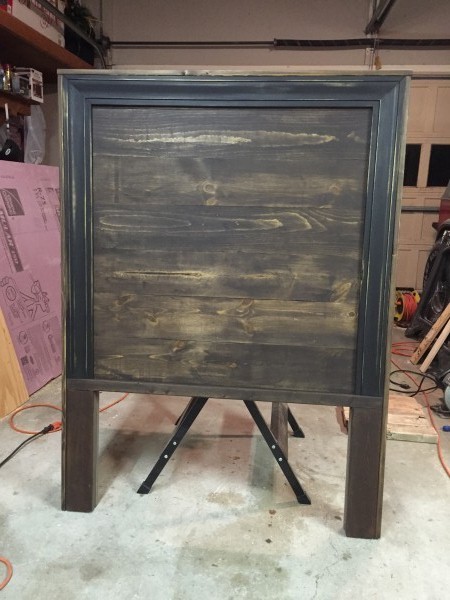
I built my son his first "big boy" bed and we needed a headboard so my wife loved this one, and now my son does too!
With pocket holes this was pretty easy to do, great plans, I had to modify the dimensions a bit since we didn't build the Hailey bed. We built a twin version of the Captain's Storage bed, so this matched up with it with only a few minor adjustments. Thanks for the plans and the great site.
Comments
Garbage Can
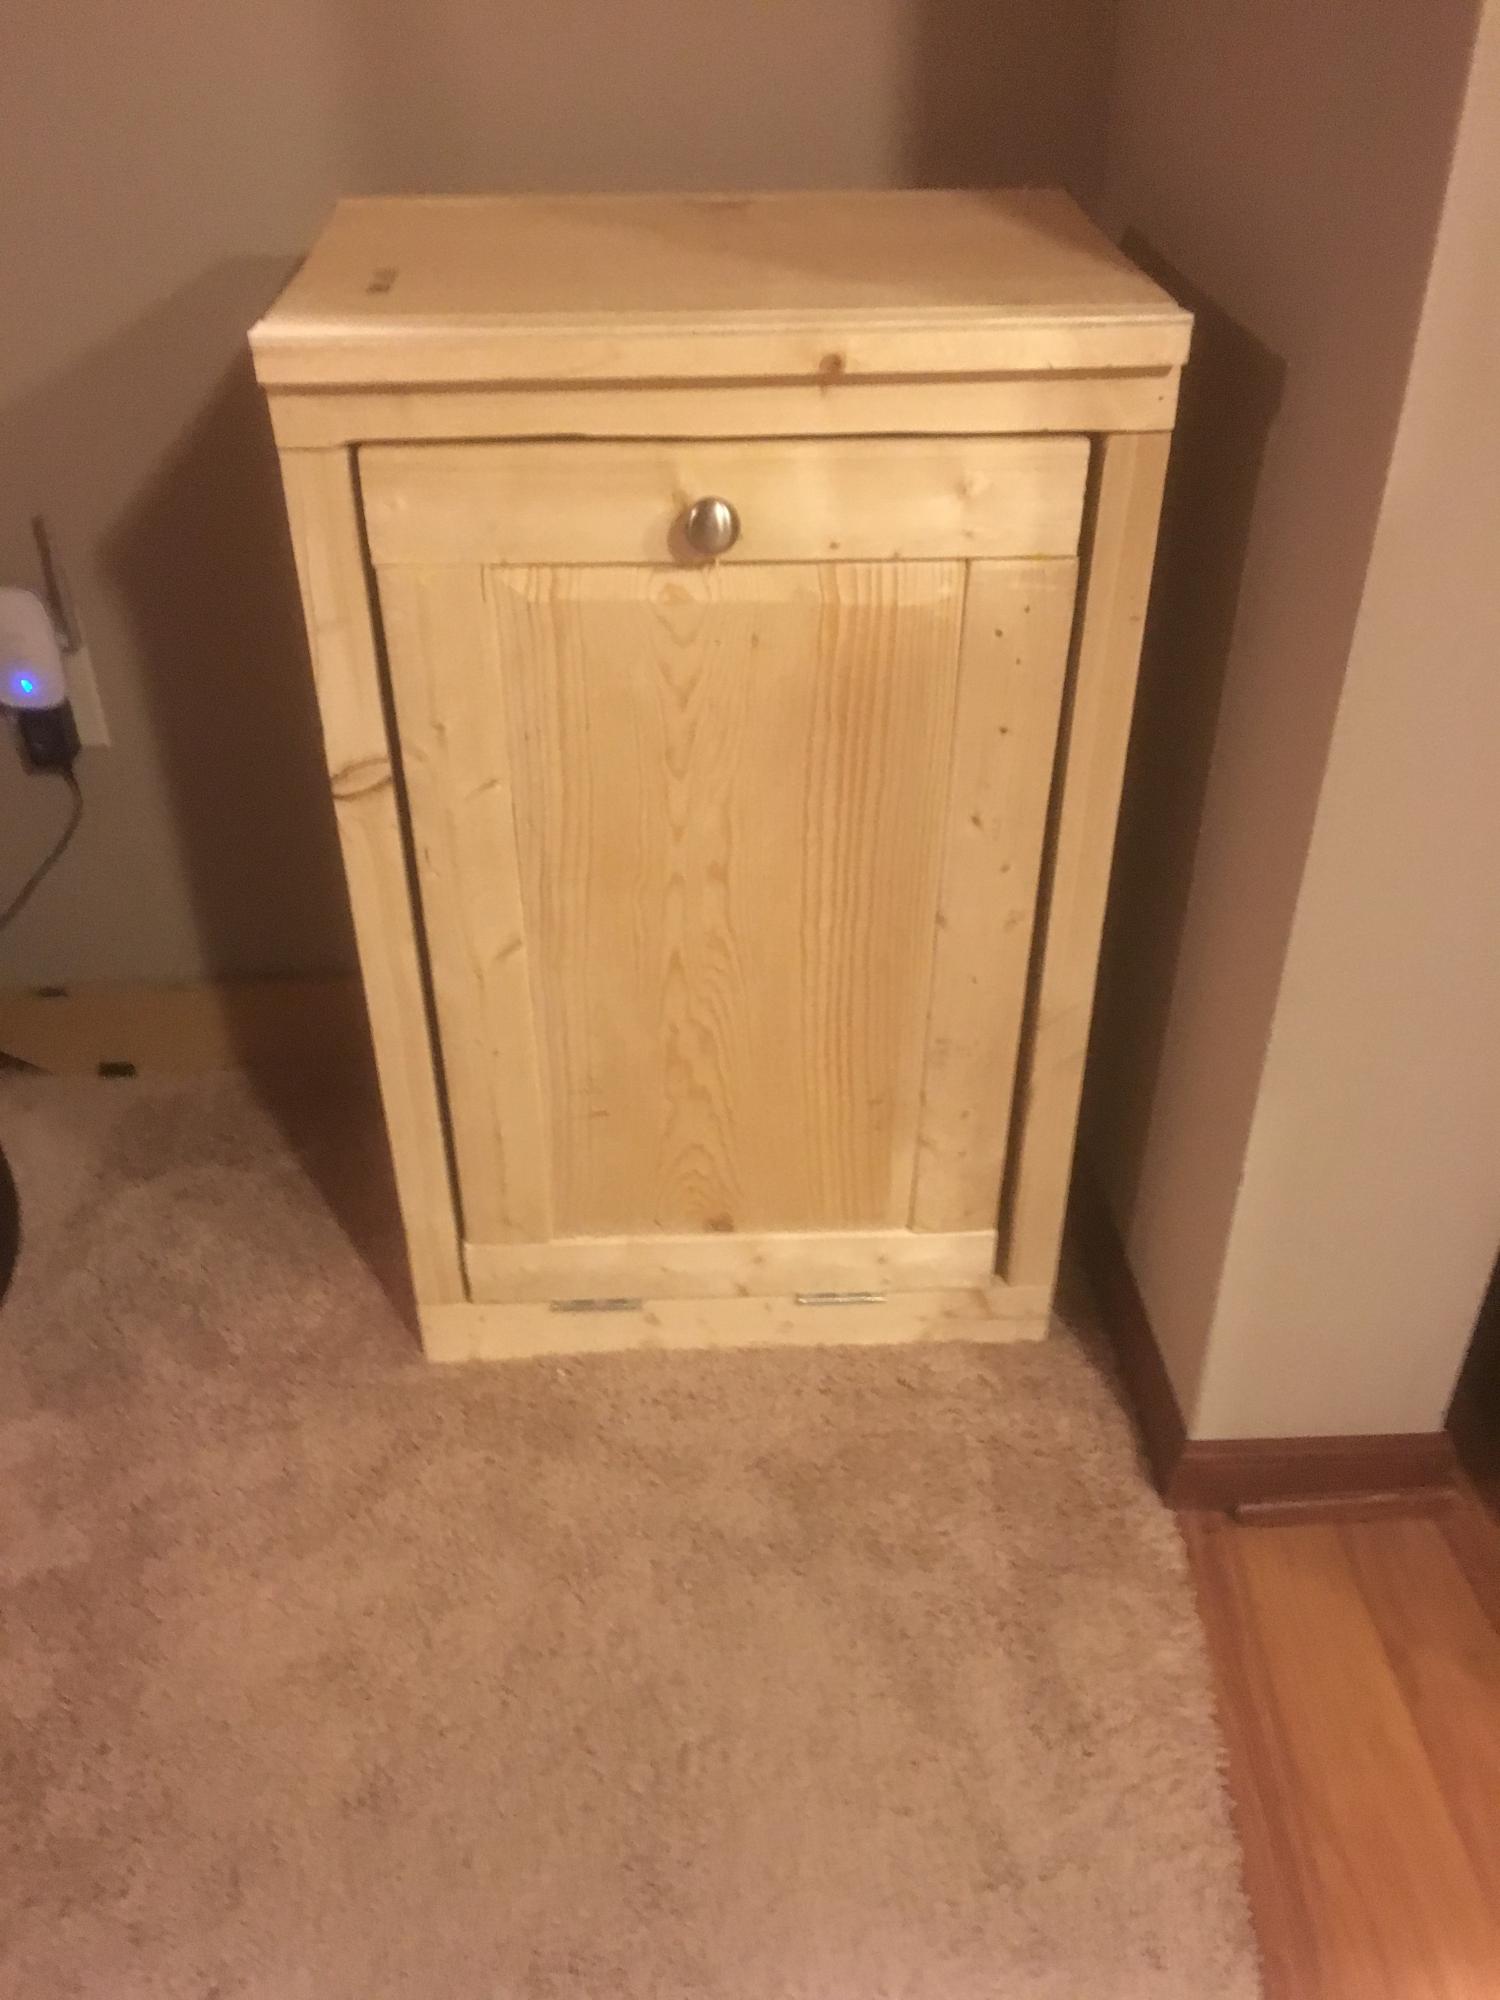
Still need to choose a color or stain but we love having the garbage hidden
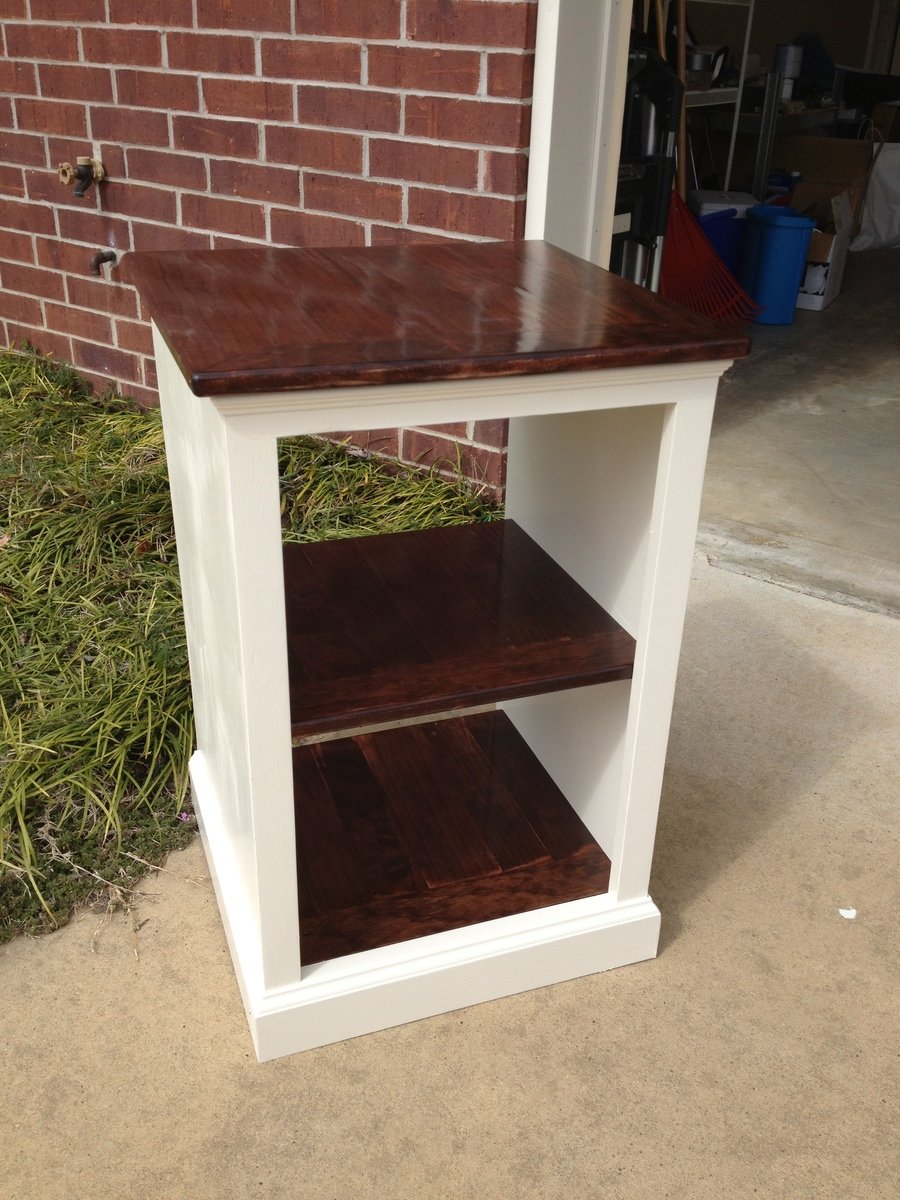
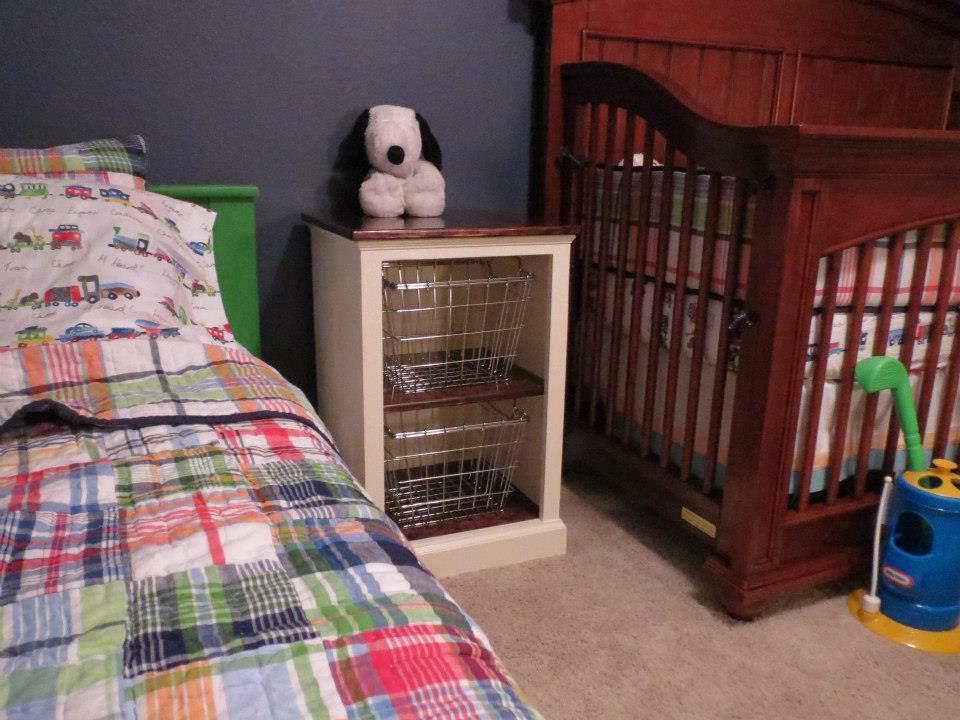
Painted and Stained Katie Open Shelf Nightstand
Followed Katie Nightstand plans, but stained the top and both shelves. Open areas were built to accommodate some wire baskets we found at the Container Store.
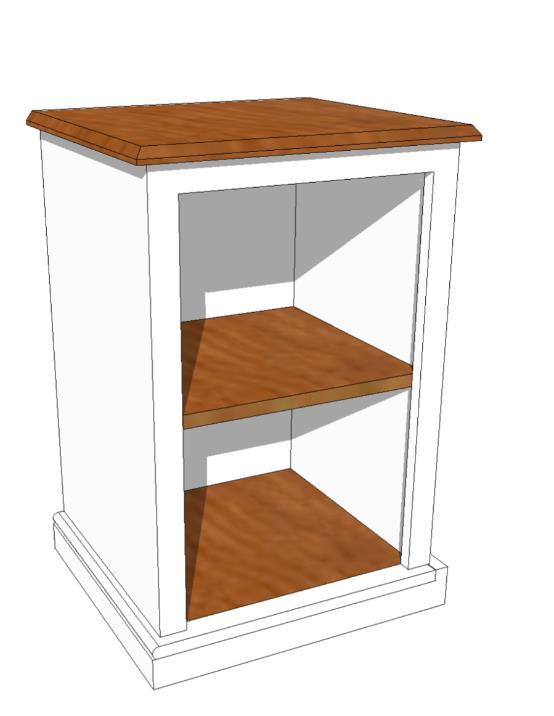
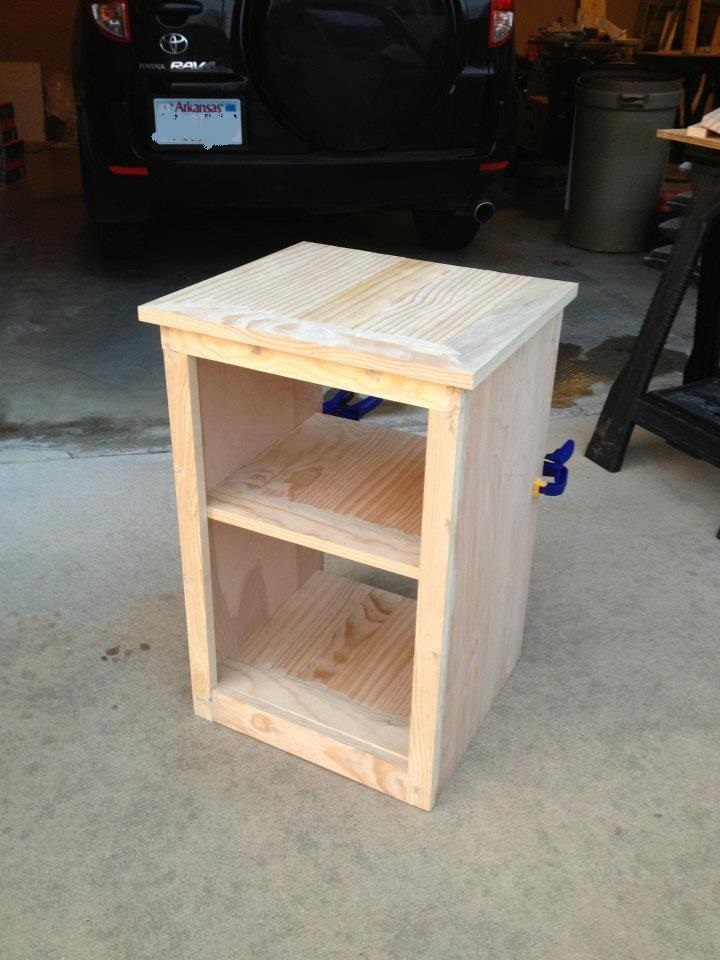
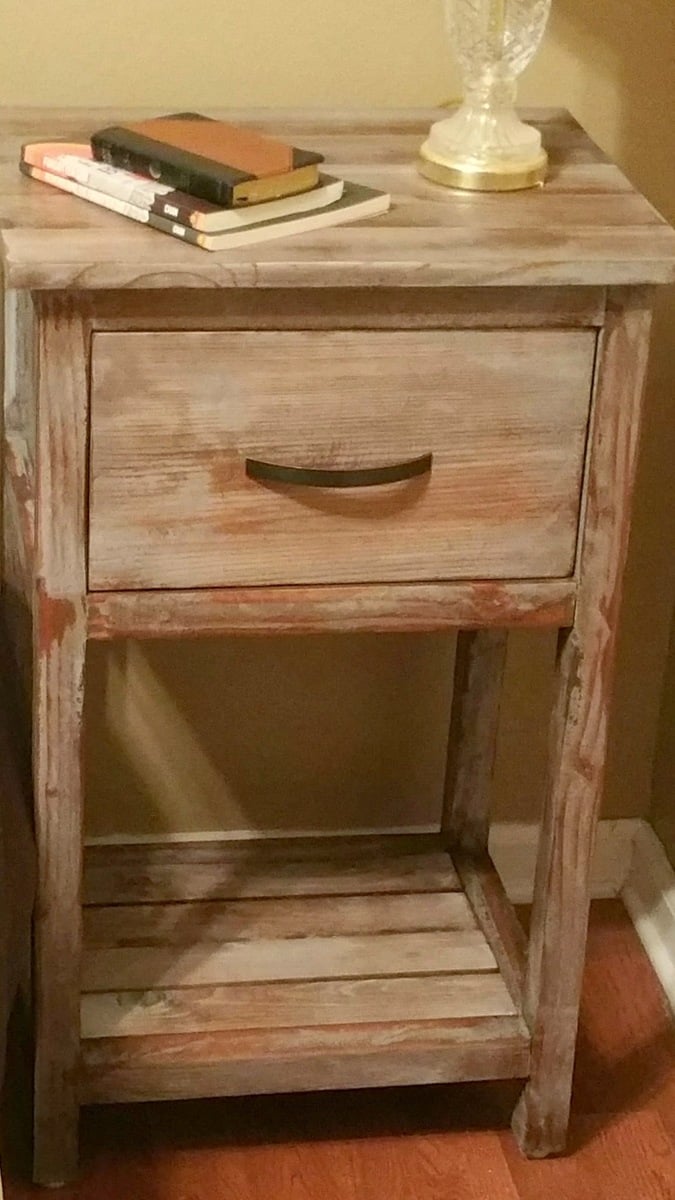
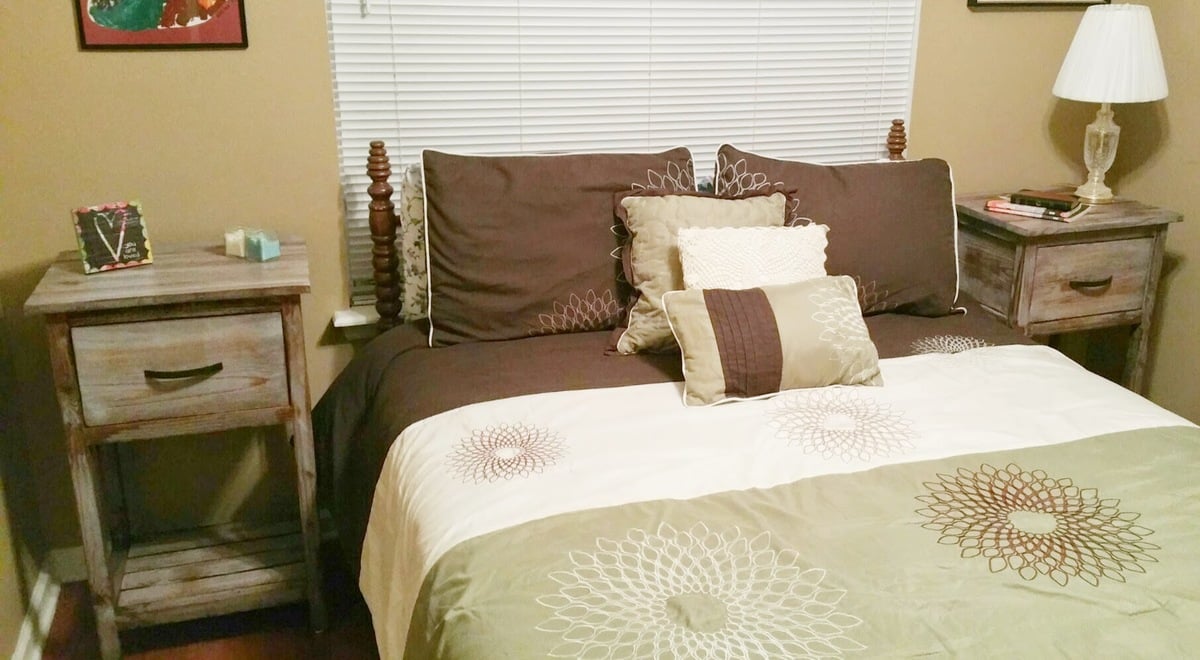
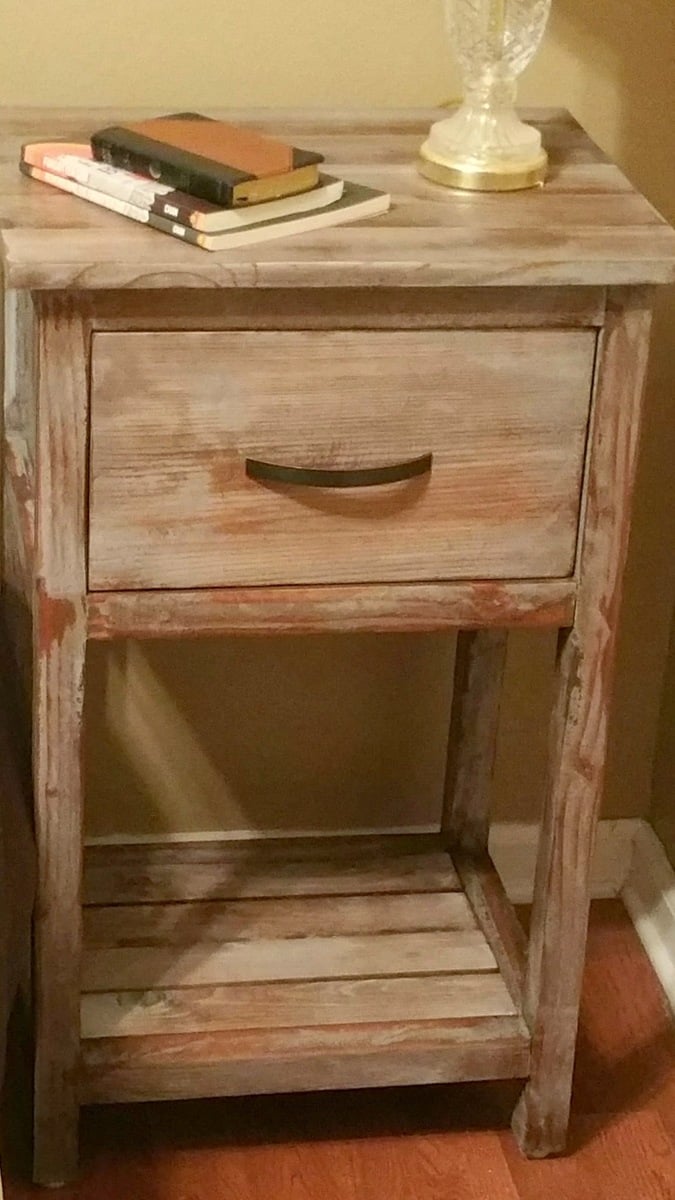
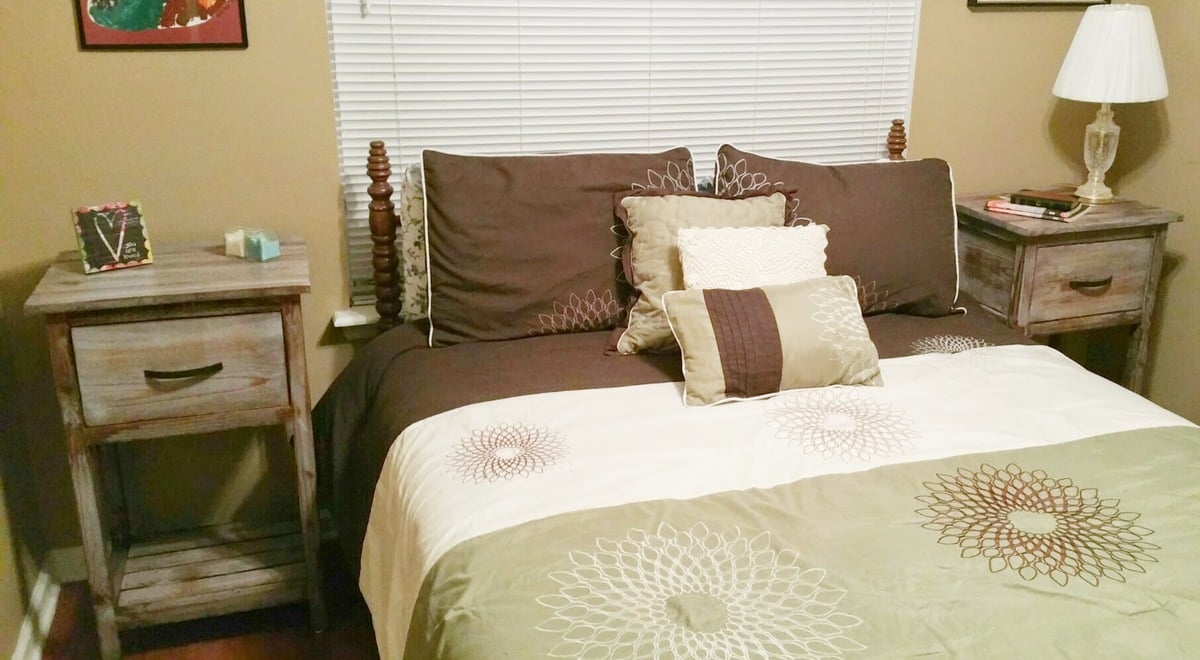
Night Stands custom sized and finished
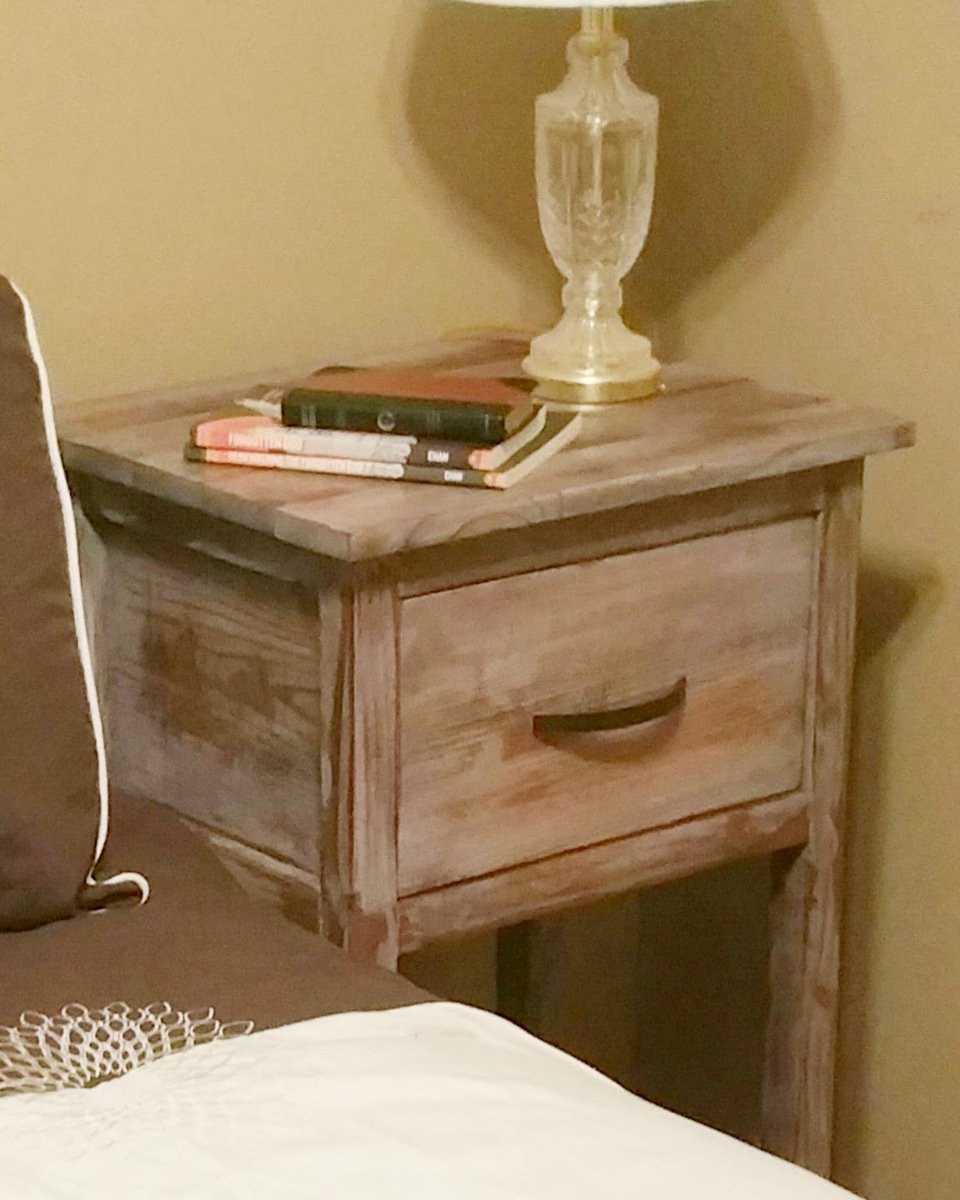
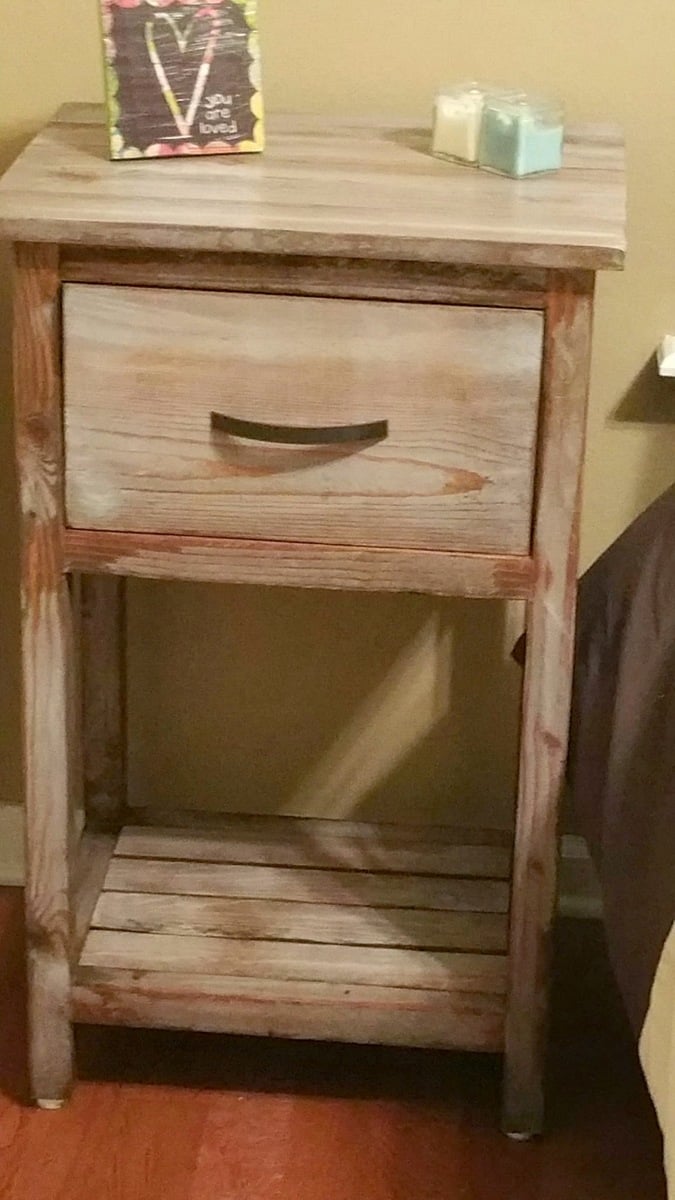
Night Stands custom sized and finished per customer building new home based Ana White's Farm House collection #anawhite
Intentional distressing per customer request with guidance from Ana White plans. Finish contains a mix of paint, removing of paint, staining and restraining. Now to move to a purposeful Mud Room Locker for a new home suited for family.
http://ana-white.com/users/pondrider/
#anawhite #Stain #CustomFurniture #Paint
Love it! But when the washer is on spin it shakes the whole pedestal and dryer! Help!
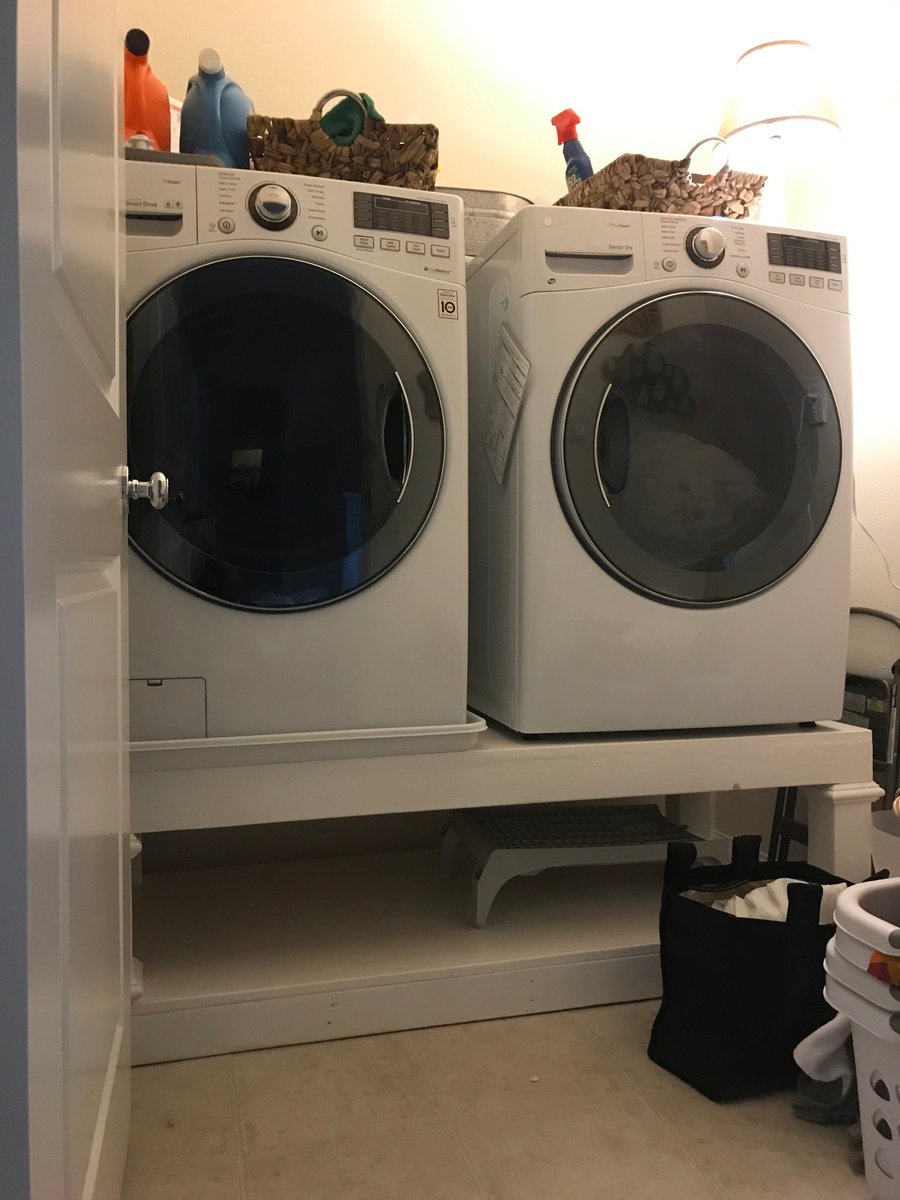
The build was pretty easy. Husband did it in a day. But after the paint dried and we out it in our laundry room and I did some laundry we realized that the washer now shakes the entire pedestal violently to the point where the dryer is being shaken so much that it's banging against the wall. We have brand new LG washer and dryer and this wasn't a problem before our diy pedestal. Do you have any modification suggestions? We really love the project- but we will have to take it out if we can't find a solution for the shaking.
Comments
Mon, 07/08/2019 - 10:47
I'm sorry to hear. A quick…
I'm sorry to hear. A quick fix would be to add some cross bracing to the back.
My First Project
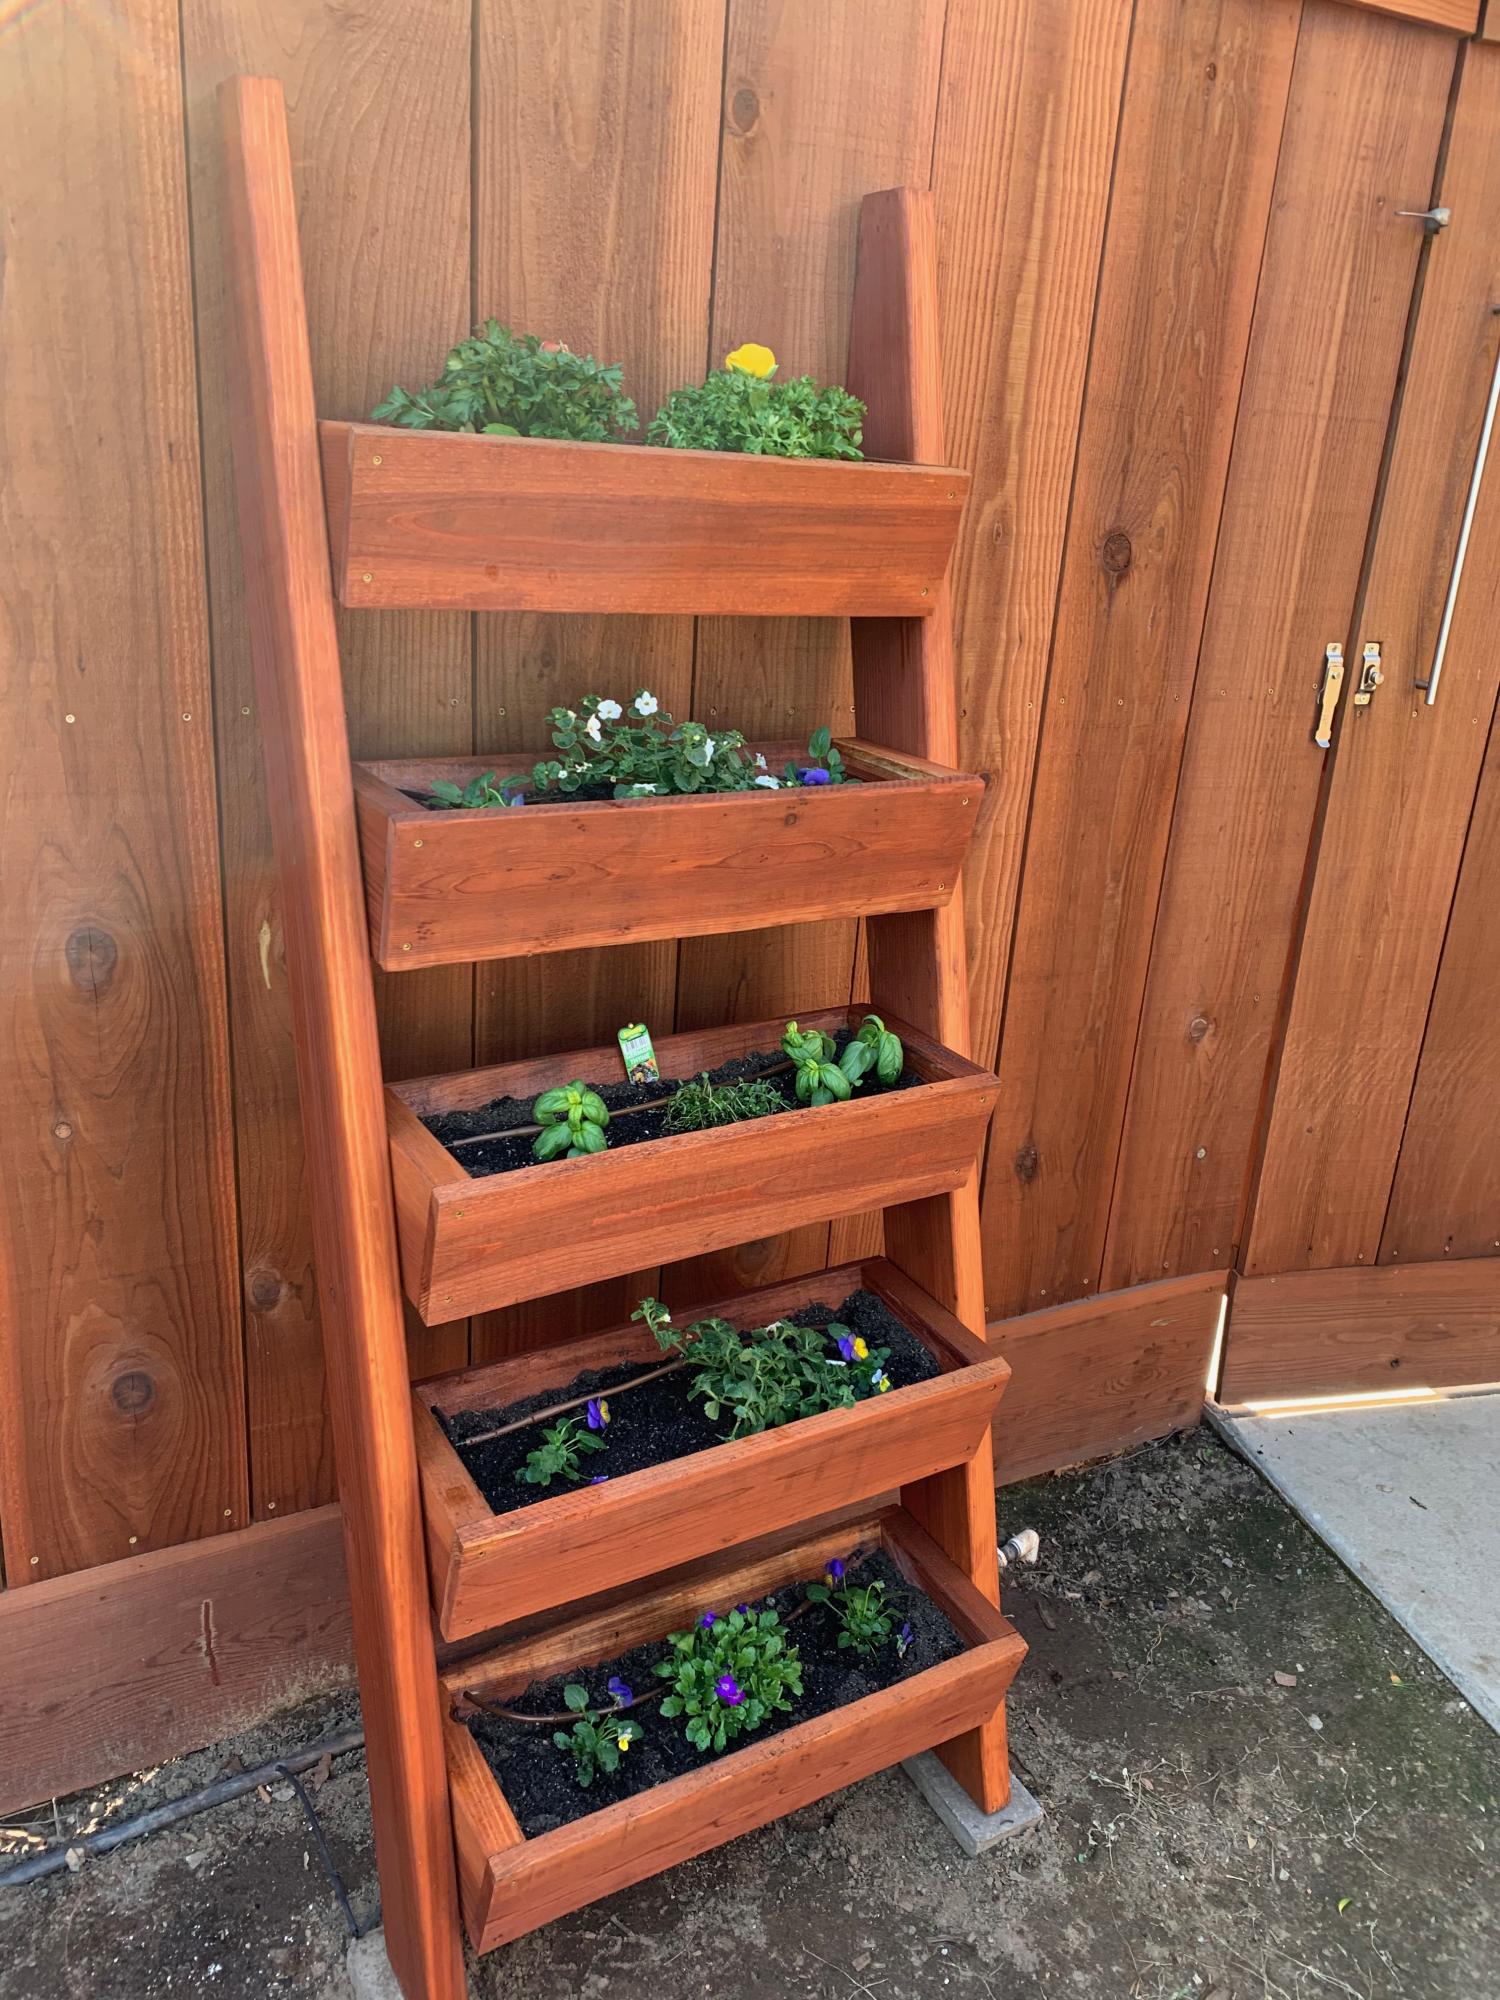
I learned so much for this first project. I used redwood instead of cedar and finished it to match our fence. I coated the inside with flex seal. Next time, I'll drill drain holes nearer to the front edge of each box so they drain into the box below a bit better. I angled the bottoms of each box with a band saw on a 15 degree tilted platform. They fit like a glove! Thanks for a great plan.
Comments
Boys Room Makeover
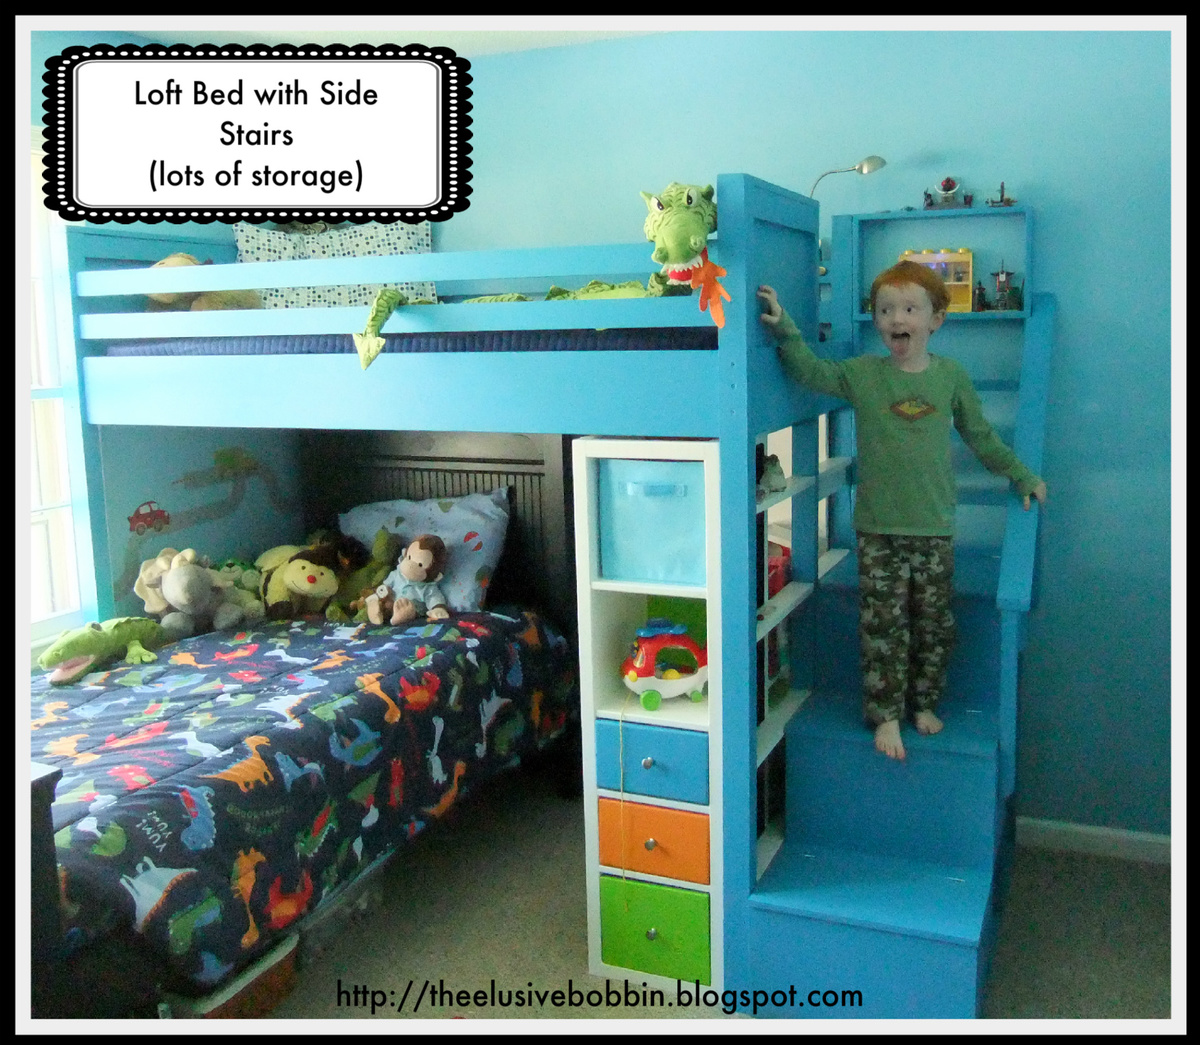
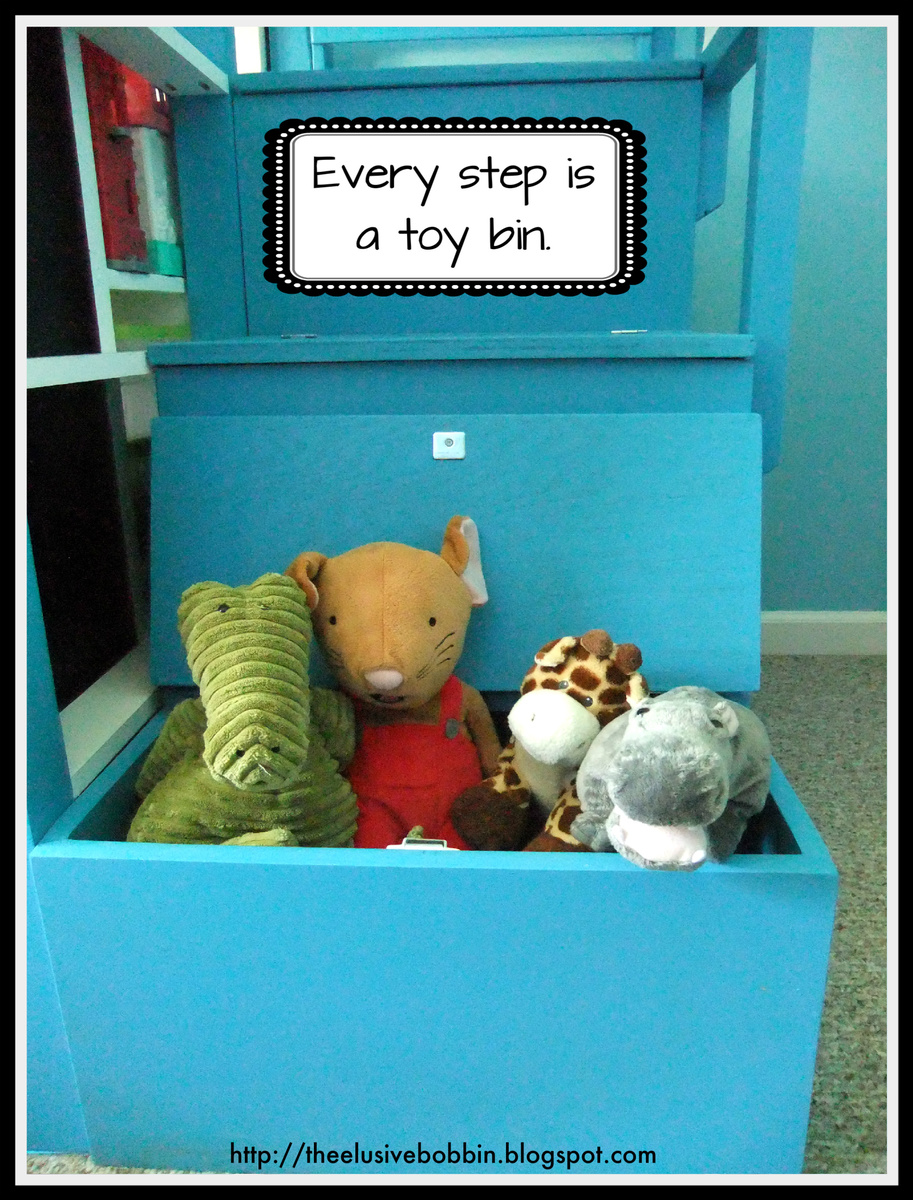
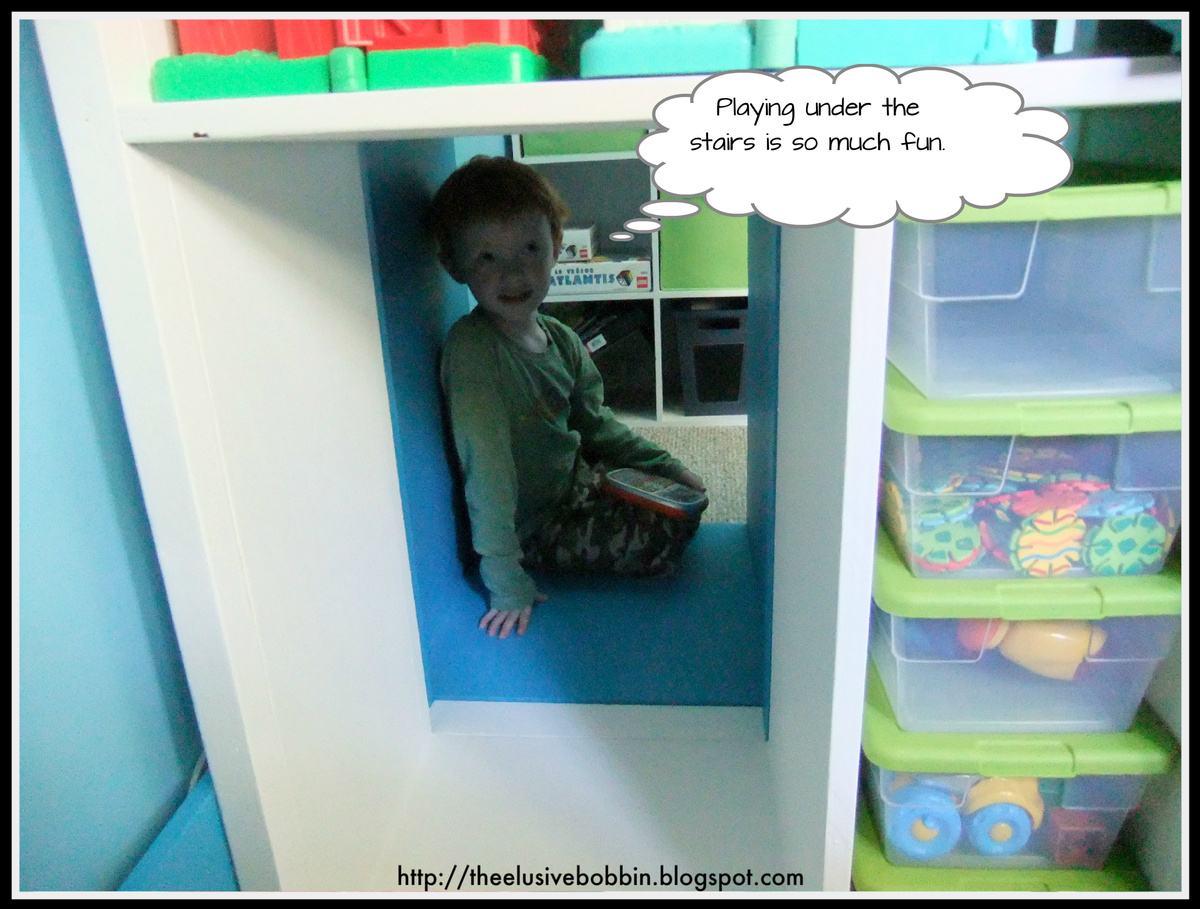
My husband and I made this for our boys last spring, while we were still in our old house. It's a modification of Ana' loft bed, with stairs that I drafted myself, a smaller version of Ana's flat bookshelf at the top, and a modification of Ana's dresser bookshelf from the cabin collection underneath. It has tons of storage and a tunnel/hiding spot that goes under the back step all the way through the dresser bookshelf. My boys loved this, and it made a huge difference in their room. Oh Ana, where would I be without you? Thanks for the great plans and inspiration.
Oh, and if you want to see more pictures including before and after shots of the boys room, check out my blog.
http://theelusivebobbin.blogspot.com/2012/03/finding-space-aka-boys-roo…
Comments
Tue, 11/25/2014 - 07:52
Plans for this bed
I absolutely LOVE this bed design. Do you have a complete set of plans for this bed? I tried to follow the separate plans for each part, but it is a little confusing. I am a newbie, so wanted to make sure I do this right. Thanks so much! Robin
Restaurant High Chair with an add-on
After my 6-month old daughter outgrew, or just got tired of sitting in her bouncy seat on the table while Mommy and Daddy ate, I decided to build her a high chair. I loved the plans and it looked pretty easy. It took me longer than expected, but I was using scraps and trying to be efficient with my cuts and waste. After making the chair, my wife said it'd be nice if we painted it Minnie Mouse themed, so I cut the ears using the jigsaw and attached them with pocket holes. I could have just made them as part of the chair (the back piece) but the idea didn't come until after the chair was complete. To make the ears, I just used a compass and quite a bit of an eraser. I used grid lines and tried and retried and retried and retried until it looked almost Minnie Mouse-ish. I was going to try a bow, but didn't want to to ruin it. I'd also like to try to inlay a bow, but that would mean not being able to paint it so that was a no go. I haven't added the safety straps yet, but I have them and will be putting them on before she sits in it--so no need to call social services.
Comments
Wood Headboard
I spent a Saturday gathering supplies and building this headboard. It was a great plan. I did not have any reclaimed wood available so I went out and bought some new wood then I stained it. We absolutely love the way the stain turned out!
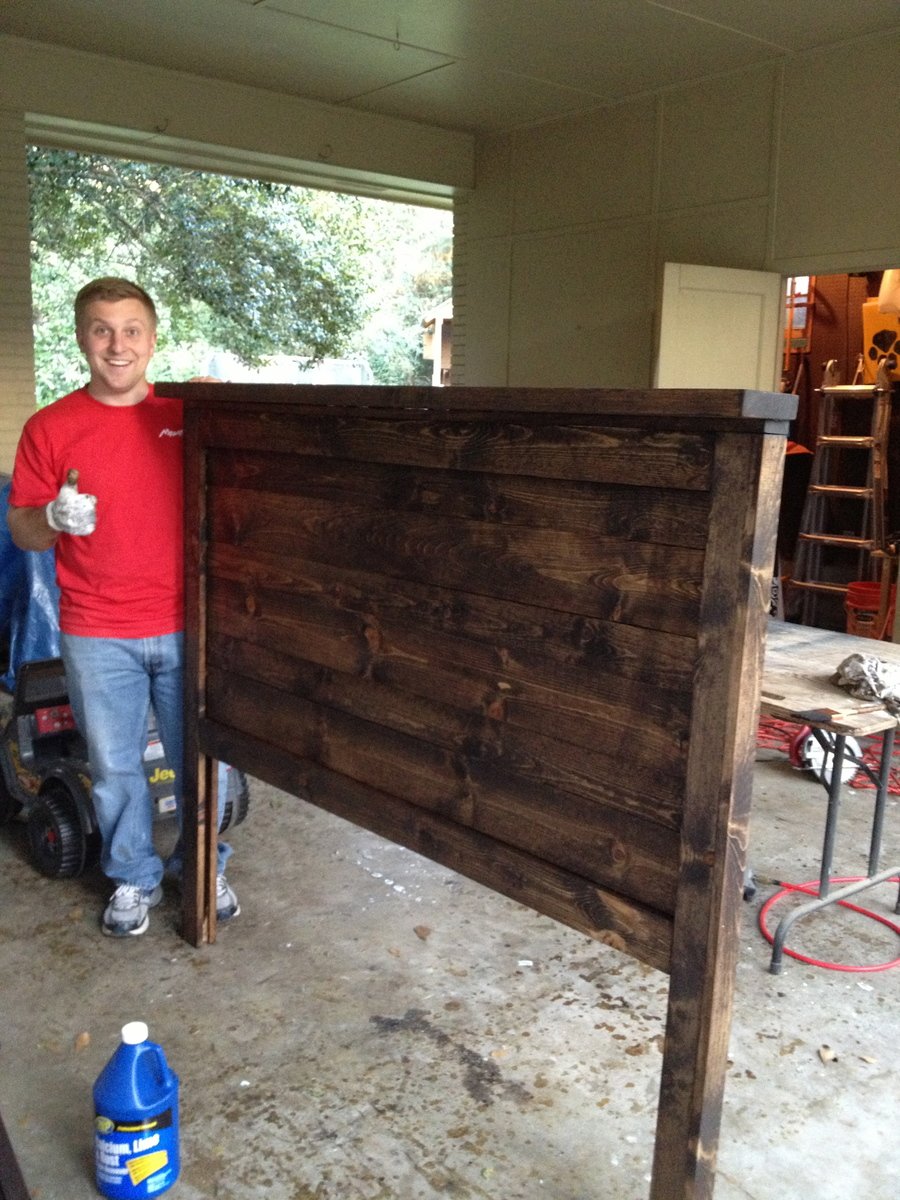
Polyurethane coat on top
Media Center
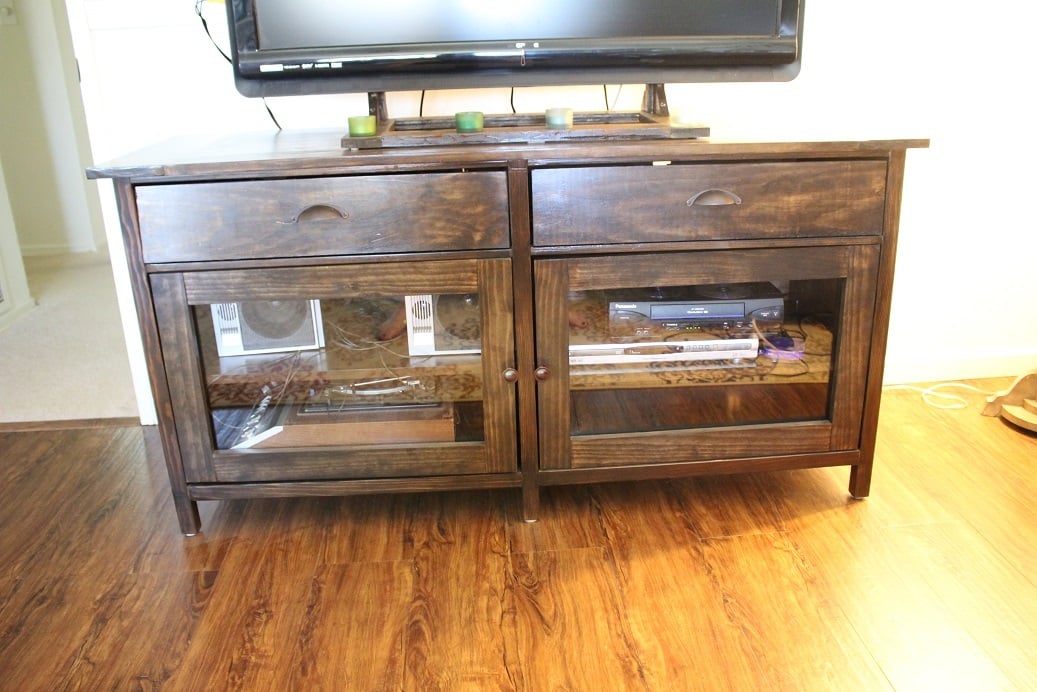
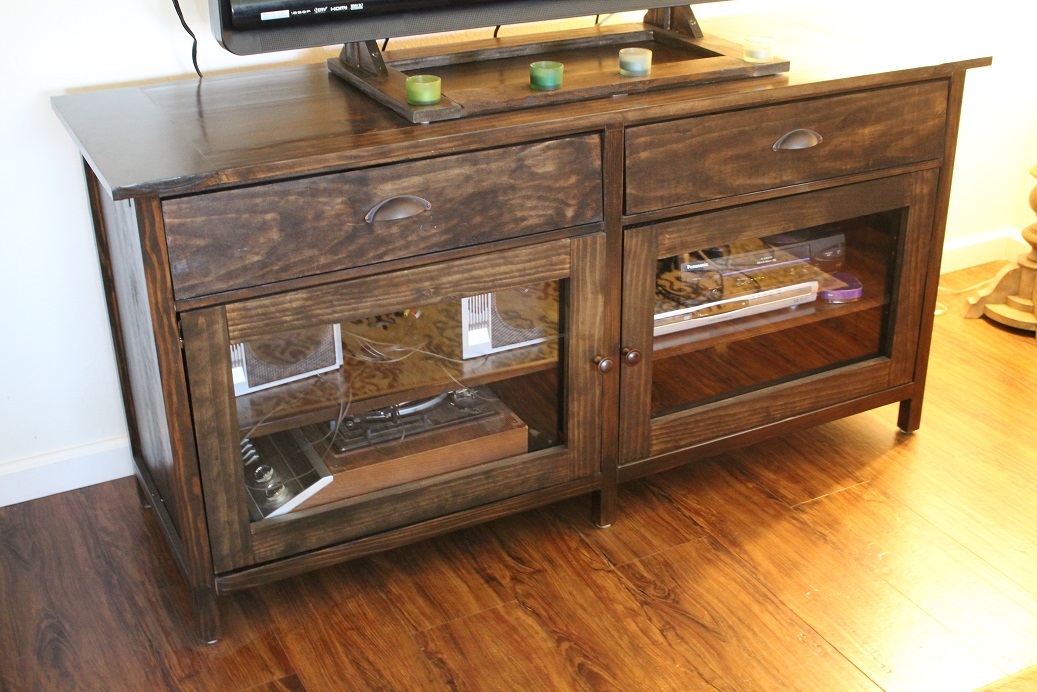
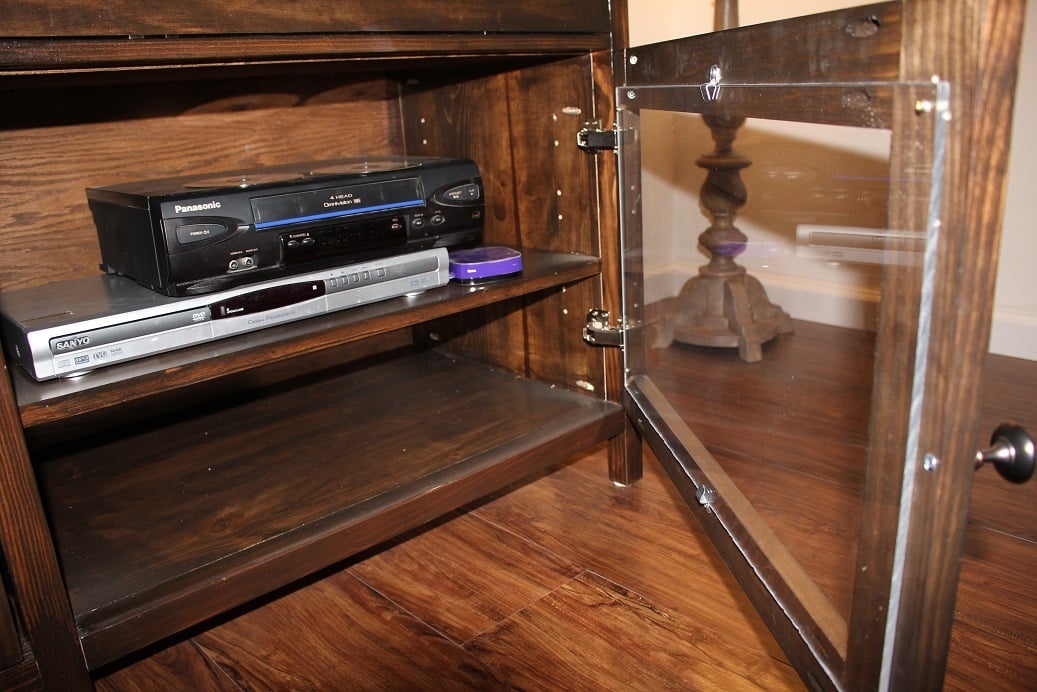
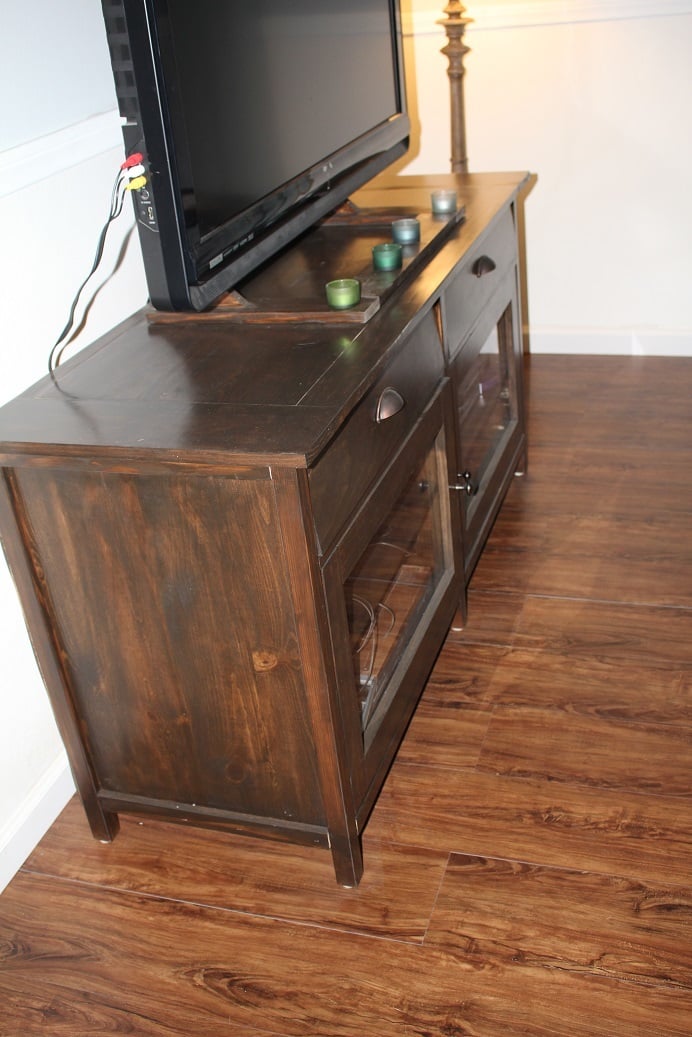
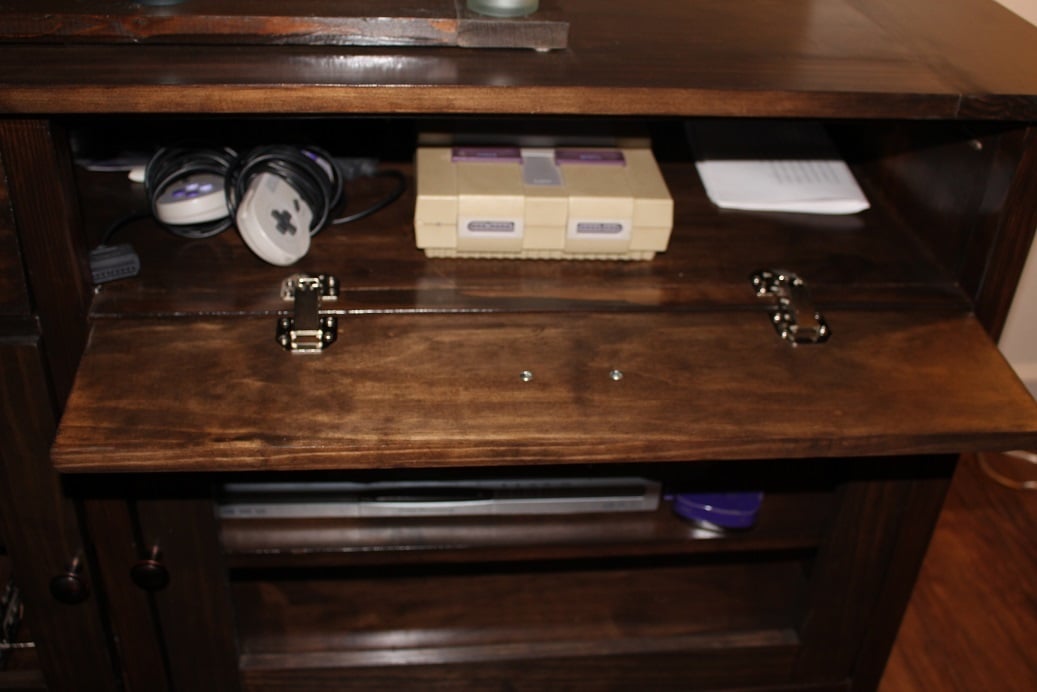
Made this media center for a DIY TV show at my home and I think I'm proudest of this project! It turned out so beautifully. Shelf pin jig was used for movable shelves inside, ORB handles and knobs, a very smooth poly'd top, and plenty of room for our components. The doors were the hardest part. Being inset, they just didn't want to fit and would scrape the frame. Lots of repositioning of the hinges. The thick acrylic for the doors was a little difficult as well- it cut easily enough in the table saw, but screwing in threatened breakage. It was also hard to fit them where their fasteners didn't compete with the knobs or shelves. I also made the TV stand to match the media center (and because I didn't want to buy one!) Love this project!
Comments
Wed, 01/21/2015 - 14:37
Media Center
This turned out nice. I did notice that you are showing the pocket holes on the inside. In the future you can get the Kreg pocket hole plugs to fill these holes. You glue them in the holes and you can then sand them down even and you will not see any of the holes.
Great job.
In reply to Media Center by DIYER_MD
Thu, 06/04/2015 - 09:49
Thanks! I've used the plugs
Thanks! I've used the plugs before, and most of the time, I just don't mind the holes. Call me low maintenance : )
Garden Shed Douglas
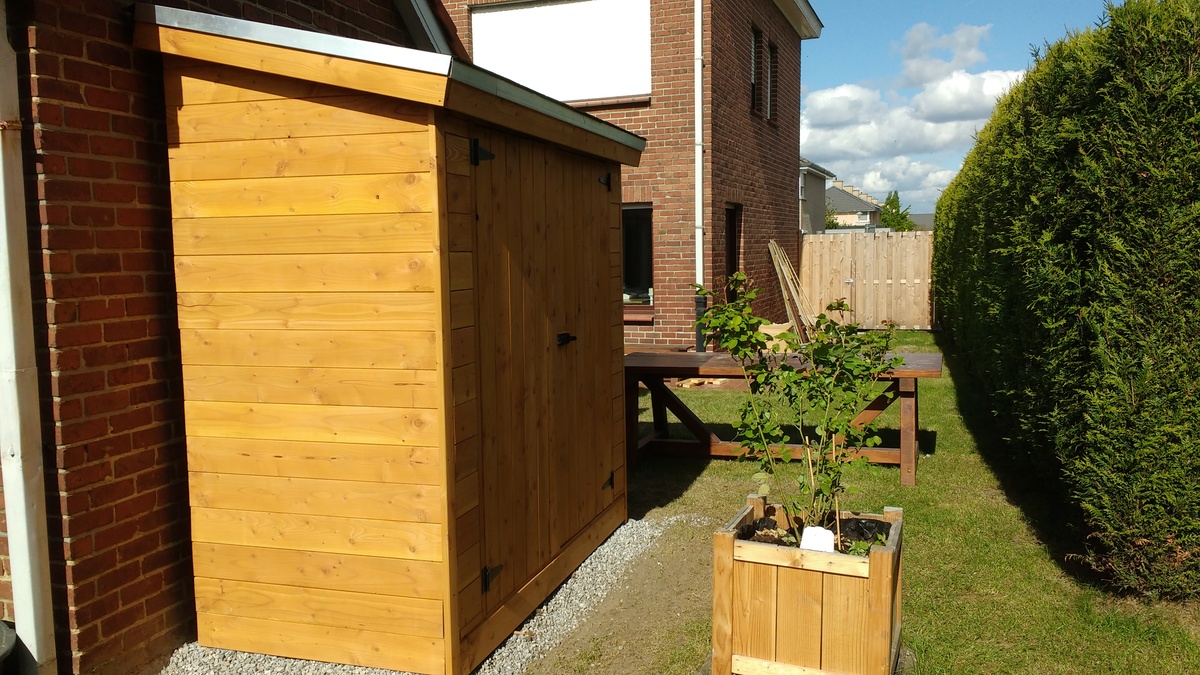
Garden Shed out of douglas wood
i added wooden floor .
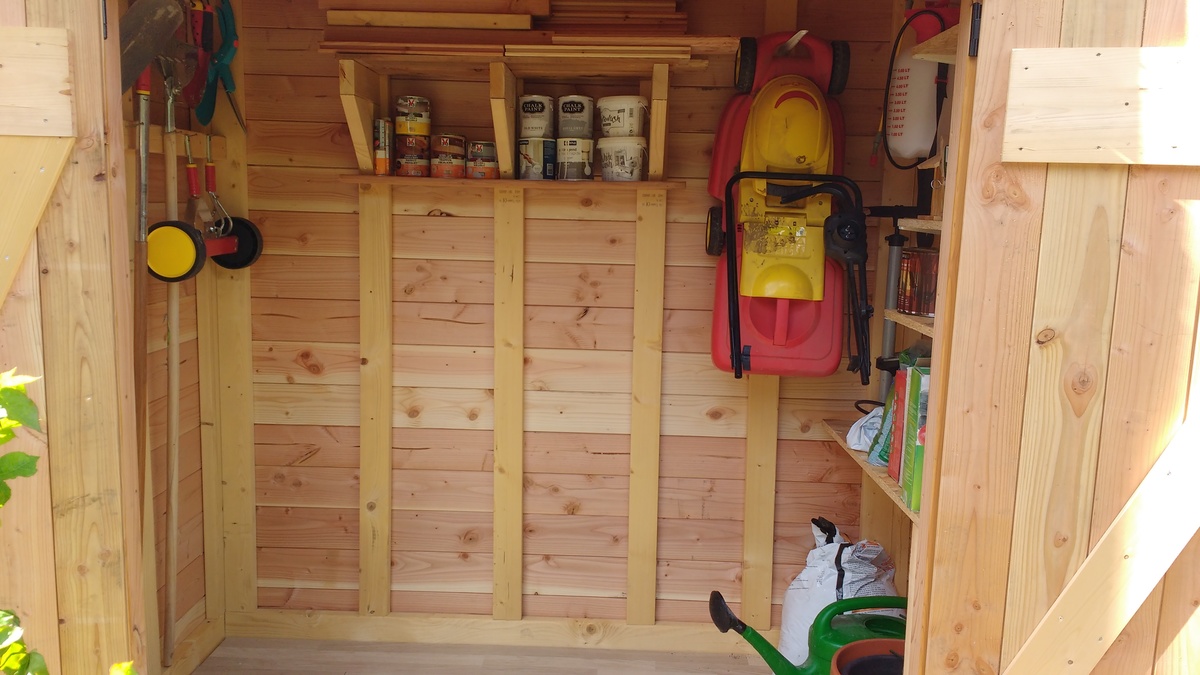
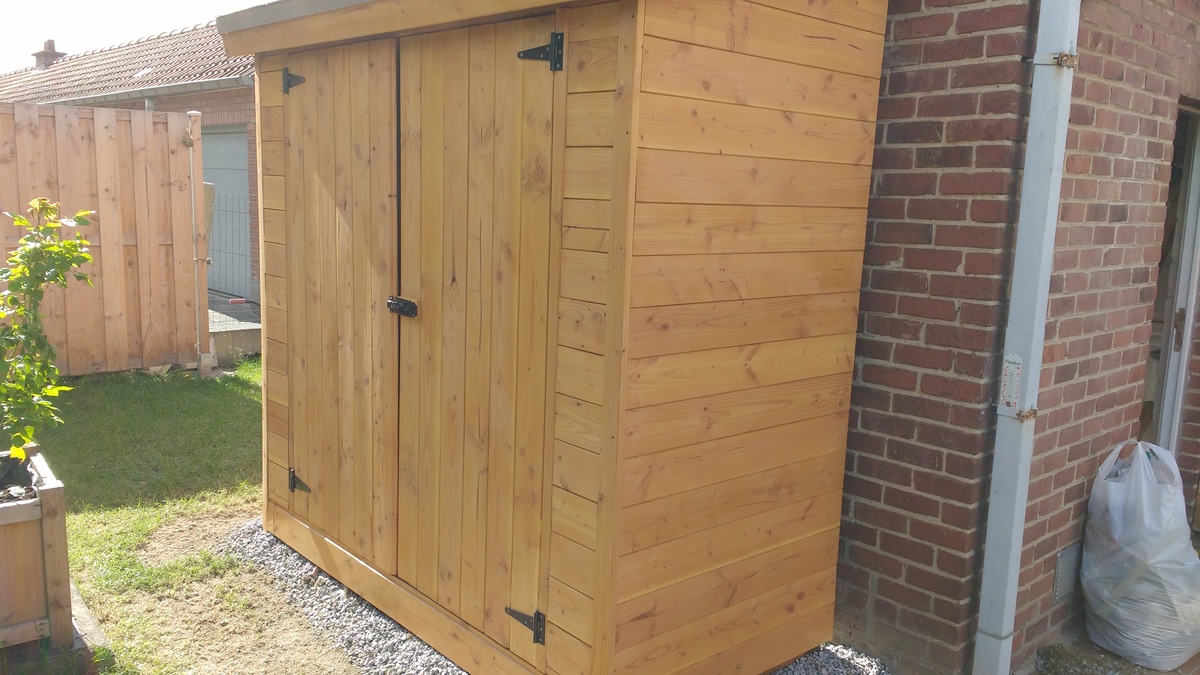
cedar would have made it very pricey
Comments
Thu, 06/15/2017 - 12:48
Construction method
Greetings, I like your workmanship - It looks great! I have a couple questions if you would be so kind as to answer them. I like how you turned the studs sideways. How did you attach the studs to the 2x4 plate that you have turned on its 1 1/2" edge both top and bottom. I am thinking of toenailing or driving 3 1/4" GRK screws through the 1 1/2" sides of the 2x4's and into the 1 1/2" edge of the top and bottom plate. I know that Kreg has a jig out that uses oversize screws-it is specifically designed for 1 1/2" and larger (up to 3 1/2").
How did you secure the bottom plate to the wooden floor. I am thinking that you may have used 1/4" or 5/16" lag bolts down through the 2x4 and on into the frame of your wooden floor.
Thanks for your reply,
Cliveous (Reggie) Ogg
