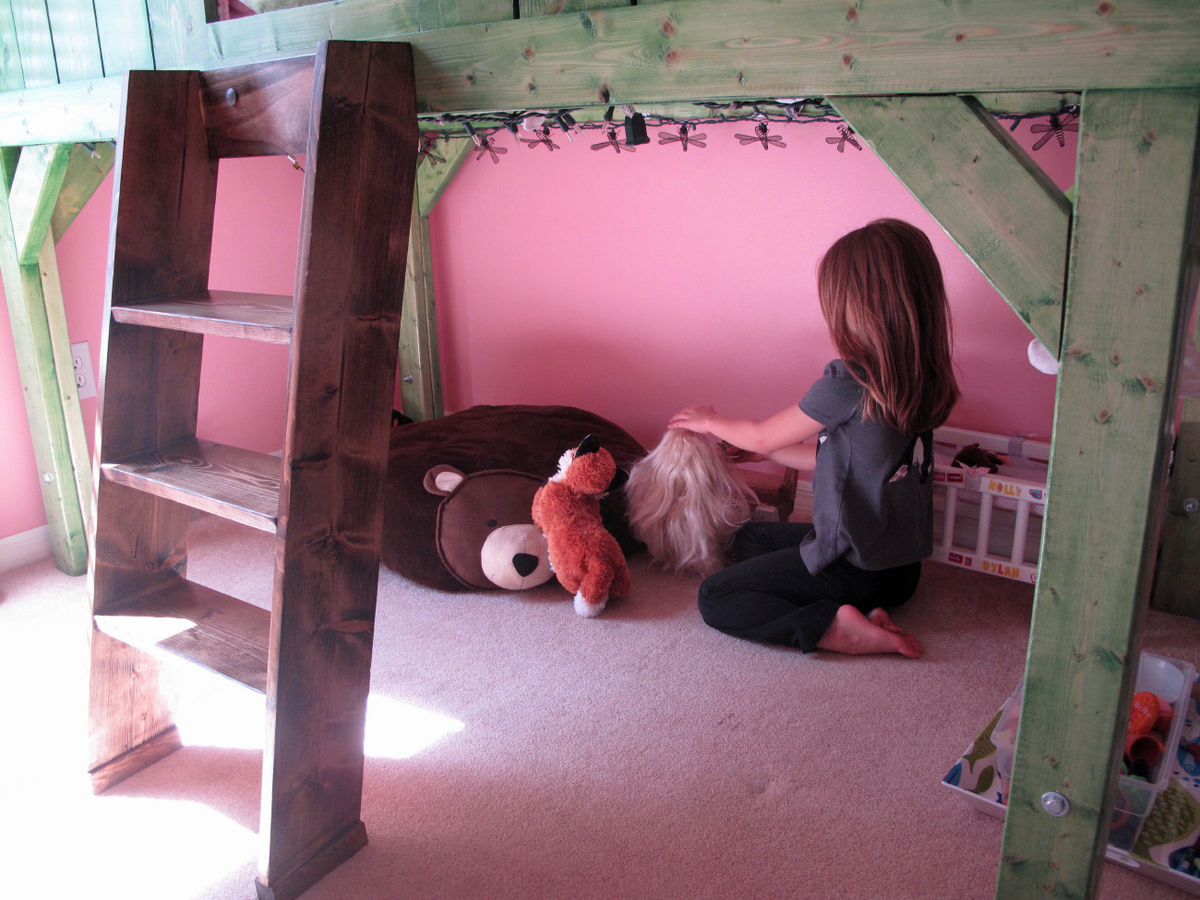
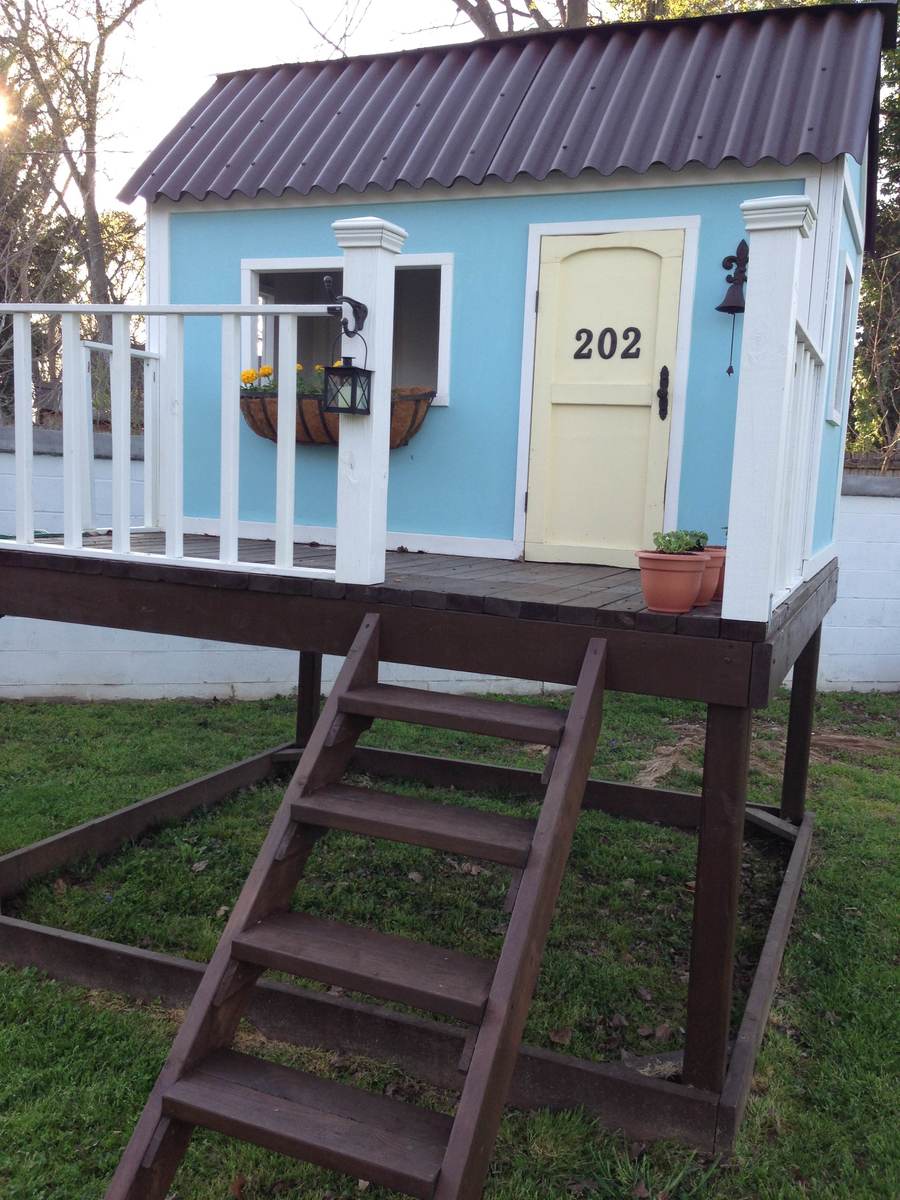
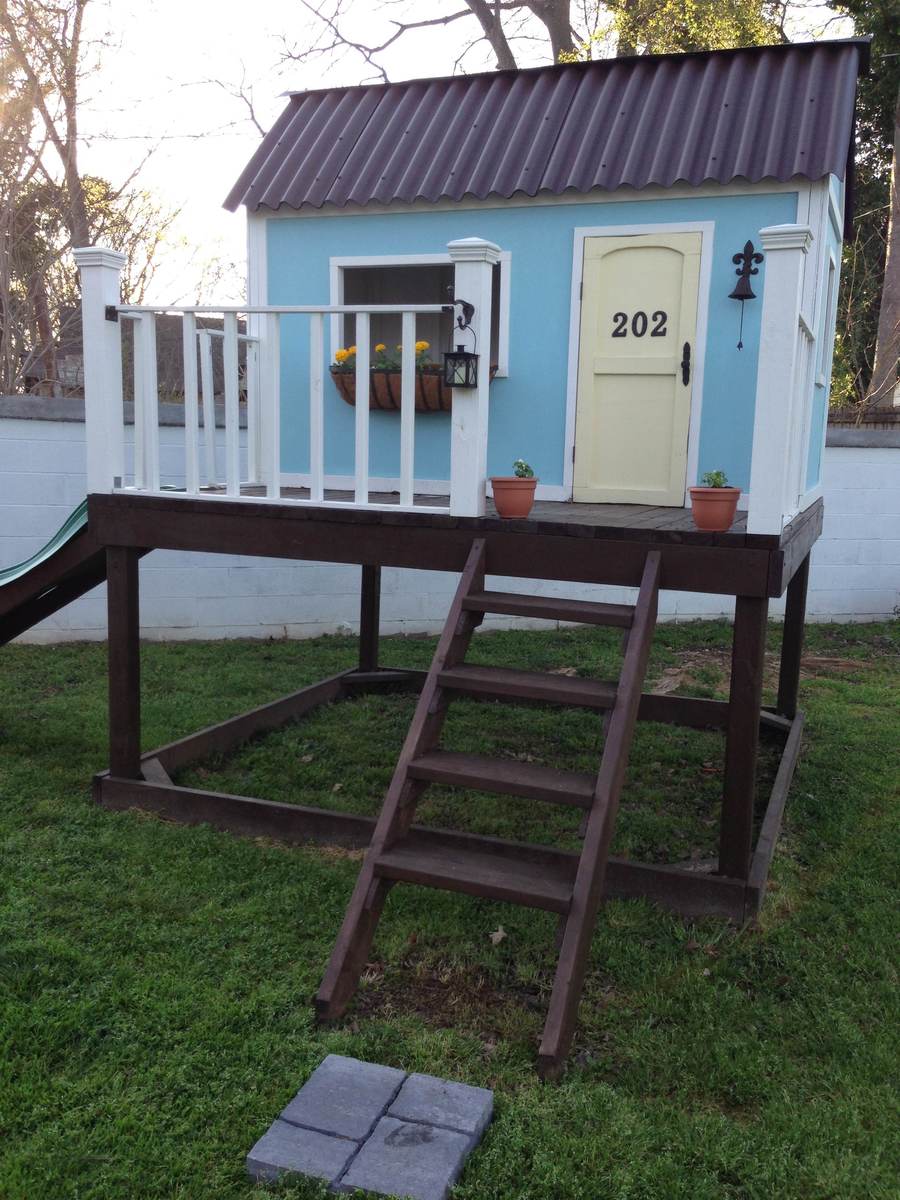
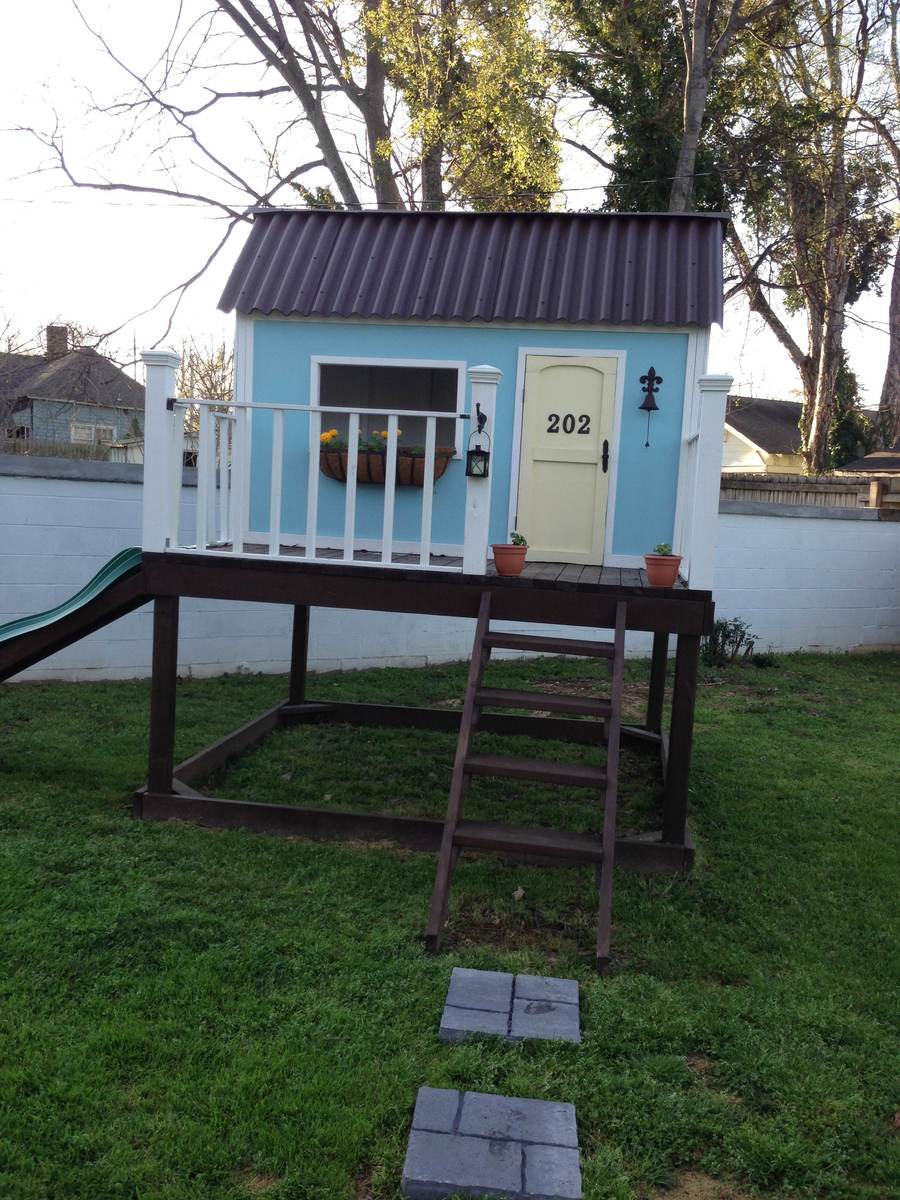
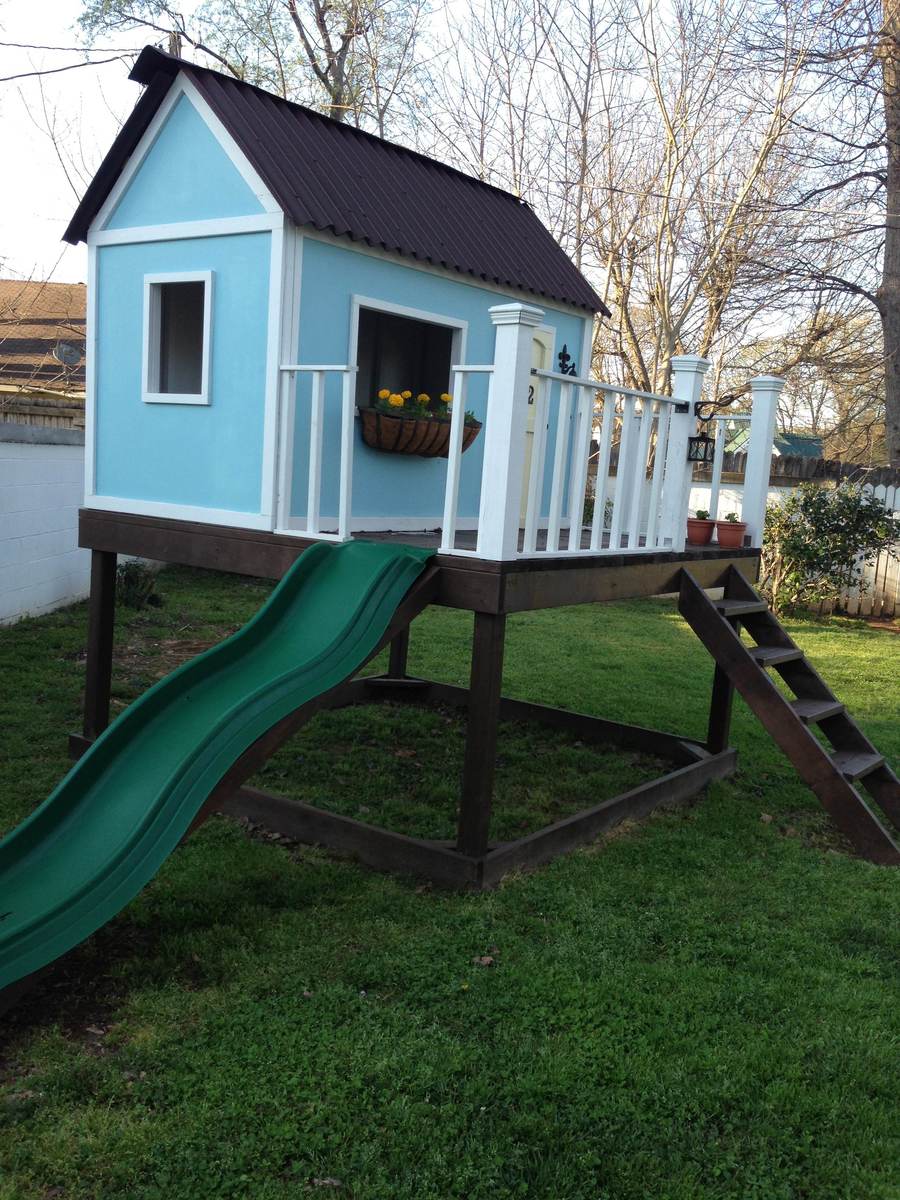
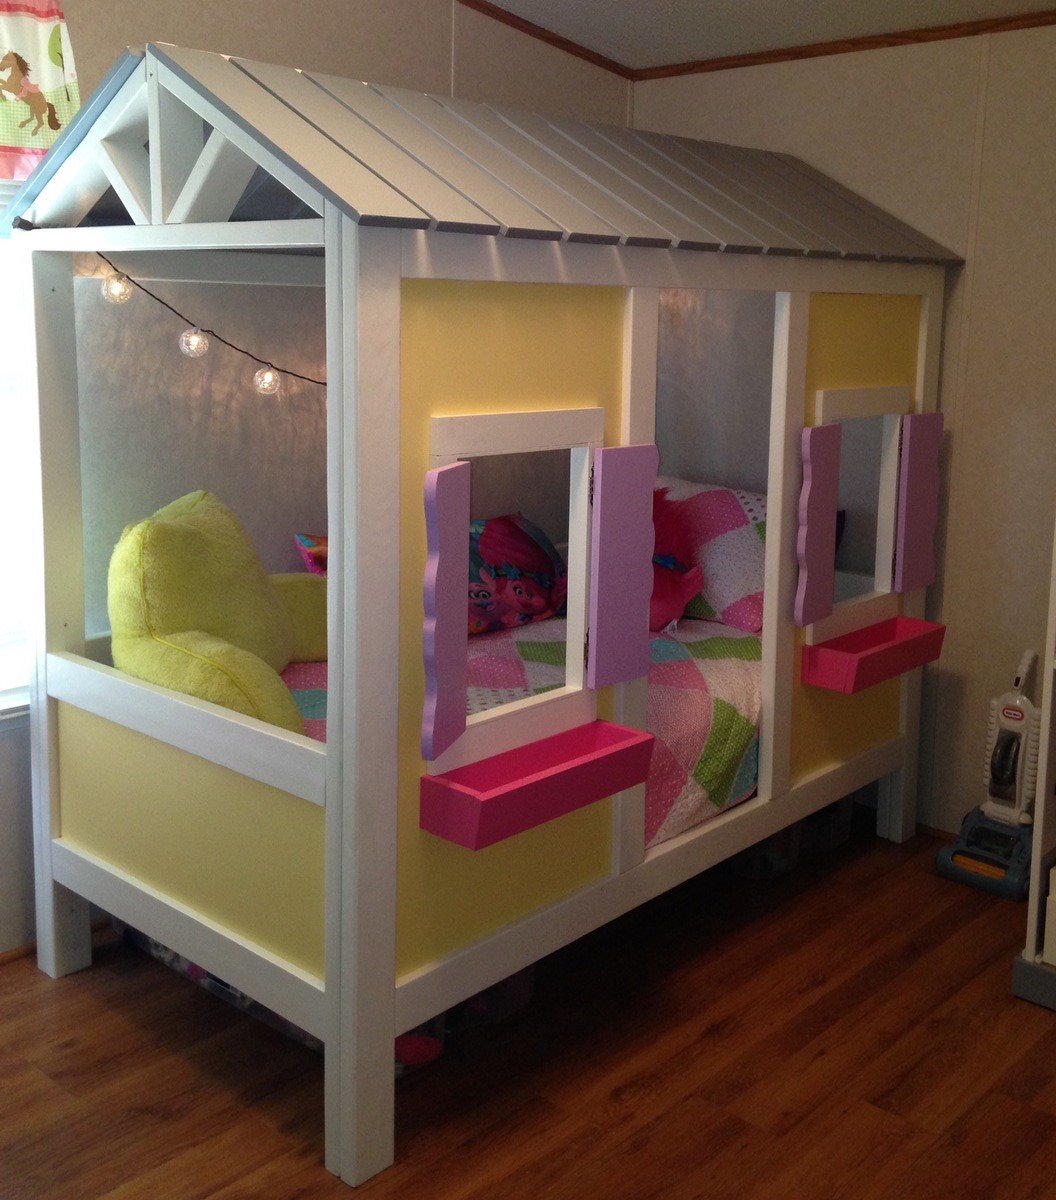
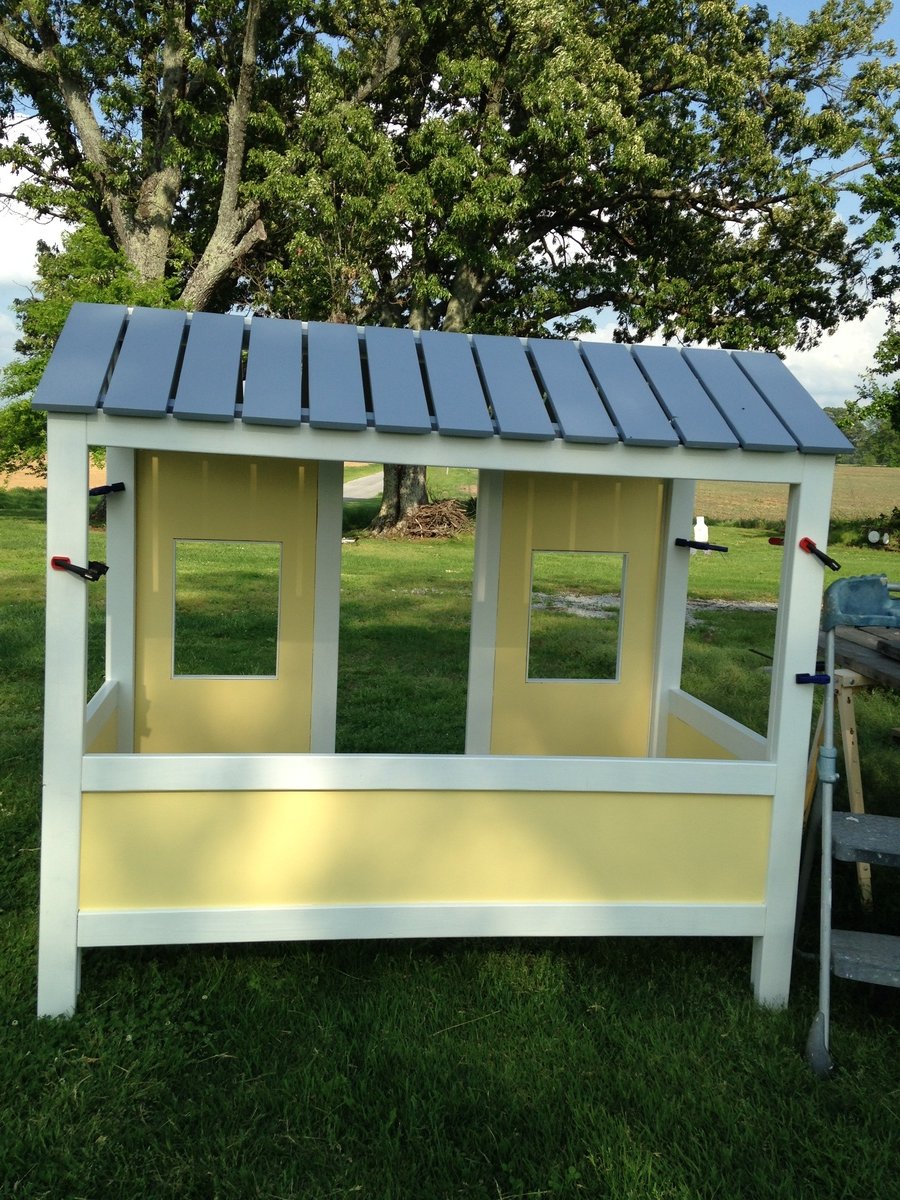
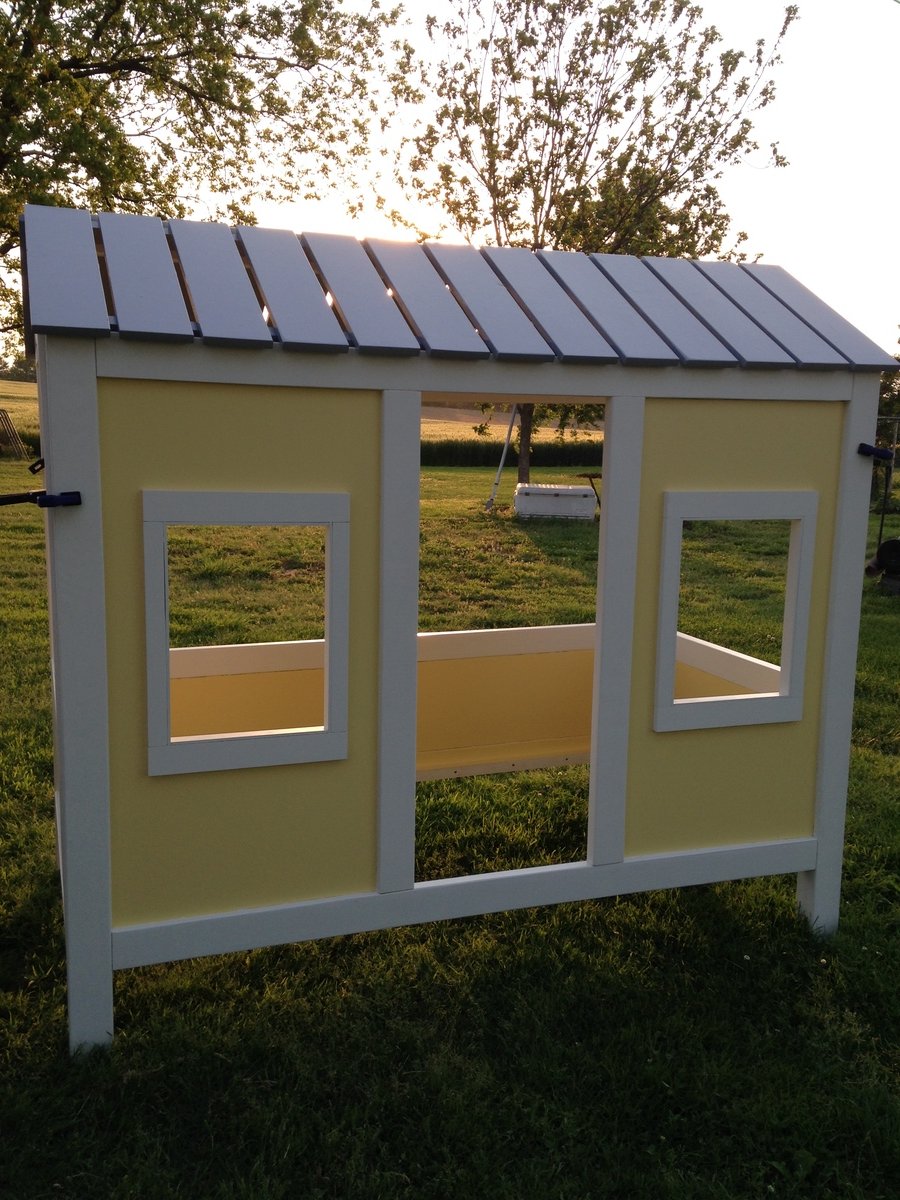
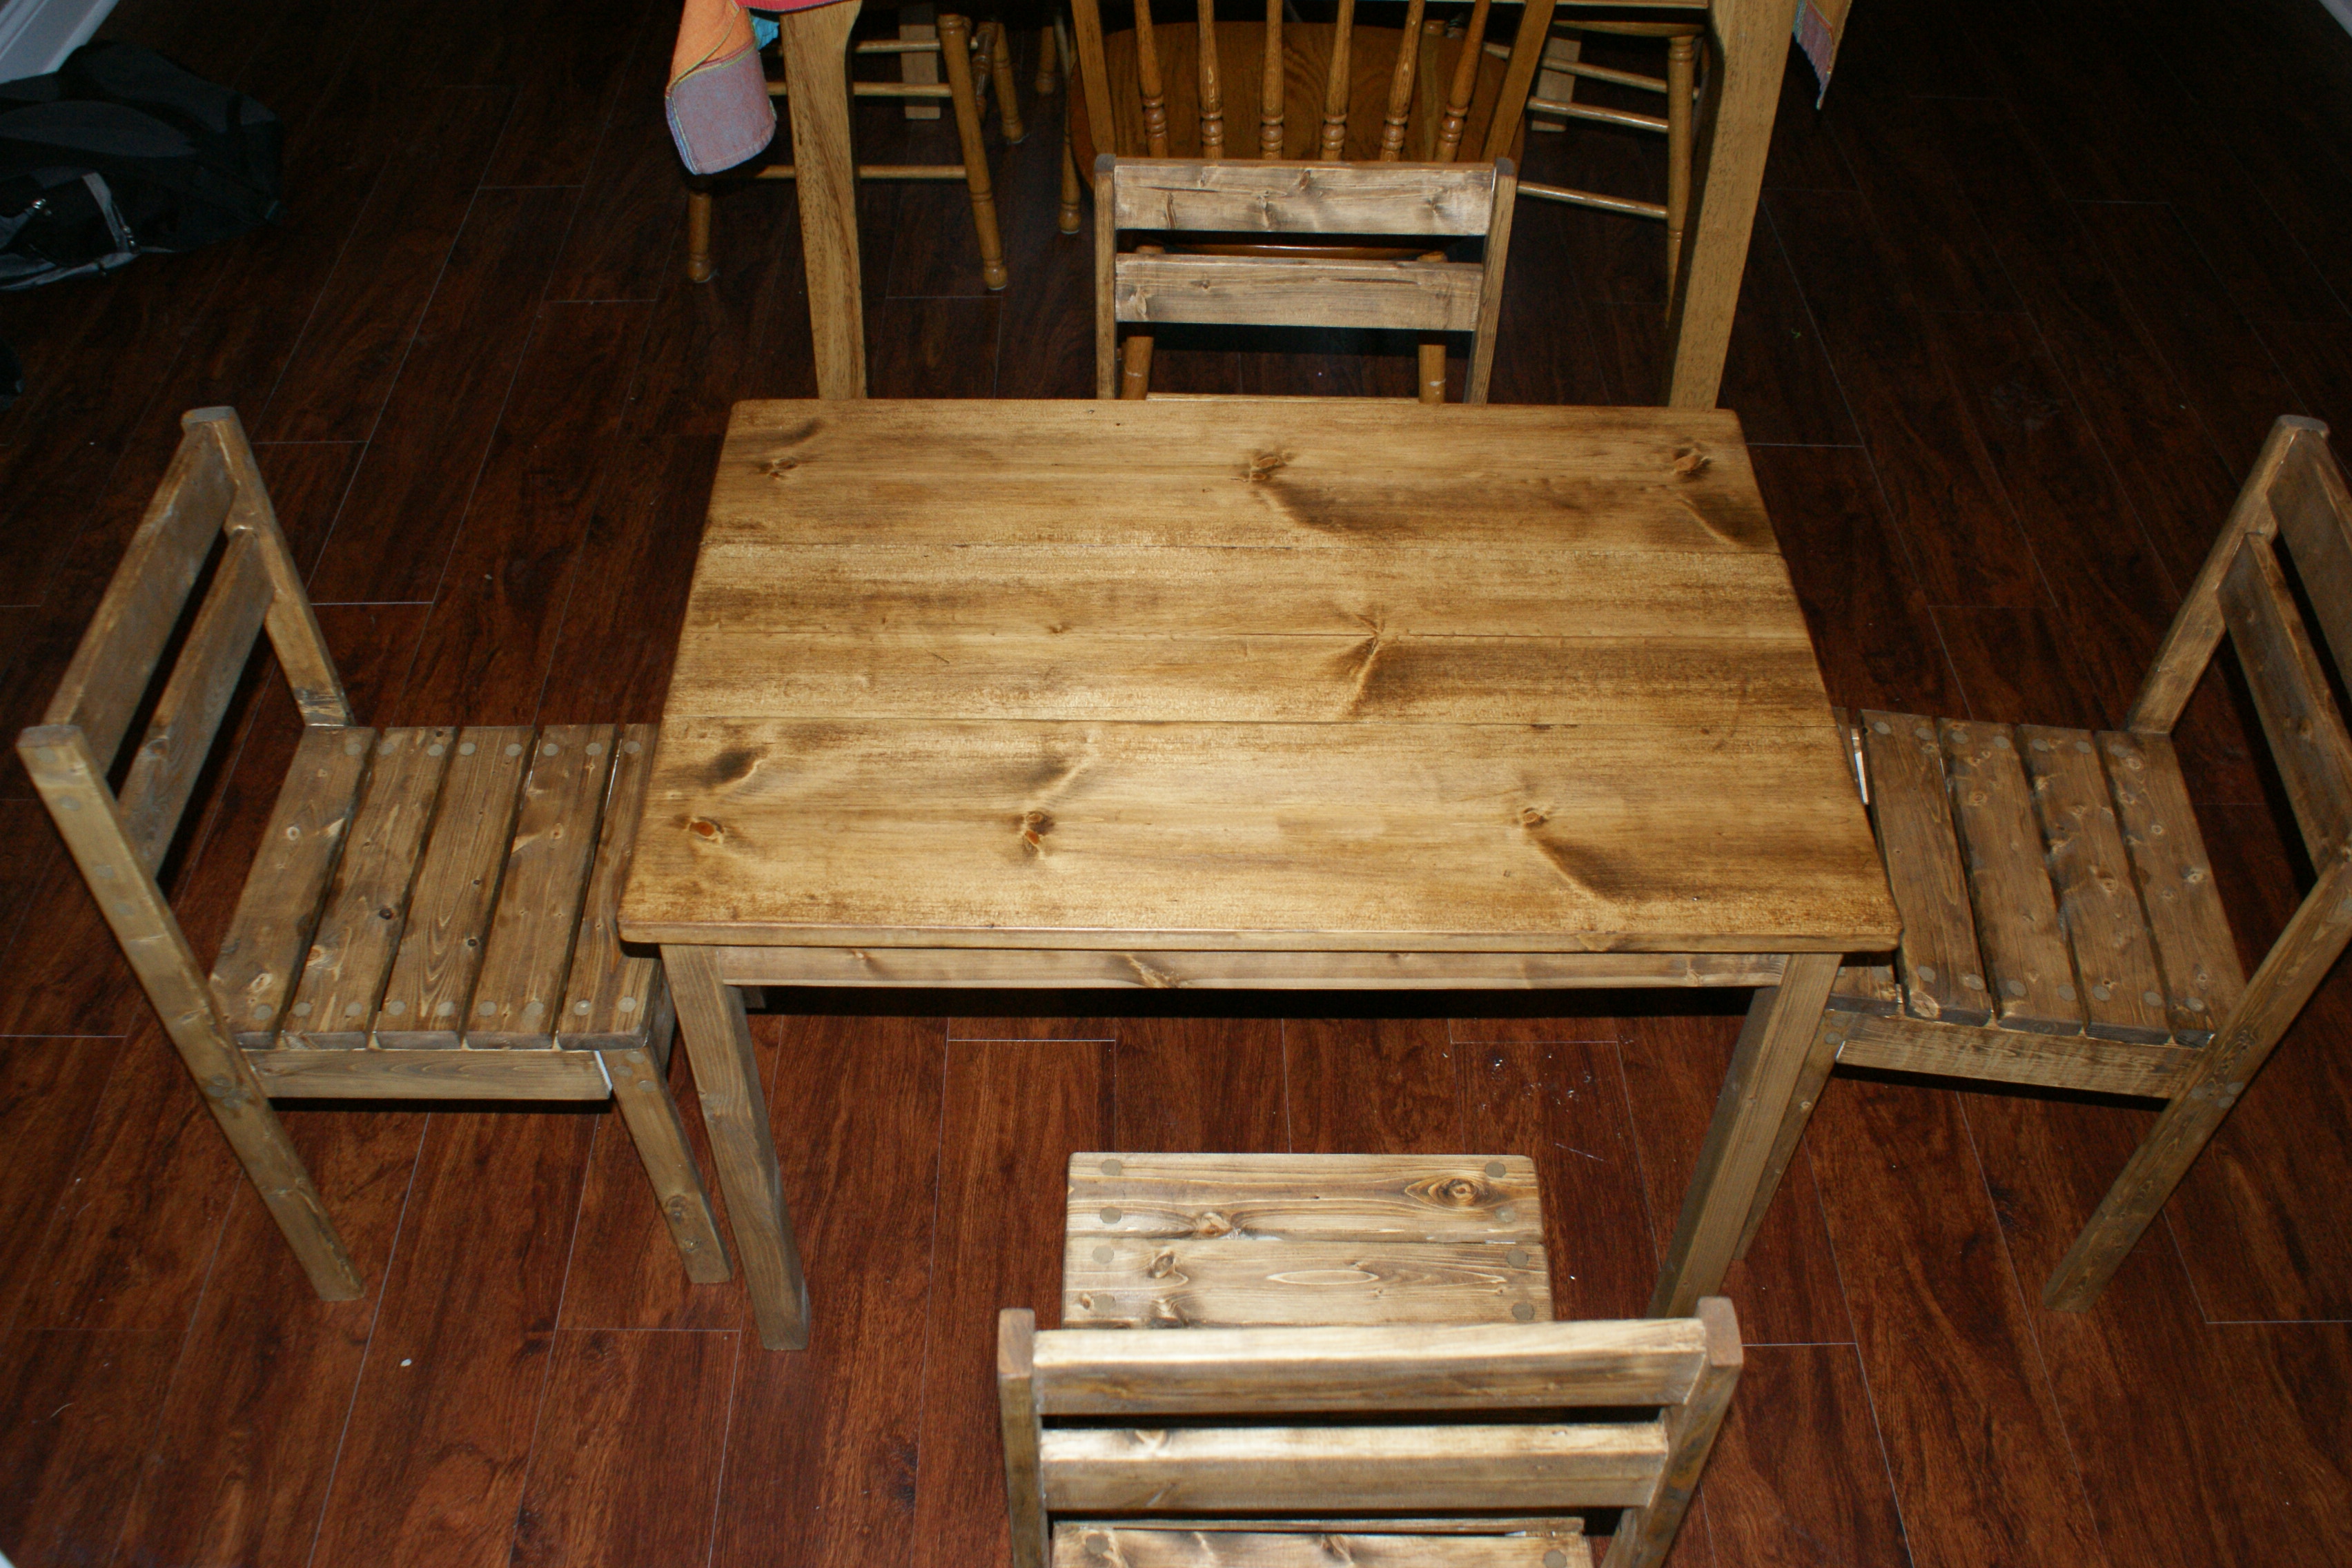
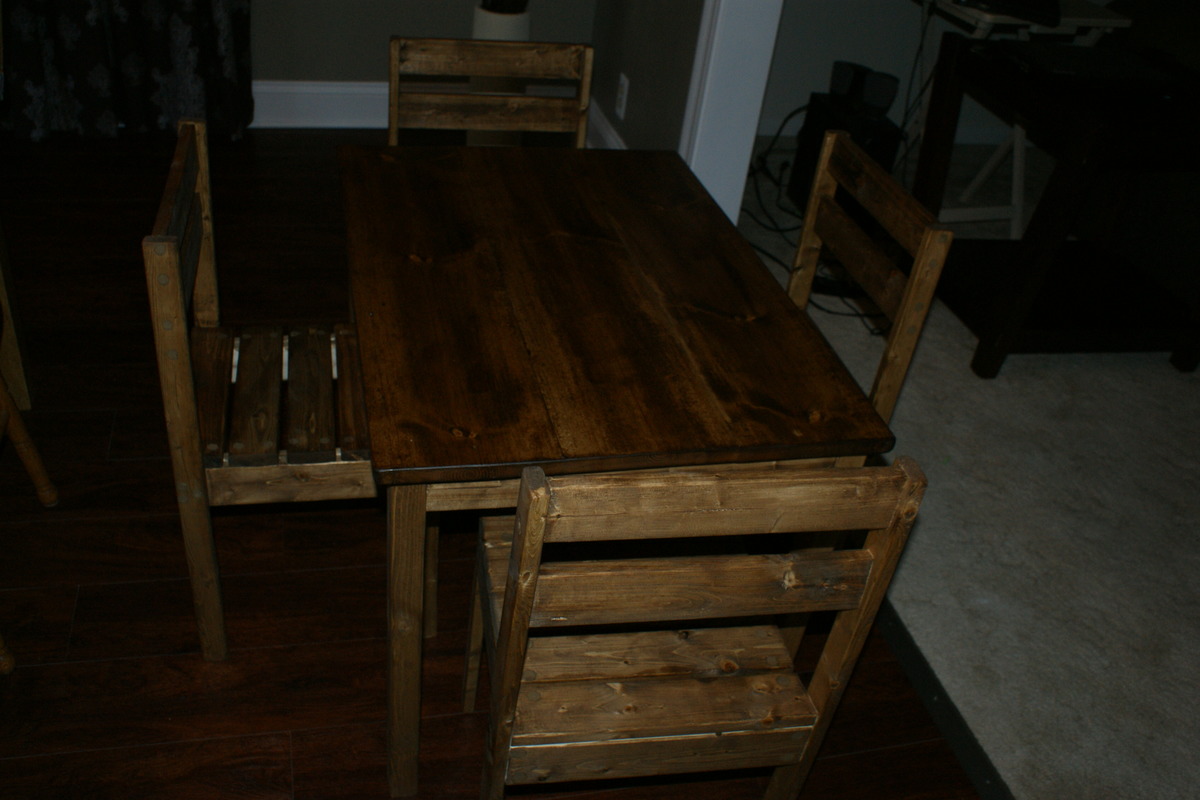
Clubhouse Bed
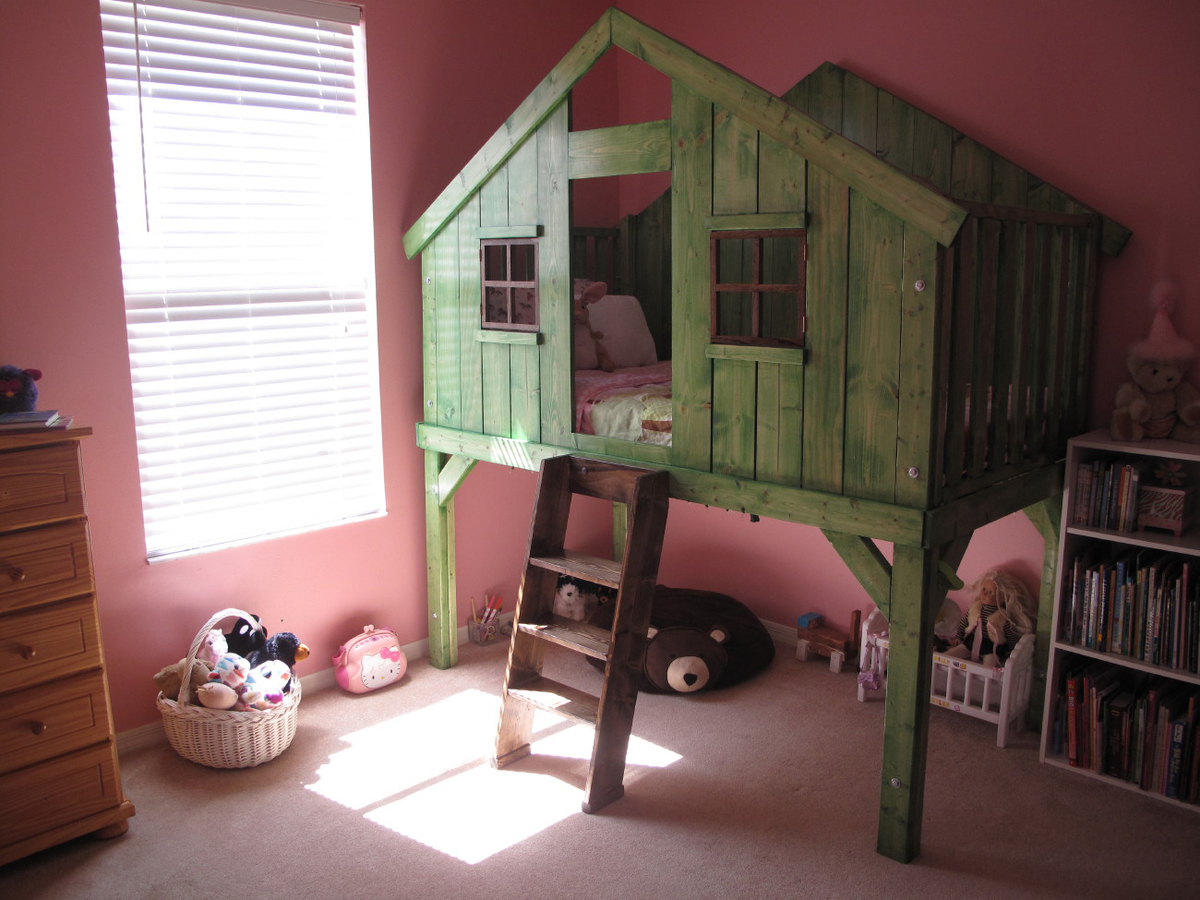
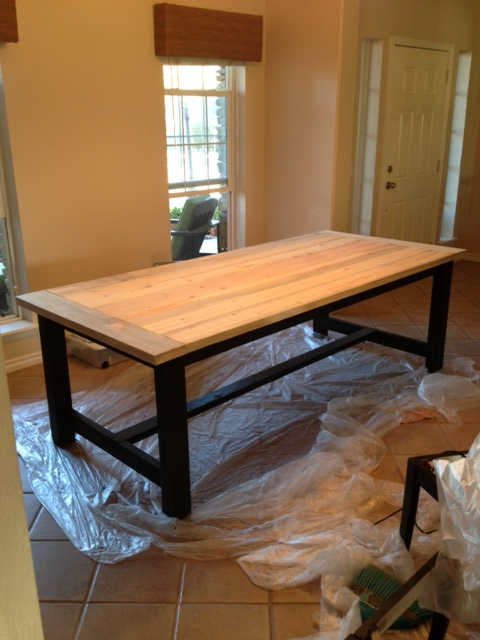
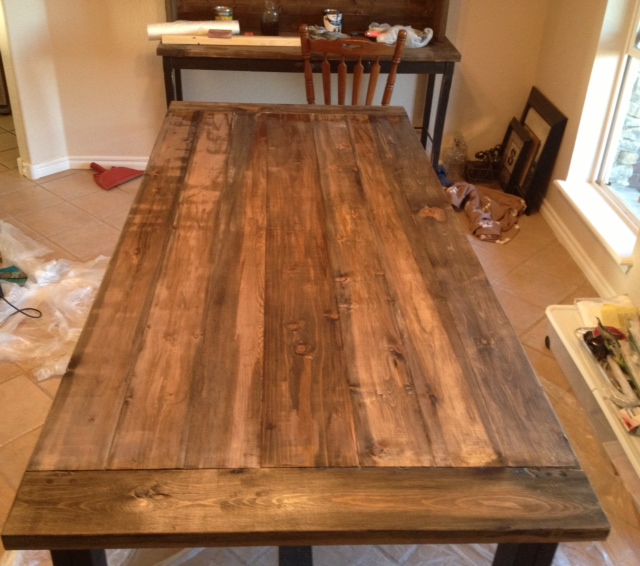
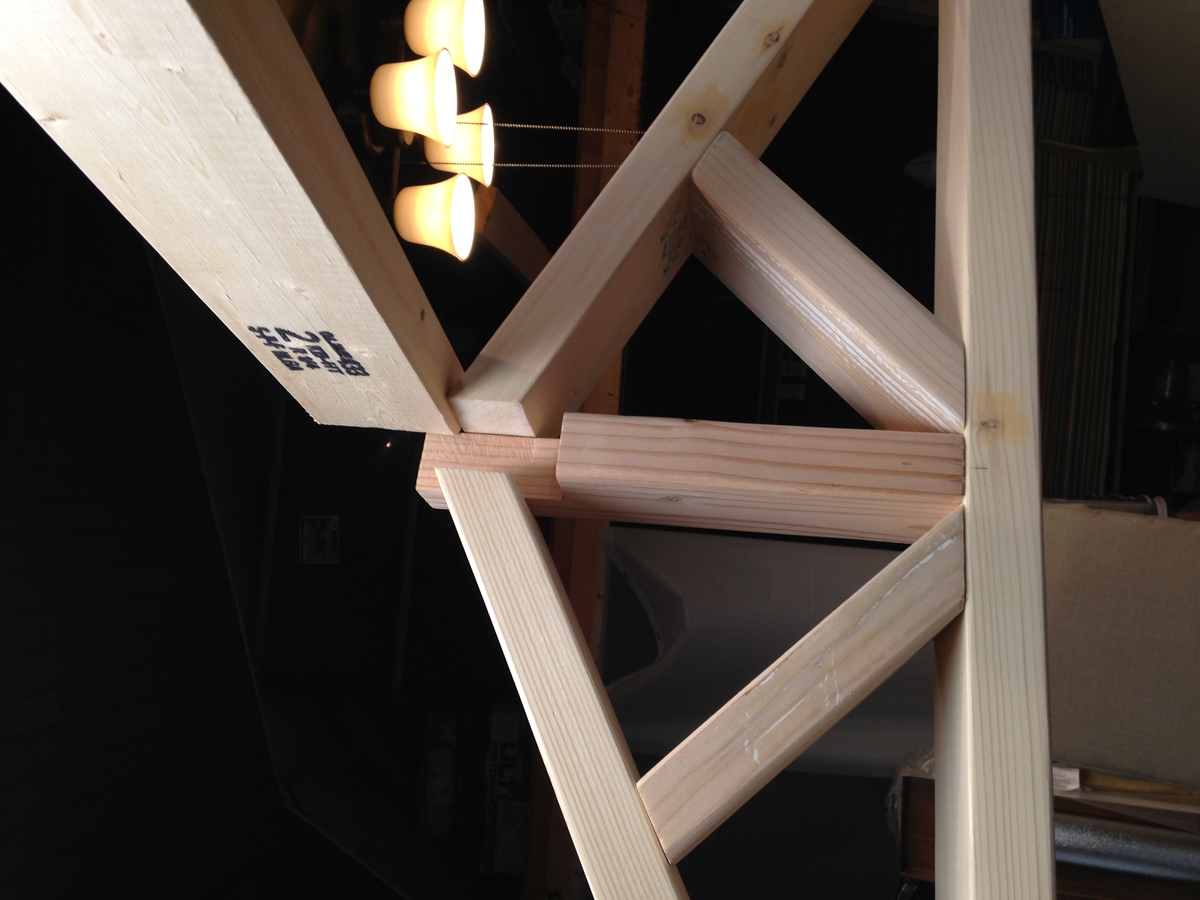
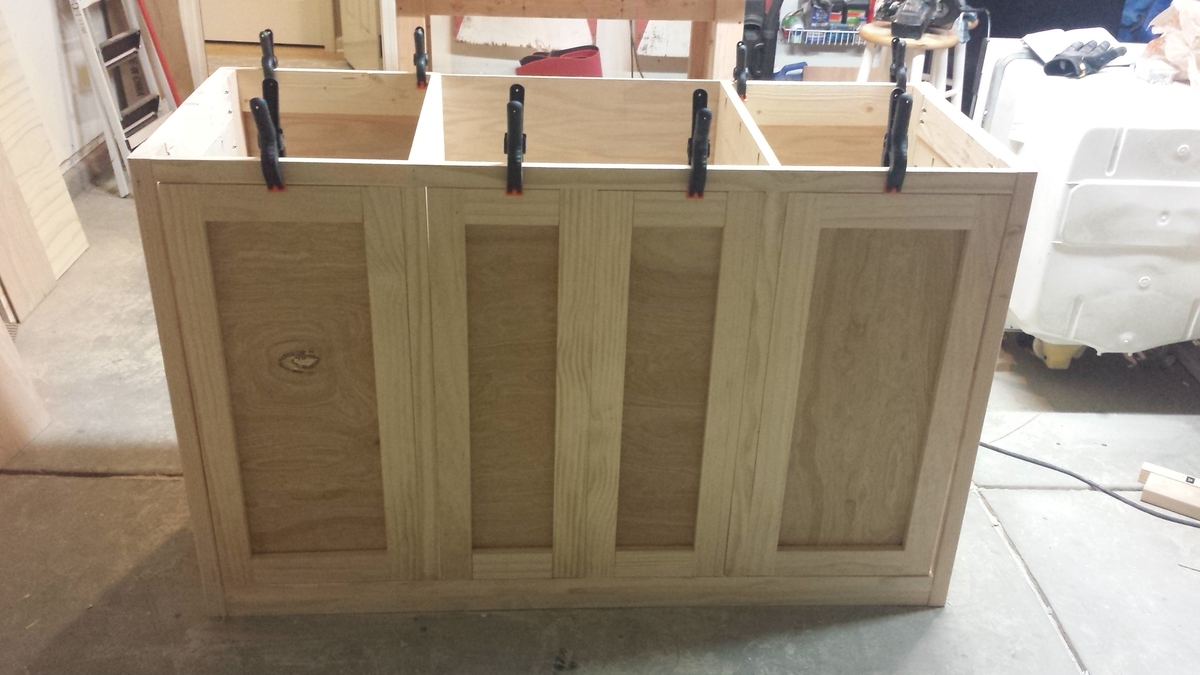
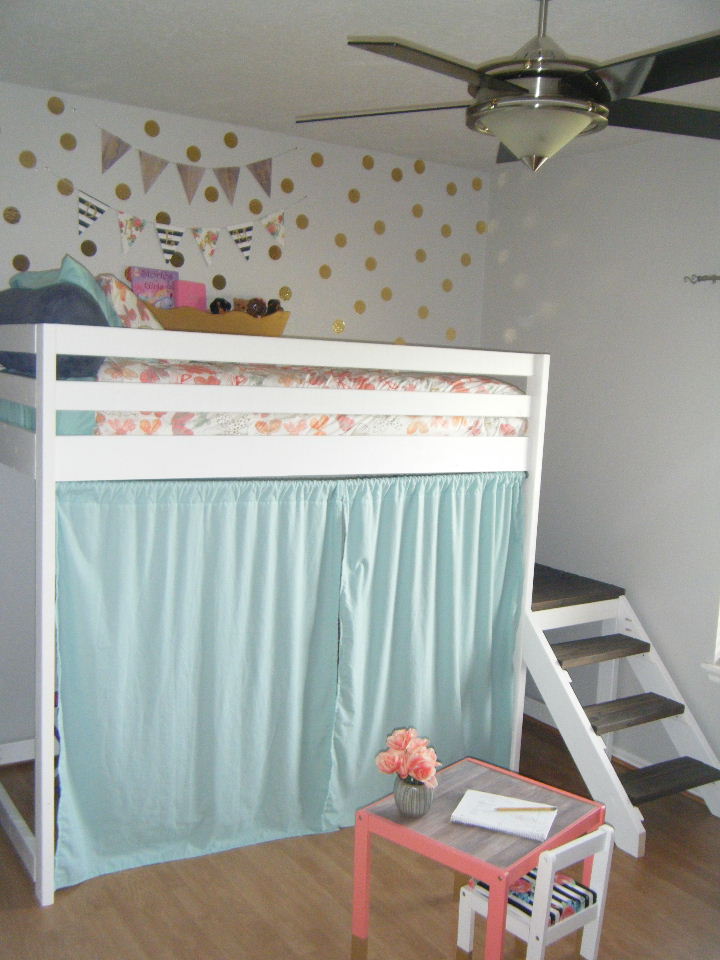
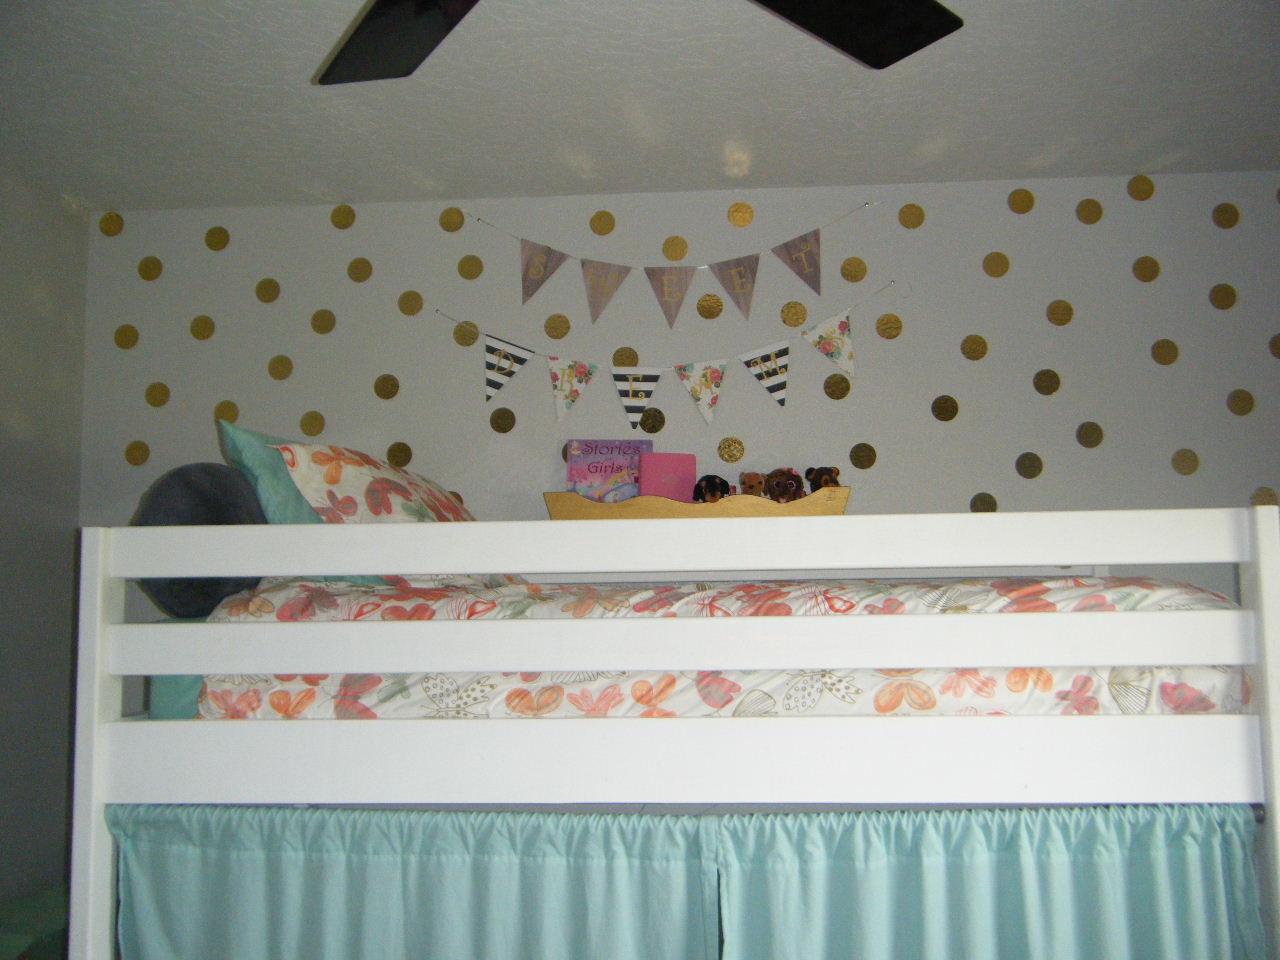
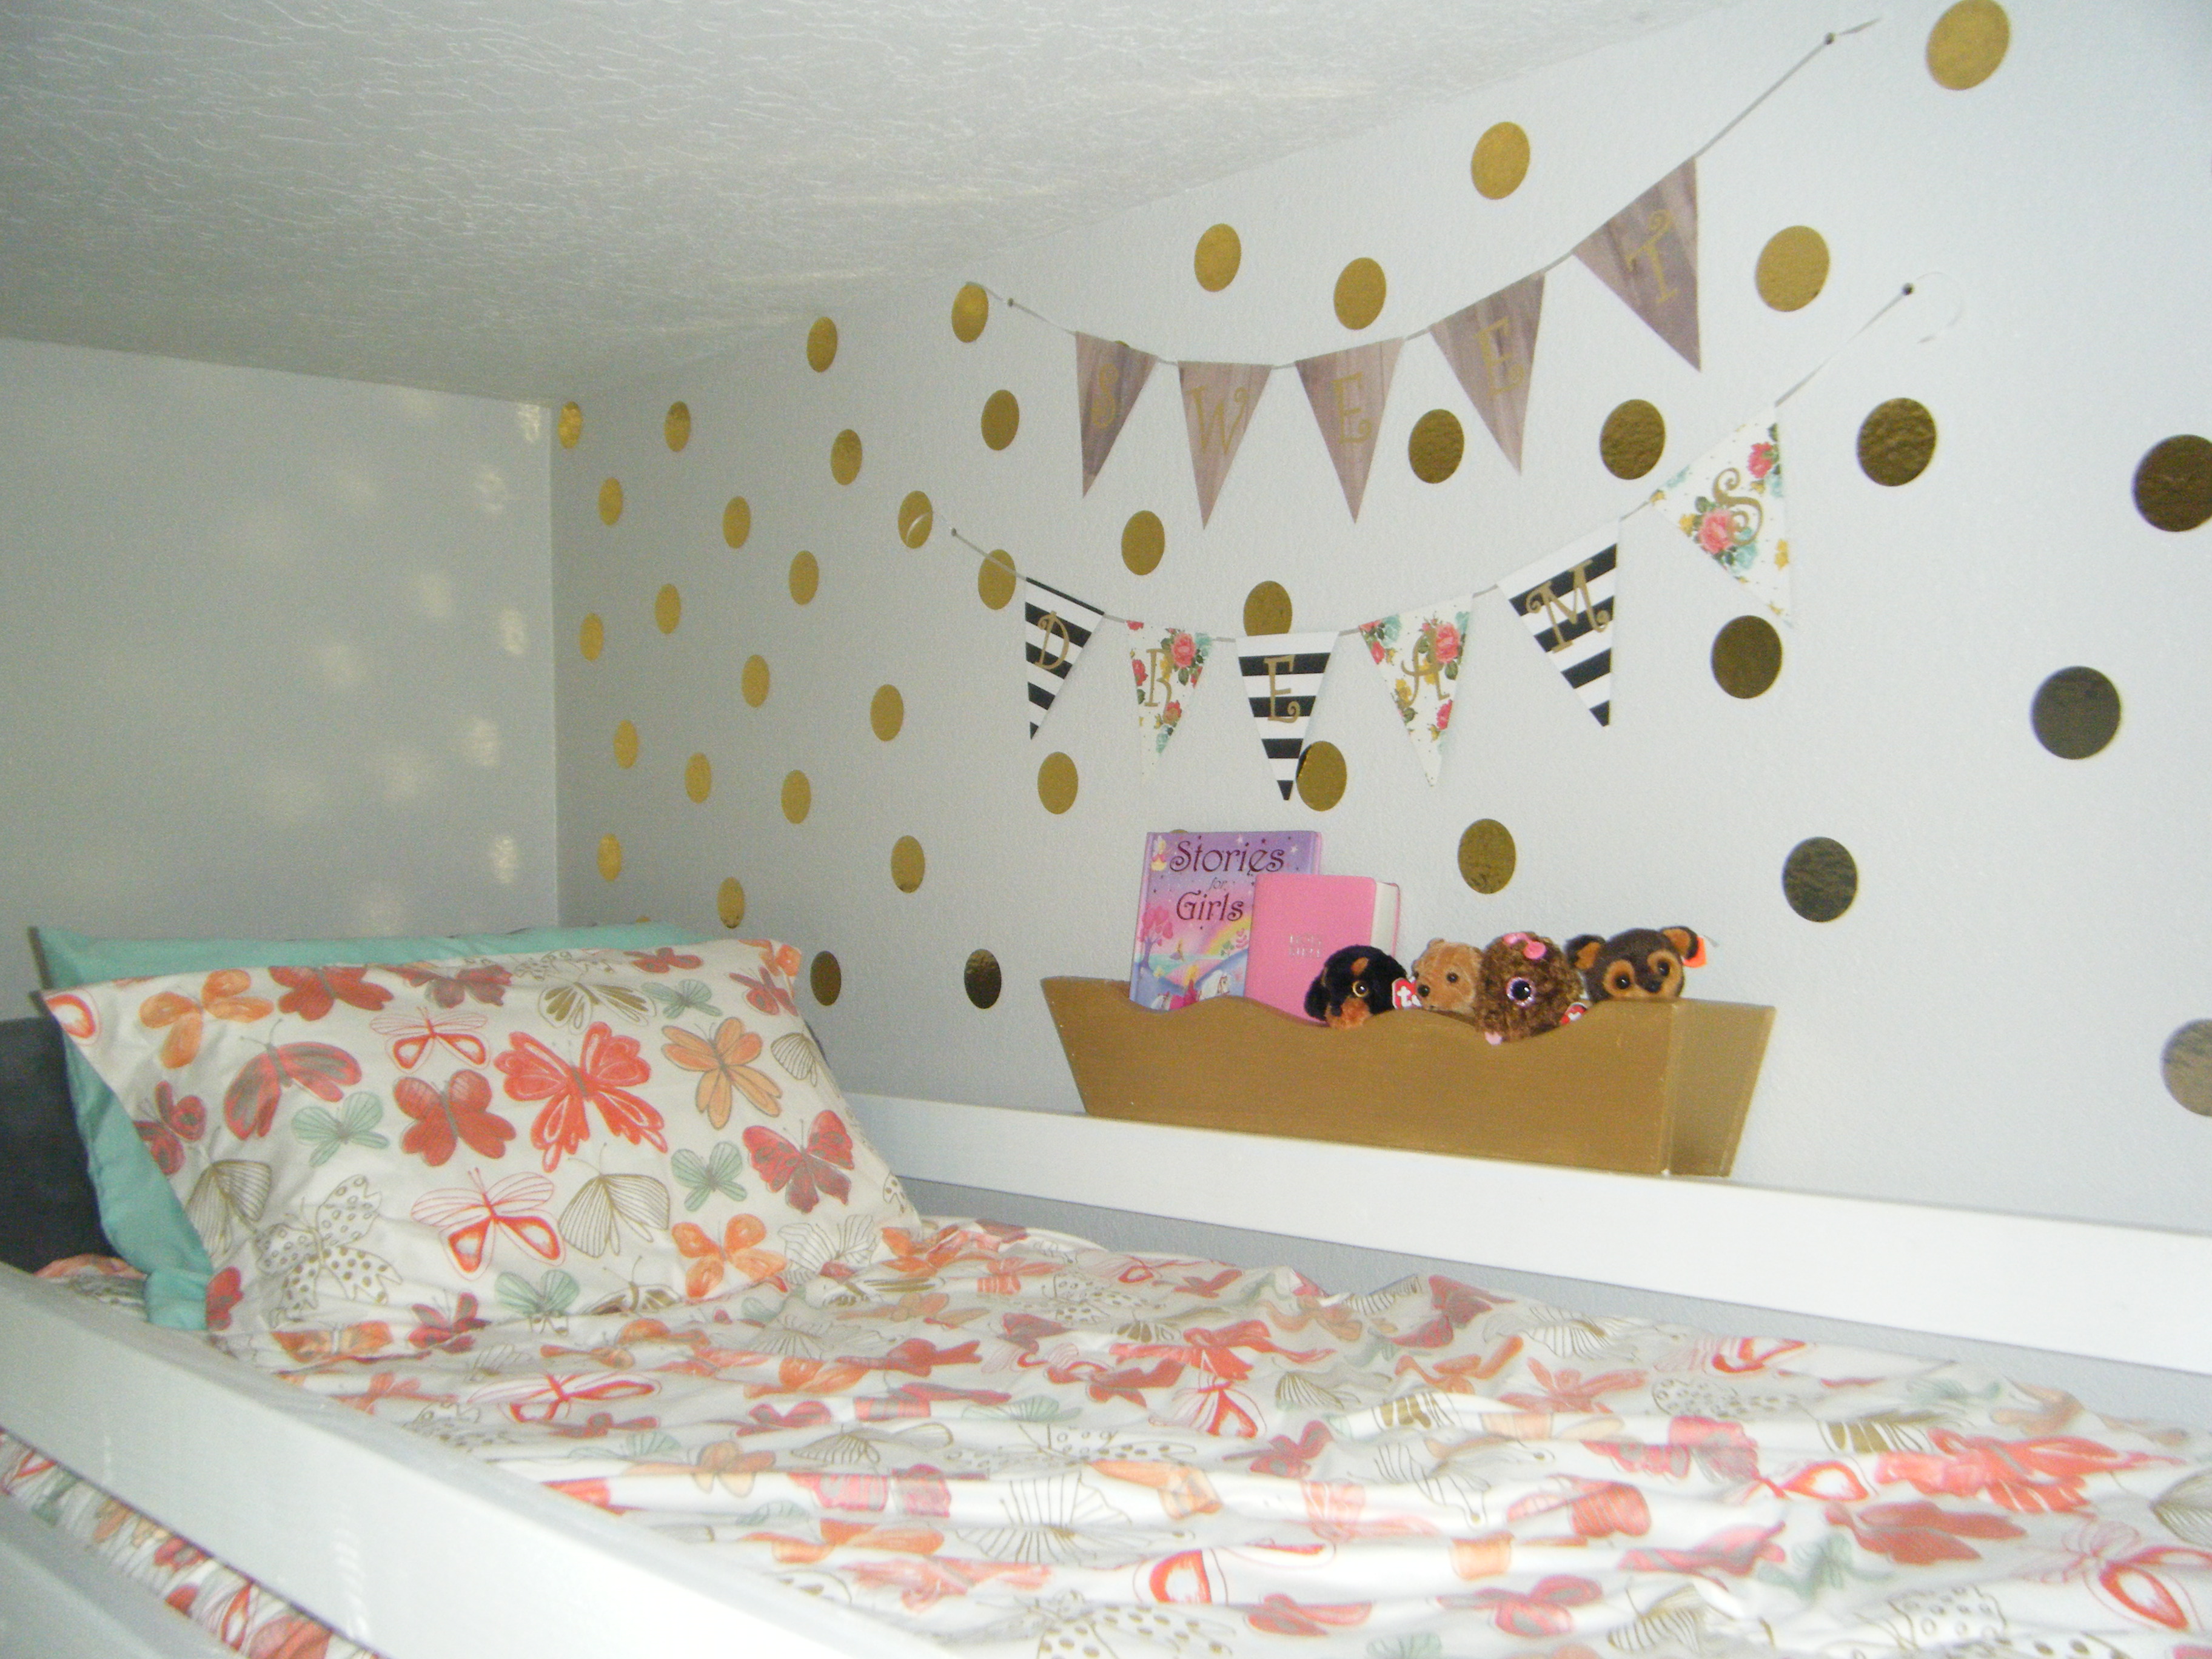
The moment I saw this plan I knew I had to build it for our adventurous, imaginative daughter, Selah. I committed to trying to finish it before her birthday (a month away at the time.) This was only my second build with wood, so I knew I would need a little time due to the learning curve. Ana's plans were great and easy to follow, and I held religiously to Jaime's blog for tips and tricks or when I was generally lost. ;) I must say, staining was a LOT more tedious and expensive than I expected. I also ignored the warnings that Minwax's water based stain was not great for large projects...my wife just couldn't get her eyes off the awesome color options. I worked it on and off little by little....and after MUCH time and an aching back we were totally STOKED with the results. The poly was just the right touch to finish it all off. Selah loves the bed and I must say all of the work was nothing compared to the hours of fun she has with this bed. Thanks Ana! Keep doing what you do....I never would have thought I could do something like this.
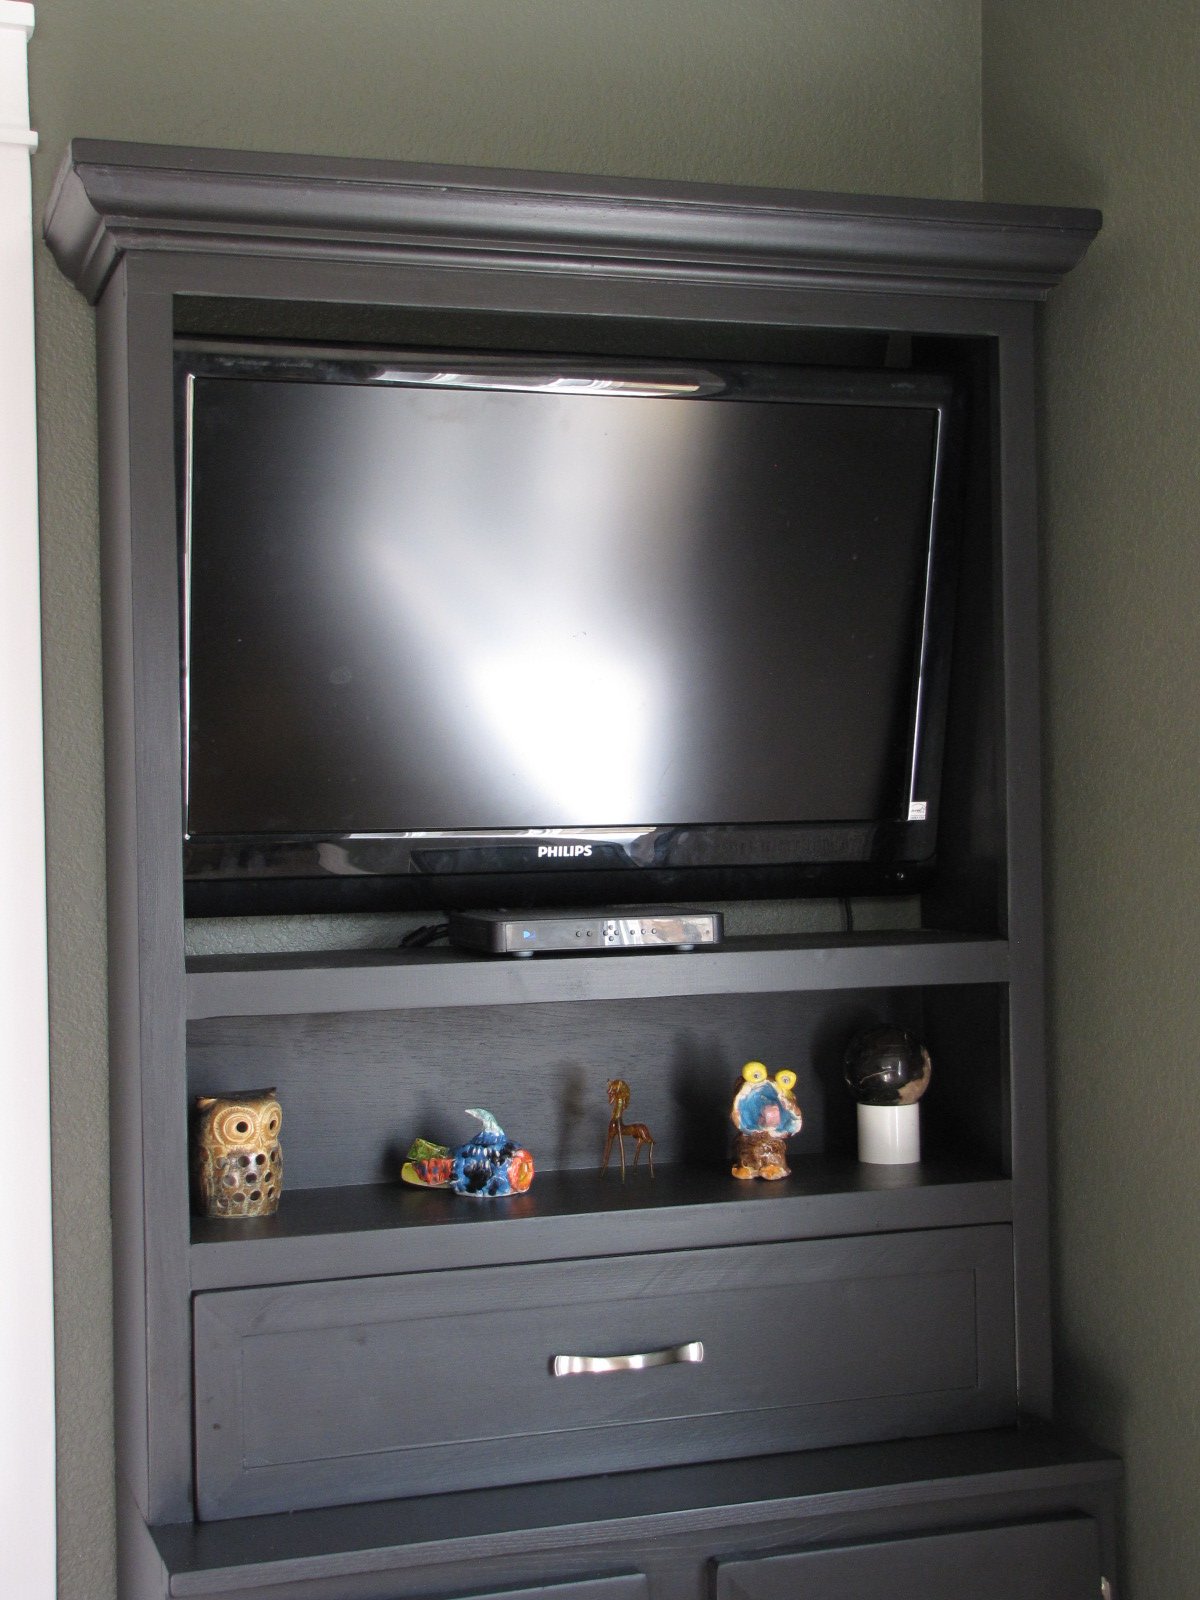
Minwax Stain: Espresso
Minwax Polycrylic, Glossy


Comments
r4ryder
Thu, 05/09/2013 - 07:29
Info
Hello, I love your version of this bed and was wondering what tools you needed and if you followed the original plans or the additional ones posted by Jaime (other then the windows)? I also noticed you did something different to the feet of the latter??
In reply to Info by r4ryder
Calebskie
Sat, 07/13/2013 - 16:54
Re:Info
I used every inch of Ana's plans and Jamie's real world build. Smooth sailing for the most part. I used a sliding compound miter saw to do most of the build, as well as an electric random orbit sander. I followed all plans to a T. The ladder feet change was to fix a bad cut I made on the sides of the ladder. Too short! It was either improvise or run back to the store for more wood....haha.