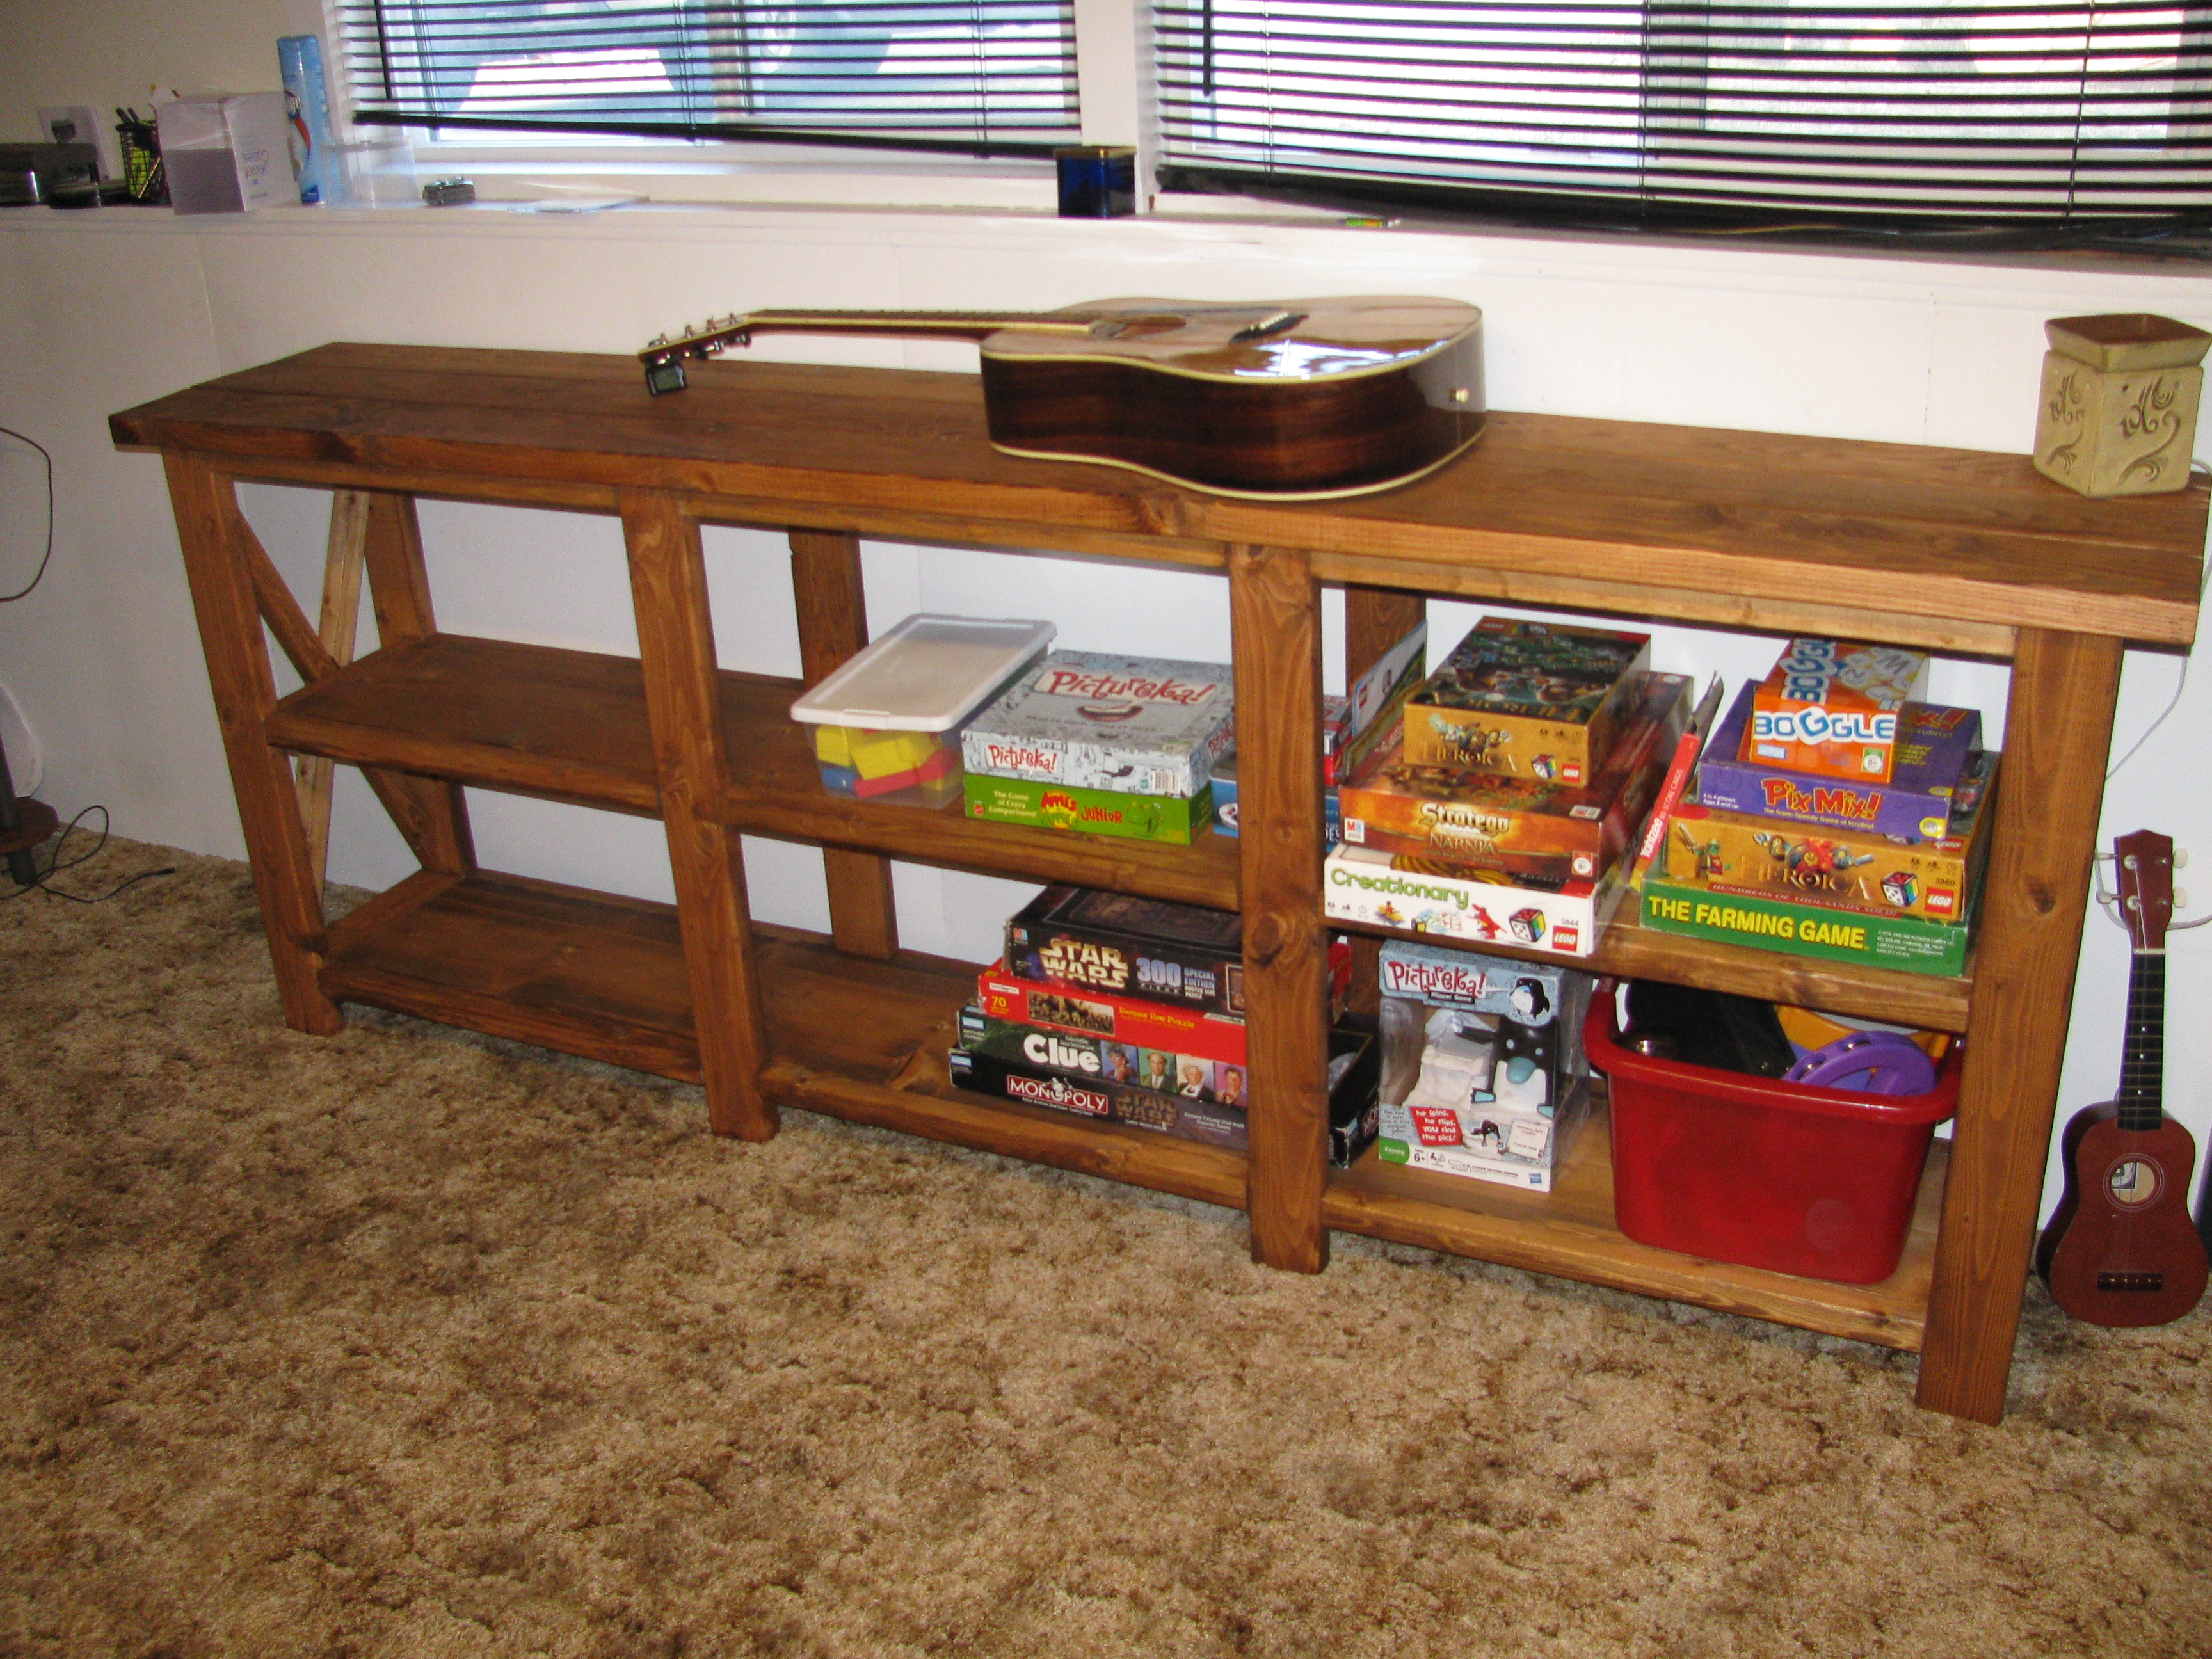
Ana inspired playroom
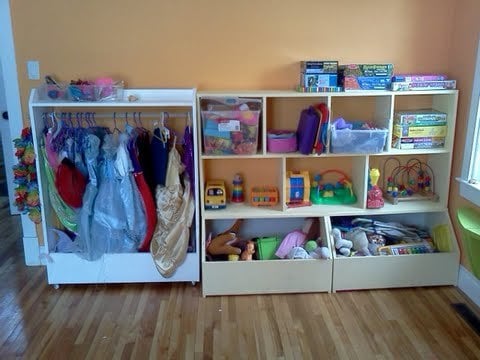
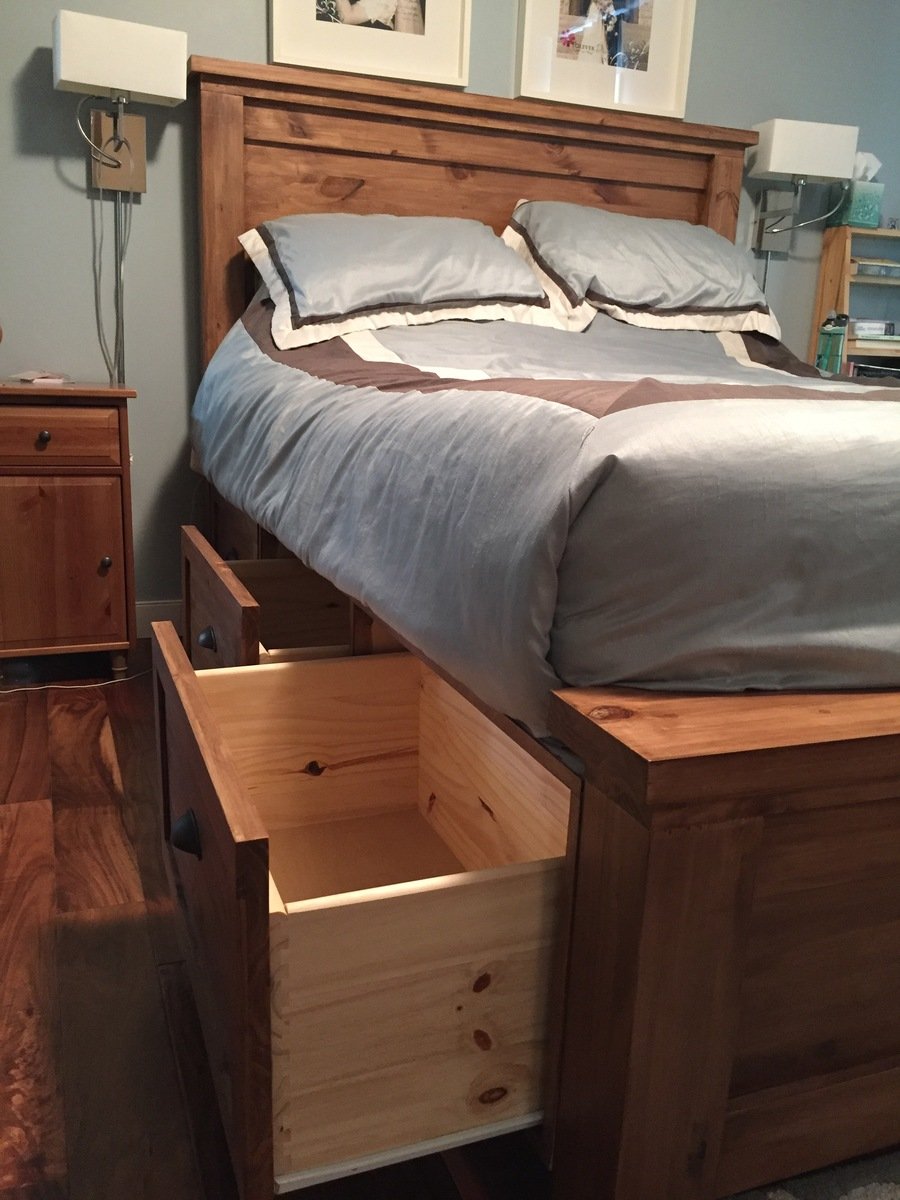
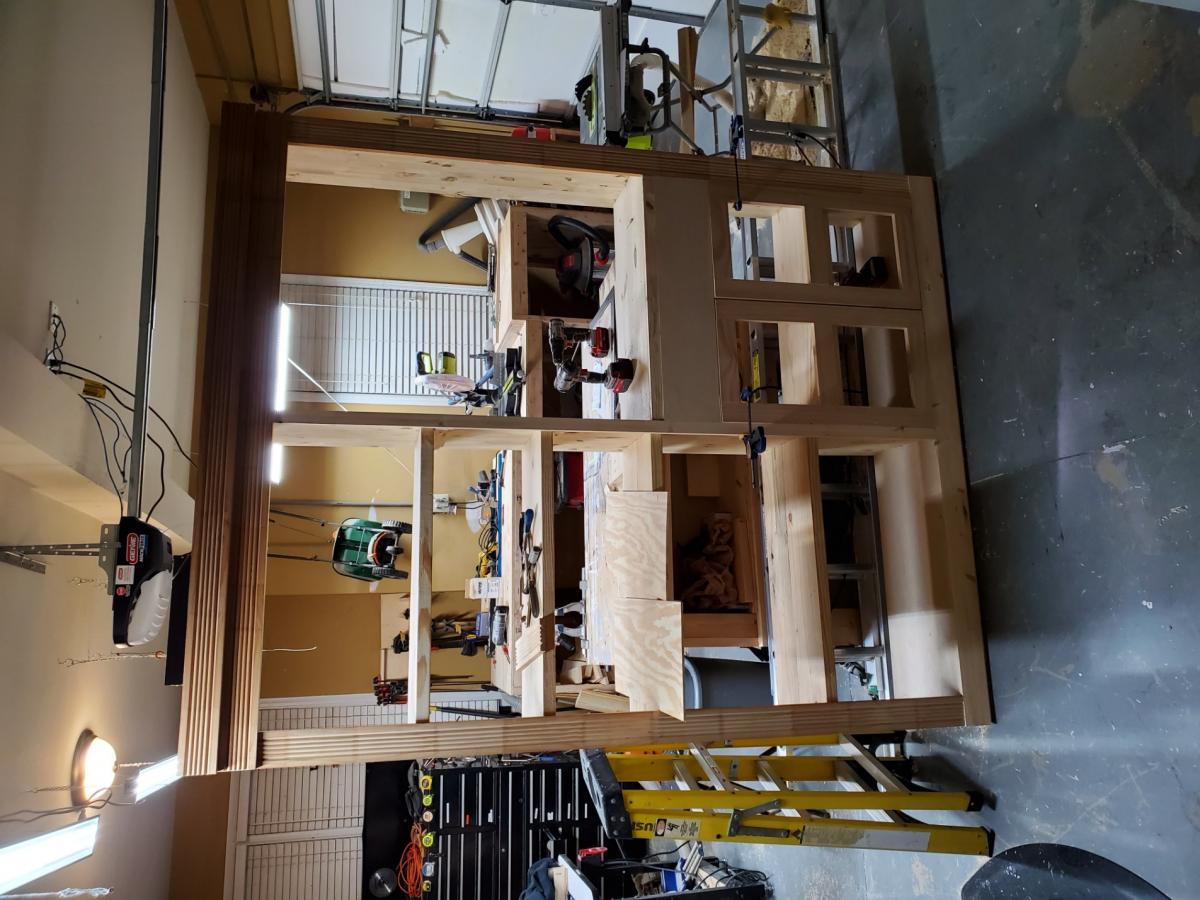
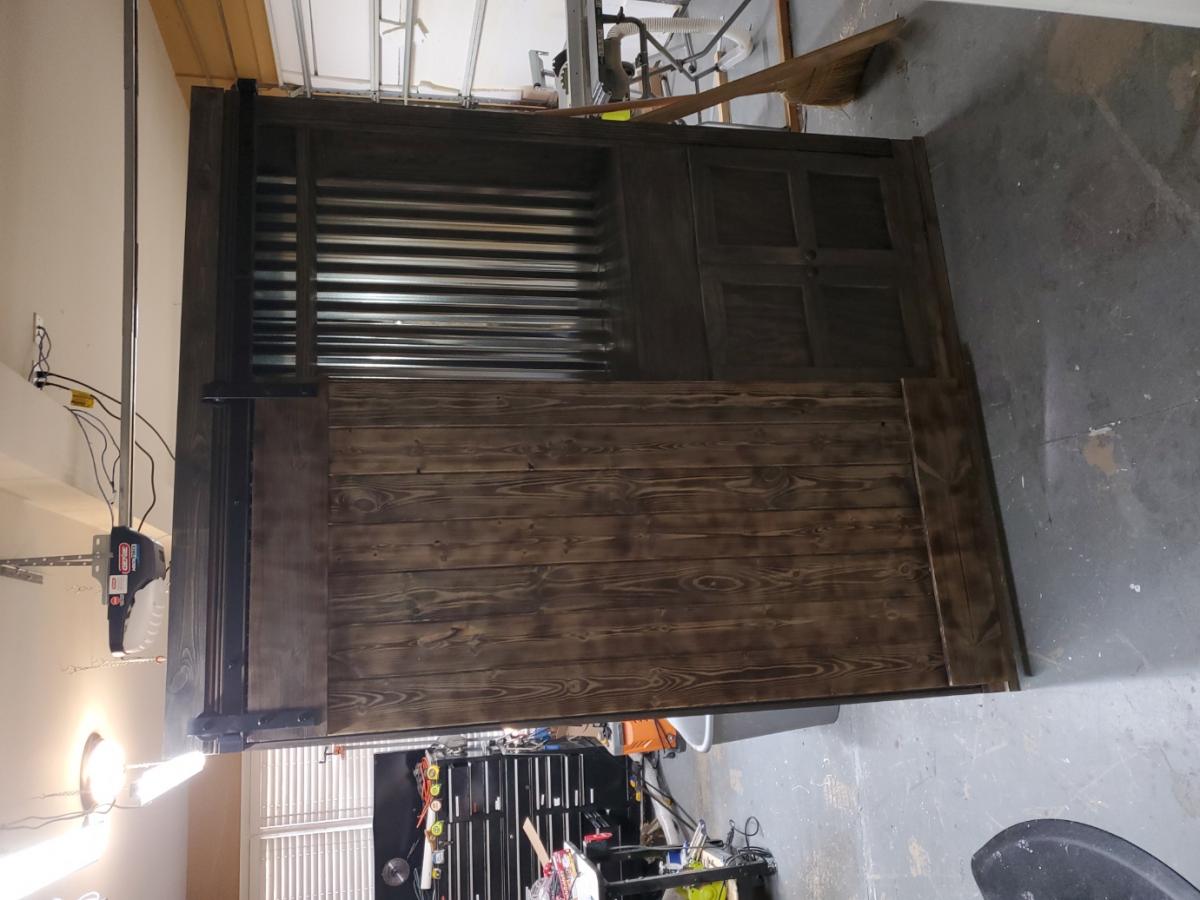
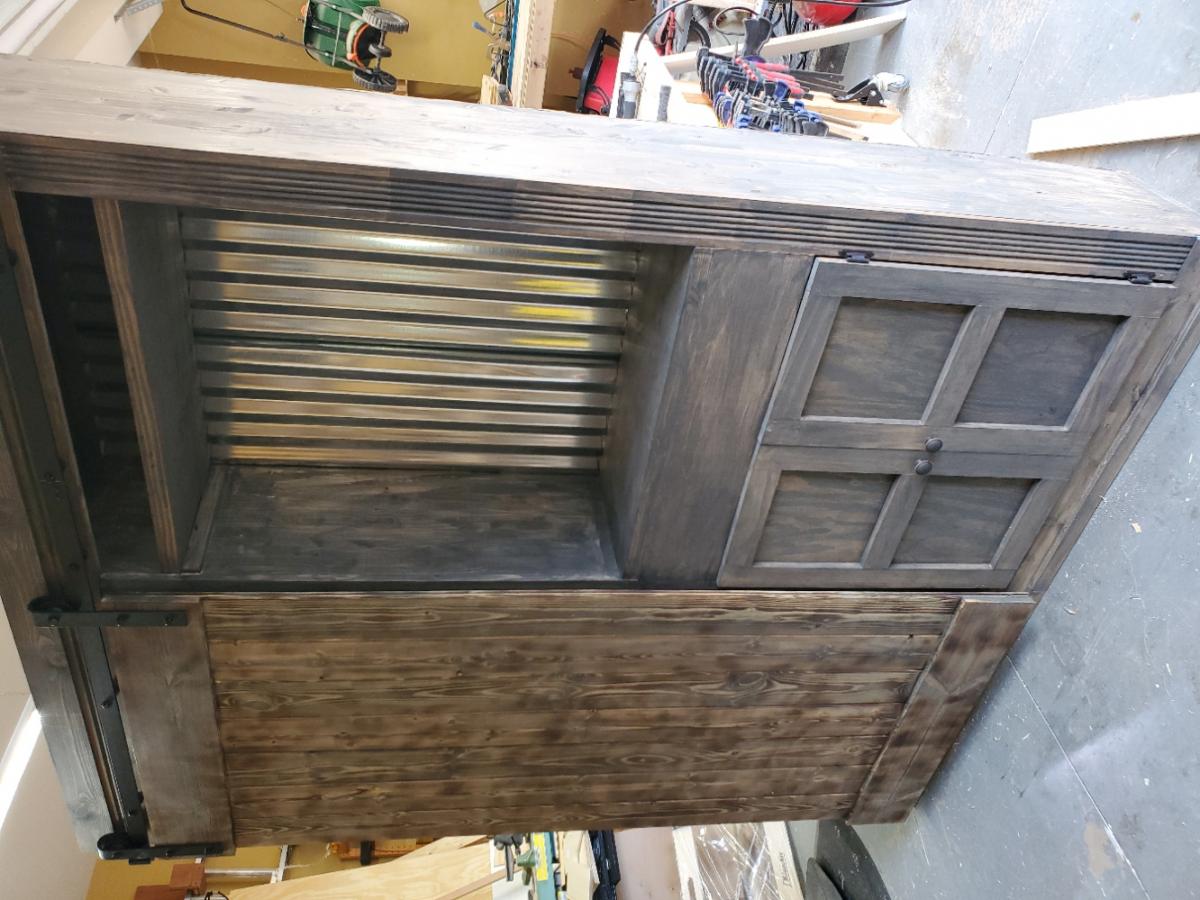
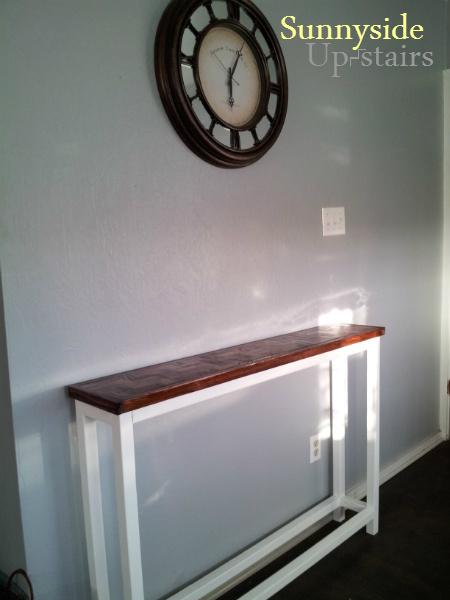
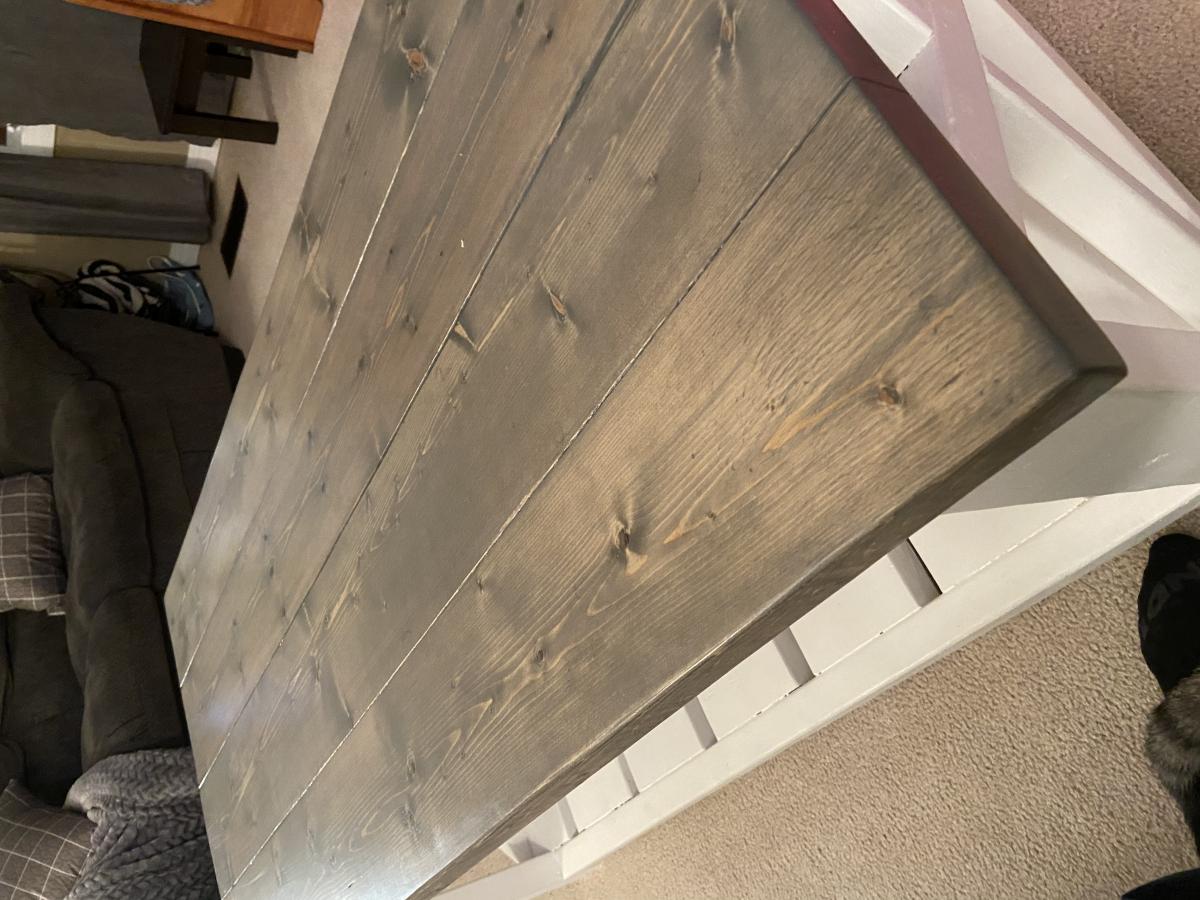
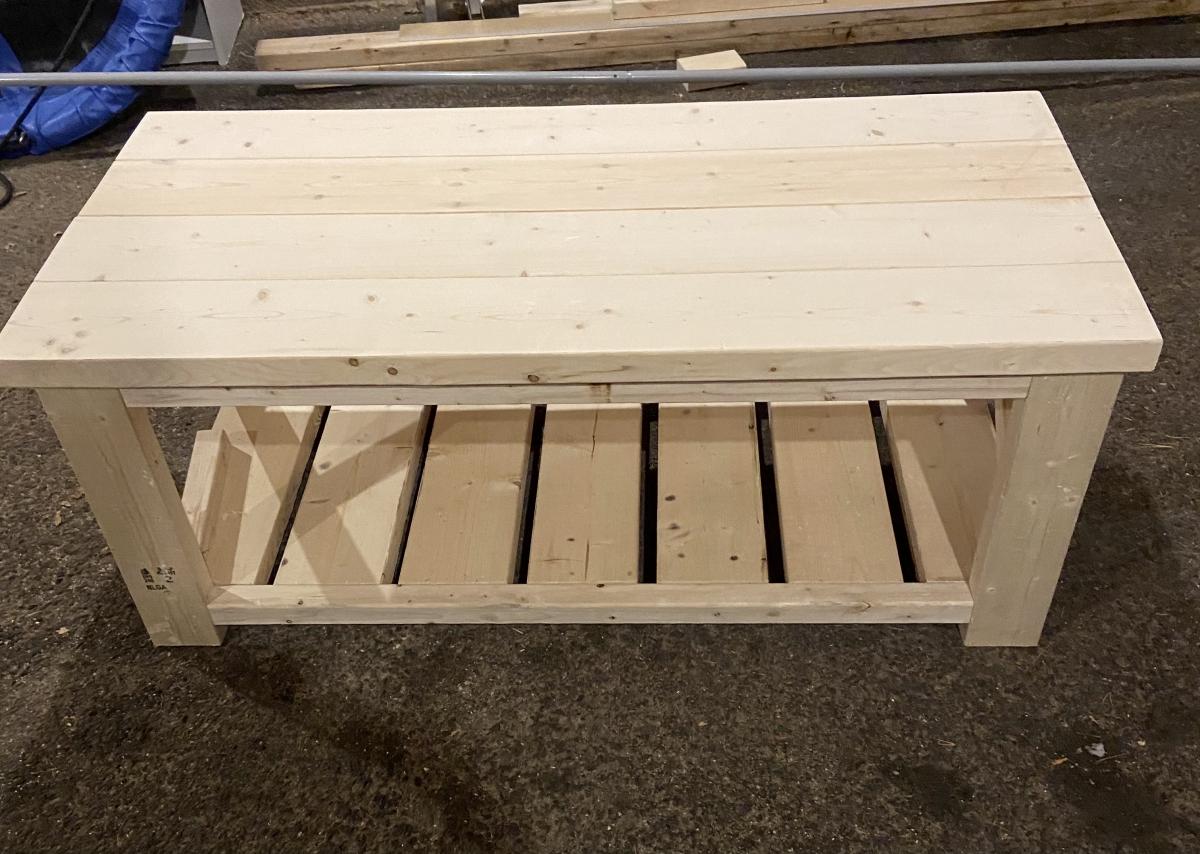
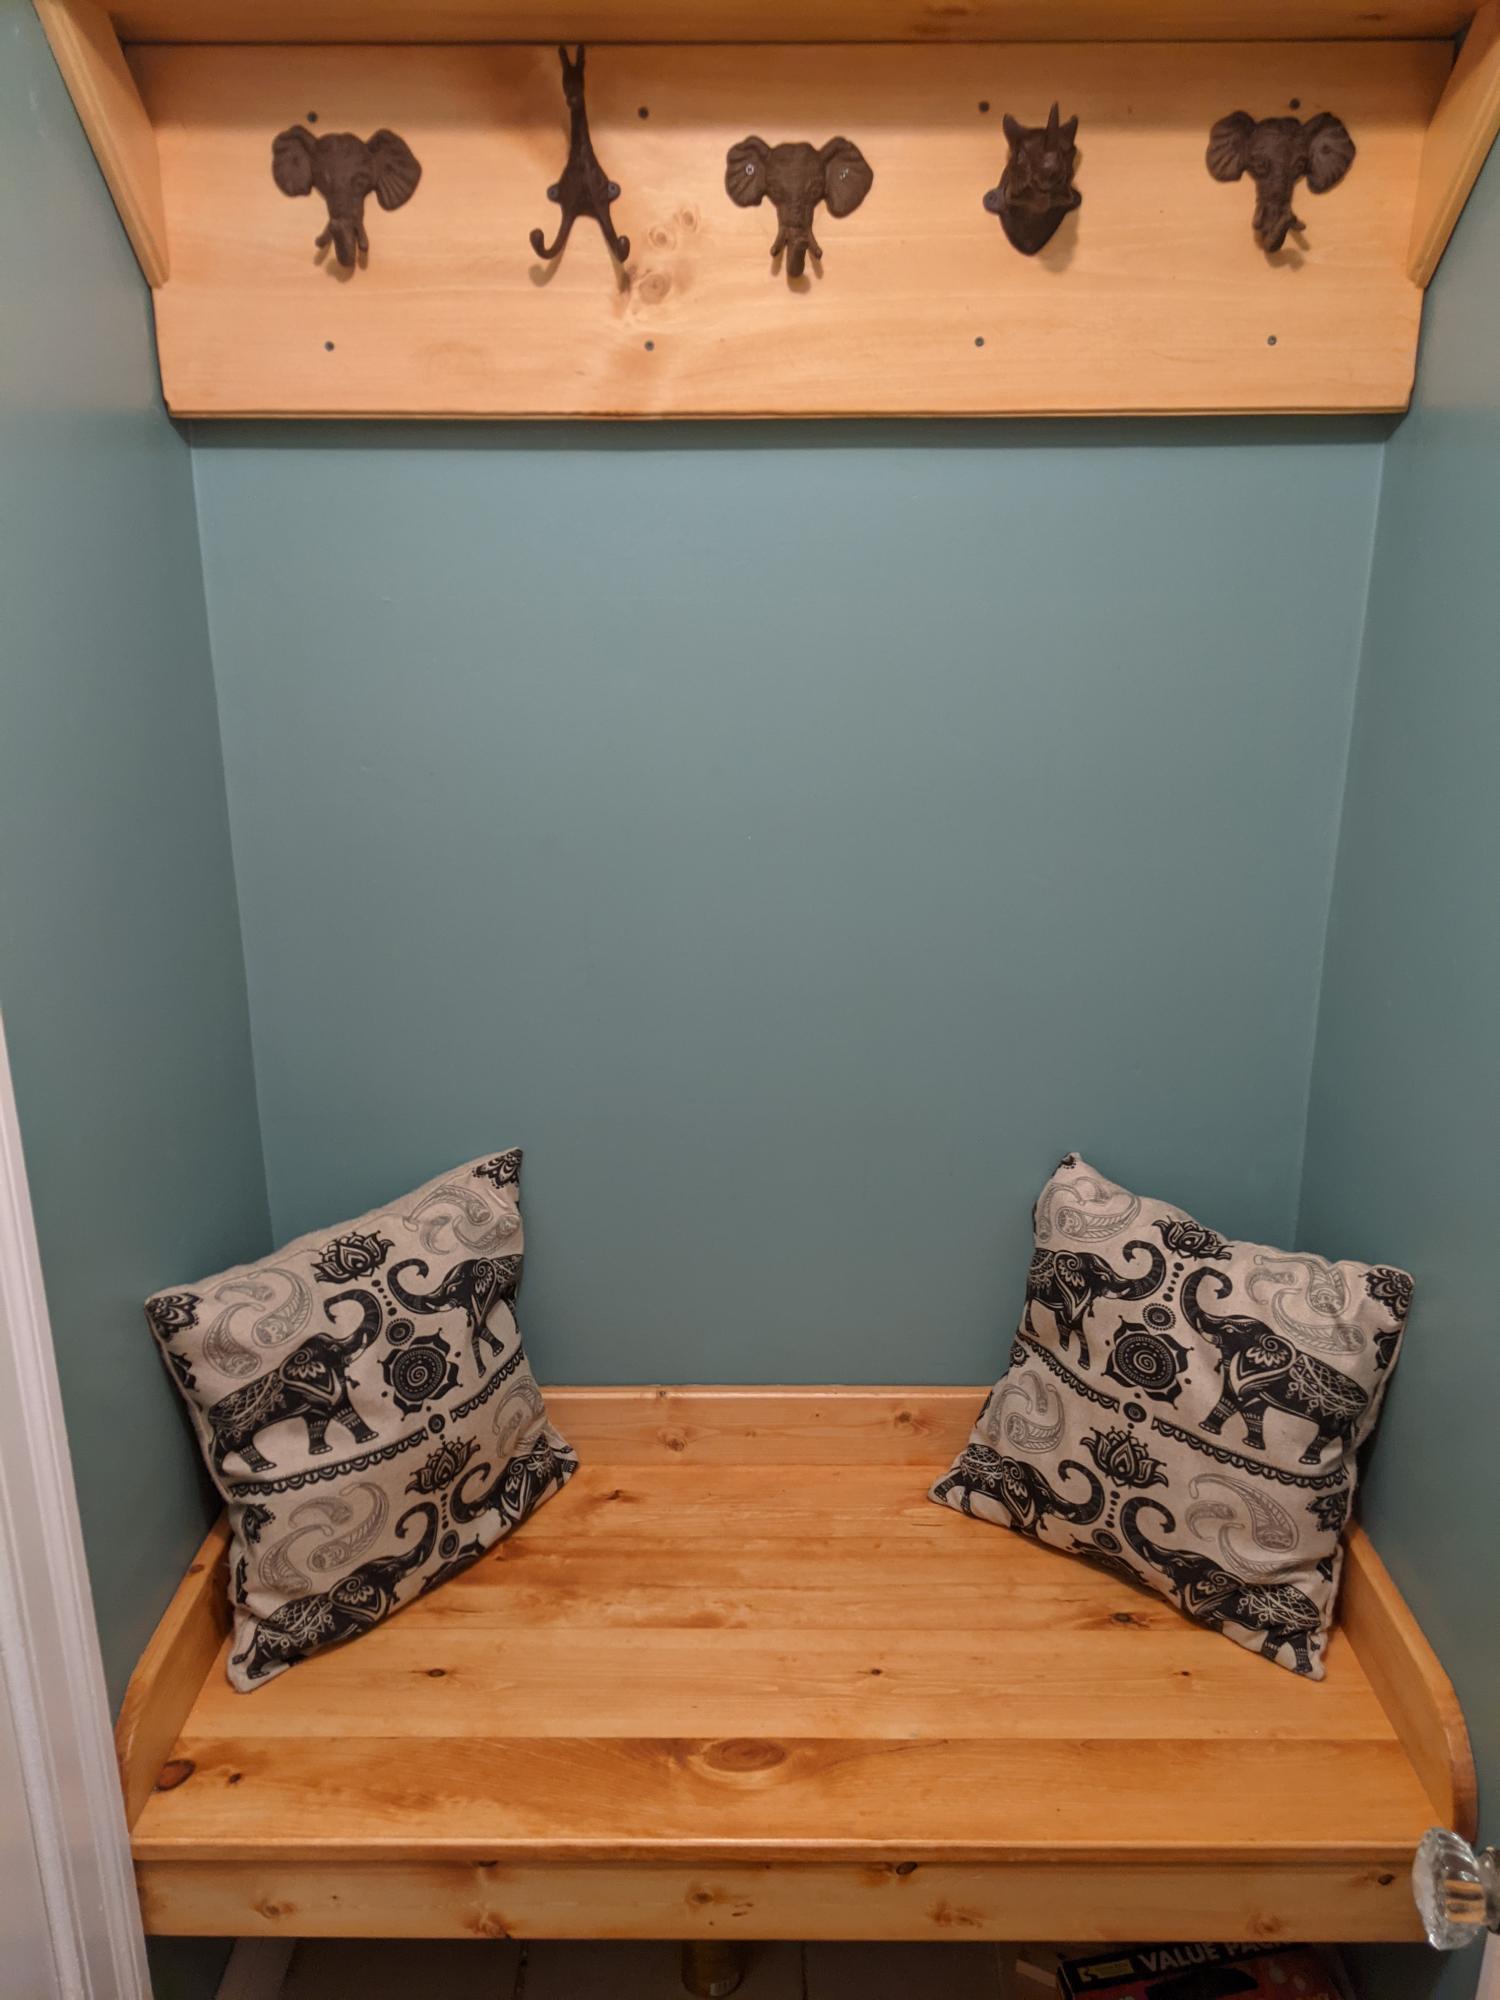
There are three plans combined here in this picture. All three completed in the past year. The toy boxes are from the one plan, the cubby shelves from another and finally the dress up stand is the third. It is never this tidy in our playroom! Ah ah, what you cannot see is the other half :D But the girls do enjoy it quite a bit and it does keep most toys off the floor and easily accessible. Thanks Ana for a great variety of plans!
Built from Plan(s)
Estimated Cost
150$ plus scraps
Estimated Time Investment
Weekend Project (10-20 Hours)
Finish Used
plain old wall paint leftover from renovating the house!
Recommended Skill Level
Beginner