Community Brag Posts

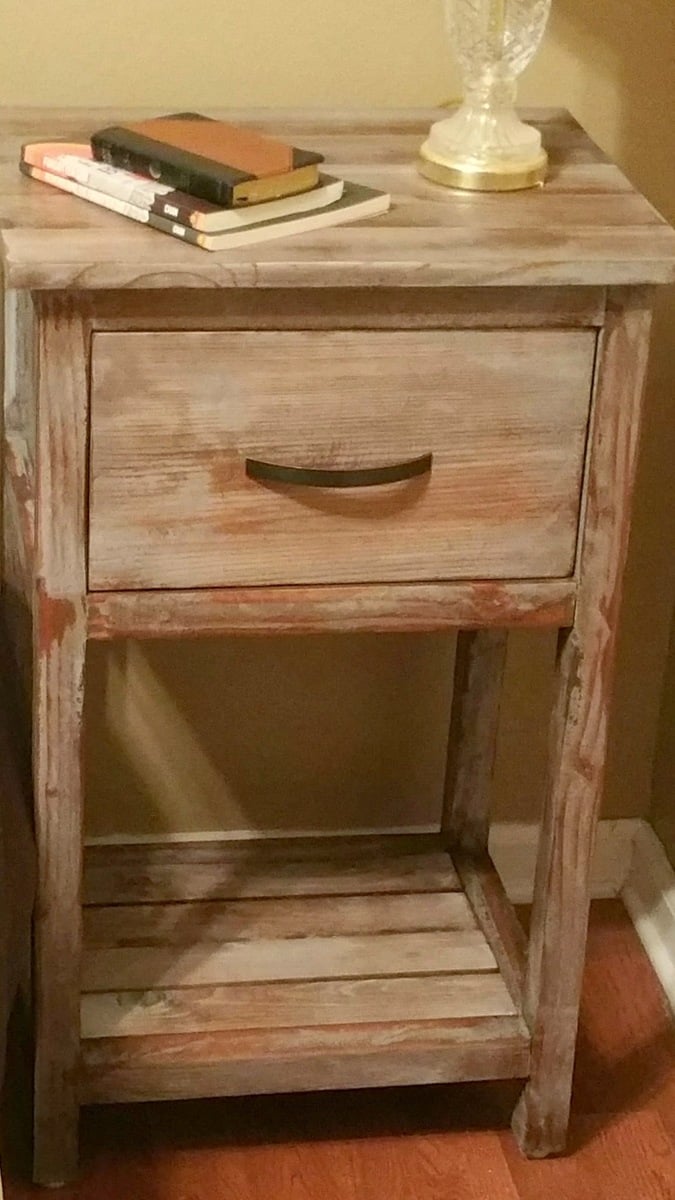
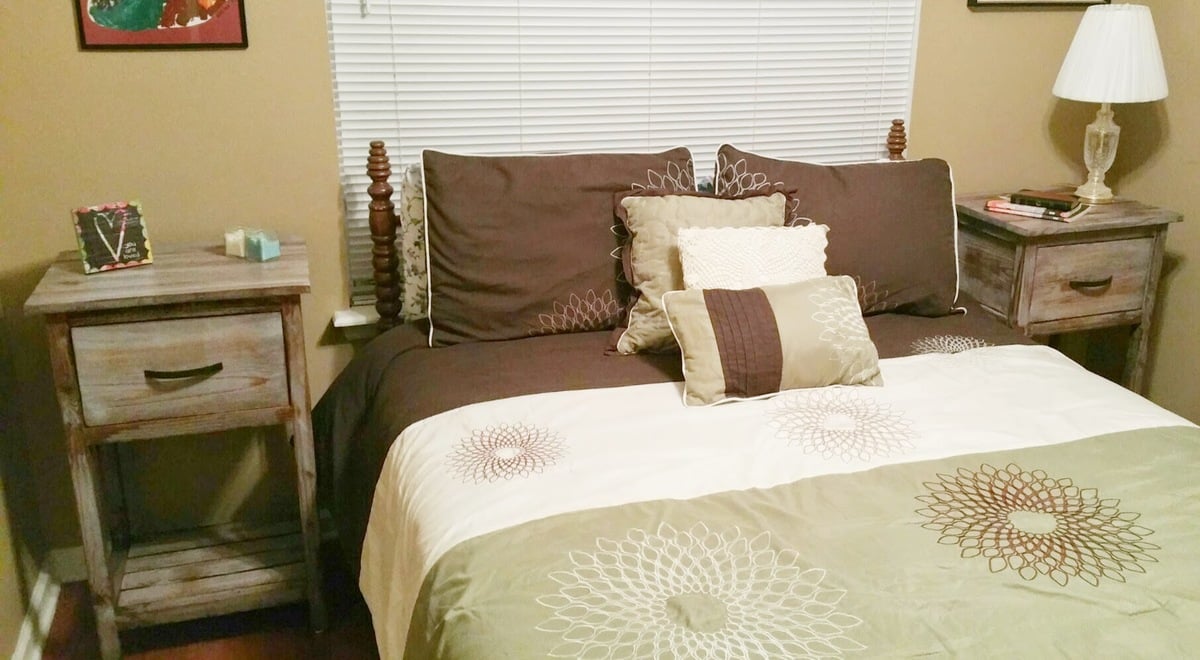
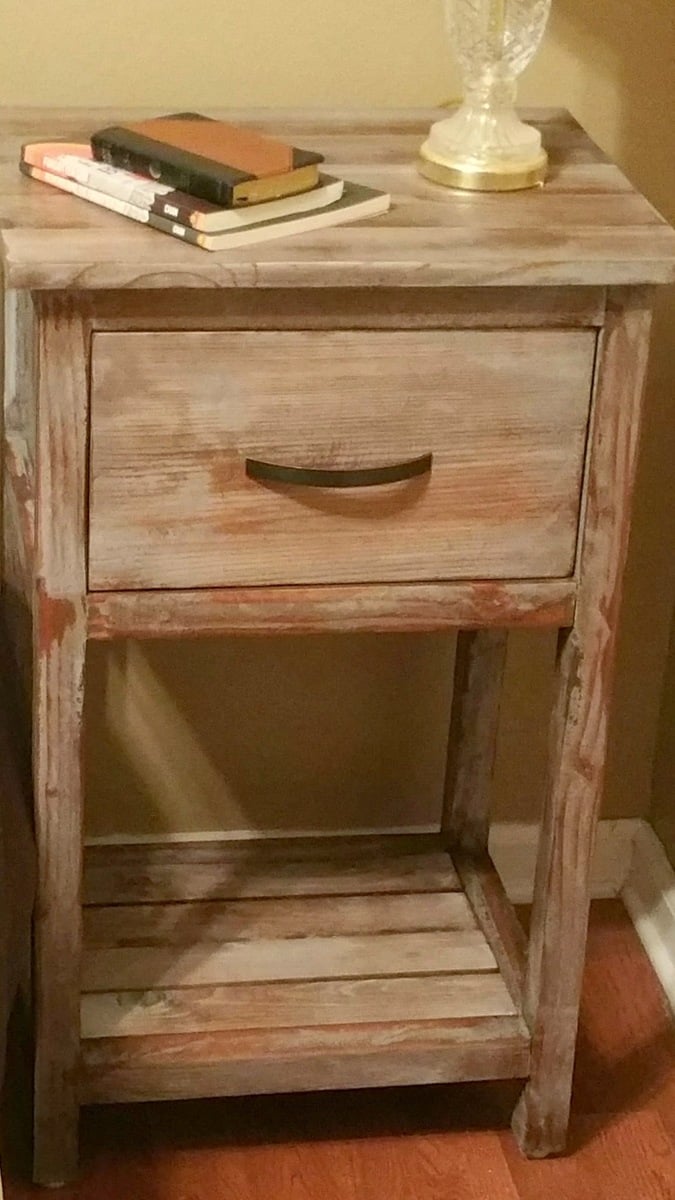
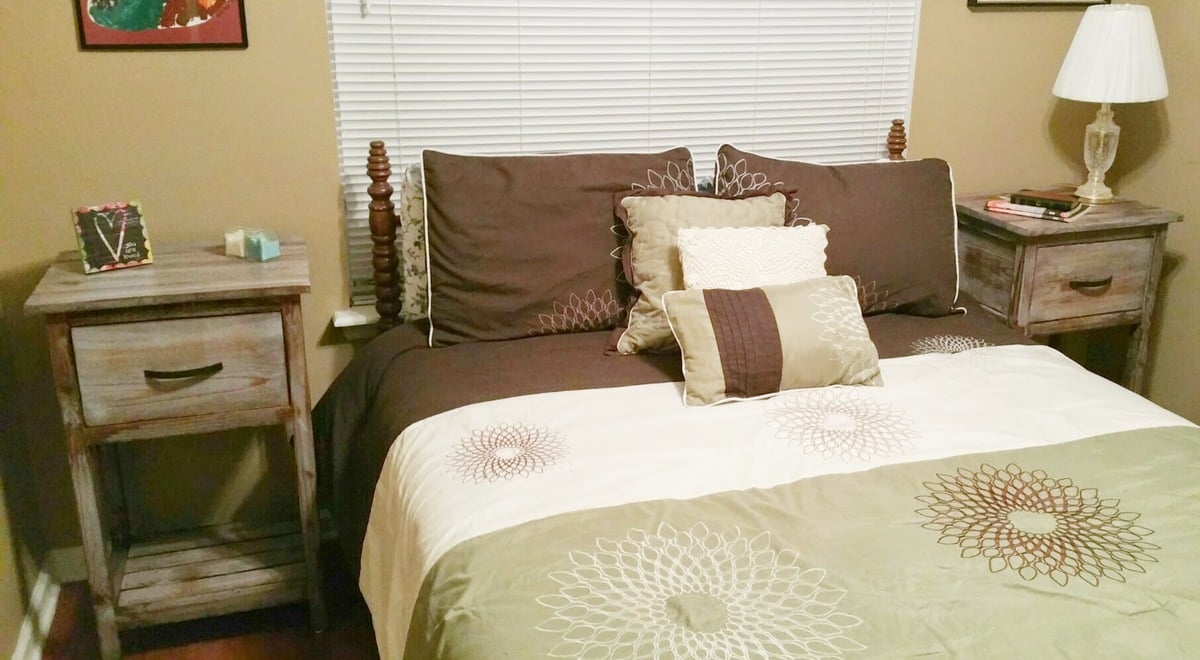
Farmhouse desk

Submitted by Ulrike on Tue, 12/22/2020 - 08:53

Fun project

Built from Plan(s)
Estimated Cost
80
Estimated Time Investment
Weekend Project (10-20 Hours)
Finish Used
Varathane Golden Oak
Recommended Skill Level
Beginner

Children's Chair

Submitted by Mable Burt on Thu, 01/31/2013 - 16:20

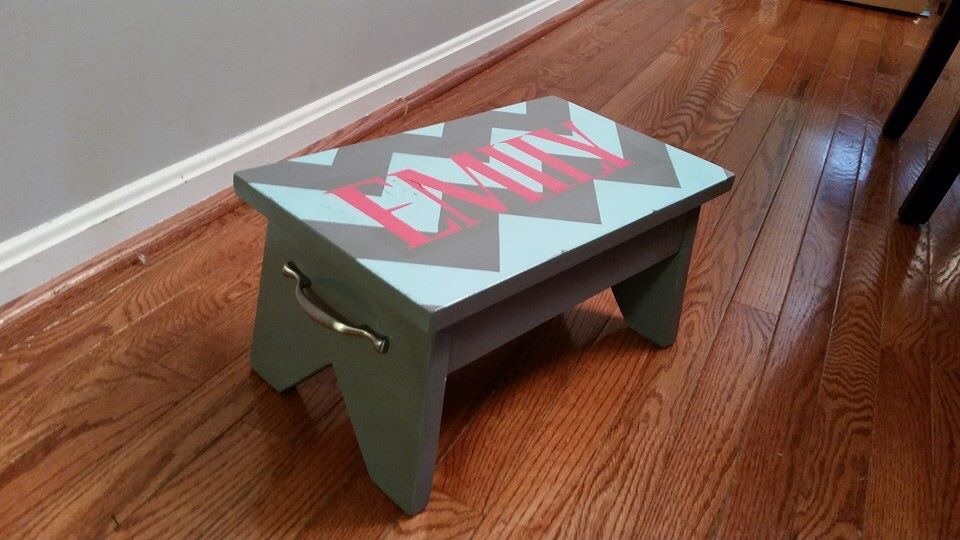
I enjoyed making this chair. Even though I am a beginner at wood work, it really was easy to make and the instructions were very clear. I made it for my daughter. She will be 3 years old in May and she loves it. Our next project is making her a table to go with the chair. Thanx for sharing the plan

Estimated Cost
$6
Estimated Time Investment
Afternoon Project (3-6 Hours)
Finish Used
White Rust-oleum painter's touch Ultra cover 2x coverage, semi gloss spray paint. I stained the ages with Minwax wood finish dark walnut and I distressed it with vaseline. After the stain was dry, I put some vaseline on the edges of the chair then spray painted it. Once the paint was dry, I used sand paper until I got my desired look (got this idea from shanty-2-chic)
Recommended Skill Level
Starter Project

Emme Twin Bed (First 'Big Boy Bed')

Submitted by Slagle9480 on Sun, 11/30/2014 - 14:59

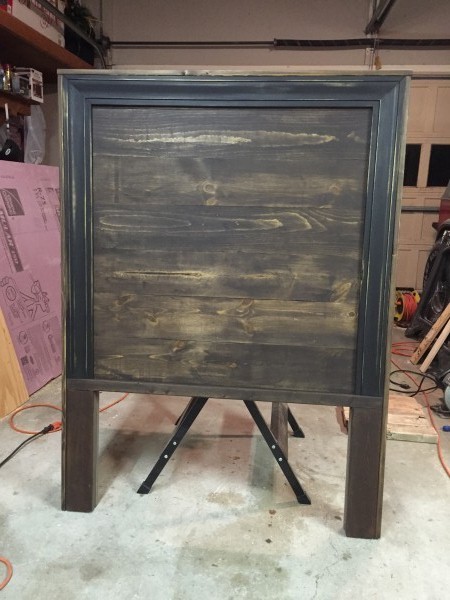
This was my first attempt at building a bed. My wife wanted to buy my 2-year old a twin bed from one of the big box stores. I asked her to let me take a crack at it before she spent several hundred dollars (and hours of assembly for me!). I immediately went to Ana's site first and found this plan. Since my wife loves all things PB, it was an easy sell.

I spent about $75 on lumber at Blue and about $20 on hardware at Orange. I also used this project as an excuse to buy a random orbitsl sander, so altogether, I spent less than $150. The mattress is a Serta Benson that we picked up for $180 after taxes and a Black Friday special. It came with a free box spring, but I declined because I used slats and didn't want the bed any higher.

I followed the plans in terms of measurements and dimensions. However, I modified the headboard and footboard. I omitted the cross pieces on the headboard and used quarter-round pine trim to hide some imperfections on my plywood cuts. I think it turned out OK.


Estimated Cost
$100-$120
Estimated Time Investment
Weekend Project (10-20 Hours)
Finish Used
Rust-o-Leum Kona (oil)
Minwax Fast-Drying Poly Clear Satin
Recommended Skill Level
Beginner

Comments

Bookshelf

Submitted by jgioulis on Mon, 03/06/2017 - 18:01

Bookshelf for my son. Made out of pine, painted distressed,  and a stained top

Recommended Skill Level
Intermediate

Indoor Playhouse

Submitted by tsmurphy on Fri, 12/25/2020 - 15:48

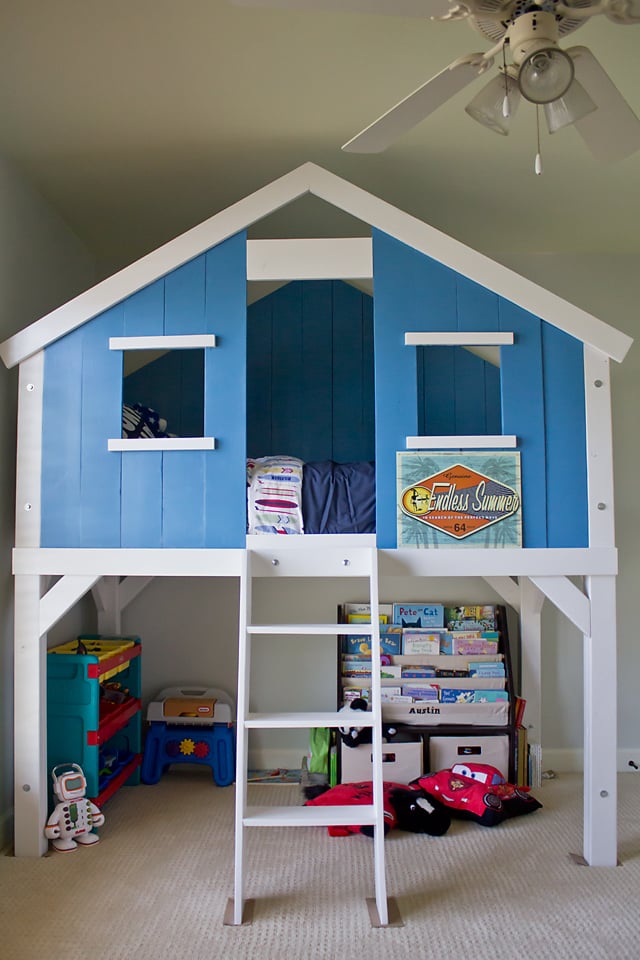
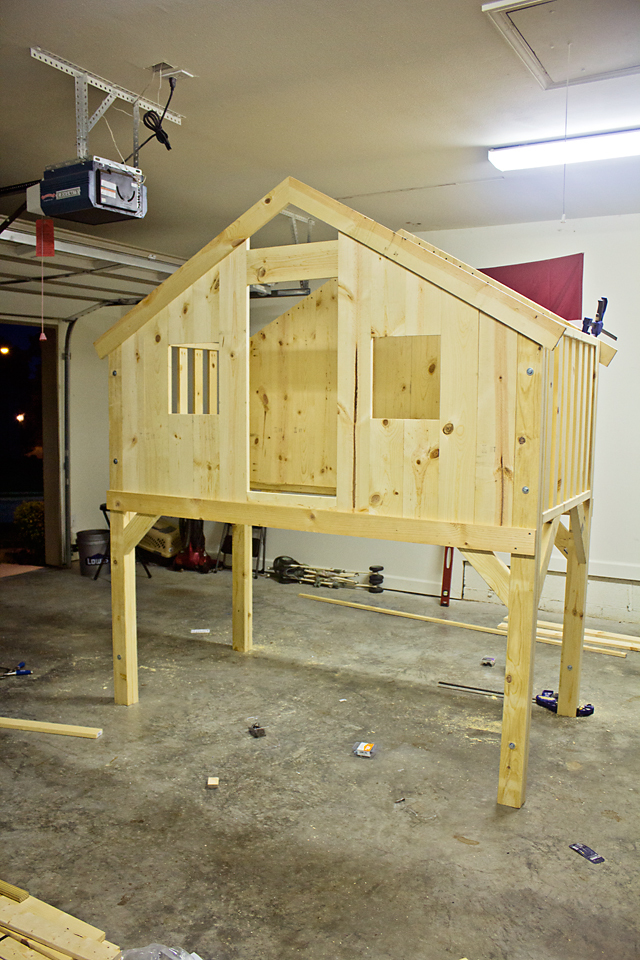
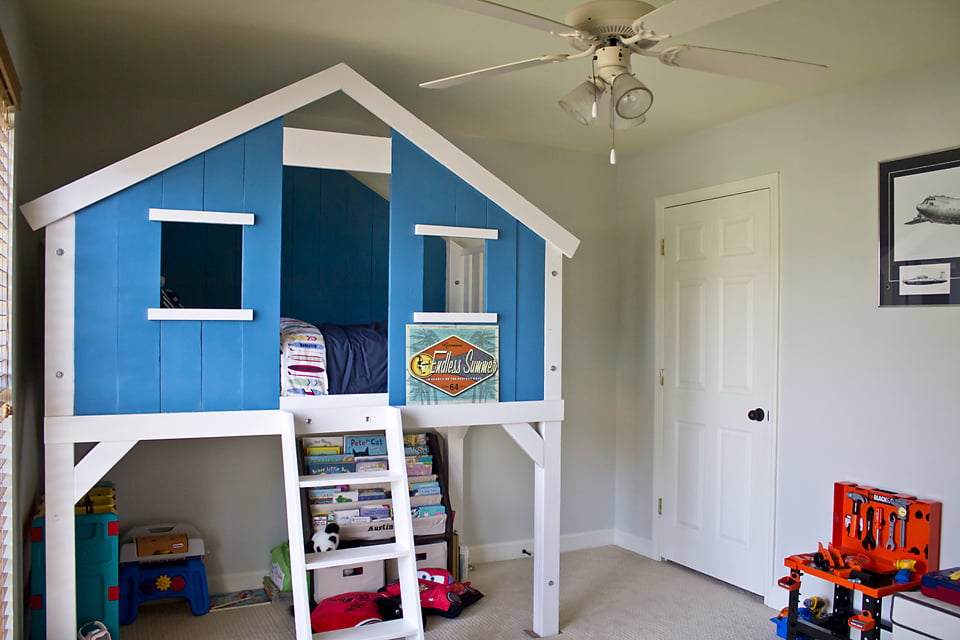
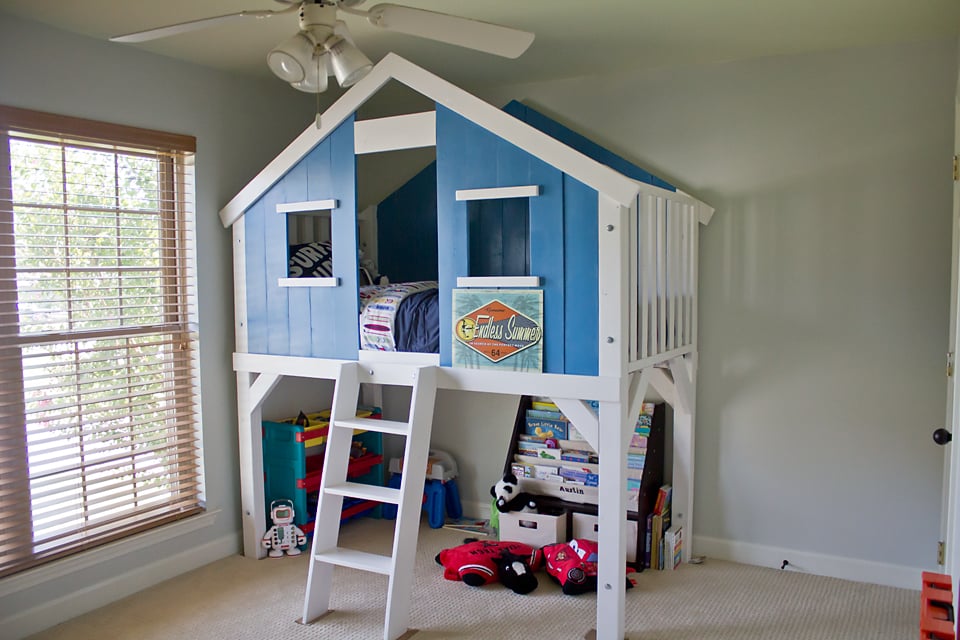
I rushed to get this done for christmas for my son and daughter between working 60 hours a week and spending time with them and ALOT of painting help from my elves (husband and brother), we got it done! They were so excited to see what Santa brought.

Comments

First Ana built plan

Submitted by hock on Sat, 02/02/2013 - 15:41

Built for use in a Sunday School room at church : )

Estimated Time Investment
Day Project (6-9 Hours)
Finish Used
Distressed cream color top..minwax stain body
Recommended Skill Level
Beginner

Rustic End Table

Submitted by wacman on Wed, 03/08/2017 - 09:34

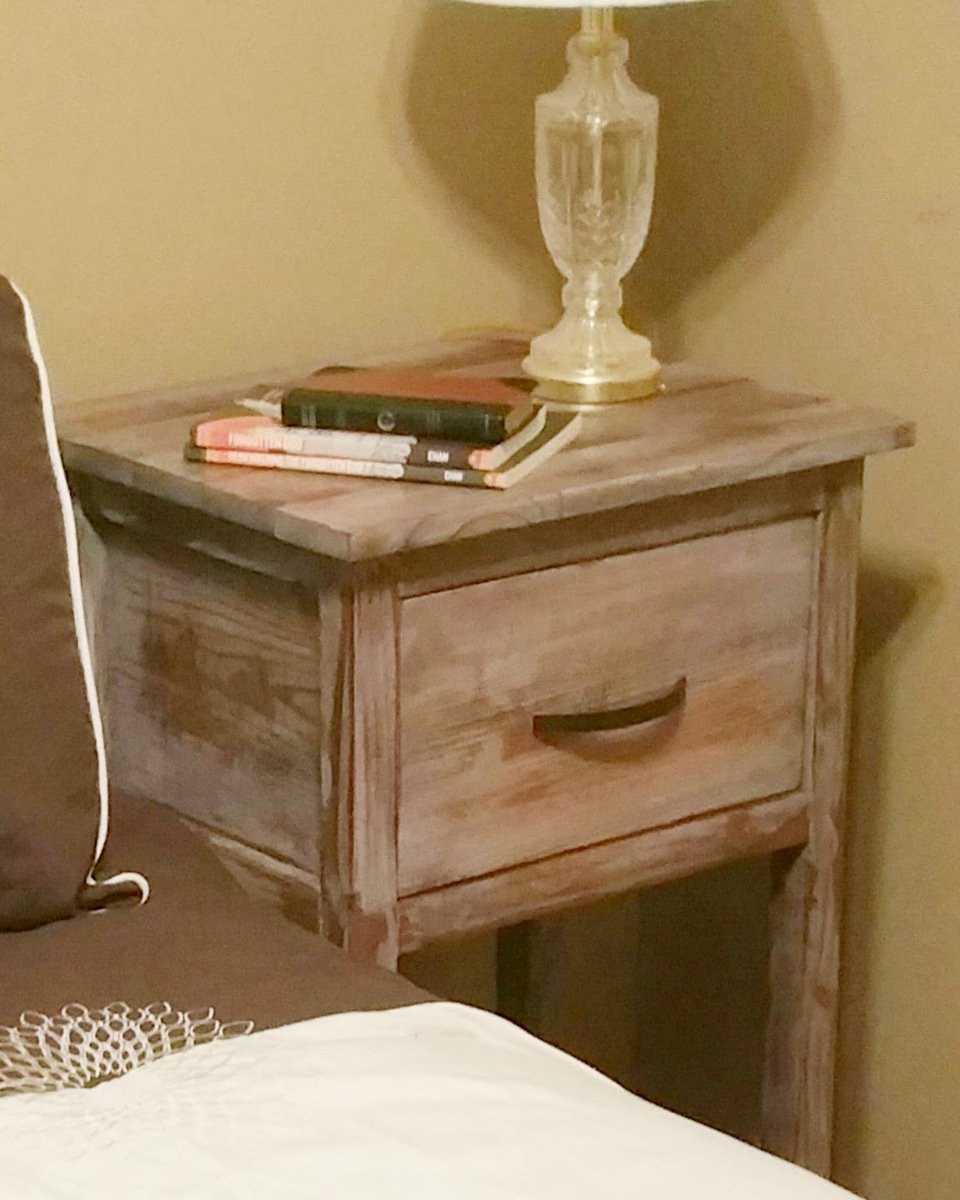
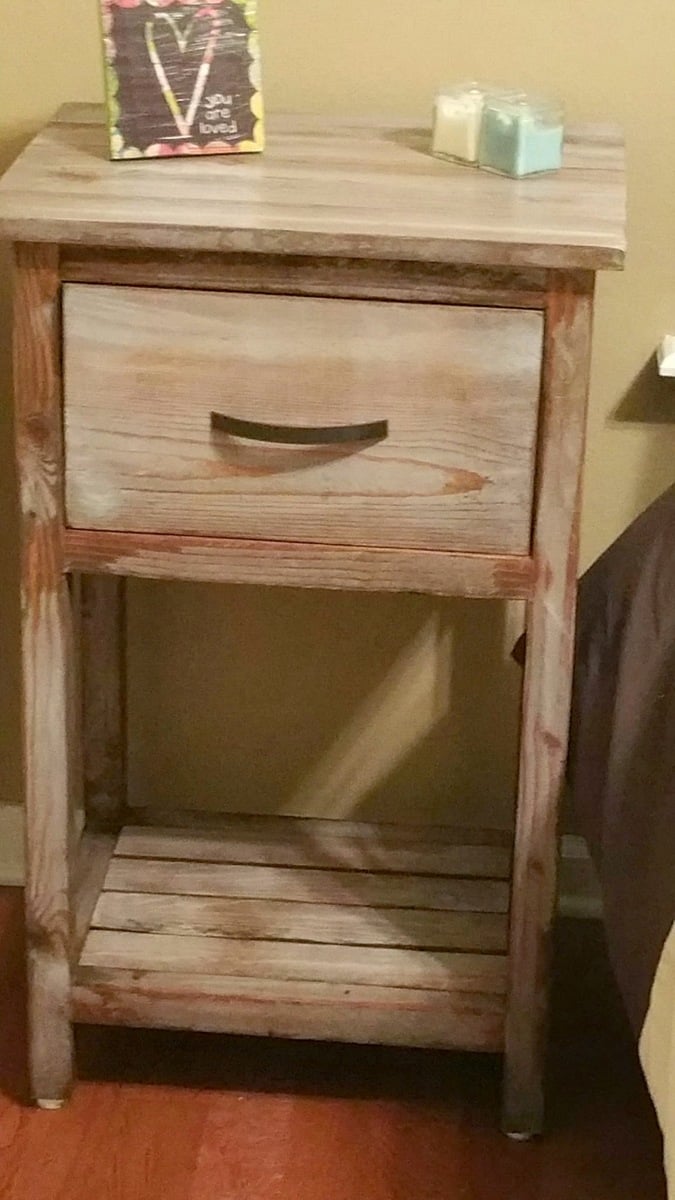
Since everyone else is making them, I had to jump on the bandwagon.  Typical end table, but I left off the metal trim (for now at least) and used a wire brush on the top boards to eat away at the wood and raise the grain.  It gives it tremendous texture and really makes it look more like old reclaimed lumber.

Estimated Cost
$30
Estimated Time Investment
Afternoon Project (3-6 Hours)
Finish Used
Minwax Special Walnut with a layer of poly on top
Recommended Skill Level
Beginner

Toy Chest

Submitted by tomm3289 on Tue, 12/29/2020 - 11:48

Built this for my grandson for christmas. First woodworking project I've done.

Built from Plan(s)
Estimated Cost
$160
Estimated Time Investment
Weekend Project (10-20 Hours)
Finish Used
Polyurethane
Recommended Skill Level
Beginner

Mini Media Wall

Submitted by sraper2 on Mon, 02/04/2013 - 06:46

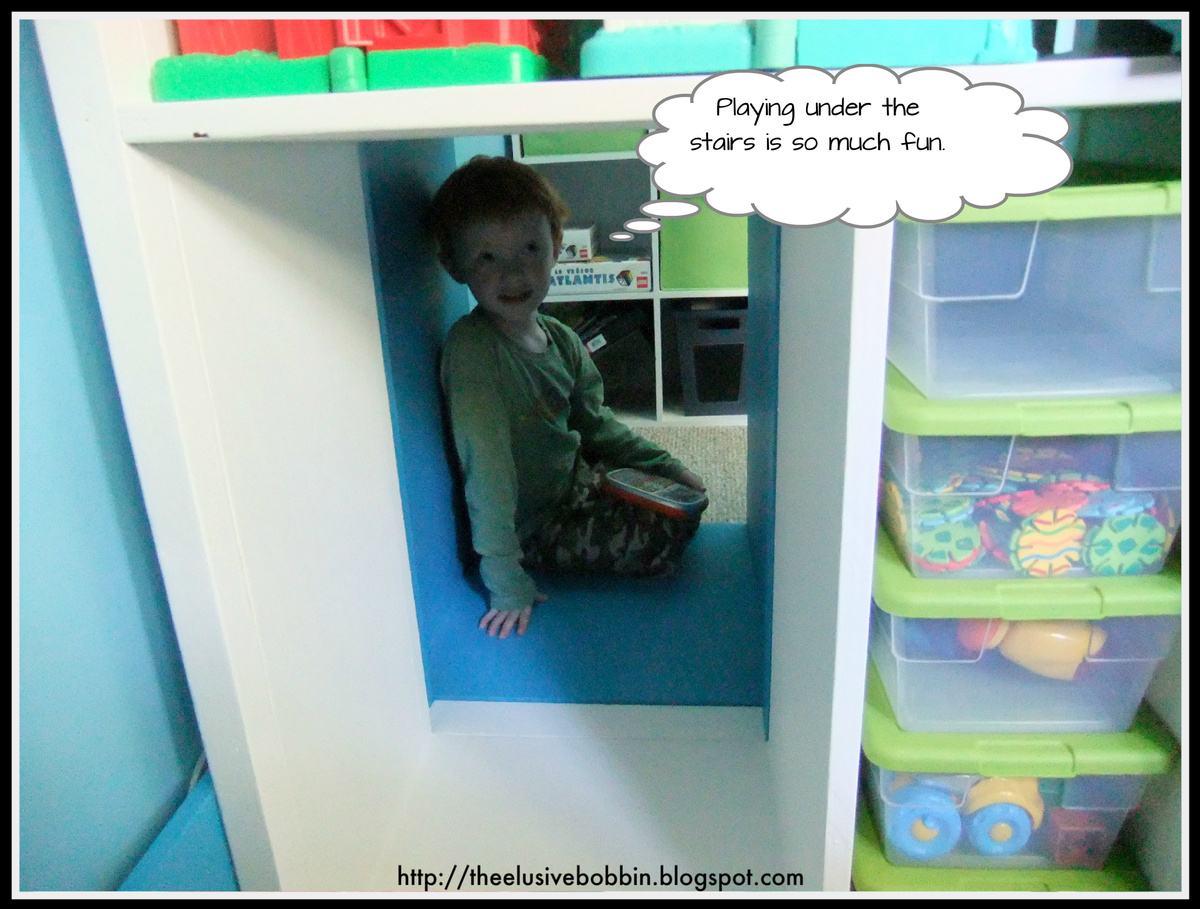
I changed the size of this to fit underneath my sons playhouse loft bed. It fits perfectly in the space between the door and wall of the bed. Put a kids leather chair in there and now he has his own personal man cave :)
Built from Plan(s)
Estimated Time Investment
Afternoon Project (3-6 Hours)
Recommended Skill Level
Beginner

My first build

After following Ana and a couple other talented ladies I decided to get a Kreg and take some action! I made a few adjustments to the size and I used pocket screws to put this together. It is solid! Found the baskets at Lowes and fell in love. It was super easy and my husband couldn't believe I put it together so fast. I has added much needed storage to the front door and we just love it.

Built from Plan(s)
Estimated Cost
$70 total
Baskets were $45!
Estimated Time Investment
An Hour or Two (0-2 Hours)
Finish Used
Flat black spray paint
Minwax dark walnut stain
Wood conditioner to seal
Recommended Skill Level
Starter Project

Comments

JoanneS

Sun, 12/07/2014 - 17:48

This looks super!  You did a great job and it looks beautifully constructed.  Congrats!  The finish is lovely. :)

X-base farmhouse table with zinc top

Submitted by Anonymous (not verified) on Sat, 03/11/2017 - 11:05

We used leftover white oak from the railing in our house, so our cost was just the zinc top, which we got from Rotometals. Total cost was around $200, all said and done. 

Built from Plan(s)
Estimated Cost
$200
Estimated Time Investment
Weekend Project (10-20 Hours)
Finish Used
Rubio Monocoat
Recommended Skill Level
Intermediate

Entryway & Coffeetable

Submitted by Anonymous (not verified) on Fri, 01/01/2021 - 18:46

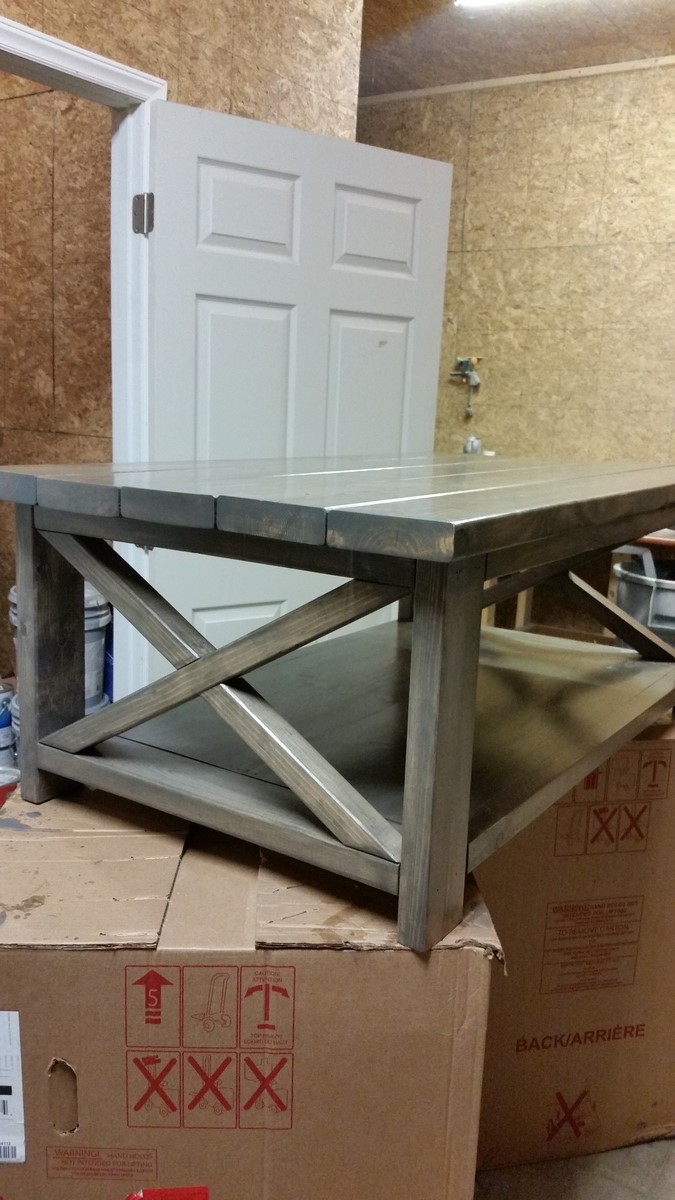
This was my first time making a project with plans from the site. They were easy to follow and modify to my sizes. I am extremely happy.

The cost of wood is higher due to the pandemic, however. A 2x4 was nearly $5.50 in Ohio.

Estimated Cost
$120
Estimated Time Investment
Afternoon Project (3-6 Hours)
Finish Used
Gray stain, applied with a foam brush.
Recommended Skill Level
Beginner

Rustic Sideboard / Buffet Table

This was our second project (though I'm proud to say that I was able to put the bulk of it together all by myself...and that's because of the miracle of the Kreg Jig pocket hole kit!)

First I had to modify the plans so that the sideboard wasn't as deep (about 16" deep...so just a couple/few inches off the original plans). Then we bought the wood. My husband helped me cut most of the pieces, and then I started drilling pocket holes. It felt like it took forever! But once that was done, I was able to put it together so quick...like an IKEA furniture! BUT! I really should have checked for SQUARE better than I did, b/c once it REALLY started coming together, things were a little off kilter... Thank goodness my husband had the patience to SAND THE HECK out of the bottom of the poor thing to level it back out. :P

The door fronts took forever...and the drawers took a while to fit in correctly (all of which my hubs did). We had left our lumber on the patio, and the second day it got rained on. It might have helped if our lumber didn't get wet (to help keep things straight and square).

The things that took the longest: squaring, leveling, doors and drawers, and the base molding (I ended up using a 2x4 and 1x2 to build my own base along the bottom...we wanted to stain the wood instead of paint it, and didn't want to pay the $$$ for paintable molding).

I used the same Rustoleum Dark Walnut stain that I had used on our Farmhouse Table...but I didn't shake it enough before using it, then left it on longer than I should have, so it is much darker than our table. Eventually may want to paint over it since it was so hard to get stain in all the nooks and crannies.

I didn't think to stain the inside of the doors. I will have to go back and paint it someday. We used particle board for the bottom and inside shelf (much cheaper than plywood). I tried staining the bottom piece, but it just soaked in the stain. So I used some dark brown spray paint instead. Worked like a charm. Planning on painting/covering the shelves one day, too.

OH! AND, I couldn't find the wider "bead board" (or whatever it is that everyone else used on their sideboards), so we used plywood as a backing, then attached some thin Poplar boards on the front for the appearance of planked boards. VERY painstaking. Would recommend a different method for that part.

(Timing: We started building this around the beginning of November, brought it in and used it before it was finished...then finished it a couple days before Christmas. Just the other day I added some drawer liners).

Built from Plan(s)
Estimated Cost
$200-300 for lumber.
Estimated Time Investment
Week Long Project (20 Hours or More)
Finish Used
Rustoleum Dark Walnut
Deft Clear Satin, 1 coat.
Recommended Skill Level
Intermediate

Comments

hillarylouise

Wed, 02/06/2013 - 15:20

I saw your comment on my blog and had to come take a peek! It sounds like it was a challenging project, but you did a fantastic job. Beautiful!

Kentwood Twin Bed

Submitted by meganomesh on Wed, 12/10/2014 - 13:32

My husband and I built this bed for my sister-in-law for Christmas. It took us about a week of working an hour or so a day on it. Most of that time was staining. The actually assembly took about 2 hours. 

I included a picture of how we attach the siderails to the headboard/footboard. We use a bracket that the 1x2 slides into. It is screwed to both the siderail and the headboard with 1 1/4" screws. We also attach a small L bracket to each corner with helps remove any wiggle that was there previously. It really makes the bed much more stable by adding those little L brackets. Again, we used 1 1/4" screws to attach them. 

Built from Plan(s)
Estimated Cost
$110-$120 (price includes wood, stain and hardware)
Estimated Time Investment
Week Long Project (20 Hours or More)
Finish Used
Sanded well
1 coat of pre-conditioner
1 coat of Minwax early american
2 coats of Minwax Mission Oak with Polyurethane, Satin
Steel Wool after each coat of the stain with poly
Recommended Skill Level
Beginner

Comments

meganomesh

Wed, 12/10/2014 - 13:55

I had some trouble with the submission of my form and now it's not allowing me to edit so I'll write the details in the comments.

The assembly took about 2 hours but we worked on the bed about a week due to the many coats of stain etc.

Here's how we finished the bed:
1 coat of Minwax pre conditioner
1 coat of Minwax Early American
2 coats of Minwax Mission Oak stain with poly, satin
Steel wool the project after each coat of stain with poly

I included a picture of the hardware we use to attach the side rails to the bed. The big bracket holds the side rails up. The little "L" bracket in each corner makes it so the bed doesn't wiggle or move. This is our 4th bed to build and we have found this set-up to make a very secure, sturdy bed.
meganomesh

Wed, 12/10/2014 - 14:01

I had some trouble with the submission of my form and now it's not allowing me to edit so I'll write the details in the comments.

The assembly took about 2 hours but we worked on the bed about a week due to the many coats of stain etc.

Here's how we finished the bed:
1 coat of Minwax pre conditioner
1 coat of Minwax Early American
2 coats of Minwax Mission Oak stain with poly, satin
Steel wool the project after each coat of stain with poly

I included a picture of the hardware we use to attach the side rails to the bed. The big bracket holds the side rails up. The little "L" bracket in each corner makes it so the bed doesn't wiggle or move. This is our 4th bed to build and we have found this set-up to make a very secure, sturdy bed.
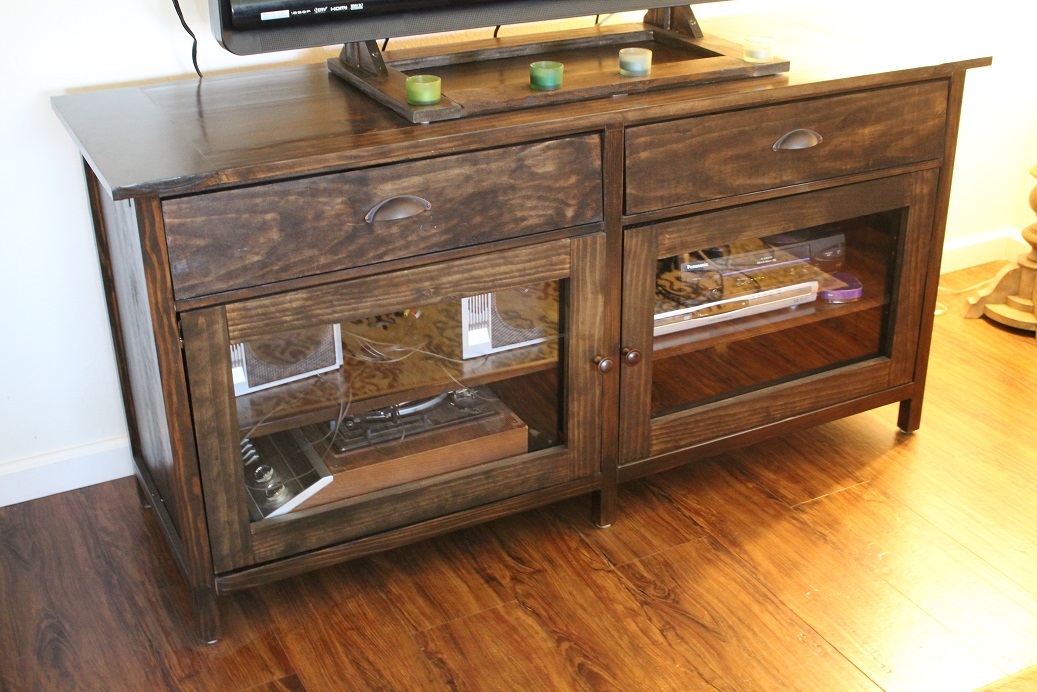
Rustic Media Center

Rustic Media Center stained with teal and white distressed paint. 

Estimated Cost
$350
Estimated Time Investment
Weekend Project (10-20 Hours)
Finish Used
Kona Stain, Teal and White Paint
Recommended Skill Level
Intermediate

Classic Storage Bed, adapted

Submitted by Anonymous (not verified) on Tue, 01/05/2021 - 16:24

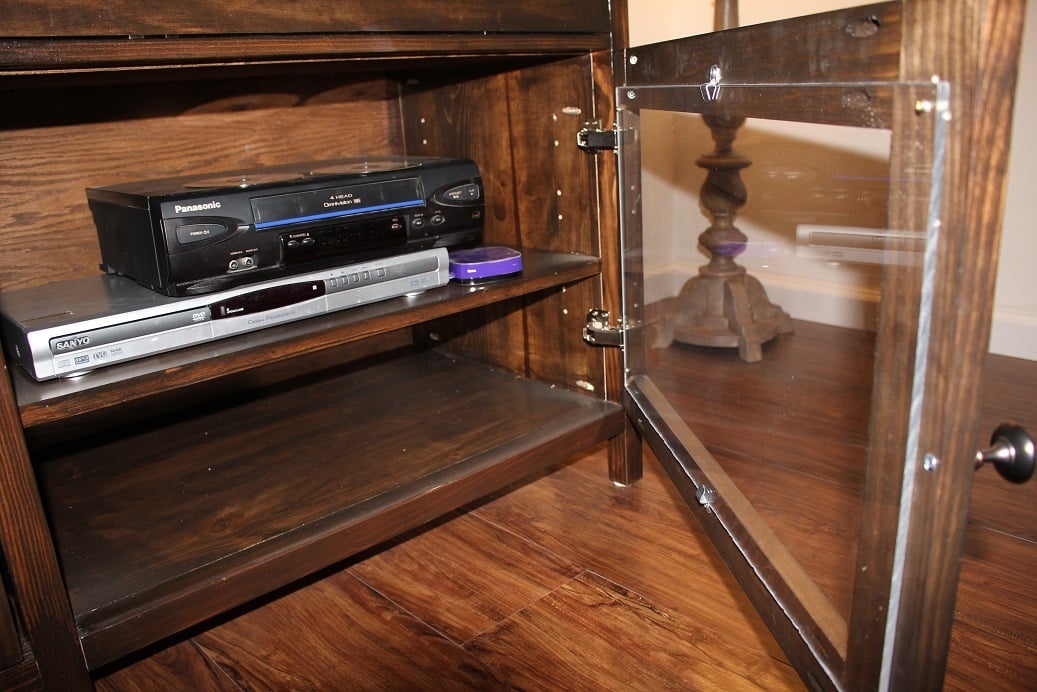
I doubled the height of the Classic Storage Bed to create 6 side drawers and 4 bottom doors for my daughter's twin bed. She lives the extra storage in her small bedroom. Thanks for the inspiration!
Estimated Time Investment
Week Long Project (20 Hours or More)

Comments

Junk Drawer No More

Submitted by mom of 4 on Fri, 02/08/2013 - 15:23

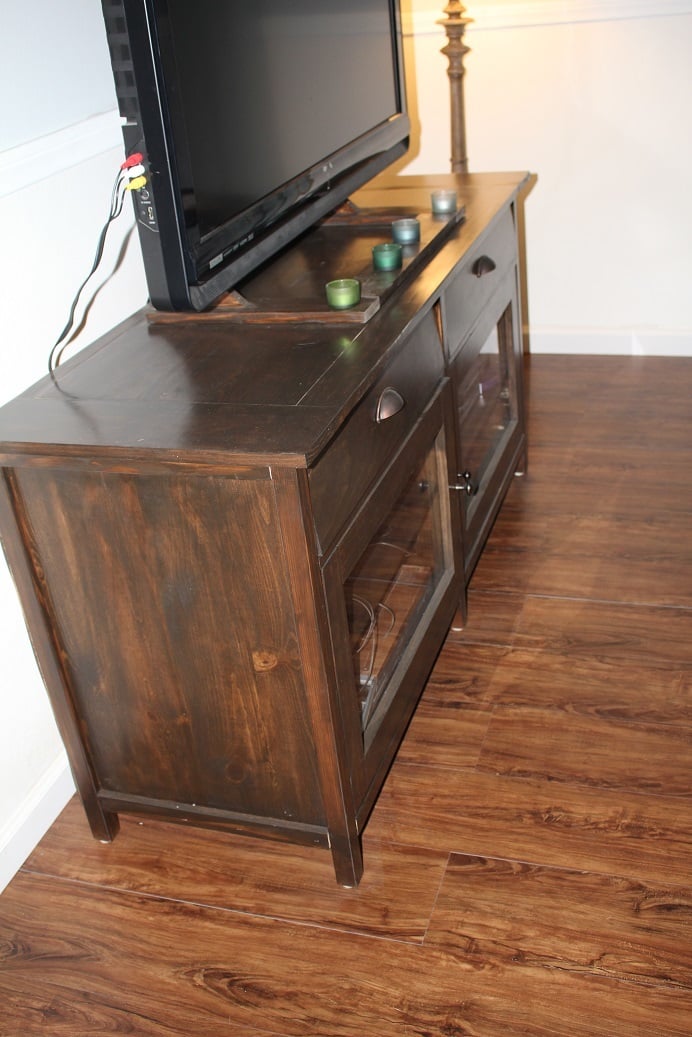
I finally got tired of my junk drawer being messy, so I took 10 minutes today and a piece of scrap wood and made this drawer divider. I even have a dedicated cubby for my tape measure!

Estimated Cost
nothing
Finish Used
I left it unfinished.
Recommended Skill Level
Starter Project

Kid storage chairs

Submitted by Anonymous (not verified) on Wed, 03/15/2017 - 08:50

I followed Anna White's plan to build this chairs. My kids love them. Thanks for the free plan. It took me a while to finished it because they were my first project.

Built from Plan(s)
Estimated Cost
about 30 to 40 for two chairs.
Estimated Time Investment
Weekend Project (10-20 Hours)
Finish Used
simi gross paint self primer.
Recommended Skill Level
Beginner

Pot holder

Submitted by Anonymous (not verified) on Tue, 01/12/2021 - 06:21

Working off your idea. Added another holder. There will be a bottom drawer for bigger stuff.

Built from Plan(s)
Finish Used
Will be painted
Recommended Skill Level
Starter Project

FARMHOUSE TABLE

Submitted by beefcake on Tue, 12/16/2014 - 11:03

All the boards are ran through a jointer and planer making each board squared.
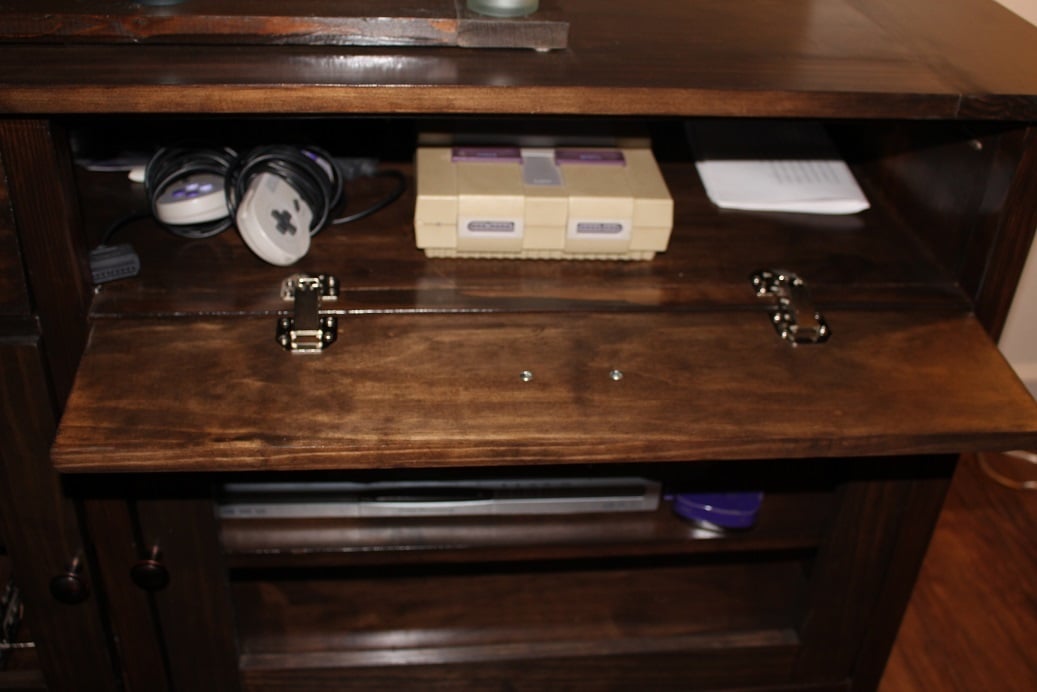
No rounded ends.

Stain conditioner used.

Finish - Minwax Early American


Estimated Cost
$85
Estimated Time Investment
Weekend Project (10-20 Hours)
Recommended Skill Level
Beginner