Kitchen Table Storage Bench
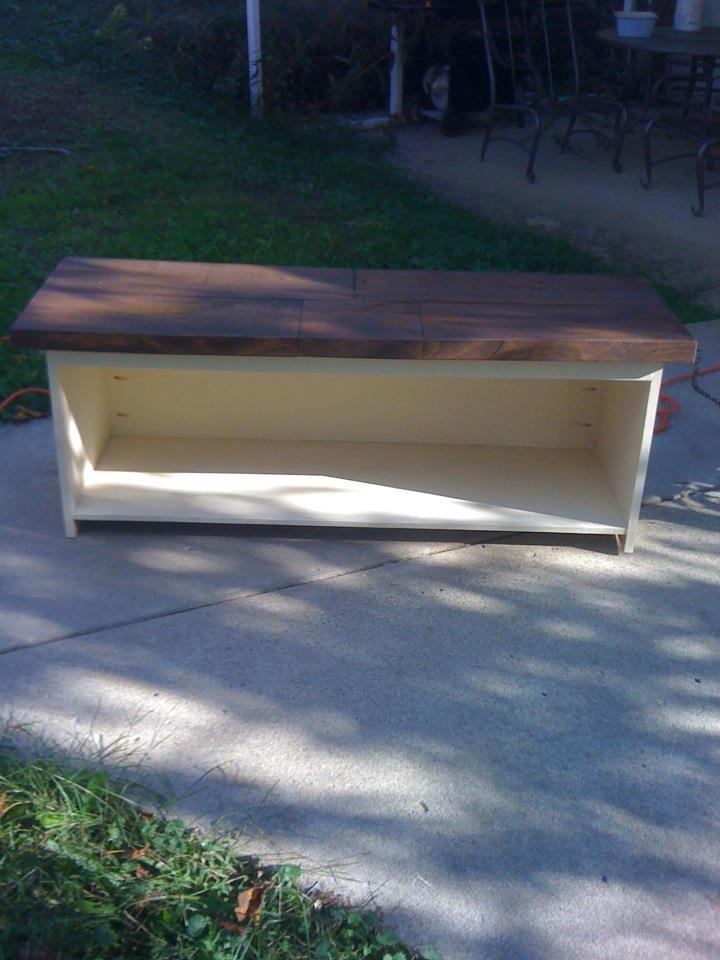
I built this storage bench and my wife stained and painted it. It is for use at the kitchen table as well as have storage for baskets underneath. This is my 1st project I have used my Kreg Jig on. Absolutely love it!!!
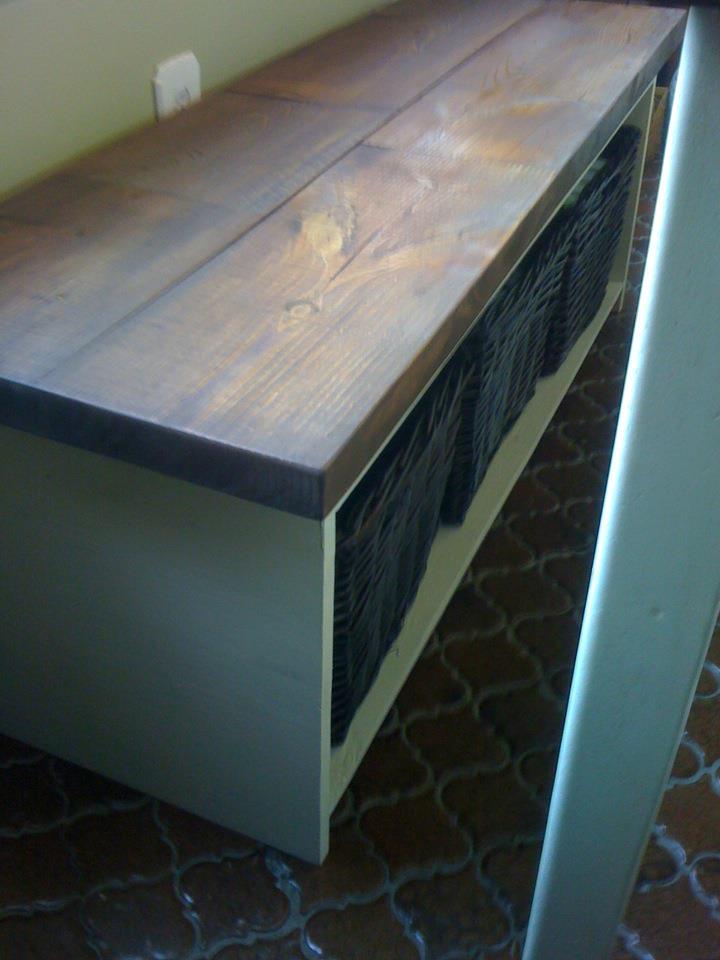

I built this storage bench and my wife stained and painted it. It is for use at the kitchen table as well as have storage for baskets underneath. This is my 1st project I have used my Kreg Jig on. Absolutely love it!!!

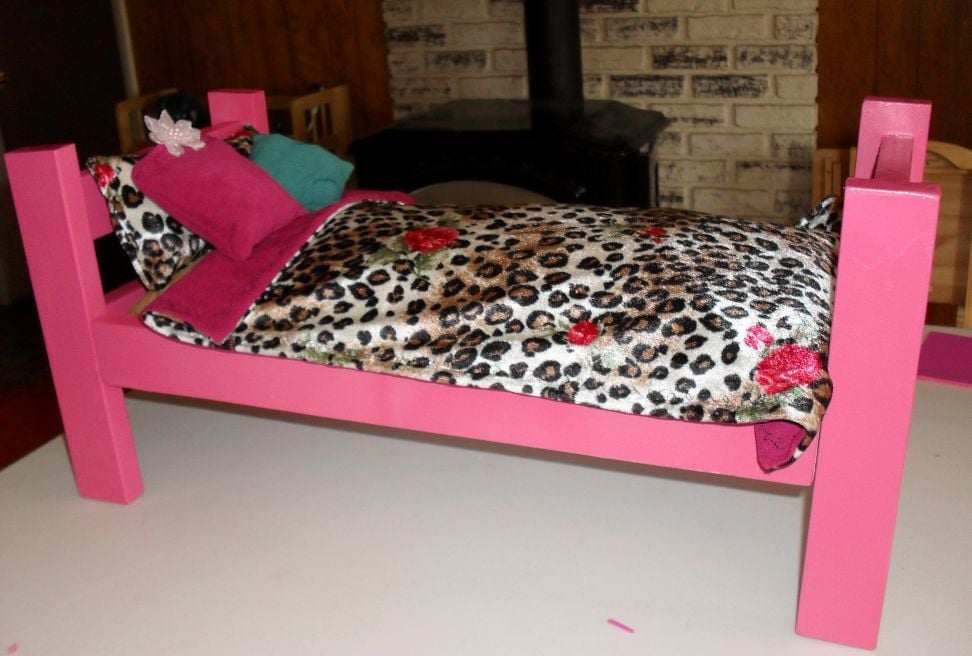
I made this as a gift for my niece. I fully assembled it, instead of presenting it as a kit. When I made the frame, I hadn't quite figured out how to make perfectly straight cuts with my circular saw, and I cut all the pieces before I came across Ana's tutorial on using a circular saw. So the bed is not perfectly square. Fortunately, a few pieces of thin craft foam glued to the bottom of a couple of the legs eliminated most of the wobble. That, and a generous application of pocket holes and screws. Each side rail is attached to the headboard/footboard with (6) 1 1/2" screws! I could probably jump up and down on the frame and it wouldn't budge. And I think I over-painted. Not to good with my spray painting technique yet. Plus, I forgot to sand between coats, and I didn't have time to add a clear topcoat.
When I look at this project, I see every flaw and mistake and feel dissatisfied. But, I just remind myself that I am my own worst critic. My niece, on the other hand, loved it. And no one else seemed to notice the mistakes: I received several nice complements. And the best part: it was practically free! I bought a can of pink spray paint, but everything else came out of my wood stash or my fabric stash. A present made with love, not money. And my first "real" building project.
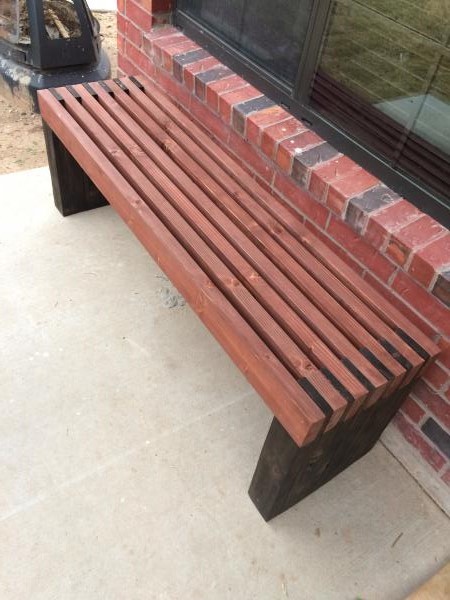
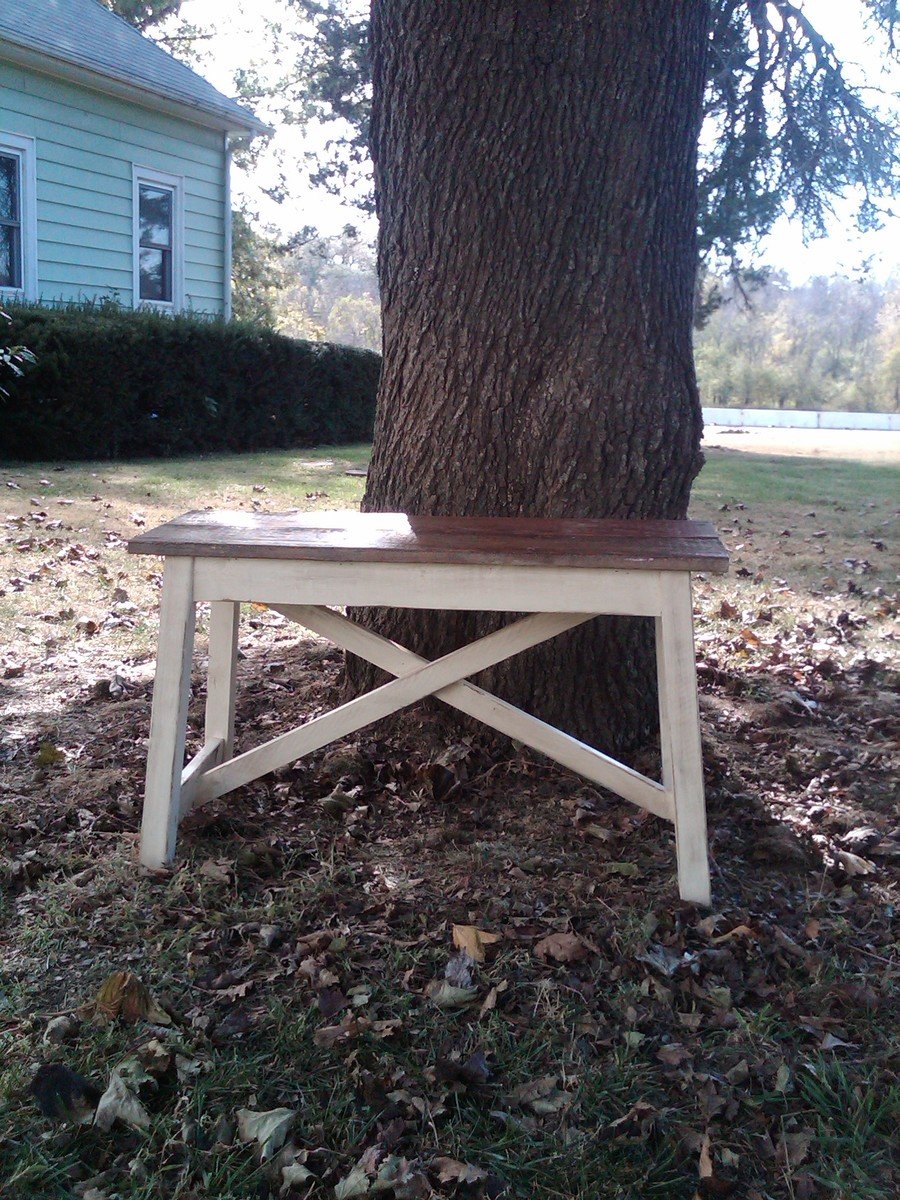
I followed Ana's instructions except for my bench was 56" in length and stained the top red bottom brown.
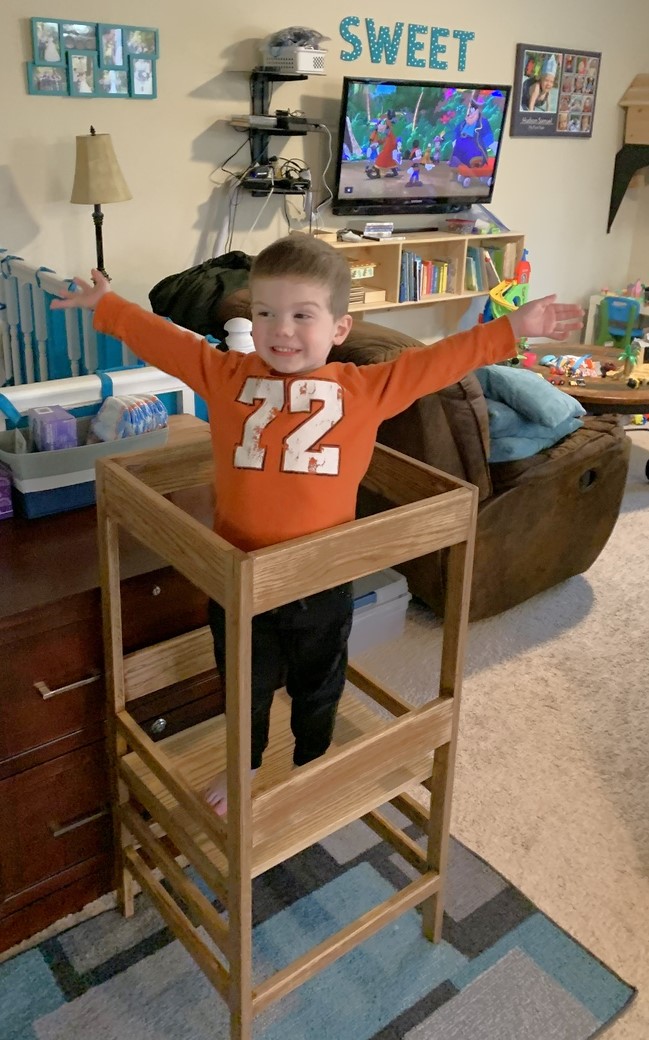
I made a simplified version without the arches, worked out great! Thanks for the plans! I used oak so cost was a little higher than necessary. :)
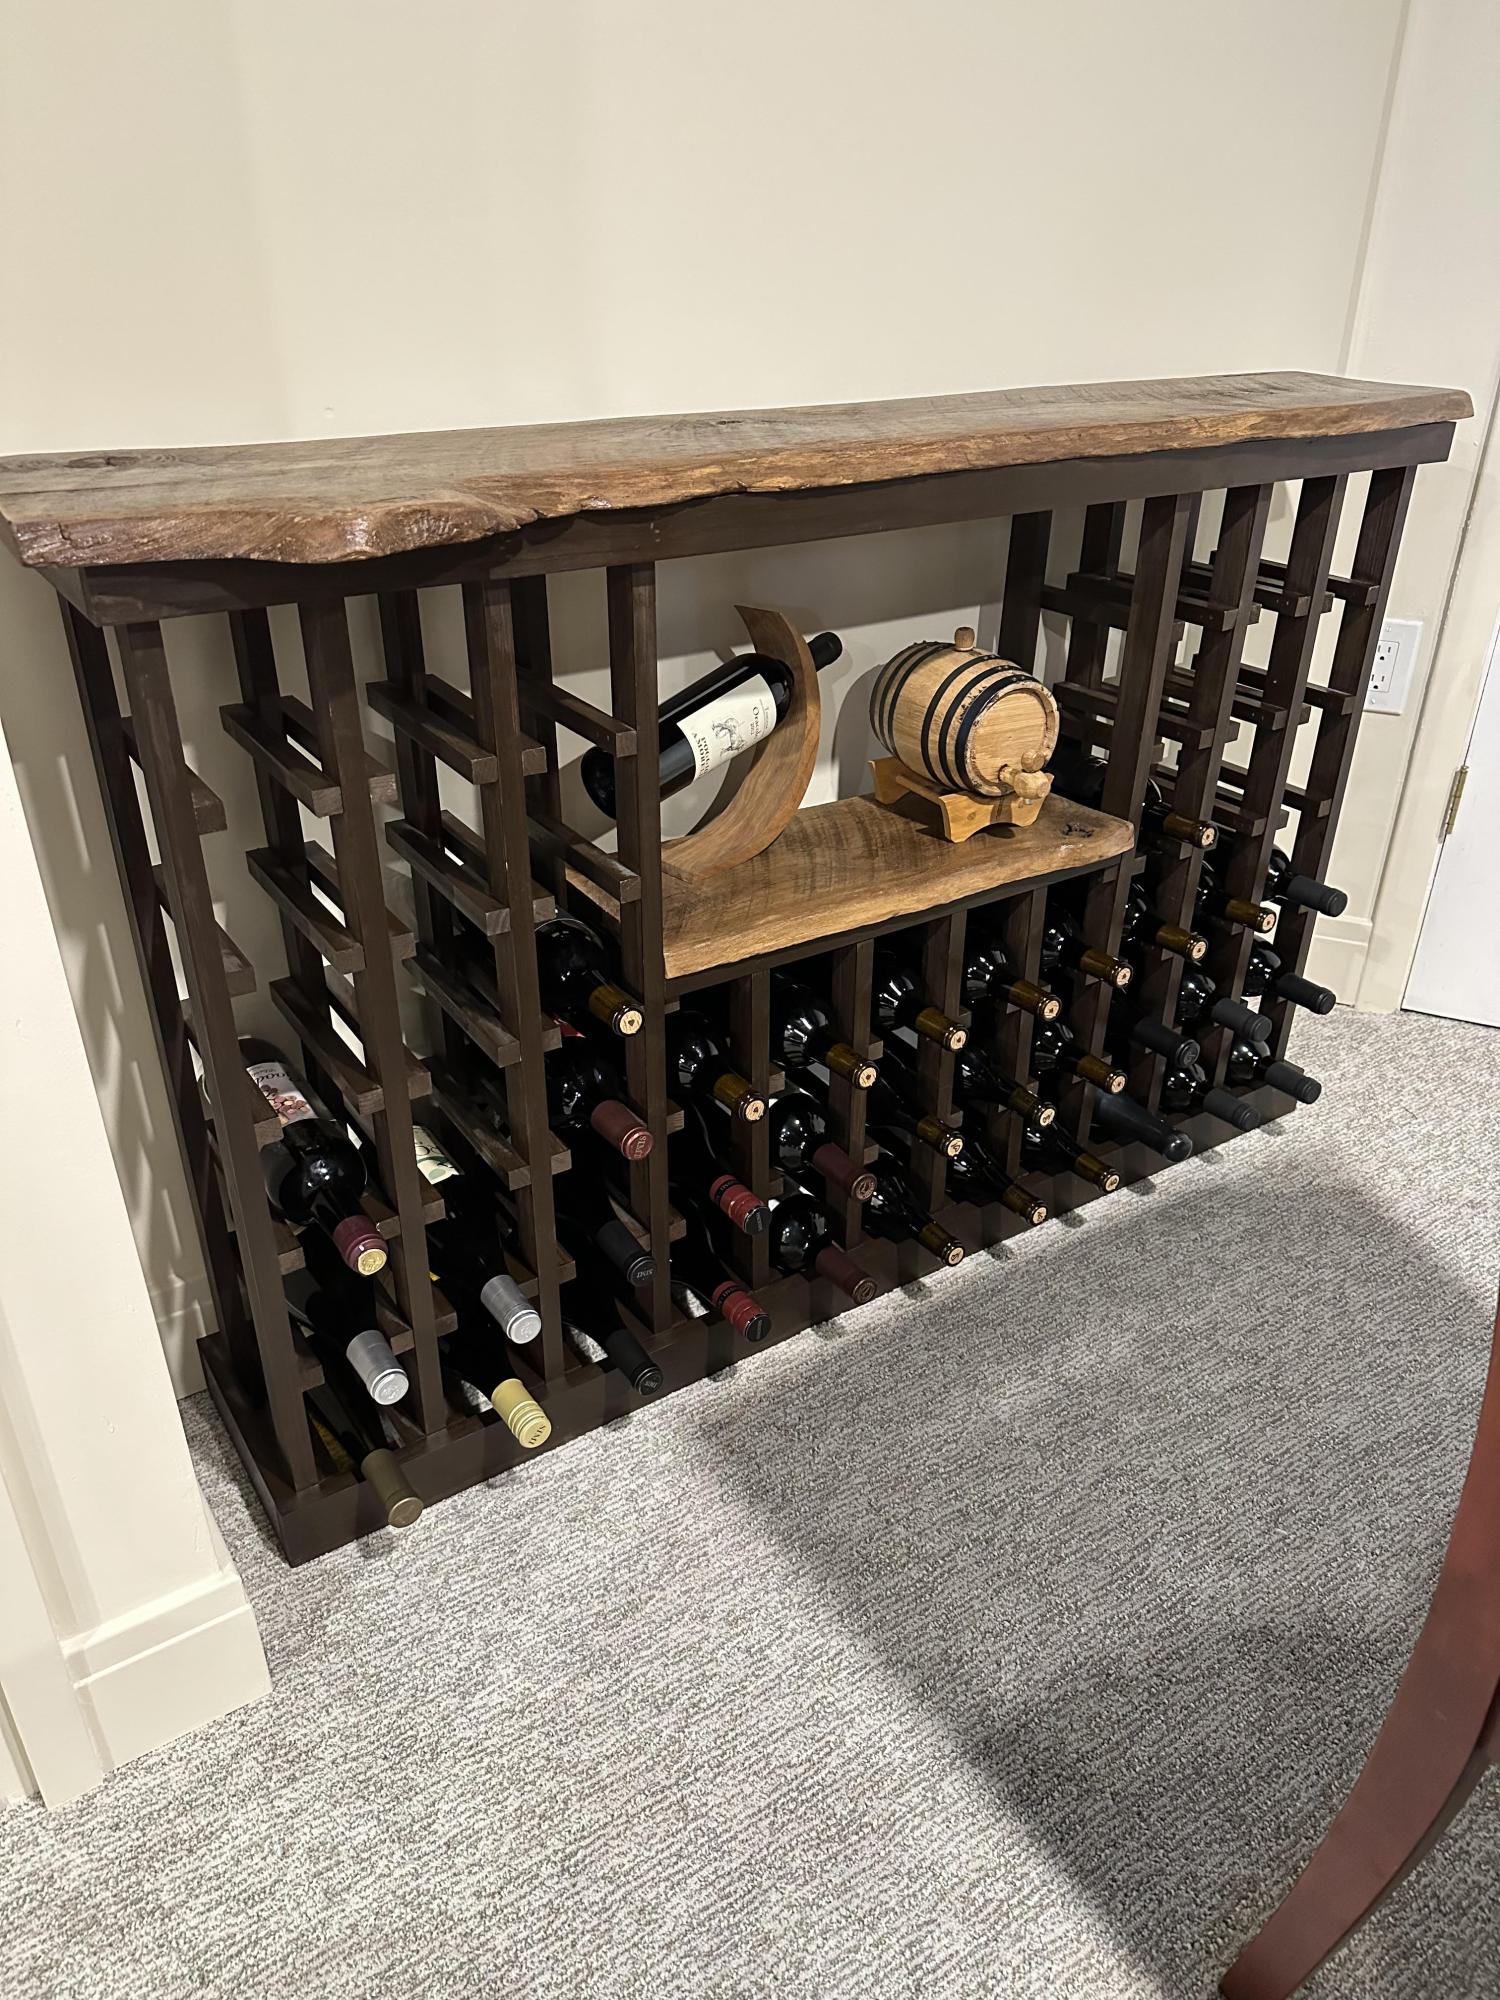
Made this wine rack for our basement rec room using live edge wood, 1x2s, and 3/4in wood dowels. Full dimensions and write up at the link below!
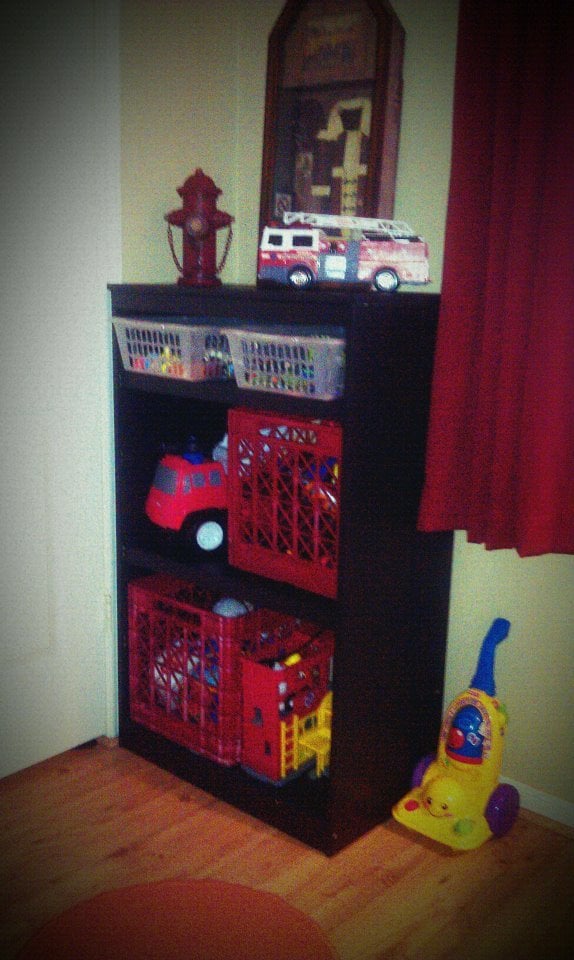
After replacing that trashed out IKEA dresser with the fire fighter style locker in the boys room I started taking apart said dresser to put out on heavy trash day. It was then I realized that while it wasnt the BEST materials, the top and sides were actually not all that bad. As it was the piece was too wide for the space I was looking to fill, so I did a little trim of the top, replaced the supports and framing and rebuilt this into a shelving unit.
I bought a couple 1x2s to frame shelf supports and actually used the base of the drawers as a shelf.
My neighbor across the street is a DJ and has about 100 million plastic crates in his garage that he is getting rid of (they used to hold his vinyl). So I took a few and have been finding uses for them. I spray painted 2 of them red and used them as the basis for where to attach the shelves.
I also had a couple of other baskets for toys that were just the right size for the small top shelf. I just need to go back and paint those red too.
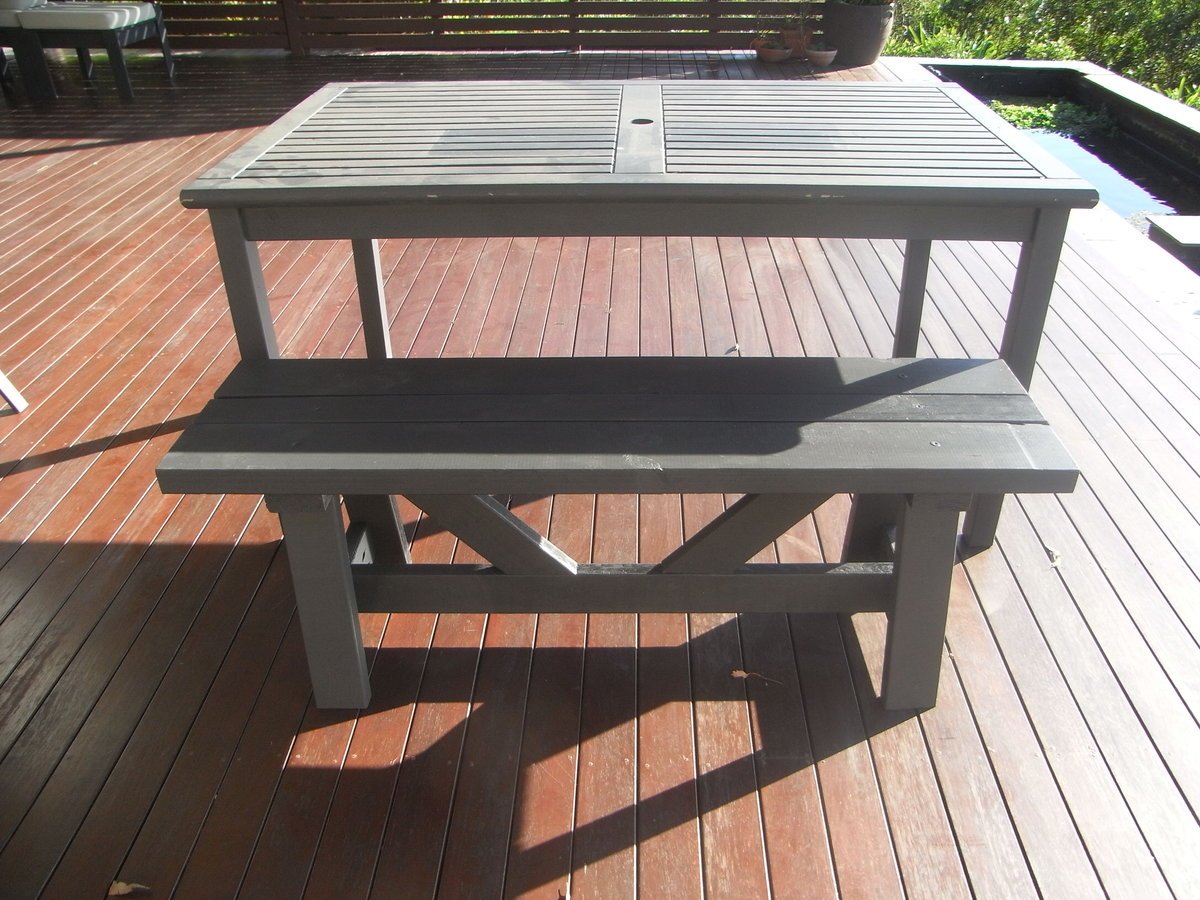
Love this bench, you can fit lots of kids on it and it is very sturdy.
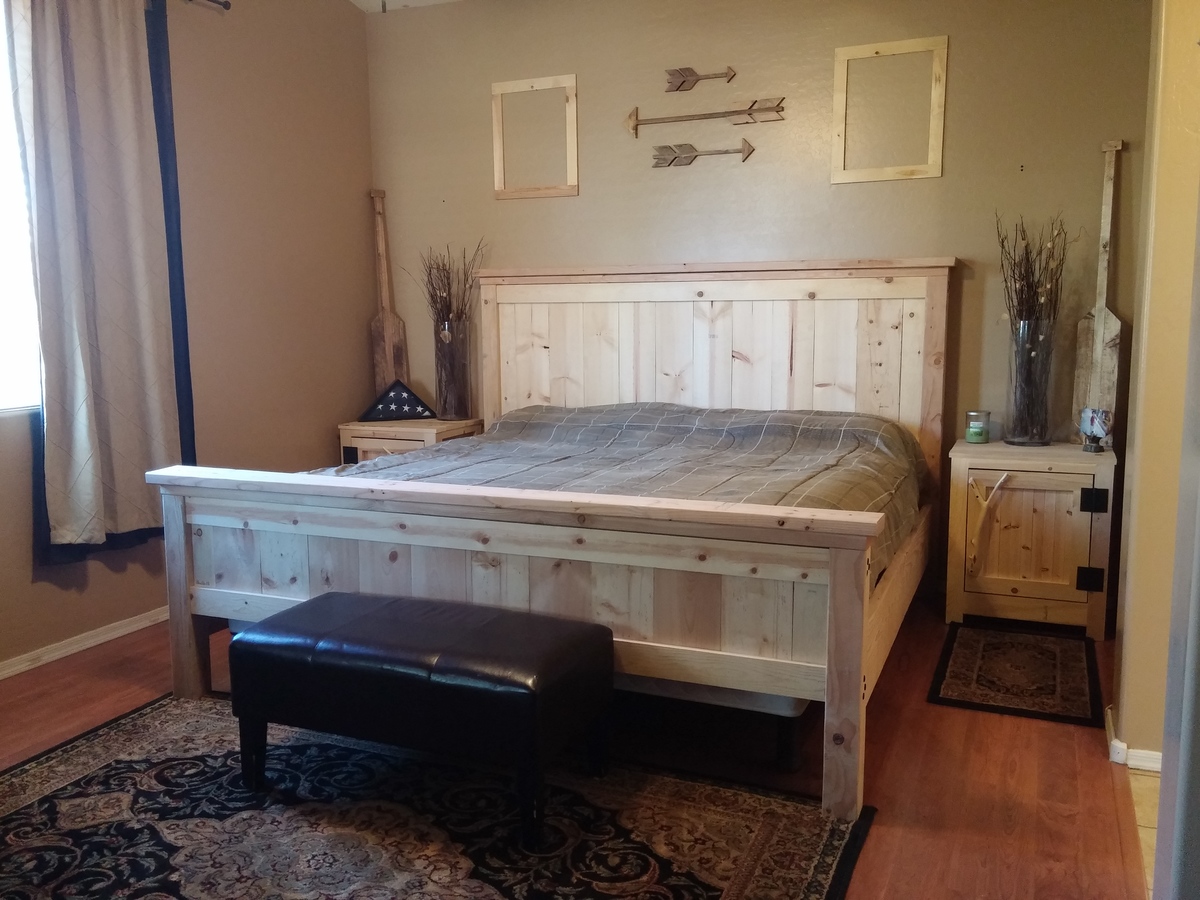
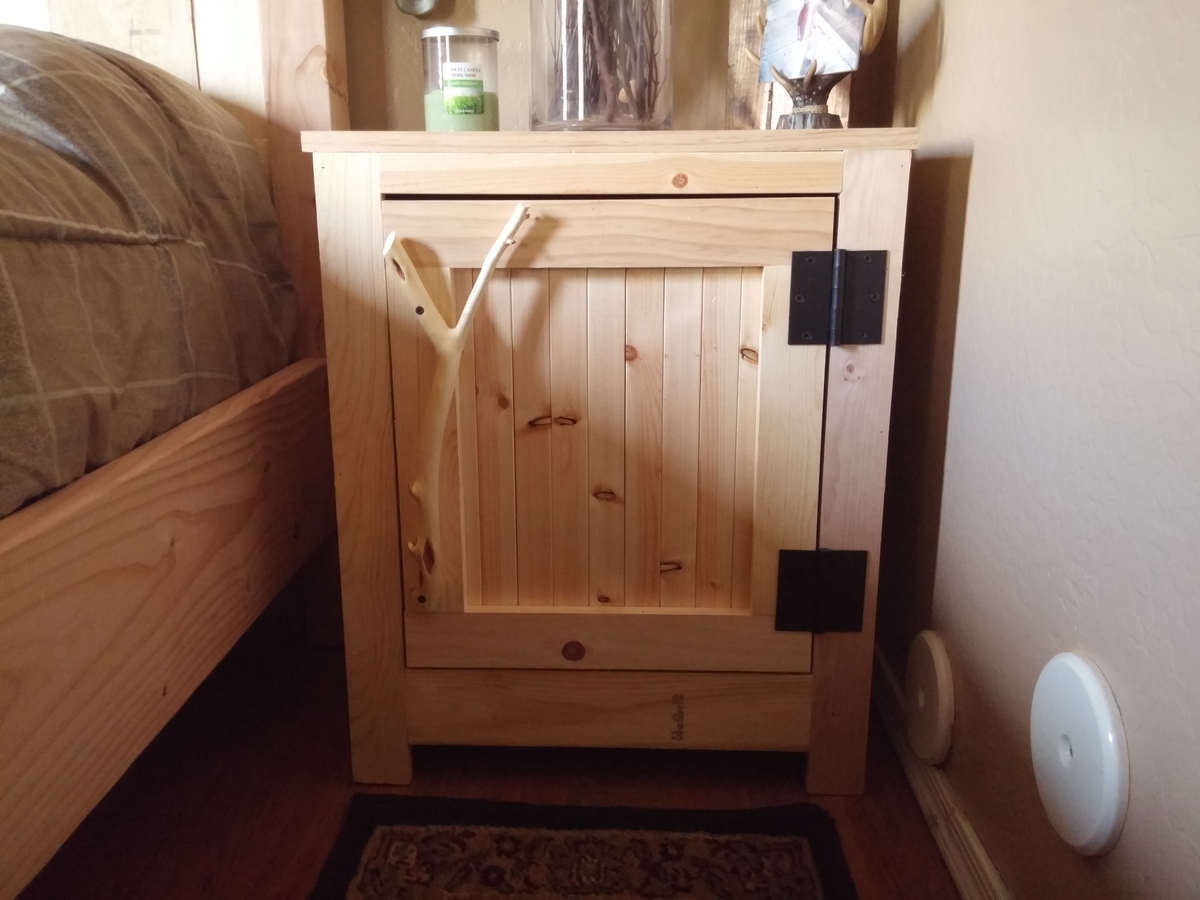
I made this Farmhouse bed frame for my king sized sleep number bed. It is a little wide but overall I am very happy with it. I also made the nightstands from the Kentwood plans. The handles are diamond willow that I picked from the Northwood of Wisconsin.
Wed, 12/28/2016 - 19:28
Very cool, I really like the handles from foraged wood. Strikes me as something perfect for a cabin in the woods.

My husband and I built this bed over the course of several weeks working on it a few hours at a time due to long work days. It came out beautiful and is exactly what I wanted and how I had it pictured for our new bedroom redo. We added the Queen Storage Bed Drawers from the Ana White plans but had to make a modification as the drawer plans did not account for the trim as shown in the picture for the bed. Then we took things a step further and built matching nightstands. I LOVE how everything turned out.


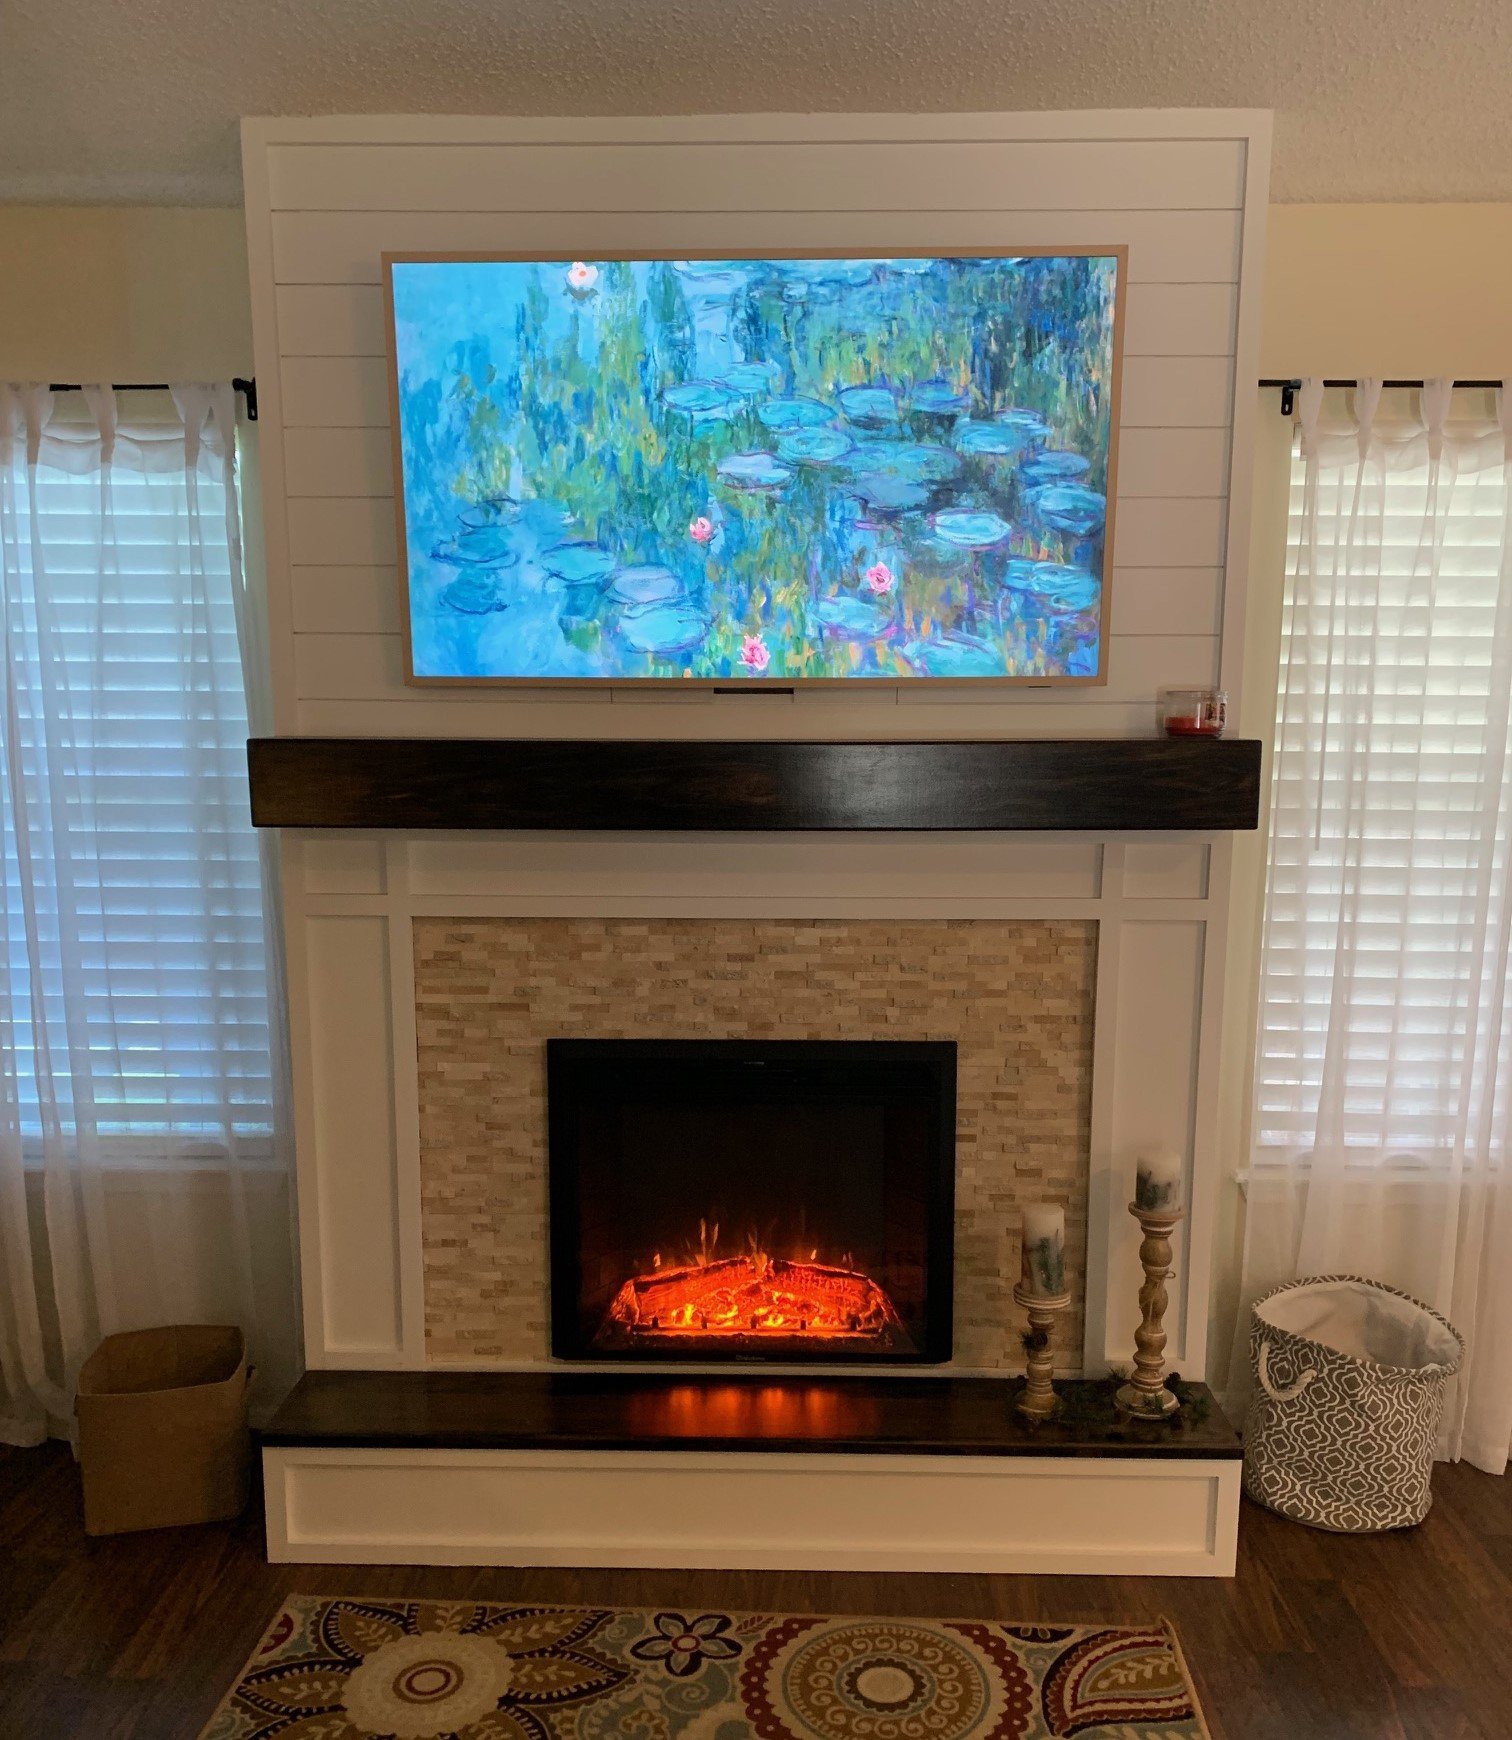
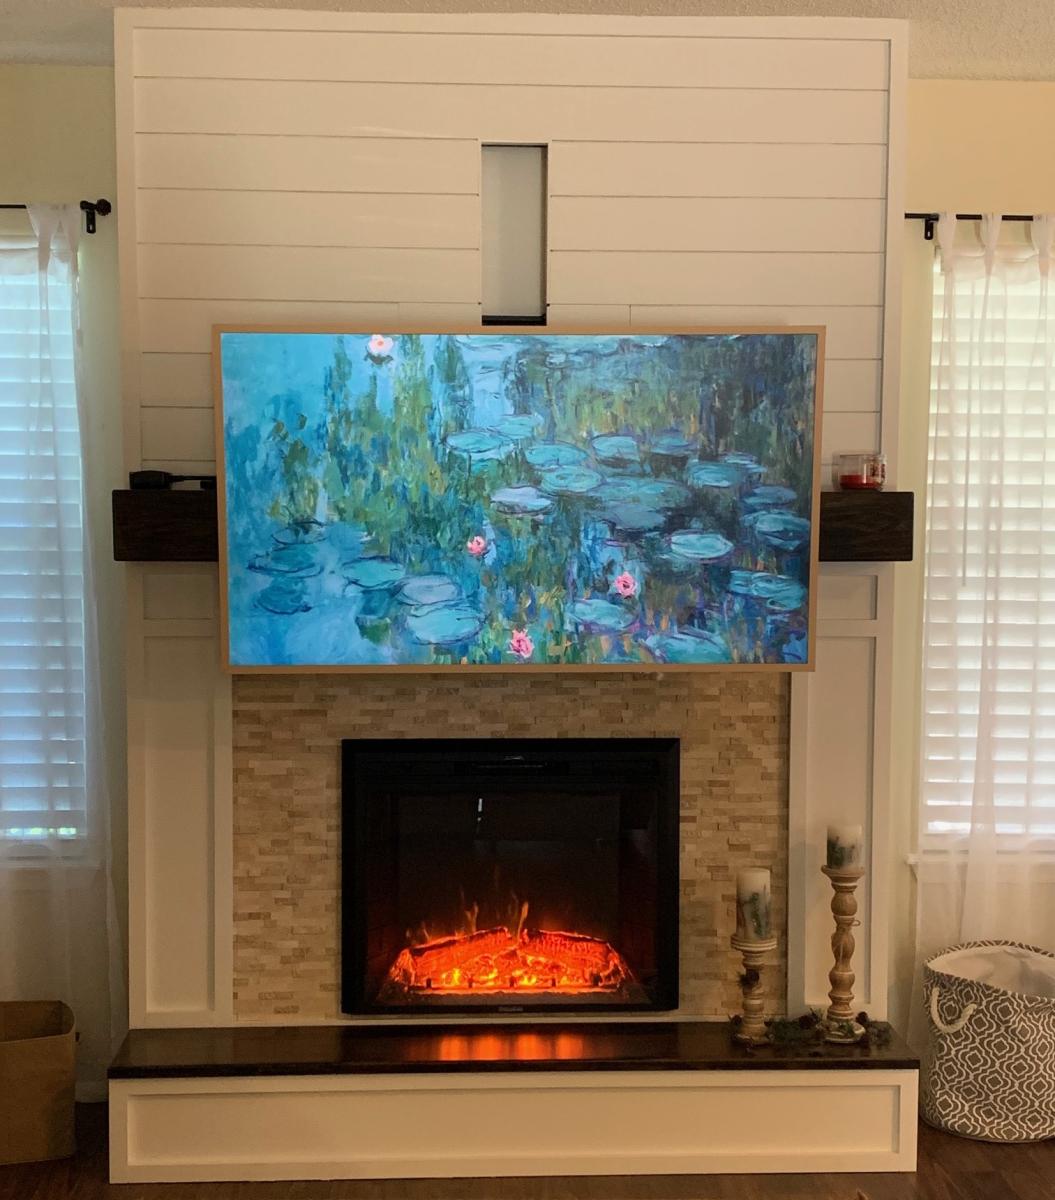
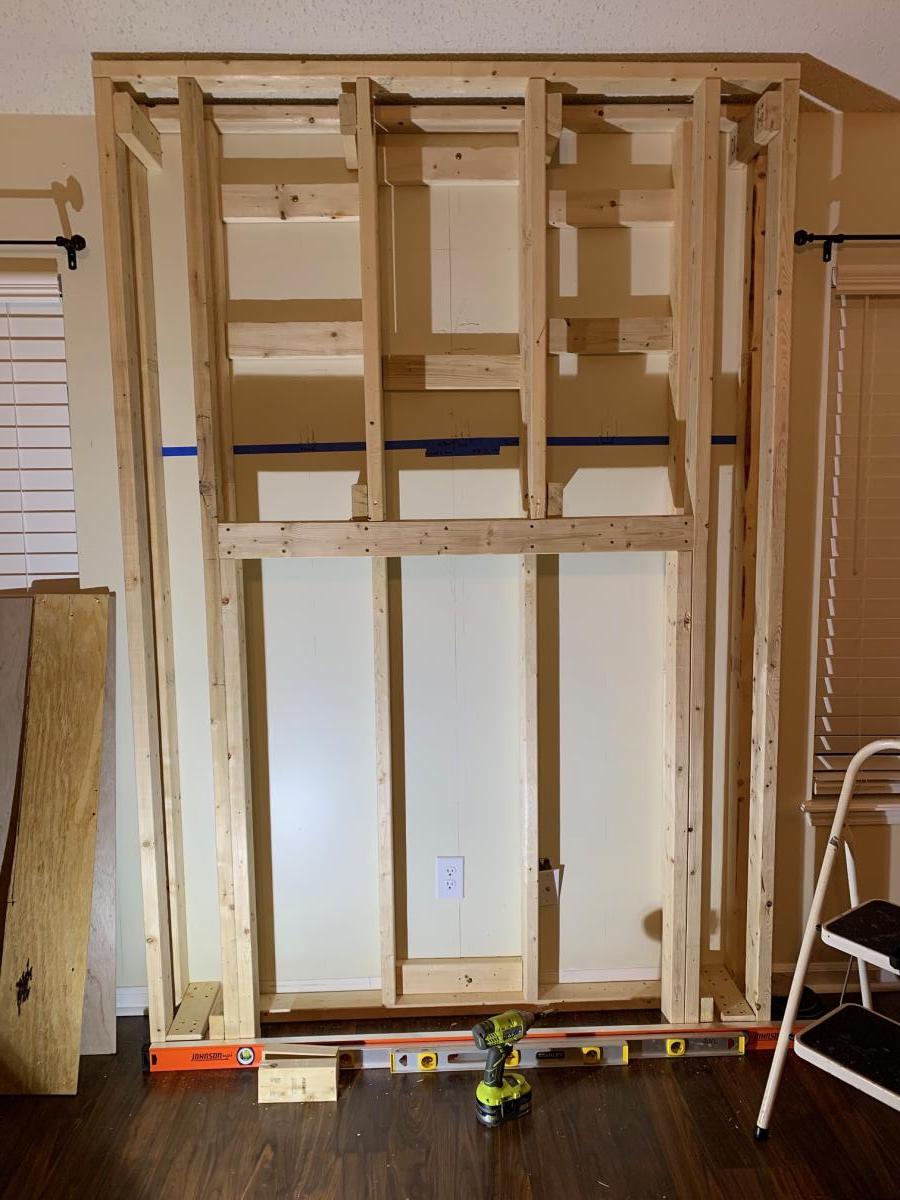
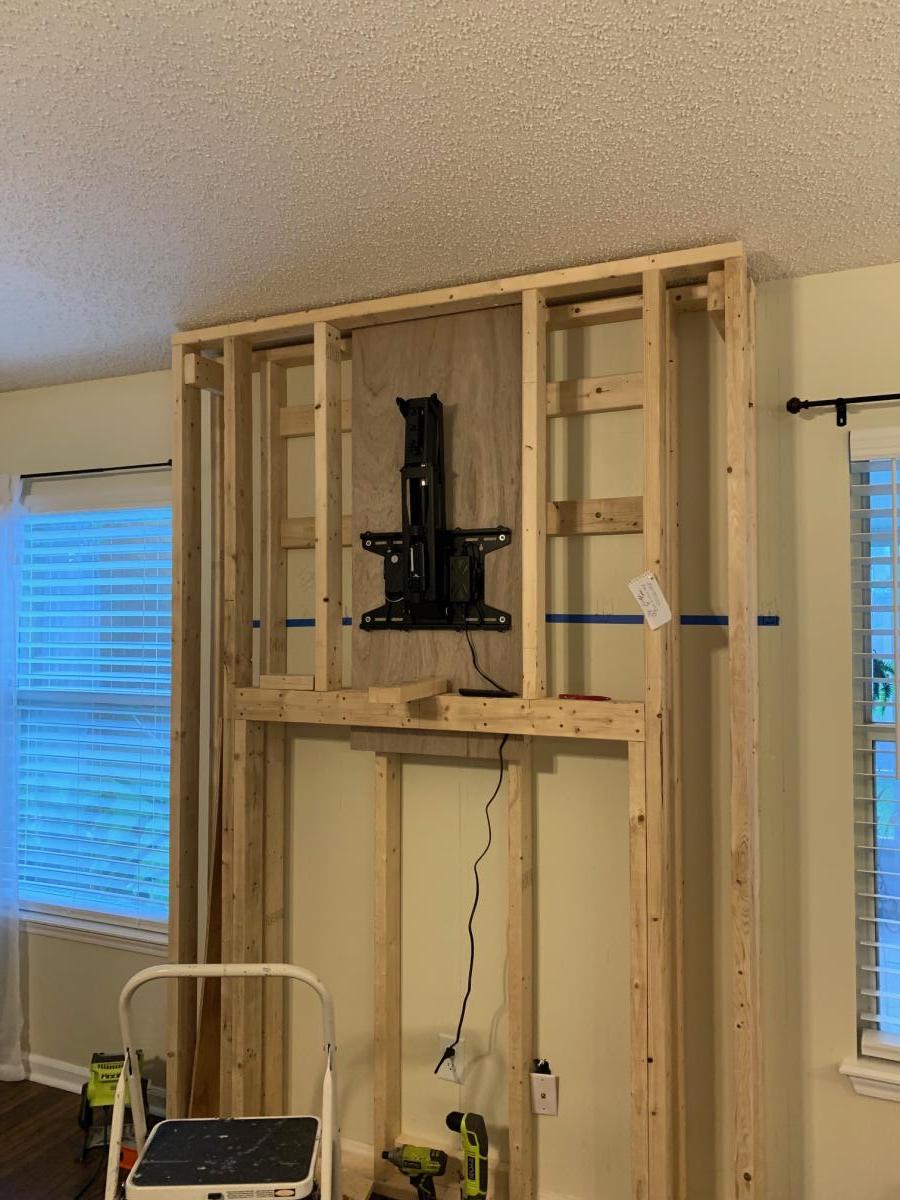
This is a very custom fireplace that I built for my wife as a 40th wedding anniversary gift. It is built around a Samsung 55” Frame TV and a Vivo motorized mount. The motorized mount allows the TV to be lowered to a better viewing height than the standard above mantle position which is usually too high for comfortable viewing.
In order to maintain the flush mount effect with the TV in art mode, I recessed the mount into the fireplace. That required building a “back” frame for the TV mount then the outer frame for the surround. I covered the outer frame with ½” OSB then ship lap. The mantle and hearth is made from Poplar with walnut stain and Polyurethane satin top coat. The hearth opens for storage.
This was sourced from several different plan sets with a lot of customization and input from the Technical Support Staff at Vizo-US.
Thu, 02/16/2023 - 09:46
Happy Anniversary!
This is a beautiful, well thought out project.
I was hoping someone would do the recessed mount, and you nailed it! It's so much better with the tv flush like yours.
Also love the motorized mount.
Thank you very much for sharing photos.
Ana
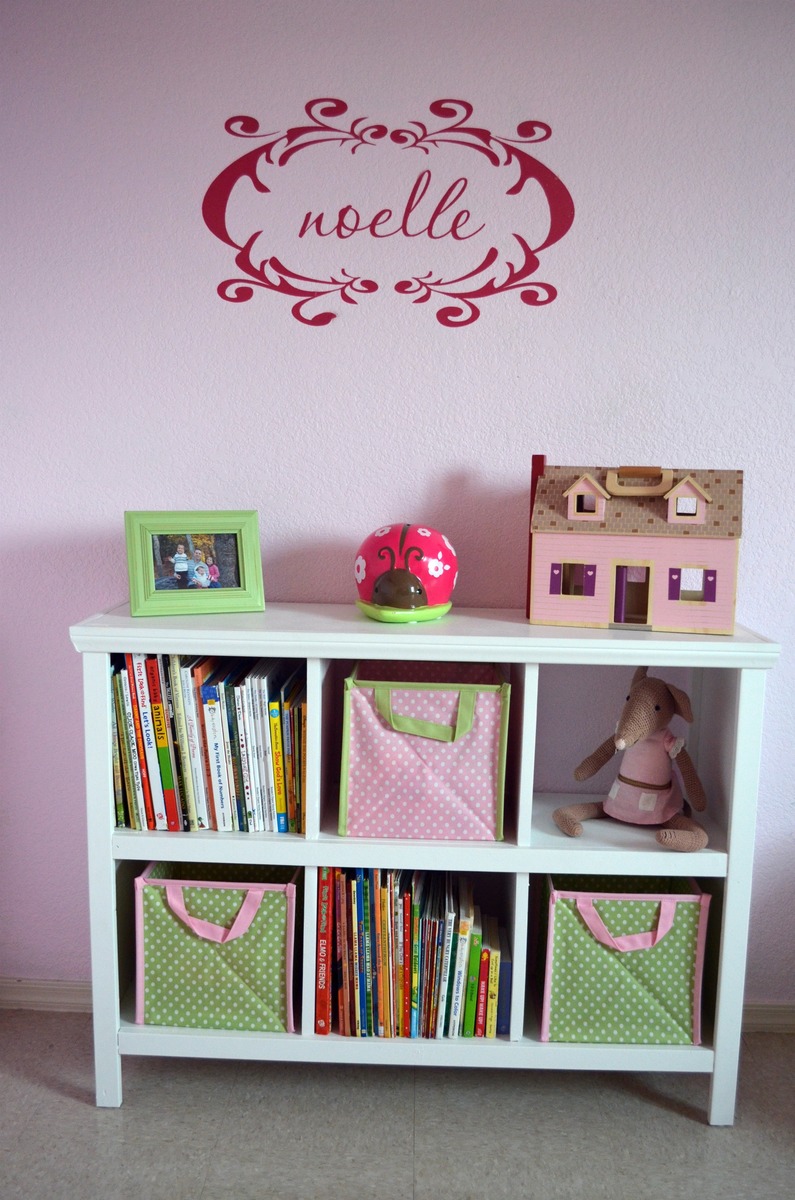
We are redoing our almost 3 year old girls room to a big girl room and we started with this! The Bed is almost finished and I can't wait to share it! I think adding the moulding to the top makes it look very pretty and professional. Our other two rooms have real PBK furniture in it but I honestly think this is going to look better!
Tue, 02/07/2012 - 06:15
This will look just perfect in my kid's room. I can't wait to try it out. Going to my local Lowe's in 30 minutes.
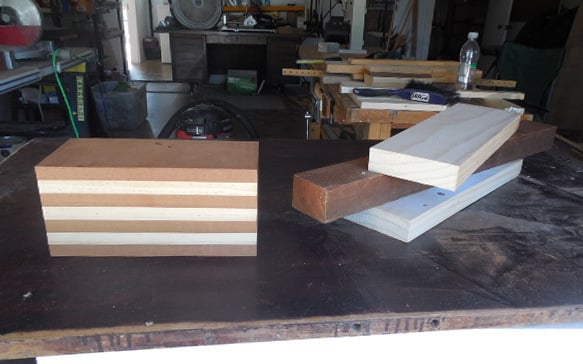
I just wish to point new bandsaw users toward trying to make bandsaw boxes as a way to really learn blade differences, tensioning, cutting curves, setting up the bandsaw and generally getting comfortable with your new tool.
The fun thing about bandsaw boxes is you can just almost cut free form and still have a great result. From start to finish it takes about two days some of which is just waiting and sanding.
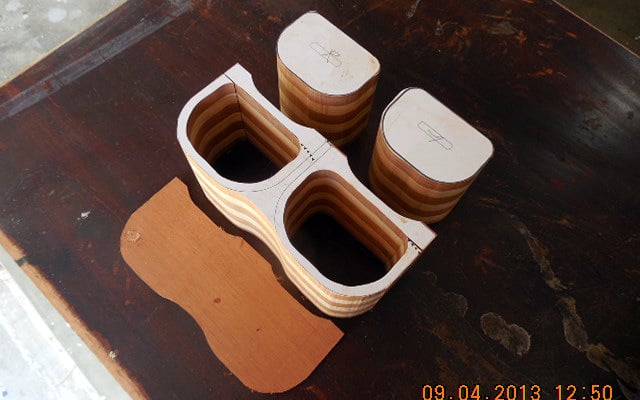
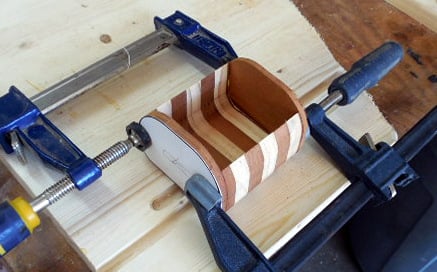
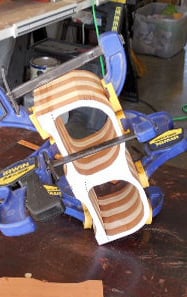
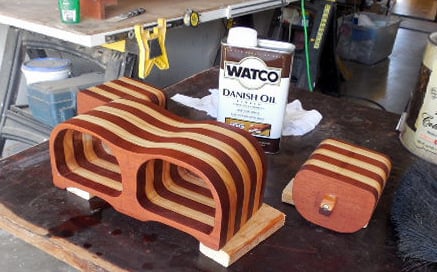
Fri, 10/18/2013 - 16:31
I love the boxes, Jake. I did have an inexpensive band saw and I tried using it to make small boxes similar to yours. The saw scared me to death - when the blade came flying off I put everything back in the box and returned it! I'd like to, someday, try again.
Fri, 10/18/2013 - 18:14
I have only had my bandsaw about 6 months and in that time I have had two blades break and occasionally slip off the wheels. Bandsaws are considered to be one of the safest power saws you can use so don't be afraid but know where the off switch is if something happens. You just need to experiment with proper setup including the placement of guiding blocks or bearings, blade tension, and blade choice. Also a 3/16" blade can make a very tight turn where it would be foolish to try it with a 1/4" blade. I like a 3/16", 4 teeth per inch skip tooth. Youtube has many tutorials on how to make a bandsaw box.
Fri, 10/18/2013 - 16:31
I love the boxes, Jake. I did have an inexpensive band saw and I tried using it to make small boxes similar to yours. The saw scared me to death - when the blade came flying off I put everything back in the box and returned it! I'd like to, someday, try again.
Fri, 10/18/2013 - 17:04
These are awesome! My son was looking over my shoulder at these and said, "Mom, you have to comment and tell this guy your son says these things are awesome!" And I agree with him! How did you cut them to fit the drawers? These are so cool, do you have any in-work pictures?
In reply to Awesome project! by JoanneS
Fri, 10/18/2013 - 18:24
Many thanks to your son for recognizing genius. Ha Ha Sure!
Everything fits because every piece is cut from the same block of wood. I want you to go to this link http://www.woodworkingformeremortals.com/2010/05/how-to-make-bandsaw-bo…
I was inspired to try it by Steve Ramsey of Woodworking for Mere Mortals and slowly progressed to what you see in my pics. Search Youtube and you will find a ton of bandsaw box videos.
I am limited to the size because of my small bandsaw but they are really fun to design and build, especially when you mix a variety of wood (including plywood) in your product. For your first box just take a 4x4 of any wood and cut into a 8 or 10 inch length and go from there. If you screw up it hasn't cost too much.
In reply to Awesome project! by JoanneS
Fri, 10/18/2013 - 18:28
Yes I did document the building process of one box and I will try to add the pics in the Brag post within a day. I may be limited on the number of pics however.
Fri, 10/18/2013 - 20:37
Thank you, Jake, for introducing us to bandsaw boxes! I've seen these for sale at craft shows and always wondered how they were made. They always look so complicatedly intricate. After watching that tutorial I now know that I CAN make them, too!!!! I've had a bandsaw sitting in my barn/workshop for several years and have only used it once. Now I think I'll be using it quite a bit more!
Enjoyed making this project. Instructions were great. Very happy with the results.
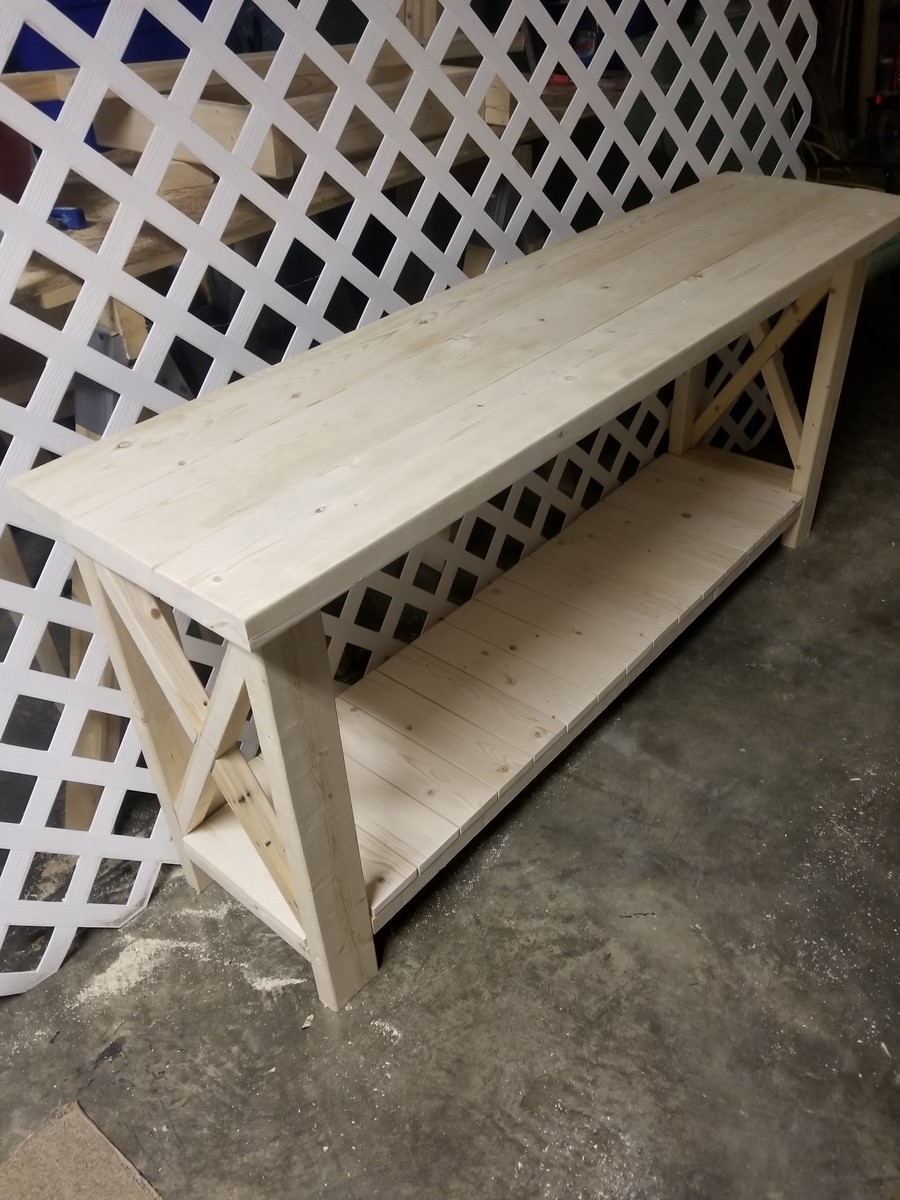
Built by request. They wanted a couple modifications, so I improvised on a few areas. The piece will be stained/painted by the owner.
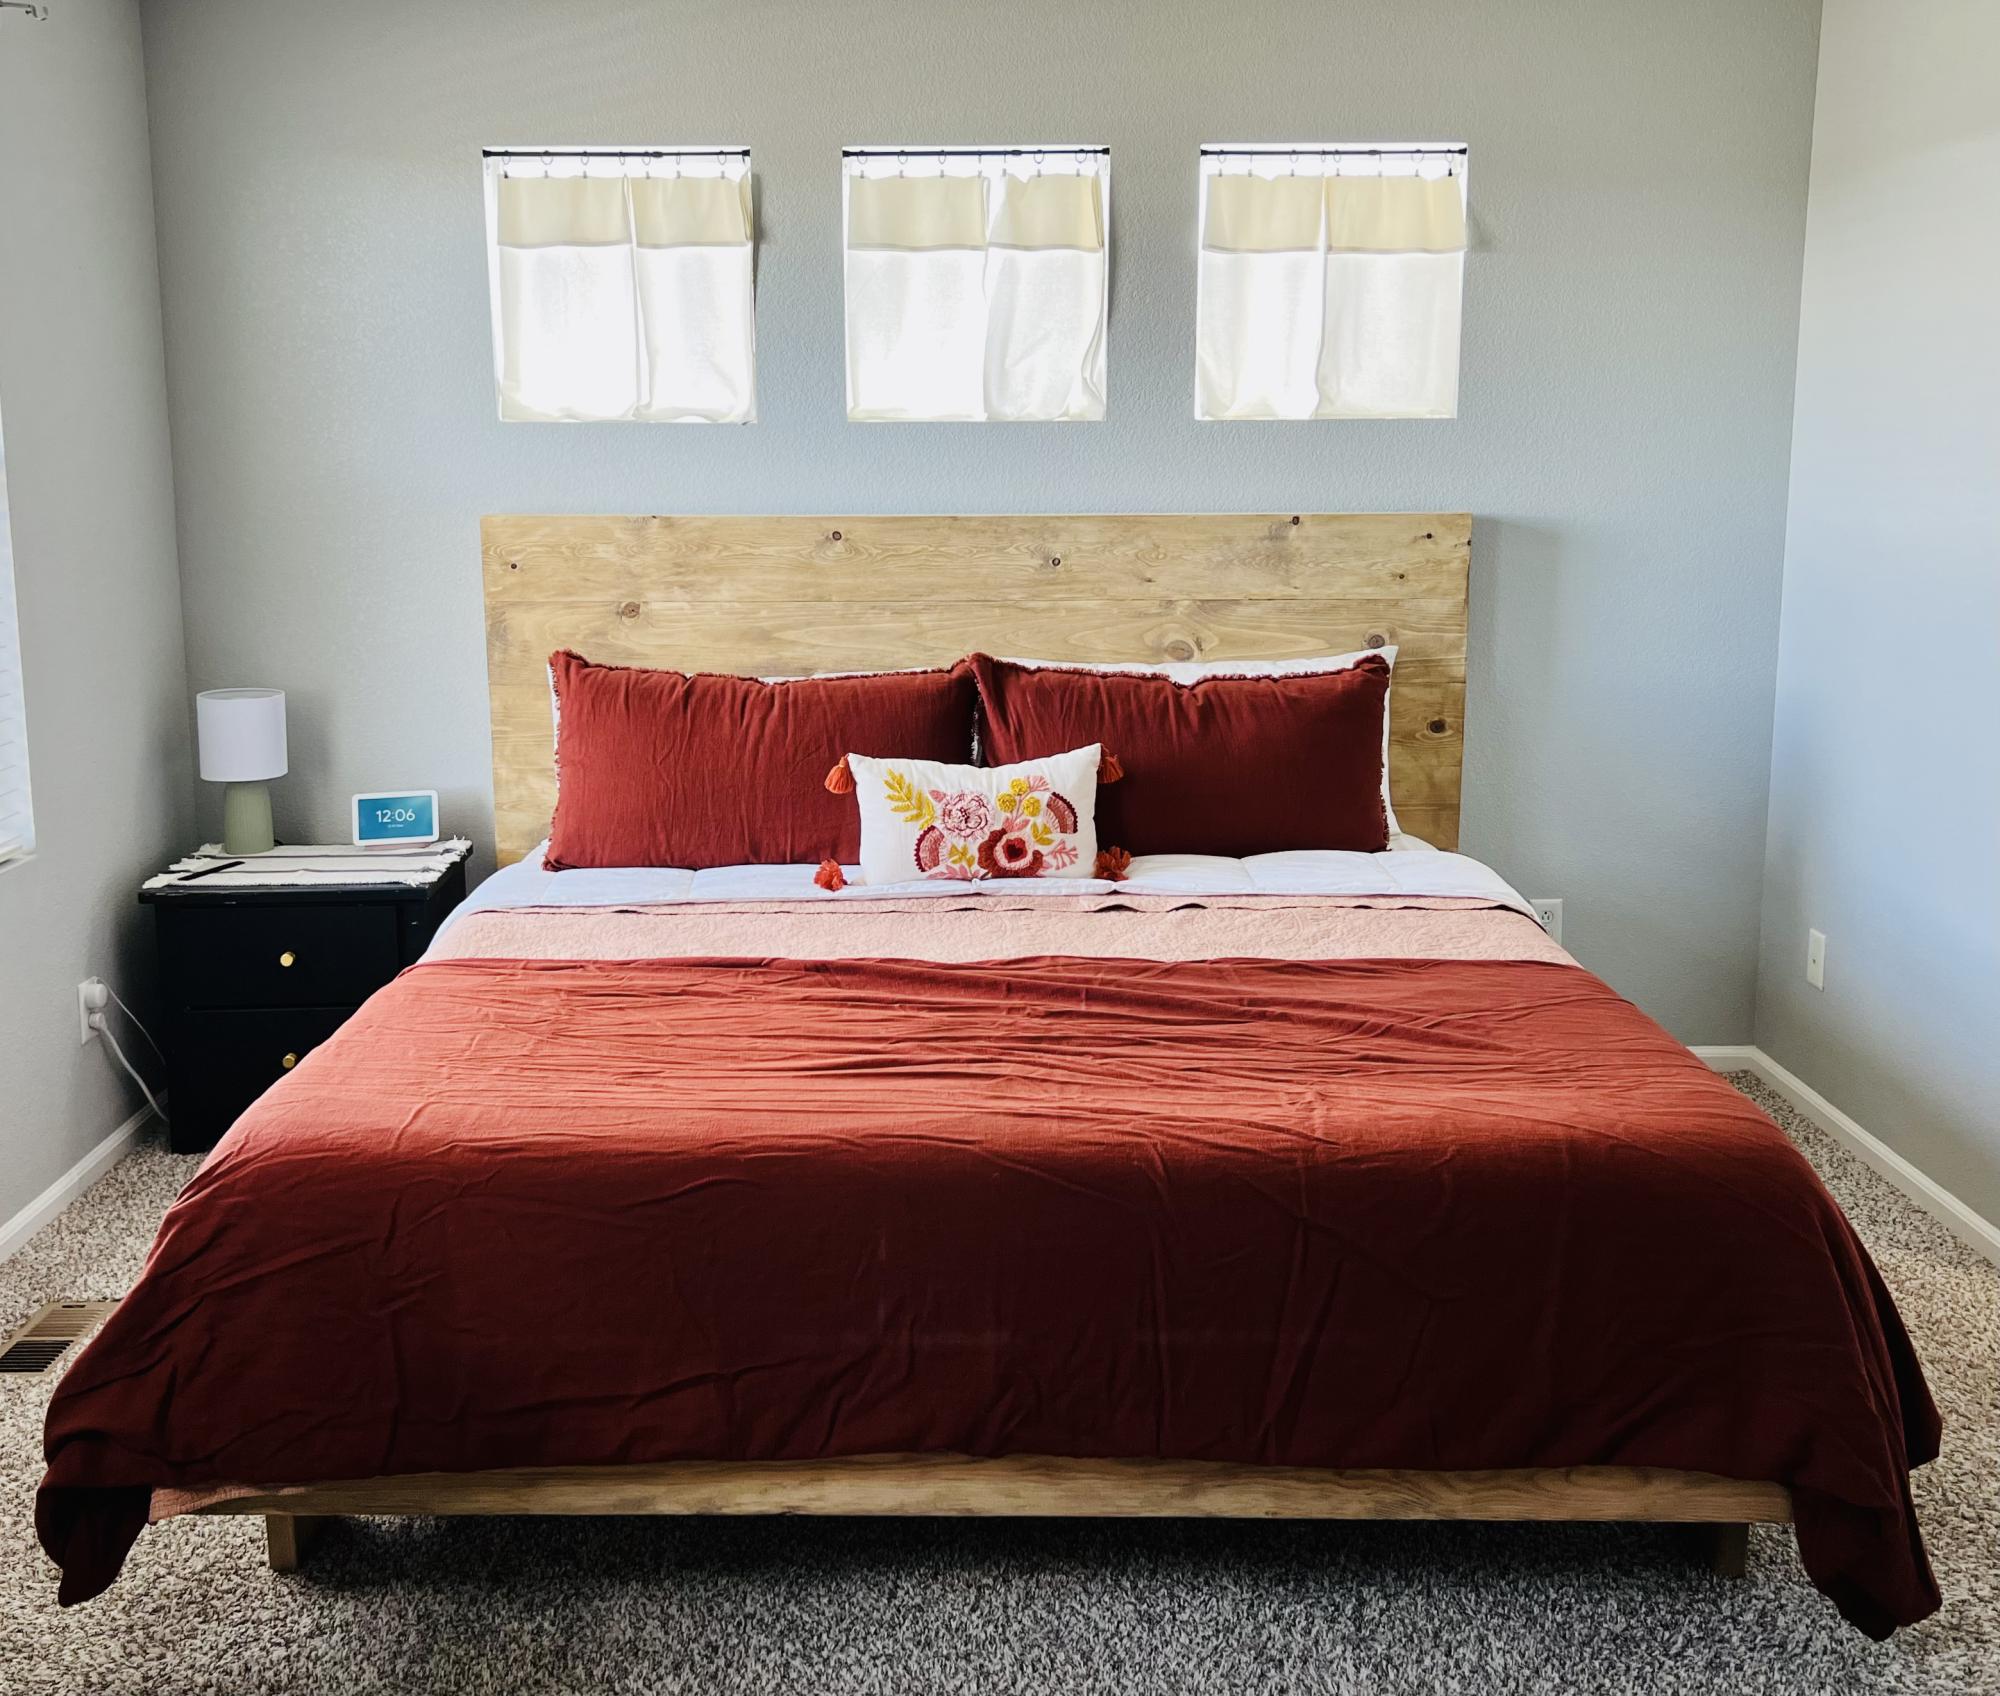
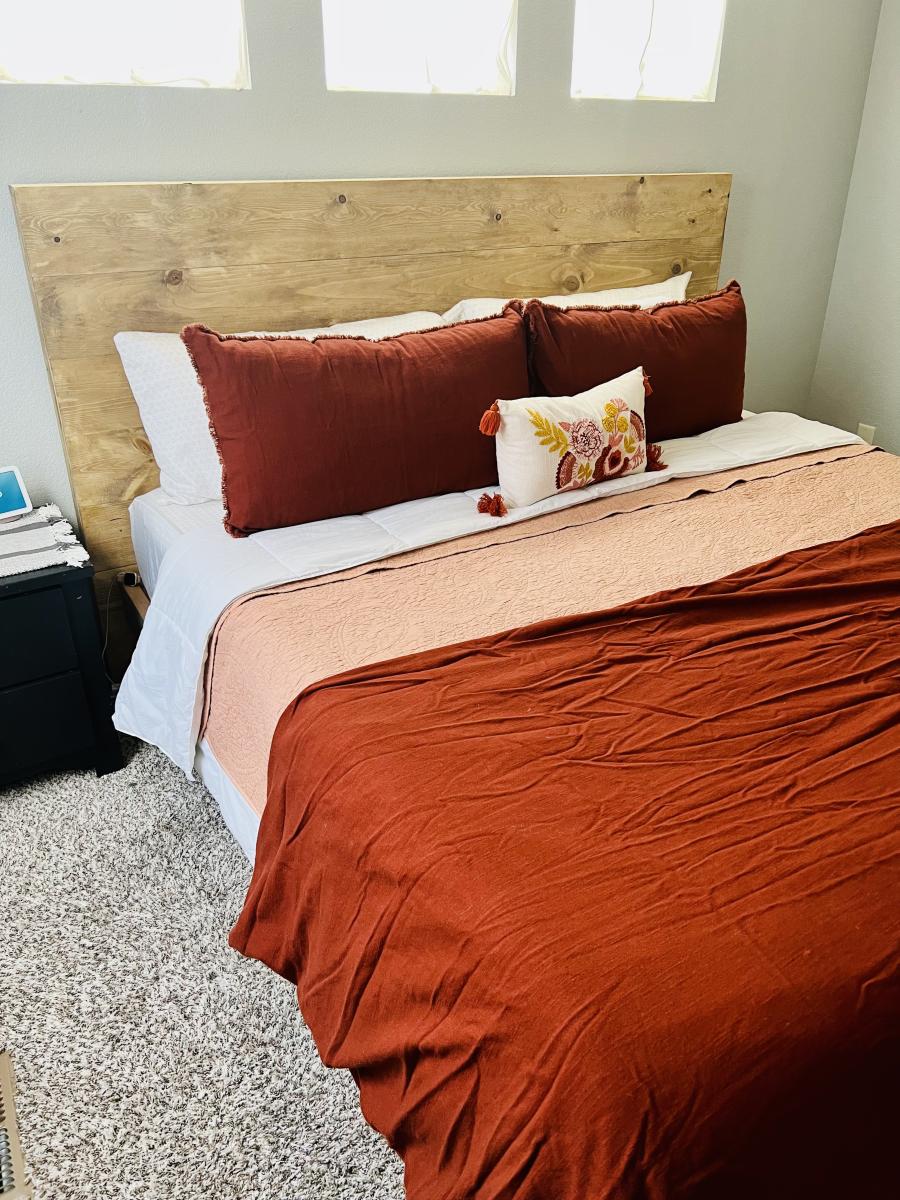
When we needed a new bed frame recently, I began my search online. They were all $1,000 plus, and nothing that really caught my eye. I found this plan from Ana White and immediately fell in love! While it wasn’t an “easy” project, it was fun to do and I’m absolutely in LOVE with the results! Thanks again Ana!
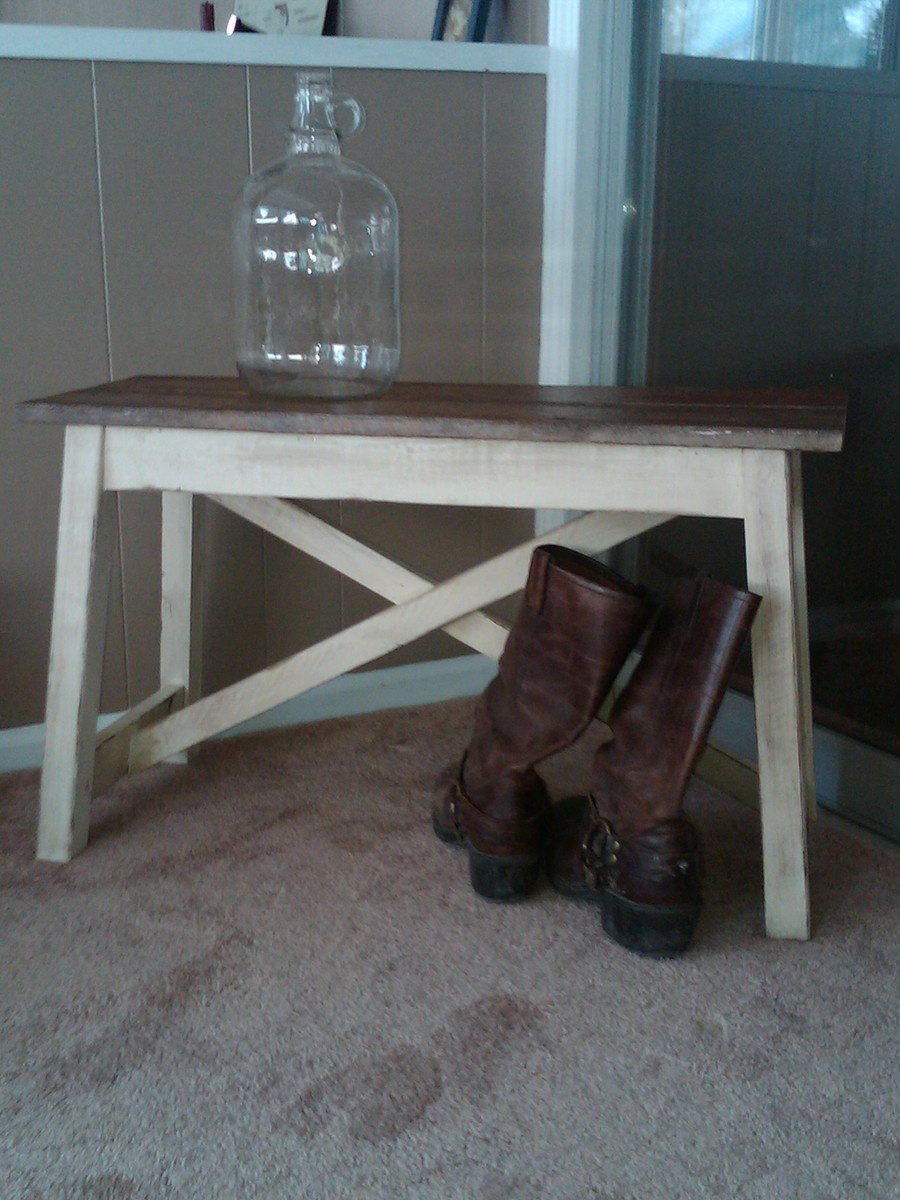
This is one of my favorite things i've built yet. Its cute, small, and sturdy!
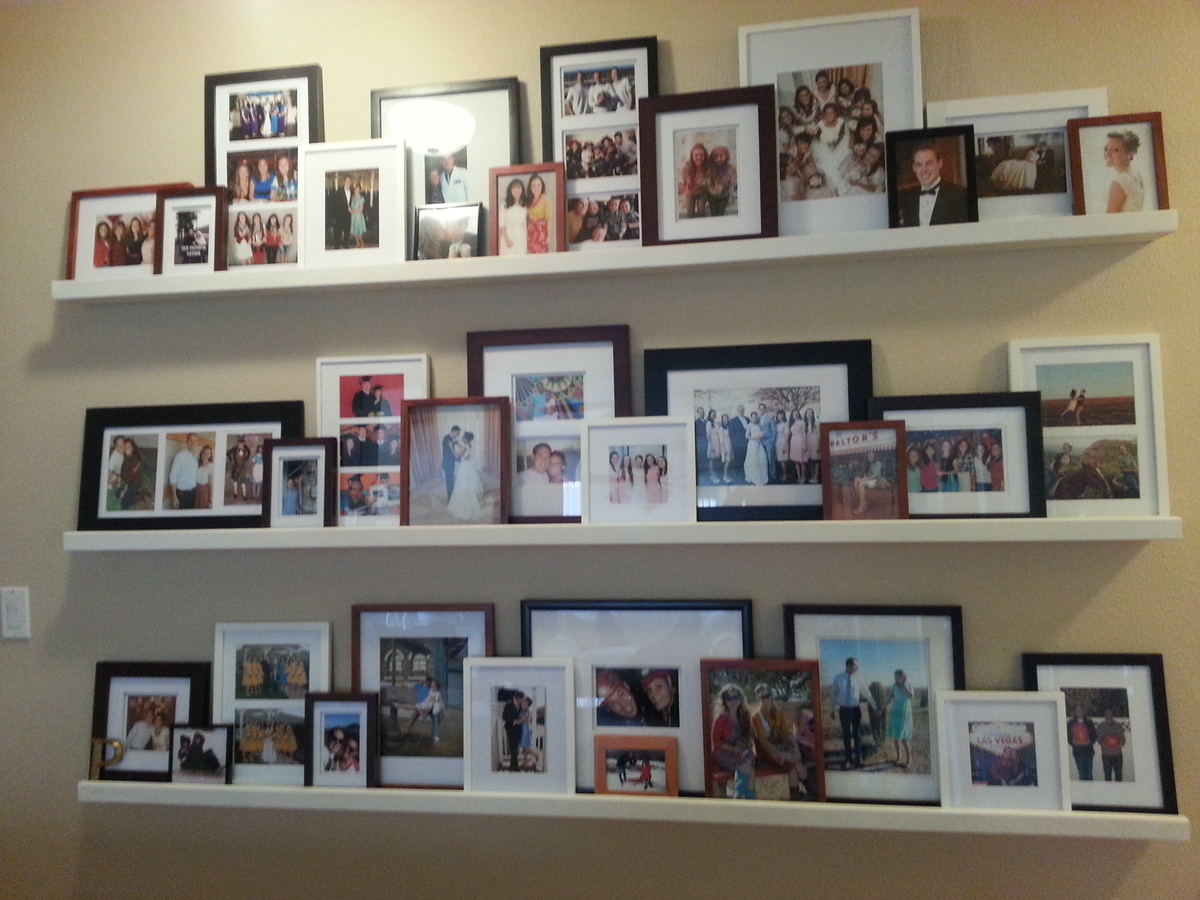
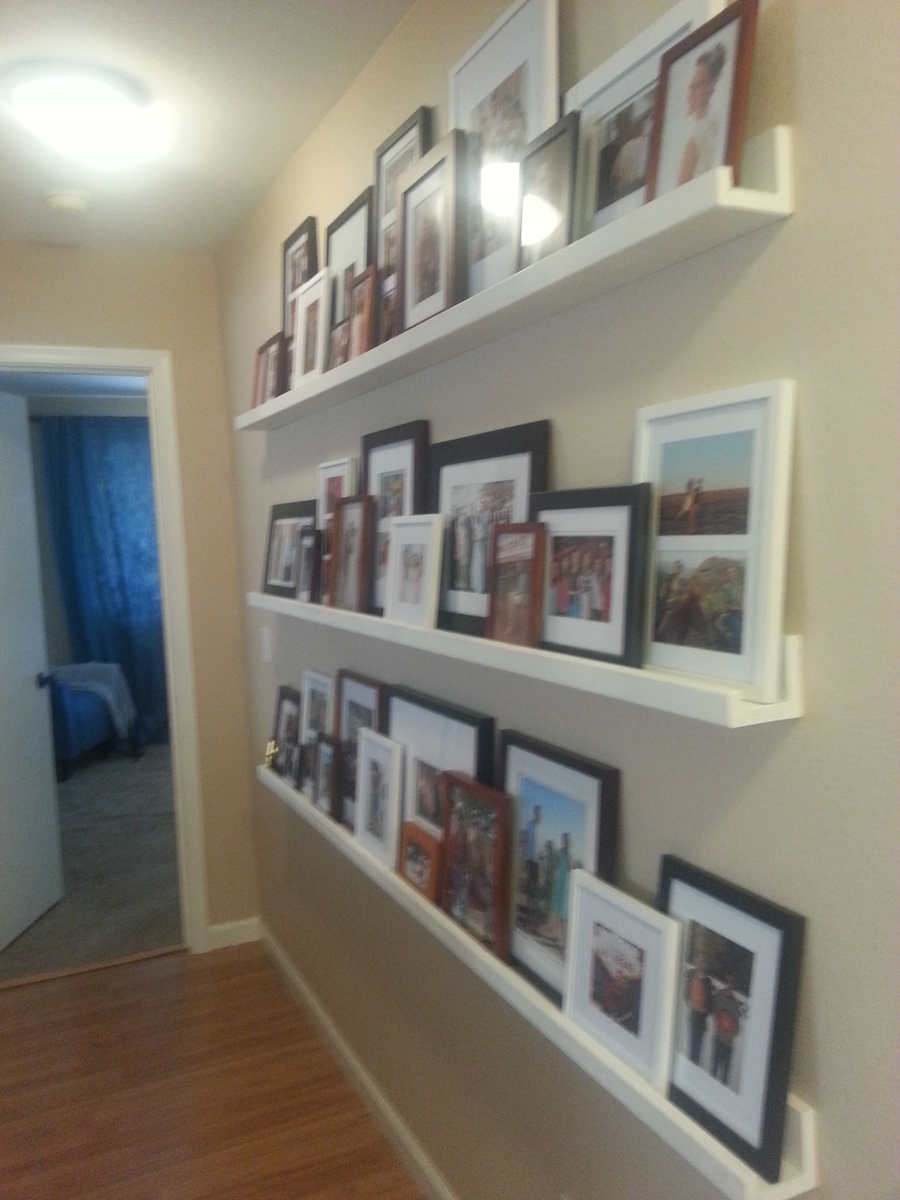
I love my new photo ledges. I had a huge space on my wall and these ledges are perfect. The ledges were so easy to make. I got a kreg jig for my birthday (I never thought I would ask for a tool for a birthday present) and I have gotten so much use out of it. I saw similar ledges at pottery barn for 10 times the cost of this DIY project. I saved so much with these ledges. The kreg jig has already paid for itself. The ledges make it super easy to switch out photos and I love being able to display so many fun photos. Everyone who sees these ledges loves them!! This was my first project. Thanks Ana for the great plans!
You may remember my green stratton day beds that I built a long time ago- finally I have another project to post- I am soo happy I found Ana White's website. We just got back from a 2.5 week vacation in Israel and my dogs were staying with my sister. She told me they had been sleeping in the same kennel together instead of separately. Their kennels are too small so I decided to build them one using wood I already had. But since they are small dogs, I decided to size it down- but I wanted it end table height- so I built a smaller kennel- 20"H x 19"W x 28"D. but... I added a drawer to the top to bring it to the right height. You can read all about it on my blog- link below.
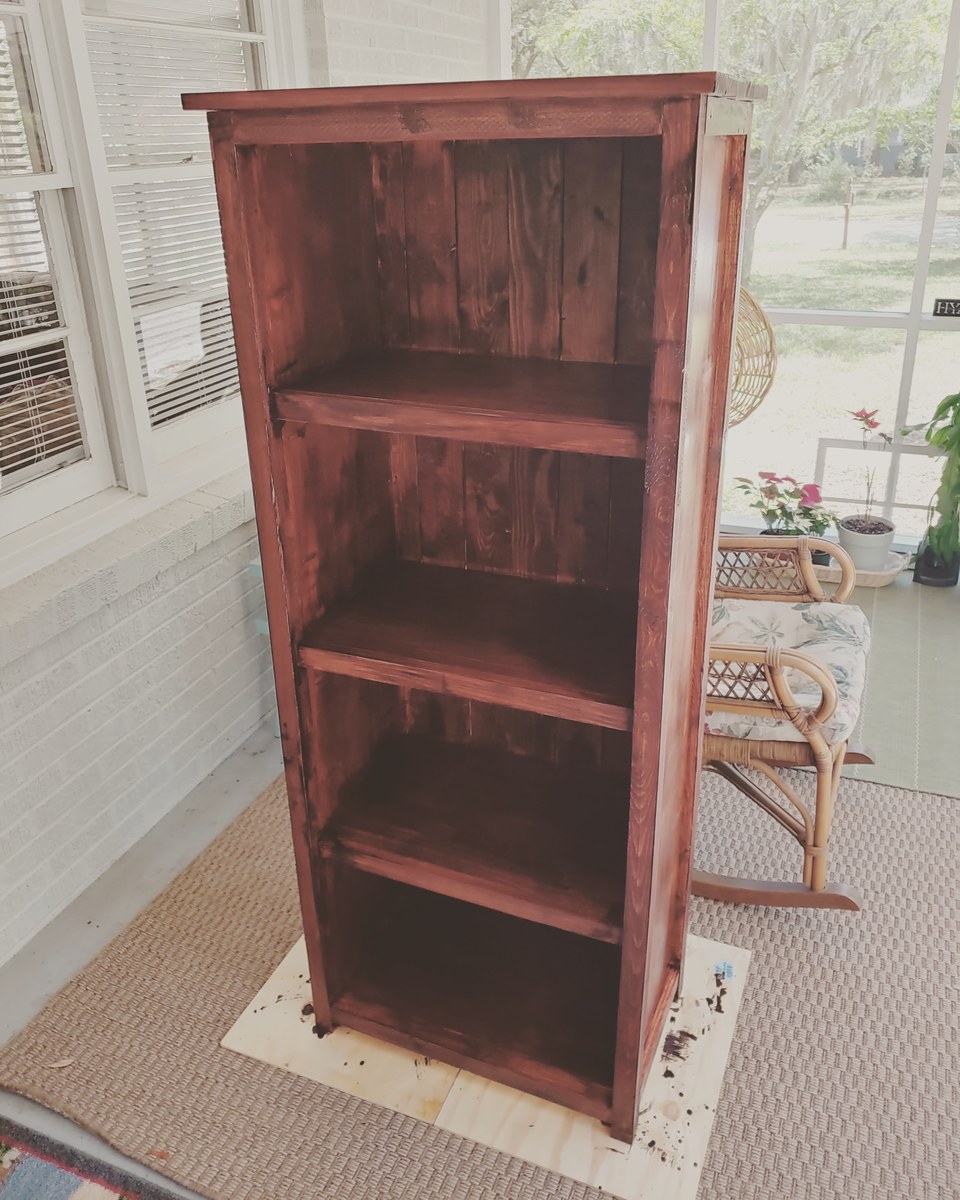
My first build! Yay! Easy for a newbie!

Bookshelf for my son.
Comments
ken
Tue, 04/24/2012 - 08:54
Like the top
I was thinking about building mine with the top having some over hang and like how yours turned out. Did you lay the boards on top of another piece used to make the top or where they laid on the open top and screwed to the sides?