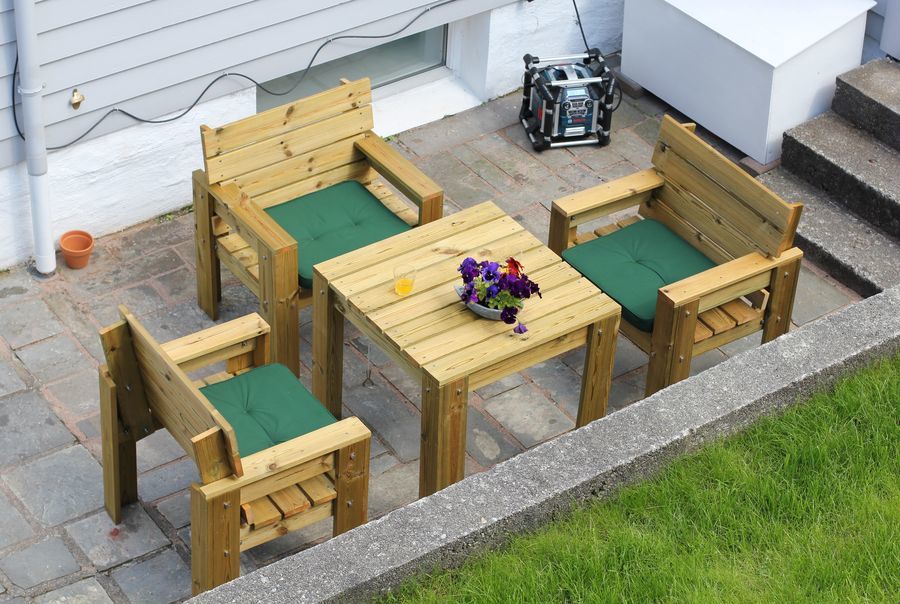
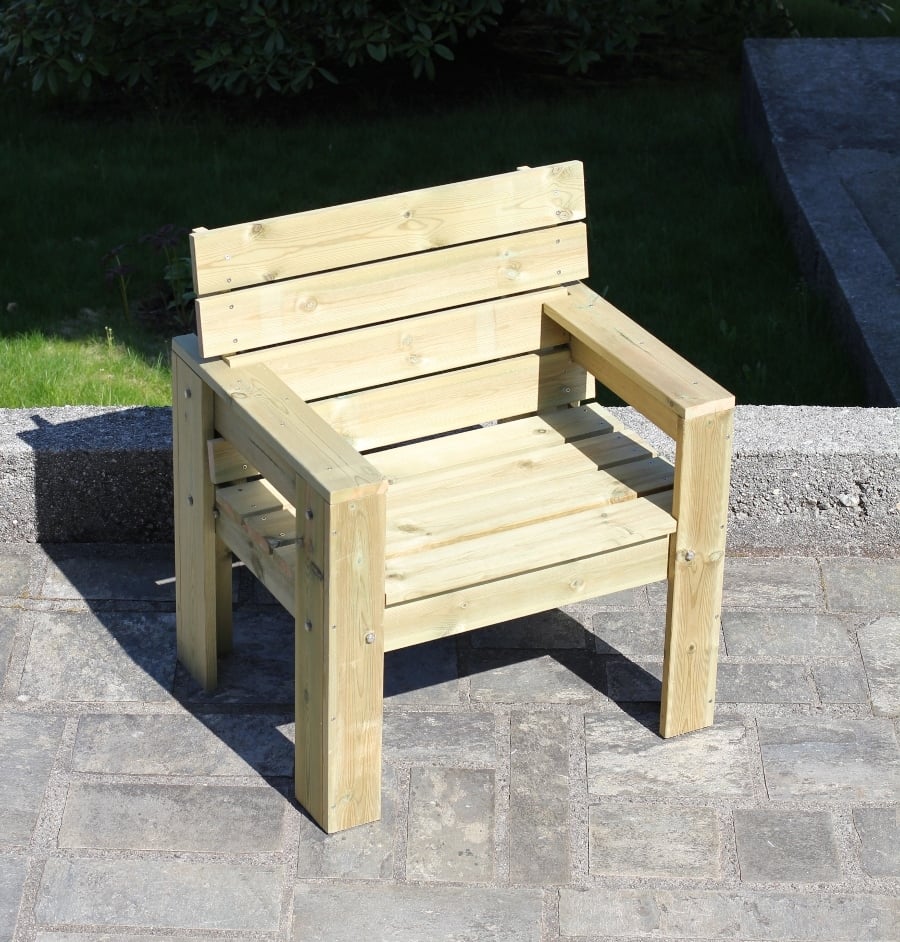
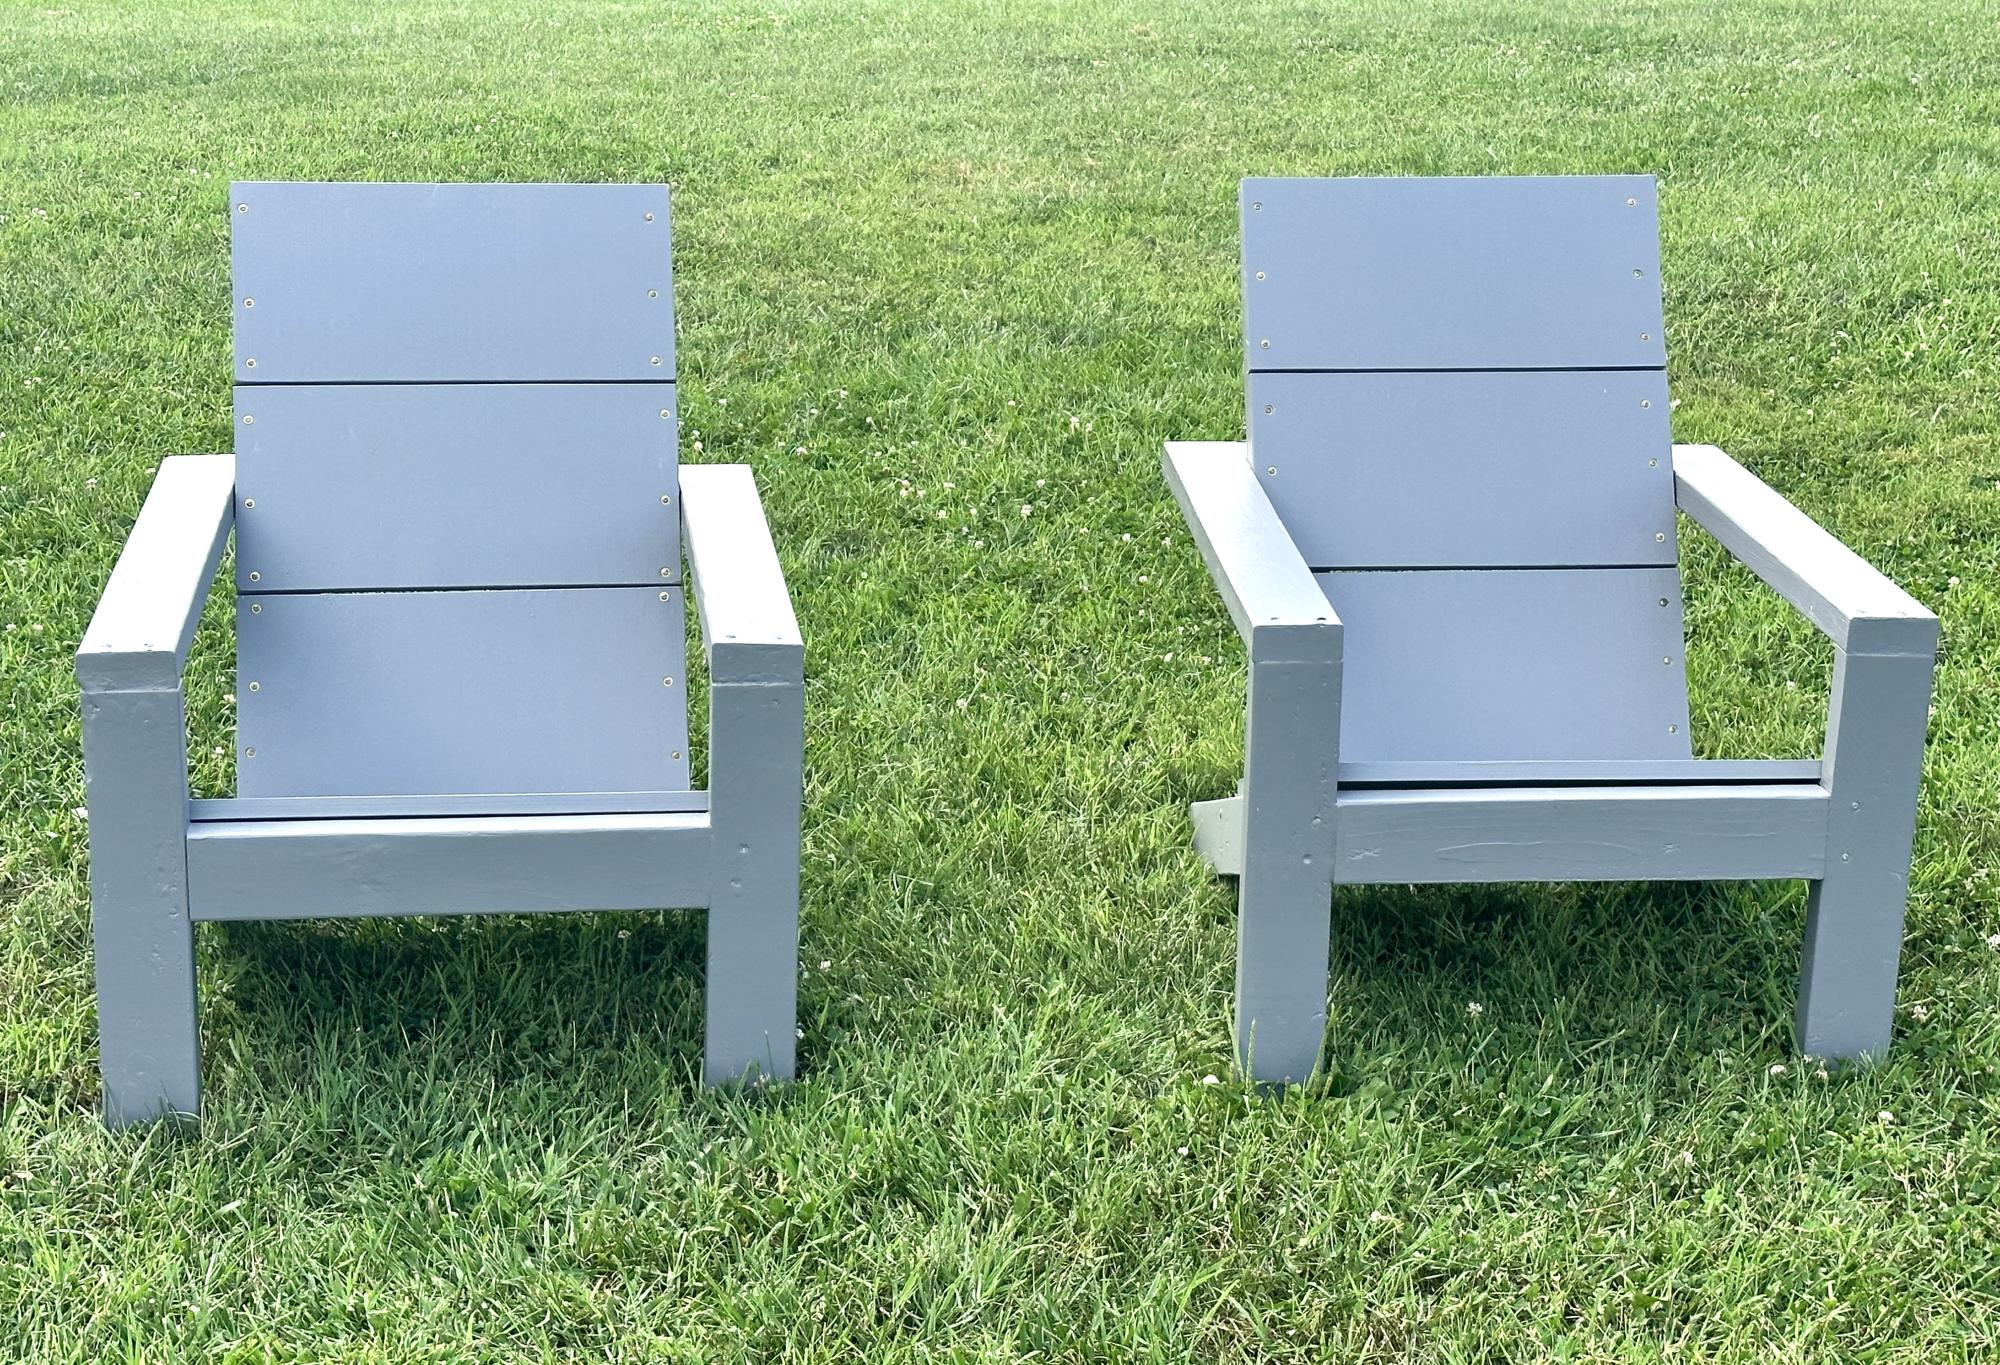
Wood Adirondack Chair
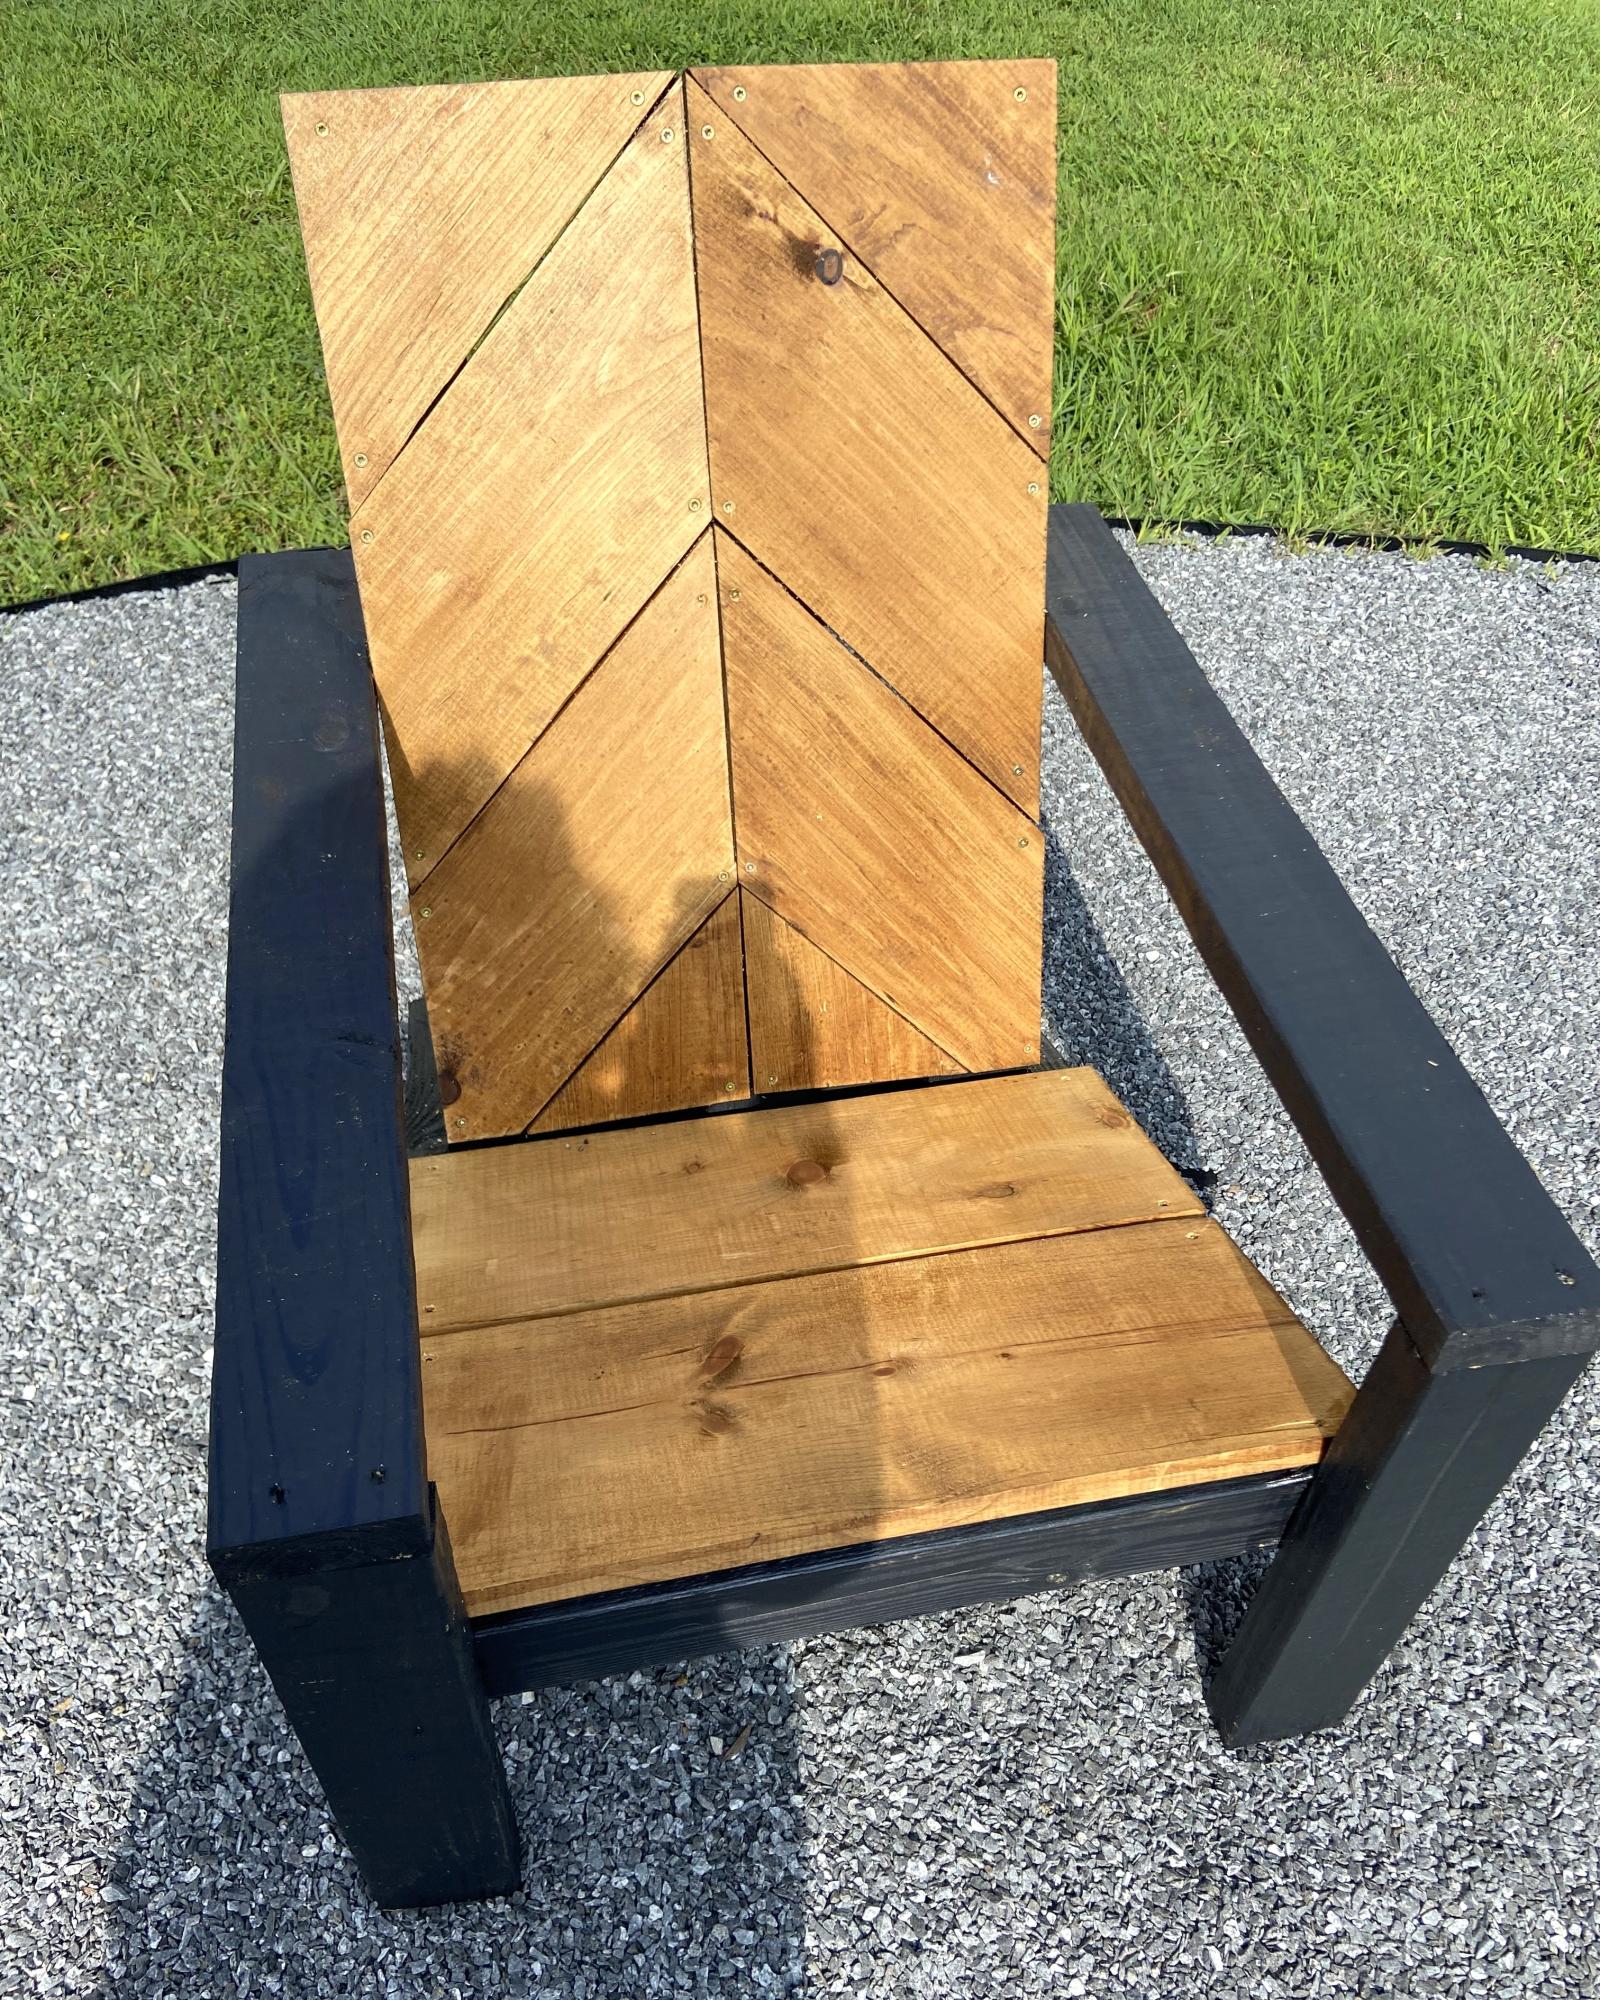
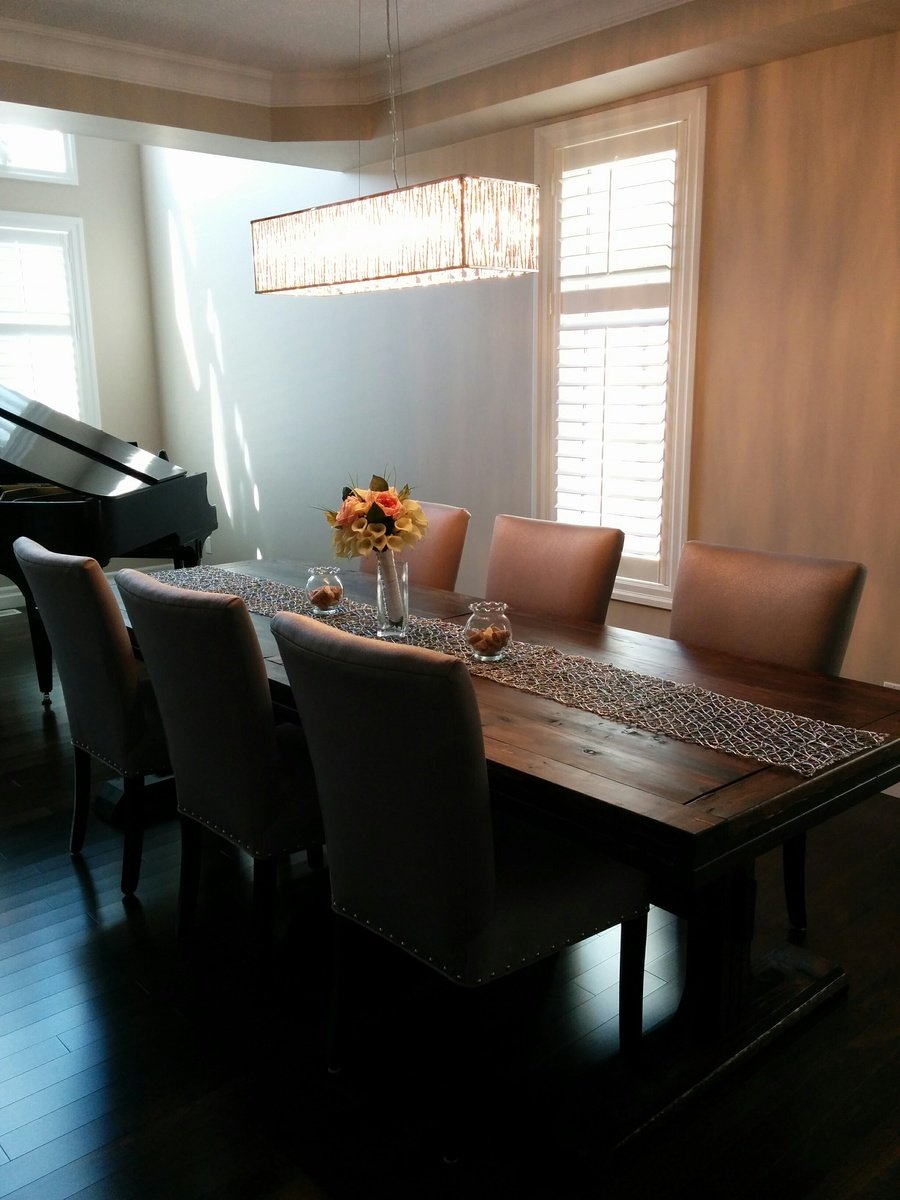
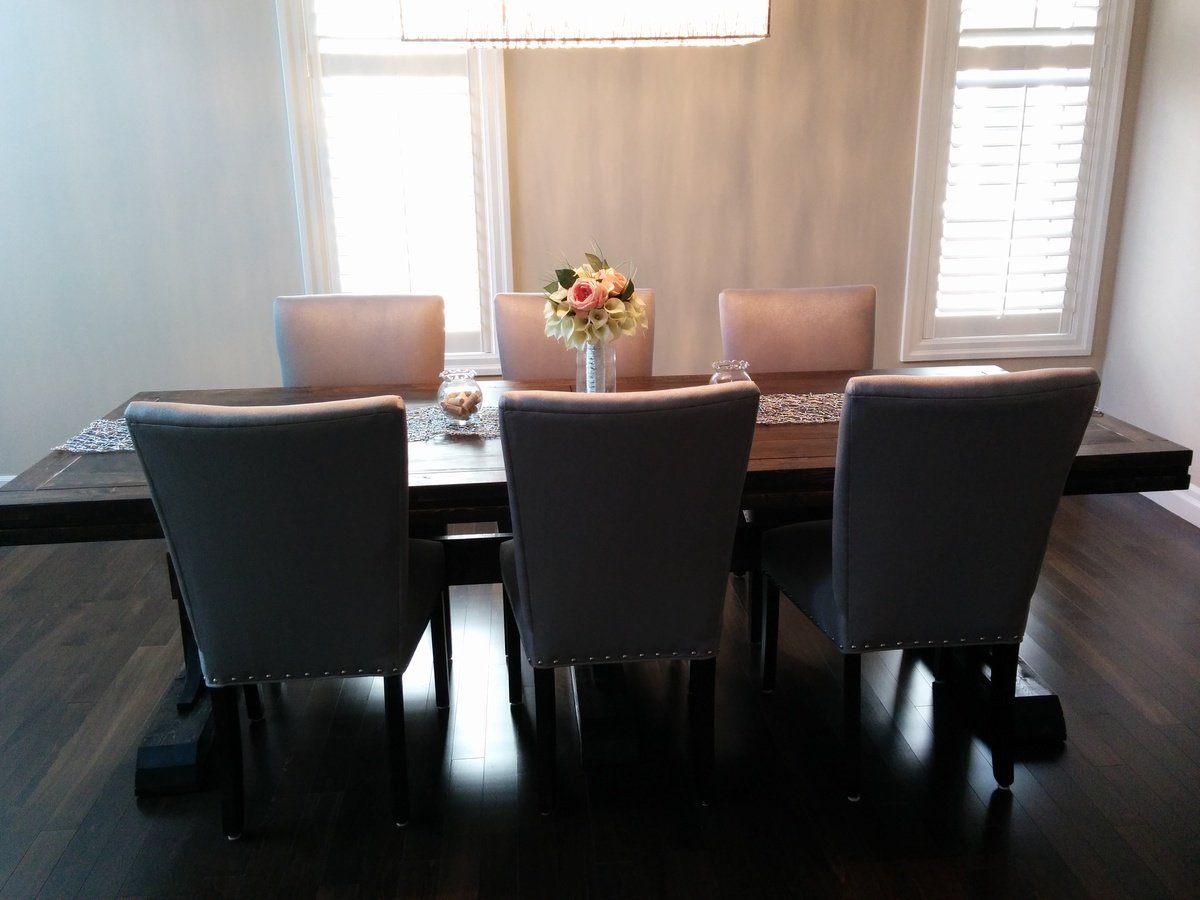
My young friend Carter used his own twist to your adiraondack chair with this herringbone pattern. He made six chairs from your pattern with three different design. These look so amazing around my firepit.
Susan Morris/Carter Tillman
Built from Plan(s)