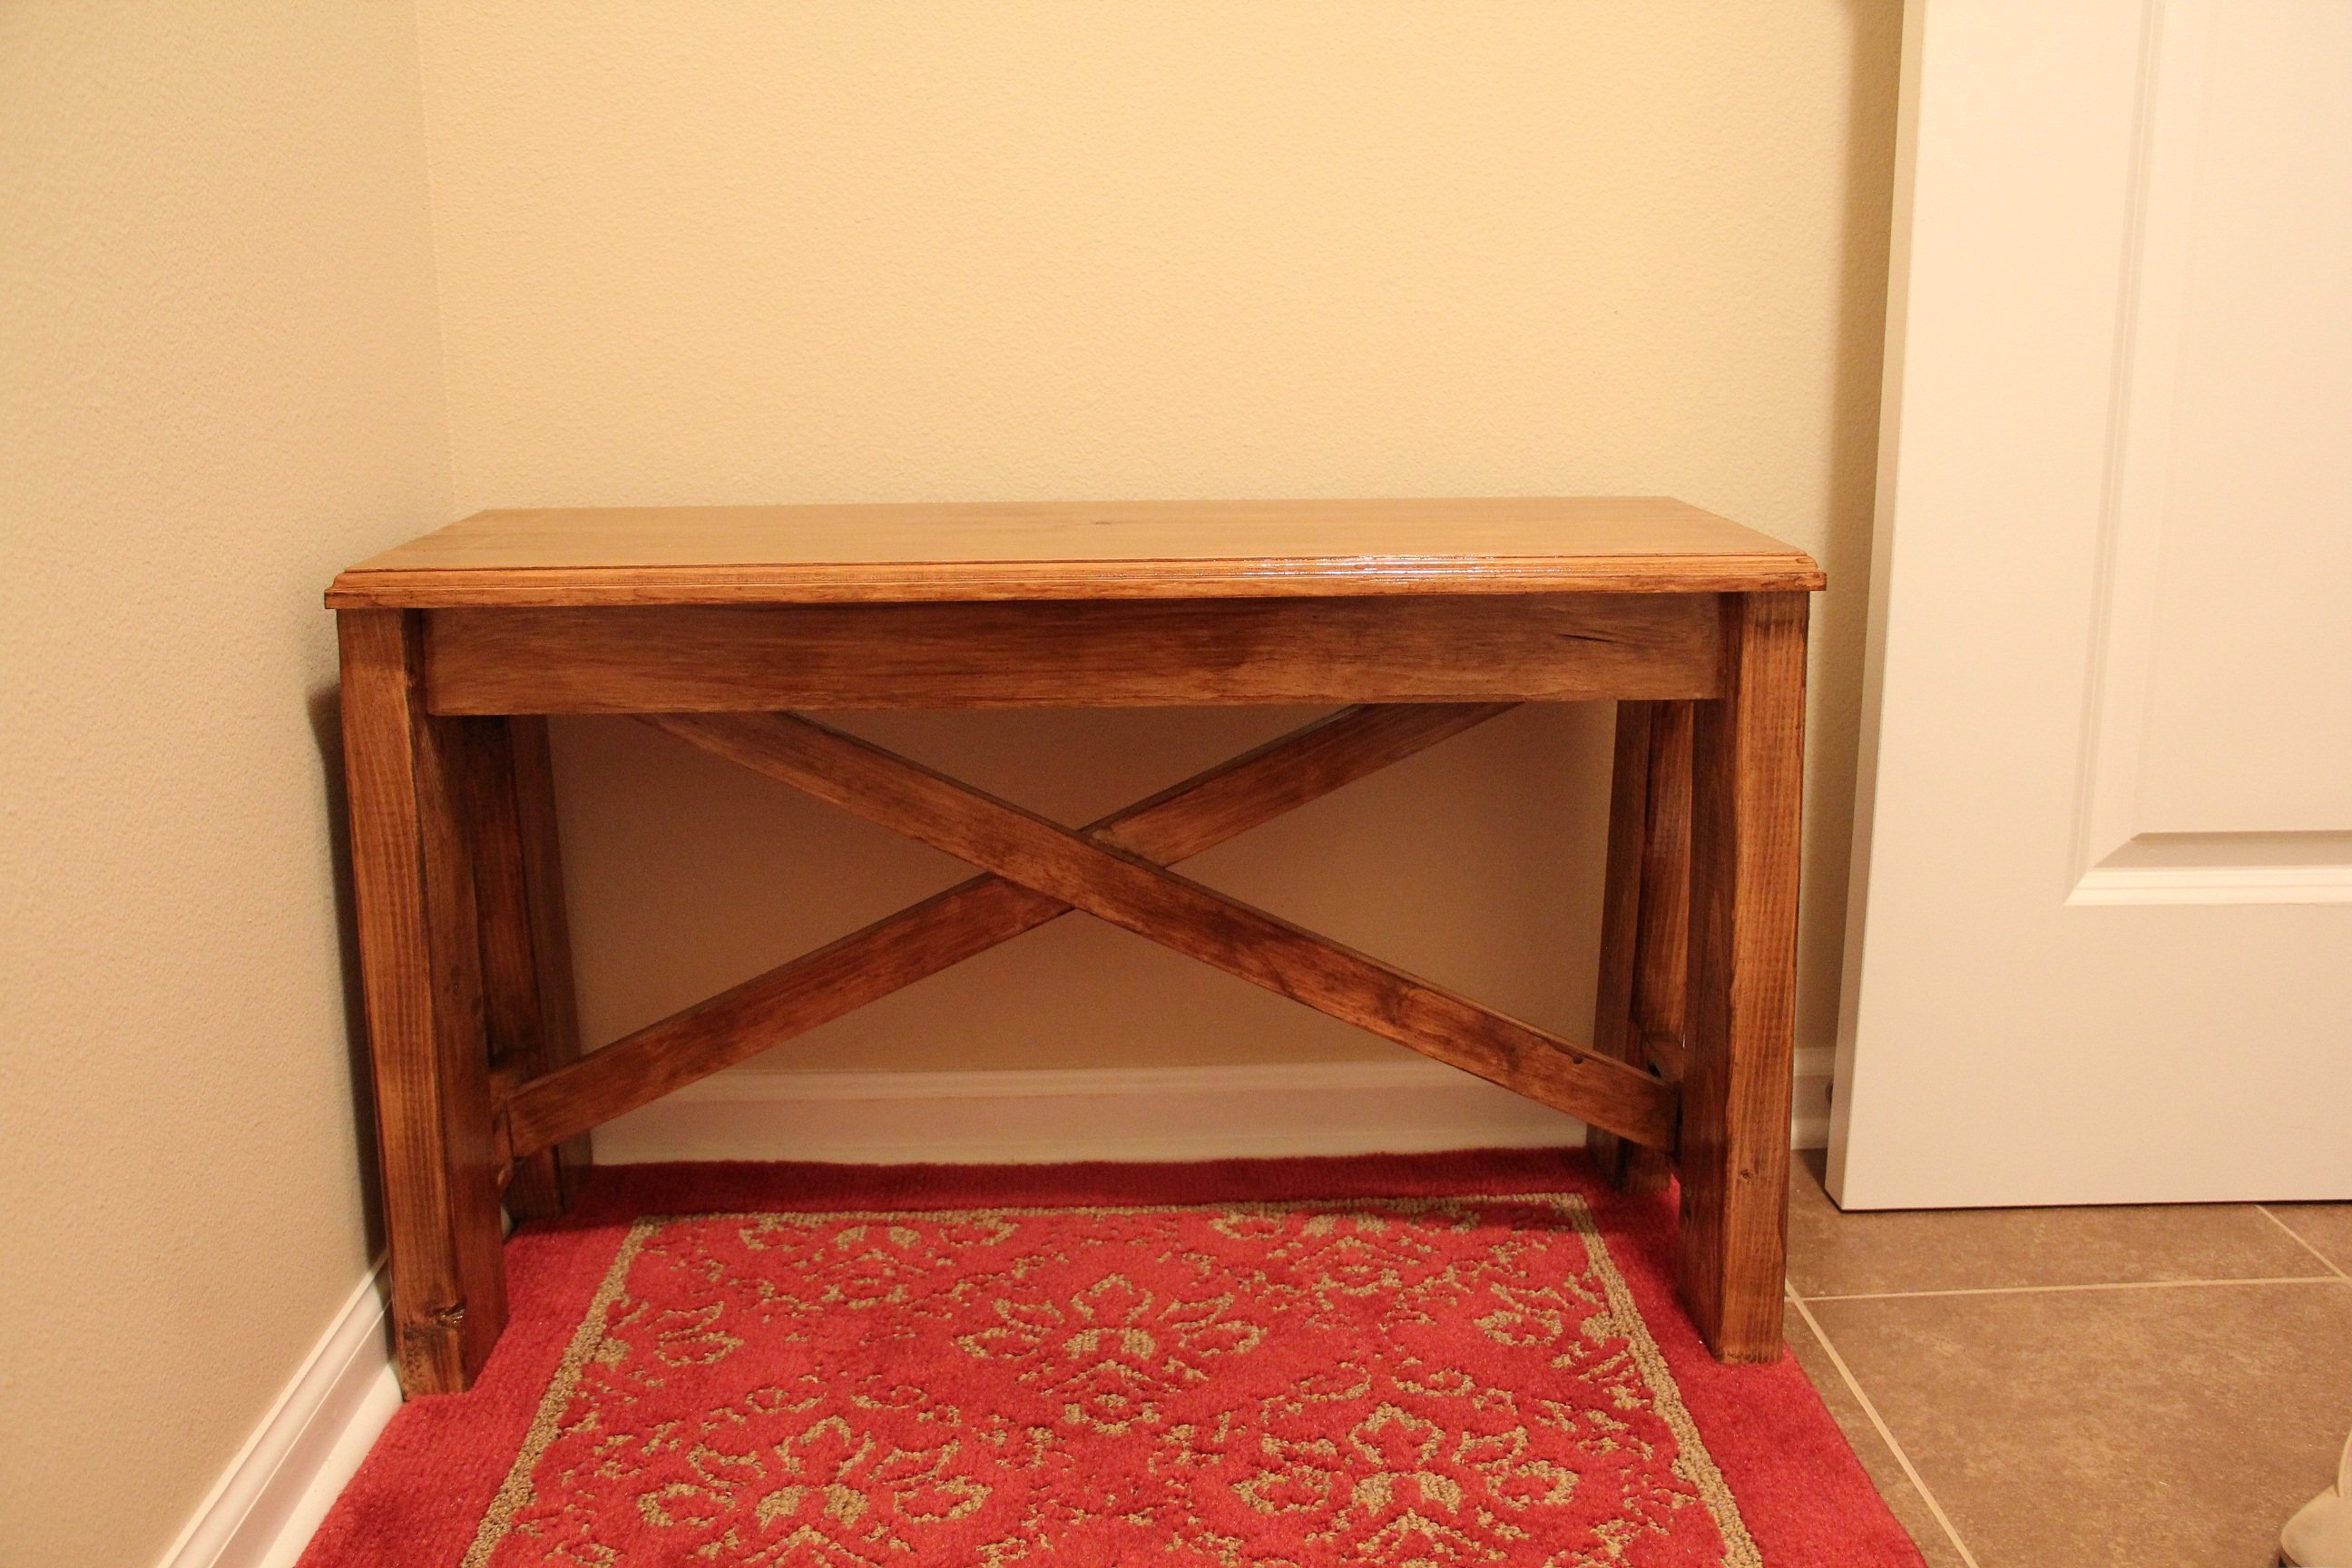
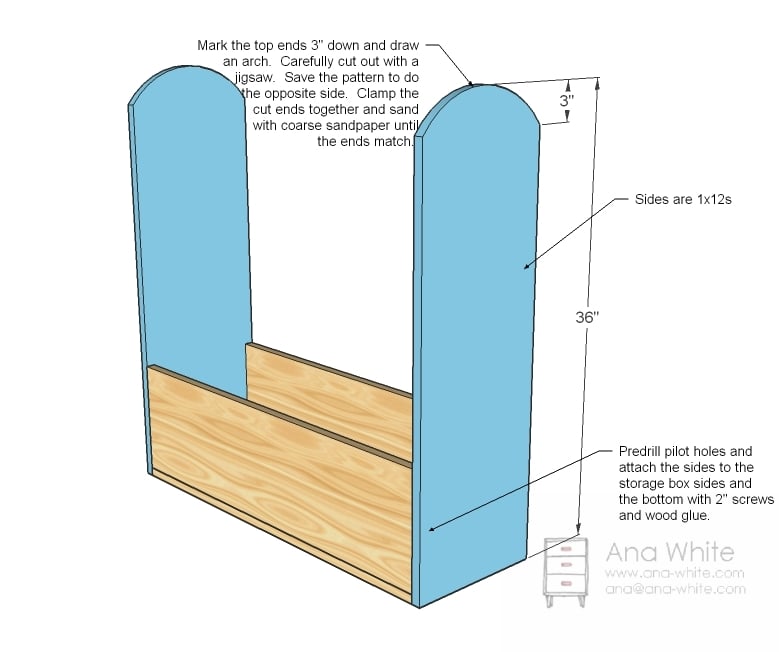
Junior Size Classic Bunk Bed
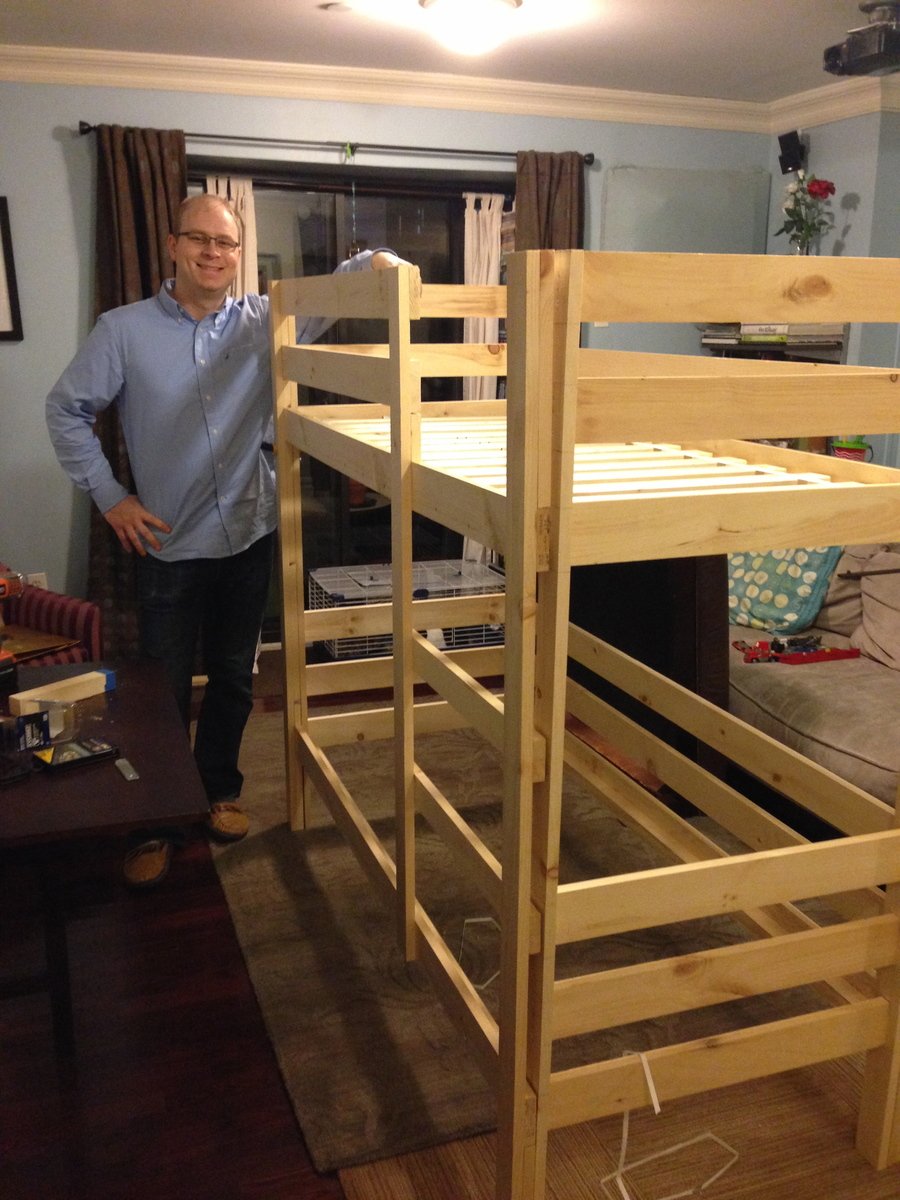
We built this in our living room start to finish - we live in an NYC apartment. Because of the small room size we chose to modify the plans to a small mattress - hoping that it will last our boys until they are about 5 and 7 (currently 2 and almost here). This blog post outlines our buy and cut list for the modified size: http://wp.me/p3DCu3-Kd
Built from Plan(s)
Estimated Cost
$215 (plus $200 for mattresses and bedding)
Estimated Time Investment
Weekend Project (10-20 Hours)
Finish Used
None
Recommended Skill Level
Beginner