Community Brag Posts

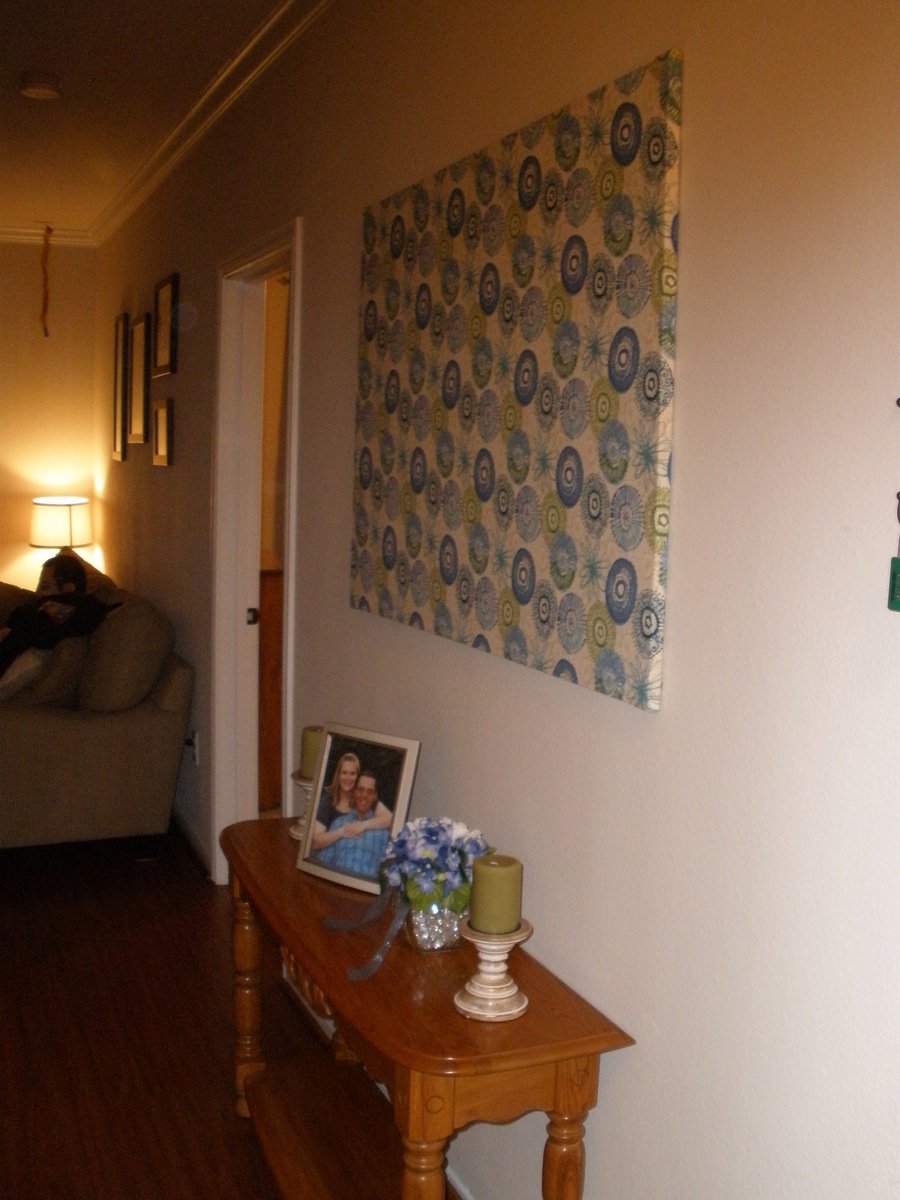
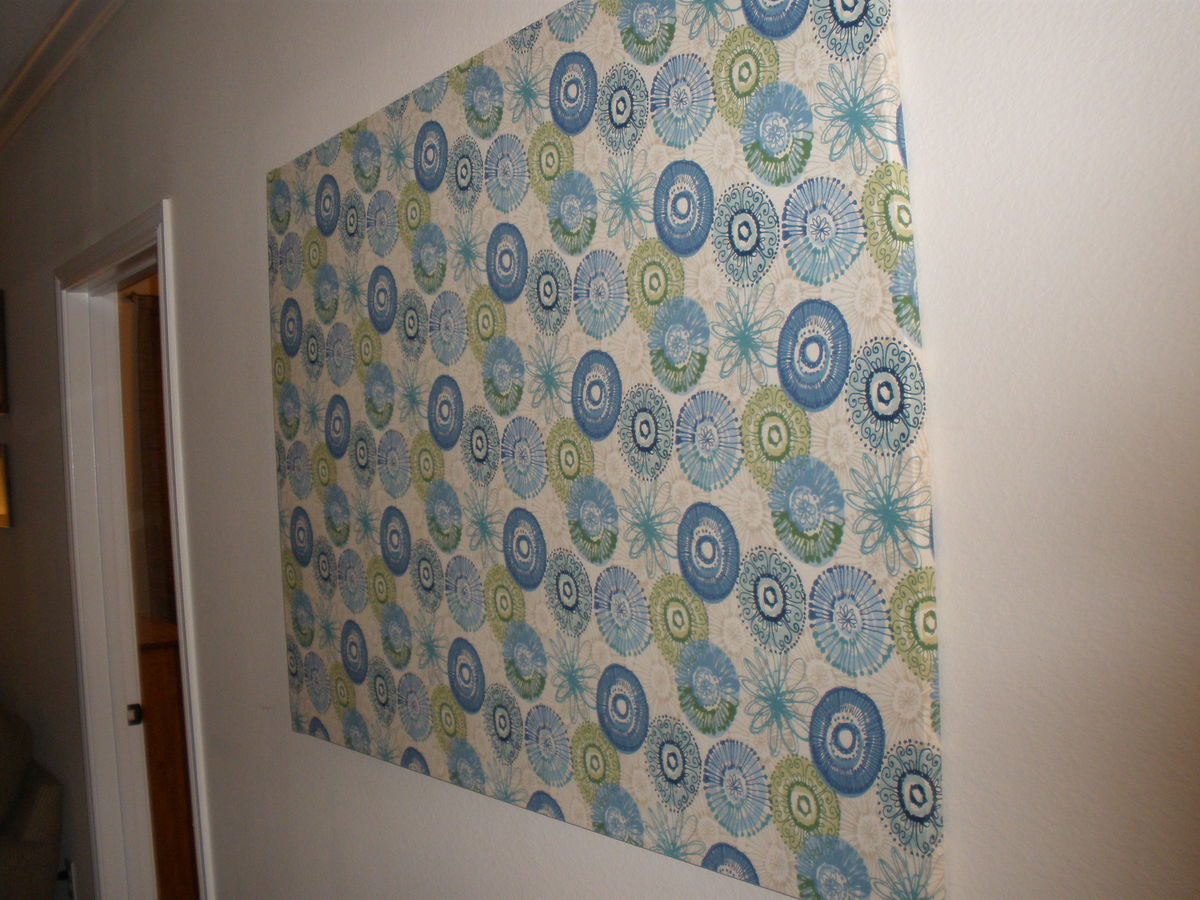
Fabric Covered wood Frames

This is a simple and cheap way to decorate any space. Just use some 1x2's to make a square frame. Stretch the fabric over the frame and staple it. You can make one large one or many different sized ones to cover a boring wall.

Estimated Cost
15 depending on fabric and size
Estimated Time Investment
An Hour or Two (0-2 Hours)
Finish Used
Pretty Fabric
Recommended Skill Level
Starter Project

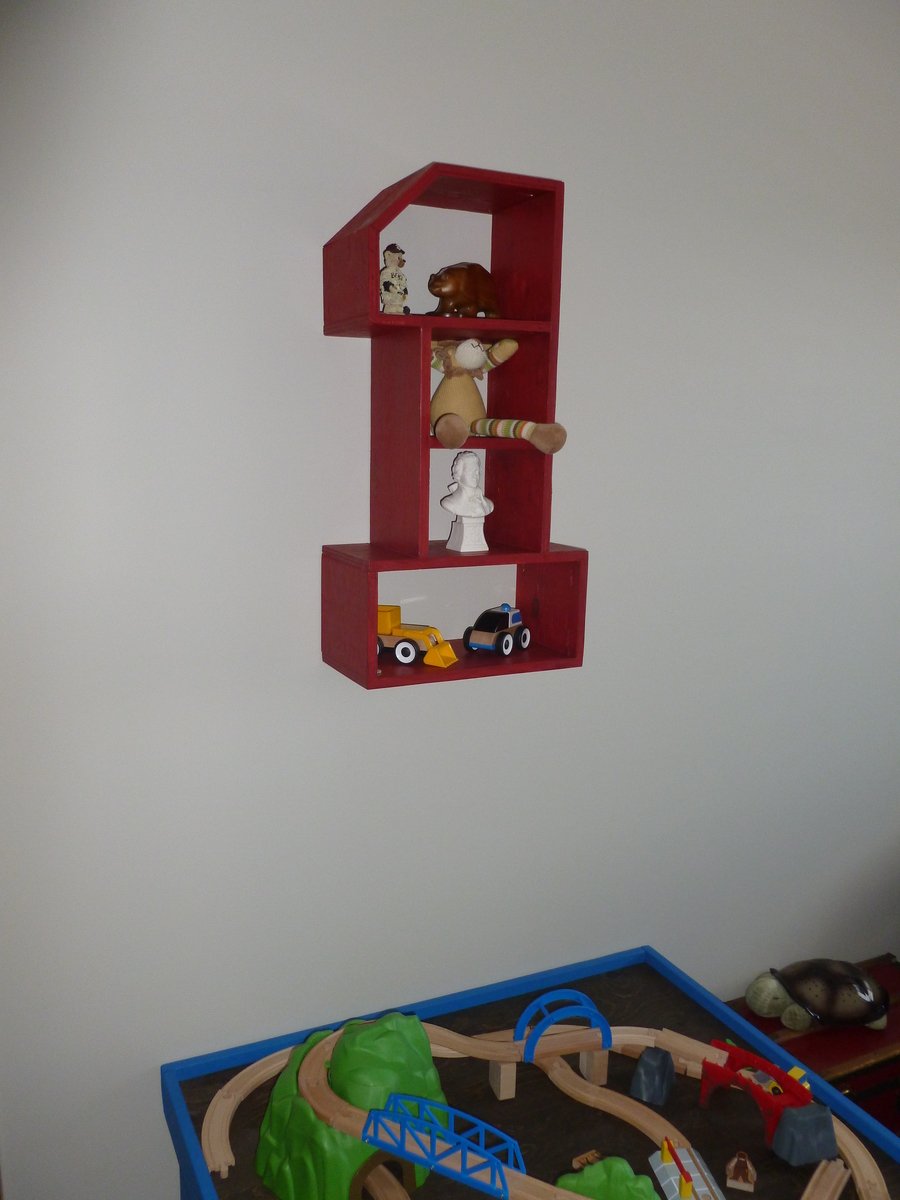
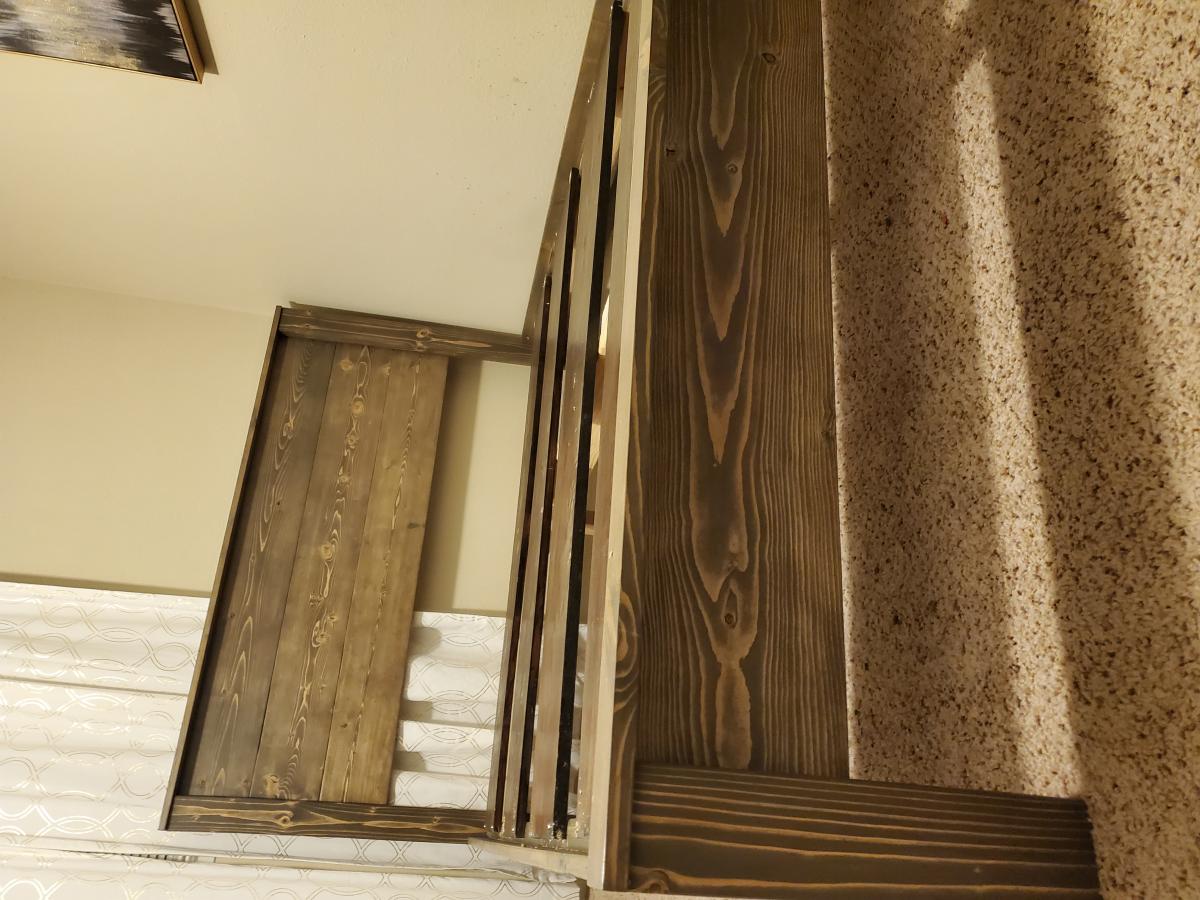
Cute wall shelf for my son's bedroom

Submitted by kristyzed on Sun, 02/16/2014 - 14:10

I saw this plan posted and knew I had to have it for my son's new bedroom. Most of the build was simple, it just got a bit tricky fitting in the angle piece at the top because I wasn't sure how to attach it without having a nail gun. Every time I line it up to nail it in with a hammer it would slip a bit. So I ended up using Gorilla Glue Epoxy to attach it. Since it's not hanging on the wall by the very top shelf, I didn't need it to be rock solid to support any weight, just needed it to stay in place.
I had scrap plywood laying around so it was free for me to make.

Built from Plan(s)
Estimated Cost
30
Estimated Time Investment
Afternoon Project (3-6 Hours)
Finish Used
I applied two coats of Valspar's Heirloom Red and didn't seal it. I wanted a matte finish.
Recommended Skill Level
Beginner

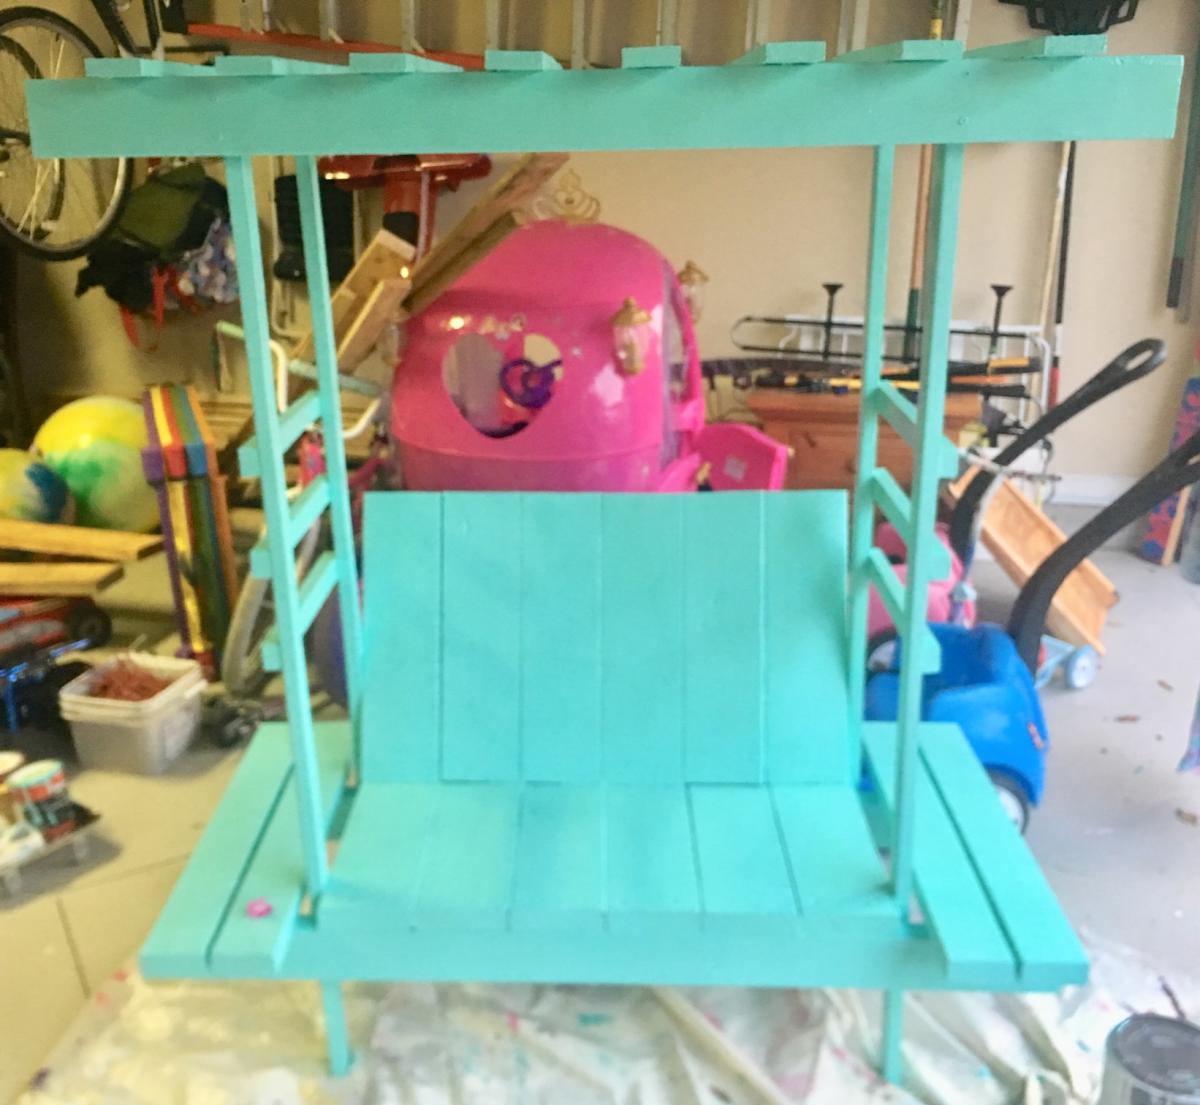
Childs Bench with Arbor

Submitted by Fitz3636 on Tue, 02/18/2020 - 08:28

This was one of my first Ana-White projects. I am a hack builder and found this to be fairly easy with the back of the seat to be intermediate (However, I slanted the back and found that to be challenging for me.) Loved this little arbor bench and how it turned out. A couple coats of polyurethrane has helped it last outdoors all year through the sun and rain in Florida. Kept costs down using extra wood in the garage. Kids love to sit on it but mostly climb...!

Estimated Cost
45
Estimated Time Investment
Weekend Project (10-20 Hours)
Finish Used
Paint and polyurethrane
Recommended Skill Level
Intermediate

Easy Kids' Tent / Reading Nook

I had been wanting to make this for sometime but didn't have the curtains. I was at a friend house and she asked if I wanted the red curtains that she was going to throw them away. So I got to make the tent, her daughters got a cool place to play and the curtains got a new purpose also the tent was made to fold for storage!!!

Thanks Ana for all the plans and ideas you give us!!

Built from Plan(s)
Estimated Cost
$3 for hardware and wood curtains were FREE!!!
Estimated Time Investment
An Hour or Two (0-2 Hours)
Recommended Skill Level
Starter Project

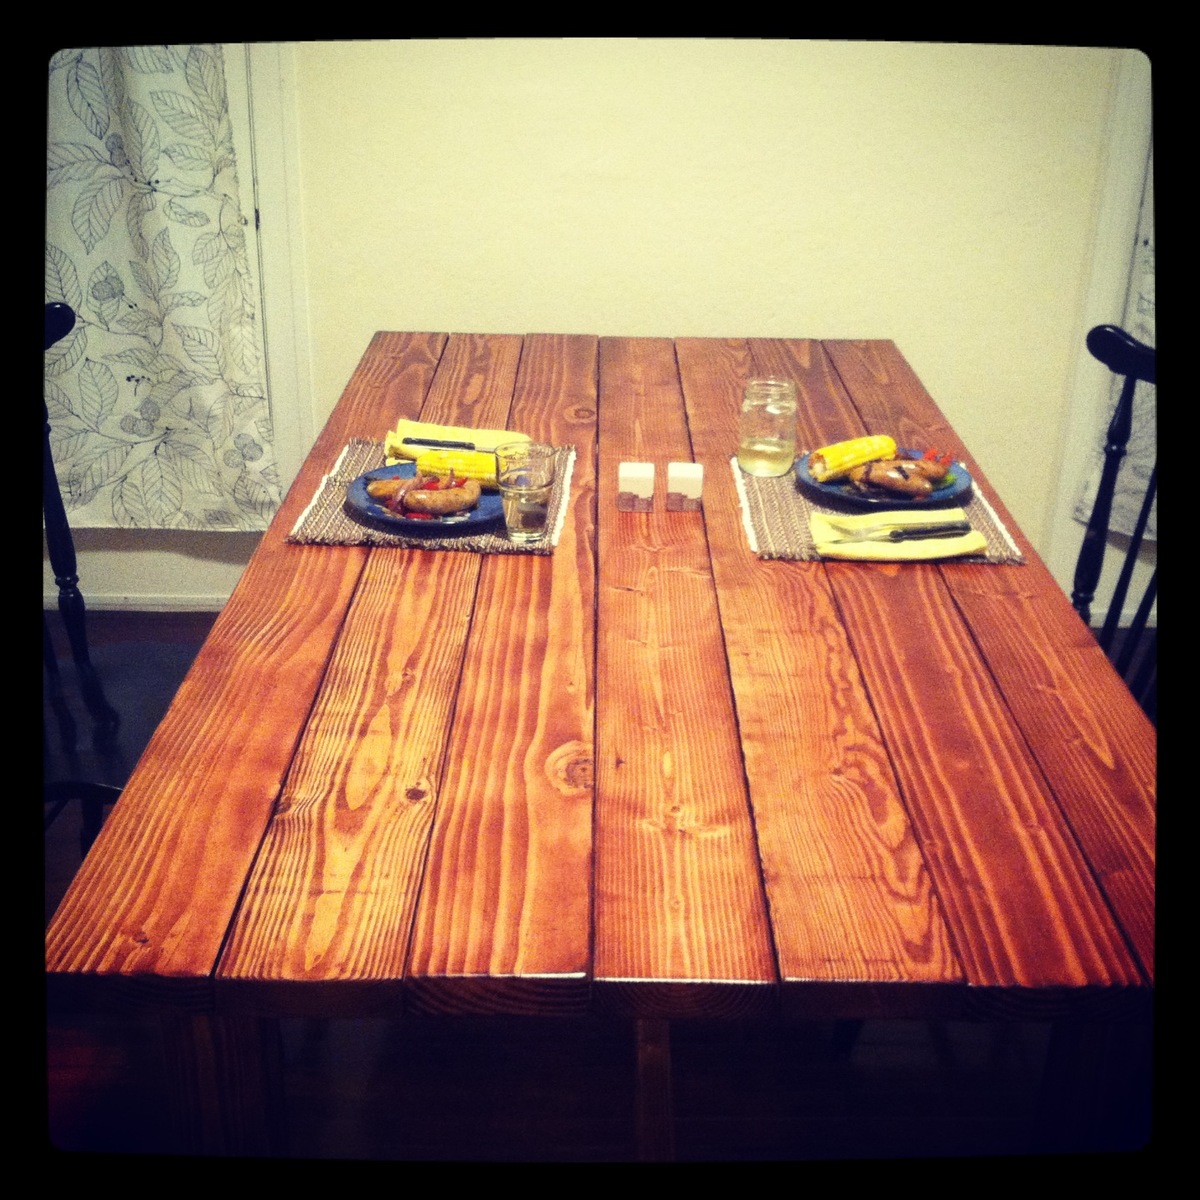
Jasika's (First) Farmhouse Table

This was the first piece of furniture we ever built and it was a big success, although knowing what I know now, I certainly would have done a few things differently. Luckily for me, following Ana's plans don't require a very steep learning curve if you have read The Handbuilt Home! Instead of investing $1500 into the brand new table I wanted from Pottery Barn, I decided to invest that money in power tools, equipment and materials for the table, which I acquired for about $900 (I had no tools in my possession at all so was basically starting from nothing). The price of this table decreases every time I make a new piece of furniture from scratch, and in the year that I began making furniture, I have made the farmhouse bench that accompanies this table, a coffee table, an upholstered vanity seat, a kitchen island, a book shelf, lots of shelves and small tables, and I am currently in the process of making a bathroom vanity for our newly renovated master bathroom. Each project I make from Ana's plans is easier than the one before it, and I continue to feel more confident in the work and in my understanding of how furniture is built. I feel so grateful to Ana for sharing her work and for inspiring so many people, both men and women alike, to reach a bit outside of their comfort zone and develop new hobbies that they never would have imagined having.

Estimated Cost
$115 for materials
Estimated Time Investment
Week Long Project (20 Hours or More)
Finish Used
Can't remember.
Recommended Skill Level
Beginner

Comments

Farmhouse bed

Submitted by Anonymous (not verified) on Wed, 05/18/2016 - 13:23

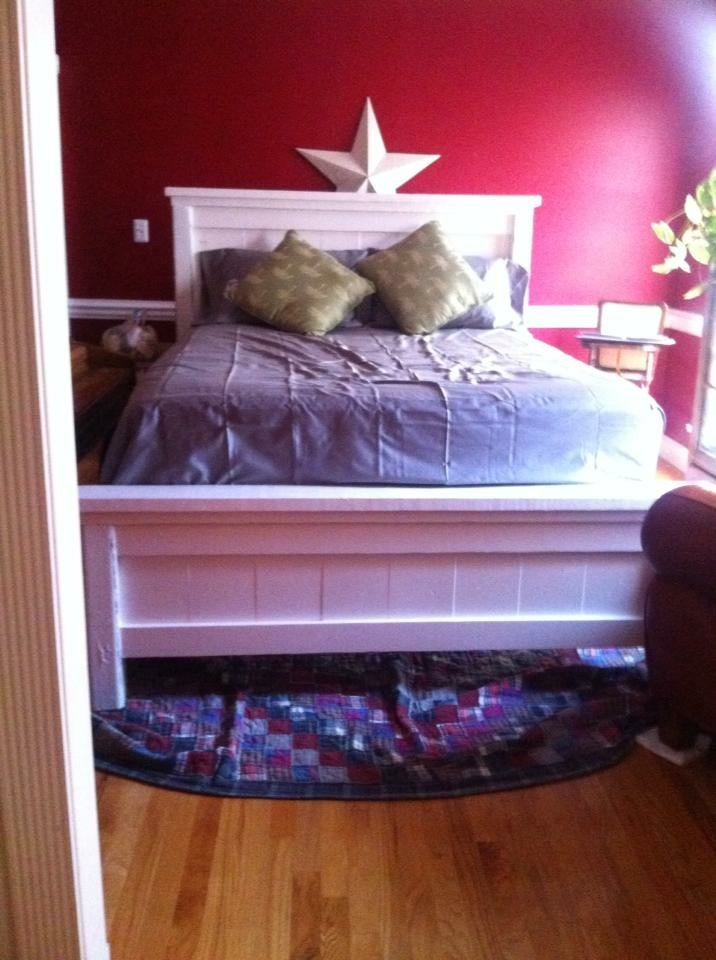
I stumbled across Ana White one day 3 years ago when I was 18 and about to go off to college. My parents weren't home for the weekend, I was bored, and decided a twin bed at my rental just wasn't going to cut it but I was an 18 year old who had champagne taste on a beer budget. I had been helping my dad ever since I was little with wood work all around the house but furniture was something we had never tackled and the idea of building a bed was a little daunting. However, these plans were super easy to follow and I must say, the finished product is absolutely beautiful. After 3 years and many more projects, this bed is still my favorite. 


Needless to say my mom asked me for a few years to bring it back to go in my old bedroom at their house - so now I get to build another one!

Estimated Cost
$100
Estimated Time Investment
Day Project (6-9 Hours)
Recommended Skill Level
Beginner

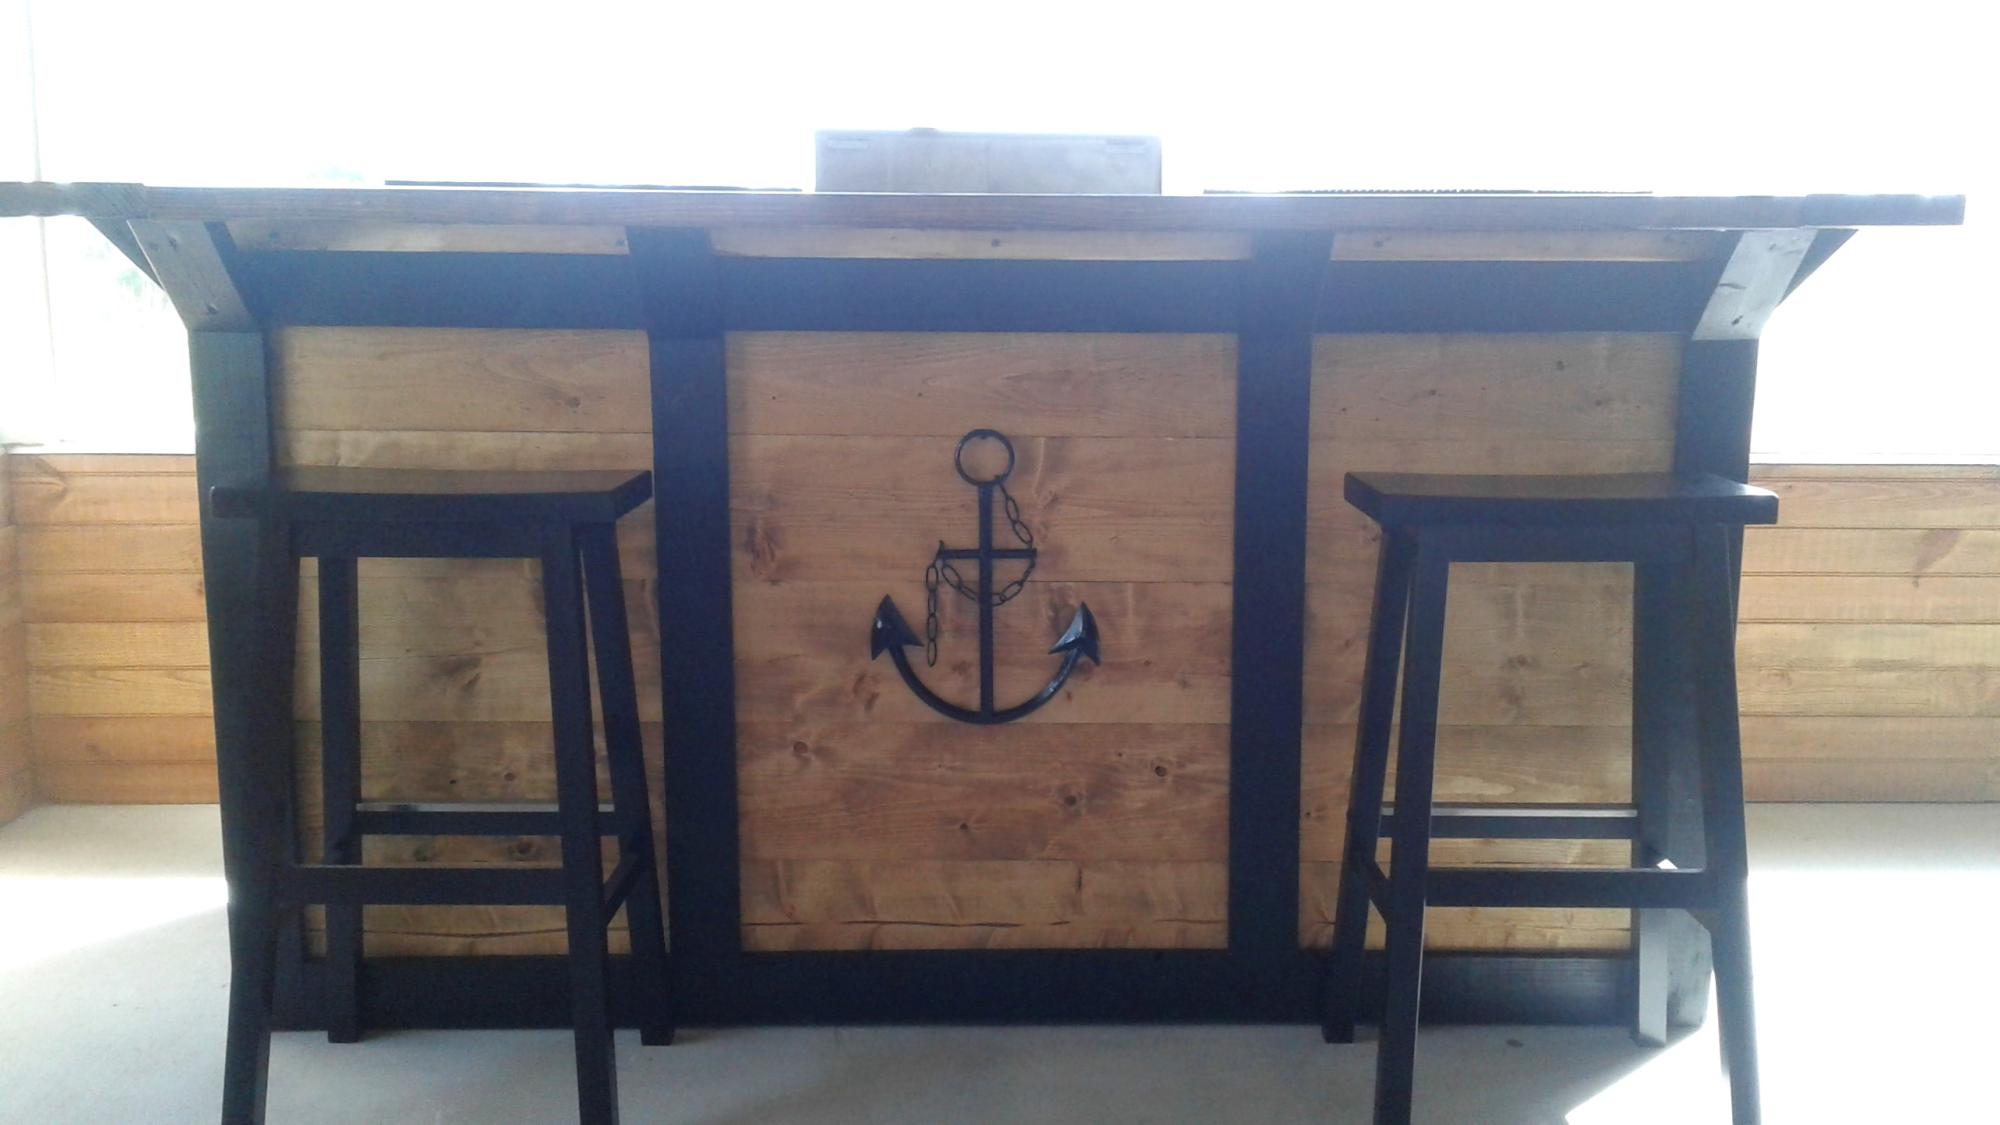
Outdoor Bar

Submitted by Anonymous (not verified) on Mon, 10/16/2023 - 09:01

Built a bar for my patio overlooking the lake.

RFR191

Clara Table & Chairs

Fun, easy build. This is the first project from this site and the kids loved helping make their own chairs. They got to pick their own color paint - I think I spent more on paint than I did on the wood!

Built from Plan(s)
Recommended Skill Level
Starter Project

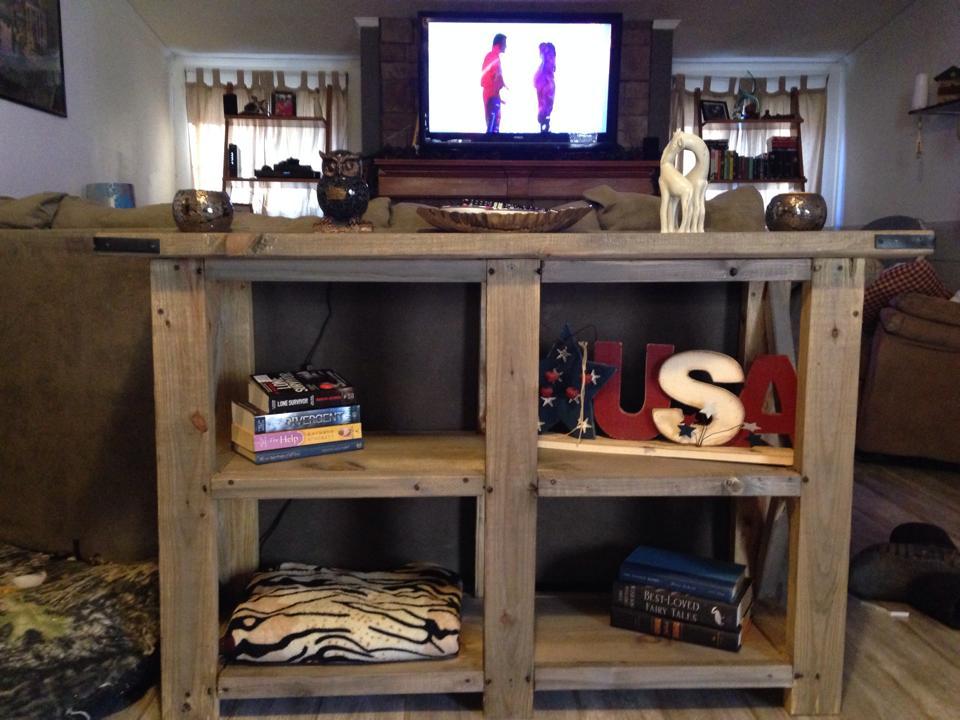
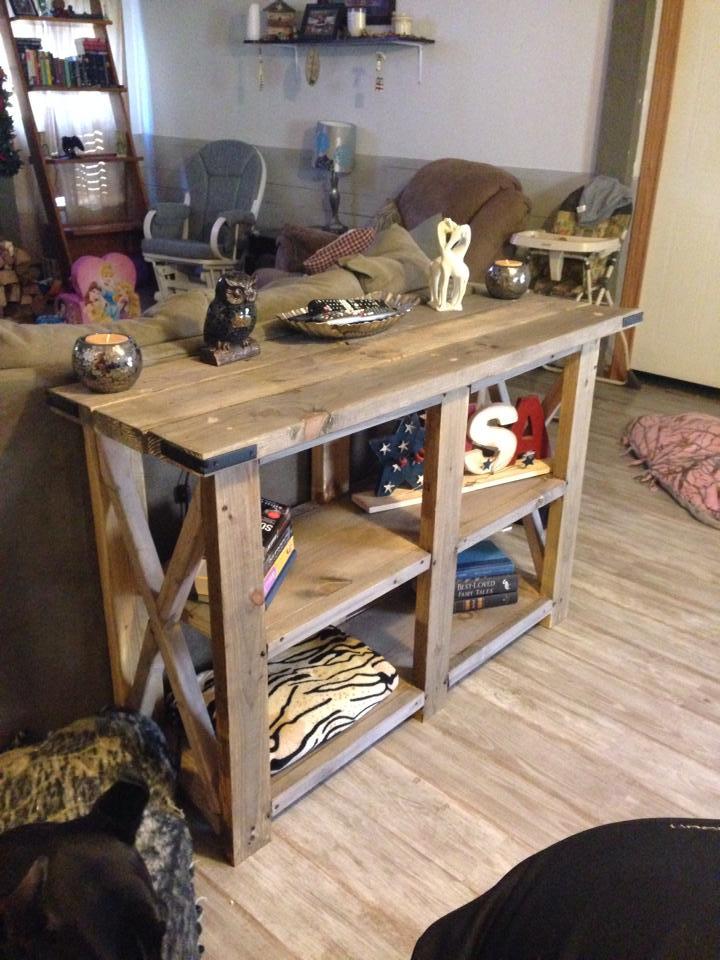
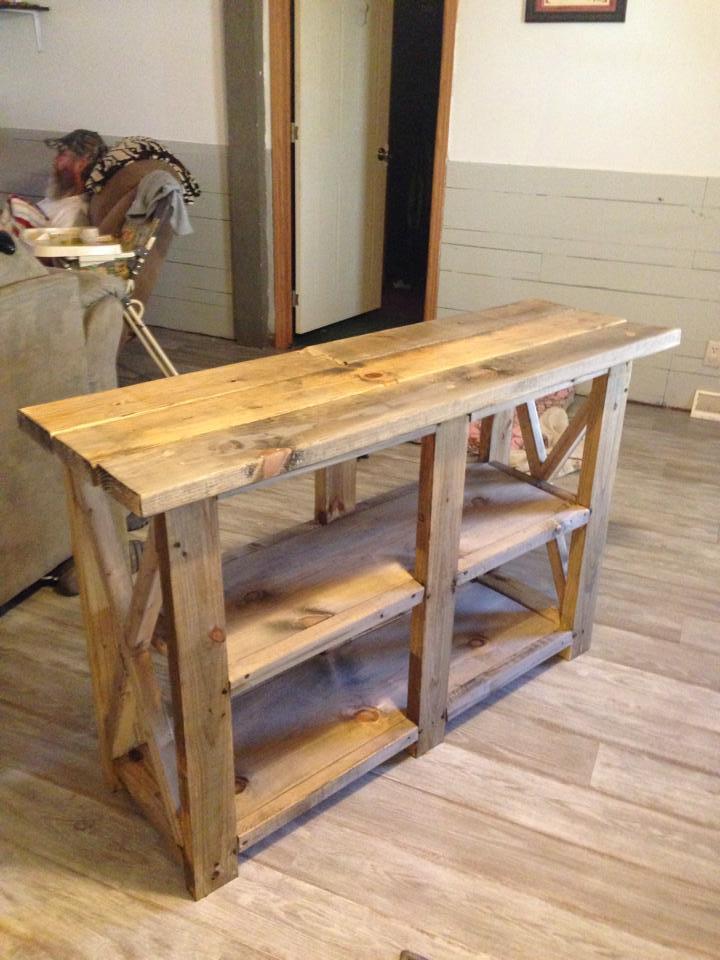
Rustic X table

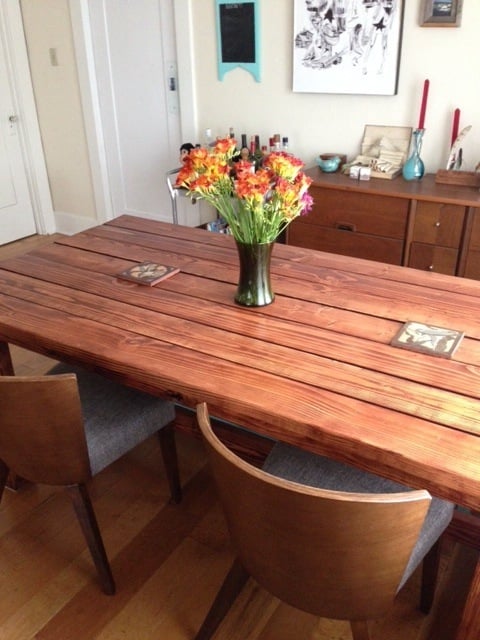
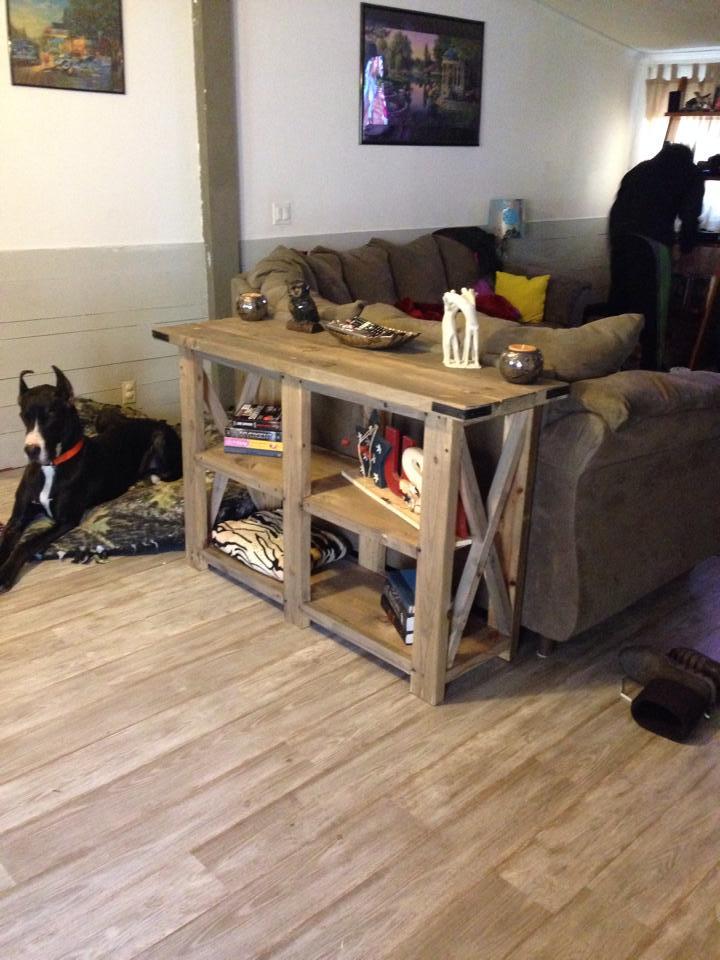
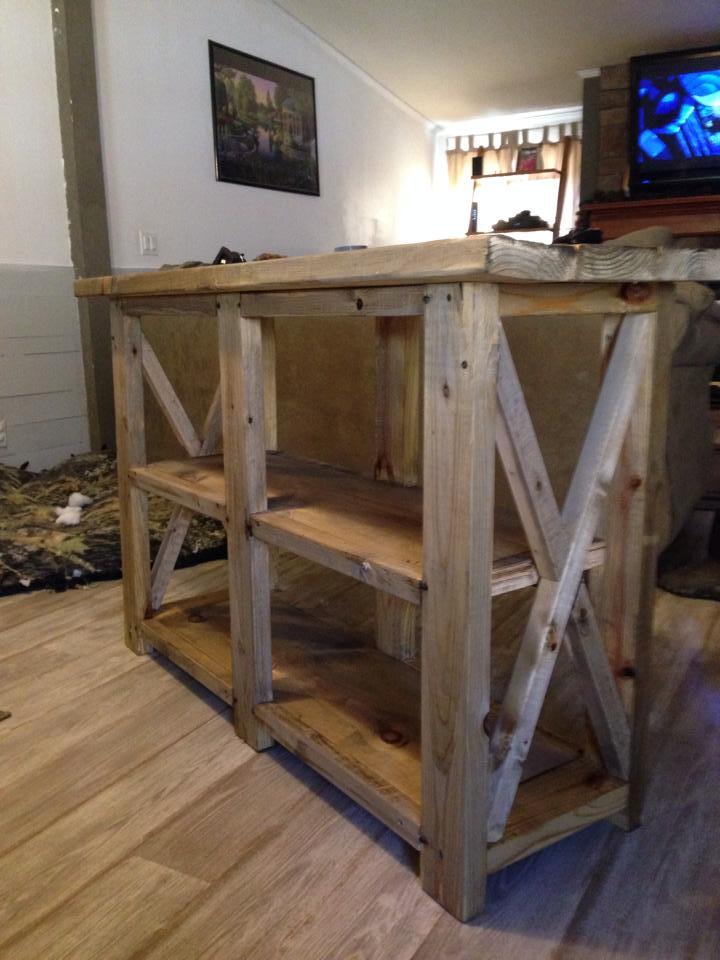
I saw this project and fell in love with it. Ive never done a wood working project before and wanted to do this all on my own so i wouldnt let anyone help just to know if i could do it. It didnt turn out perfect but i CAN NOT stop looking at it. Ana thank you somuch for theses plans!

Estimated Cost
$70
Estimated Time Investment
Weekend Project (10-20 Hours)
Finish Used
I didnt really use a finish just used coffee and vinegar and rubbed a small sbount of orange essential oil on the top to give it a better smell.
Recommended Skill Level
Beginner

Comments

CreativeChaos

Mon, 02/24/2014 - 11:22

Looks amazing! I'm dying to build this also and am nervous about trying out that finish. Where did you get the corner hardware?

kennasmomma

Wed, 04/30/2014 - 20:44

Sorry I got locked out of my account but I got plain silver corner pieces from walmart and spray painted them with a matte black.

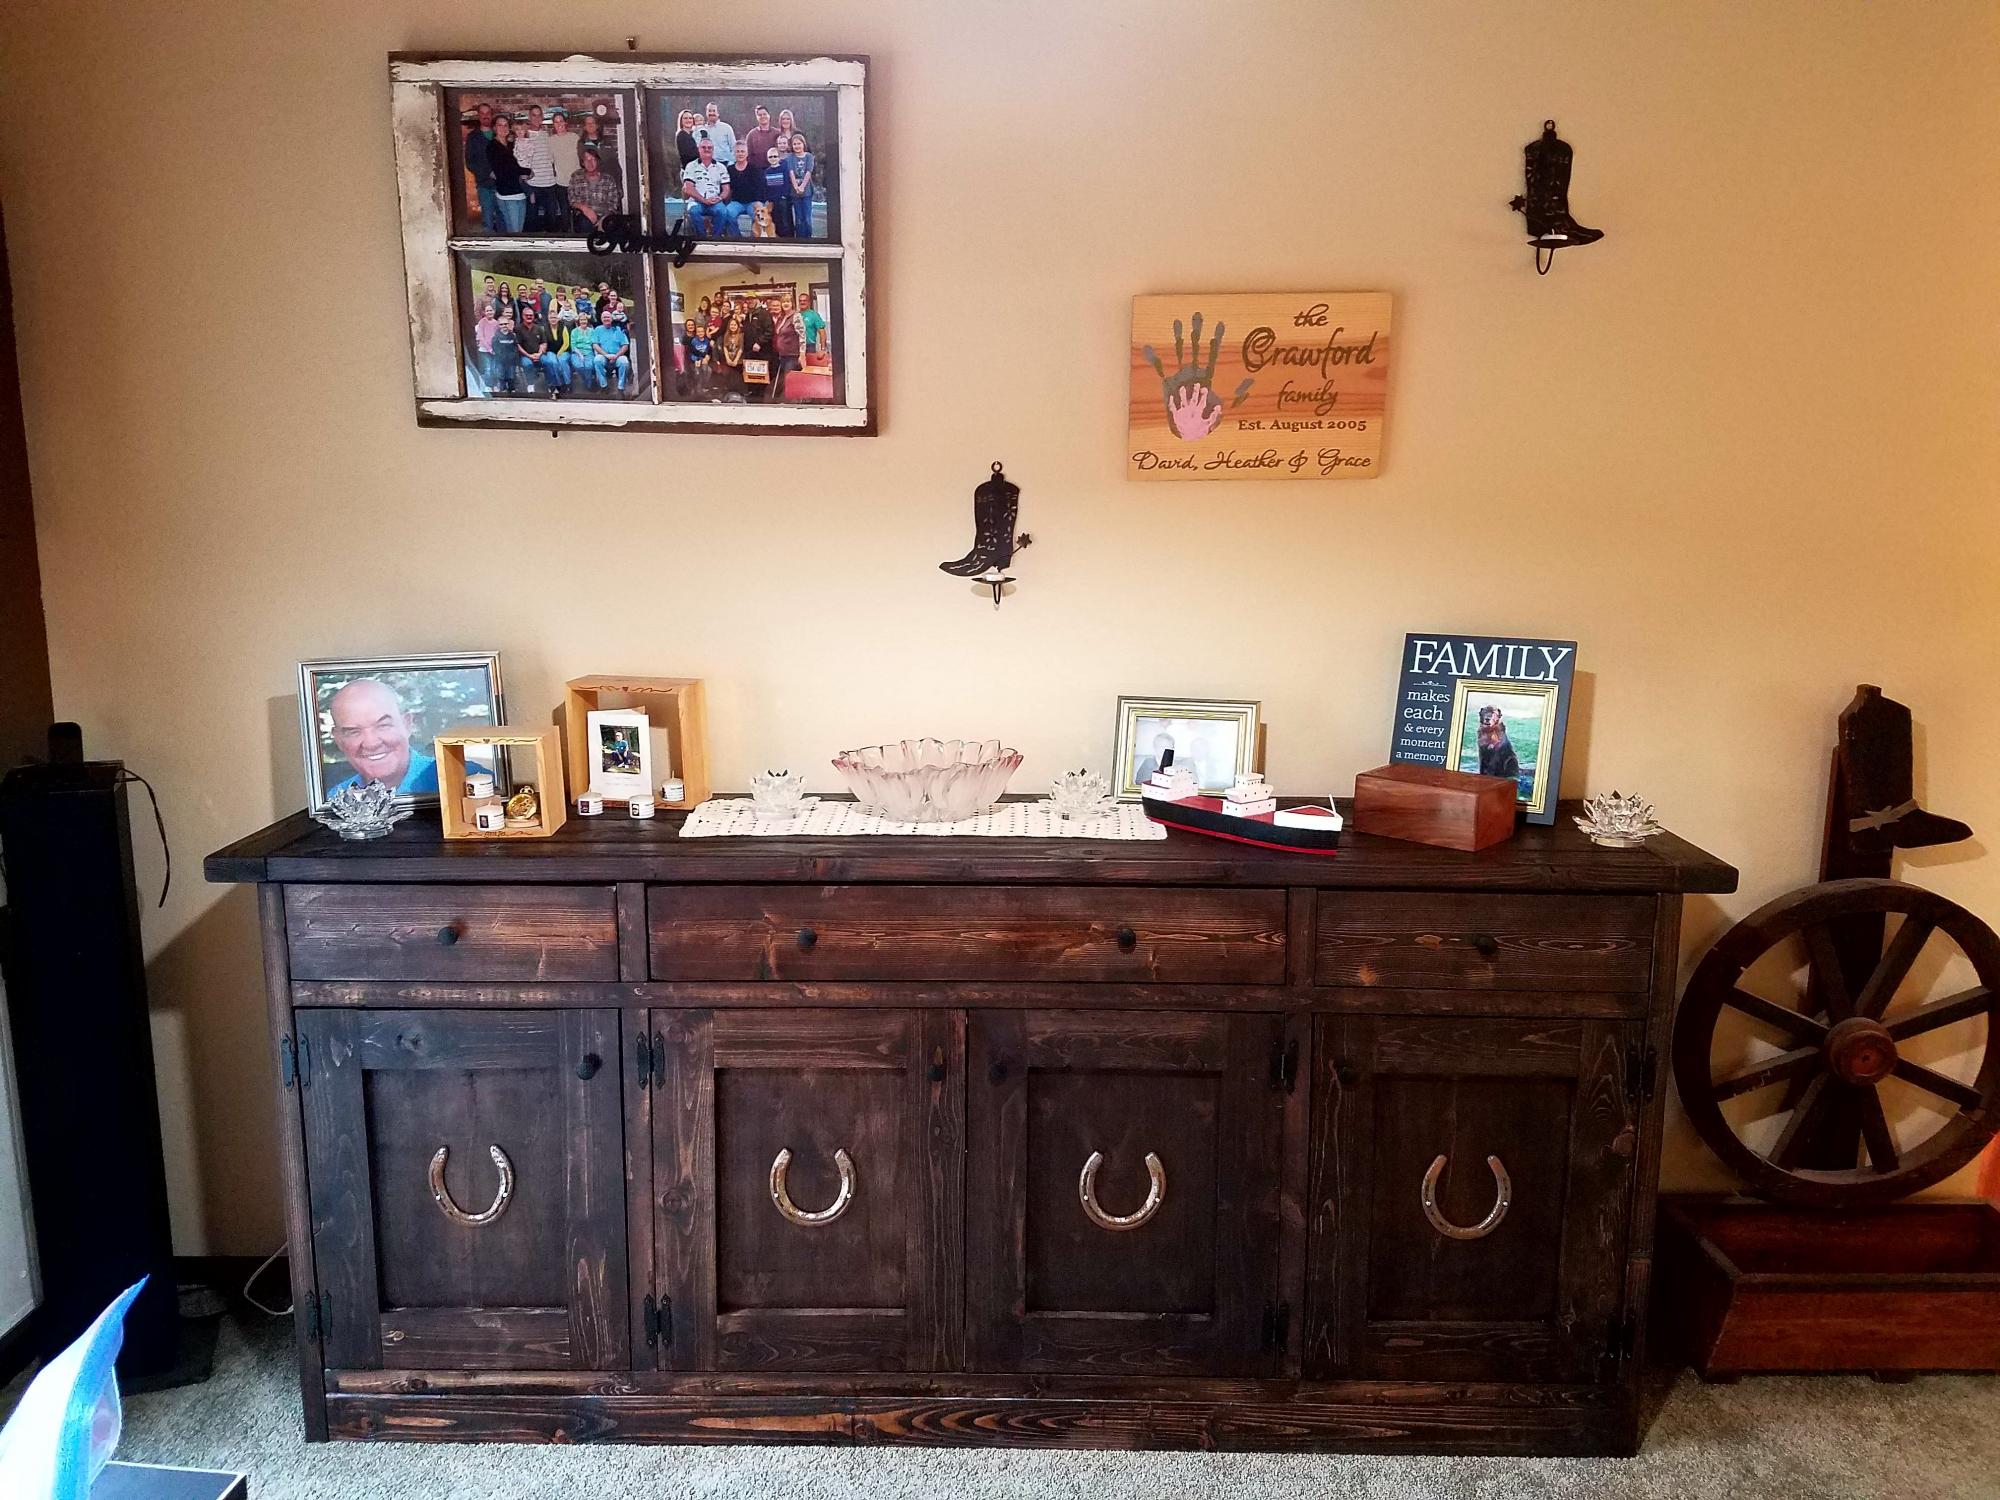
Sideboard Build

Submitted by craw4dz on Thu, 02/27/2020 - 10:24

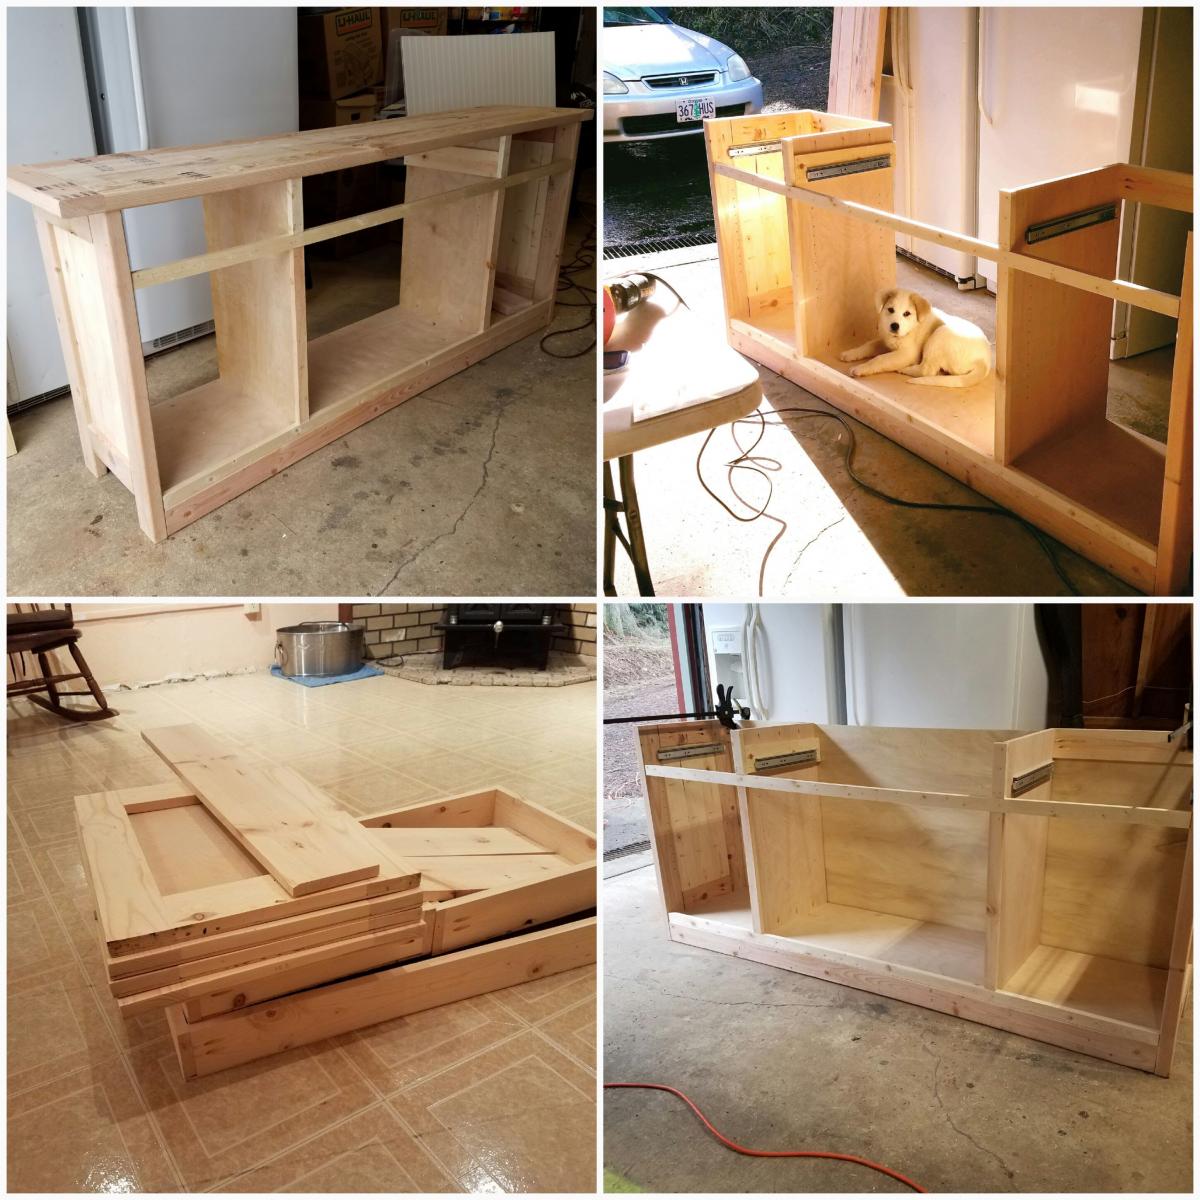
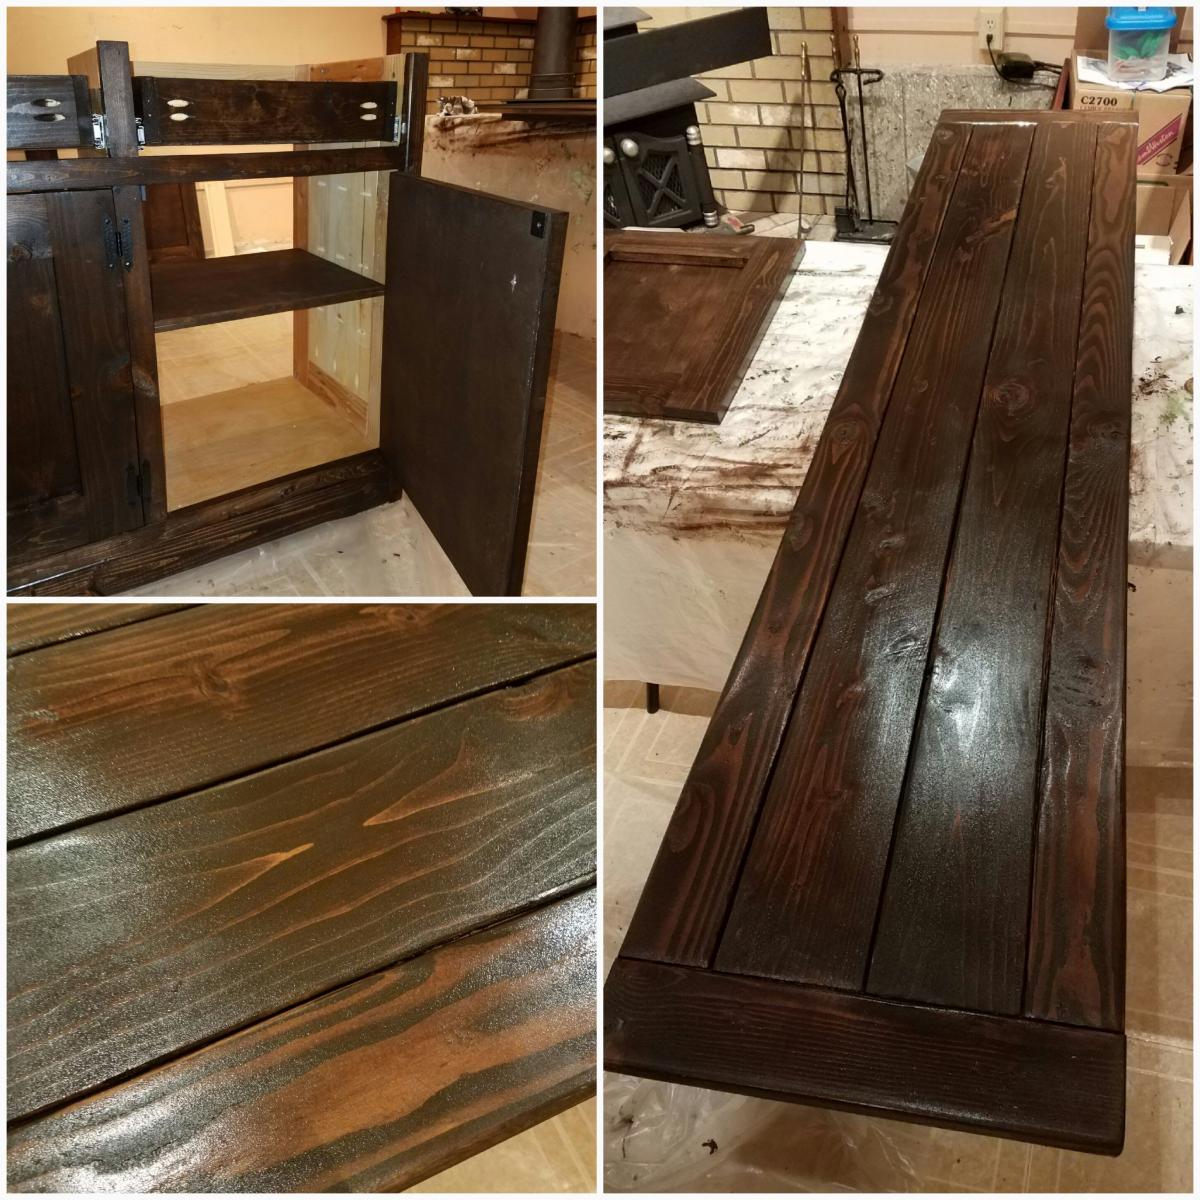
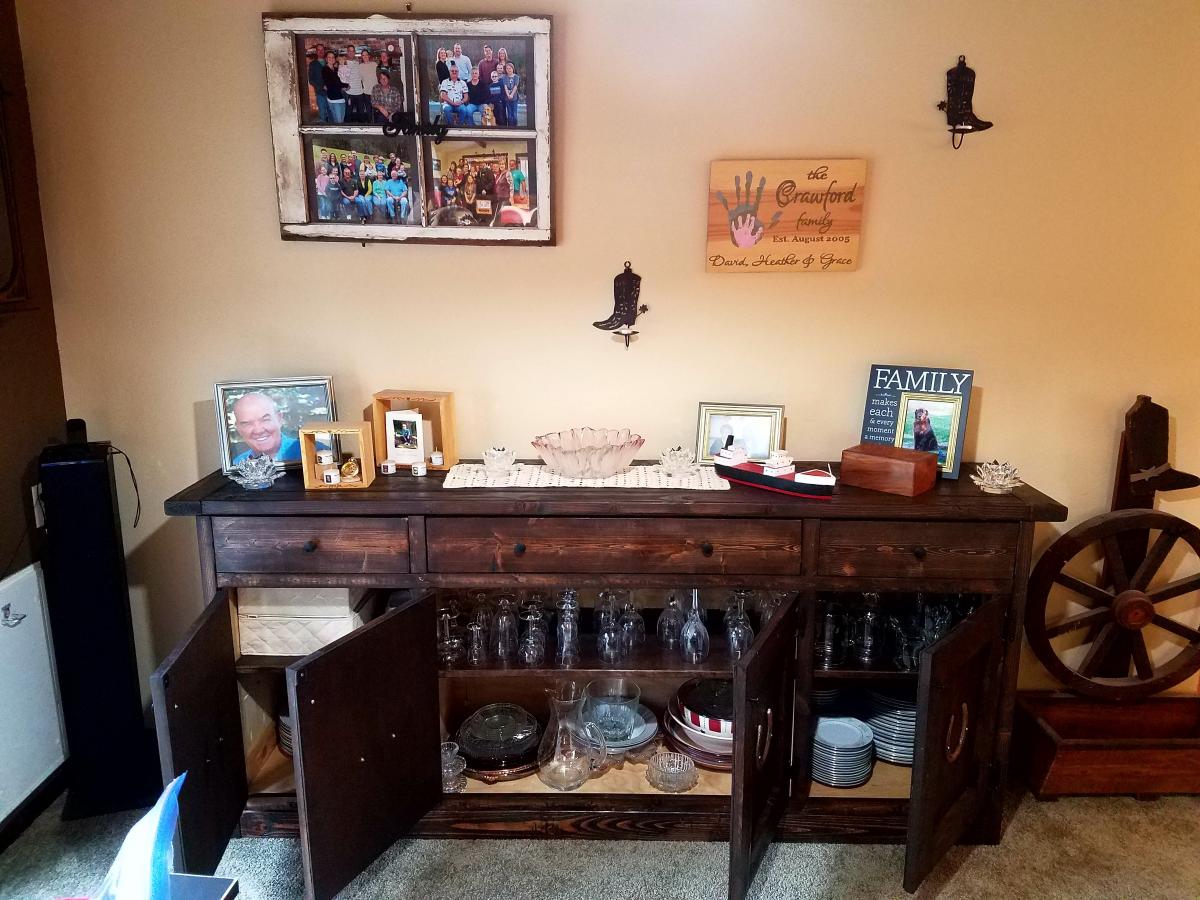
Before moving, I sold my older, MDF-containing, sagging china hutch that was given to me by a friend.  I had dreams of building my own and had printed out these plans... built it in my head, rebuilt it, scratched out notes, wrote new notes, and so on until my husband finally said "just build it already" haha.  It took me 2 months to finish it and fill it with all of my china and I'm into it for about $330.  I love her and affectionately refer to her as Gert... she's a big girl.  I added adjustable shelving inside and horseshoes to the front to match everything else in my house and I think it turned out great.  It's sturdy enough I think we could have dances on top of it!

Thank you for the simple and easy-to-follow plans!

Built from Plan(s)
Estimated Cost
$330
Estimated Time Investment
Week Long Project (20 Hours or More)
Finish Used
Varathane Kona with a satin poly
Recommended Skill Level
Intermediate

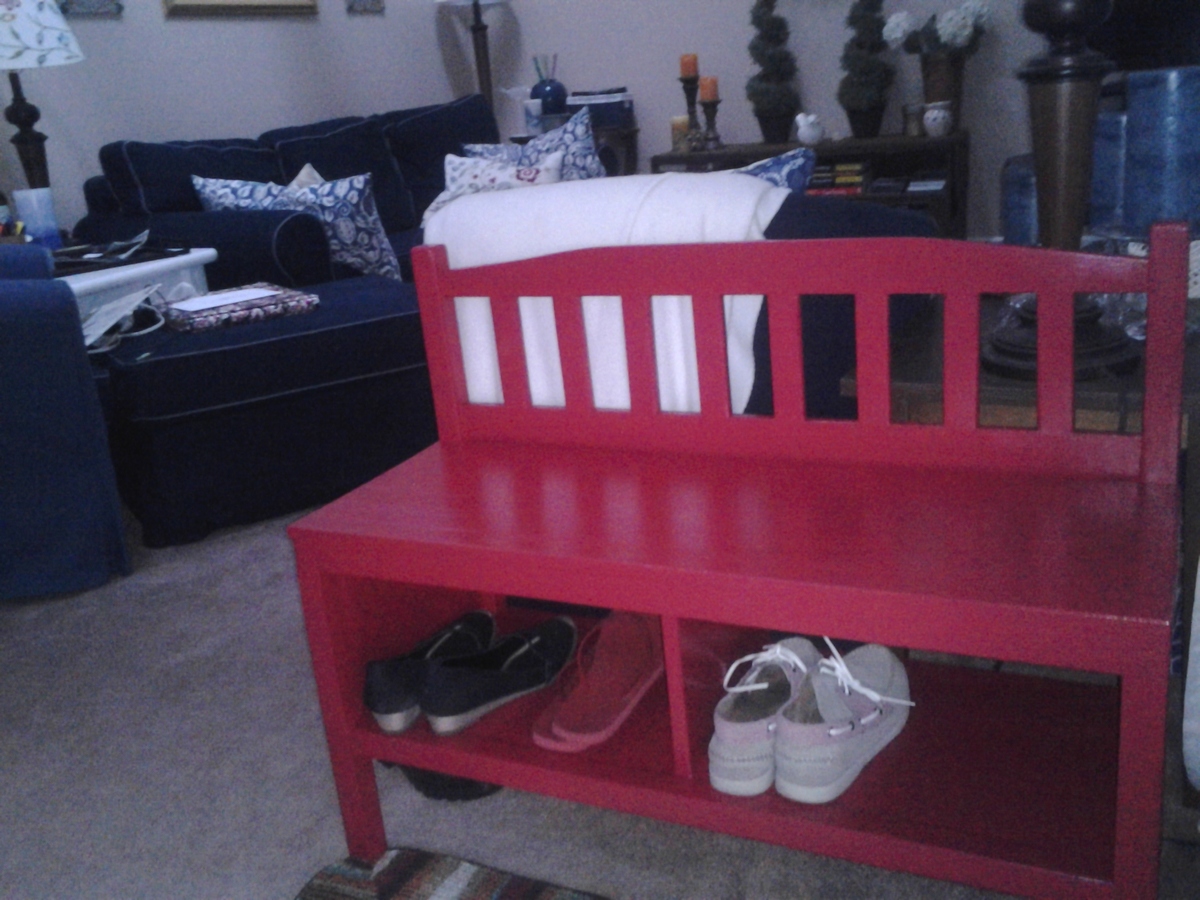
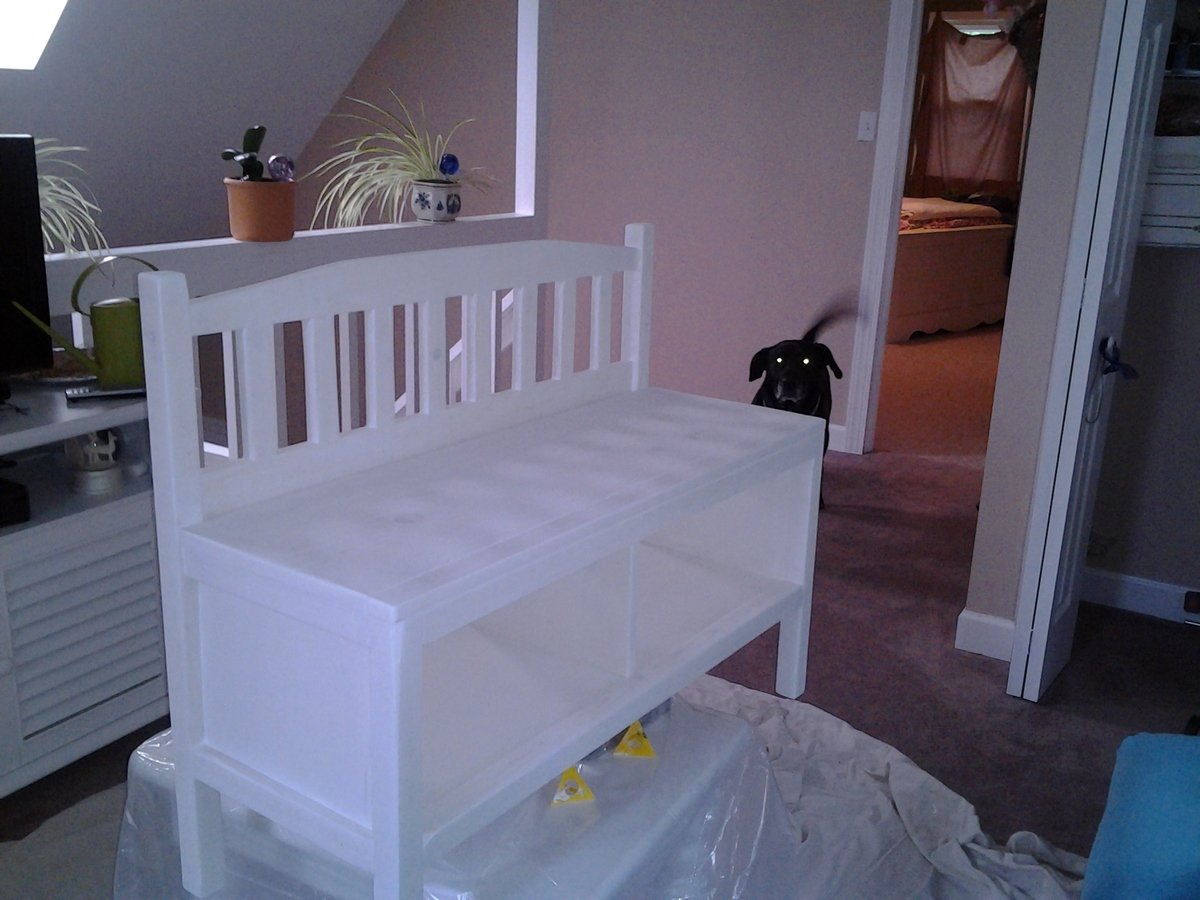
Cottage bench for my cape-cod

Submitted by TF in VA on Fri, 05/11/2012 - 12:59

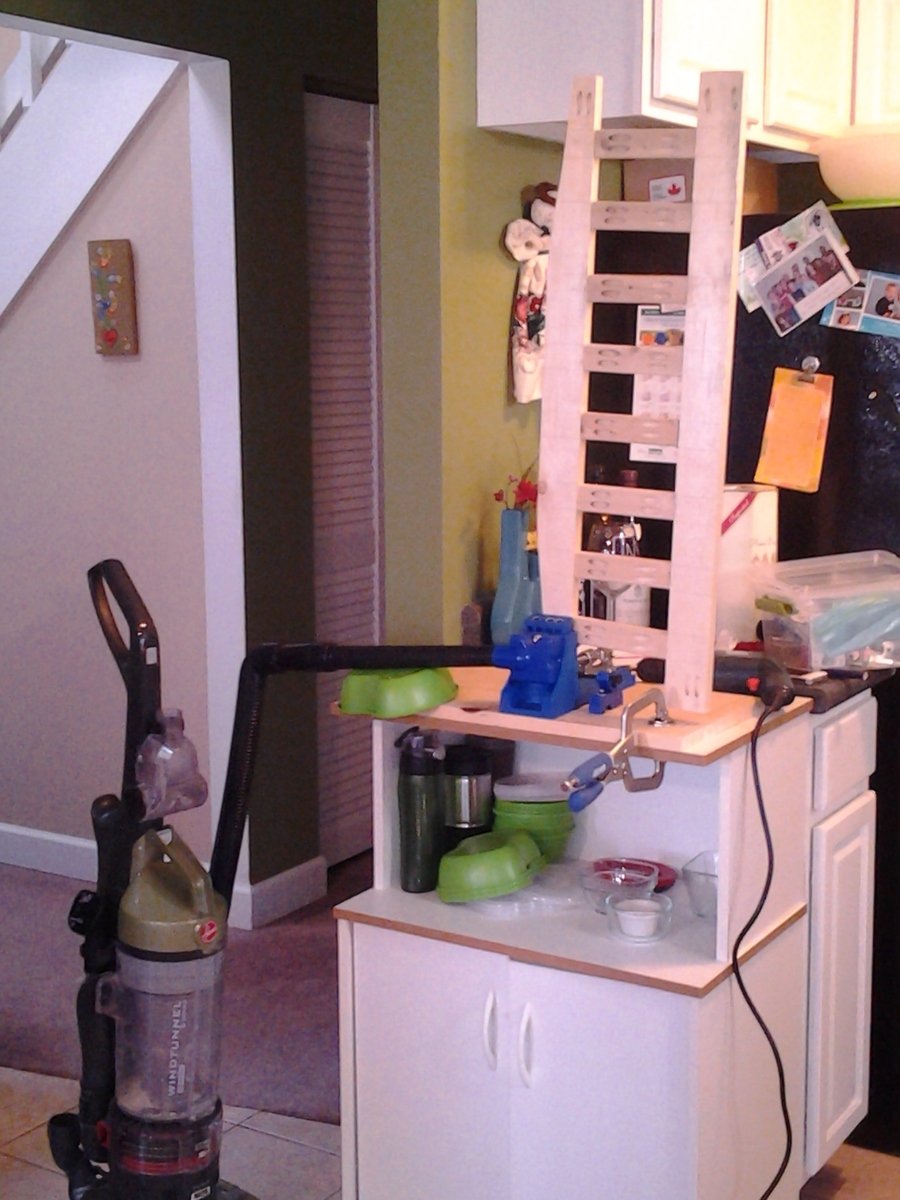
I really wanted a place to sit down and take my shoes off when I got home. I don't have a large entryway, so the space was tight. I looked online for a bench that would fit the measurements, and found a few that looked good-- except for the price! Luckily I already knew about Ana White, so I came here in search of some plans and lo and behold she already had plans posted for the exact same bench I liked most from the catalogs!

I've used power tools before, but never actually *built* anything from scratch. I thought my boyfriend would help me with this (he's got woodworking experience), but I got tired of waiting for him to get around to it, so I just did it all by myself!

I first attempted to make this without a Kregg Jig, cause I didn't want to spend the money on it if I didn't need it. But it didn't take long to figure out that I needed it. So back to the store I went (found out the hard way that Lowes sells Kreggs but Home Depot does not, at least the ones near me). And holy cow it was SO WORTH IT!

I also got to buy a new sander for the project, cause the hand-me-down from my dad had a missing bit of the clamp that holds the sandpaper to the sander (kind of essential)
So all in all I spent more than the catalog price of the bench, but I will get to use the tools to build all sorts of fun stuff!!!

Thank you Anna! You empowered me to build exactly what I wanted and I LOVE IT!!!!
Estimated Cost
$50 wood + Kregg Jig (and screws and wood plugs) + palm sander
Estimated Time Investment
Weekend Project (10-20 Hours)
Finish Used
Red paint, to match my front door. Still need to protect the finish with some sort of sealant.
Recommended Skill Level
Beginner

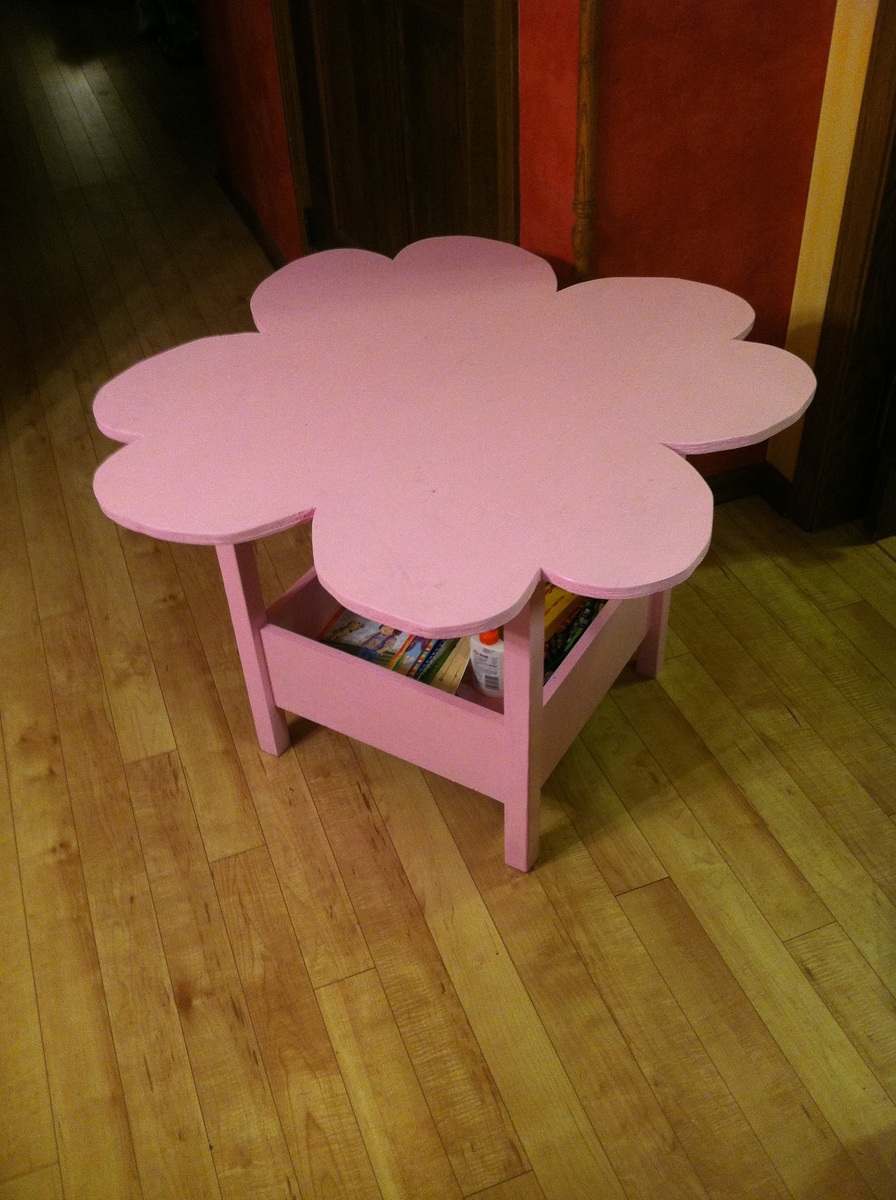
Flower Storage Table with Thumb Chairs

Submitted by pde00311 on Mon, 02/24/2014 - 22:32

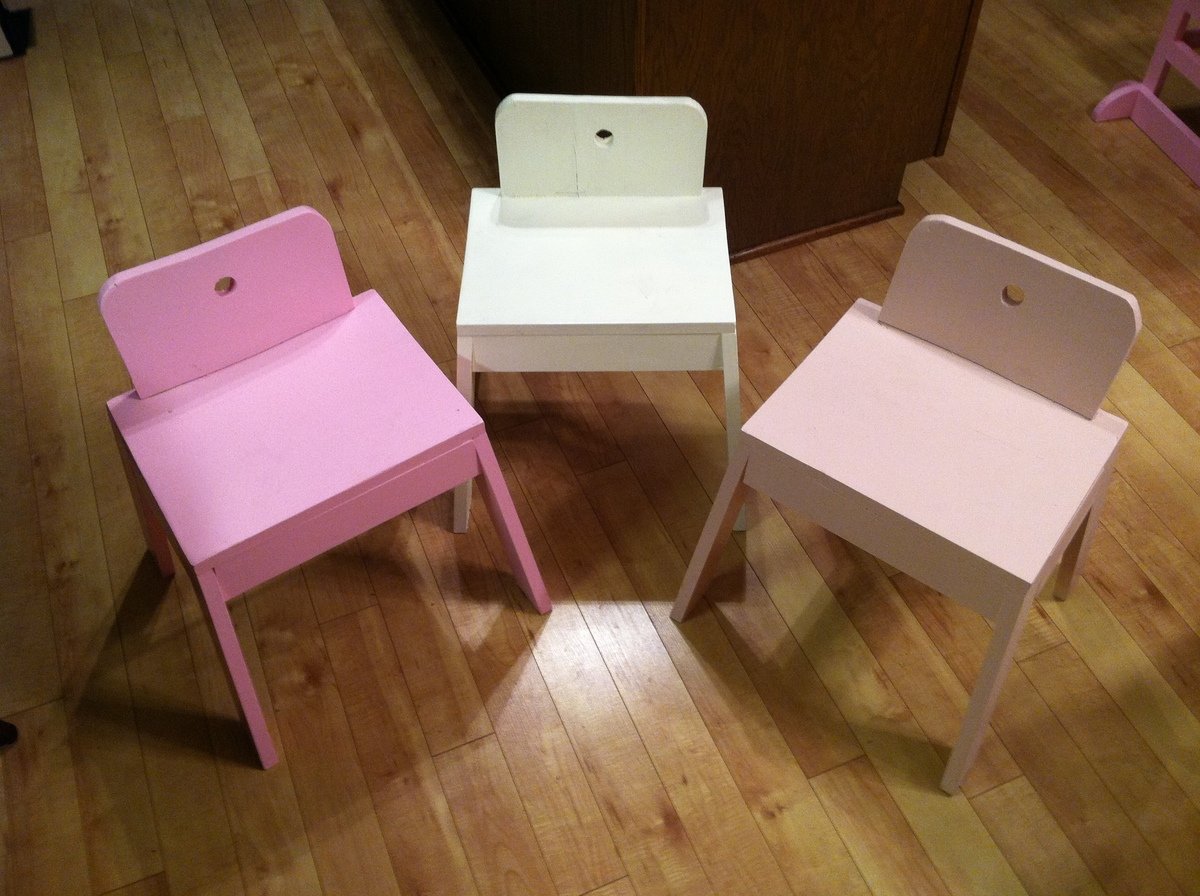
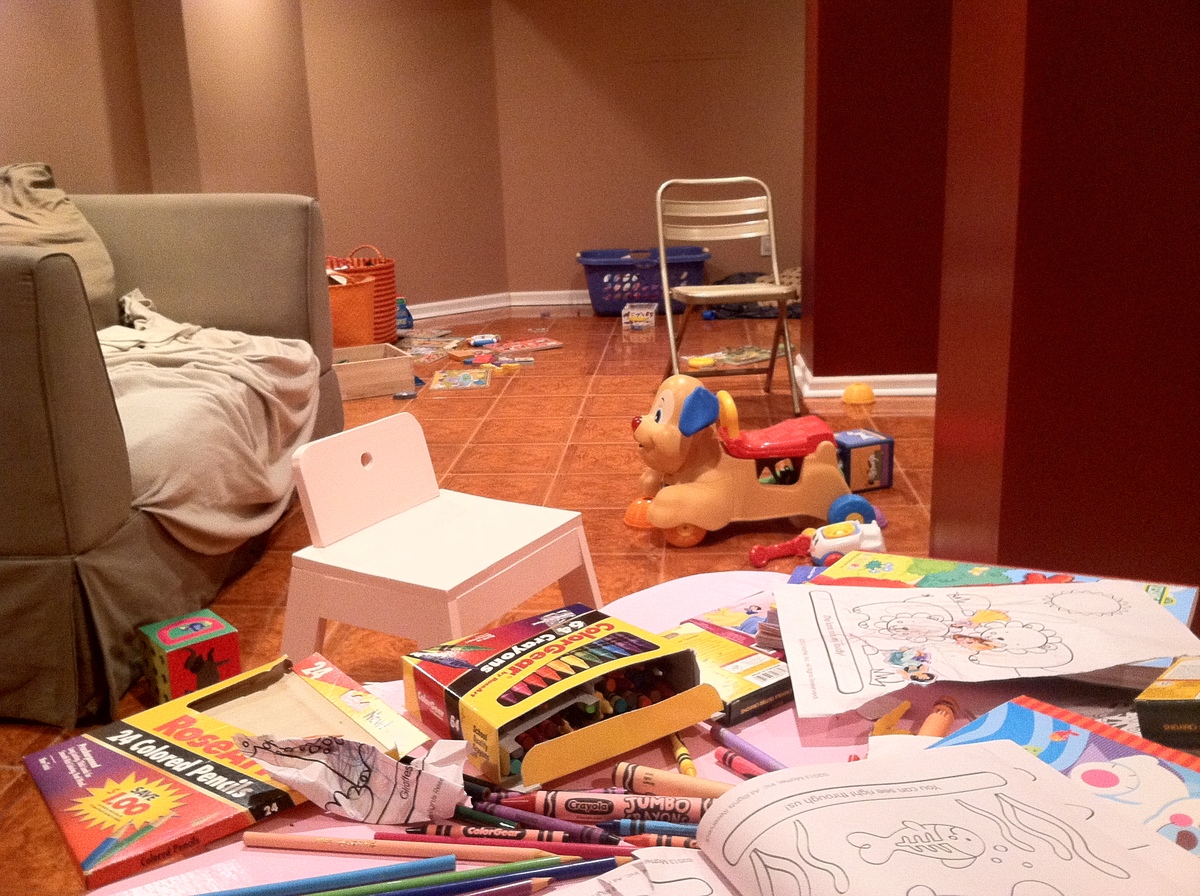
I put together the flower storage table and the thumb chairs during the week leading up to our daughter's first birthday party. With a lot of older toddlers/kids at the party, the table served as a perfect coloring station in our basement (as you can see from the mahem/aftermath photo below). In any event, as my daughter is about to turn two, she has really grown into using the table and chairs for completing her own arts and crafts projects.

Estimated Cost
100
Estimated Time Investment
Day Project (6-9 Hours)
Finish Used
Behr Sweet Taffy, Camembert and Kashmir pink paints with a couple coats of polycrylic
Recommended Skill Level
Intermediate

Mimi's Faux Mantle with bookshelves

Submitted by JoshuawG09 on Wed, 05/25/2016 - 18:15

Made from the modified Mimi's Faux Mantle design from another brag post.

Estimated Cost
$350
Estimated Time Investment
Week Long Project (20 Hours or More)
Finish Used
I used Valspar furniture paint. However, I will never buy it or use it again. It's just over priced paint.
Recommended Skill Level
Beginner

Comments

laurenwalker

Tue, 12/19/2017 - 22:01

Are you able to tell me how wide this is from the end of one bookcase to the other? I'm trying to find out if it will fit in my living room. Thanks!
Breakfast nook with storage

Submitted by nahoy08 on Mon, 03/09/2020 - 08:12

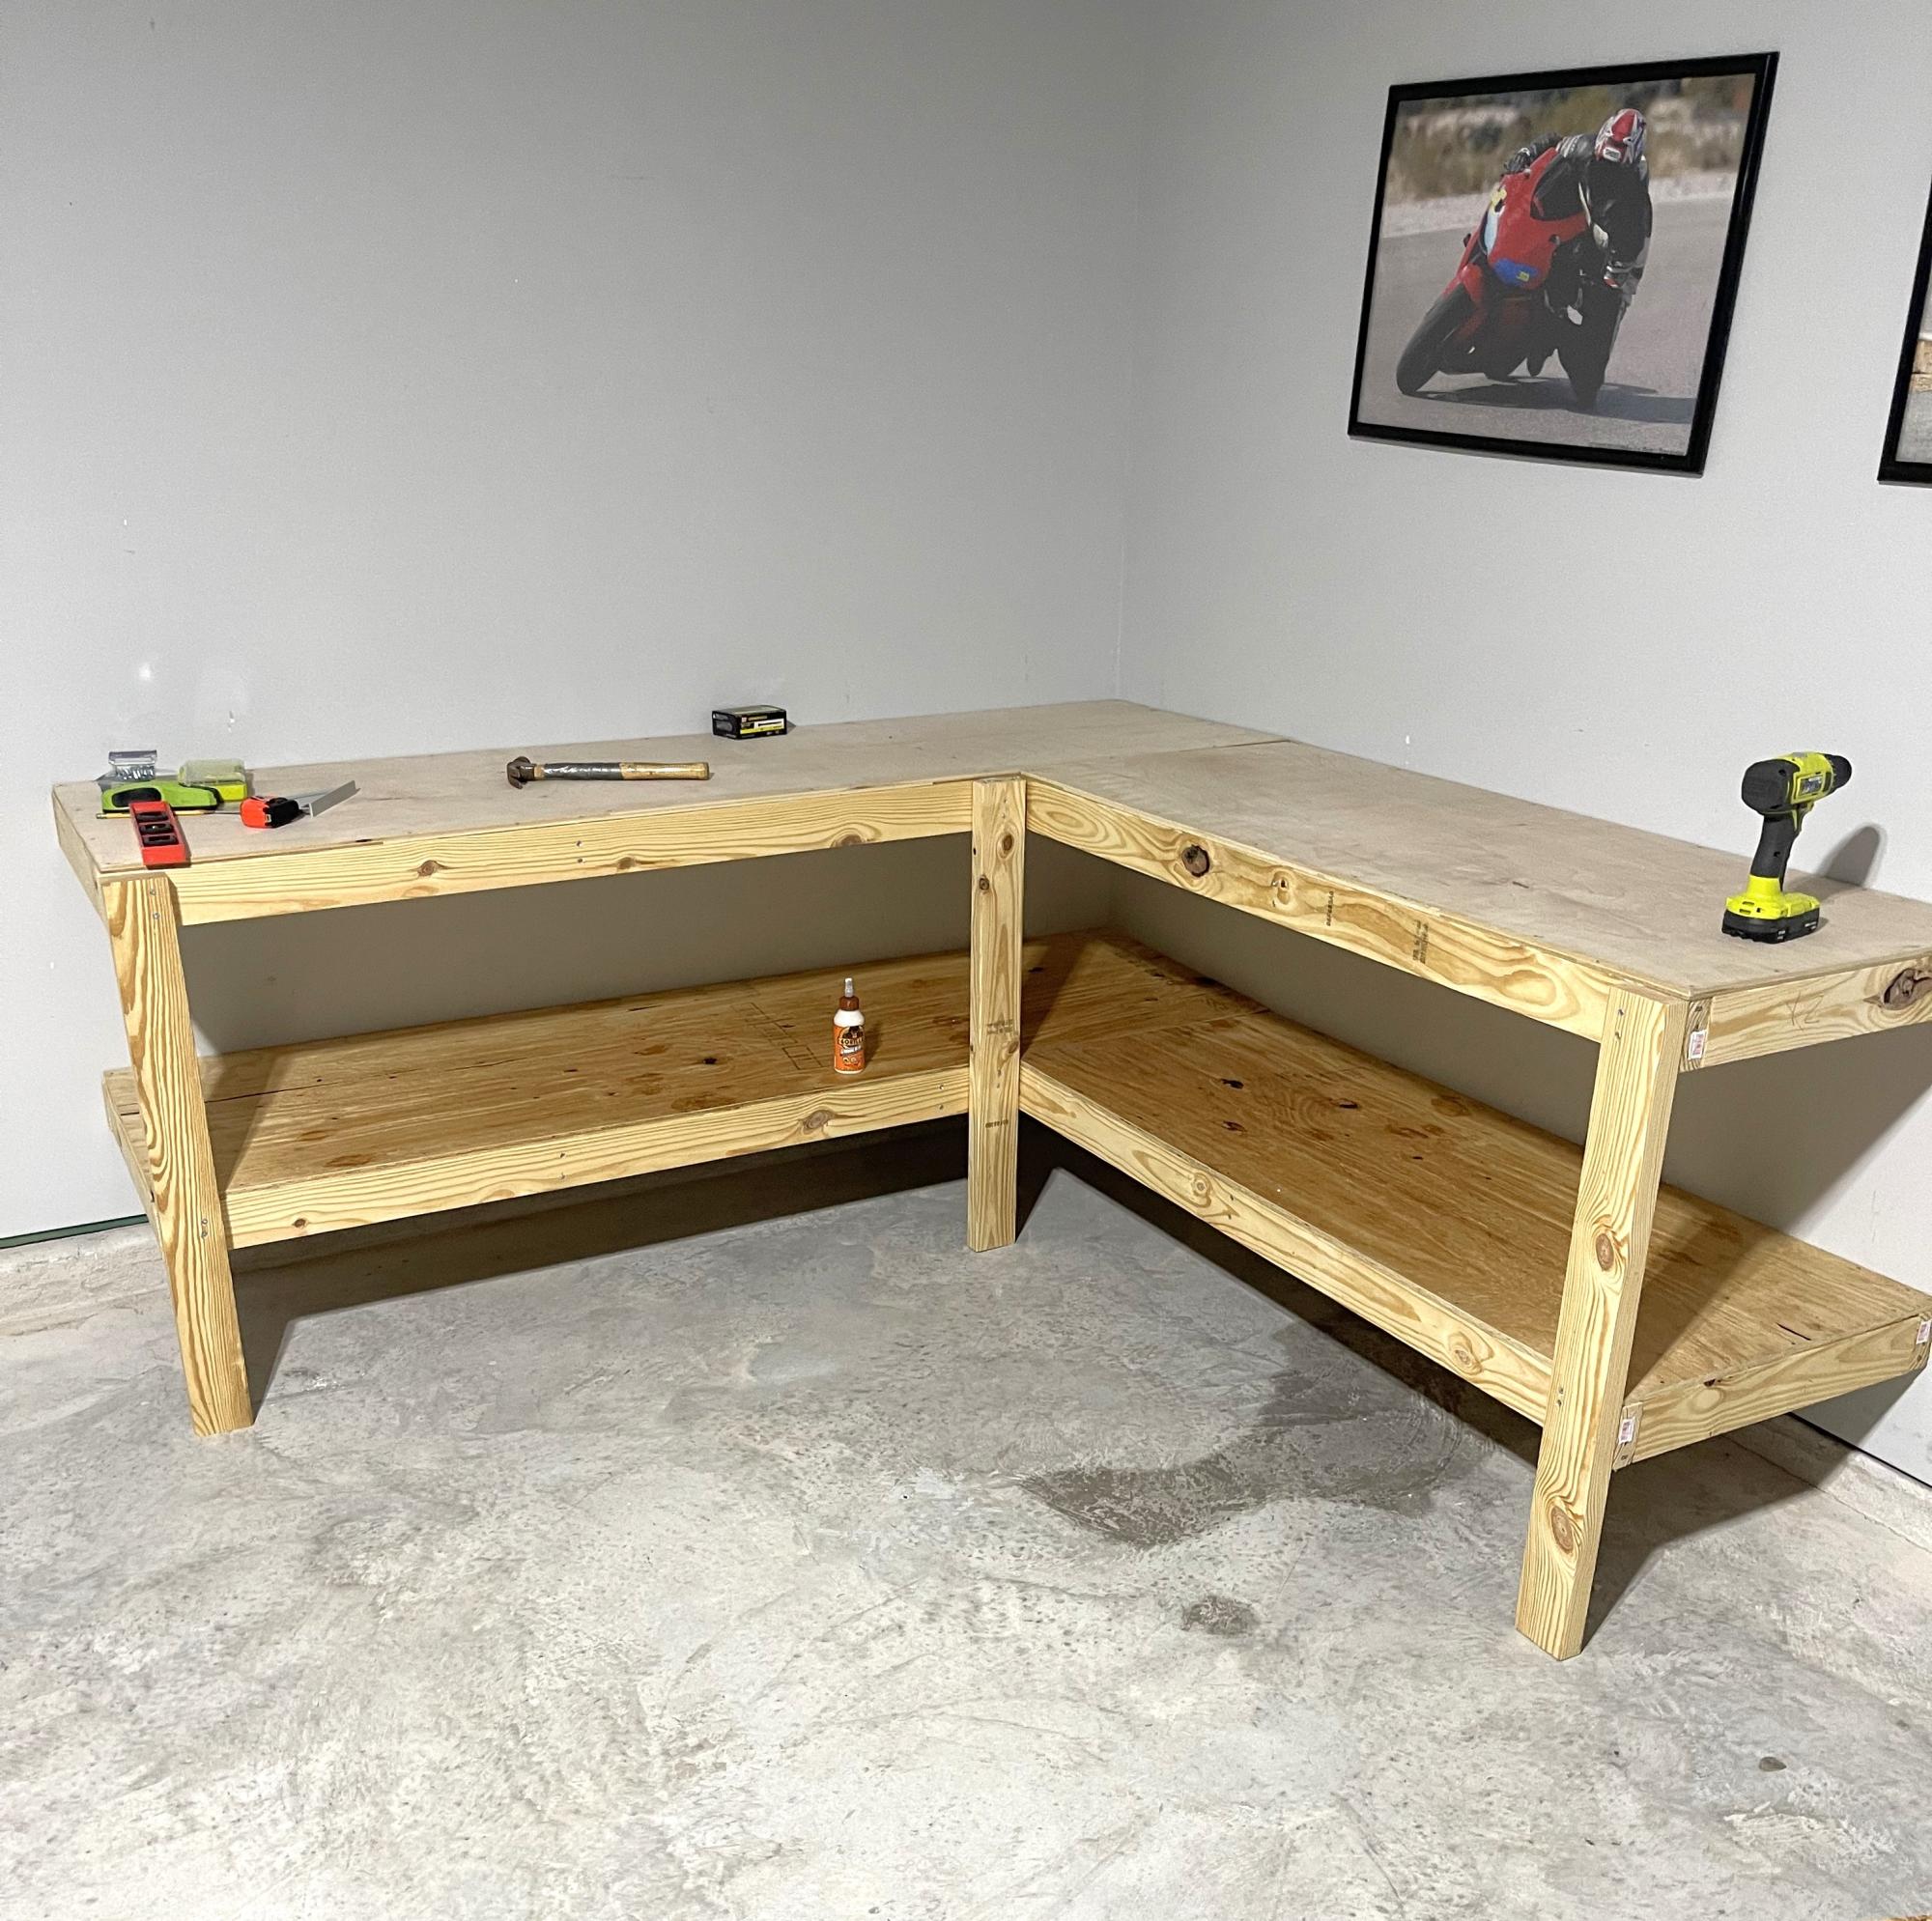
Modified the benches a little to be opened without removing a cushion. Cushions to come. We made our own paneling for the back and reused the original trim. Table to come. 
Idea and plans from another brag Breakfast nook. 

Estimated Cost
275
Estimated Time Investment
Weekend Project (10-20 Hours)
Finish Used
Variety of stains all with a light clear coat on top.
Recommended Skill Level
Intermediate

Media Center

Submitted by Felicka on Mon, 05/14/2012 - 22:29

Easy, fun great project that my husband and I did together. This project cost about $202, and I will take that price over the price that you would have to pay in the furniture store any day. We found some great wood at Lowe's that worked perfectly and gave it the "rustic" look that we like. Thanks Ana for the plans and sharing them with us.

Estimated Cost
$202.54
Estimated Time Investment
Week Long Project (20 Hours or More)
Finish Used
We used Minwax wood conditioner and then a coat of Minwax Dark Walnut stain. We then used a coat of poly followed by wet-dry sandpaper for the smooth finish.
Recommended Skill Level
Intermediate

Comments

Debi_G (not verified)

Wed, 05/16/2012 - 19:01

That's a fine quality piece of furniture!

Why can't I get dark walnut stain to look like that?

Felicka

Wed, 05/16/2012 - 22:07

Thanks

My hubby used wood conditioner prior to applying the dark walnut. with using the conditioner especially with soft wood such as pine it allows the stain to adsorb in evenly. we only used one coat of both.

claydowling

Wed, 05/16/2012 - 19:45

Debi_G, I've had lots of trouble getting stains to look the way I want too. What I've taken to doing is either mixing my own (see http://claydowling.com), as well as trying out various commercial stains until I find one that satisfies my desires. Good use for your scrap.

So far the best commercial stains I've found are from General Finishes. They're designed to sit partially on top of the wood, which prevents some of the splotchy and washed out look that make some stains unpleasant to work with.

Back