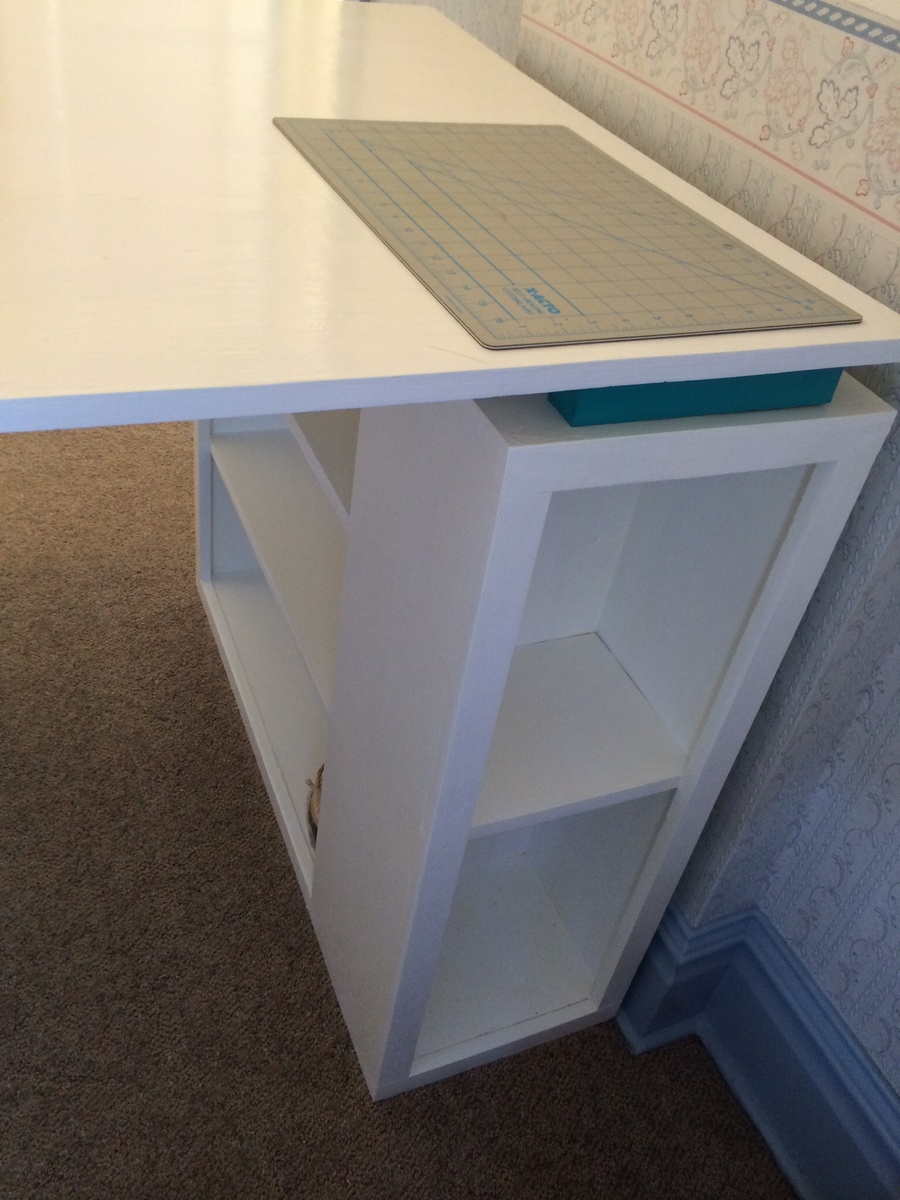
Tryed end table with shelf
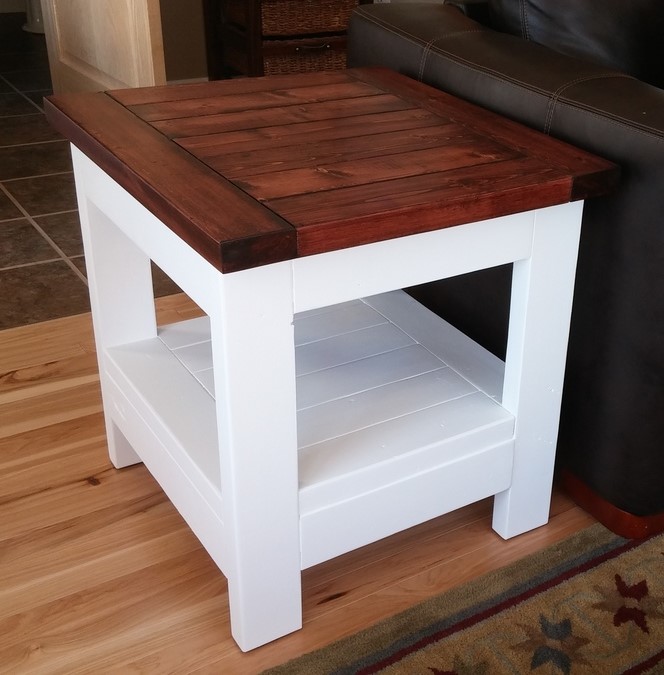
Top 22.5" x 24.5" Base 21"x21" Total height 24"
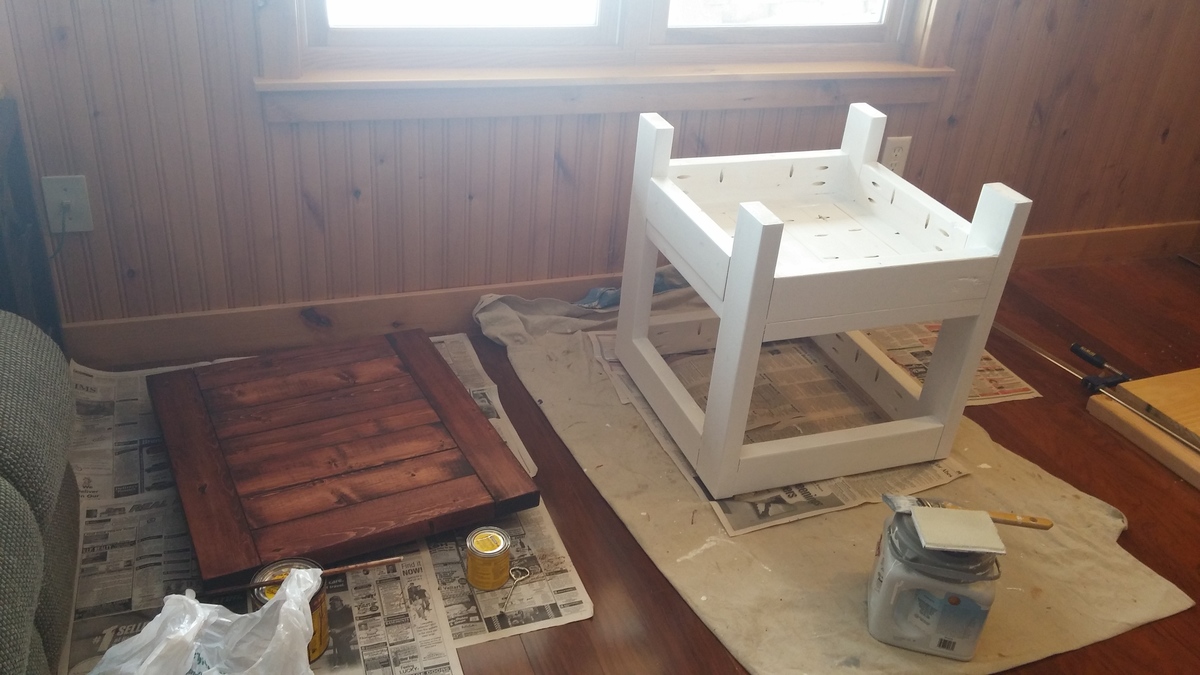
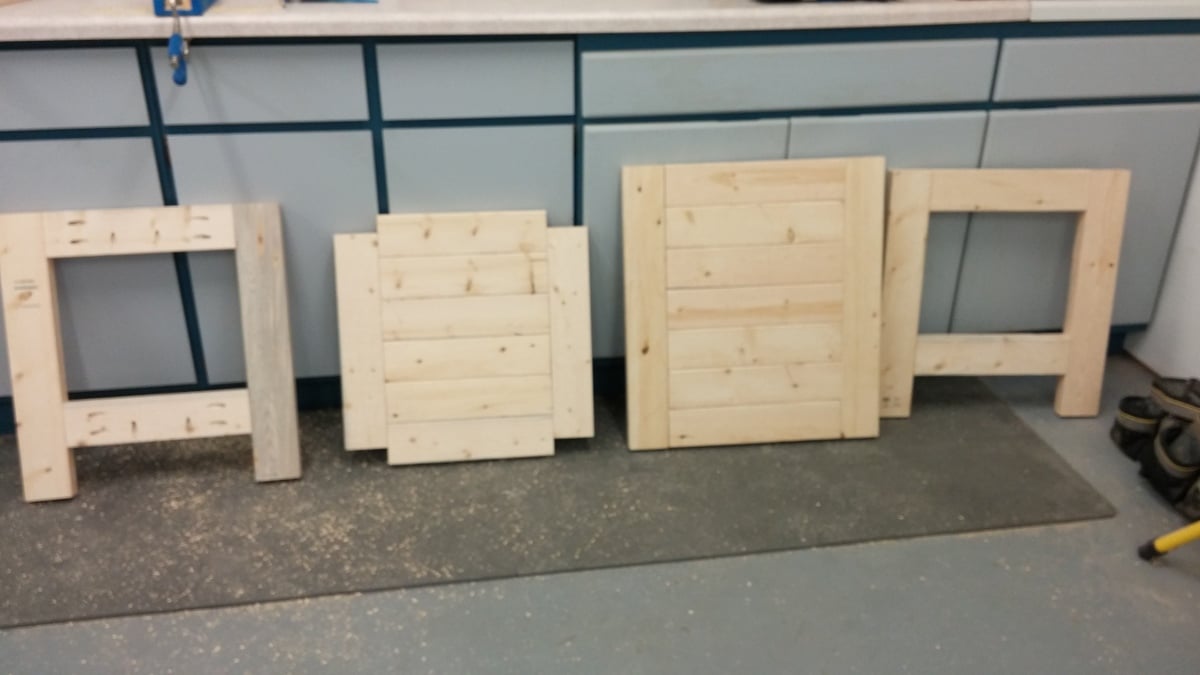
Base finished with Dutch boy trim paint.

Top 22.5" x 24.5" Base 21"x21" Total height 24"


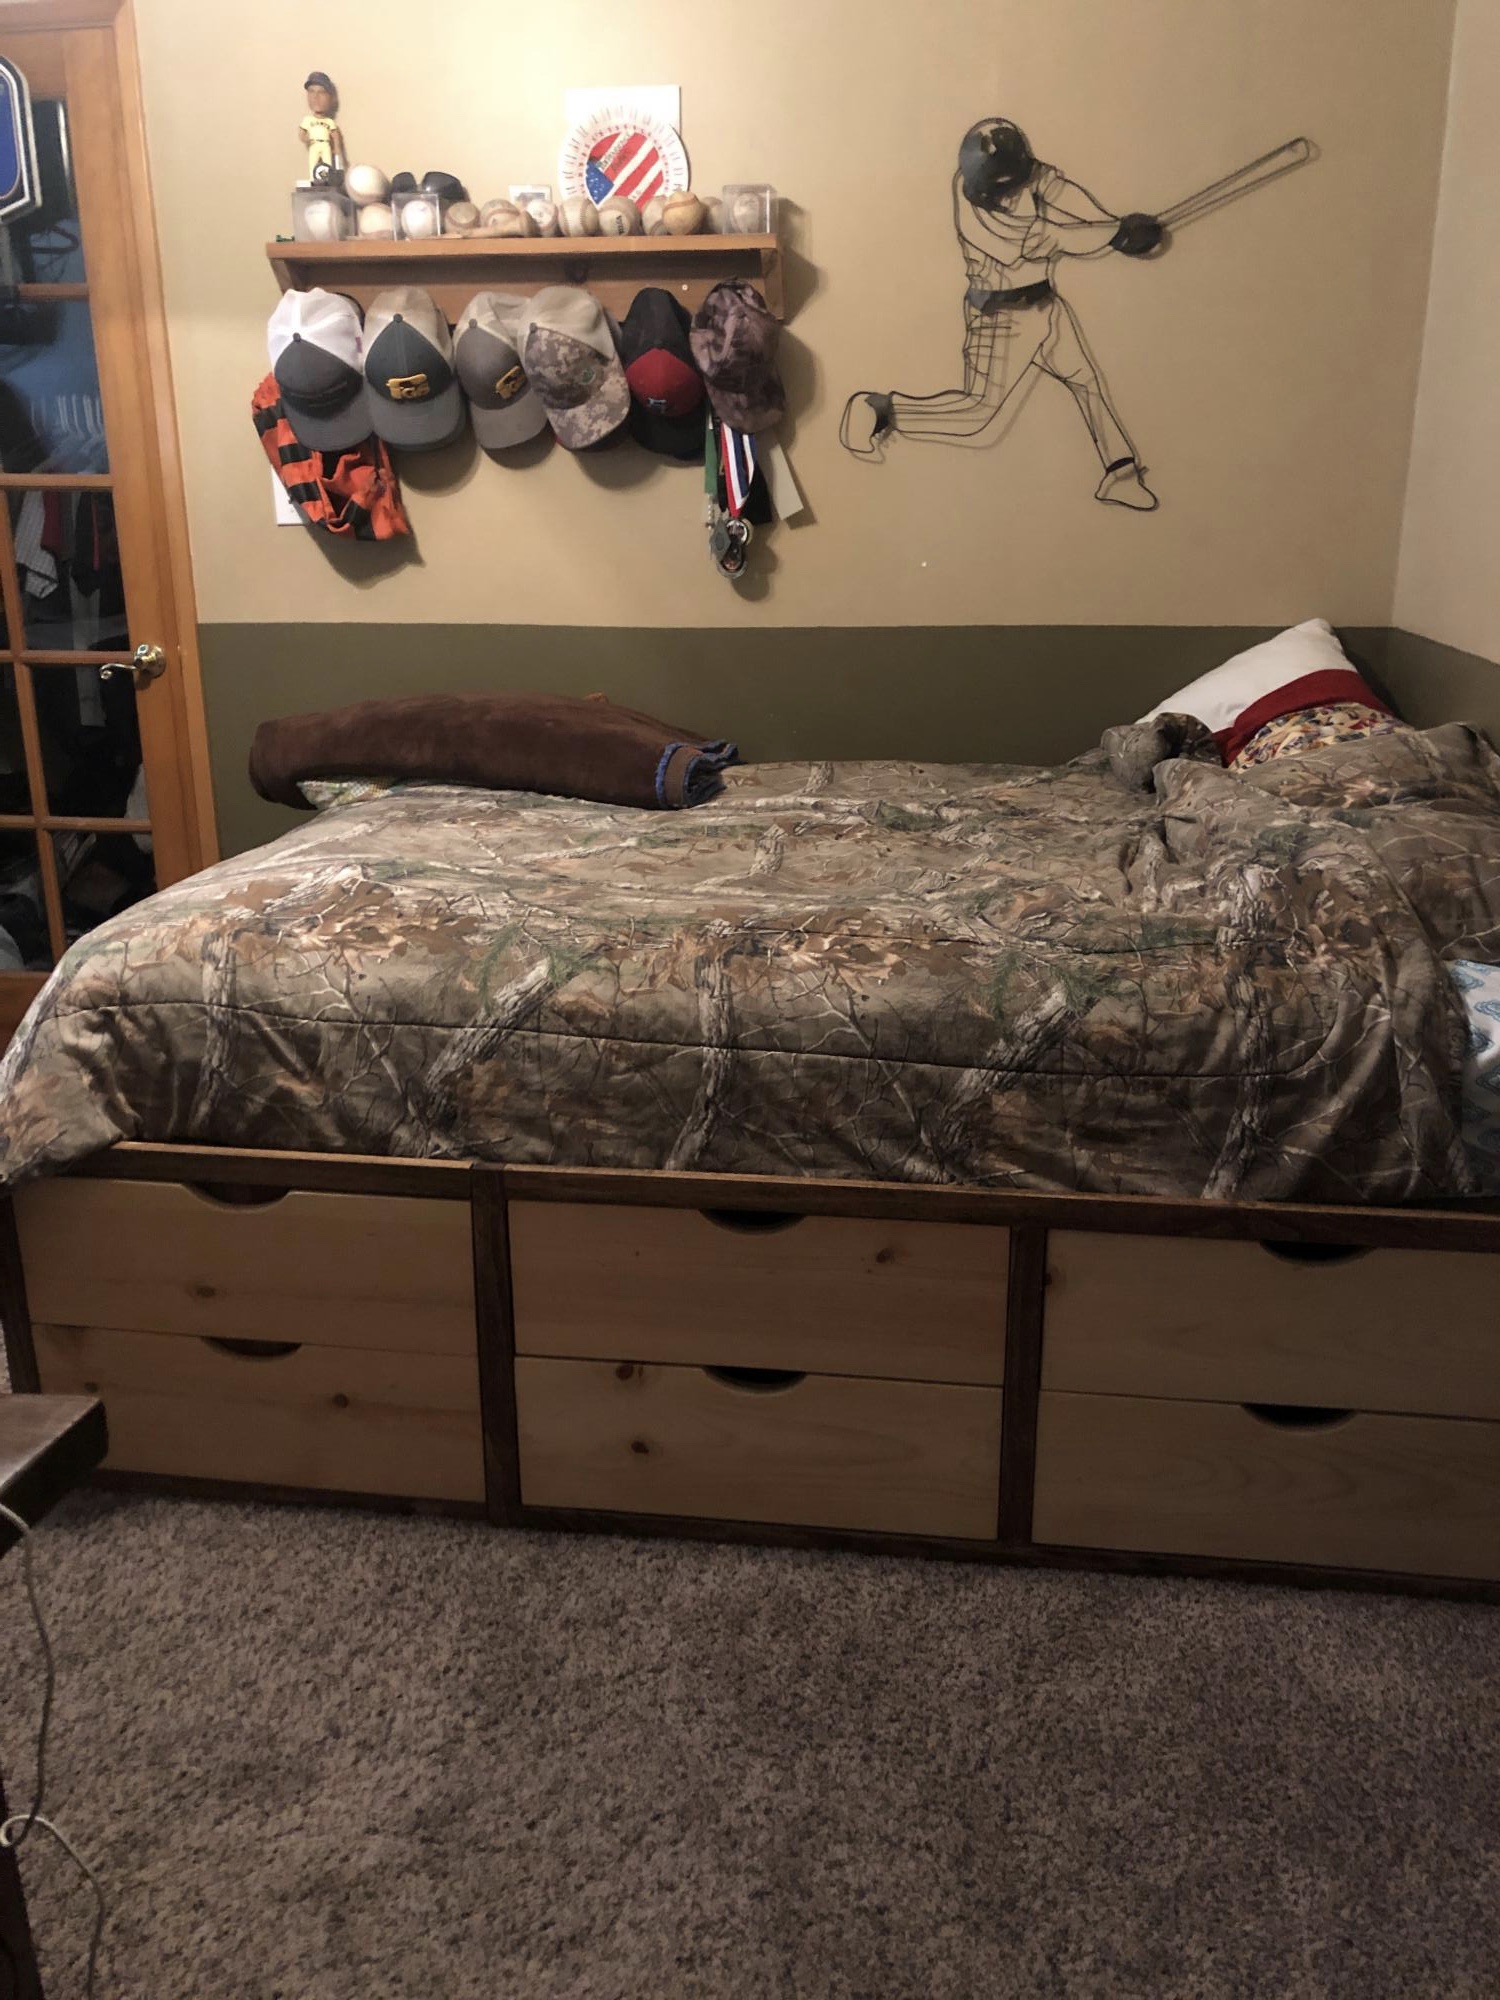
My grandson needed a bigger bed. His mom needed more storage. So, with a few tweaks, this storage bed was just what they needed. One side will always be against the wall so on that piece I added a hinged too so that seasonal items could be stored there-like gilly suits for hunting season. There’s also room between the two side pieces for more storage. They didn’t want it too tall, But still needed multiple drawers. There are four 8” drawers on the side, with two false fronts on the side of the end piece. The end piece had two large deep drawers that will be perfect for bulky items-lots of sweat shirts. So far so good-they both love it.
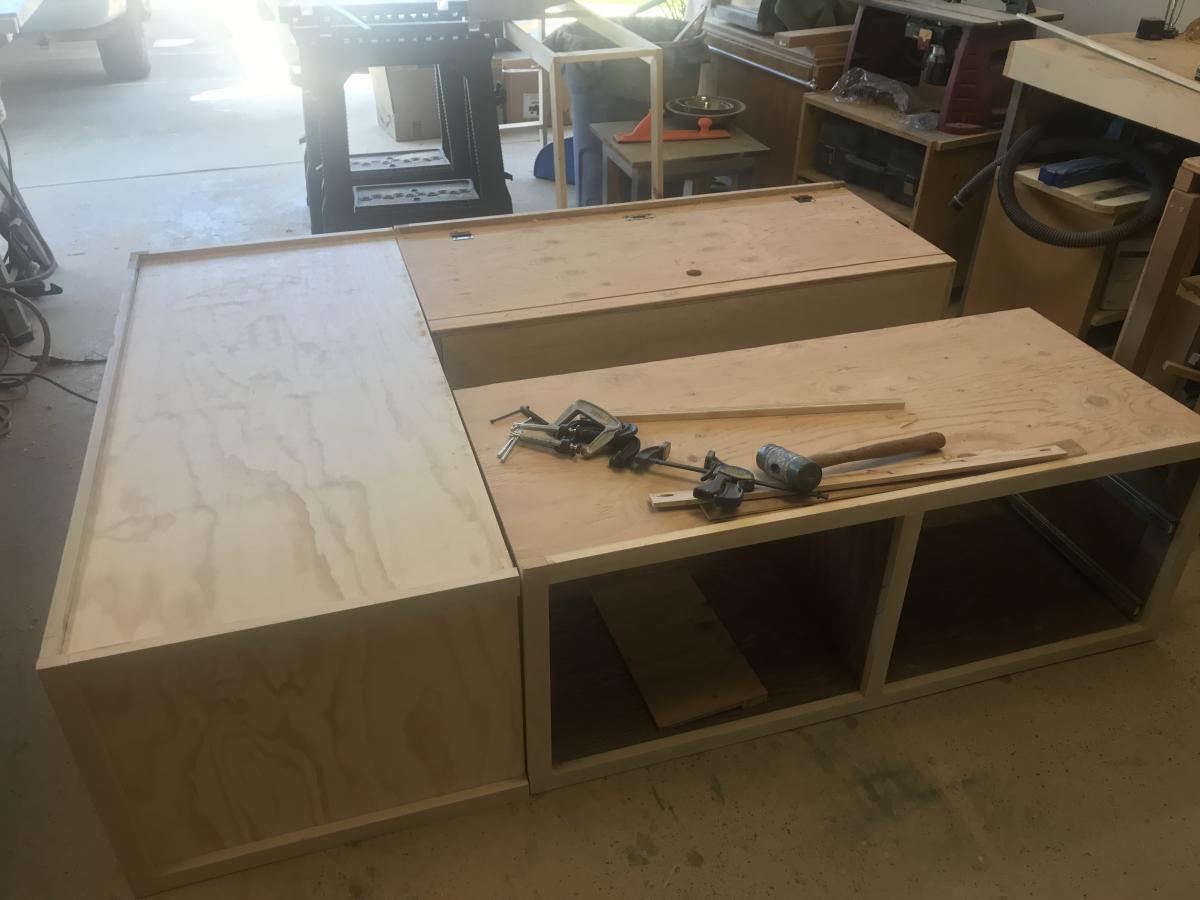
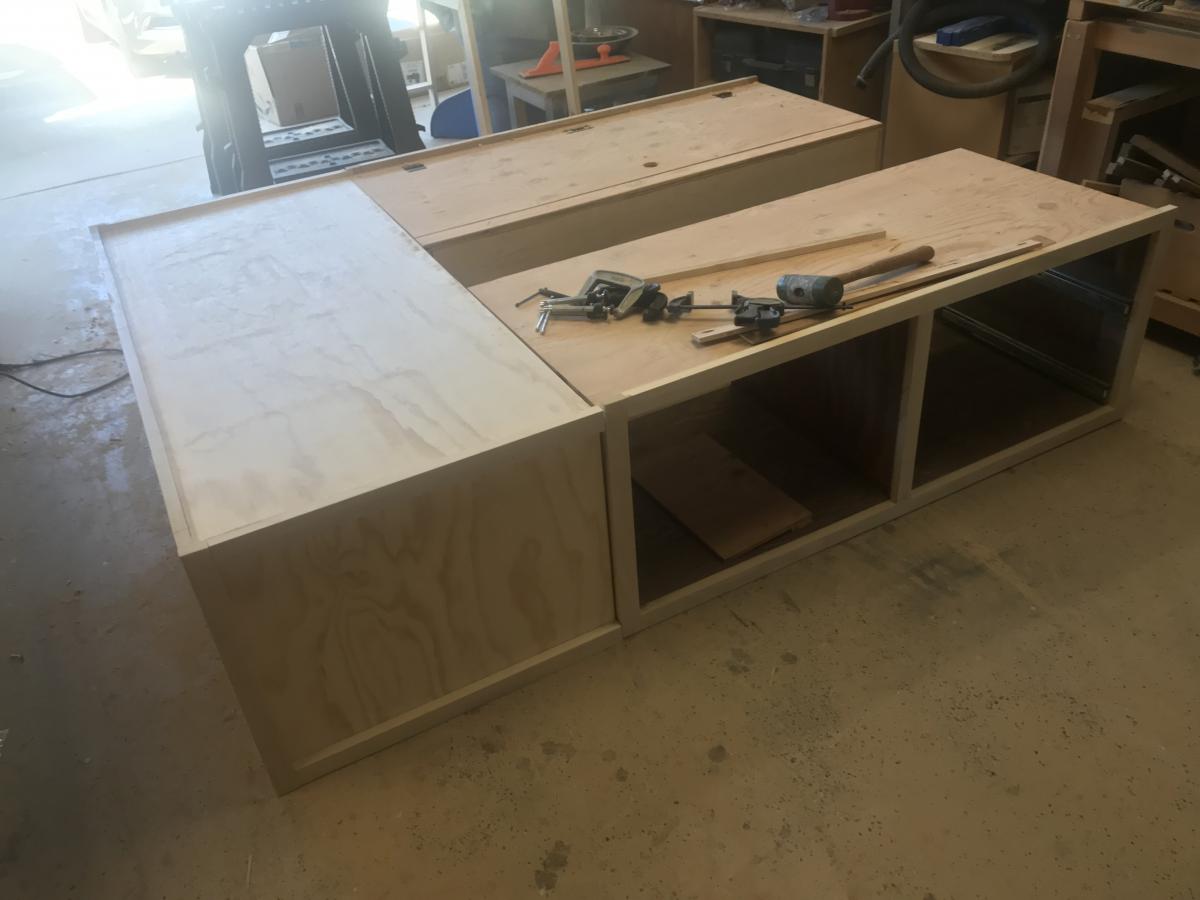
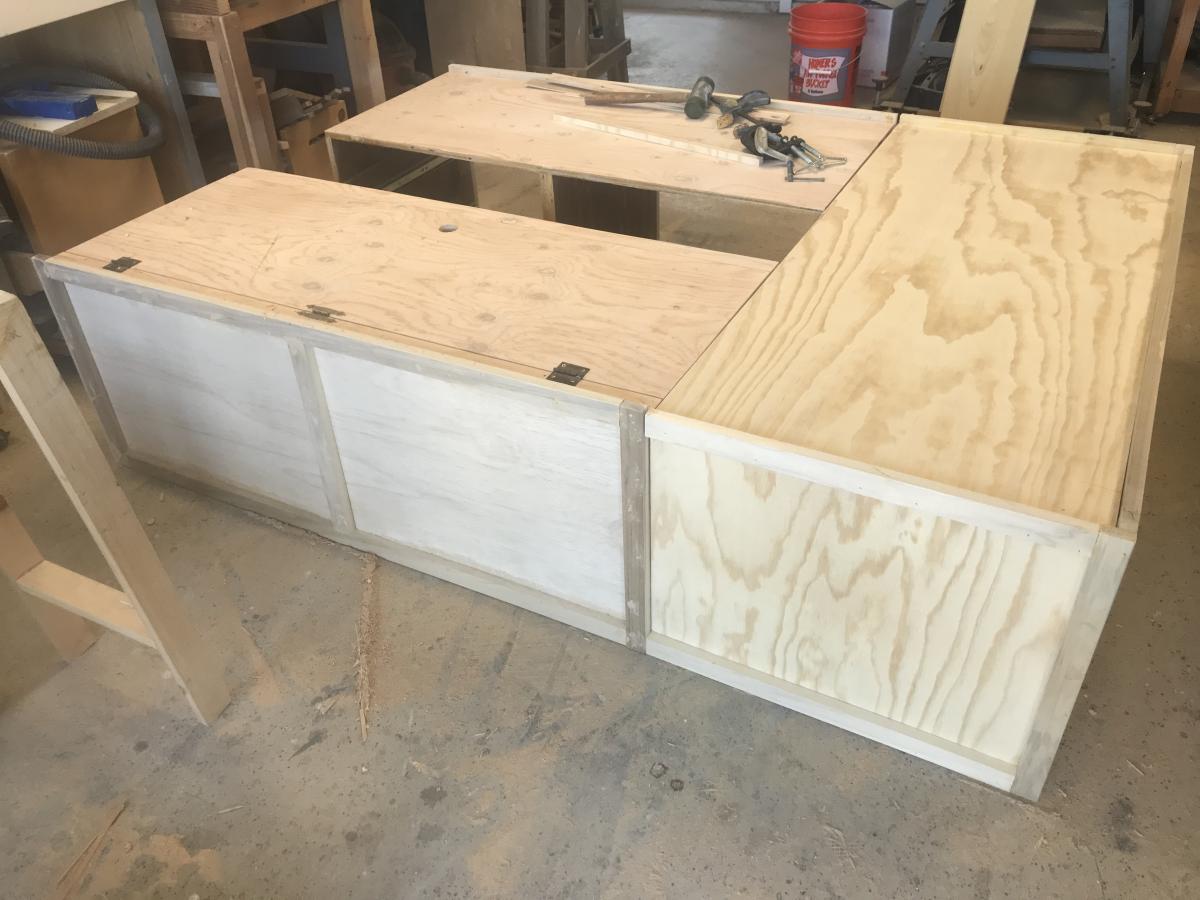
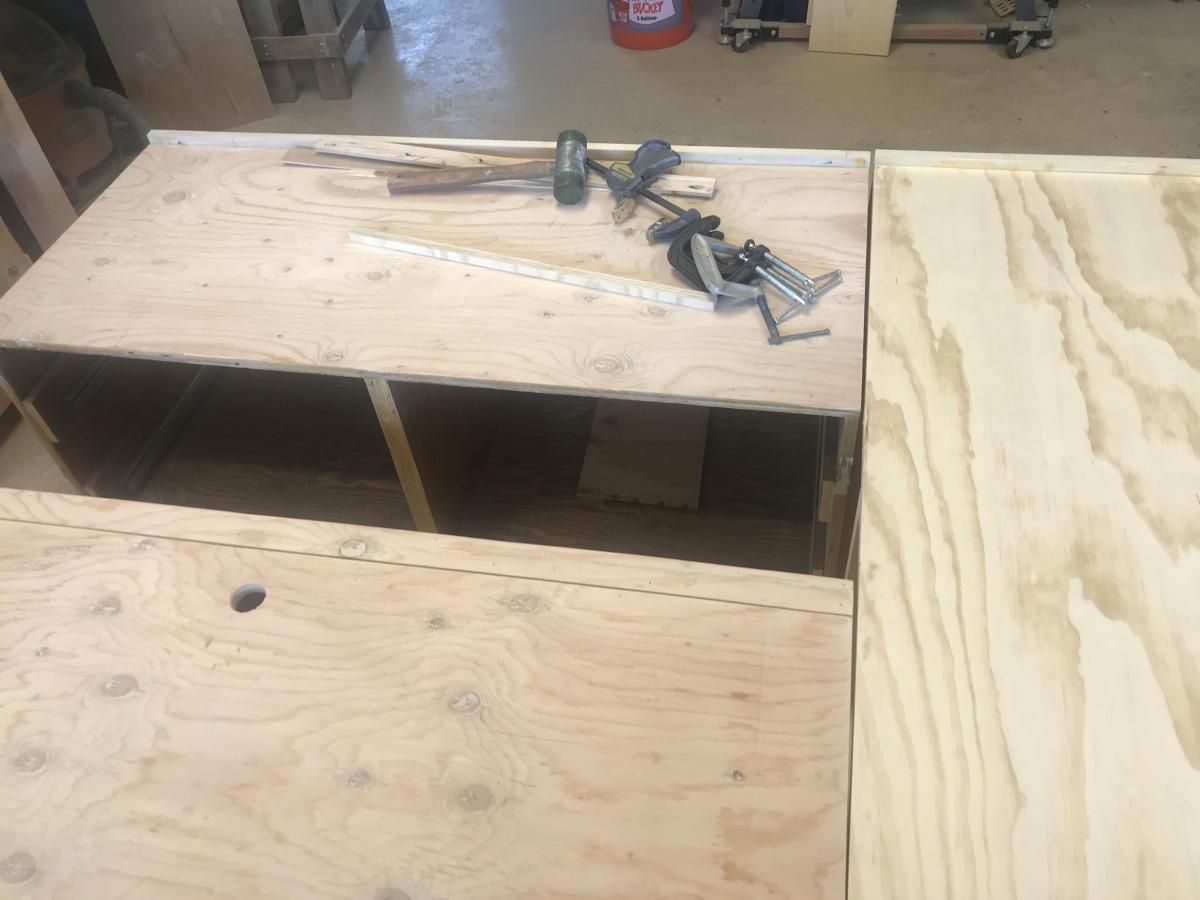
I had built two outdoor chairs with love seat (modified from the sofa plans) with 2x4s. The cushion seats were 24" x 24". Where to store them? I modified the Modern Cedar Outdoor Storage Bench plans to make the box wider, higher, longer to accommodate the cushions. With five boards comprising the top, it's a bit wider than the box so I didn't need to carve in an opening.
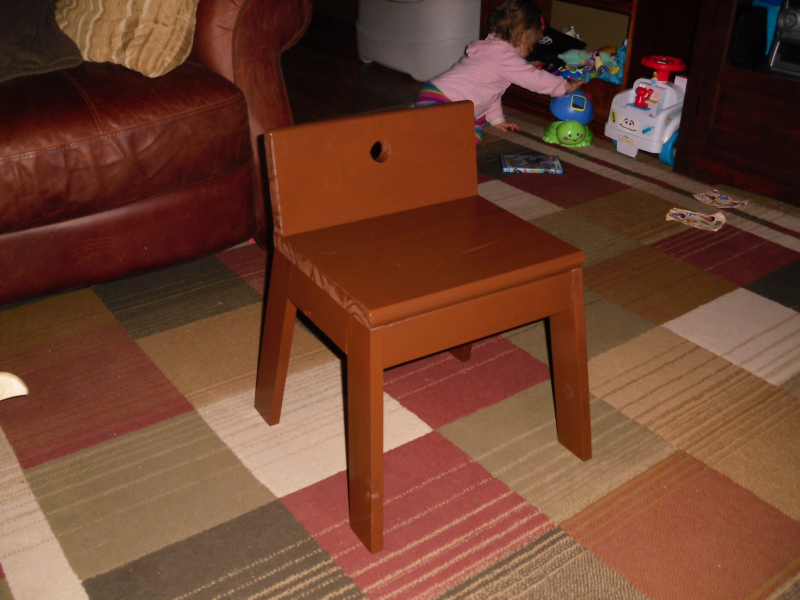
Second plan I decided to build from this site, my daughter loves it. She's 19 months old now, but should grow into it fairly soon, she can still climb into it though. Slapped it together in less than an hour. Small modifications from the original plan. I used a 1 x 12 tread (leftover from a previous project) for the seat and back. Painted and sealed it, and let dry over night. Thanks again Ana!
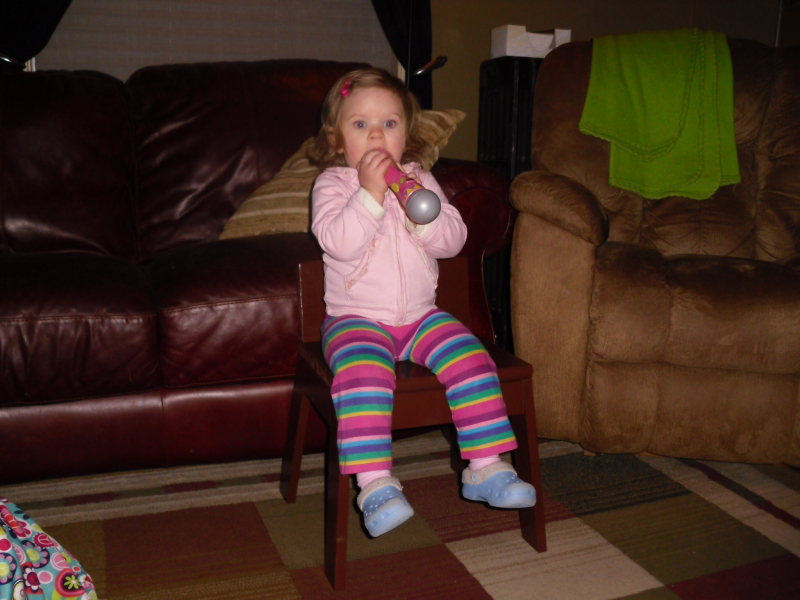
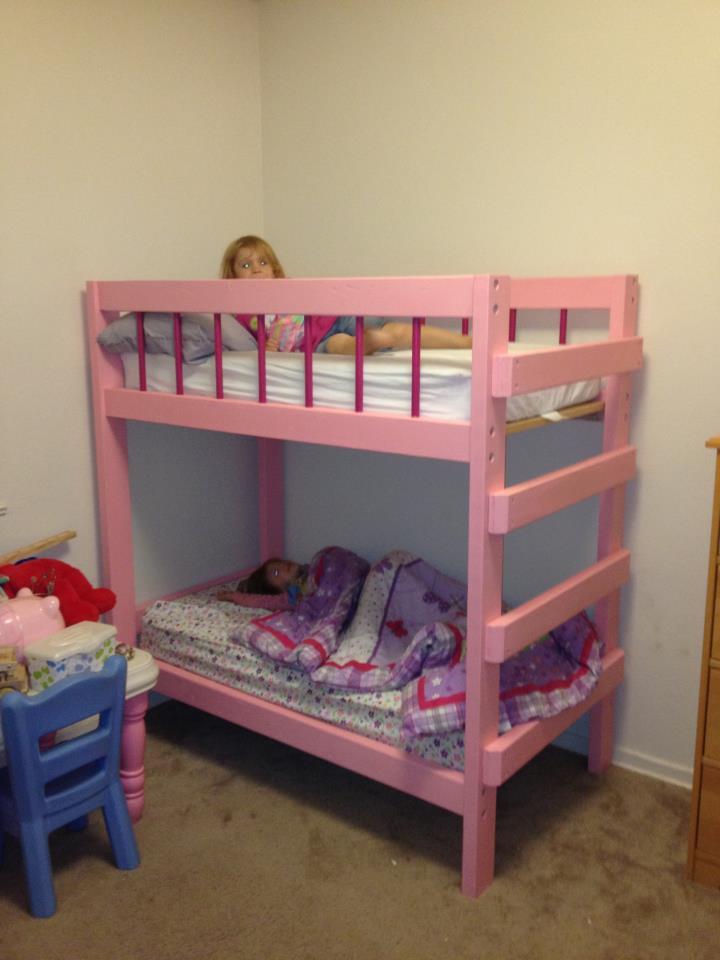
This project cost around $75 dollars for all the materials and paint. It took about 10 hours to complete. It is costructed of pine 2x4 with the exception of the slats which are 1x3.
We've built over 100 of these farmhouse beds - we've tweaked the design ever so slightly.
Our first Farmhouse Bed took roughly a day to complete. We sanded the entire bed, applied stain & then applied two coats of matte varnish. At least apply one. Stain can leak for weeks, and smell bad for longer.
We use 2x3's for our slats and find them extra strong!
I had a very old, weathered 2 x 10 and wanted to build a couple of end tables for beside our new couch. All I did with the top was to lightly sand to take away a bit of the weathered wood. I had to purchase two 4 x 4 x 8' fir posts for the legs. I decided against adding the bottom shelves.
Wed, 10/02/2019 - 09:35
Beautiful with the weathered wood! Thanks so much for sending in a photo, what a great build!
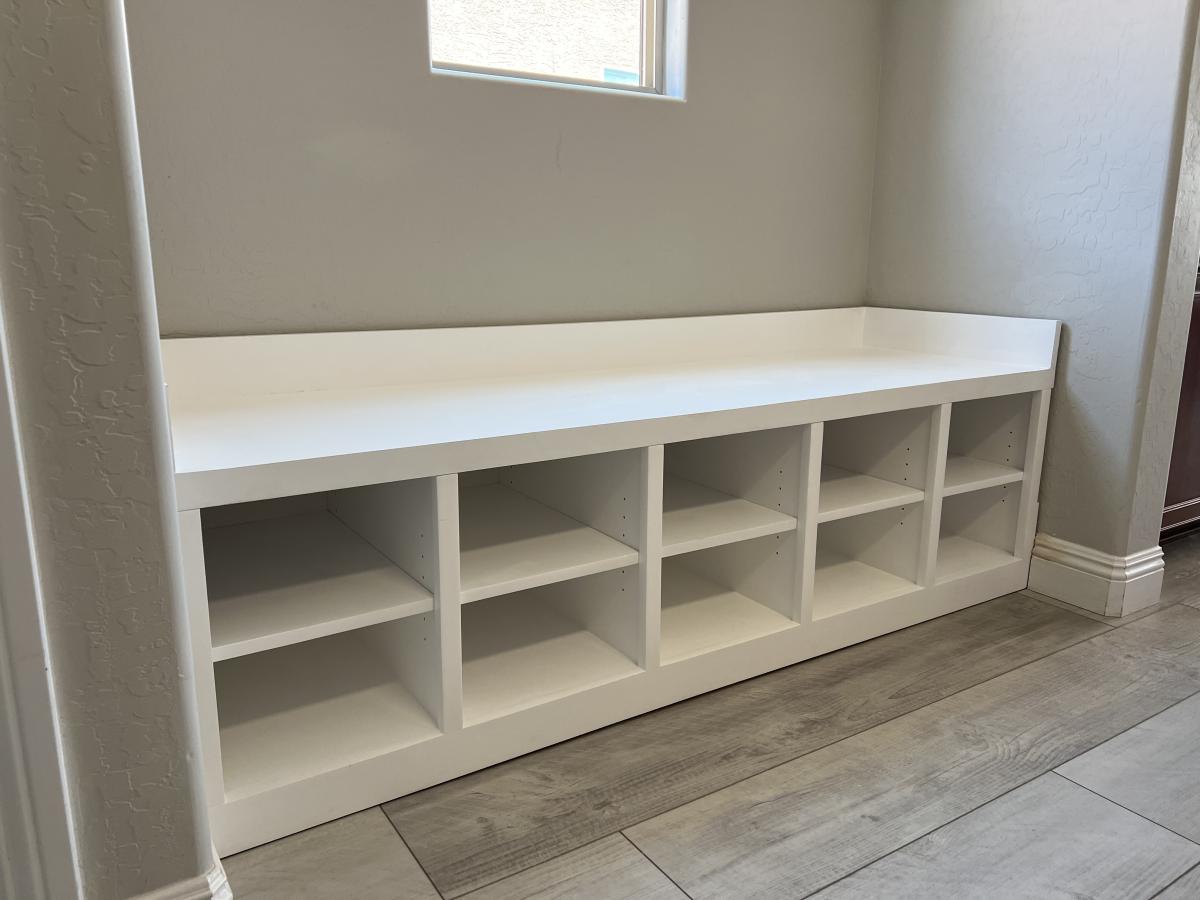
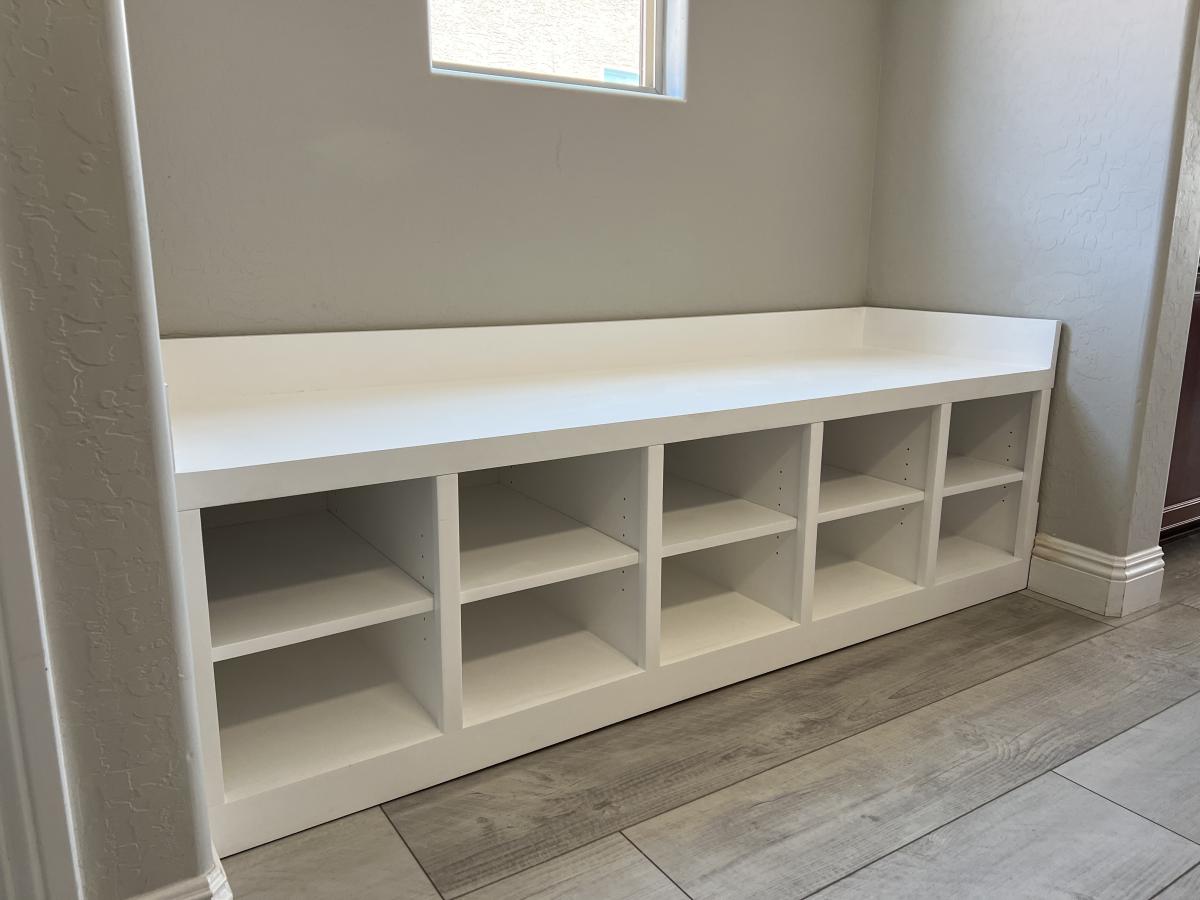
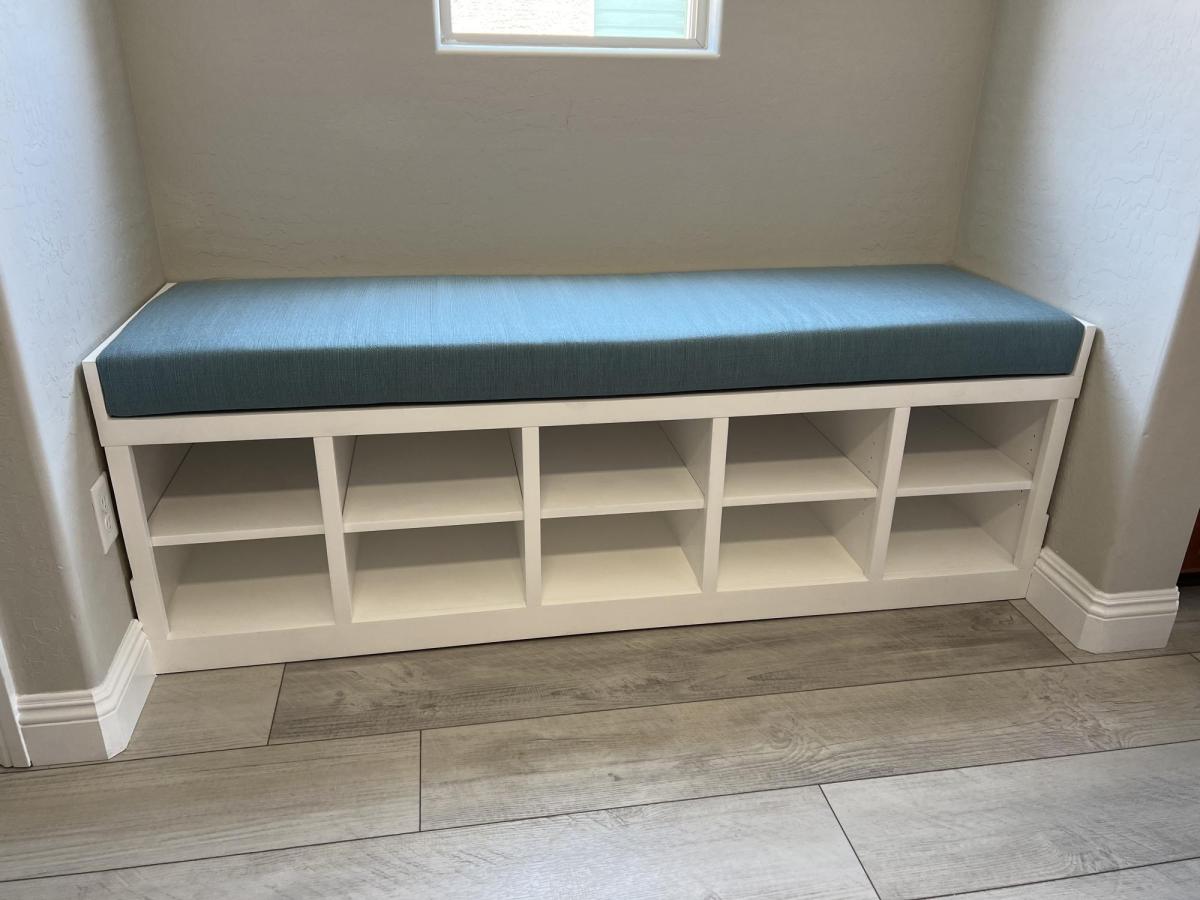
Worked with a client to create a boot bench with adjustable shelves. The Essential Entryway Bench was a perfect starting point! I extended the top trim to home the 4” cushion. I love Ana’s plans! Thank you!!!
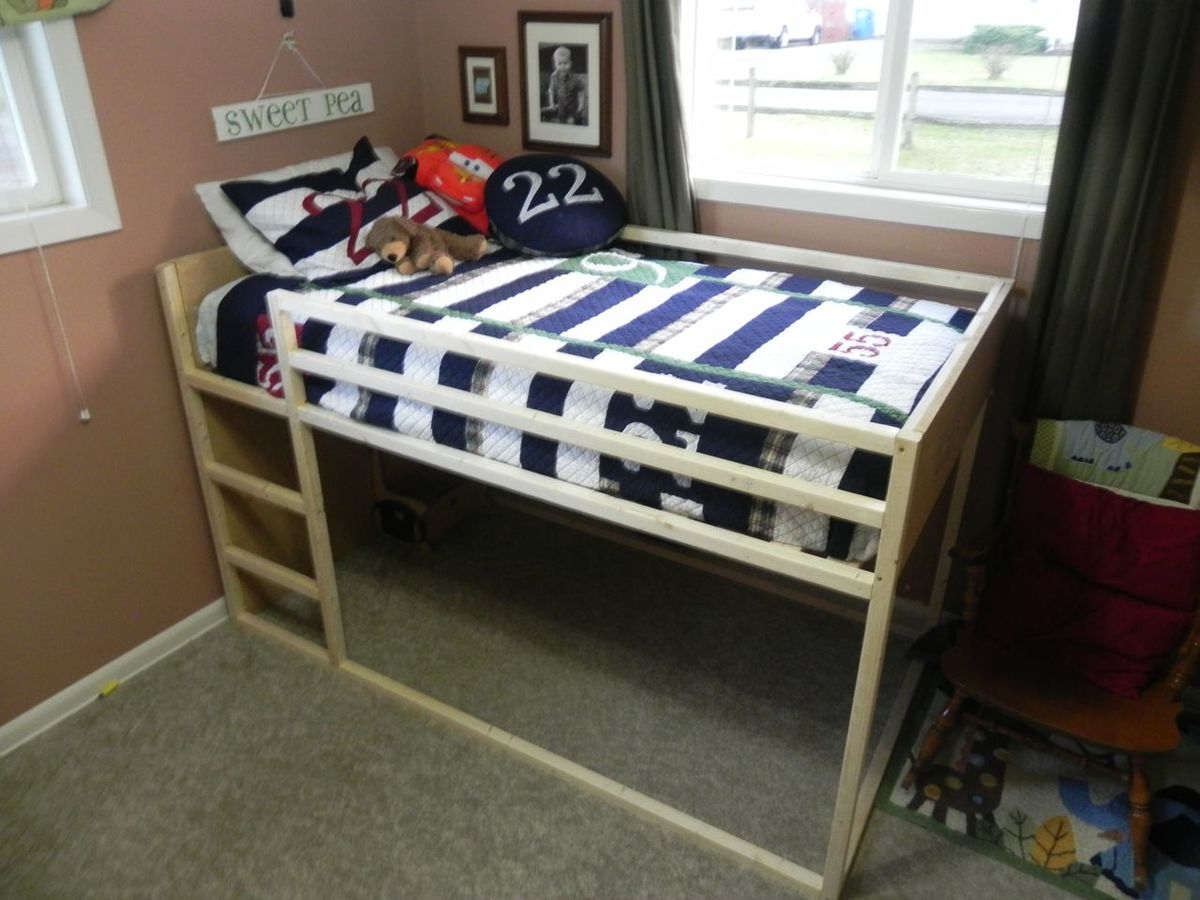
We are so thankful for the plan! This is our first building project (ever!) My son loves his new fort bed, and we feel so empowered to have done it ourselves!
Wed, 01/25/2012 - 19:47
I was looking for a cute, simple bed for our 9 year old son as he gets a room to himself for the first time in his life(we adopted him from Haiti 2 years ago, where he shared with 4-8 little boys and then he has shared with his little sister since they came to us). This is just what I was looking for and didn't know it-haha.
This is my first attempt at woodworking. There are plenty of mistakes, but I'm happy with the finished project
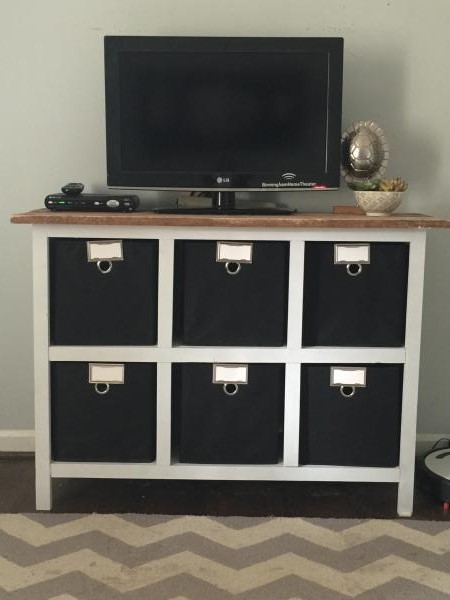
Really fun project. My dividers were a little off, but for kiddo storage- it's not too shabby. Bins were on sale at target. Because I trimmed the whole case out in 1x2s- 11x11 was the size I needed. The labels were extra, but totally worth the cost in my opinion. Loved this project and love the organization it brings!
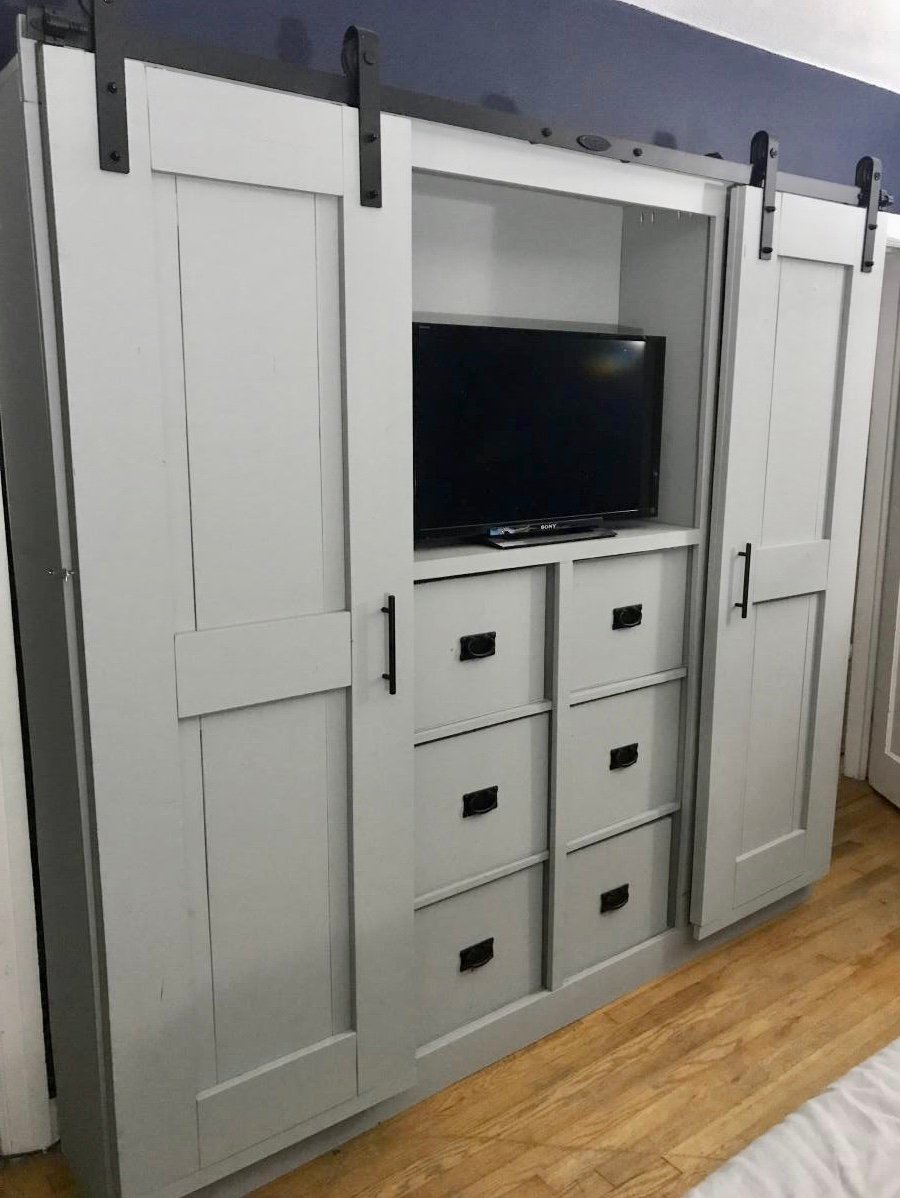
After many months of trying to find the perfect piece of furniture for our bedroom, I stumbled upon Ana White’s barn door entertainment center. I loved it so much that instead, we turned it into an armoire for our bedroom. Behind the barn doors are shelves that holds our clothes, and in the center we added simple pull out drawers. The center space was perfect for our tv. We had to rework the size of the piece and it is 7 feet instead of the 8 feet that the plan called for. This is my favorite build (we have done a lot of them)!
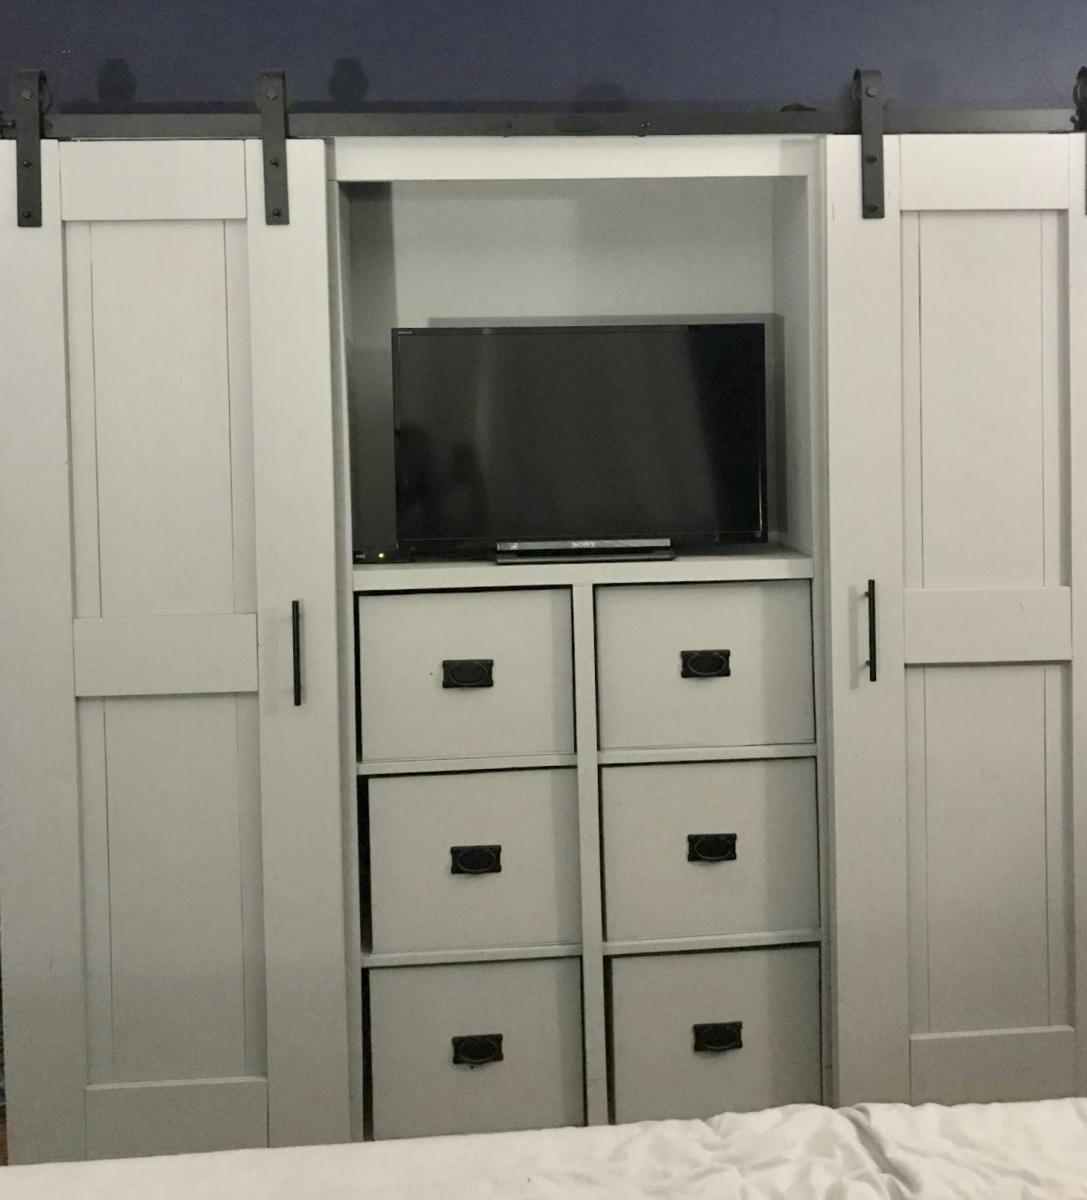
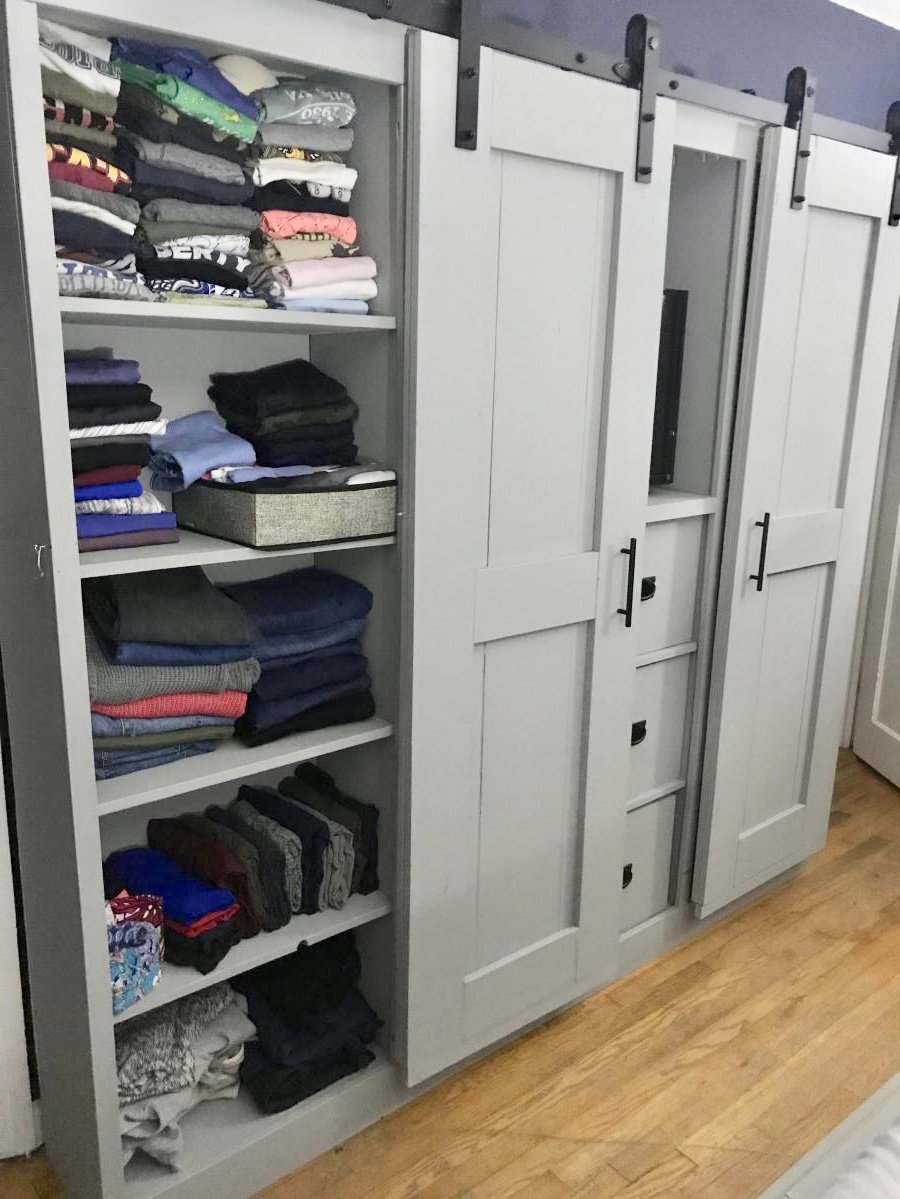
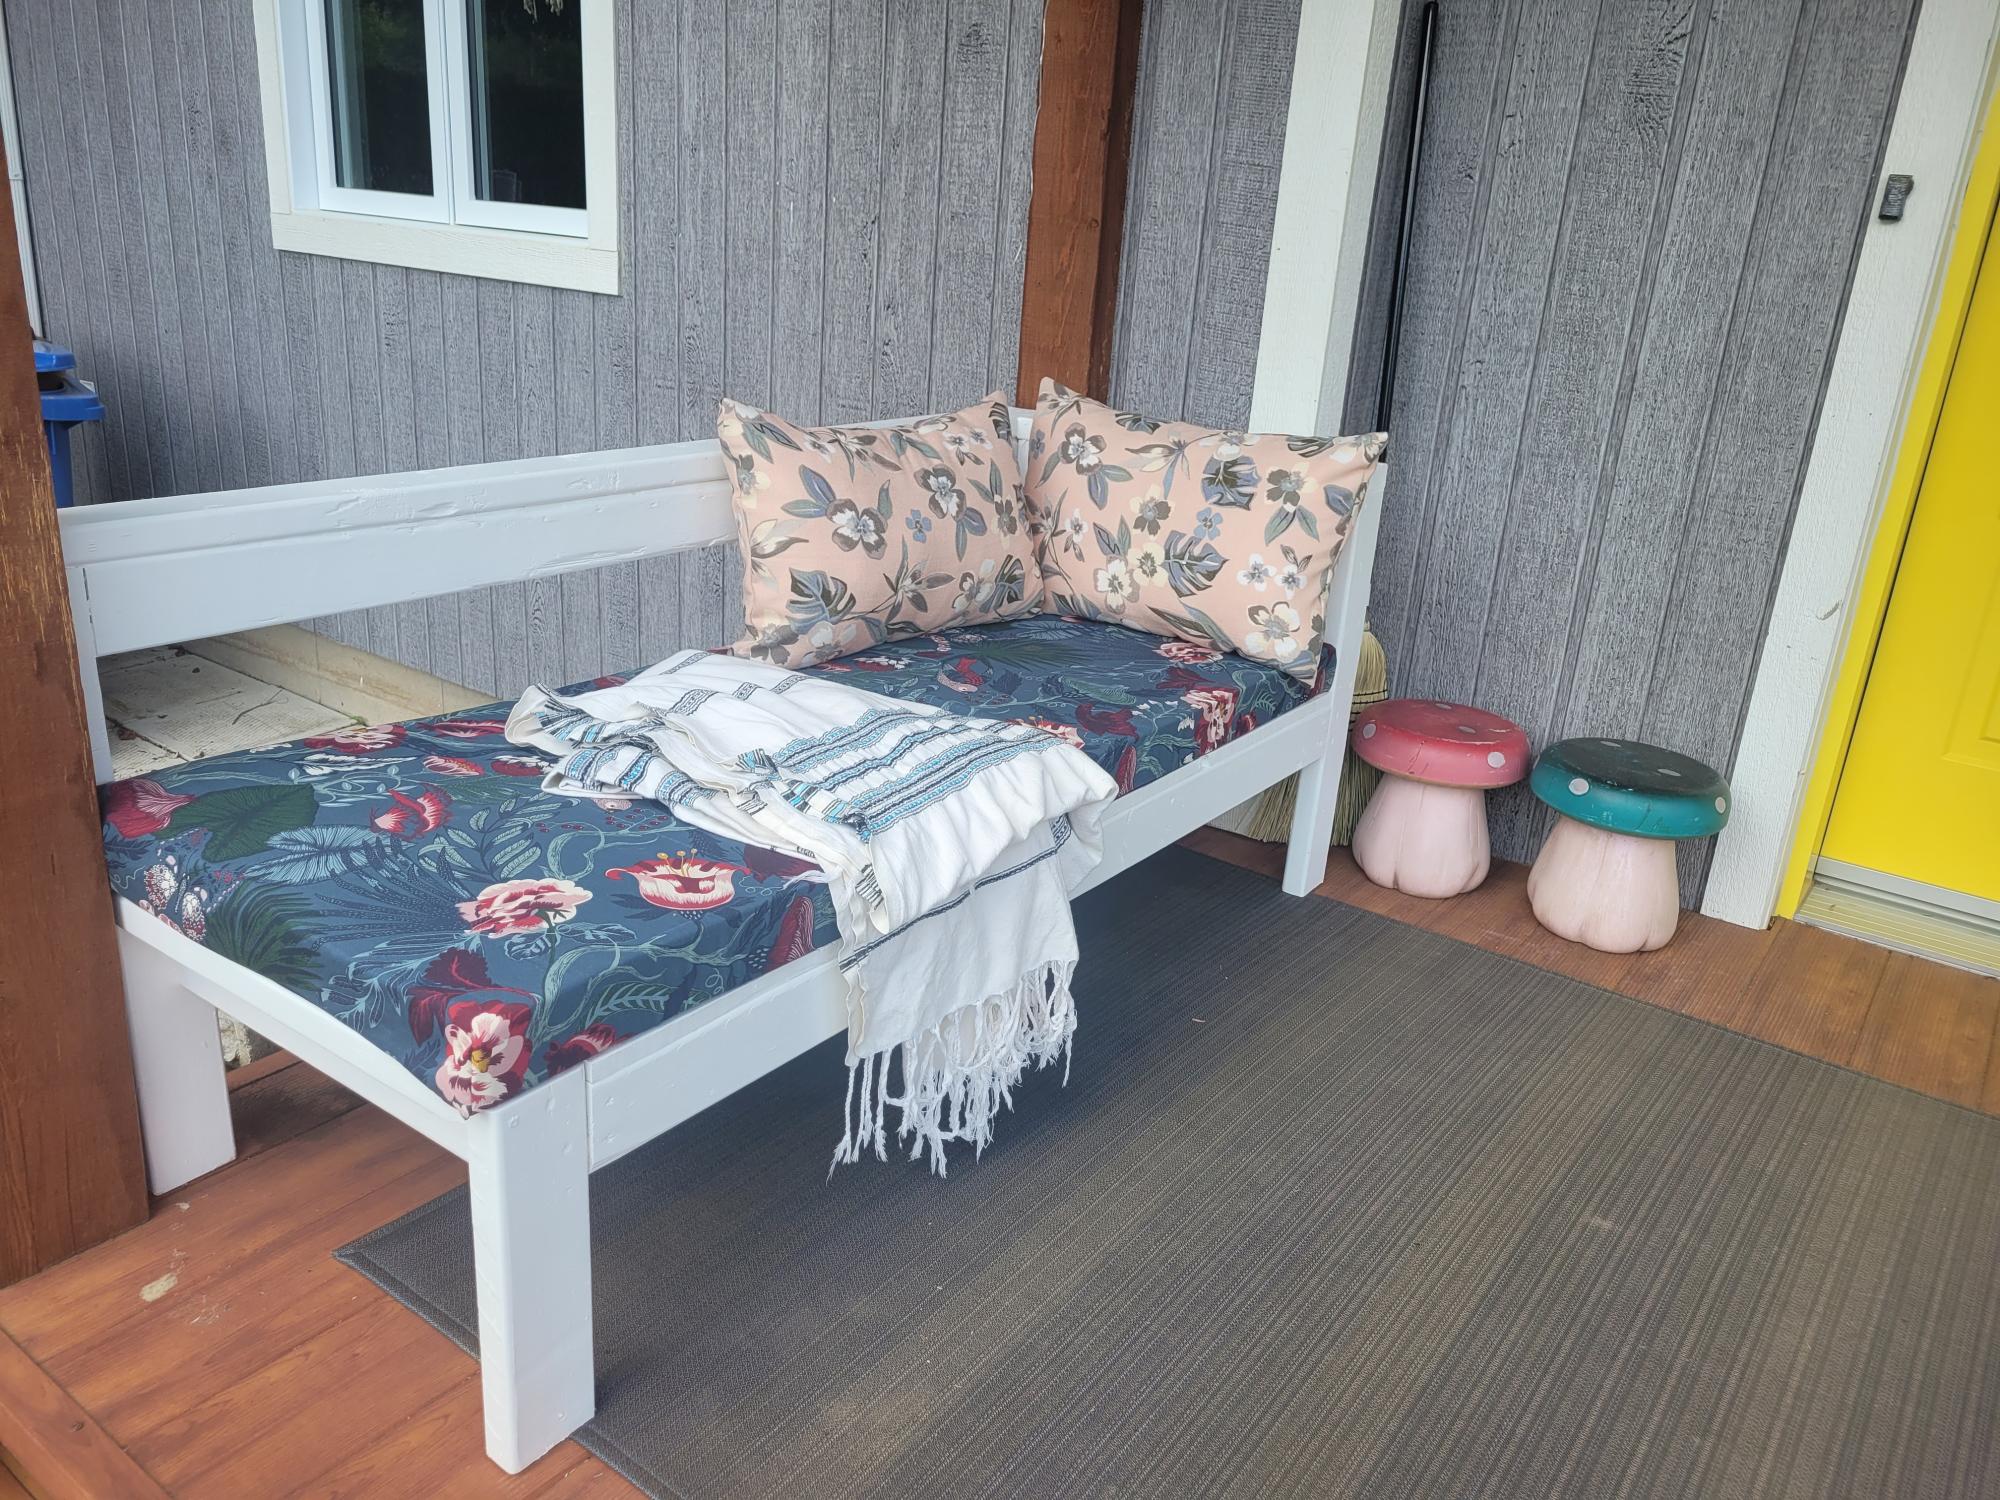
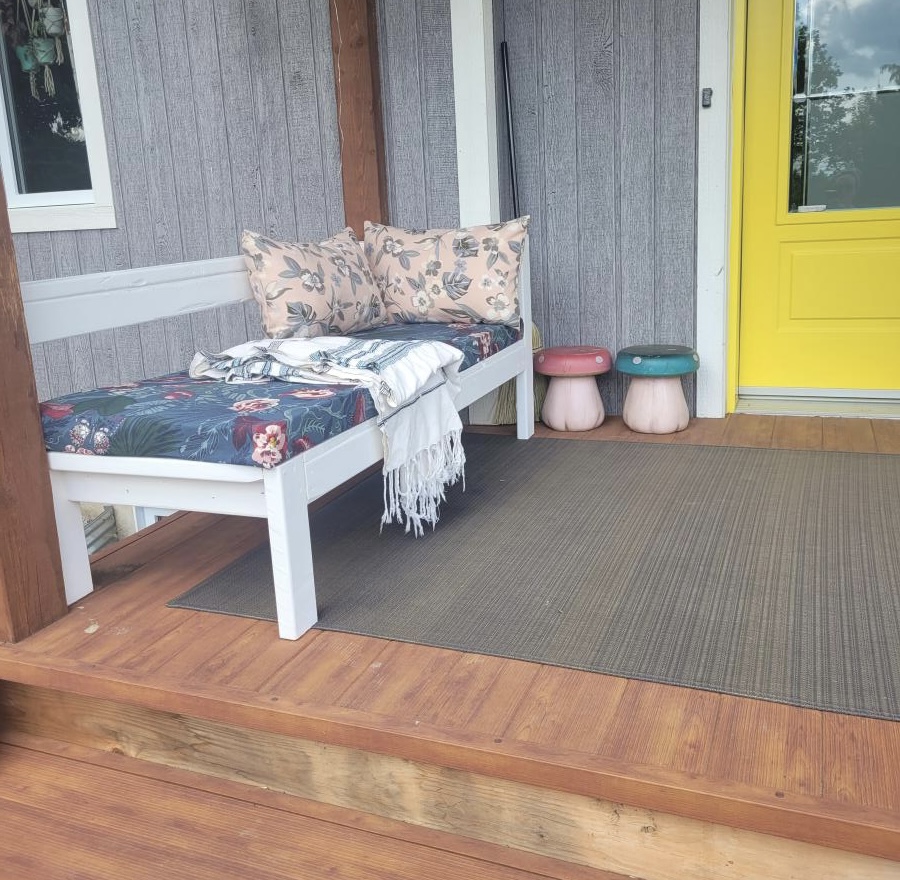
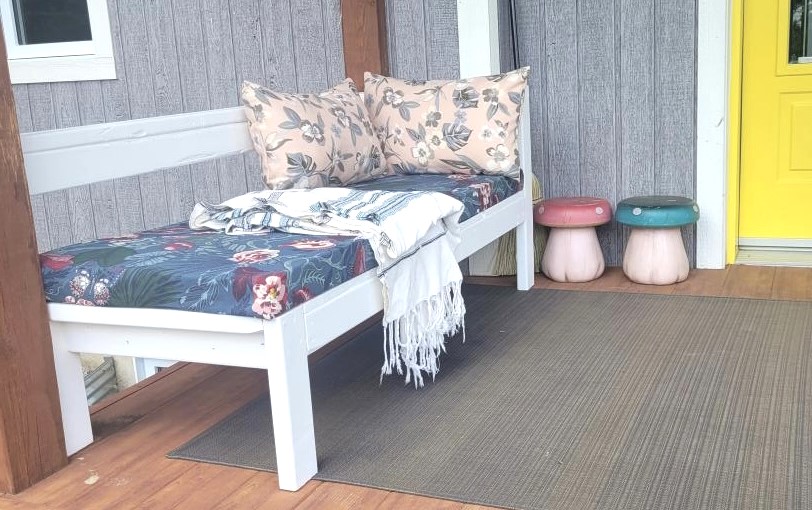
It was so much fun to do and it's perfect for my front porch! I modified it a bit to fit and it was easy to do so.
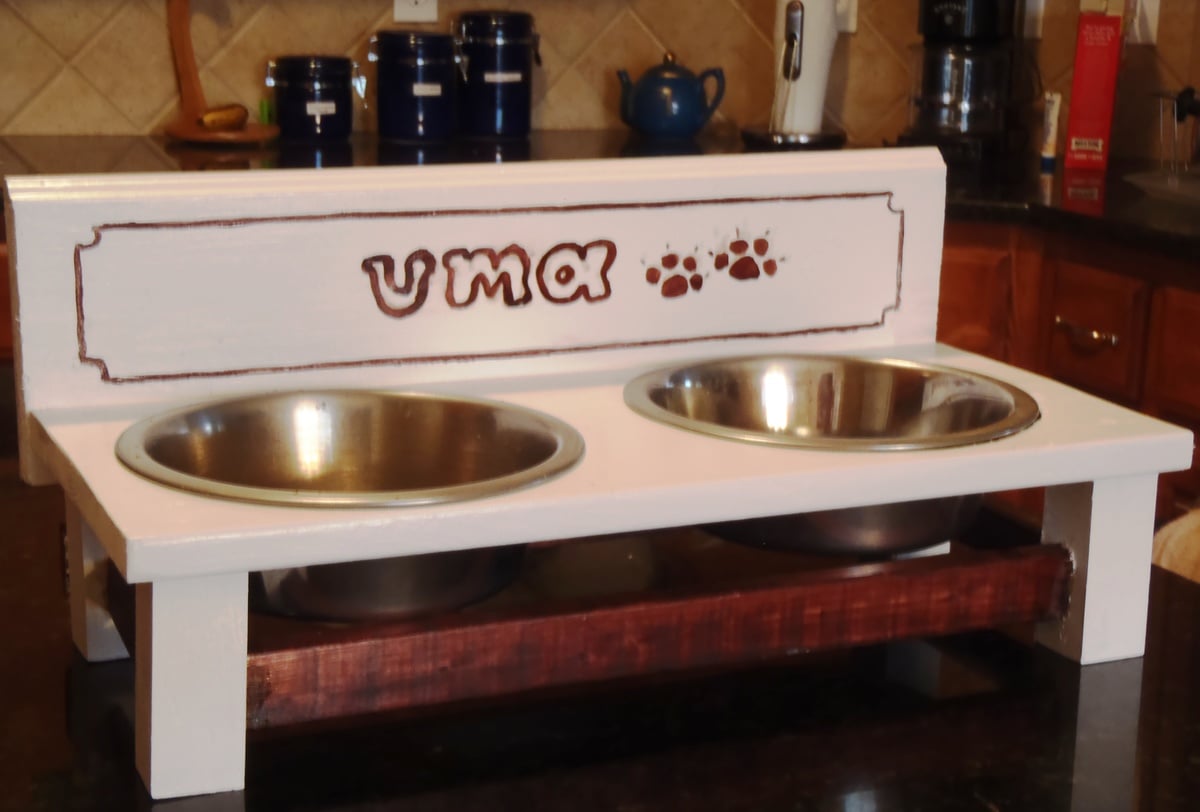
I am building a TV console and hutch (will be posting soon) and I have left over of small cut of boards from this project. While waiting for my media center to dry, I built this pet feeder.
I have this messy eater dog (weimaraner) who slobbers all over my floor moulding. Worst thing...she bangs the wall with her aluminum bowl when she tries to lick every single bits of her food there is! So, with that story to tell, I designed and built her a pet feeder(inspired by the small pet feeder plan). And no more banging and messy wall!
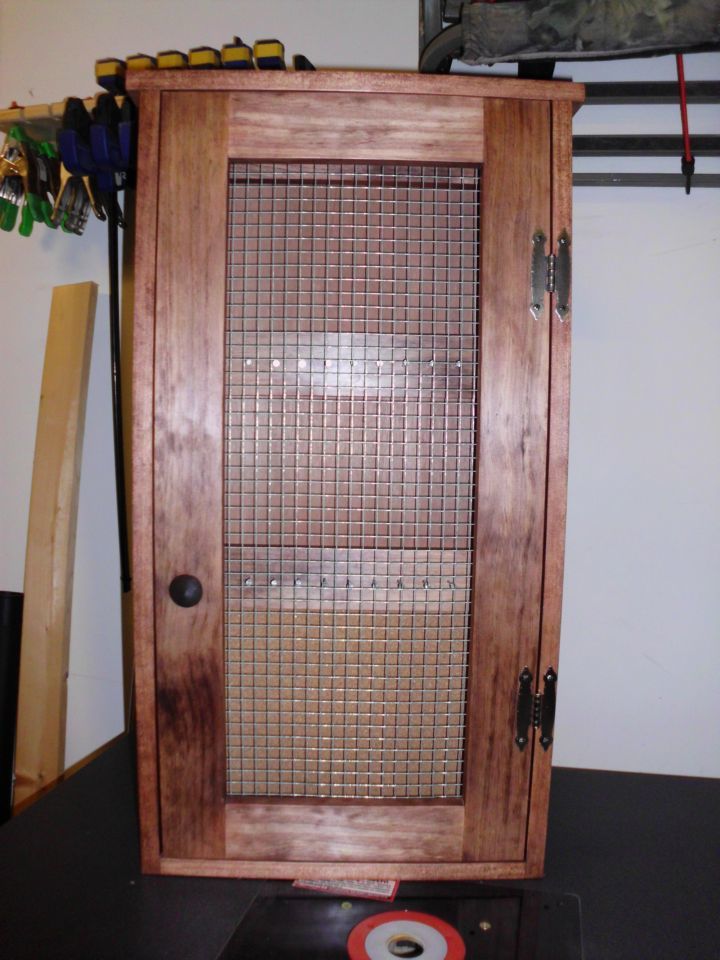
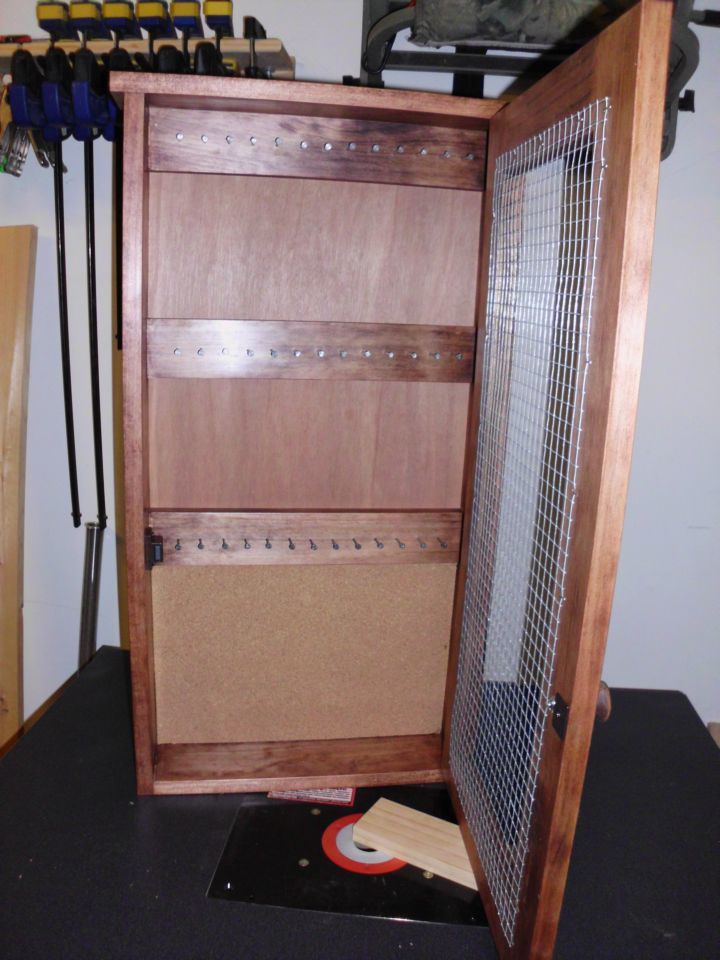
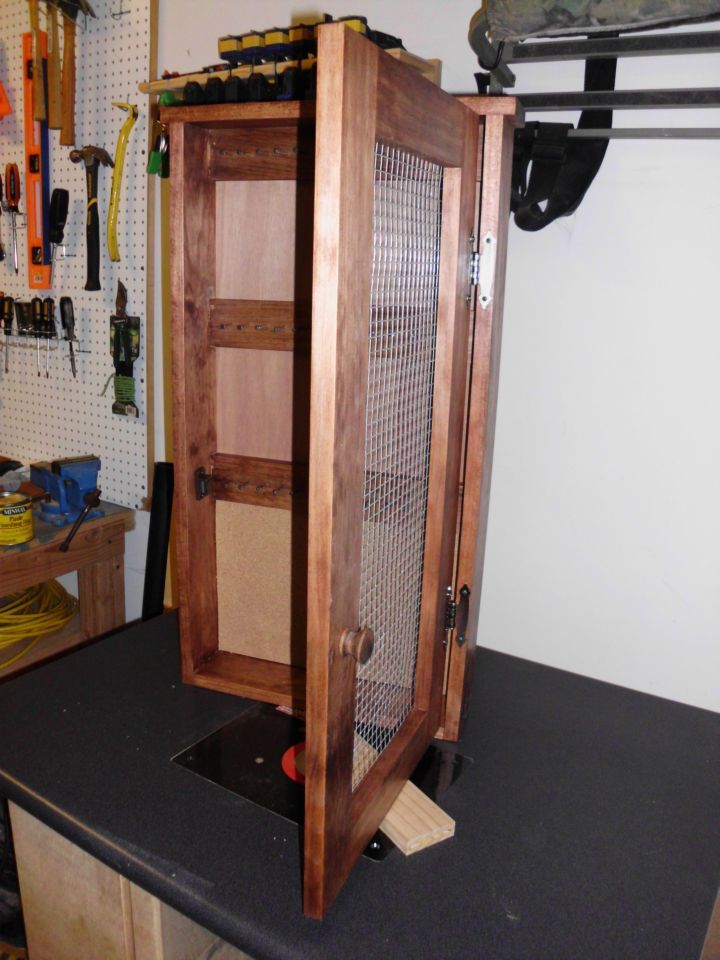
My wife has been looking for a jewelry cabinet at local antique markets so I decided to make her one for Christmas. I mostly followed the original plan but added cork in the bottom section so that she could push in earrings that can't be hung from the front.
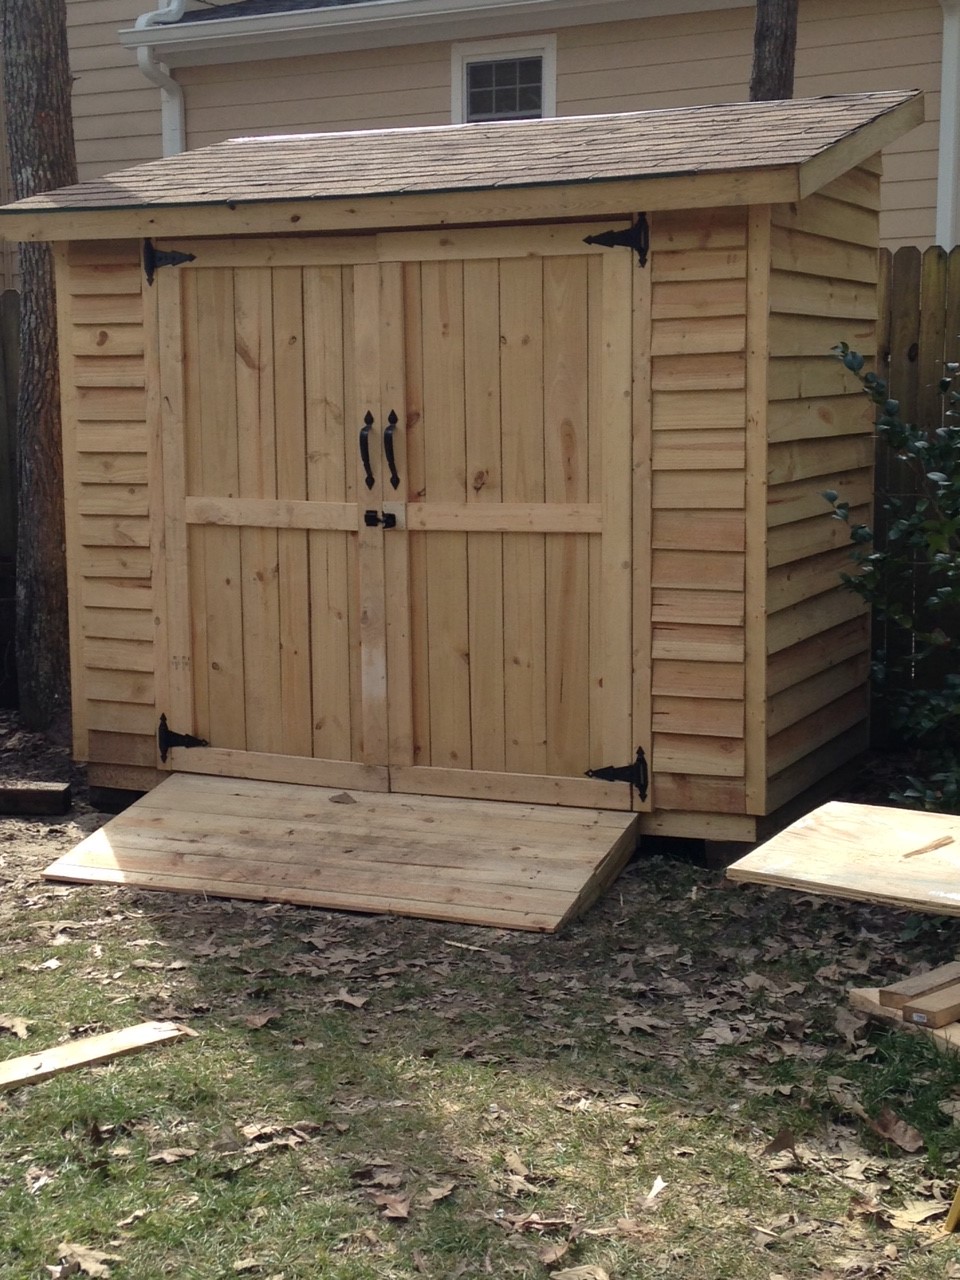
This is a modified version of your plans. I made it 4x8 and adjusted the roof and front according. For the back wall, I used T1-11 siding and the pickets everywhere else. I added a floor and ramp too.
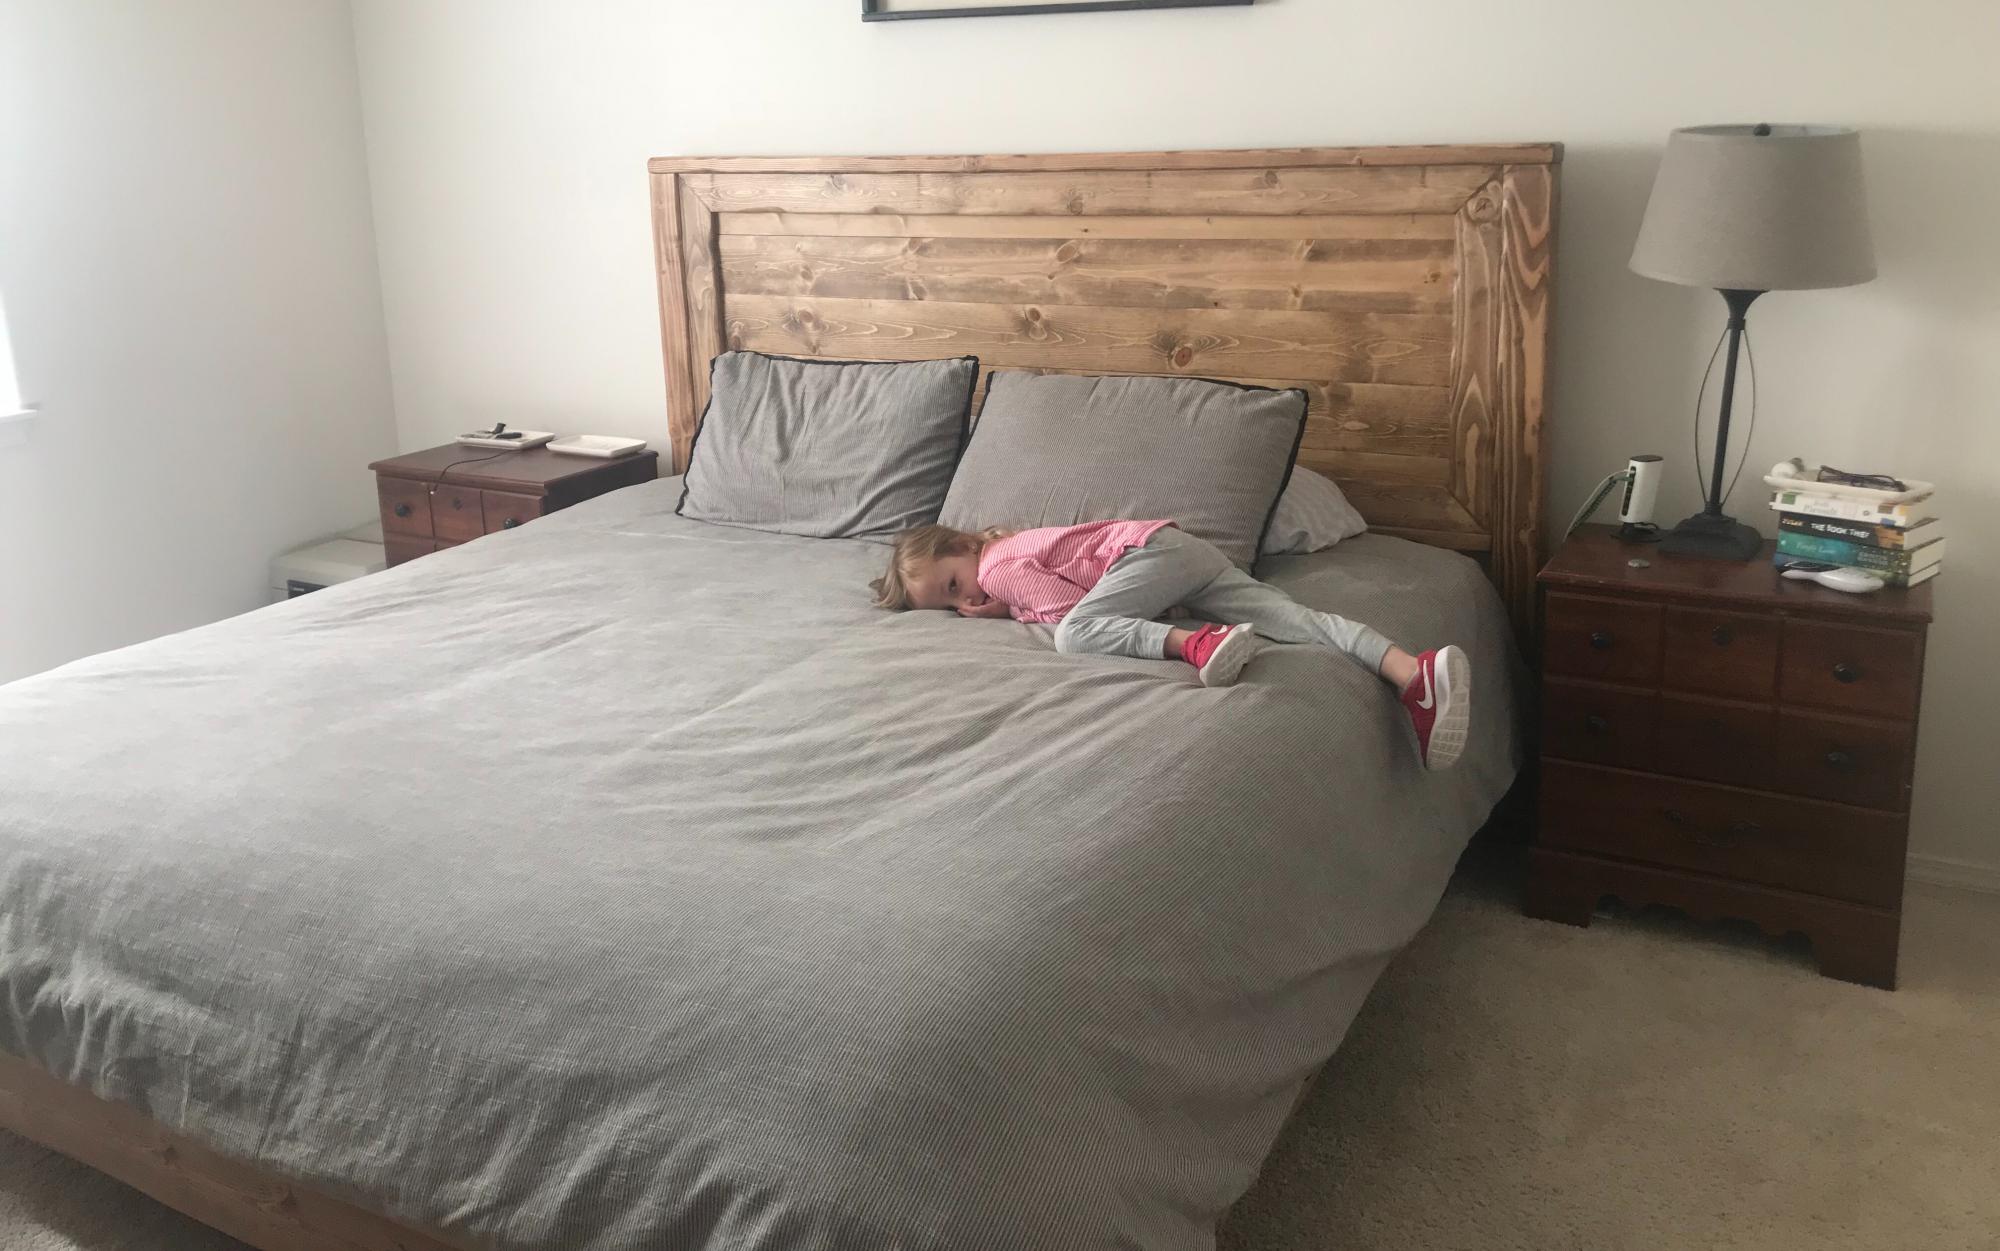
I needed to replace my bed quickly. I could not sleep in my old one anymore. Unfortunately I did not have the money to buy a new one so I turned to Ana white and a short time later I had a new bed and a fresh start. My kids and I love this bed. It’s hard to get them to sleep in their own beds now!
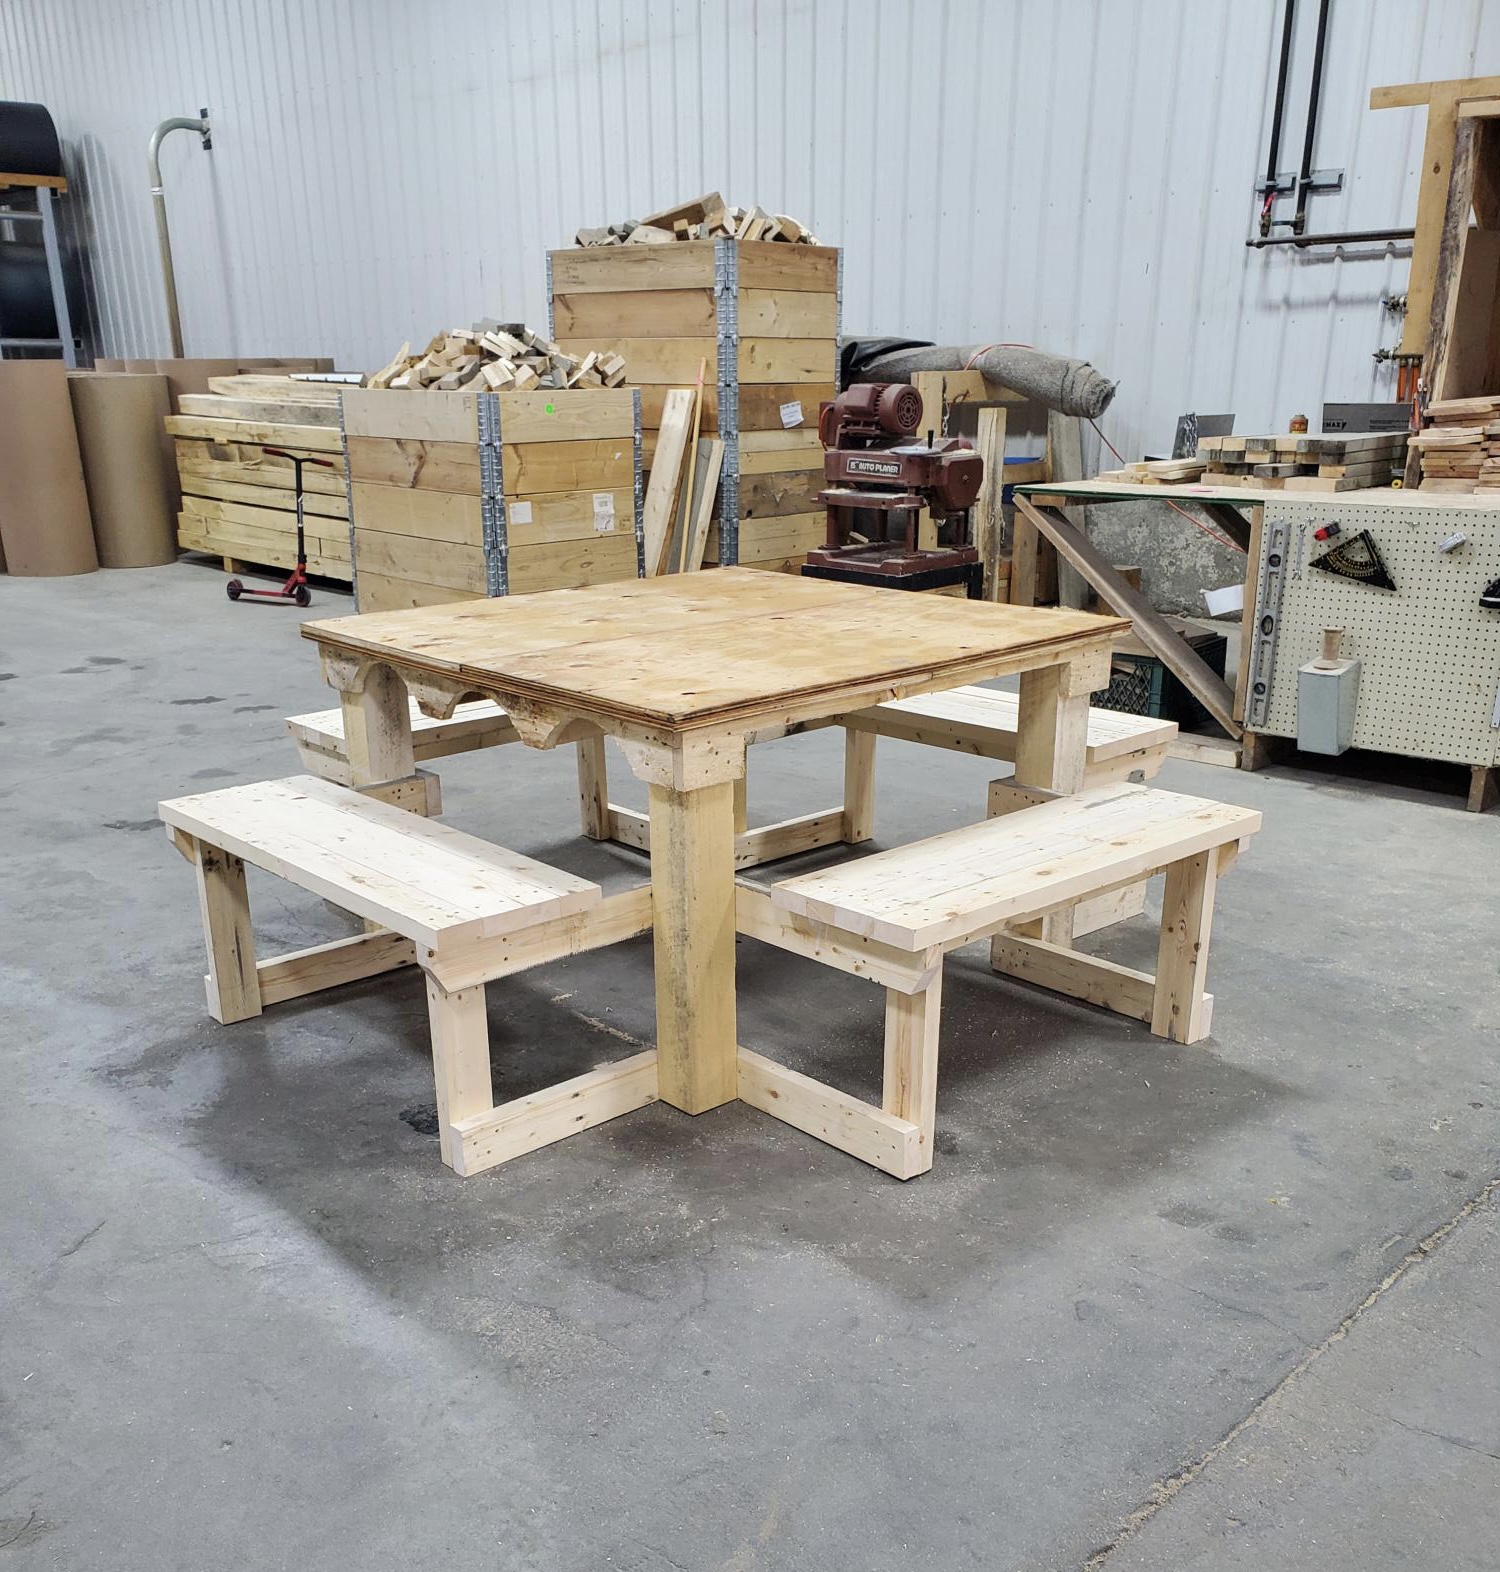
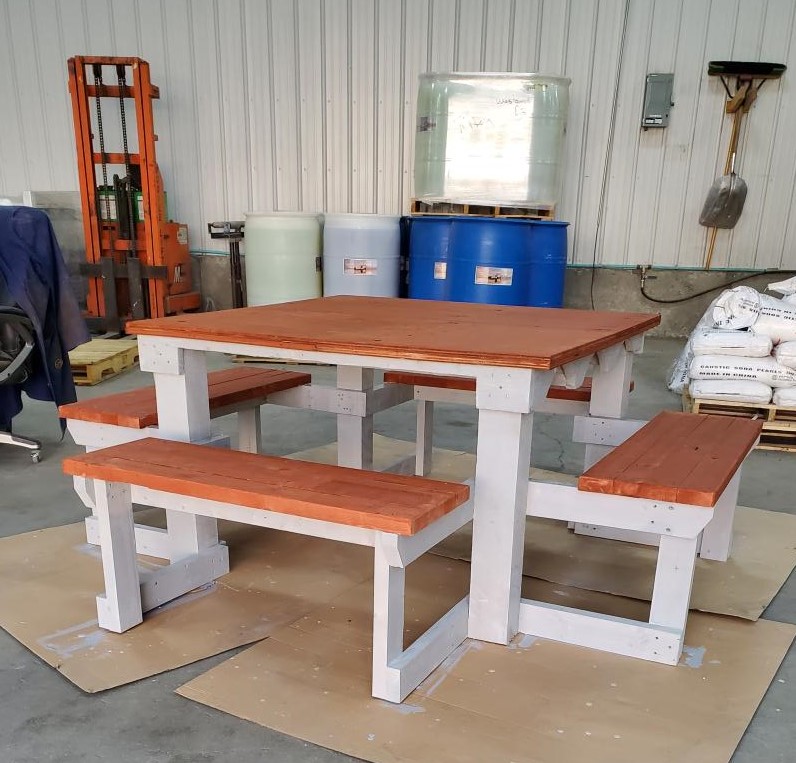
4 sides for the whole family to sit.
Great bookcase. I used a 3" screw through the top center into the wall to add lateral stability. Now it is rock solid. The majority of time was spent sanding and finishing.
This was my first project. It's not perfect, but I love the way it turned out! The original plans were too large for my dining room, so I altered the plans to make it a 5-foot table. I actually ended up making it a little bit wider as well by adding an additional 2X10 to the table top to make the table look more proportional. The wider table top has made it perfect for family-style meals! For the finish, I did one layer of Rustoleum American Walnut stain applied with a foam brush and wiped off with a clean cloth after one minute. After the first layer of stain, I sanded the table with a very fine paper and then did two layers of Rustoleum Dark Walnut applied with a foam brush and wiped off with a clean cloth after only a few seconds of setting. Finally, I did three layers of Rustoleum Matte Finish polyurethane.
Tue, 03/06/2018 - 19:15
Your table is beautiful!!! You done a stunning job on it!!! This is the same size that I need for my table but I'm having a hard time figuring out the measurements for the legs and the length of the benches I need!!! My table needs to be 60"x32" would you mind helping me with the measurements of your bench and also of your legs on the table?? I plan to make the table legs the same height as hers but need to make the top board and middle brace to match the 60" top!!
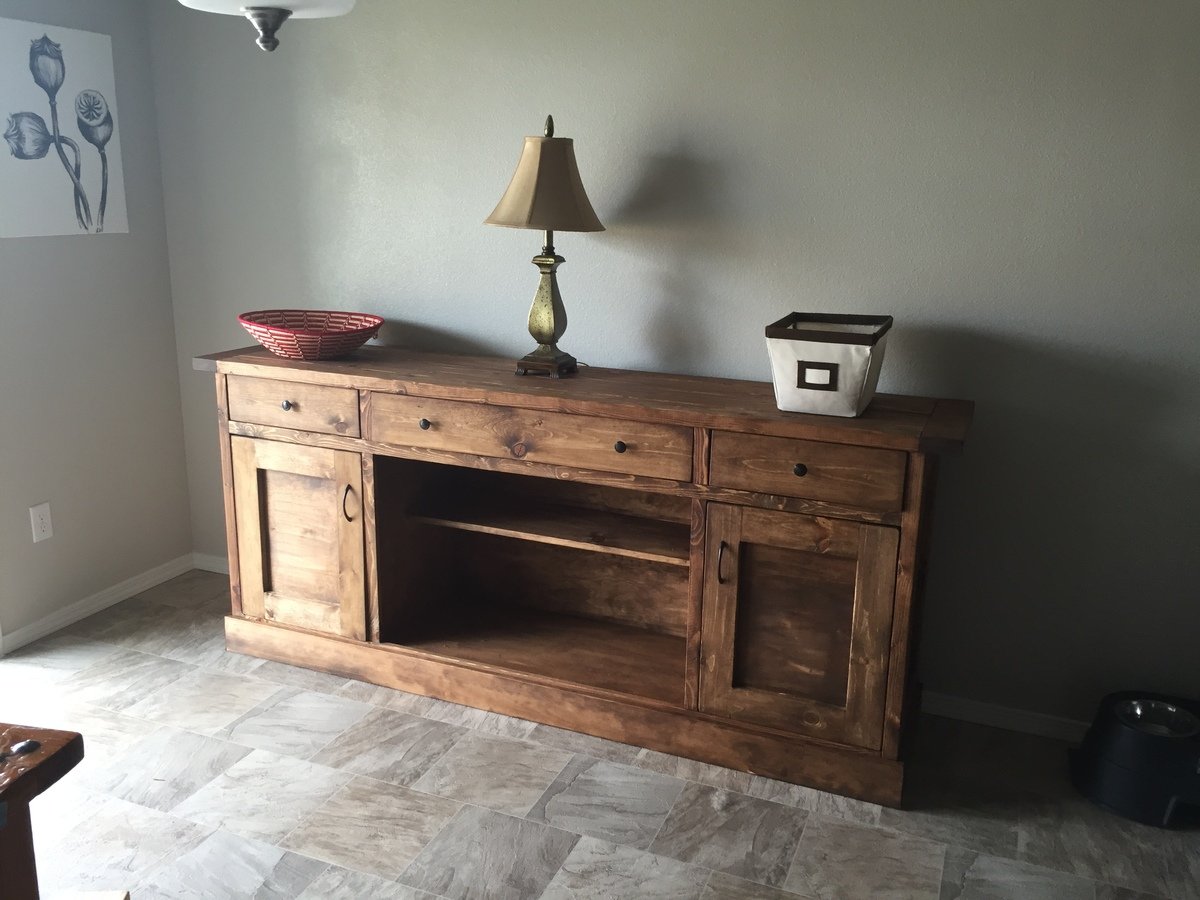
Built this buffet/sideboard in about a week. Huge, and kind of a pain to move, but beautiful and extremely useful.