Hanging bed
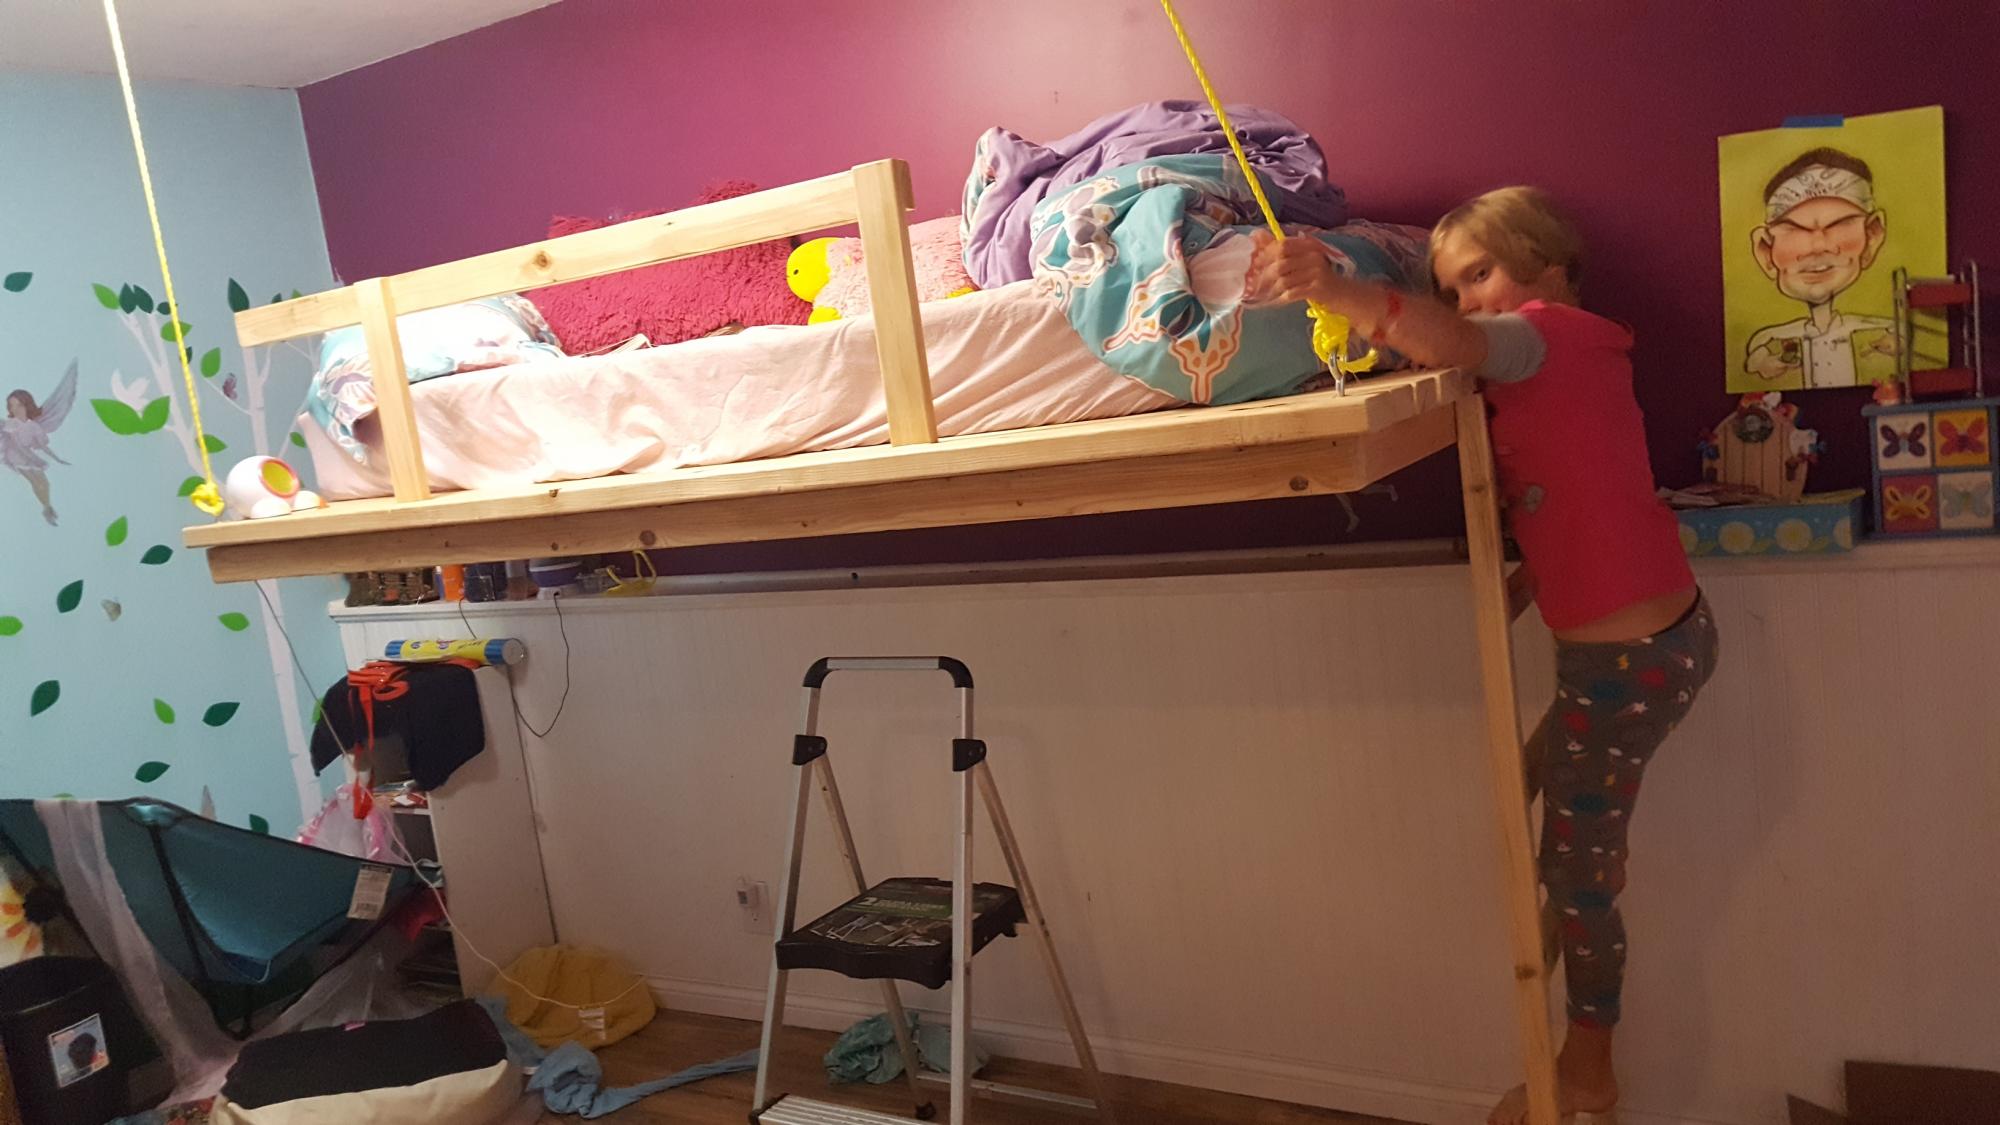
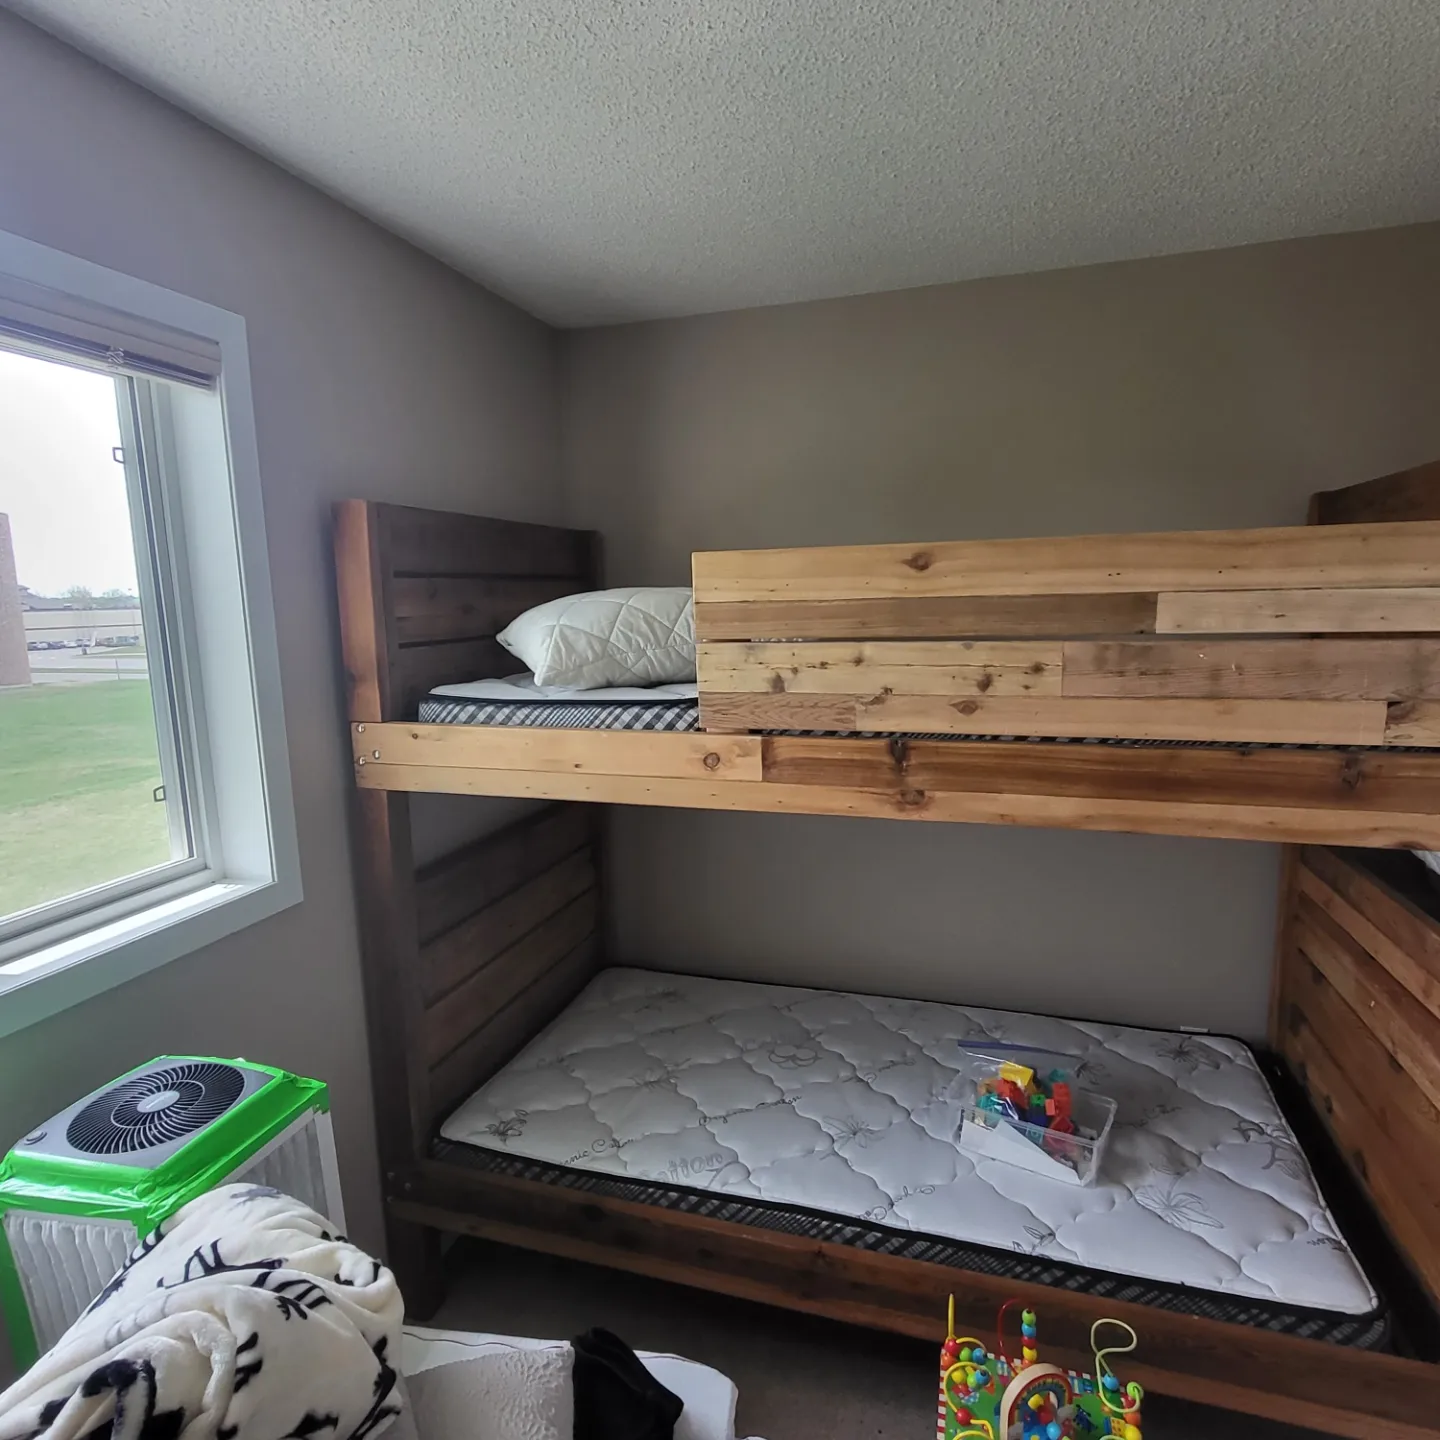
I used the hanging bed plans to do a hanging bed that's attached on one side to the wall. Then created a ladder and side rail.
Built from Plan(s)
I used the hanging bed plans to do a hanging bed that's attached on one side to the wall. Then created a ladder and side rail.
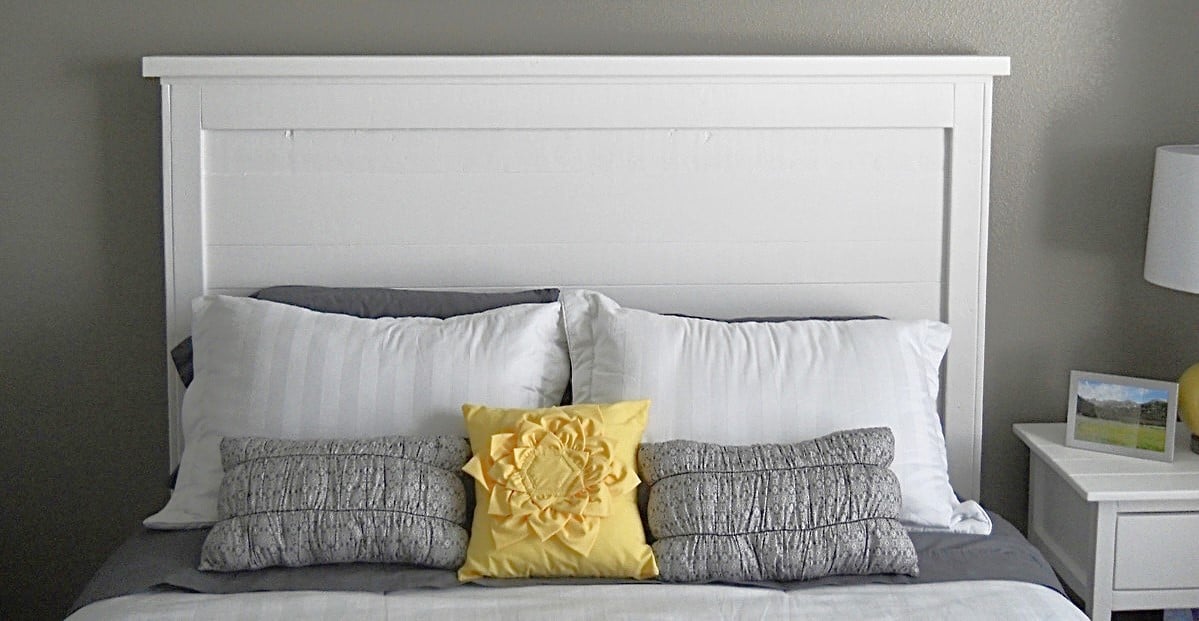
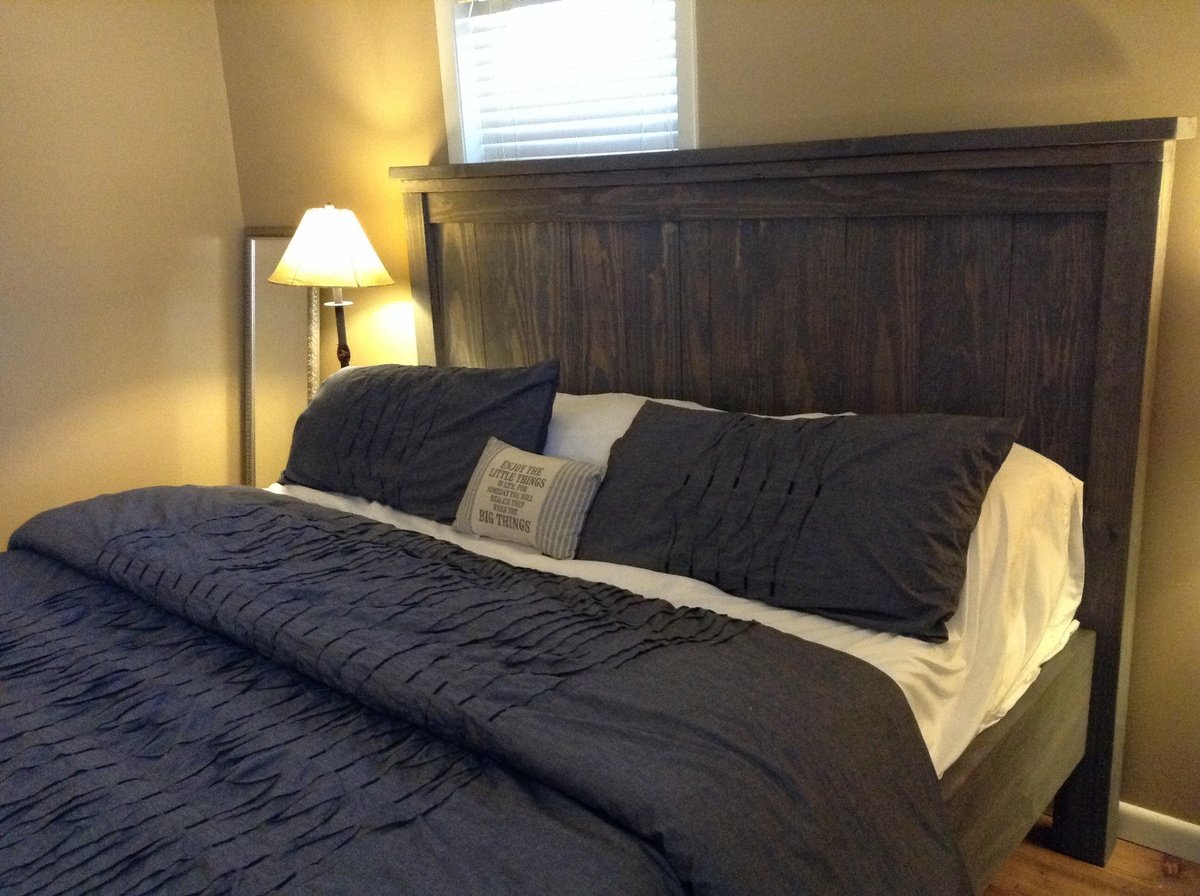
Wow, there are some really ugly headboards out there. I was intending to re-do one from craigslist but saw this plan and knew it had to be built! This was our first major woodworking project, and I think it turned out pretty good! And especially for only $45! It was a very easy build with accurate instructions/measurements! Great for beginners!

Wed, 01/04/2012 - 23:49
Just love your bed and nightstand! Really inspiring and I love how you decorate too! Thank you for taking your time to share.

Sun, 01/08/2012 - 07:00
That's a wonderfully polished piece for something with the word "reclaimed" in the title, especially since it's your first. Looking forward to what you'll be doing a year from now if the first effort is this good.
Sun, 06/03/2012 - 15:53
I am new to Pinterest and Ana White, so is there any chance I could get plans for this emailed to me or sent to me at Pinterest?
Fri, 07/13/2012 - 16:29
To get the plans, all you have to do is click on the link next to spot up above that says "from plans" and they will pop up.
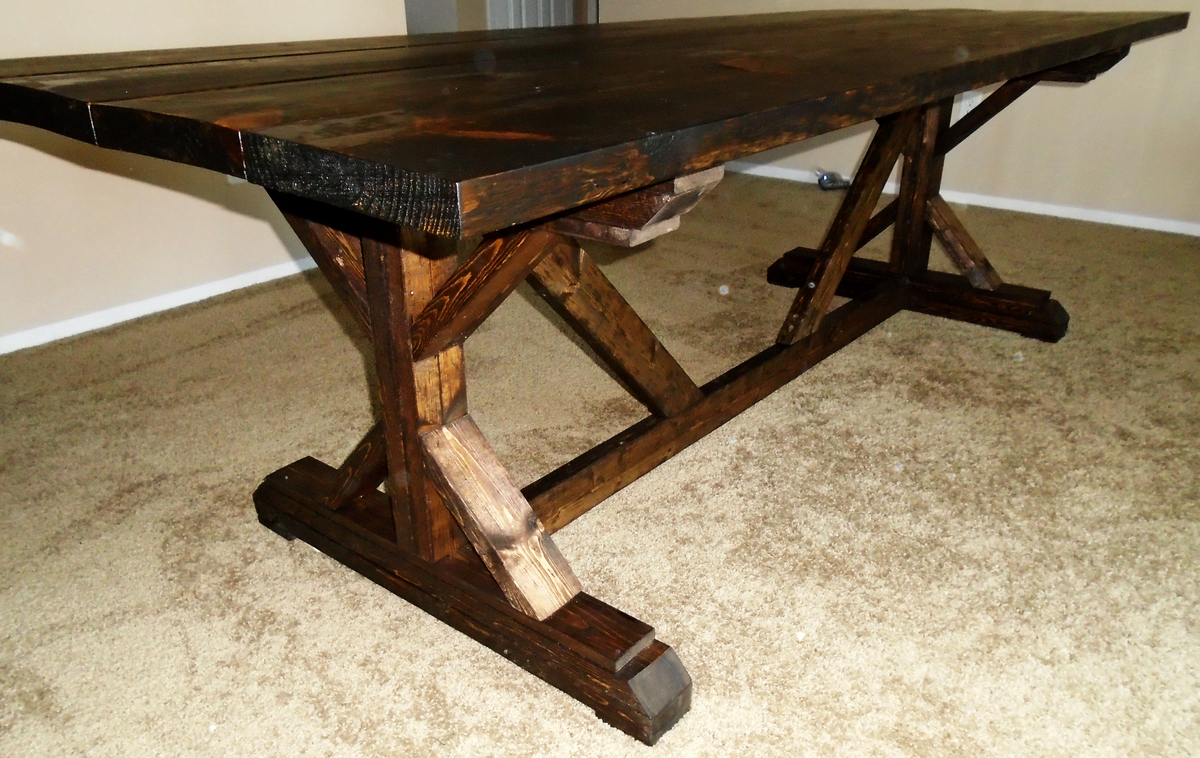
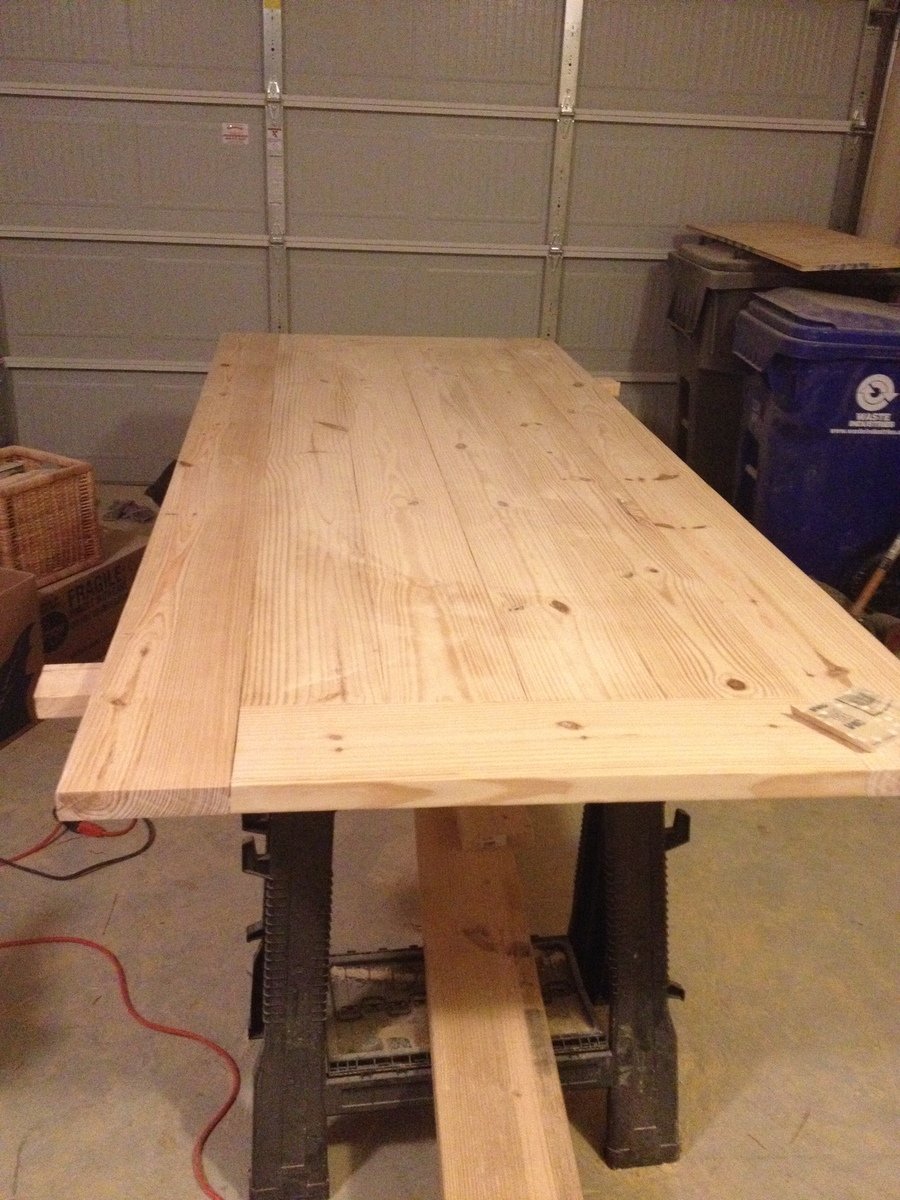
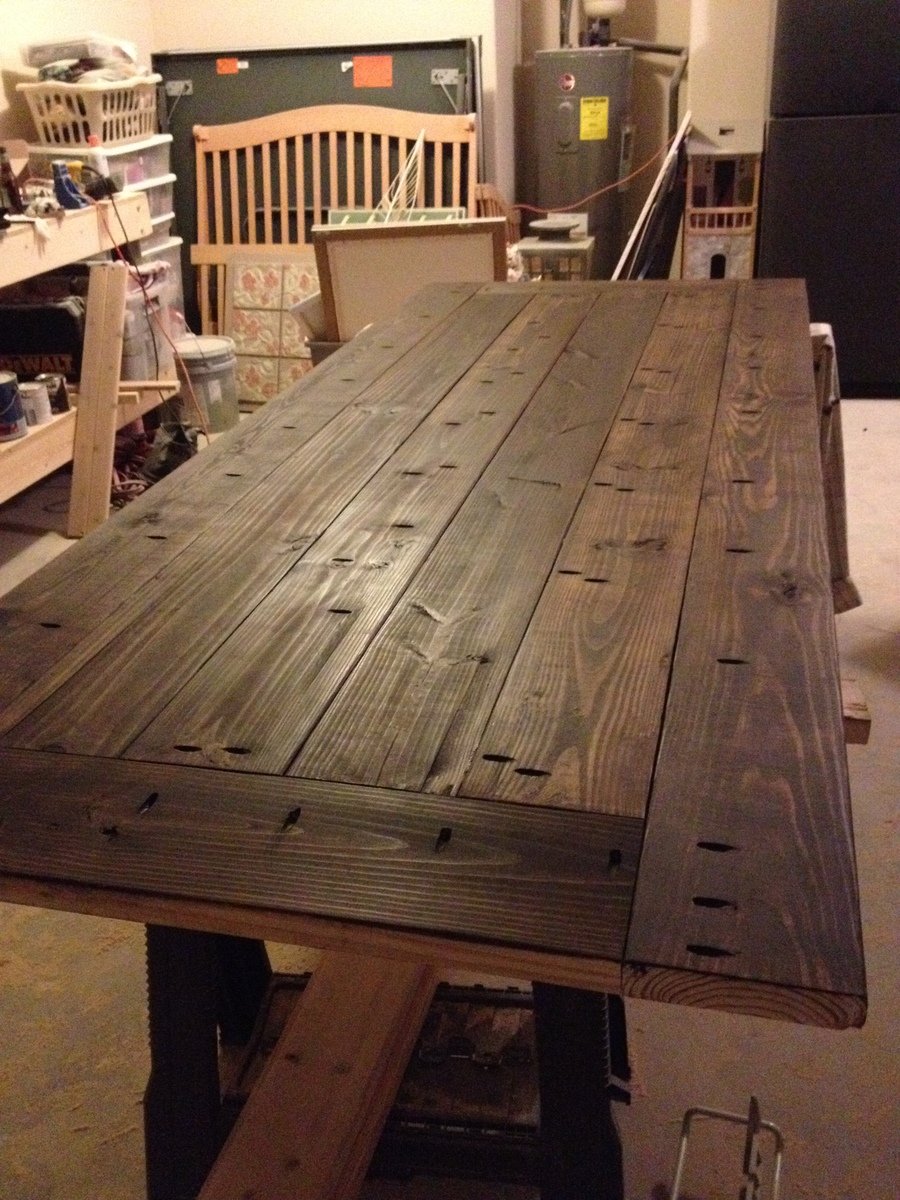
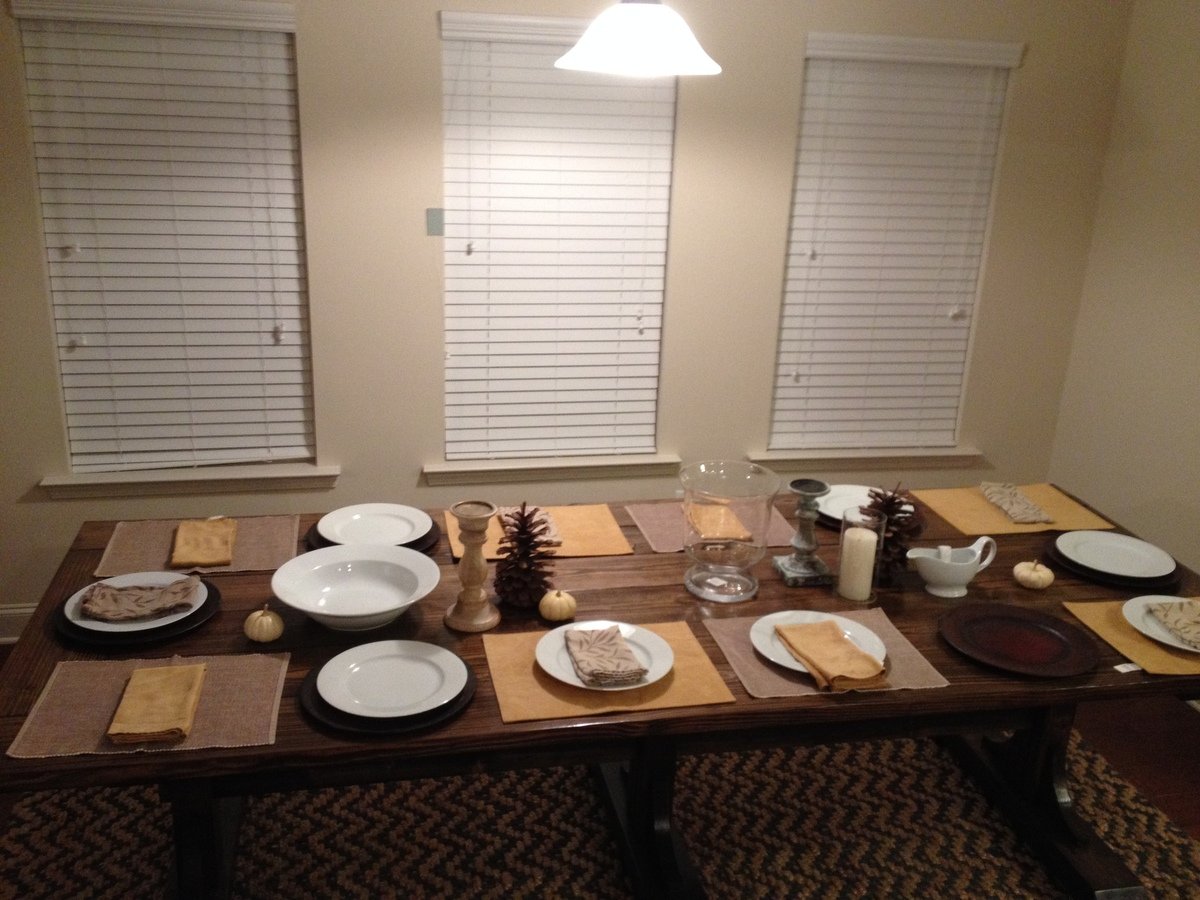
My husband and I bought our first house back in October and wanted to build a table so we could host Thanksgiving dinner at our new place. With the help of my dad and his collection of tools, we were able to use the farmhouse table plans from Ana-White which turned out nicely. We used a dark walnut stain and a couple coats of MInwax Helmsman Spur Urethane.
Hi Ana,
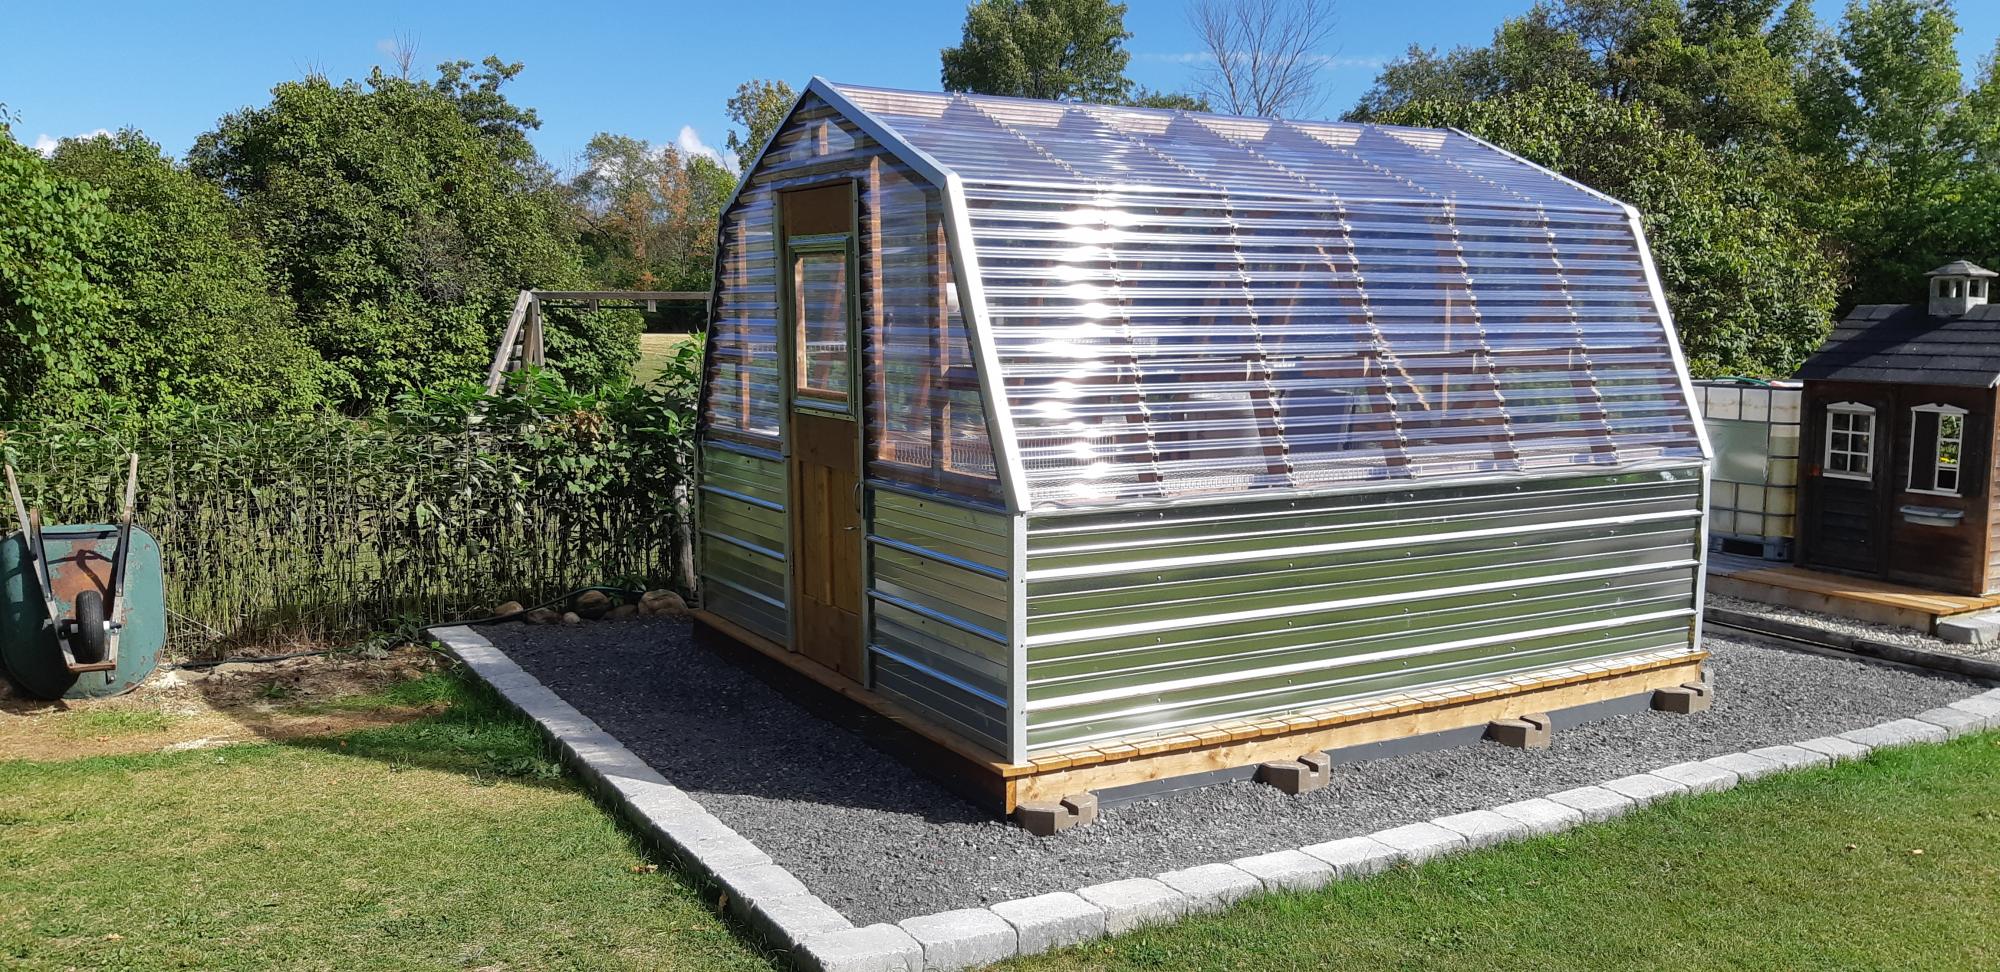
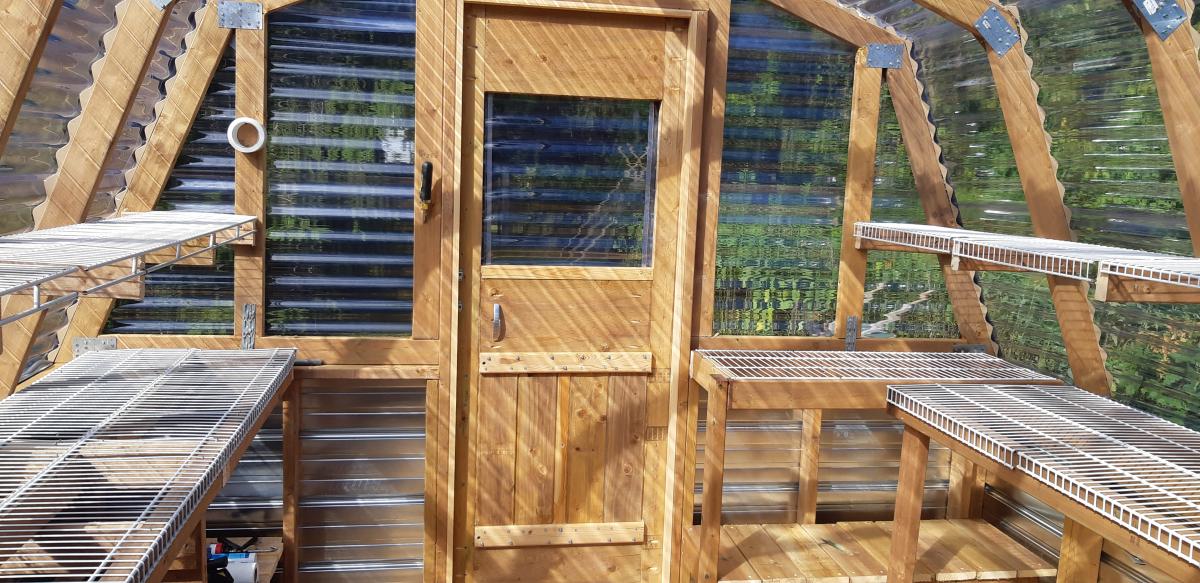
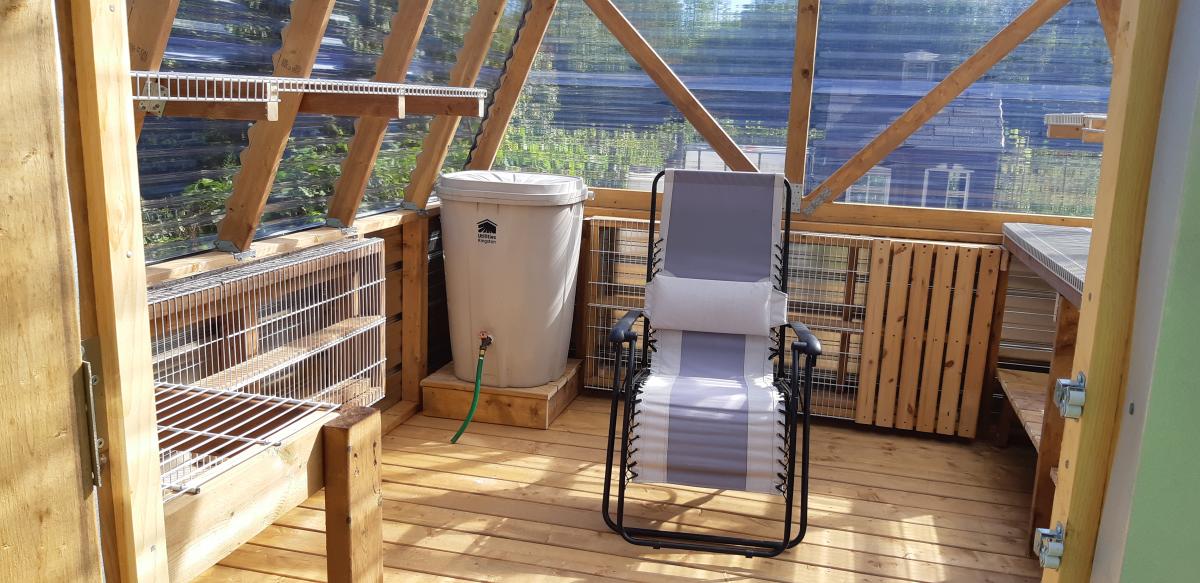
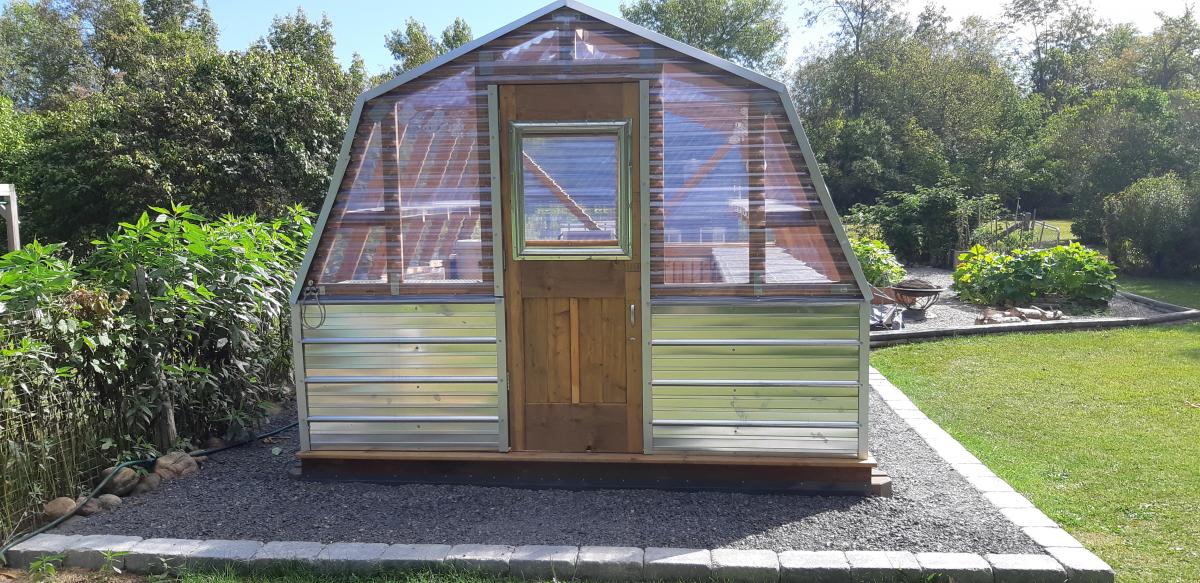
I got your plans online as I always wanted to build a small, simple greenhouse - these plans were excellent, easy to follow and the job went way quicker than I thought. I did the work myself, so, even though 2 people would have really helped, some judicious use of clamps did the job.
I used deck blocks and standard deck flooring. This raised the structure up, as the low lying ground has a tendency to flood in the spring melt and I used old metal baseboards and leftover flashing to fasten a metal skirt to the structure to keep animals out. A bit of spaypaint to match the metal to the gravel. The wire shelving was inexpensive and I managed to get all of it from a local Habitat for Humanity store. The door I made from leftover wood from another project and some leftover cuts from the metal siding. I didn't need any special tools, but did use the project as an excuse to buy a Kreg Jig, which turned out to be really useful.

Mon, 09/02/2019 - 10:51
Wow, this is an amazing greenhouse! Everything about it, from the gravel pad with retaining wall blocks, to the finished door, is just spectacular. Thank you so much for sharing a brag post!
Mon, 09/02/2019 - 18:43
This is amazing, which plans did you use? I'm getting ready to build a greenhouse early next year, and was thinking of doing a pvc pipe structure with the panels like you have, but your post is inspiring me to go with the wood frame.
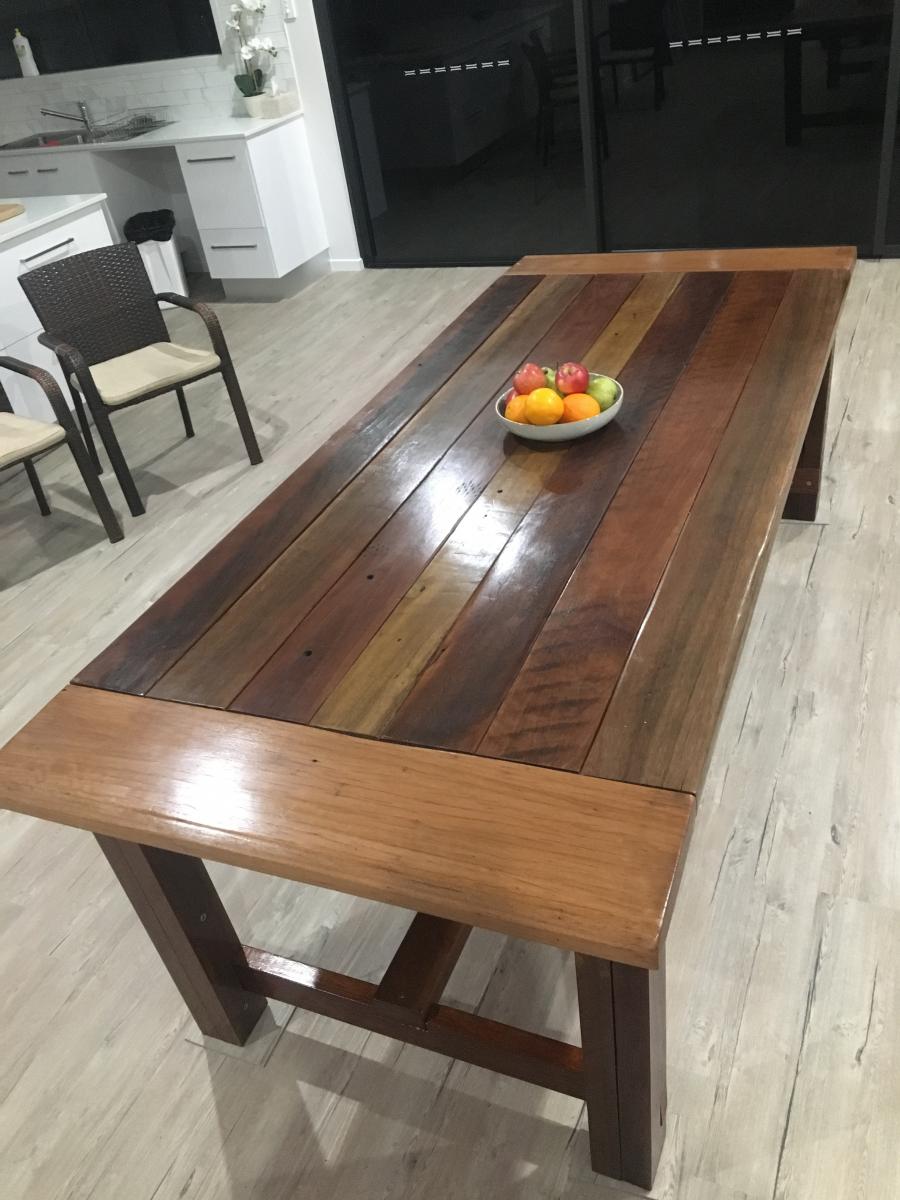
Loved this plan from Ana. Easy to follow and looks great. 100% reclaimed cedar.
Thu, 05/11/2023 - 19:39
Awesome build, thanks so much for sharing!
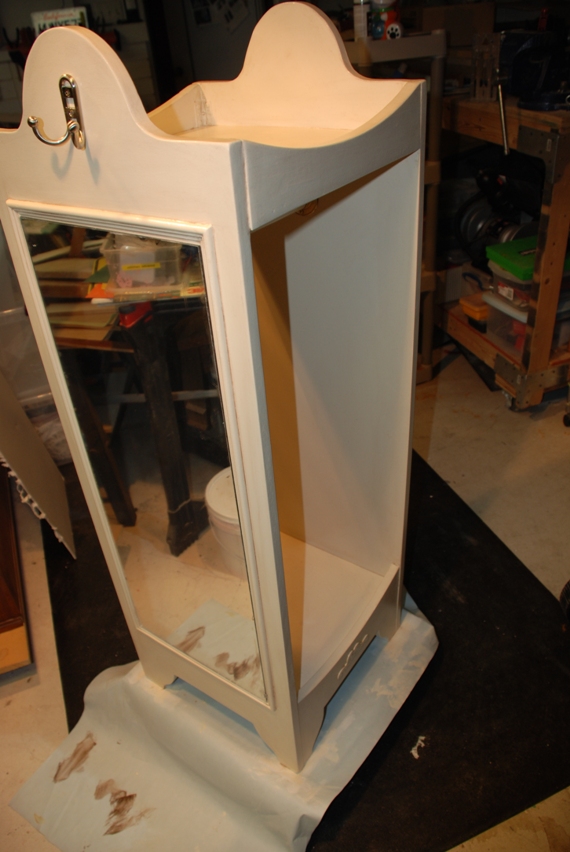
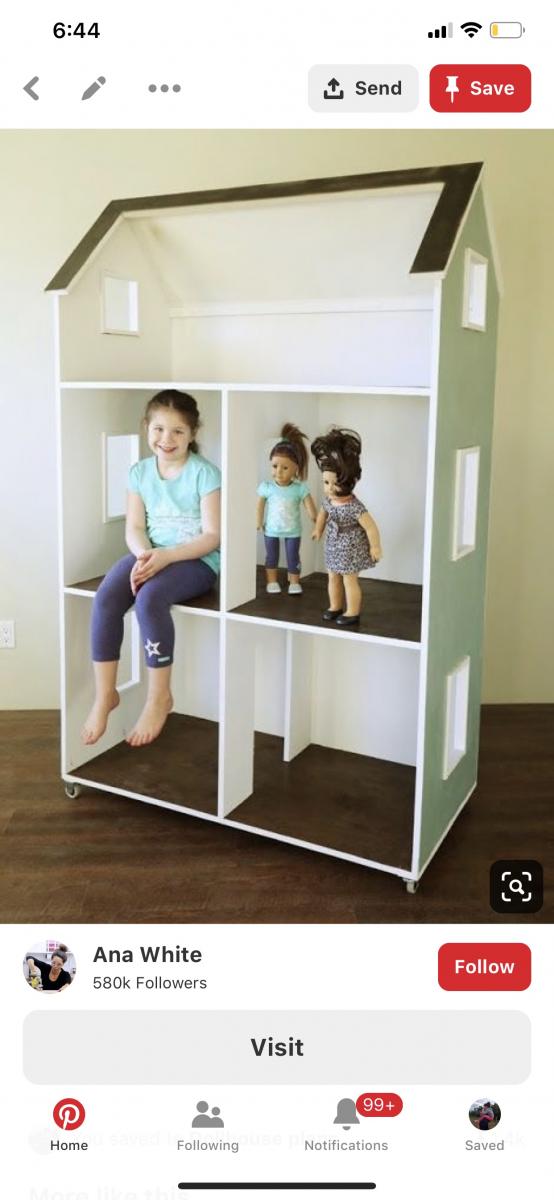
Dress up tower for my 4 yr old daughter to hang her pretty play costumes and princess outfits.
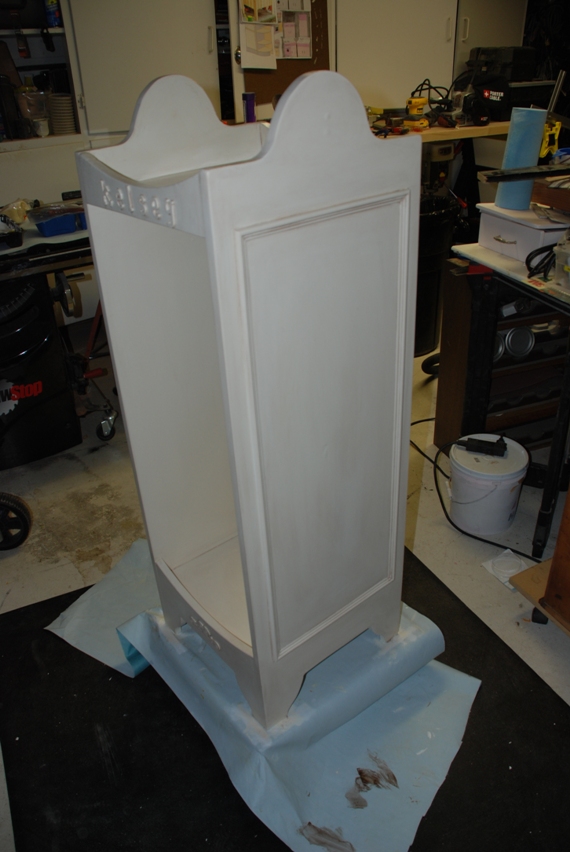

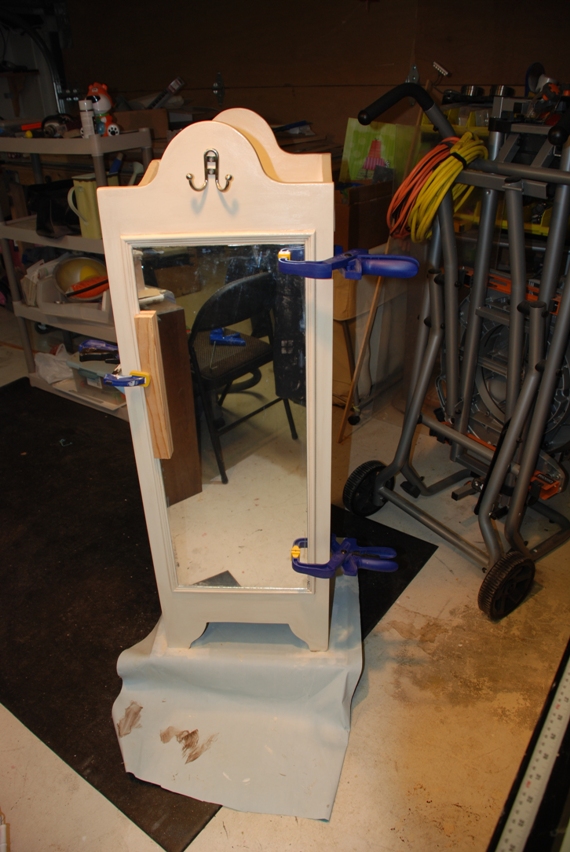
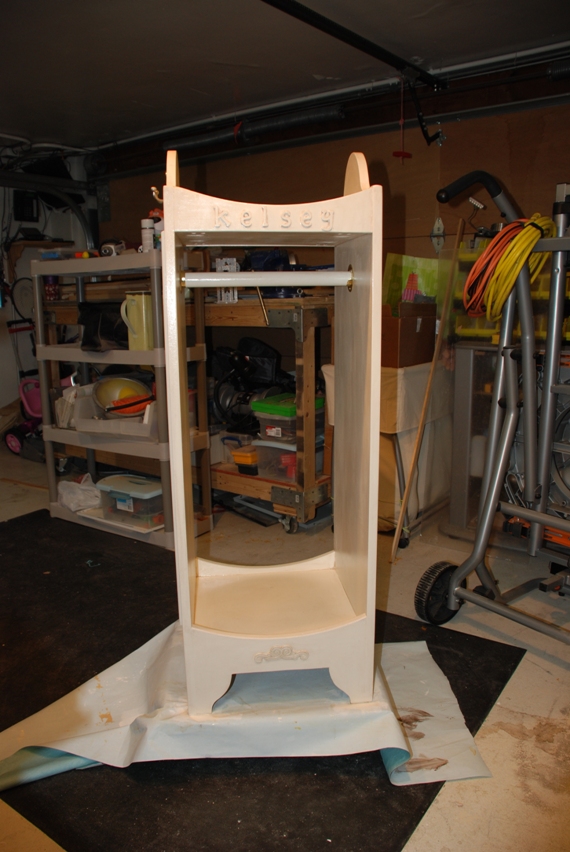
This was a fun project for me and my son. Total time was probably a weekend, including finish. I used Douglas Fur, and spent around $100 including finish and nails ect.
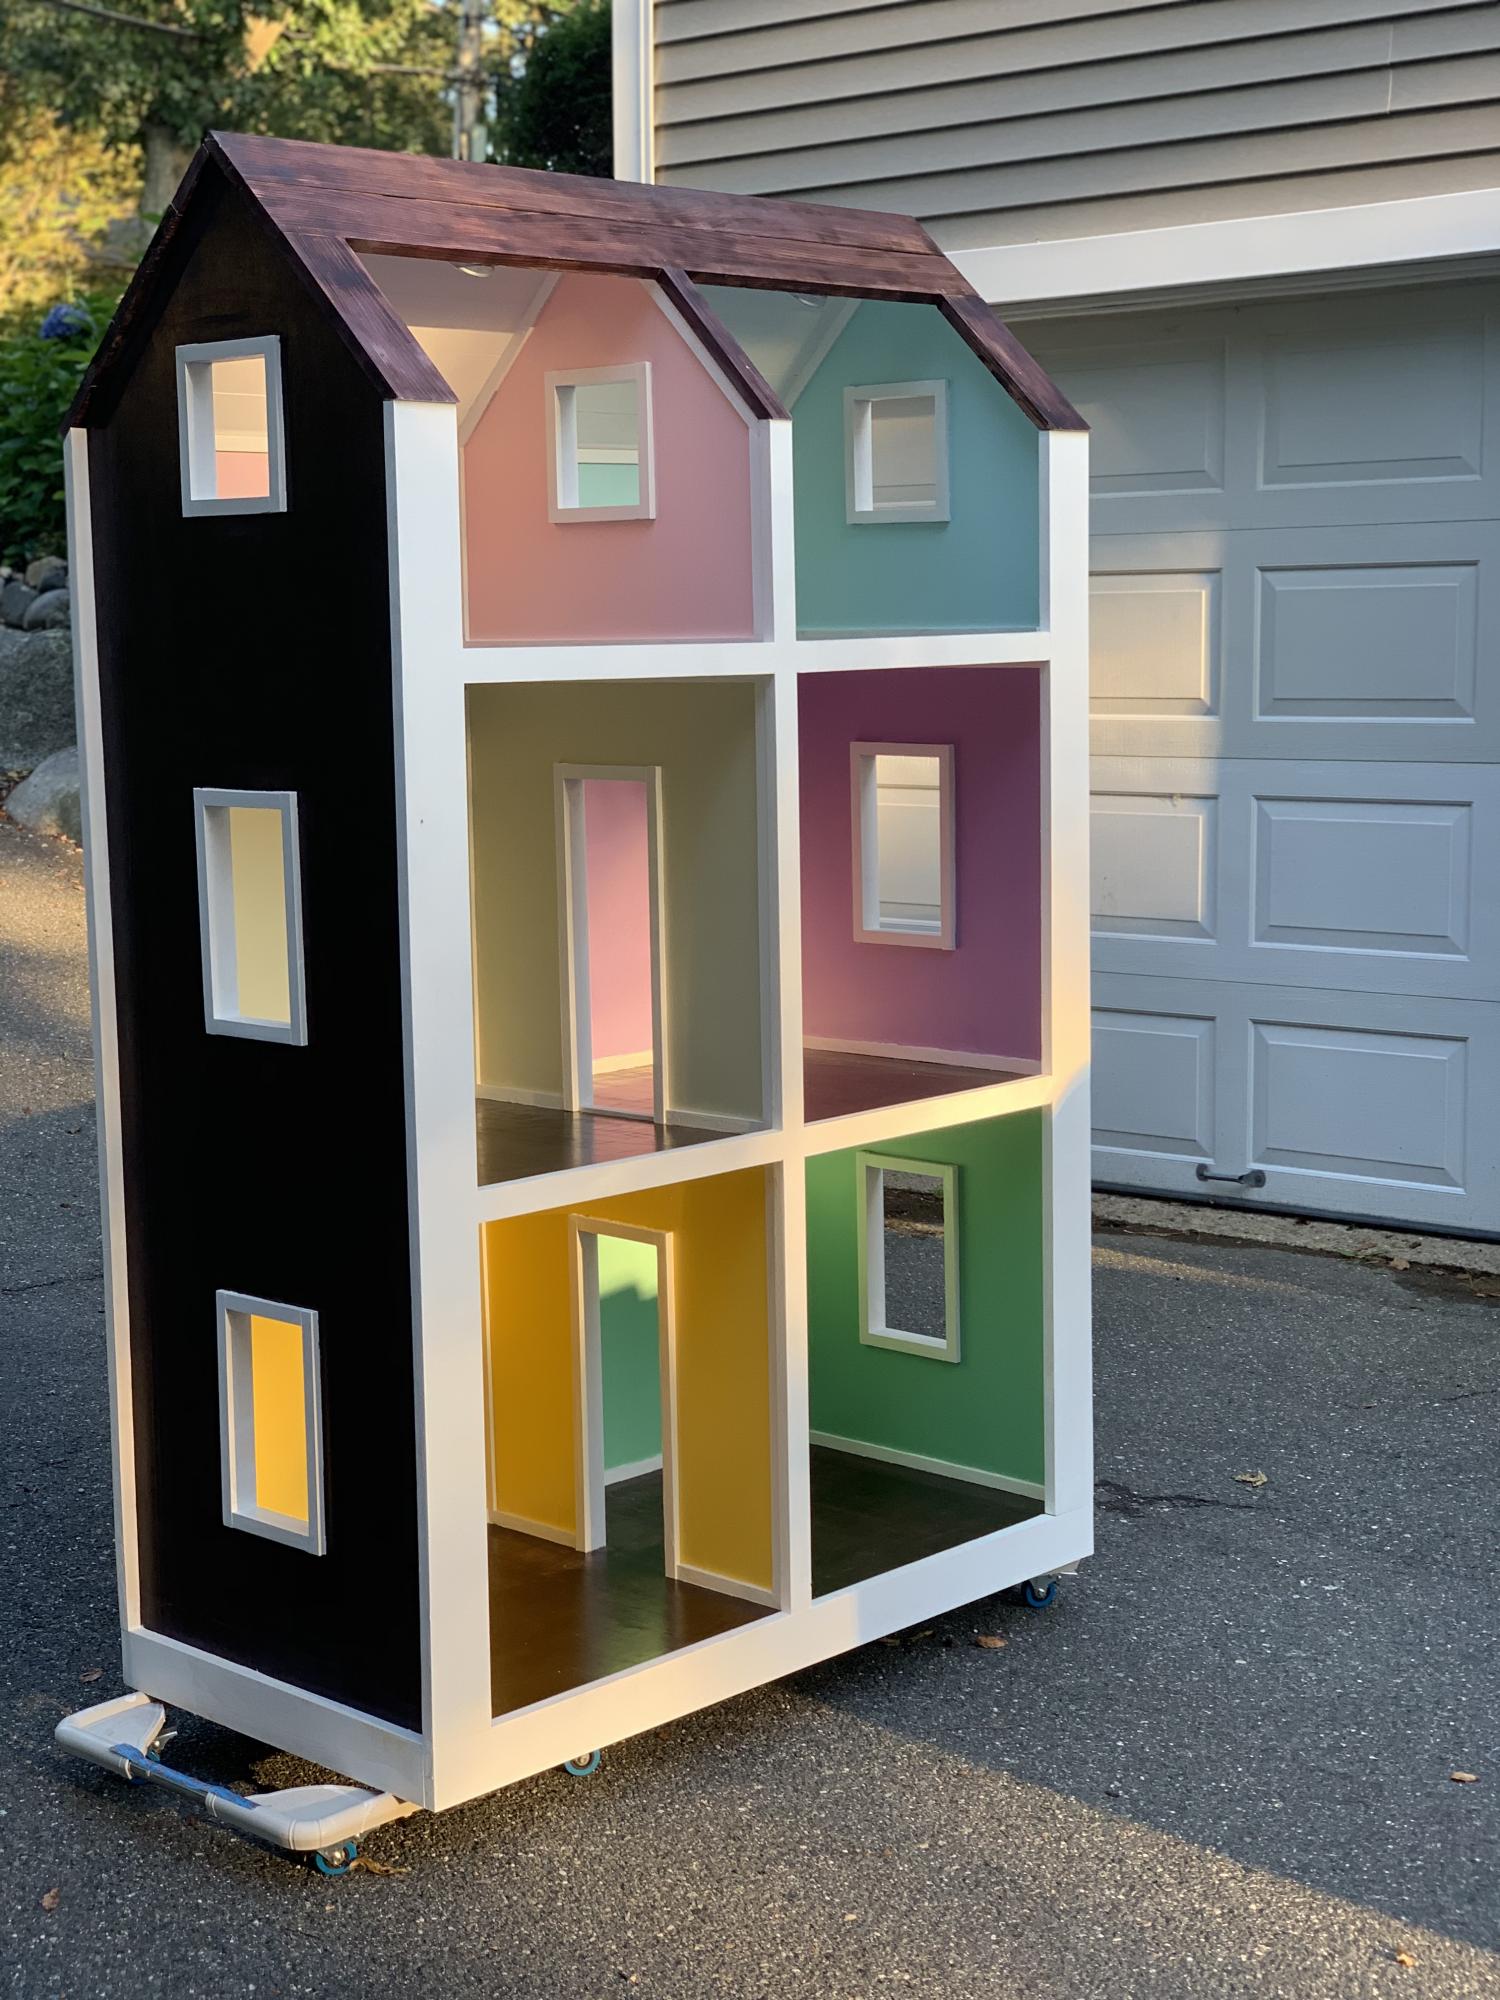
I built this using the plans from here as a base and then made some alterations and added things i saw from different builds and added my taste to a few things.
Shou sugi ban burning of the pine roof and then a cherry stain. I added much more trim than the original plans called for. I put baseboard and trim in each sections of every room. This added about 30 hours to the build. Then the difficulty trying to use painters tape on such small trim. Took about another 5 hours. I used birch plywood with the intention of staining but only decided to stain the outside and the floors and then polyurethaned the floors to look like hardwood floors. Touch lights added to each room. Each room was primed white and then painted a different color per the kids request. We spent about 700$ on the nicer plywood and all supplies when all was said and done. Another $300 to furnish the rooms. I would estimate over a hundred hours spent over four months of work on this project.
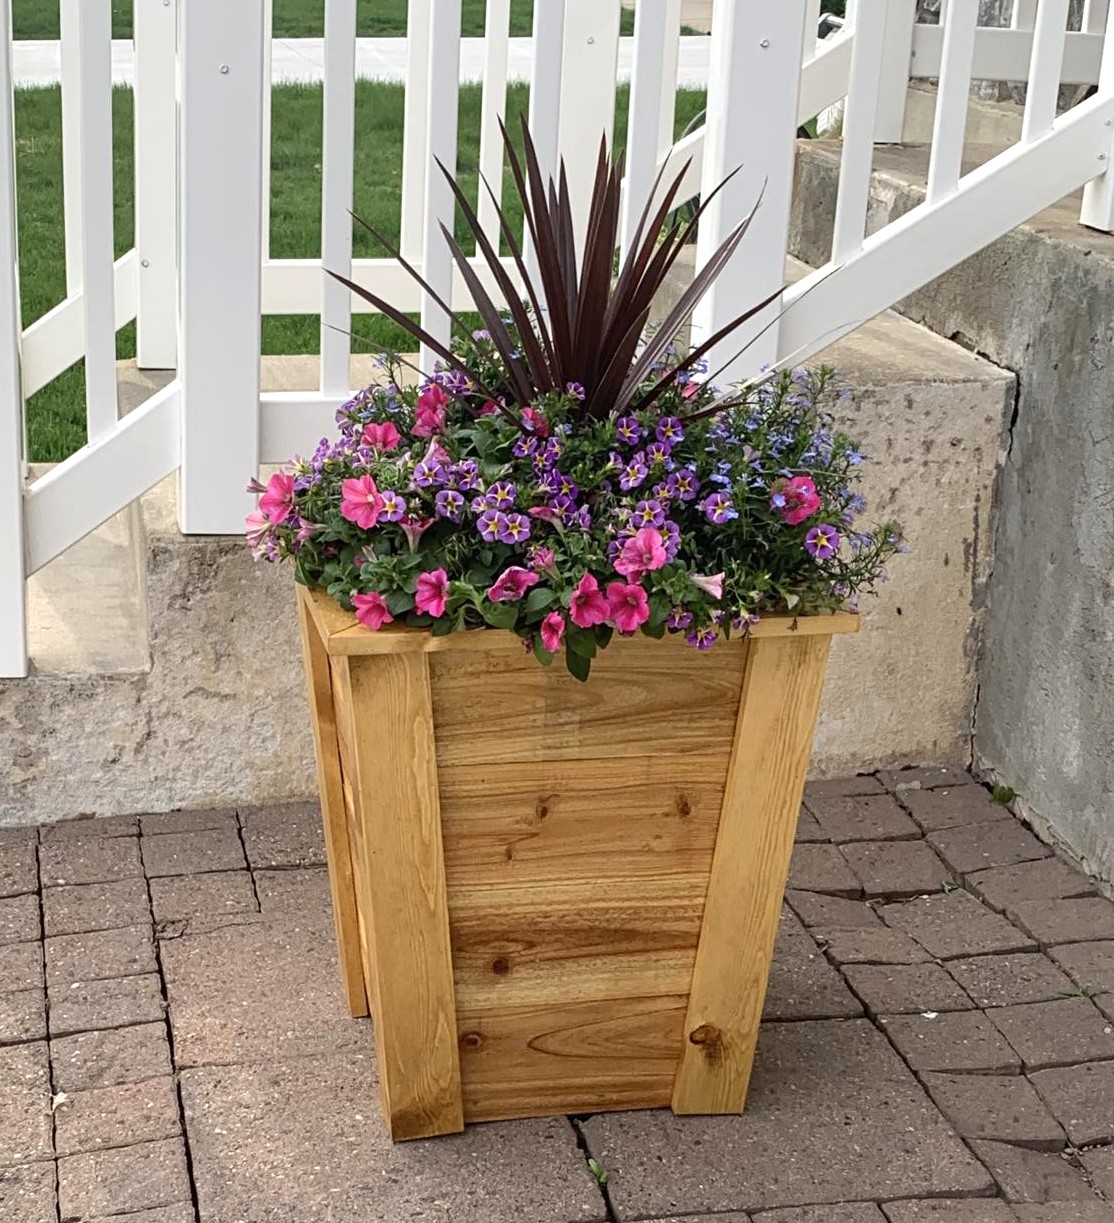
I made this tall planter for my Mom for Mothers Day. She loves it!
Thu, 05/18/2023 - 07:33
I bet she loves it, fantastic job! Thank you for sharing.
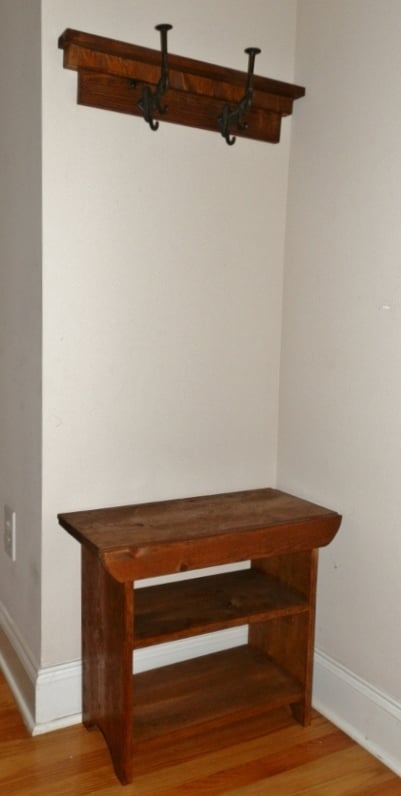
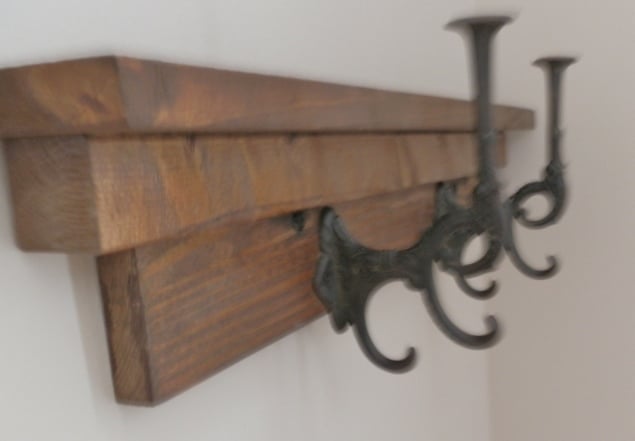
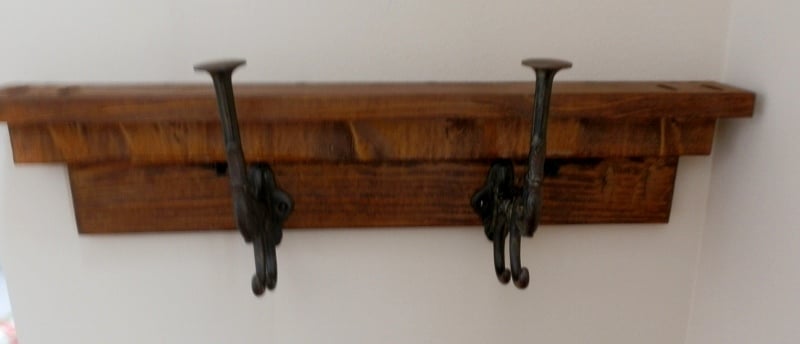
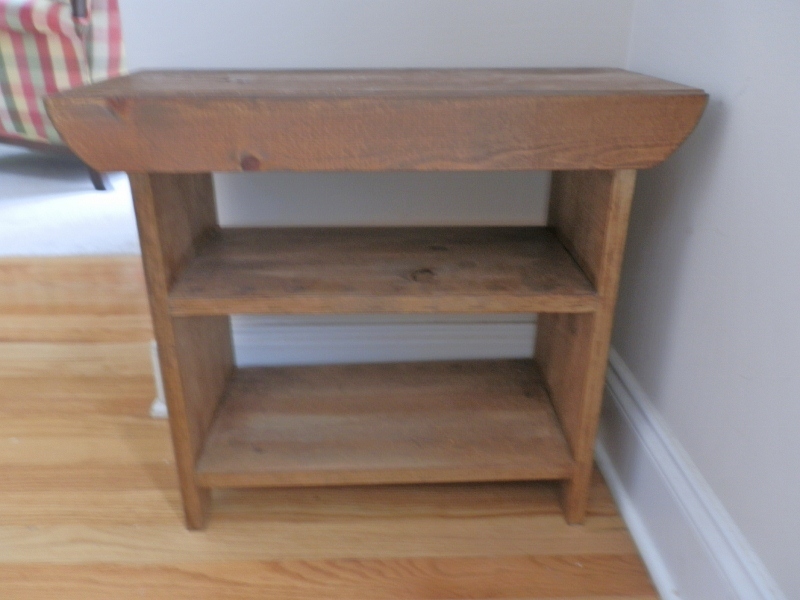
Modified the kids country to a smaller size to fit in a tight area. The coat rack I did freestyle. Both made from scraps, the metal hangers are antiques that I have been holdiing onto for 20 years.
I loved doing this project and the table came out awesome. But recently with the cold weather Ive noticed splits in some of the wood. Also where the beadboards meet the table top there is shrinkage...any idea how to fix it. I used non treated lumber from lowes.
Tue, 11/26/2013 - 18:49
The moisture content in big box 2xx lumber is relatively high, which is why it's mainly used for framing. Letting the lumber dry and acclimate is the best way to limit movement. Also, if you just screwed the top to the apron without allowing for movement, you will have splits as you're experiencing. It's best to use z-clips, or if you use pocket holes make sure you elongate the holes. As far as fixing the gaps, I'm not sure of a good way that will last.
Tue, 11/26/2013 - 20:46
Your table looks great! Can I ask what stain you used? Thank you
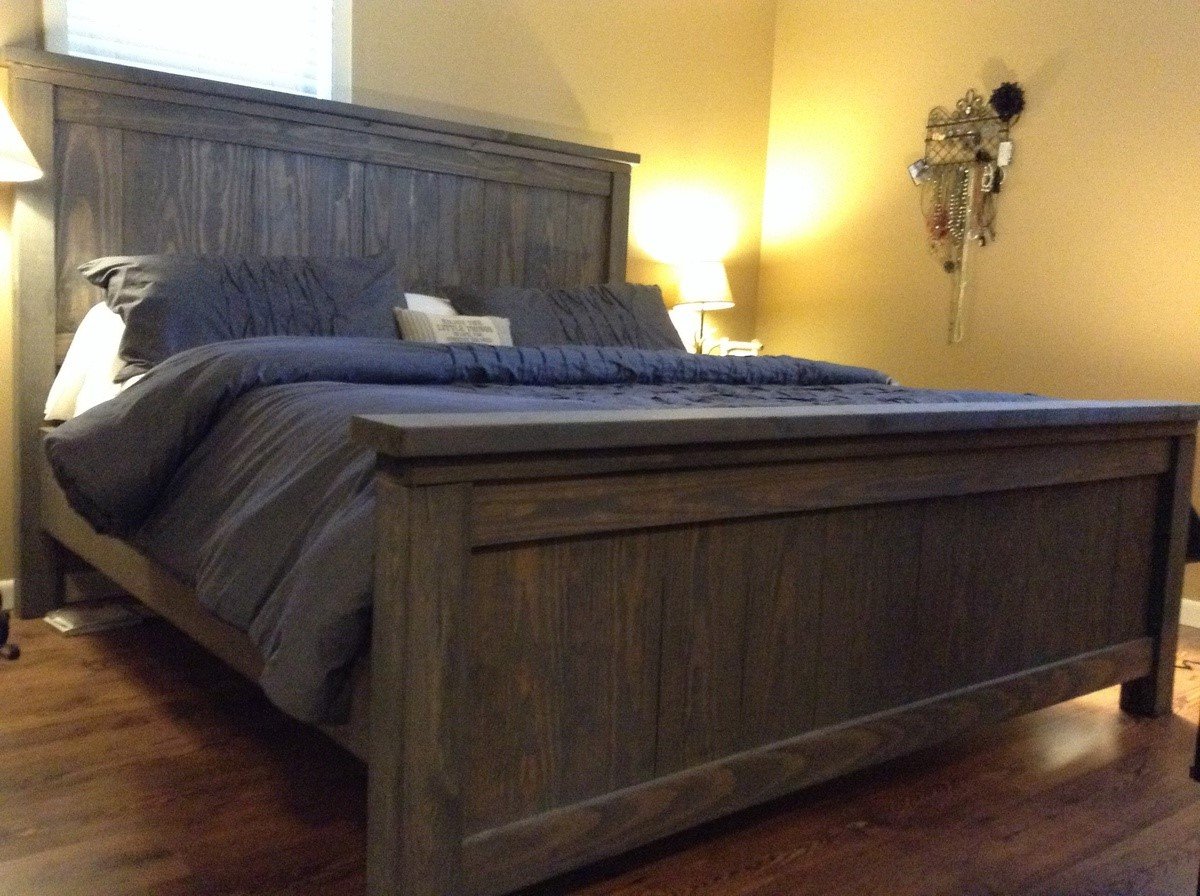
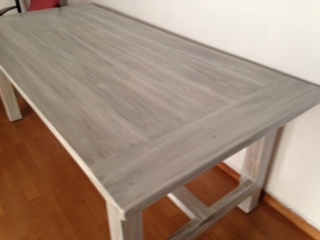
My husband and I built this for our first furniture project. I have the bug! Now I must make night stands . I got the look by staining first with min wax dark walnut, followed by rustoleum weathered gray. This was my first time to ever stain anything, so this does not take much experience to do. Love it! We followed the advice to measure our mattress first, which was good because it turned out to be narrower than many kings. We built the bed custom to our mattress . We also made the height a few inches taller to have a nice tall bed. The footboard is lengthened also. I wanted it to come up above the end of our mattress. This project is easy once you get going. It is also addictive!

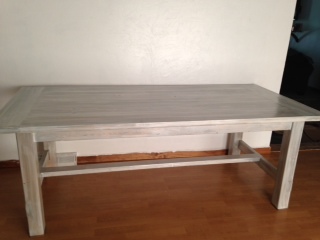
First Crack at any wood work since high school. All timber used was reclaimed hard wood, hours of
planing,sanding and clamping (its heavy). A few mistakes but that's learning.
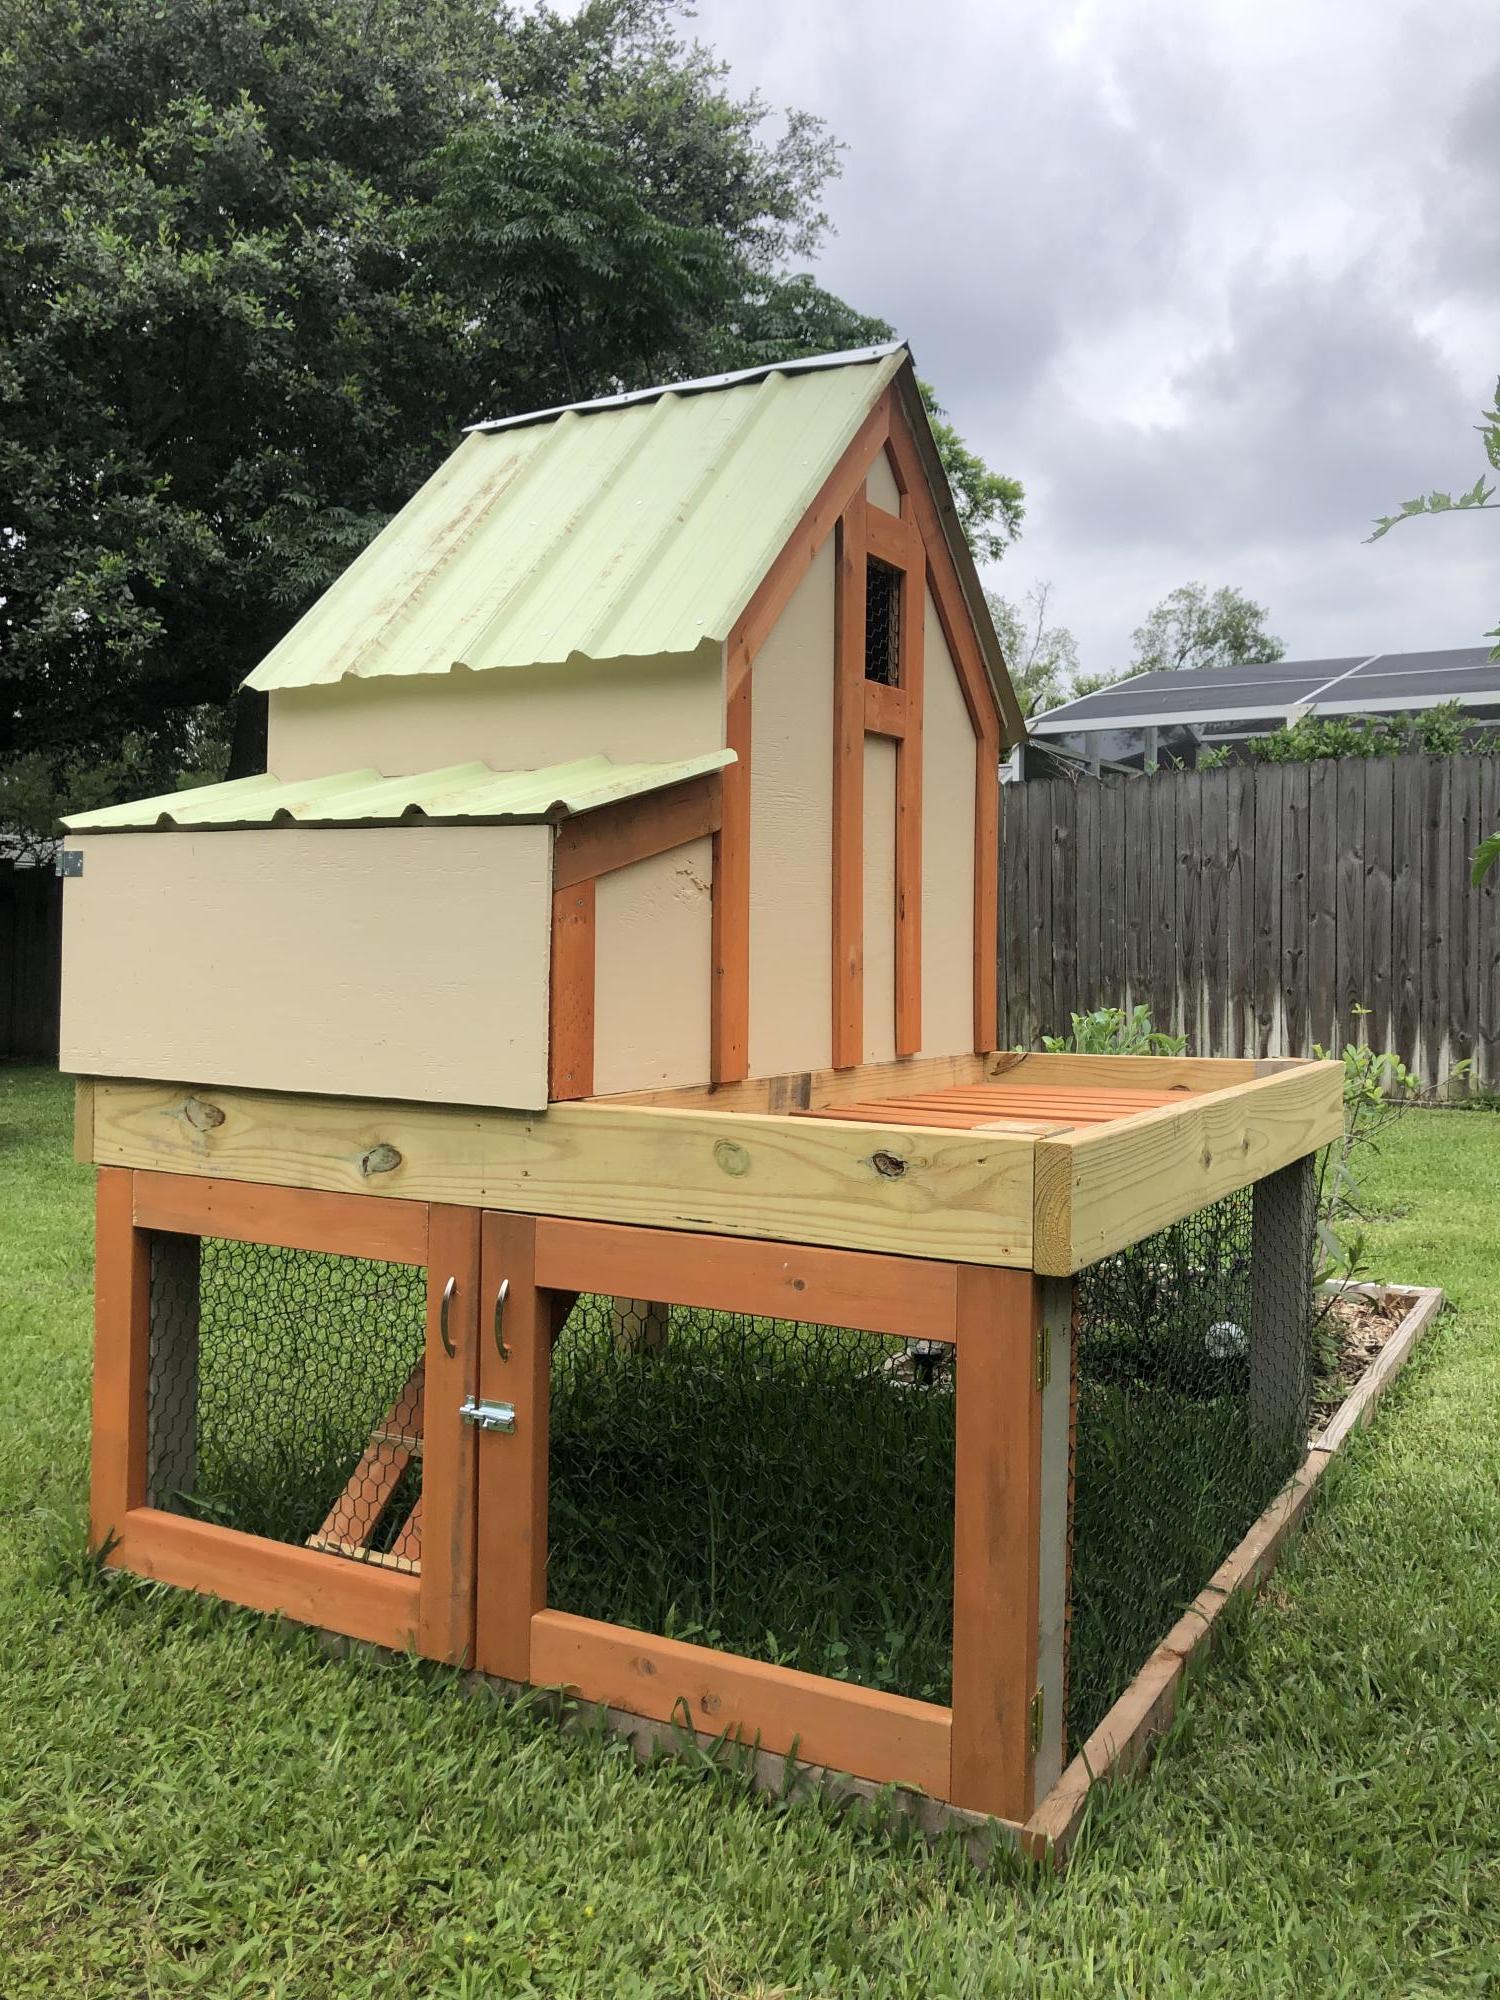
I've wanted chickens for a long time and loved this chicken coop plan. I used lots of salvaged materials so made minor changes in dimensions to use what I had and I absolutely love this! Probably took me longer to build than it should have but the Houston weather was not in my favor....
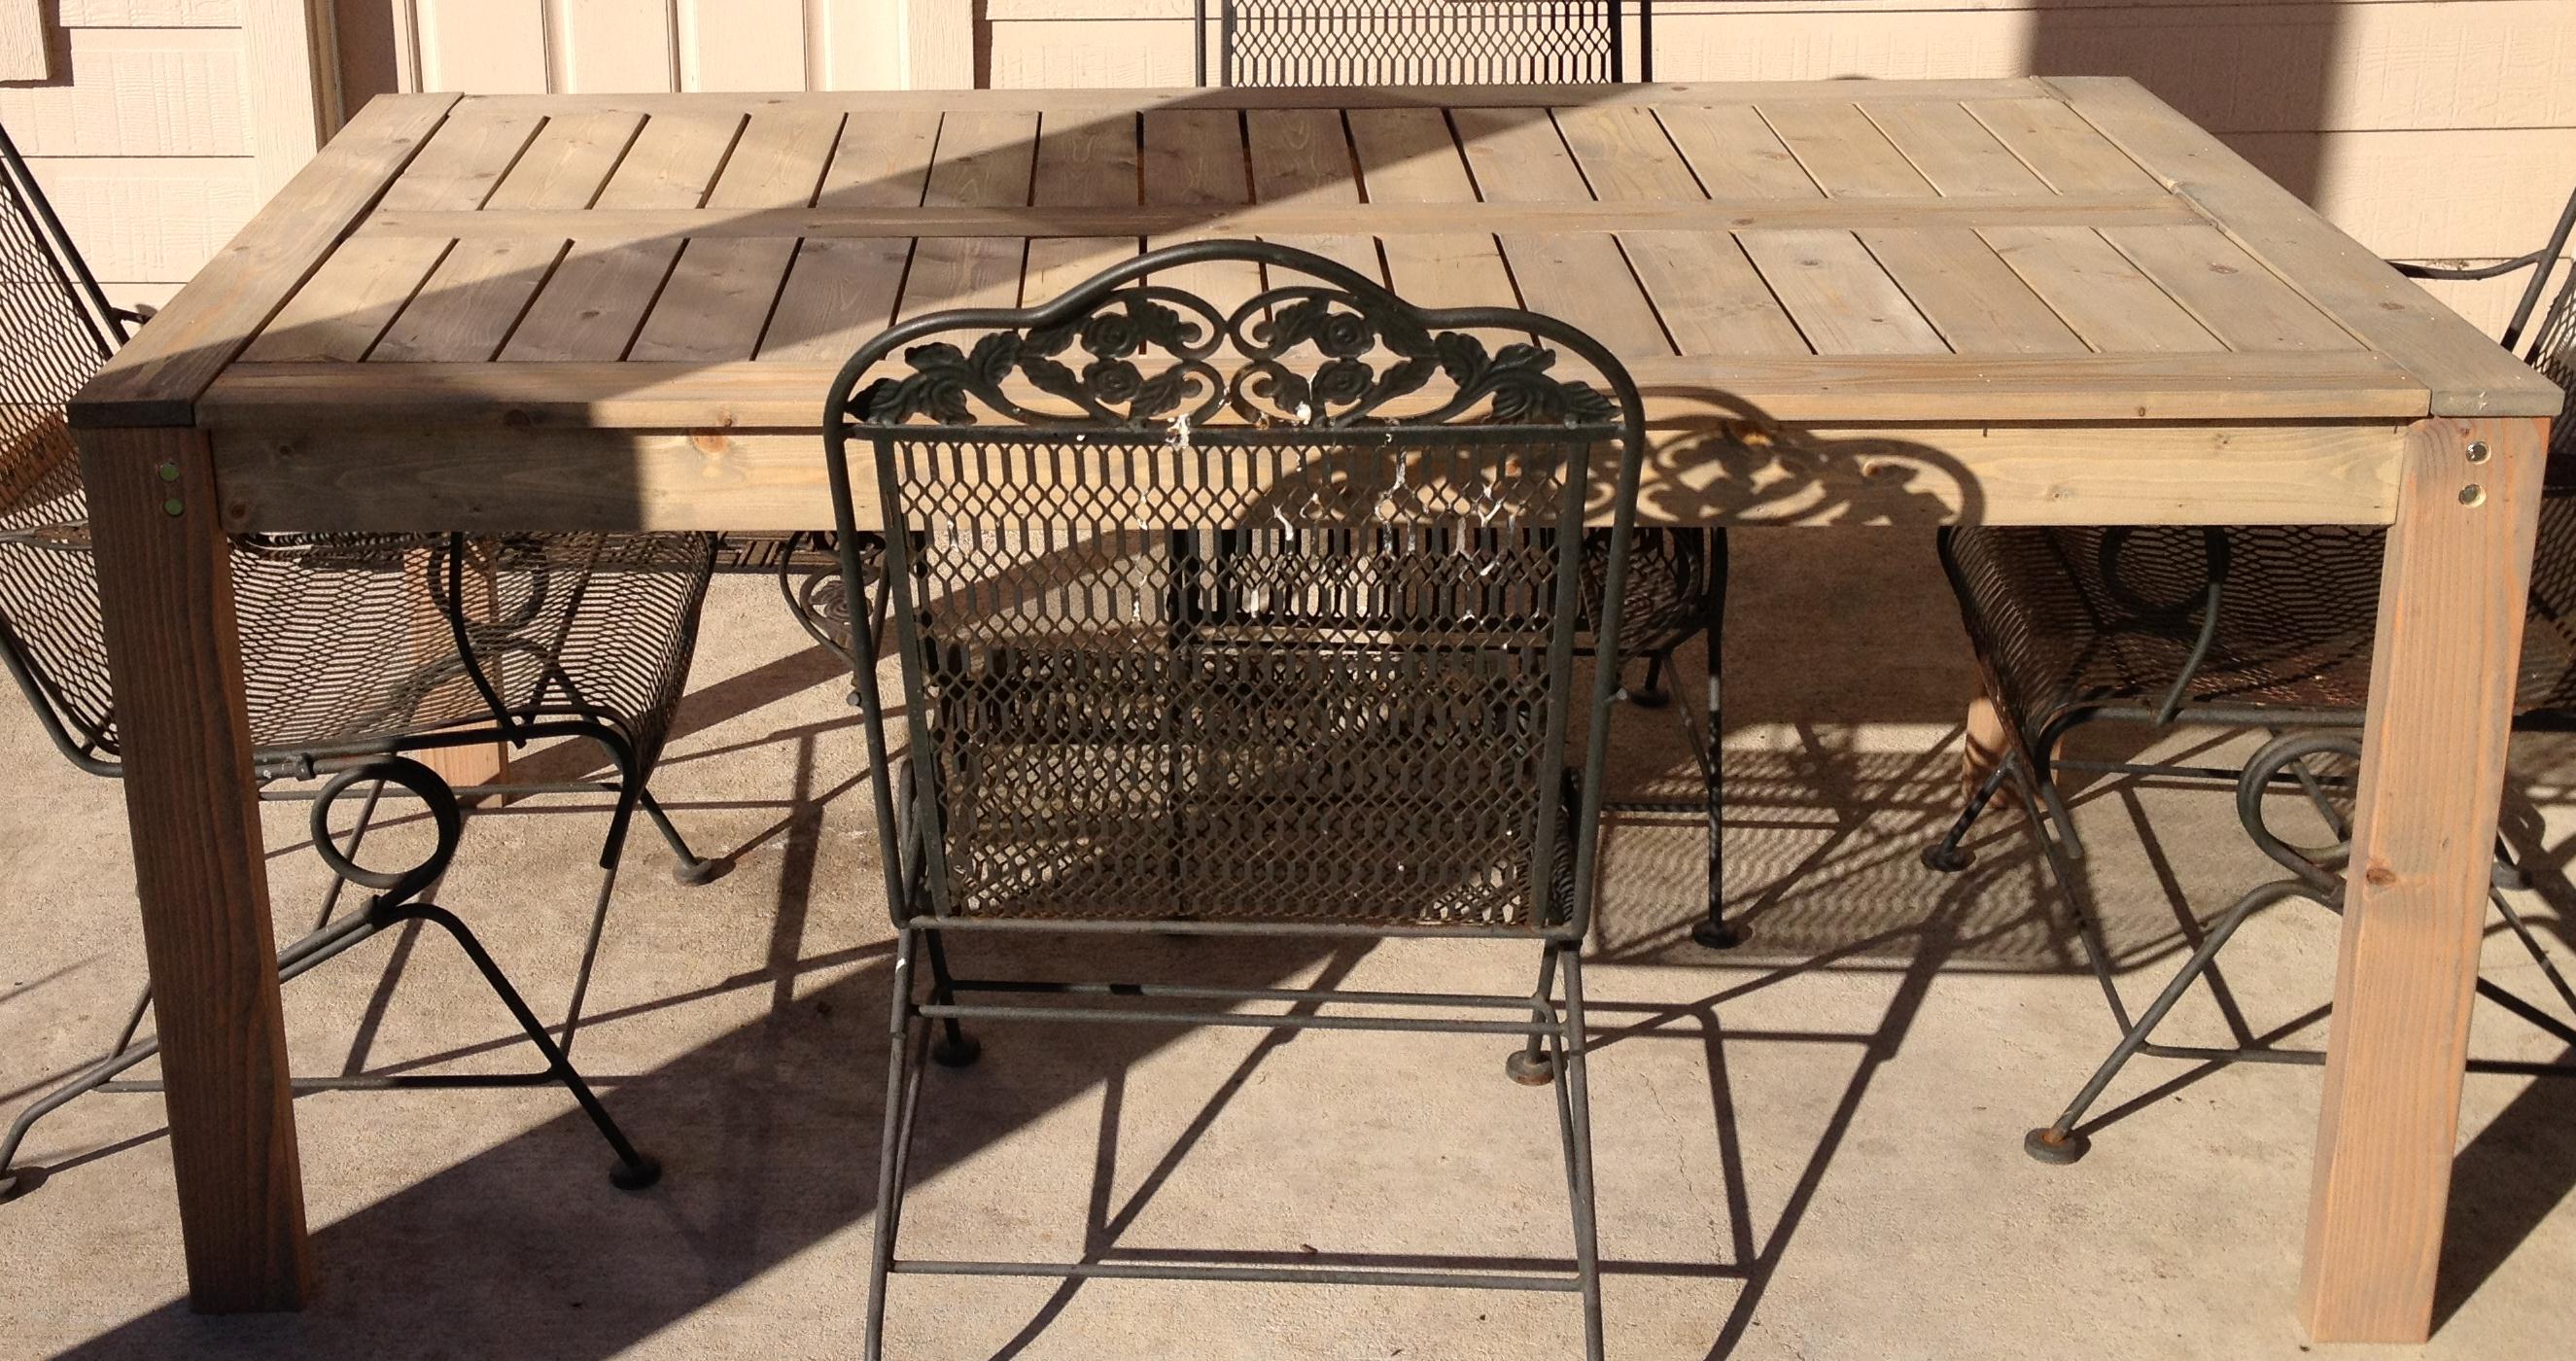
I fell in love with the Simple Outdoor Dining Table, but wanted something a bit different. When ewood posted the modified version. I knew that was the one!
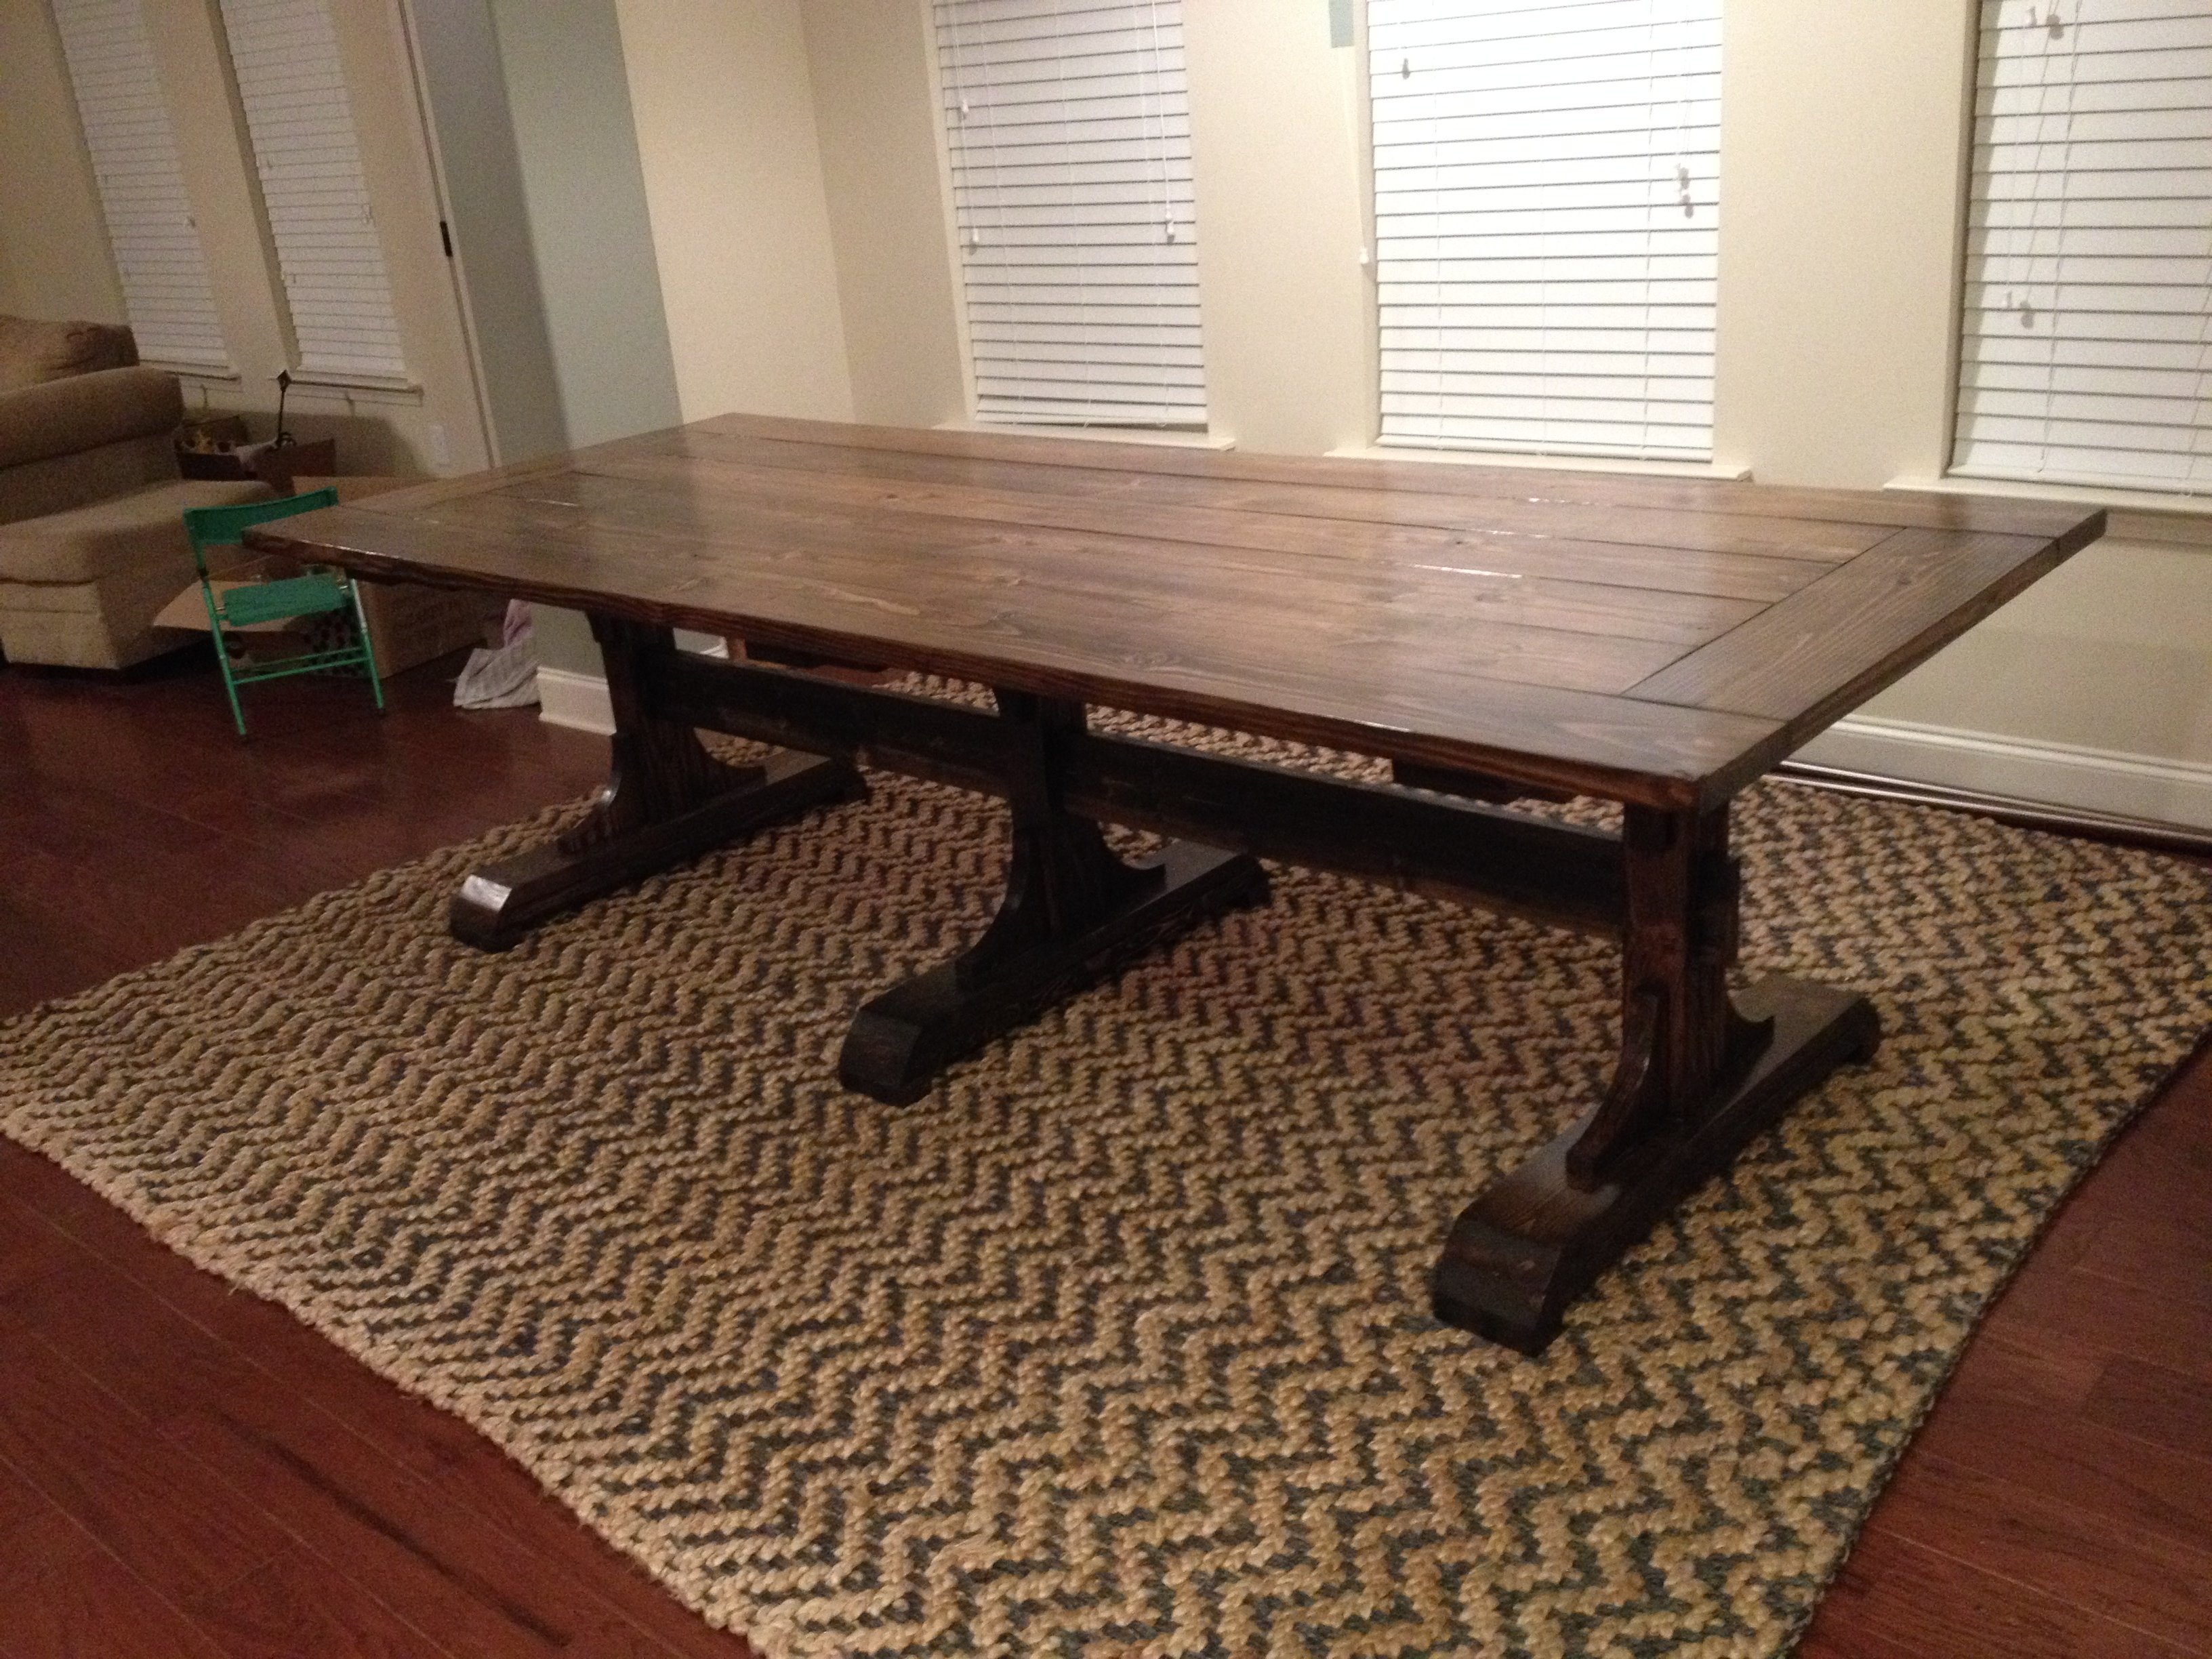
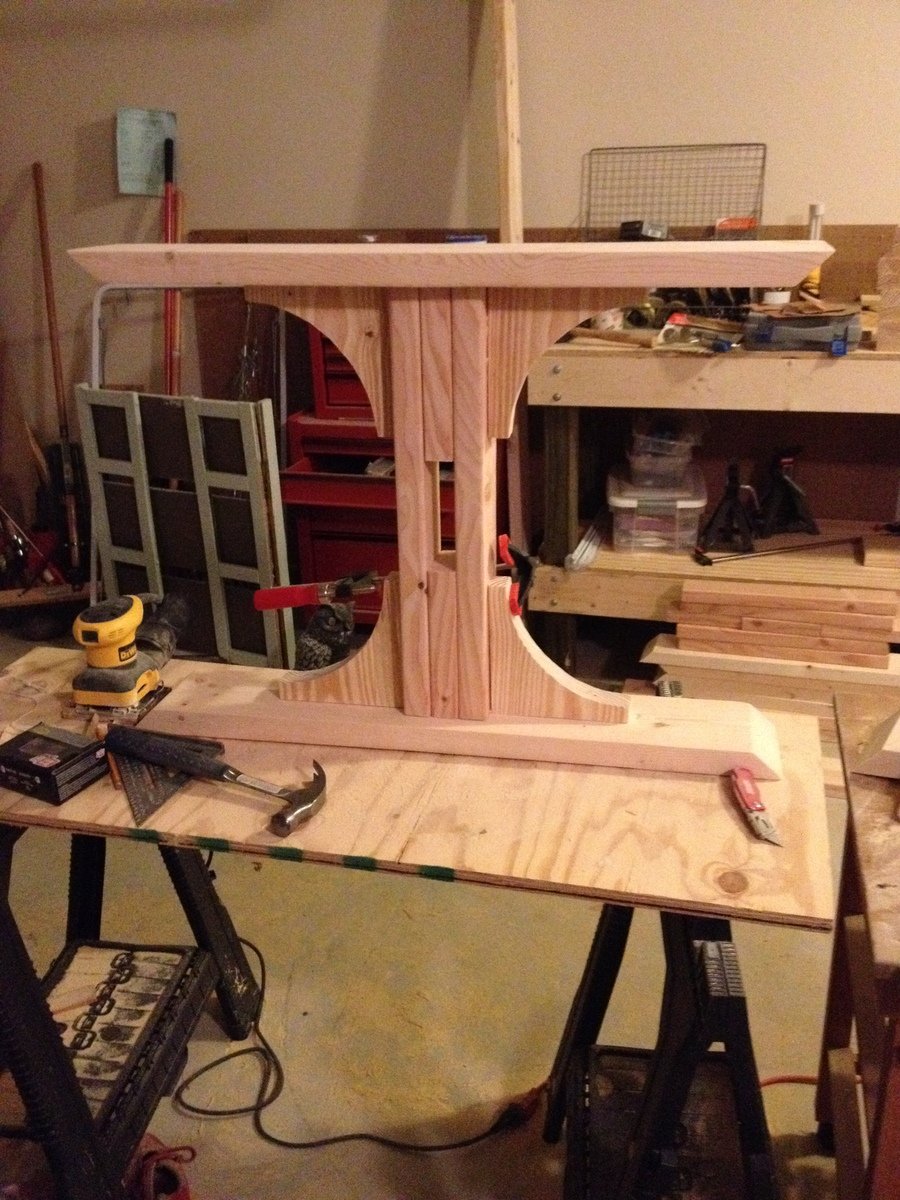
My wife and I built this table for our new home. It is a hybrid of the triple pedestal table and farmhouse table top. I modified the table top to give it a little more stability on the ends.


Top 22.5" x 24.5" Base 21"x21" Total height 24"
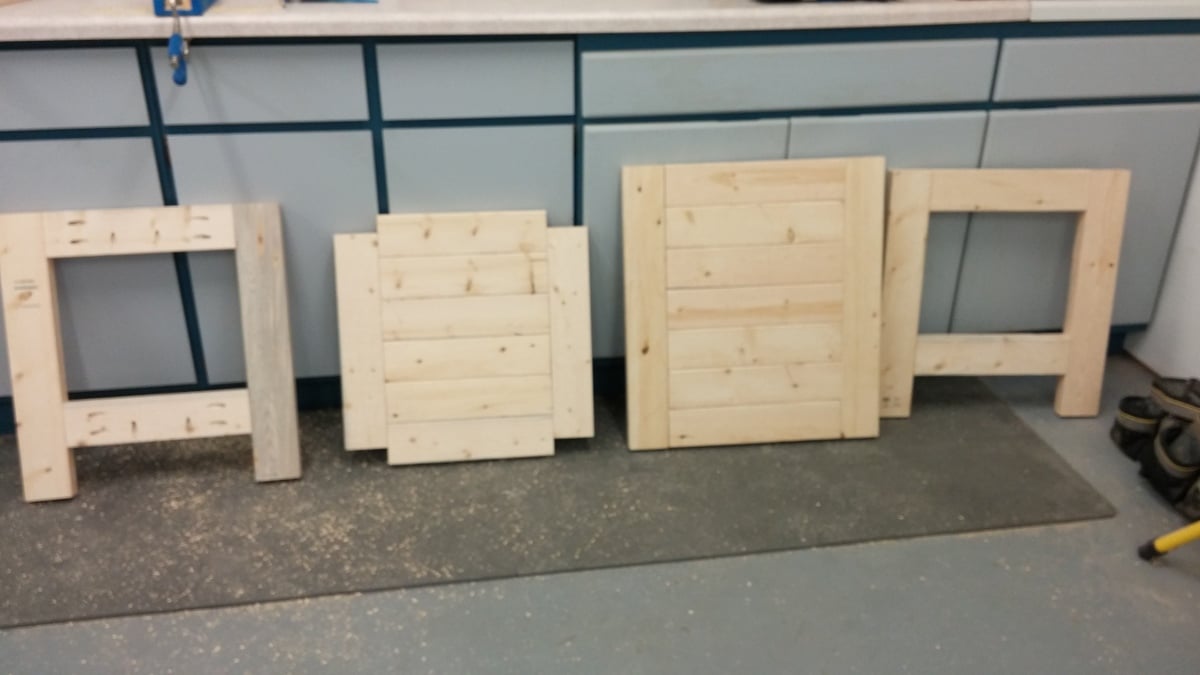
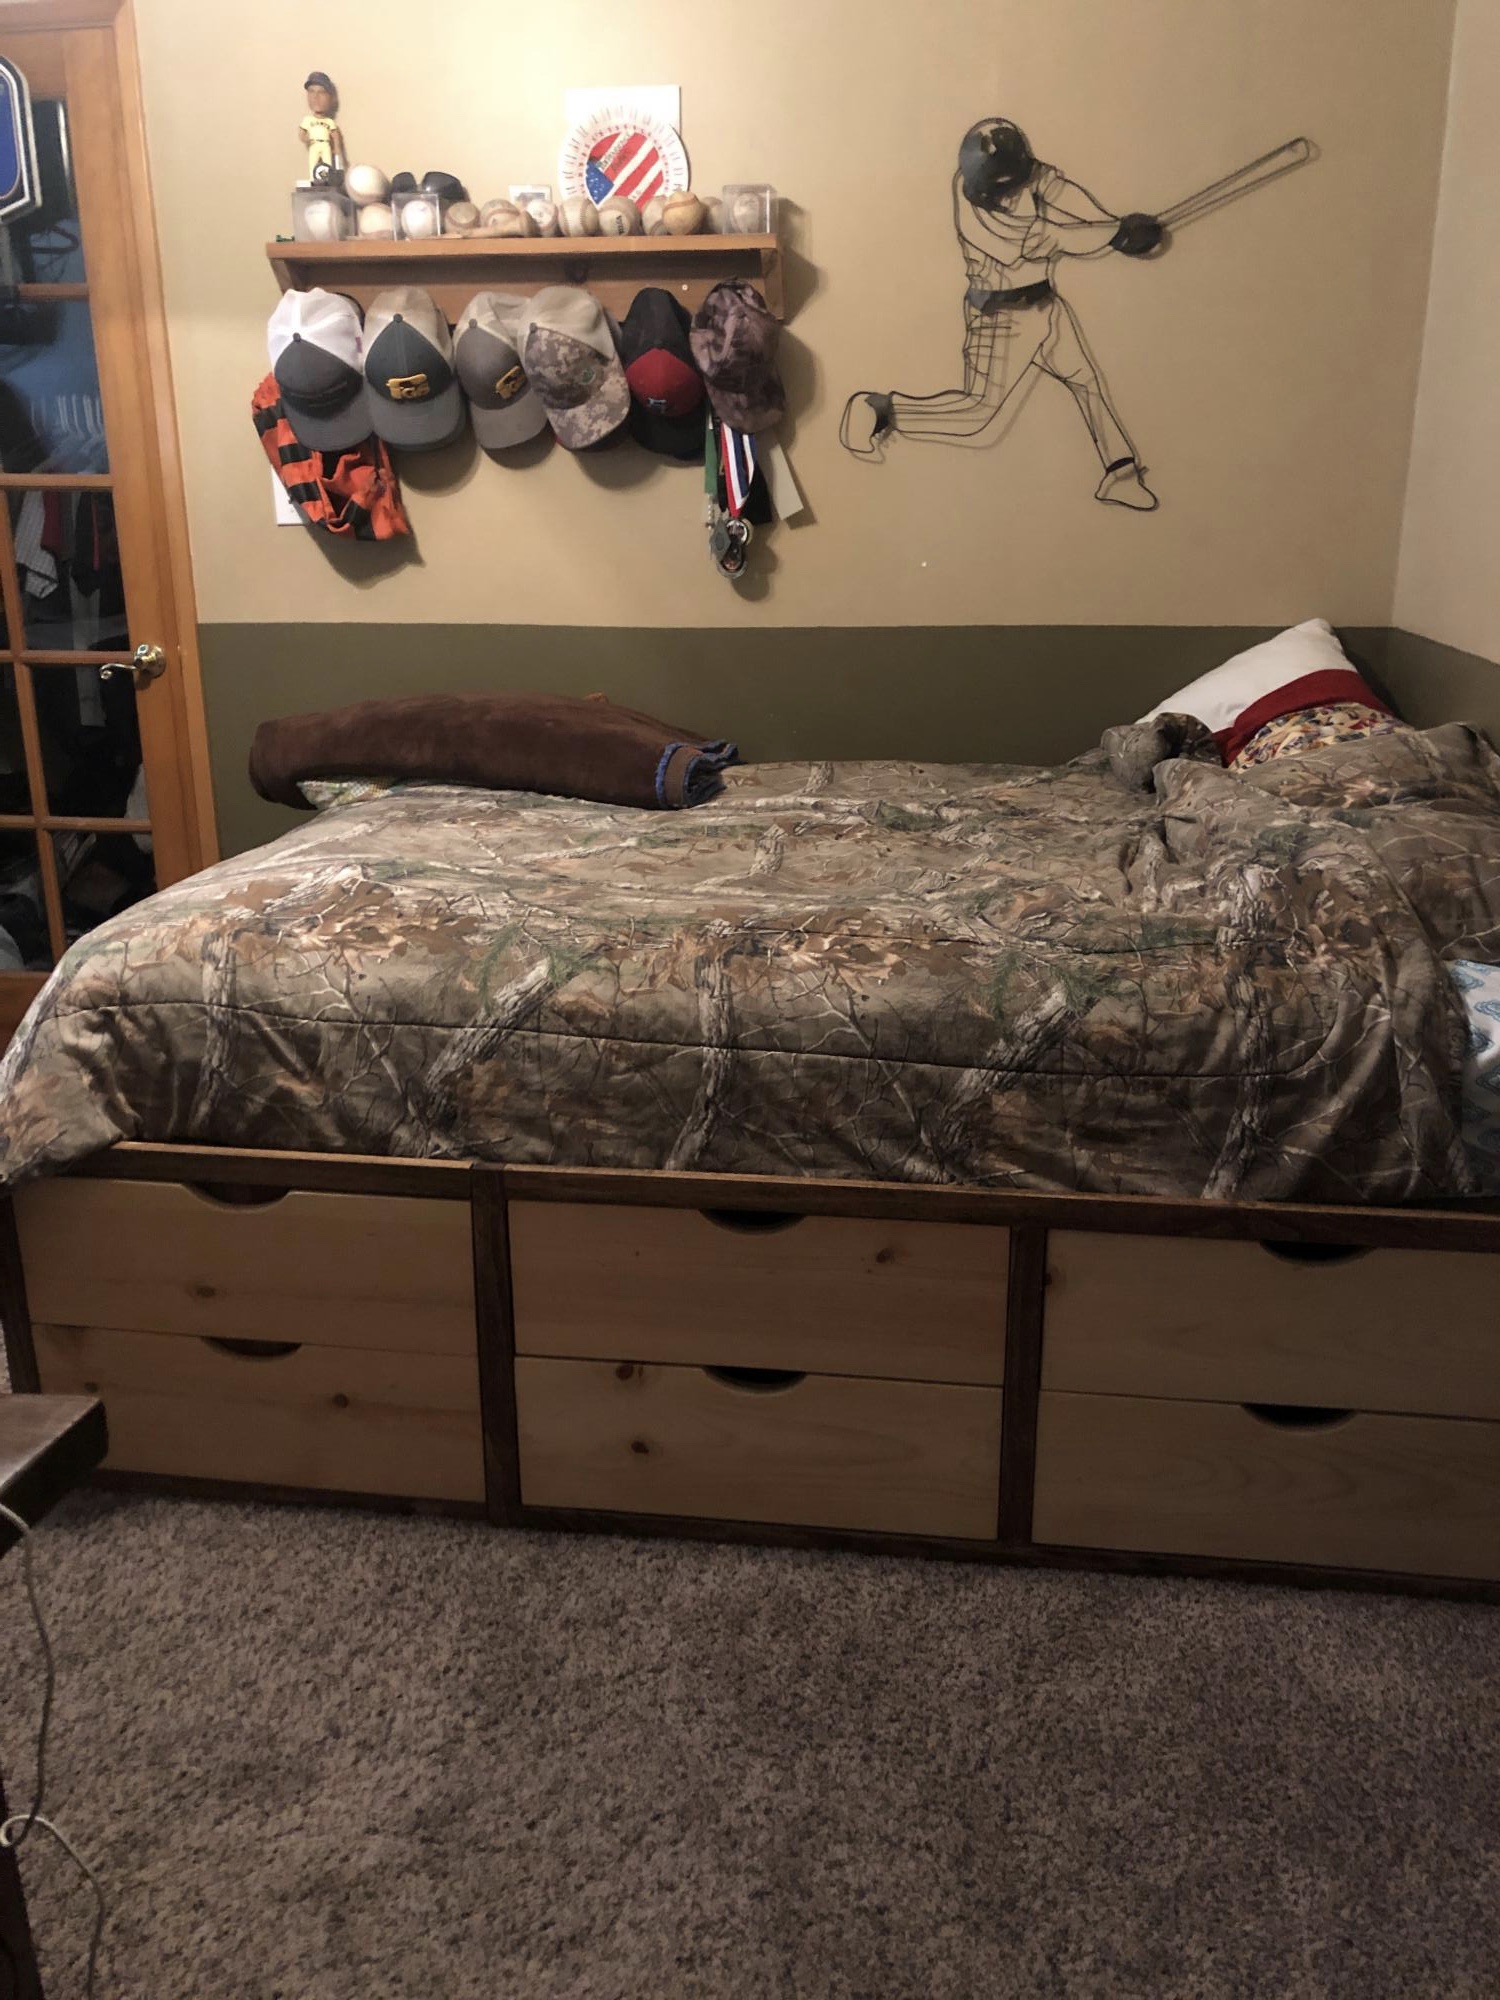
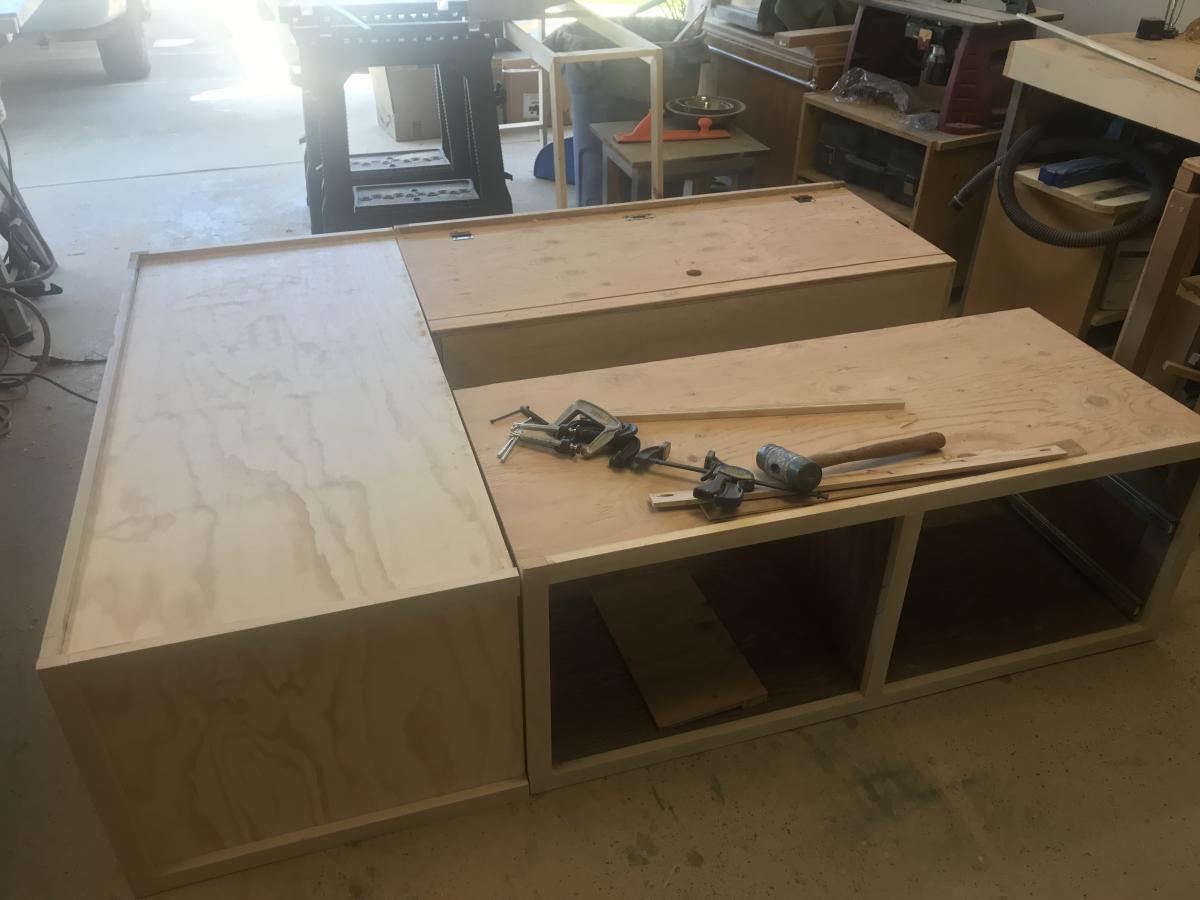
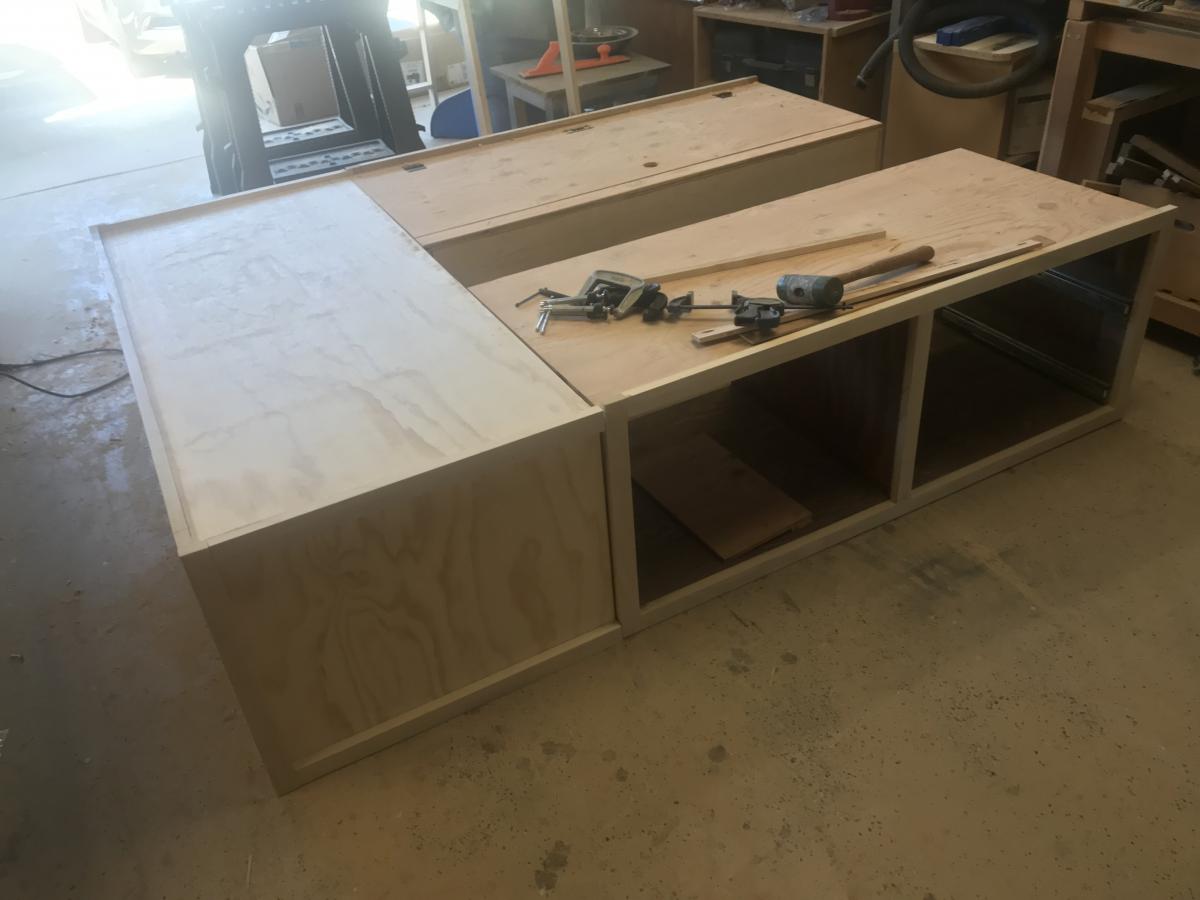
My grandson needed a bigger bed. His mom needed more storage. So, with a few tweaks, this storage bed was just what they needed. One side will always be against the wall so on that piece I added a hinged too so that seasonal items could be stored there-like gilly suits for hunting season. There’s also room between the two side pieces for more storage. They didn’t want it too tall, But still needed multiple drawers. There are four 8” drawers on the side, with two false fronts on the side of the end piece. The end piece had two large deep drawers that will be perfect for bulky items-lots of sweat shirts. So far so good-they both love it.
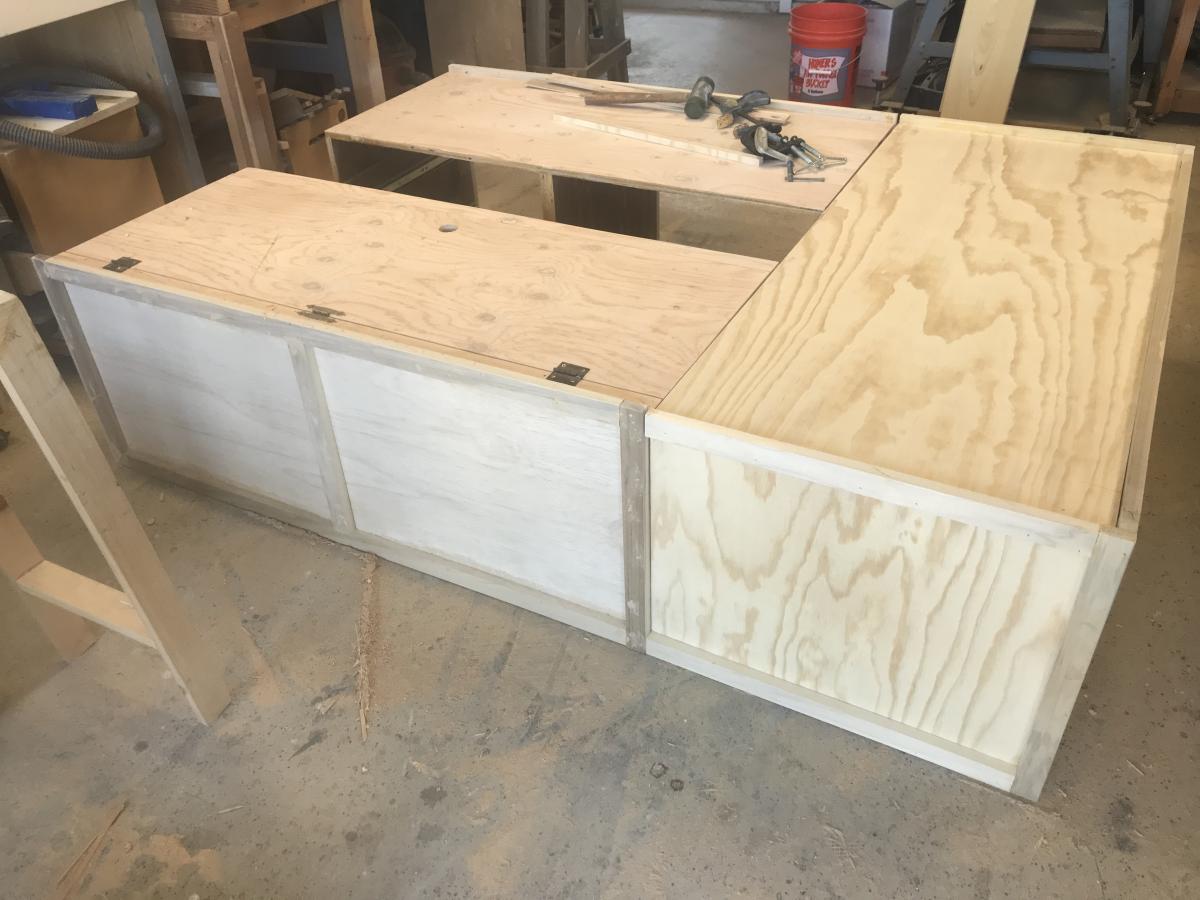
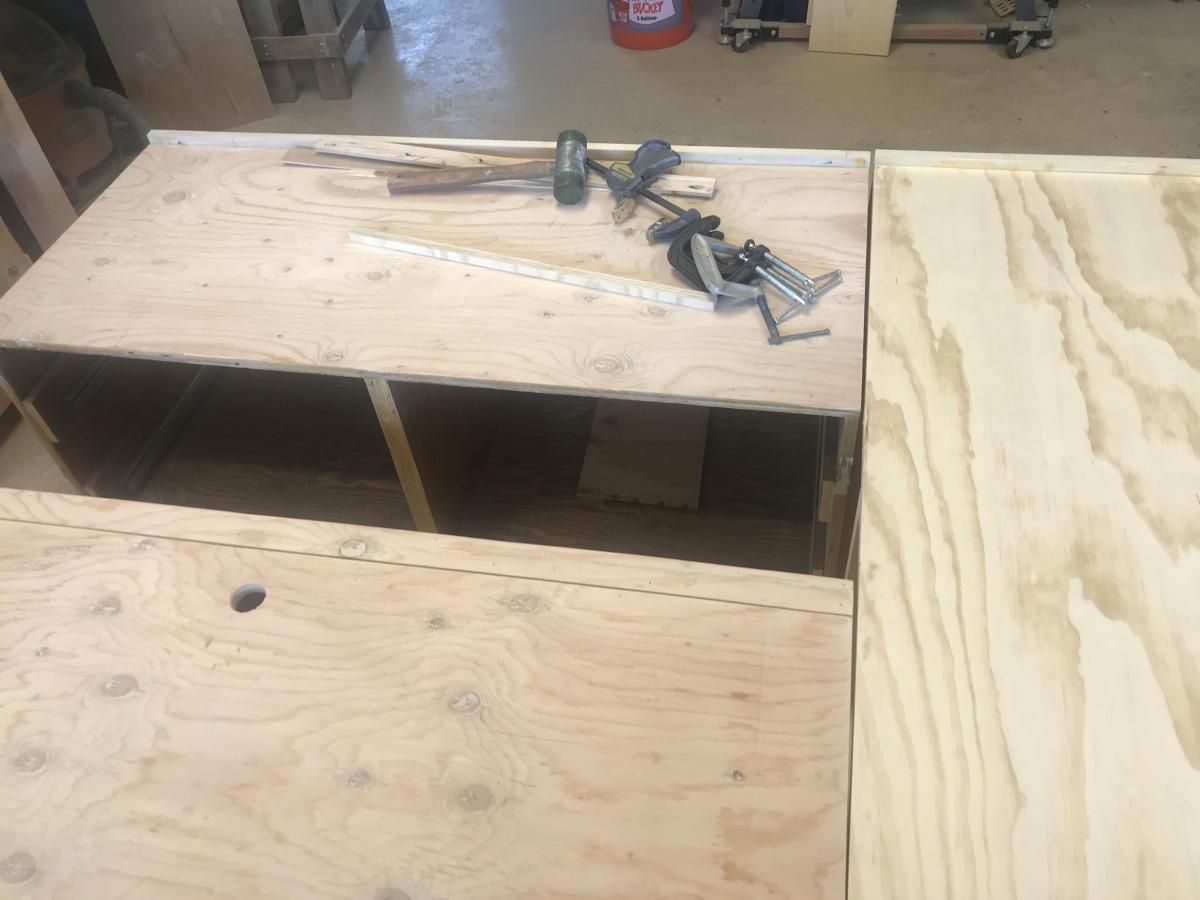
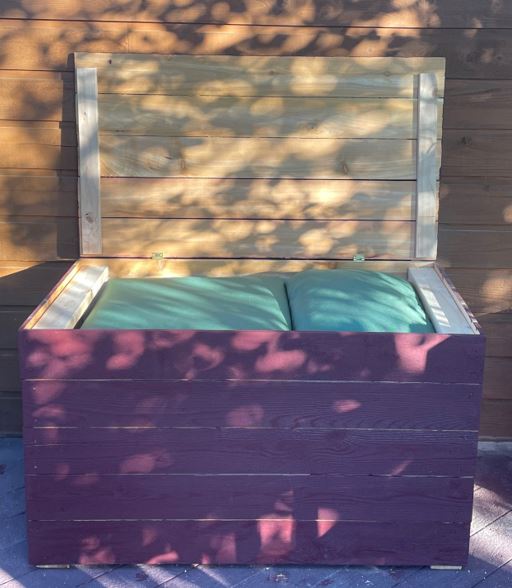
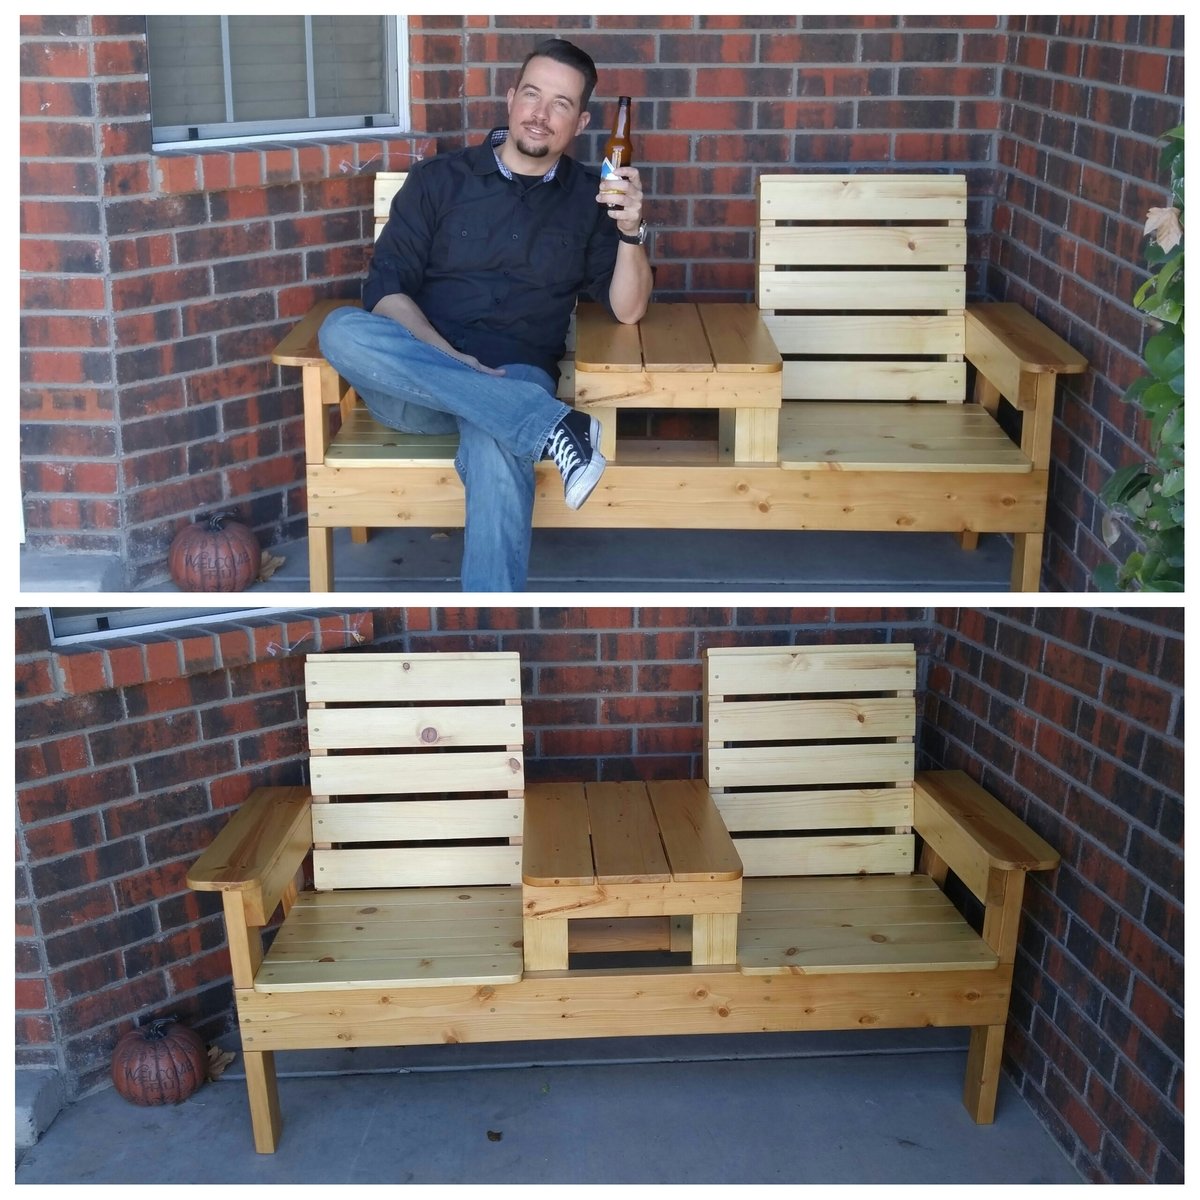
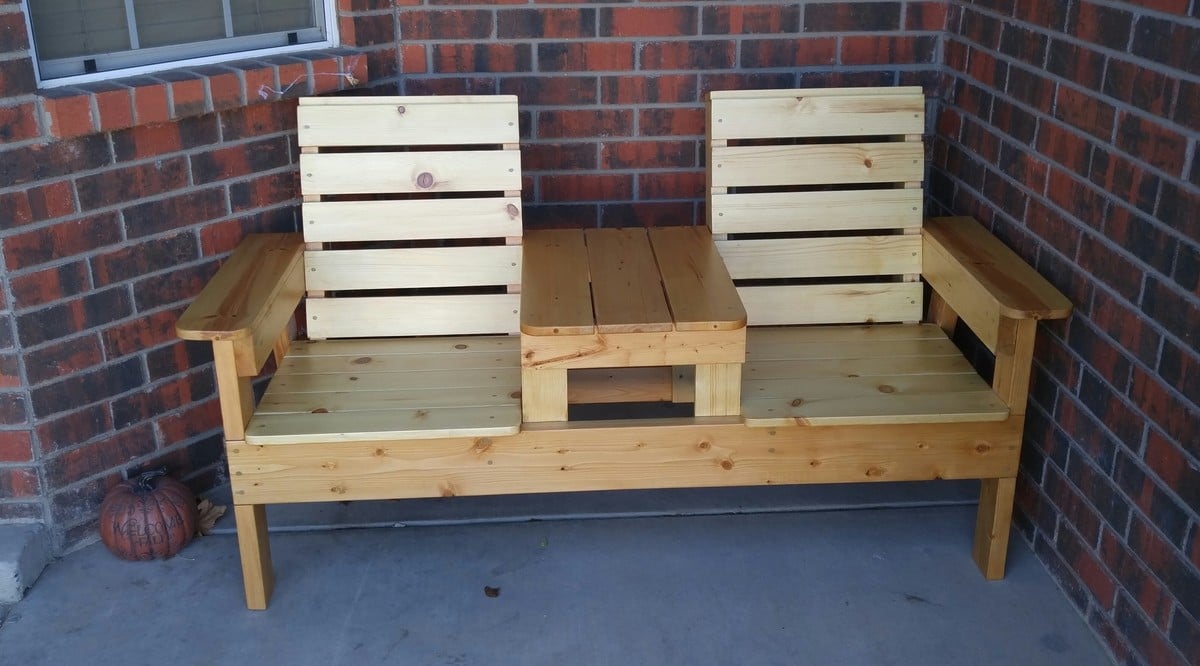
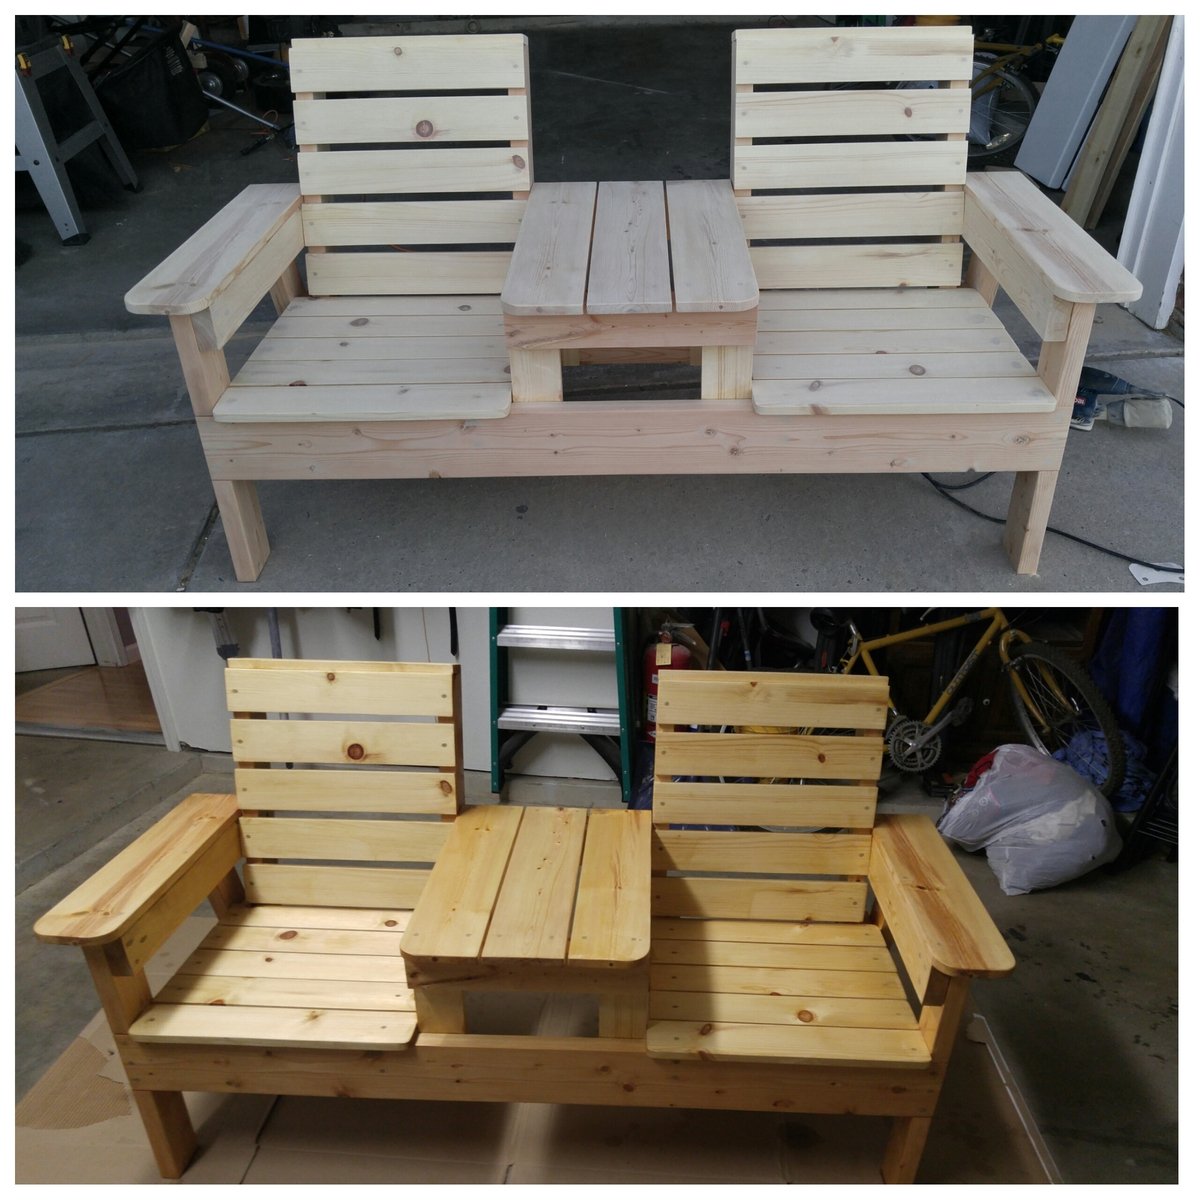
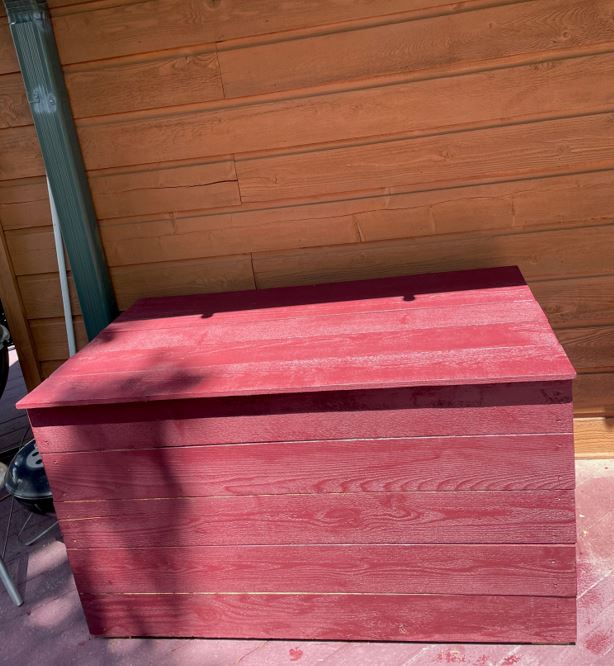
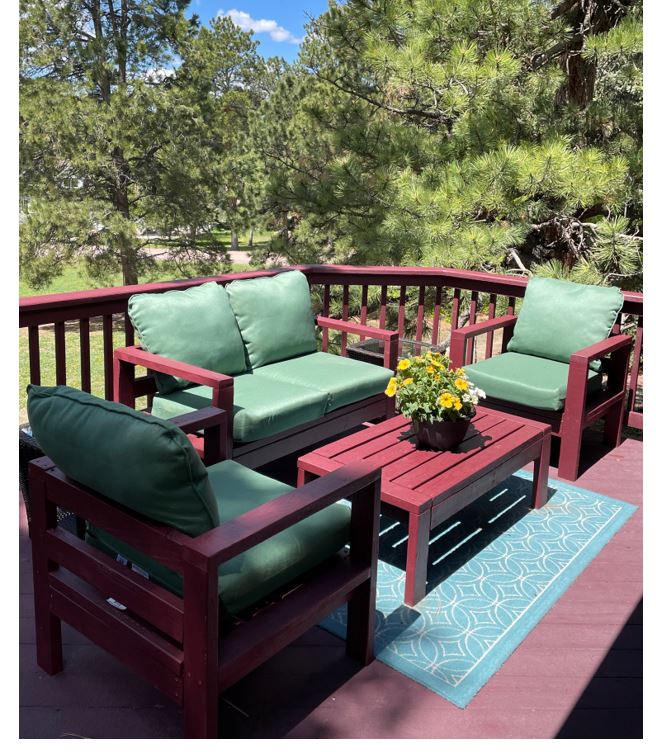
I had built two outdoor chairs with love seat (modified from the sofa plans) with 2x4s. The cushion seats were 24" x 24". Where to store them? I modified the Modern Cedar Outdoor Storage Bench plans to make the box wider, higher, longer to accommodate the cushions. With five boards comprising the top, it's a bit wider than the box so I didn't need to carve in an opening.
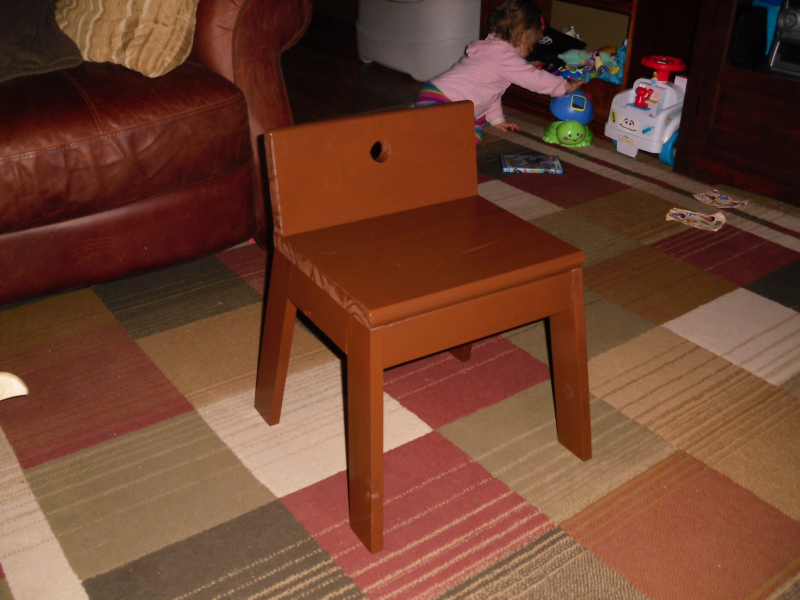
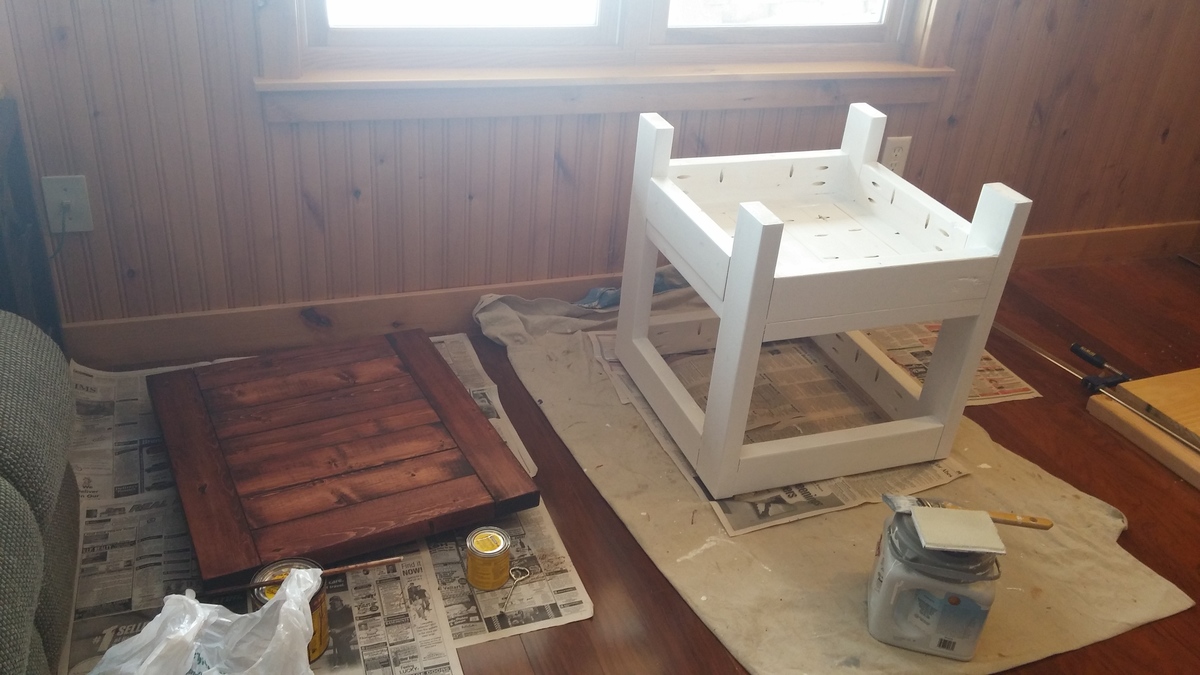
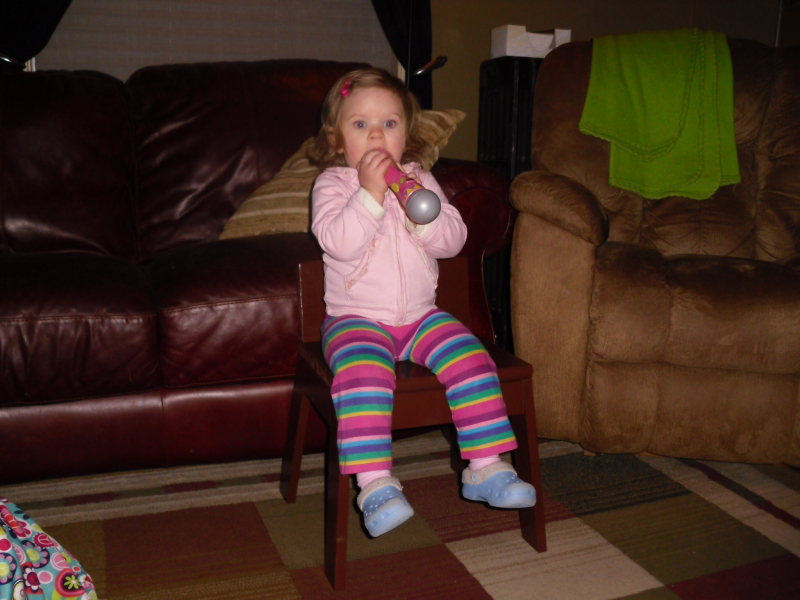
Second plan I decided to build from this site, my daughter loves it. She's 19 months old now, but should grow into it fairly soon, she can still climb into it though. Slapped it together in less than an hour. Small modifications from the original plan. I used a 1 x 12 tread (leftover from a previous project) for the seat and back. Painted and sealed it, and let dry over night. Thanks again Ana!
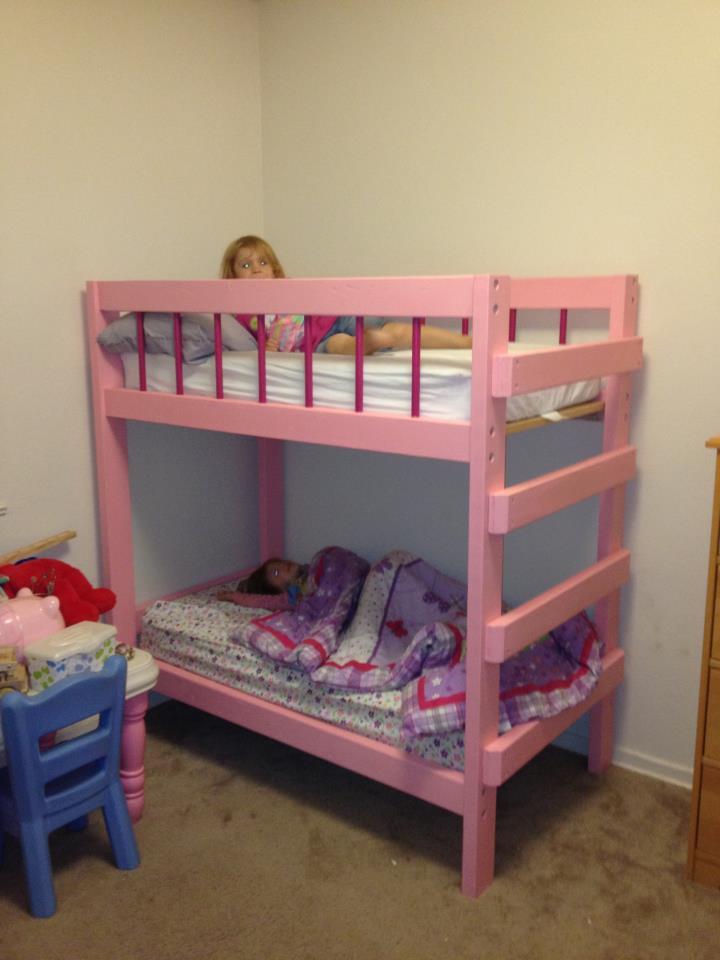
This project cost around $75 dollars for all the materials and paint. It took about 10 hours to complete. It is costructed of pine 2x4 with the exception of the slats which are 1x3.