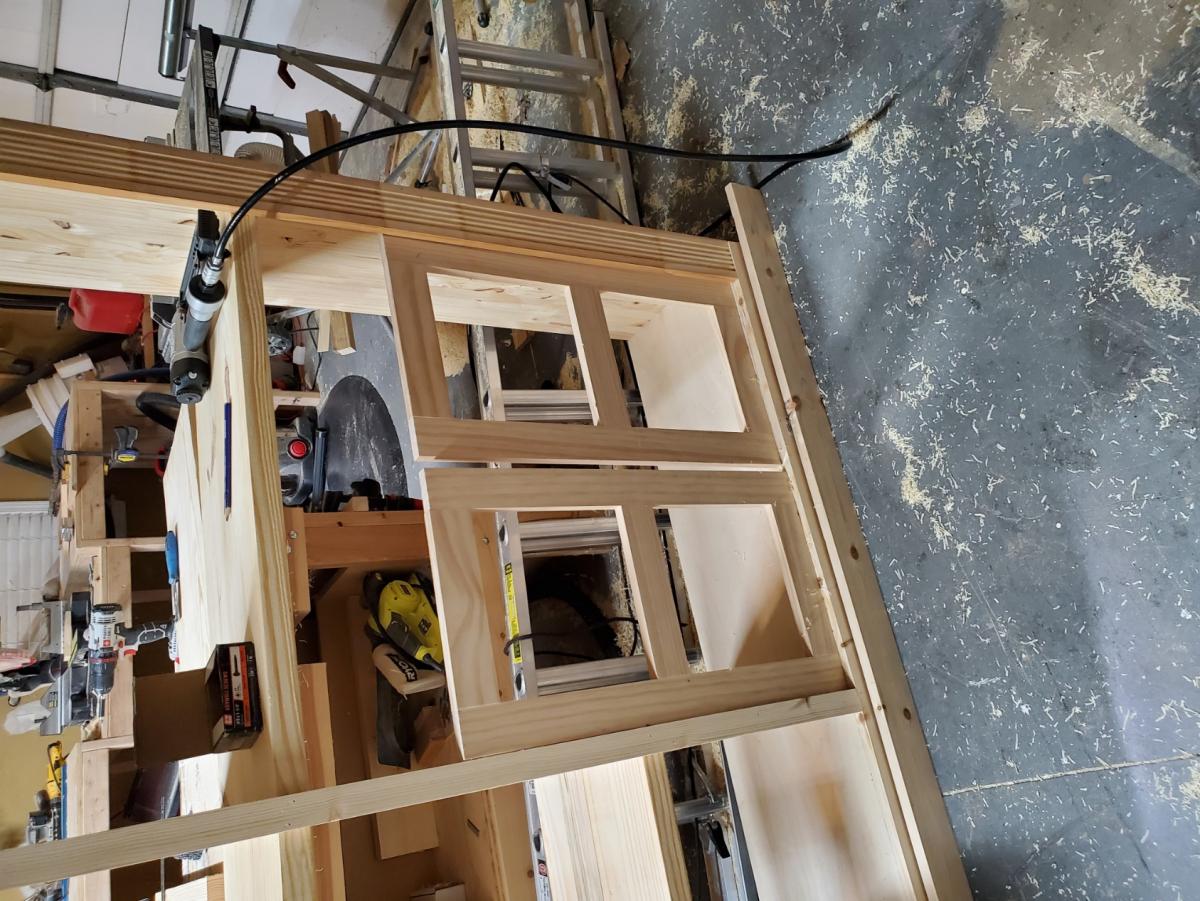
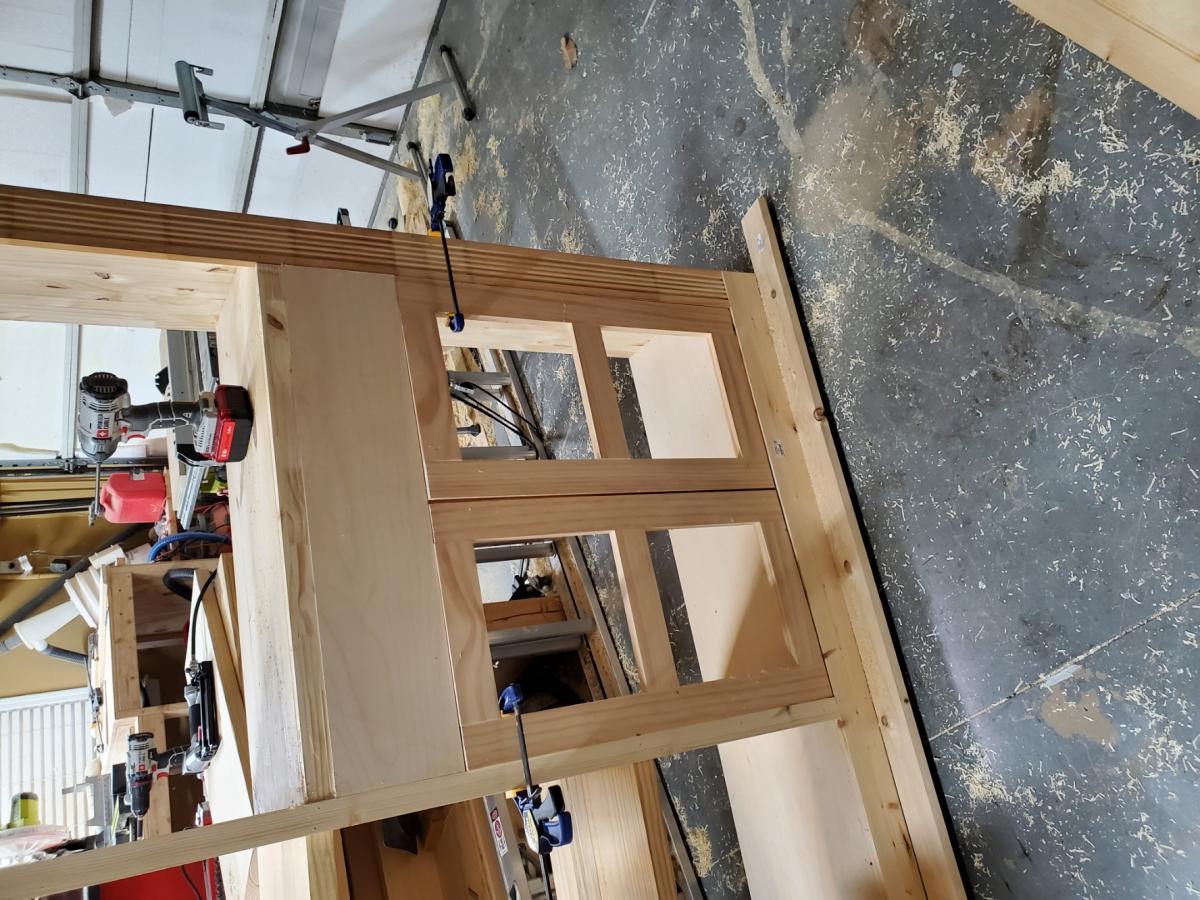
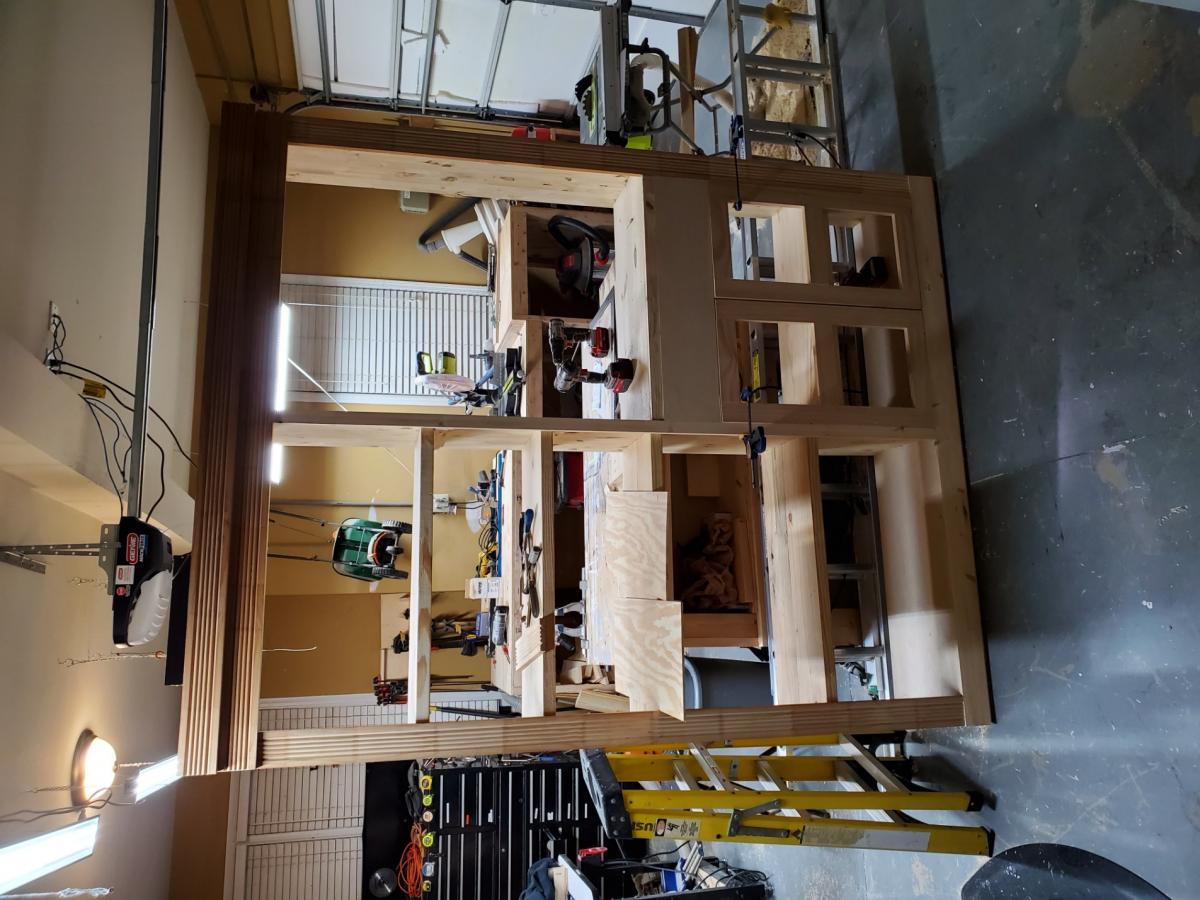
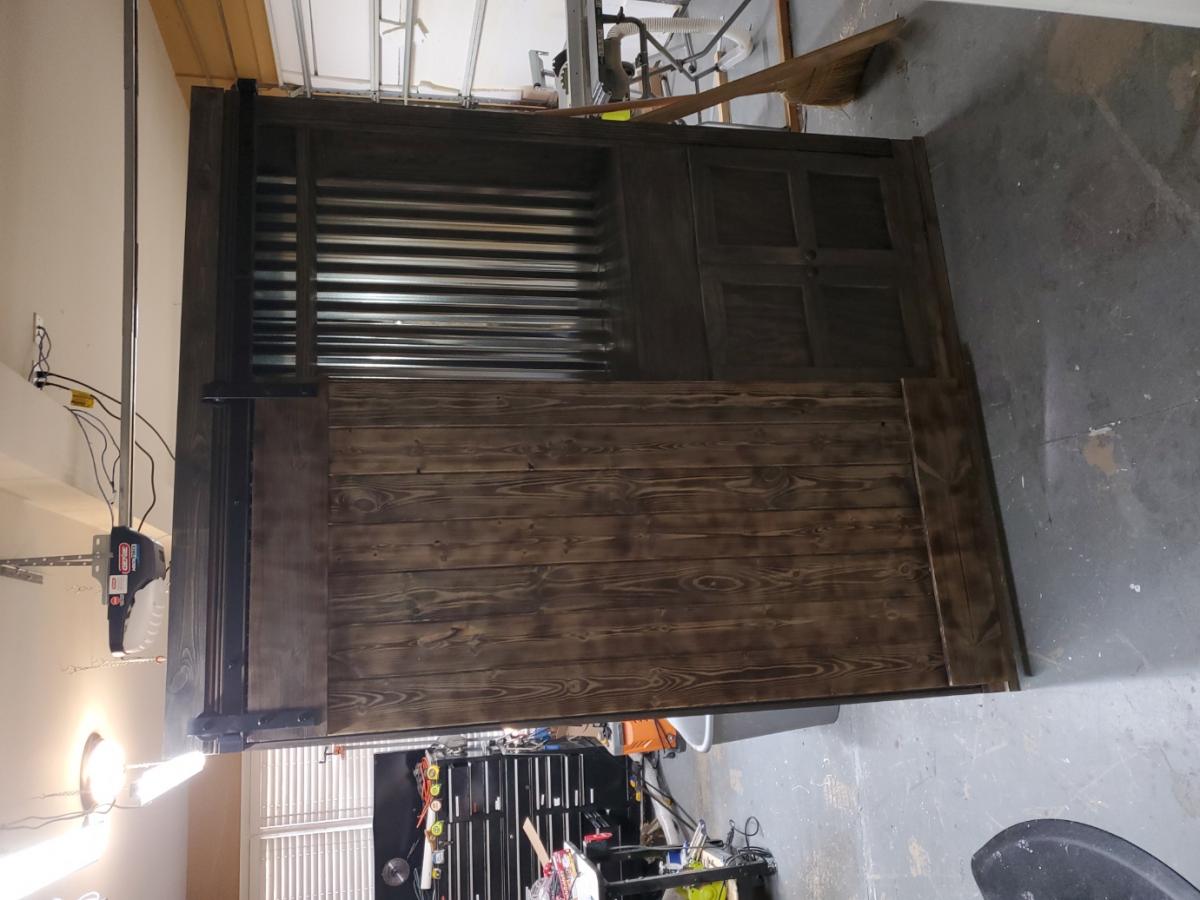
My First Bed
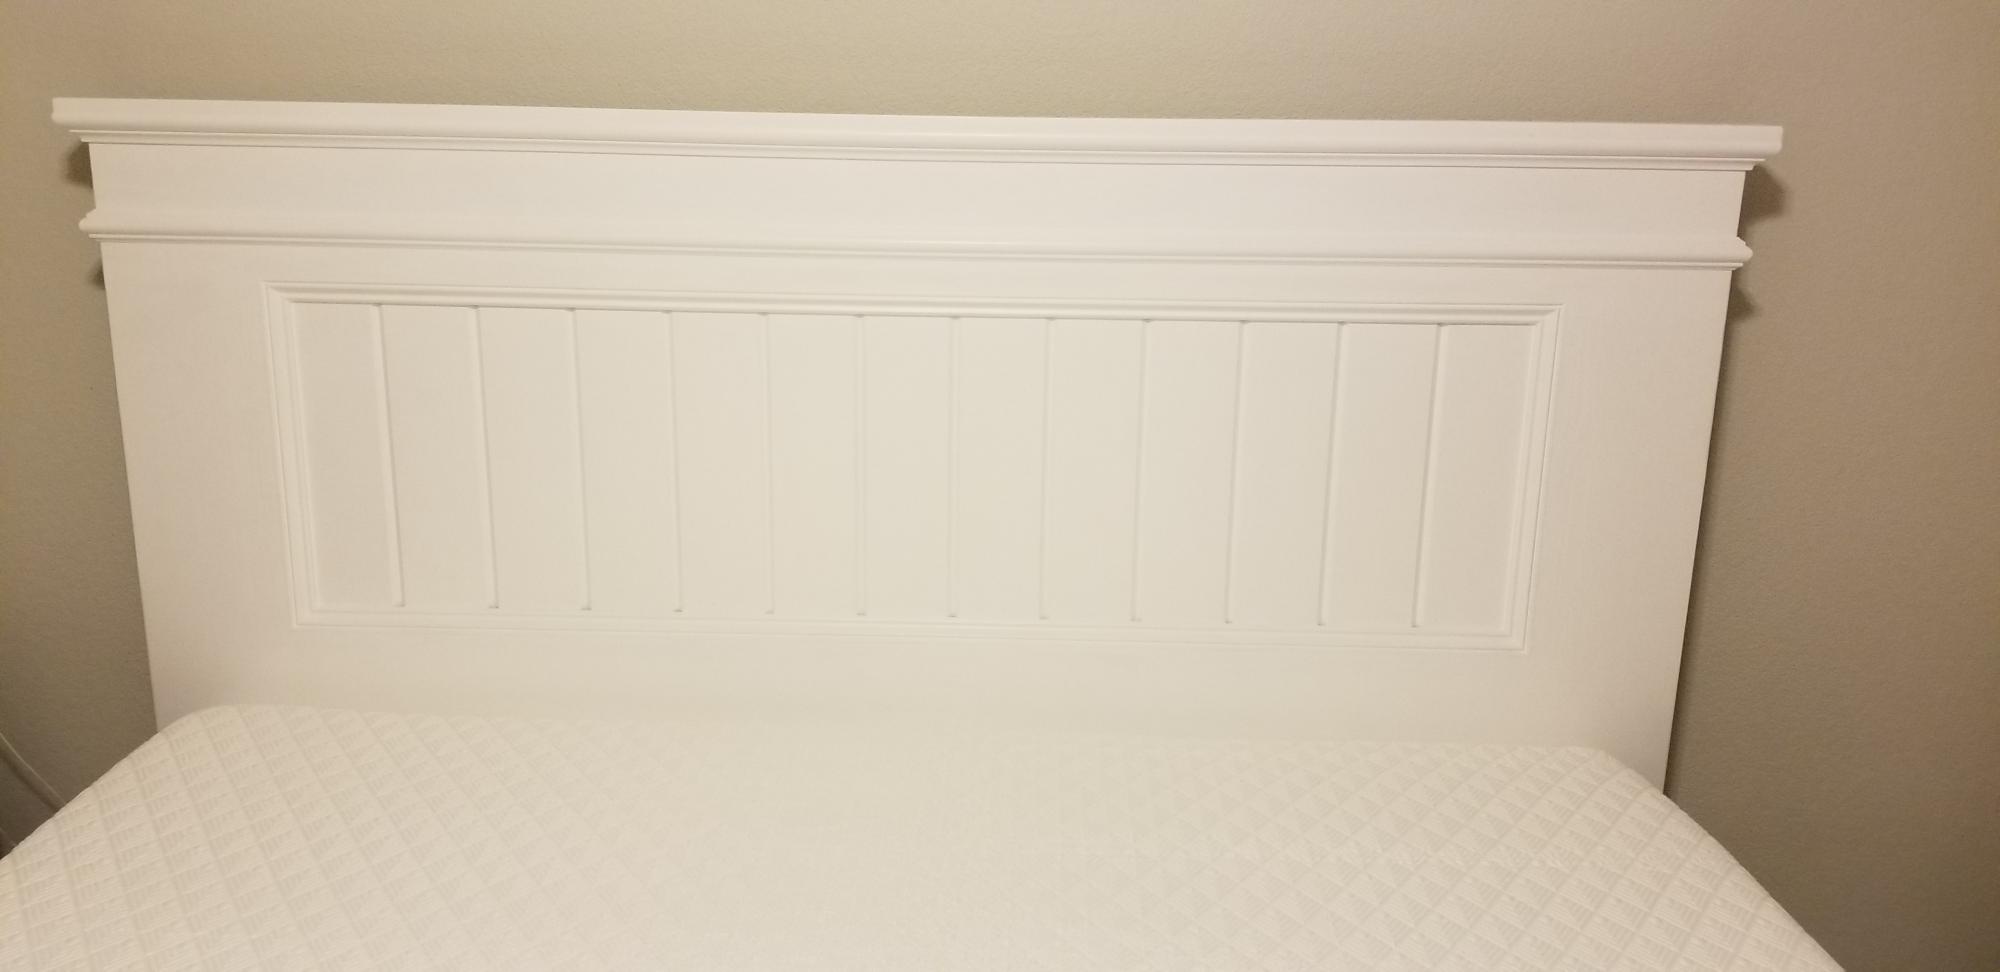
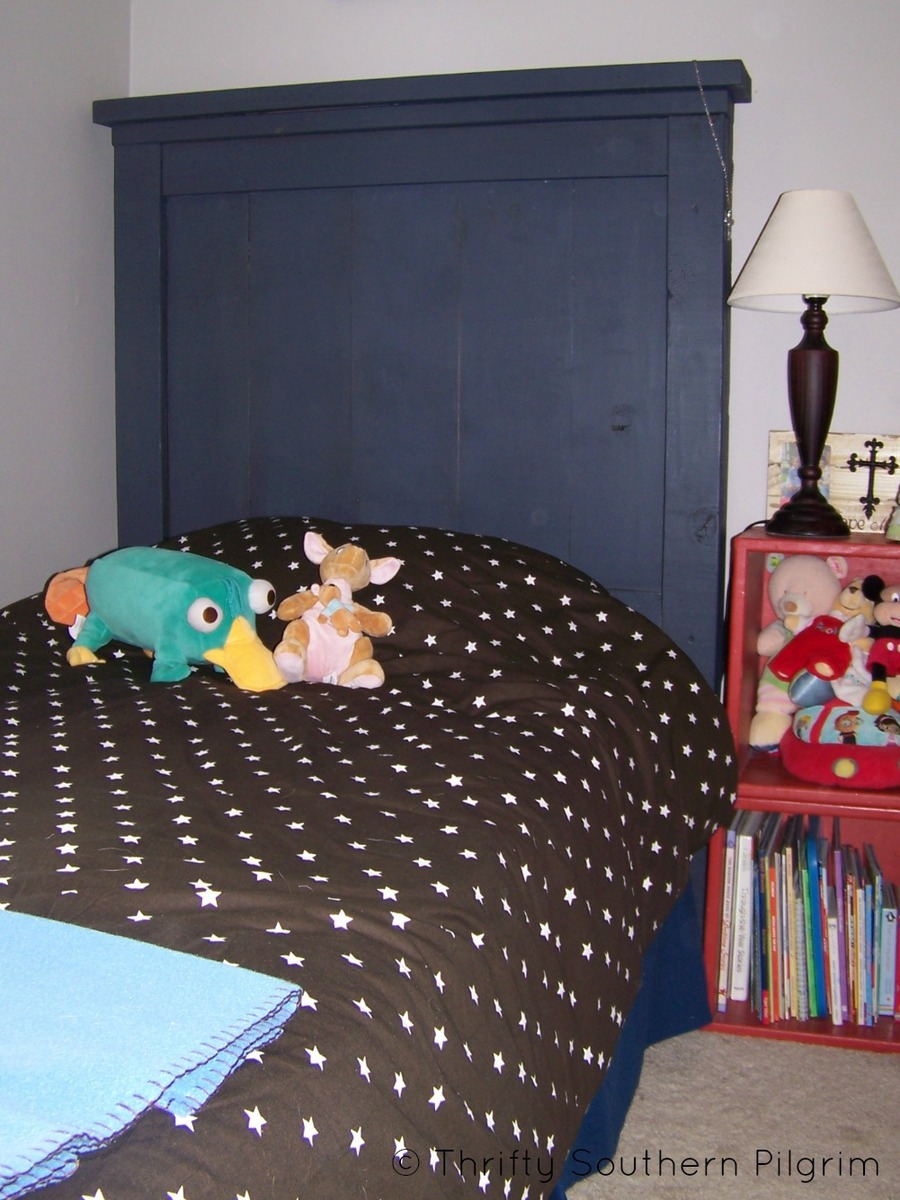
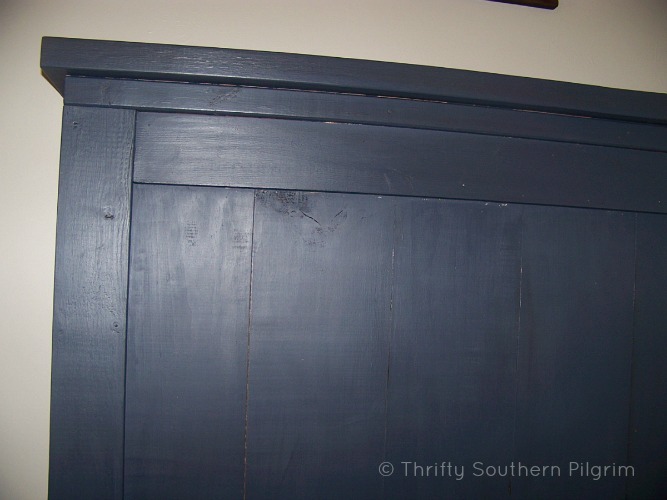
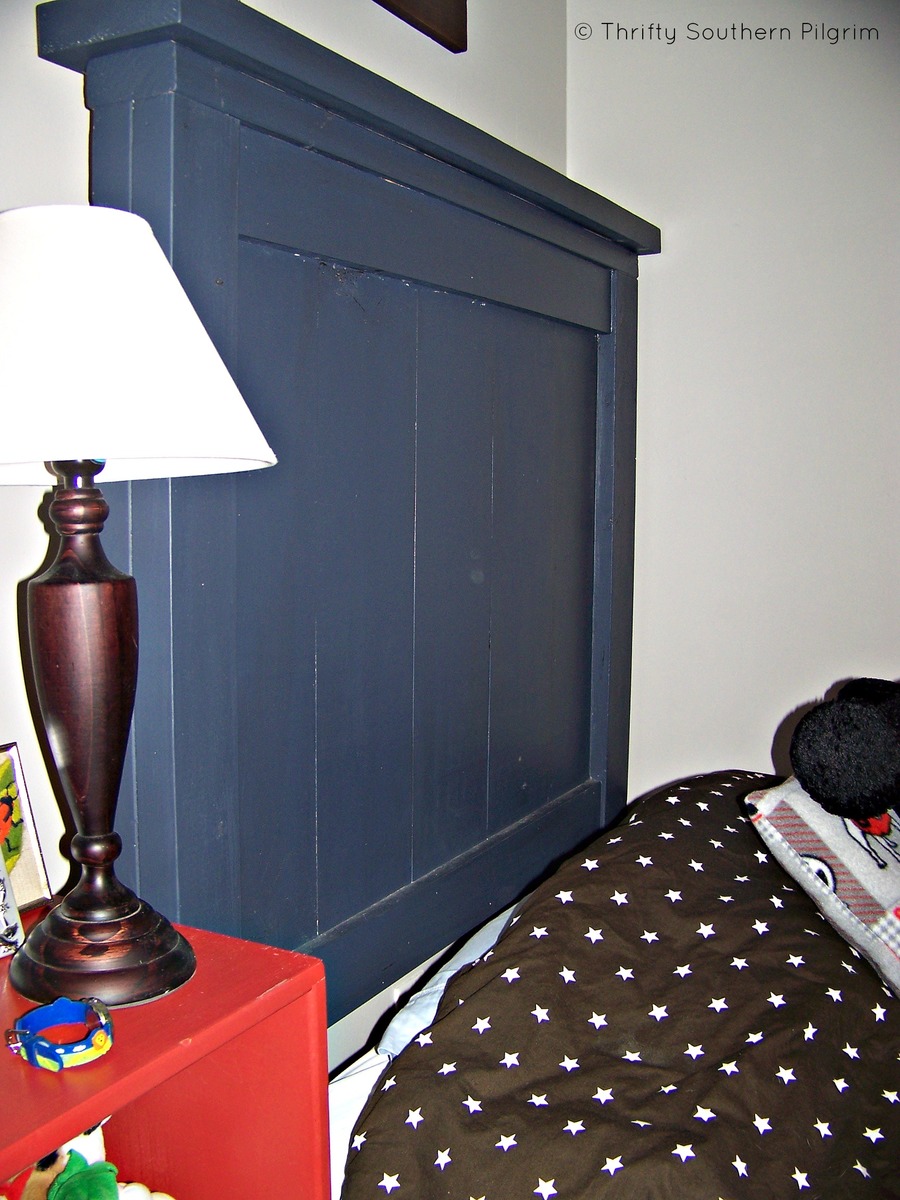
This was my first bed since we can not find any in stock due to the pandemic. I switched up the headboard legs to 2x6s for a slightly wider base. This helped with the mattress in a box we ordered. I built a simple frame using 2x8s, all basic lumber from the big box store, and used 2x6s for the footboard legs. I built the bed frame just about two inches shorter in width to give it some variation in sight lines. I finished it with basic white enamel paint and put 1x4 slats under the mattress. My wife loved it and it turned out well.
Built from Plan(s)
Estimated Cost
$380
Estimated Time Investment
Weekend Project (10-20 Hours)
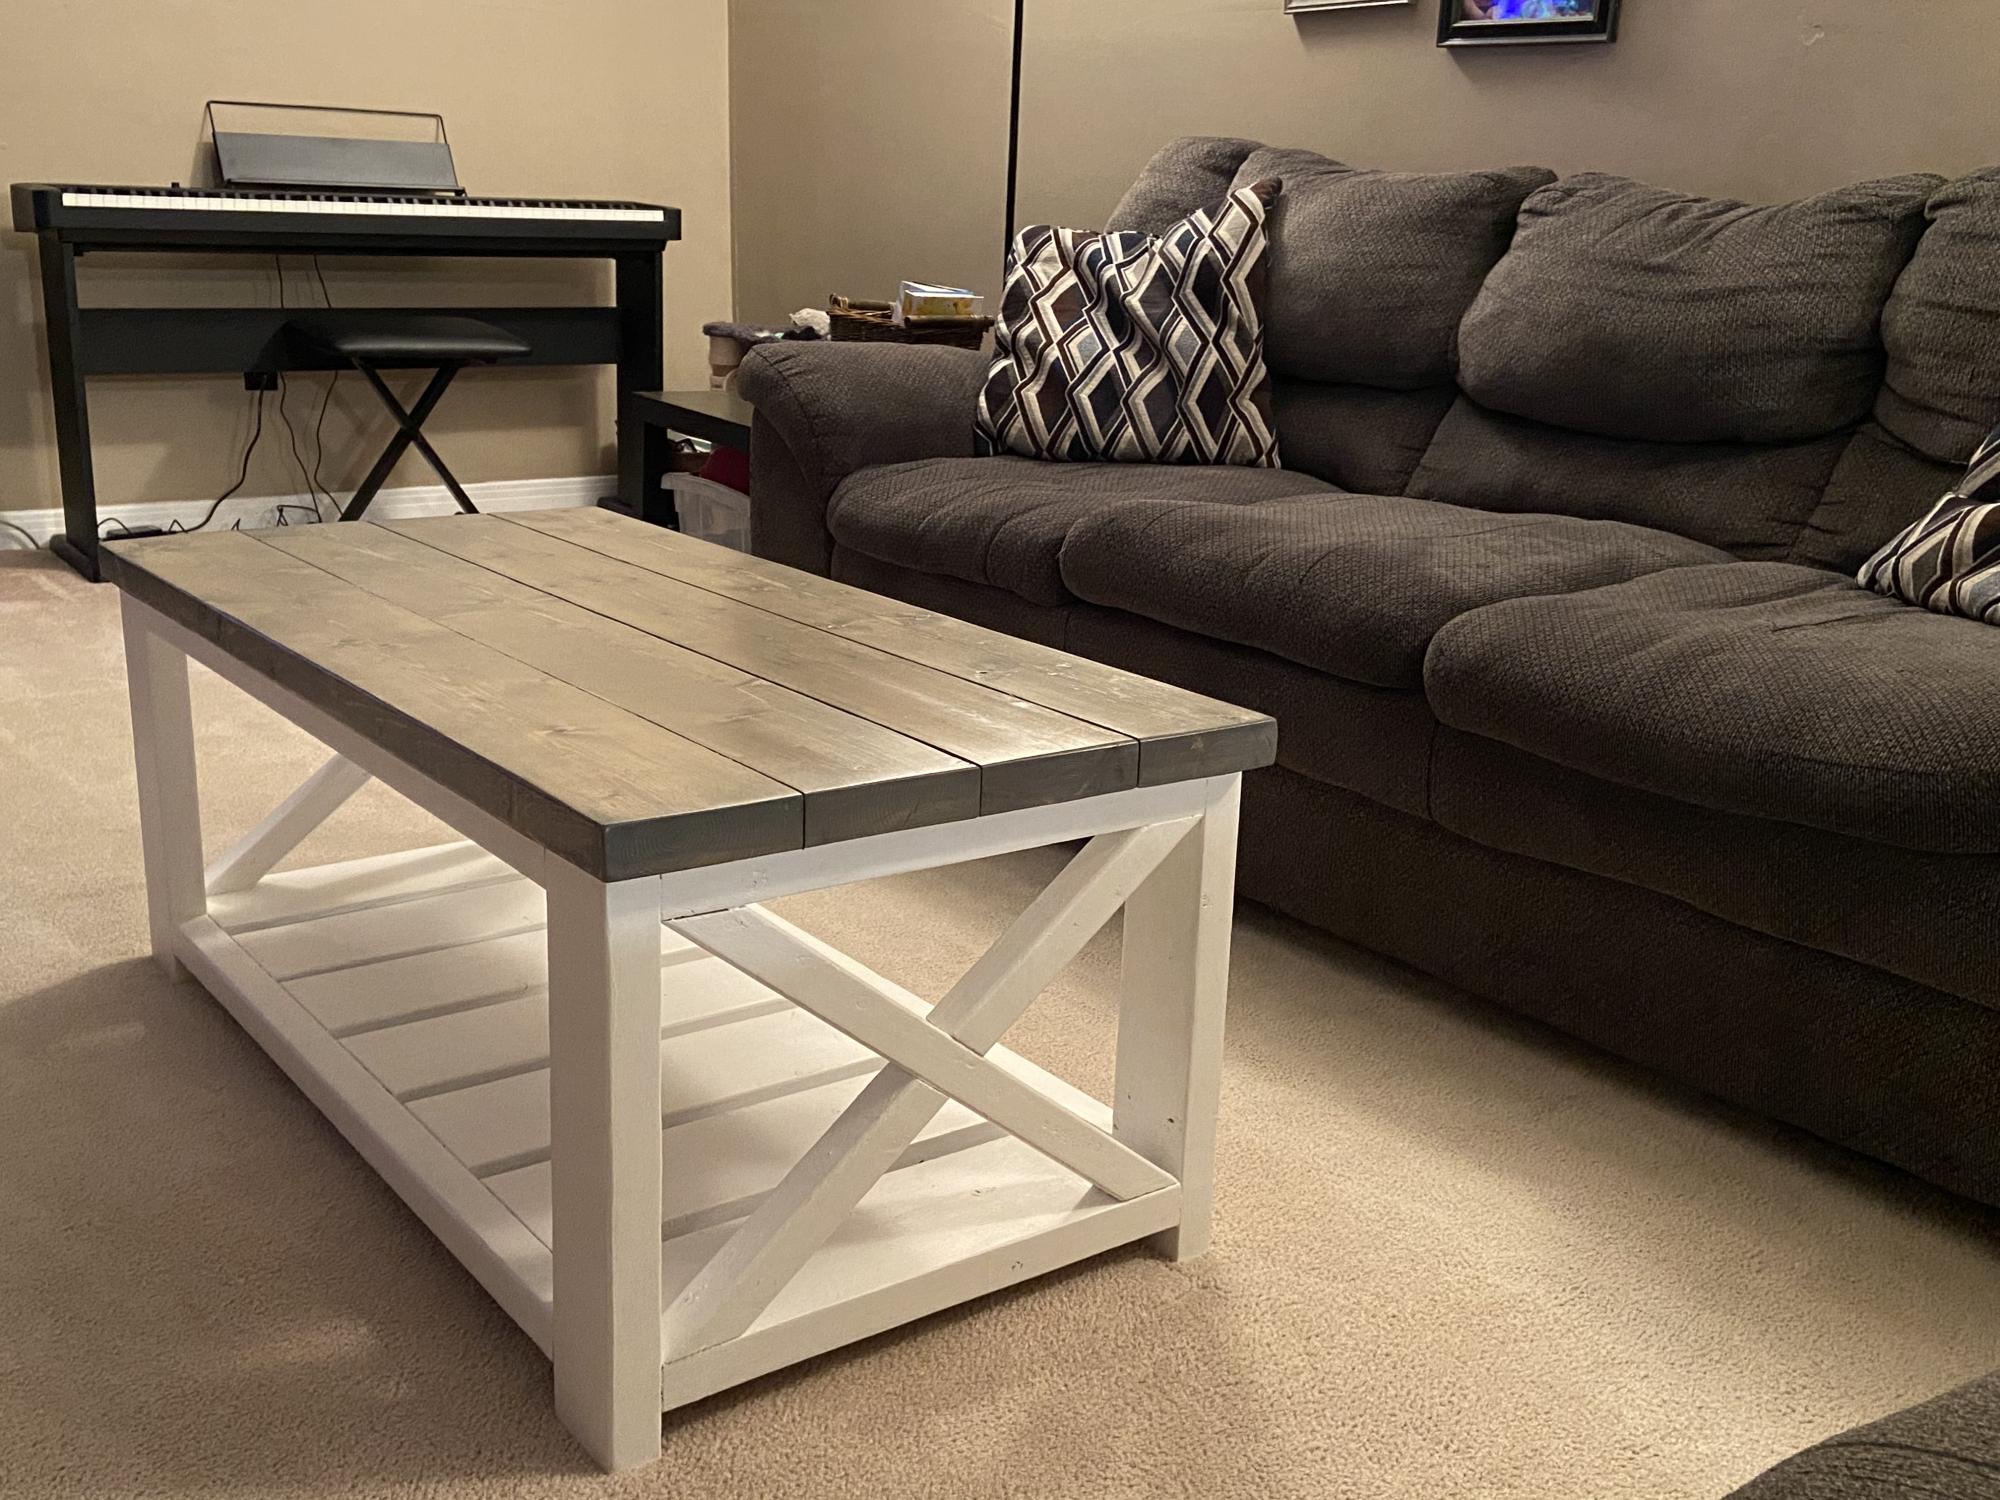
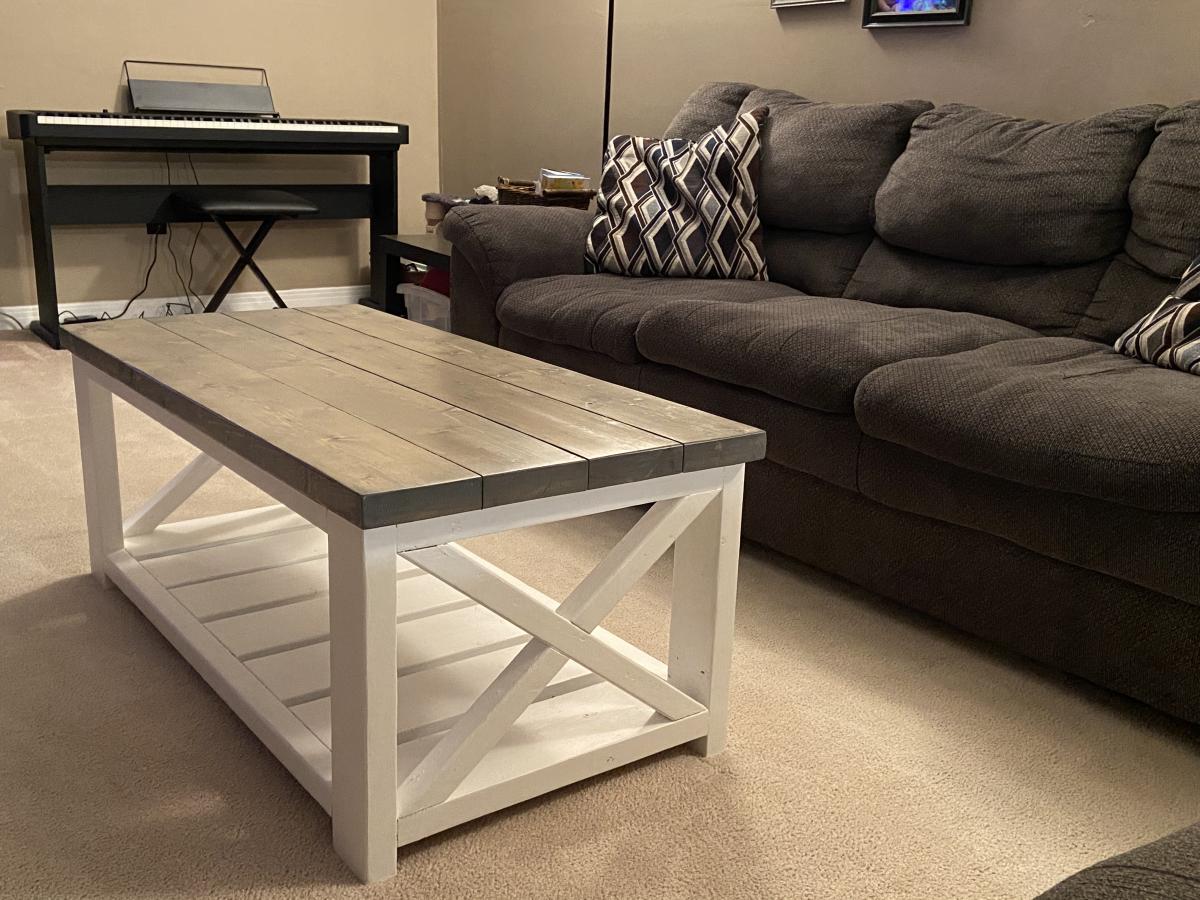
Finish Used
White Paint
Recommended Skill Level
Intermediate