My city farm
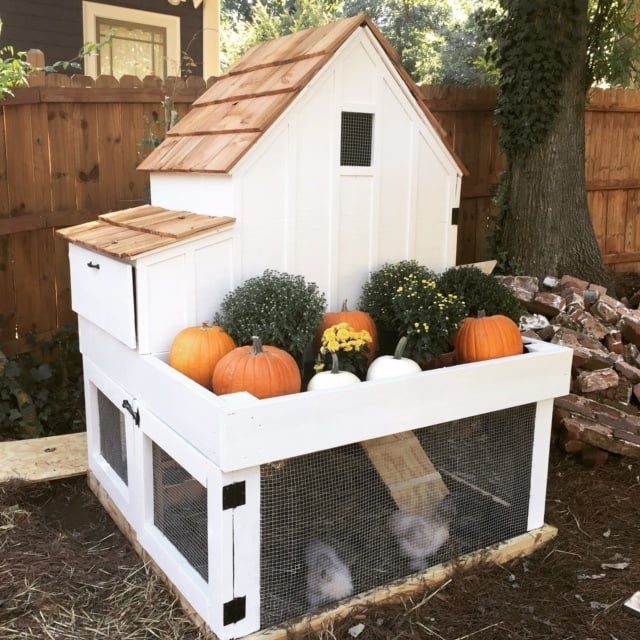
My friend and I bought all of the materials for about $350. We started Friday afternoon and he worked most of Saturday on it. The plans were super helpful! My four little silkies are enjoying their new home.

My friend and I bought all of the materials for about $350. We started Friday afternoon and he worked most of Saturday on it. The plans were super helpful! My four little silkies are enjoying their new home.
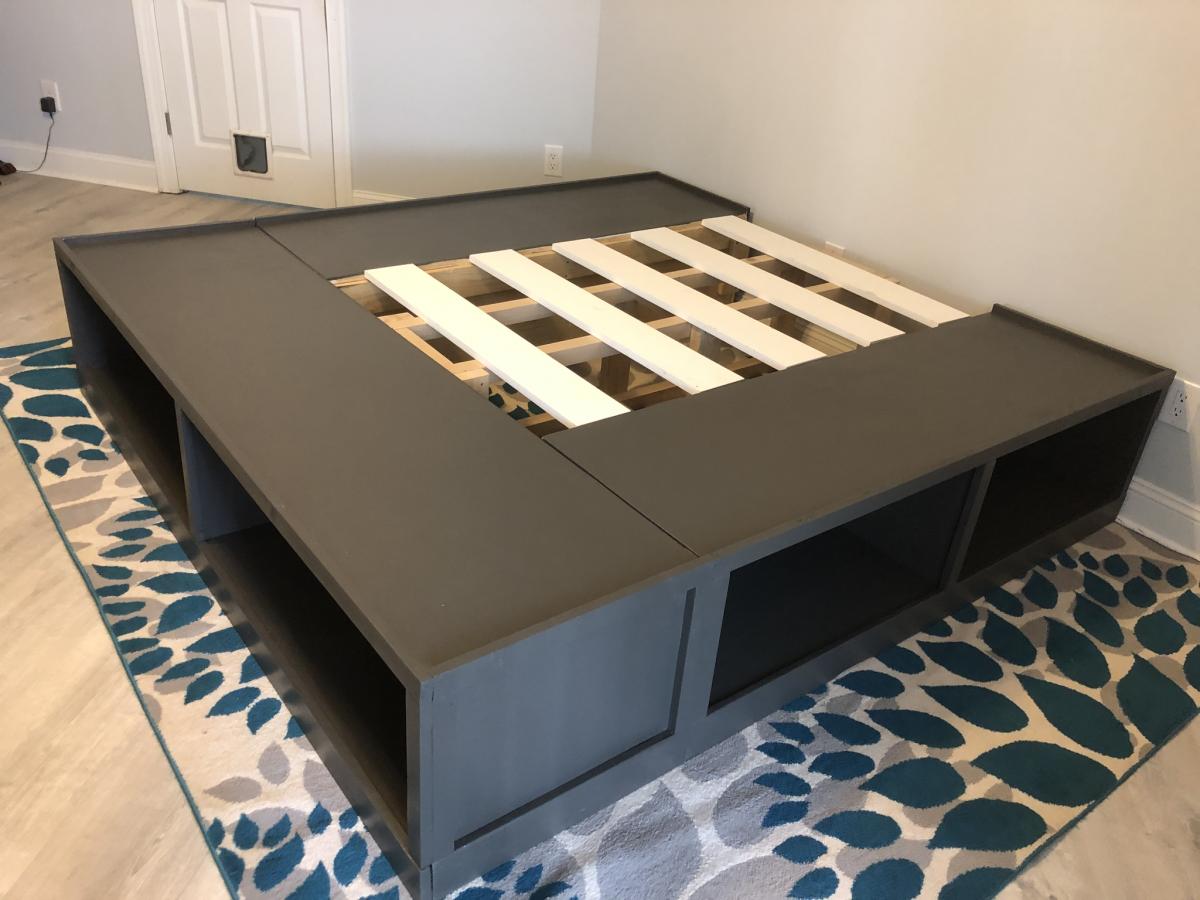
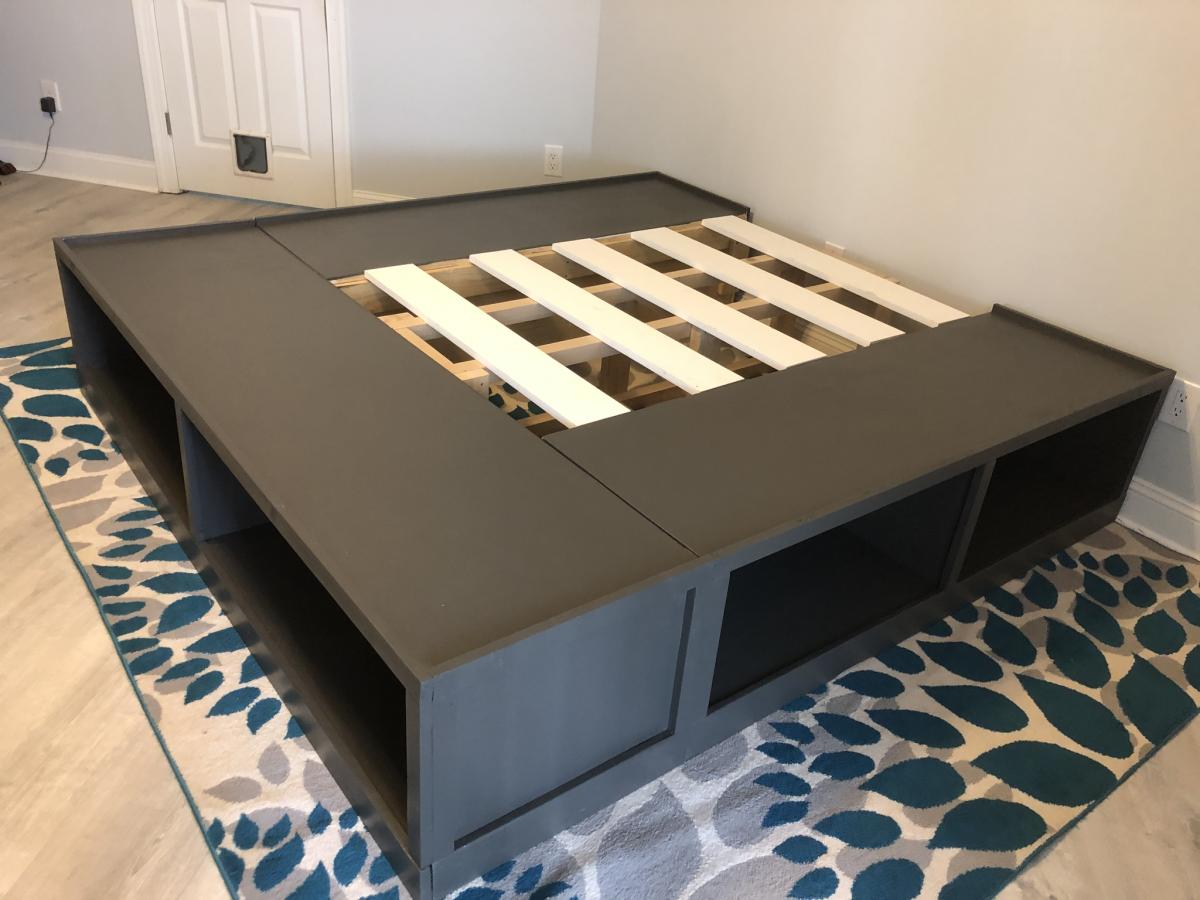
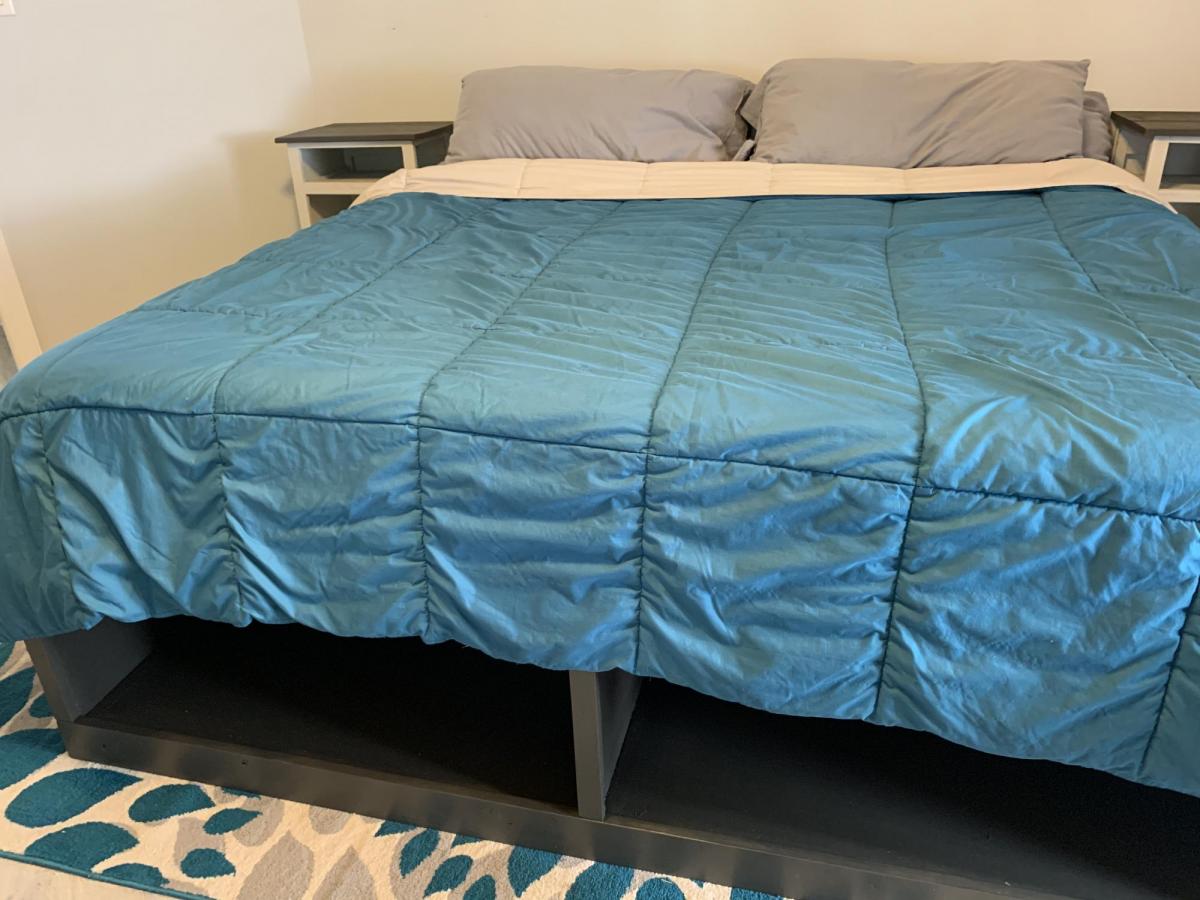
Built fairly close to original plans. Though we did modify slightly to create a slightly taller bed.
We placed a simple - but sturdy 2x4 frame between the sides. The span seemed a bit wide and we did not want any sagging.
We skipped the optional drawers, instead we will be building lightweight wooden storage crates to fit the storage spaces specifically.
Not a hard project. Though be sure to measure twice before you cut. 🤣
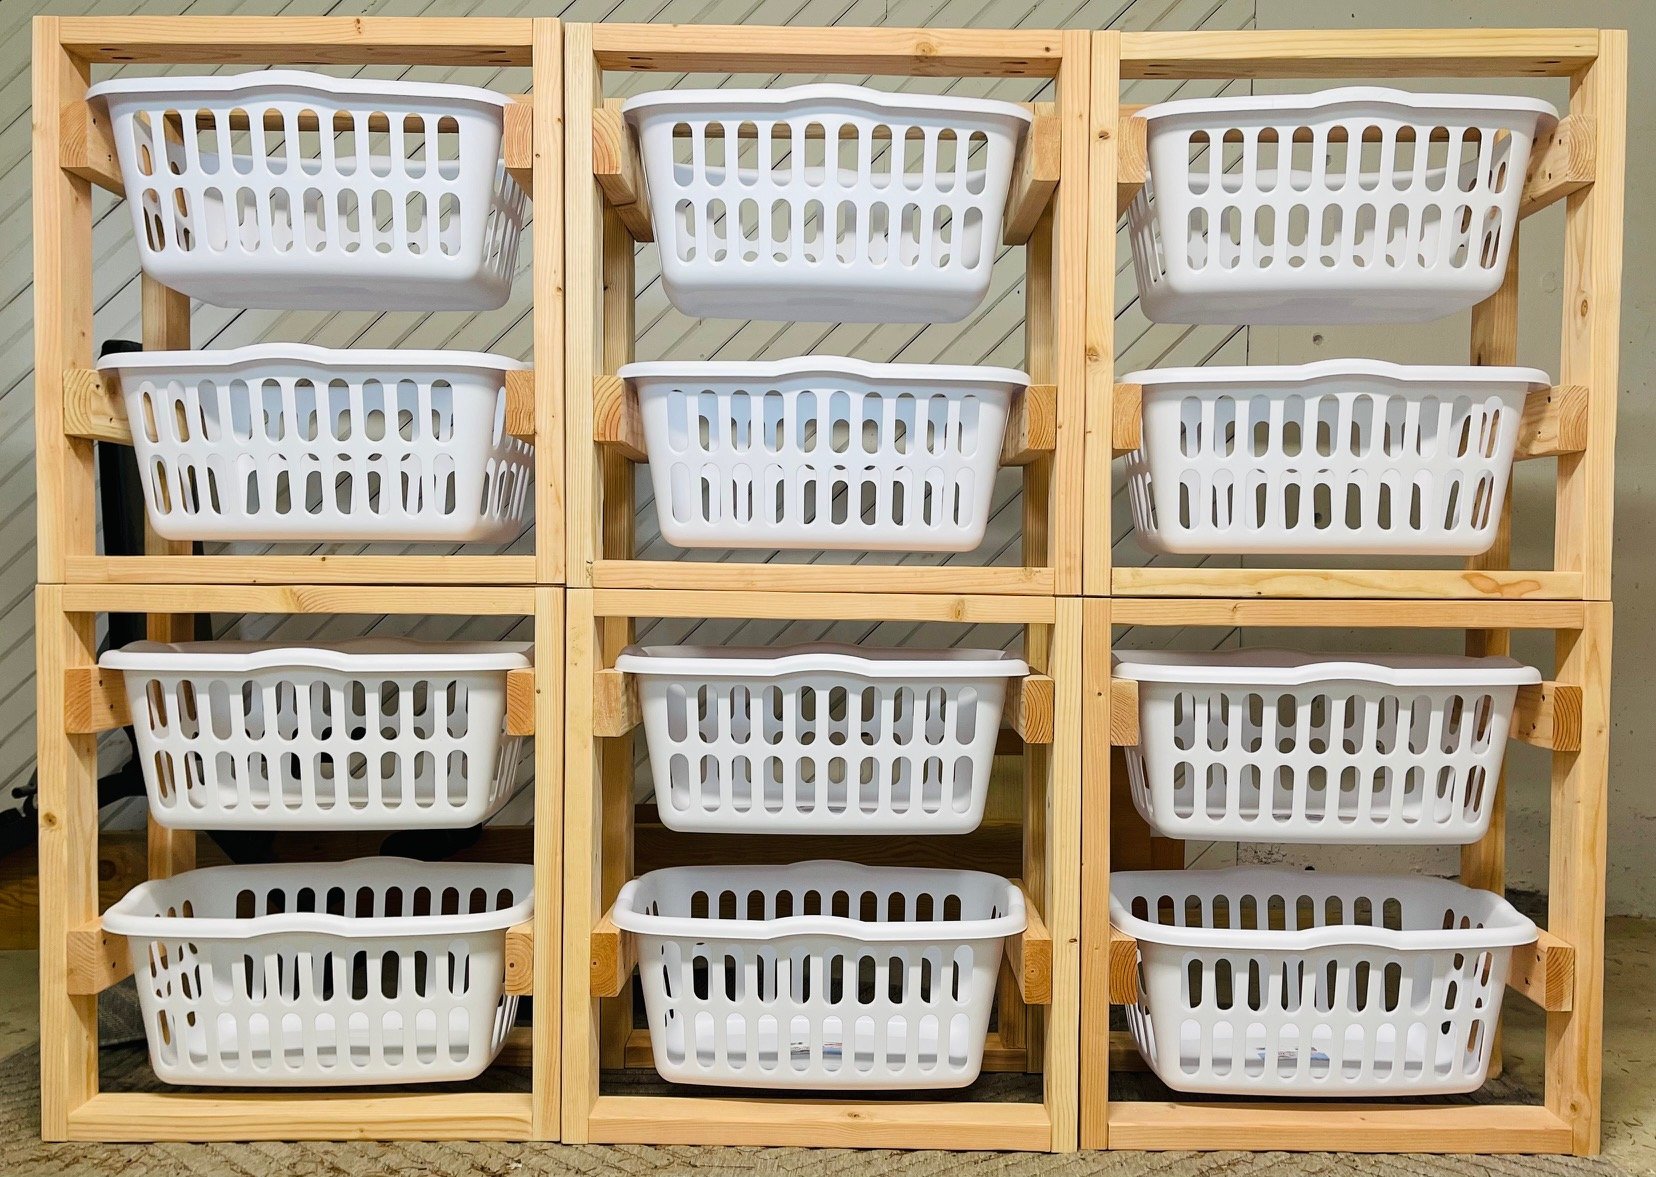
First time building for re-sell. I sanded everything before assembly and used pocket hole contruction so I wouldn't need to fill holes. Each one will be finished per customer request. Each unit takes about 2 hours to build start to finish.
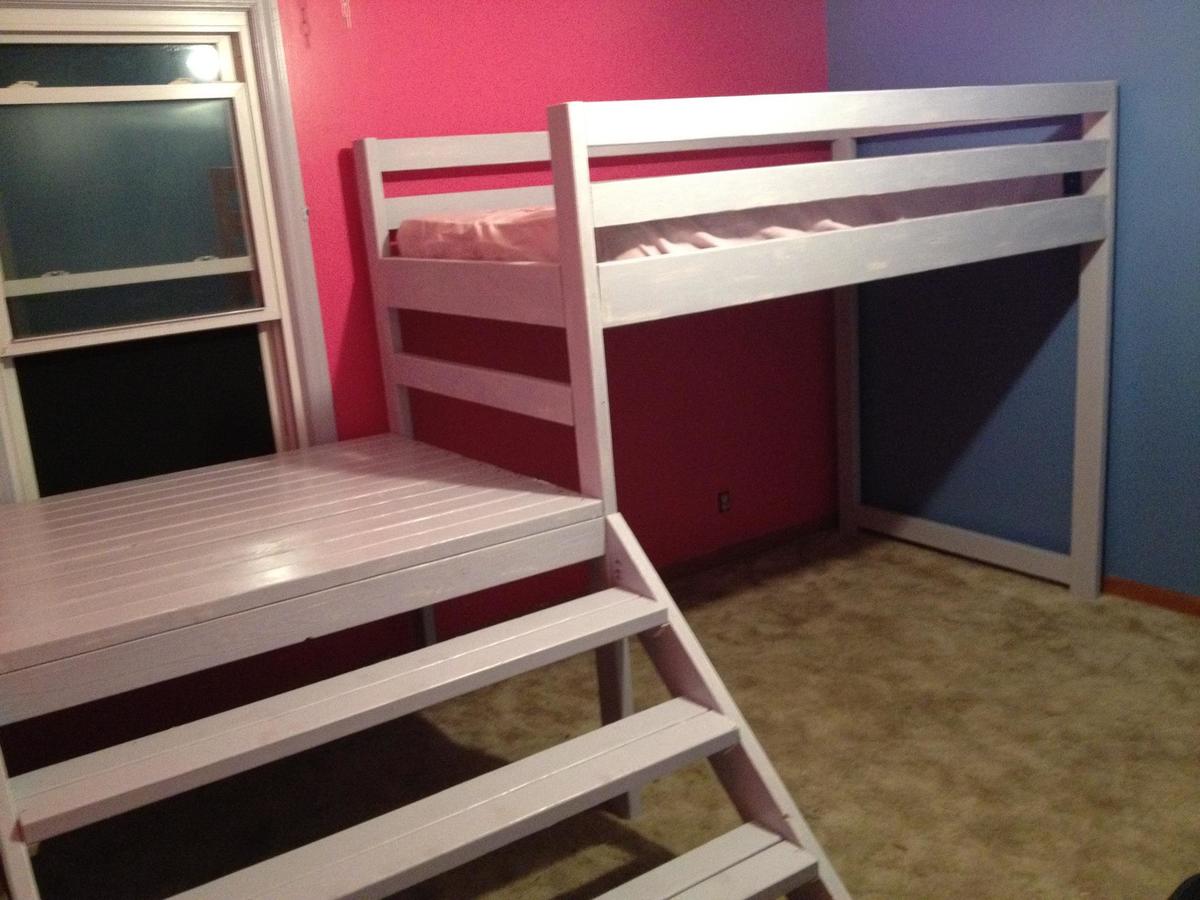
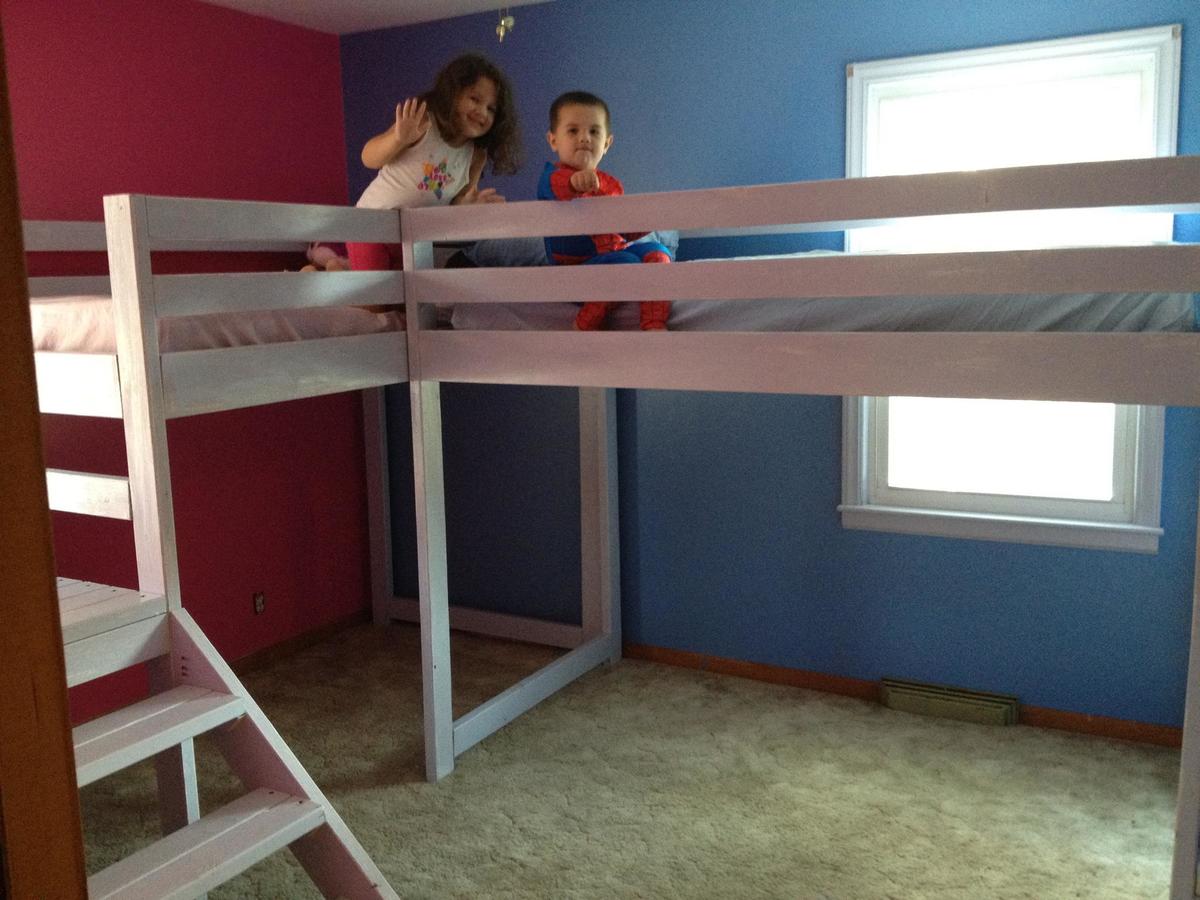
Found this on Pinterest and FELL IN LOVE! I have 2 kids that are inseperable, ages 3 & 4, a boy & a girl. I had been toying with ideas for them about bunk beds or maybe some PVC forts. But when I found this, it was like everything in one. Let me also start off by saying, although I am artistic I have never used a single tool or built ANYTHING in my life. EVER.
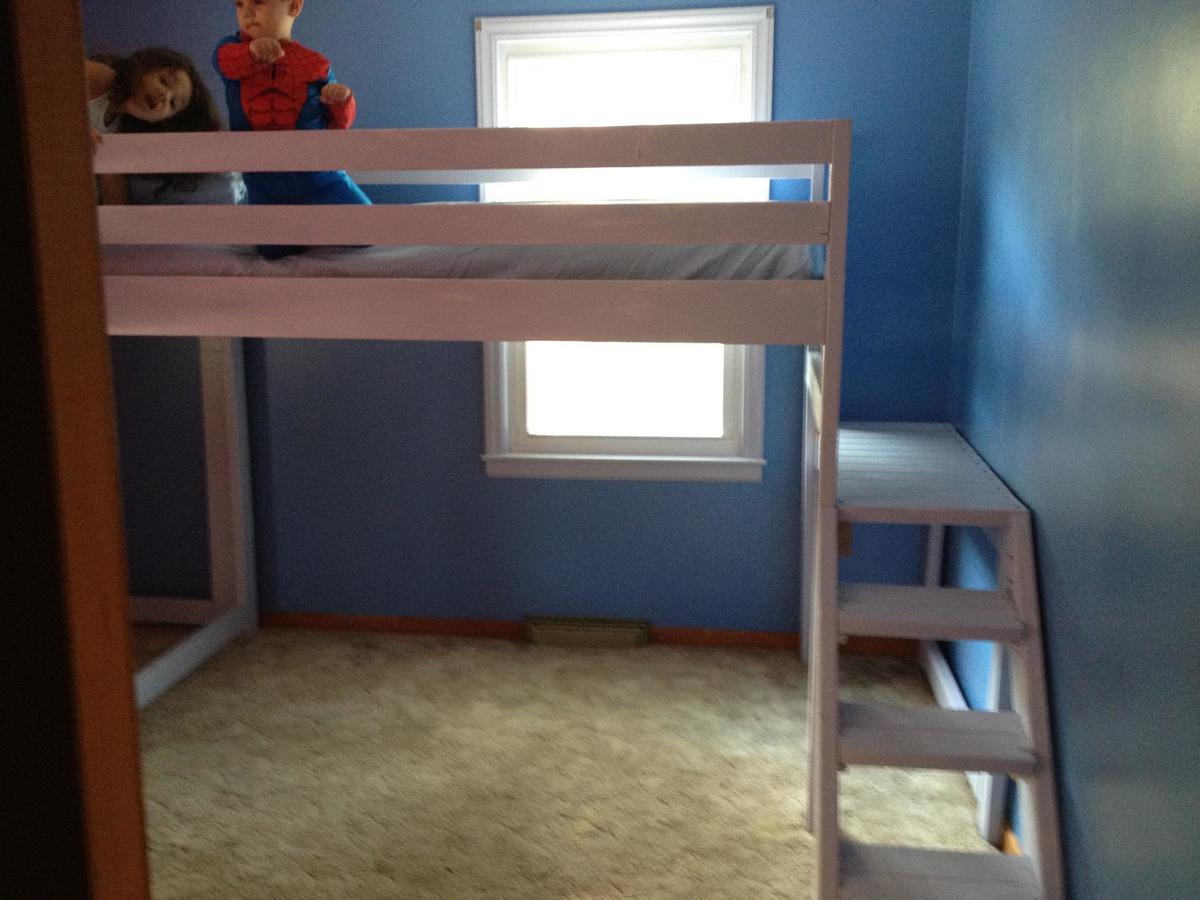
The beds were surprisingly easy to build and are incredibly sturdy & strong. I followed the plan exactly except for the platforms. I made my daughter's huge. (The plan calls for 22", I made hers 50") My son's I made smaller b/c that wall is shorter & there wasn't enough space. So his is only 16" but it's still plenty of room to climb up & get into bed. They use her platform as a stage to perform on or a small play area.
I'm going to glue down padding to cover both platforms and all the stairs b/c my kids are small but rough & tumble and I can already see the hospital bills. But the bed is EXCELLENT! Surprised to see no one else has posted a brag for it!
Make this immediately! The priming, painting & building for each only took one day. ONE DAY! I painted the room, the trim, and made both beds over the holiday weekend (Labor Day, Friday-Monday). My kids are now the envy of every child (and adult) that we know LOL!
I made this cabinet for my 9 year old daughter. My daughter enjoyed filling the shelves with her things and the door with her ear rings. The shelves are made from 1x3's. I added 4 small hinges and 1 magnetic closure. The stain used is purple (daughter's choice). This was a fun build that took 2 days start to finish.
This was a perfect build for my brother's farmhouse style home. The build itself wasn't too difficult but getting to doors to slide properly was definitely challenging. We had originally spray painted the hardware oil rubbed bronze but found the it kept rubbing off when we slid the doors so we ended sanding everything back down to the original color.
We also bought multiple pulleys based on the tutorial we found but they really didn't work great. We finally found these 1.5 inch pulleys (http://store.riggingcentral.com/15-in-2-in-25-in-3-in-35-in-sheaves-p36…) and used (2) 5/16 bolt nuts inside the pulley to center the cleaves pins and secure.
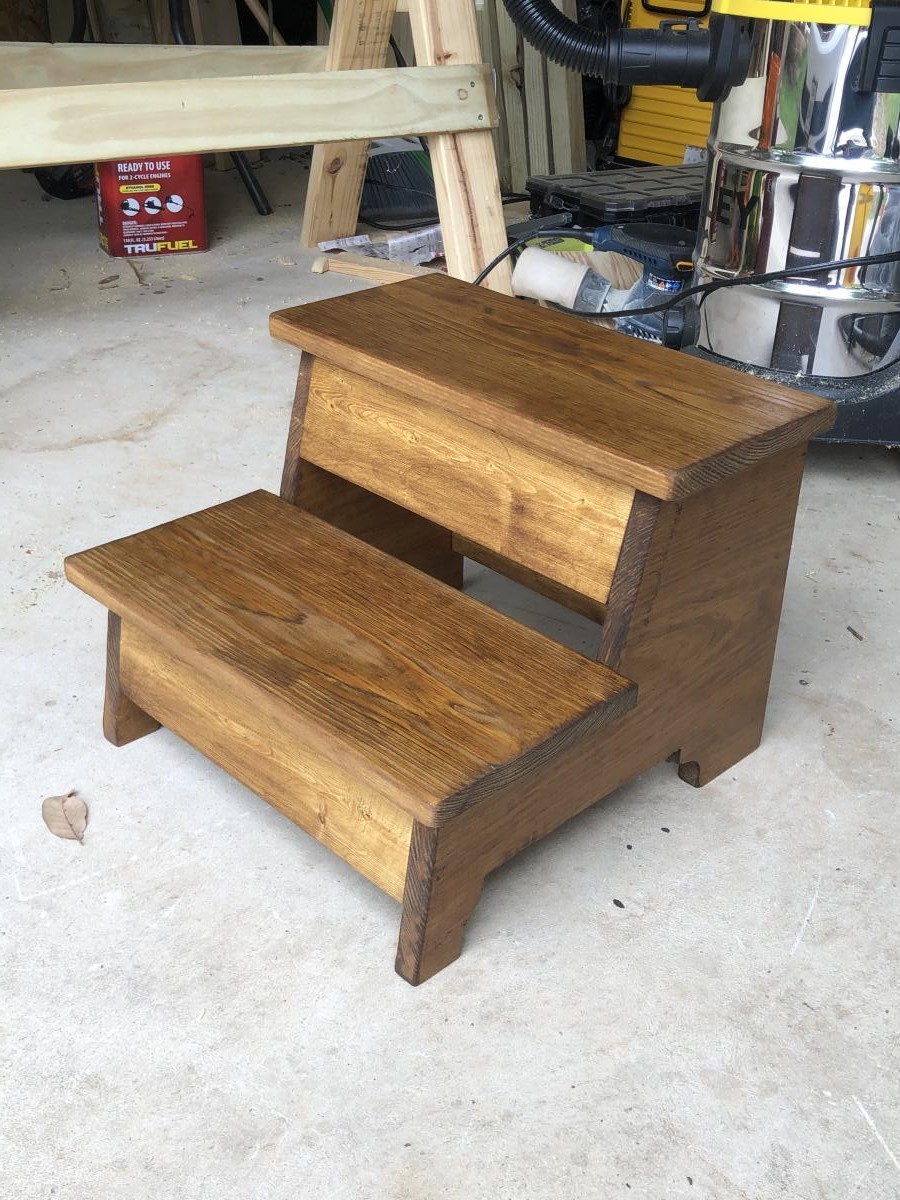
My take on the vintage step stool. Inset a 1x3 on the front top support (my pocket holes were splitting the 1x2’s) and it turned out nice.
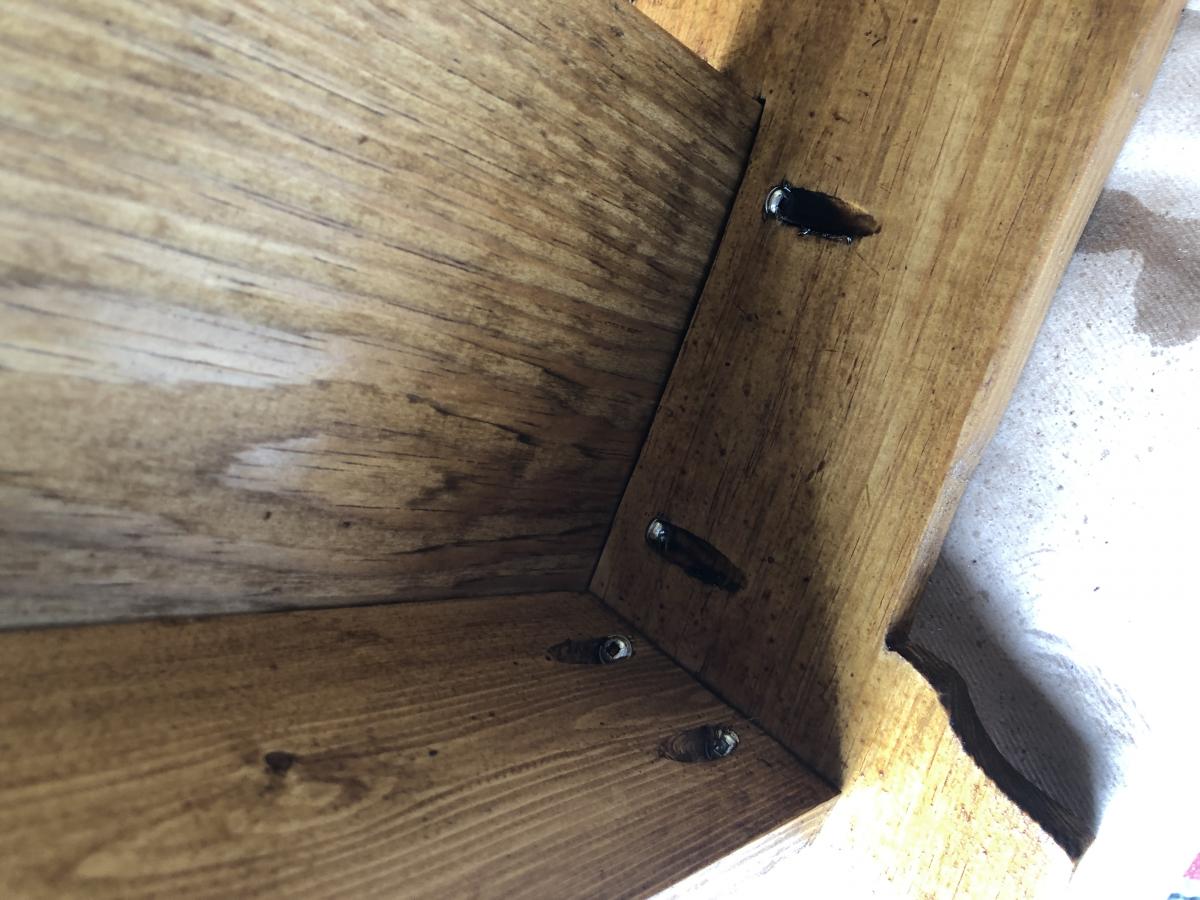
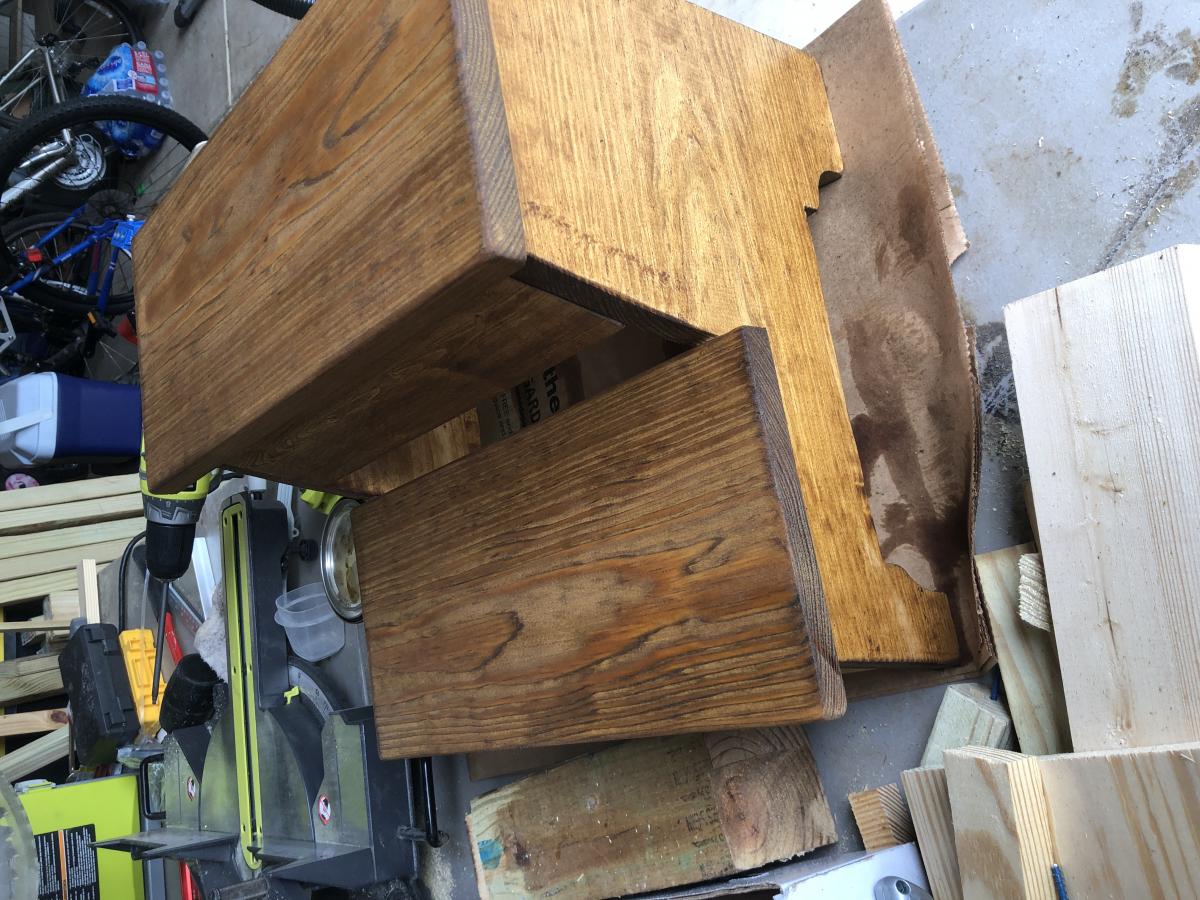
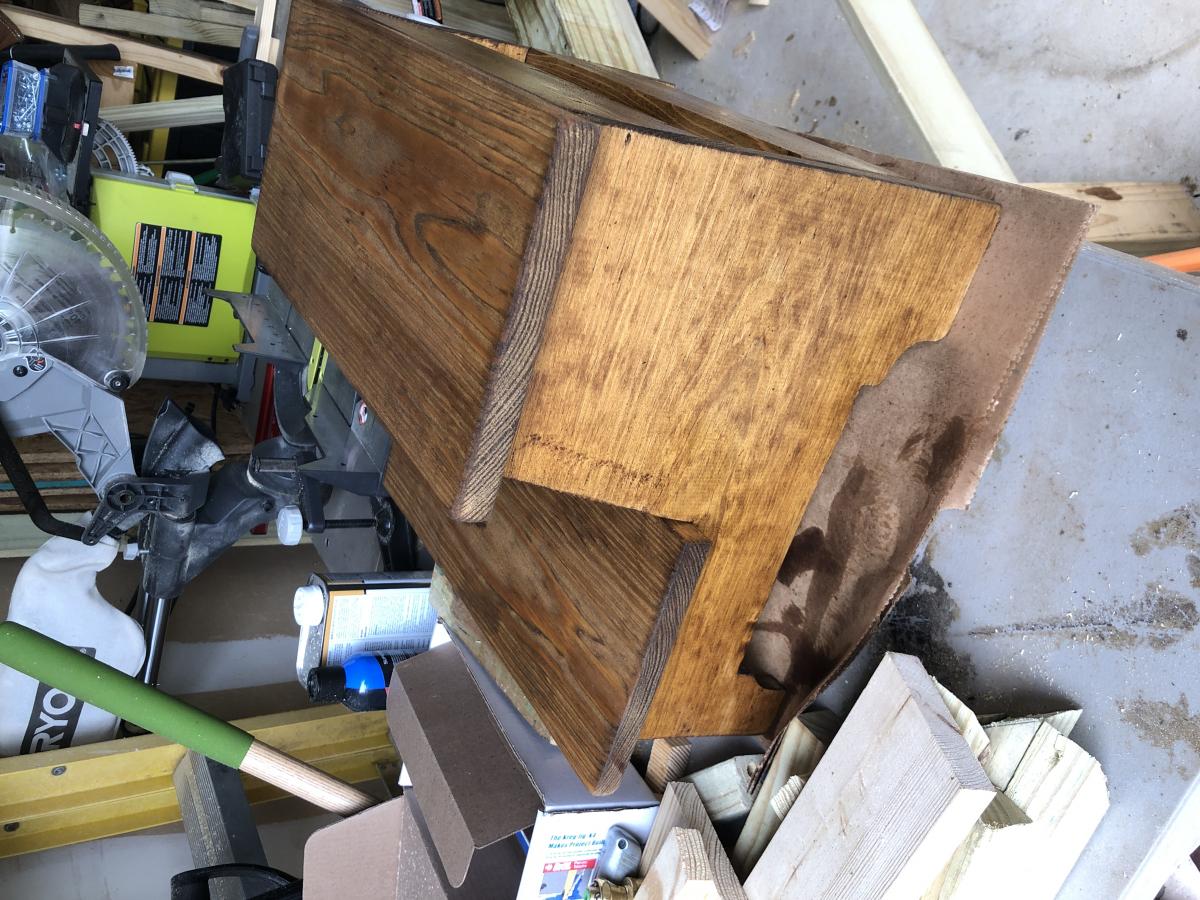
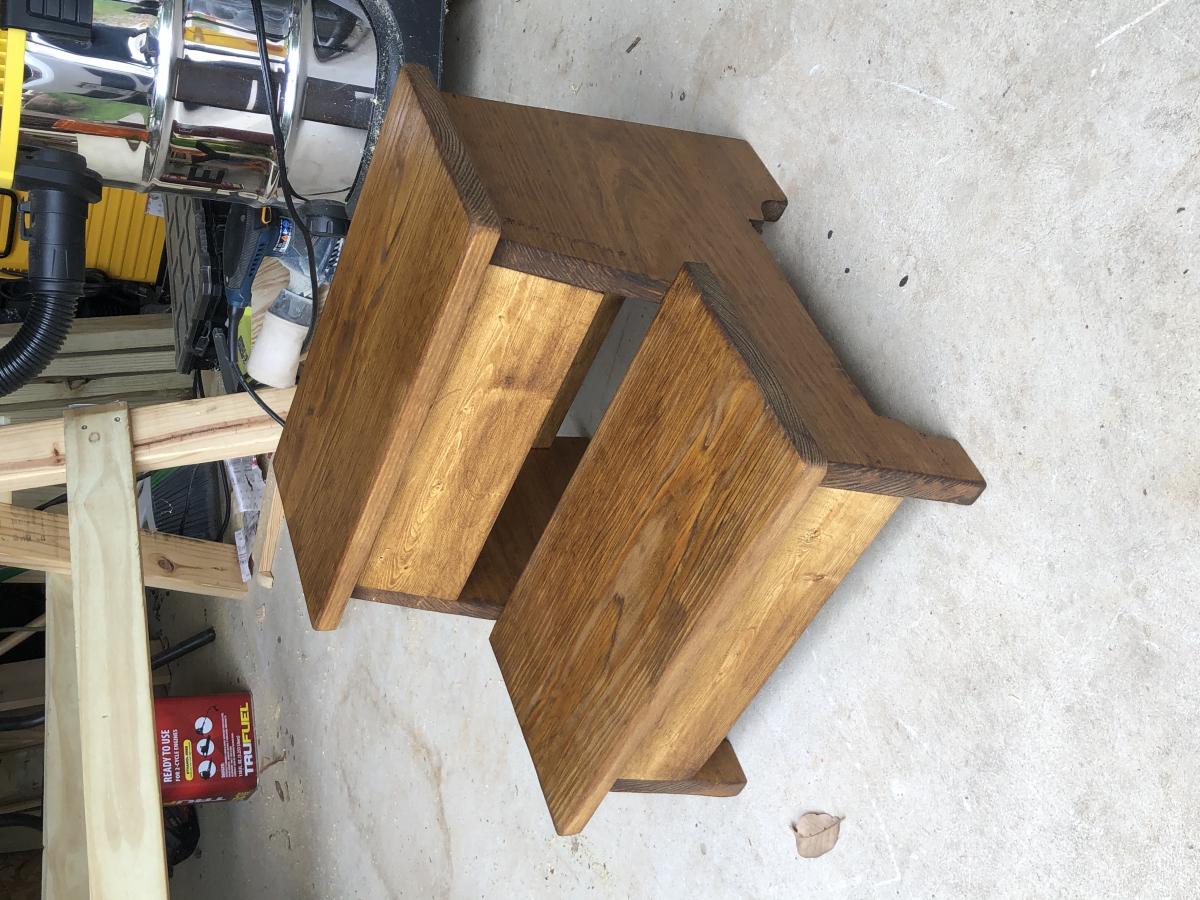
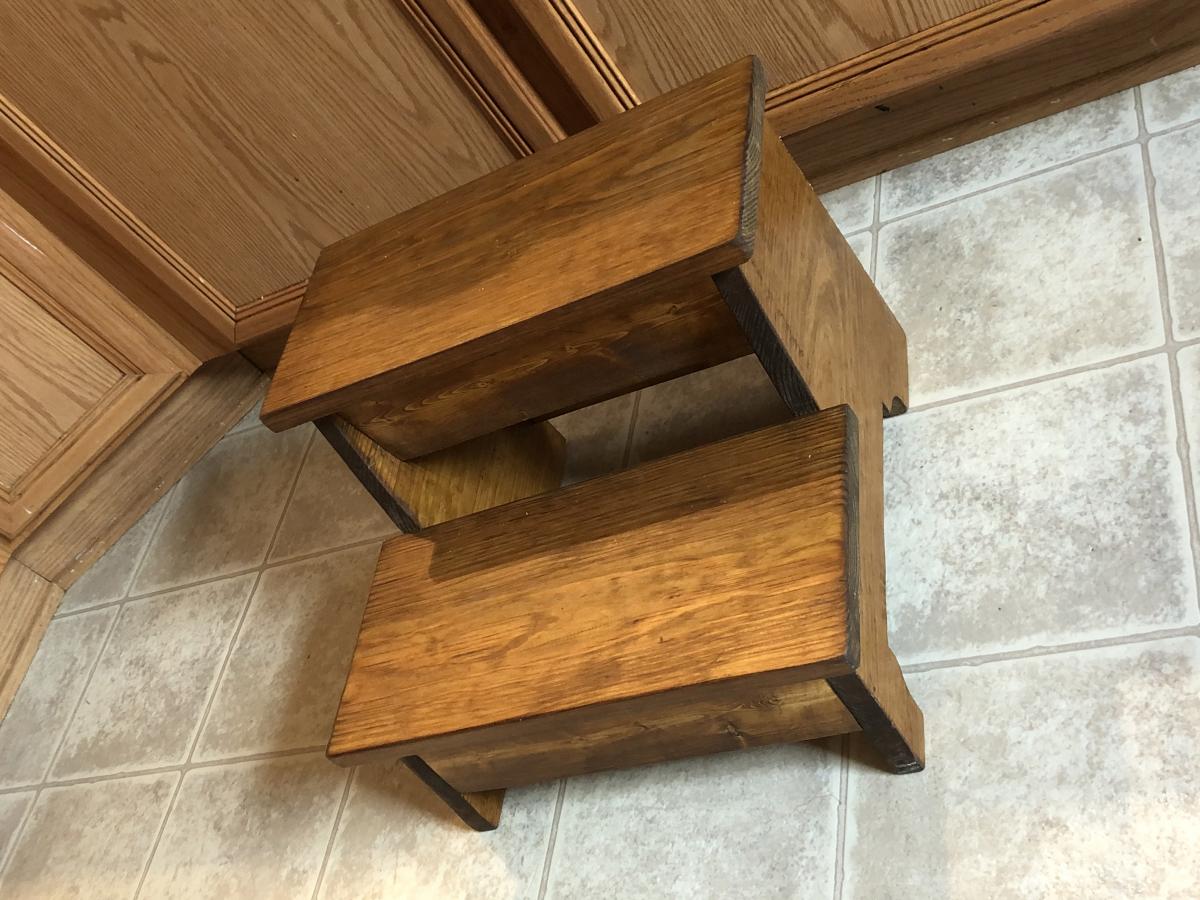
I followed the instructions to a T.
This is a very simple build and makes a great bed. My daughter loves it and I love the look.
I didn't screw down the 1x2 supports because I was having trouble with the wood splitting. It's worked out fine this way, I just need to rearrange a little bit when I change the bedding on her mattress.
If you have a kid who likes to climb or jump on their bed a lot, be sure to use a lot of screws to connect the bed frame to the foot board.
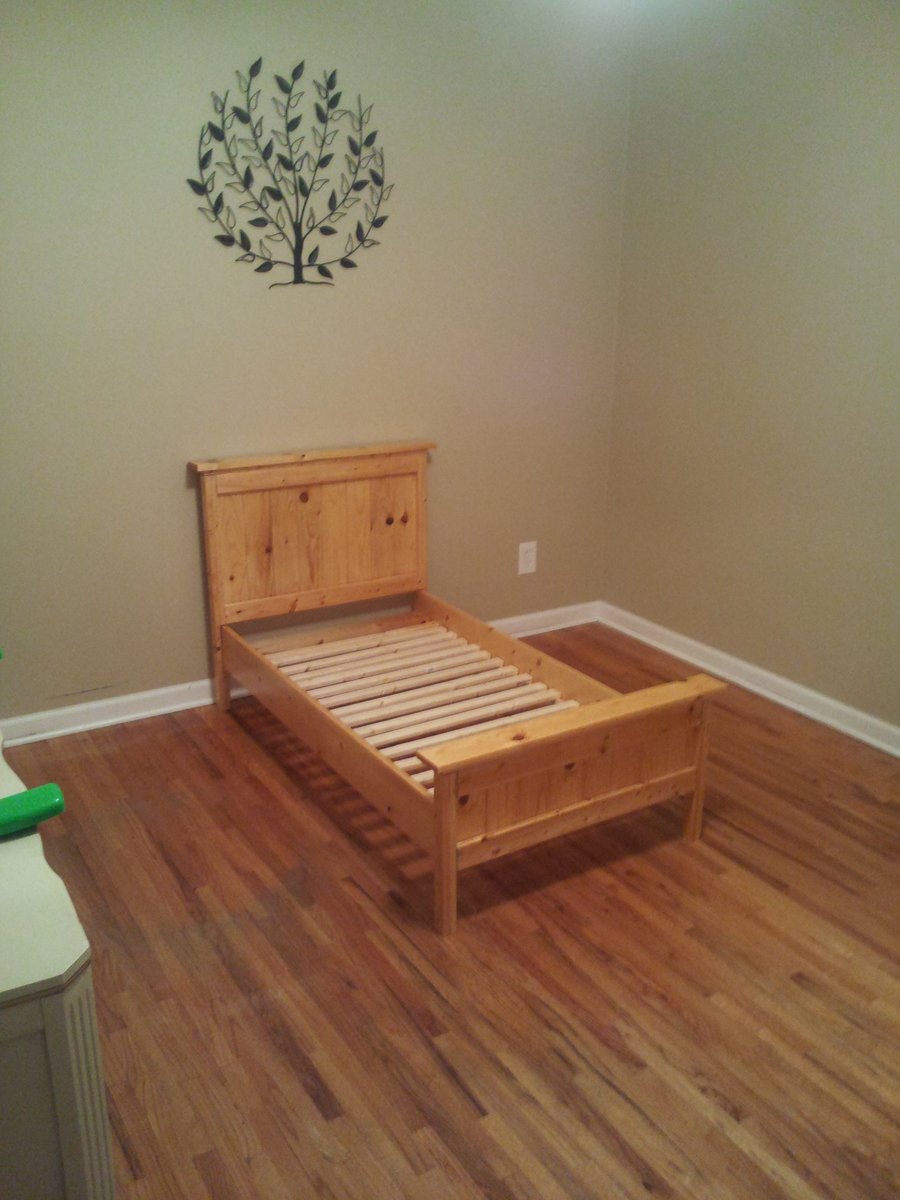
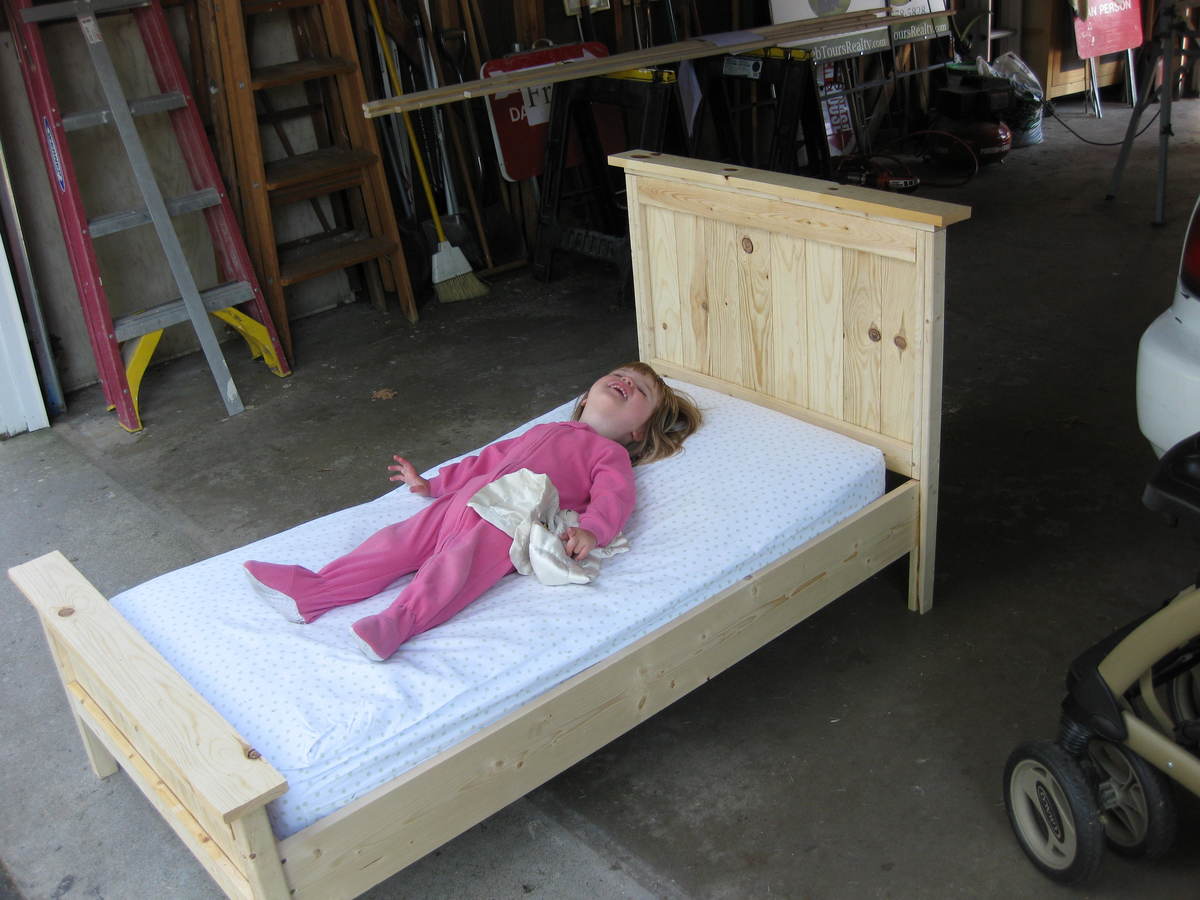
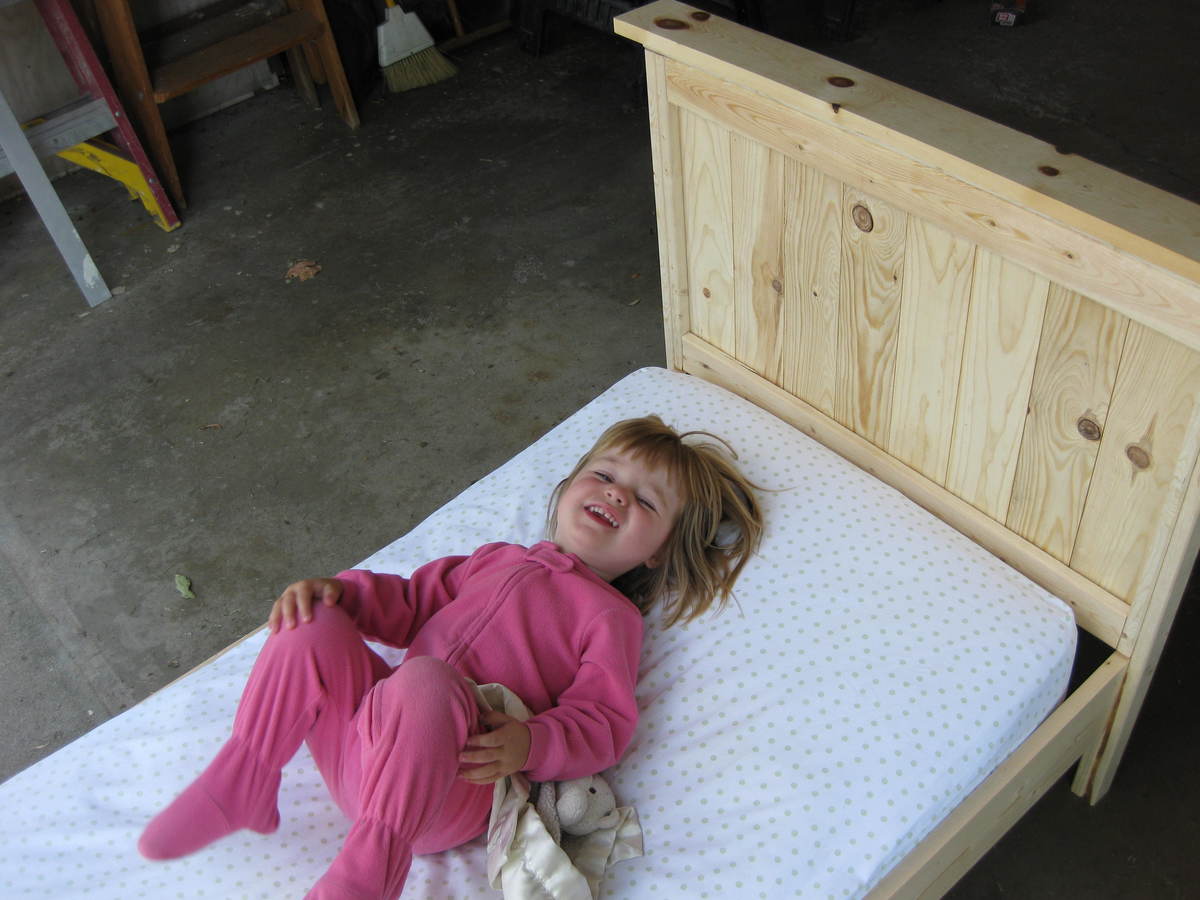
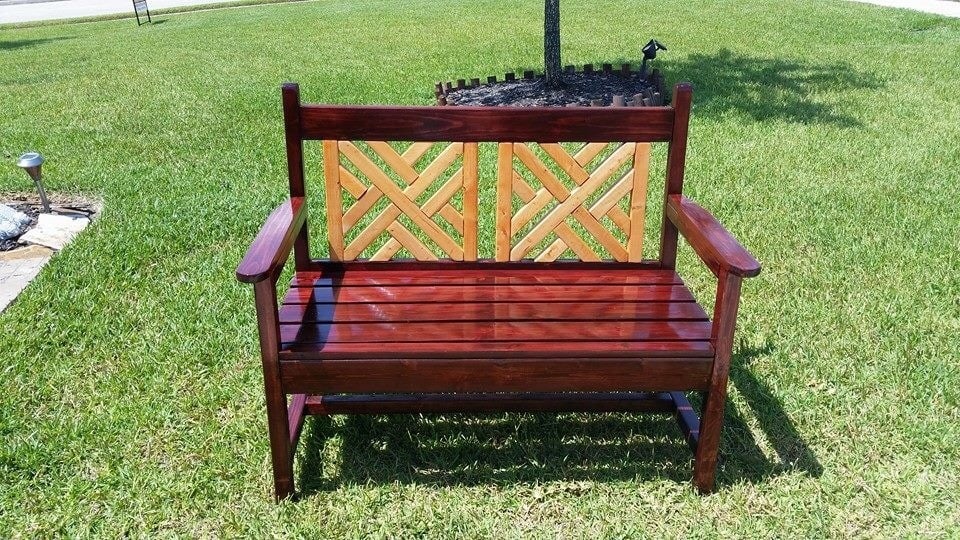
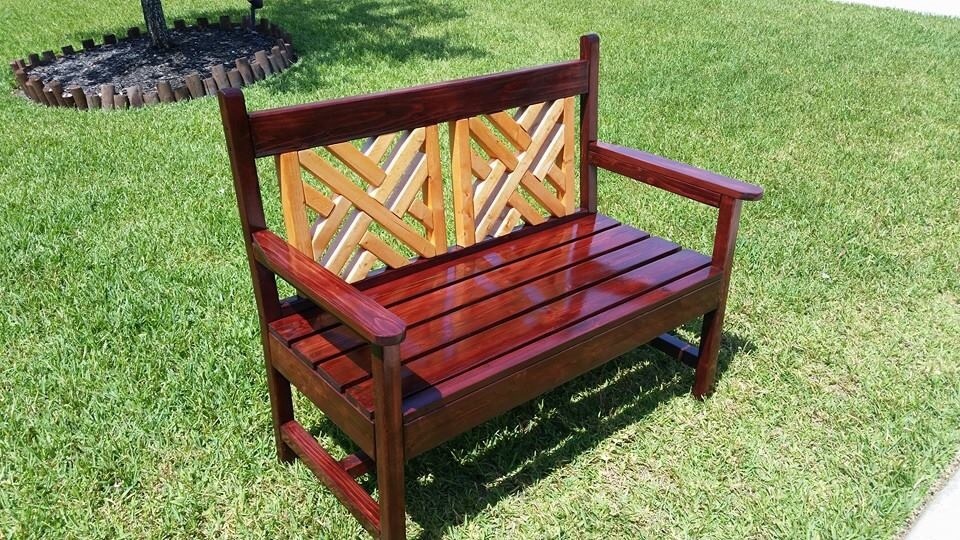
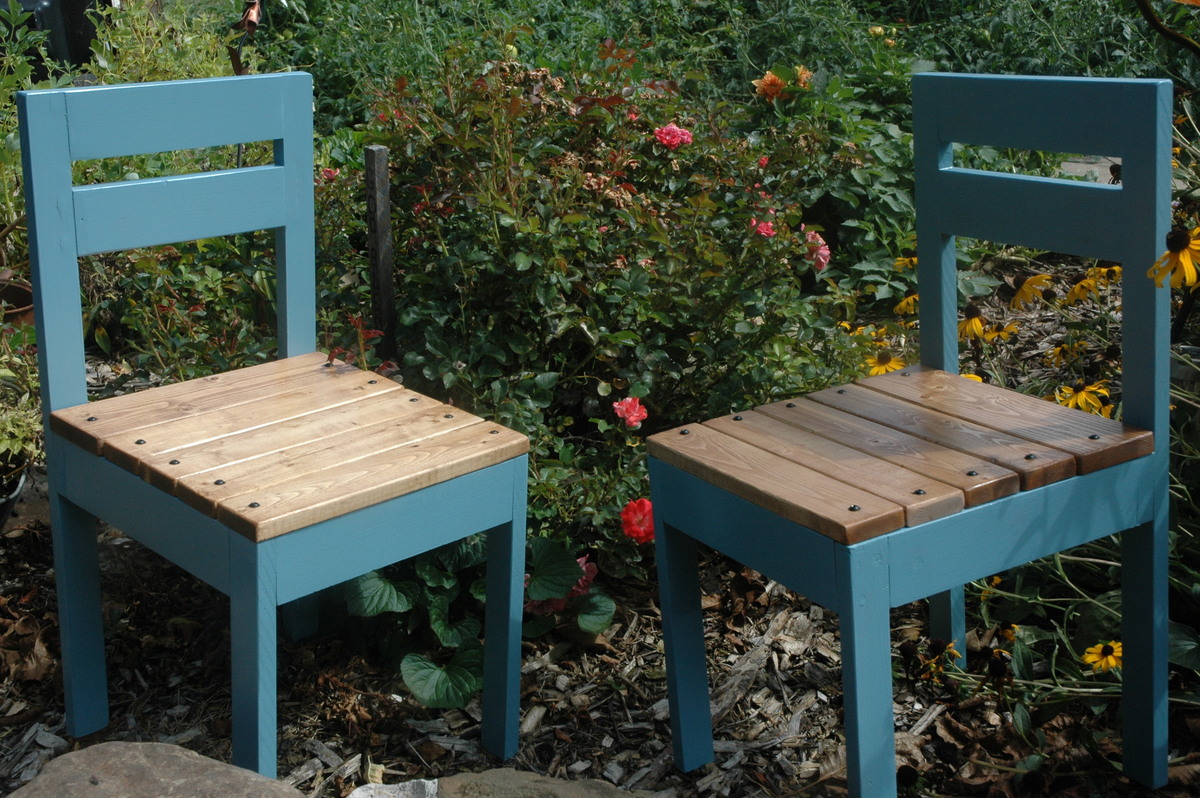
Really fun project. I plan on making a side table and 2 chairs with this plan as well.
Tue, 07/08/2014 - 10:26
Awesome job. I love the finish. I actually just finished a pair of these (which I have yet to post on the website) that are sitting on my front porch. I was also thinking of making matching side tables, but I cannot decide what would look good with the benches. Are you using Ana's plans to make your side-table, and if so, which plan? Looking forward to seeing what you create.
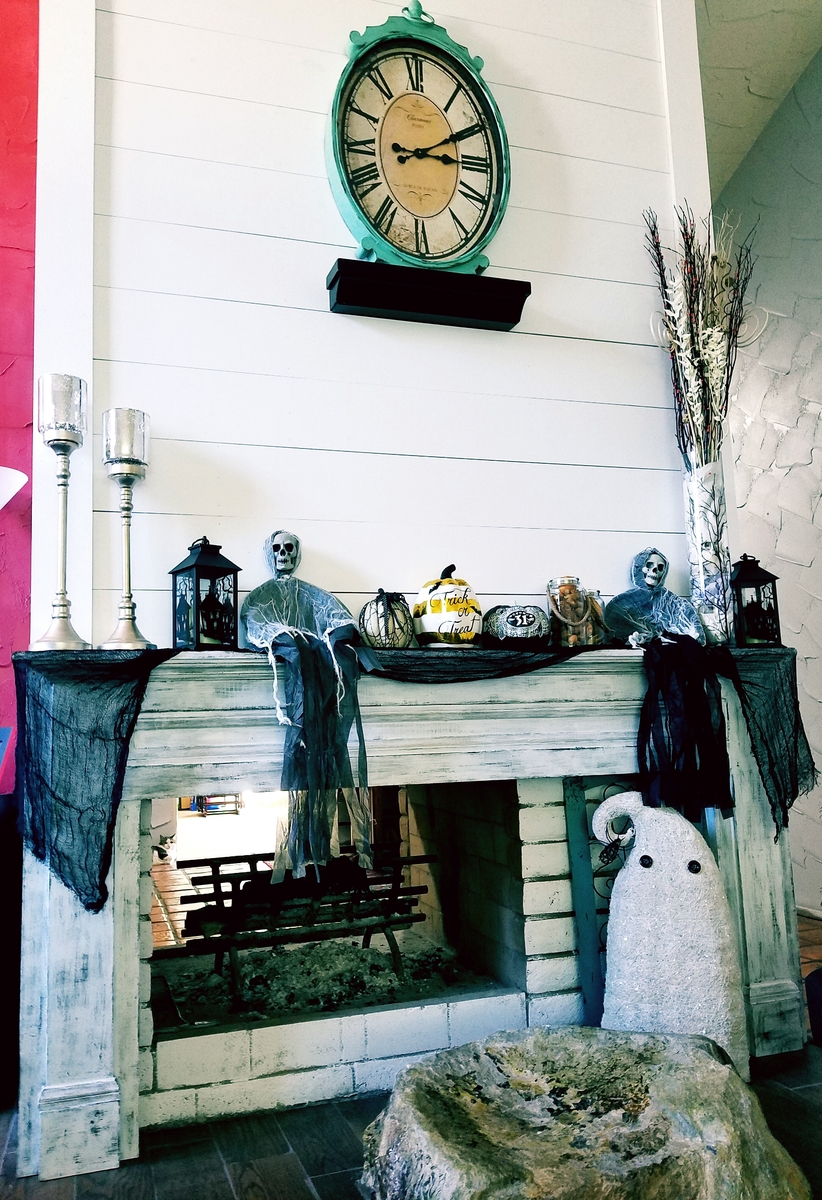
It's decorated now, but looks amazing without as well. The build plan was easy, definitely need to have some knowledge about woodworking. Just have fun and be creative.
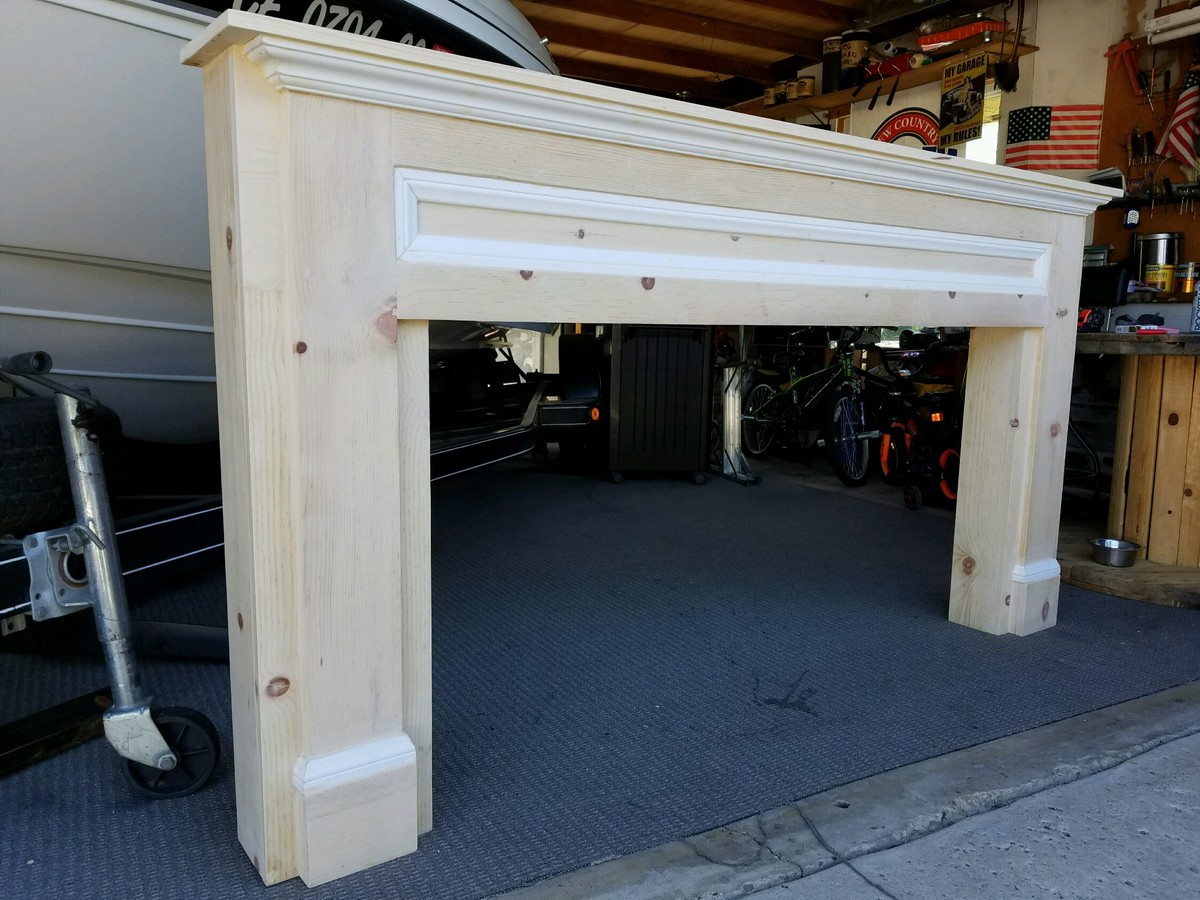
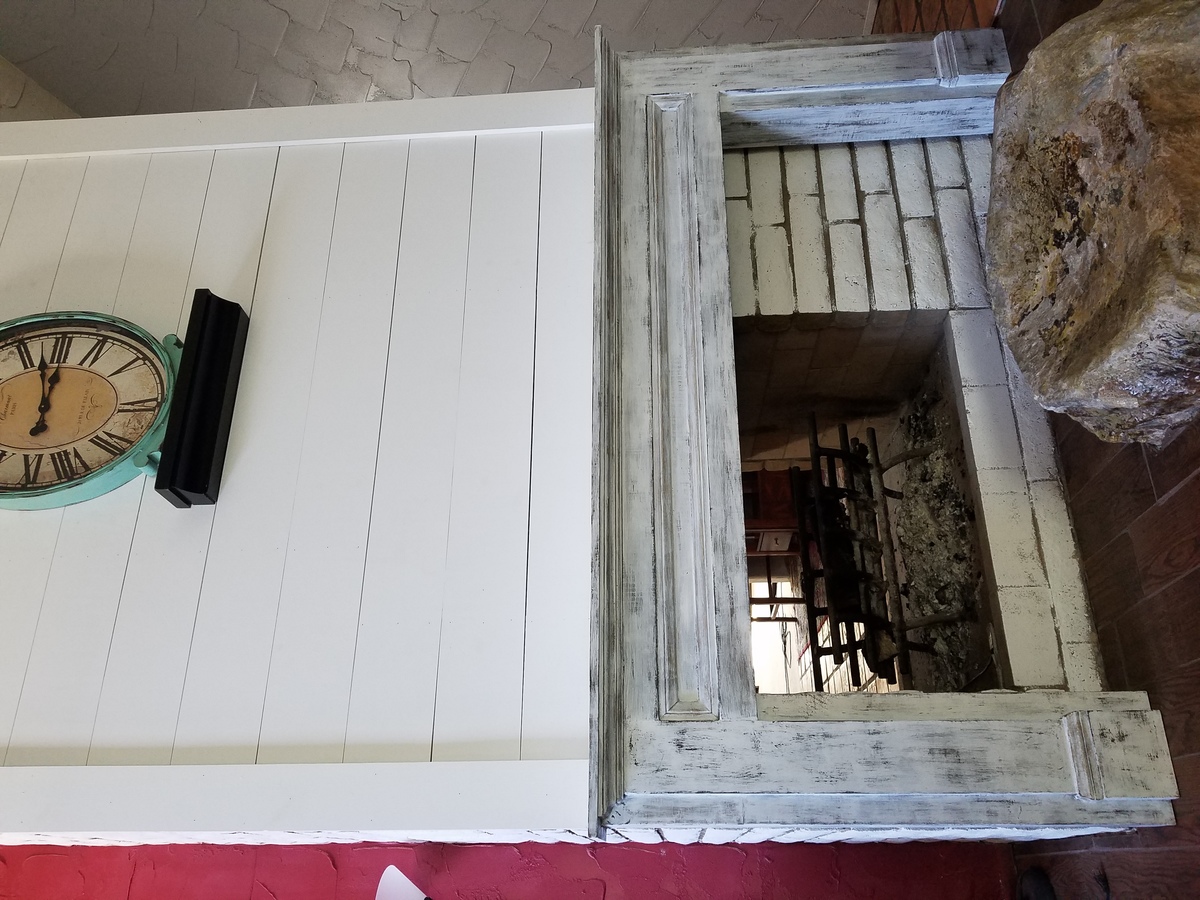
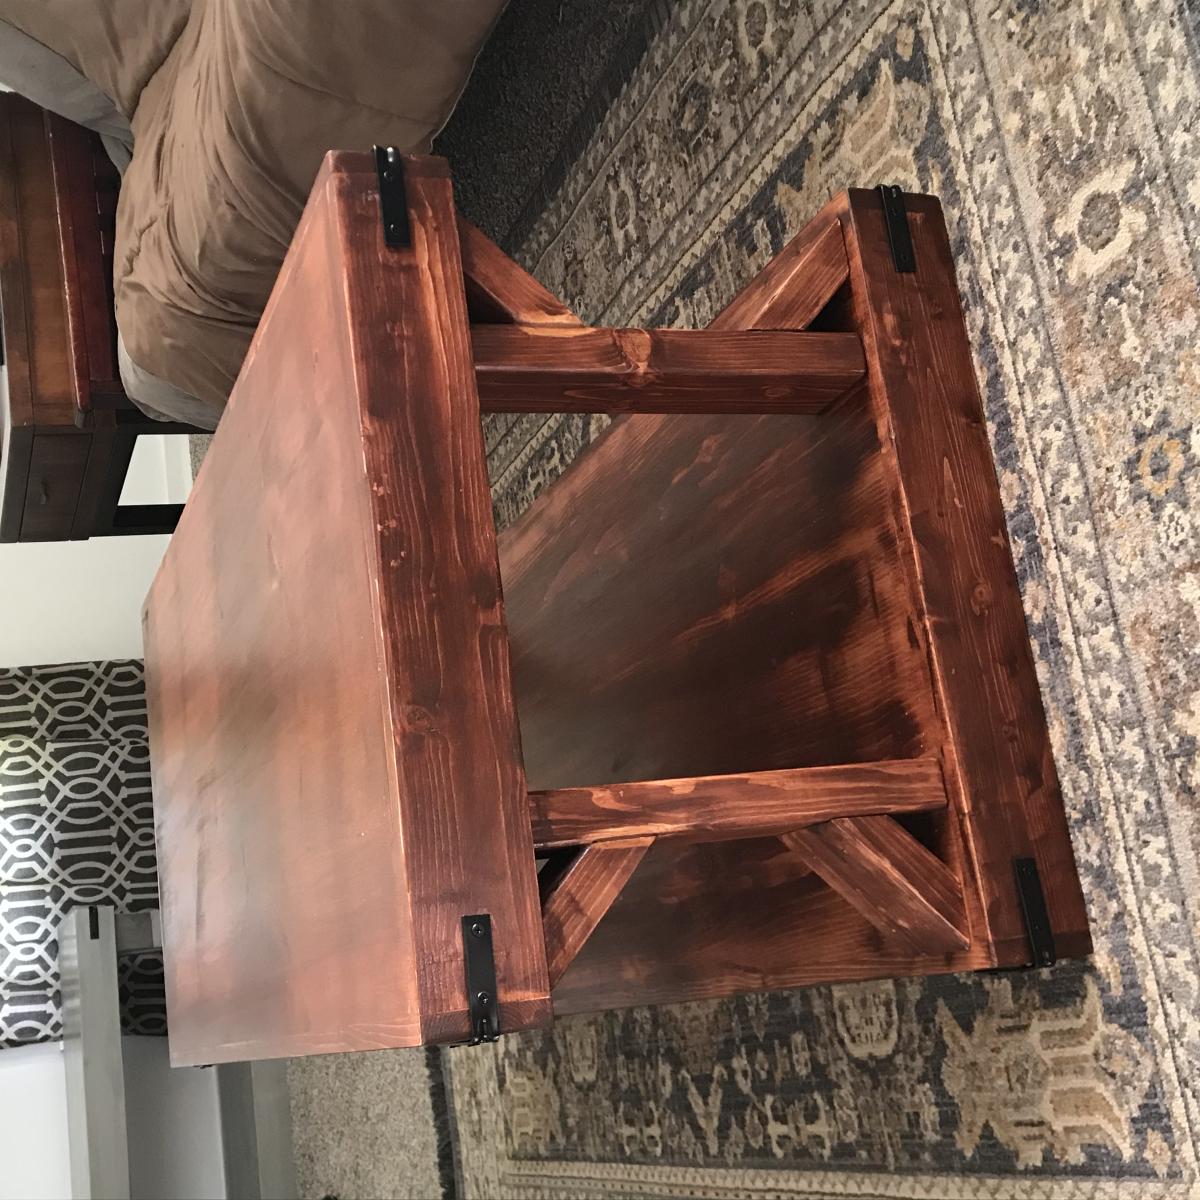
One of my friends asked me to build her this coffee table after seeing the gray one I built, so that's how I spent my weekend. She wanted something a little bit bigger than the original table I had built, so for this, I used 1x12 boards, and increased the height of the table by an inch and a half so she can add some slightly larger baskets underneath. My brad nailer is out of commission at the moment, so for this project, I used ¾" pocket holes and 1 ¼" kreg screws. I used a hammer and finishing nails and a bunch of glue for the 45 degree braces. I filled gaps with wood filler, then went crazy with my sander. I finished this project with Varathane American Walnut stain, then sealed with two coats of Minwax Satin Polyurethane.
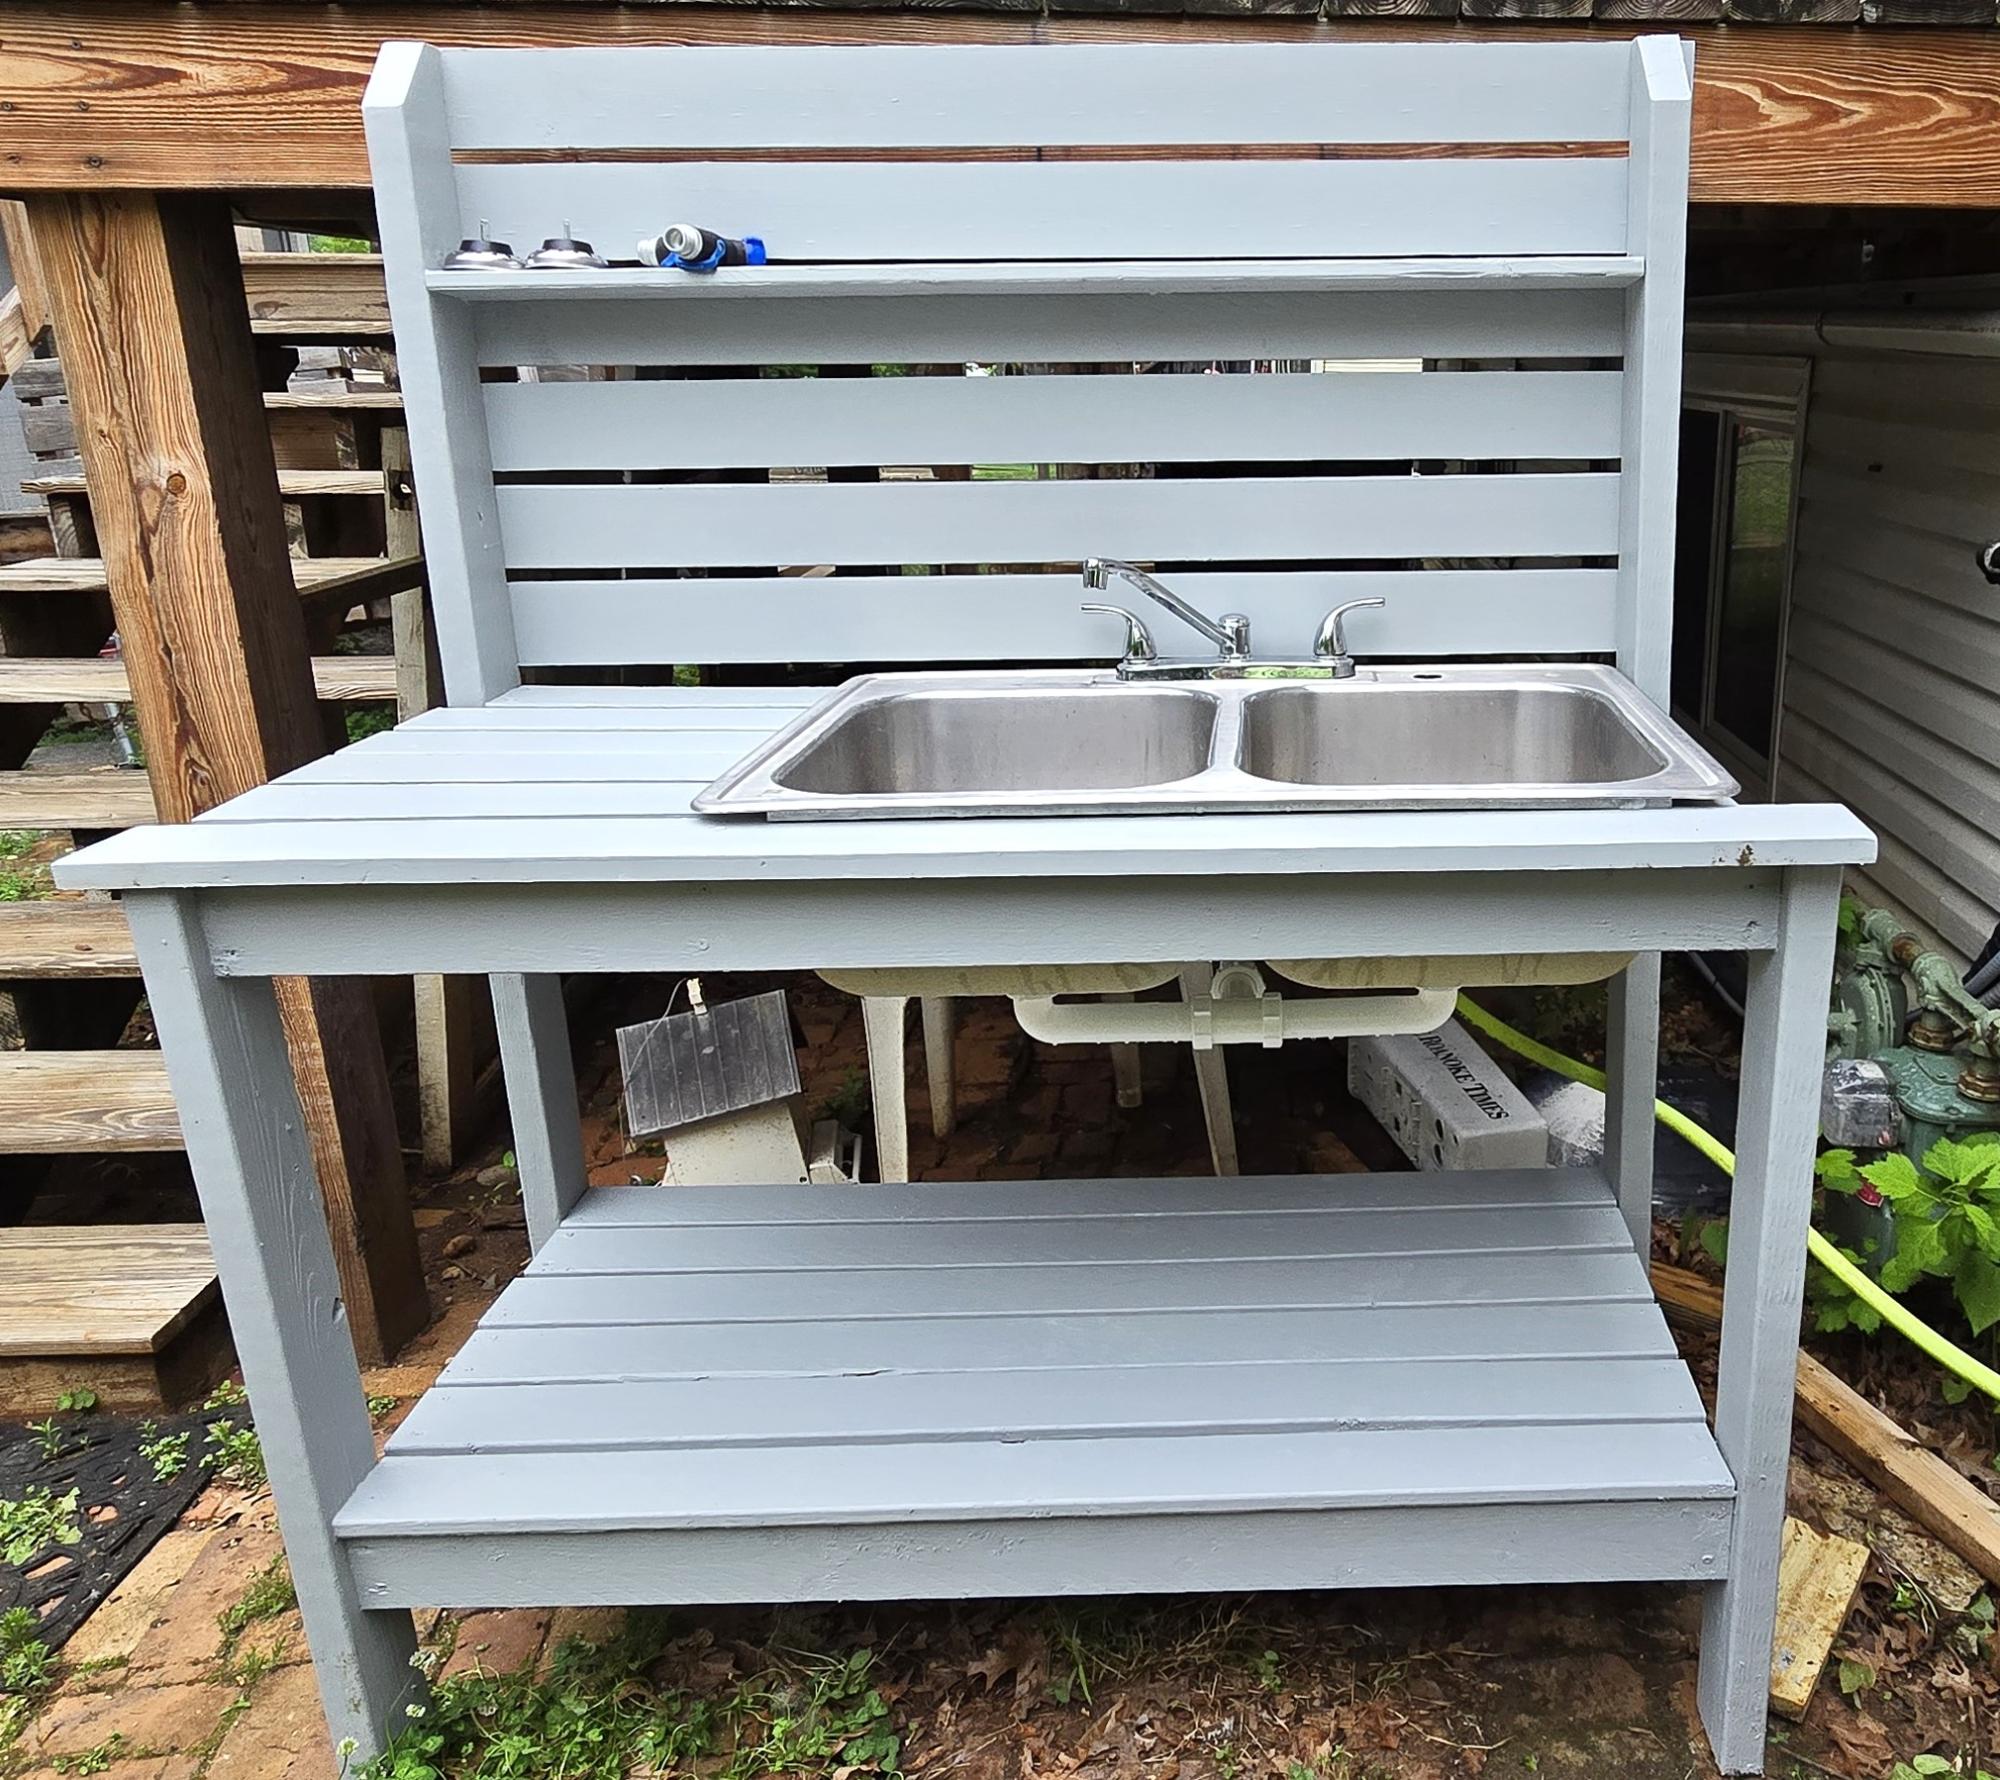
I used the basic 2x4 potting bench and made it a bit wider to have room for the sink. Had to make slight modifications -- put a 2x4 in the back to help support the half shelf on top. Found the sink at the restore for $15 have have been waiting to do this. Ana's plan was easy to follow and modify for my needs. Spent 88$ on lumber, nails, 15$ for the sink, plus about 40 $ for additional hardware for the sink. This sets beside my deck. I love it. Now I can was my hands outside and can't wait to rinse my veggies off when they produce.
Susan Chewning
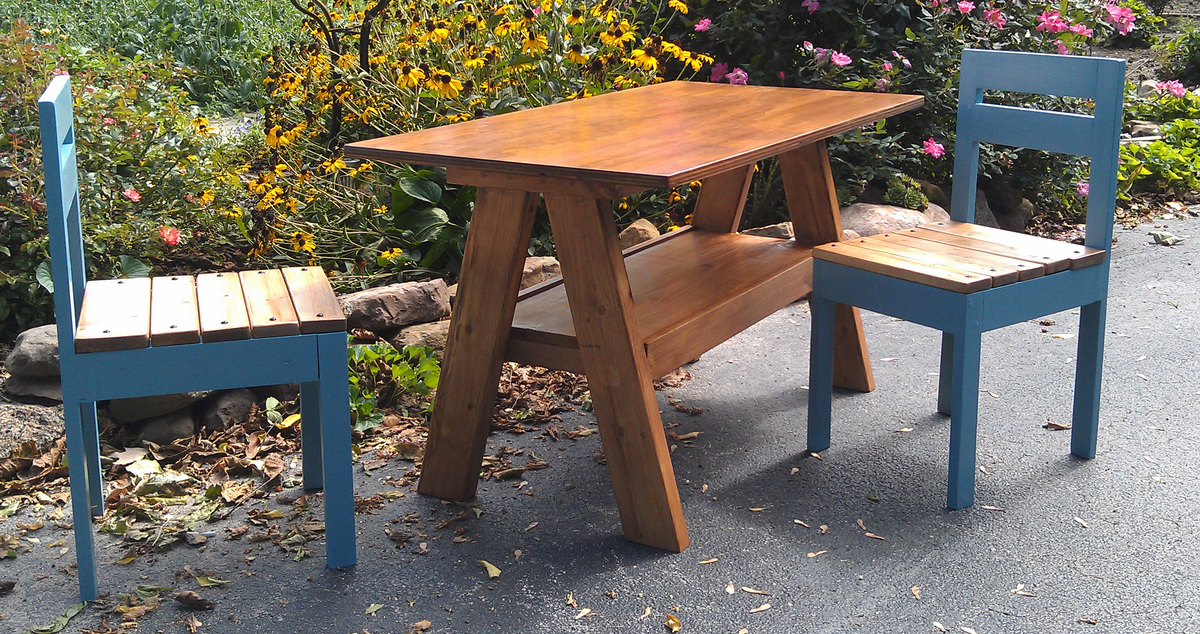
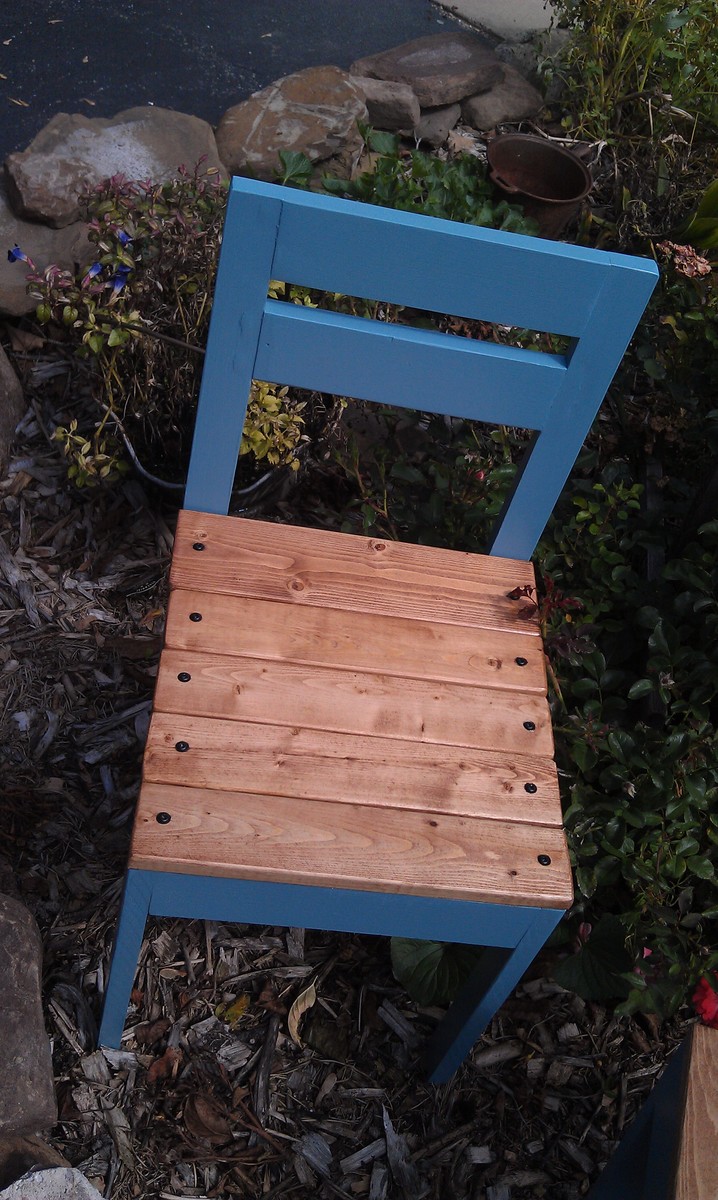
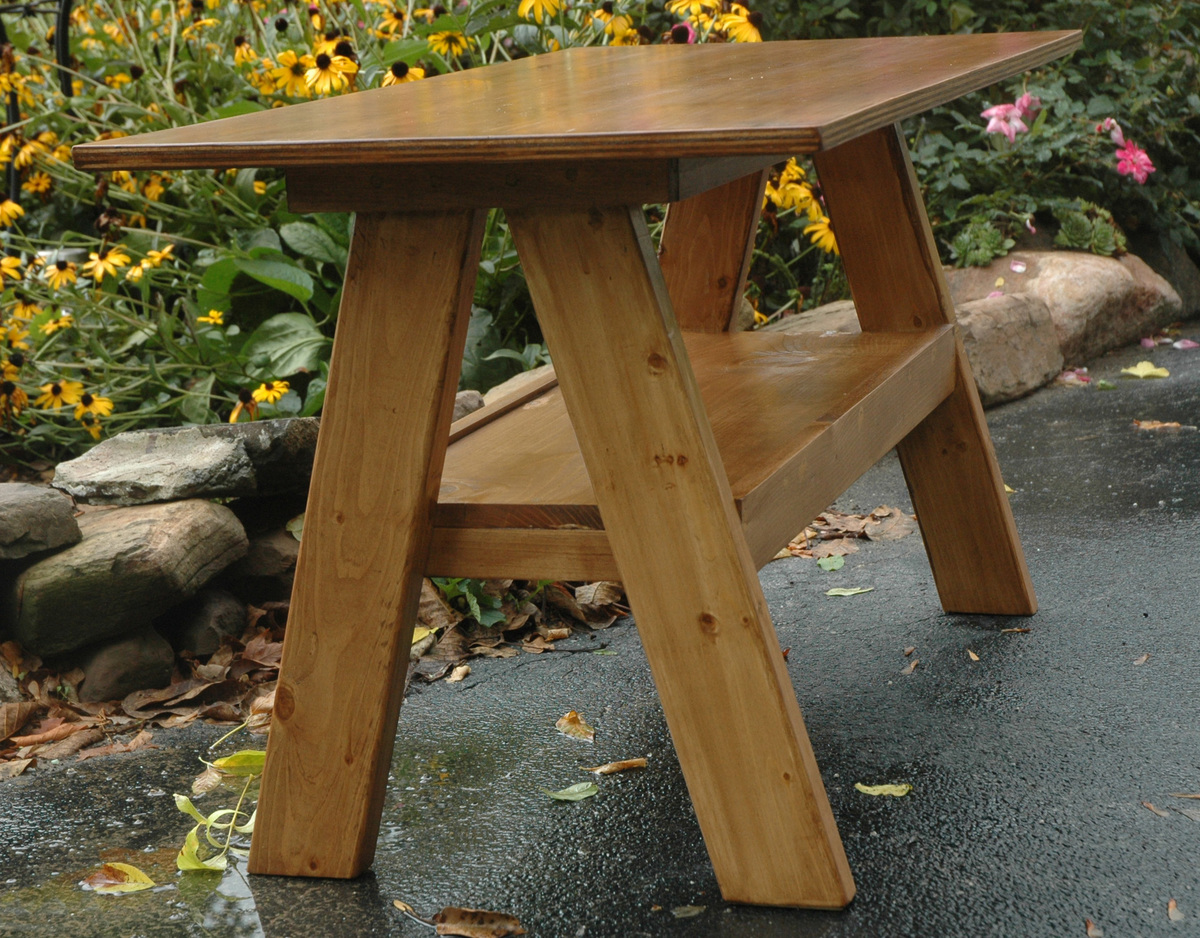
I wanted an inexpensive but wonderful gift for a special co-worker who is having her first baby after many years of trying and painful medical treatments. I loved this PB inspired trestle table and thought the plans looked like something I could handle. Paired with the four-dollar chairs, I felt this would be a winner. I had a few burps along the way with the table project....there's a paint stick glued to the bottom of one of the legs as a shim....have no idea how that leg ended up shorter. There's also a countersink drill bit inside the table somewhere, broke right off in there! My biggest challenge with the table was the stain. I have never used the all-in-one stain before and have to say, it is a tough product to work with. It is hard to do with a brush. I brushed on my first coat and wasn't happy at all. Sanding away mistakes is an ordeal because the poly in the product hardens everything up so quickly. I really had trouble here and am still not happy with how the stain turned out....I wish I had applied the first coat with a cloth, as I did all the other coats because there is so much more control than with a brush. If I use this product again (which I probably will), I would only apply with a cloth. The chairs were a breeze, however, you may notice that my back legs are on the wrong spot....that was a mistake I made with the first chair. Since I used glue before screwing, I couldn't undo it. So I just made the second chair the same way....no big deal, but they are NOT stackable this way. I tried to use firring strips, but they were splitting like crazy, so I just used them for the seat slats and used regualar boards for the rest. The other thing I did differently was that I didn't countersink my screws on the seat boards. I painted my pocket hole screws black and let them show. This way, if my friend ever wants to change the color of the chairs, she can easily unscrew them, paint the chair and screw them back on. This was a fun and "just challenging enough" project. The table was my second build and the chairs are my third. Each project has taught me a ton!
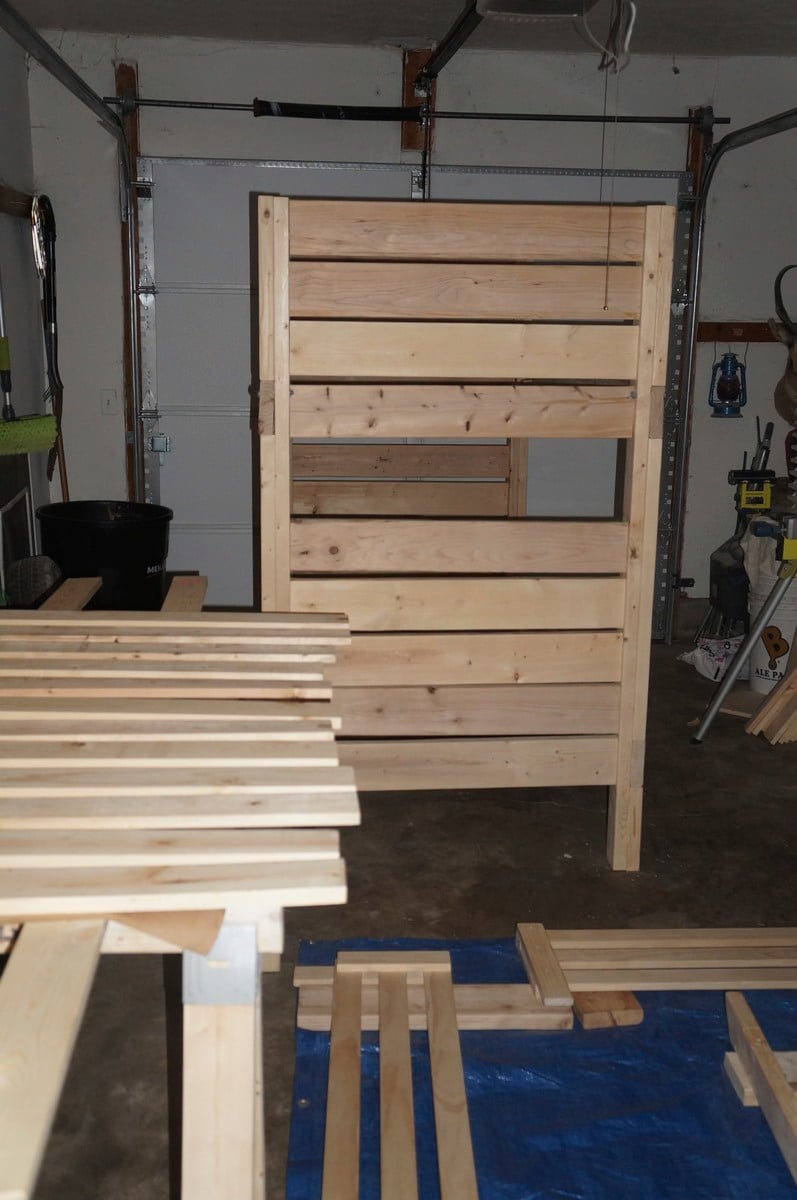
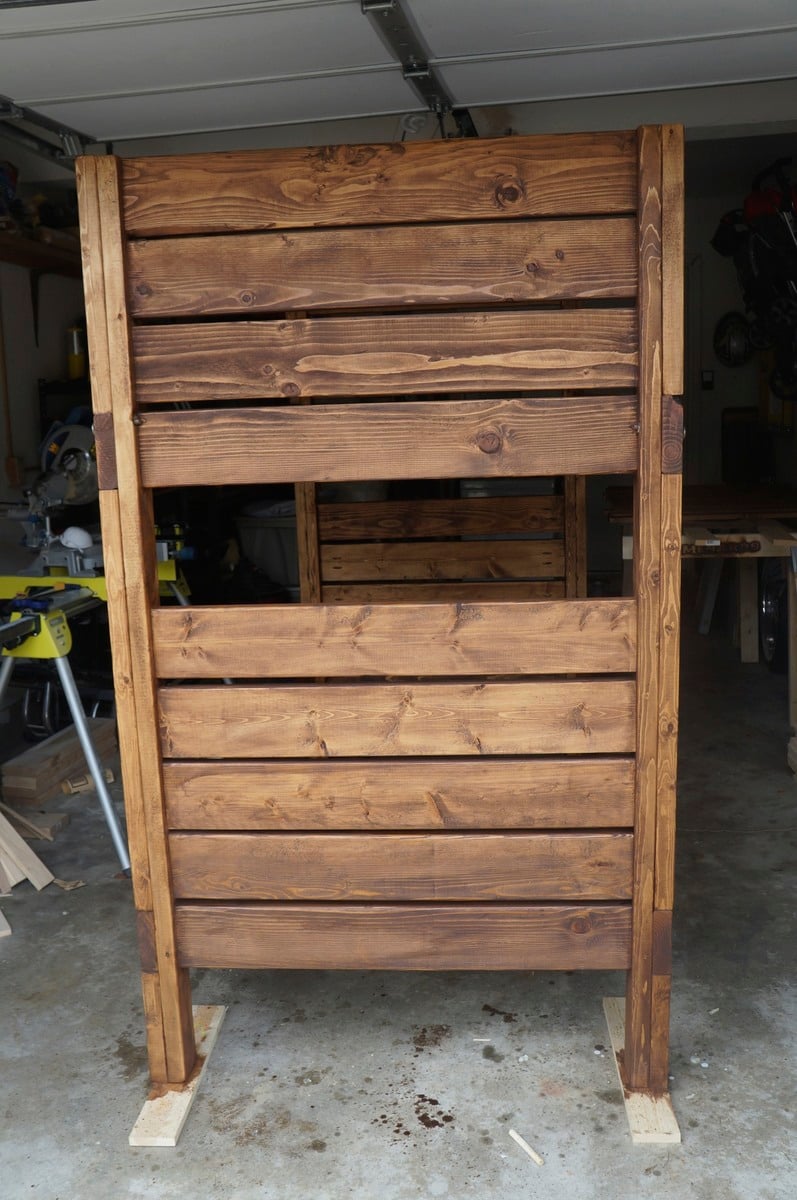
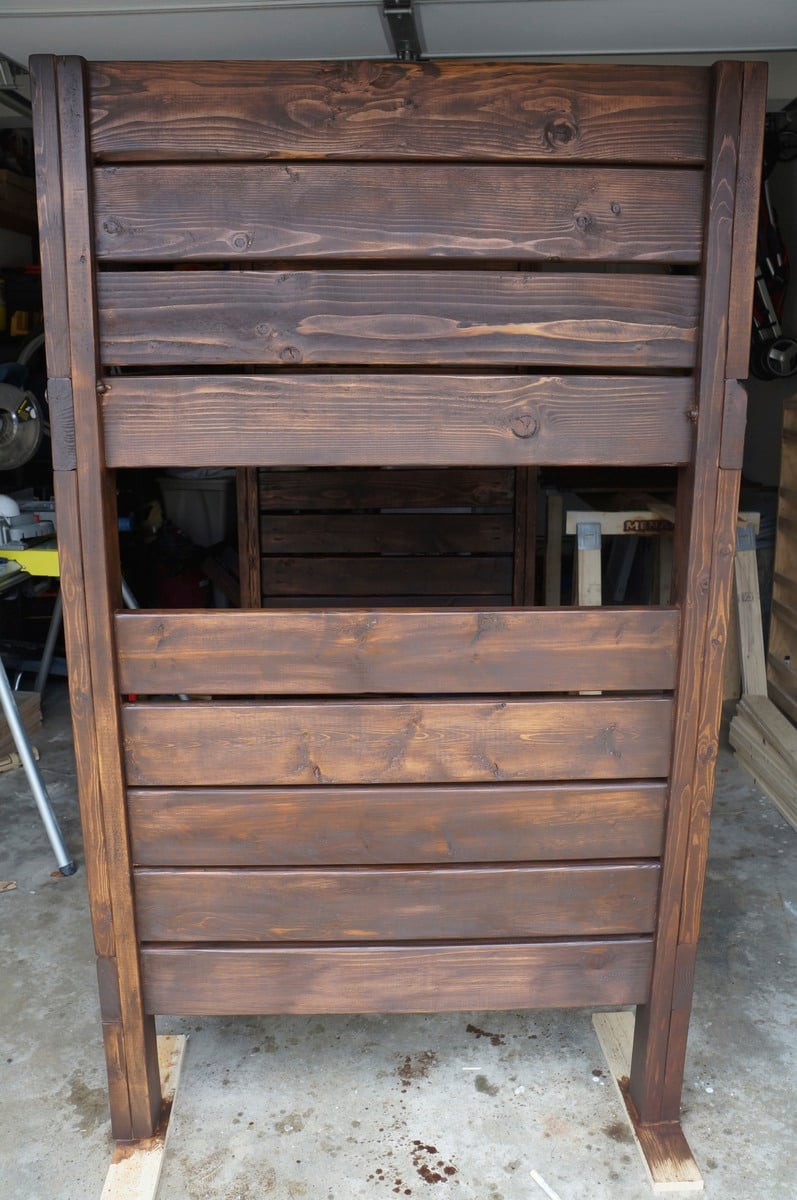
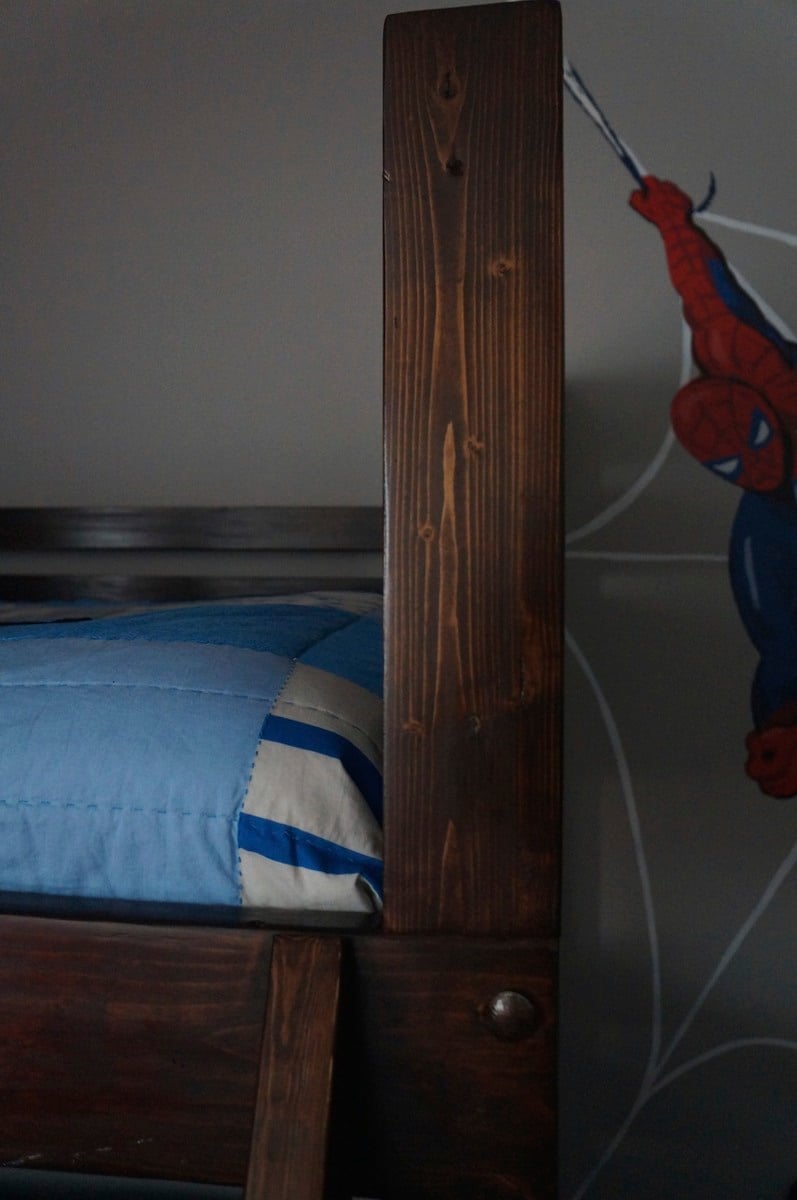
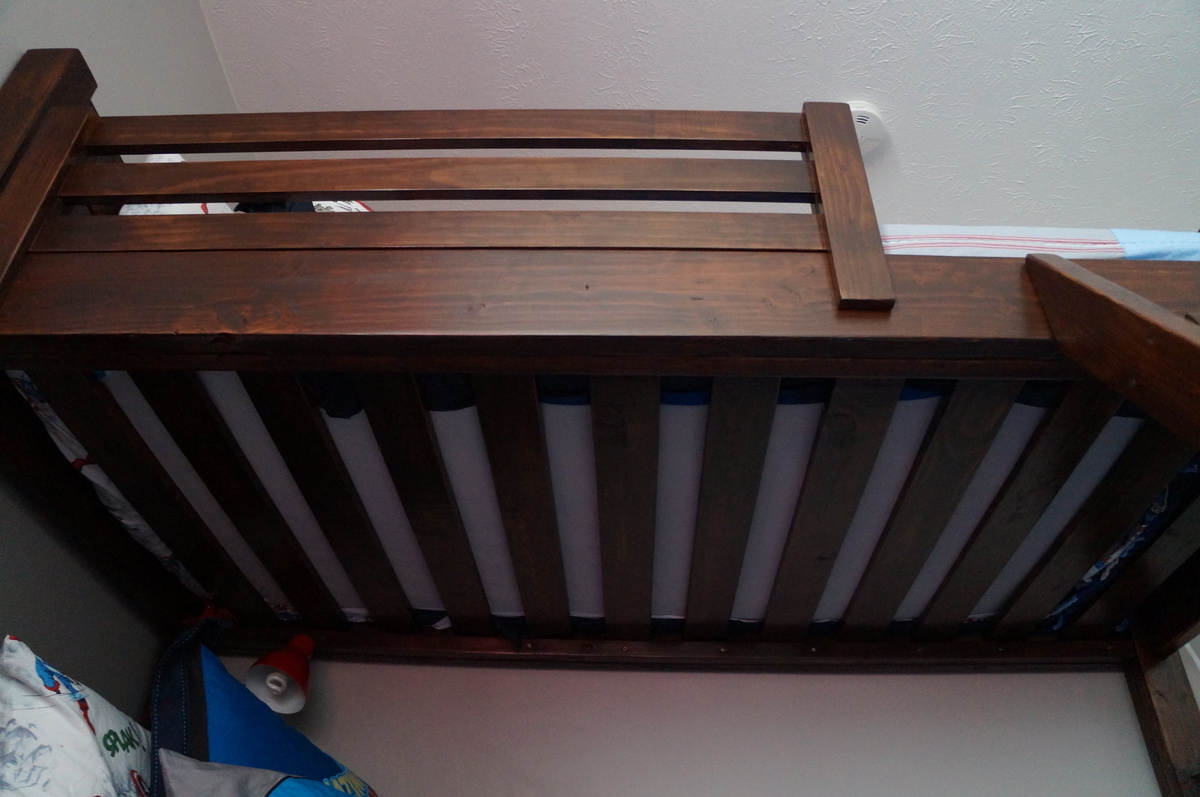
We just finished the side street bunk beds! We got all our wood from Menards, our favorite store! My husband build the bunk bed and I finished it. I sanded it all with 180 and 220 grit sand paper. Sanding probably took the most time, I was covered! I filled all the screw holes with wood glue and saw dust. These areas ended up looking like knots when stained so I was very pleased. Our wood was rough (now super smooth), it had a lot of character, so the screw holes blend right in. After sanding it, I applied the wood conditioner and 2 coats of Varathane premium dark walnut wood stain. I then applied one coat of Varathane fast drying, heavy use formula, clear, semi gloss Polyurethane. I did a light sanding on everything using 400 grit and then applied one more coat of Polyurethane. For the wood conditioner, stain and polyurethane I applied it with a foam brush and wiped it off a staining pad. It went on very even, definitely recommend using both! I ahve used expensive brushes before and the cheap .50 cent brushes worked so much better! We waited to attach the ladder and guard rails till it was up in my son's room, which made staining it a lot easier. I even stained the boards that hold the mattresses. My son is a very tall, almost 4 year old and the angle ladder is perfect. He was very excited to get it up in his room this weekend!
Also in the finished photo are two navy blue Simple Bookshelves and the Flat Wall Bookholder also finished in dark walnut!
Photo's: I posted a photo of after the first coat of stain and after the second coat. I was nervous the second coat was too dark (accidentally forgot to keep stirring the can) but after I applied the polyurethane the chalky look disappeared. Only had to use one quart can of both the stain and Polyurethane for the finish.
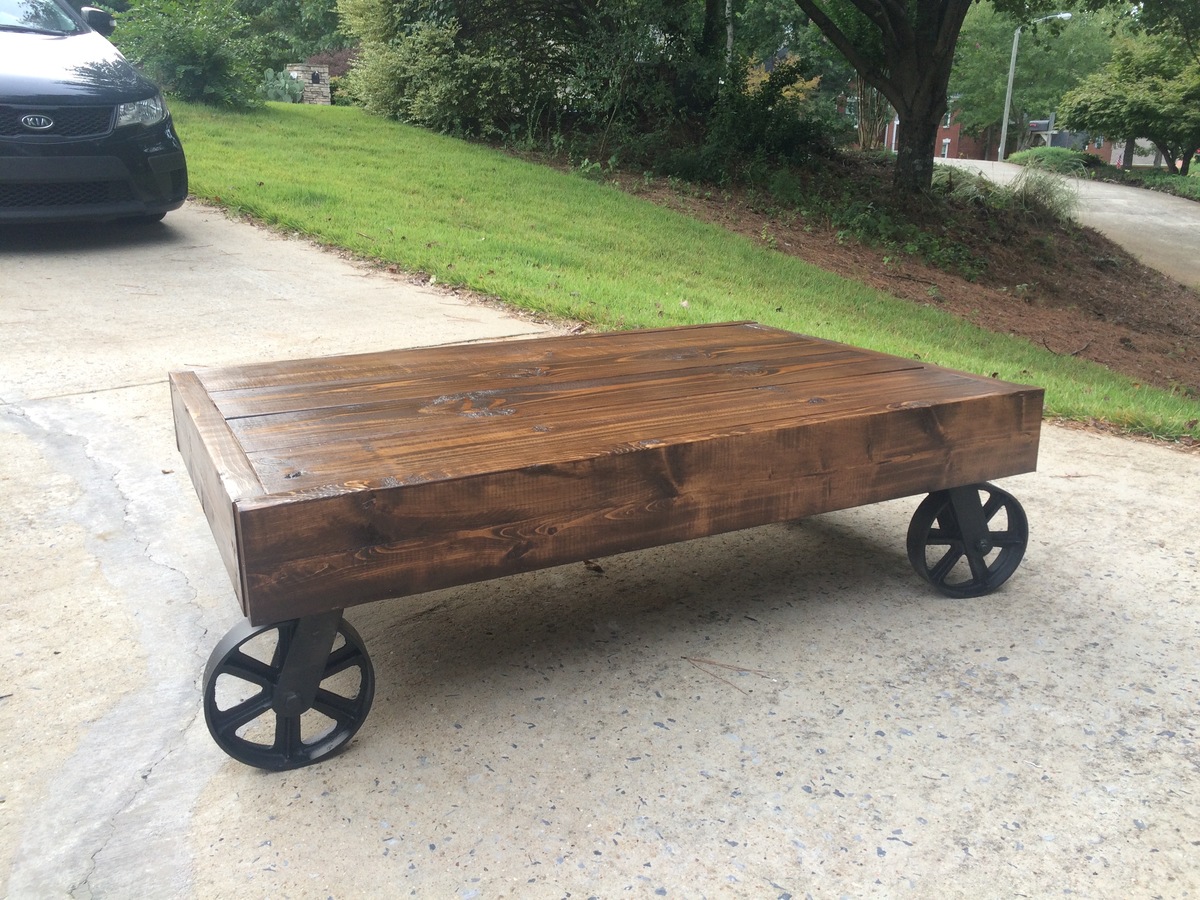
My favorite build so far! This table is so unique and adds such a great touch to a chic space. This project is pretty inexpensive to build, as the biggest cost is the caster wheels on the bottom. They typically go on sale at Northern Tool though!
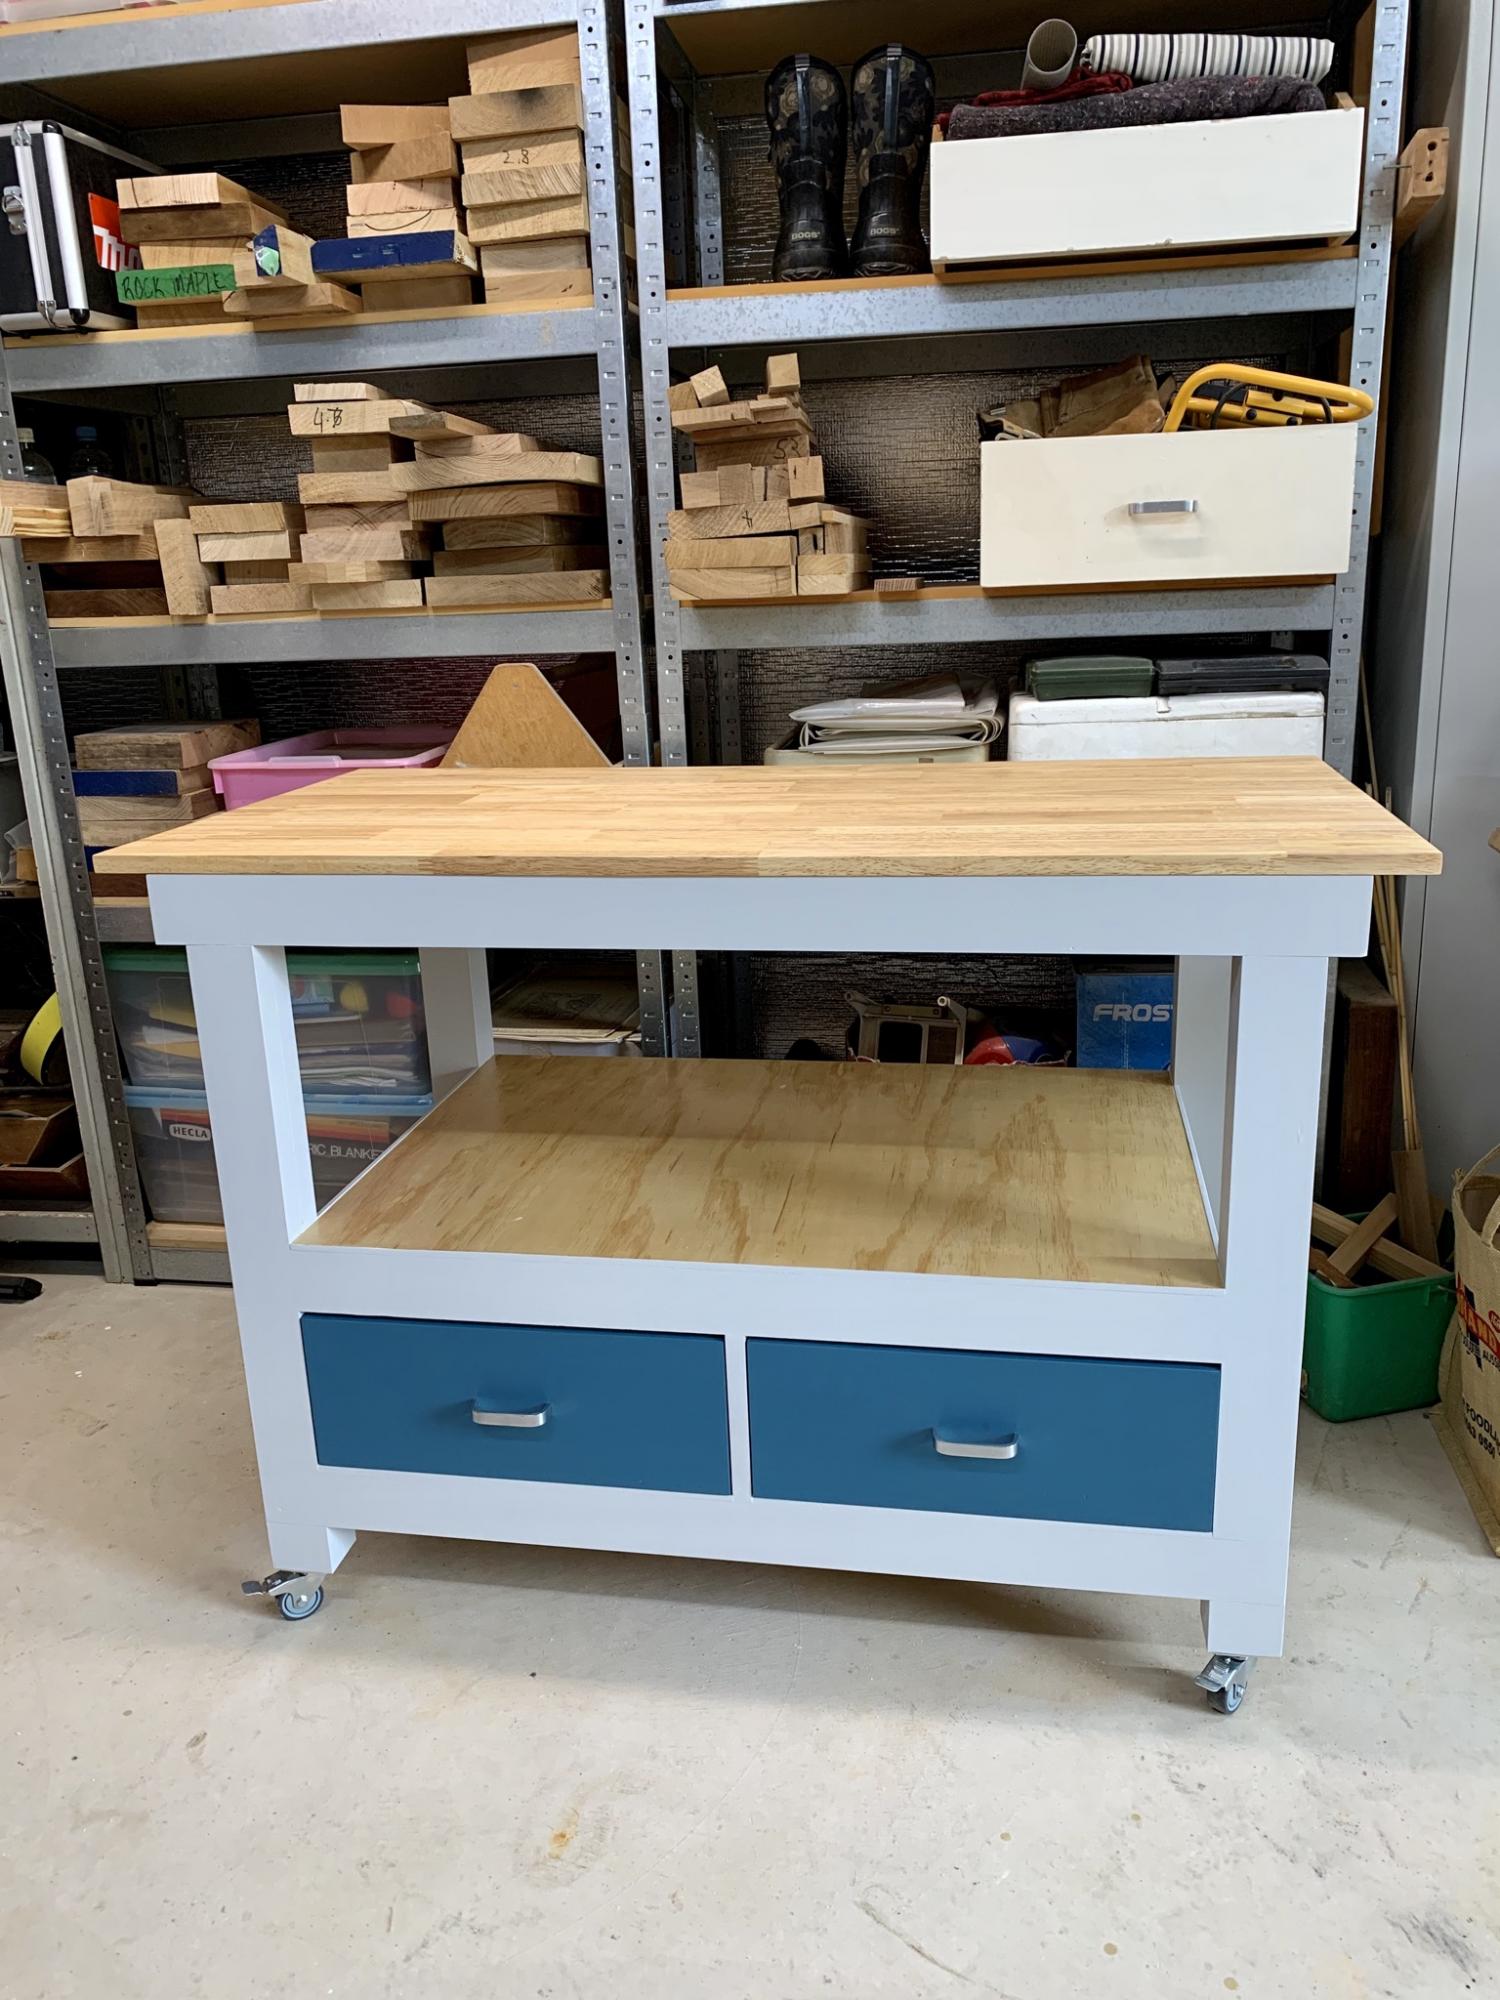
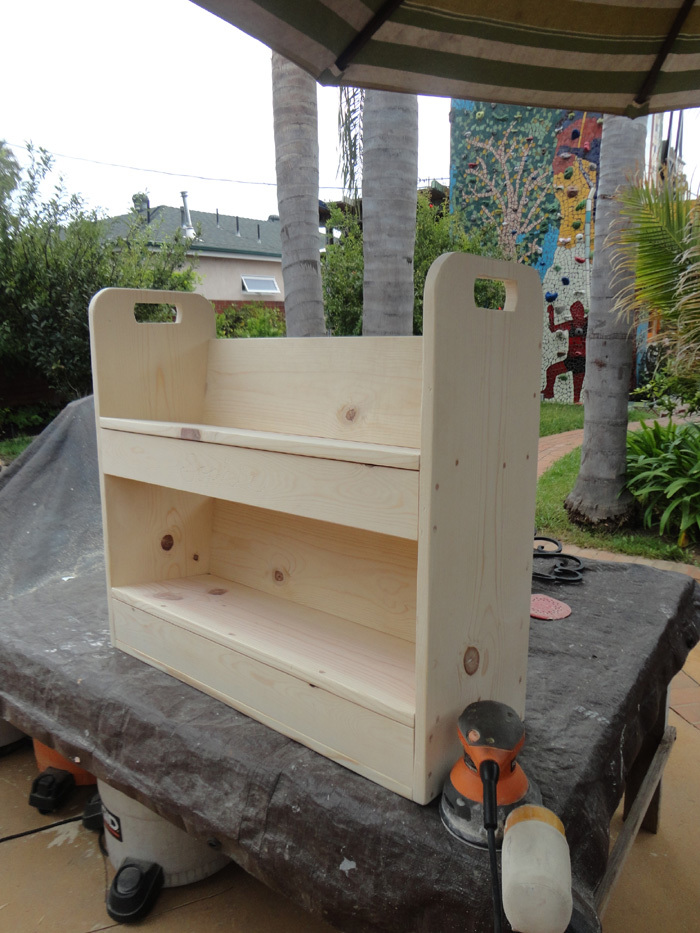
My first build. Easy to follow plans for a beginner. I incorporated 2 drawers for extra storage.
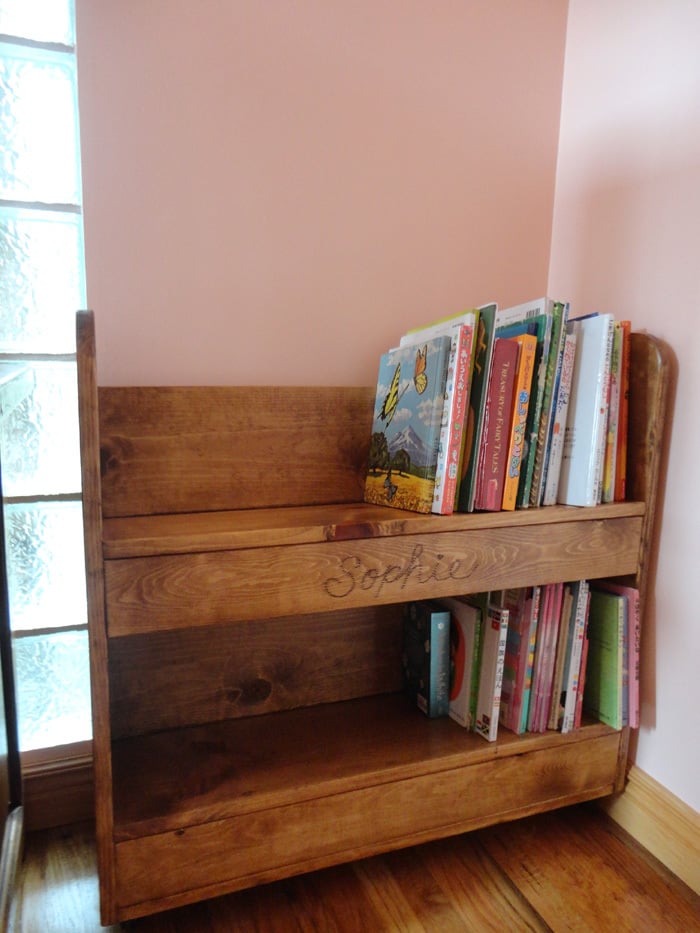
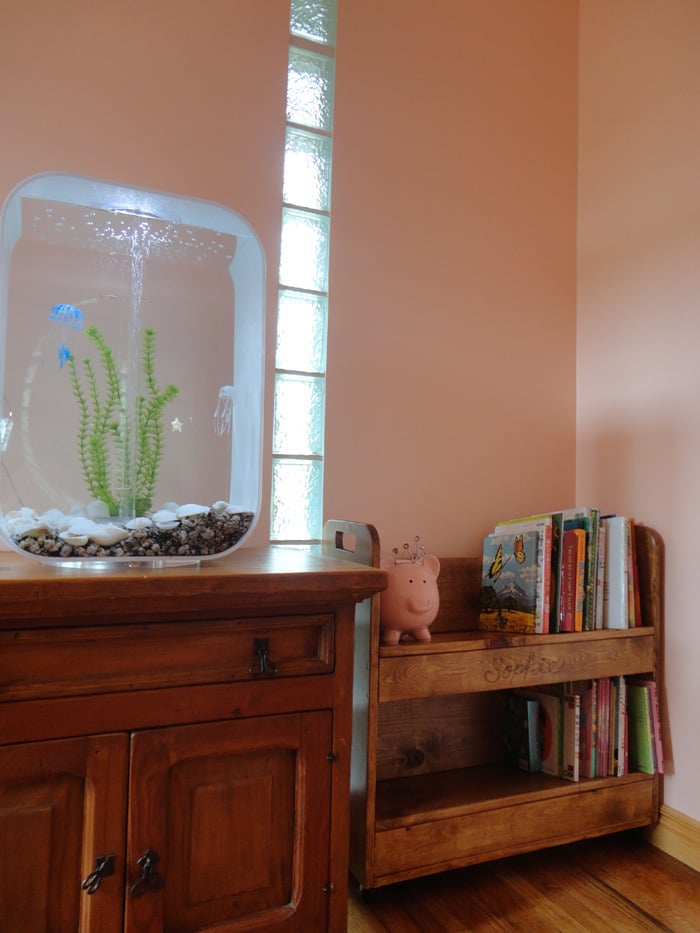
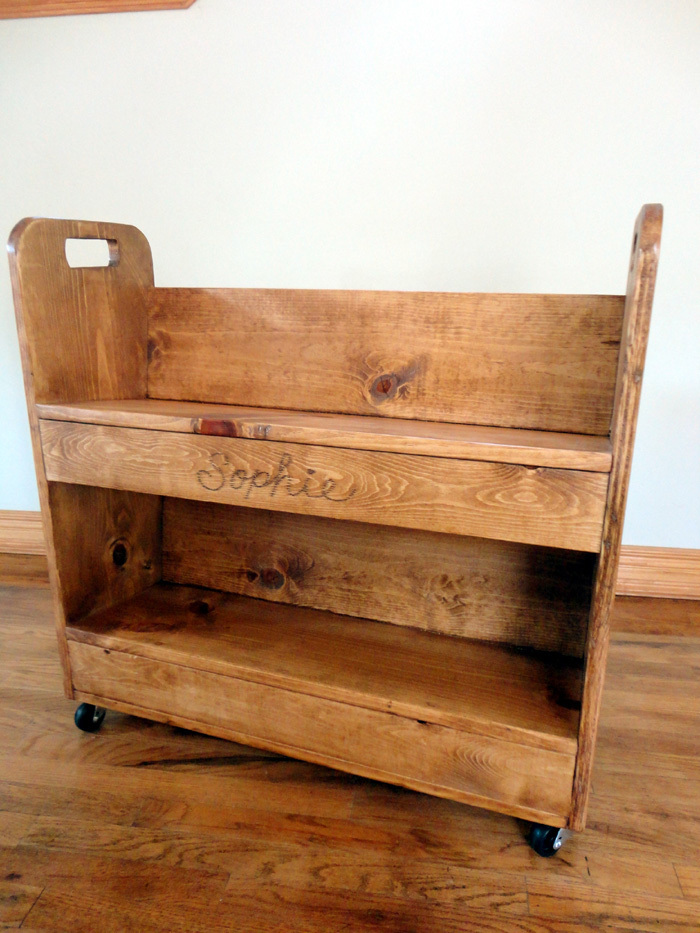
I built this book shelf for my daughter.
I made both the top and the bottom shelves an angled.
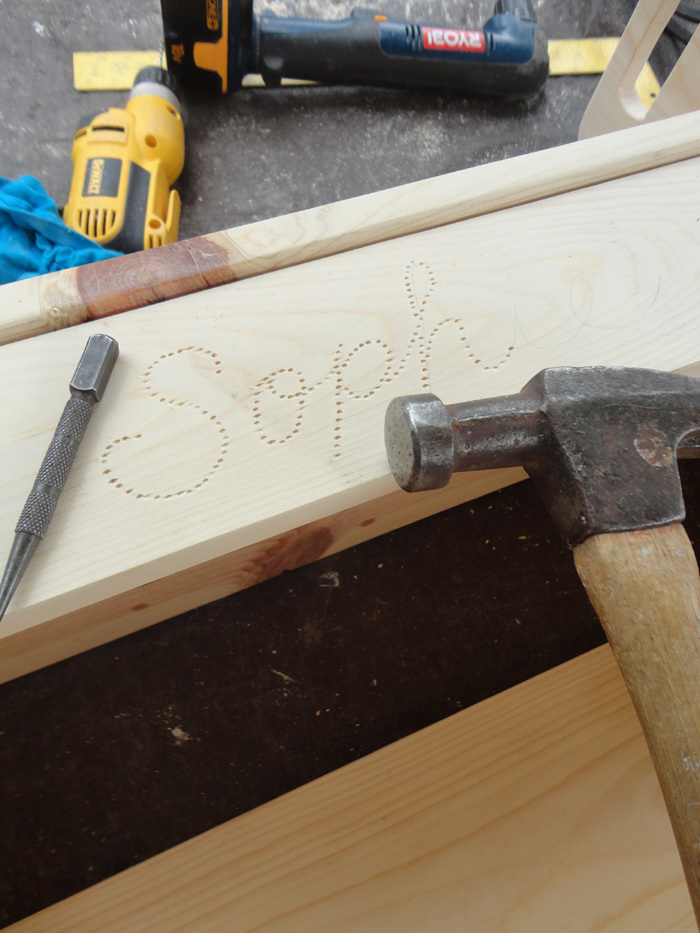
I used a finishing nail punch to emboss the name.
I mixed 3 different color stains to match the other furniture.
Used 2" caster wheels from Home Depot.
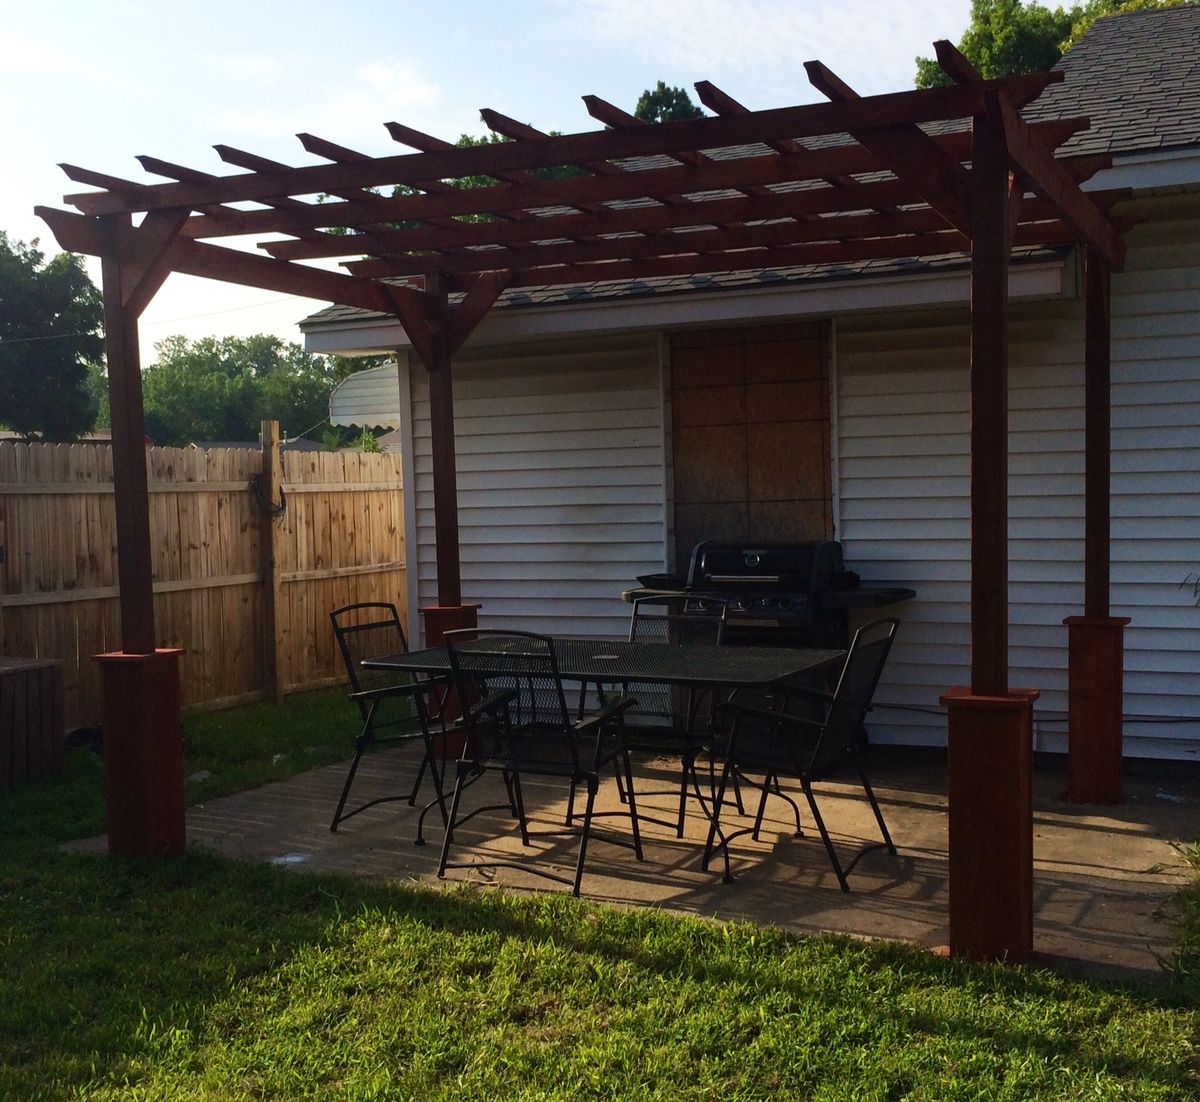
First pergola build. Plans were very easy to follow and it turned out great!
Wed, 07/09/2014 - 20:54
It looks wonderful! Did you cement the posts into the ground?
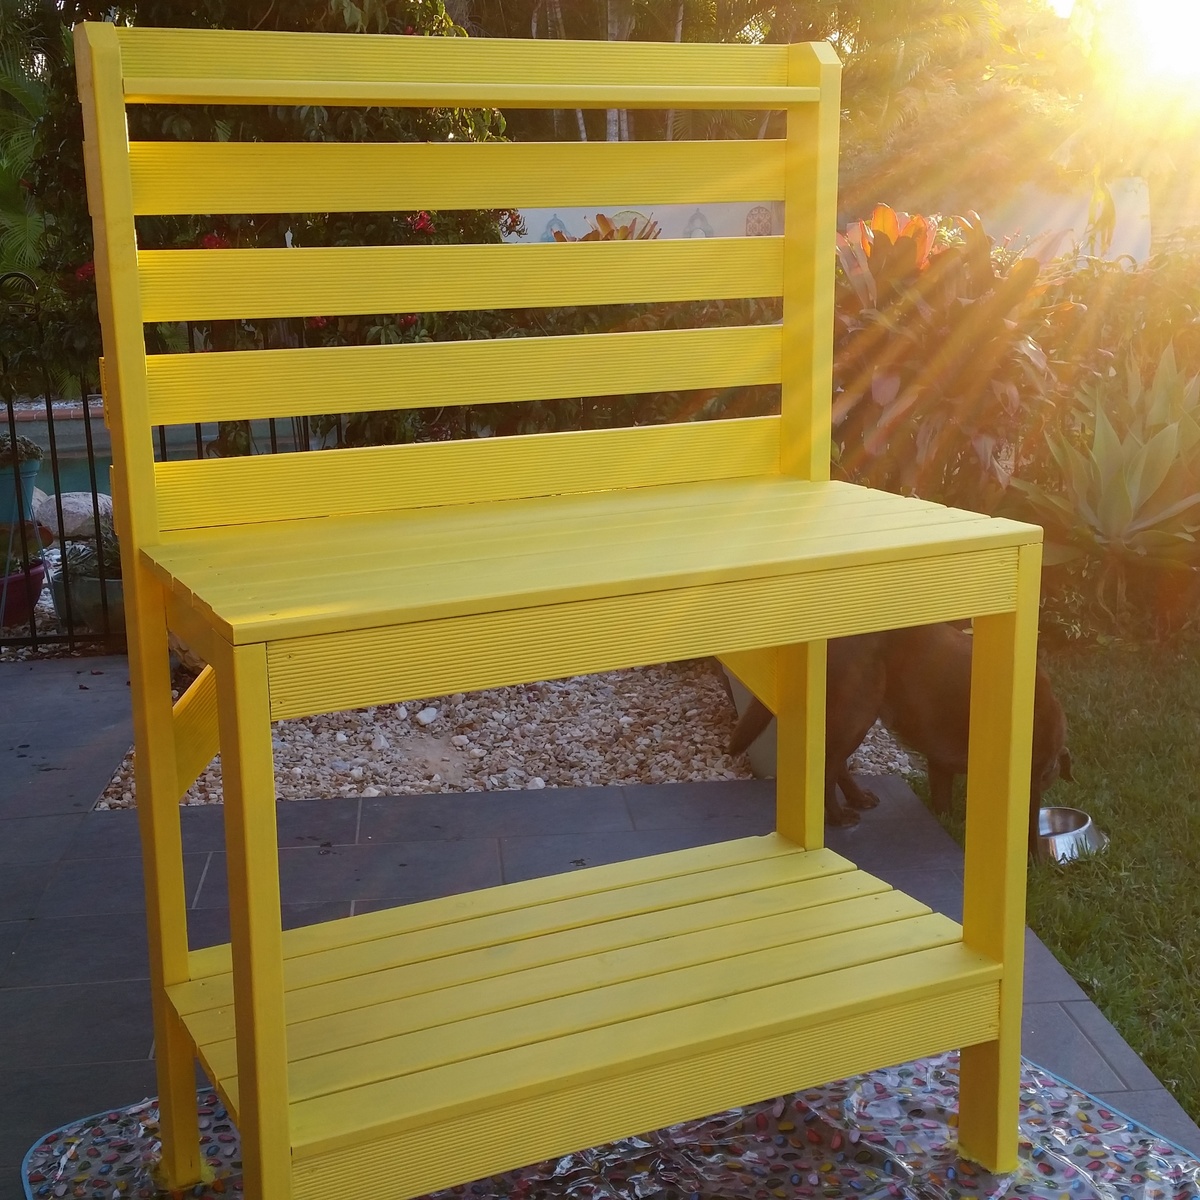
Loved making this potting bench for myself. My hubby guided me on using the power tools & I thoroughly enjoyed getting my hands on those!! Such a sense of satisfaction & the beautiful pop of yellow brightens up that corner of my garden even when not in use. Great plans Ana, Thank you!!
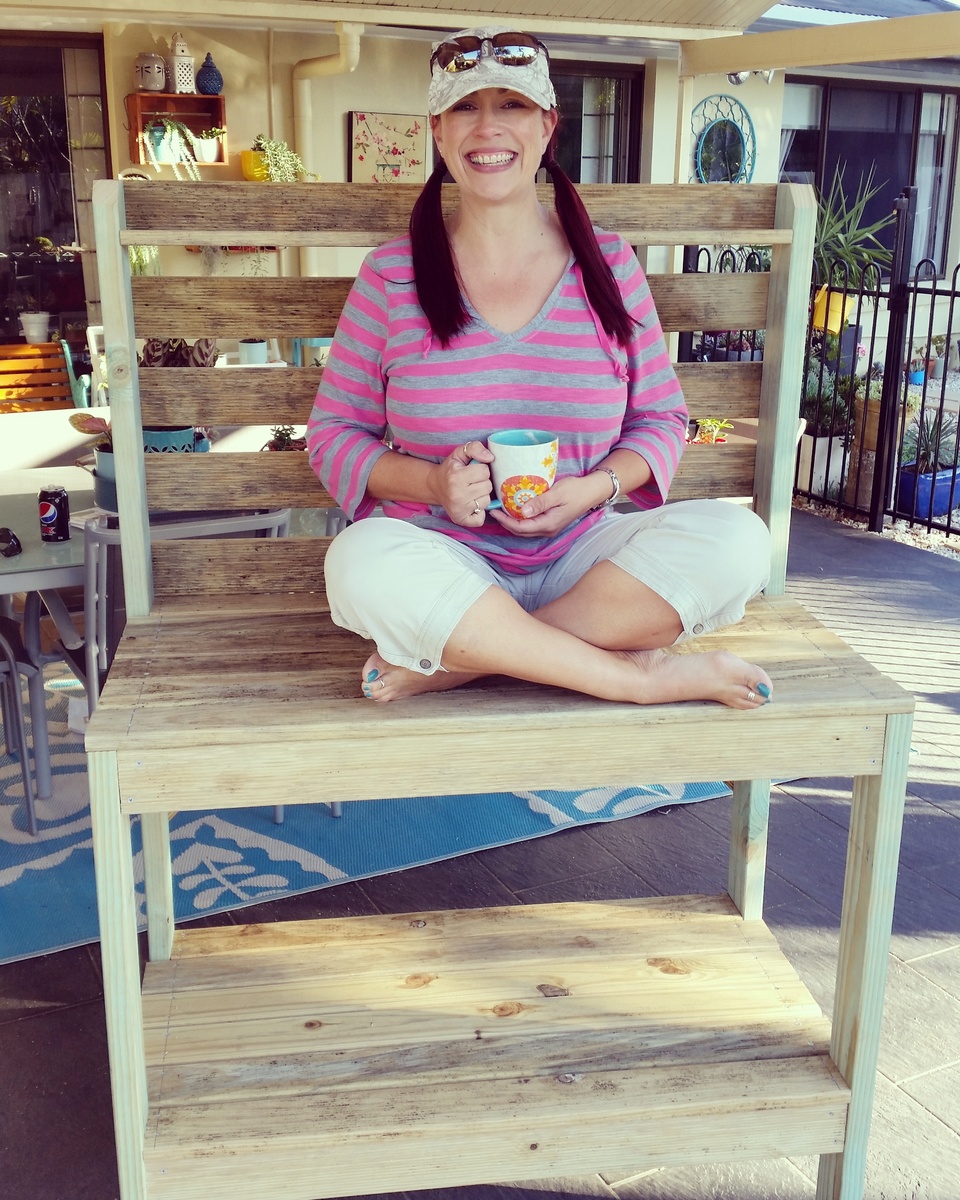
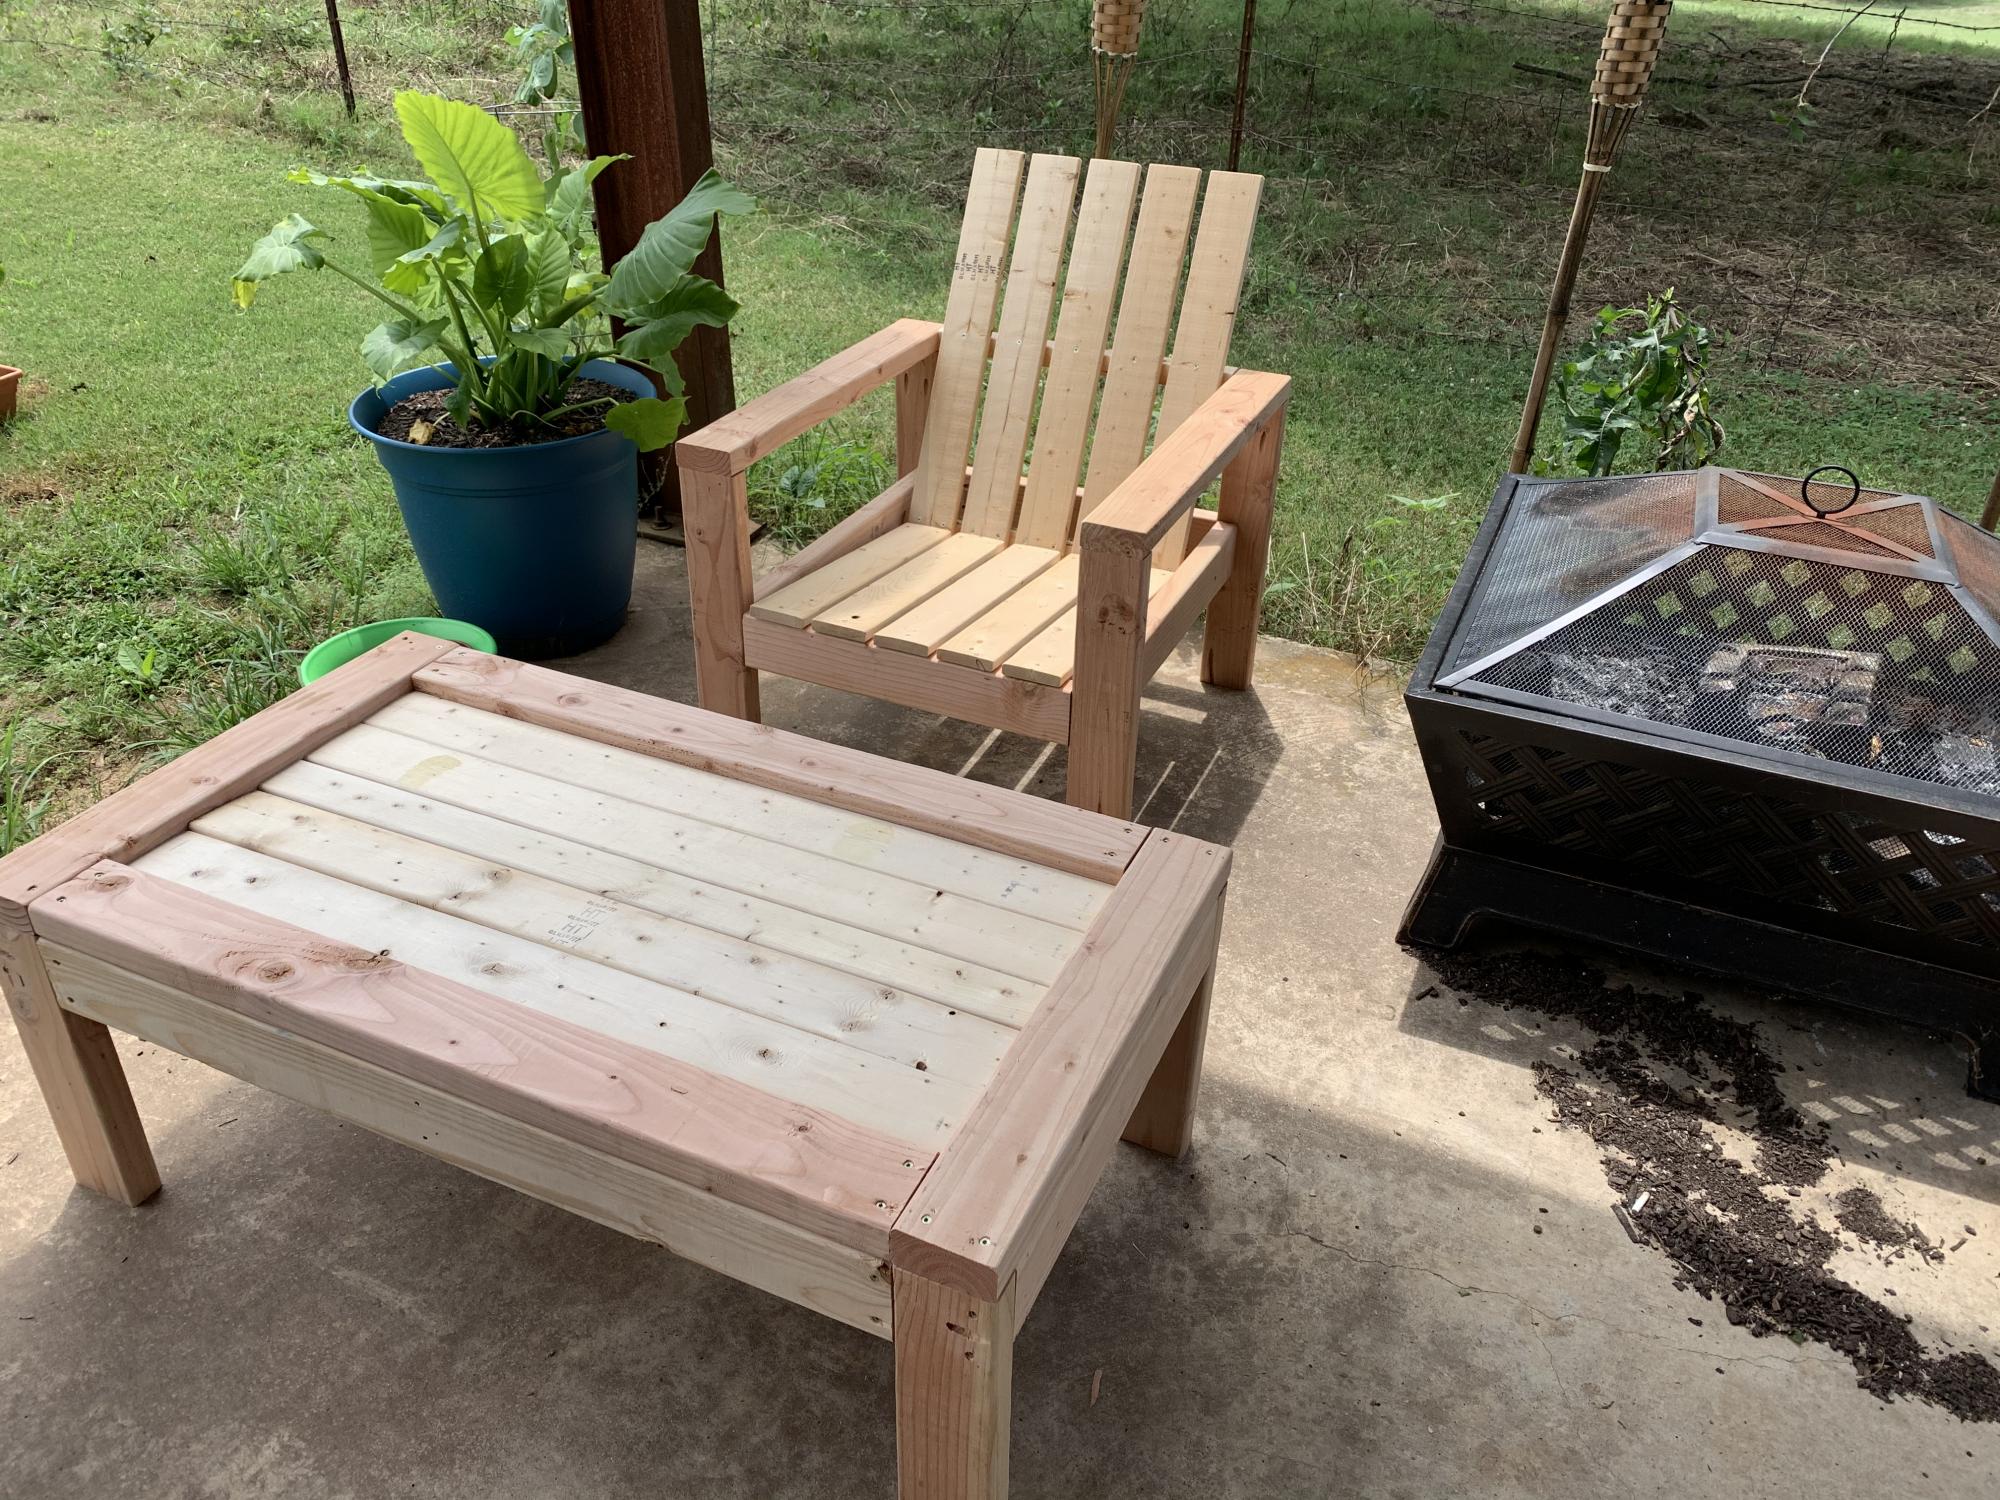
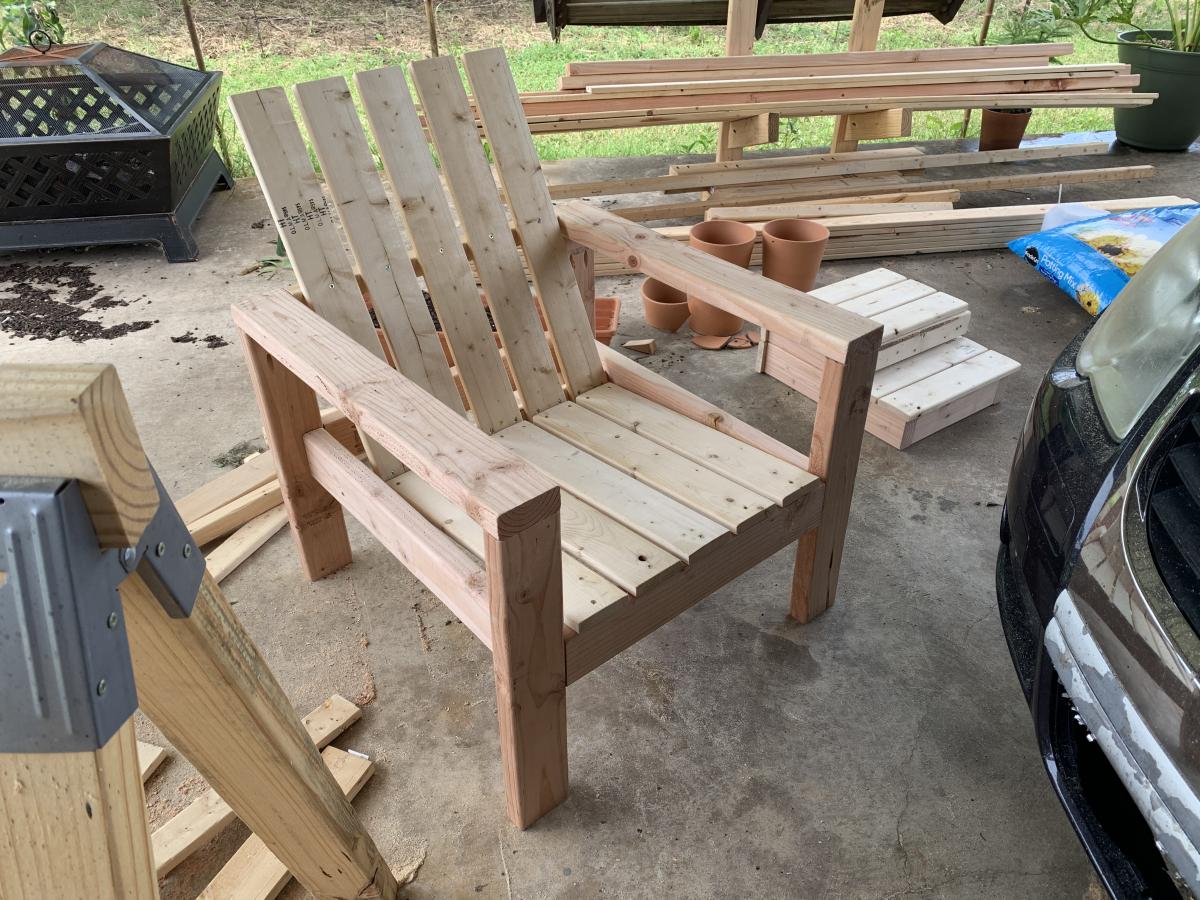
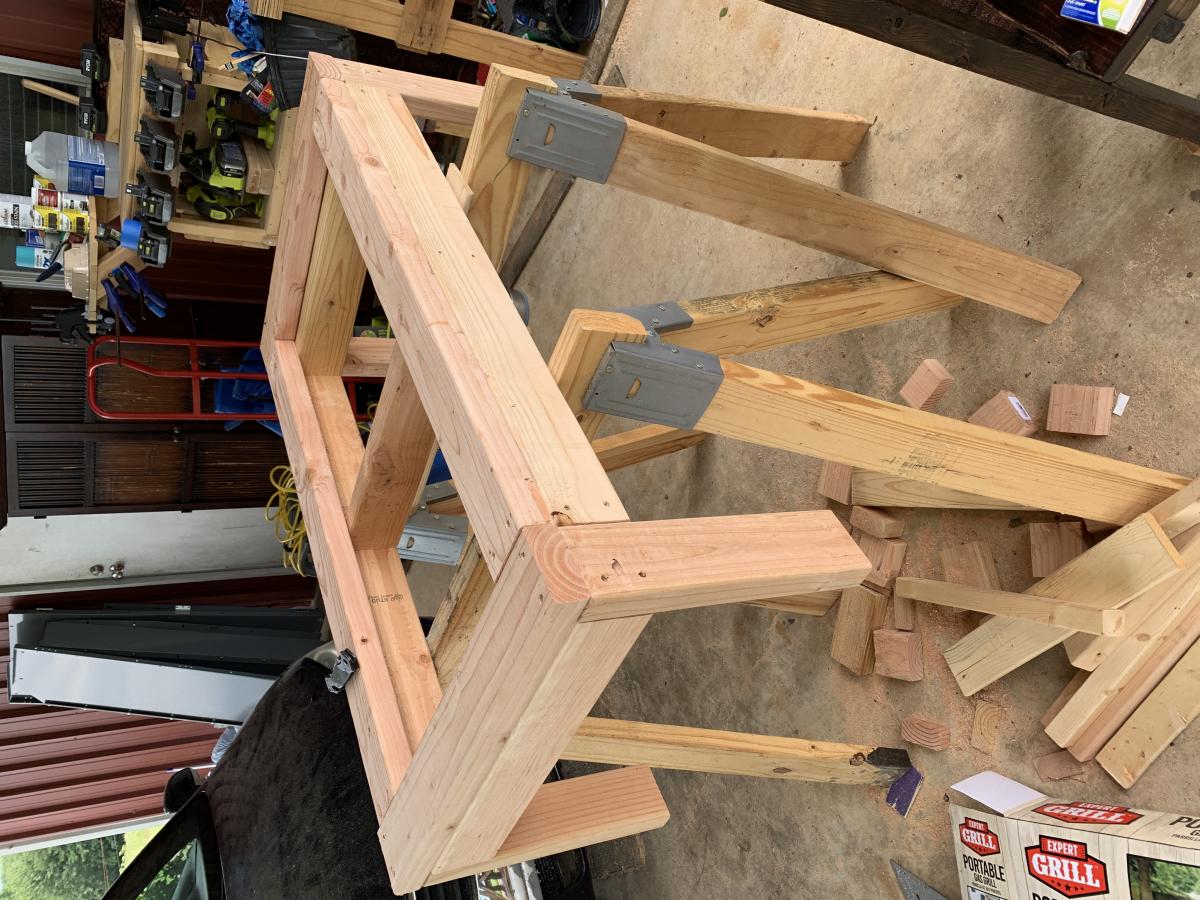
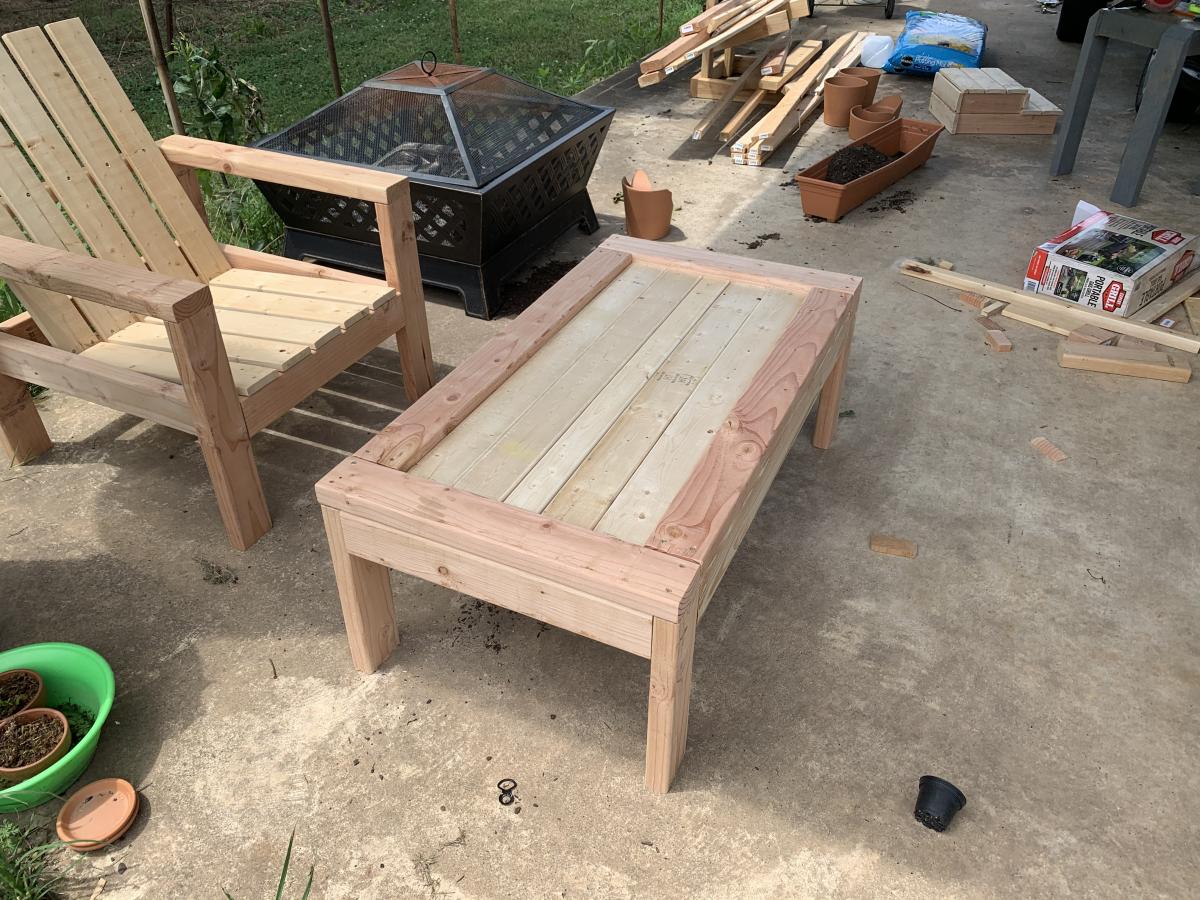
Still not done with it. I need to stain it and seal it with poly. I haven’t screwed down the center slats in the table yet so I can stain first but at least you get the gist of what it is ☺️ This is only my second table and chair set. Still going to add another chair and a sofa. And still not sure what color to stain it. May even go natural. I LOVE the red tones that are naturally in these 2x4’s.
Comments
Ana White
Mon, 10/03/2016 - 10:01
Amazing Farmhouse Style Chicken Coop!
You and your friend did an amazing job! I love the cedar roof and white paint - so farmhouse chic! Thank you so much for bragging, love seeing your project! Ana