Community Brag Posts
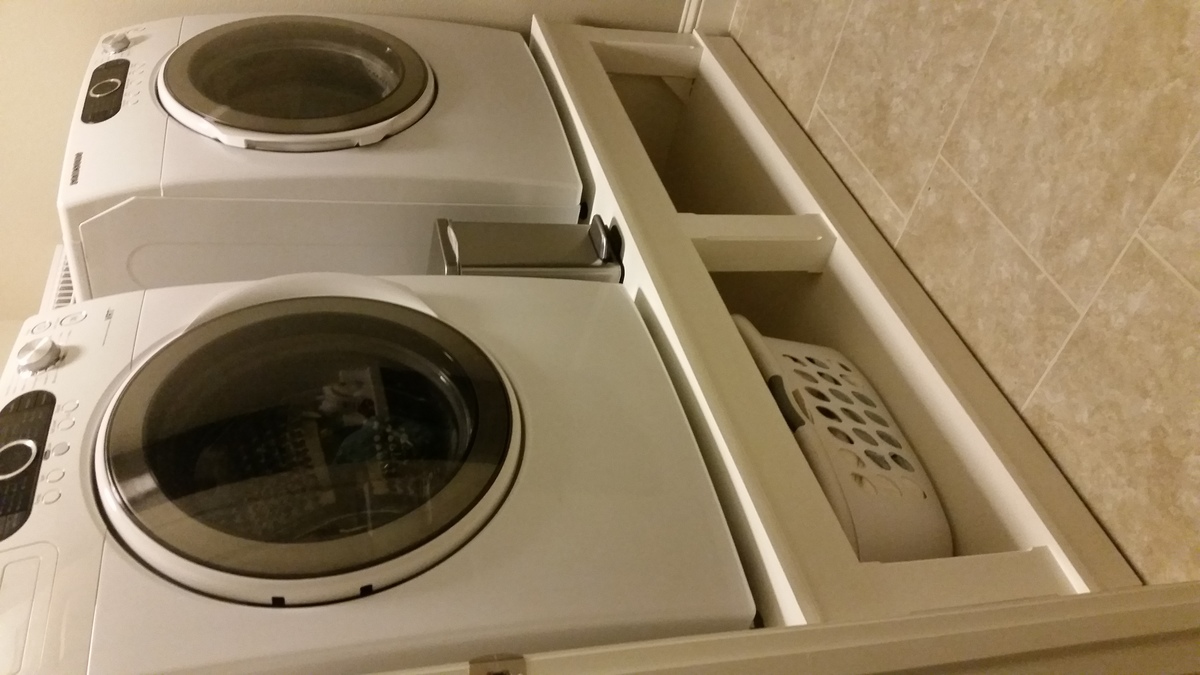
first build saushas laundry pedestal with a few adjustments.

weekend project that had been put off for about a year and finally got done. was not that challenging even for a rookie. turned out well and most of all the mrs. was pleased with it.
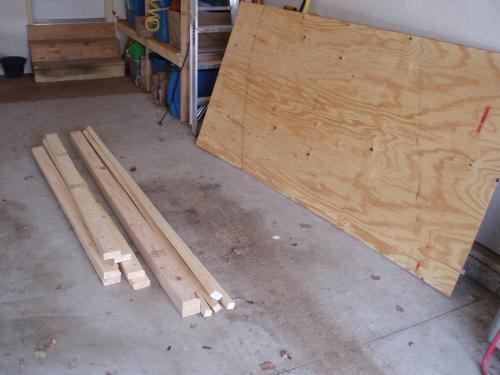
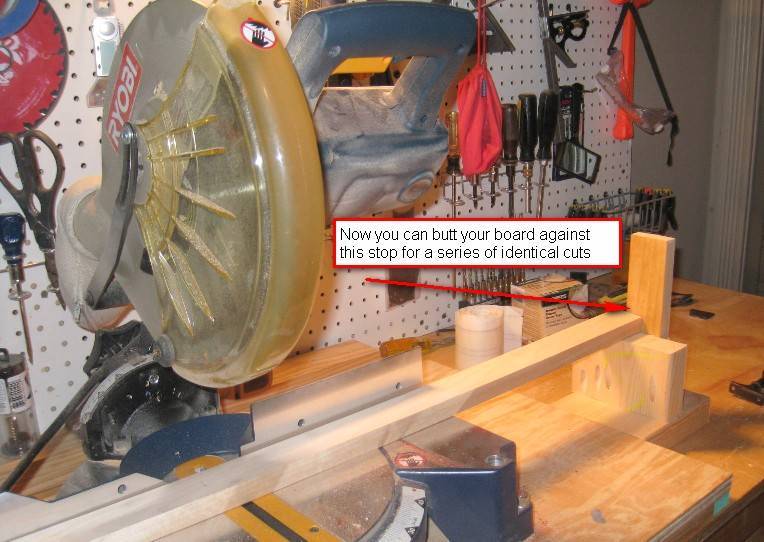
photo 1: materials
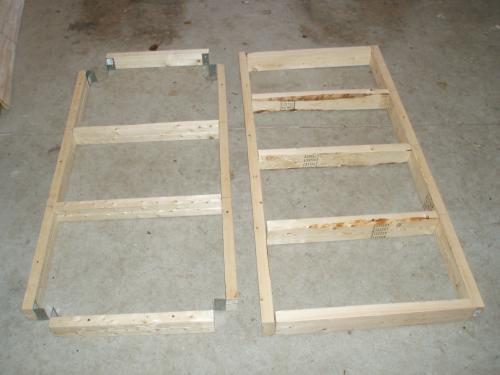
photo 2: lower level on left and upper level on right
photo 3:close up of each level, bottom level was stacked 2x2's plus 3/8 ply on top and 1/8 vinyl so that a 1x4 would cover the front flush and not have a lip so that tha baskets wont get caught.
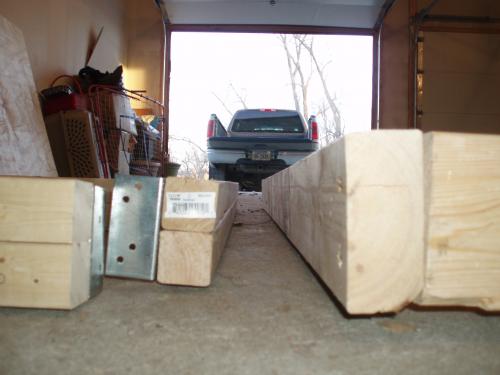
photo 4: base with corner posts
photo 5: all set minus the trim boards!
final trim on the top level overlapped by 1/2" to act as a lip to hold w/d in place if they decided to "move" on me.

Estimated Cost
~$100
Estimated Time Investment
Weekend Project (10-20 Hours)
Finish Used
stain was ipswitch pine not sure of the brand
and the loose lay vinyl was leftover fom the flooring as you can see i think it adds to the project
and the loose lay vinyl was leftover fom the flooring as you can see i think it adds to the project
Recommended Skill Level
Starter Project
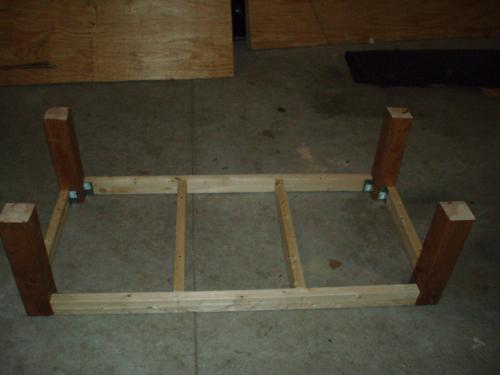
Toddler bed

I made a loft bed for my 4-year-old son using Ana's Chelsea Loft plans. When I finished, I was able to build this toddler bed for my 1-year-old using almost entirely scraps left over from the loft (save for the 1x6 runners). I skipped the curved headboard design and went with a solid piece of 1x12. I was going to round the top edges or cut a more rounded design, but my wife said she liked the squared off look better (she has lots of ideas for painting various designs on it, apparently). Since we were going to use paint and not stain, I ripped some leftover MDF board for the 1x6 footers. The whole project took a single afternoon, including cutting, assembly, woodfill and sanding. The end result is pretty sturdy. My wife laid on it with both our small children and the slats hardly bowed at all.
Built from Plan(s)
Estimated Cost
$5
Estimated Time Investment
Afternoon Project (3-6 Hours)
Recommended Skill Level
Beginner
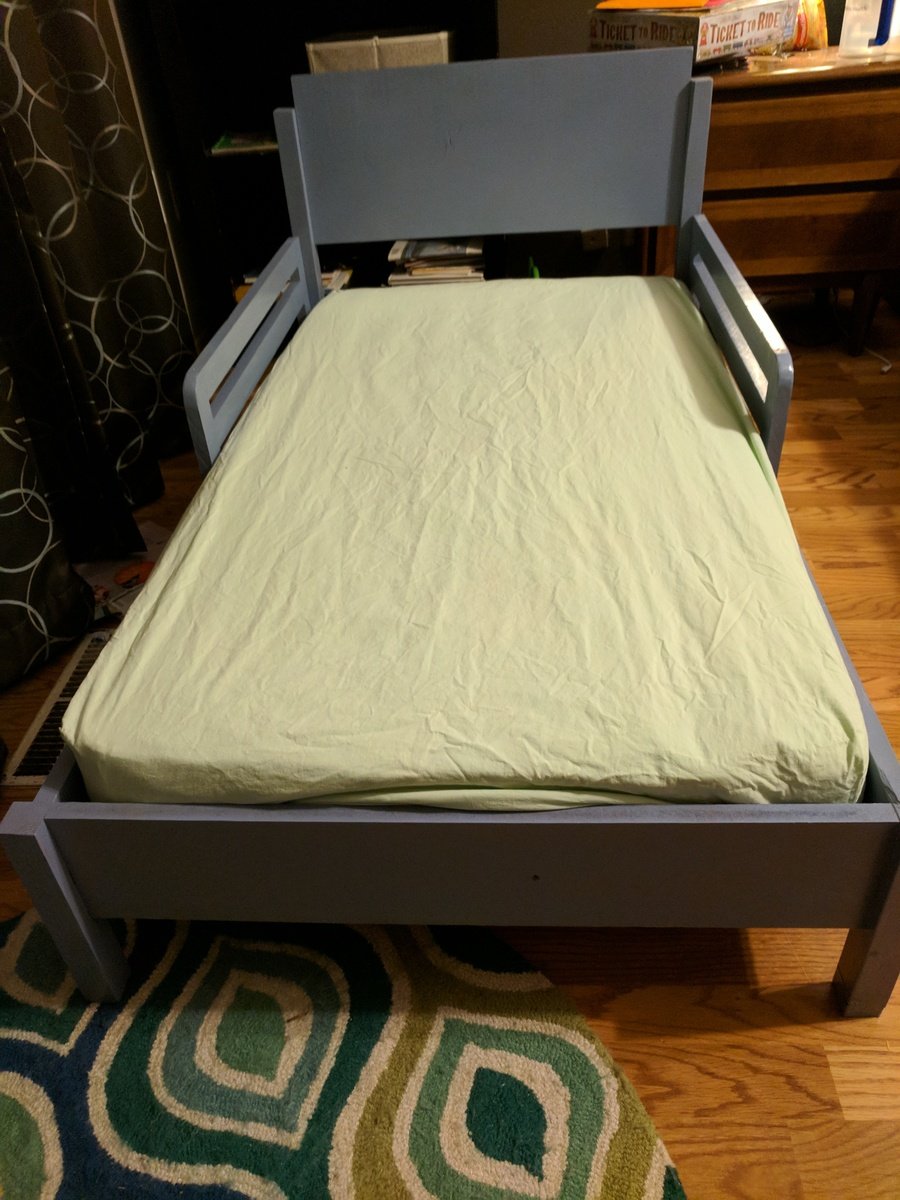
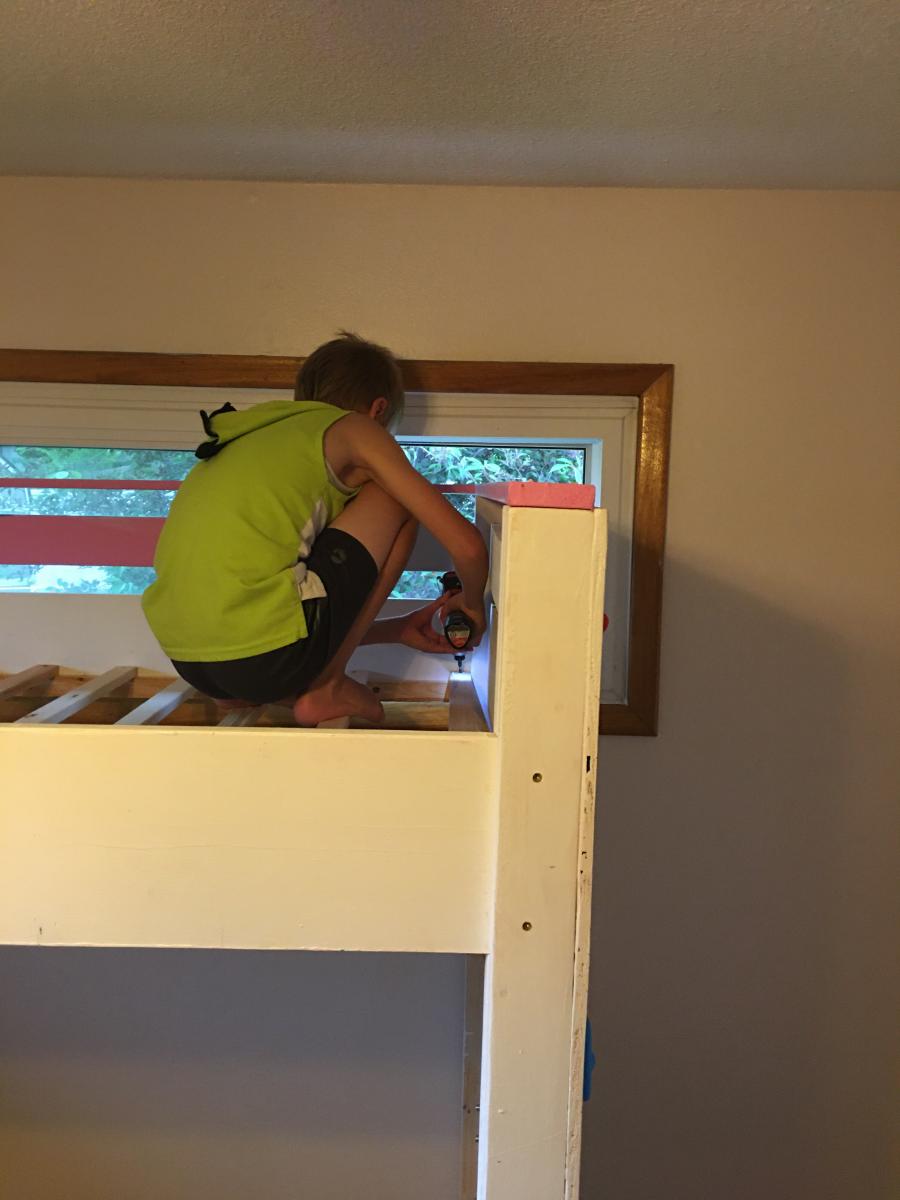
Loft Bed
My 8 year old really wanted a loft bed. We were homeschooling and he was struggling with fractions so I decided to use carpentry to teach him fractions. He was hands on in every aspect of this project and did 80% of the work. I’m very proud of him!
Built from Plan(s)
Comments
Fri, 10/08/2021 - 10:43
Now that's smart!
Such a great way to teach real world applications, thank you for sharing!
Vintage Step Stool
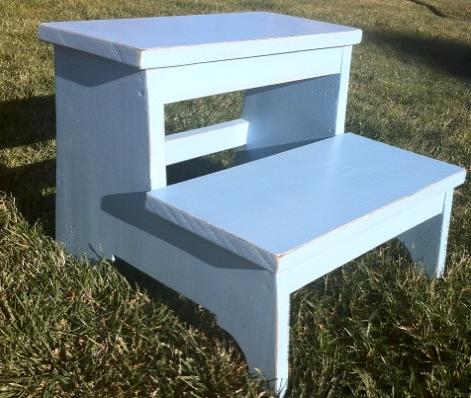
I LOVE this stool! I love the style, the function and how easy it was. I made this in just an hour while the kids were out front riding their bikes. The best part was it was a gift for my dear friend for her nursery.
I already have two more rooms in my house that are in need of this stool, so a few more are in my future.
Built from Plan(s)
Estimated Cost
$10-15
Estimated Time Investment
An Hour or Two (0-2 Hours)
Finish Used
Primed it with the Kilz oderless spray primer. Painted it with two coats of Ocean Breeze Spray paint. Sanded and distressed the edges of the stool. Finished it off with two coats of a spray on poly in a satin finish.
Recommended Skill Level
Beginner
We did it! Our first every project!
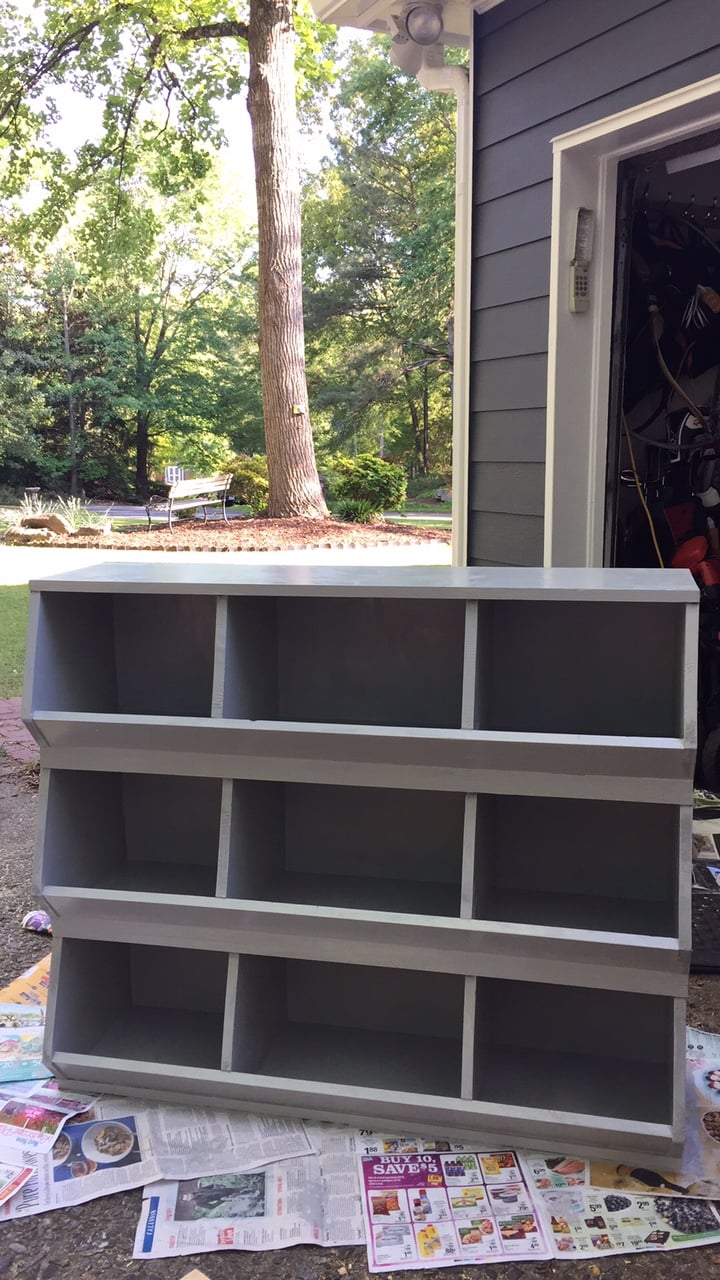
We are in desperate need of toy storage in our playroom. We are planning to build several more of these bulk bins.
Built from Plan(s)
Estimated Time Investment
Day Project (6-9 Hours)
Recommended Skill Level
Beginner
Comments
Mon, 05/04/2015 - 10:59
Awesome First Project!
You did great! Thanks for sharing, now fill those things up:)

Sun, 11/20/2016 - 10:39
type of wood
It was just standard pine. We painted afterwards with grey paint leftover from a kitchen project.
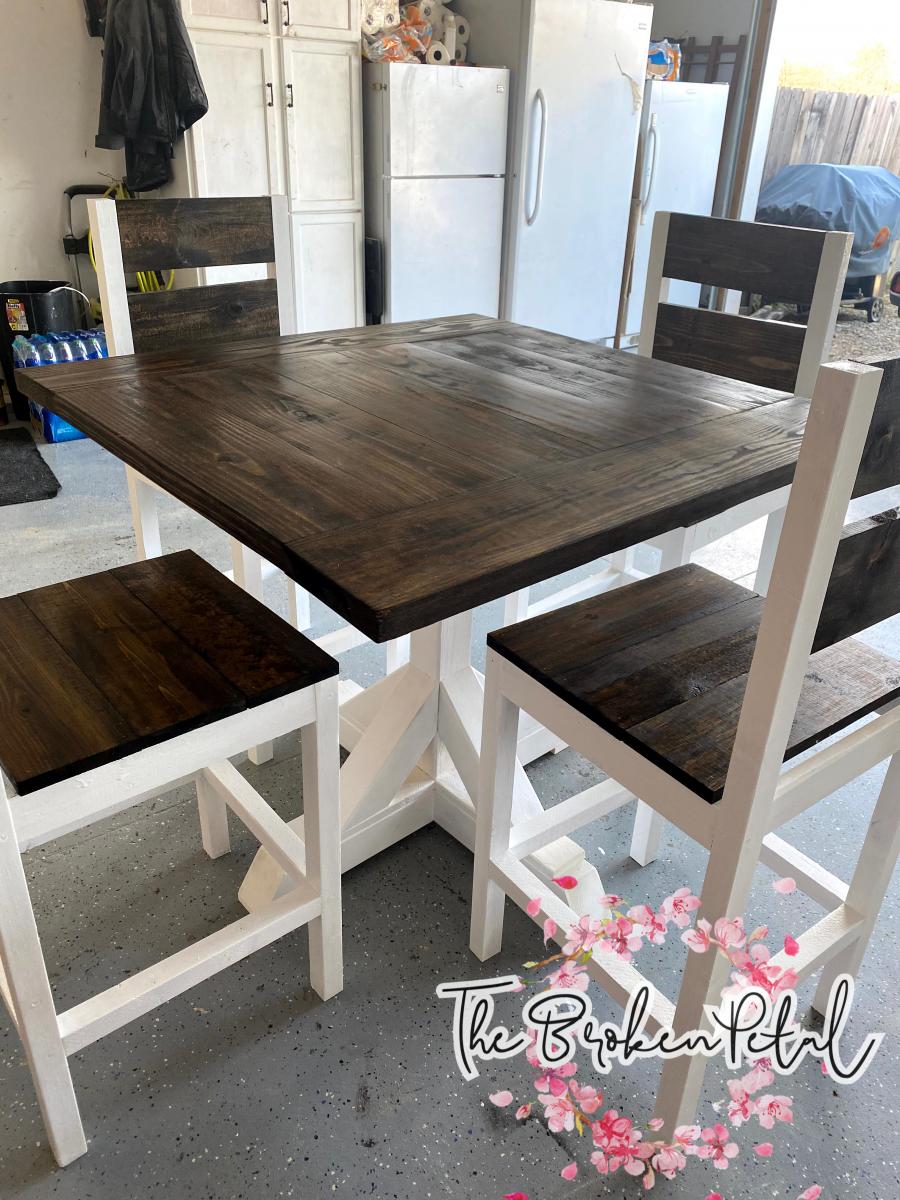
Counter Height Table & Chairs
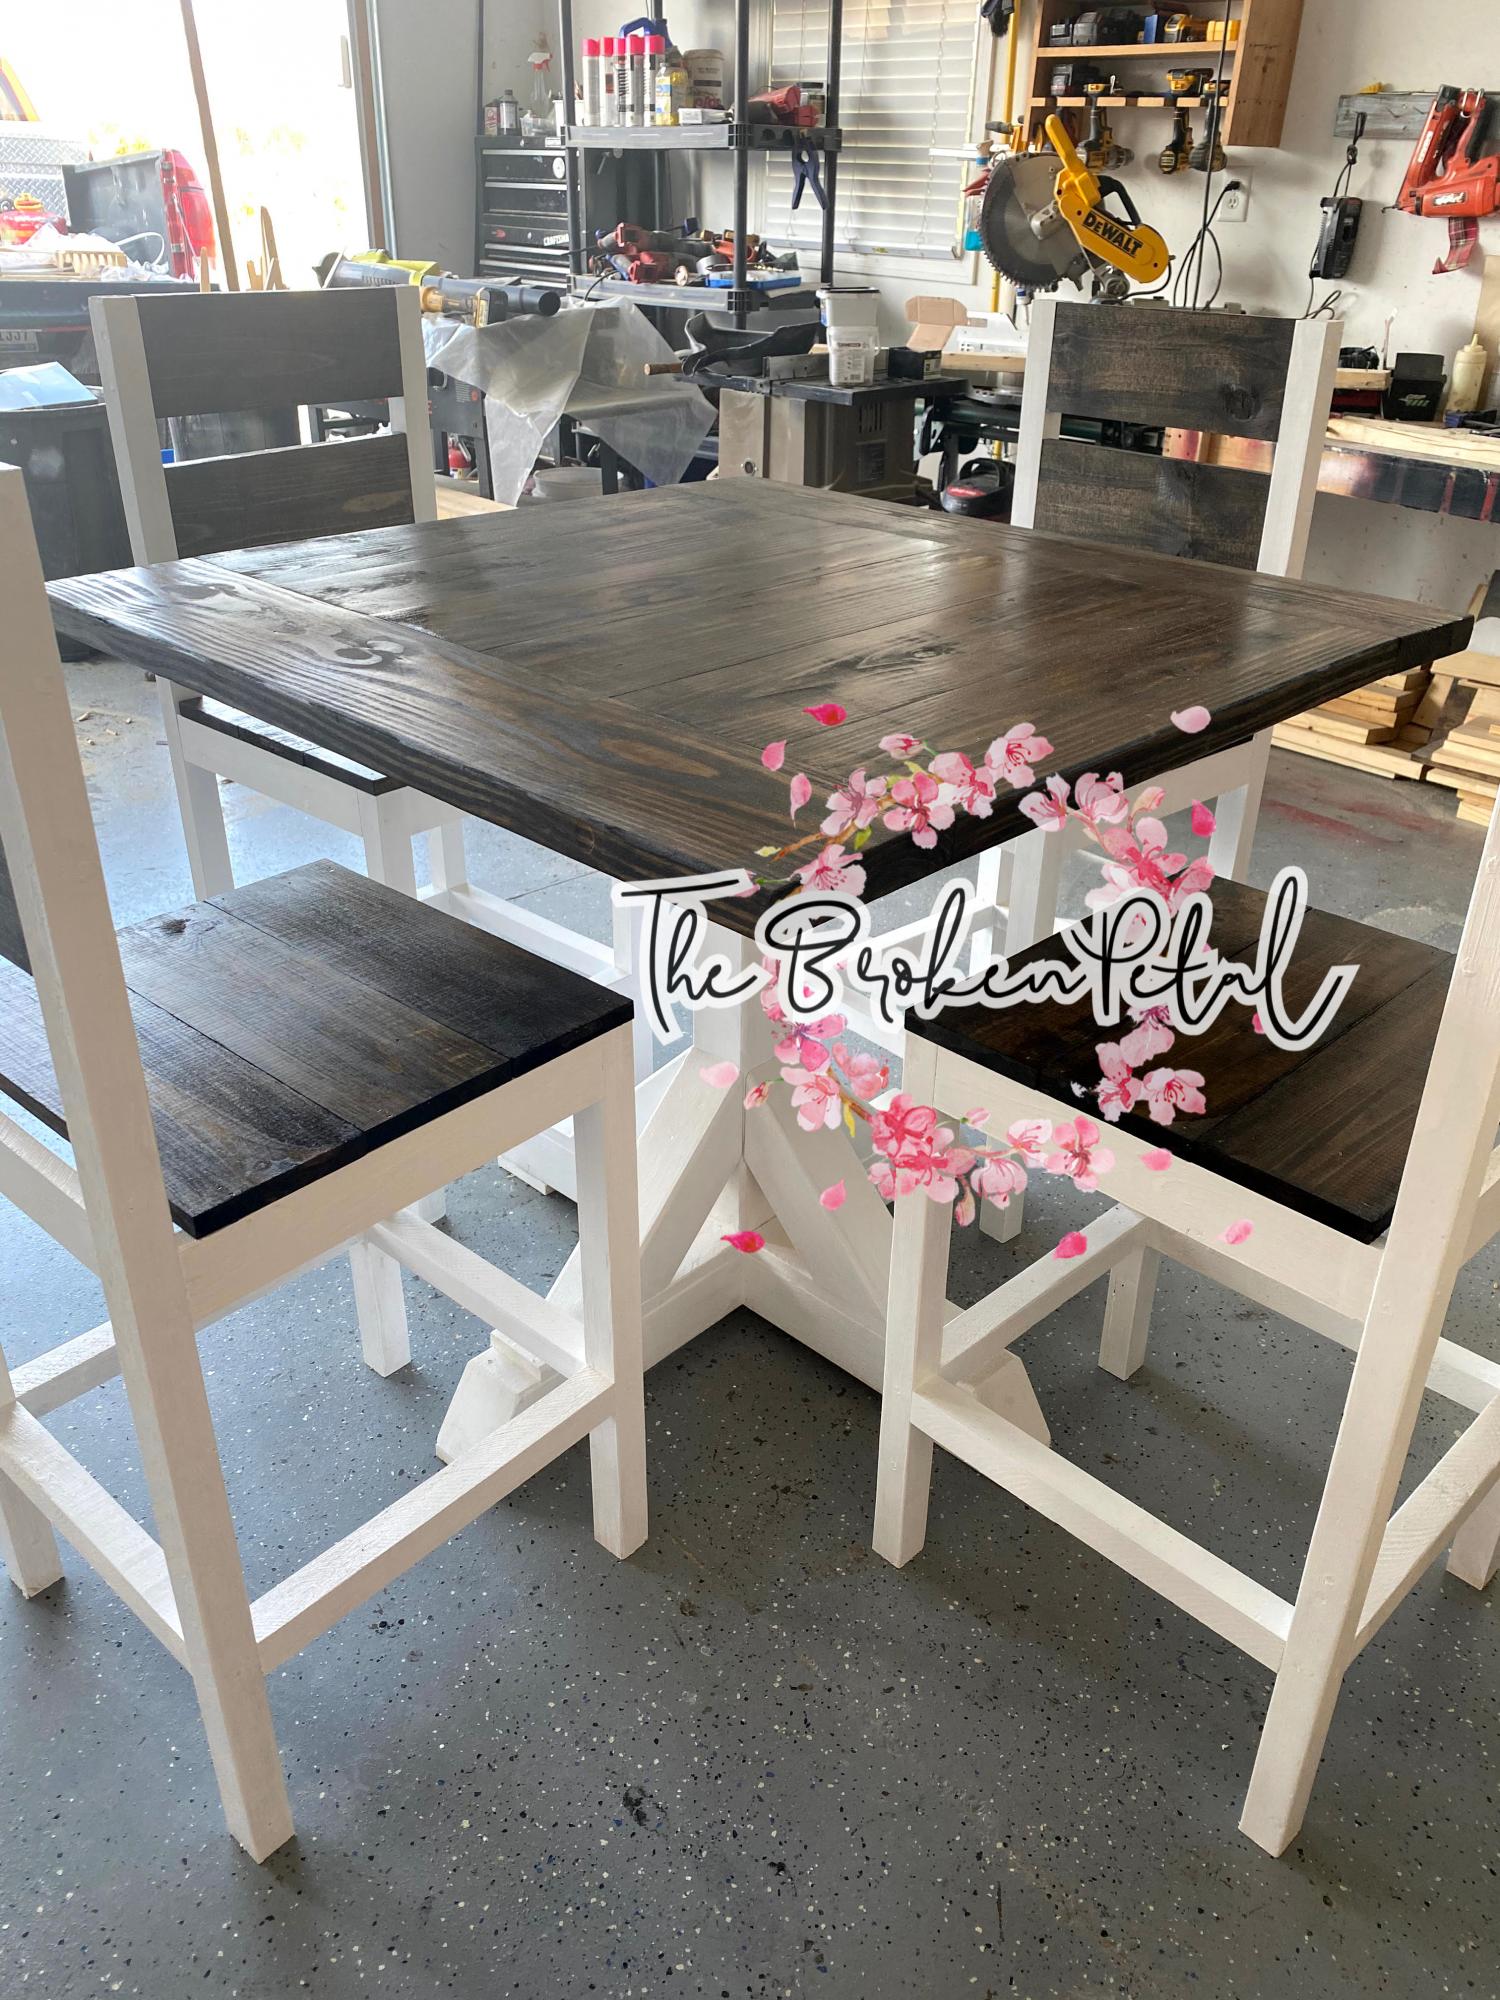
Built this amazing table & chairs a few years ago for a customer.
Built from Plan(s)
Comments
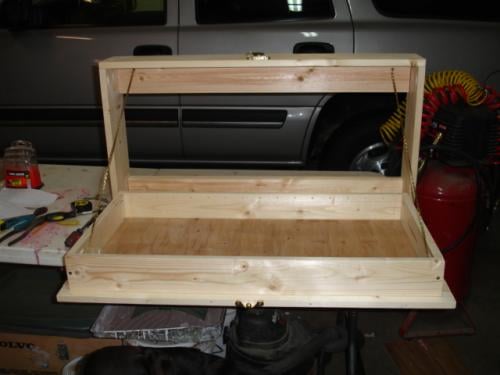
Hanging Diaper Changing Station
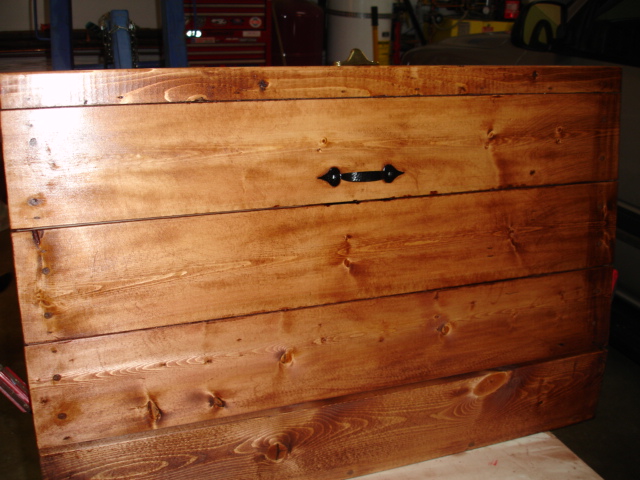
A good friend of mine needed a changing table to save space. I originally planned on building her a standing changing station but then she wanted to have one that hung and she planned on buying one that you find in a store restroom. I knew I could make her one that she wanted and that looked awesome. Here are some of the photos I have of it pre-hanging on the wall. Click the URL and you can see it being used!!!!

Estimated Cost
$ 60.00
Estimated Time Investment
Day Project (6-9 Hours)
Finish Used
Minwax Red mahoganey/ 2 coats poly
Recommended Skill Level
Intermediate
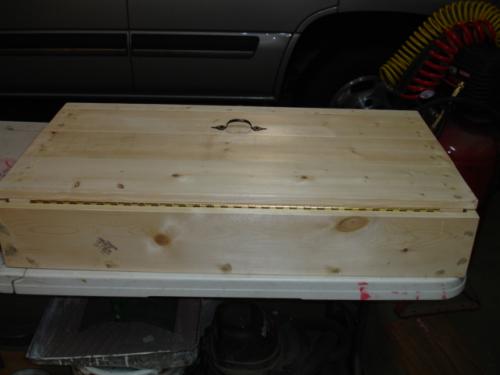
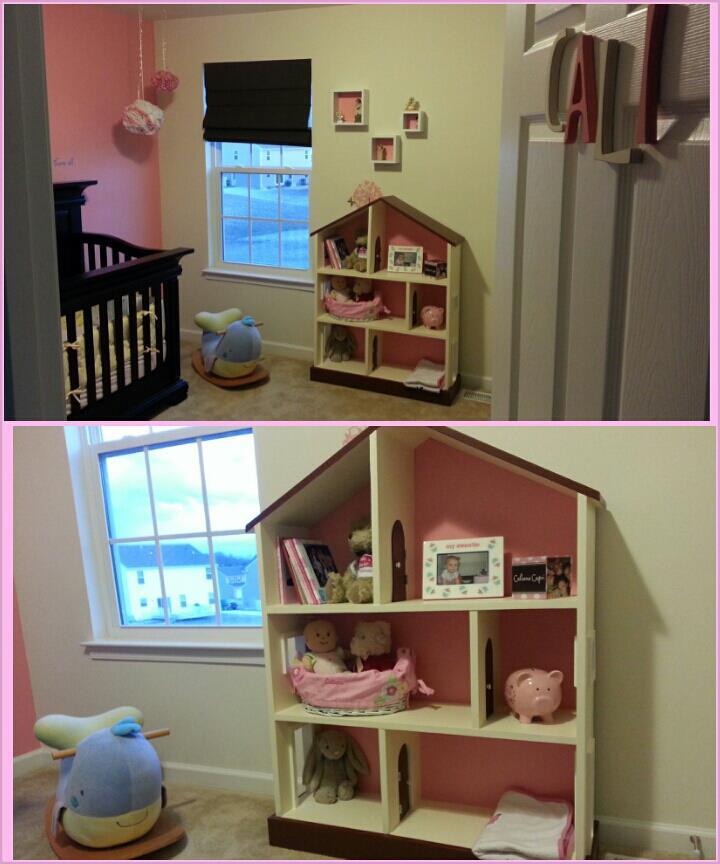
Doll house Bookshelf for Grand daughter
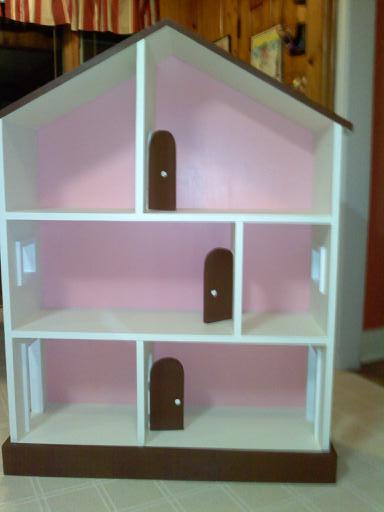
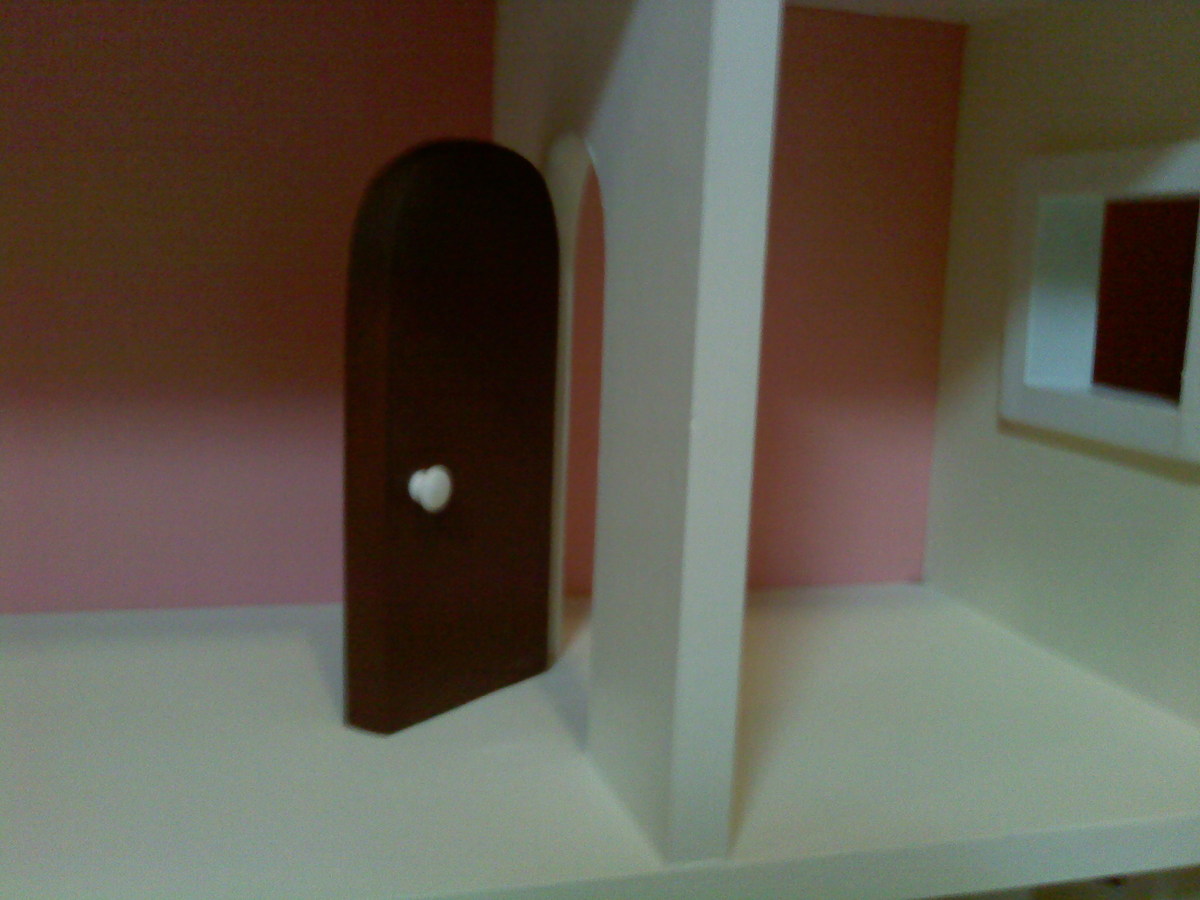
This was my first project and there were many starts and re-starts and tearing apart and re-doing but finished product was great! I added the arched doors to original plans and had fun with the whole project!
Estimated Time Investment
Week Long Project (20 Hours or More)
Finish Used
Paint - for this I used leftover paint from grand daughter's bedroom and same colors.
Recommended Skill Level
Beginner
Comments

Extended and Customized Sausha's Laundry Pedestal
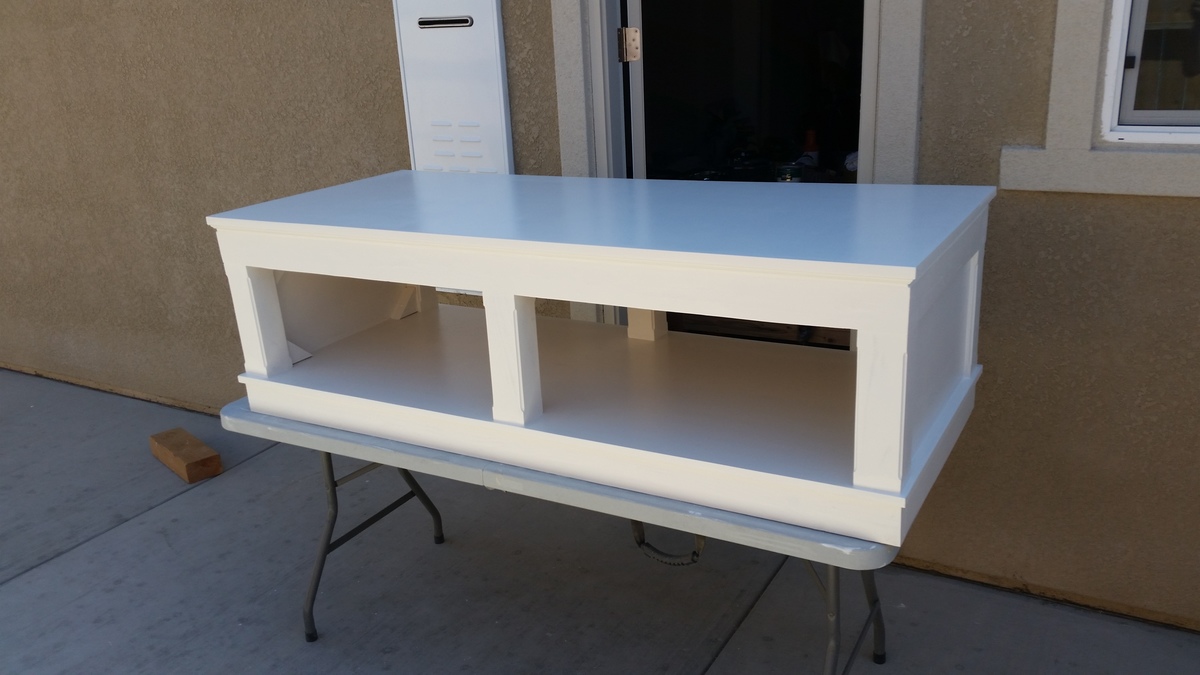
This was my first ever project. I would have done a good amount differently if I had to reconstruct it now, but it came out pretty good and definitely serves its purpose.
These are the changes I made compared to the original design:
- Increased the length to 69" to fit our room
- Added center posts to support the extended length
- Doubled the top thickness
- Routed an ogee on the underside of the top
- Extended the top and bottom deck by 1' all around
- Increased the post height to 12"
- Chamfered the corners of the vertical posts
- Enclosed the sides with inset panels
- Painted to match our baseboard trim
- Added furniture slider feet to make it easy to move on the tile
It definitely took longer than I would have liked, but I could do it much faster if I had to do it again.
Built from Plan(s)
Estimated Time Investment
Weekend Project (10-20 Hours)
Finish Used
Oil based primer with semi-gloss Behr "Swiss Coffee" enamel on top. 2 coats of each, and an extra coat of paint on the top.
Recommended Skill Level
Beginner
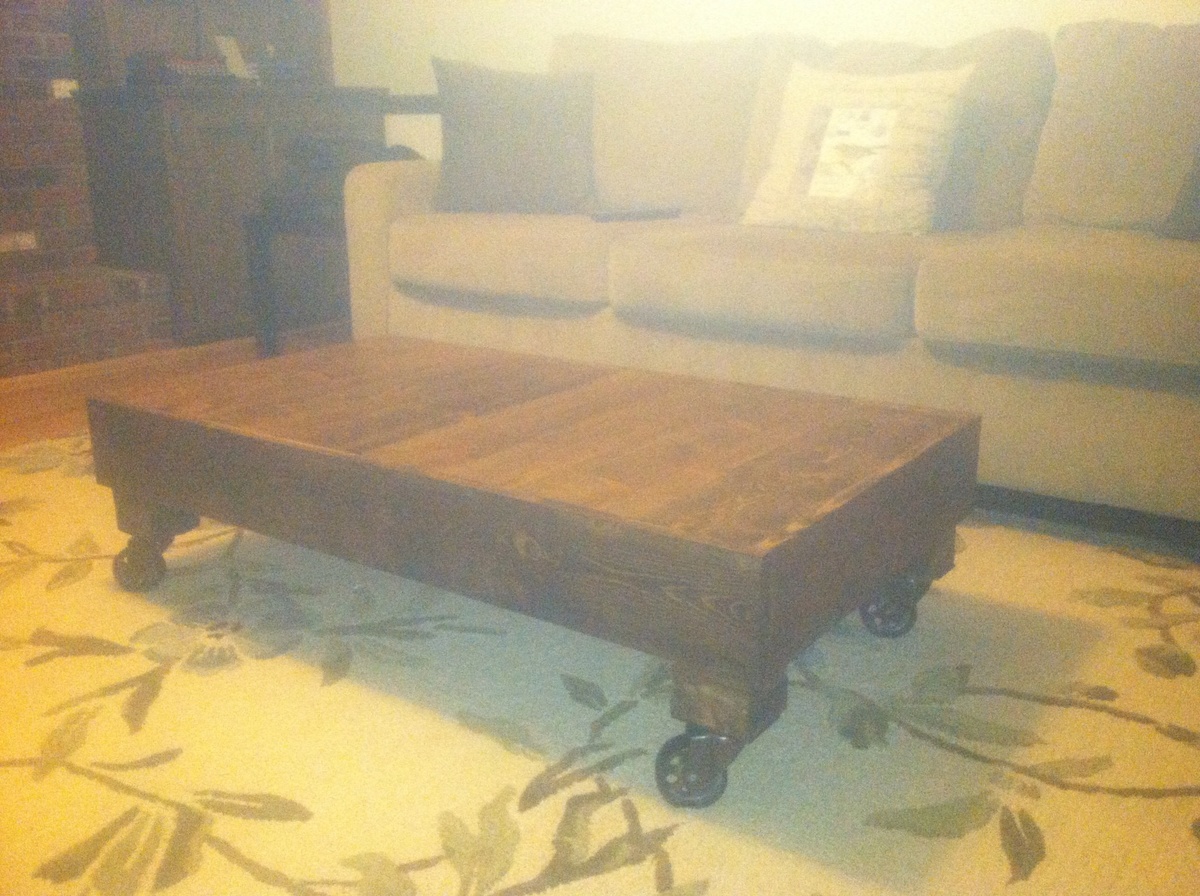
Afternoon farm table
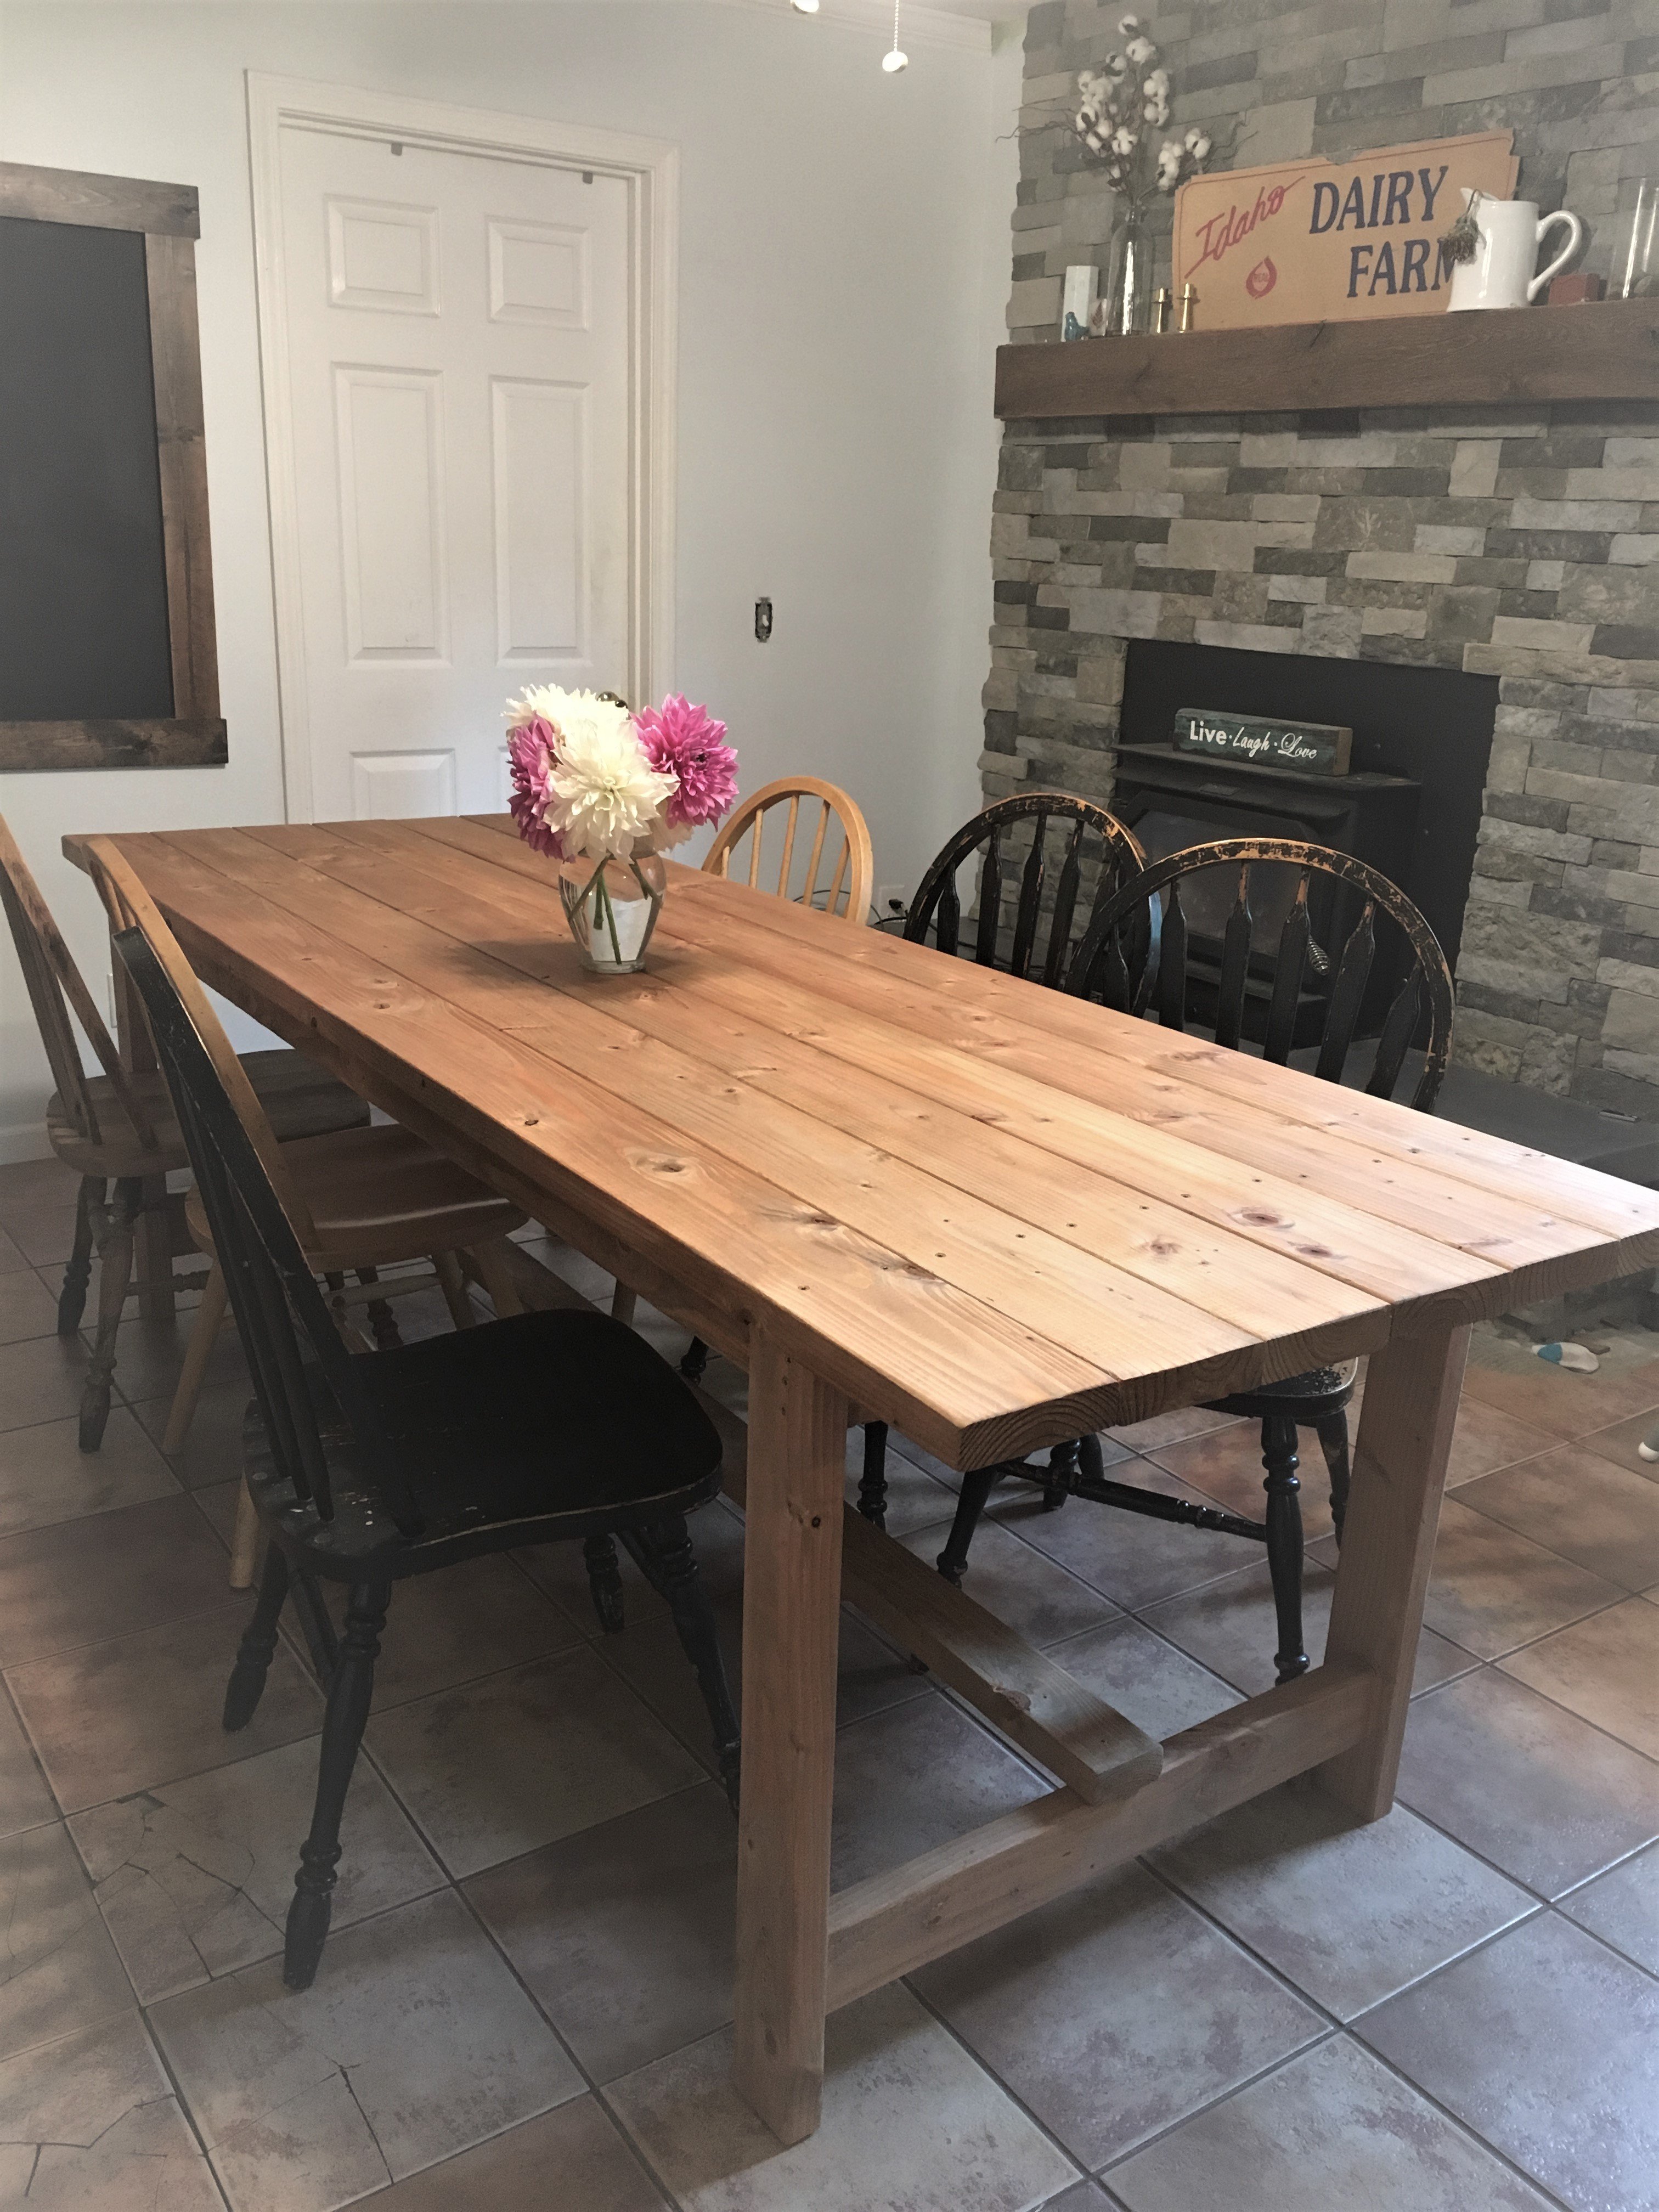
I saw this super simple farm house table plan on my Facebook feed from Ana and I just had to do it !!$50 in lumber a Saturday afternoon and I was done!!!! Followed all her tips and it turned out great
Built from Plan(s)
Estimated Cost
$50 in lumber
Estimated Time Investment
Afternoon Project (3-6 Hours)
Finish Used
Danish oil medium walnut
Recommended Skill Level
Beginner
Outdoor sectional and table
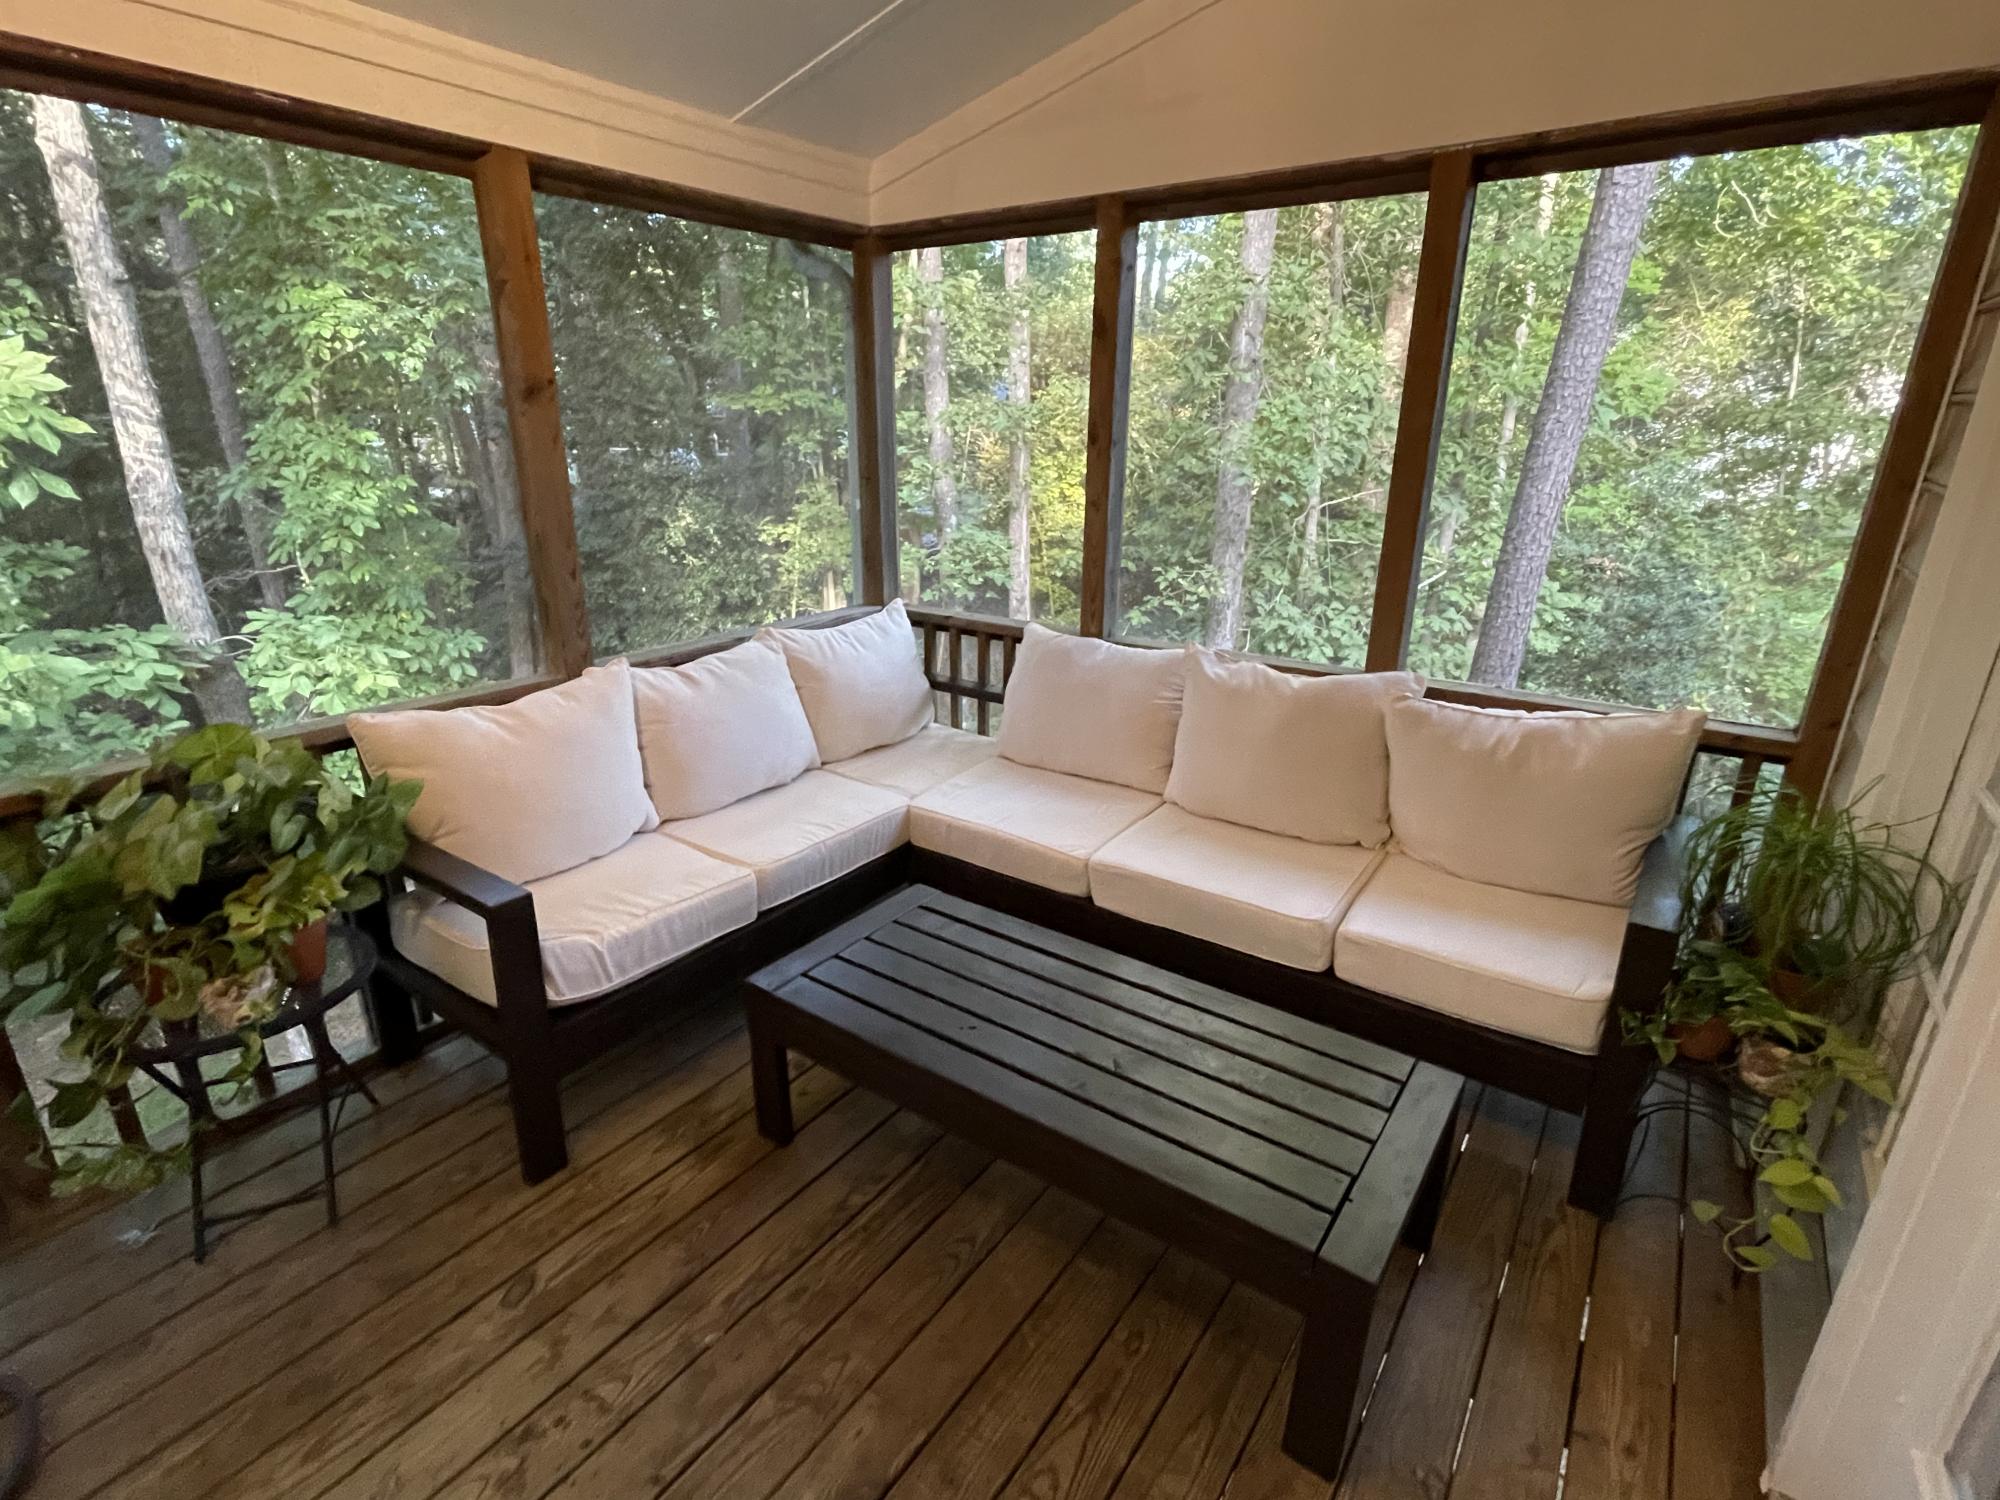
First time building anything. I think it came out pretty good! Thanks Ana white for the plans!!
Built from Plan(s)
Comments
Fri, 10/15/2021 - 15:31
Amazing job!
Thank you for sharing, can't wait to see your next project! It looks so beautiful in your space!
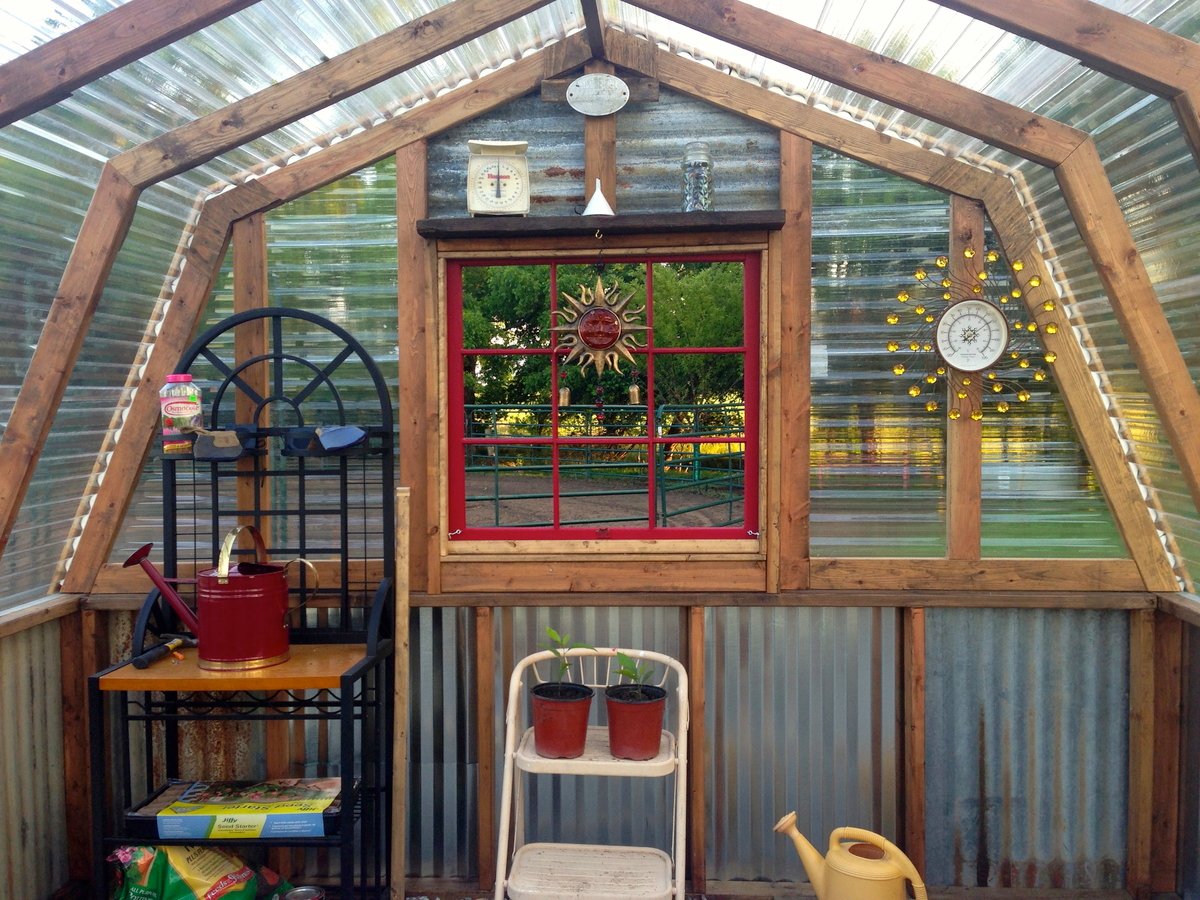
Our Greenhouse:)
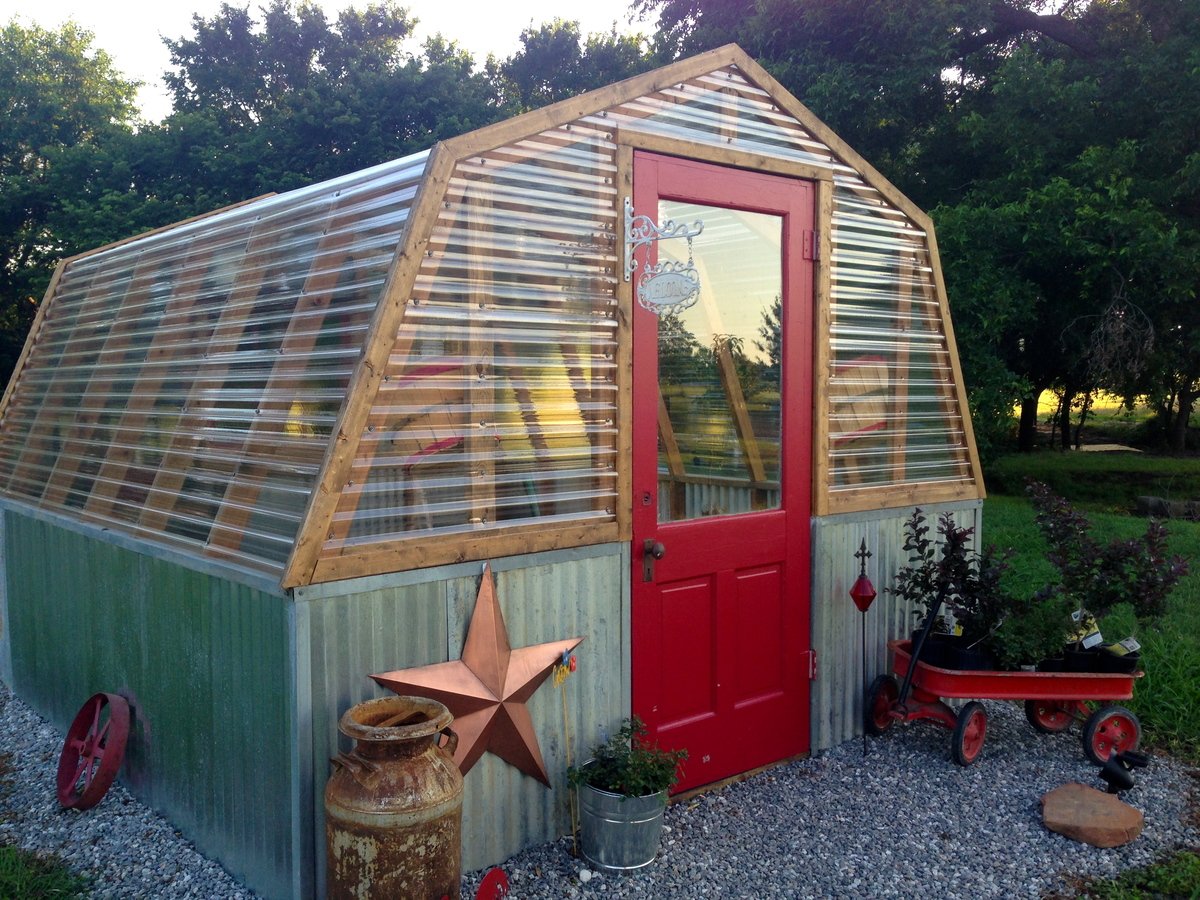
Your plans made this project so much easier. We love it and have gotten a lot of compliments for it.
Estimated Cost
1000.00
Recommended Skill Level
Intermediate
Comments


Fri, 06/12/2020 - 11:05
Beautiful job!
LOVE the attention to decorating details! This is beautiful. Thank you for sharing!
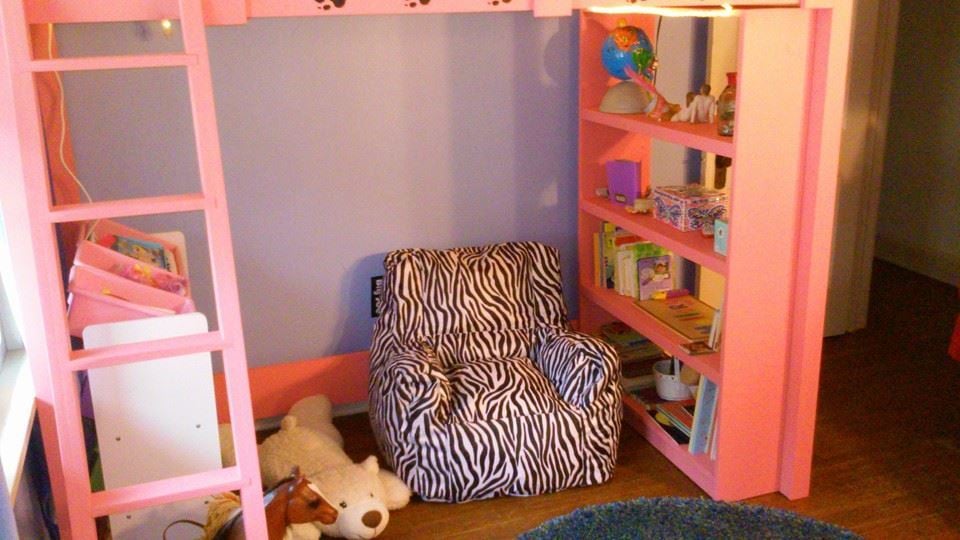
Little Bear's Loft Bed
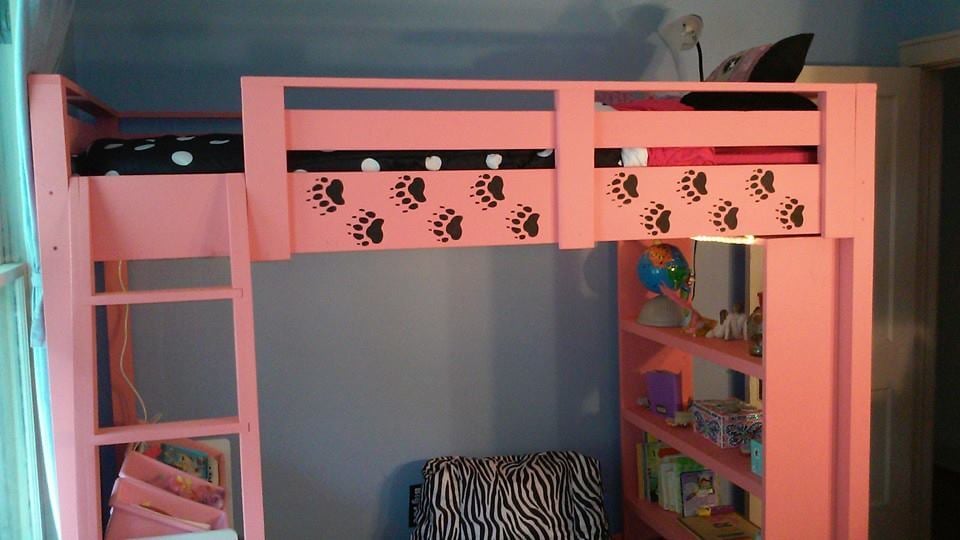
My daughter had talked about wanting a loft bed for a long time so after of plenty of research, we went for it. The shelves of the bookcase, except the top and bottom, are made from 3/4 plywood I had laying around. I did my best to utilize as much lumber that I already had in the basement to reduce costs.
Underneath the bed is LED Rope Lighting and the gaps under the rails were stenciled with the bear paws since my daughters nickname is Little Bear.
People have loved it enough I think there's a couple people that are going to buy the supplies so I can build it for them. The one thing I wish I had during the construction was an oscillating multi-tool to trim off the Kreg plugs. I now have one and plan on using it a fair amount.
On to the next project!!
Ben
Built from Plan(s)
Estimated Cost
Around $200 since I used higher quality lumber and Ohio is expensive
Estimated Time Investment
Week Long Project (20 Hours or More)
Finish Used
Semigloss paint and bear paw stencil
Recommended Skill Level
Intermediate
Comments

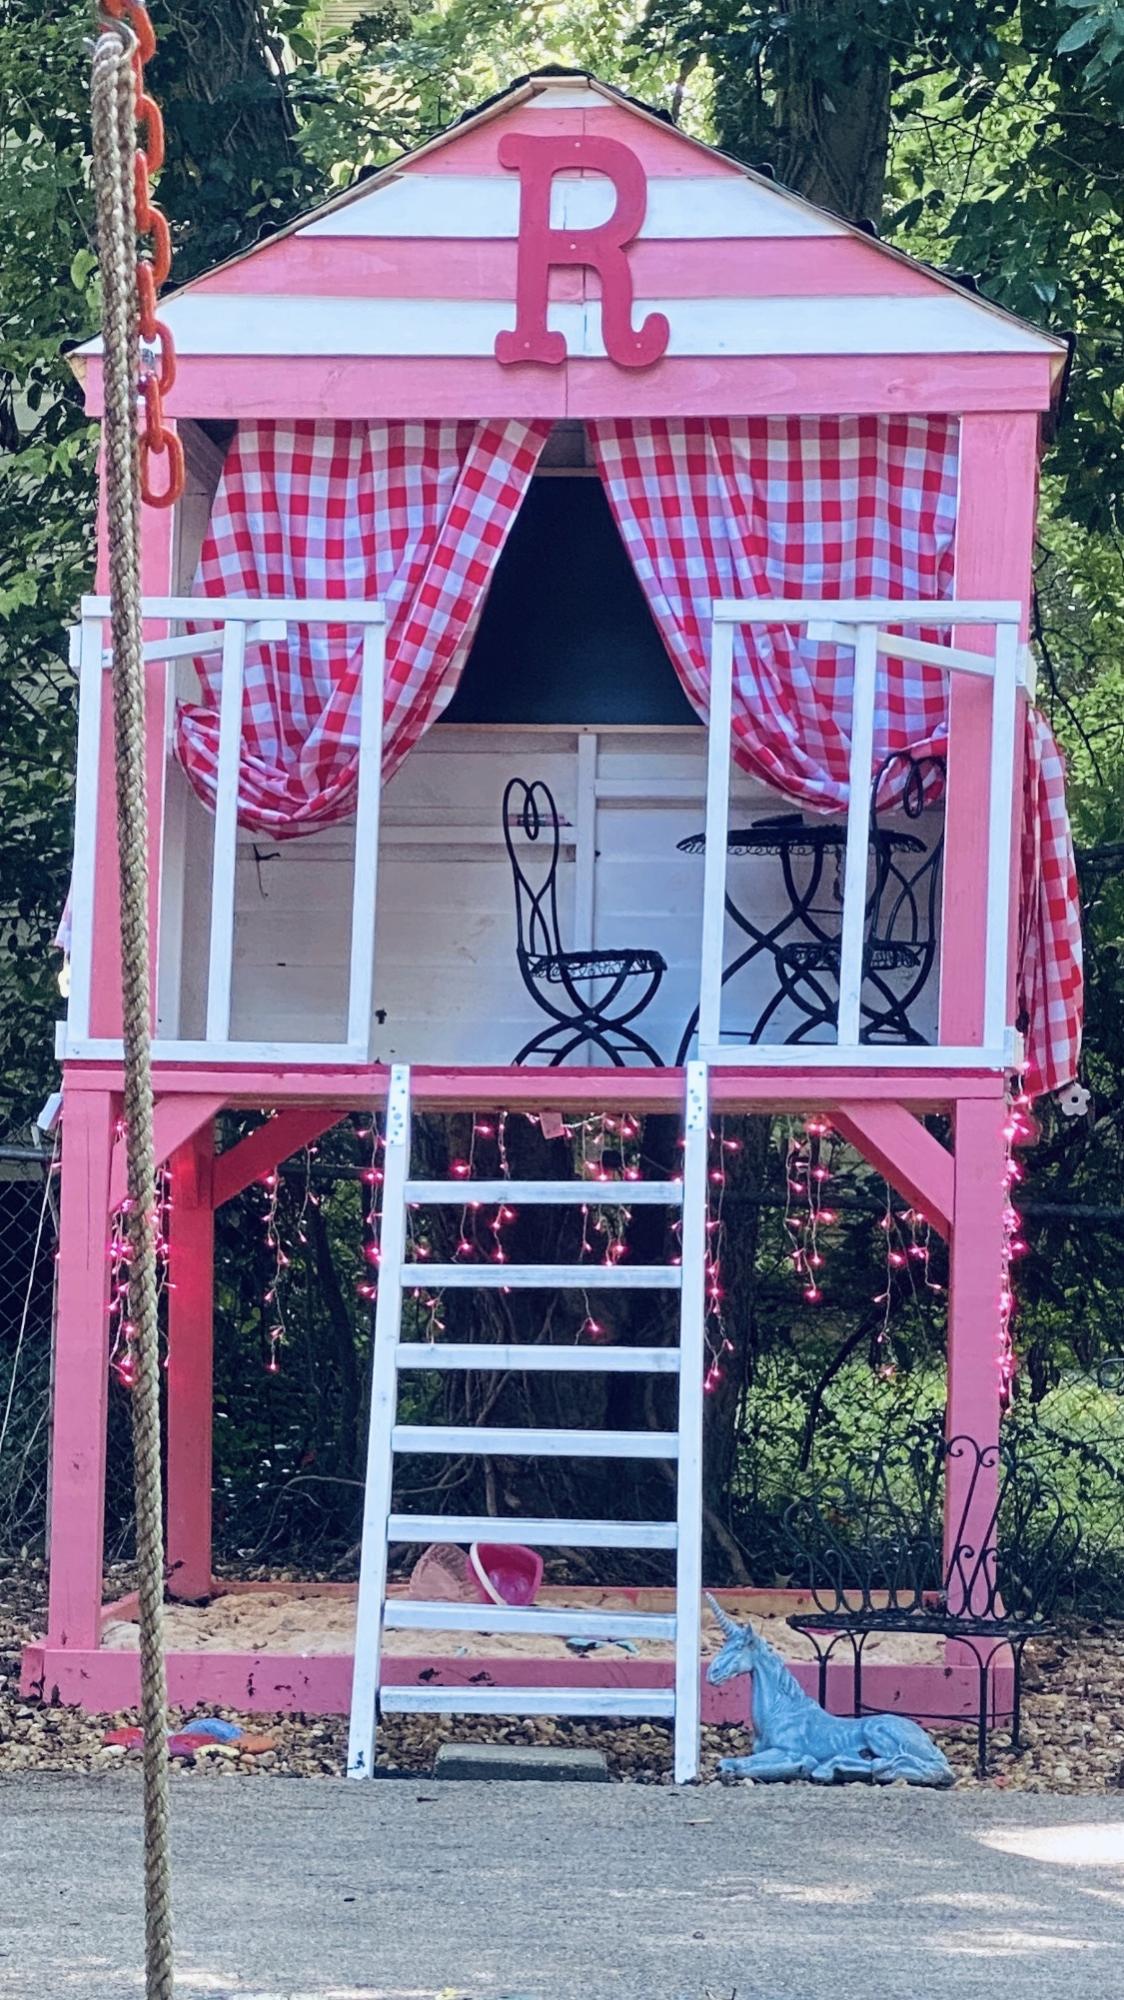
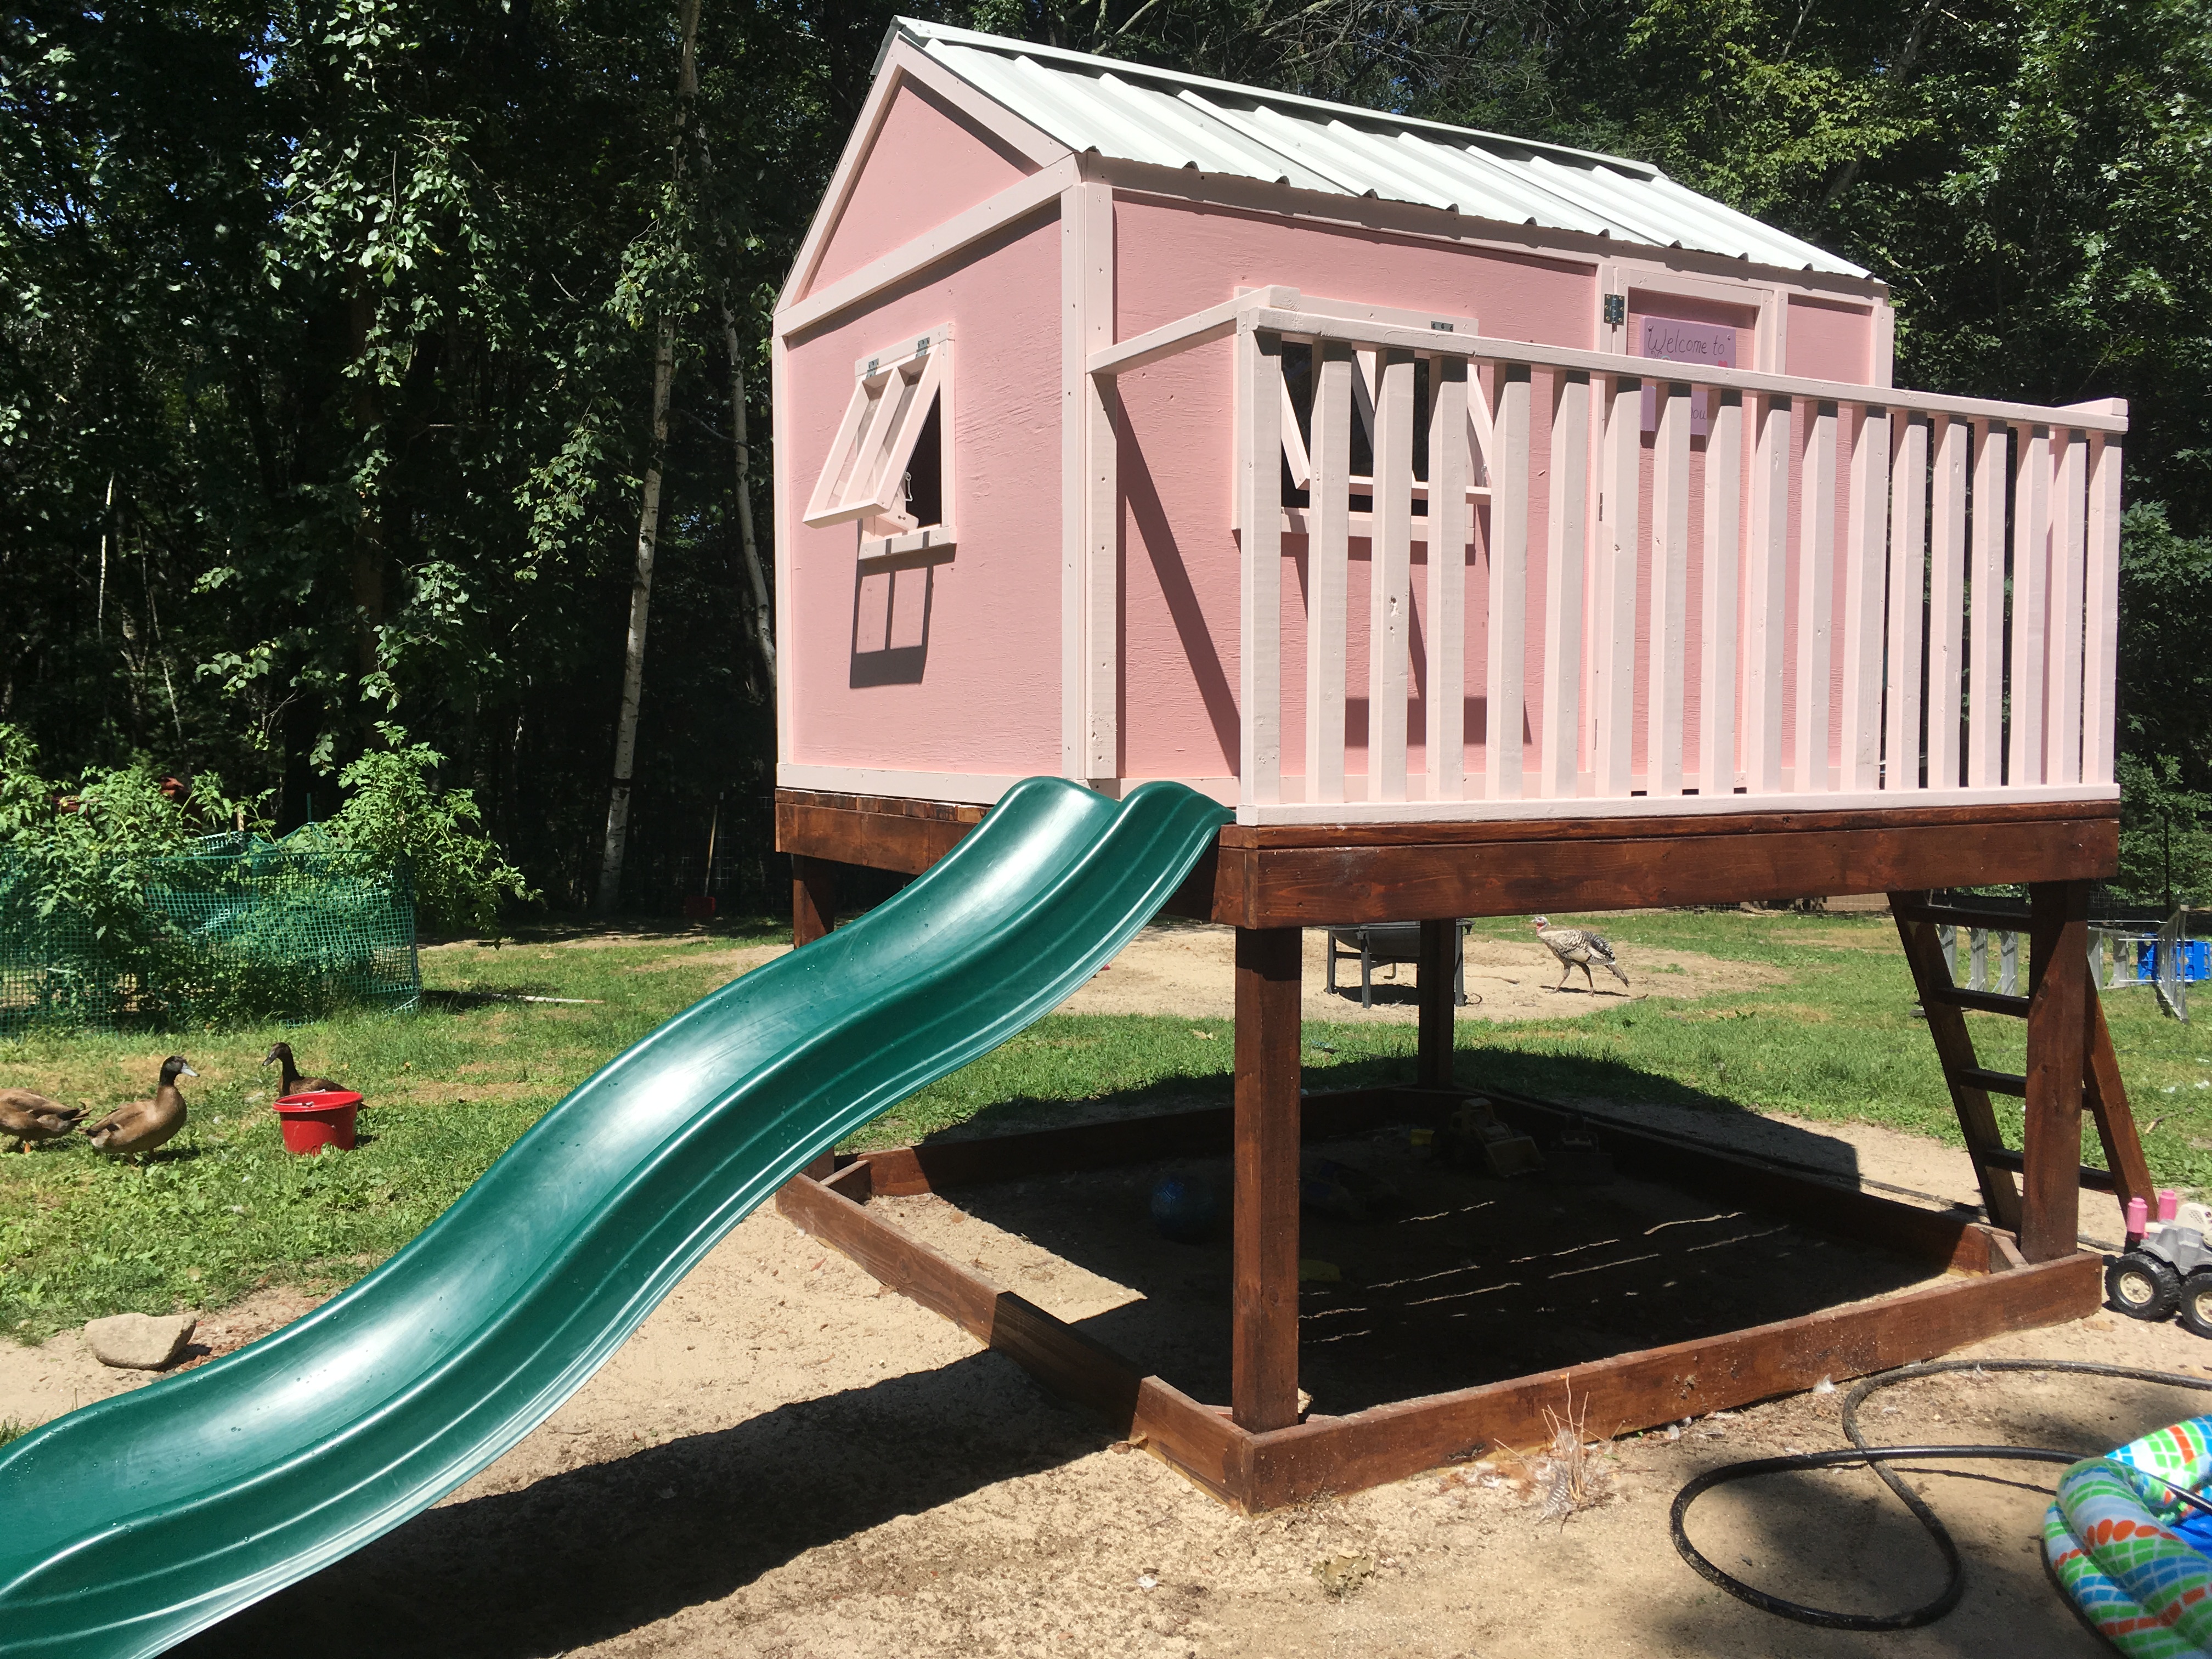
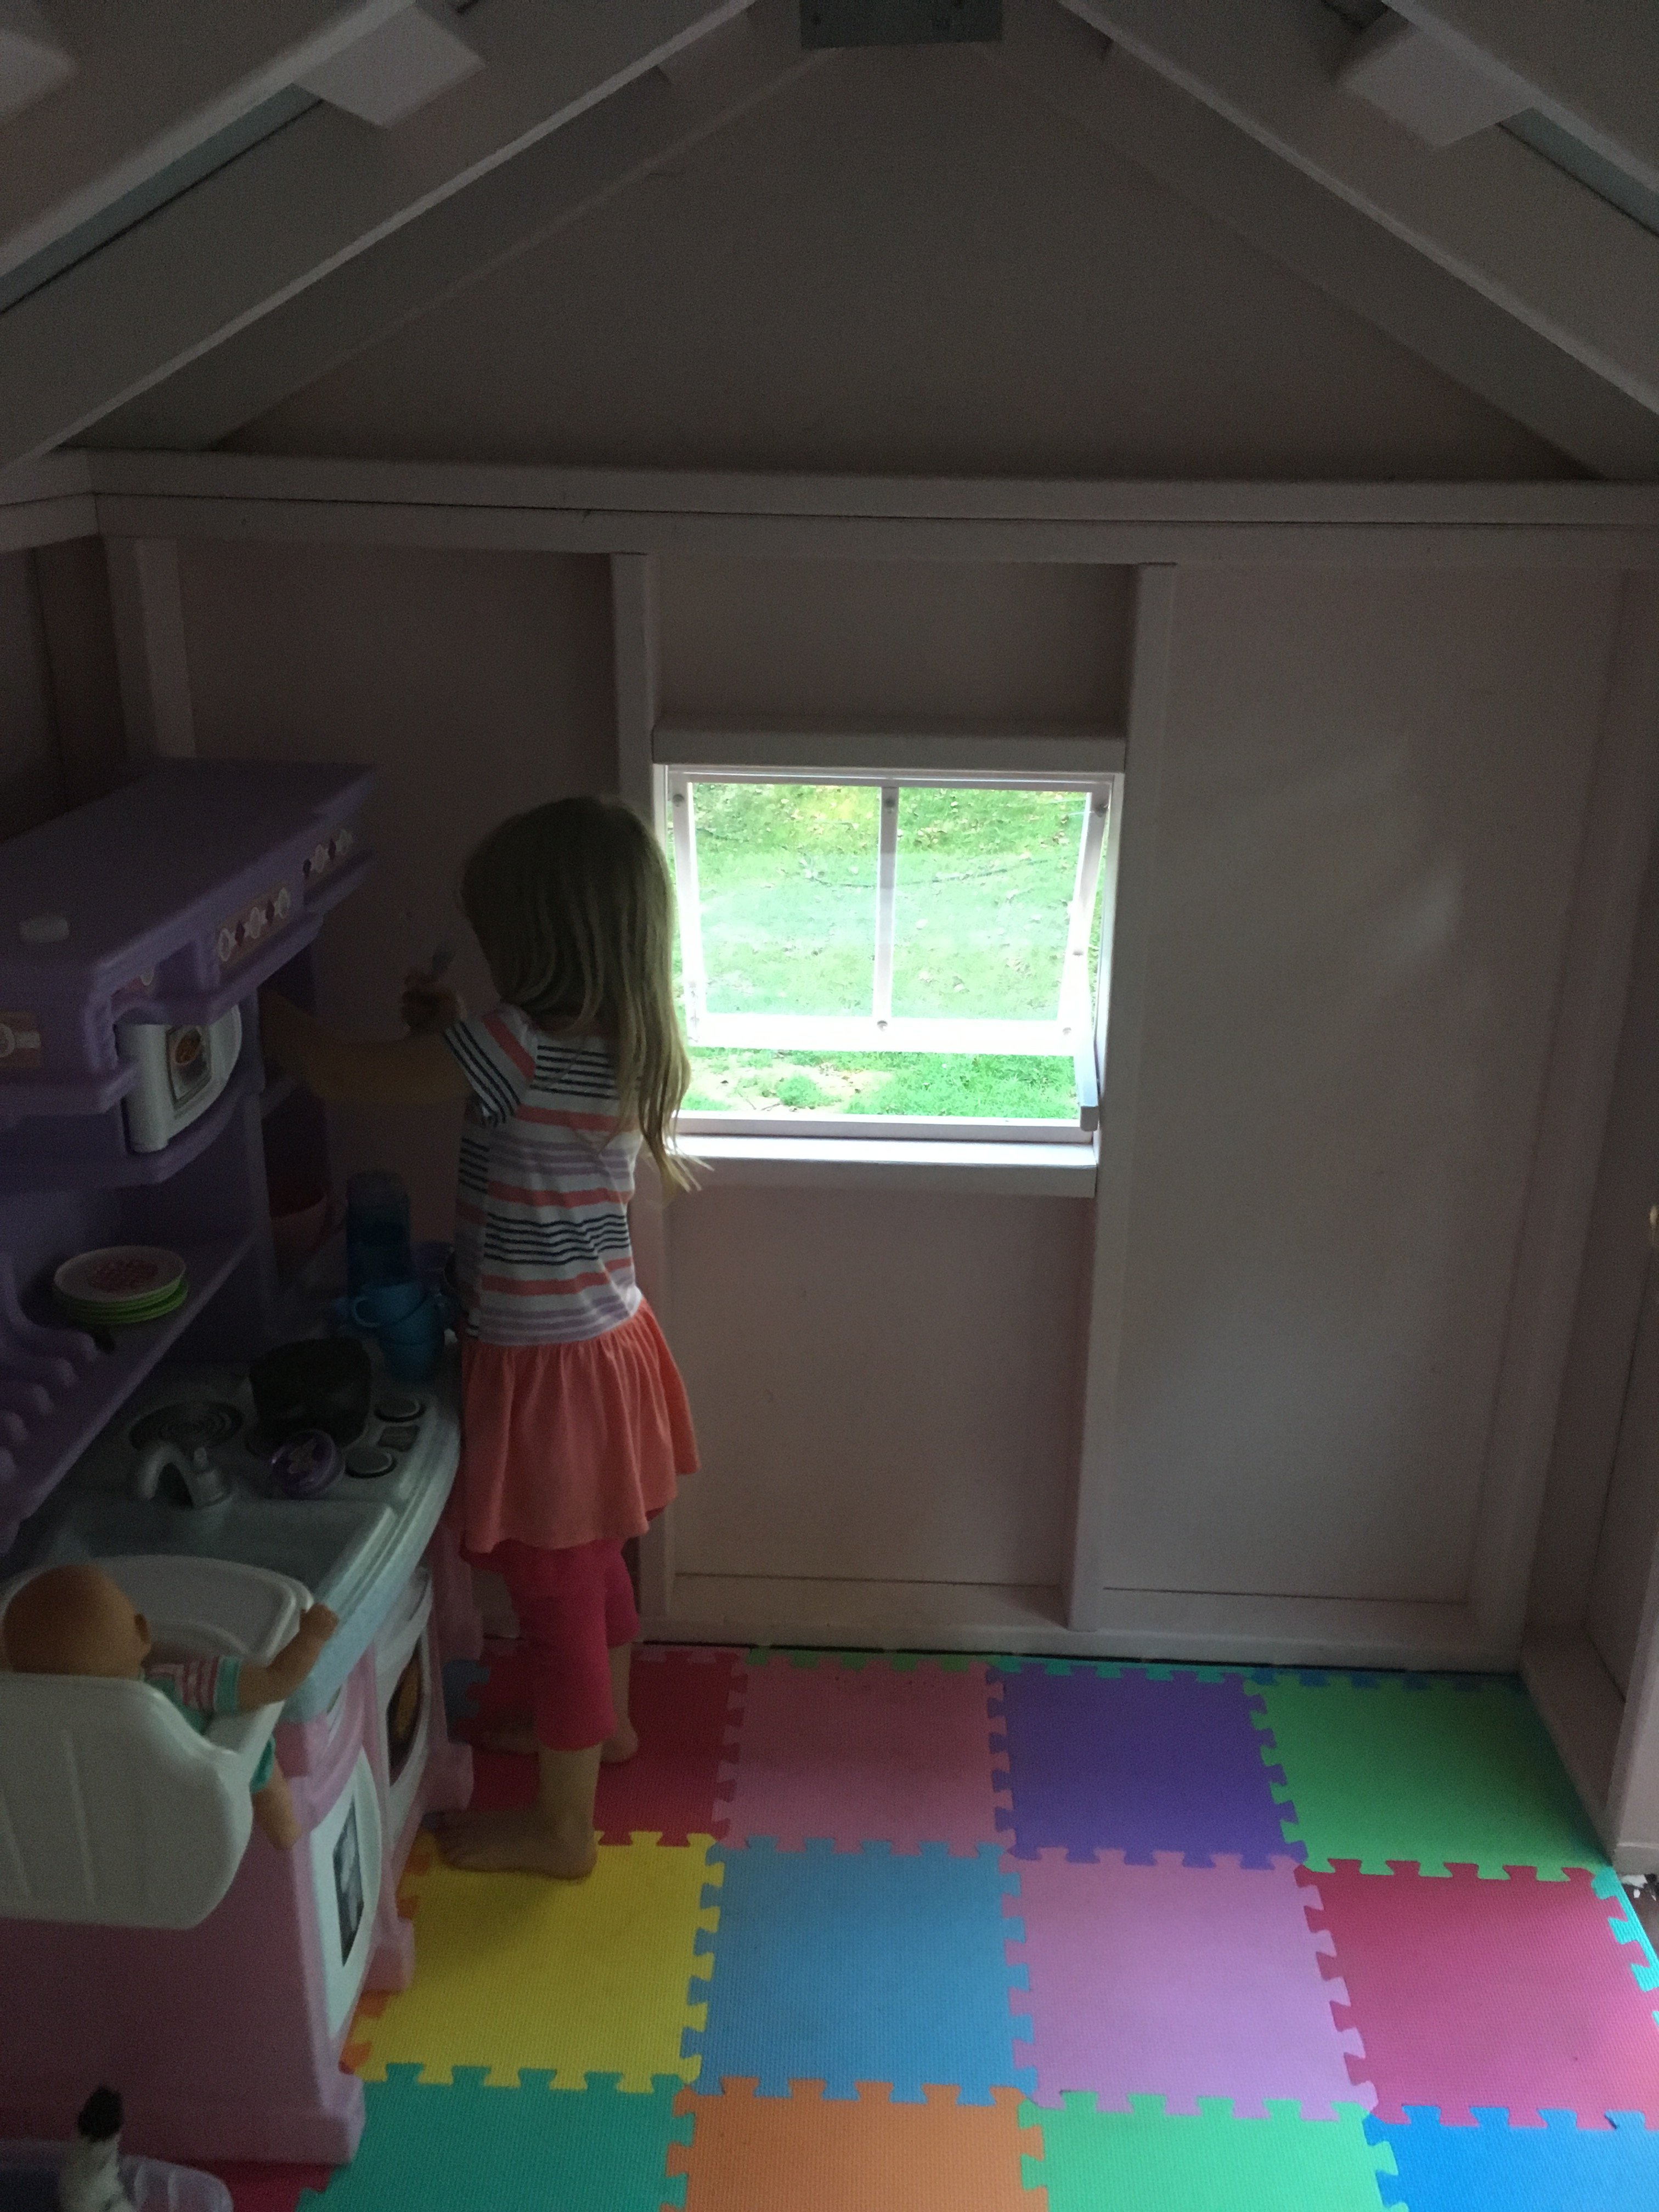
Pink Playhouse

This is a great playhouse for kids and sturdy enough for adults too. The plans are so well written and easy to follow. The deck was made exactly to her plan, but I made the playhouse a bit wider. I also framed it with 2x4's and roofed it with metal. Metal roofing is light and relatively easy to install. It took me about 1-1/2 months to finish the playhouse. The windows are hinged and can be propped open. I used 2x3's for the railing and attached it to the playhouse for stability. On the inside, I put down colorful foam mats to make it comfortable. My daughter really loves having her own playhouse! Thank you for the great plans!
Built from Plan(s)
Estimated Cost
$500
Estimated Time Investment
Week Long Project (20 Hours or More)
Finish Used
Cabot deck stain
exterior Behr paint-can't remember the names of the pink colors
exterior Behr paint-can't remember the names of the pink colors
Recommended Skill Level
Intermediate
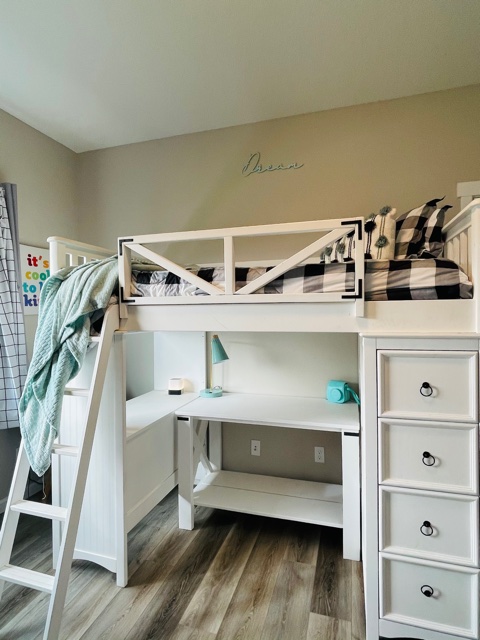
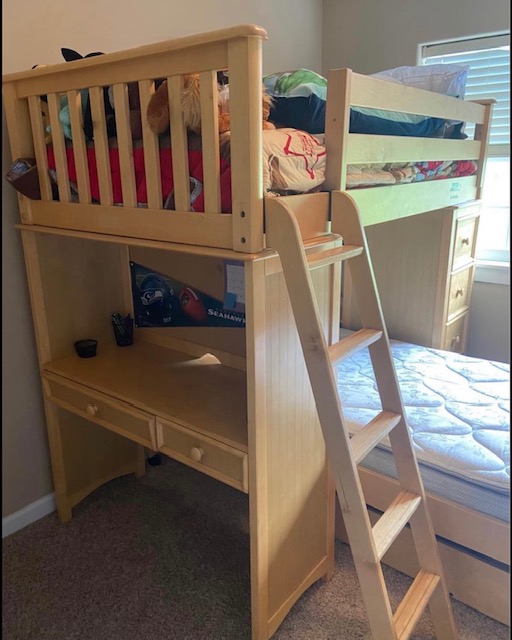
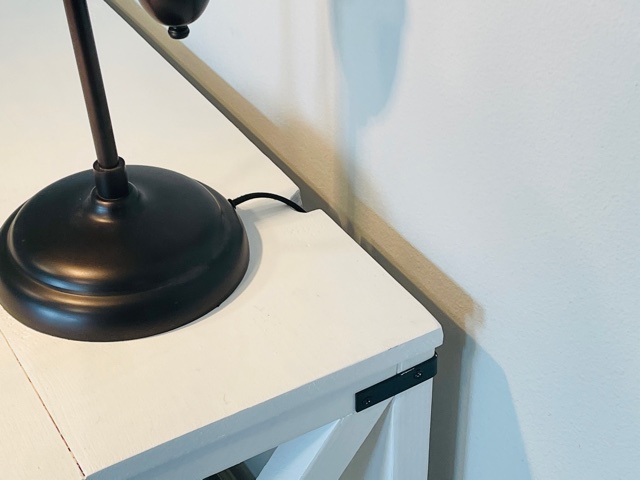
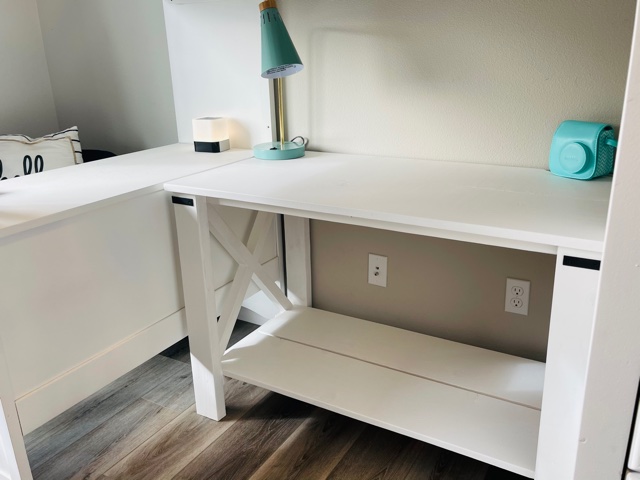
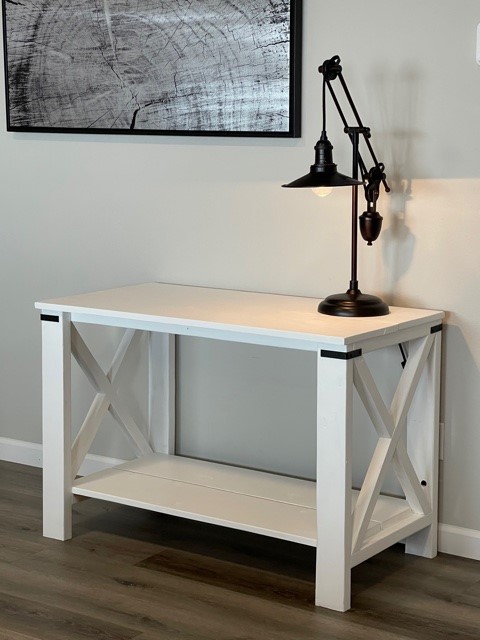
Farmhouse Desk with X Detail

I found a loft bed on the marketplace and had fun revamping it! I wanted to add a desk underneath that matched the existing desk surface, so needed to slightly modify the plan to make it the same height and width of the opening. This was a simple build, built in about 2 hours and the finish took about the same. I modified the bottom to be a full shelf, love the way it came out!
Built from Plan(s)
Adirondack Chairs
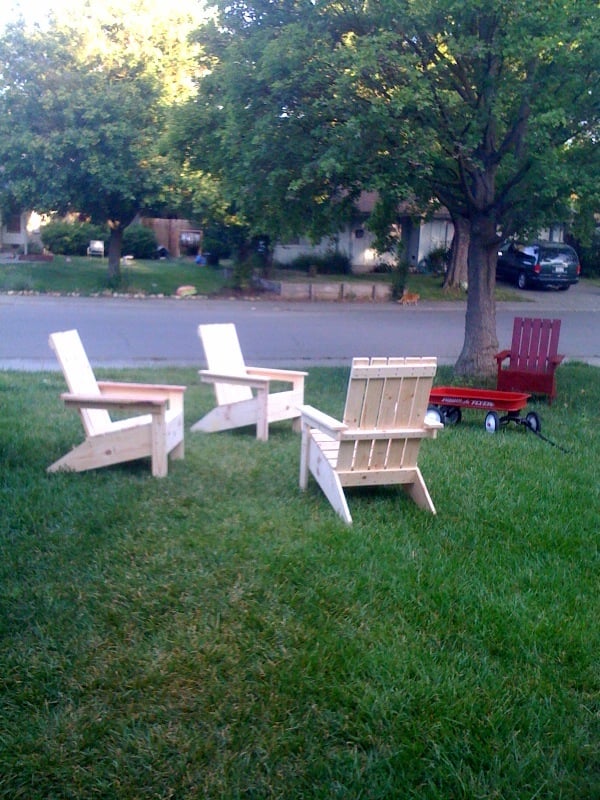
This was the first project my husband and I completed from one of Ana's plans. I'd wanted a pair of Adirondack chairs for our yard, and convinced my husband that we could build them ourselves. Once he was on board, he suggested we build a pair for our neighbors as a surprise and leave them in their yard while they were out of town. We had a blast and learned a lot. We've had tons of compliments on the two sets of chairs, and during our last neighborhood garage sale, we had many offers to buy them (but we're not selling!). Thanks, Ana!
Built from Plan(s)
Estimated Cost
$100 for 4 chairs
Estimated Time Investment
Weekend Project (10-20 Hours)
Finish Used
I wanted to paint and my husband wanted to stain, so we each took a pair of chairs and did our thing. I spray painted with red Rustoleum and my husband stained with Miniwax.
Recommended Skill Level
Beginner
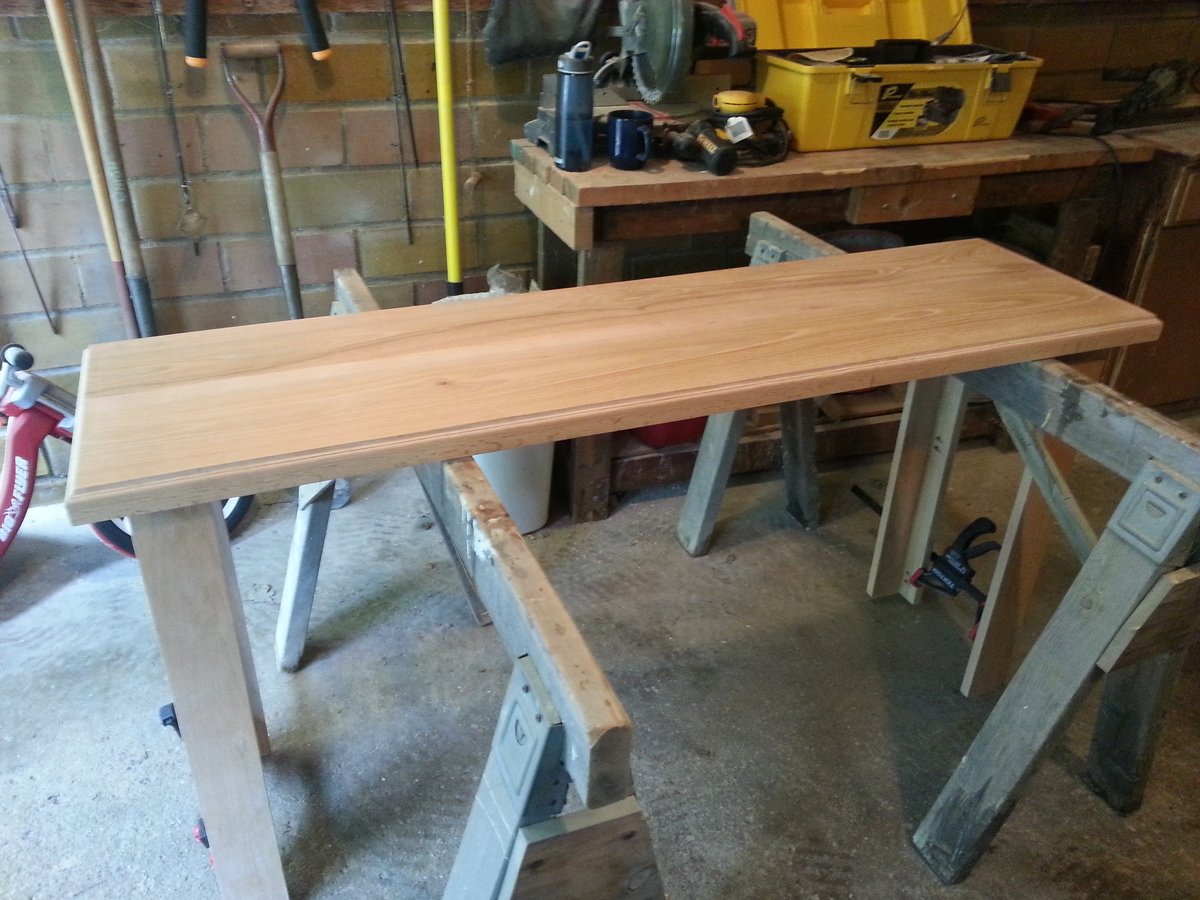
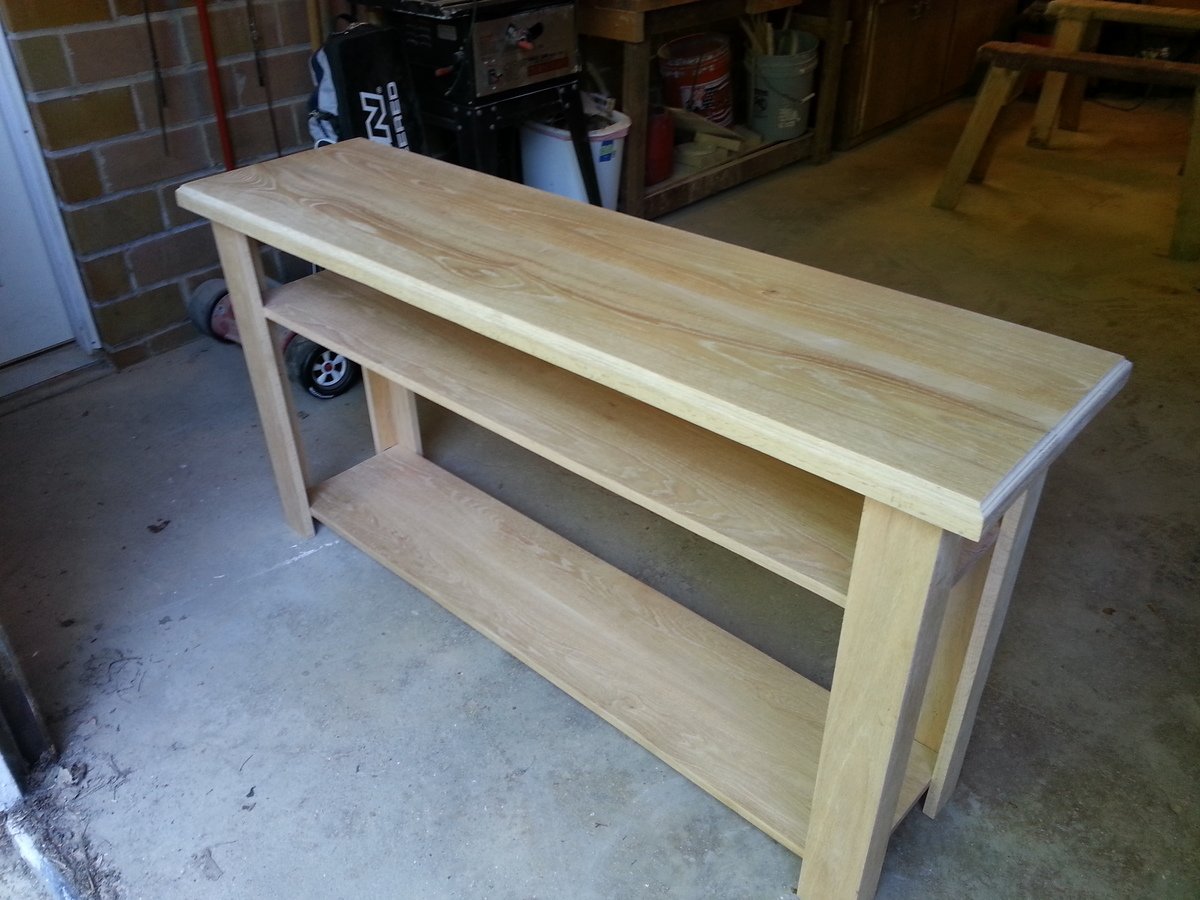
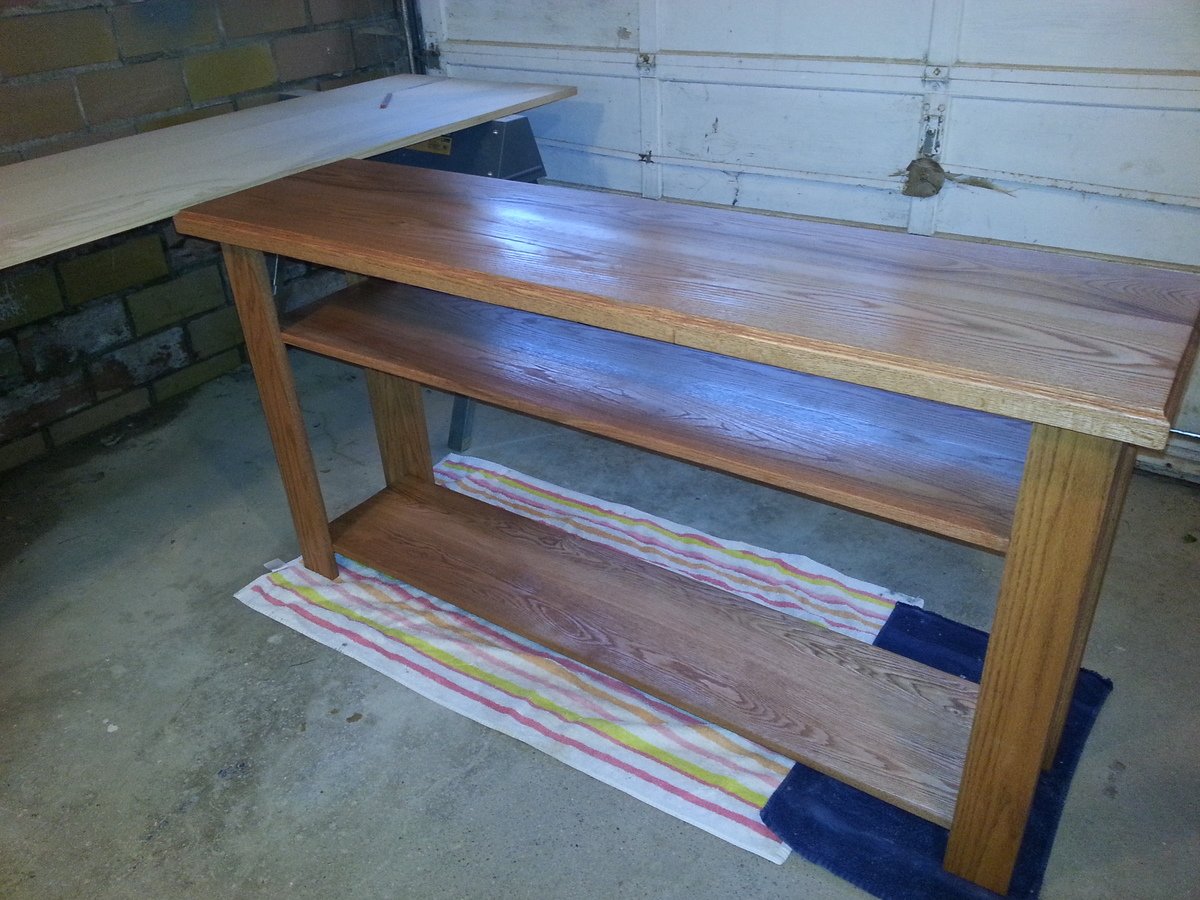
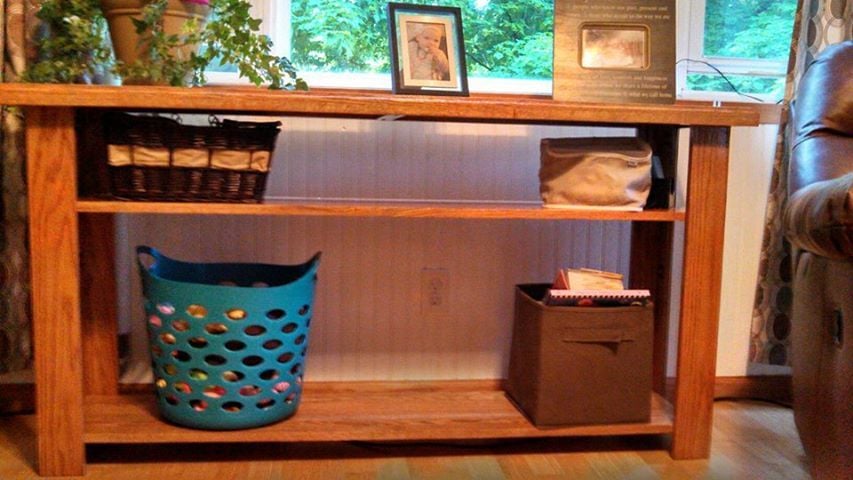
Sofa/Console Table
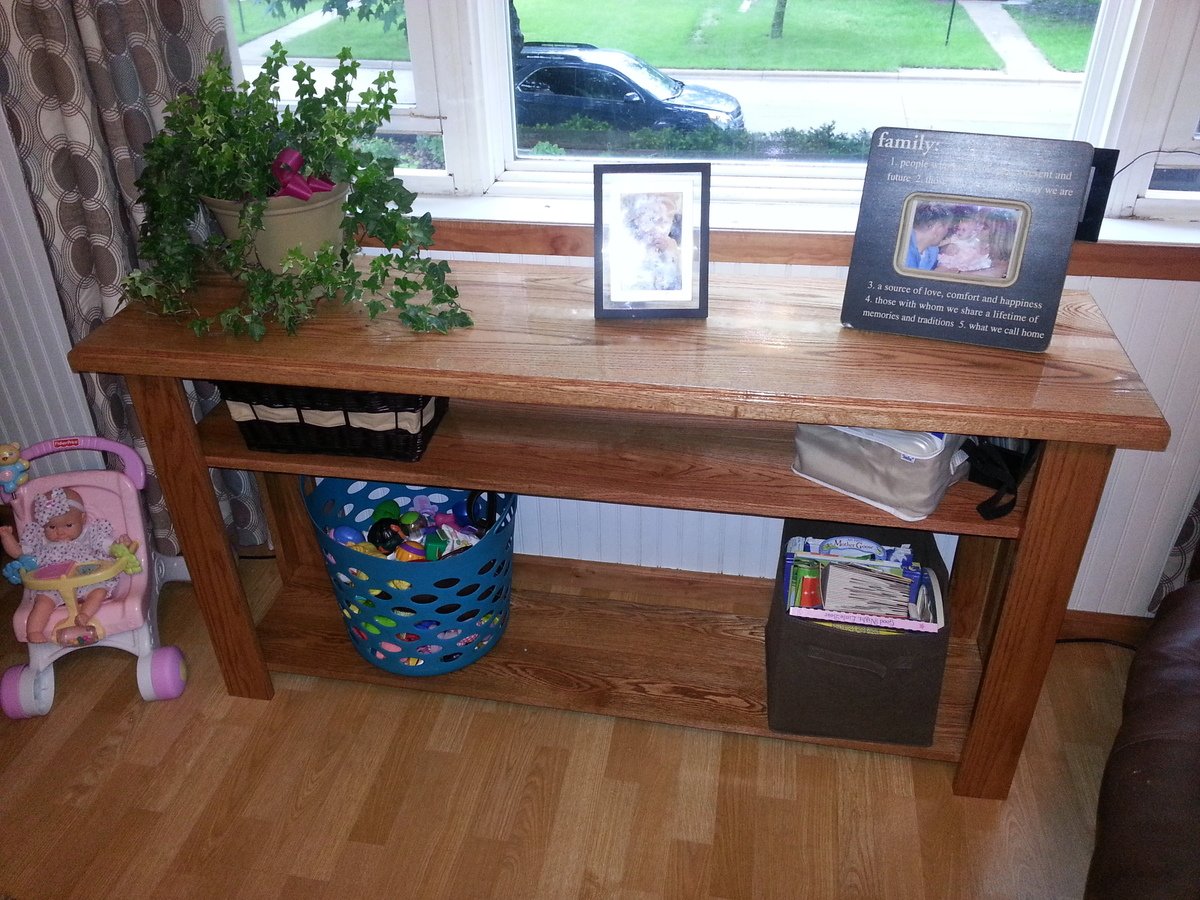
I used an all oak wood with a maple inlay on the table top to give it a different grain pattern and stand out a little more than just one type of wood. My wife wanted 3 shelves so she could display all our babies photos in our living room, toys on the bottom and odd storage in the middle. The way I figured to find the height of the second shelve was because we have a scentsy warmer and the basket we use to hold the scents I made to just fit under the table top. I also went with a fancier router-ed edge to the top which has three grooves instead of your normal round over or just square. I used a lot of kreg jigs to put this together and the two bottom shelves are free floating without a support beam. The way I did it made it really sturdy with clean lines on the peace. I sanded the whole project to 400 which made it feel like glass. If you would like to know more ask questions. I love to do this type of stuff.

Built from Plan(s)
Estimated Time Investment
Weekend Project (10-20 Hours)
Finish Used
Minwax Cherry stain with a Gloss polyurethane top coat
Recommended Skill Level
Intermediate
Comments

Fri, 10/18/2013 - 01:46
I just finished a second,
I just finished a second, smaller version of this one for one of my friends who just got married. I also inscribed their names and date they got married on the bottom. I made it look like a carving in tree. It was pretty cool.
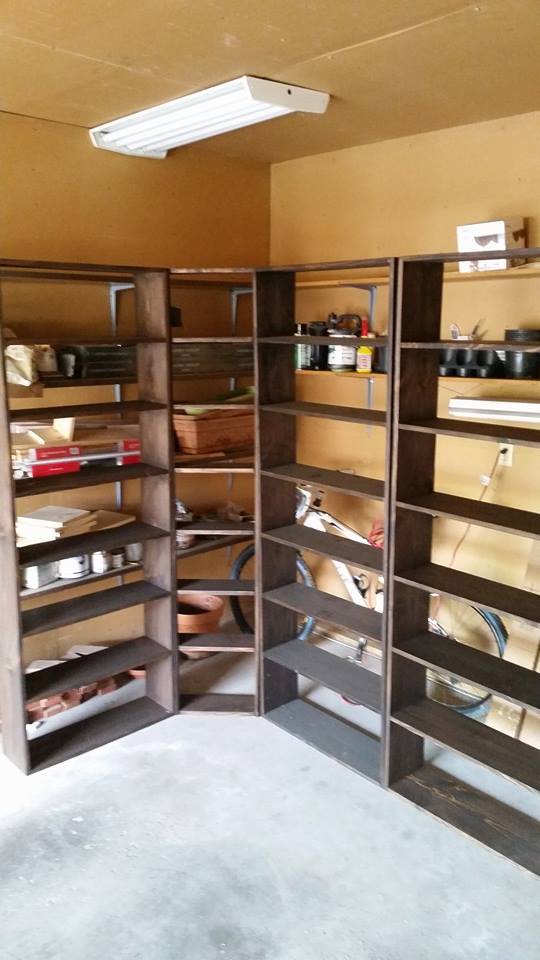
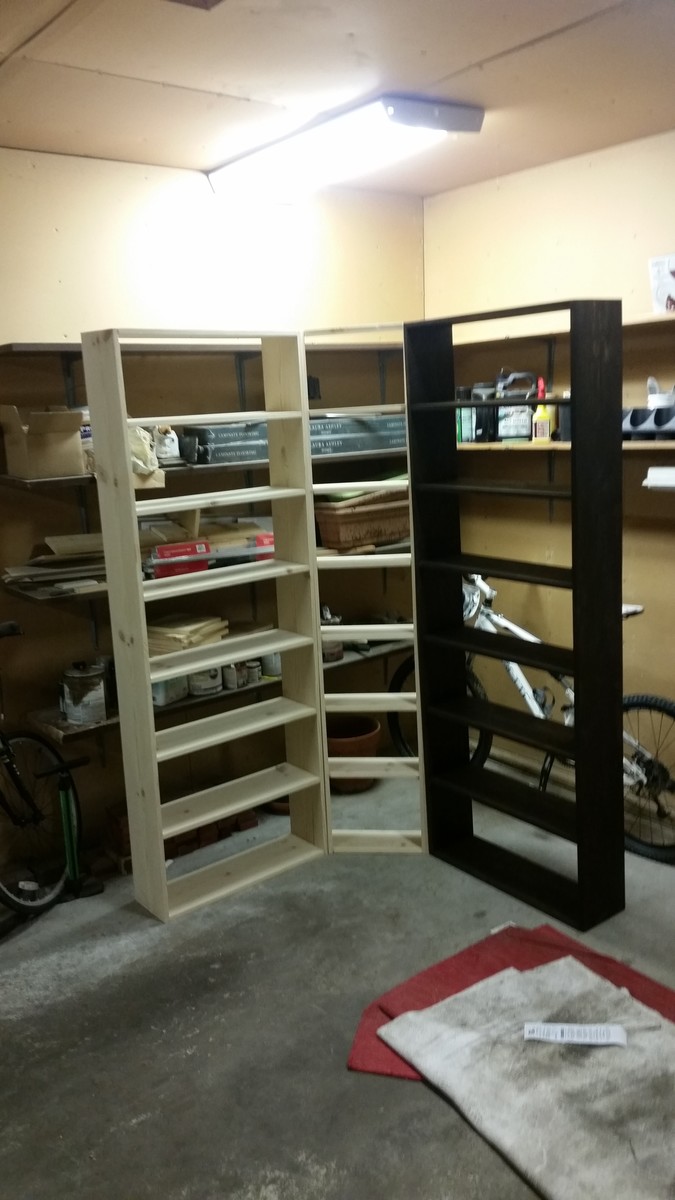
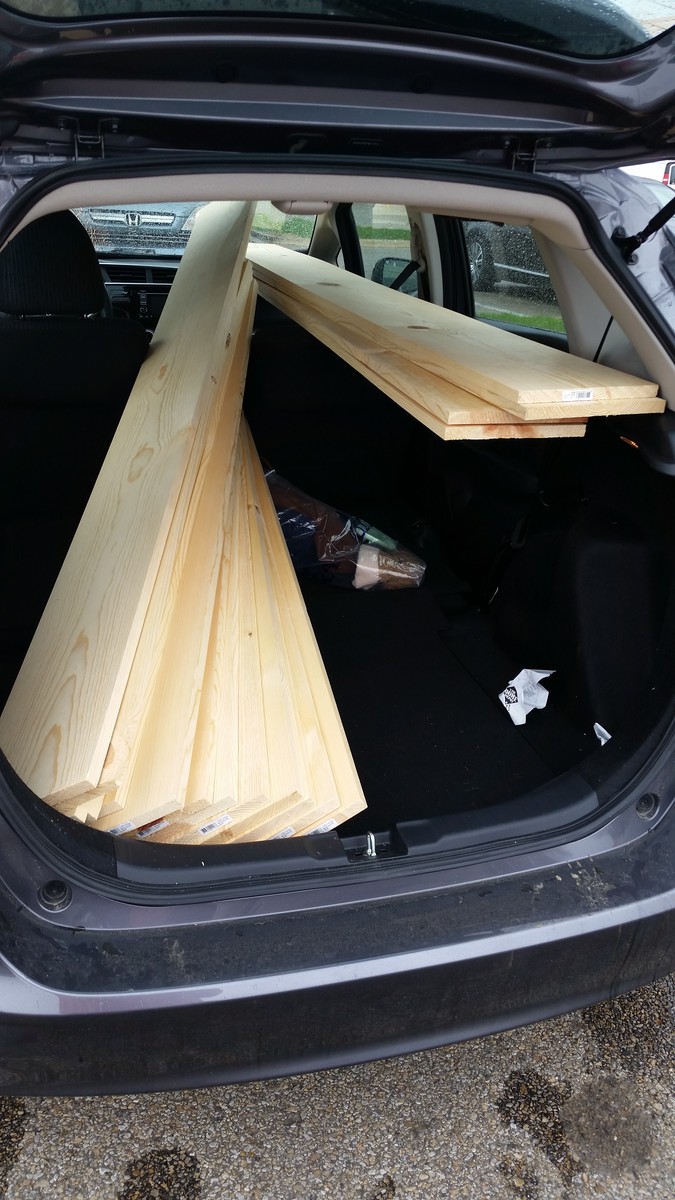
Bookcase wall unit
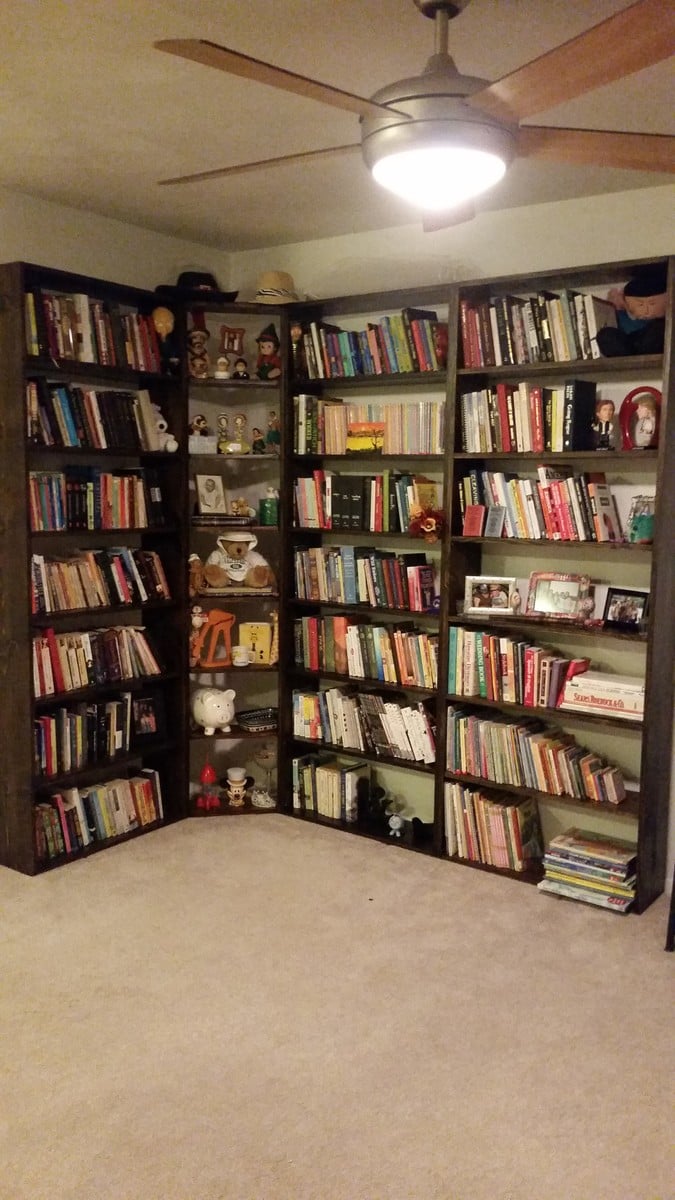
This is the project that inspired me to start woodworking. I'm a bookaholic and have always used cheap, particle board bookcases from Walmart for storage. They're fine for the price, but over time the shelves bow and they NEVER survive a move. When I outgrew the three units I had, I balked at buying a fourth, which I didn't really have room for anyway. Enter Ana White! This is actually based off a brag project under the IKEA Lack Inspired Bookcase. What I love best about building my own is that I can customize to suit my needs. I was able to put almost twice as much shelving into about the same area. And if I outgrow these, I can just build another!
Built from Plan(s)
Estimated Cost
about $175
Estimated Time Investment
Week Long Project (20 Hours or More)
Finish Used
Miniwax Espresso Stain, Varathane Satin Triple Thick Polyurethane
Recommended Skill Level
Beginner
Comments

Sliding Barn Door Office Set

Built by What Once Was Old Furniture Design submitted by Kari Baker
We get lots of inspiration from you Ana! We started building the sliding barn door cabinets from your plans and since have built several of them. We have also altered them to fit our customers needs. They are very popular here in Texas. The sliding door cabinet in this picture was used as a credenza in a home office. We also added a sliding keyboard tray under the computer screen. The printer is on a sliding tray as well, so it can be pulled out when in use. Base of the cabinet and desk is new pine and we used a lot of pallet wood for doors and shelves. It would be a treat to be added to your brag board, you can see lots of our work, lots of which you should recognize at What Once Was Old Furniture Design . Thank you!!
Built from Plan(s)
Recommended Skill Level
Advanced
Comments
Ana White Admin
Wed, 10/06/2021 - 16:24
So sweet!
That's awesome, I bet she loves it!