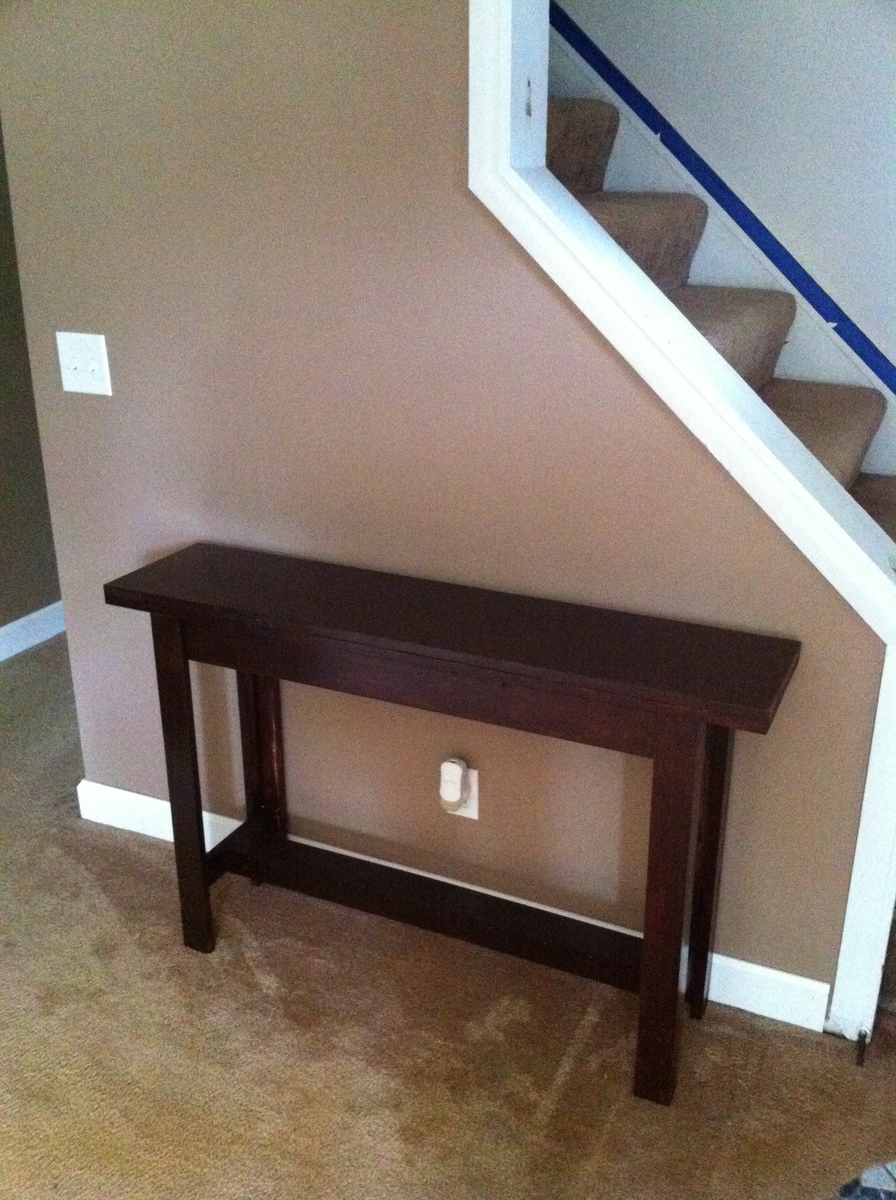
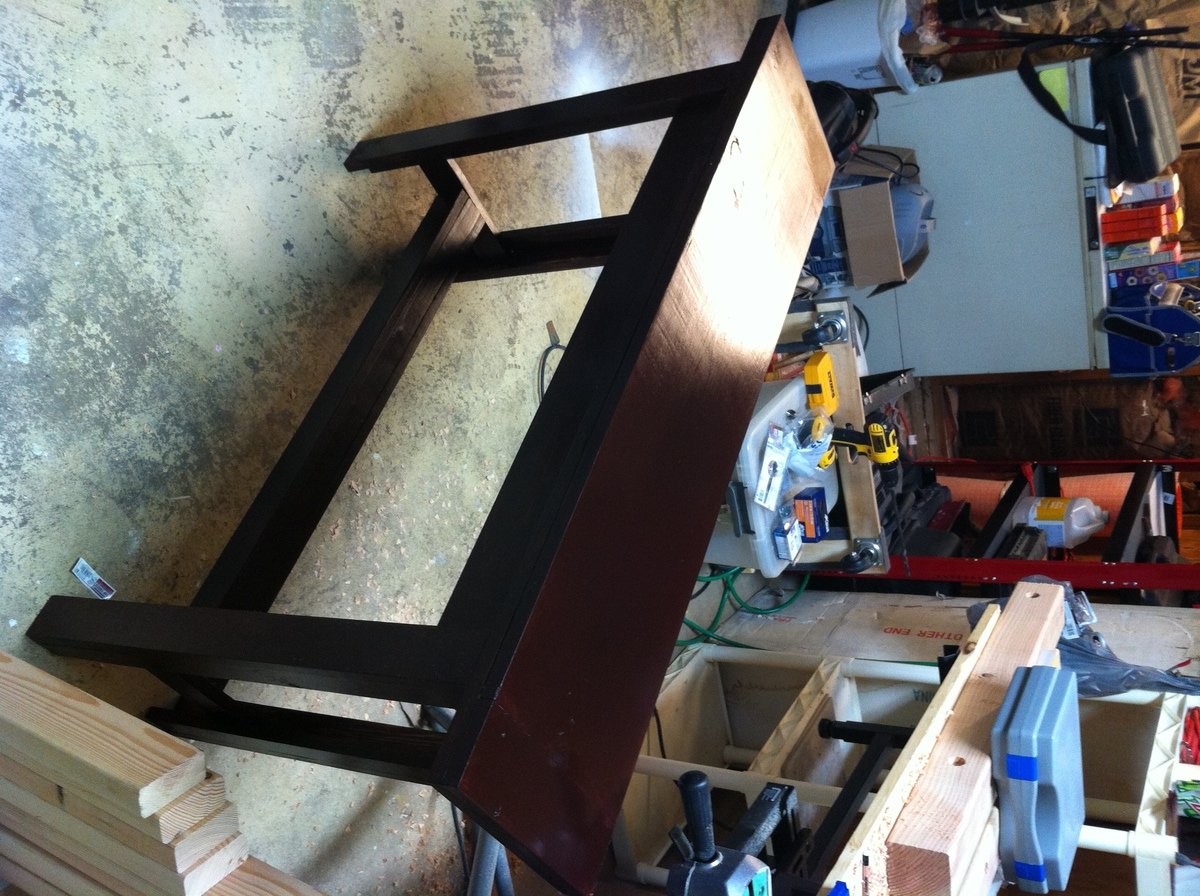
2x10 Step Stool
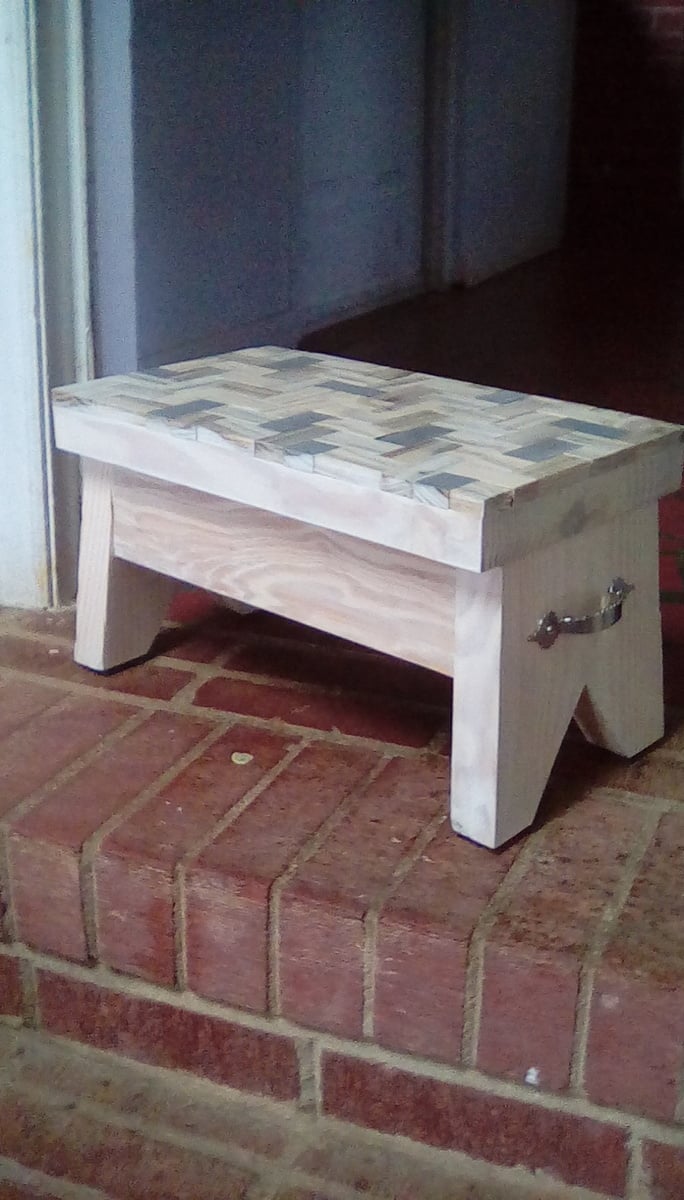
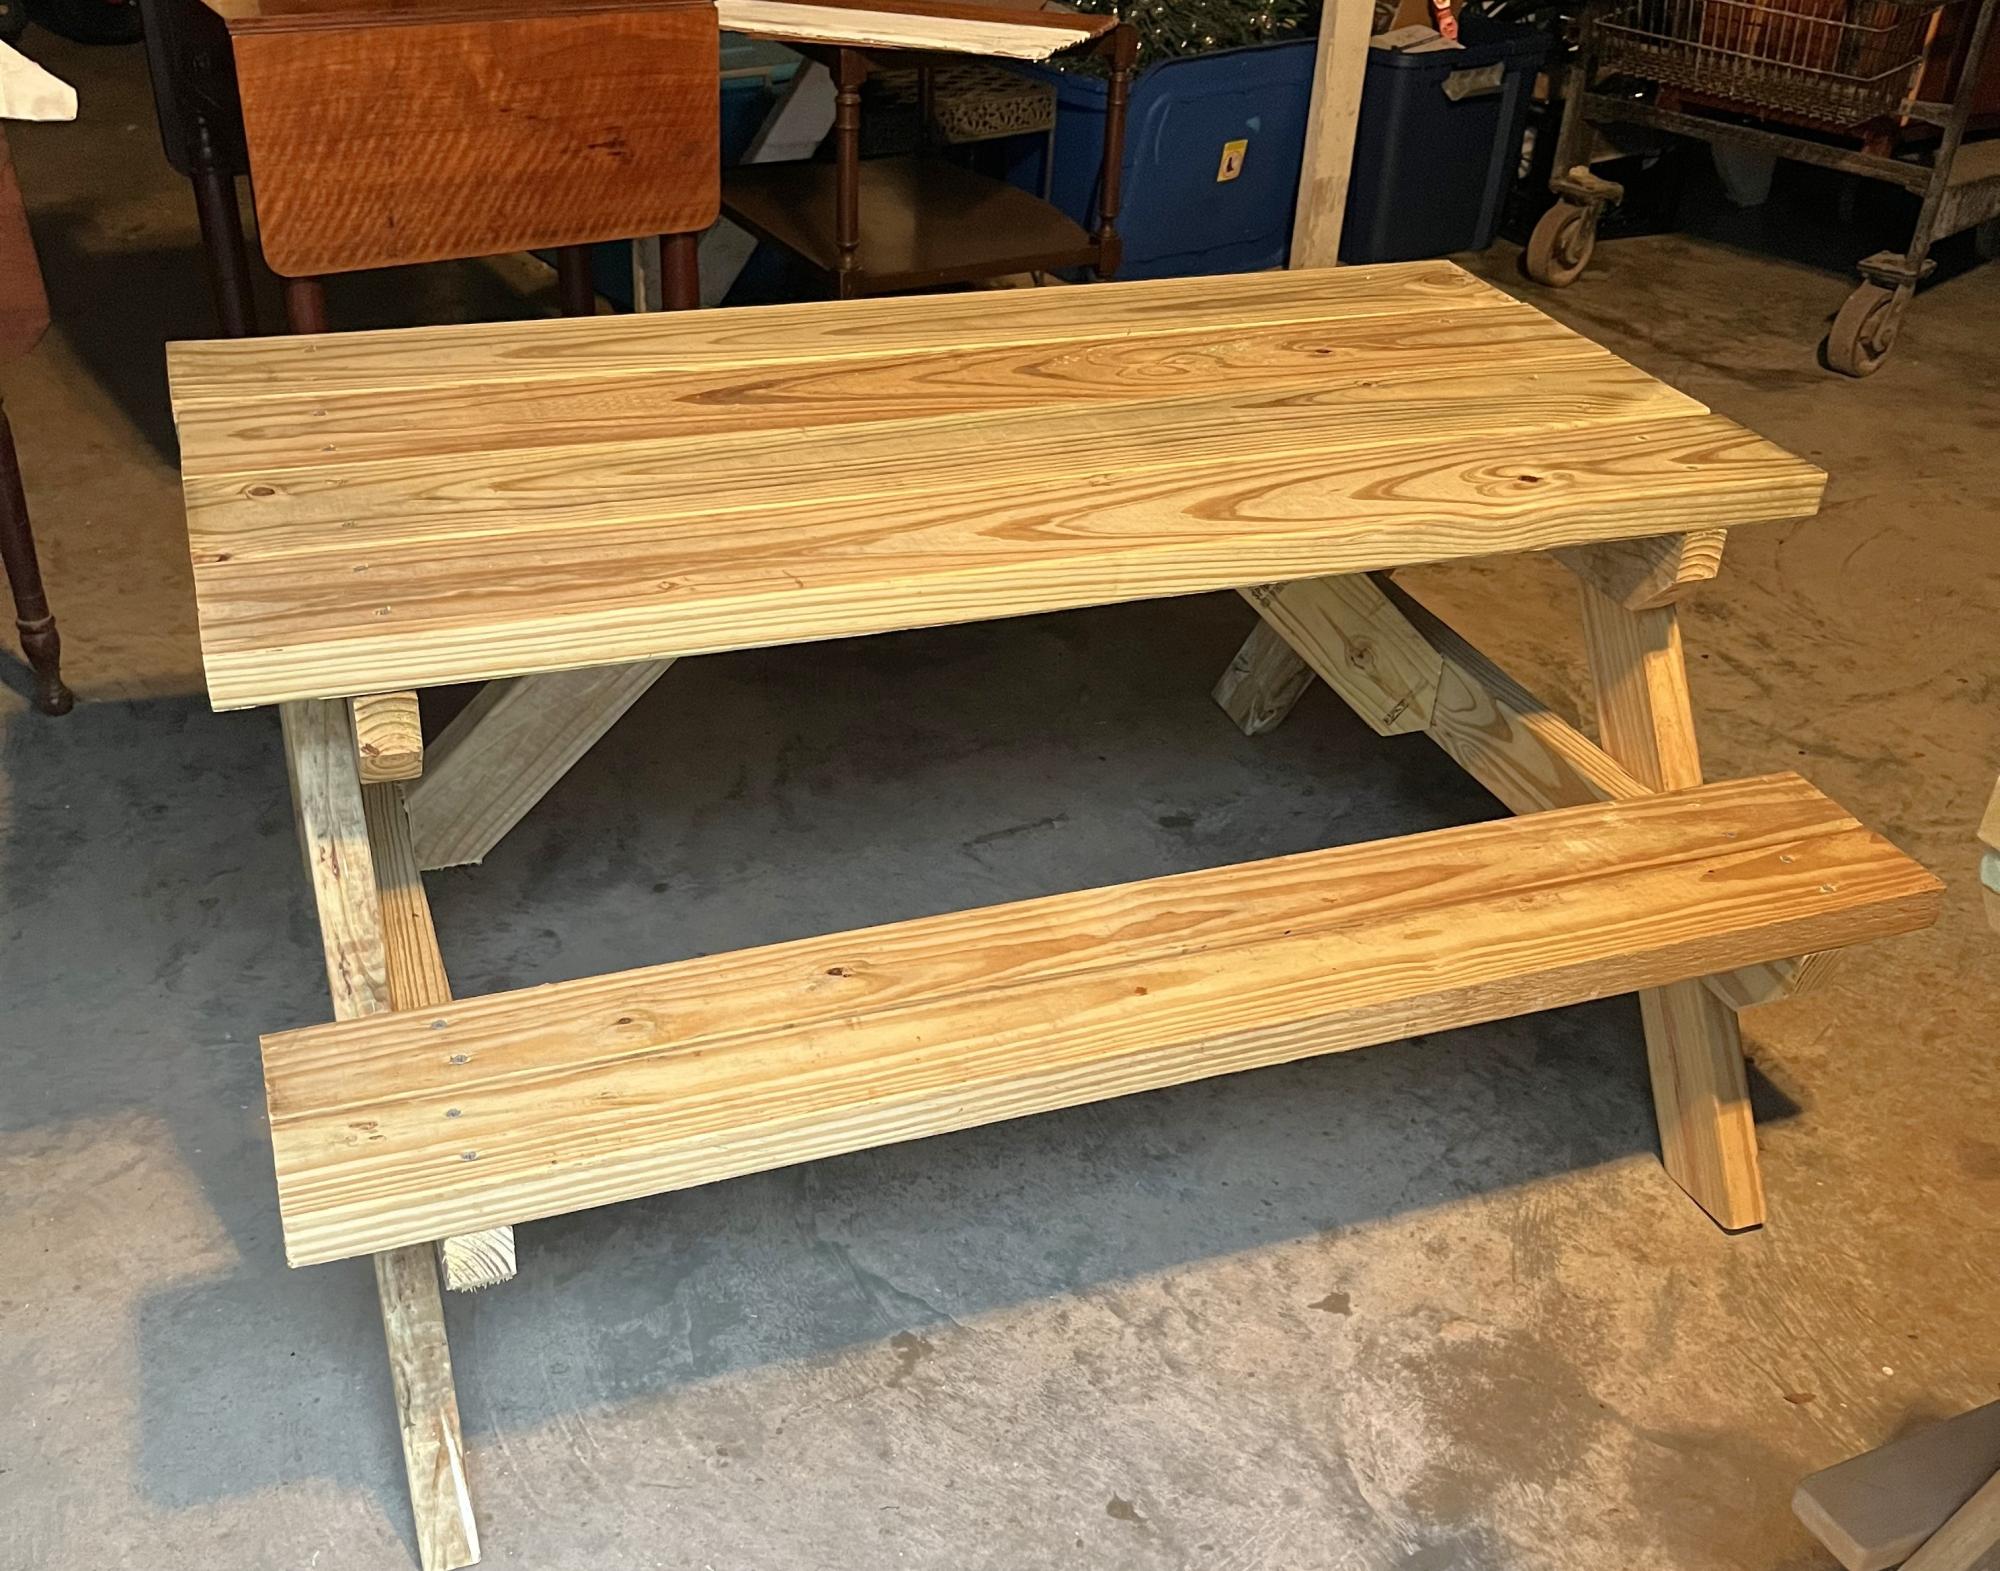
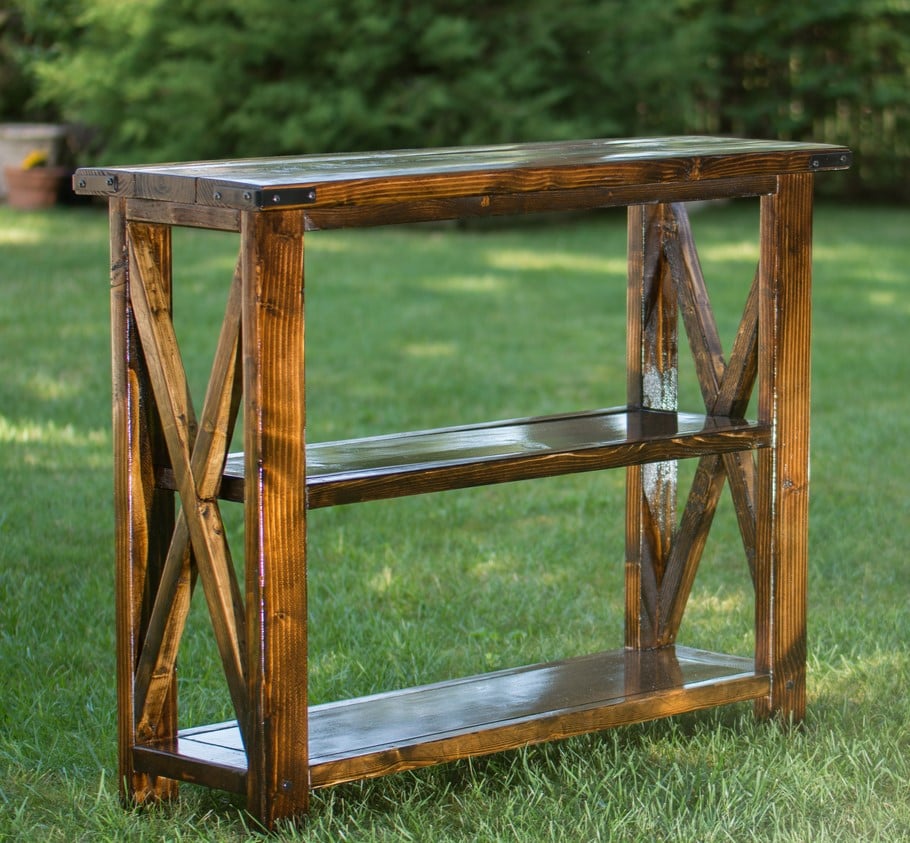
With some left over scrap 2x10 wood I made this stool for my children.
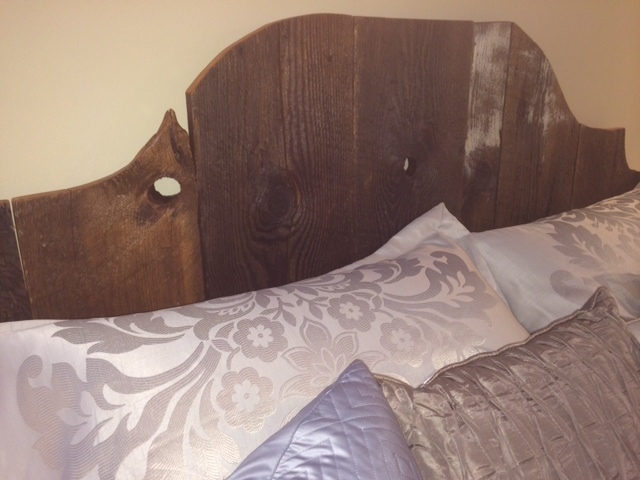
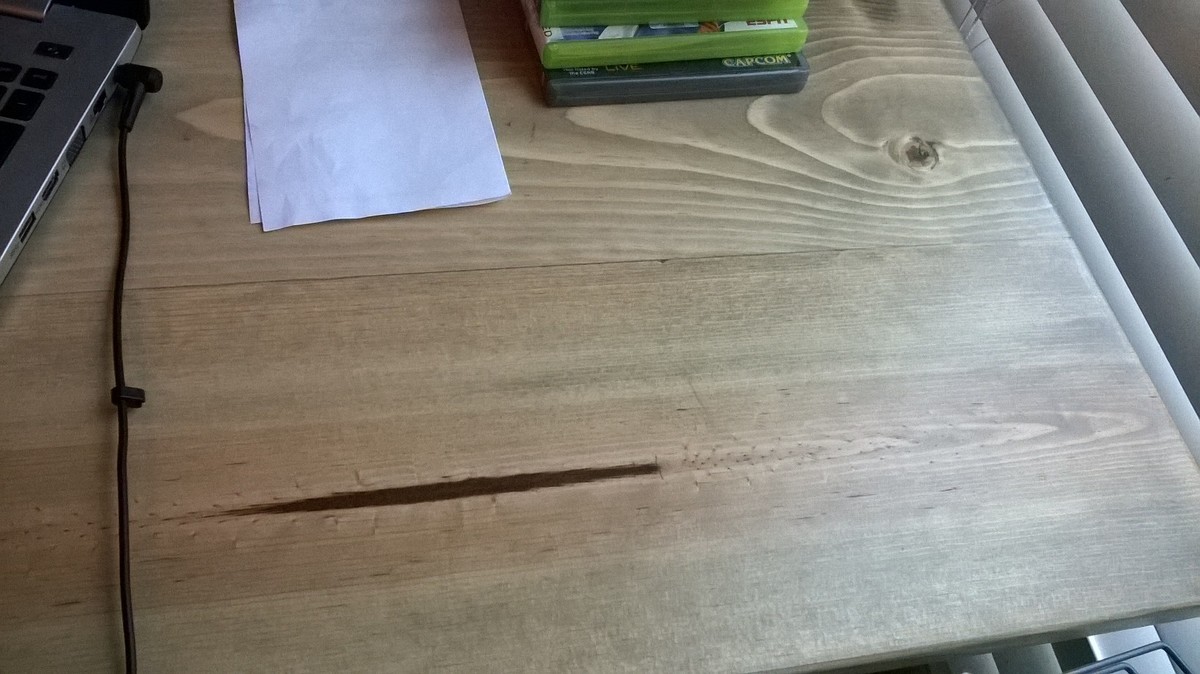
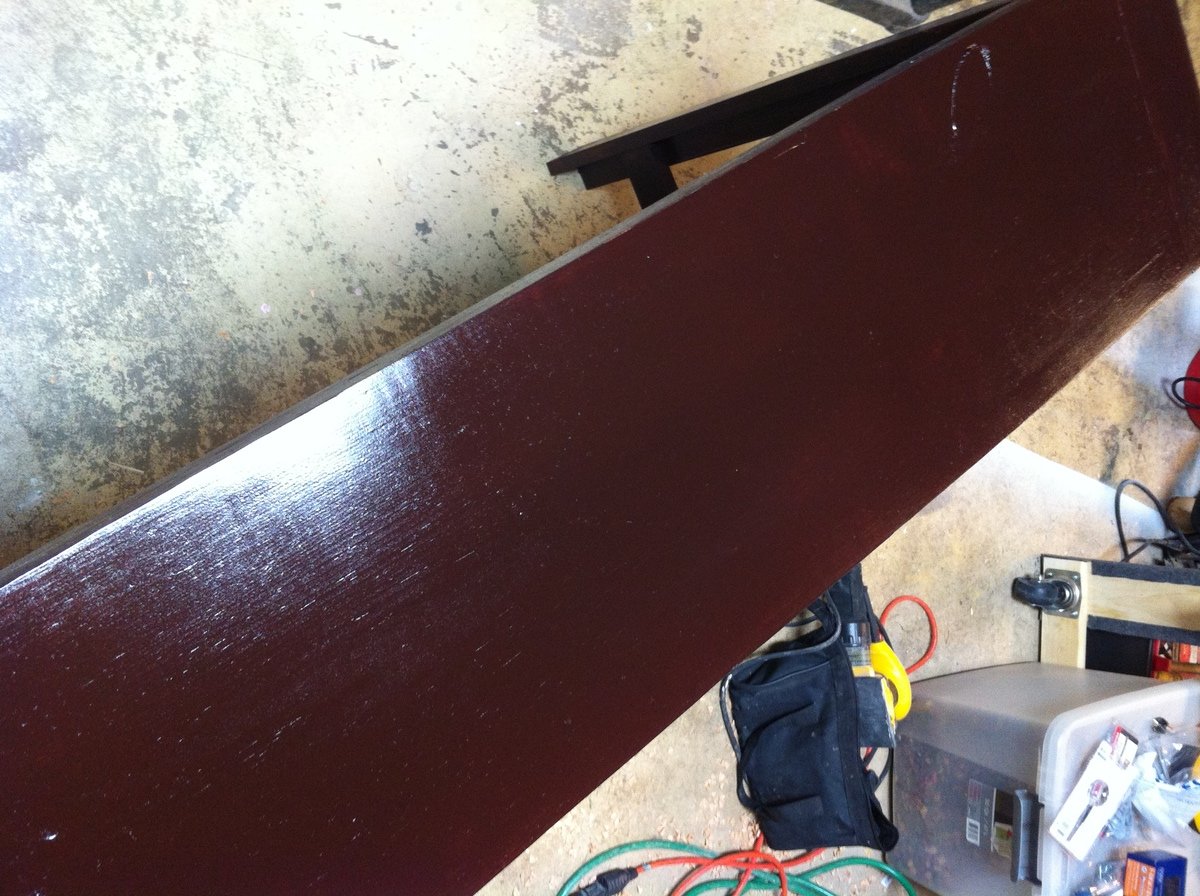
The total heigh of the stool is 9" (7 1\2" for the feet, 1 1\2" for the top, and 1\2" for the design on top made from scrap pallat wood)
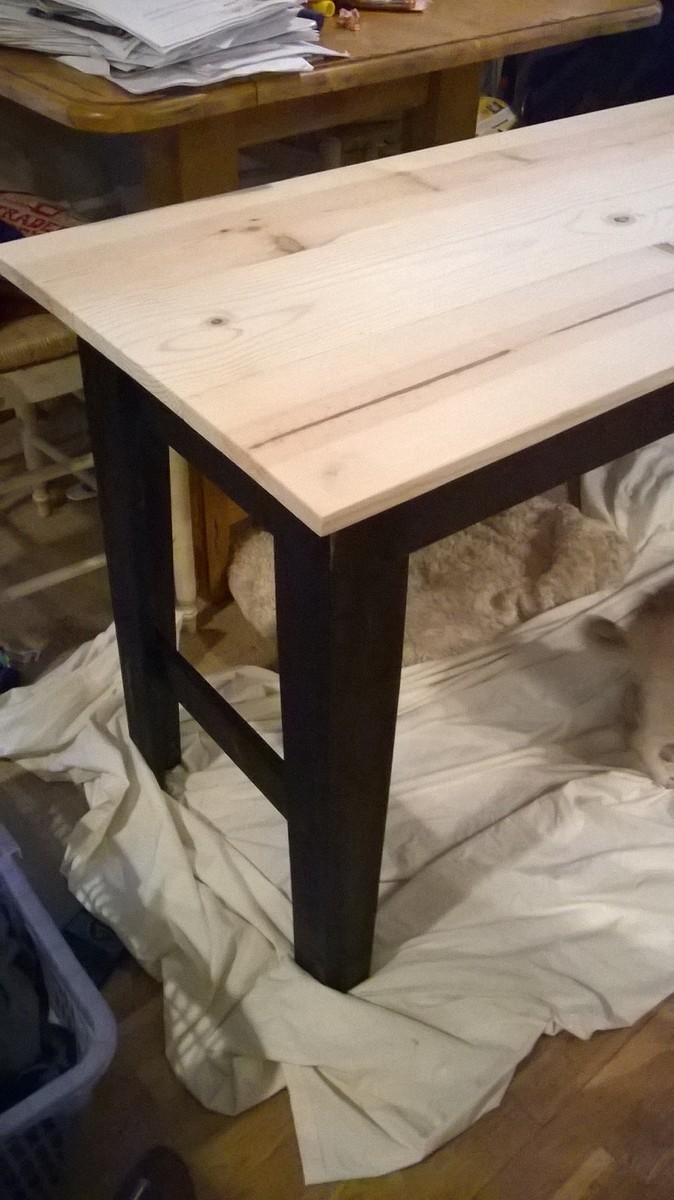
The top is 1 1\2" x 9 1\4" x 16" (because of the thickness of the wood I would recommend cutting the top to 18" instead of 16")
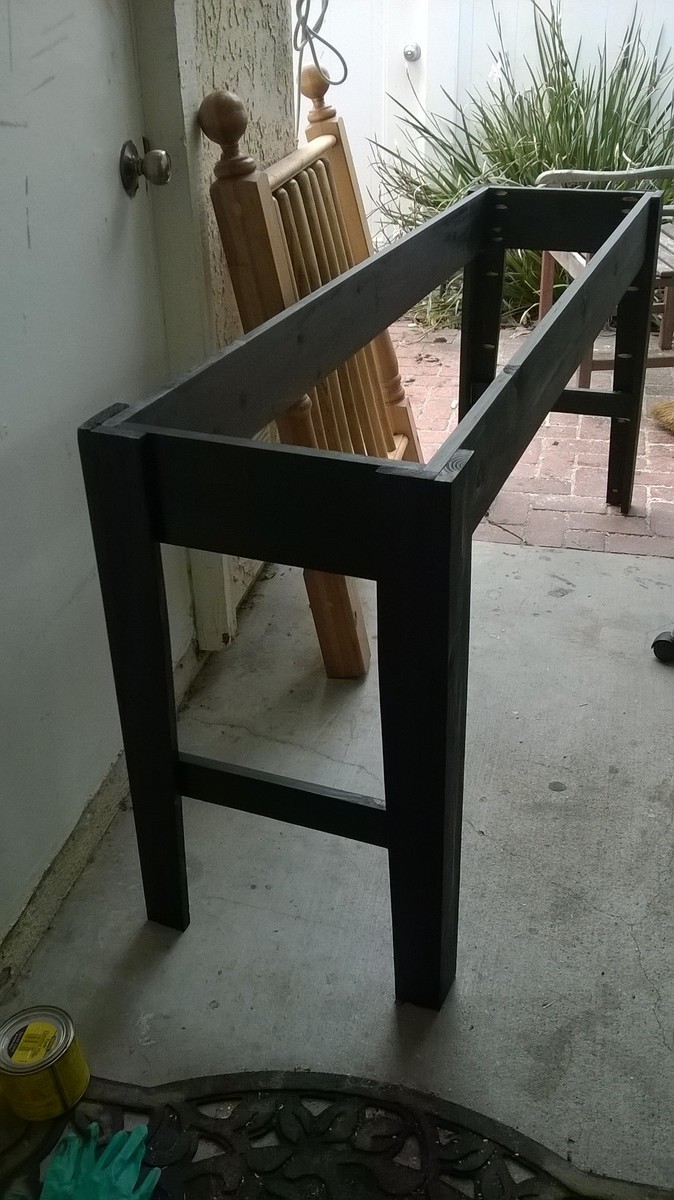
The legs are cut with a 5 degree angle
I made the design on the top by ripping some reclaimed pallet wood into 1" strips and then cutting each into 2" pieces
Built from Plan(s)
Estimated Cost
$20
Estimated Time Investment
Weekend Project (10-20 Hours)
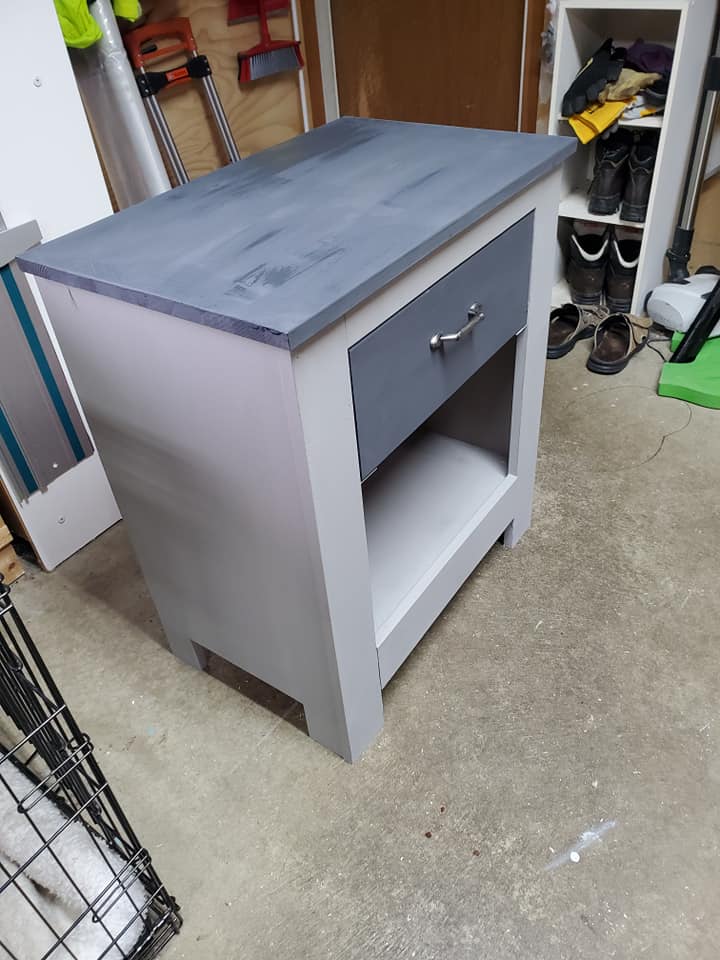
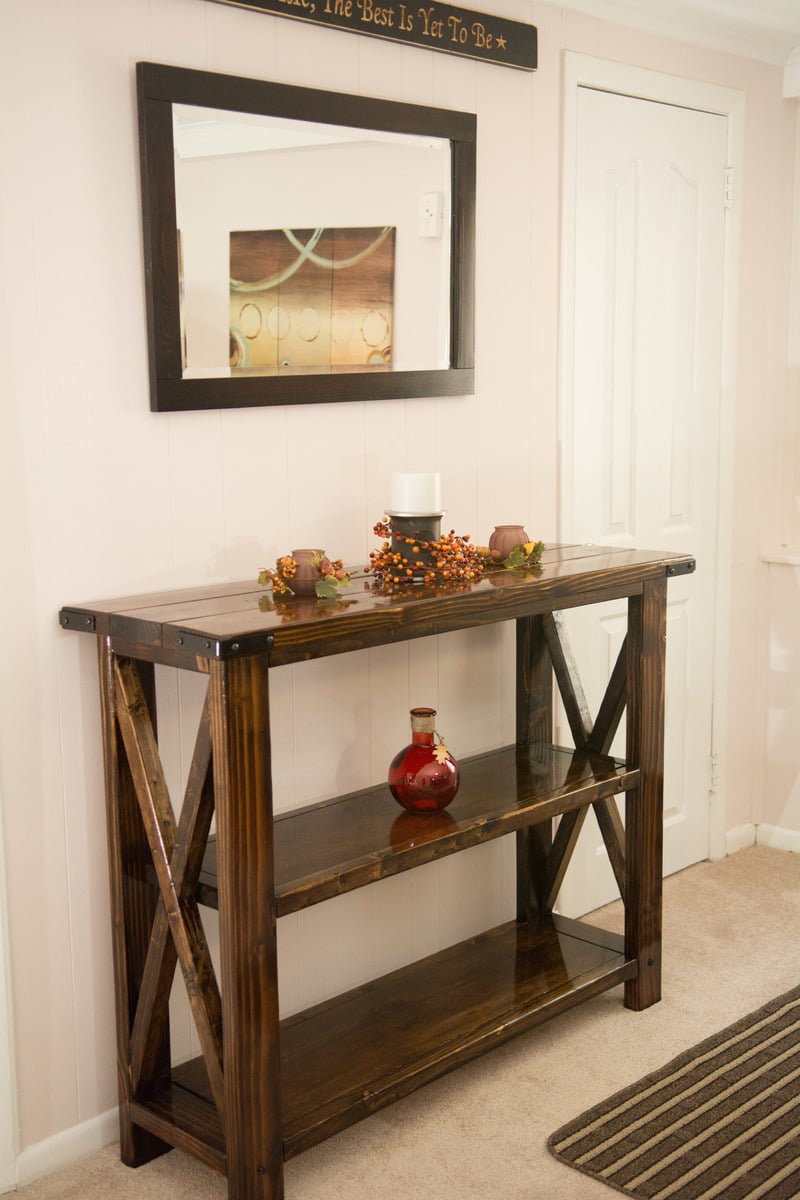
Finish Used
Minwax: gray
Minwax: pickled oak
Minwax: weathered oak
Minwax: polycrylic protective finish
Minwax: pickled oak
Minwax: weathered oak
Minwax: polycrylic protective finish
Recommended Skill Level
Starter Project