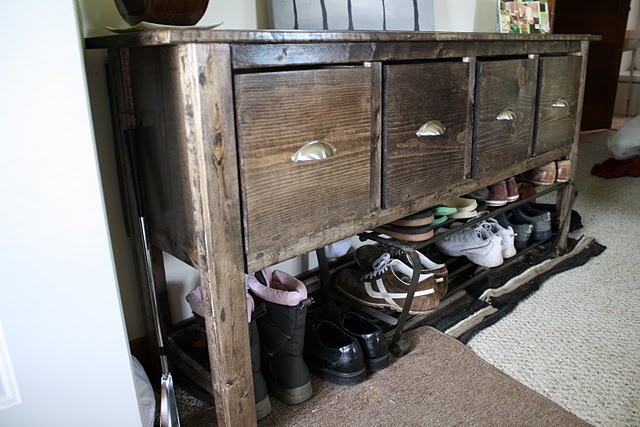
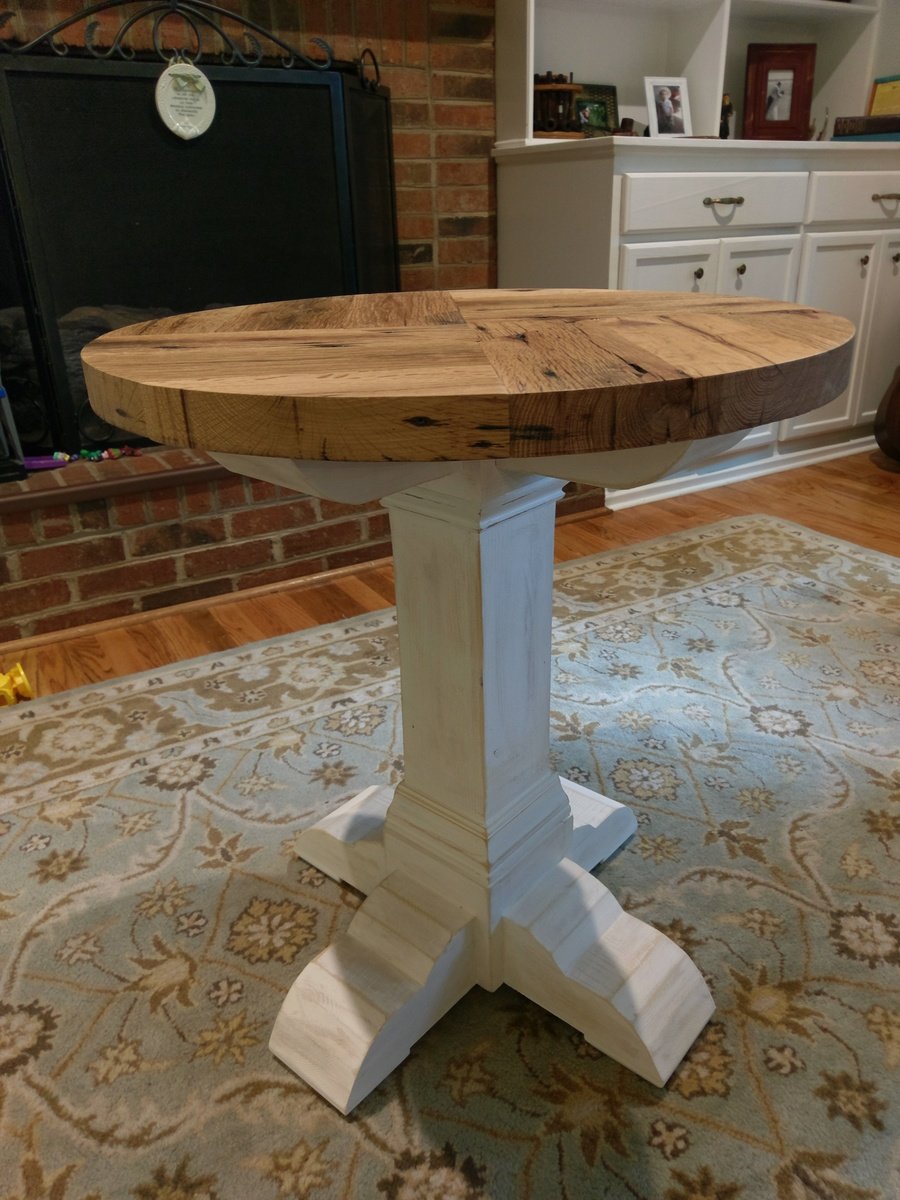
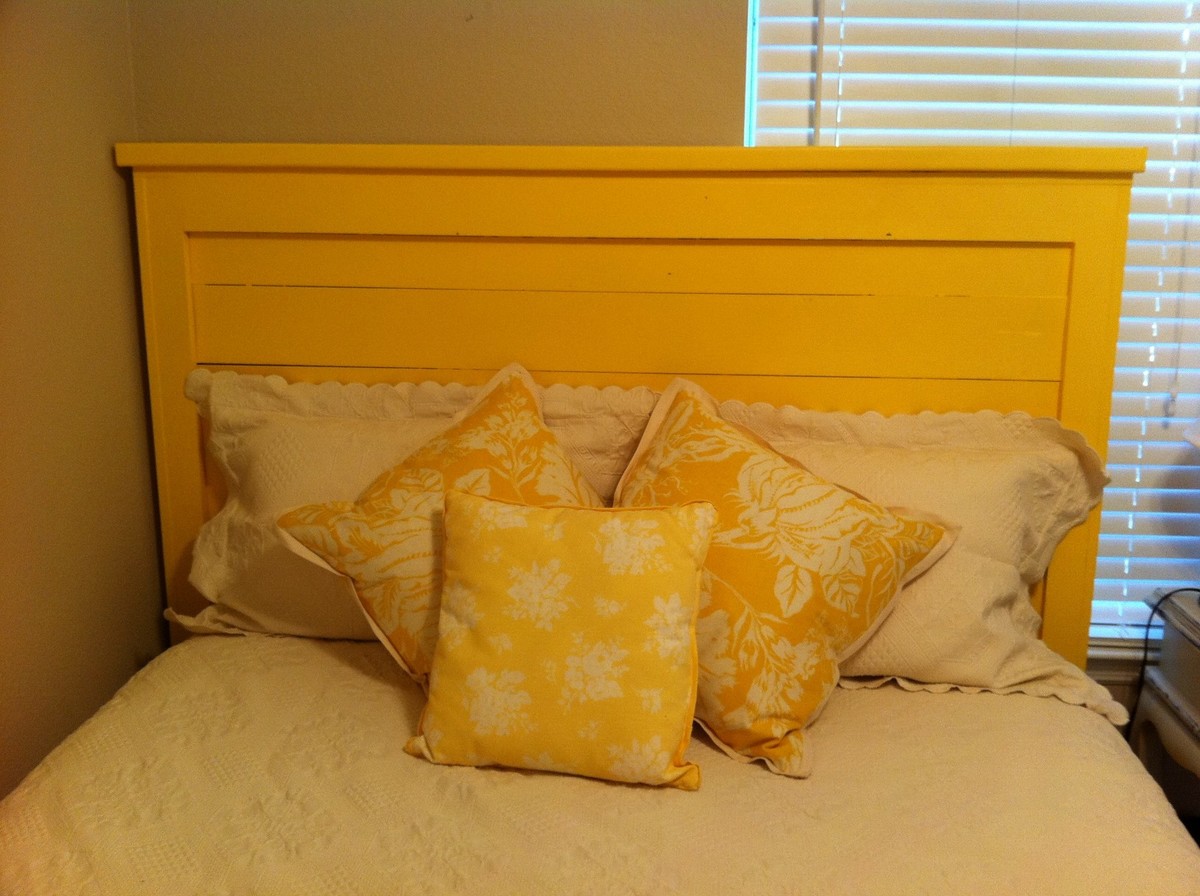
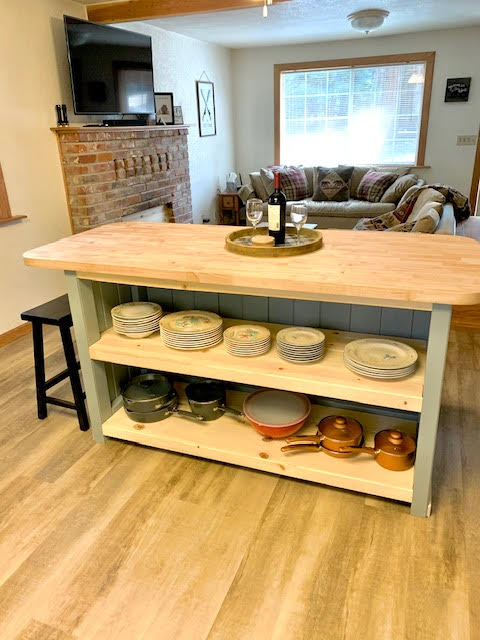
Large Rustic X Bench
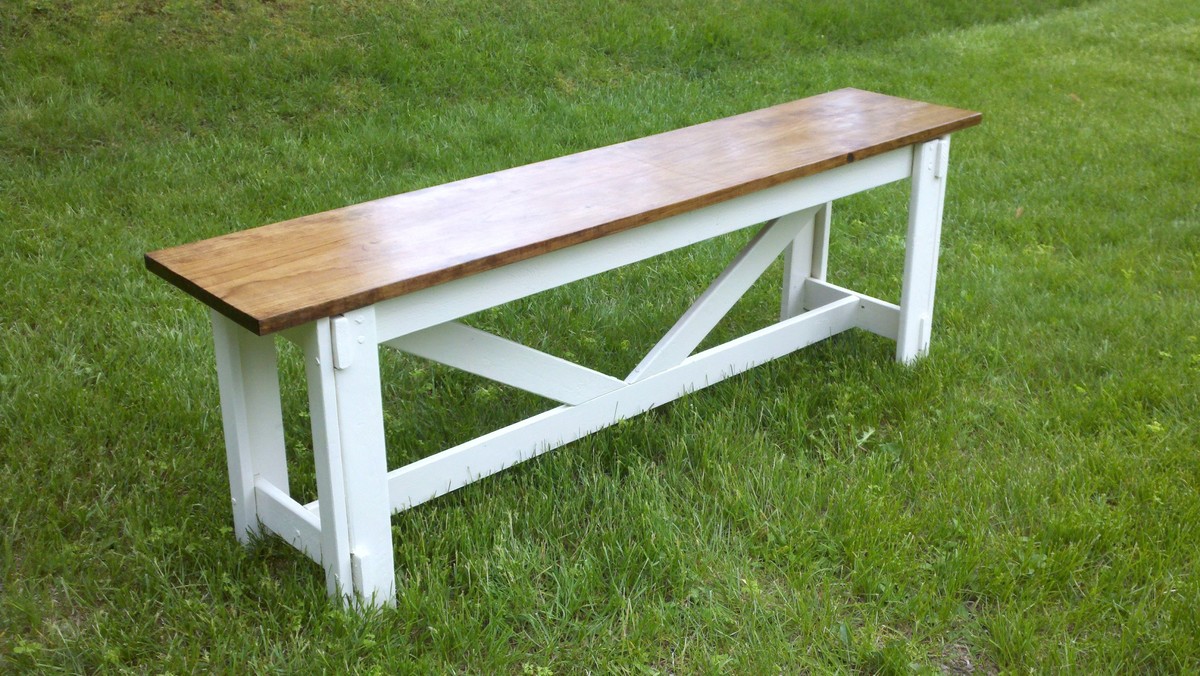
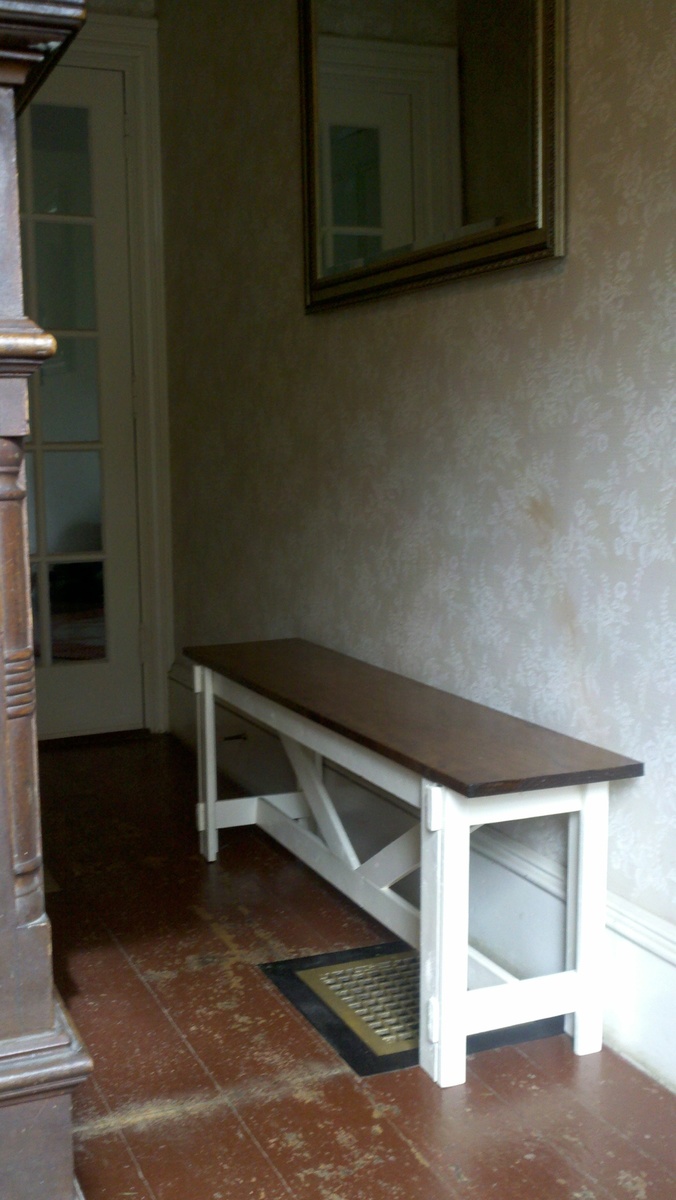
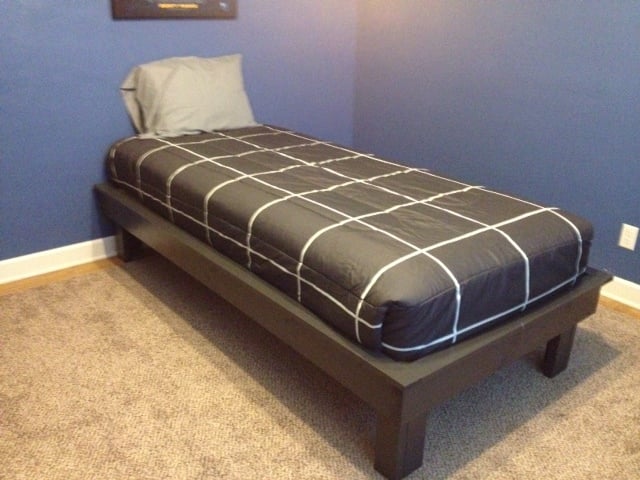
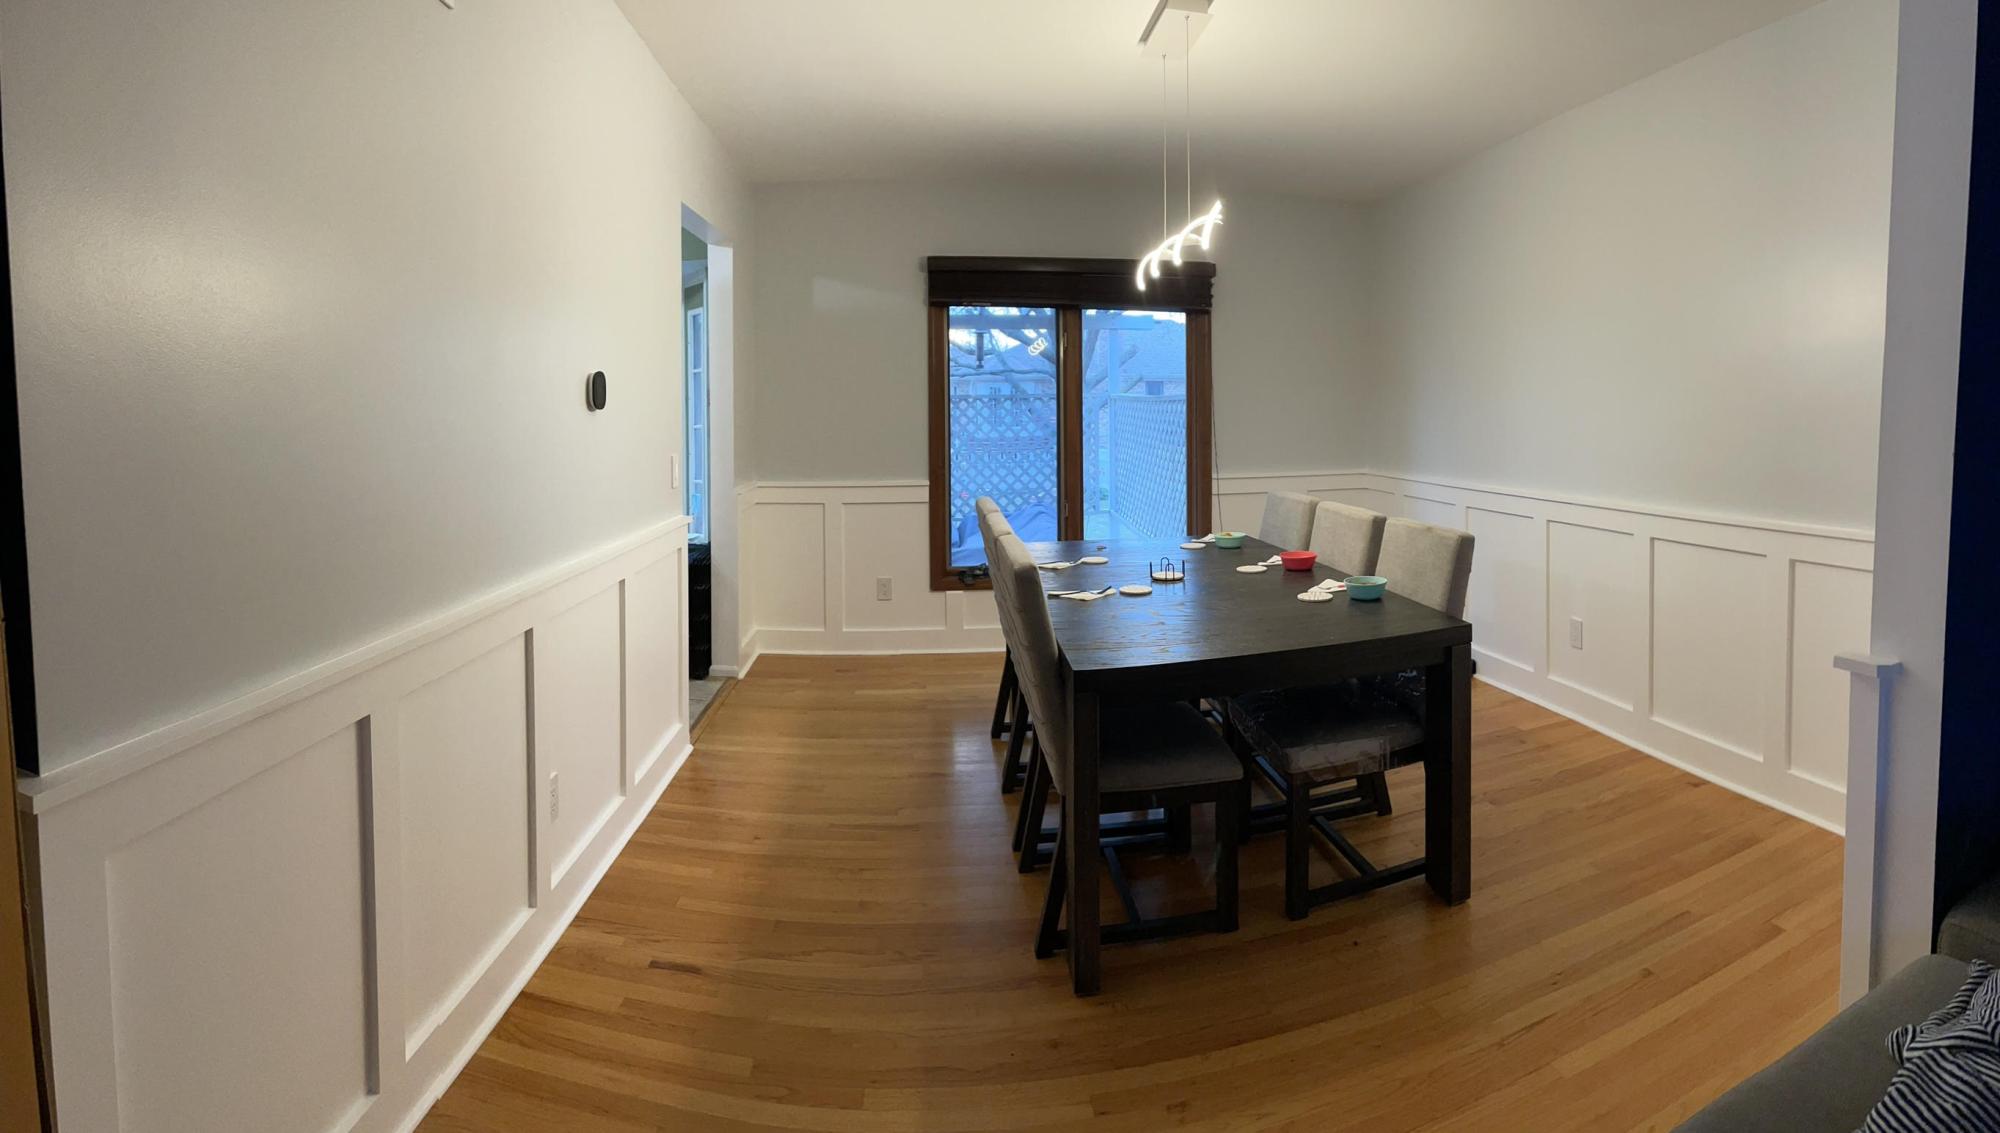
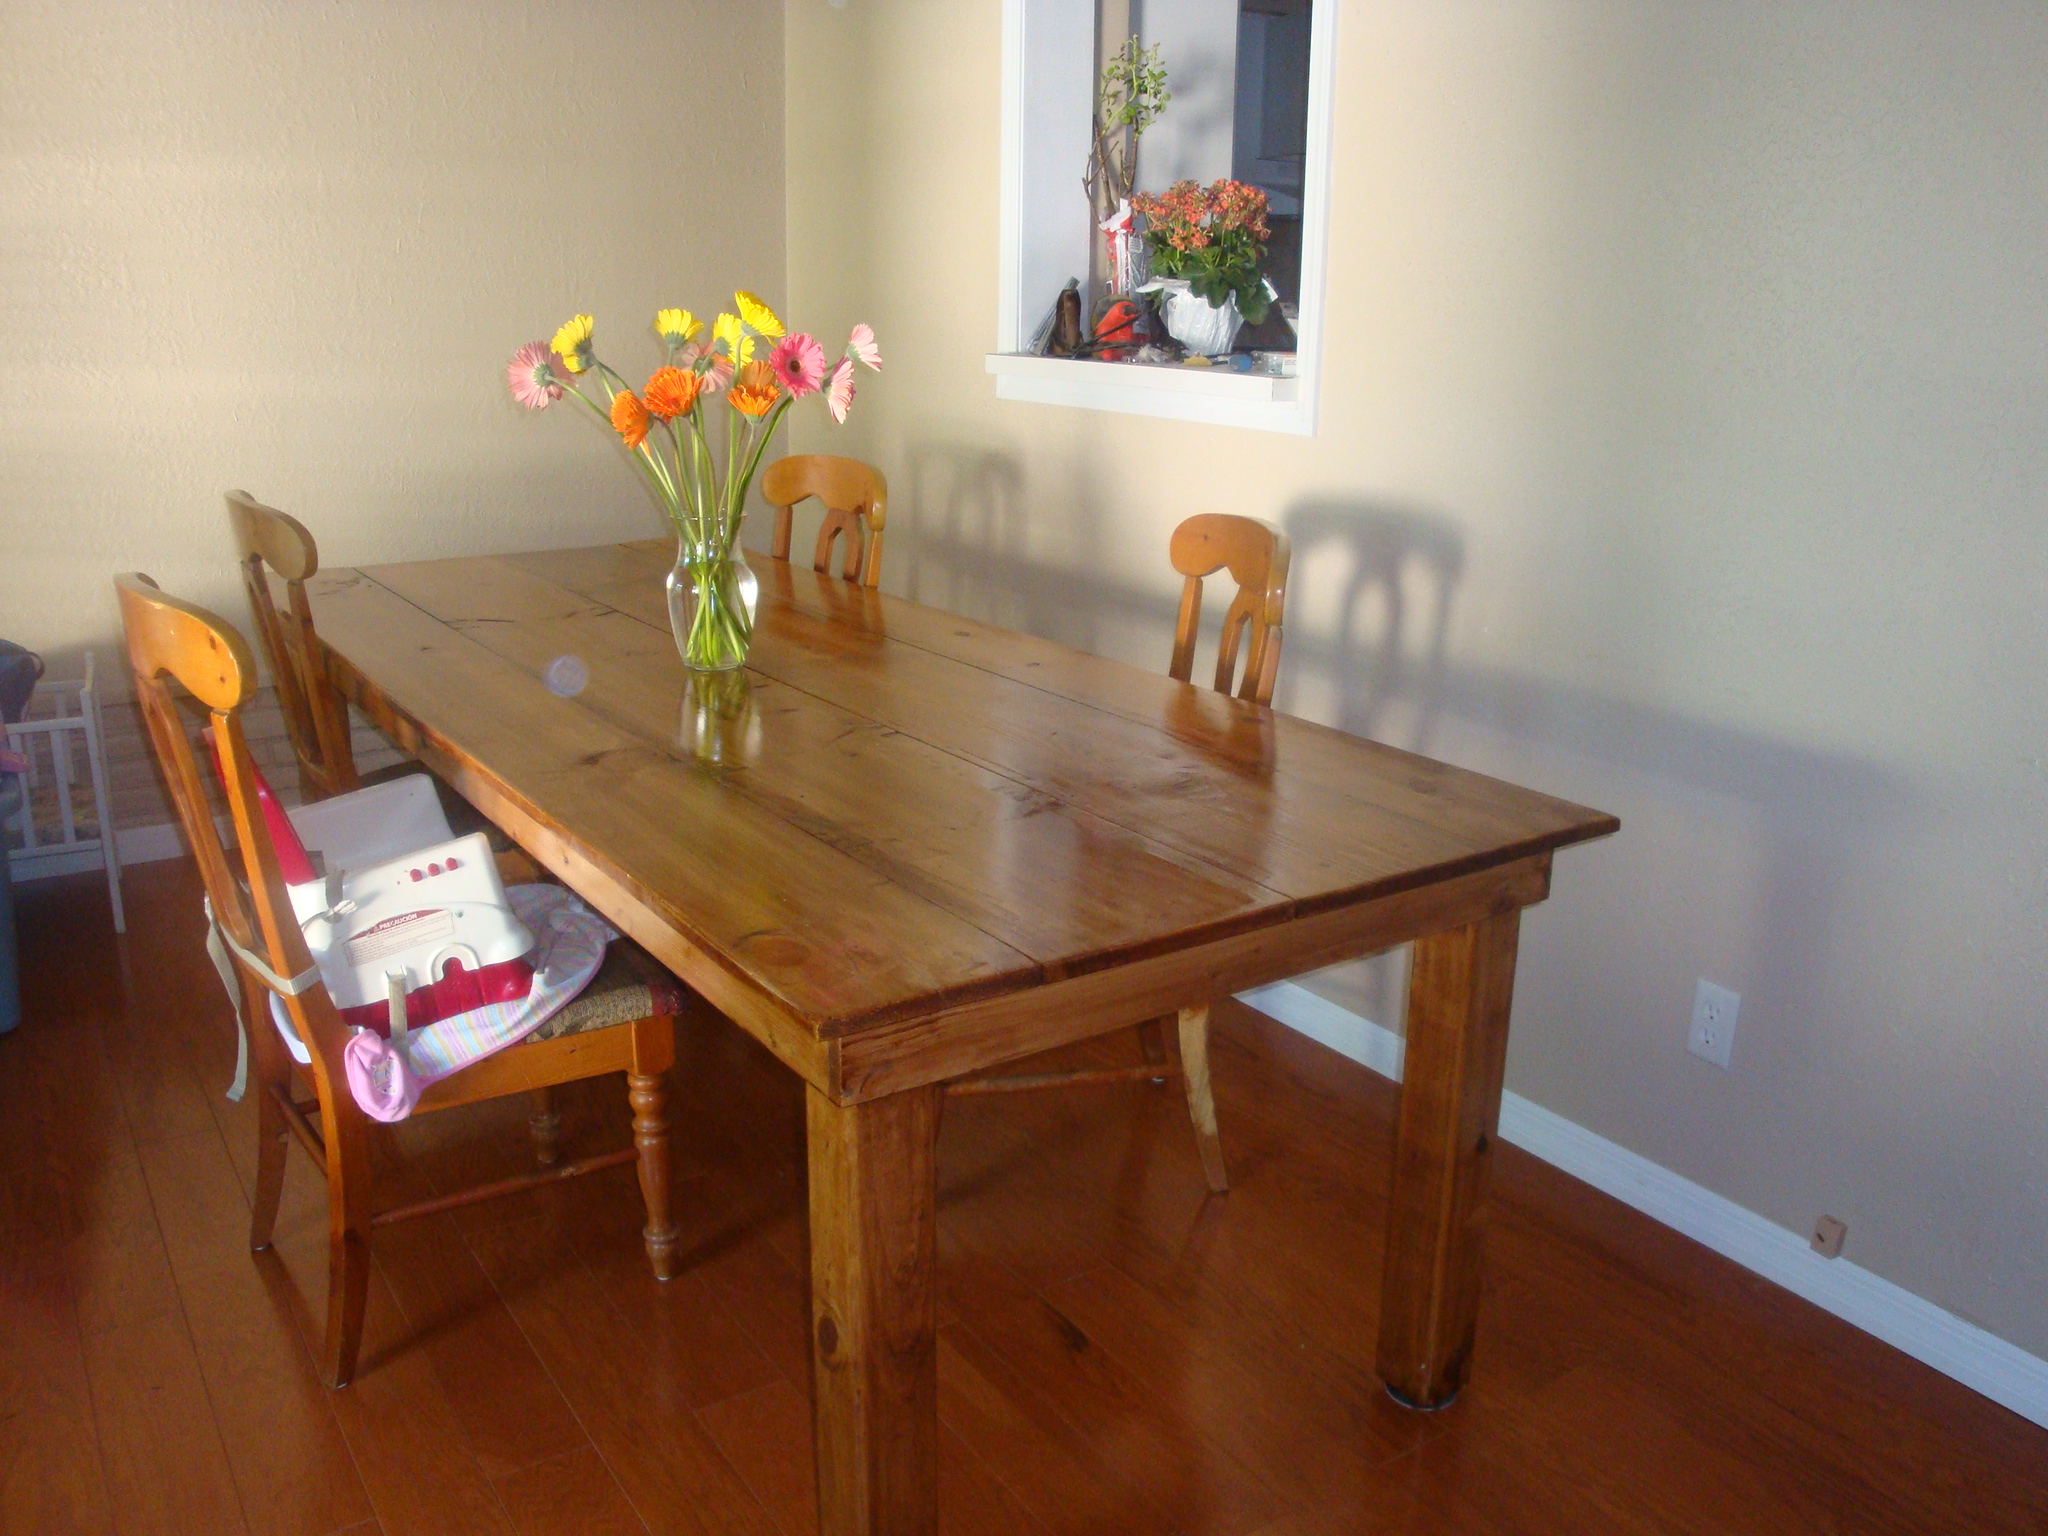
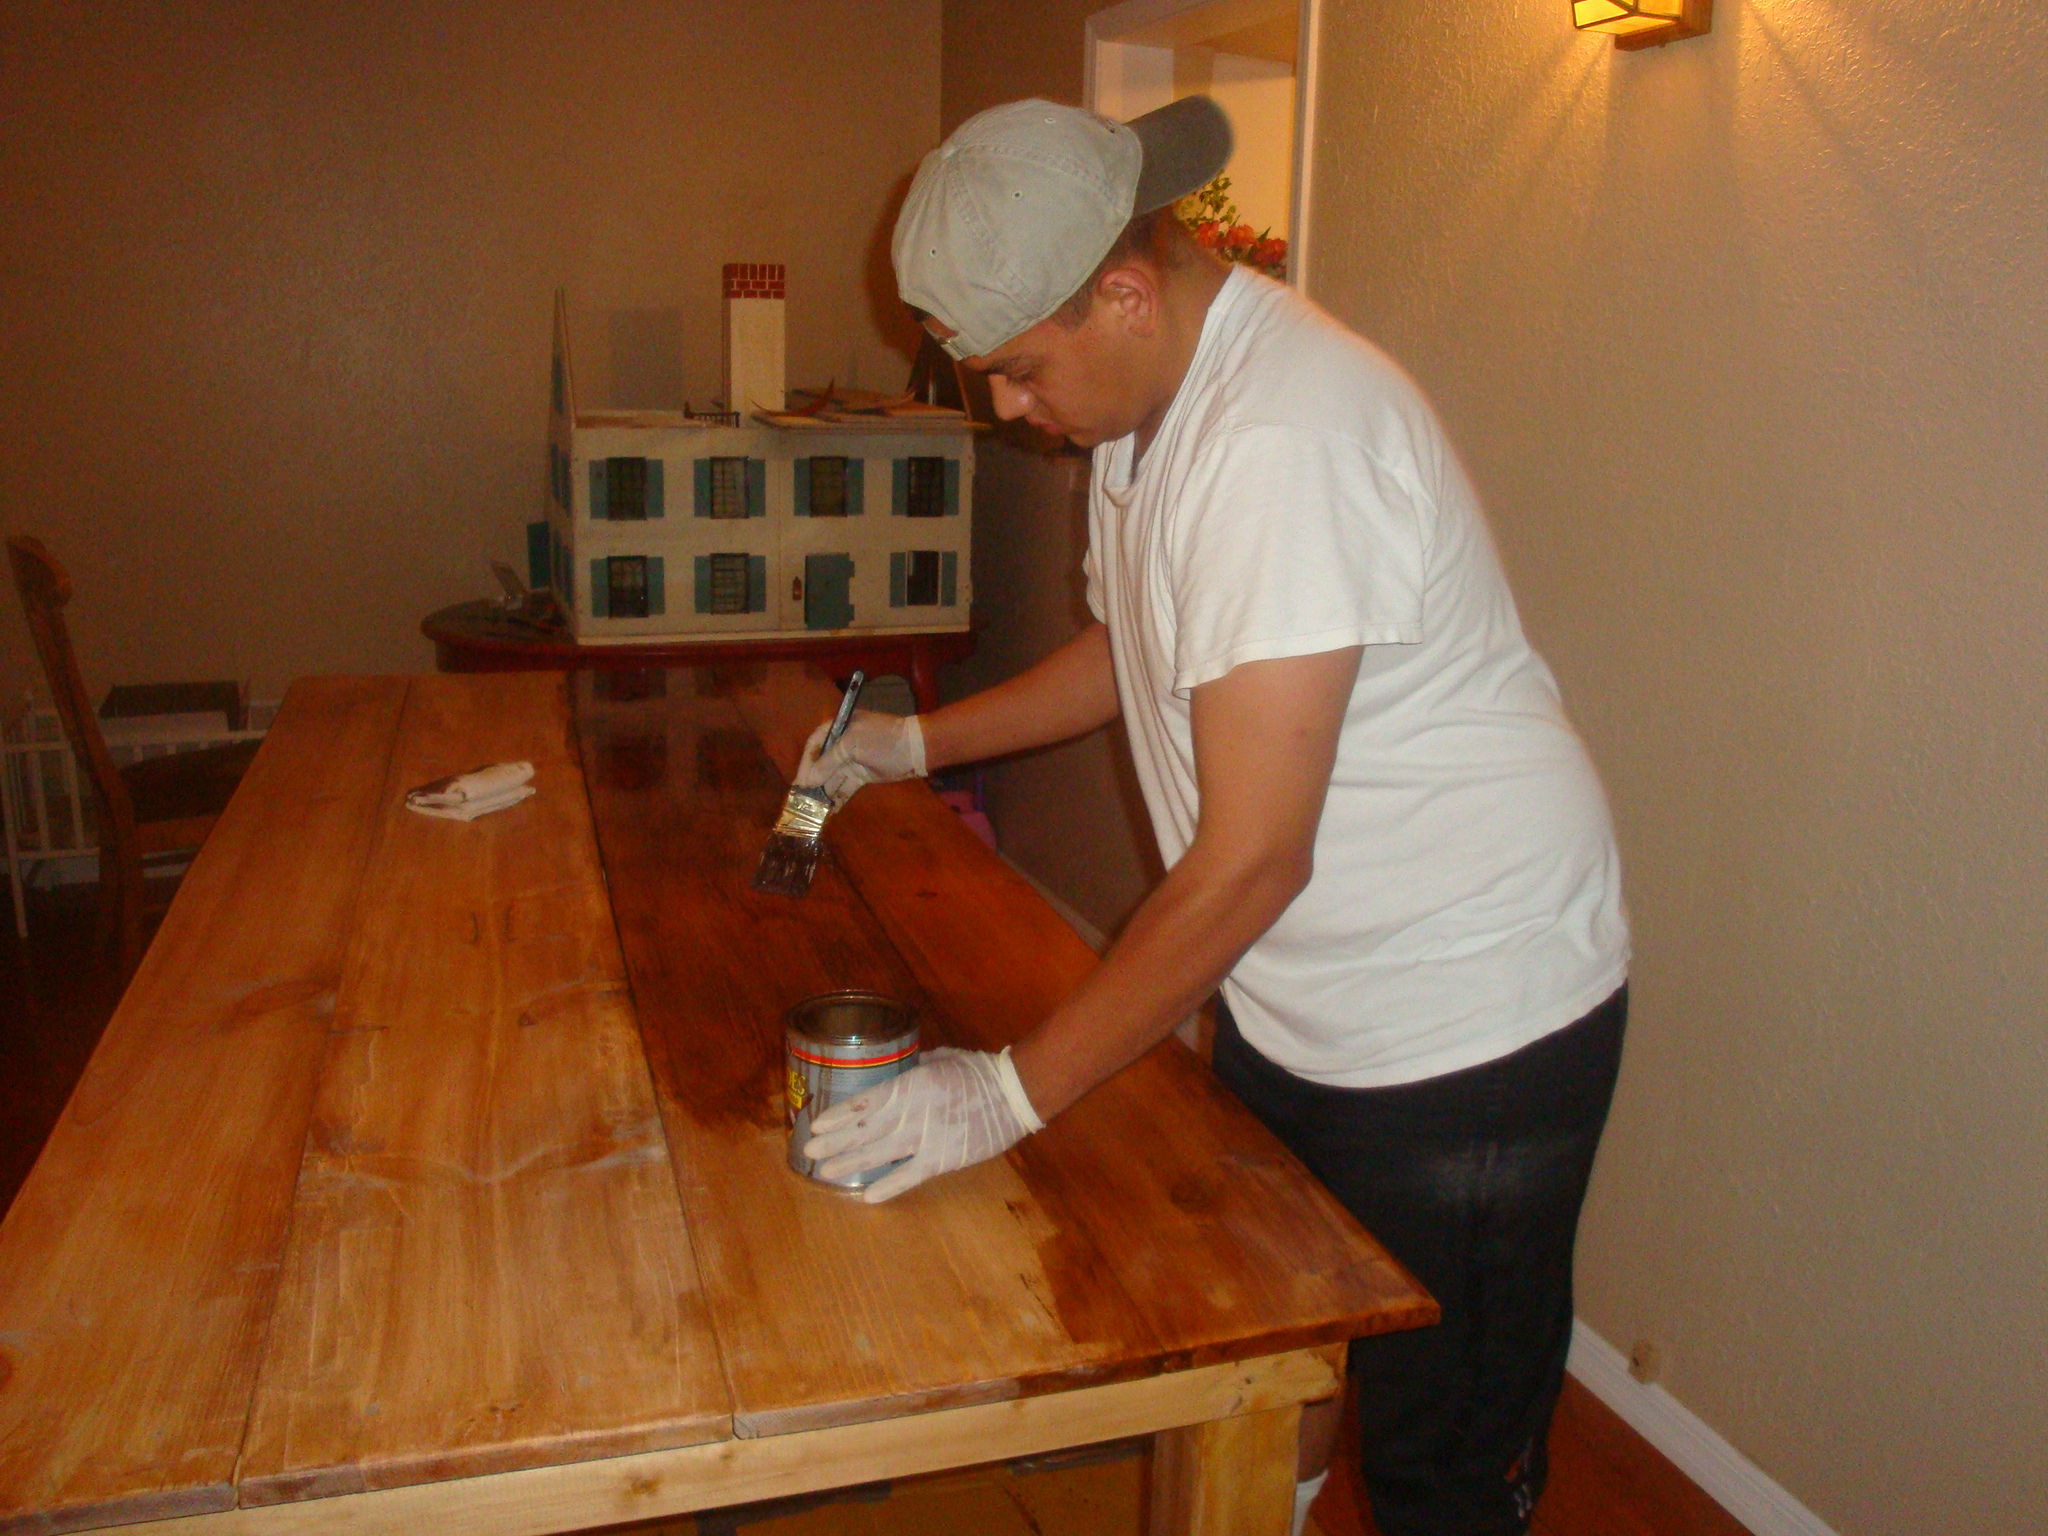
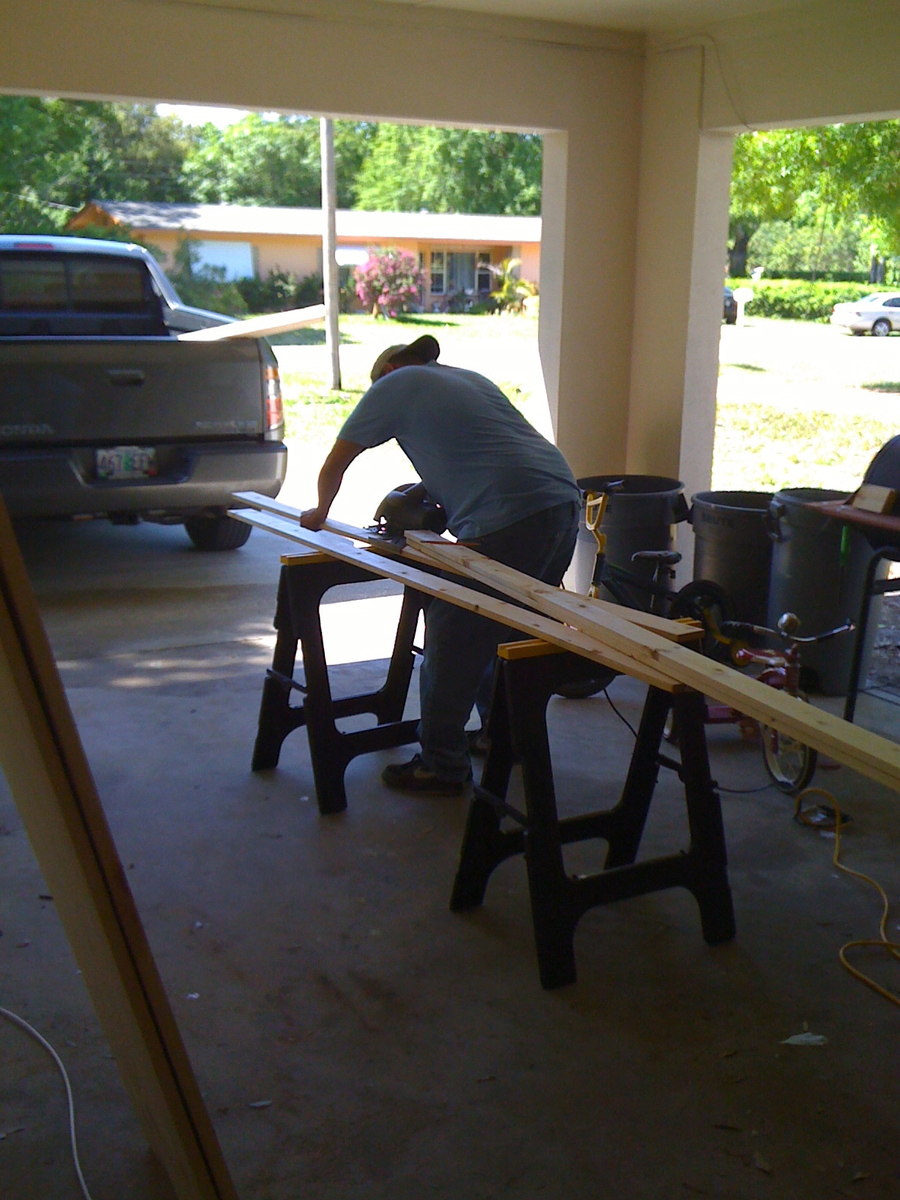
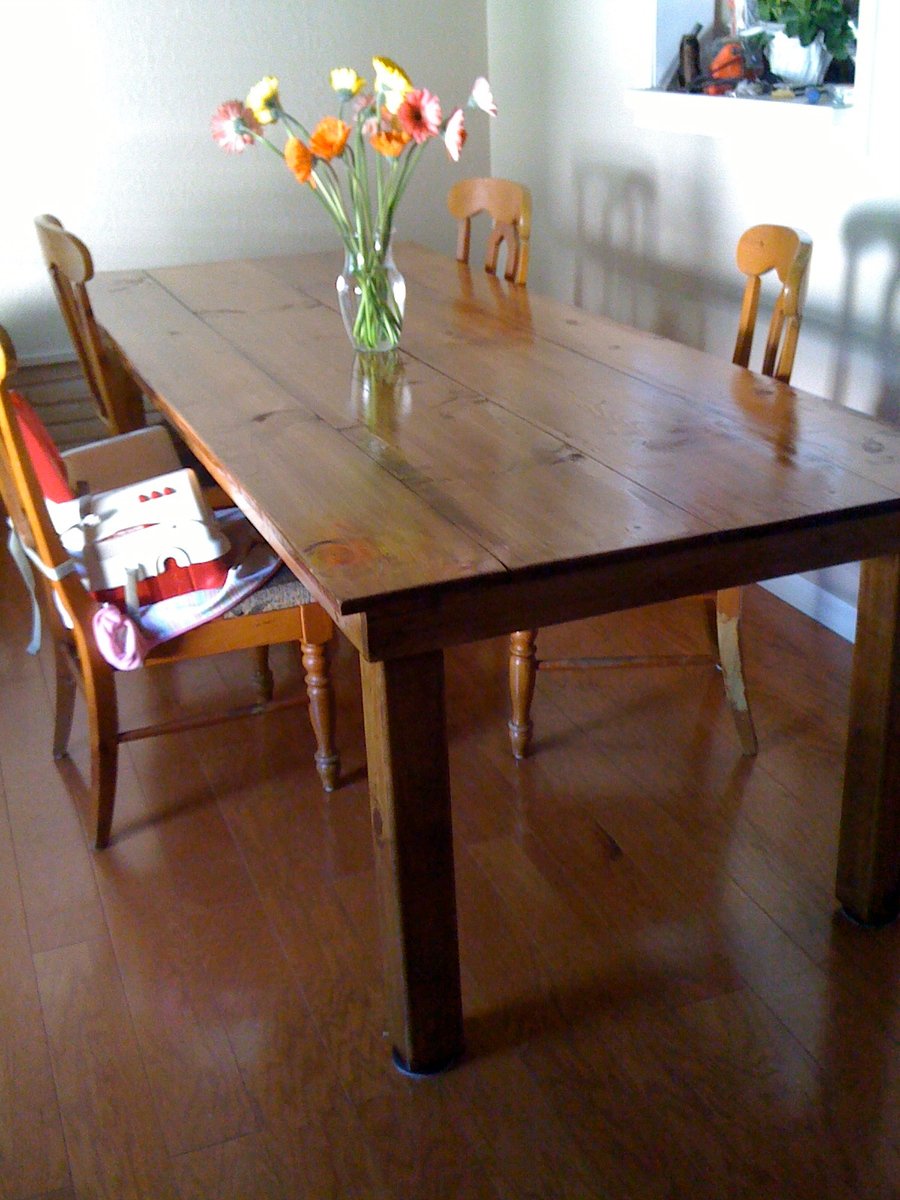
For my second project I wanted to build something a little more difficult than a shelf. The hubby showed me how to use our power tools and I was unstoppable. I chose this great bench because it fit the feel of our house and I wanted an entryway spot to sit while putting on shoes.
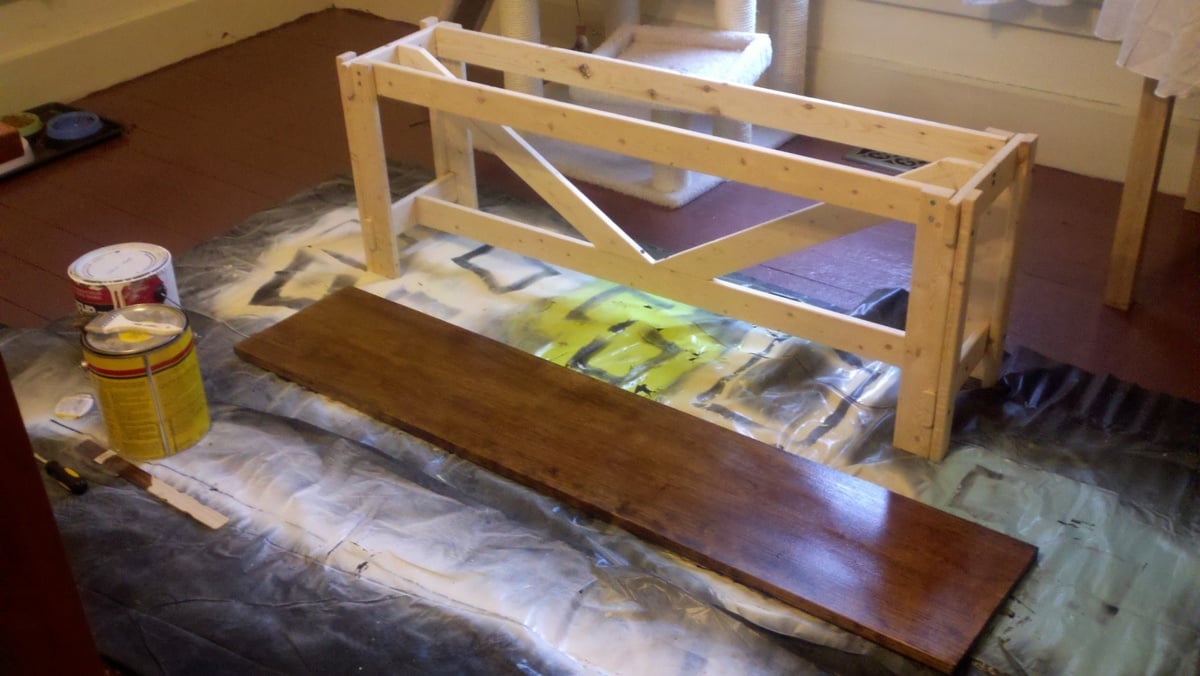
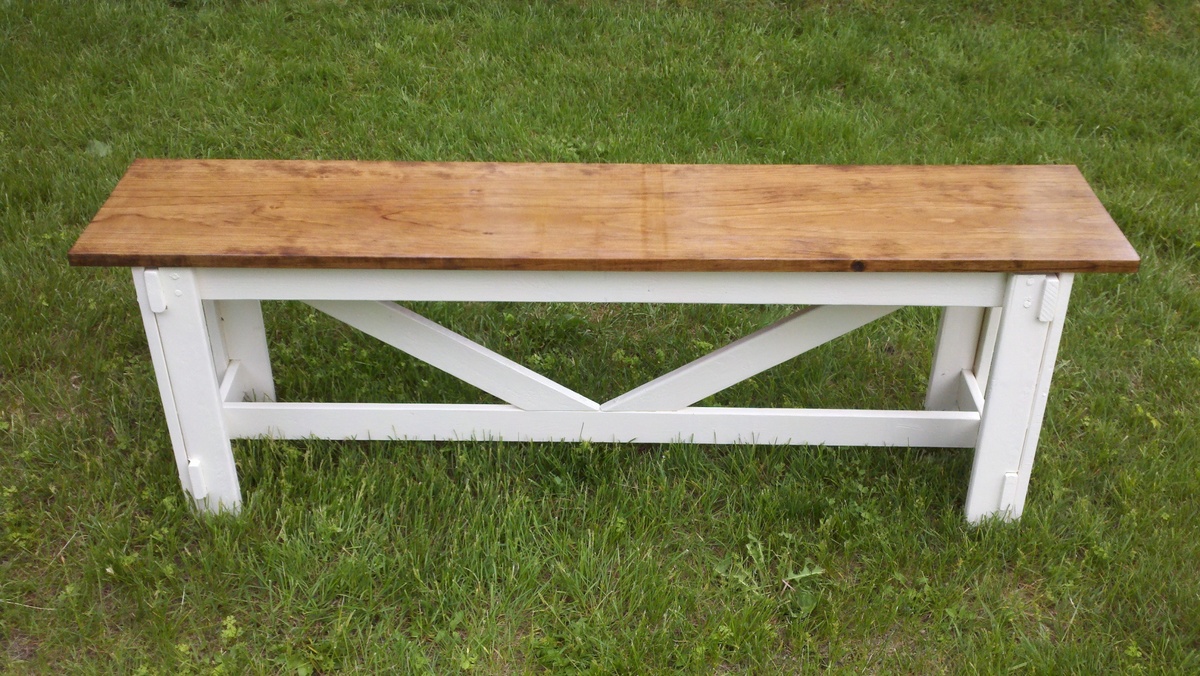
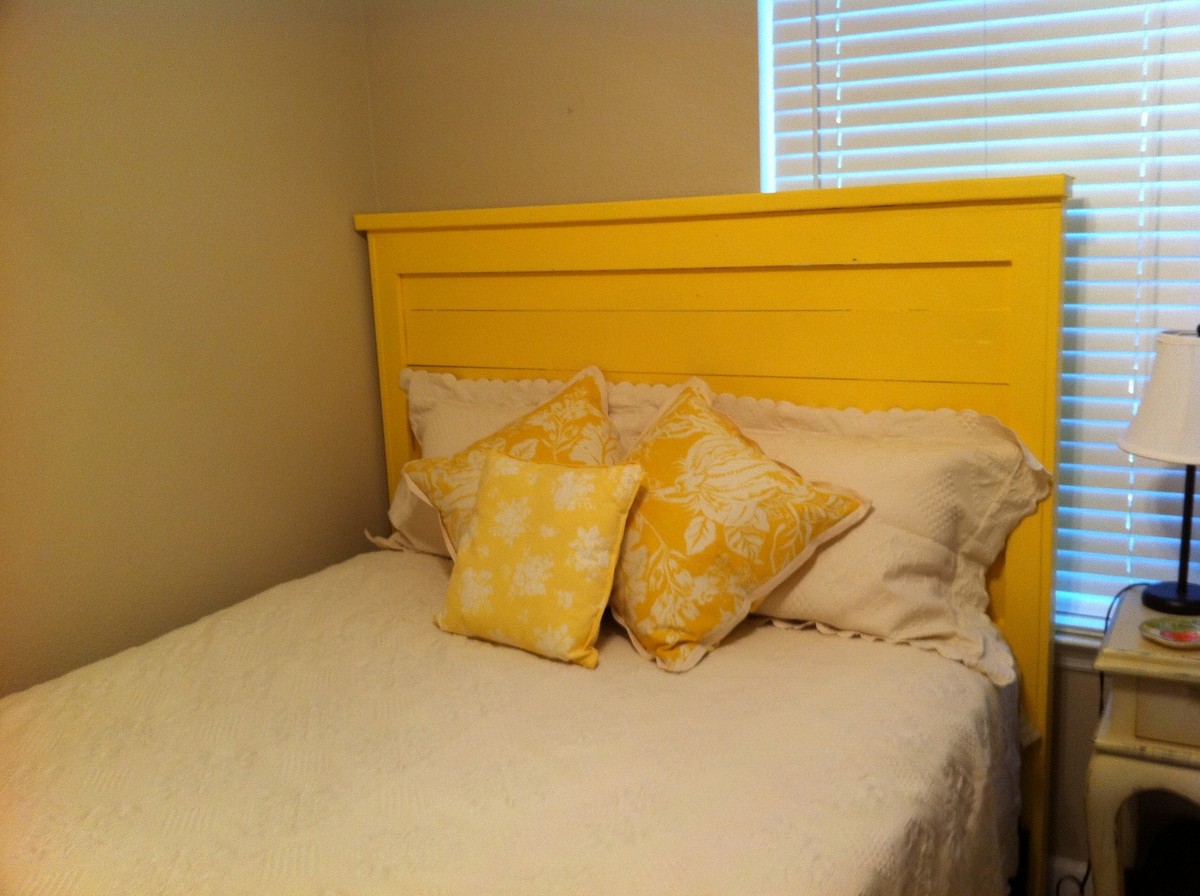
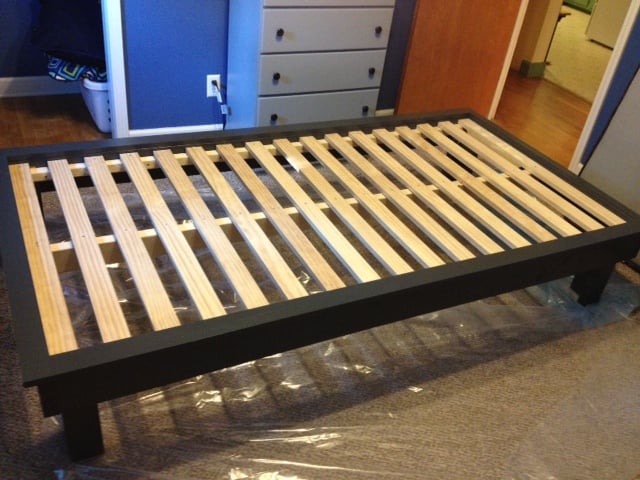
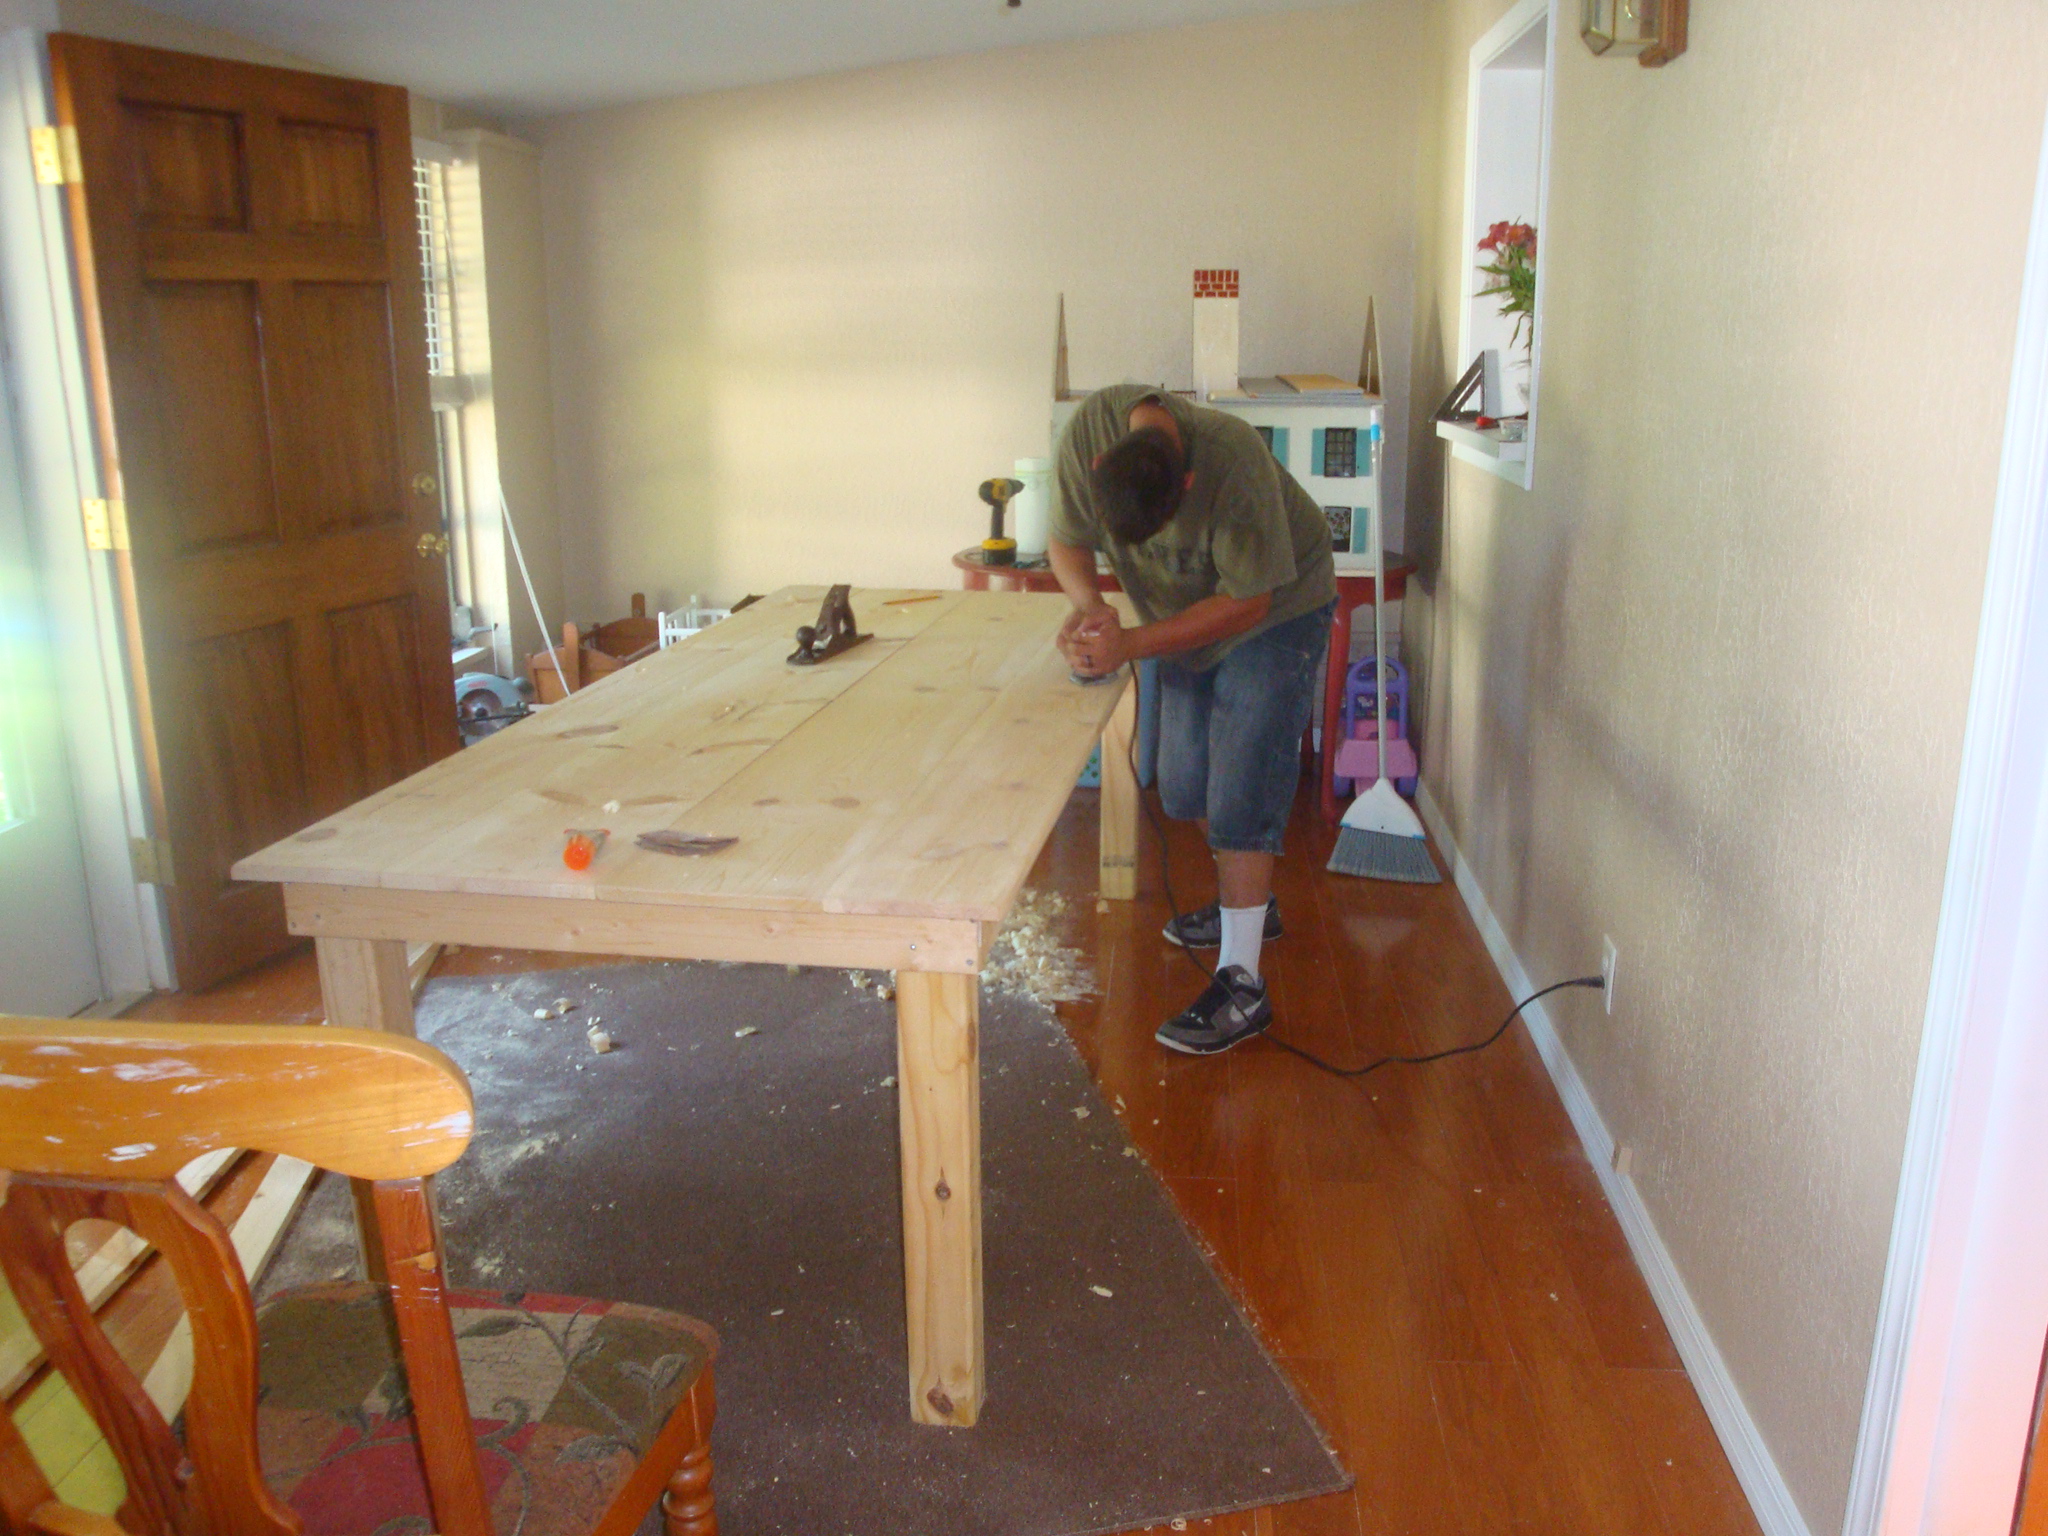
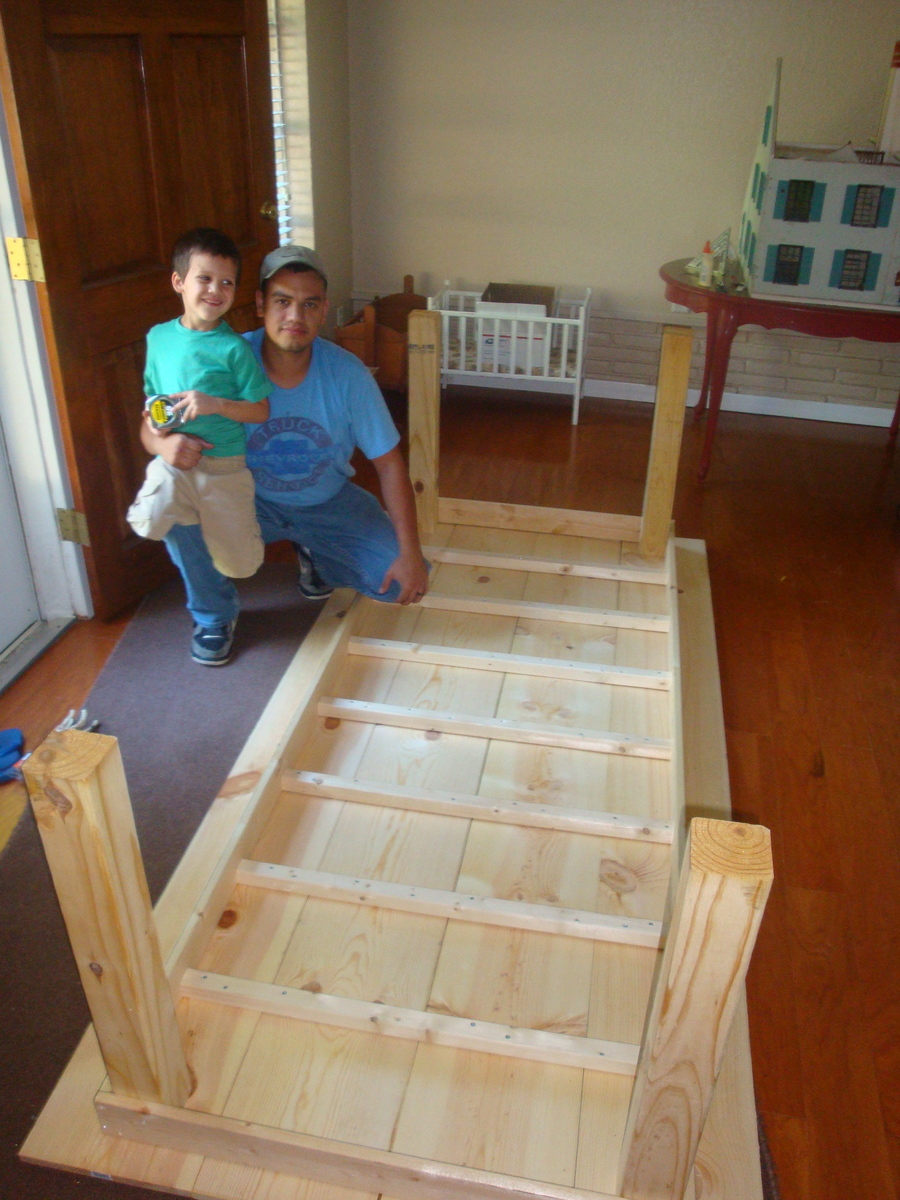
The finishing took much longer than it actually took to build the bench. I thought it would be more difficult to get the precise angle measurements to make the supports under the bench, but it was not bad at all. I can 't believe I built this pretty bench! I have the building fever now!
Built from Plan(s)
Estimated Cost
$12
Estimated Time Investment
Weekend Project (10-20 Hours)
Finish Used
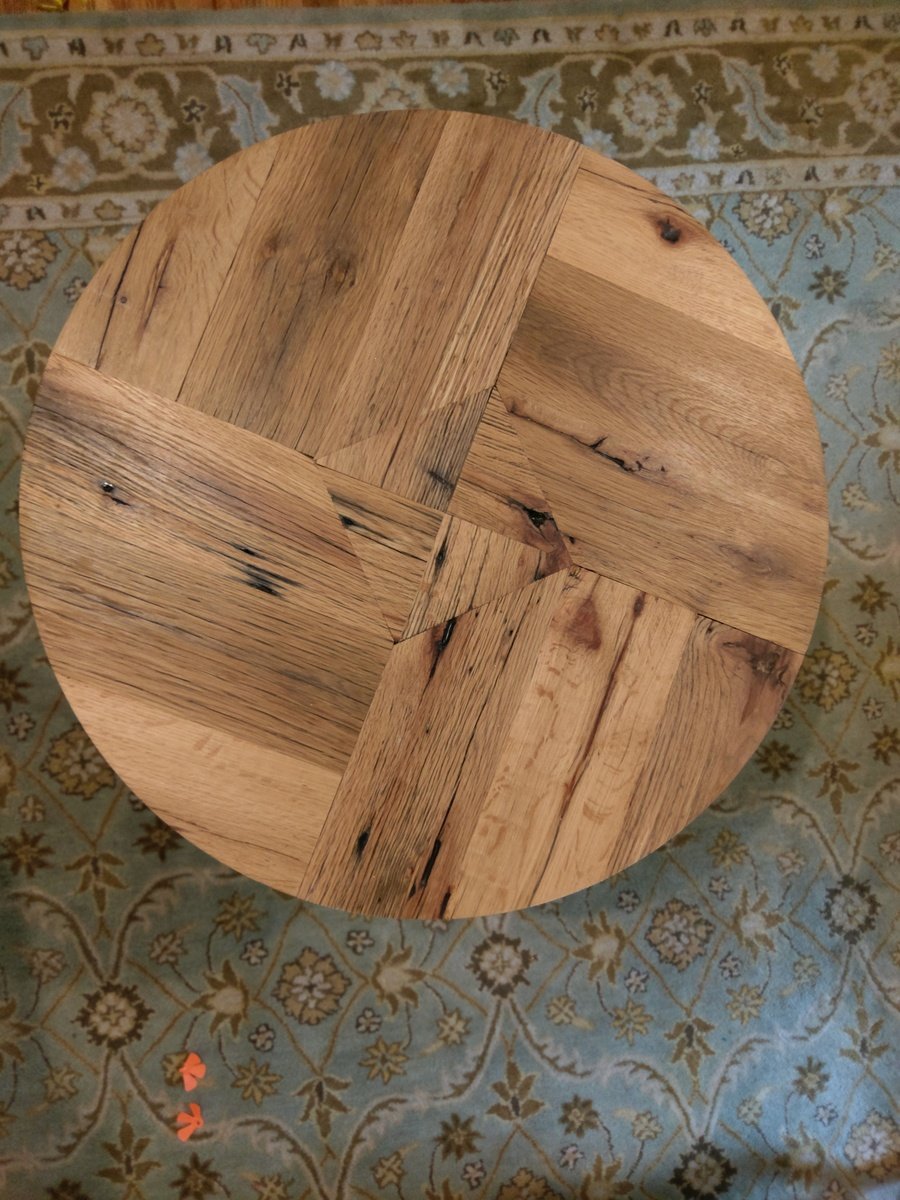
Minwax Early American and Polycrylic for the top.
Antique White and Clear Gloss for underneath.
Antique White and Clear Gloss for underneath.
Recommended Skill Level
Intermediate


Comments
mandylynn523
Mon, 06/13/2011 - 13:18
Looks Great!
Loving the price and build! Good job on this! looks perfect where it is too!
In reply to Looks Great! by mandylynn523
spiceylg
Thu, 08/18/2011 - 04:33
love
Hello. My hubby and I are in the process of building this bench. Basically just have to put the top on and finish the staining/painting. We are doing a black bottom and stained top. I have a hard time w/angles so my husband tackled that but I have to say, he had a hard time with it as well. Glad you had an easy time of it! Can I ask how you attached the top?