Raised planter
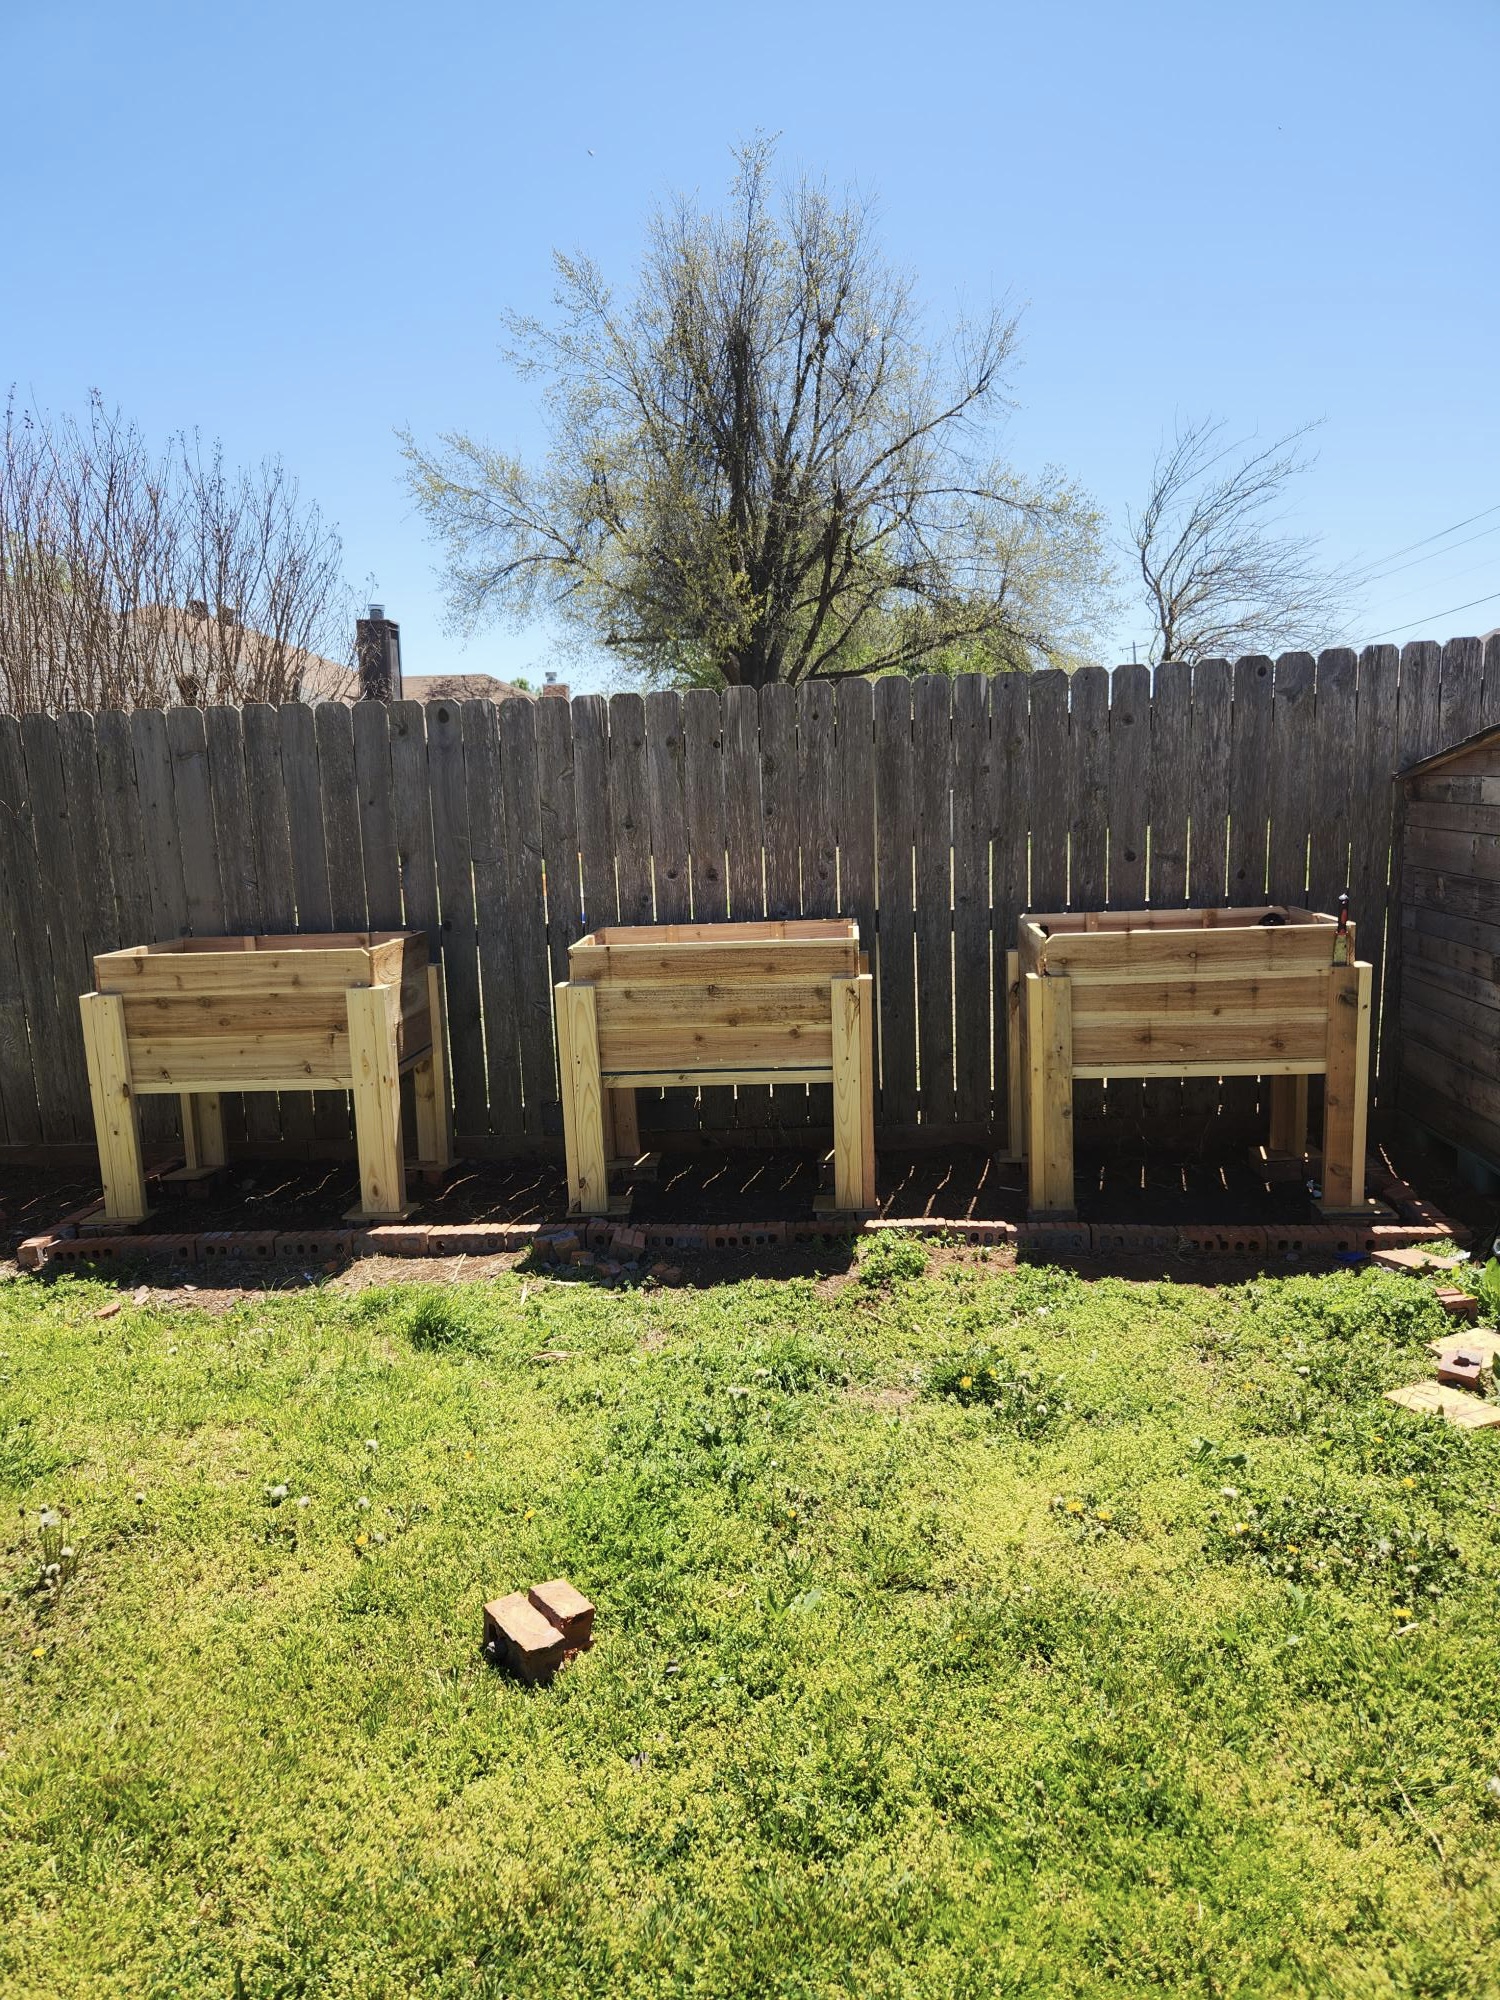
Didn't want to pay $300
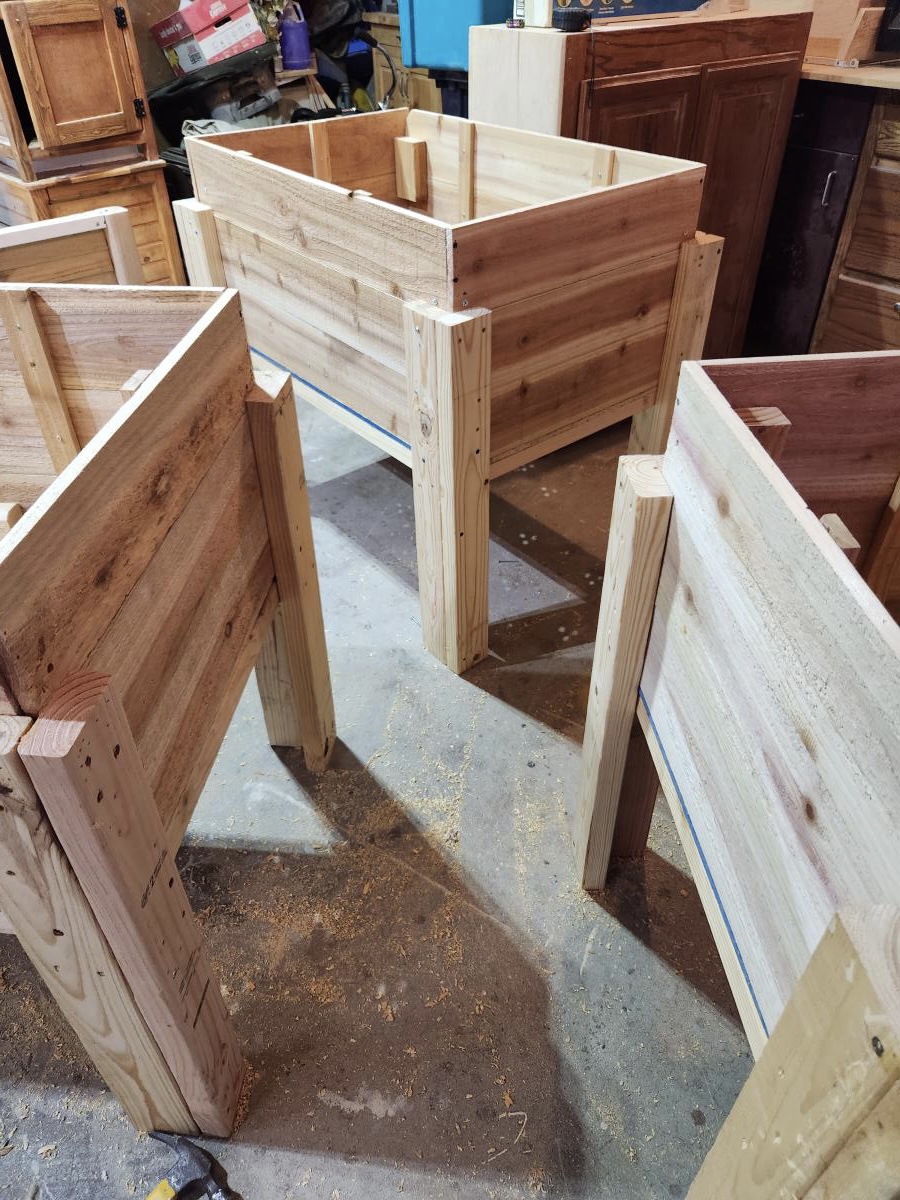

Didn't want to pay $300

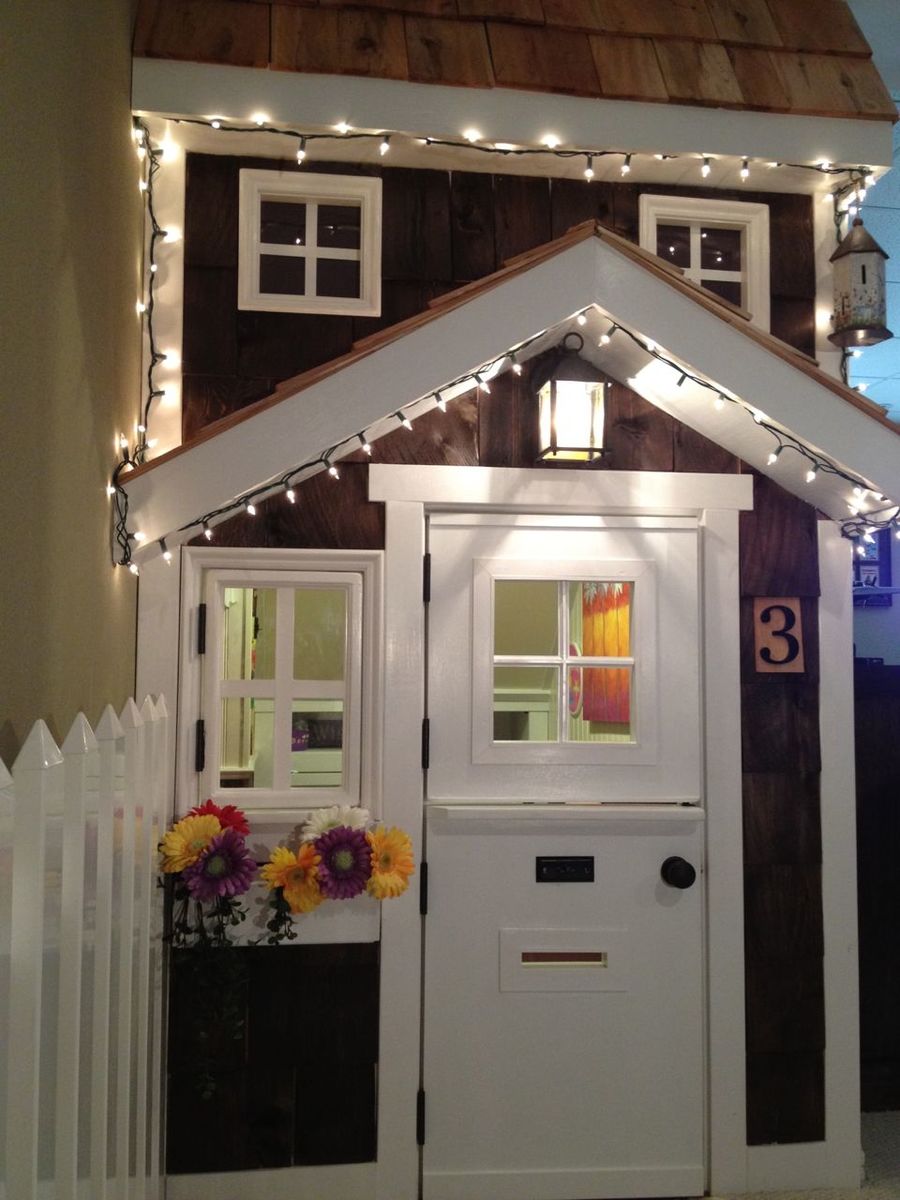
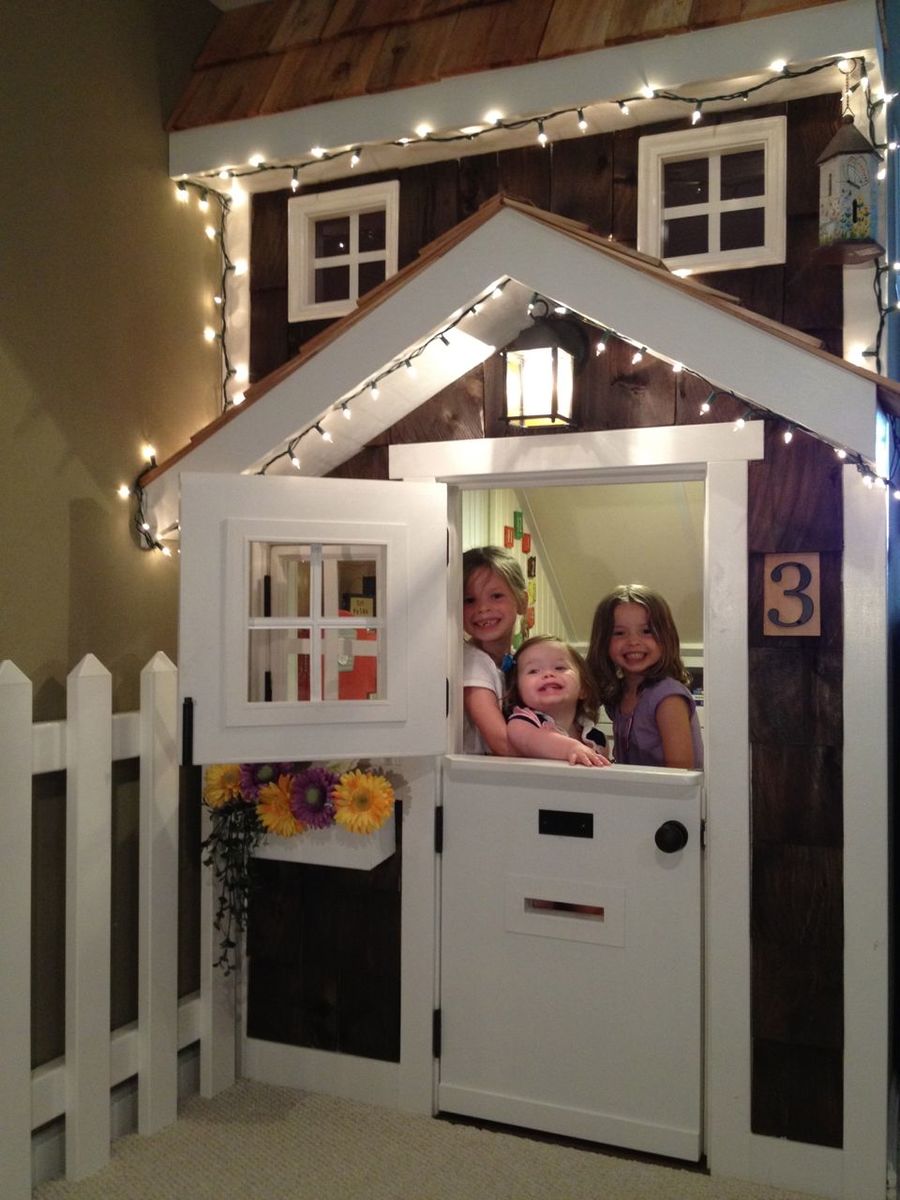
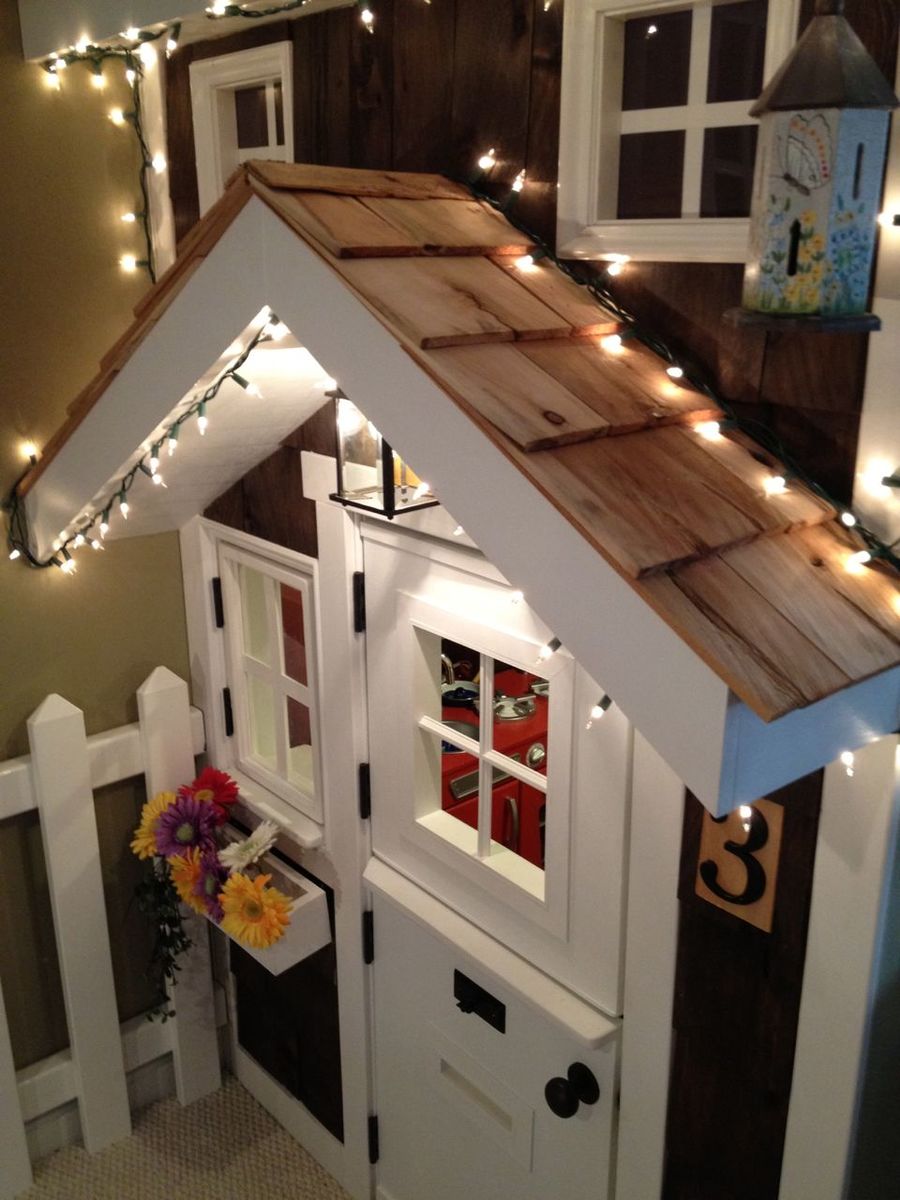
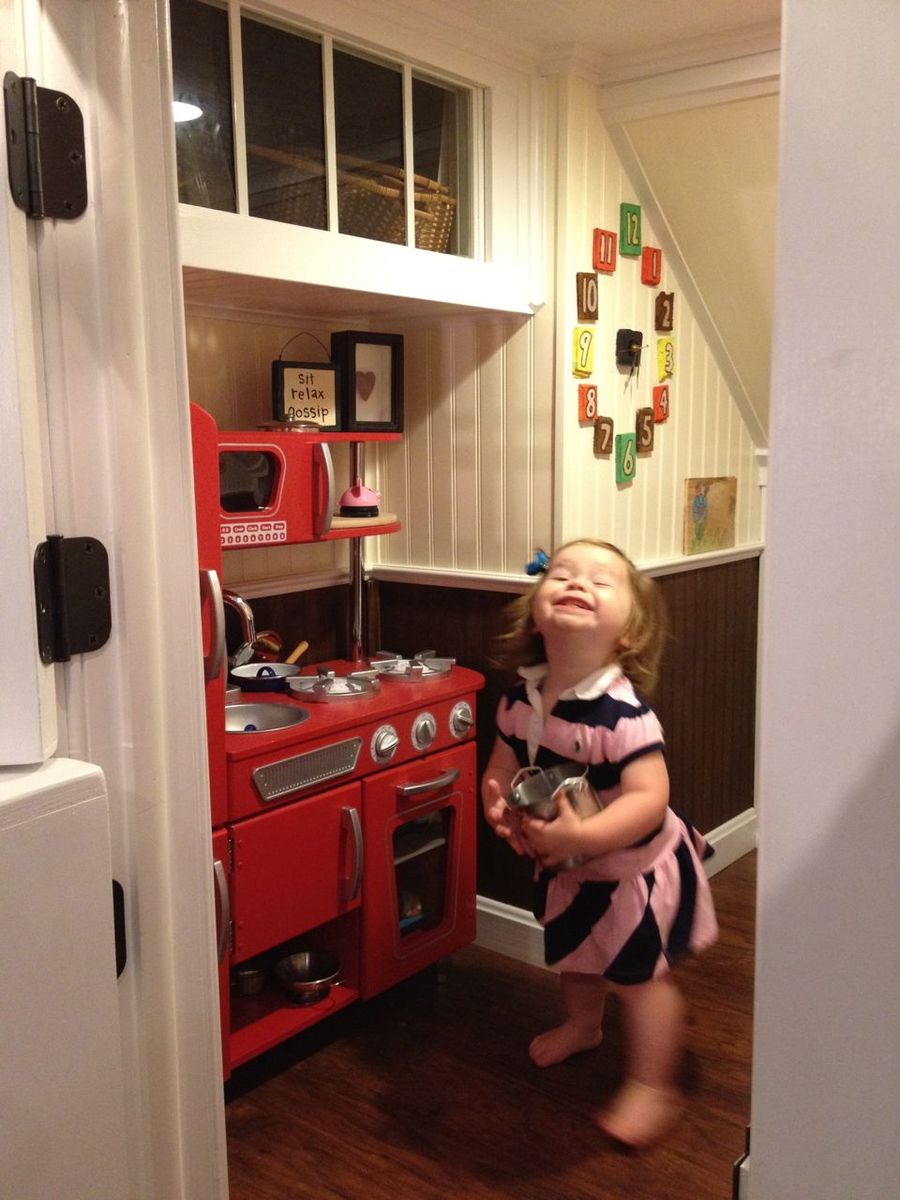
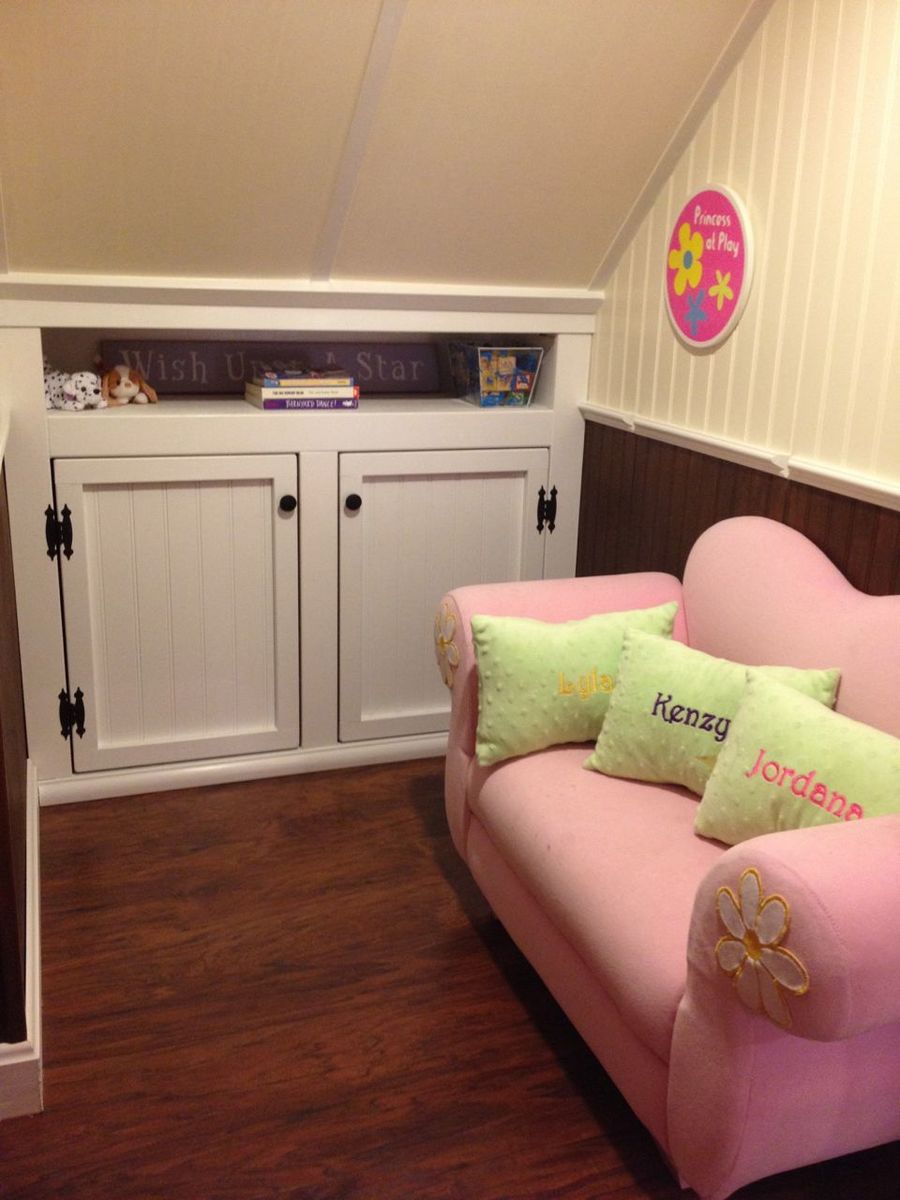
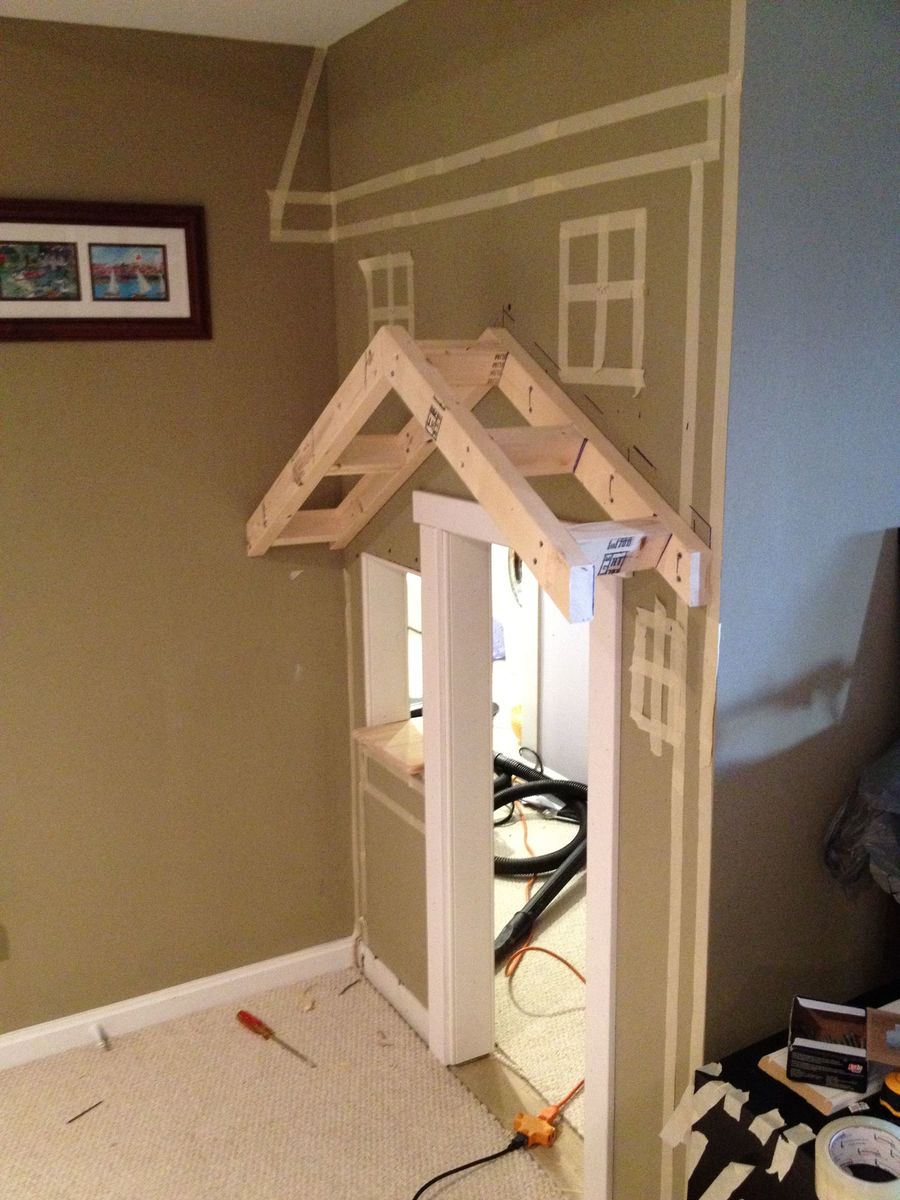
Had the perfect space for a little playhouse under the stairs in the basement and it's been our plan for 4 years to do something. Finally, we did something. Wanted depth so I added the roof and portico. Also added cedar shingles that I picked up for $7 at HD. Inside I had extra laminate flooring so I put that down and added beadboard, chair rail and crown molding. There's also a small transom window above the small kitchen area. The kids love the barnhouse doors with old fashioned doorbell, mailslot and window. The bookshelf under the stairs was the final touch. I didn't use any plans from this awesome site but did, as always, get a bunch of tips and inspiration!
Sun, 12/18/2011 - 19:00
Wow! That is awesome!
You really did a great job on that! So imaginative, too. WTG!
Sun, 12/18/2011 - 19:58
That is so stinkin' adorable! Fantastic job. I love everything about it. Your kids (and grandkids) will remember the playhouse under that stairs forever!
Mon, 12/19/2011 - 06:54
Wow, this is too cool! They are going to love love love this! Can't wait to see the kitchen reveal!
Sat, 12/31/2011 - 18:26
You did an amazing job on this. I'm planning a bunkbed with a similar facade. I love how cozy it looks without having to make an actual pitched roof. The shingles are such a nice touch that I may have to copy you! And it's wired for lights; you've really outdone yourself.
Mon, 03/19/2012 - 14:26
Thanks to all of you for the nice comments! Re: the door, I just cut a plain 18x80 door slab ($21 from orange) and trimmed it out. I still need to put the window grille over the open space, and was hoping to find a cool 'speak easy' grille that fits the space.
Thanks again!
Thu, 05/03/2012 - 23:38
This has to be one of the most adorable things I've ever seen! What an awesome idea......how cool is that for the kids??! Love the lighting and the laminate (or is it hardwood) flooring inside. Even the stove is gorgeous! Such fond memories will be made there and remembered forever. Kudos!!
Fri, 07/13/2012 - 22:10
I love this. I was just wondering about the little red kitchen. It looks like something I remember as a little girl back in the 60s. Did you make it or buy it somewhere?
Wed, 12/05/2012 - 15:34
Oh my goodness this is such an inspiration! However, as a beginning tool user, I don't think I could get my finishes so nice. How much experience had you had at this kind of stuff before? Was the area closed in before this project or did you do that too? I've got an open stairway into our basement and would be starting from scratch with ceiling, walls, etc. and have no experience hanging drywall or anything. I think it would take me a year. Great job, and thanks for sharing!
Sat, 06/21/2014 - 12:51
Hi there!
I was just wondering how you made the door for your play house? We're basically stuck at this level in ours right now... ;) Thanks for any tips!!!
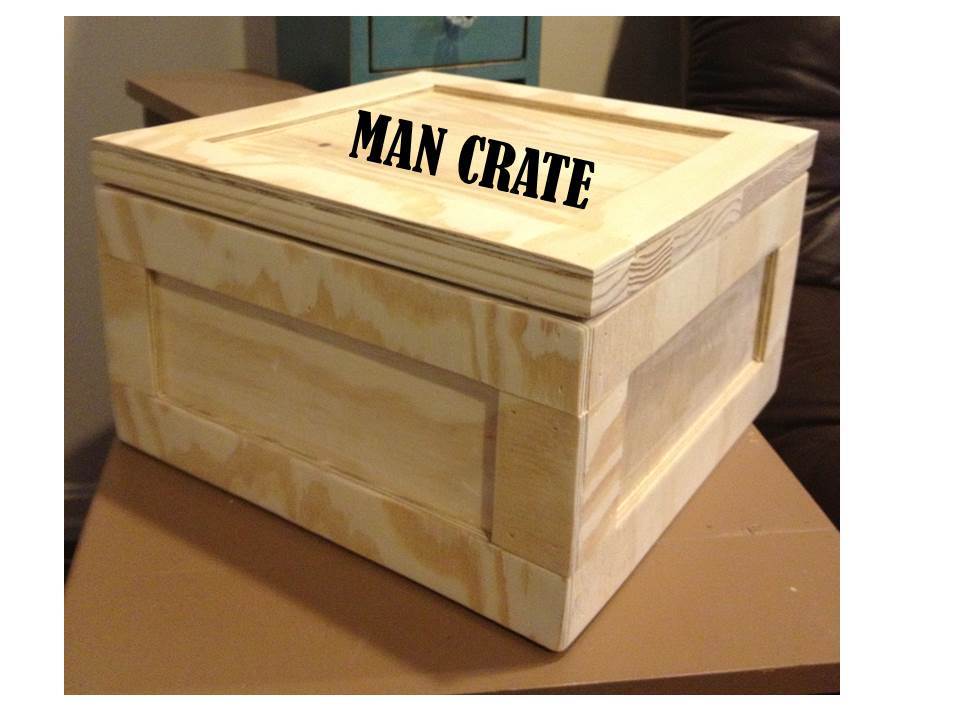
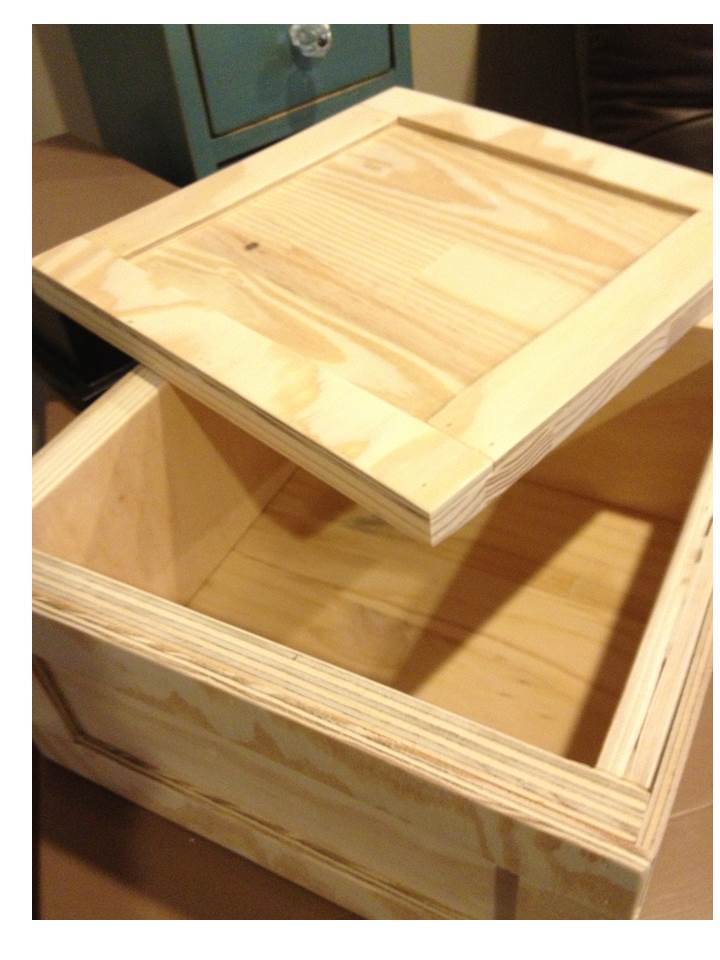
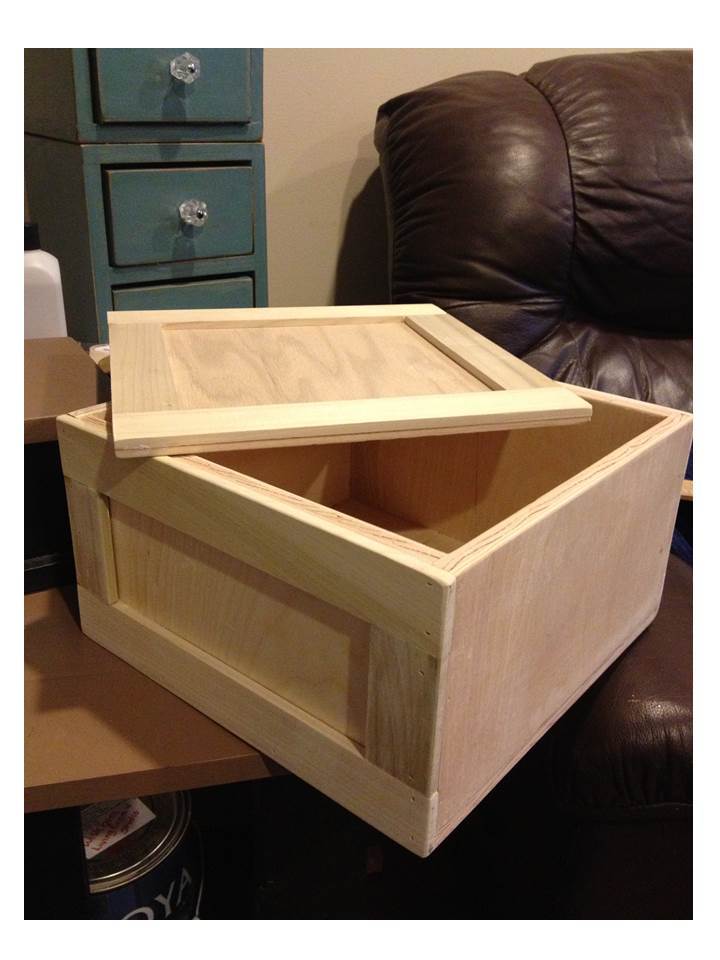
This is the prototype builds for the Plywood Gift Crate (man crate) plan. I had a great time developing and building this plan! I read a forum post about these and was inspired to do up a plan and build. When you give these as a gift, present it with the top nailed shut, and a crowbar for getting it open!
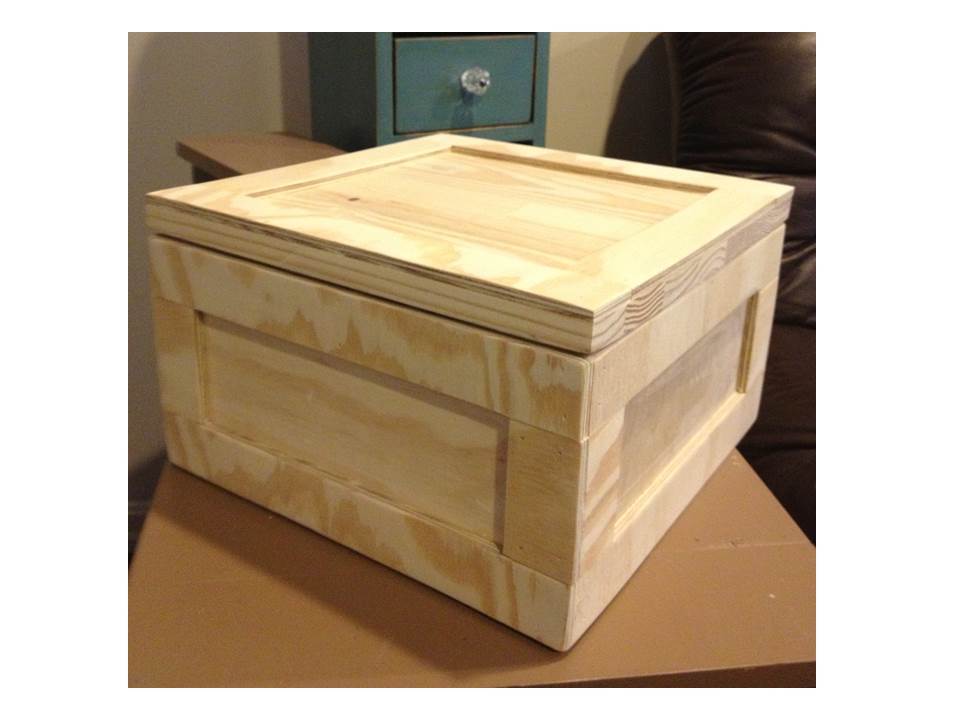
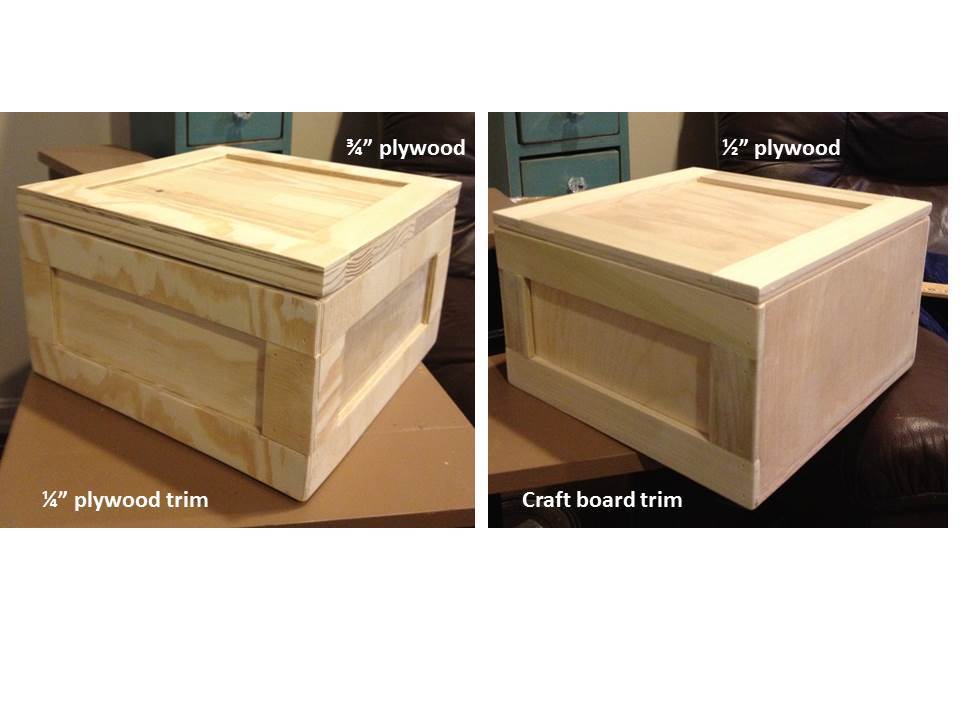
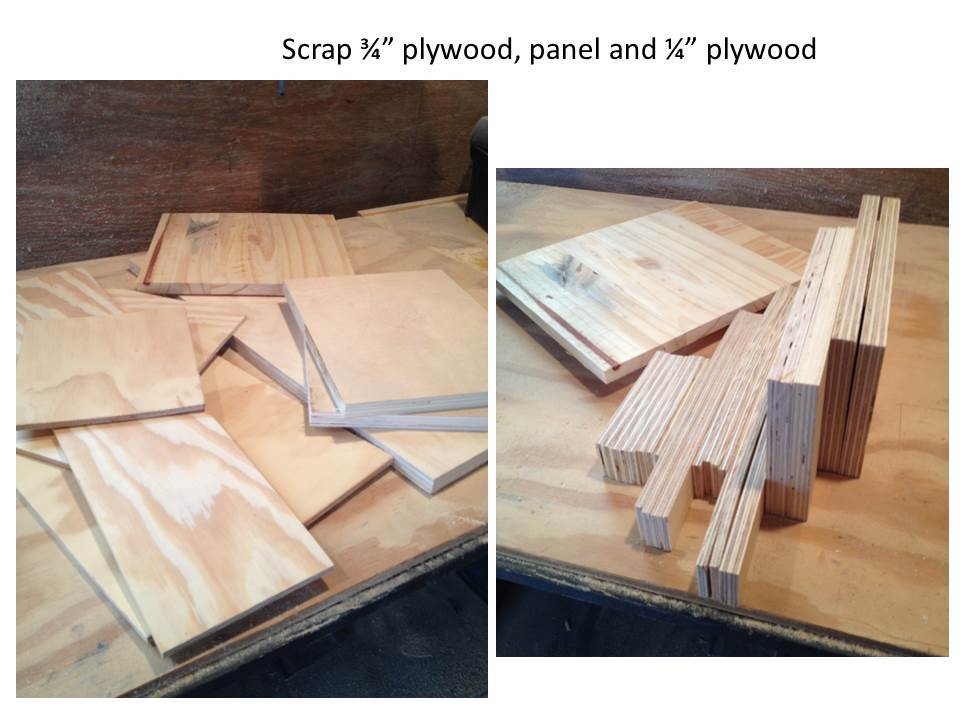
Two crates are shown. These each took a little over an hour to build. The 3/4" plywood one was entirely from scraps, and I purchased the poplar craft boards ($2 each) for the 1/2" plywood one. New wood would cost about $15. I left them unfinished like the inspiration. The picture just has the text added to it as a graphic. I do plan to stencil "man crate" on them though. The first prototype with 1/2" plywood scraps was made with a 1/4" scrap plywood top and poplar trim boards. My scrap top wasn't wide enough to cover trims on the sides, which is why the sides on that one are plain. The 2nd prototype was with 3/4" plywood scraps and uses strips of 1/4" thick scrap plywood for the trim boards.
If anyone is interested in different size crates, I've created a project calculator in Excel, that you can key in the desired dimensions and sizes of wood you plan to use, and the spreadsheet will give you the sizes for the pieces and a cut list. I couldn't figure out a way to attach that to the plan, but if you would like one, just send me a note through the contact form, and I'll email it to you.
I hope you build these, it was a fun and easy build!
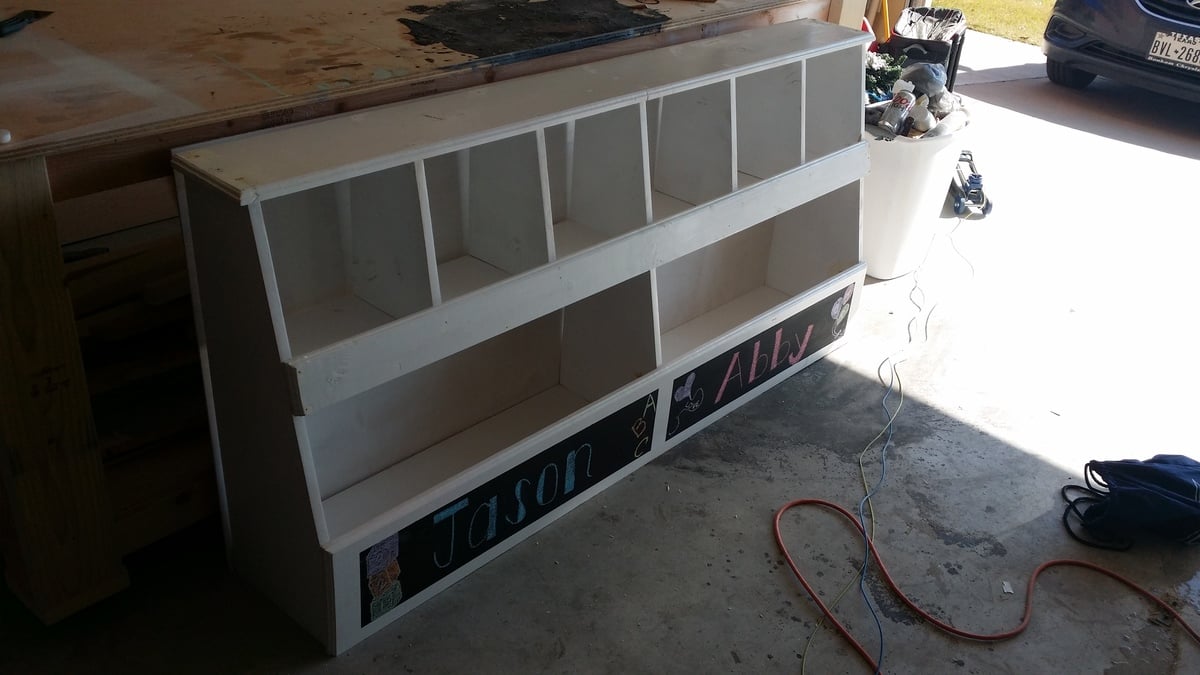
Doubled the size of Ana's toy storage to accommodate my niece and nephew.
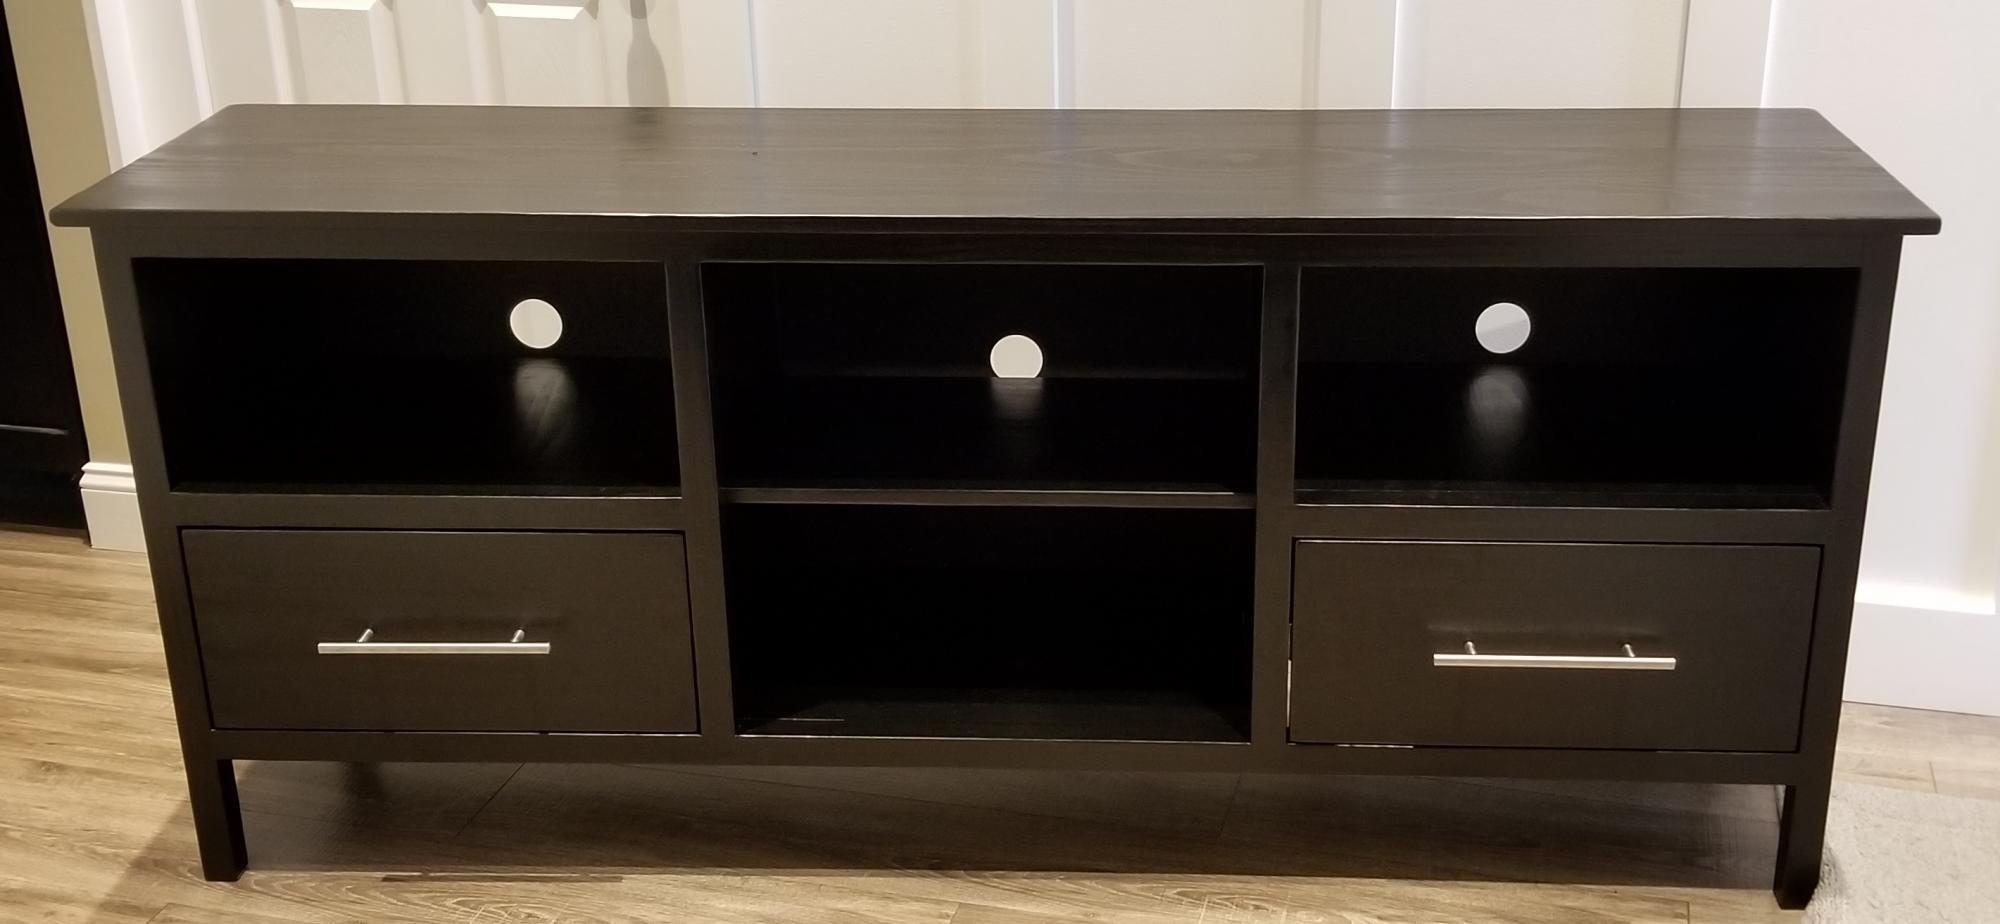
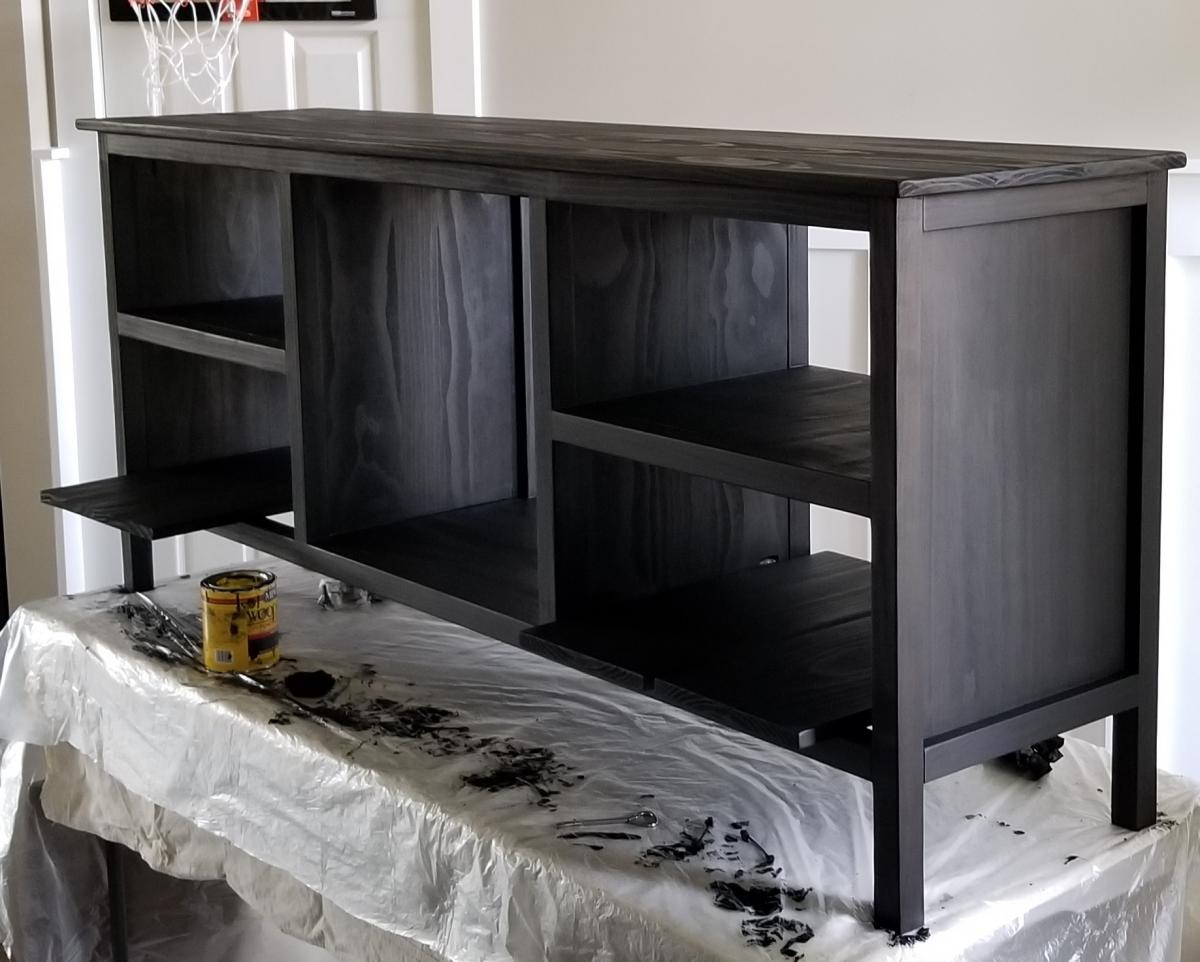
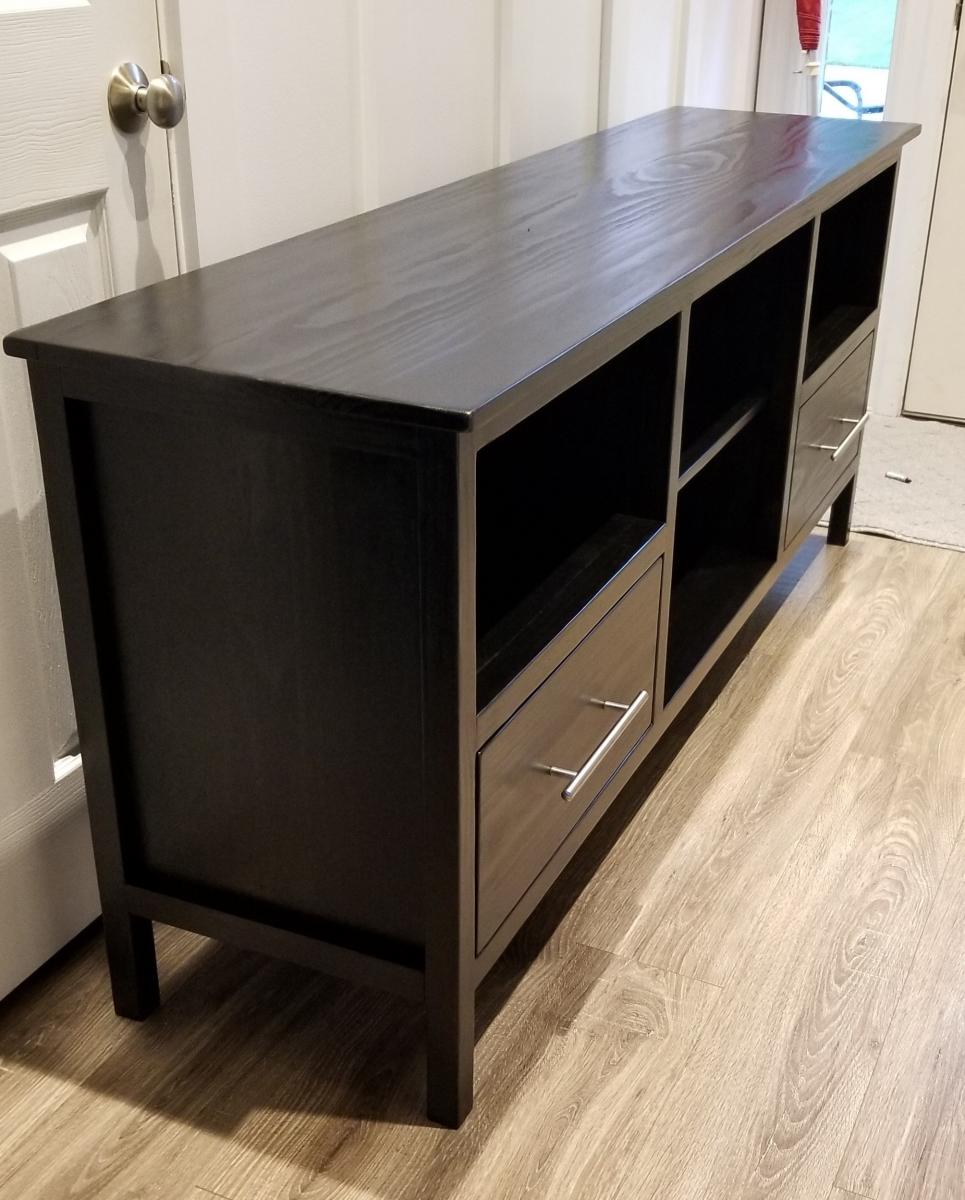
I built this for one of my friends that gave me the dimensions he needed. He gave me complete control with the only caviat of needing 2 drawers. I used Premium Pine from Menards, Minwax True Black stain and Minwax Satin Polyurethane. This one came out better than I expected!
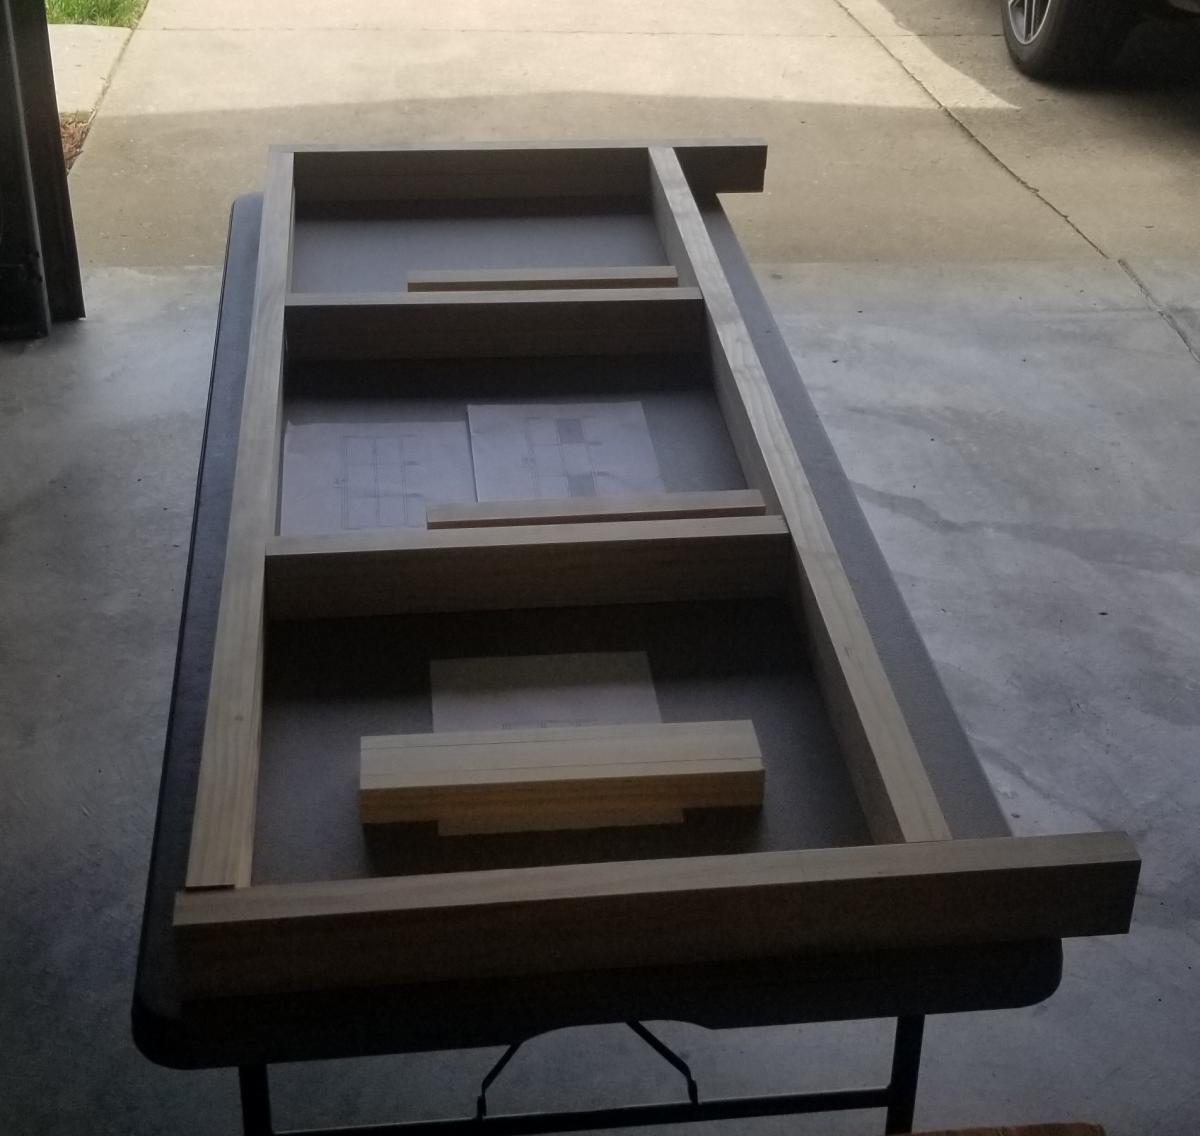
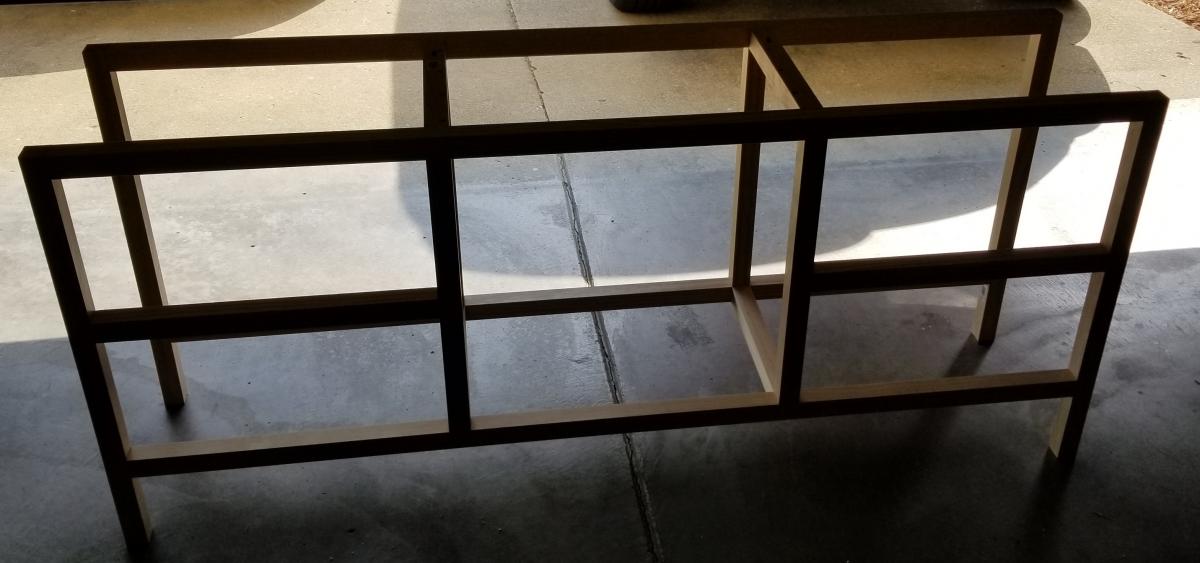
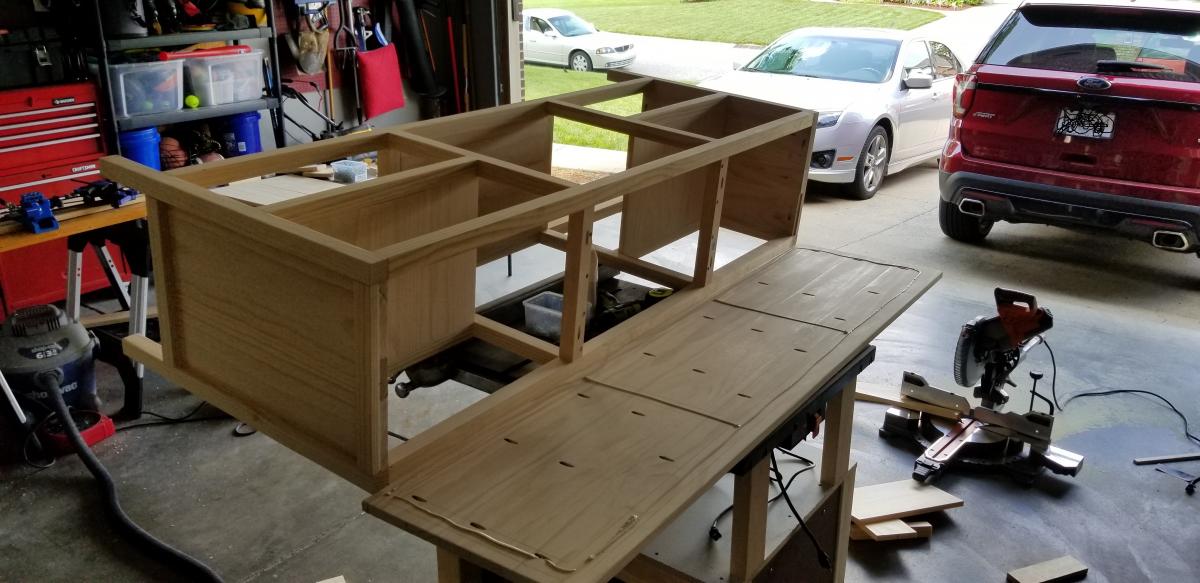
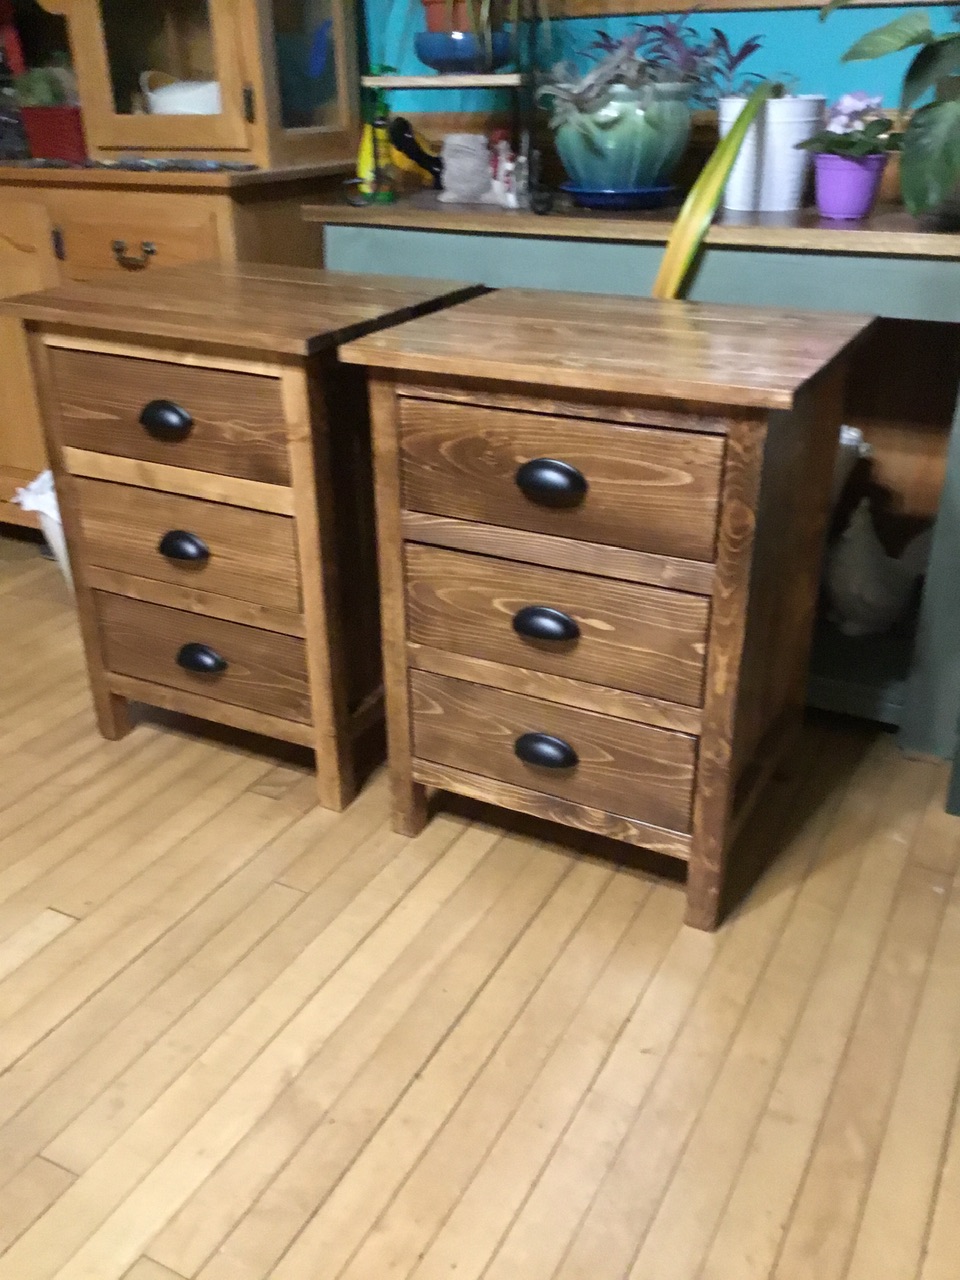
Made for my granddaughter. First time doing multiple drawers.
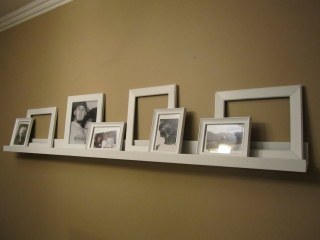
If you need a shelf/ledge, this is the plan for you - regardless of your building ability. Easiest. plan. ever.
And if you are like me - you won't even have to make any cuts! We have this ledge in our dining room along the long wall. it gets decorated for each season and it's GREAT! We love showcasing family photos as well as our holiday decor.
Wood, glue, nails or screws. Paint. Done! It's that easy!
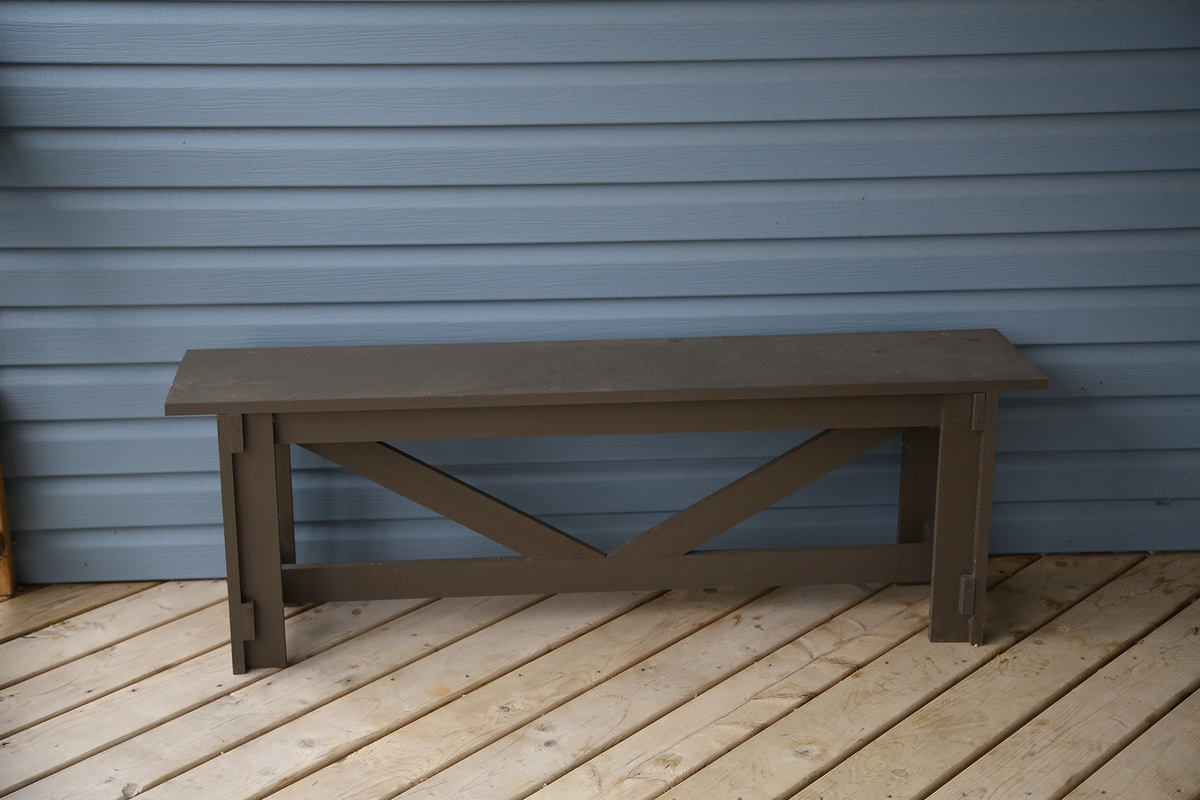
This bench is a perfect addition to our front porch.
This is one of the first projects that I tackled, and its holding up beautifully!
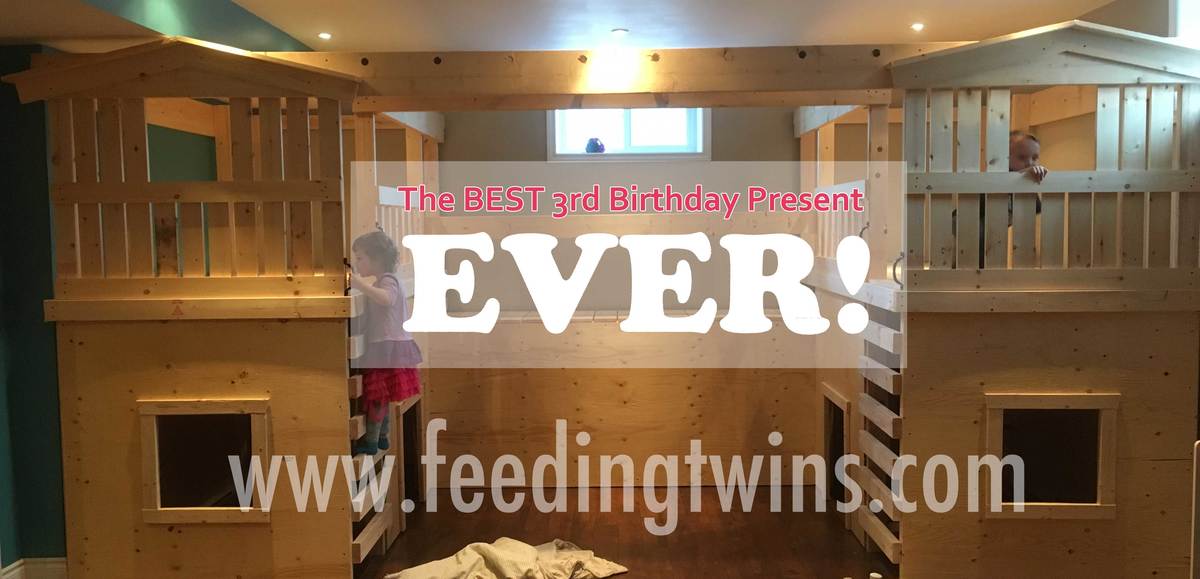
Hi Ana! Thank-you for the detailed instructions on how to build the indoor playground! We had our contractor build this for our twins' 3rd birthday present. The kids absolutely LOVE the playground and use it every day. I'm planning to paint it, reinforce and install a rock climbing wall up to the bridge, and install some easels in the bottoms of the playhouses. You can see more pictures of the kids playing and the construction here: http://feedingtwins.com/body/the-best-3rd-birthday-present/ Thanks again! Julie

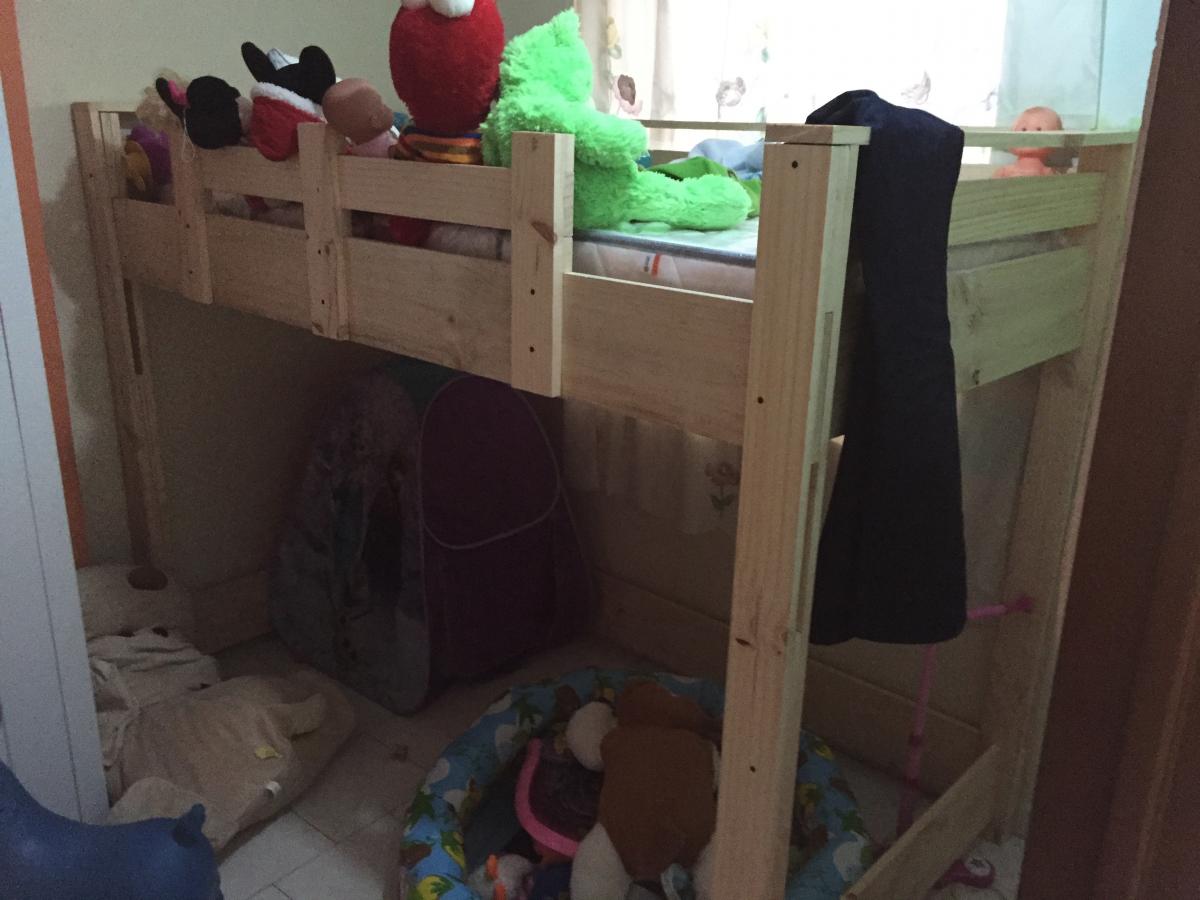
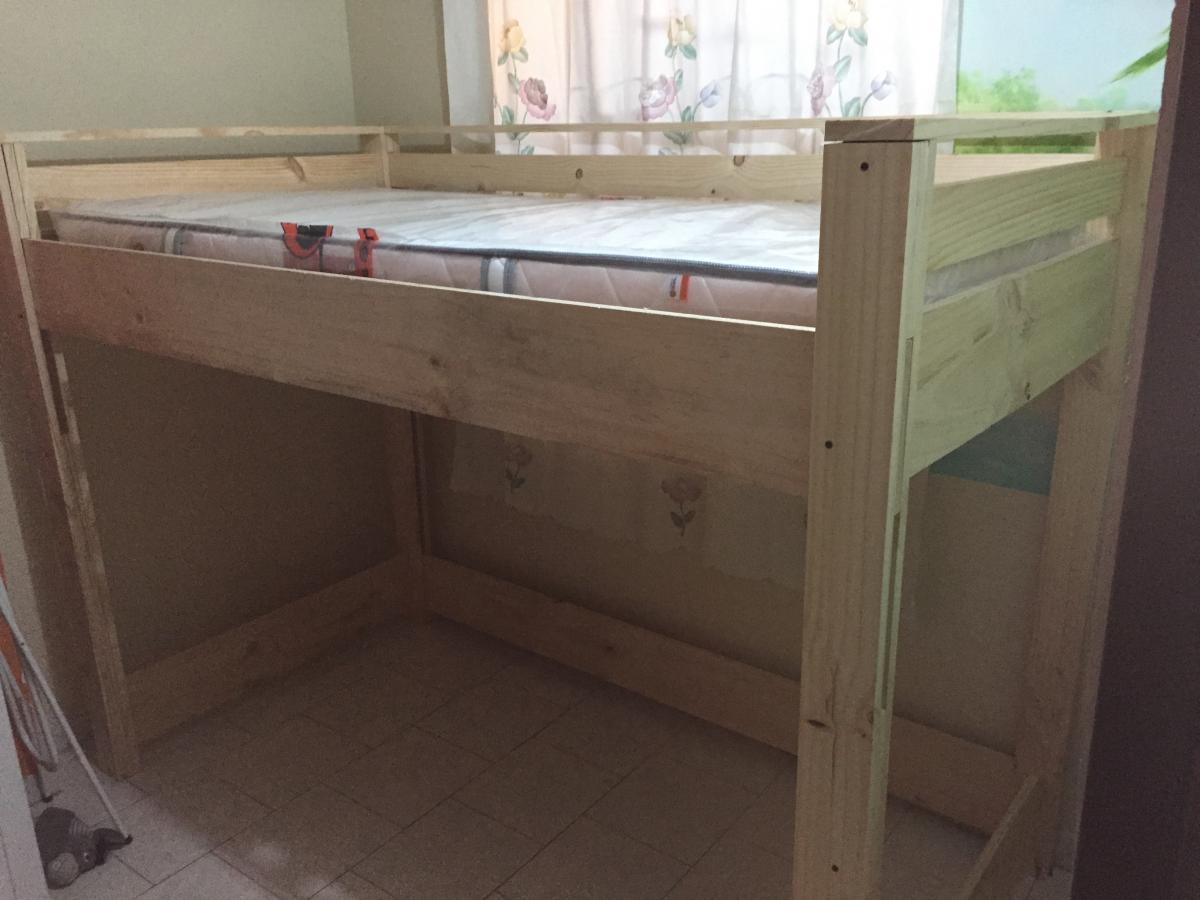
This is the first bed I built for my daughter when she was about 3 years old and we were living in Colombia. I was able to get the people at the hardware store to cut most of the wood for me which helped since we were in a very small apartment and I put everything together was a $40 starter drill kit. In the end it came out great and she was very happy with it. When we moved back to the US and I had access to more tools and workspace I built her a Little Cottage Bed which was a much harder build but worth it.

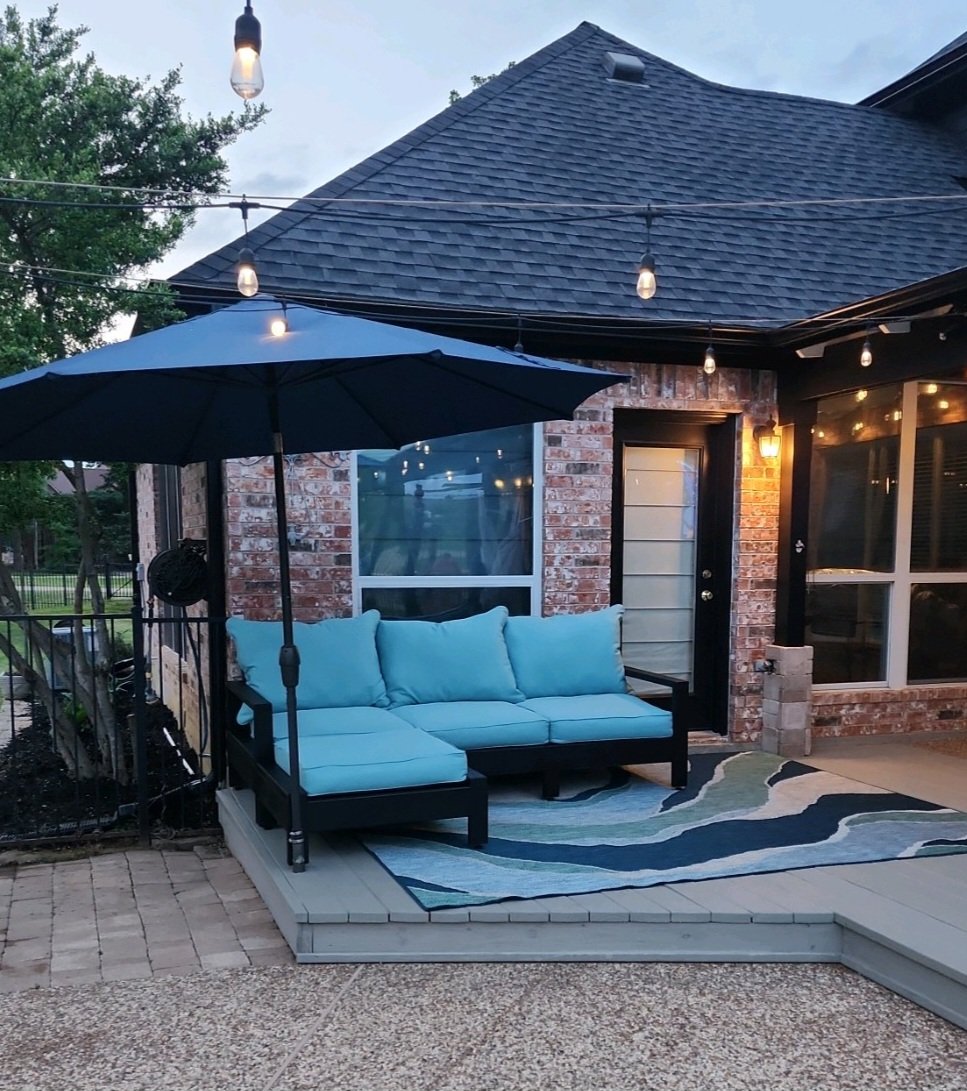
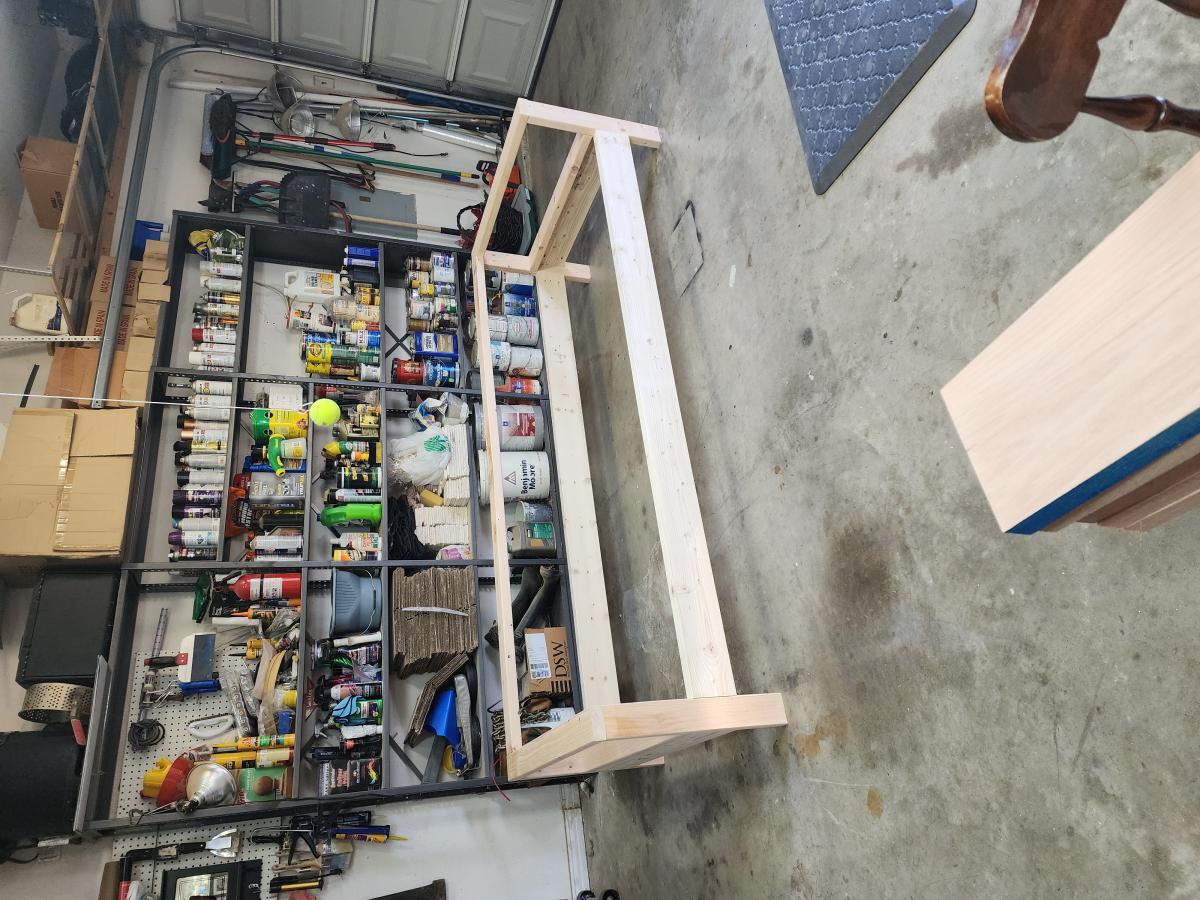
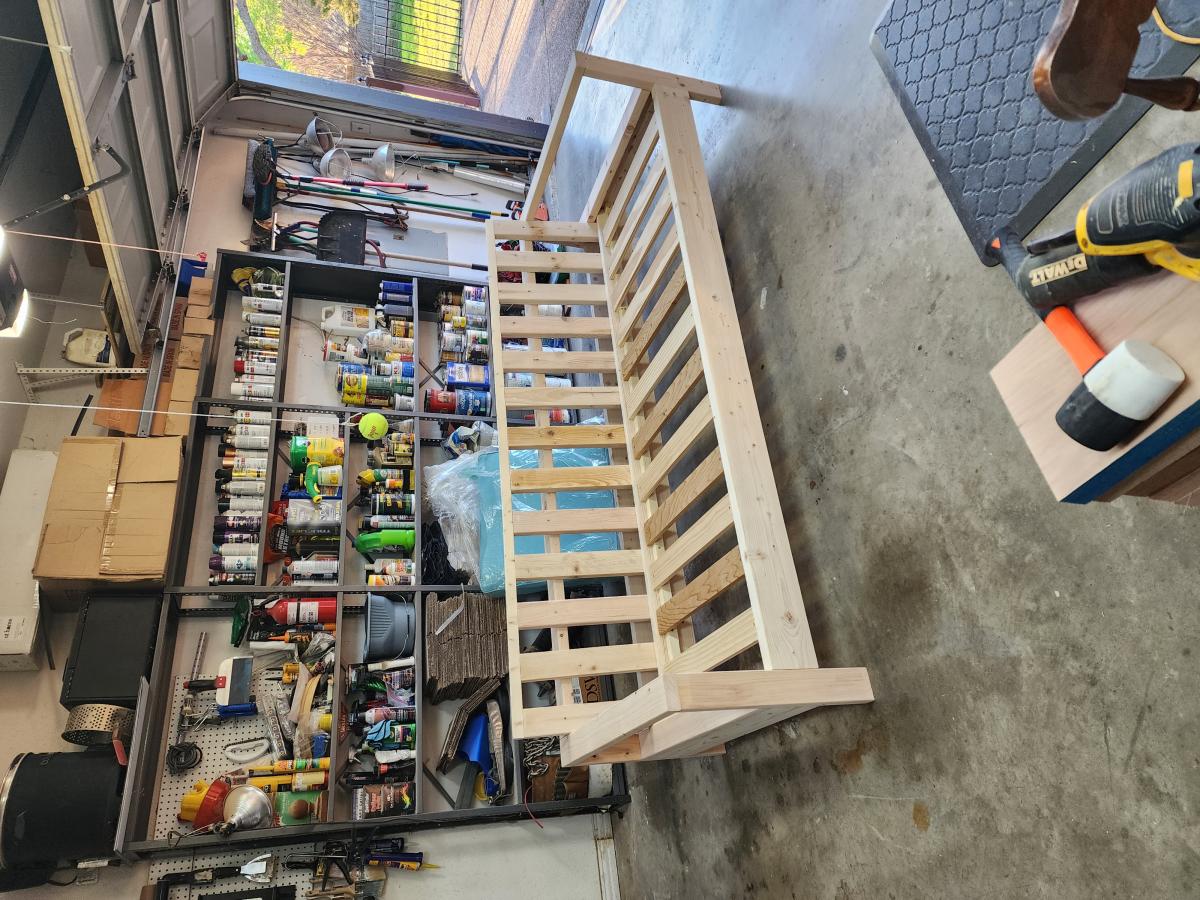
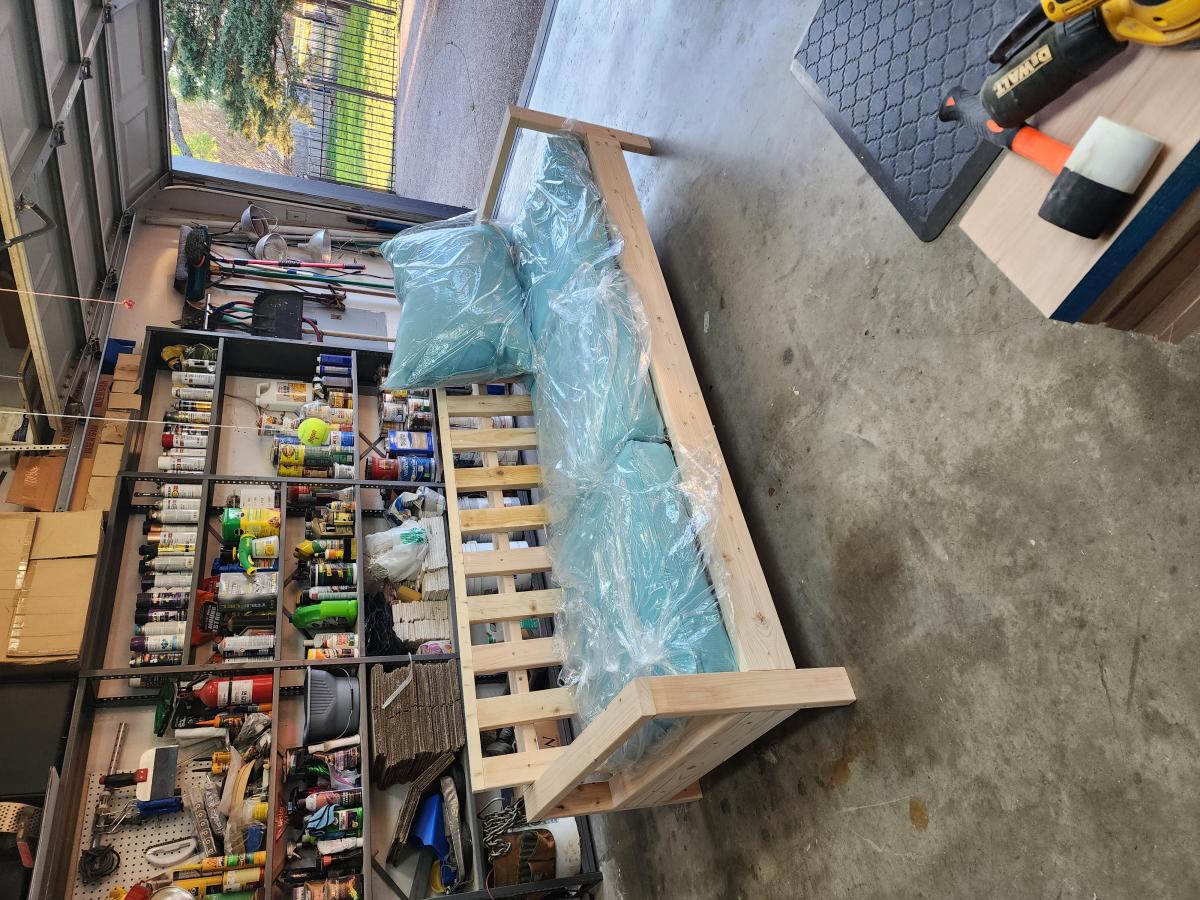
Inspired by outdoor sofa plan I saw on the Ana White website... wanted to customize by using larger cushions (29" wide) adjusted the plans for wider cushions and more relaxed sitting posture so pushed the back support angle further back by 4 inches. Added legs since we were wider. My wife is super pleased and build came out really nice. Thanks Ana for the inspiration!!
Dream Doll House
Fri, 01/13/2012 - 13:51
I love this! The floors look amazing, and the side scallops are too cute!
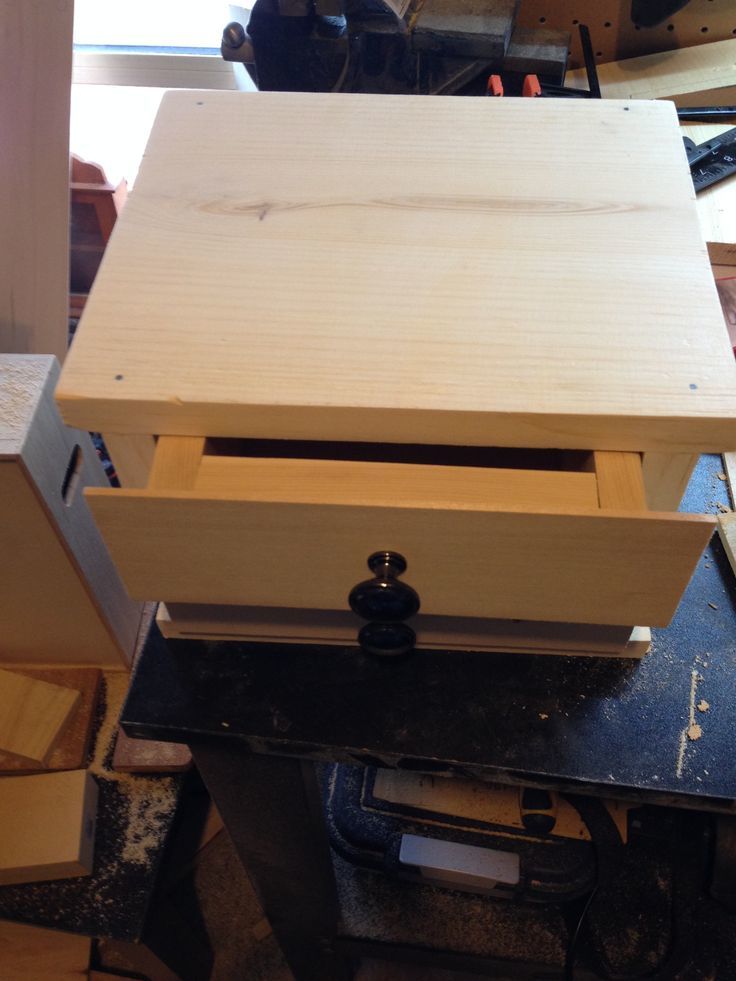
some minor changes in the box height and added fronts to the drawers,
currently working on this project will update when completed.
thanks for checking it out.
Thu, 11/14/2013 - 16:33
Love this! It looks awesome. What a fab idea to add the basswood drawer fronts! Definitely copying that! Thank you for posting, great job!! :)
Joanne
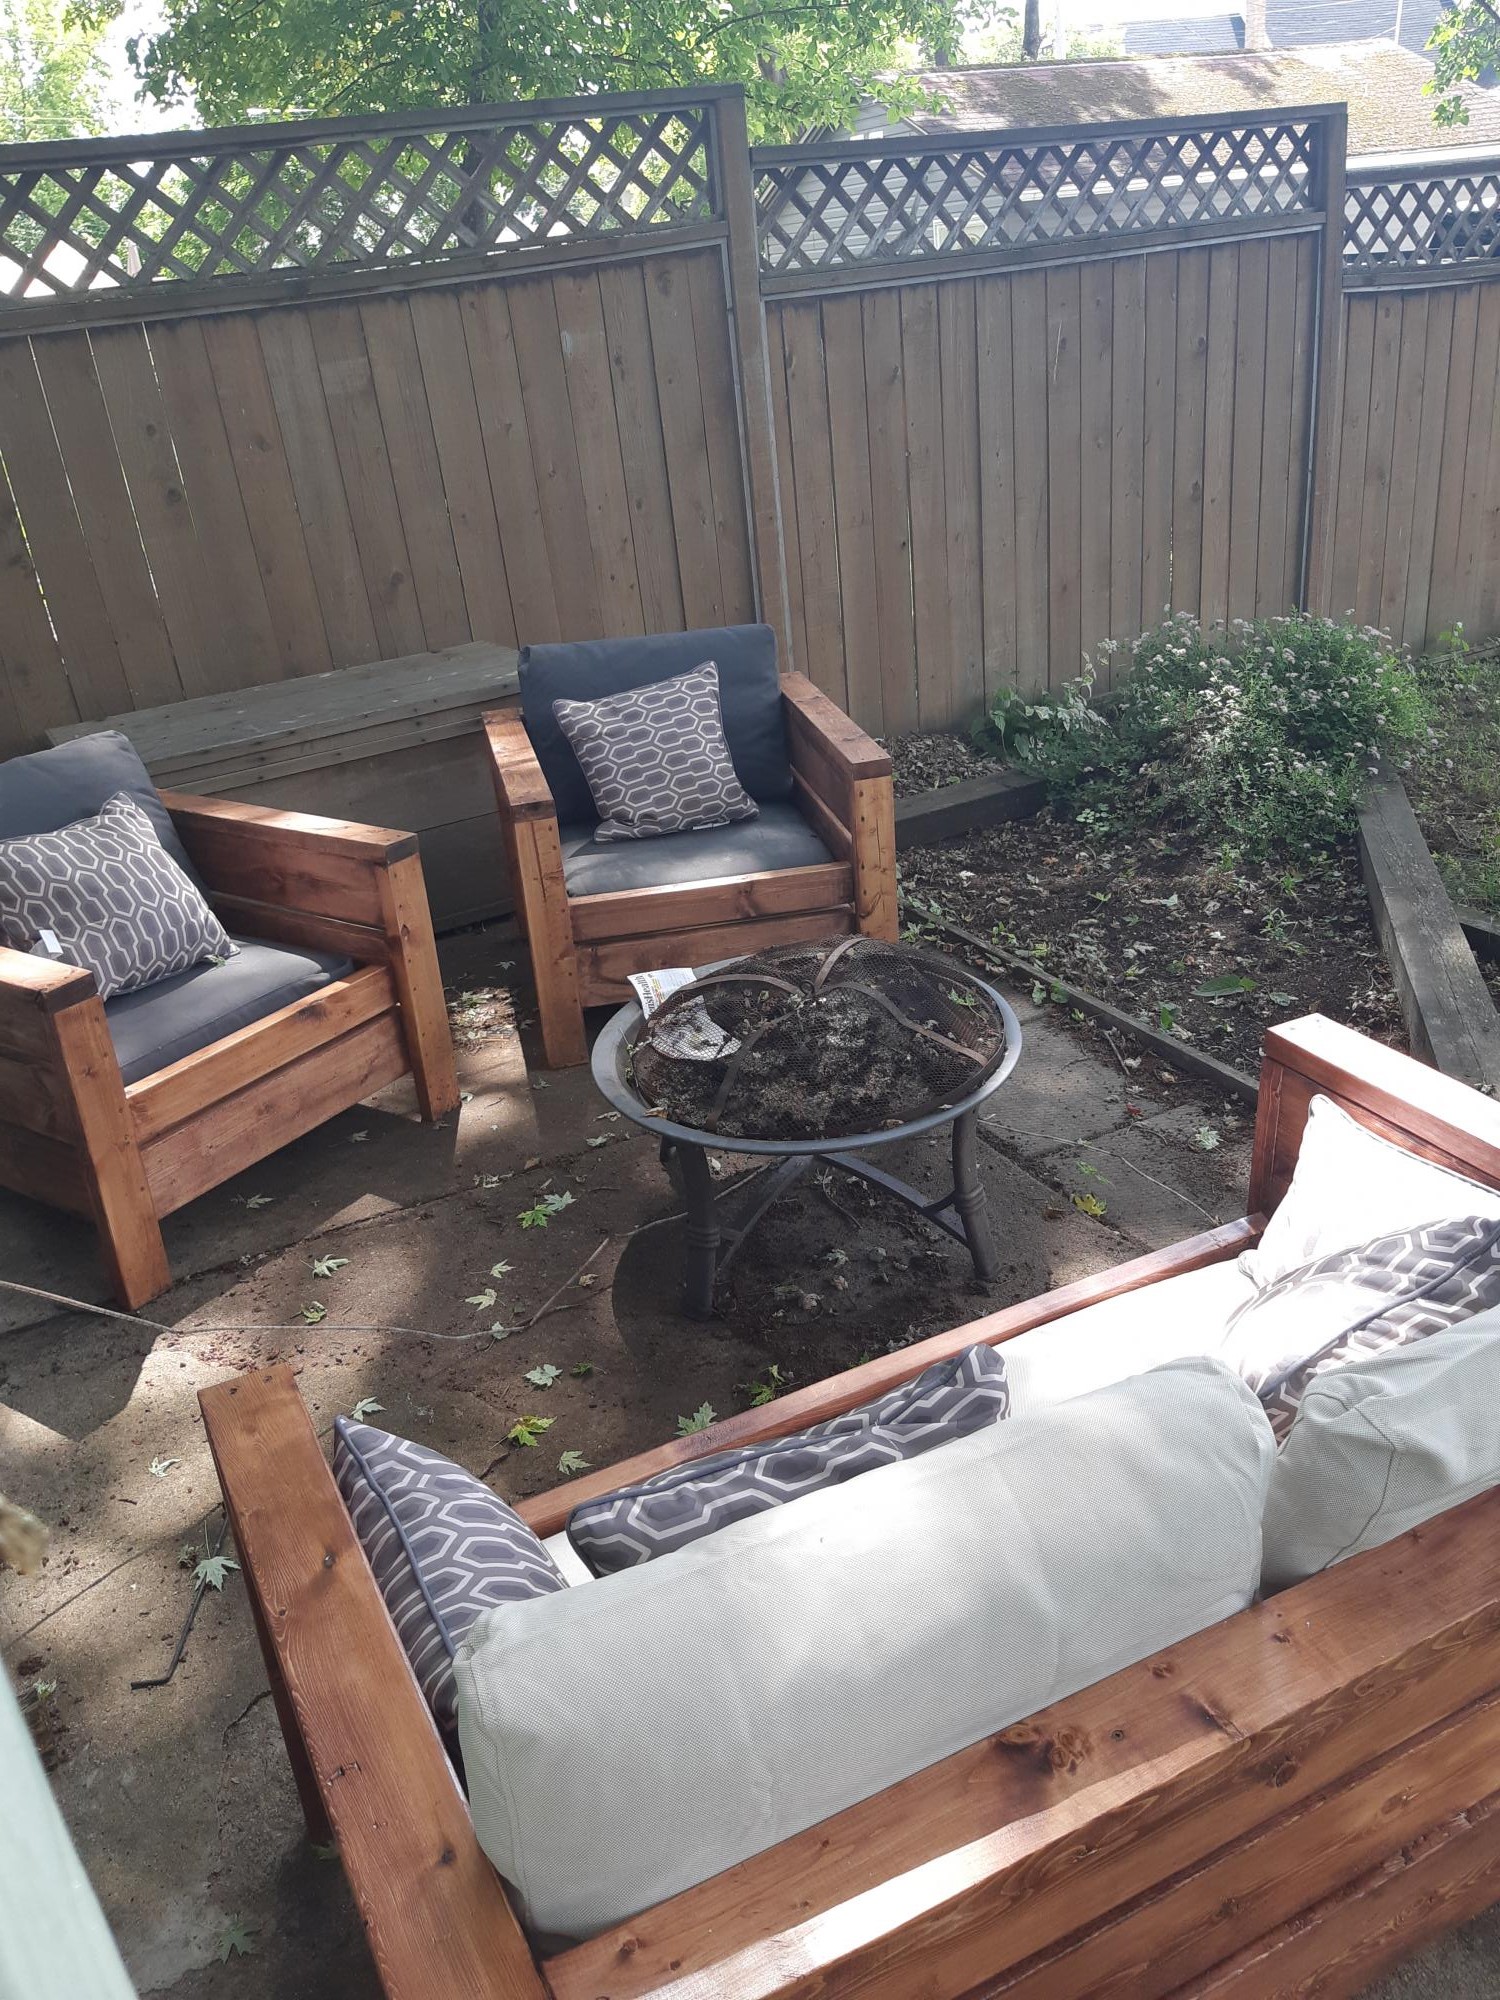
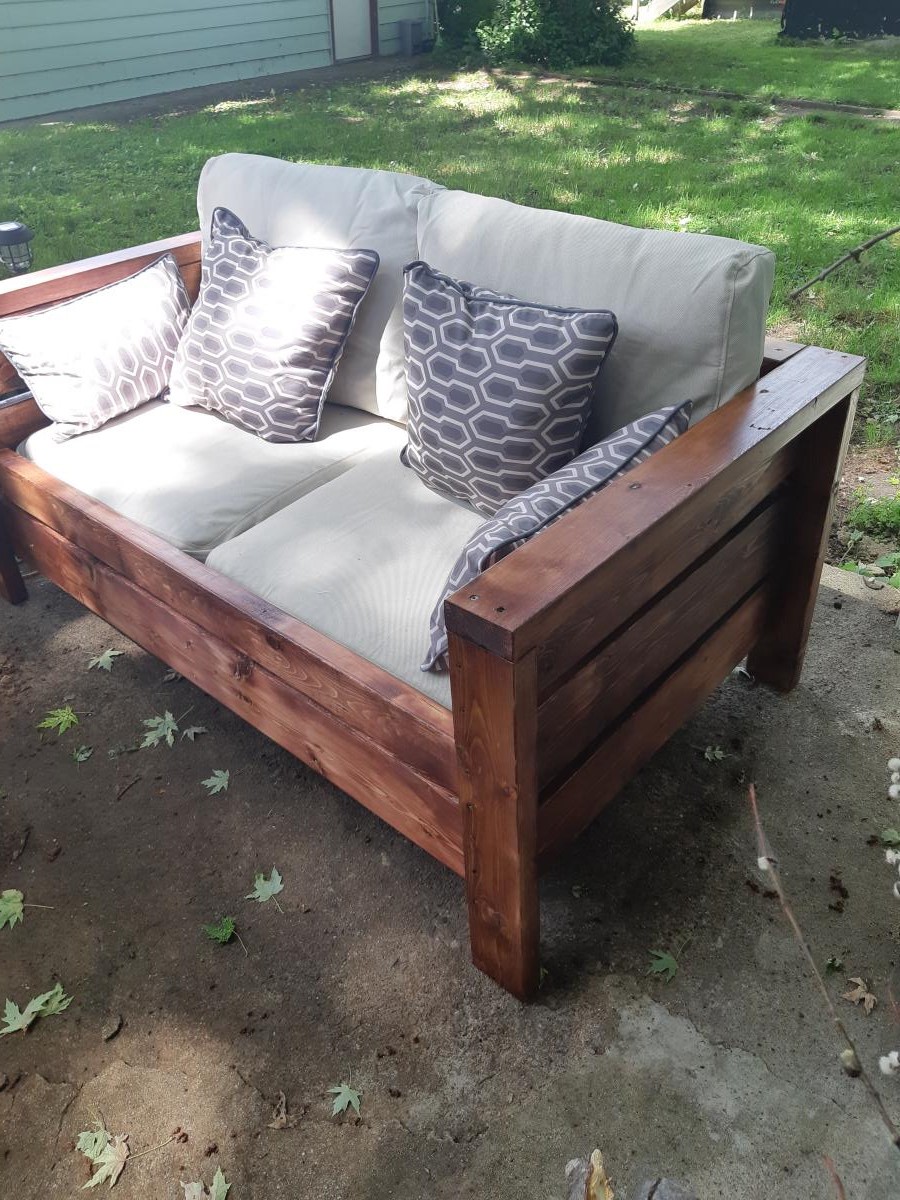
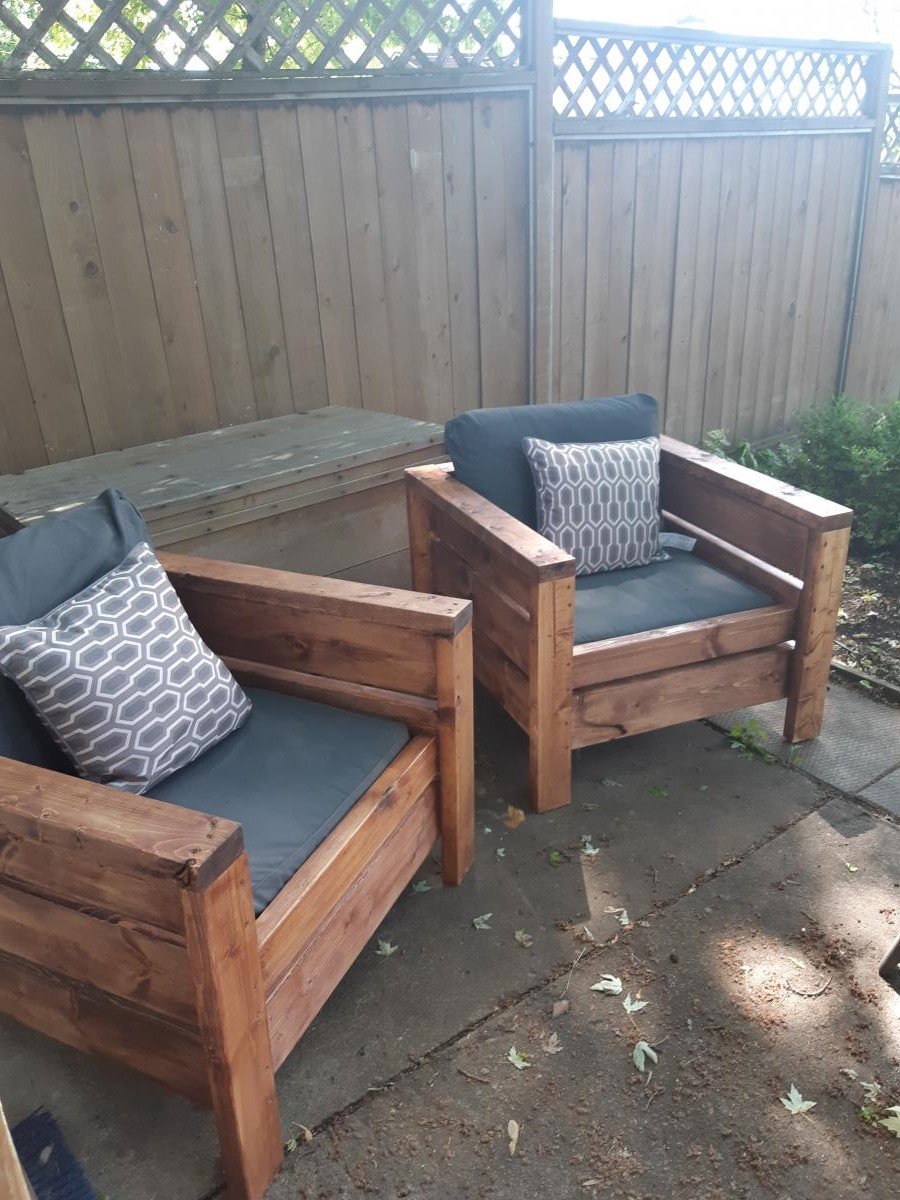
Modified chair plans to build loveseat. Chairs took one day and loveseat took one day.
Mon, 07/22/2019 - 11:14
This is a very beautiful set! Thank you for sharing the photos!
Wed, 07/15/2020 - 11:33
I love how you set the cushion down in the seat. What type of cushion did you use? Is it comfortable this way? This looks exactly what I am picturing in my head, but I worry the bar on your legs might be uncomfortable.
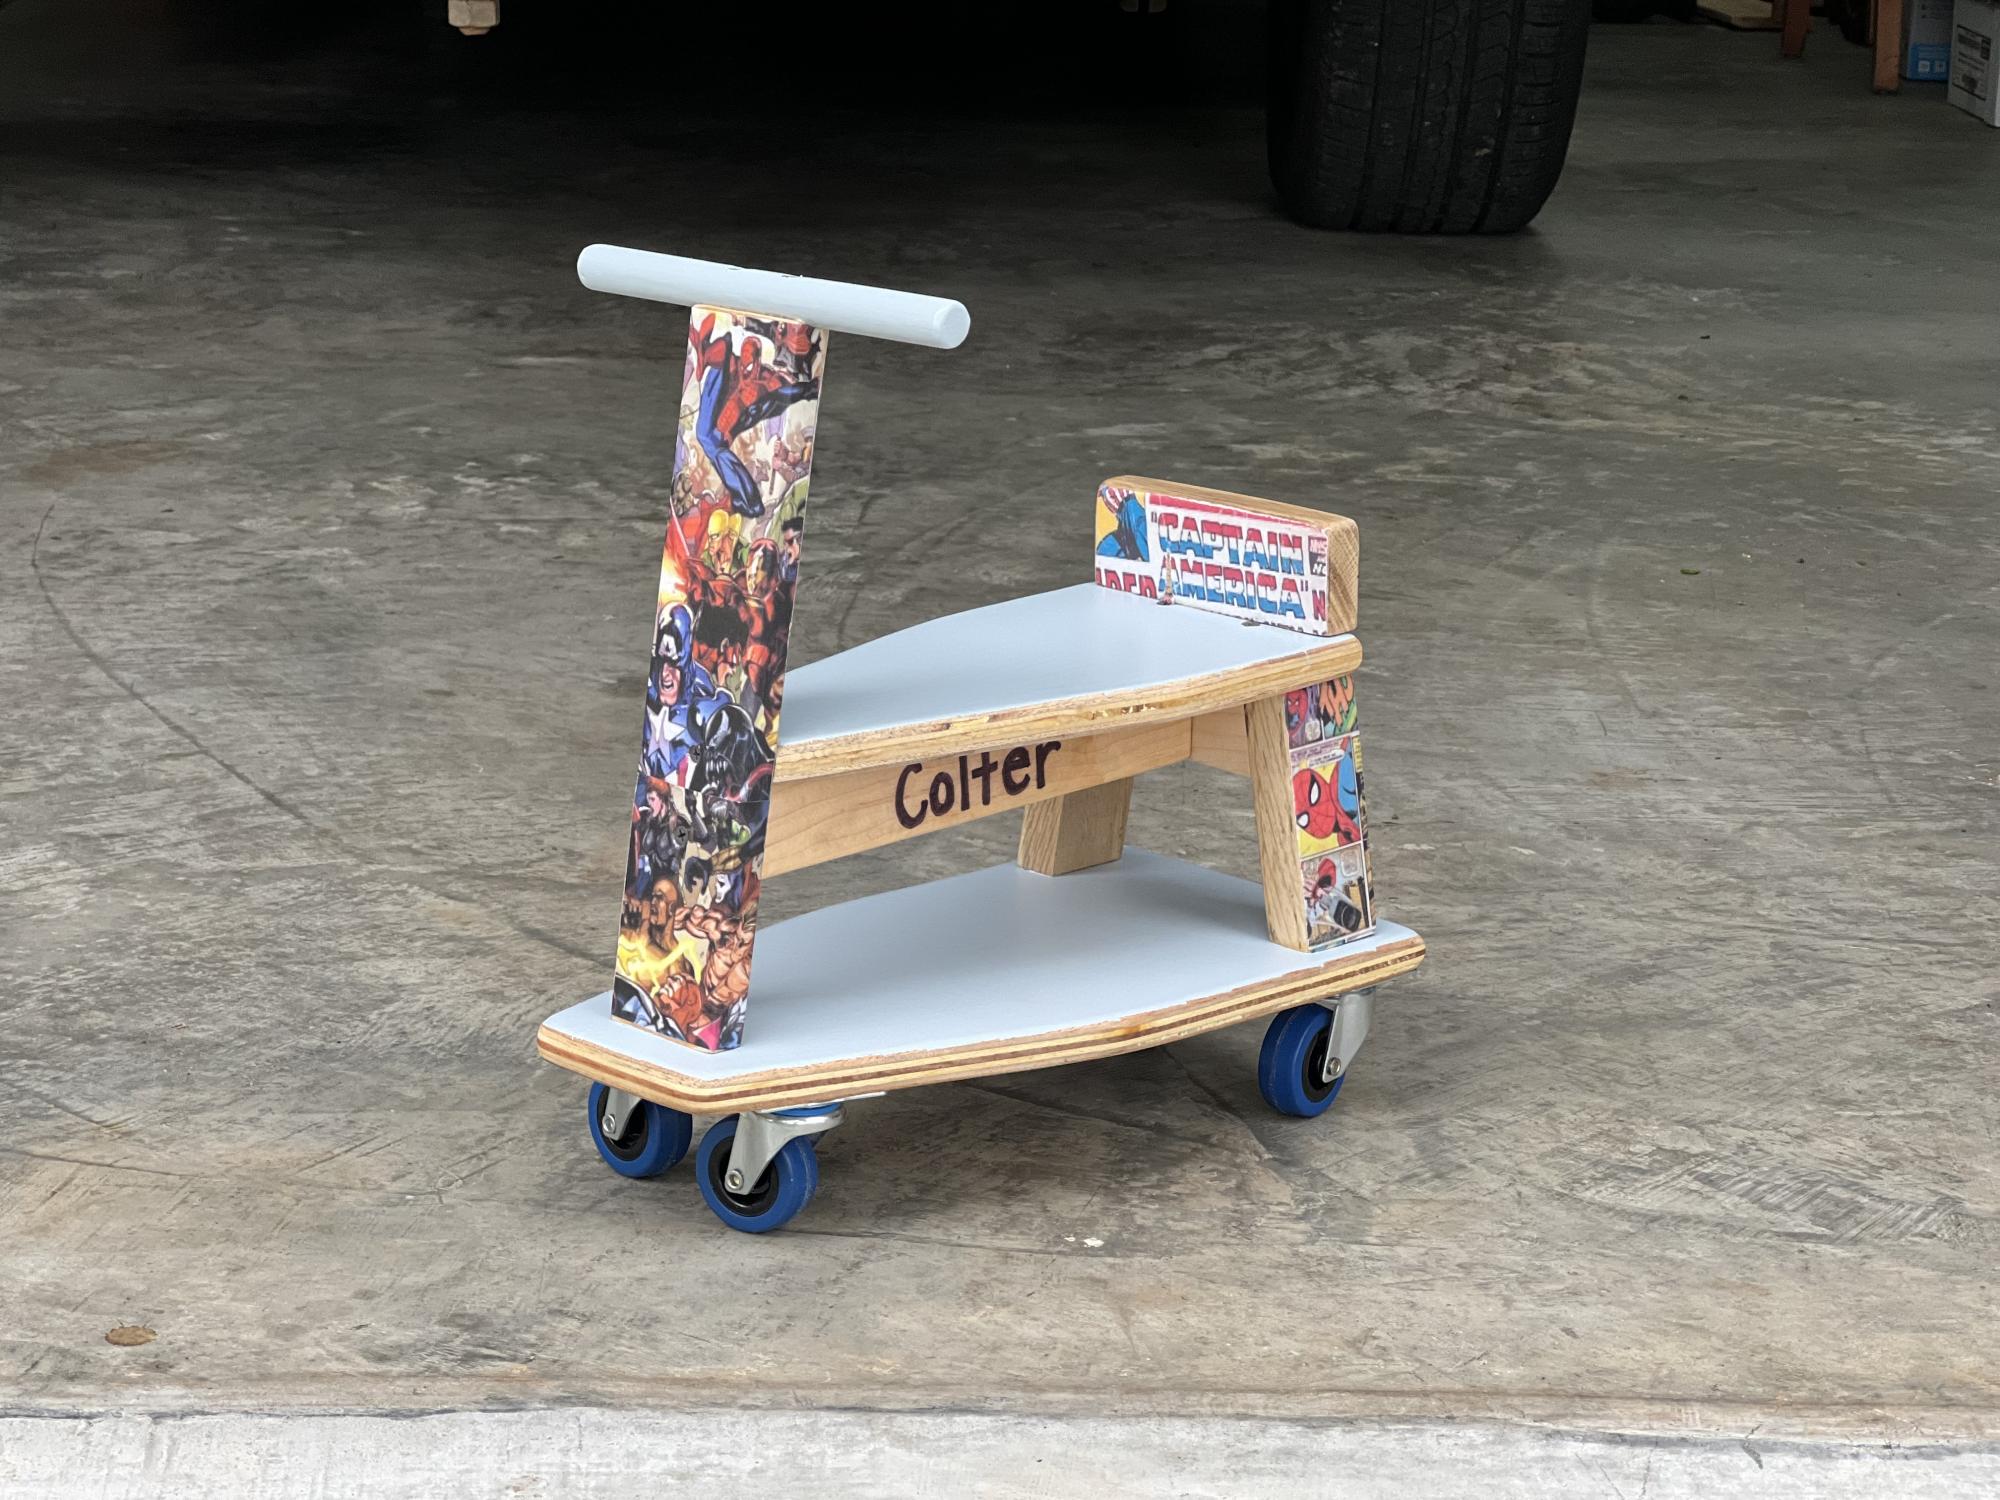
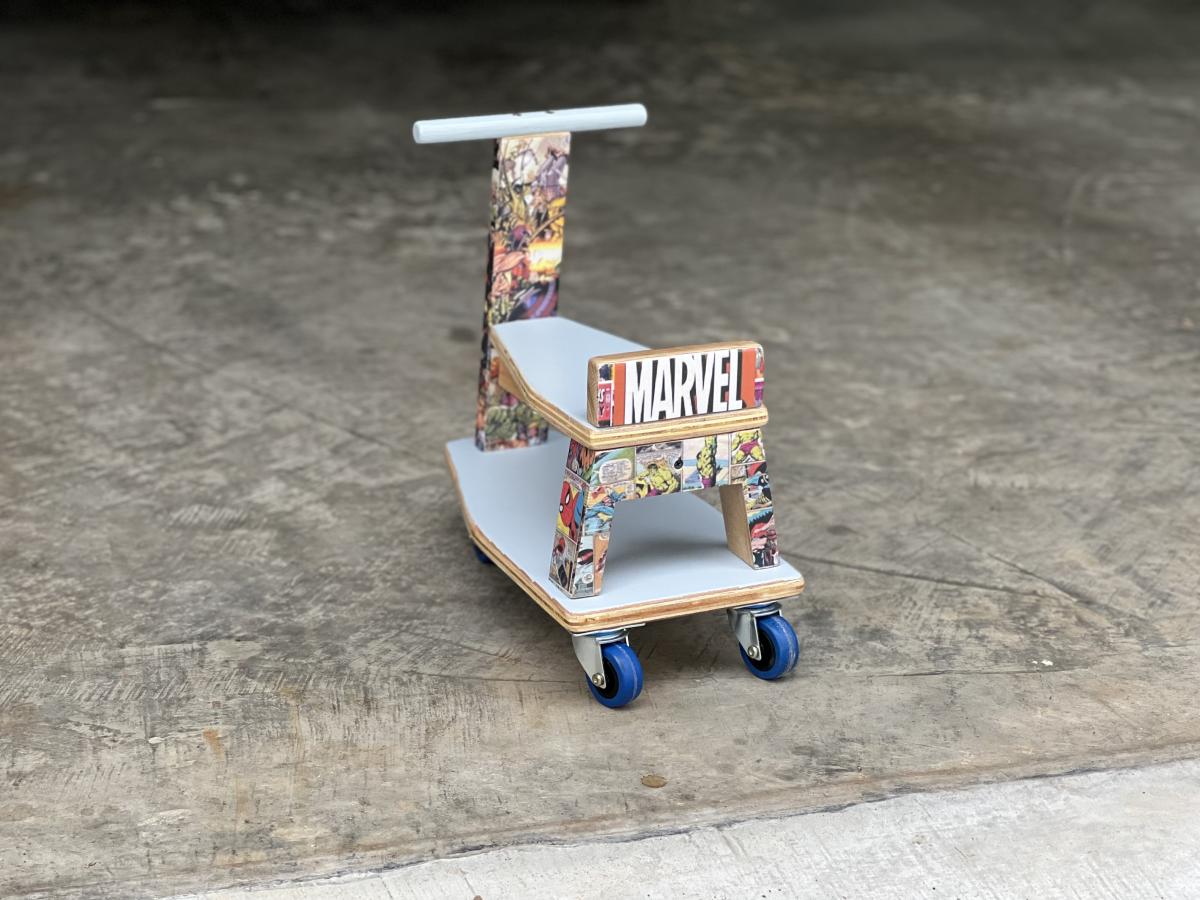
I built this per your plans for my grandson that turned 2 last week. He loves it! I used Mog Pog to affix the comic pages that I printed from the internet. However with the 4 caster wheels, it seems to tip over too easily. I am going to swap the two rear wheels with non-castering ones and see if that helps. Great plans....Great details....thanks for sharing!!!!
Gary G.
Athens, Alabama
Tue, 04/25/2023 - 09:25
A work of art! This is beautiful!
We've had ours through two kids now and they are STILL using it. Glad to see you built this one.
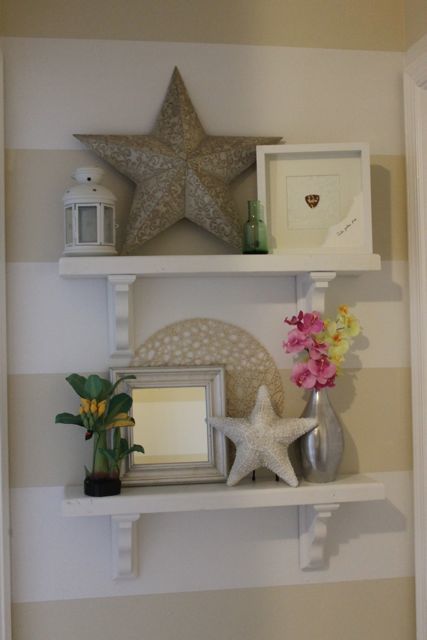
Love how these turned out and LOVE that I had almost everything in my garage already! Here's a tutorial for those of you who would like to make it!
Thu, 12/29/2011 - 12:59
LOVE these shelves, and your wall colors are to die for! great job!
Sun, 03/11/2018 - 12:48
Was hoping to see these plans, but the website is parked. No luck finding the plans anywhere.
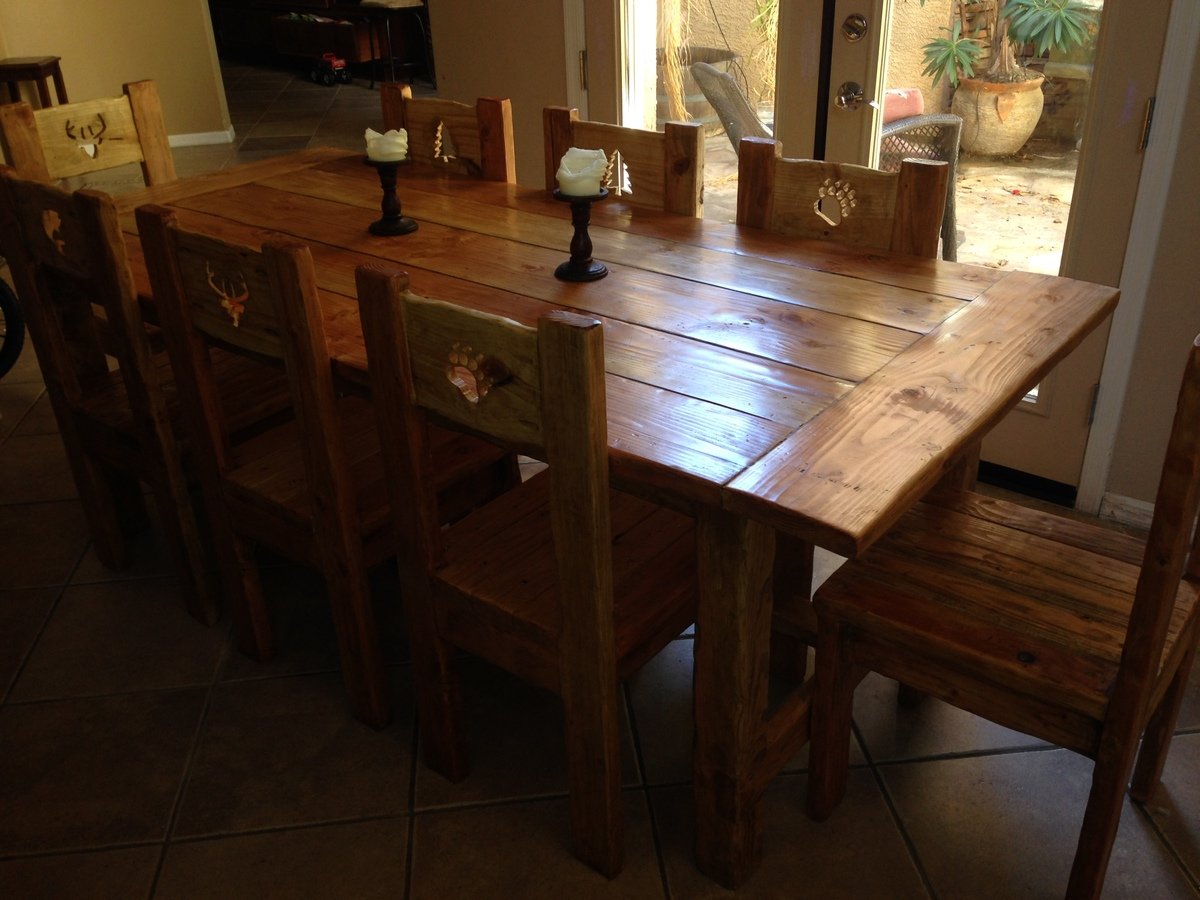
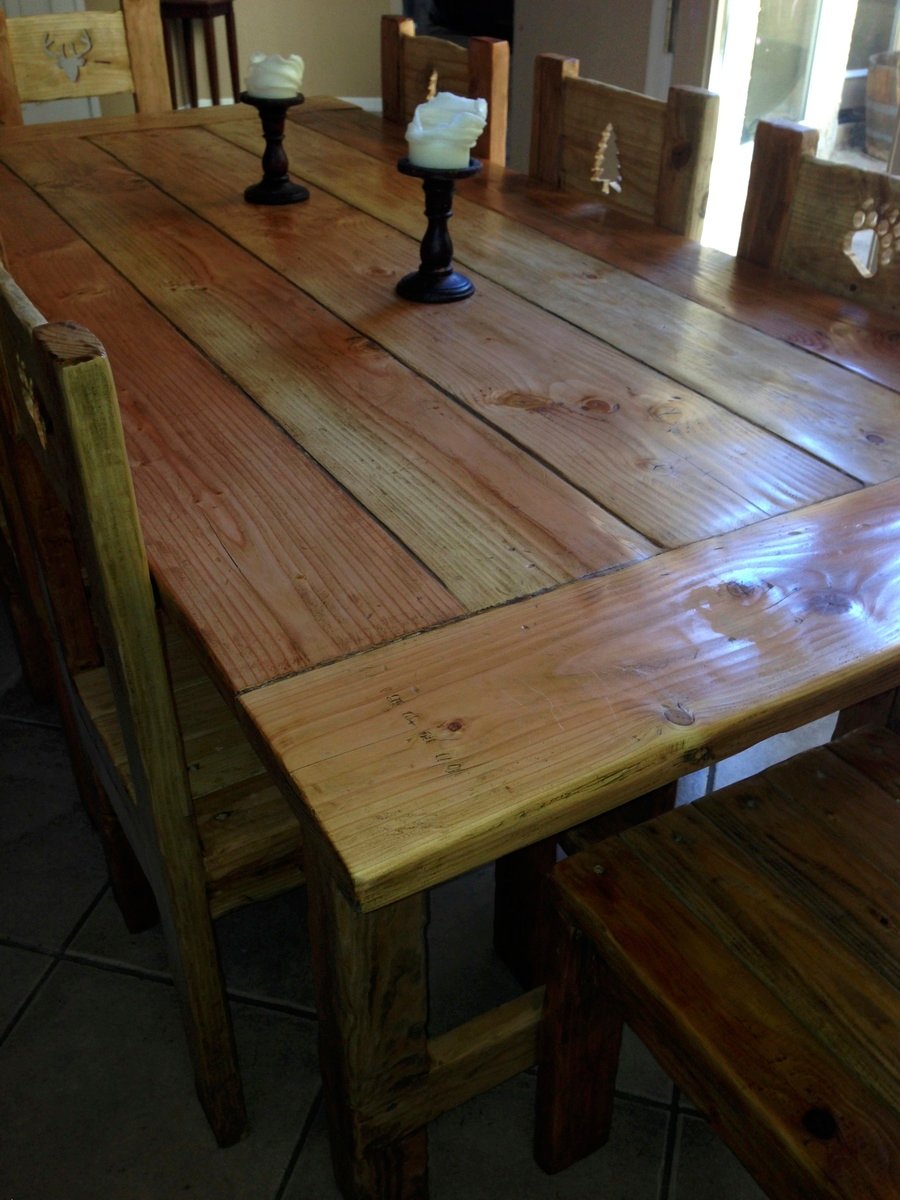
My wife and I wanted a rustic looking table for our cabin and didn't want to pay a fortune for it! This was my first project and I found it pretty easy to make. The finish is Briwax Rustic Pine and I was so happy with how it turned out I had to build some chairs to go with it! The chairs were made from a plan I found for making chairs using 2x4s
Sun, 11/17/2013 - 06:05
Great Job! I am braving my first table myself ...
Sun, 11/17/2013 - 07:30
These look awesome! Love the finish - how many coats of Briwax did you need to achieve that sheen? It's just the perfect amount of shine. And those chairs! Can you post some close-ups of those designs on the backs? Those look sooo cool, how did you do them?
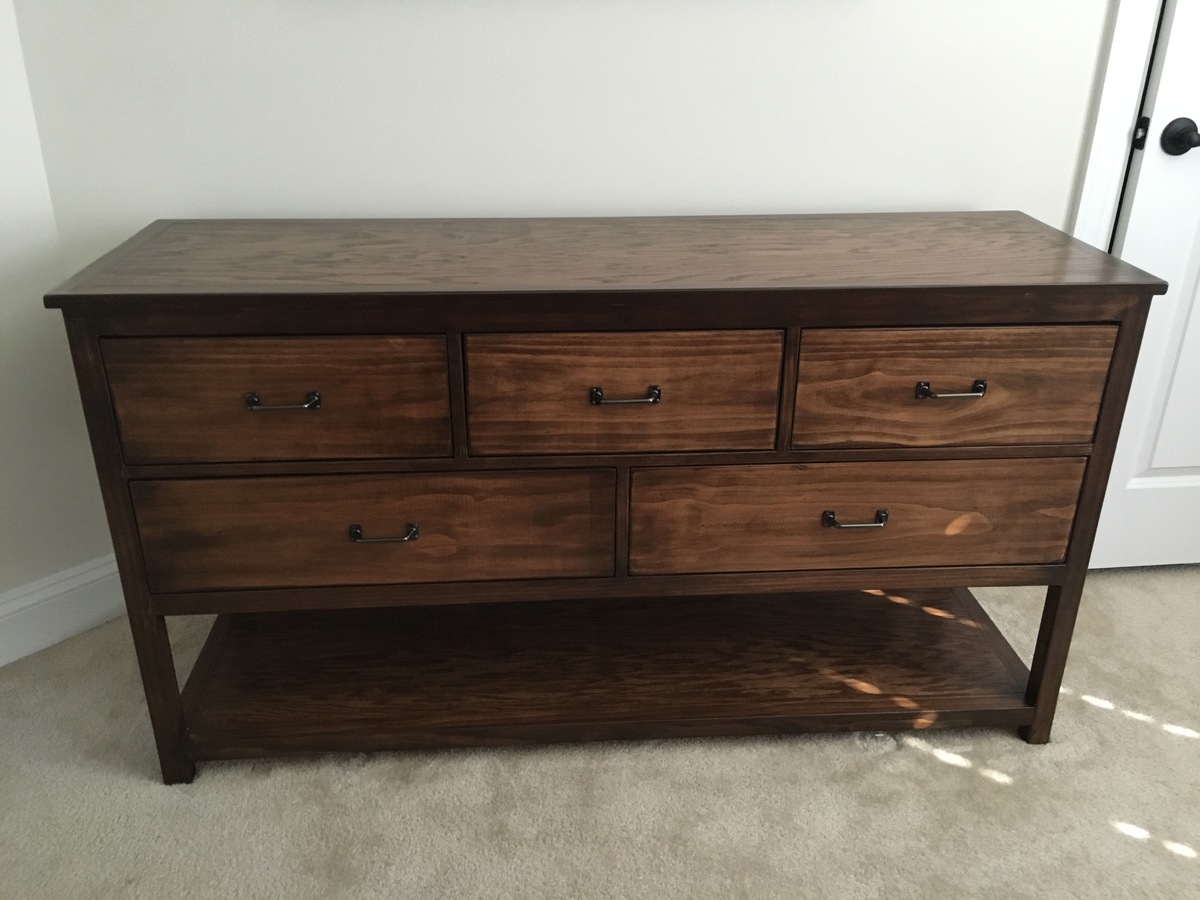
My husband built the dresser for our three-year-old son. He built and stained the dresser over the course of a week.
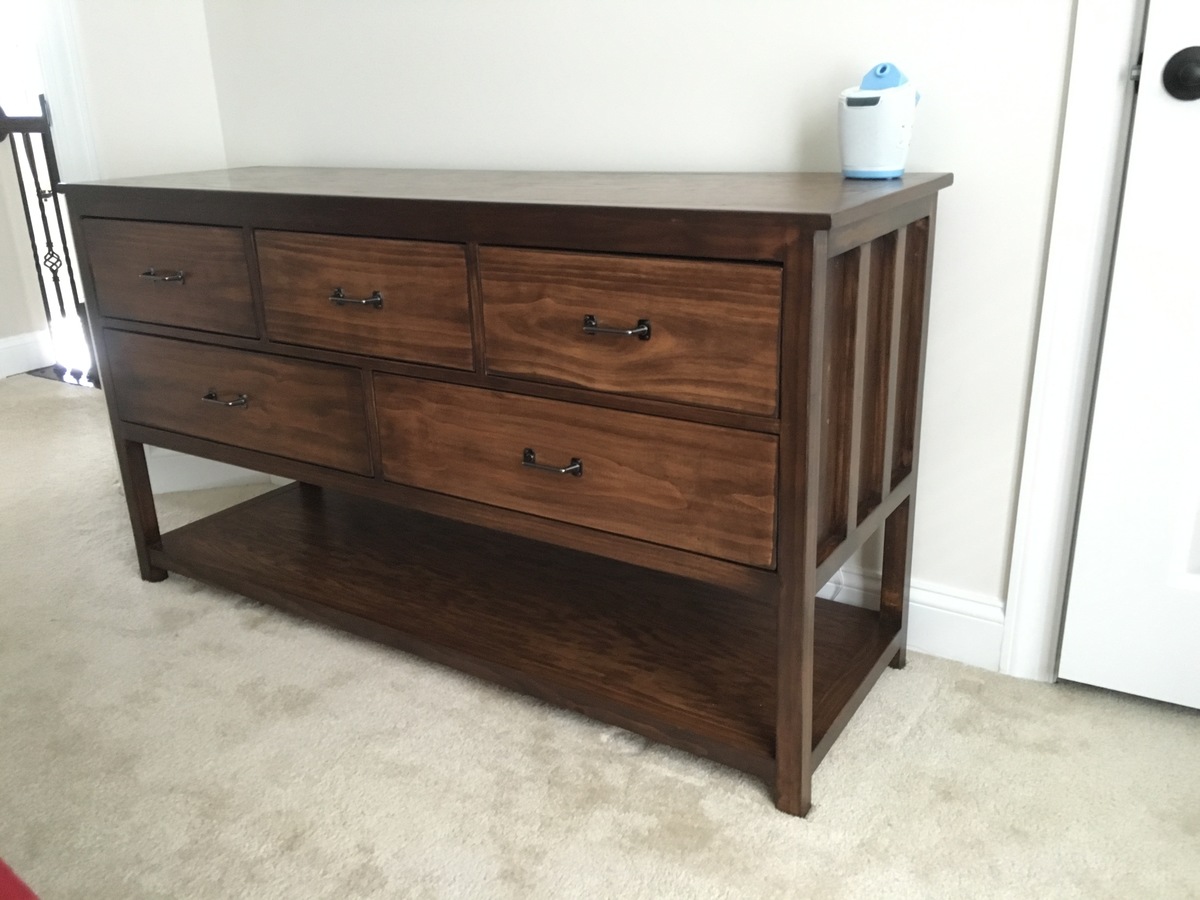
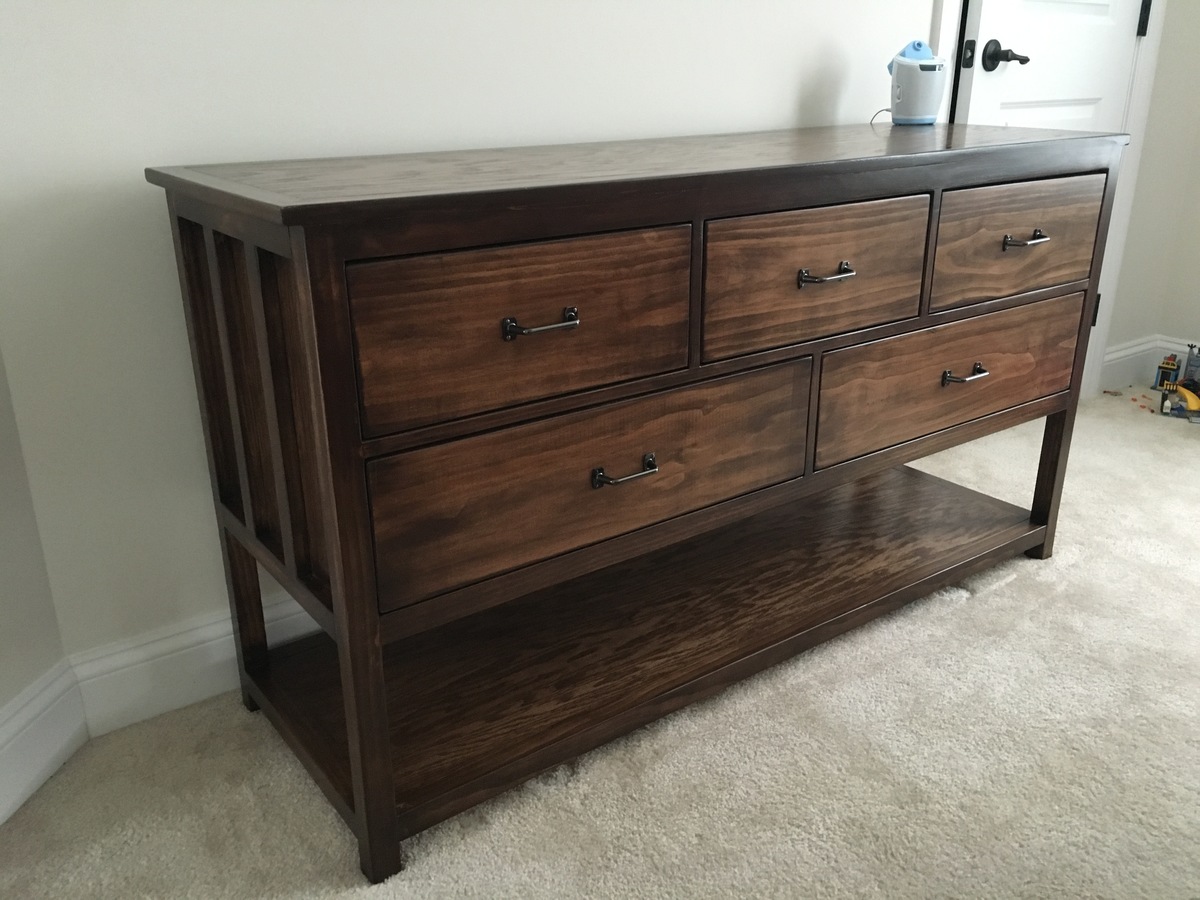
Super easy project that turned out AMAZING.
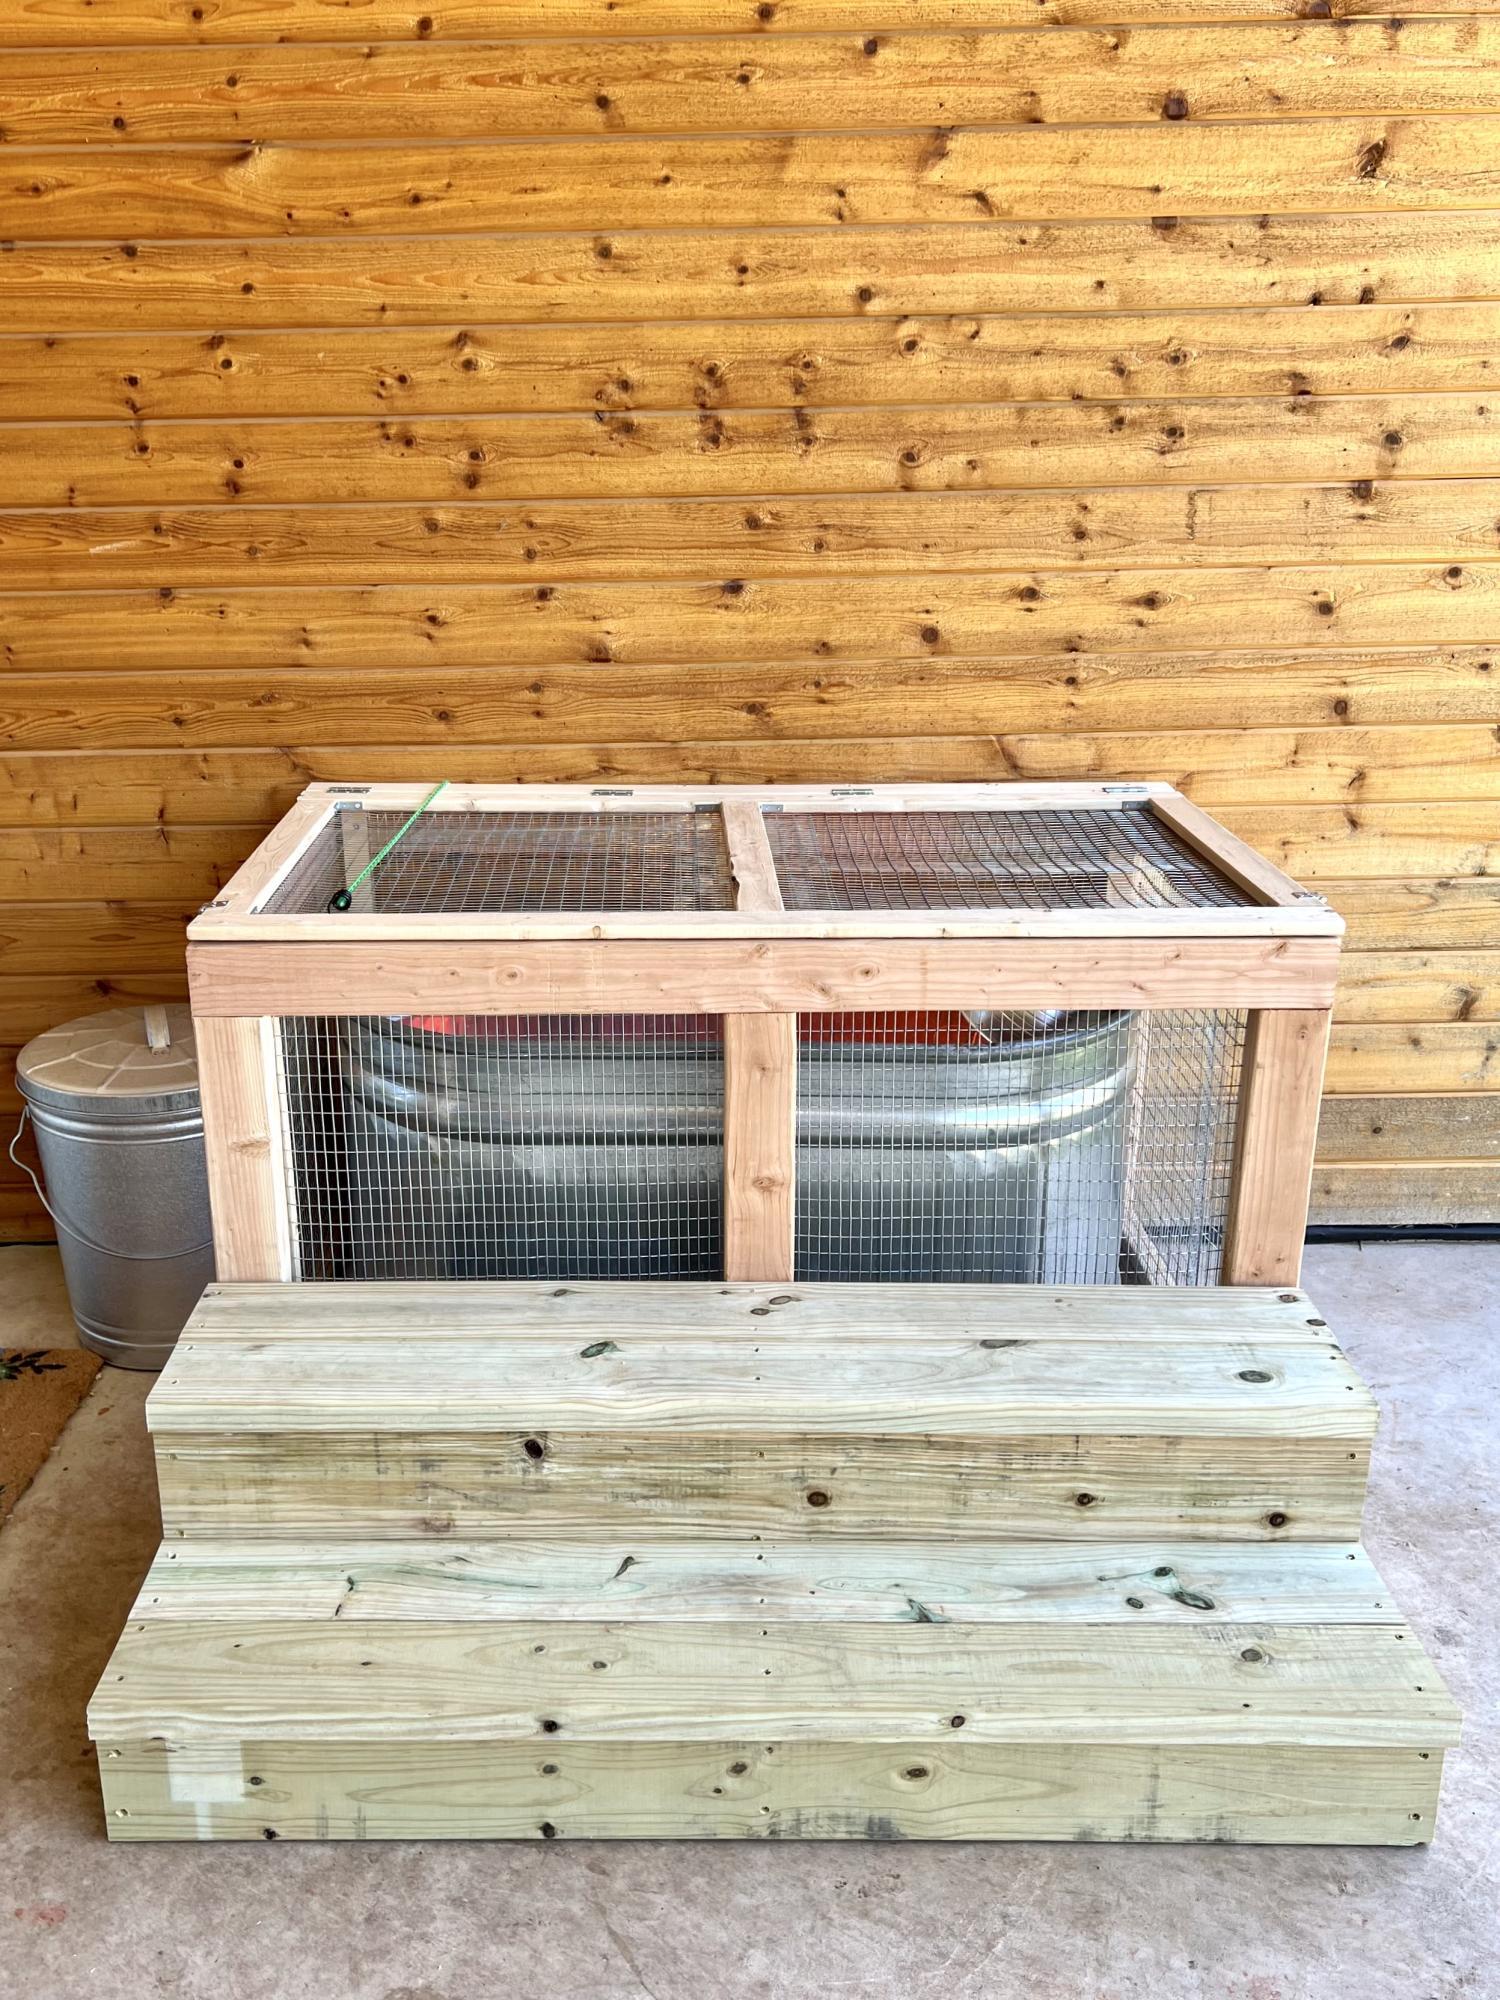
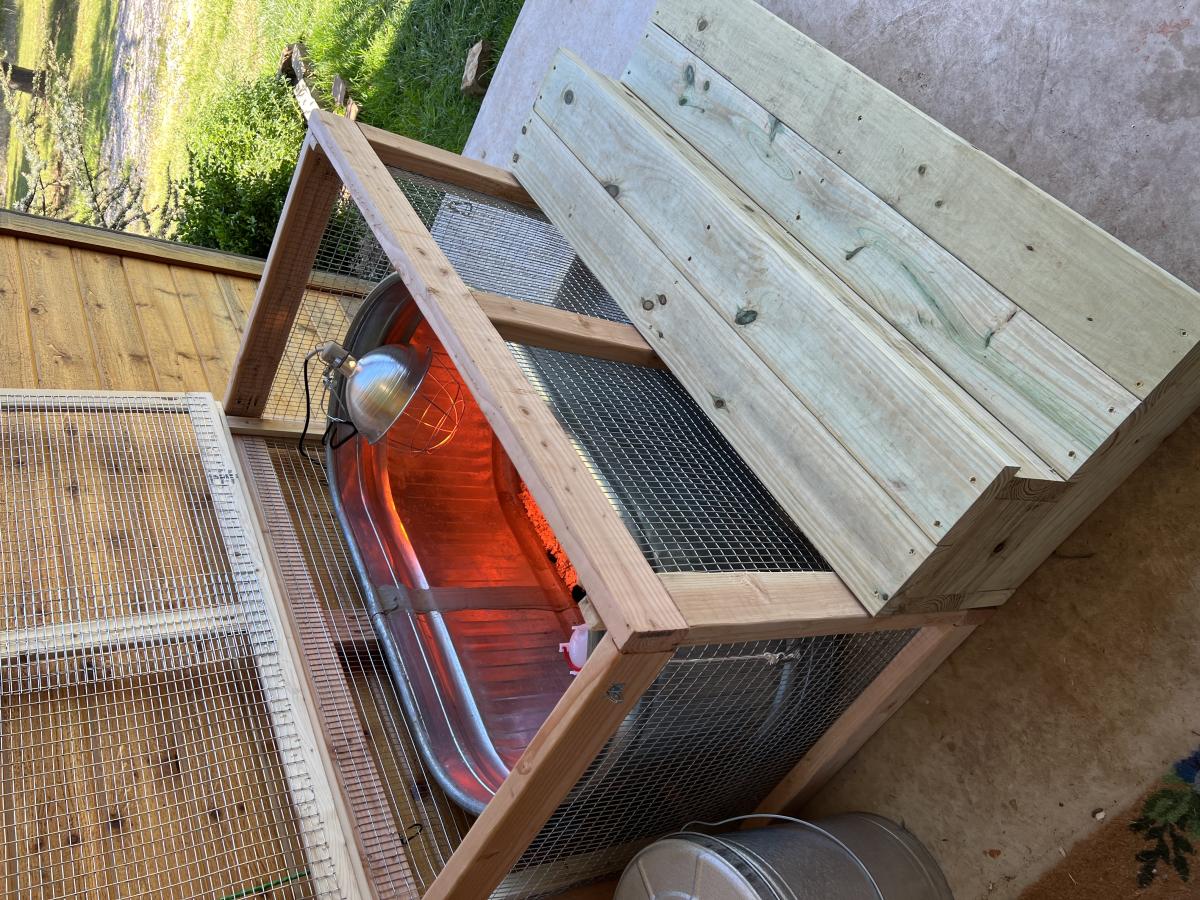
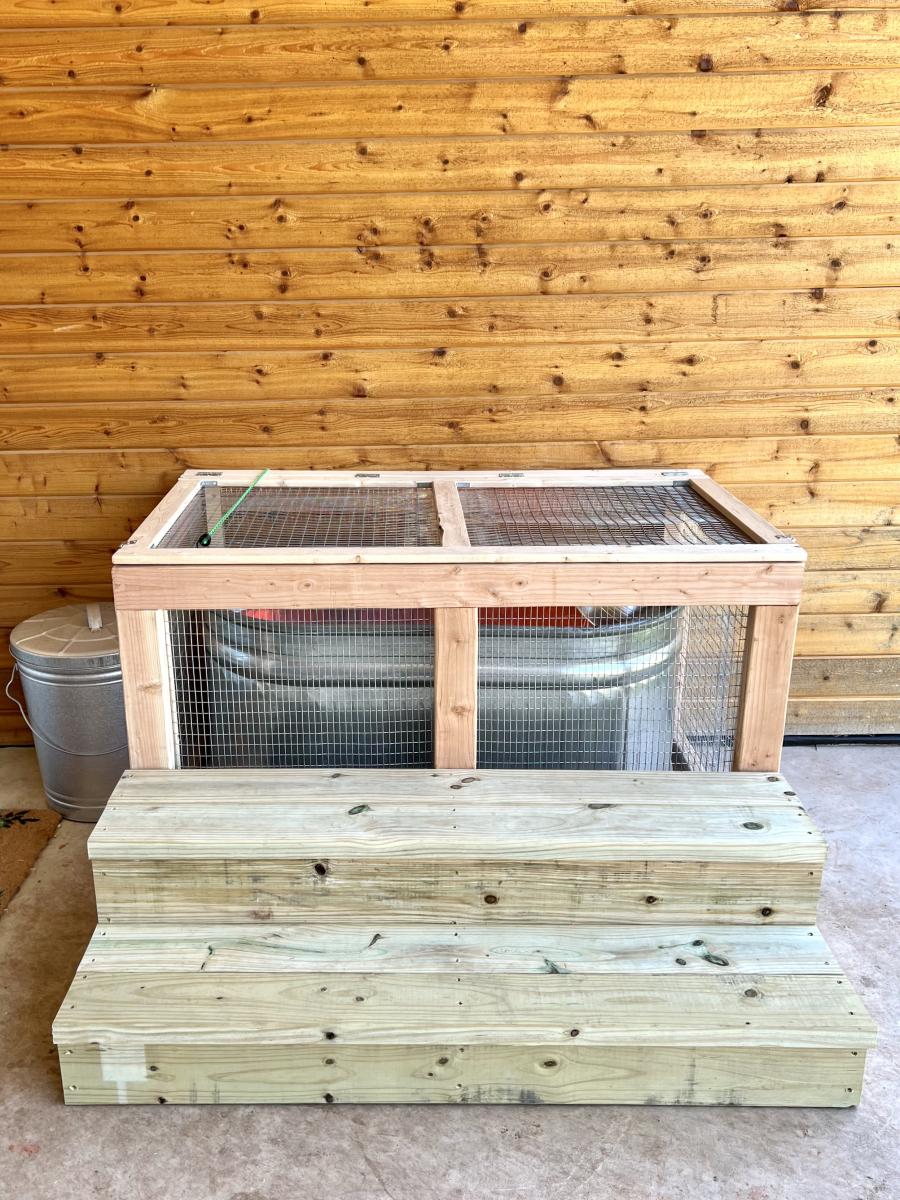
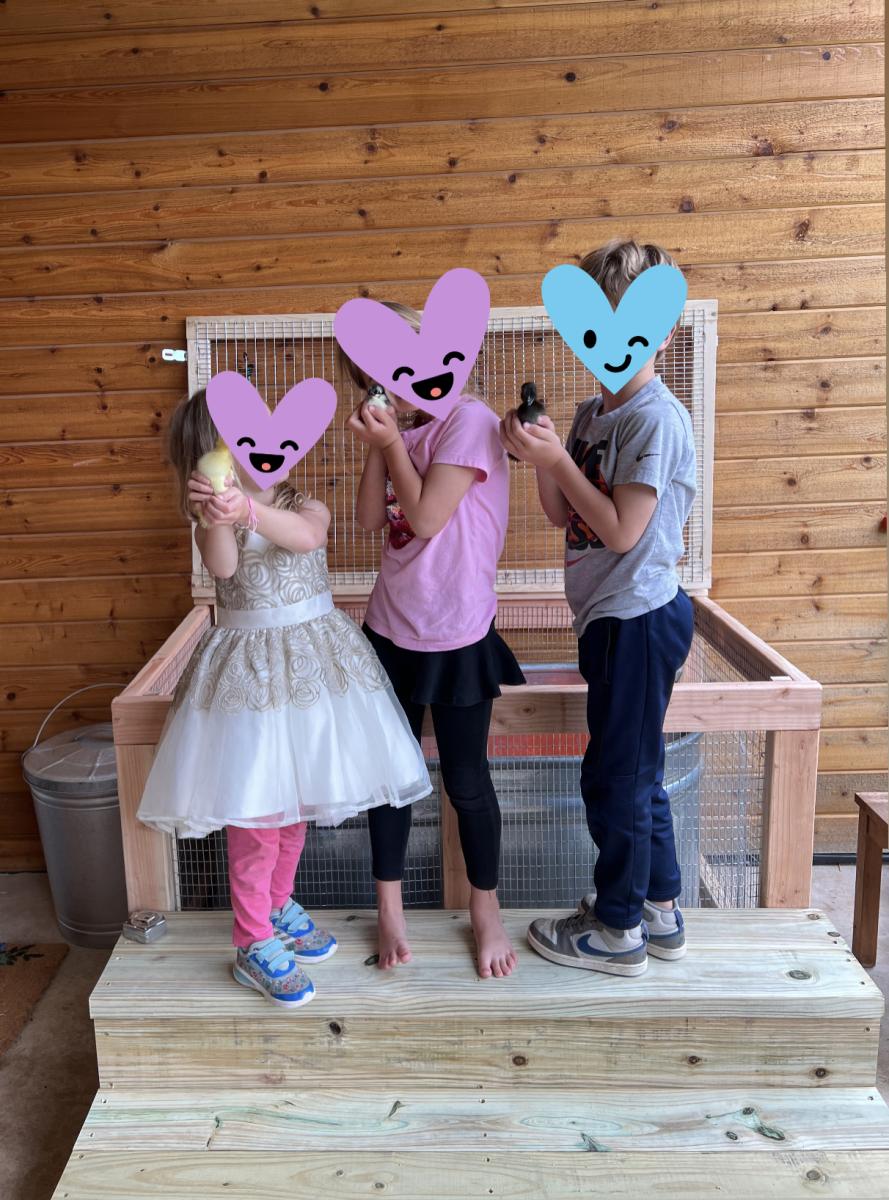
We have our new chicks in a 2’x4’ stock tank as a brooder. Since it’s outside on a covered porch, I wanted something to keep predators out, but also to allow our kids to reach in and hold the chicks—they love holding them! I built the 32”x54”x32” enclosure with 2x4s and hardware cloth. The bottom and sides are sealed with wire and the top has a lid that closes securely with a latch on either side. The steps are perfect for our kids to stand on so they can reach in to refill the food and water and pet or hold the chicks.
Comments
Ana White Admin
Sat, 04/08/2023 - 15:34
Great planter boxes!
Thanks for sharing, they look fantastic!