Chevron kids table
![](/sites/default/files/3154834703_1379881826.jpg)
Chevron kids table
![](/sites/default/files/3154834671_1379881826.jpg)
Chevron kids table
We had a great time building this
We did the bottom half one weekday, and the top piece another day. Primer, painting, and sanding in all took us 6 days.
It look fantastic
Thu, 12/03/2015 - 10:18
Thanks for sharing your awesome project, posted to our Facebook page today!
Used the farm house bed plans from here with a few modifications. Instead of plywood for the headboard and footboard, I used tongue and grove 1x6 planks. I used edge glued spruce planks from Lowes for the drawer fronts and I invested a bit more on the drawer slides and opted for the full opening type. Also, rather than 3 large drawers on either side, I opted to put 2 smaller drawers in the center. I felt the shallower drawers would be more useful for smaller items (socks and underwear). I also used a 3/4" molding to hid the ends of the plywood drawer boxes. The weathered finish was created using a video I found on YouTube (https://www.youtube.com/watch?v=k7Via9Lz4Pw). My upgrades increased the overall price, but it was still under $600 and should last a lifetime.
I made this plan at my wifes’s request. I added a platform on the inside for our artificial tree and stencils on the outside of each side. Plan was relatively easy. We love the look. Bonus, made the tree taller. George from Arizona.
Sun, 11/27/2022 - 10:59
Love the stain choice and the added stenciling, thanks for sharing!
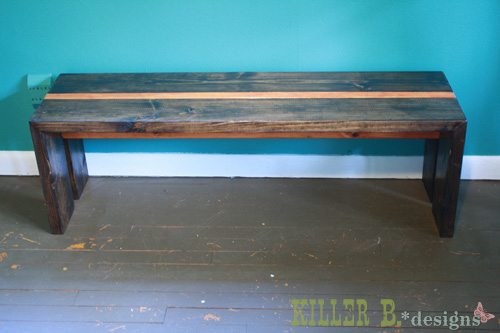
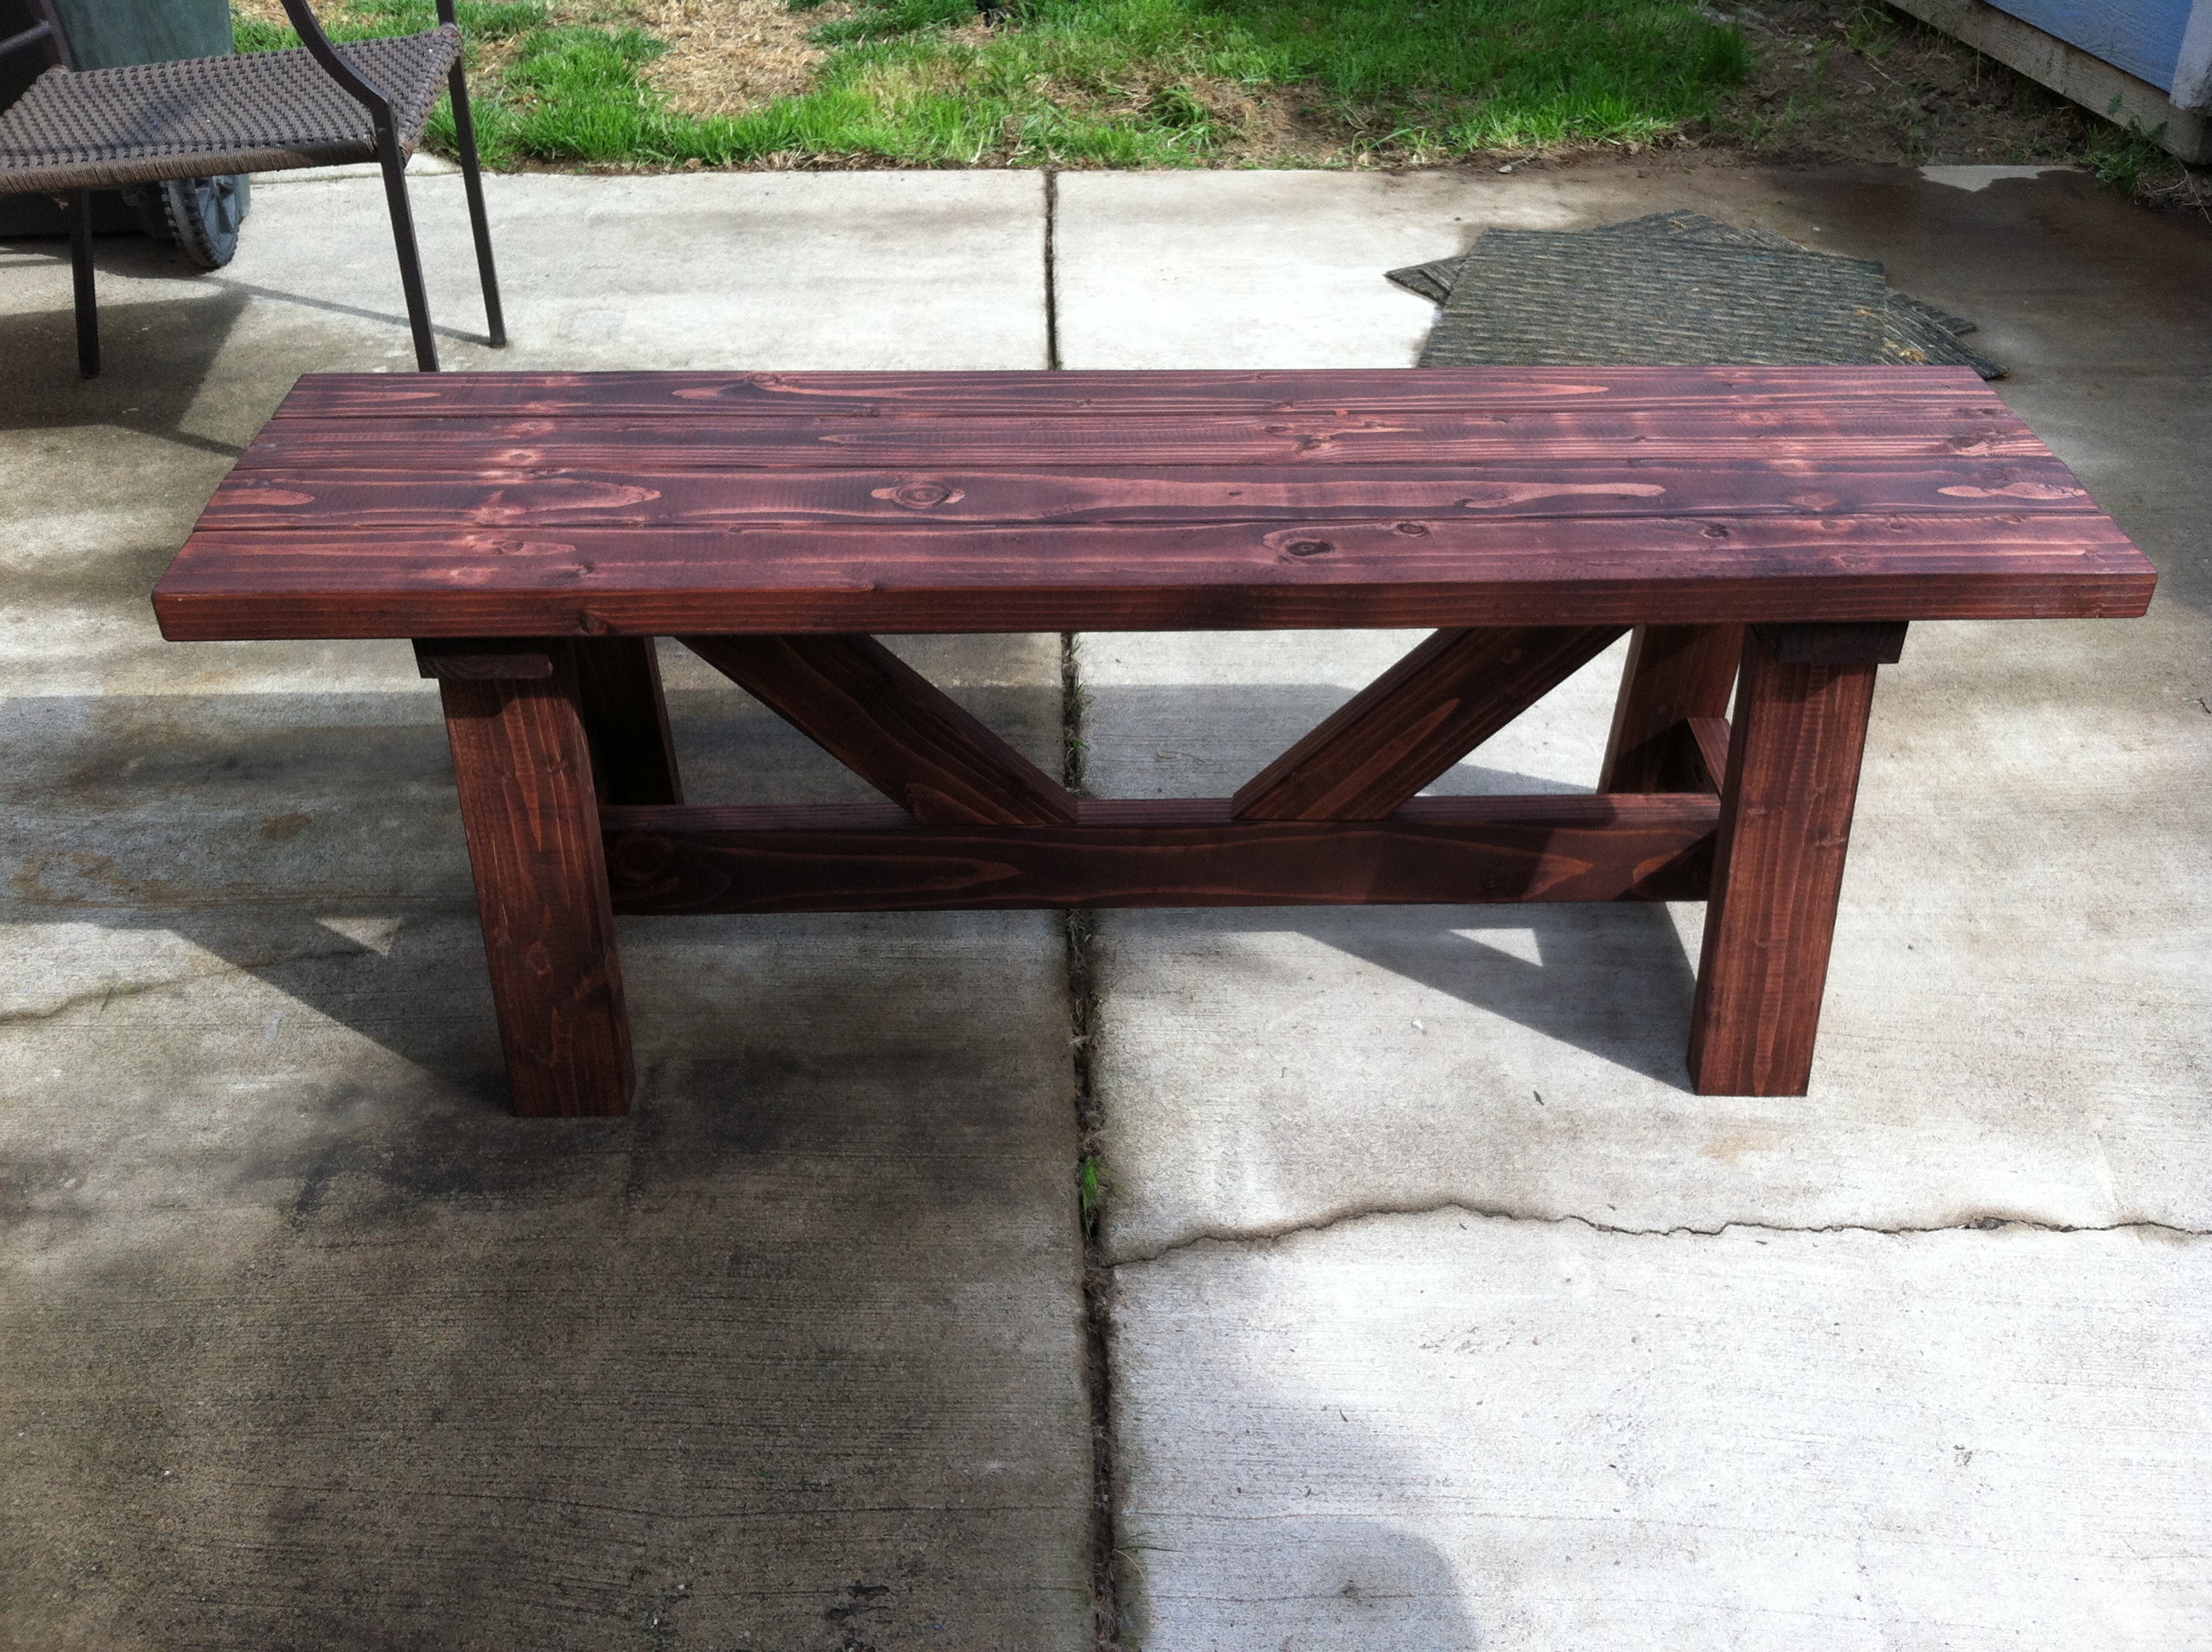
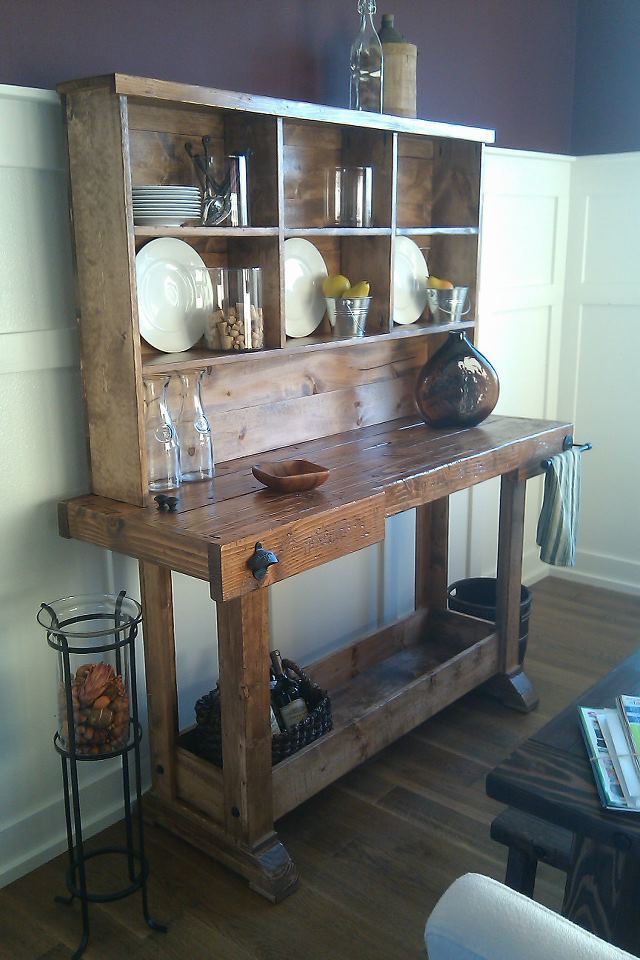
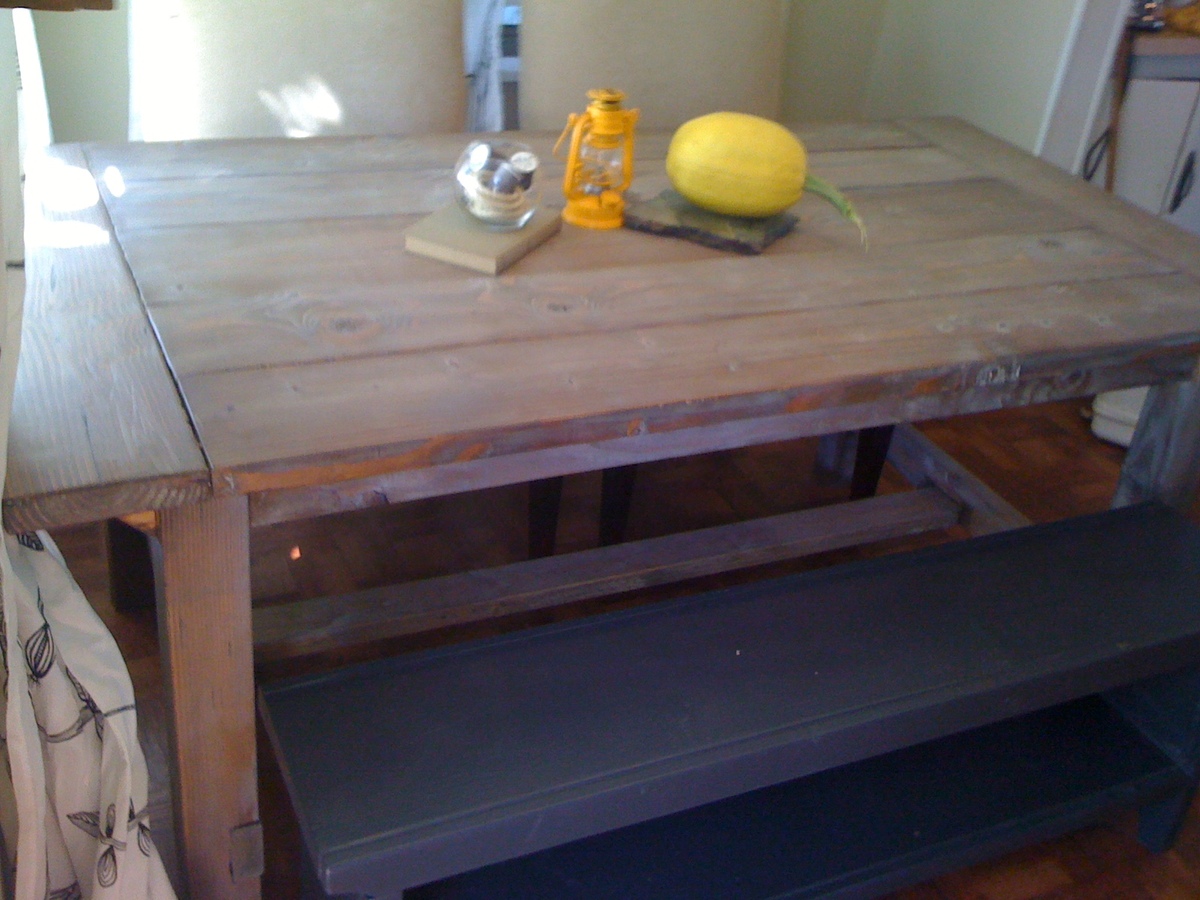
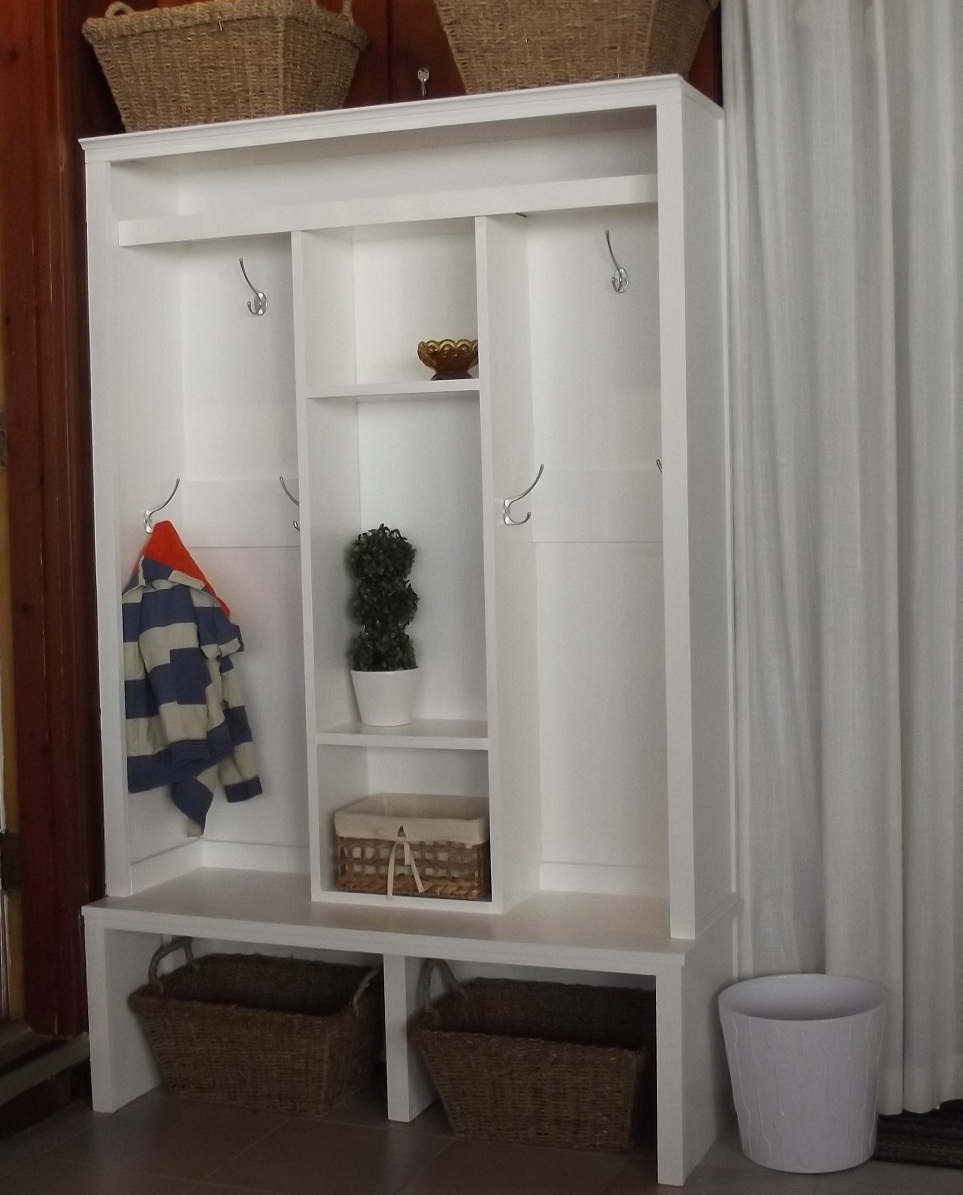
After seeing benches like these on a wedding blog, I really wanted to build my own. It was a super easy project, and really cheap! Here's what you need:
• 2 – 2x6x8′ boards. They cost about $3 each at Home Depot.
• Screws, sandpaper and stain.
Cut List:
3 – 2×6 @ 47″
4 – 2×6 @ 16″
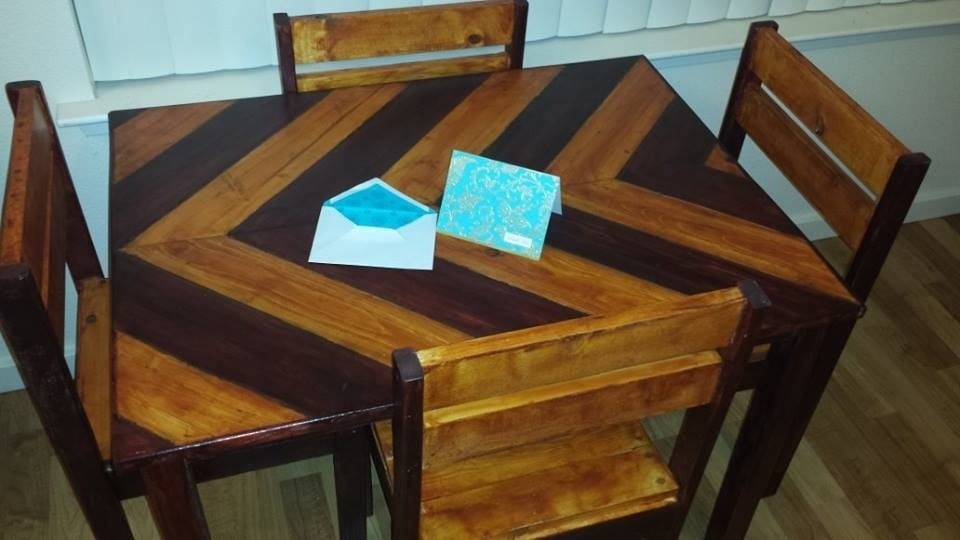
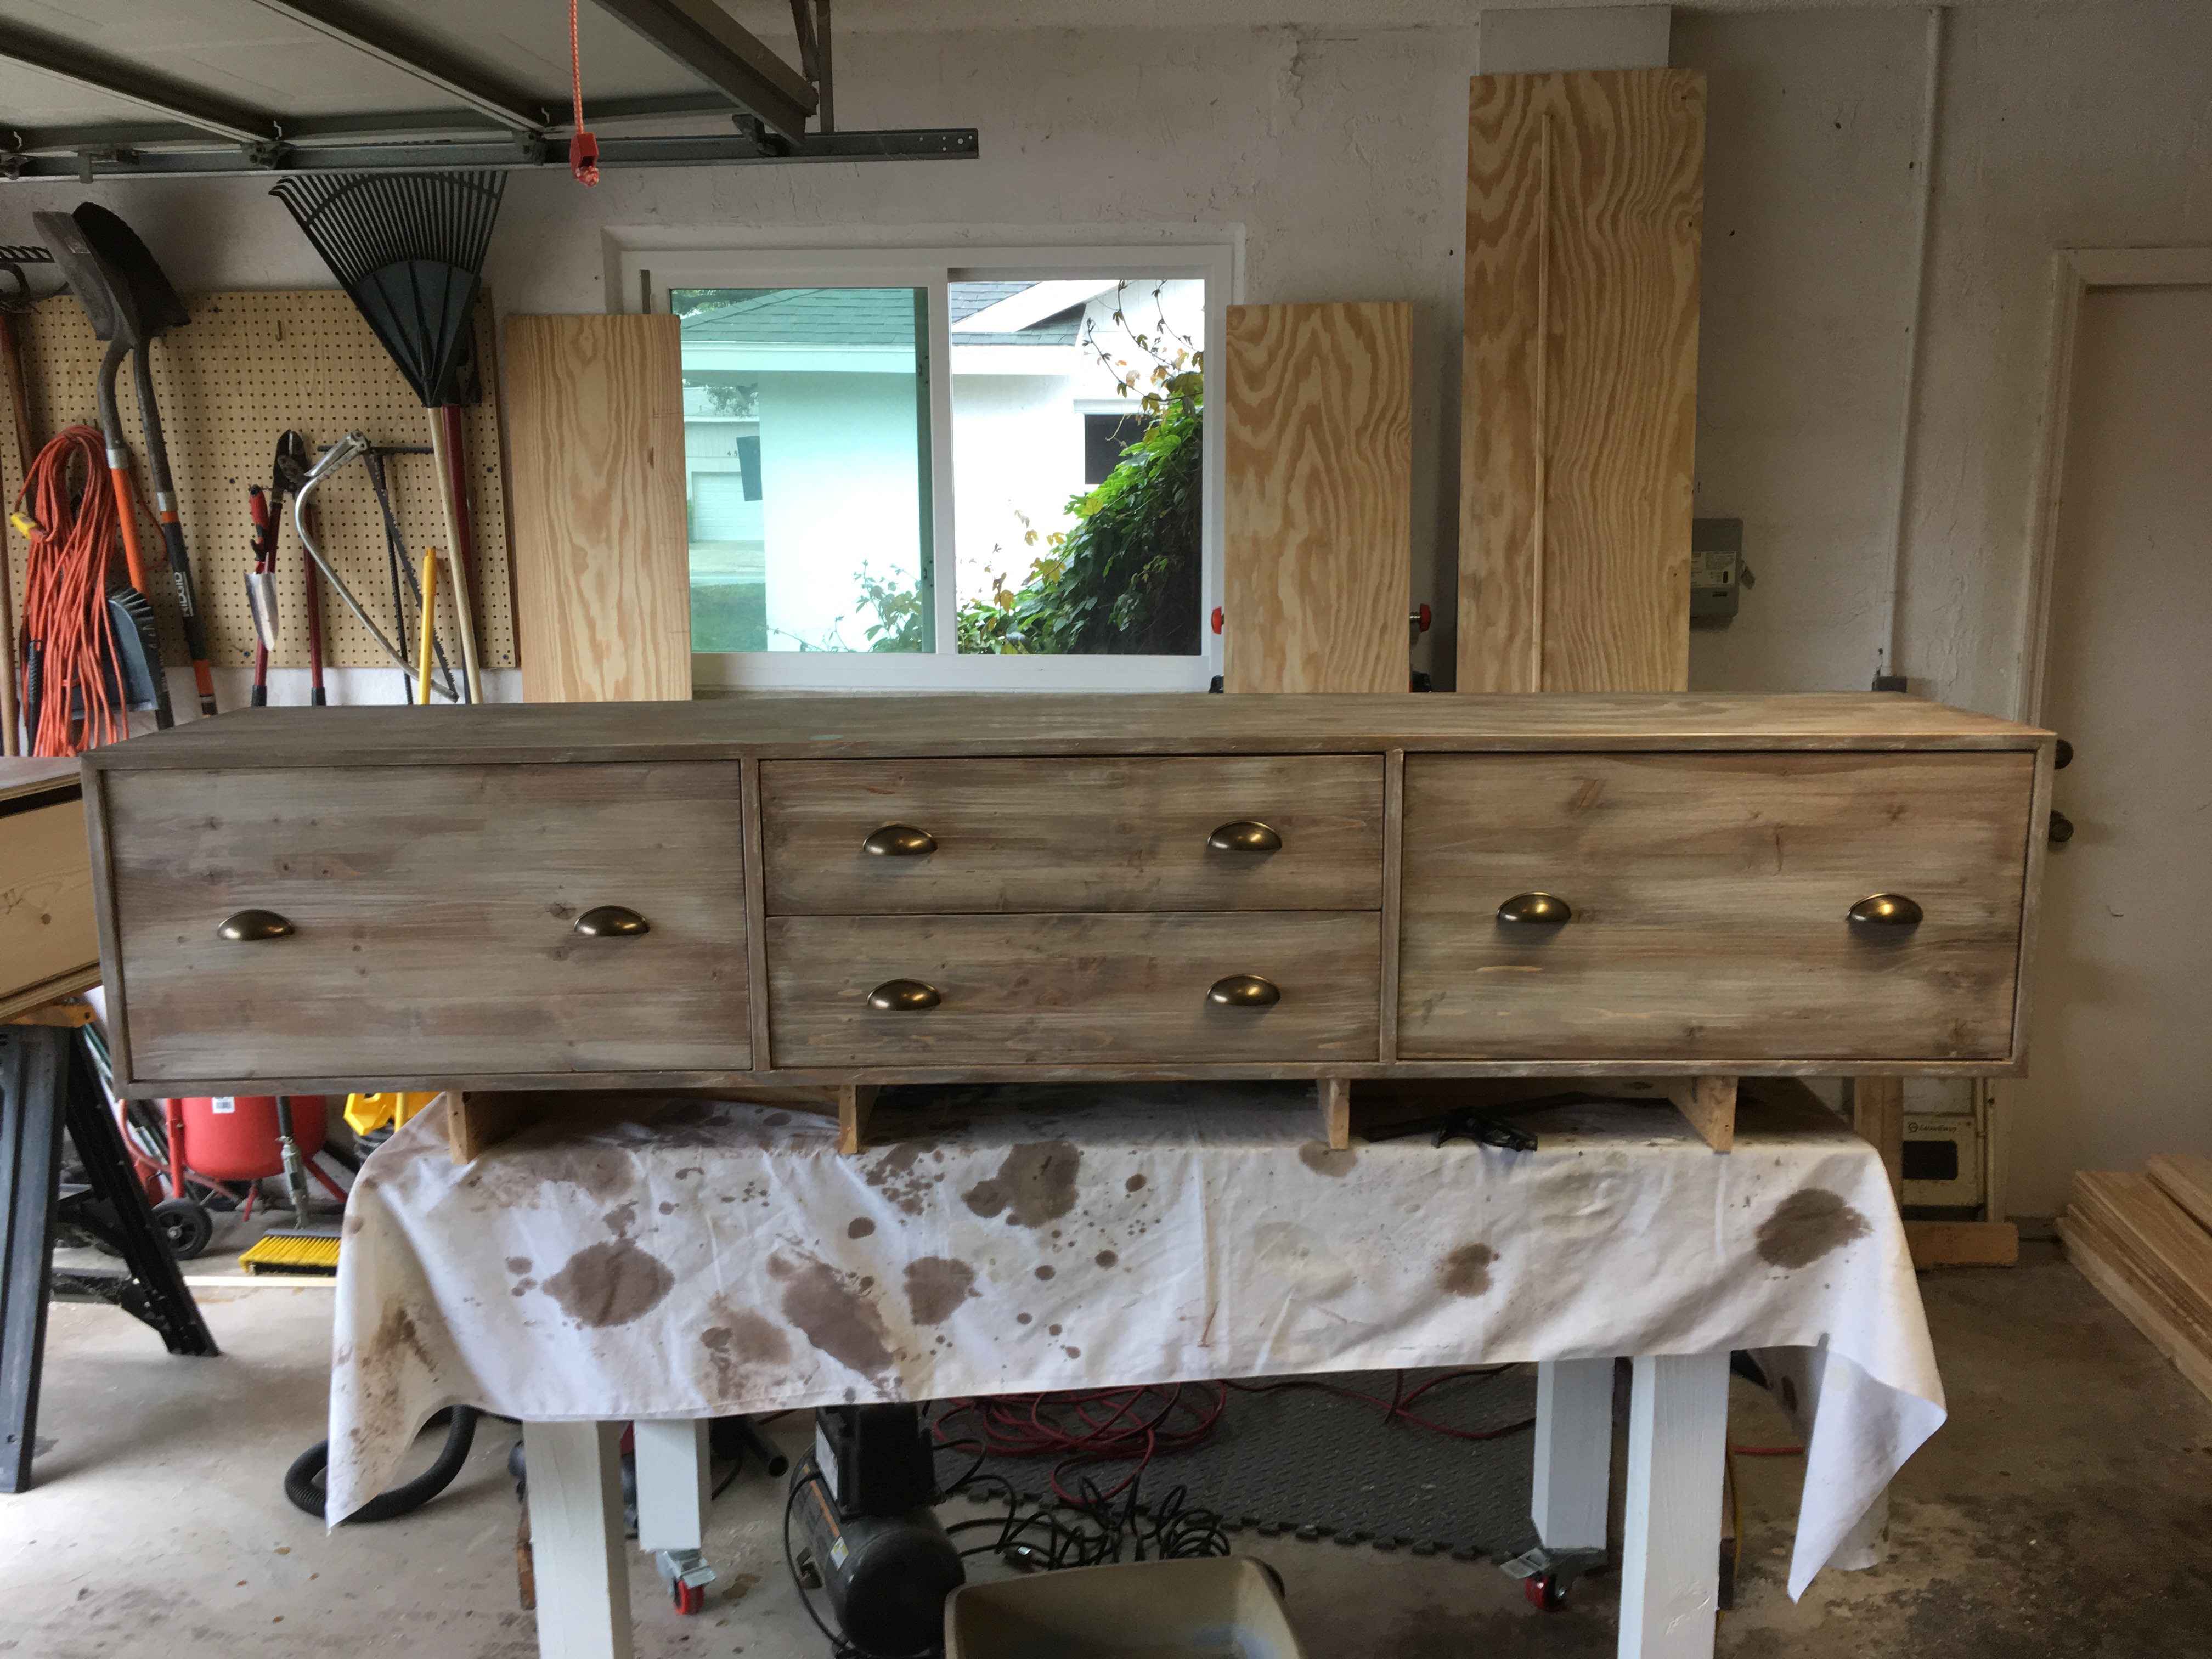
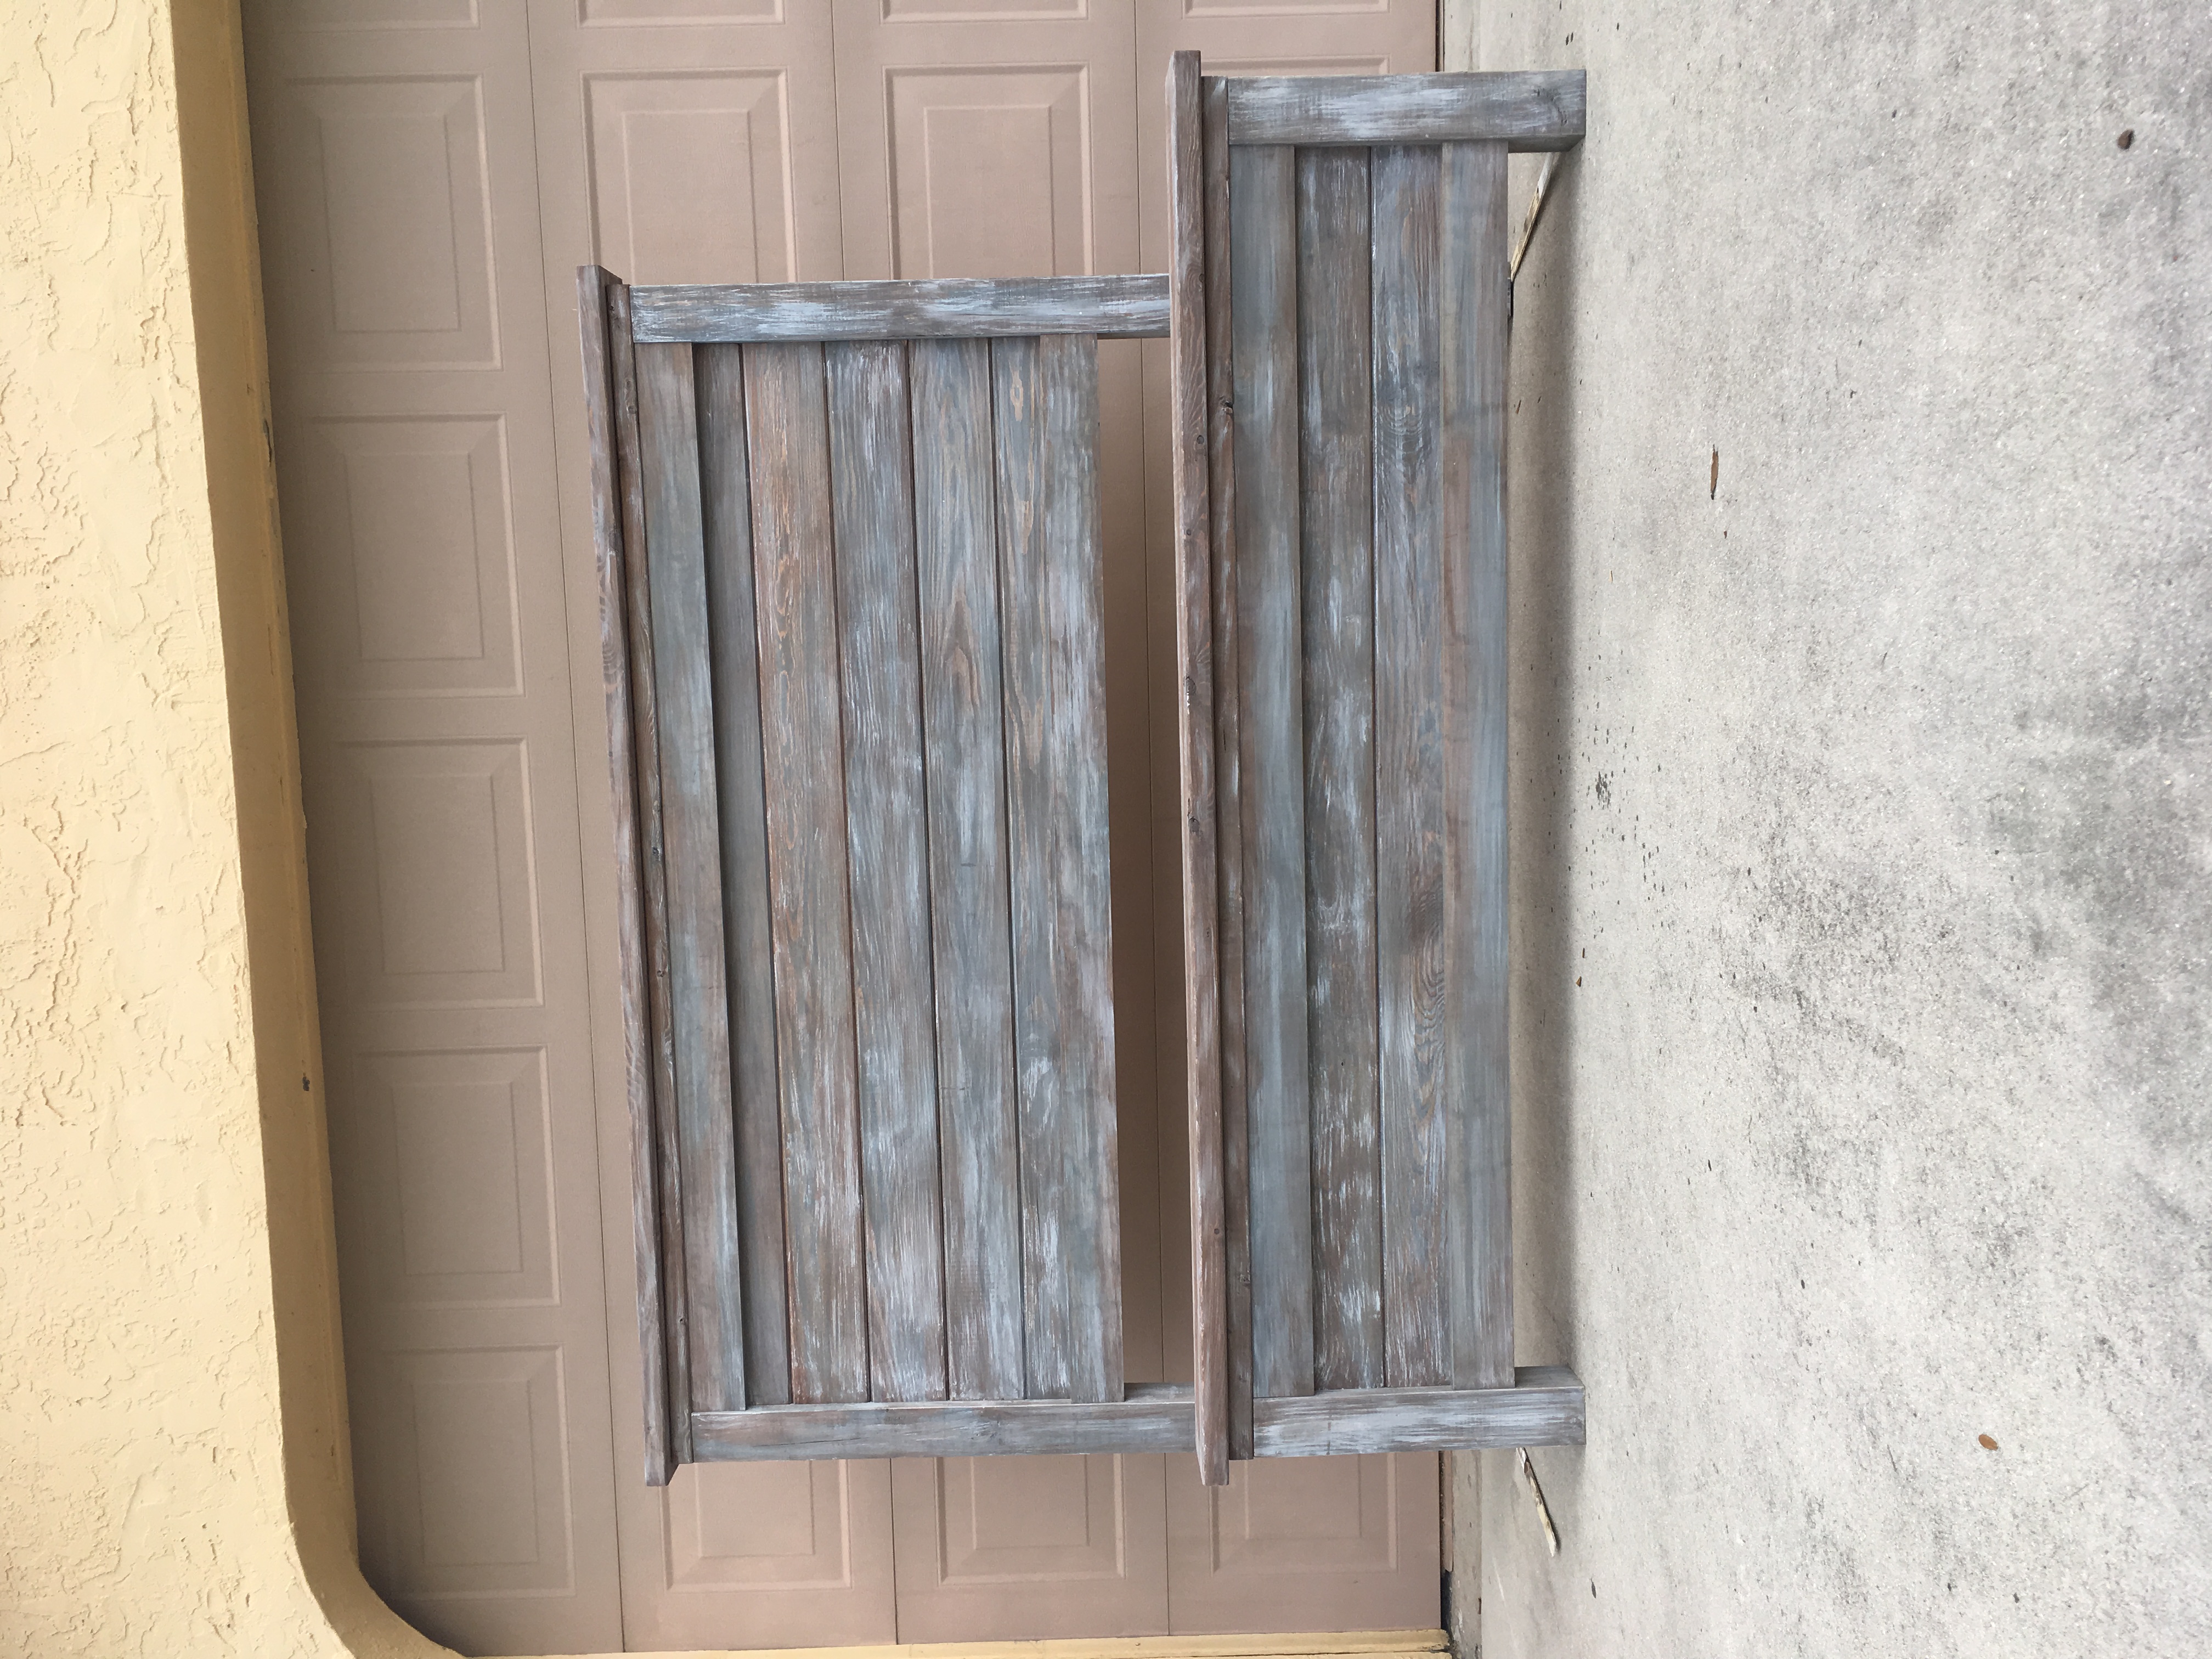
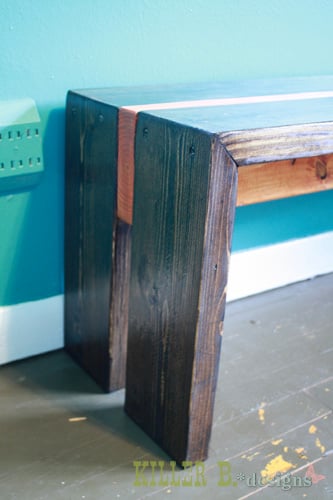
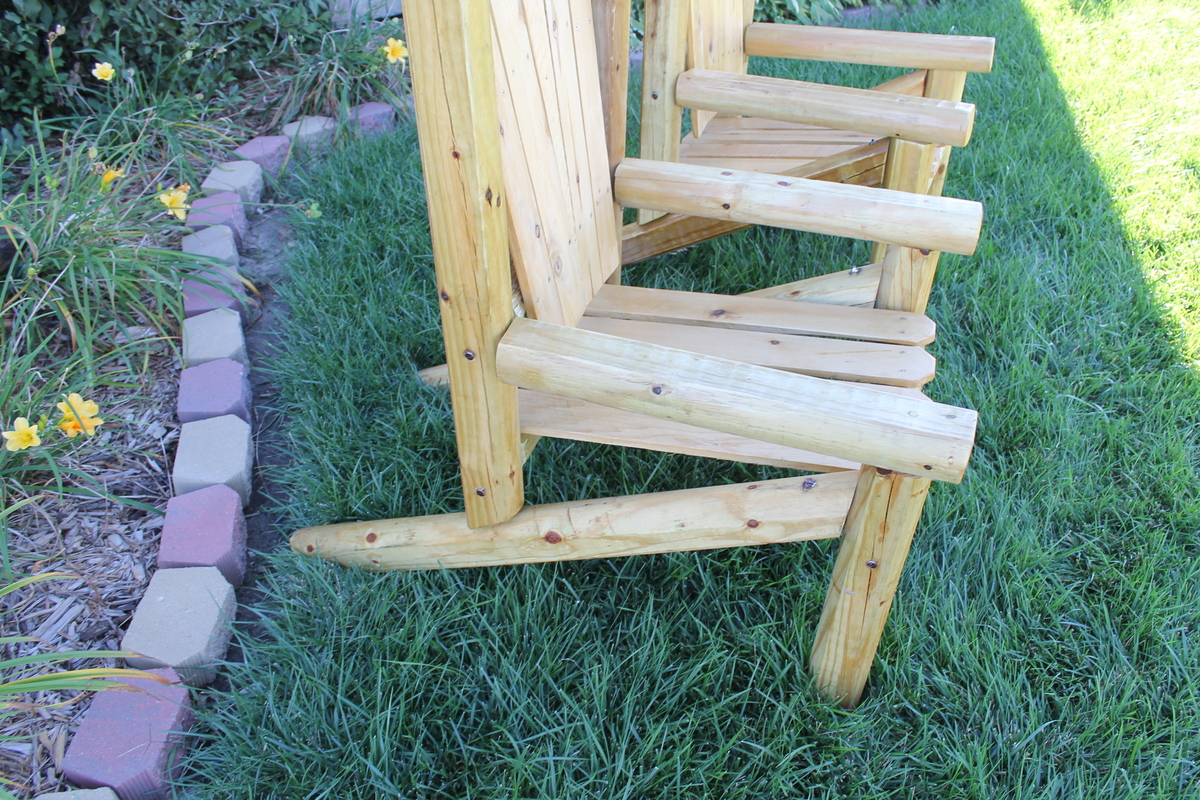
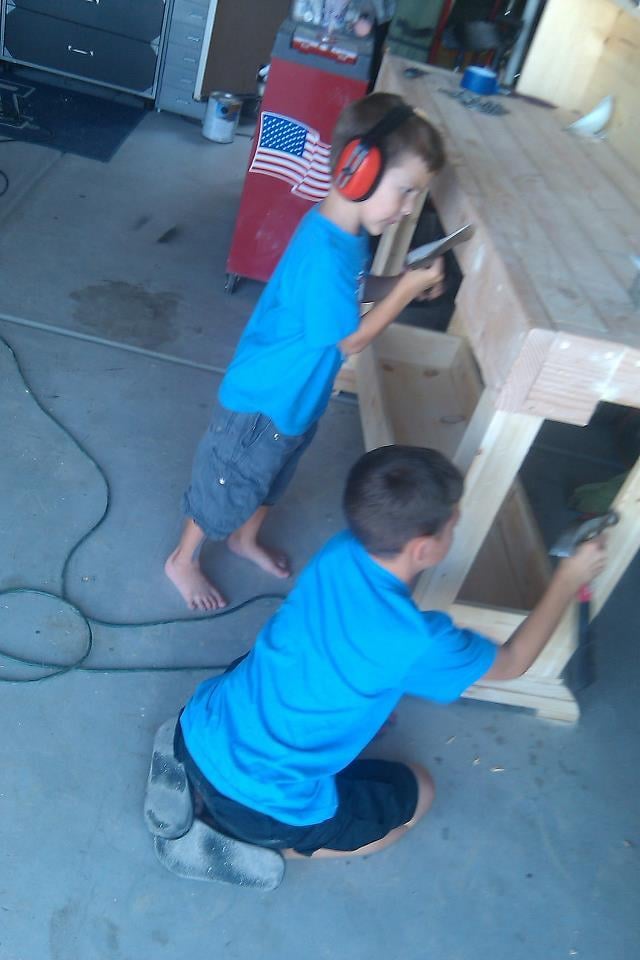
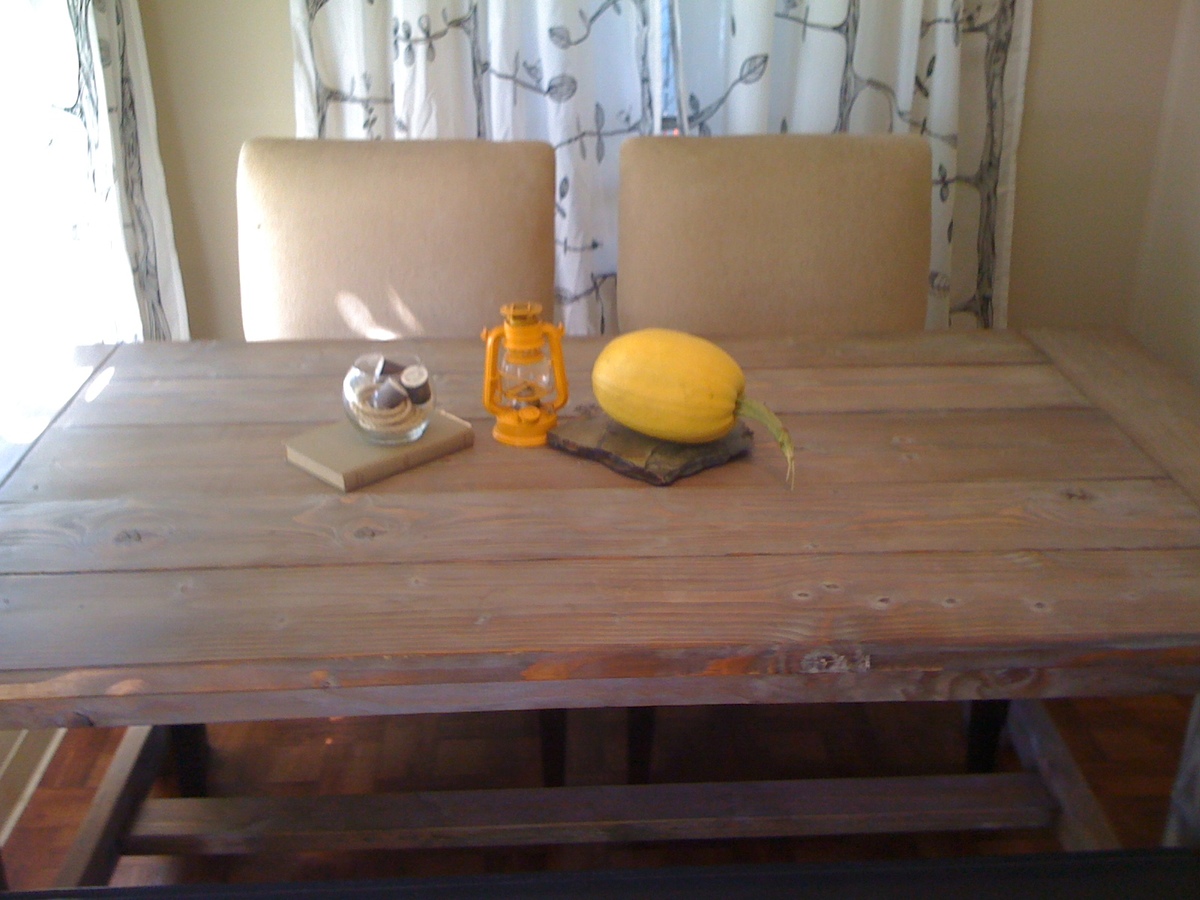
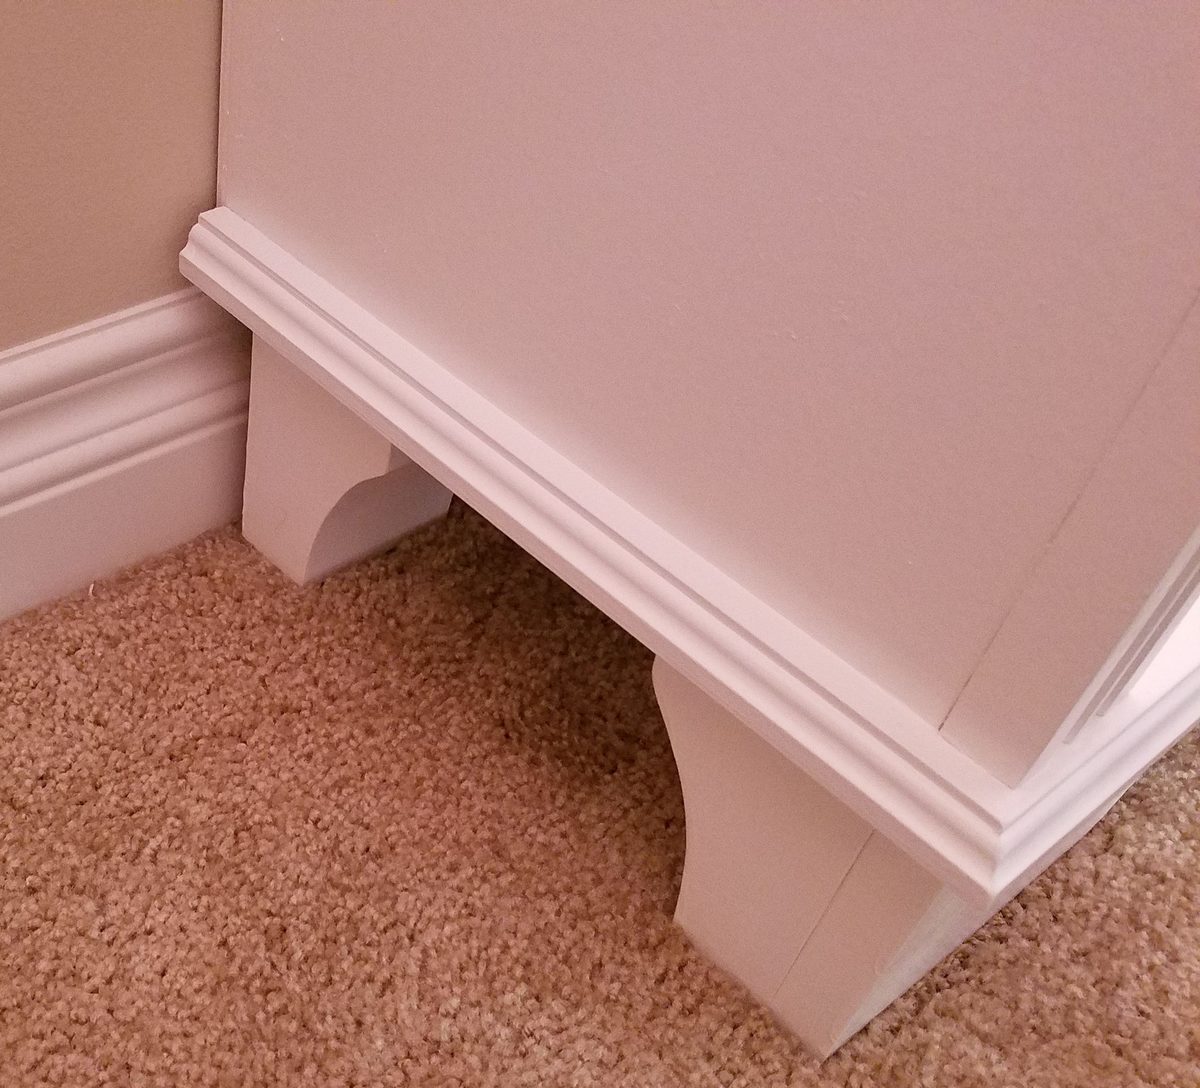
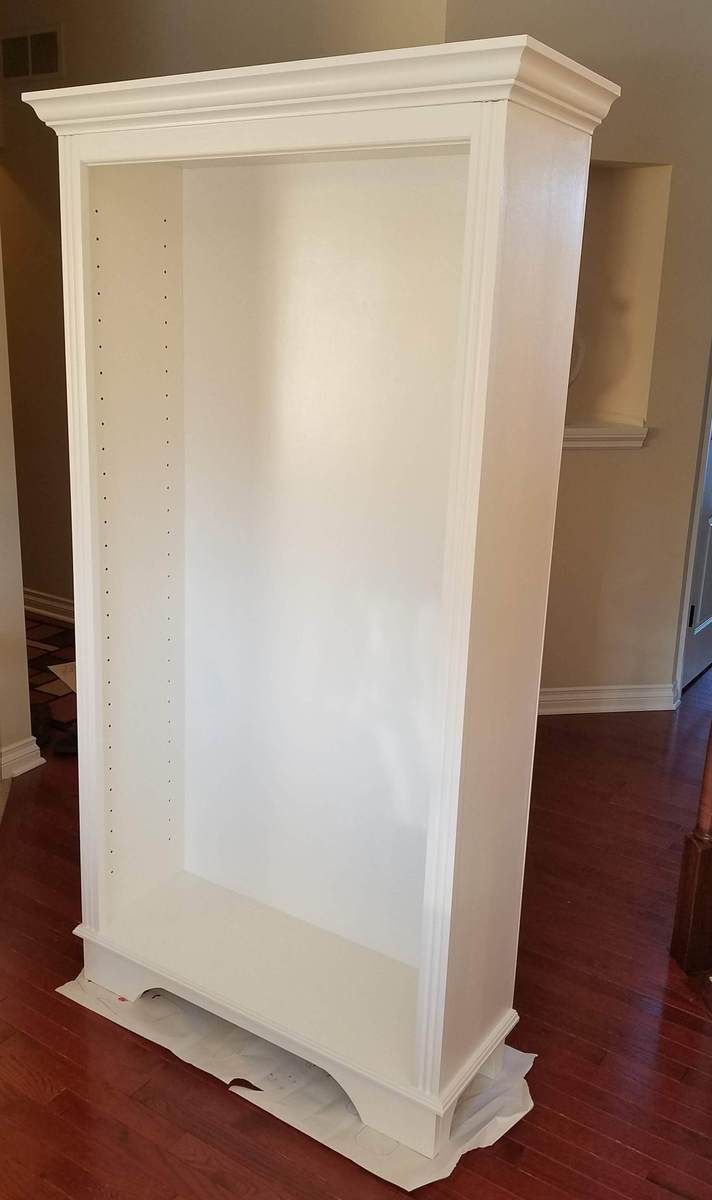
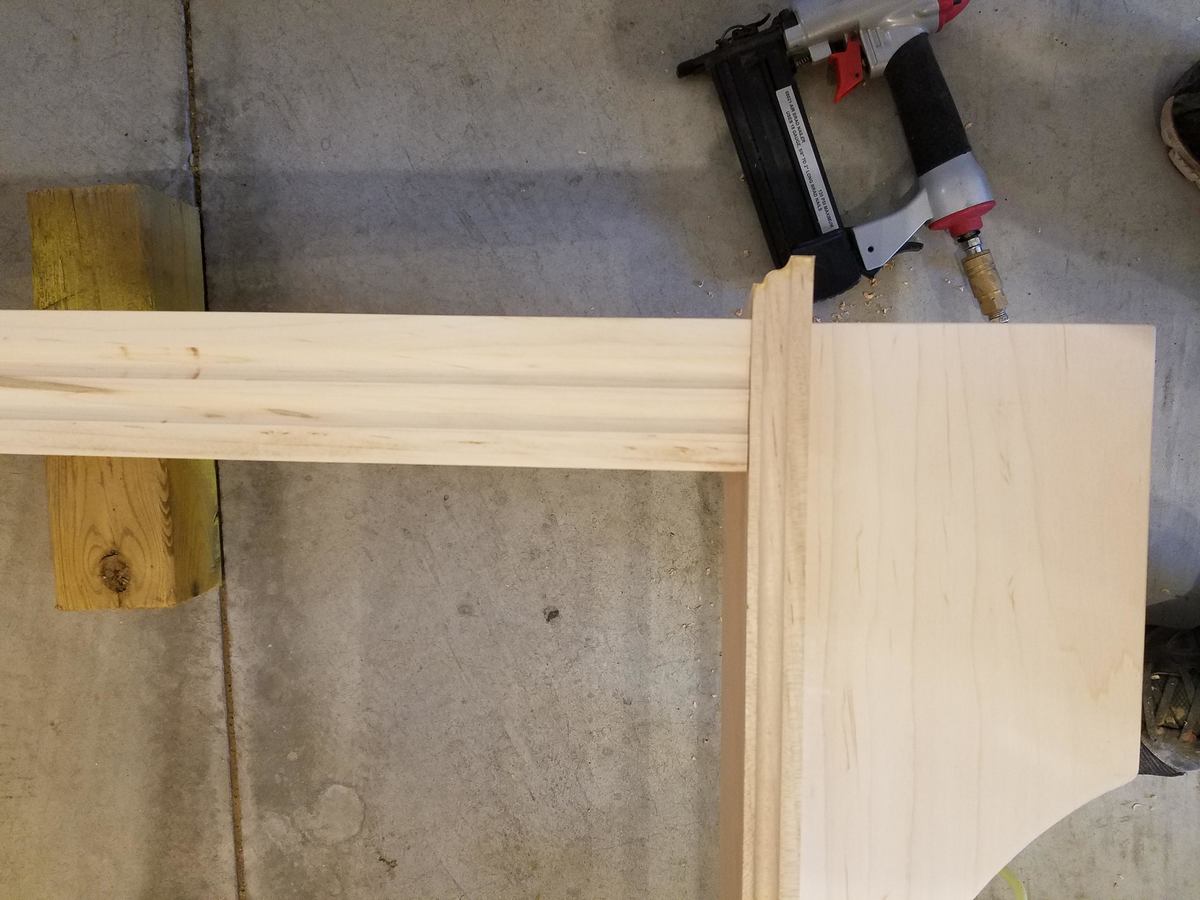
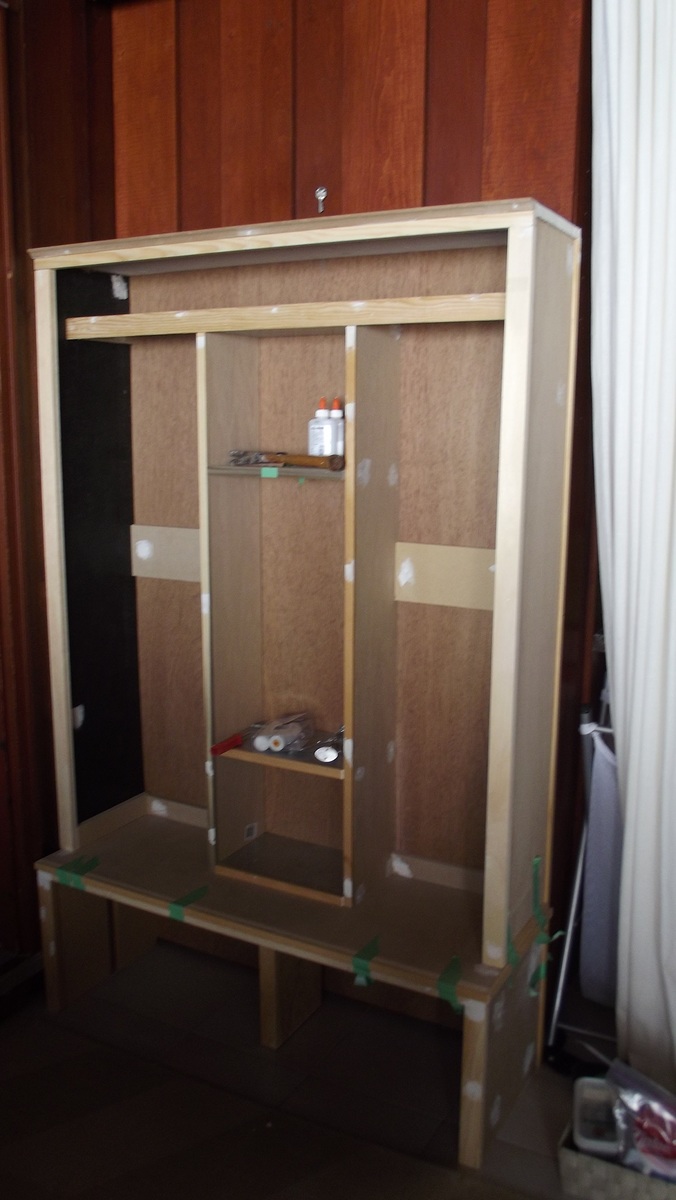
That’s it! I decided how long I wanted my bench to be (which was 47" long by 16" tall). Then, I cut out my pieces. I decided to do 45 degree angle joints on the ends, as opposed to having a flat edge exposed on the sides. I had to use my table saw to get the 45′s on the legs and two flat boards. This was very effin’ scary. Using my Kreg jig, I drilled holes in both of the flat boards that sandwich the tall center one. I offset my holes so that the screws wouldn’t hit each other. You can see in the picture that I accidentally drilled holes in my center piece too. Builder fail. That side will just have to face the back ;)
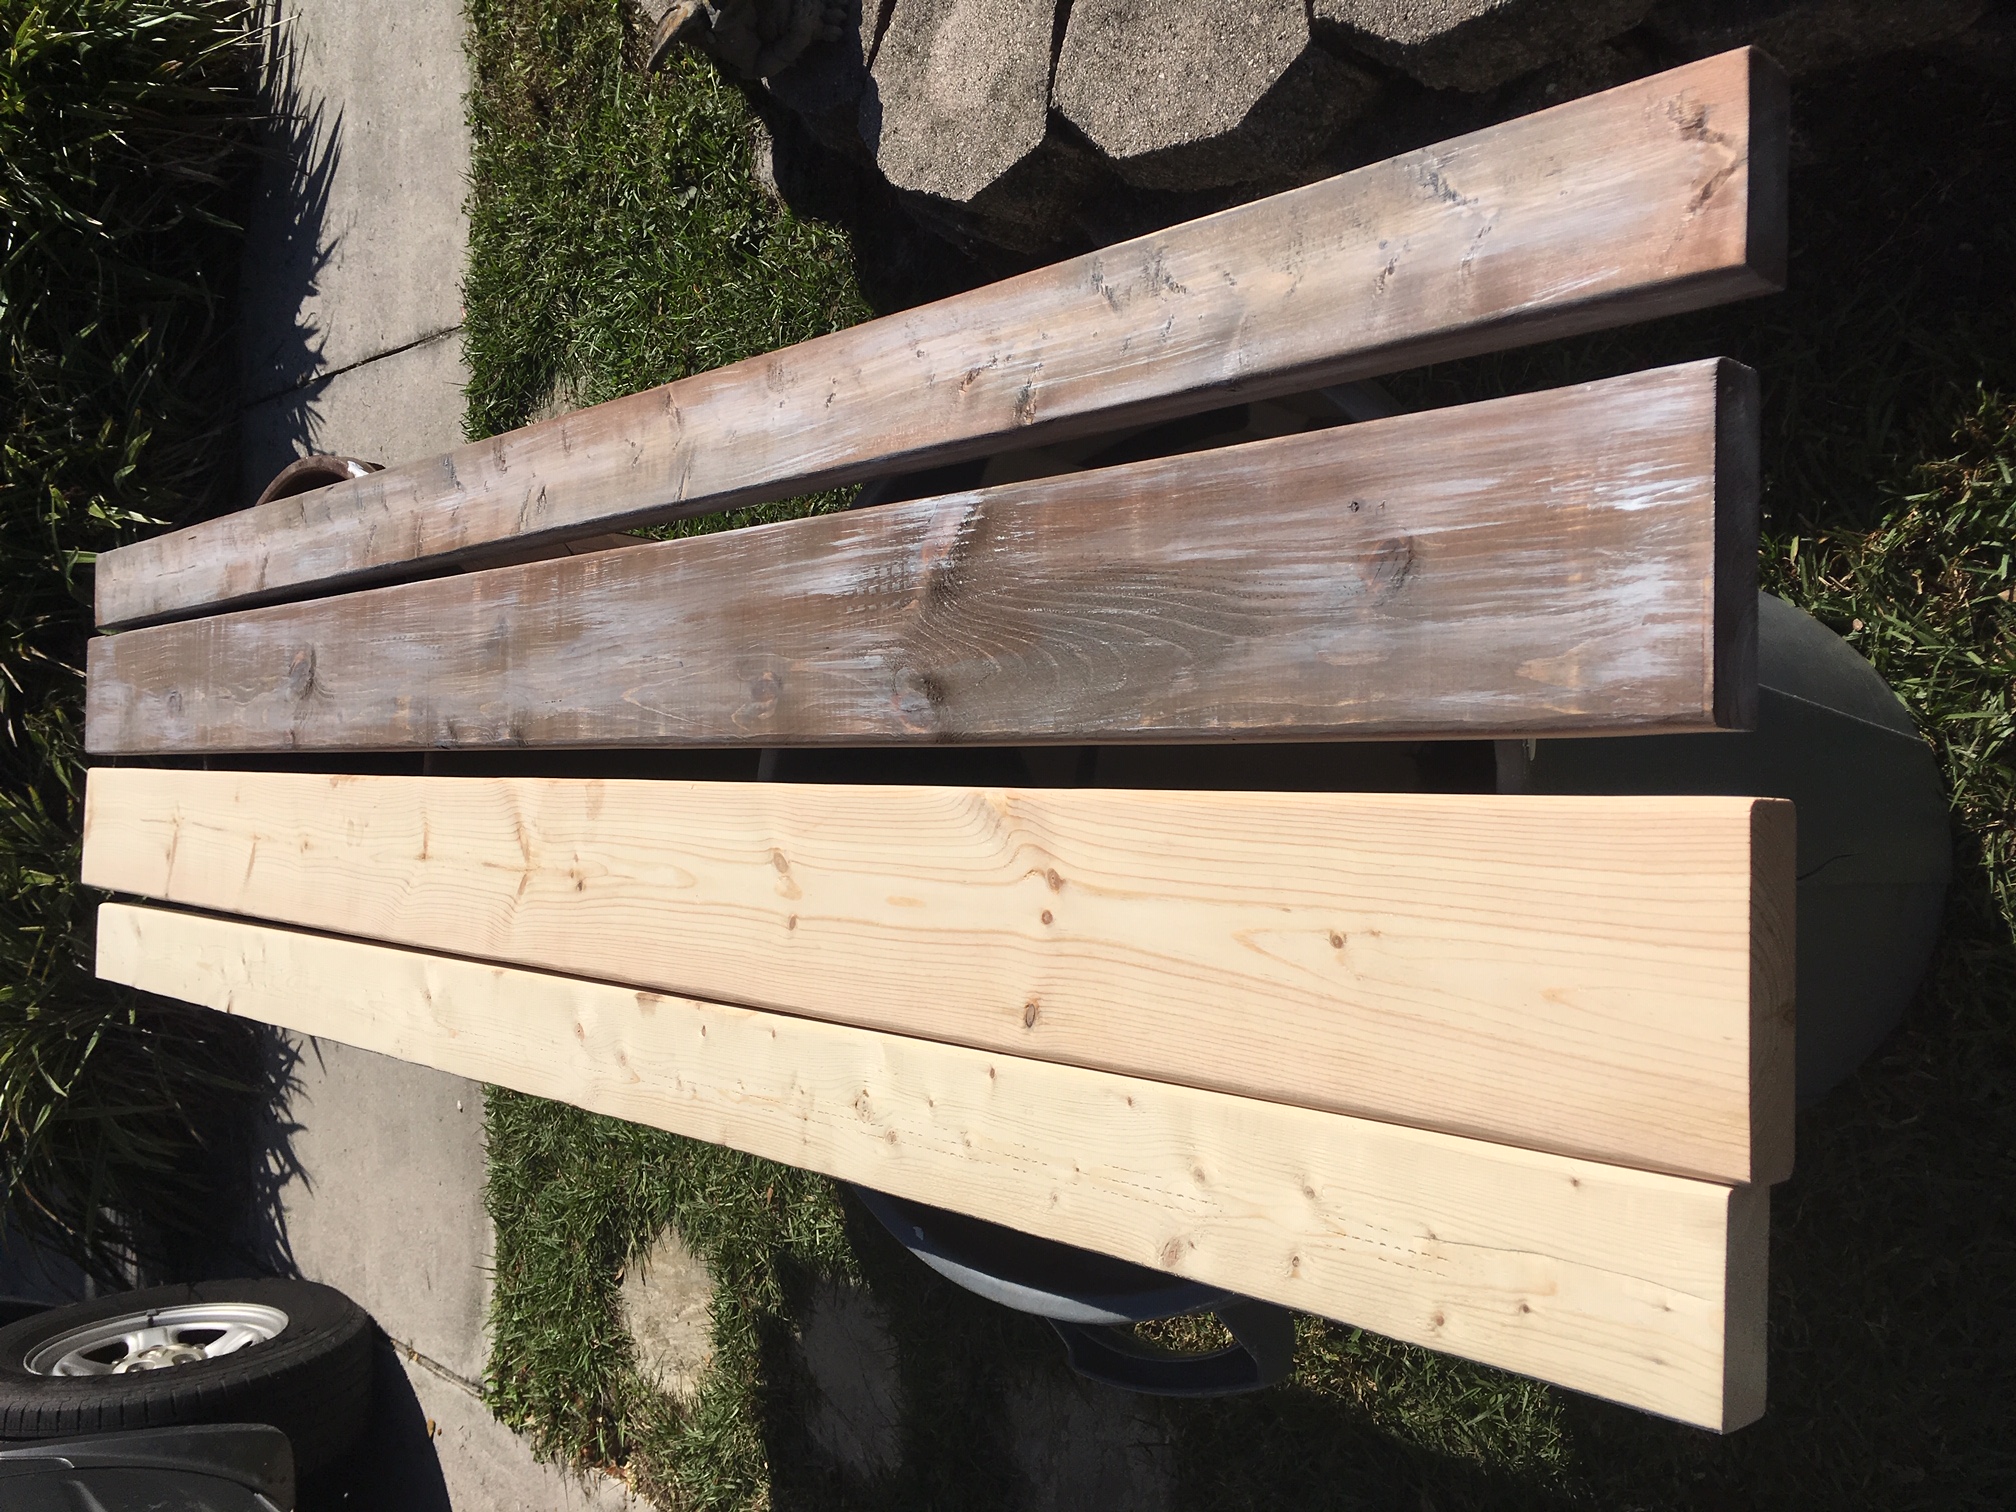
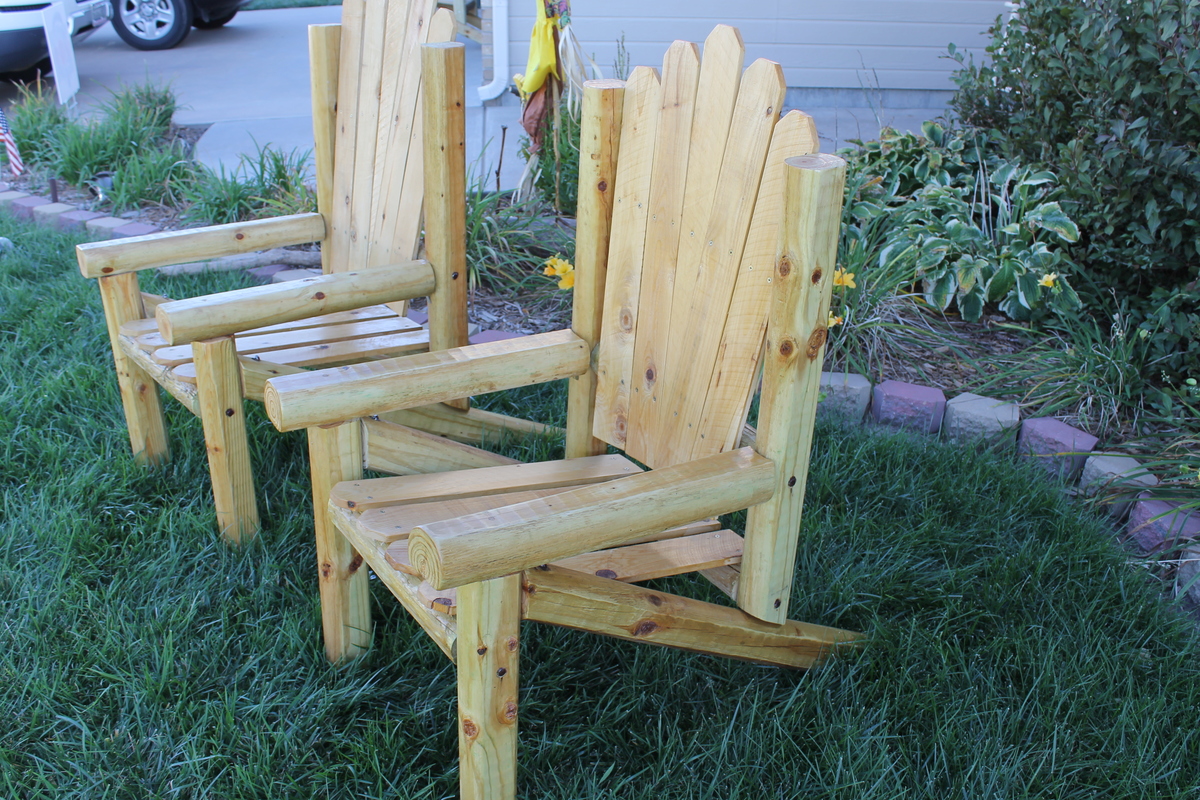
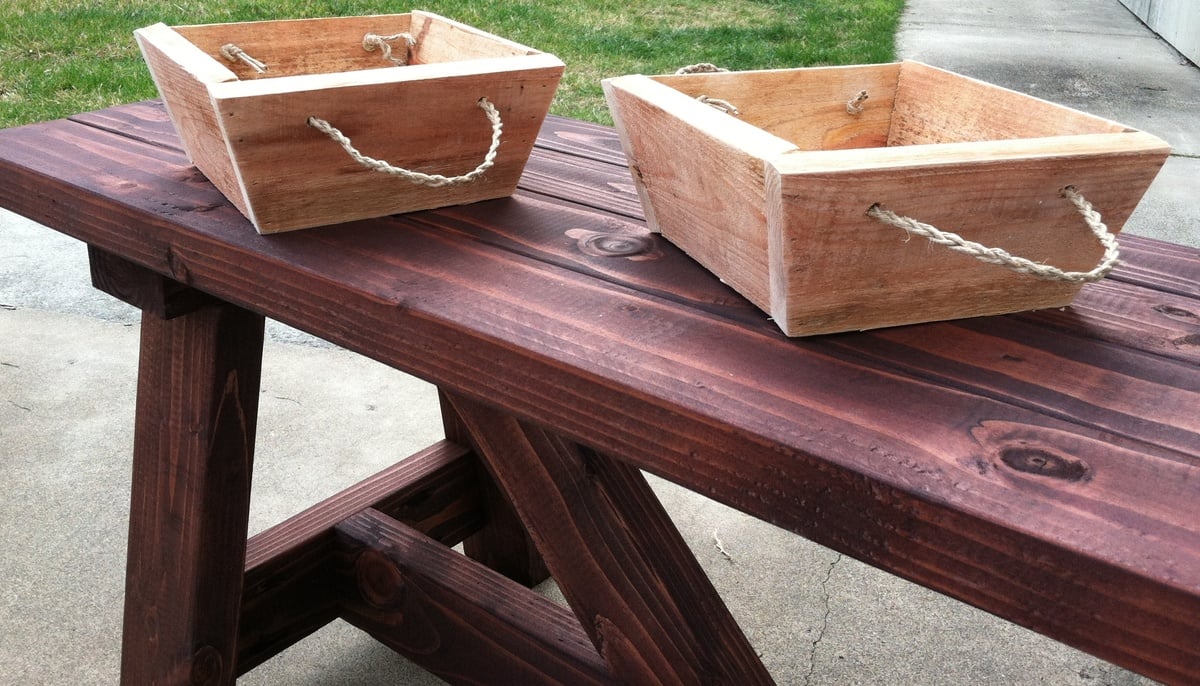
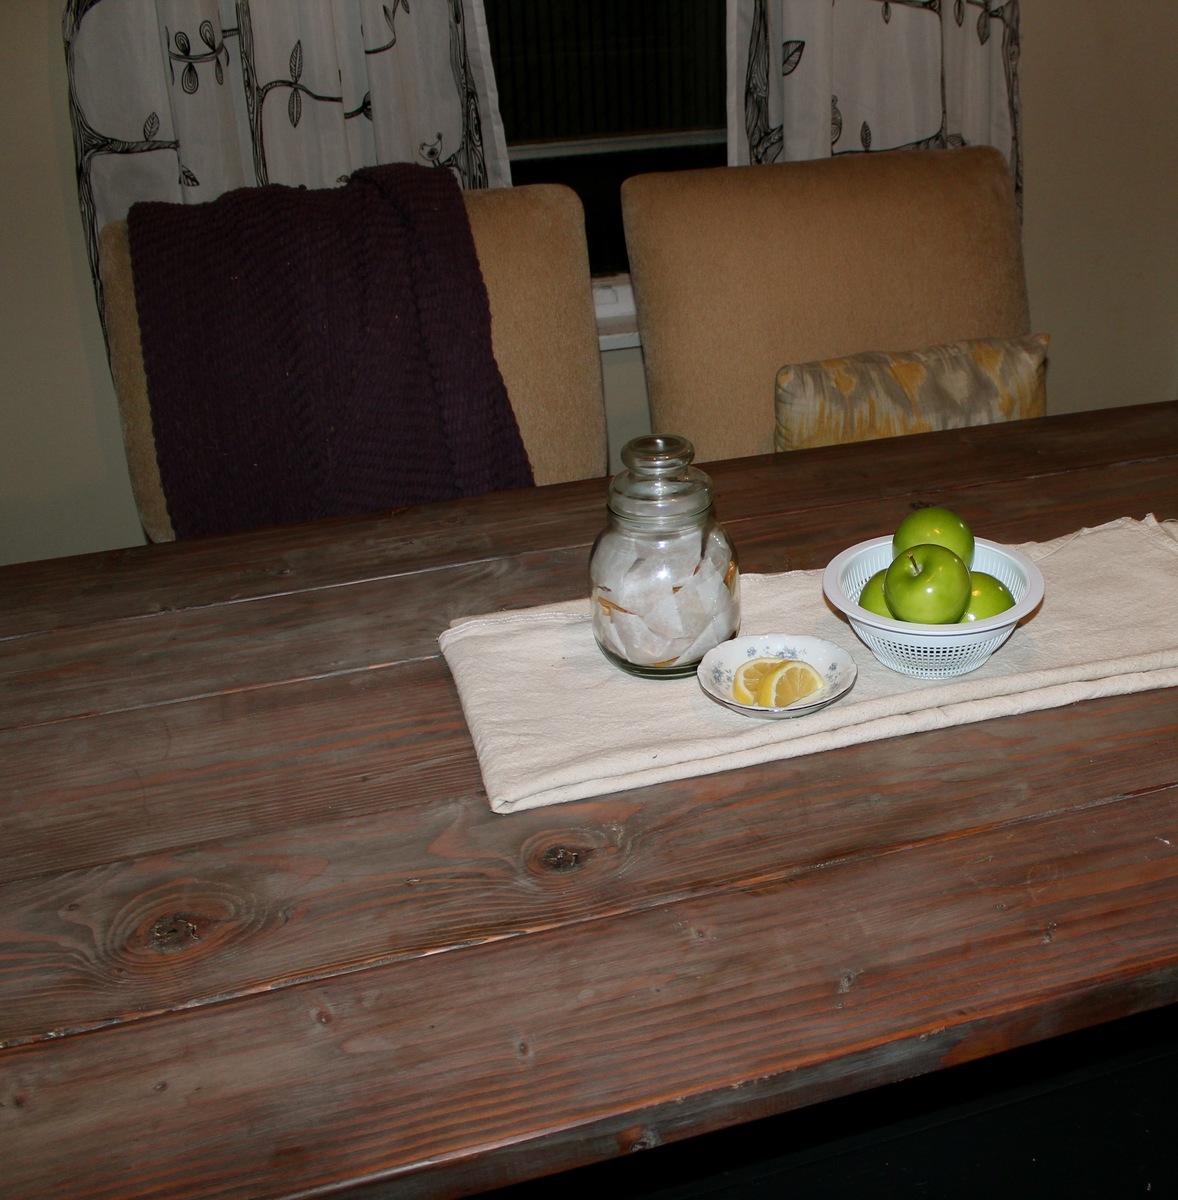
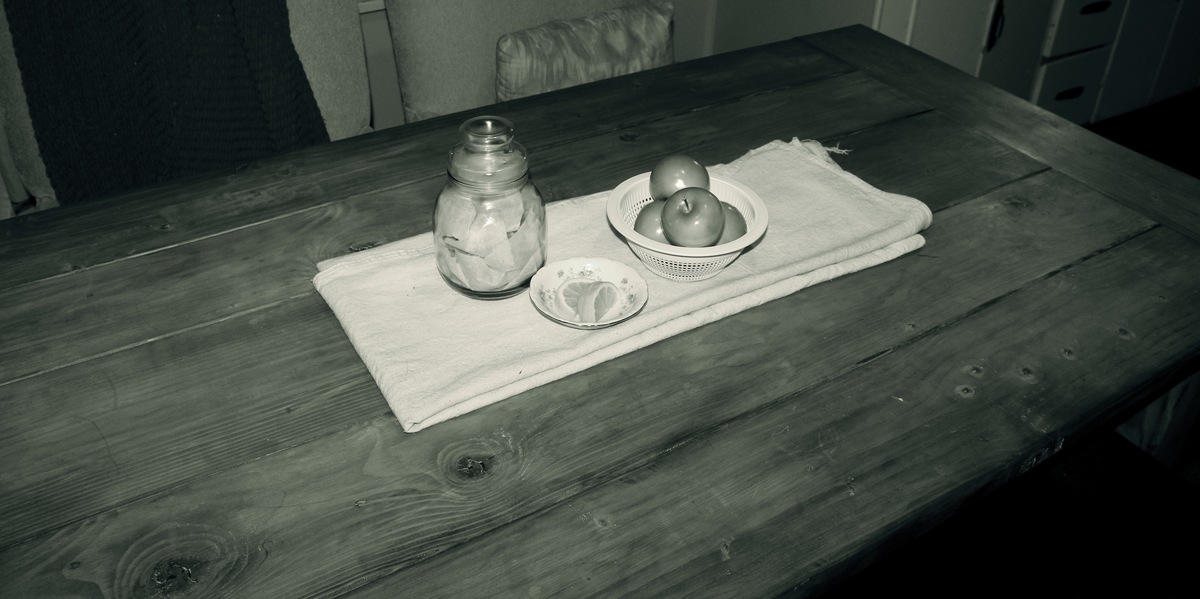
Attach your 3 top boards together. Then screw in your legs. I decided not to countersink and fill, kind of because I like the industrial look, but mostly because I’m lazy. Then you just sand that sucker up and voila! You’ve got a gorgeous bench perfect for any home. I decided to get a little fancy with my finishing and do a two-tone stain. It took about an hour to do the two colors and not drip on everything, as opposed to the 15 minutes one color would take. I think the extra time was definitely worth it!
Mon, 03/12/2012 - 16:58
How is the center top board attached to the ones on either side? I've never built anything before, so this is probably obvious to everyone else. :-/
Mon, 03/12/2012 - 17:00
How is the center top board attached to the other top boards? I've never built anything, so this is probably obvious to everyone else. :-/
Mon, 03/12/2012 - 20:39
I used a kreg jig to join the 3 boards. If you don't have a jig you can "toenail" the screws by drilling them from below at a 45 degree angle. I would join the vertical into one side at a typical 90 degree angle, then toenail the other board. You could add extra security with L brackets
Tue, 03/13/2012 - 03:57
The usual solution for cutting a long piece like this on a table saw is to build a crosscut sled first. There are a lot of good guides on the internet for how to build a crosscut sled.
I build something that is a bit oversized, so much so that I had to incorporate a box for some weights so it's stable on my table. But I can easily support a three foot board on this sled with room to spare before it runs off the end.
The sled supports the board and makes it so you aren't fighting your work in a dangerous situation. This sled made my saw completely non-scary to use.
One thing I've noticed about a table saw is that when you buy the saw, that's only the start of the tool. You'll spend a lot of time refining it with add-ons and jigs that you build for it.
Sat, 01/25/2014 - 11:12
I wanted to make this bench, went and bought the supplies, got home to cut it, and the measurements are off. I cannot figure out any possible way to make this bench 47 inches long without running out of wood. Is it possible that the measurements are off? Or can I just not figure out how to cut it so I don't fall short on my wood? Someone please help!
I built this chair for about $12. I used 6 four foot landscaping timbers. The legs are 12''
and i used 1/4'' cedar or you could use pallets. The ends are Dog Cut . The chair is sealed and finished with Helsmans Clear. E mail me if you have any questions
Thu, 09/26/2013 - 11:04
I love it! New idea to make for my parent's cabin...
Thu, 09/26/2013 - 18:36
If I get enough comments, I will post the full Plan,
PS you will use 5'' Lag bolts to hold the joints. Really a easy project Just need, A Saw and a pencil.
Project was rather simple. Just wanted to create a space that my wife could work her projects rather than always working on our dinning room table. Took the concept of the plans and made the table work for the space we had available.
Sister asked me to make her a table. Since I am out or work right now I said yes and got this thing done in about 3 days!
I enjoyed making this. The kids love it and it goes great in front of the fireplace.
#Todays_Spare_Time
Now that we've got two kids in school, the previous system of storing school papers just wasn't going to work (see pic below). I used the plans on Ana's site as a guideline and made the letter bin to fit my space. I decided to also make it a holder for the mail and all our keys.
This was made used all leftover wood hanging out in the garage. Luan was used for the letter bin, and strapping (1/2" pine) was used for the mail holder. I spray painted black and then painted it a creamy white, the color of our house trim. I distressed a little bit and then added the hooks. I hope it can stand the test of time.
Fri, 09/09/2011 - 10:17
I'm actually getting ready to make something like this. I love what you did to yours. Great work!!!
Fri, 09/09/2011 - 16:42
I just made the PB letter bin and now I wish I would have added the key hanger to the bottom since with 6 cars, we have tons of keys all over the place. Maybe I will make a separate one..
This looks awesome and I live the distressed finish.
2x4s and a kreg jig is all you need!
We loved making this project, I even learned how to work with angles.
What a fast, fun, and FUNCTIONAL project! I did lower the seat height, as I think it allows you to sink into them a bit more -- especially with the cushions I had for them (which BTW, were on sale at Lowe's for $14.99/each.. normally like $60, I think). Thanks ANA, for making yet another project such a breeze!
photos sent in via email from Leanne
I first saw this workbench and hutch on Ana's website, but didn't commit to the project until I saw them in person, as part of a model home that had been decorated by local Pottery Barn design services. I was sold. I built this for roughly $1900.00 less than PB charges. It was an easy weekend build for a guy with less than one years' experience in this arena.
Thu, 09/15/2011 - 16:20
Nice dude! I just finished my console last weekend. Was it worth it making the matching hutch? I haven't decided if I'll do it yet.....Great job though.
Thu, 09/22/2011 - 11:23
Absolutely. It's minimal time investment, and it really seems to finish the piece off. I went with seven 1x6's (instead of a plywood backing) to give the hutch a planked look.
Sat, 09/17/2011 - 15:19
Very very nice. This has been on my build list for way toooo long. It is beautiful and inspiring! Thanks!!!
Fri, 02/24/2012 - 05:43
Great job! I'm starting this same project and just purchased the kreg jig system but I'm stuck on assembling the table legs using pocket holes. I don't want to have visible pocket holes, could you give a quick description on how you assembled the legs and attached them to the feet using pocket holes? Thanks!
This Harvest table is the heart of our home. It was one of the first furniture projects we ever completed and my favorite finish to date. The night we spontaneously decided to buy lumber and build this table we had a lot of unexected visitors. We were out in the driveway working and a bunch of friends dropped by randomly so we all took a hand in building this table. It was so much fun. Spontaneous building party.
When I finished it it was my first time using a belt sander which wound up gouging some of the wood. The table top is super smooth but very rustic and I LOVE IT. I started with pre-stain conditioner, then cherry stain which I hated, then early american mixed with dark walnut. At this point it looked pretty lovely but I wanted it to look aged and gray so I lime waxed, dark waxed and buffed the whole surface of this piece. It turned out so special and you can see some red notes from the cherry stain and those are my favorite moments on this table.
Thanks again Ana.
** updated with a few better photos on 11/21
We opted to make this a regular easel (no chalkboard) and just used a sheet of paneling as the background. It's perfect, our toddler loves it. Thanks Ana!
Just finished this maple bookcase with fluted trim for my daughter's room. I chose all maple trim even though it's painted because I wanted a good hardwood with low grain that would look good for decades to come. Full build details are on my website. Router bits used were a roman ogee and a core box bit.
Thank you for helping me make my first set of cornhole boards! Super easy steps to follow and I love how they turned out!!!
My most *favoritest* project ever. I modified the Braden plans like crazy to fit my family's needs for the sunroom/mudroom. I kept the bottom open so the it woould allow for baskets to slide it easily (which makes sweeping inside a snap). Also, I added some braces about midway down to hold the coat hooks for my 3 and 5 year-old. I had them show me how high they could reach and I just placed the braces there.
I literally used up whatever I could find in my garage for this project. We had a TON of scrap wood in varying thicknesses and lengths so I just used that. The only thing that I had to buy for this project was some 1x2 to finish off the trim.
Can't wait to get hardware on and style her up pretty! Will post final pics as soon as I do. :) I've been DYING to get something up on Ana's brag board and I can't wait to keep 'em coming.
Built this from Ana's plan. Made a few small floor changes and added casing, baseboard, trim and cedar shake shingles.
Mon, 12/21/2015 - 15:22
I love all the attention to details here. It's a beautiful dollhouse.
Wed, 12/23/2015 - 15:07
Thank you for the kind comments. I really appreciate your work putting the plans out there for others to follow, Ana! My father is a high end custom homebuilder and made a house for my 3 sisters 20 years ago for Christmas. I thought if I'm going to do this, I might as well go all in and try to make something grandpa would be proud of. It is for my 2 girls, ages 8 and 11. The 11 year old still plays with dolls. I'm trying to hold onto her youth as long as I can! Again, many thanks. -Shane
Wed, 12/23/2015 - 15:12
Thank you for the kind comments. My father is a high end custom home builder and made a house for my 3 sisters 20 years ago for Christmas. I thought that if I was going to make a house I should go all in on something to make grandpa proud. I am very grateful, Ana, for your posting of the plans on the web for others to imitate! The house is for my 8 and 11 year old daughters. The 11 year old still plays with dolls and we are trying to hold on to her youth as long as we can. With thanks and gratitude, Shane
Comments
spiceylg
Mon, 09/23/2013 - 08:25
Nice
This came out really nice: it's unique! However, you should put the picture in the beginning of the post instead of under additional pictures so it's nice and big.
anastacia_elon
Mon, 09/23/2013 - 08:57
Thank you for the compliment
Thank you for the compliment and the advise!!! Thought I did ..
bhoppy
Fri, 09/27/2013 - 07:12
link is broken
I tried clicking on your blog link and it doesn't work.... Love the table though:-)
anastacia_elon
Fri, 09/27/2013 - 07:21
Fixed link
Thanks a bunch!! I had alot fun making it! I fixed my link :)!