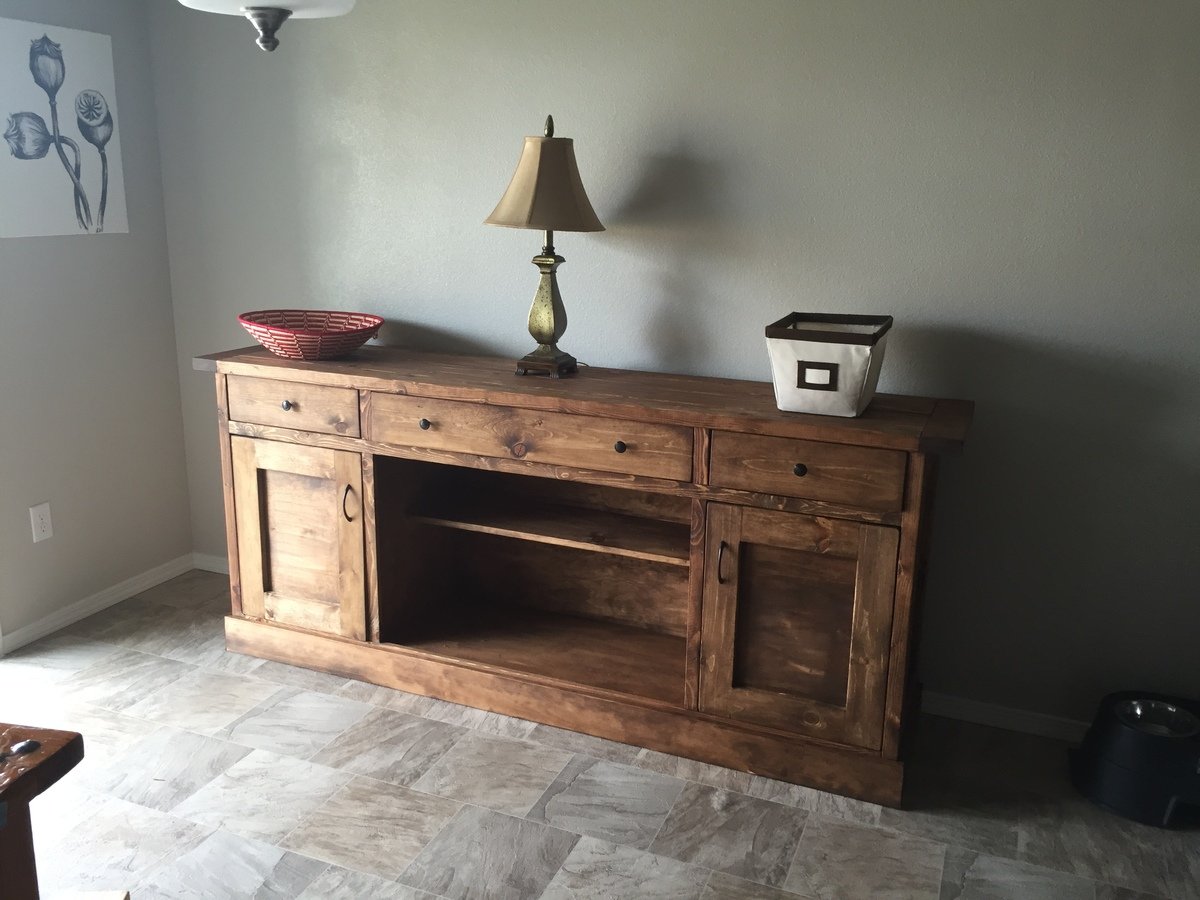
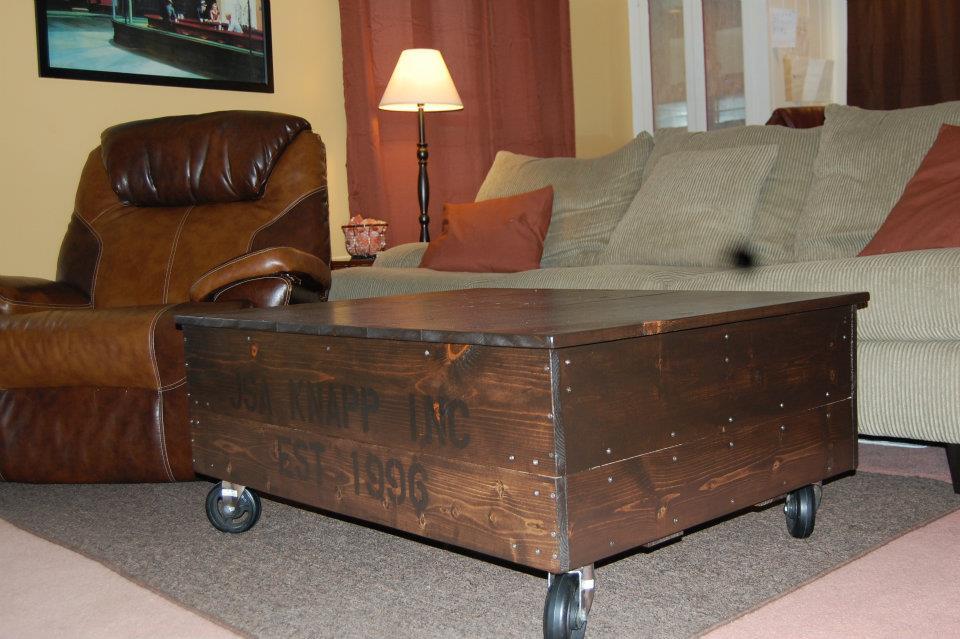
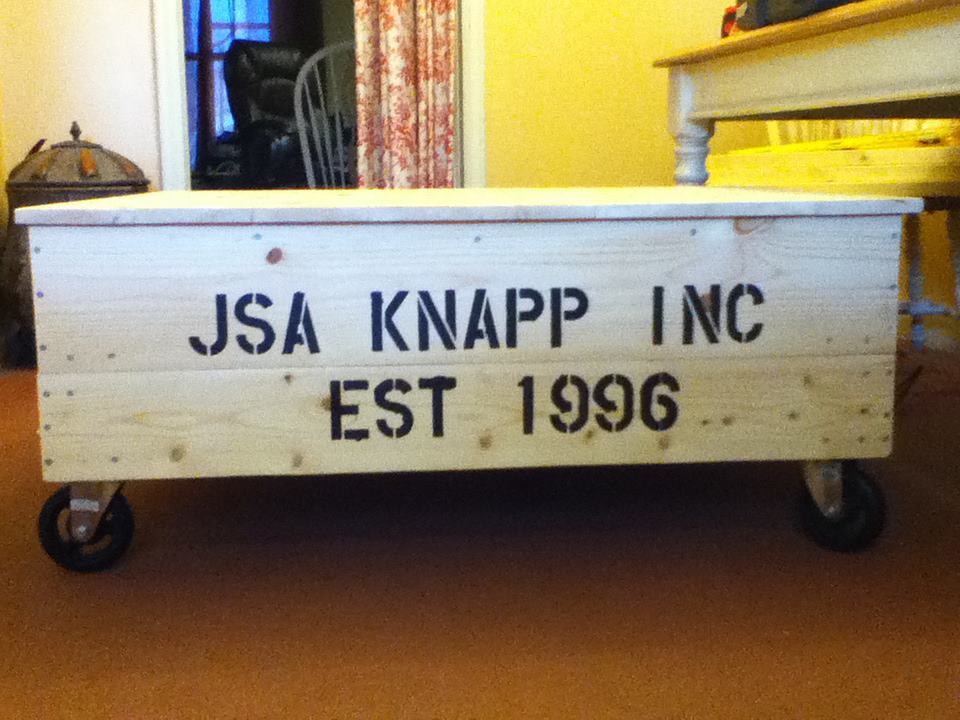
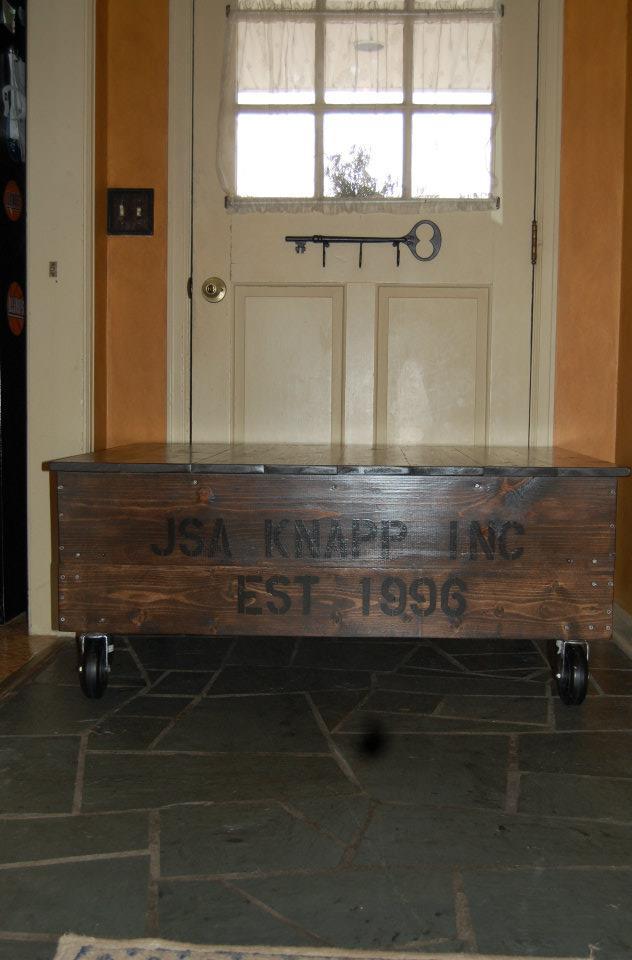
(Sorry my photos aren't the best, there is a black spot on my lens which shows up on some pictures.)
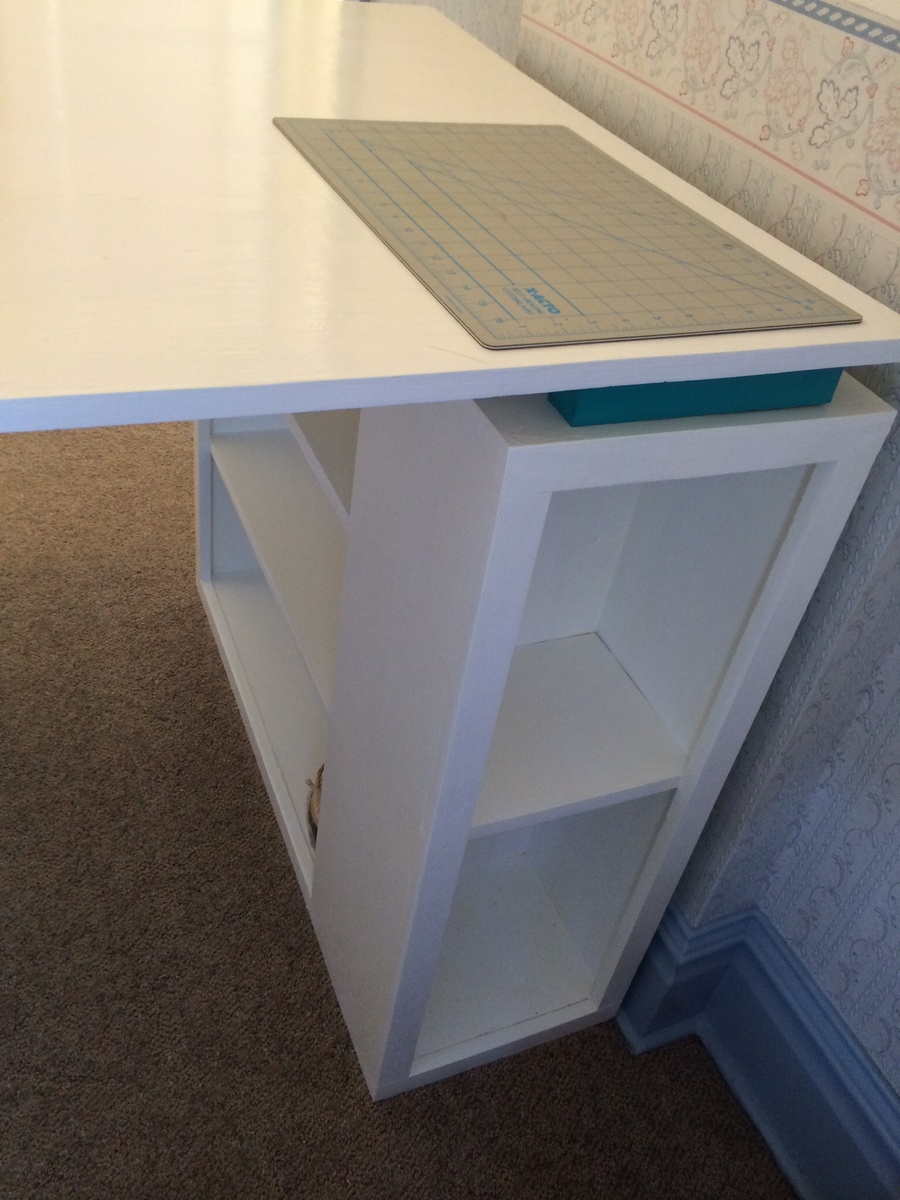
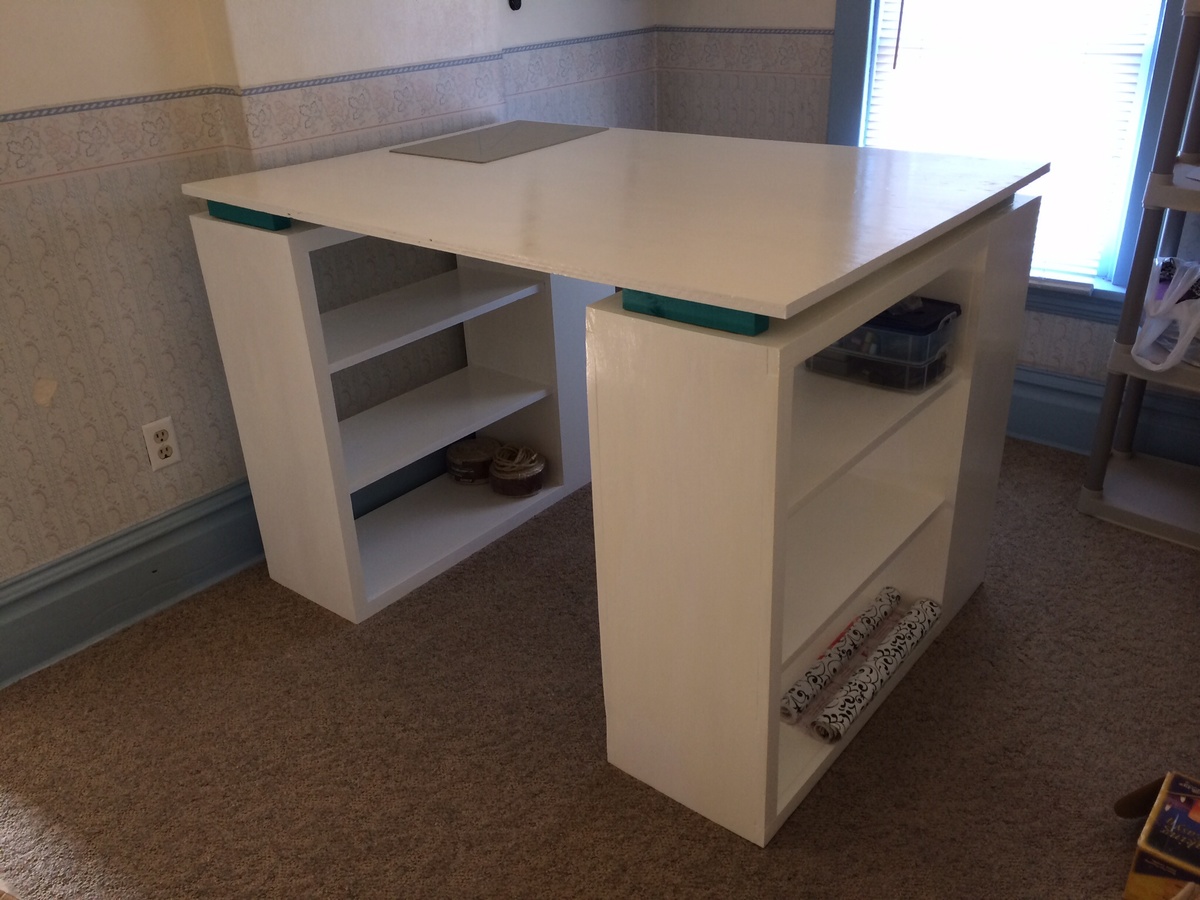
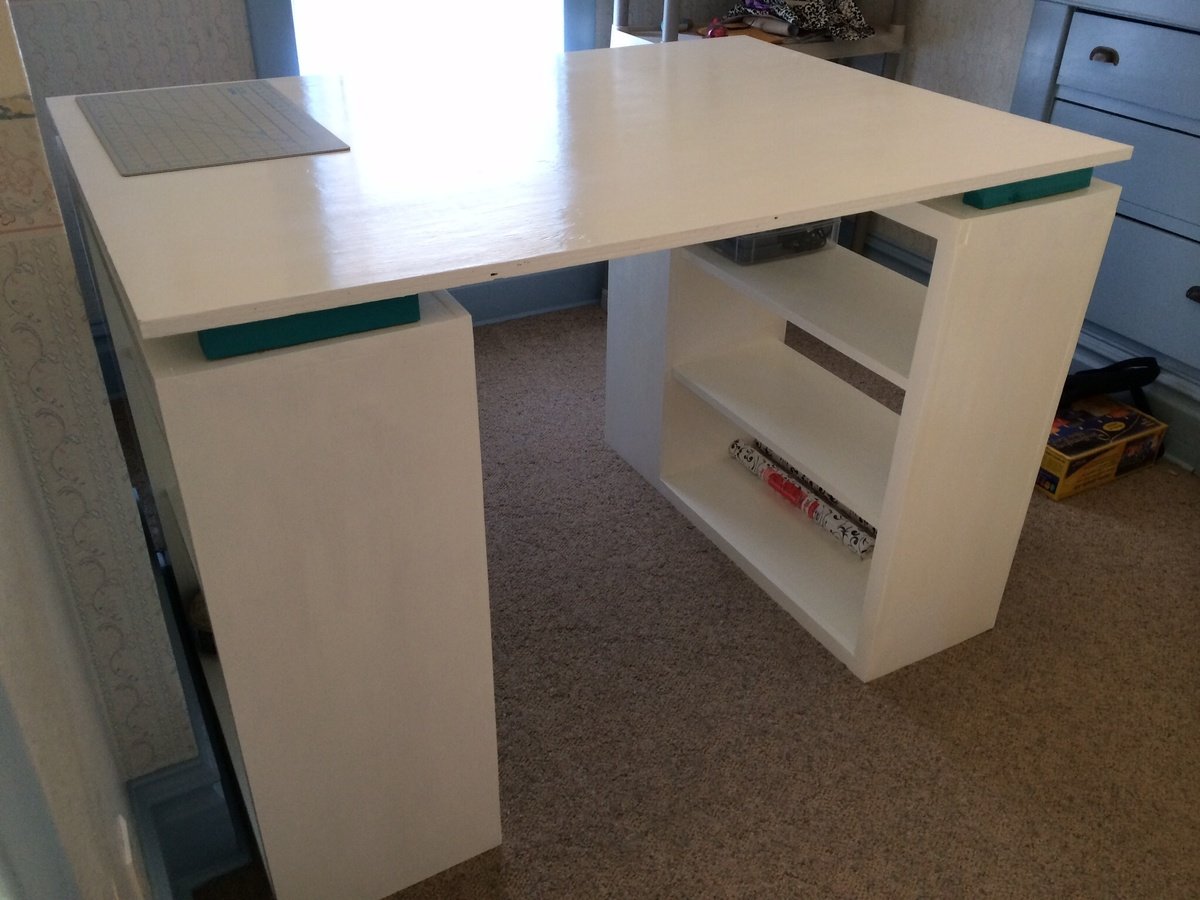
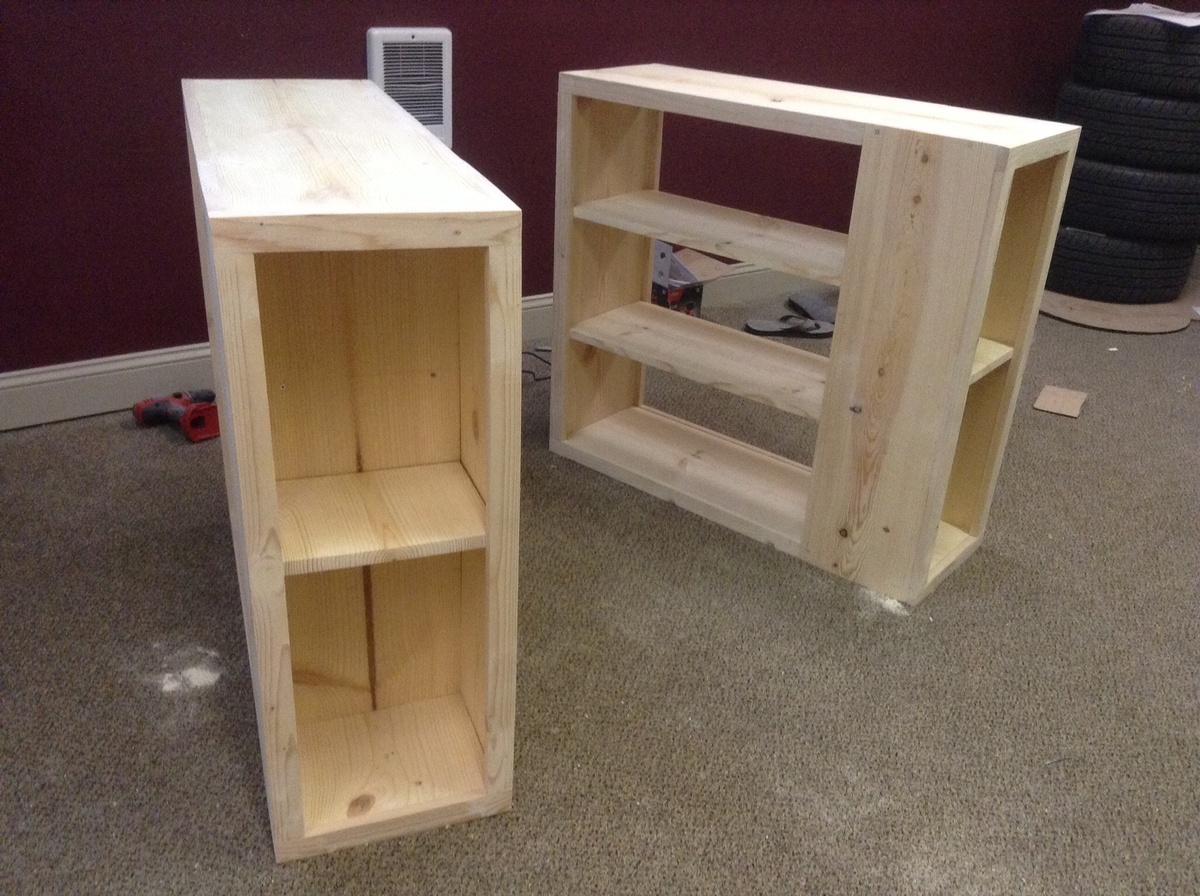
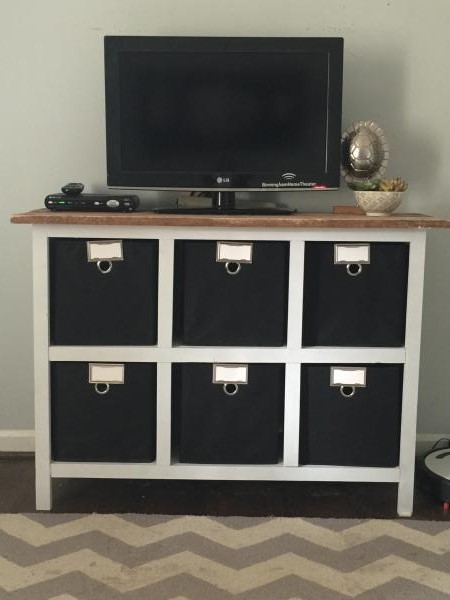
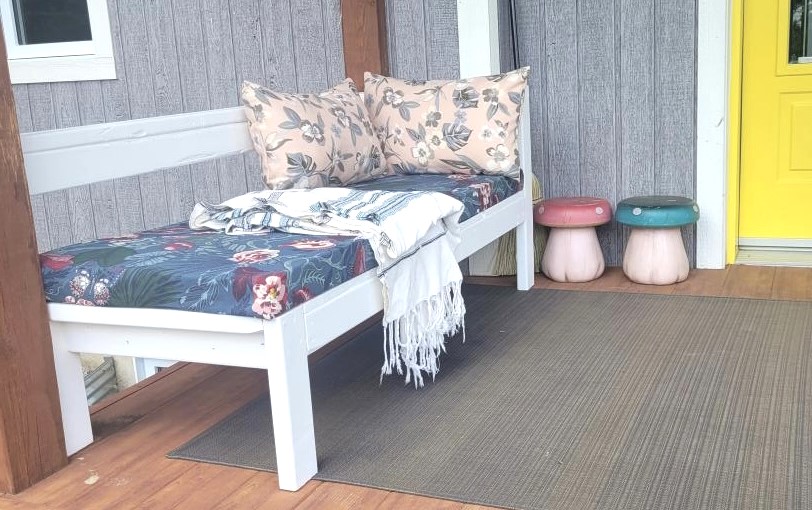
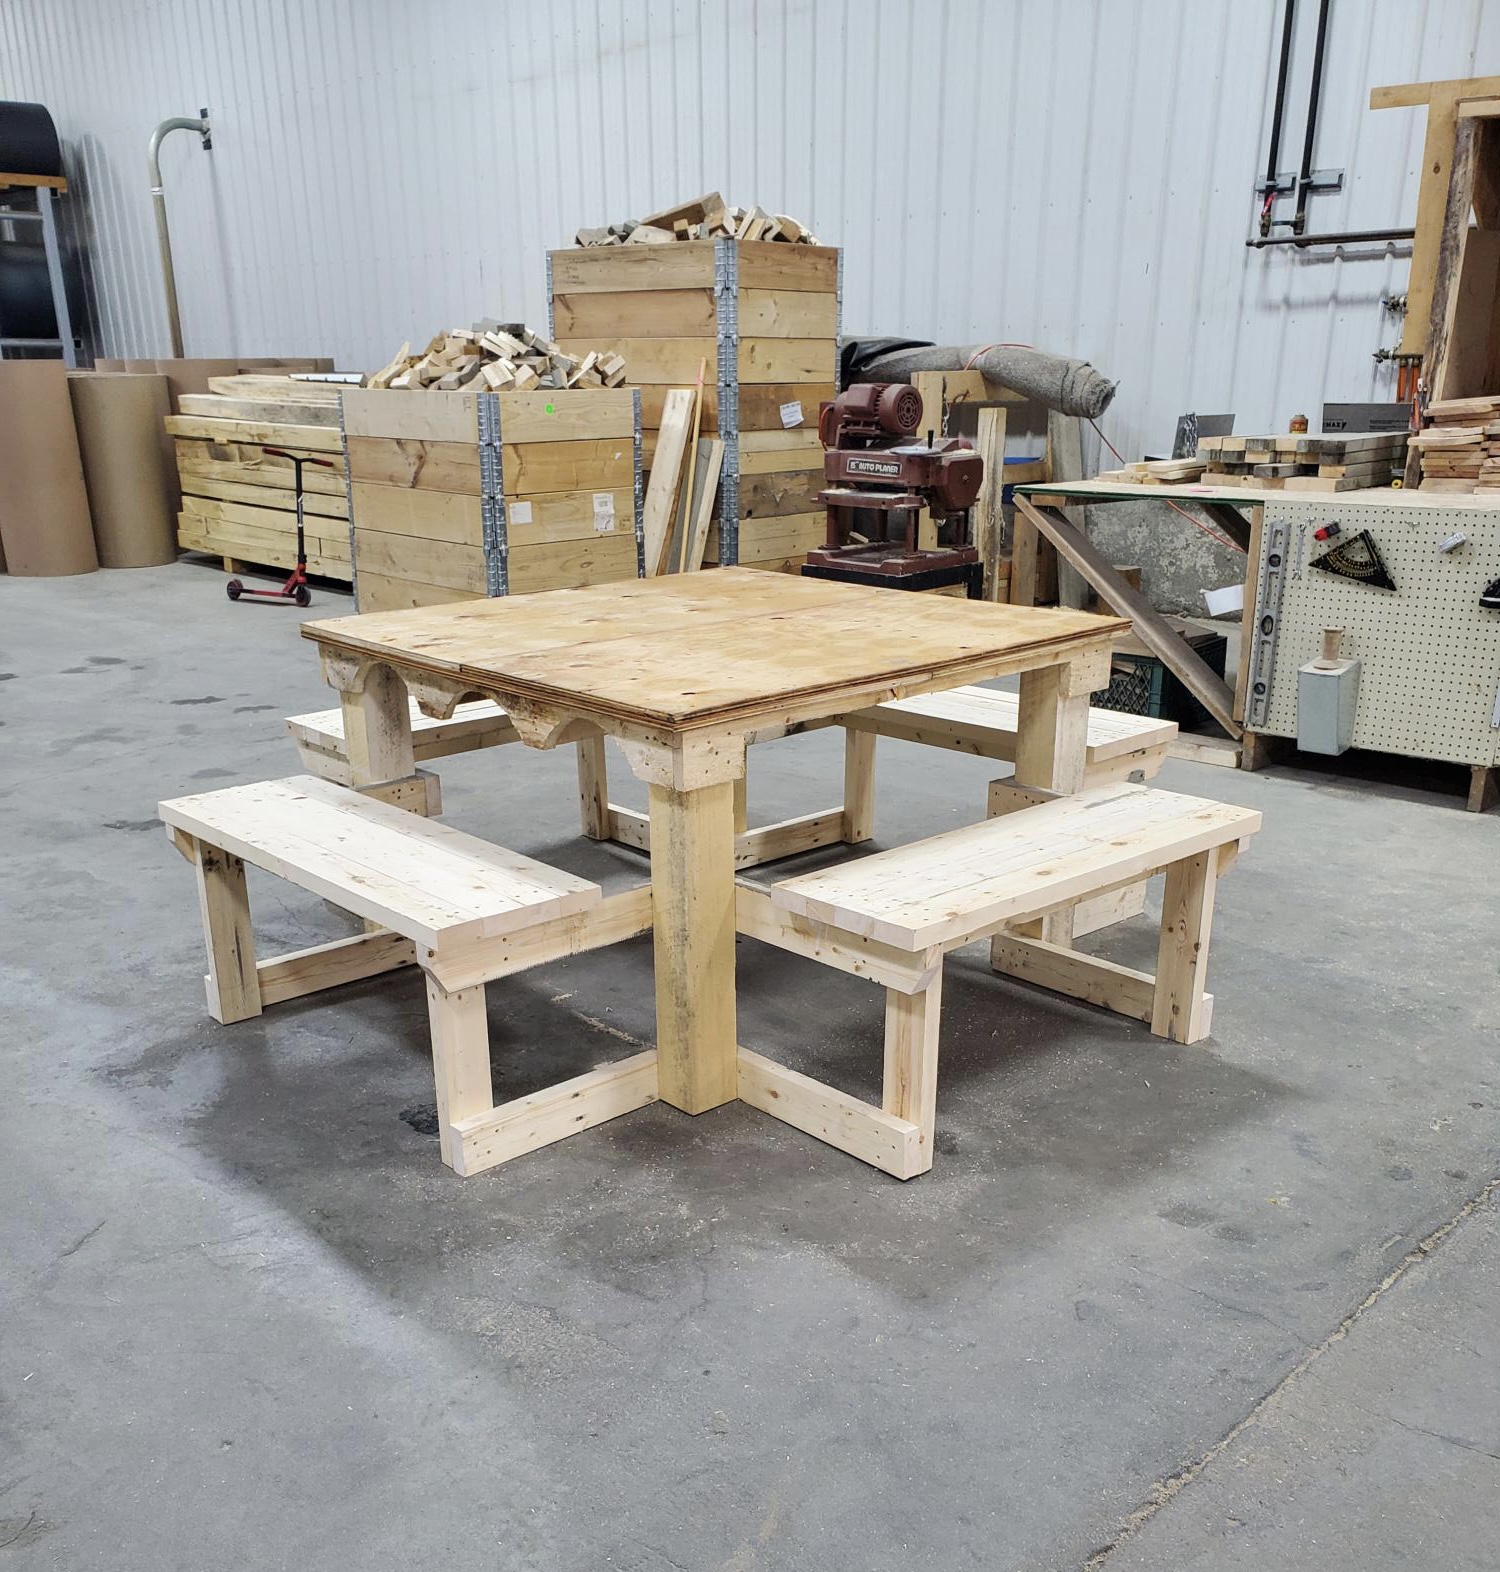
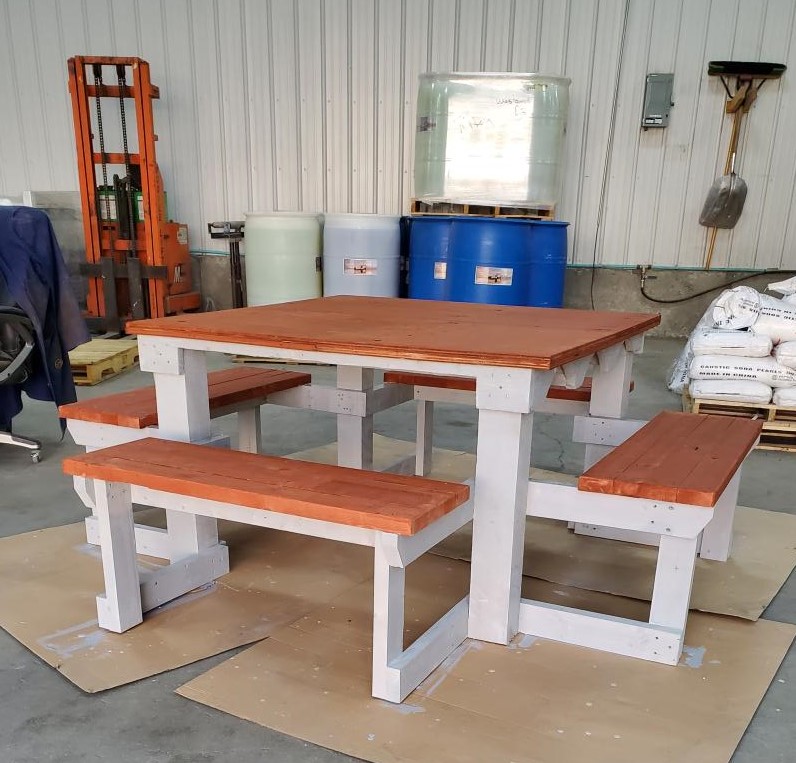
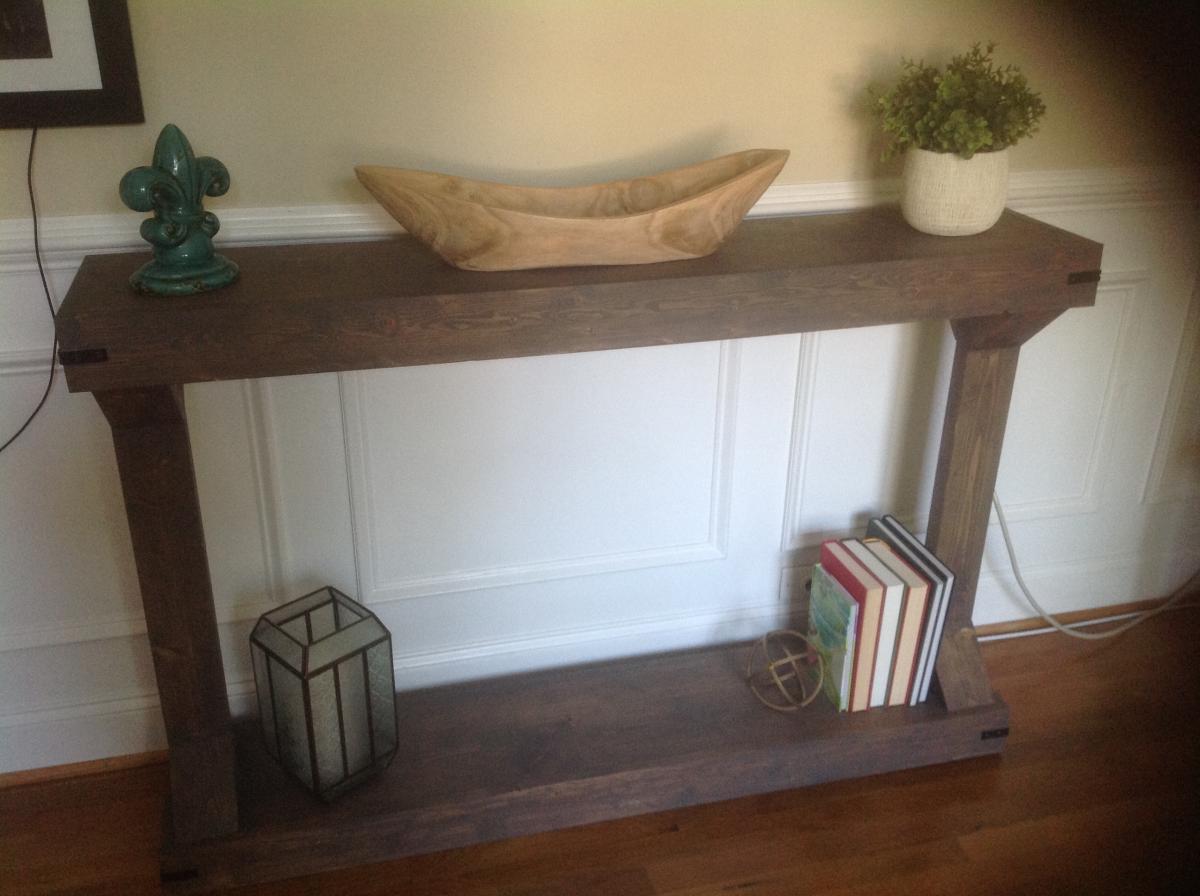
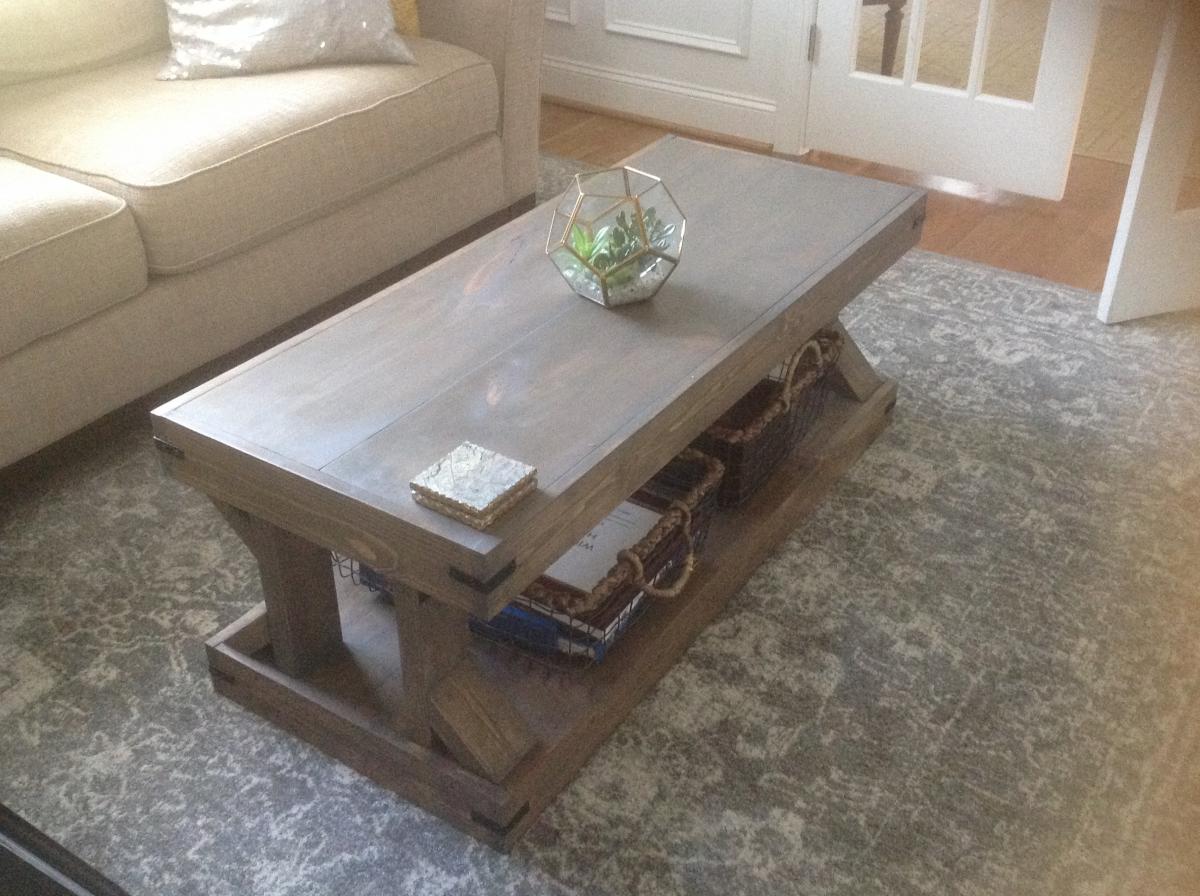
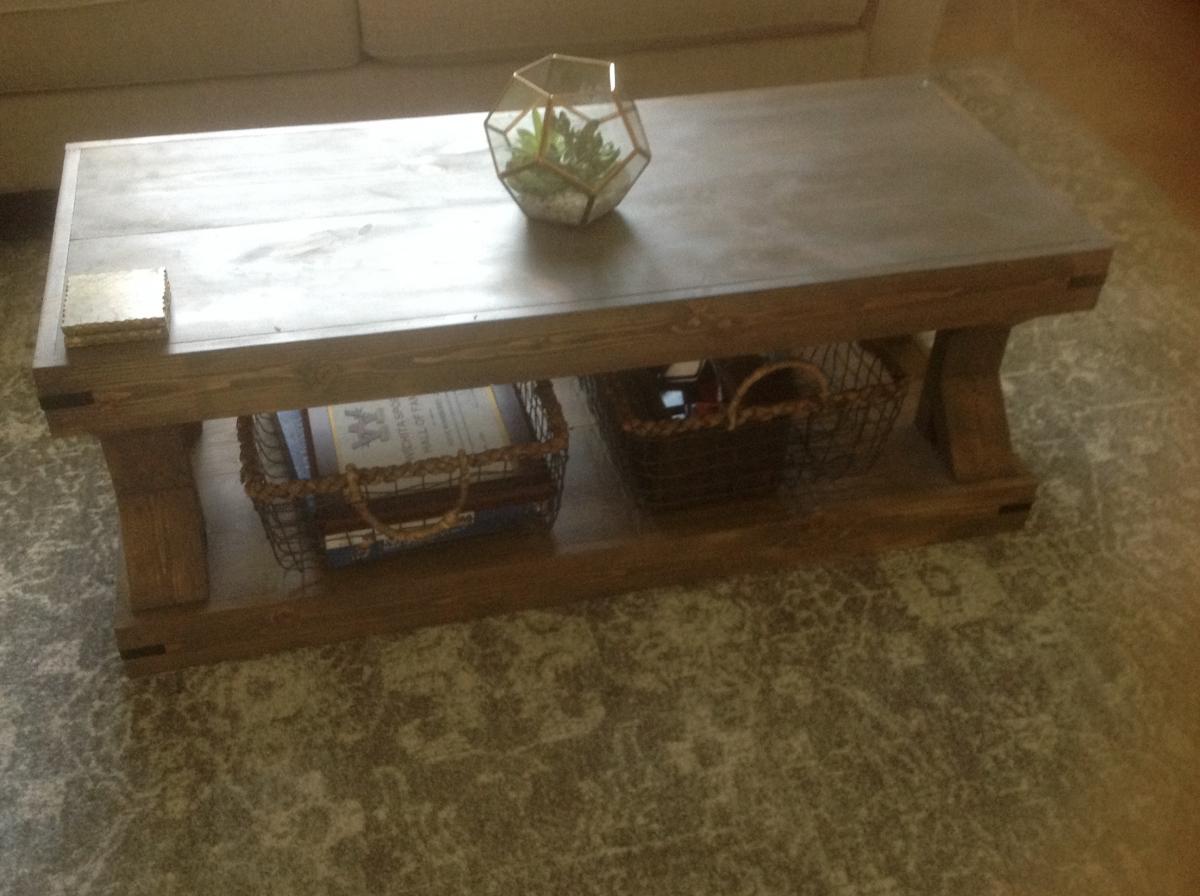
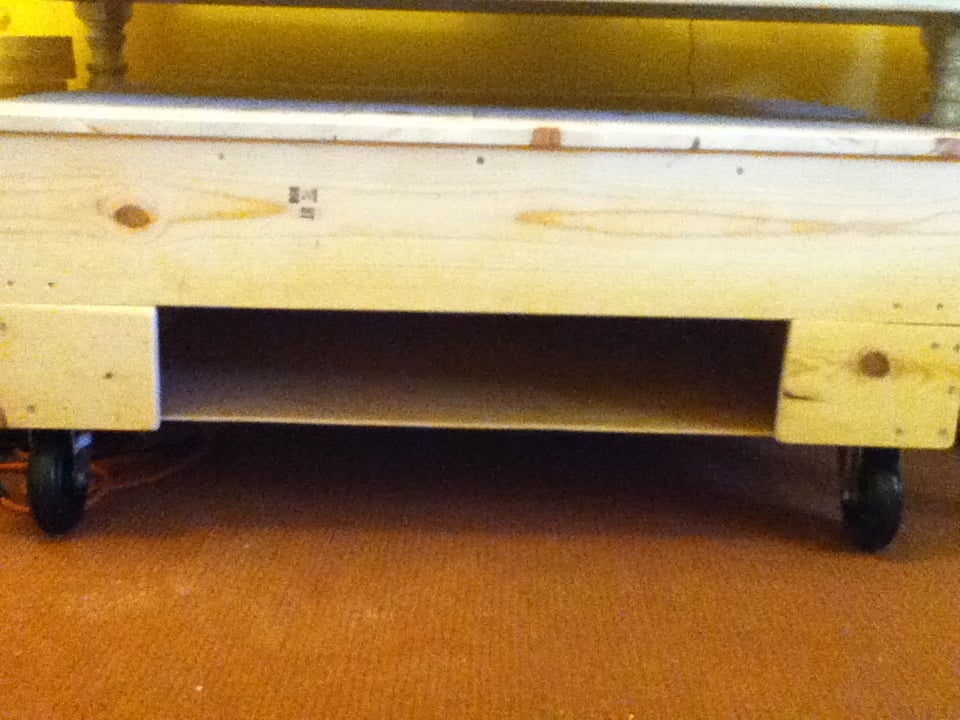
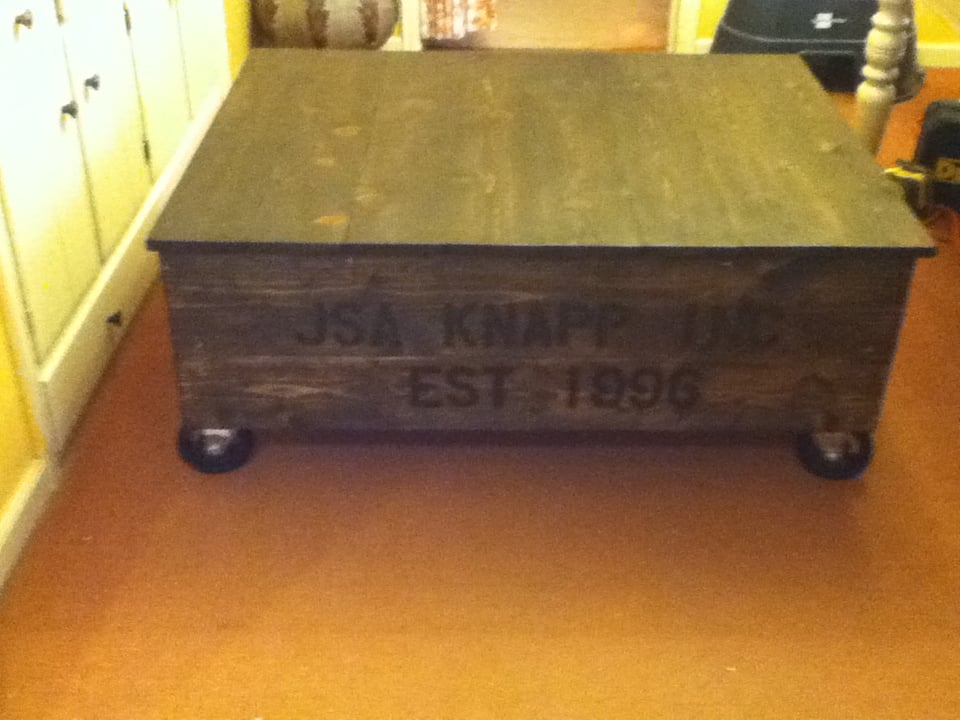
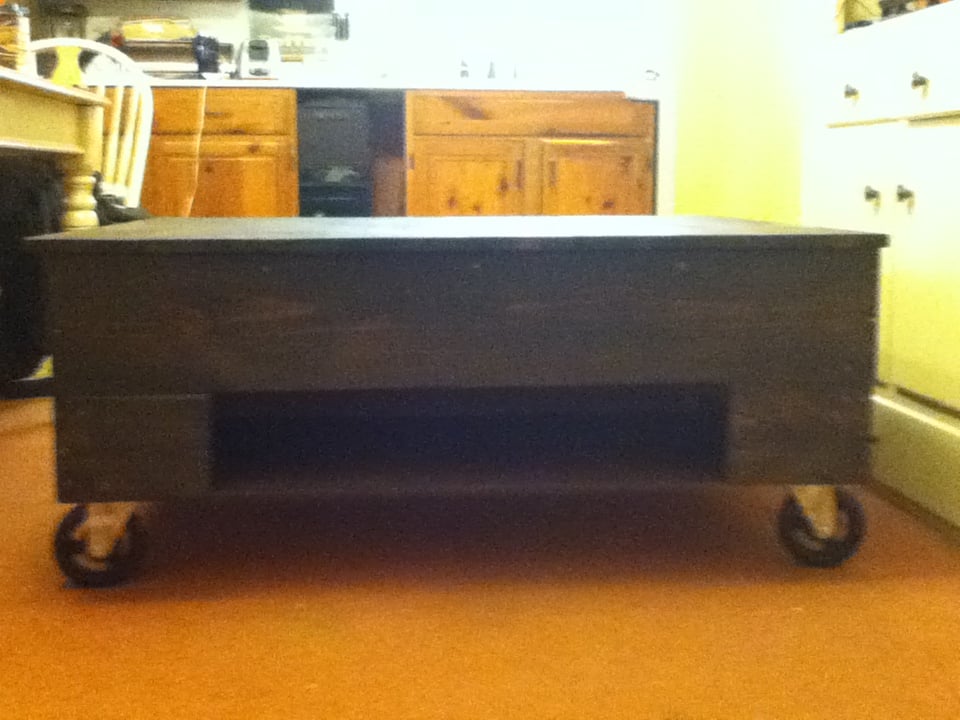
I had a lot of fun making this! I'd been wanting a vintage factory cart for over a year when I found this plan on Pinterest which led me here. I wanted to get a rustic industrial look so I made the table in the picture from the Ana White site that is stained and not the green one. After getting the base built, my husband and I decided we wanted it taller (since we have a dog who would love to sniff at whatever we put on it). And while I'm at it, why not add some storage? So I added more 2x4s and attached them to both the base and additional 1x6s. I put the 1x6s on the front and both sides, leaving the back open. I flipped the whole thing over, put the casters on and added plywood to the bottom of those 2x4s. then added two small boards give support to the plywood, which created a storage shelf. I then sanded and stained it and finished it off with two coats of semi-gloss poly. I did not counter-sink my screws or used wood filler as I was going for the rustic industrial look and I love the way it looks. It is very sturdy, too. I have moved it all around, slid it on its side trying to get some decent pictures and its just as sturdy as ever.


Comments
mamalecia11
Wed, 01/25/2012 - 19:47
Love it!
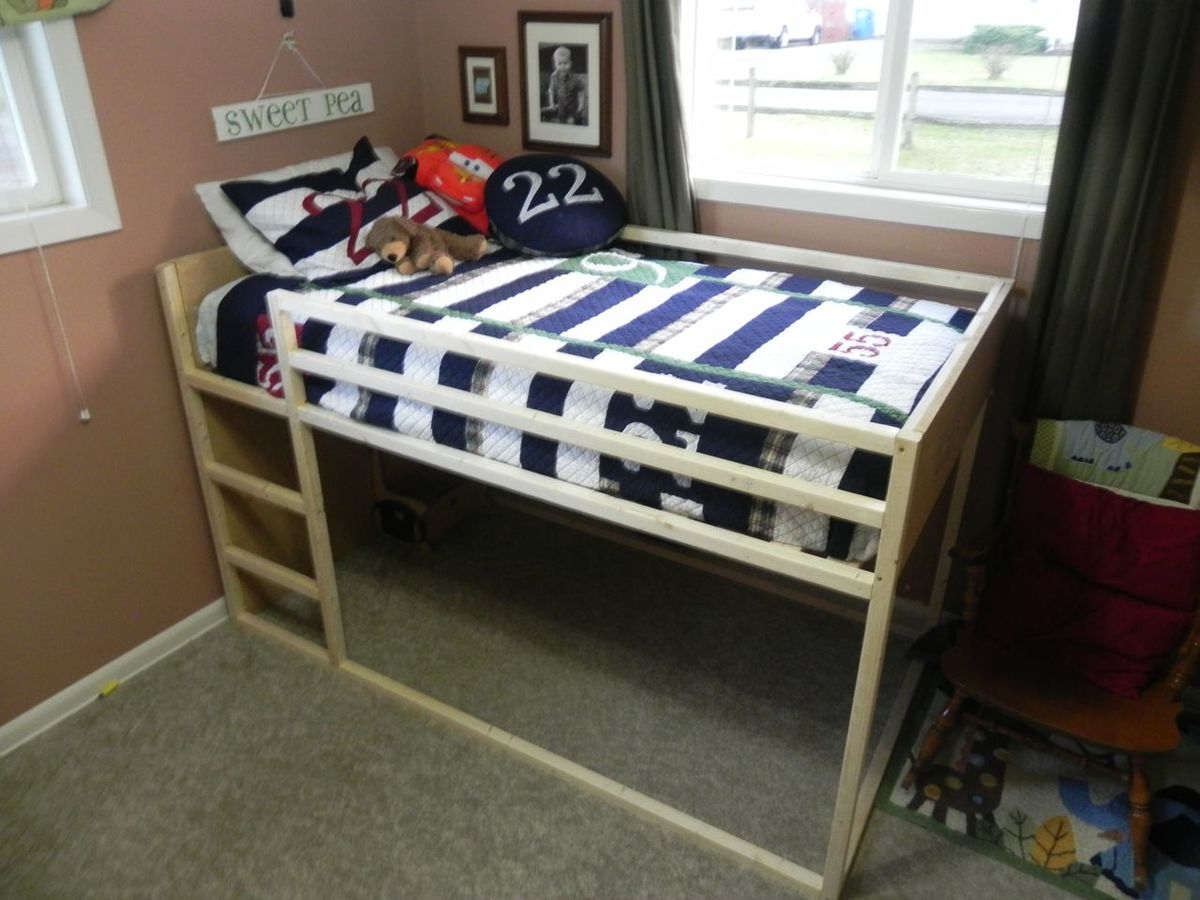
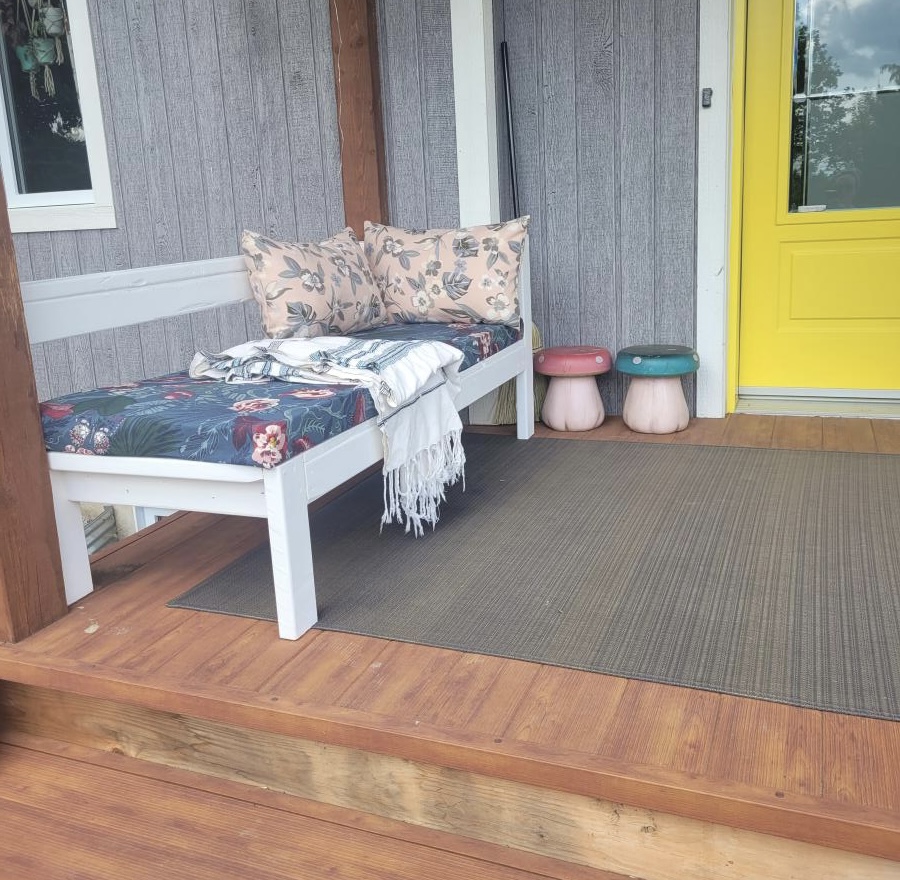
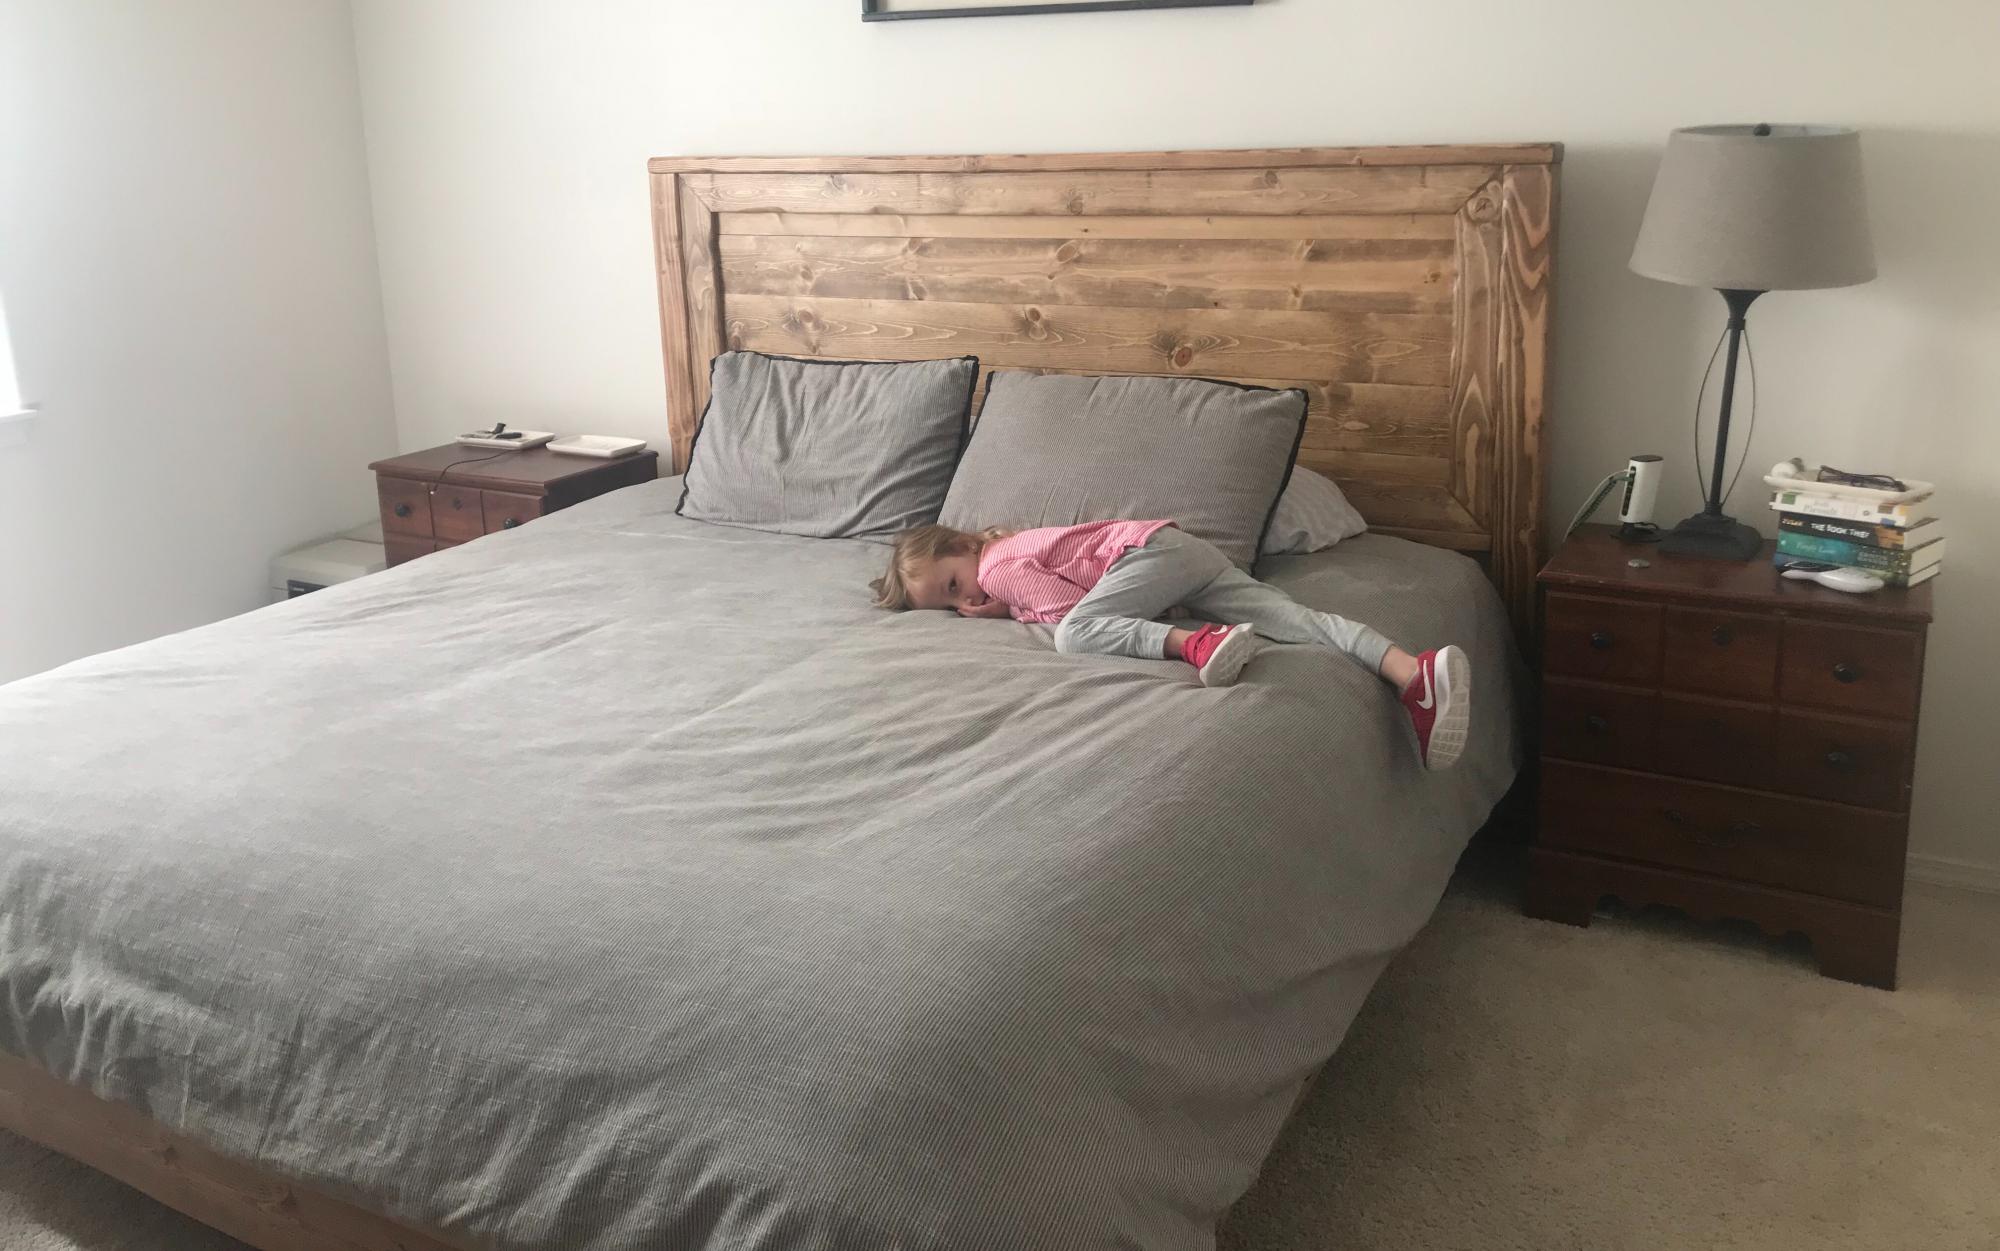
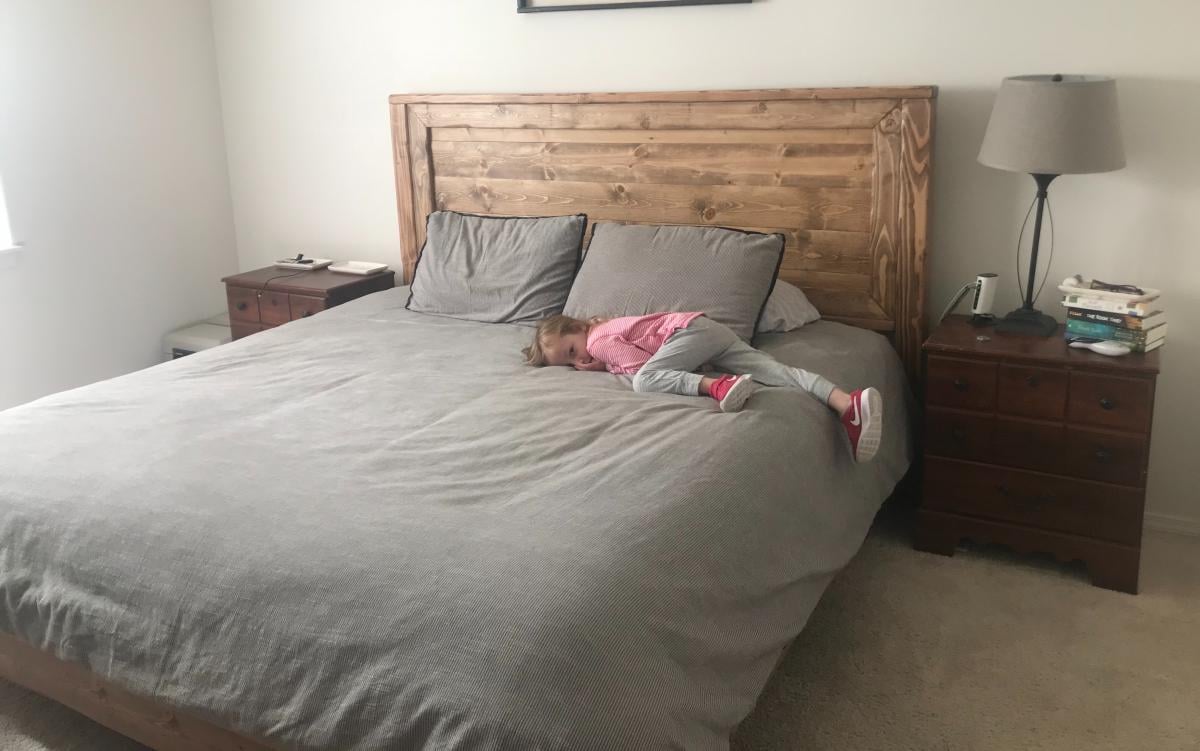
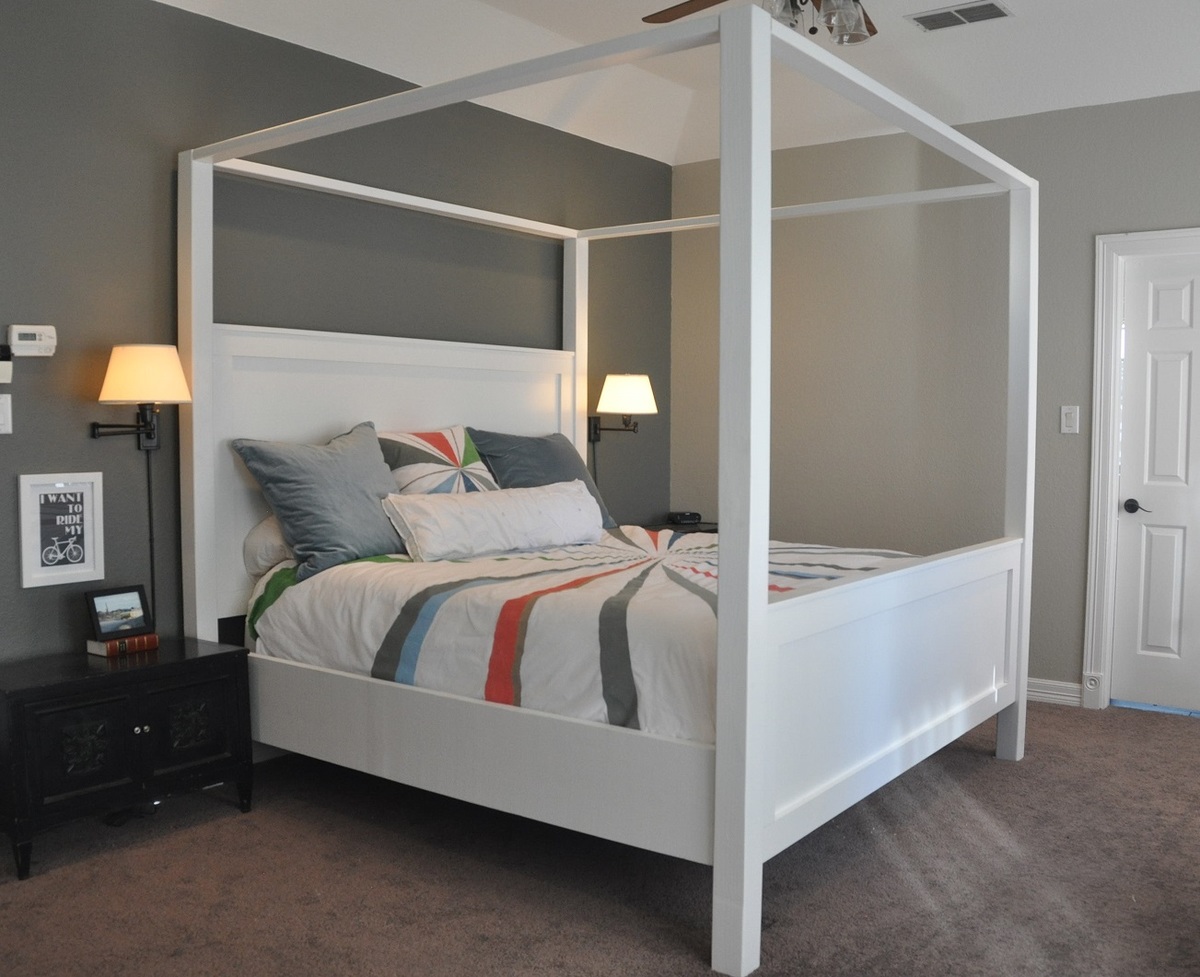
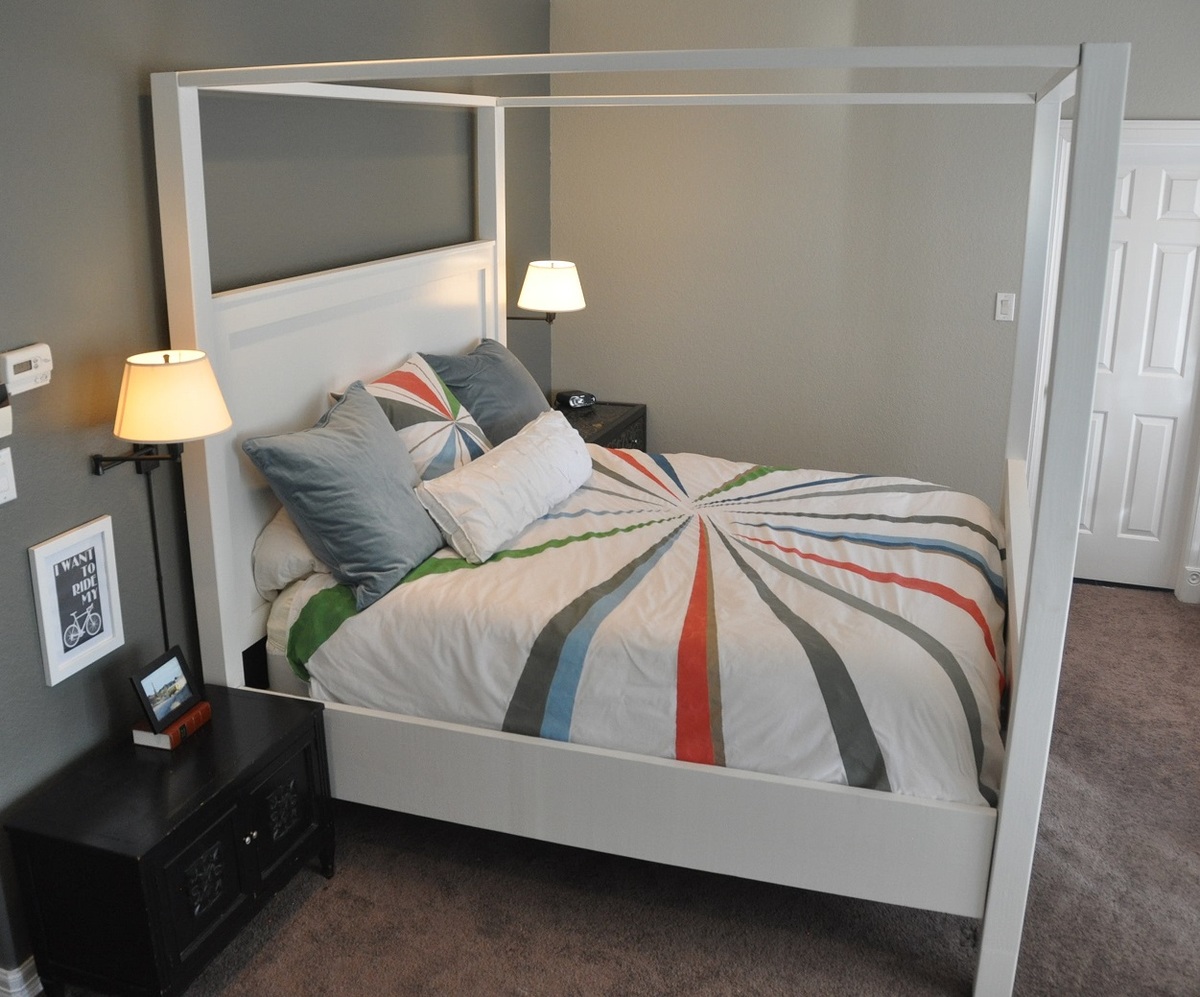
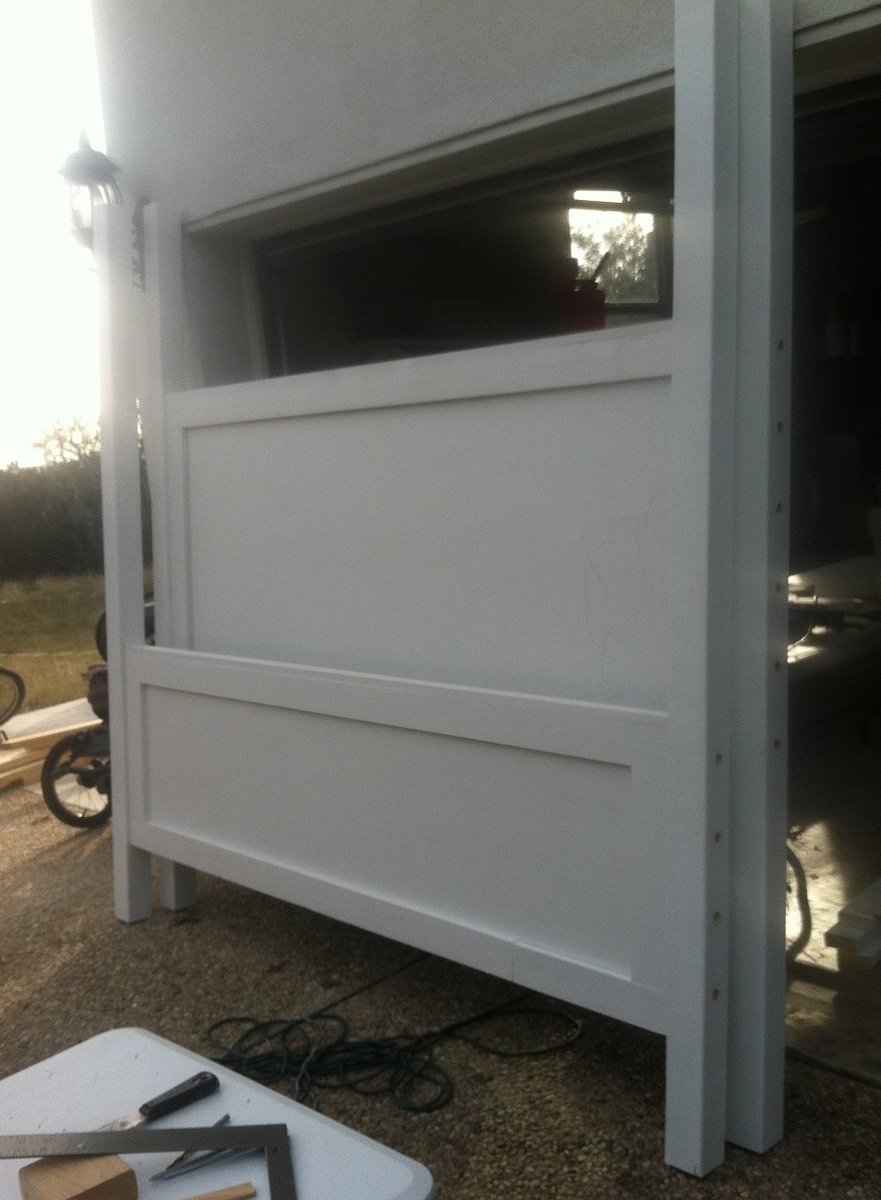
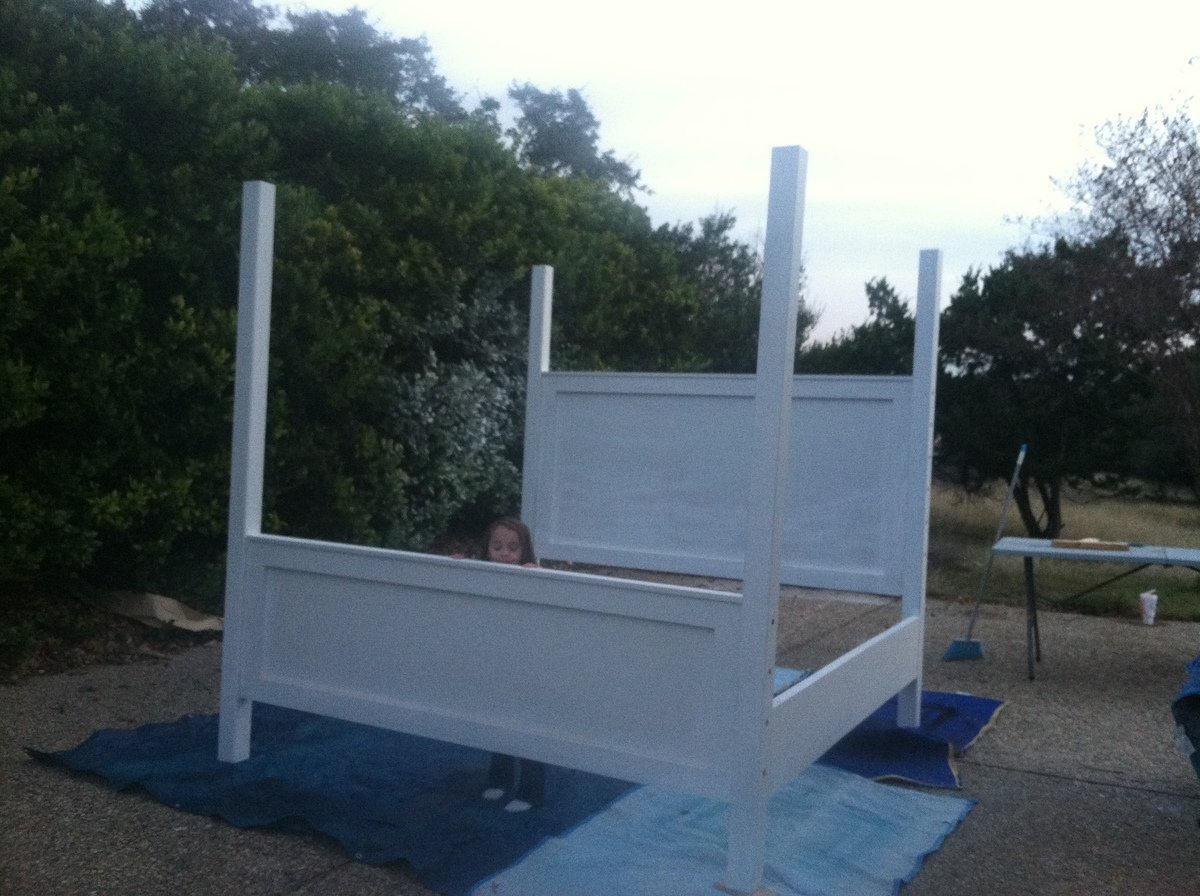
I was looking for a cute, simple bed for our 9 year old son as he gets a room to himself for the first time in his life(we adopted him from Haiti 2 years ago, where he shared with 4-8 little boys and then he has shared with his little sister since they came to us). This is just what I was looking for and didn't know it-haha.
Guest (not verified)
Fri, 01/27/2012 - 05:52
i love this bed
i love this bed