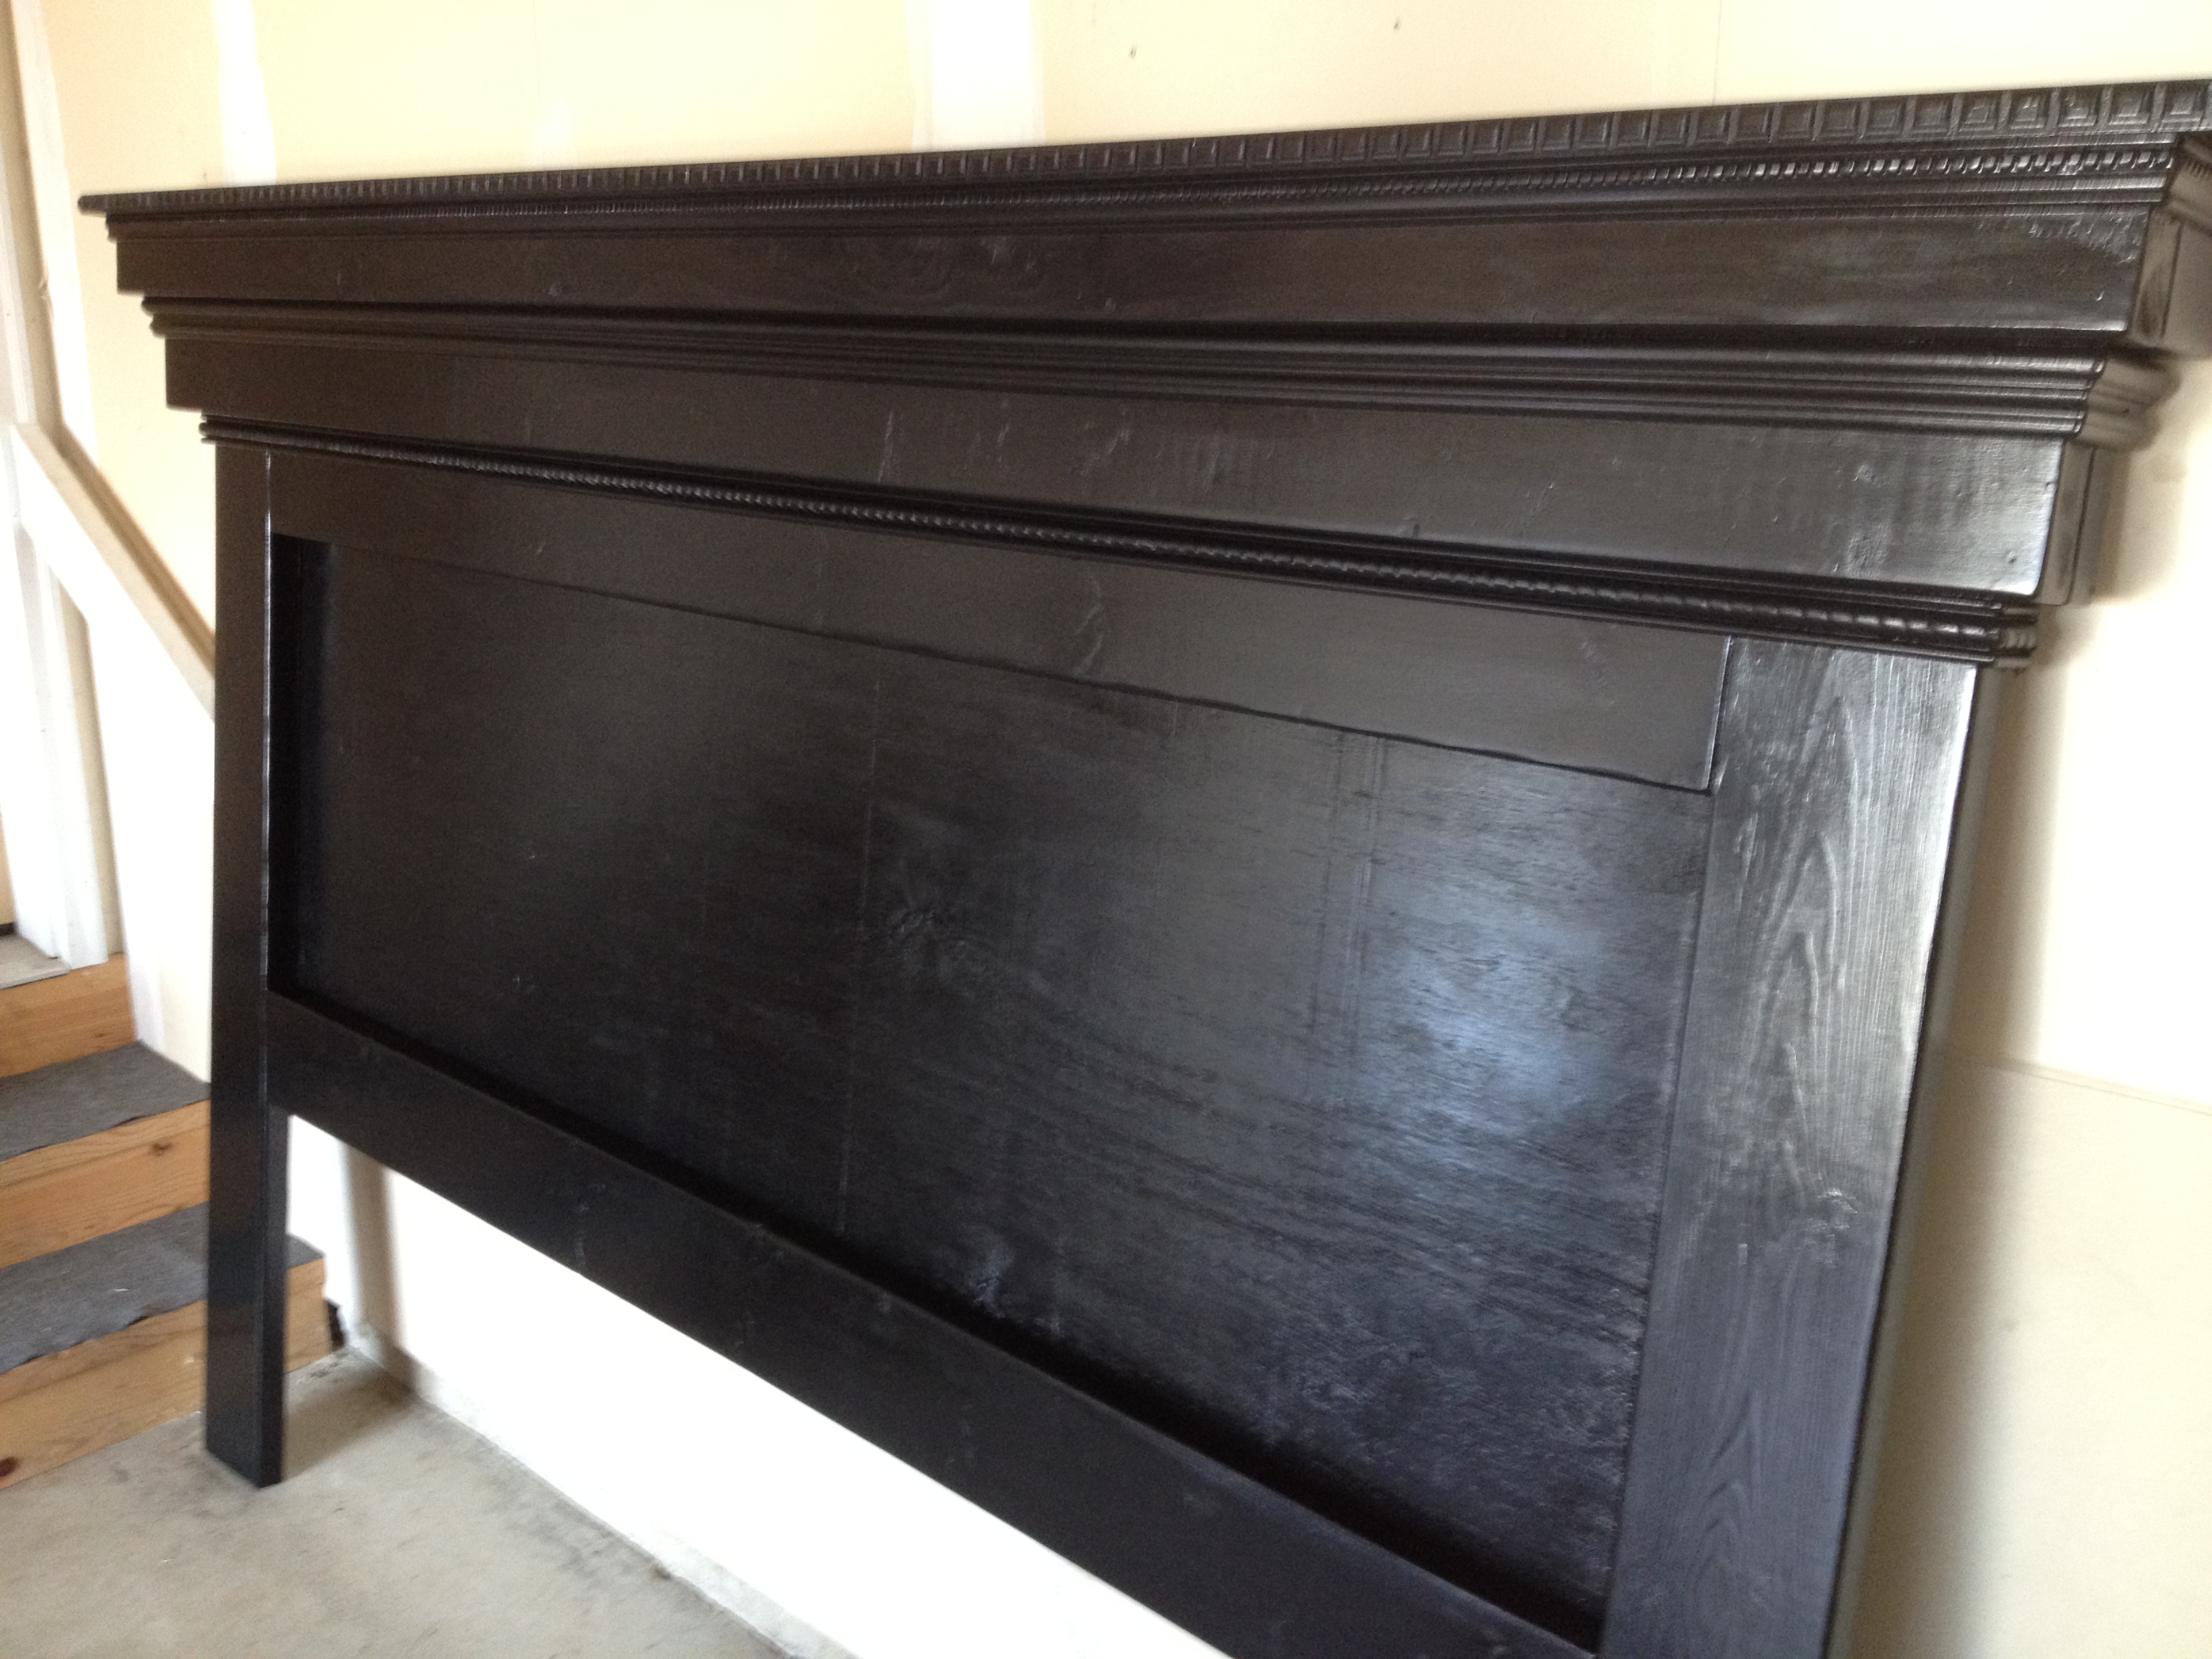
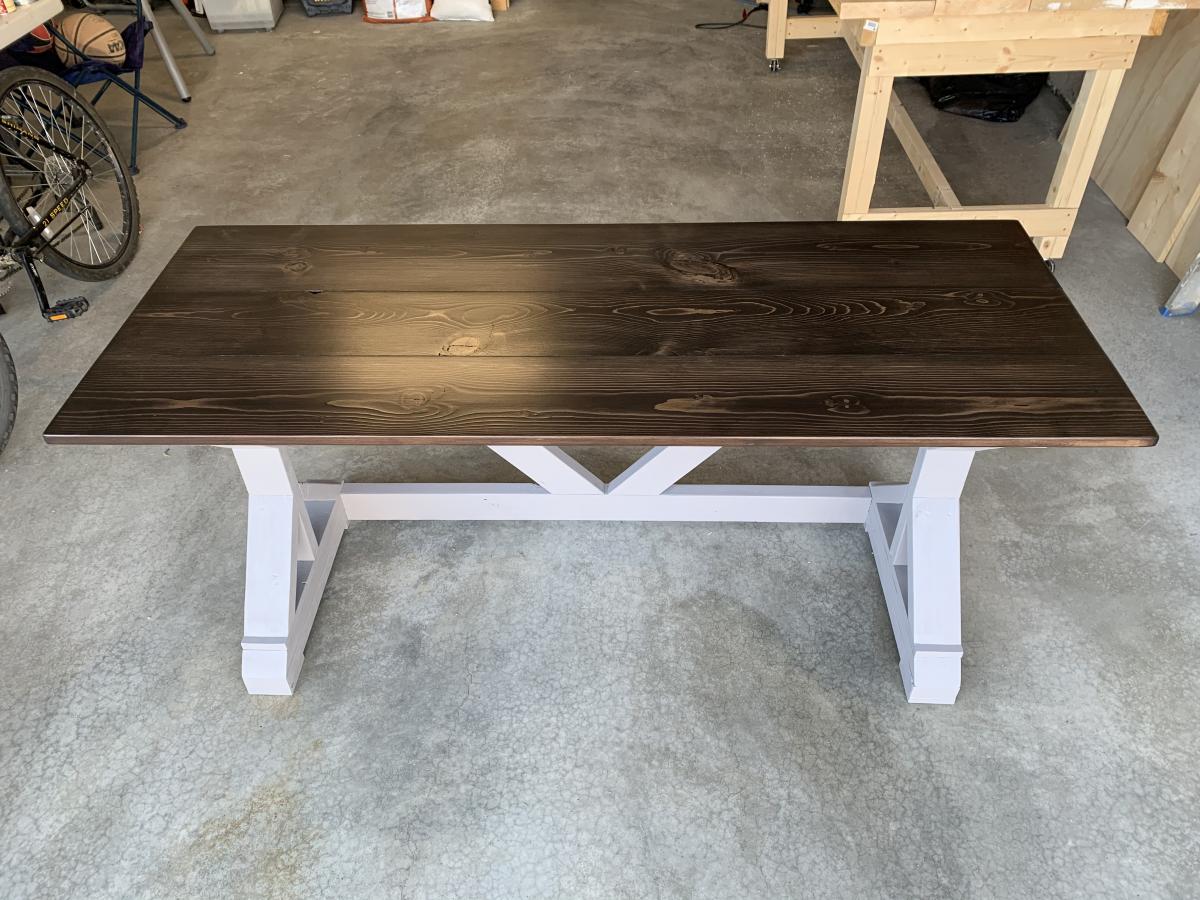
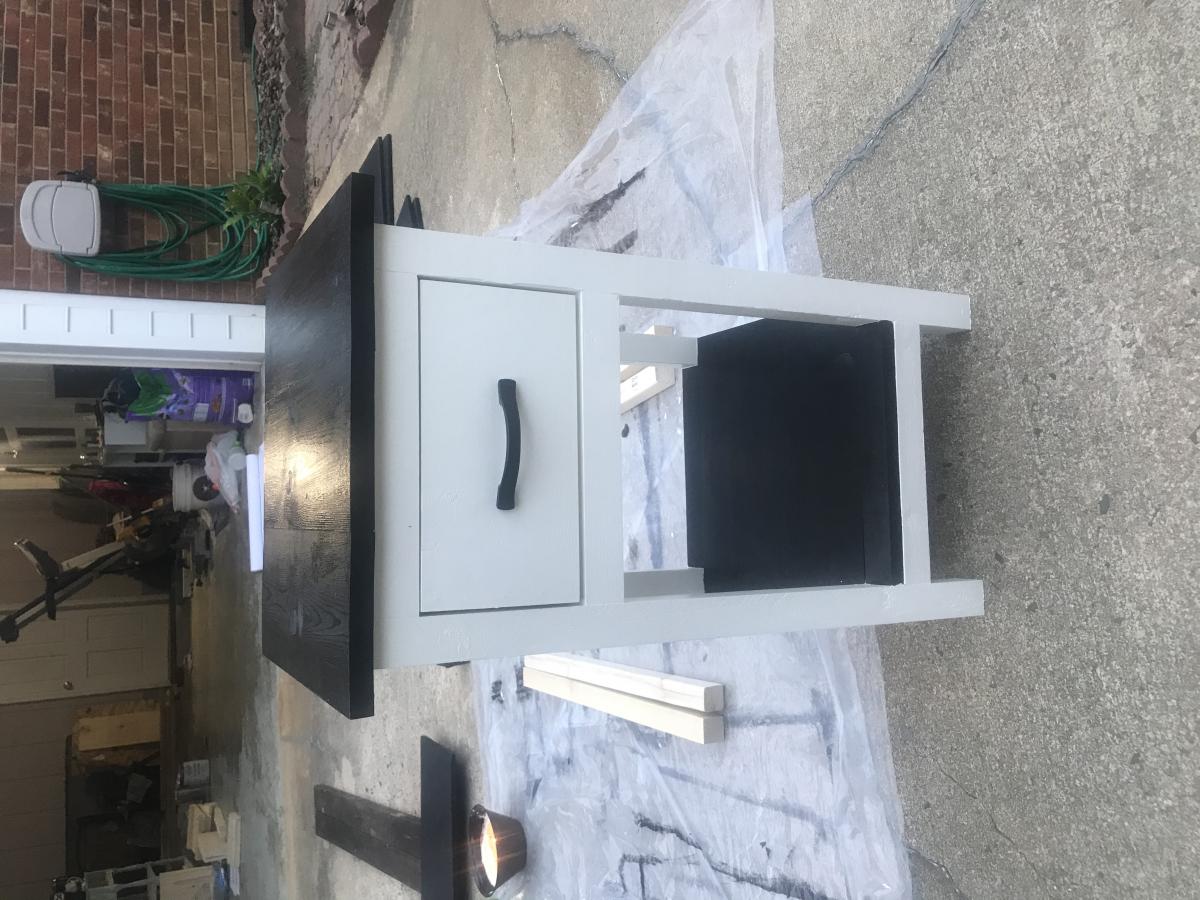
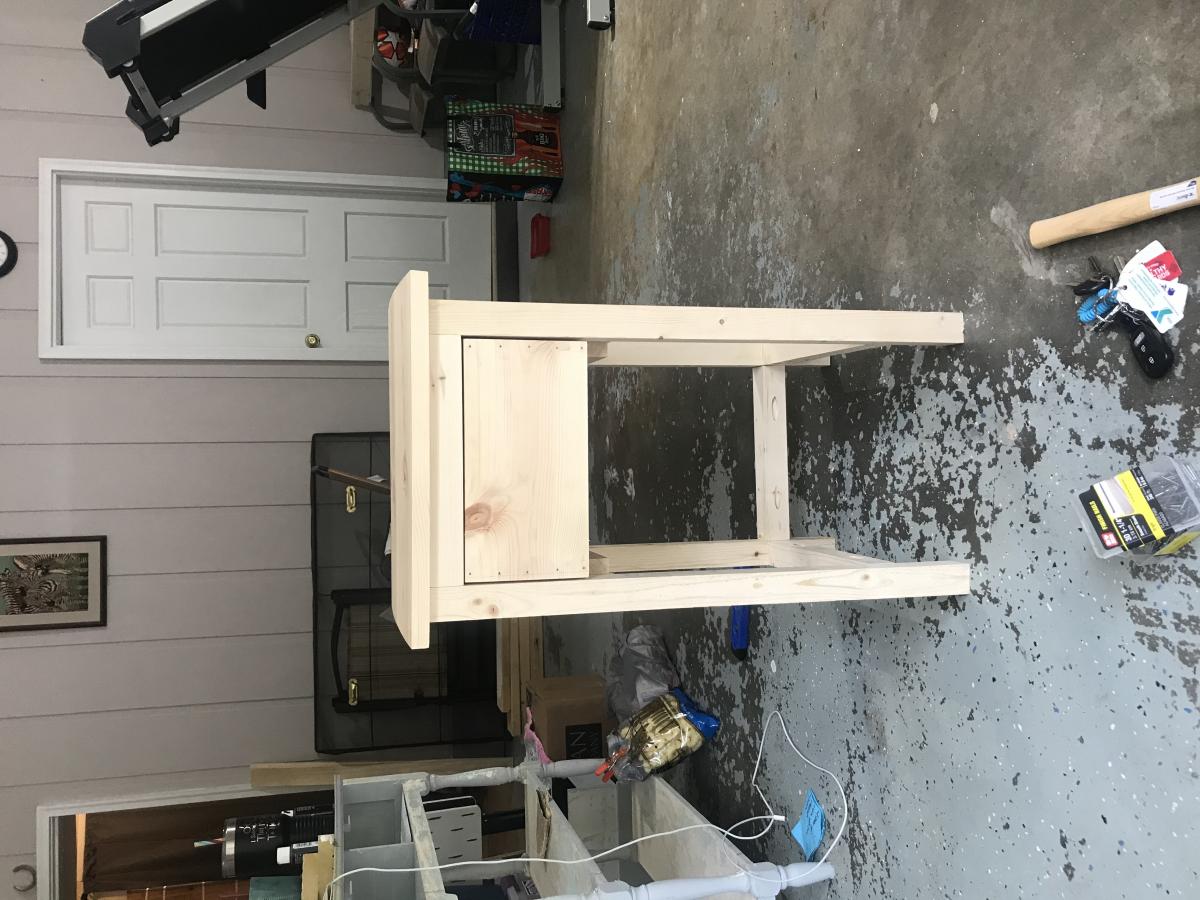
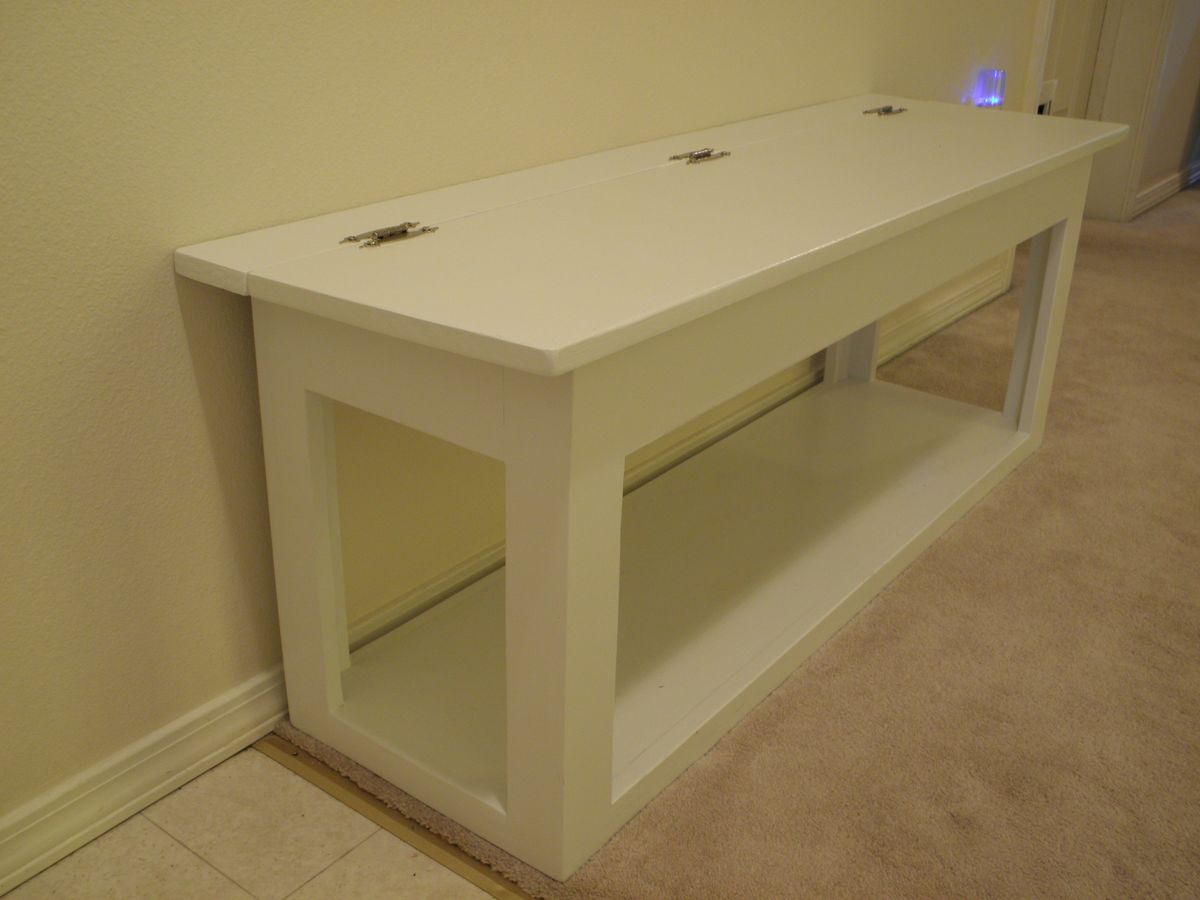
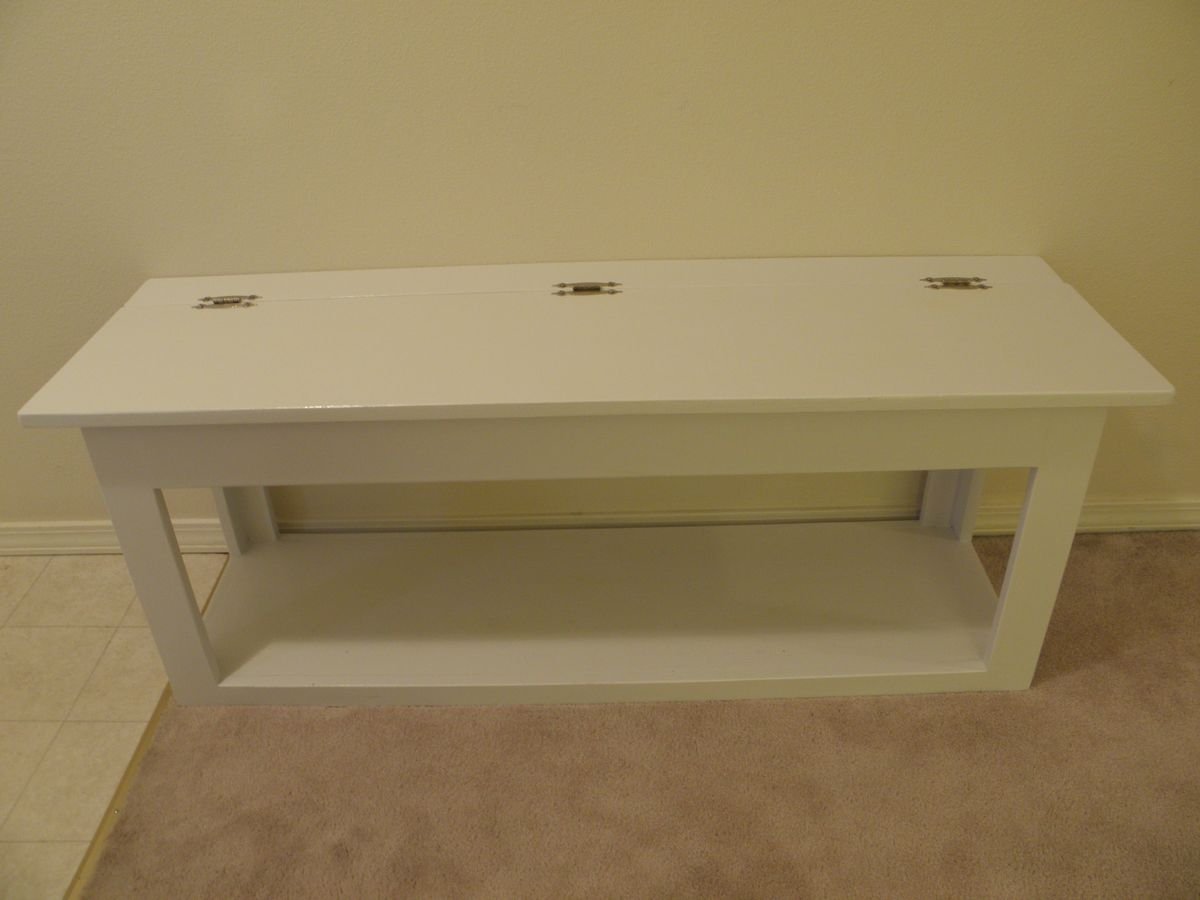
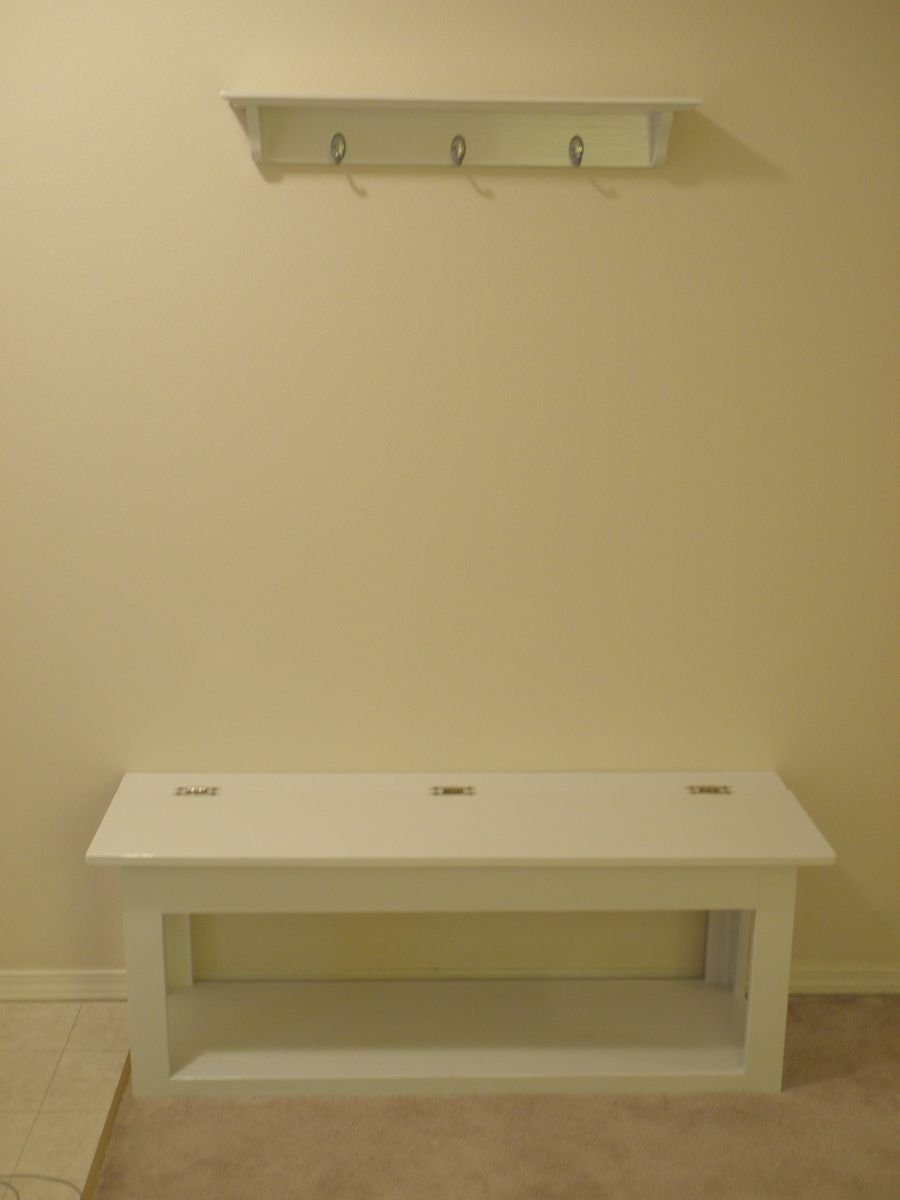
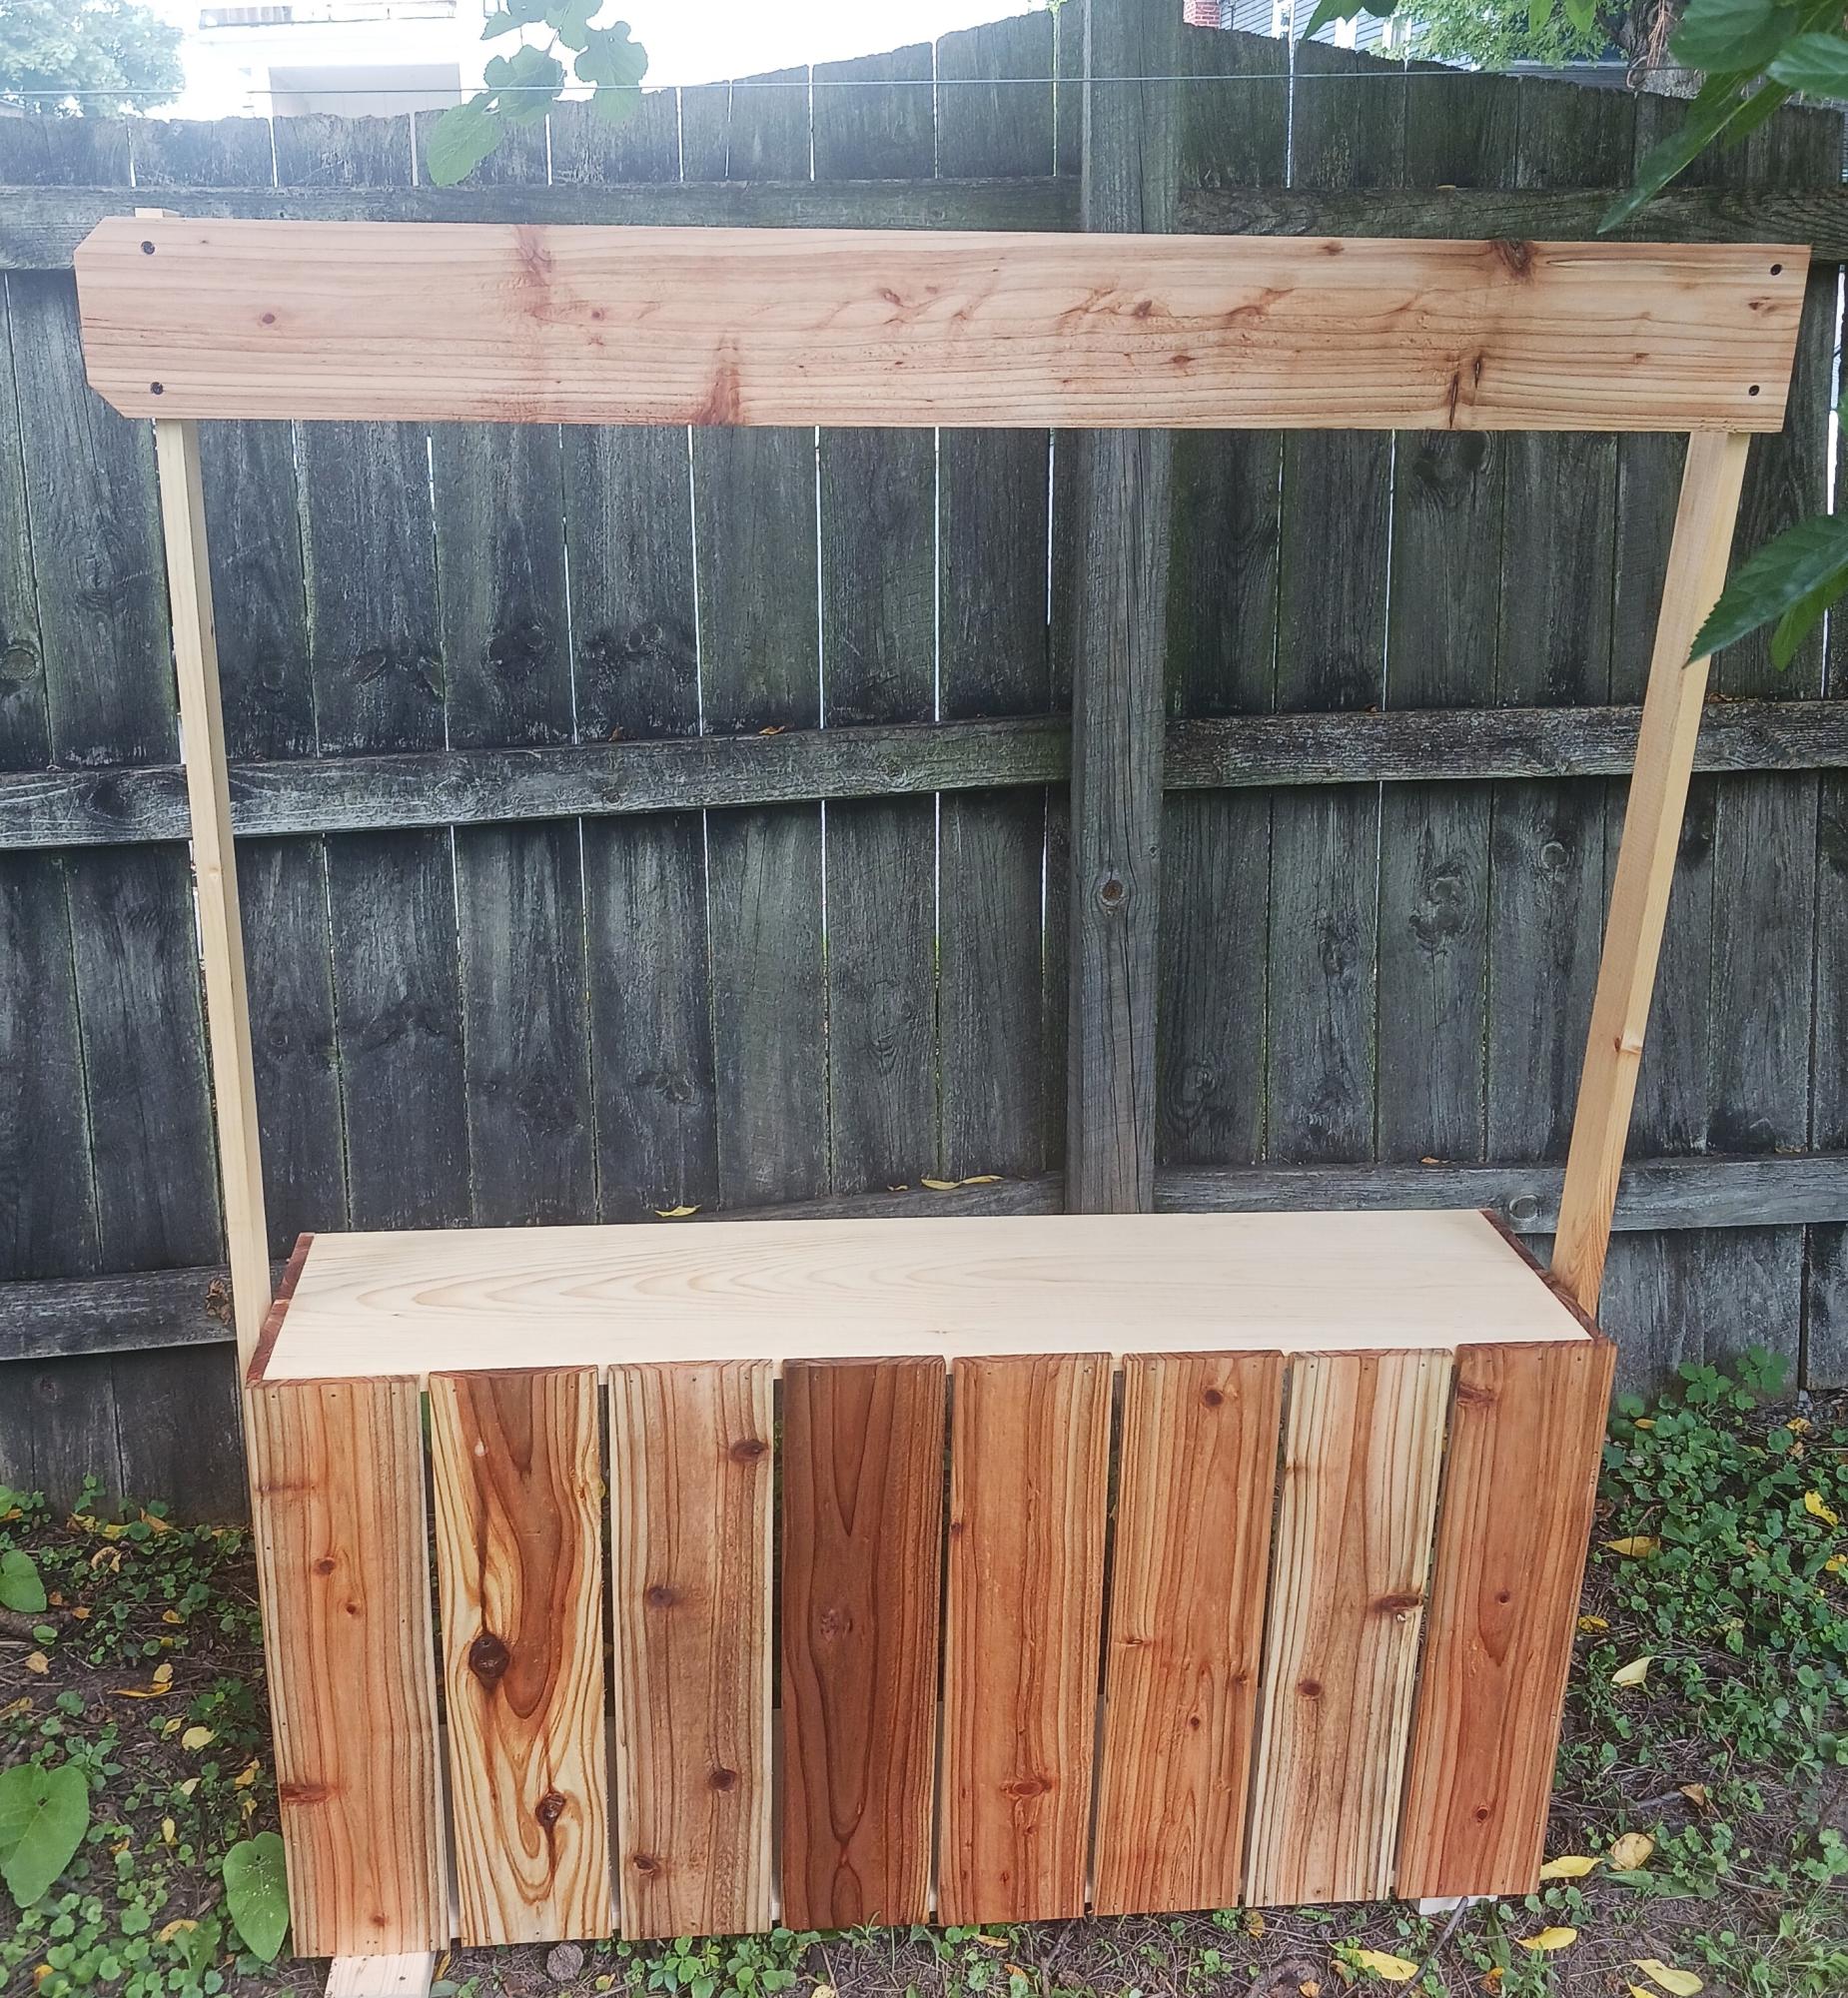
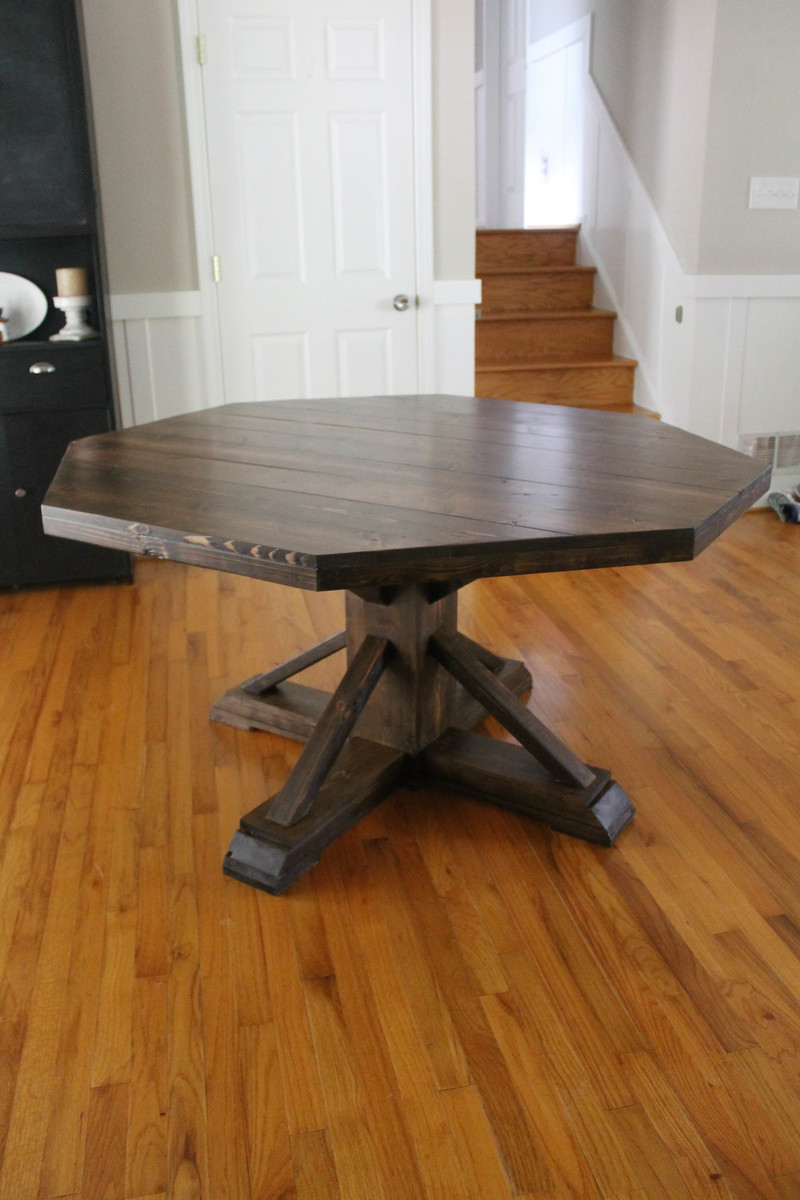
My first build! Very simple and straightforward. I chose to not have the bench raised off the ground; however, the legs were cut at the same length as the plans, so my shoe storage is a little taller than the plans, giving me more room for boots.
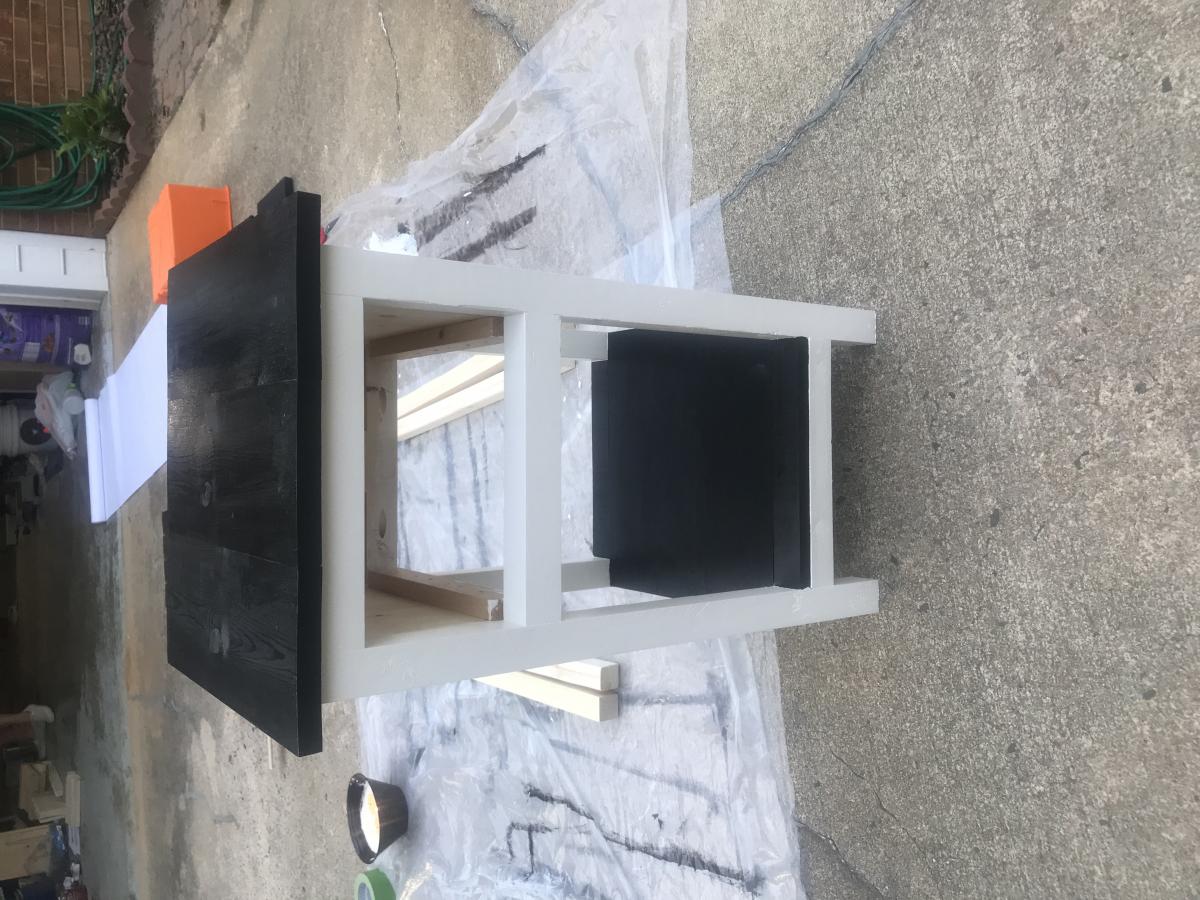
If I was to do it again, I would not use 1x3's for the lower cross boards, instead I would use 1x4's to match the upper cross boards so there's some symmetry, since it just sits on the floor rather than being raised up.
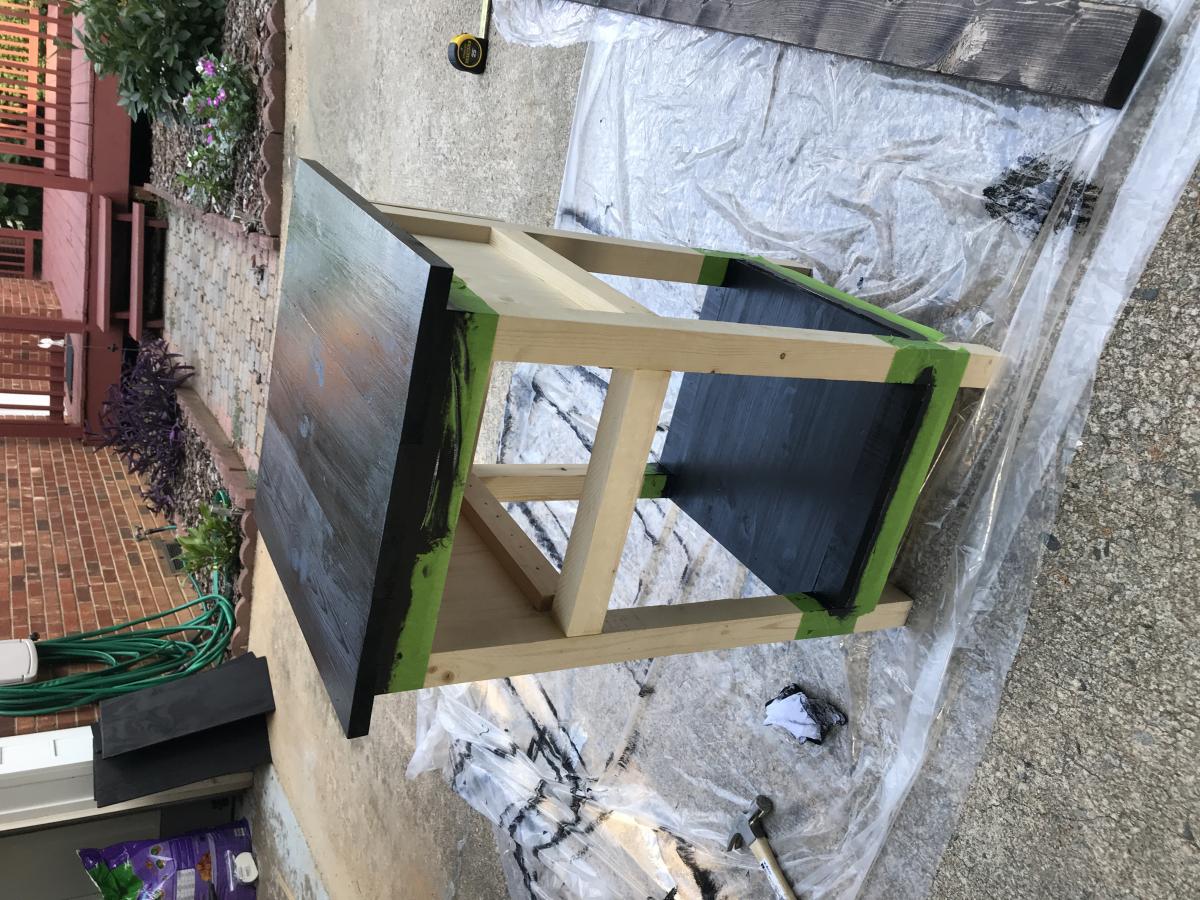
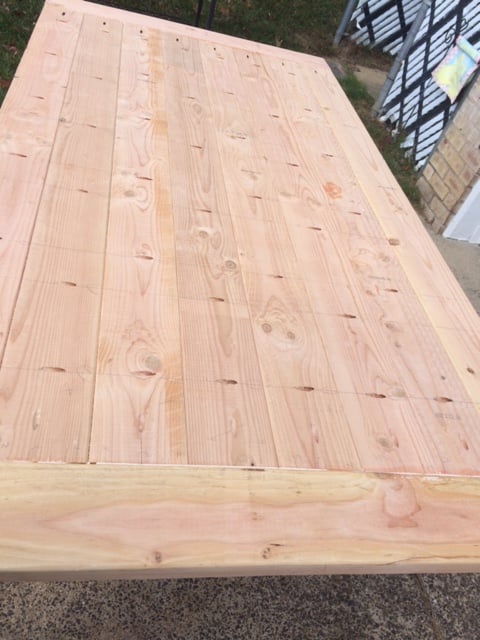
The build itself took me about 3 hours, which seems like a lot for something this simple, but again, it was my first build, first time using the Kreg Jig (love it!!), and it took me a while to deal with my less-than-perfect boards.
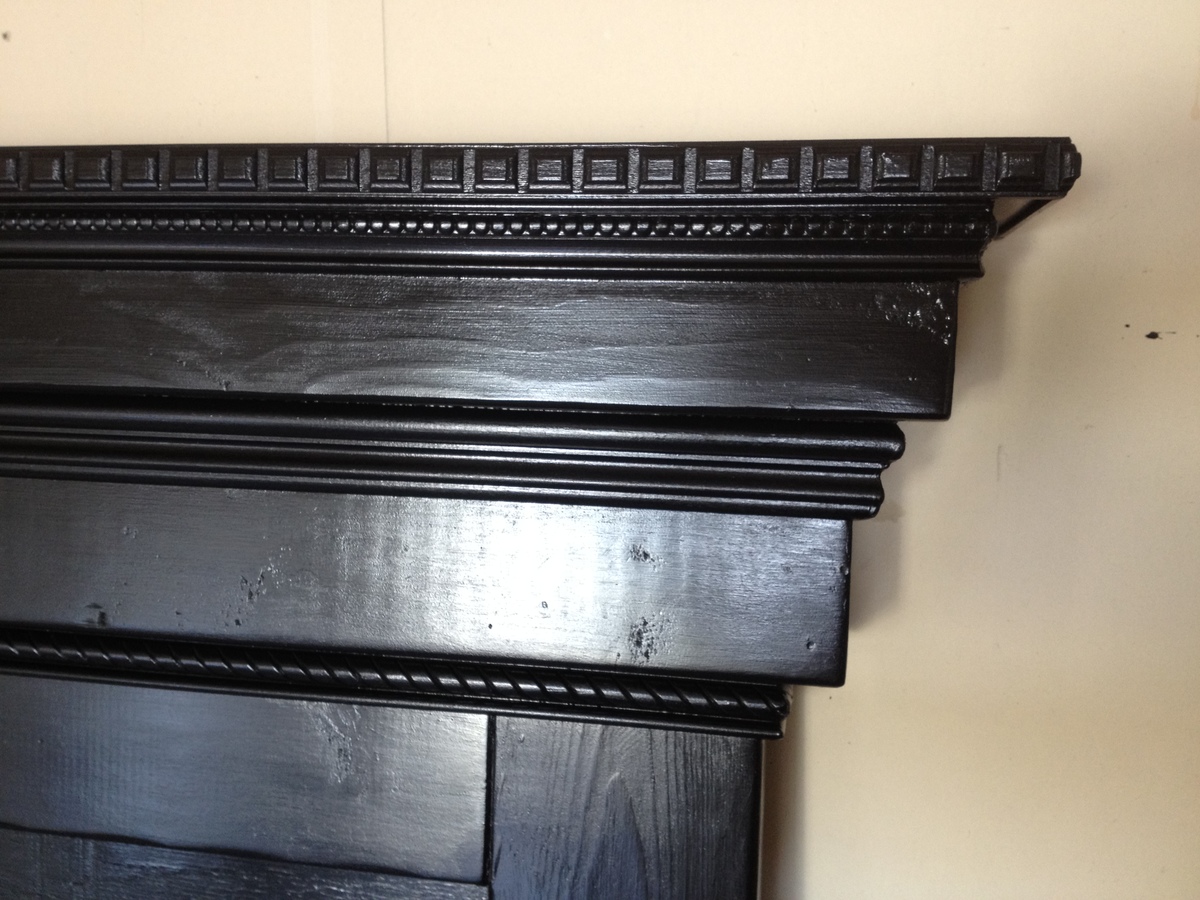
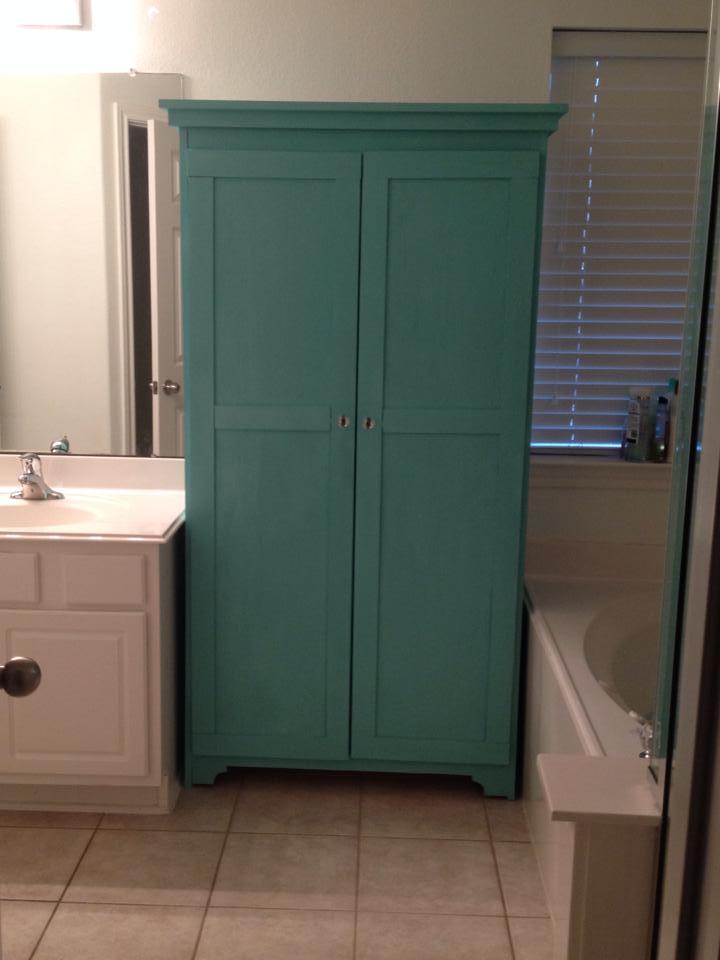
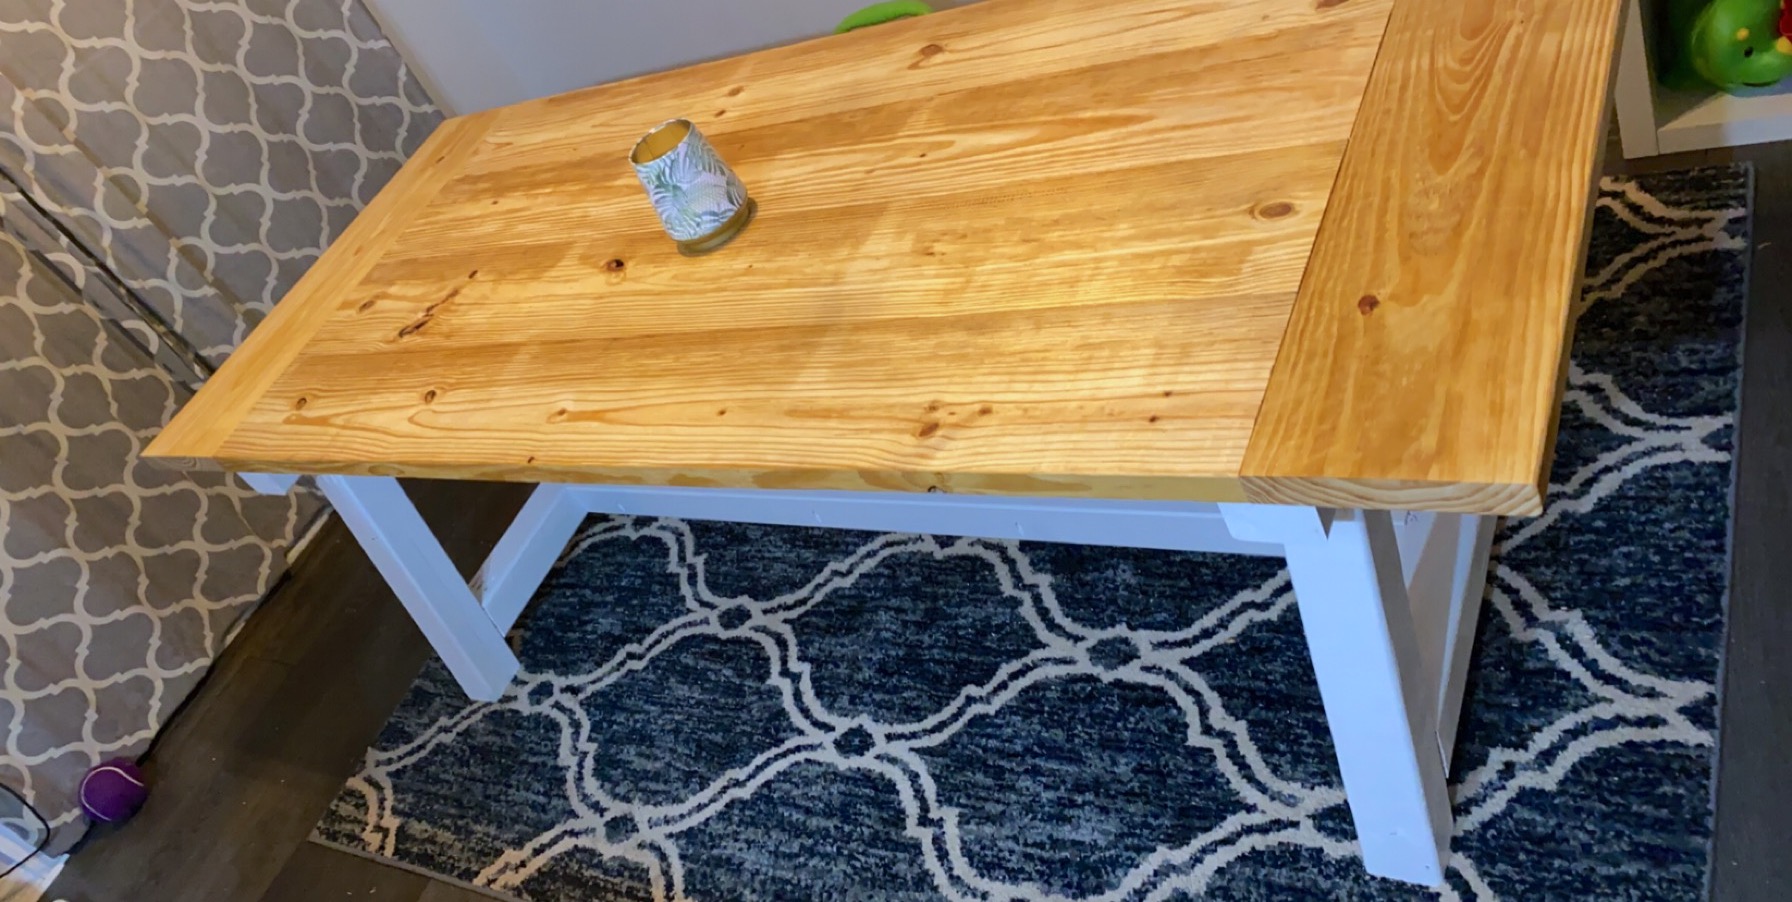
The hardest (and longest) part of this project was the painting! I have alway just used wood stain when I have refinished furniture, but I decided to go with white Rustoleum primer followed with 2 coats of Rustoleum paint, and finished off with a coat of Rustoleum lacquer. The paint was very thick and even with a $20 paint brush it did not go on evenly--it was a huge source of irritation! I also decided to use decorative hinges on the exterior rather than slim hinges on the inside.


Comments
JoanneS
Sat, 10/20/2012 - 13:13
Spectacular!
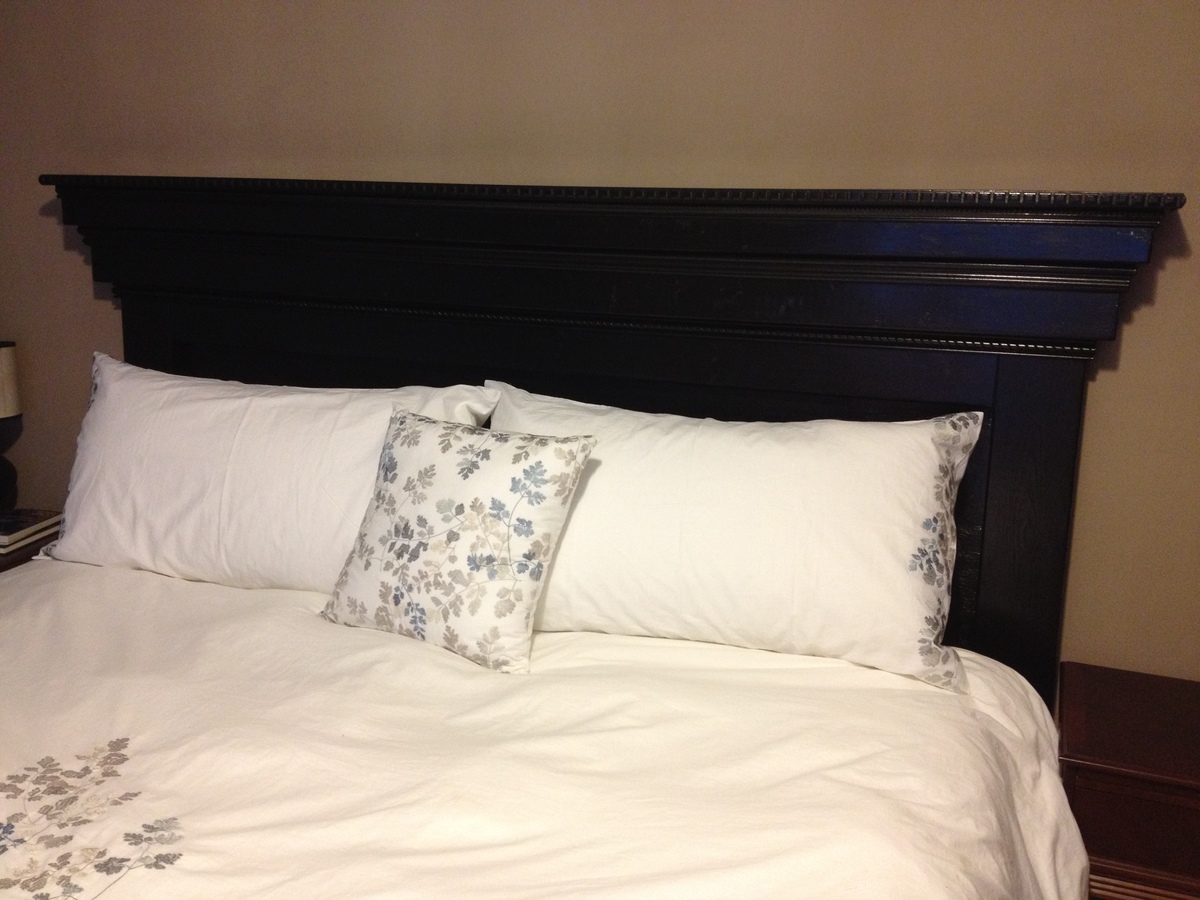
Wow, this is so beautiful! You did an absolutely amazing job on this! Congratulations on a fab first project, it is prettier than any headboard I've seen in a store. :)
Joanne
In reply to Spectacular! by JoanneS
bethhamstra
Fri, 10/26/2012 - 20:02
thanks Joanne! I'm so happy
thanks Joanne! I'm so happy with it and can't wait to start my next project!
alamanda973
Sat, 10/20/2012 - 18:11
Amazing!
Great job! Very nice finish!
alamanda973
Sat, 10/20/2012 - 18:11
Amazing!
Great job! Very nice finish!
5 tator tots (not verified)
Tue, 10/23/2012 - 19:09
Finish
I have so much trouble getting a smooth painted finish, always have brush or roller marks even with quality paint and paint conditioner. How did you paint your beautiful headboard?
In reply to Finish by 5 tator tots (not verified)
bethhamstra
Fri, 10/26/2012 - 20:01
re: finish
Thanks for the compliment. I did a light sand between coats and then finished with a very light coat of polyurethane. I hope that helps a bit!
Sabrina426
Sun, 03/24/2013 - 13:34
King Size
You did an unbelievable job! I'm planning on this for my first project.
Do you have the dimensions you used for the king size??
Mommaofun
Wed, 02/26/2014 - 17:32
King size measurements
Looks Awesome!! Can I get the measurements and cut list or the king size please!
bethhamstra
Wed, 02/26/2014 - 19:07
King size dimensions
I'm sorry I didn't keep the dimensions on the cut list. Basically you just need to add 16" to every piece that will run the length of your headboard. A standard queen bed is 60" wide whereas a standard king is 76". Hope this helps!
bethhamstra
Thu, 02/27/2014 - 13:45
King Dimensions Cut List
2 – 2x6 @ 59 ¼”
2 – 2x6 @ 70"
2 – 2x2 @ 8 ½”
1 – 2x2 @ 84"
1 – 2x6 @ 84"
2 – 2x4 @ 3”
1 – 2x4 @ 87"
1 – 1x6 @ 89"
1 – ¼” plywood @ 72" x 22 ¾”
Margery
Sun, 10/05/2014 - 18:30
oh my gosh...this is so
oh my gosh...this is so beautiful! I want one just like it! I just might attempt it after I make my faux fireplace mantel :D
GREAT JOB!!!