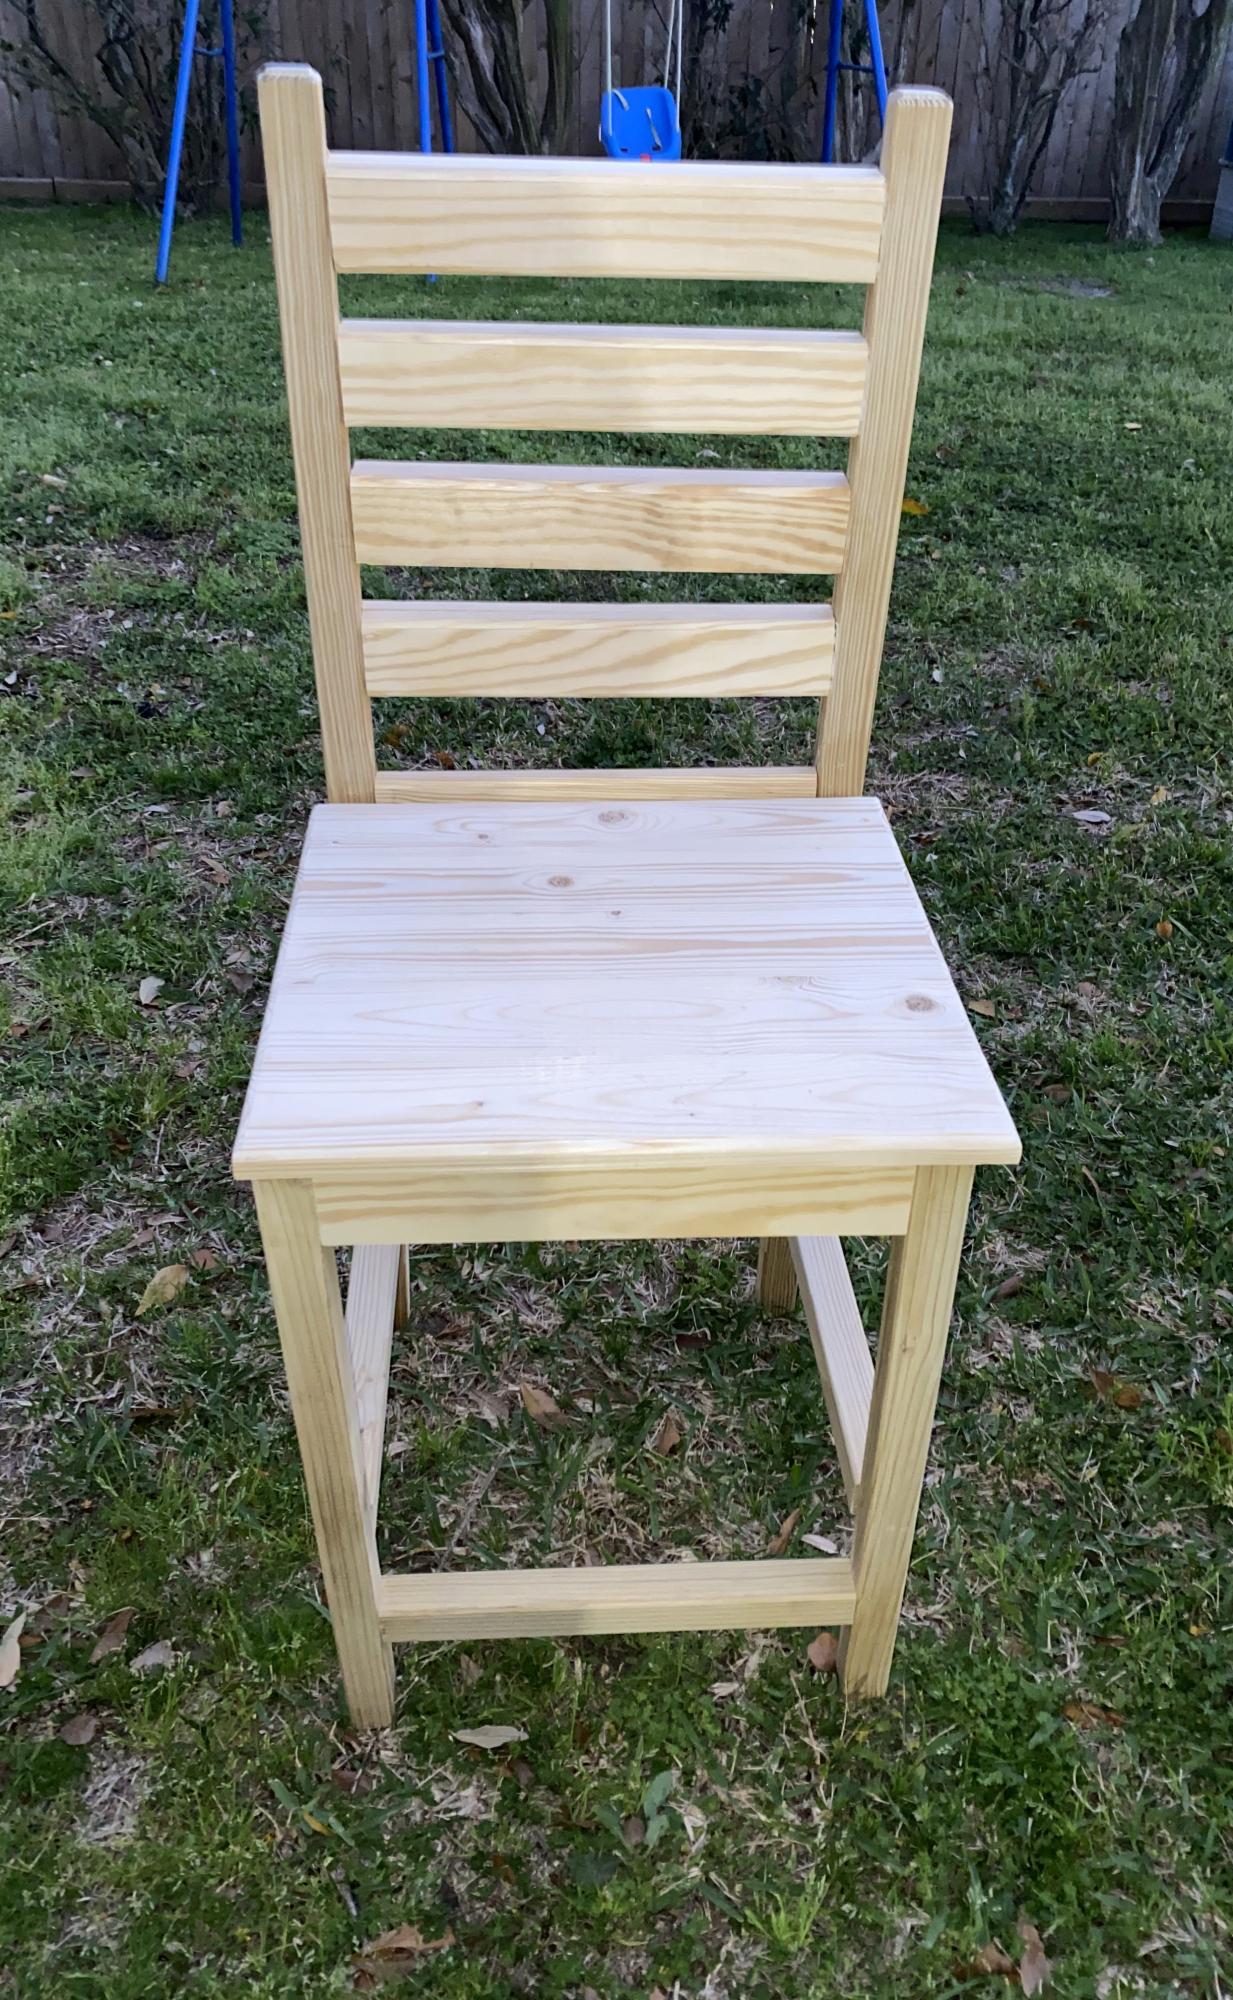
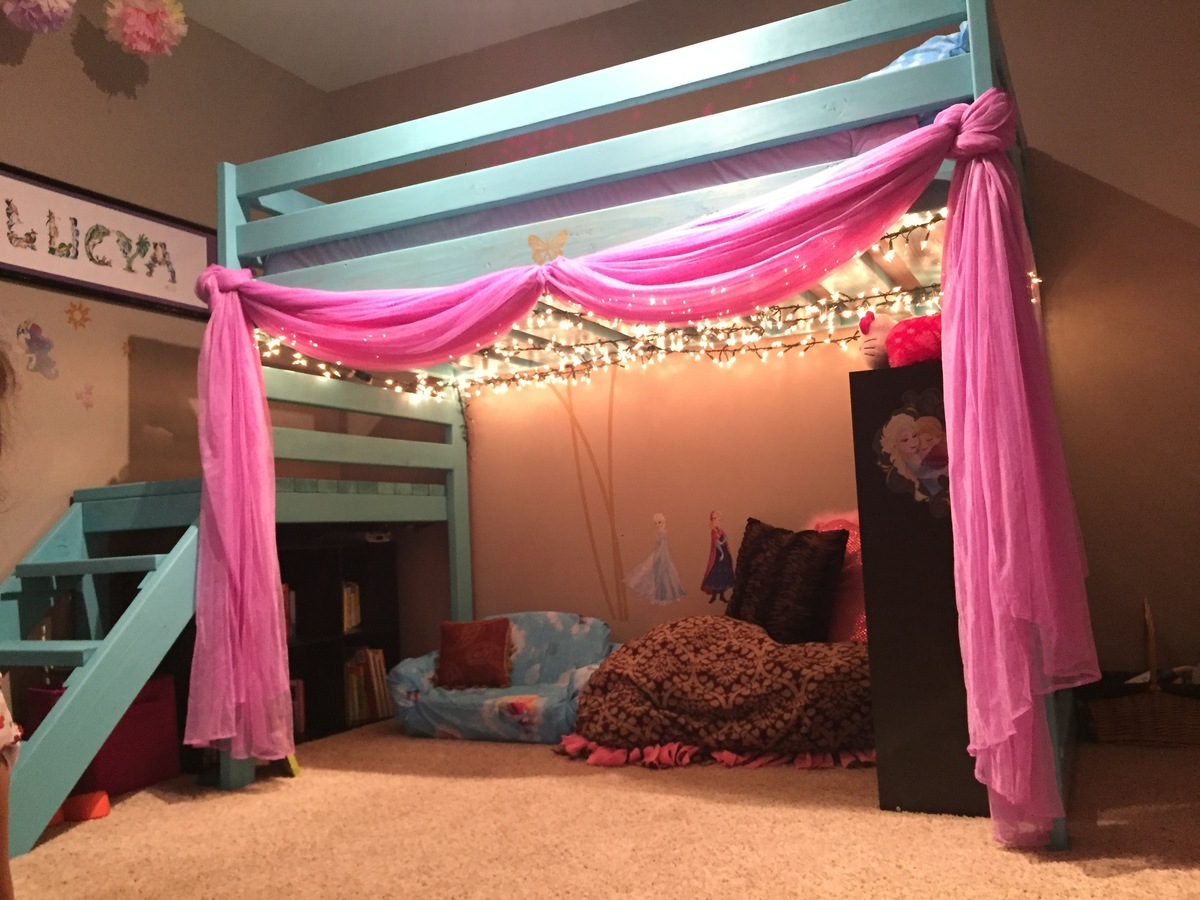
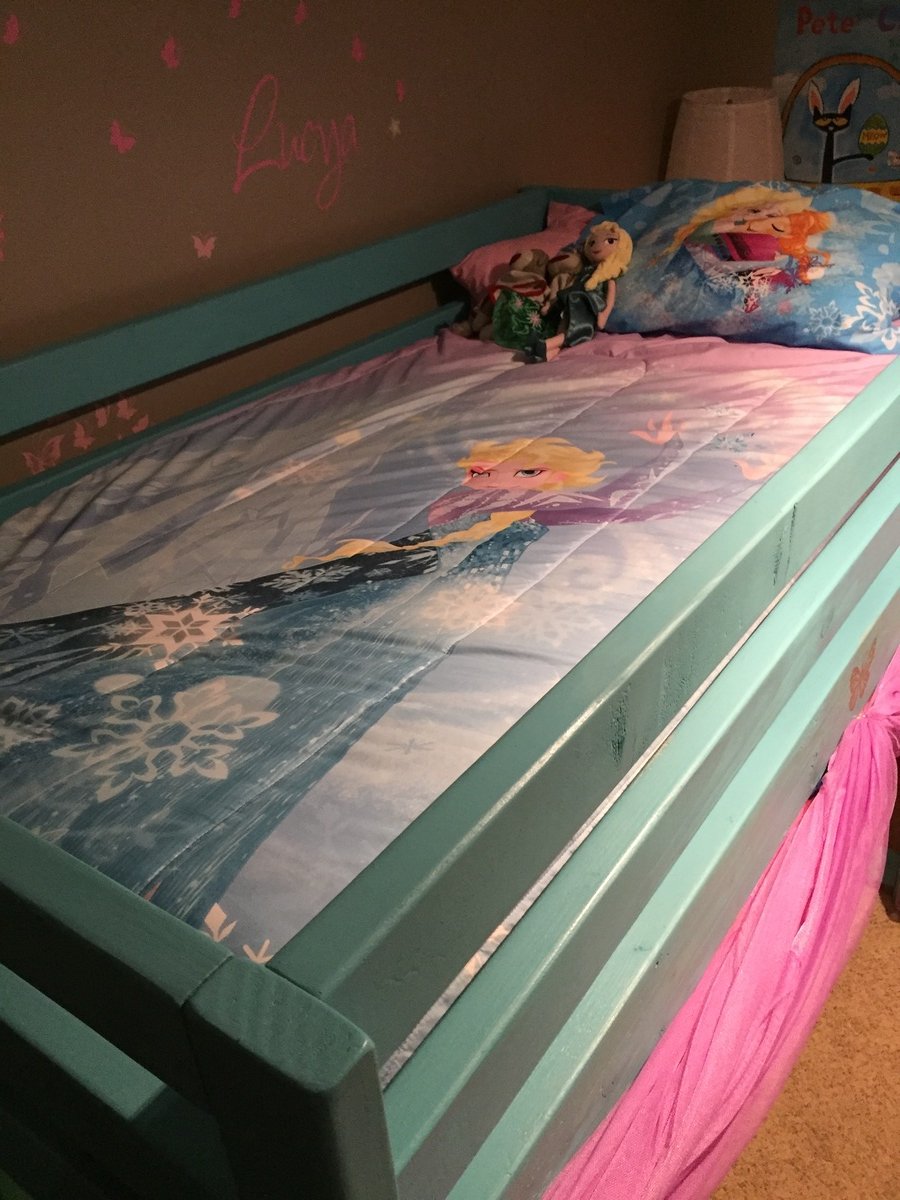
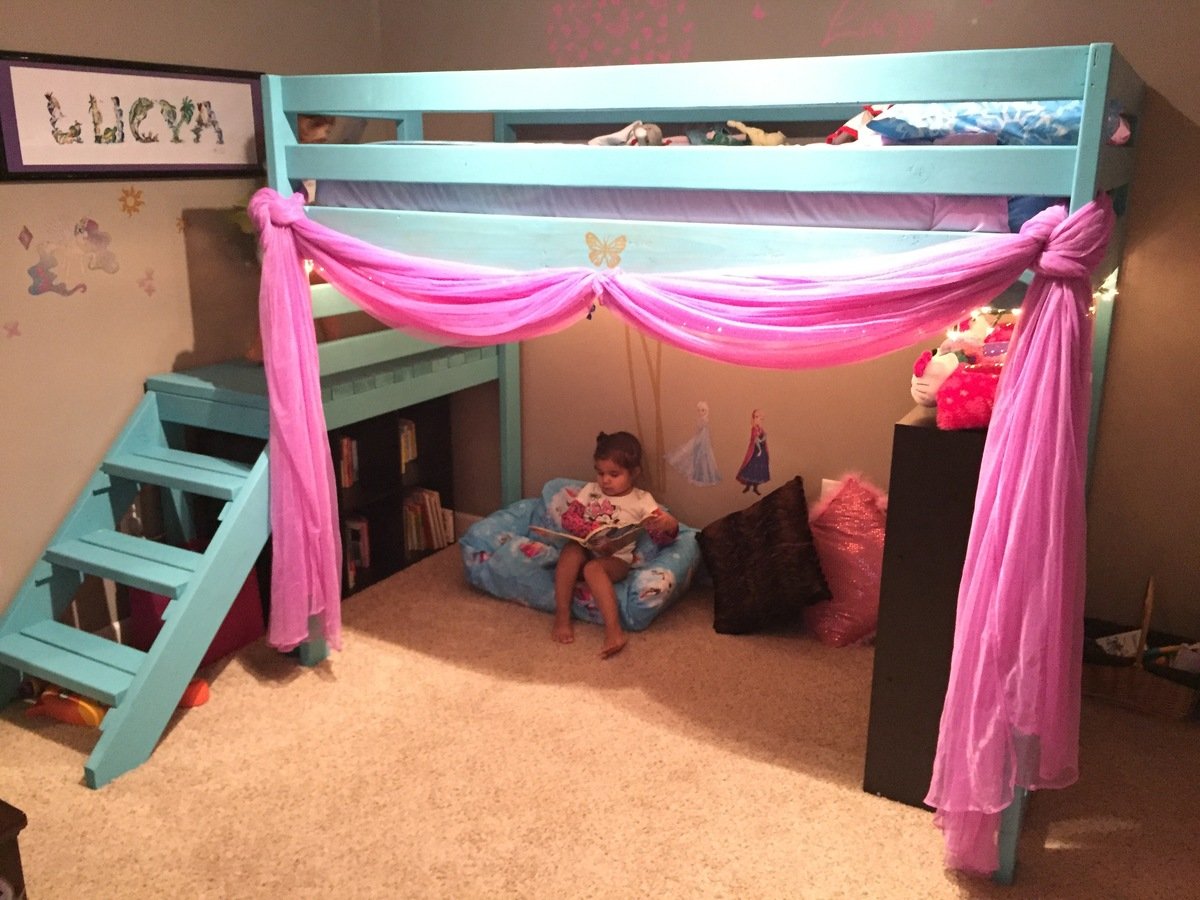
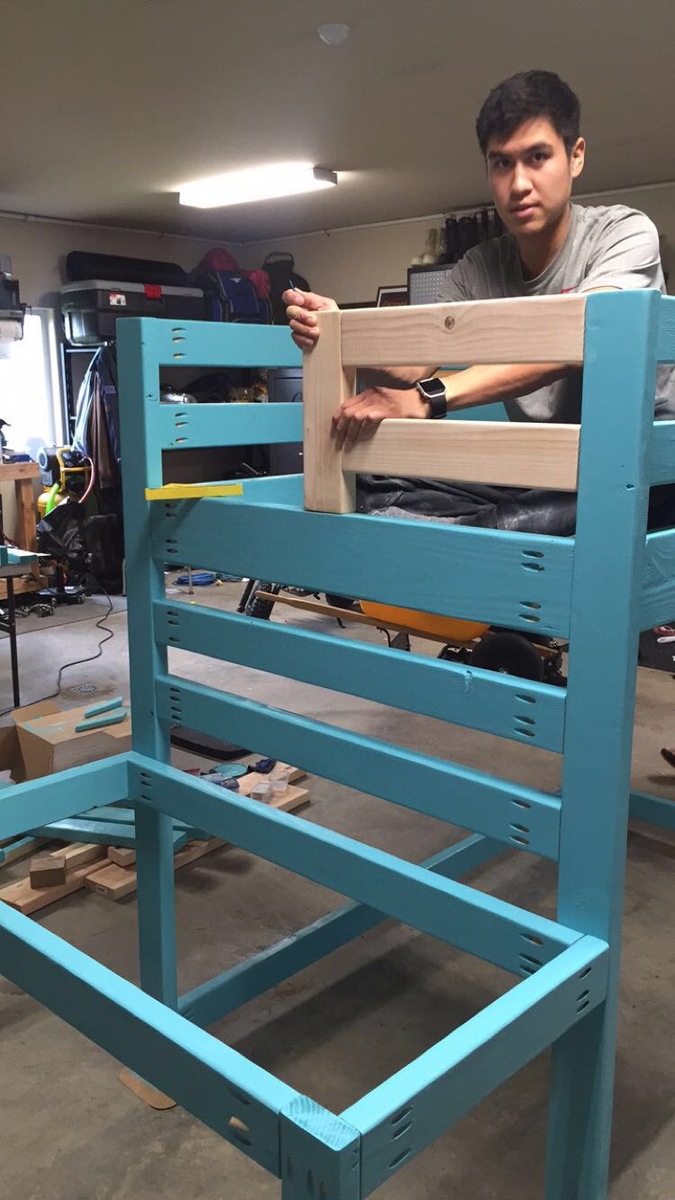
Finished the Simple Bed! (Twin)
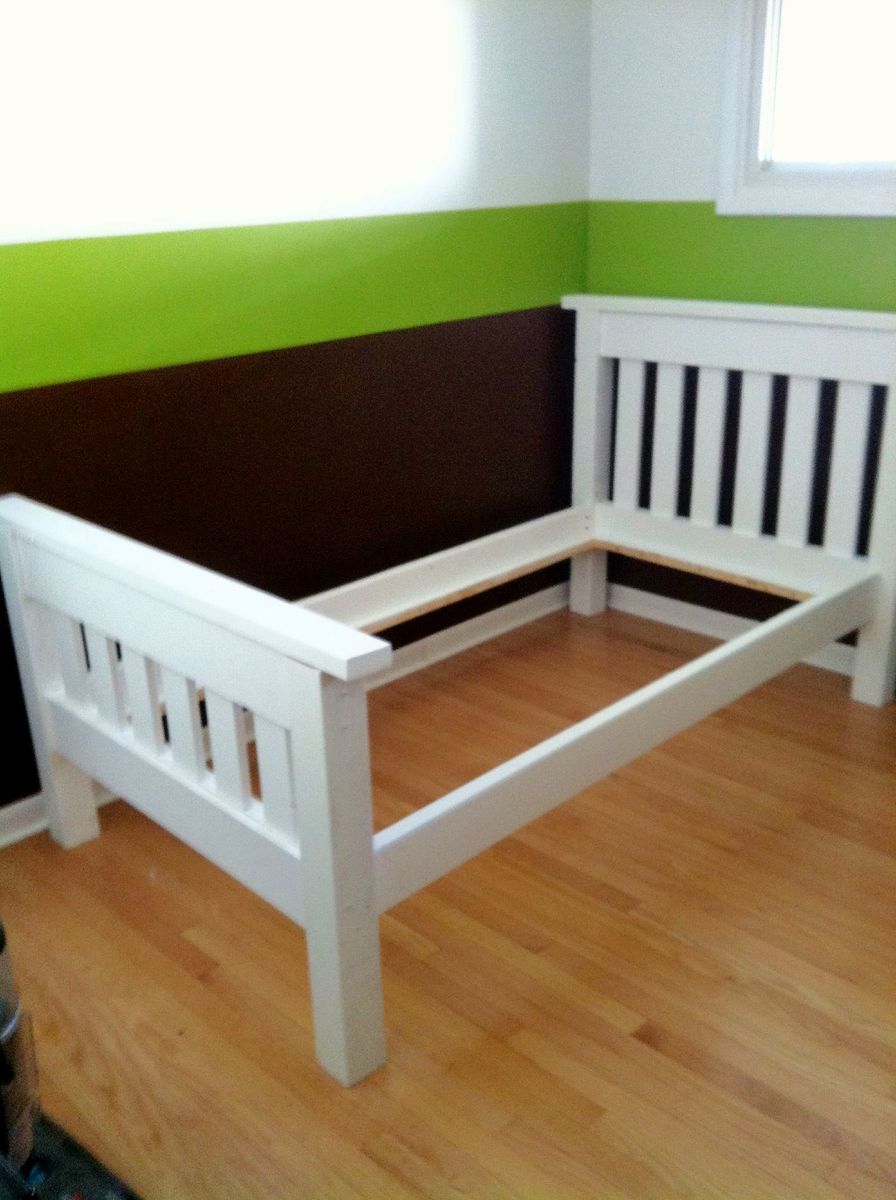
Just finished this Twin Size Simple Bed direct from the Ana White plans. This is my first project that I've completed, and it went well! The plans were great, and my only advice would be to take your time. I know that some people don't like to paint the wood, but this white just fit the room perfectly. As a side-note, this bed is SOLID and very heavy! Amazing what a difference real wood is to the stuff you get at the furniture store.
Built from Plan(s)
Estimated Cost
$50
Estimated Time Investment
Weekend Project (10-20 Hours)
Finish Used
Menards flat bright white interior paint.
Recommended Skill Level
Beginner


Comments
Amie (not verified)
Wed, 07/25/2012 - 12:49
I am looking into making this
I am looking into making this bed but into a bunkbed, but I am afraid of doing a bad paint job....any suggestions?? Should I paint prior to putting together? Thank you your detoured out GREAT!!!
reyncloud
Thu, 07/26/2012 - 05:20
Painting
Hi Amie! After putting this all together and then sanding and painting, I think this time around (I'm making a 2nd one), I'll cut the pieces according to the cut list, then sand and paint the pieces before putting them together. The painting wasn't too bad to do after putting it together, but the sanding was difficult with some of the angles on the head and footboard. I'll update this after I do it this other way..good luck with your project!! It's very satisfying to see the finished result after you finish!
Ahab (not verified)
Sun, 01/06/2013 - 13:35
Cost of wood
I just priced this out and the lumber comes to $130 for decent pine...
reyncloud
Sun, 01/06/2013 - 16:00
Pine Cost
Hi Ahab.. One thing I've figured out from reading posts is that the cost of lumber (and pine) varies widely across regions. Each store also has different grades of lumber available. If you take the time to go through lumber piles and choose boards that are straight you can save a fair chunk of change. Just my 2 cents.. Good luck with your project though!
Medickep
Thu, 12/18/2014 - 16:36
Bed Rails
I have a question on how the rails connect to the head and foot board. I think the original plans have you make a box out of 2x2's, Do the 2x2's just screw to the headboard and footboard? This seems like the easiest, unless you want to take it apart and move it! Anyone have ant thoughts on this?