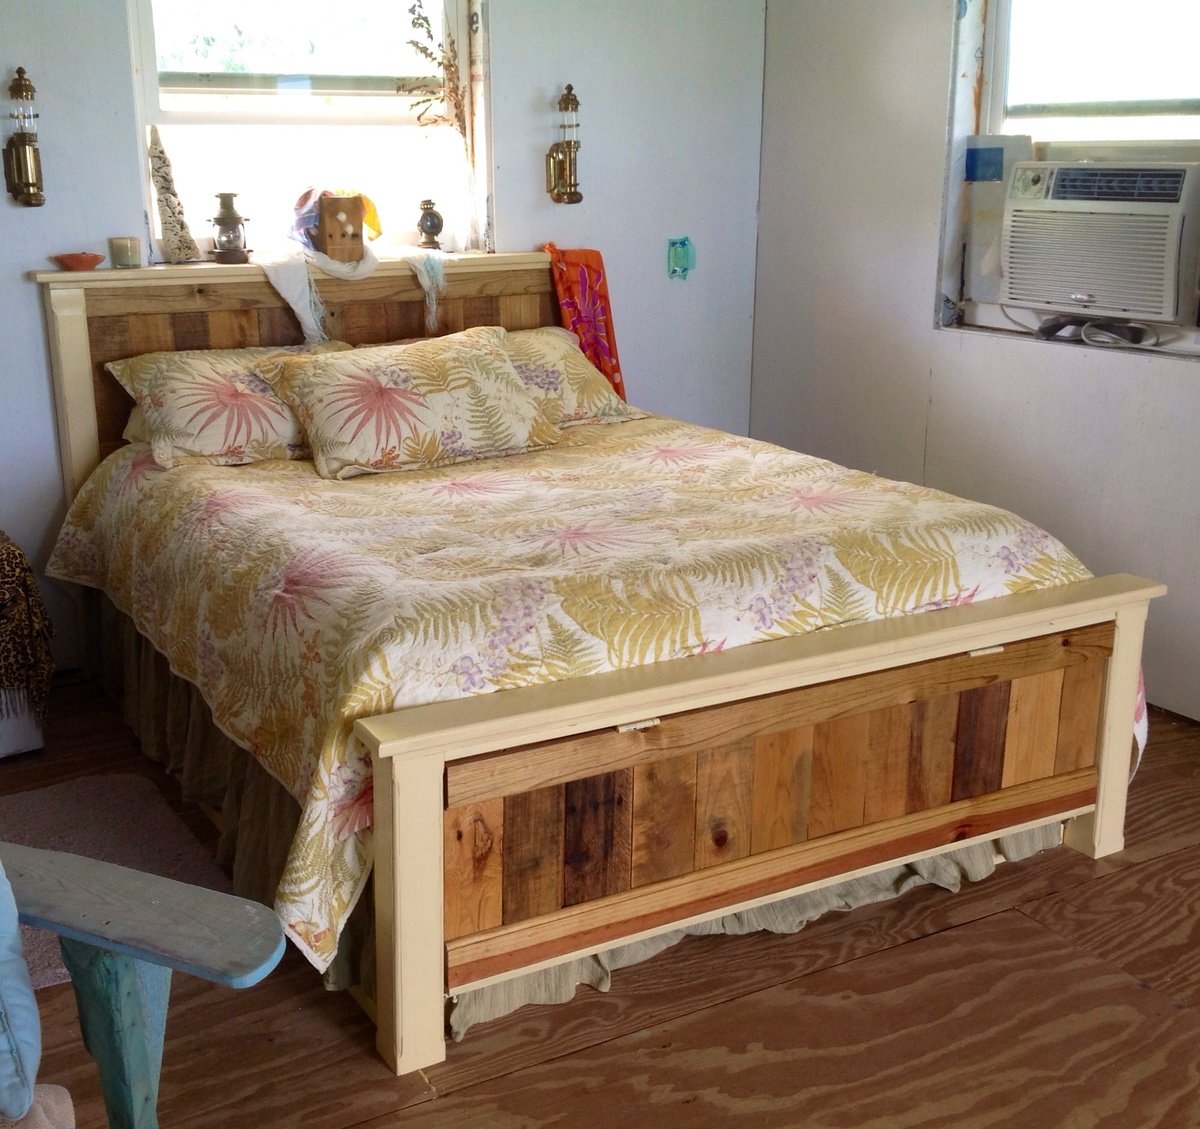
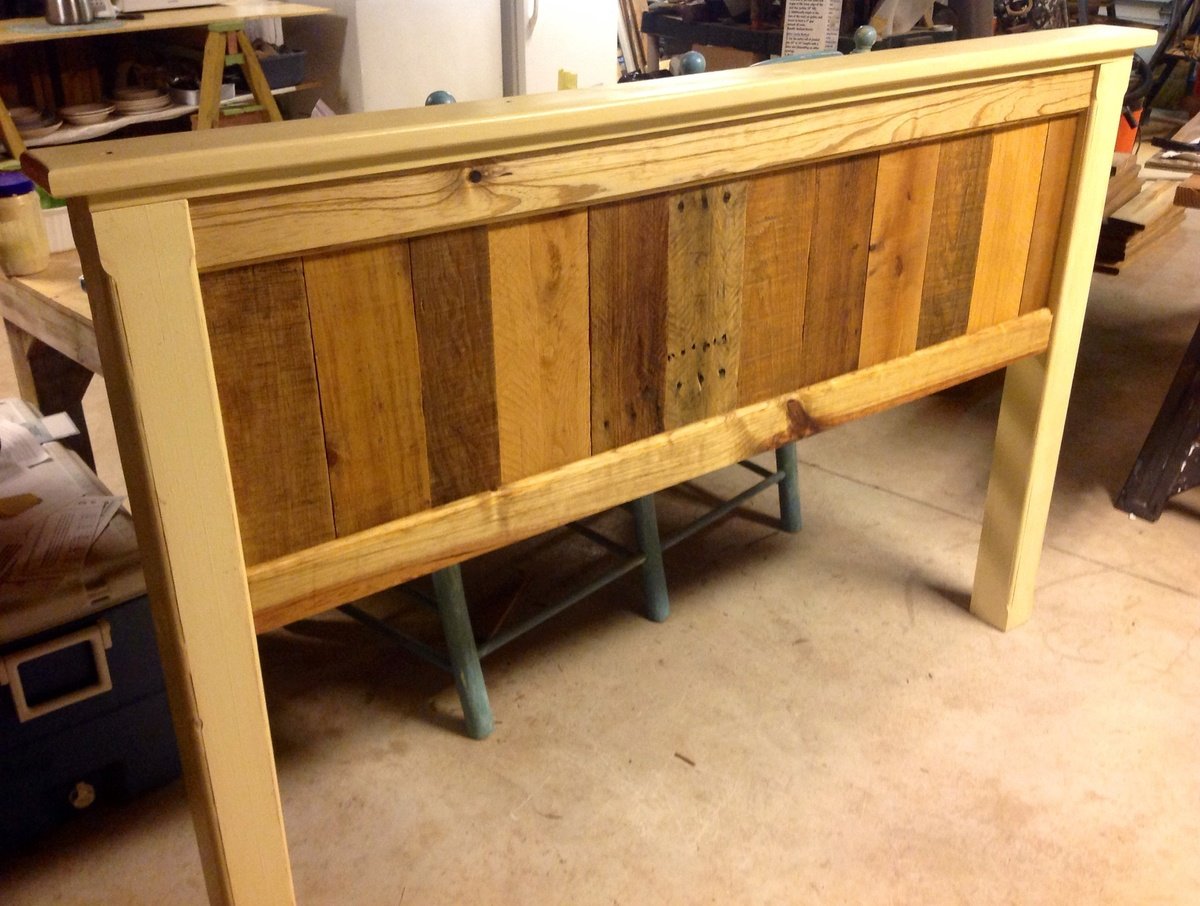
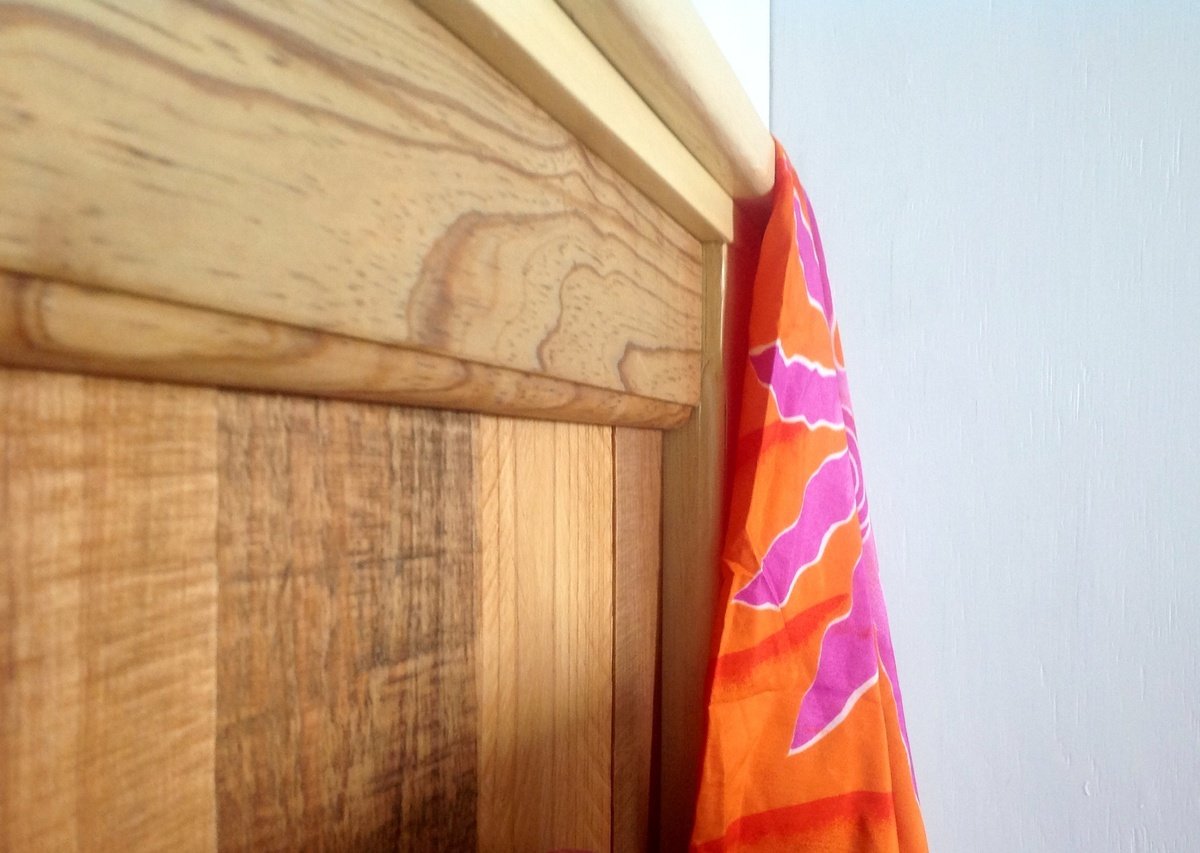
Beach Cottage Dresser
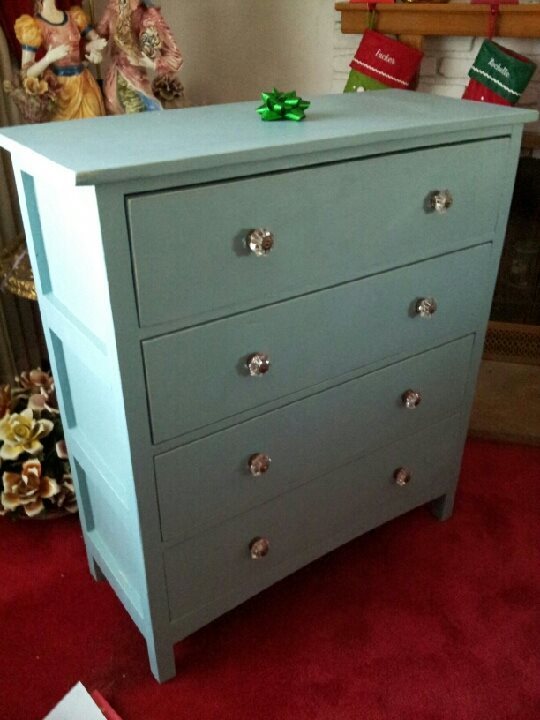
This was my first dresser. The original plans say to lay the dresser on its back and center the drawer fronts then nail in place; in my opinion it is faster and more accurate to hold them in place and have a helper nail them in place. Also, the original plans suggest a certain jig for installing the slides which requires a locking c-clamp to hold the jig in place. Well, in my opinion the locking c clamp, along with a magnetic small torpedo level is faster and easier than the jig. A six in steel rule with a slider clamp is also helpful.This was fun project - learned a lot! Thanks Ana & Patrick!
Built from Plan(s)
Estimated Cost
$250
Estimated Time Investment
Weekend Project (10-20 Hours)
Finish Used
DIY chalk paint, knobs from World Plus Market, and lightly distressed along edges so antique white primer would show through along edges. Base for chalk paint is latex plus calcium carbonate. Be sure to dissolve chalk in water before mixing into paint! I did two coats of antique white tinted primer, followed by two coats of chalk paint, then sealed with wax Also, the chalk will whiten your final color, so buy paint a couple of shades darker than what you would like your final finish to be.
Recommended Skill Level
Intermediate


Comments
Emendia
Tue, 12/24/2013 - 08:23
Also learned...
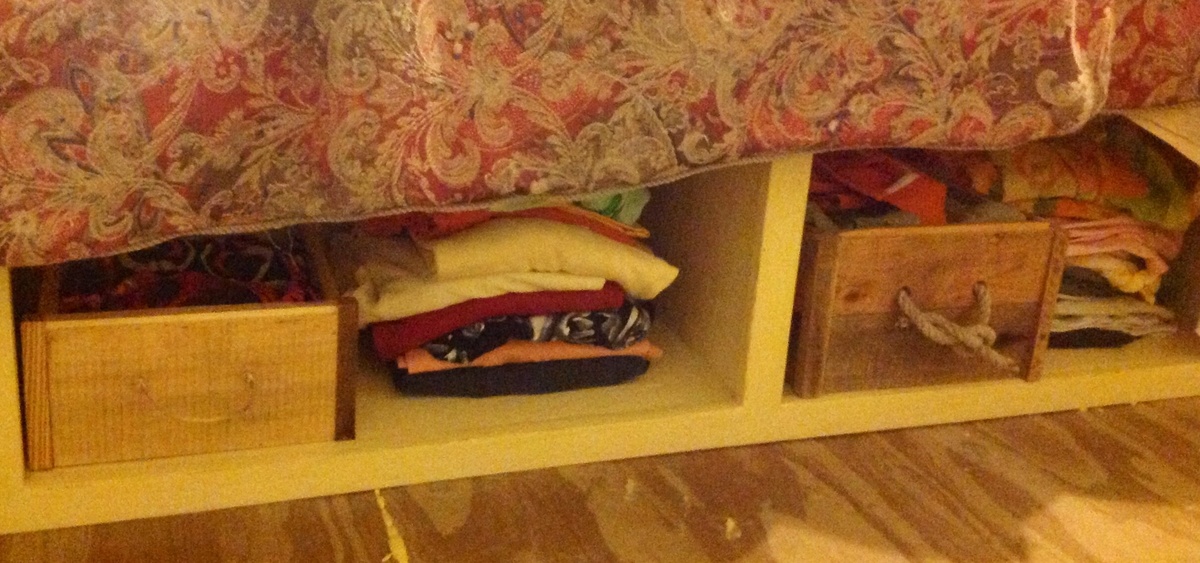
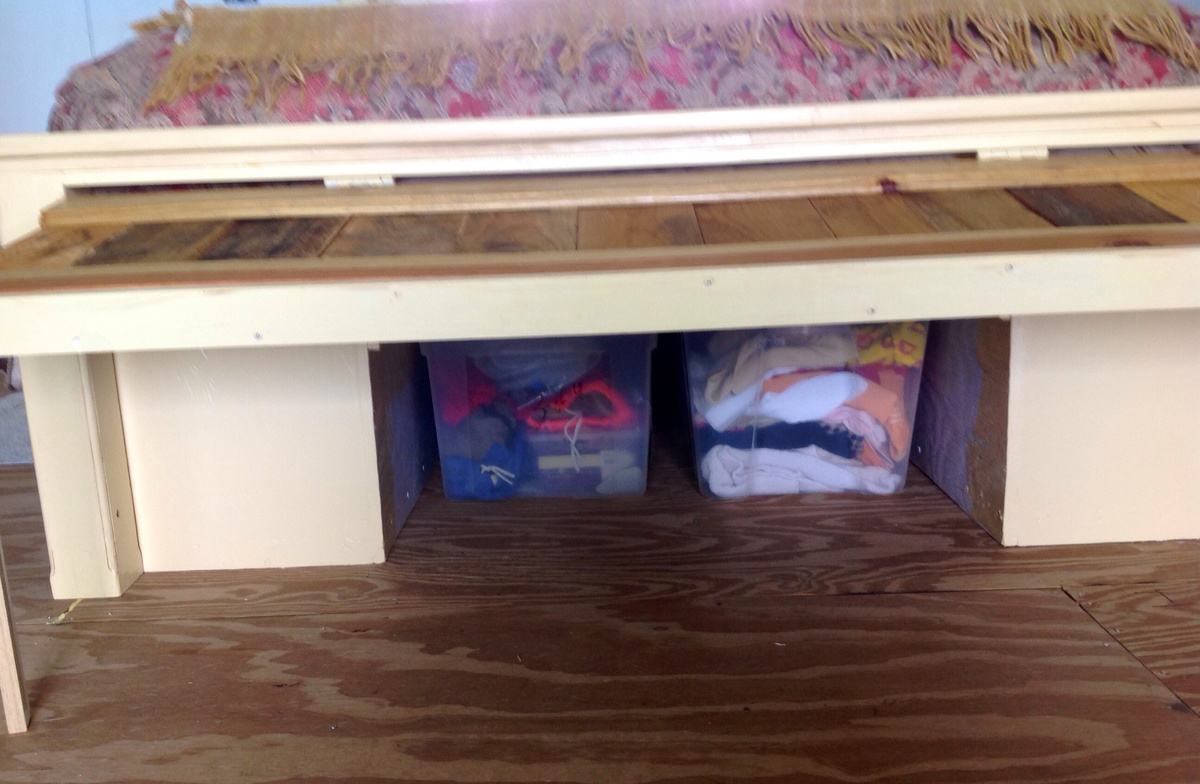
Oh, another lesson I learned: The drawers are made by attaching drawer fronts to the boxes. This makes the front 1.5 inches thick - this means most drawer knobs won't fit unless you use a Forstner or spade bit to bore a hole on the back side of the drawer face - in turn you may need to do this before you assemble the drawer!