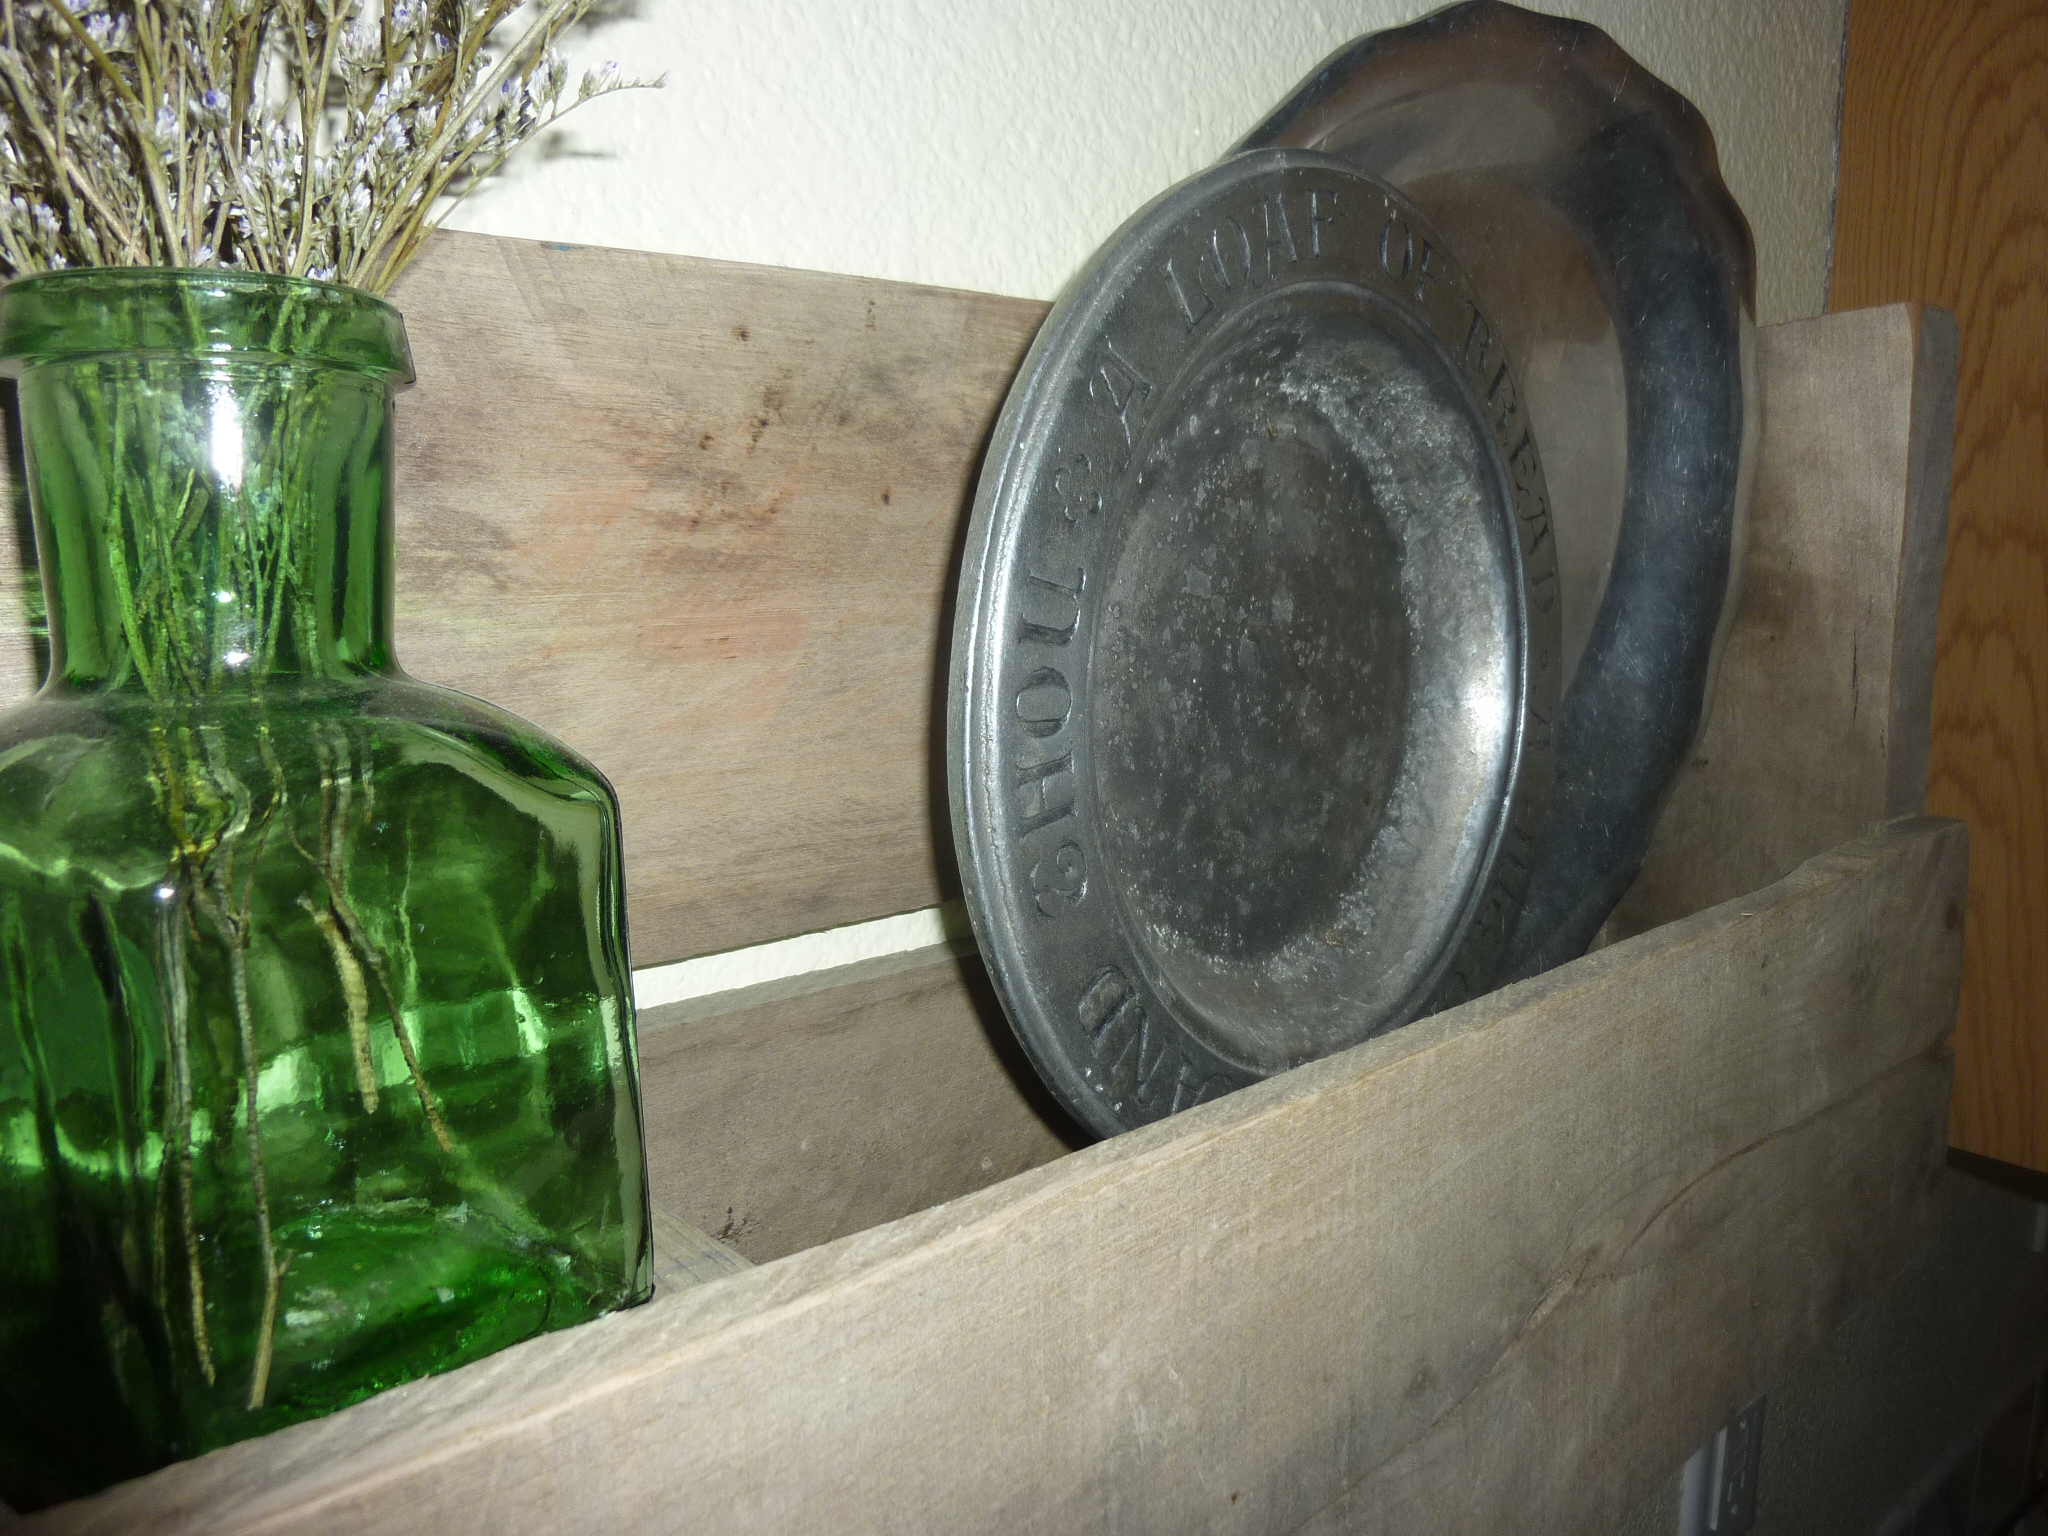
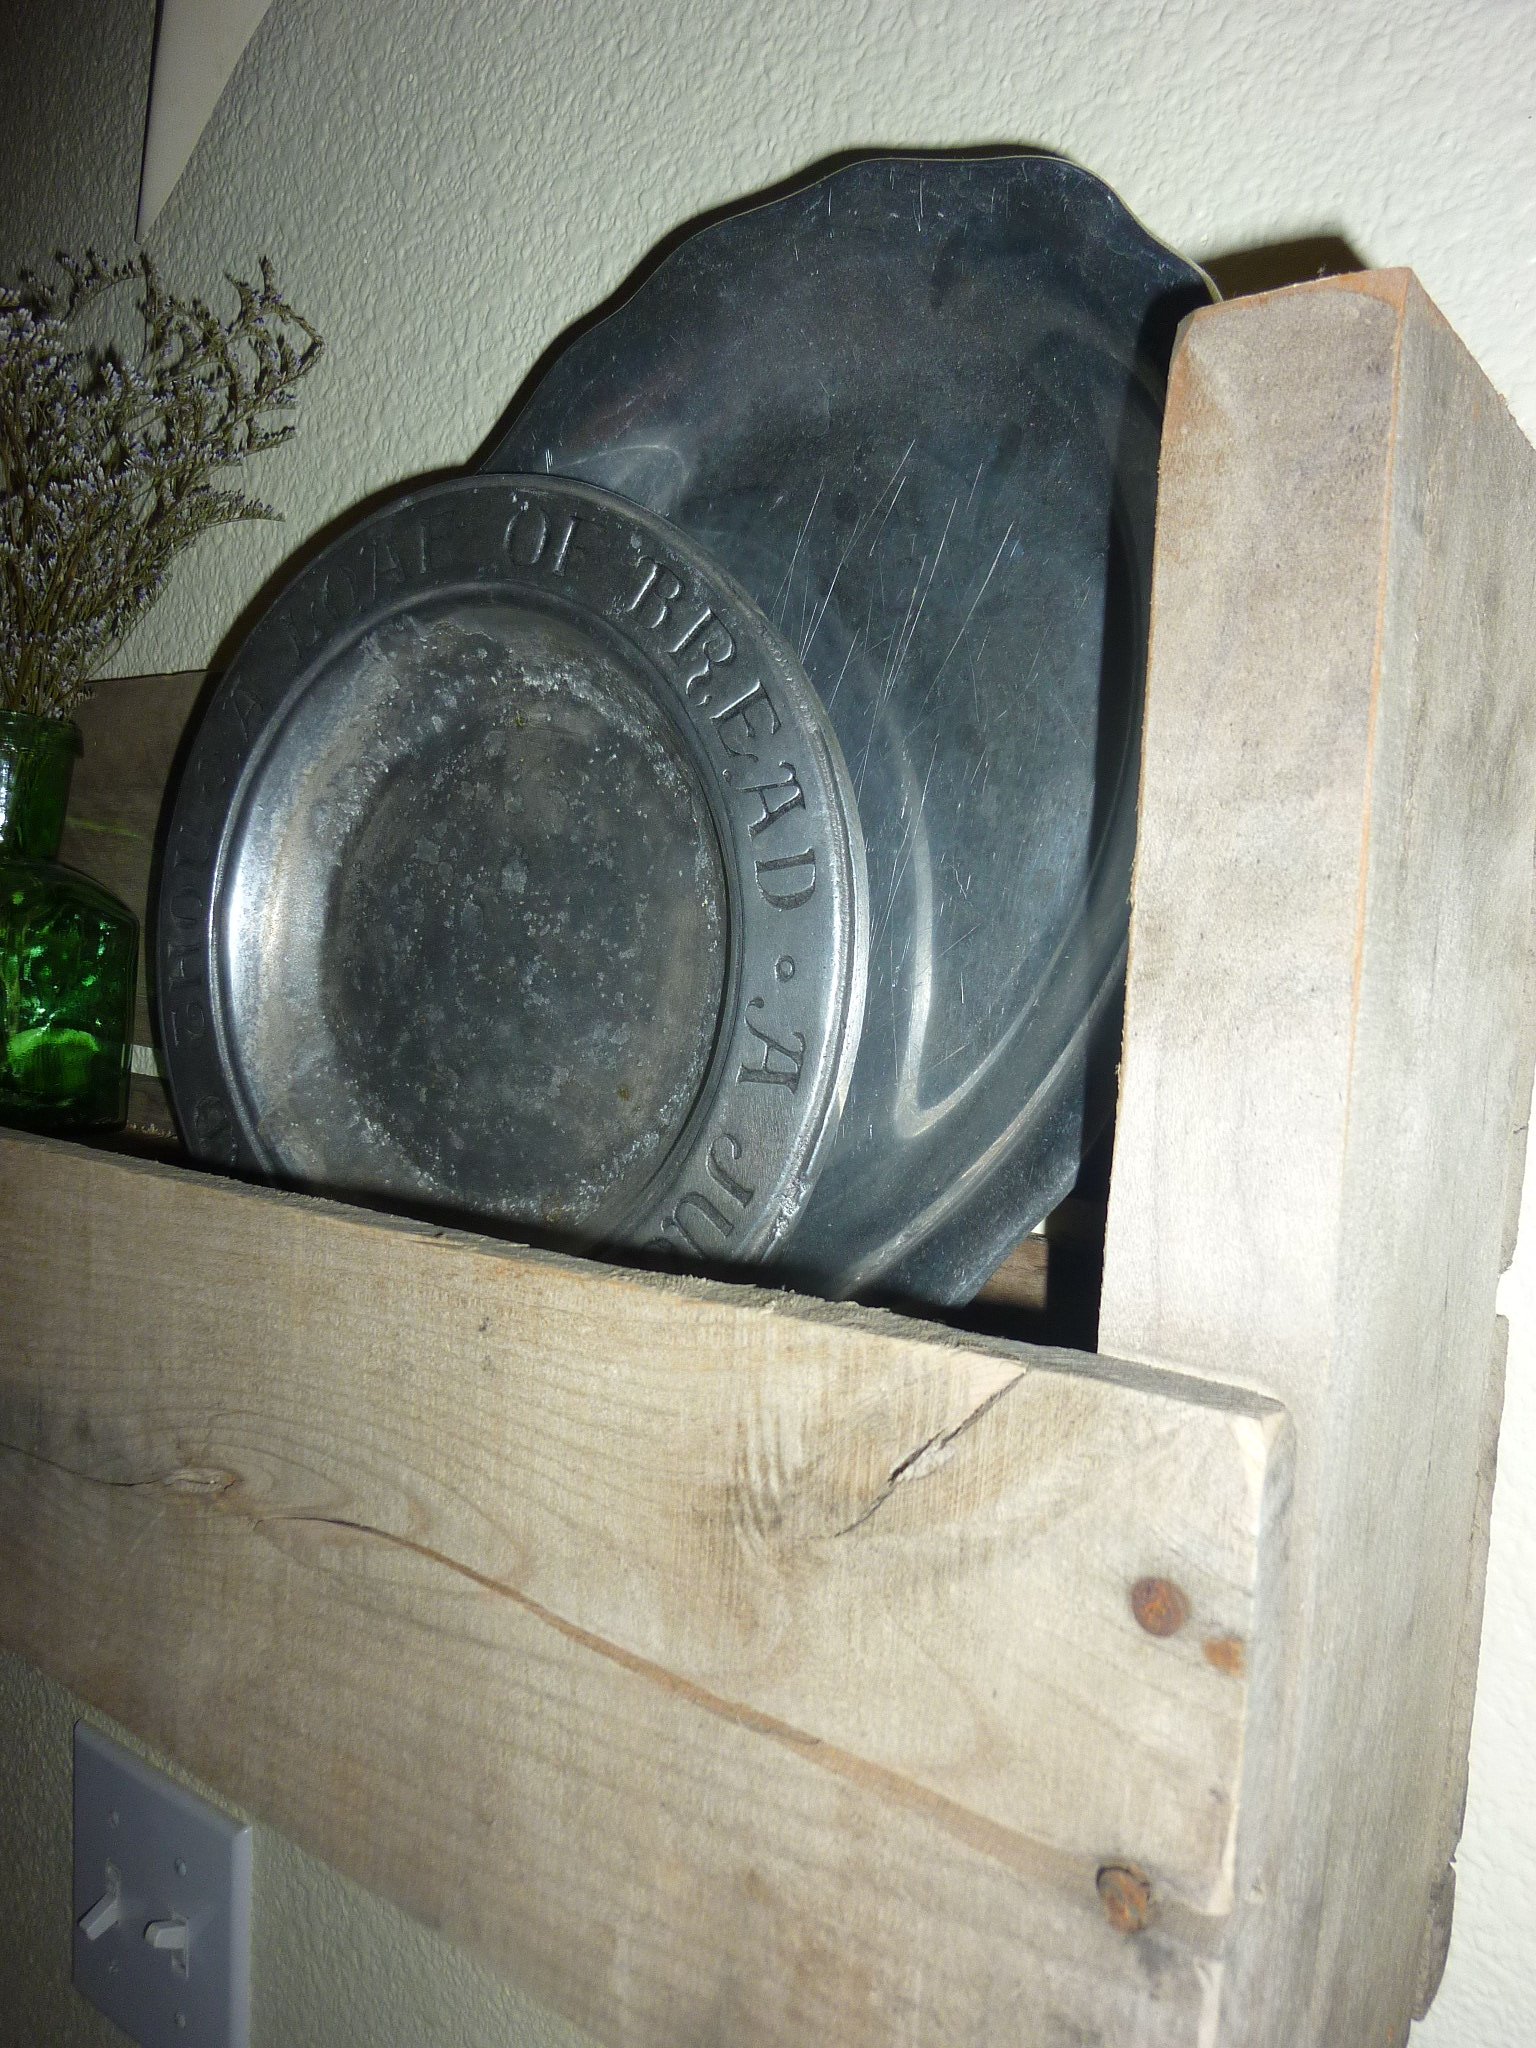
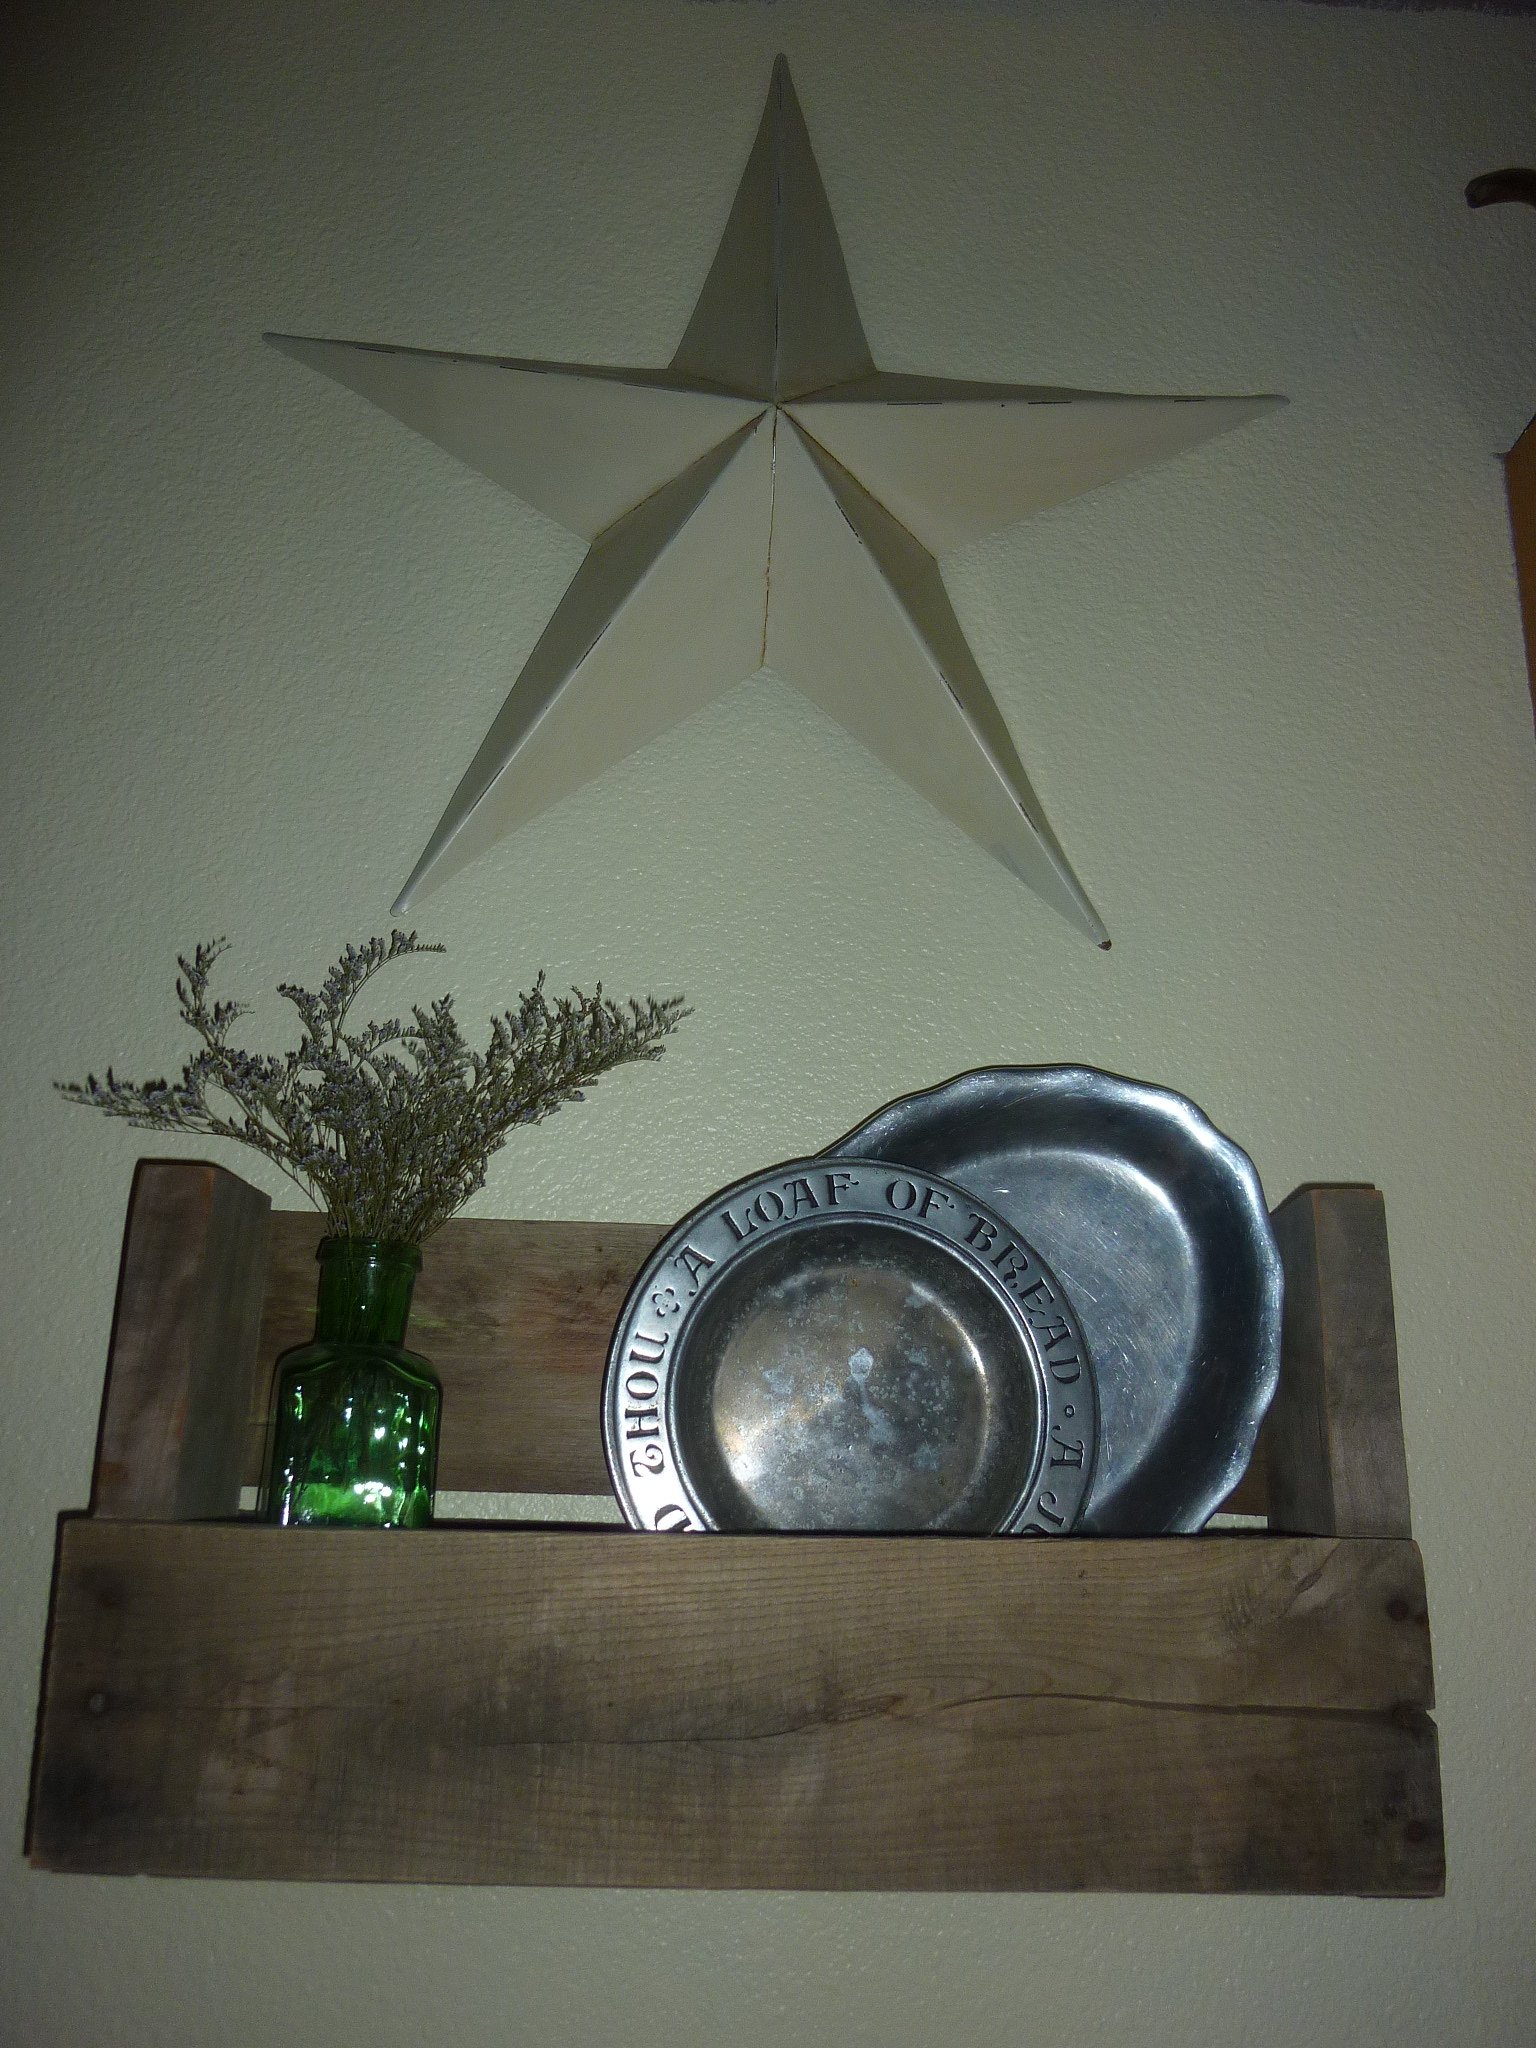
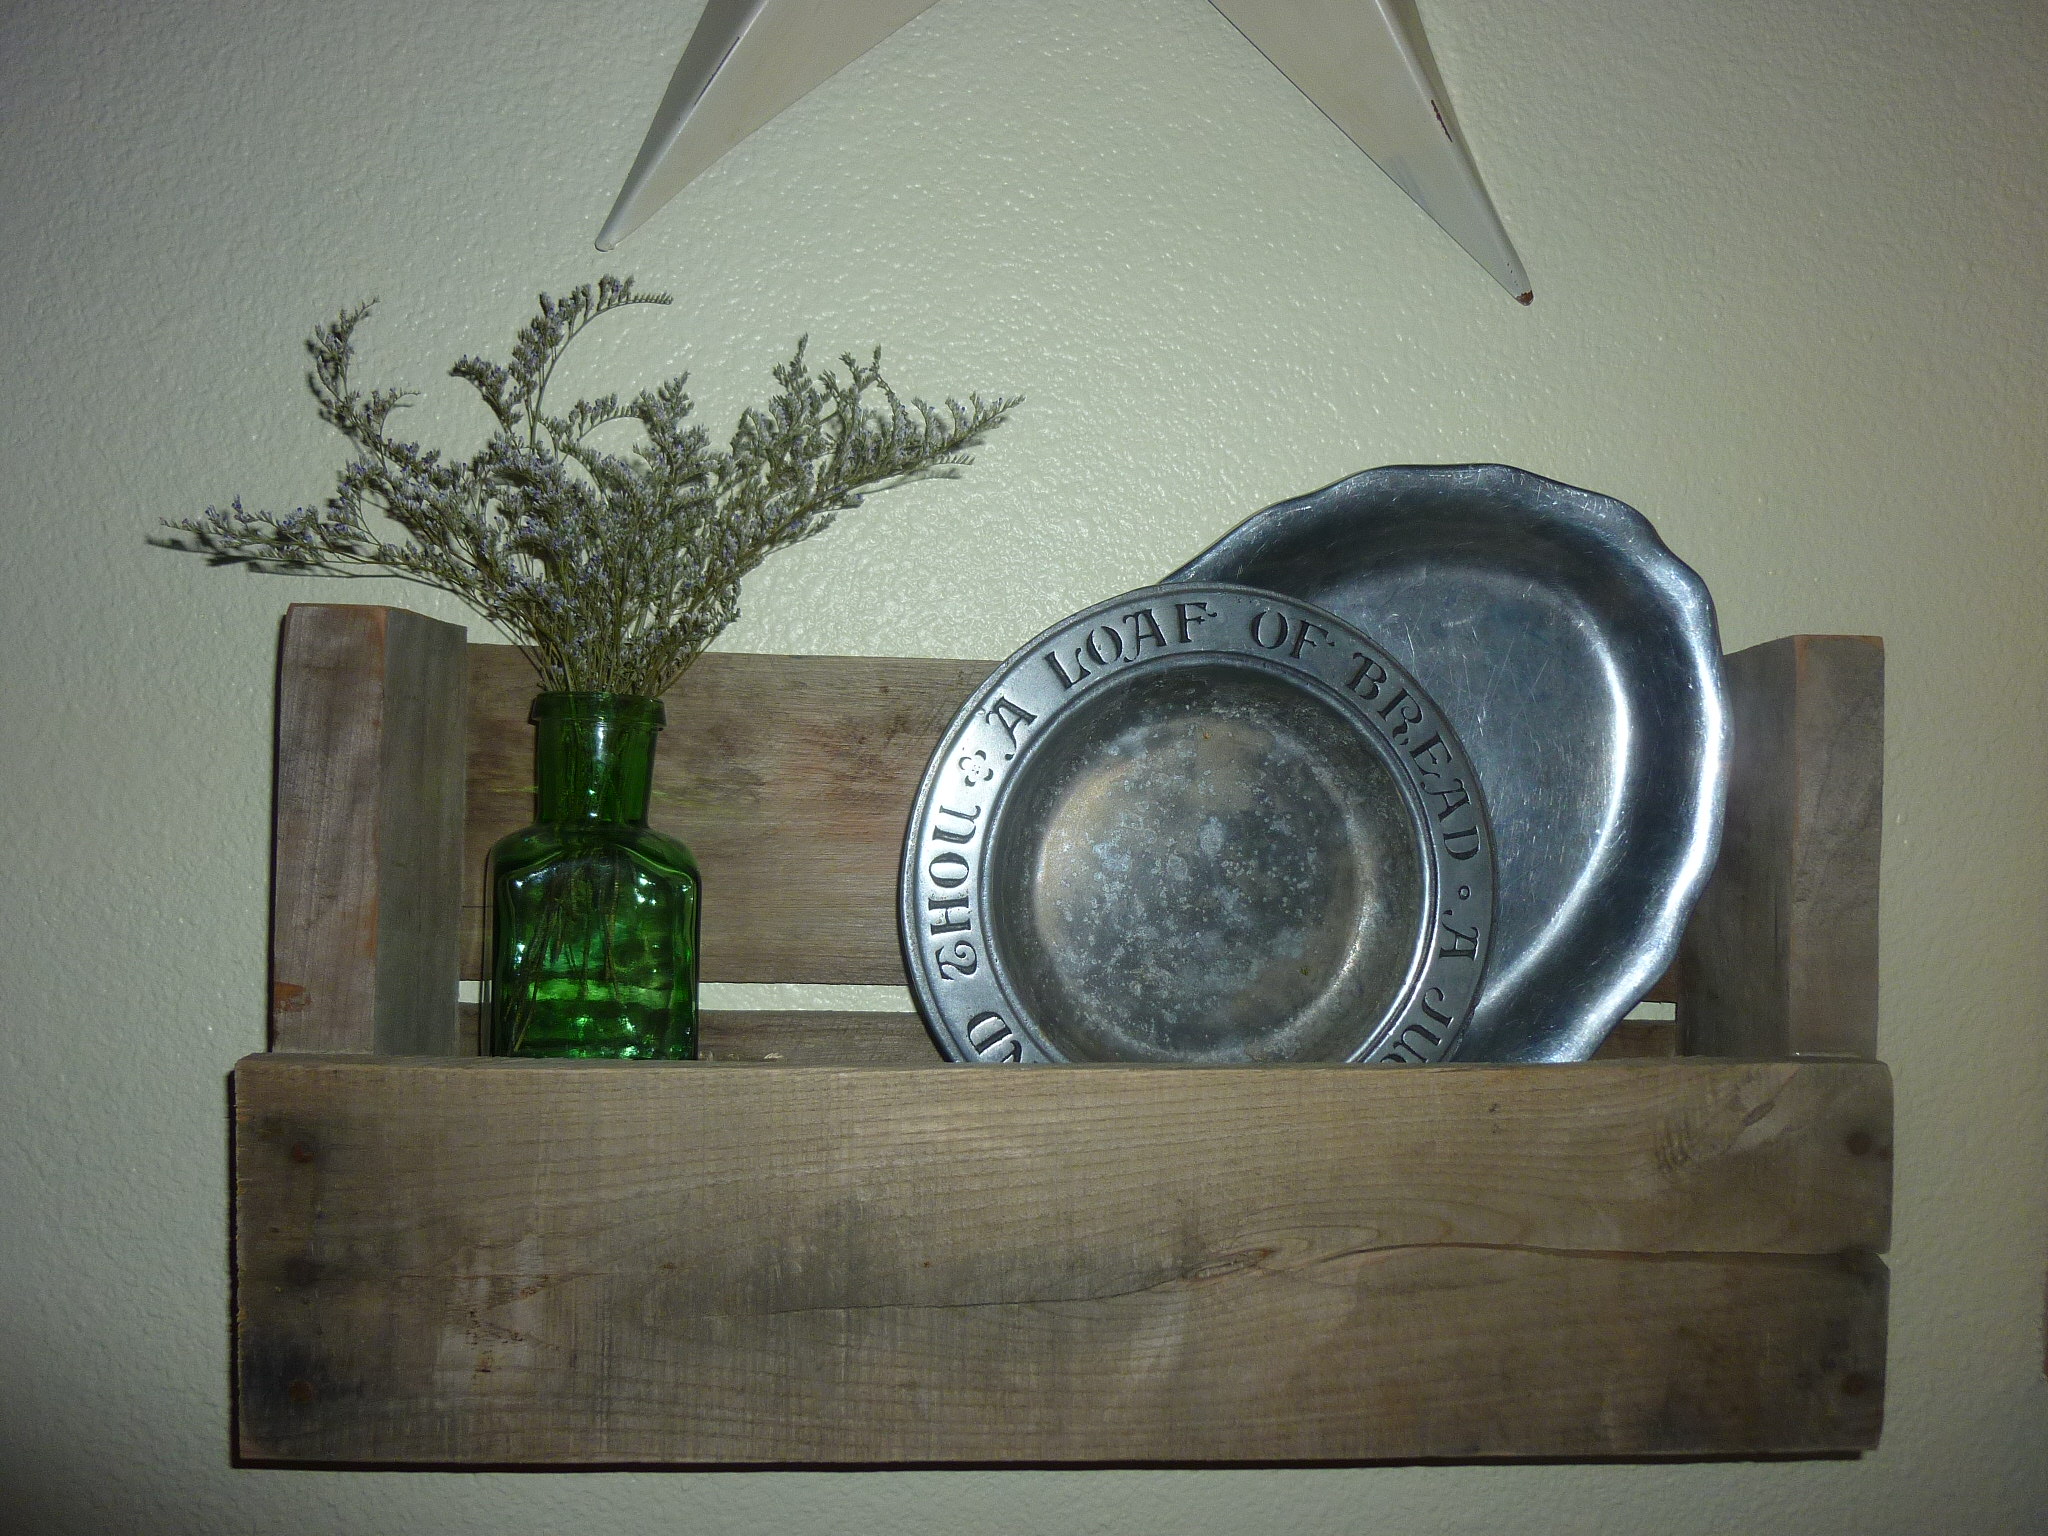
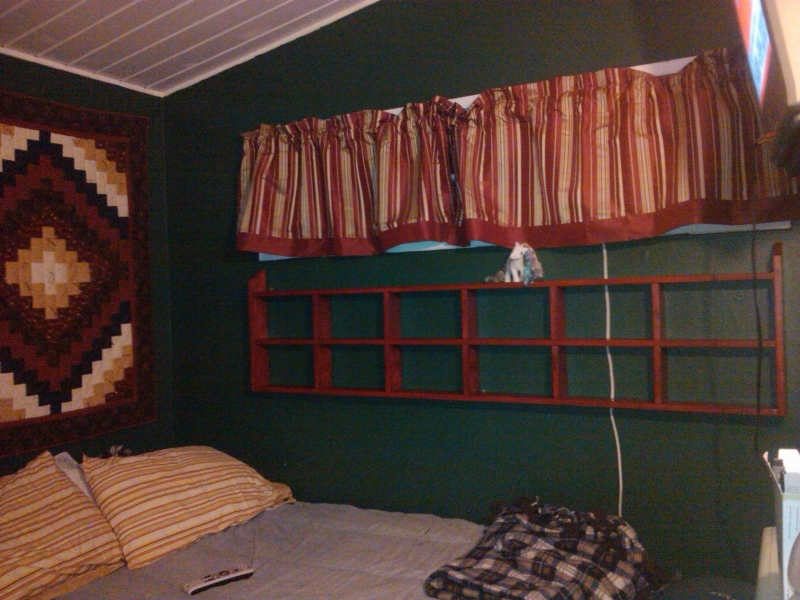
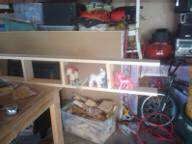
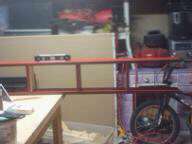
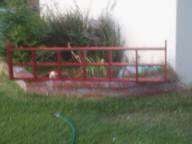
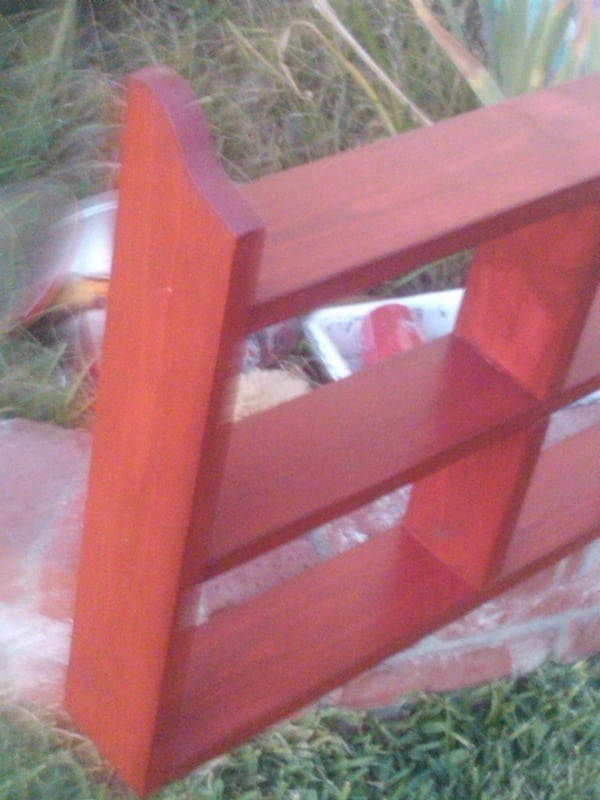
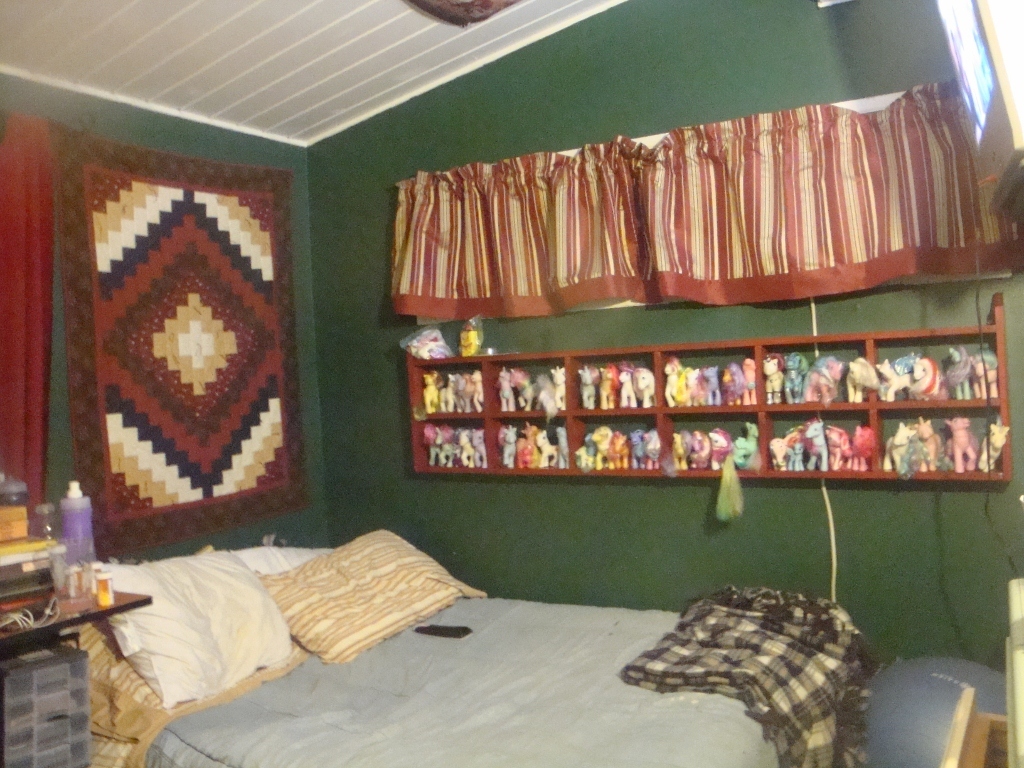
The Easiest Shelf!
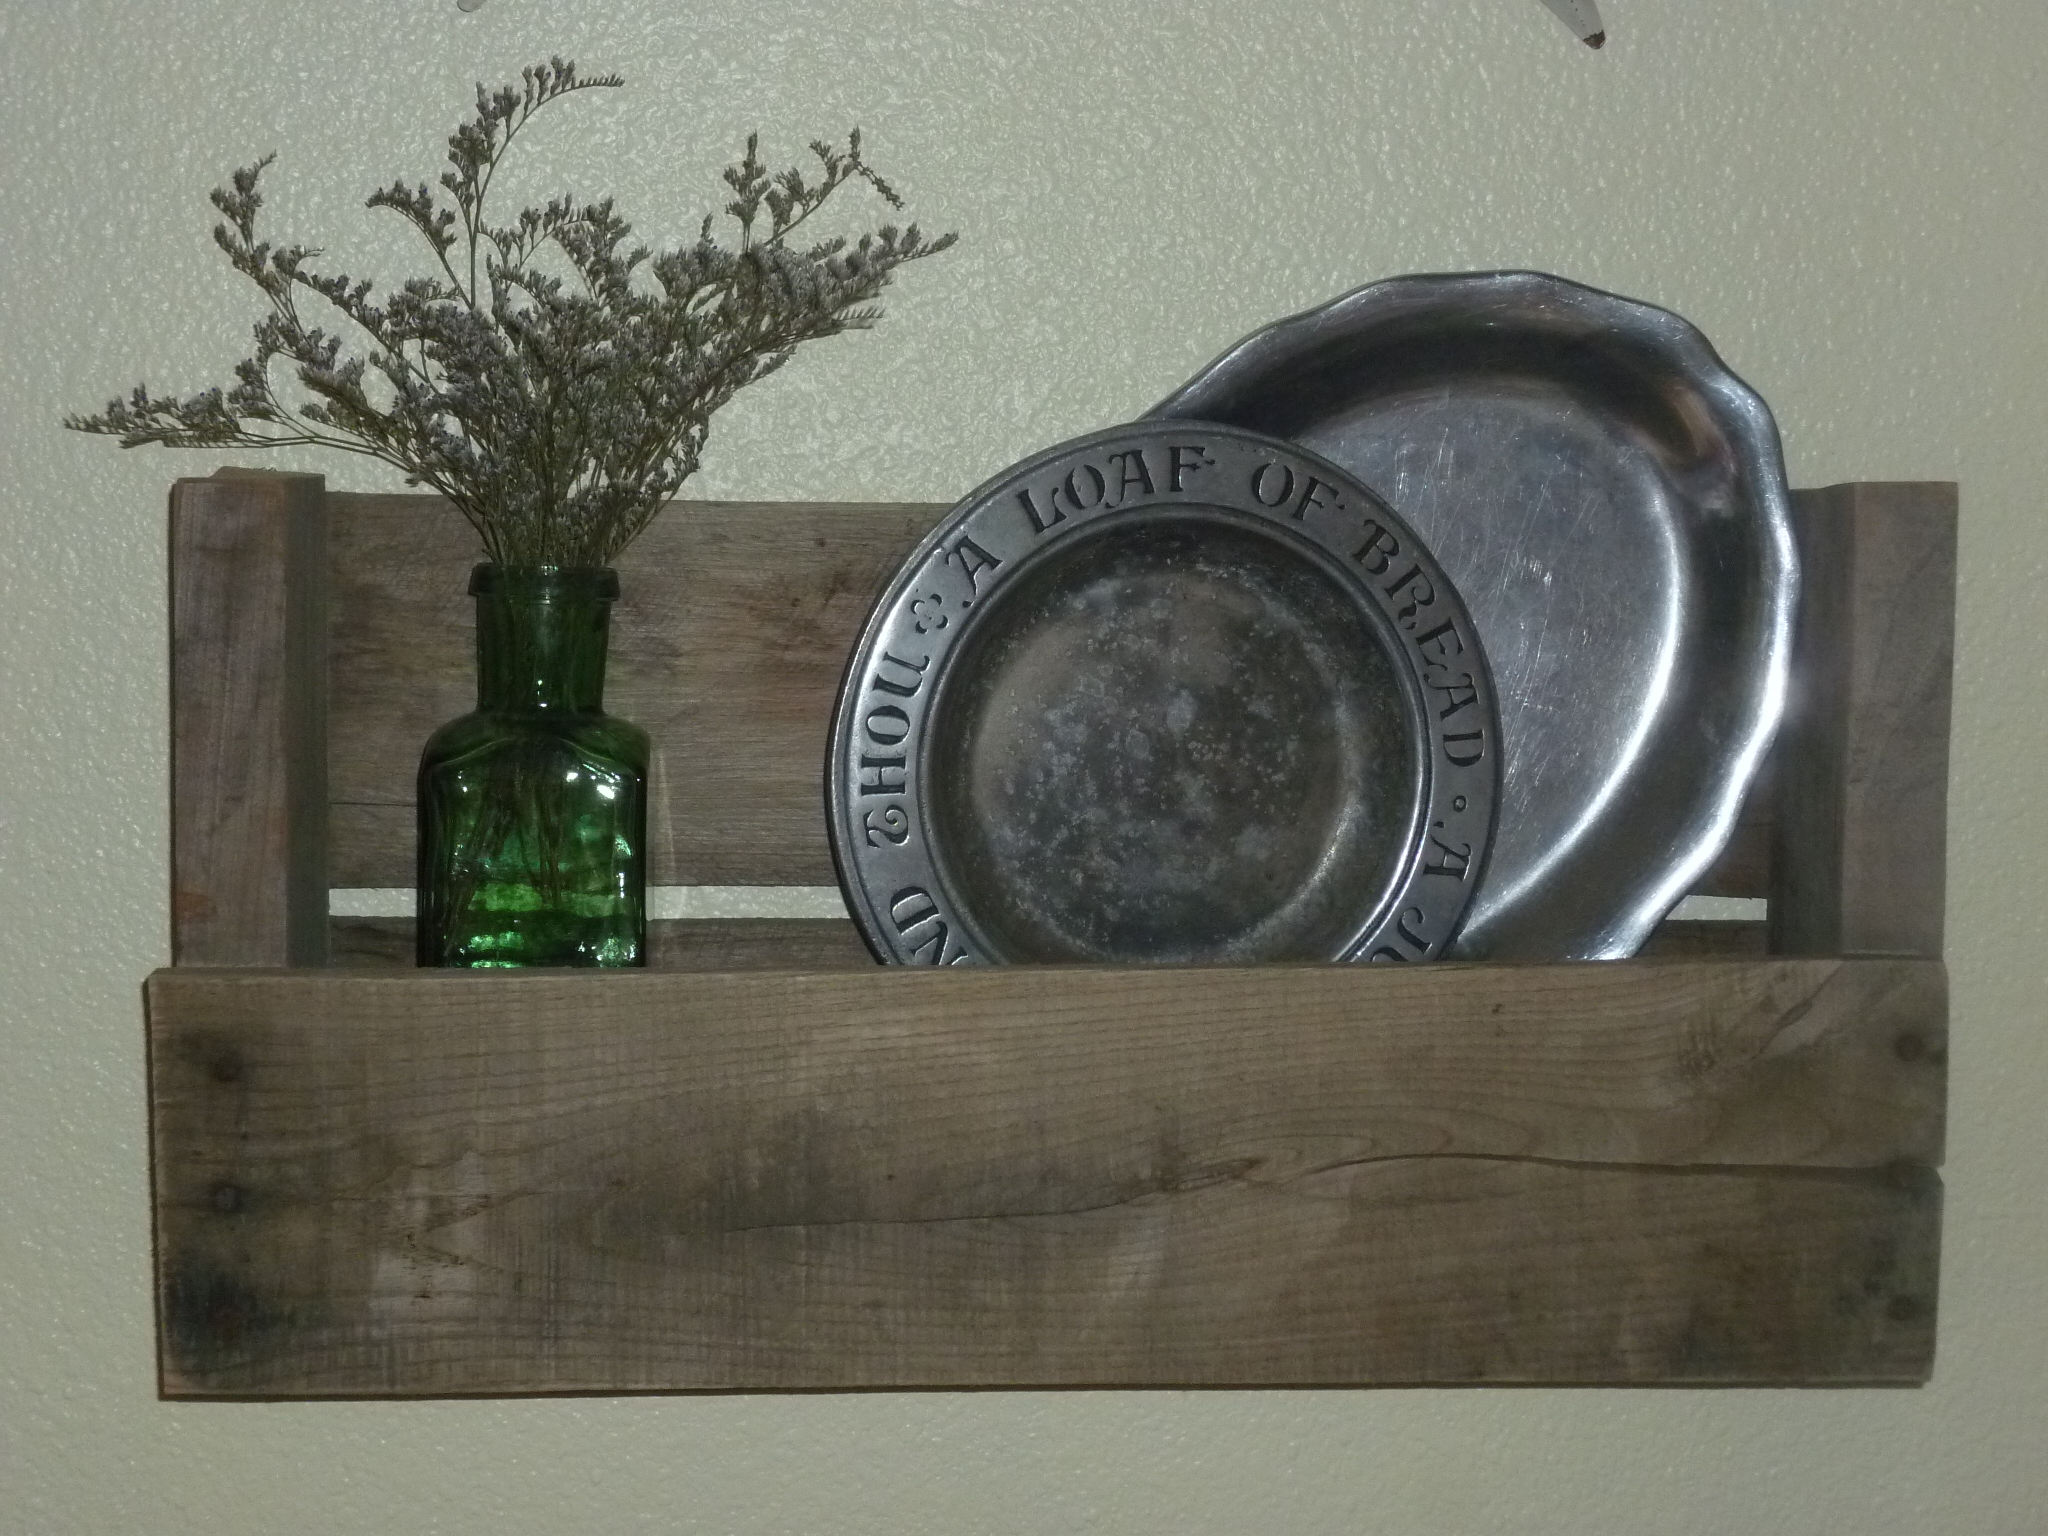
This really is a easy beginner project and adds instant decor for your wall.
This project is also pretty versatile because it lends itself to ANY decor. You could go totally country like I did or pick a nicer, newer pallet and paint or stain it for a more modern or traditional take. Whatever you choose, it's something you can do in no time at all!
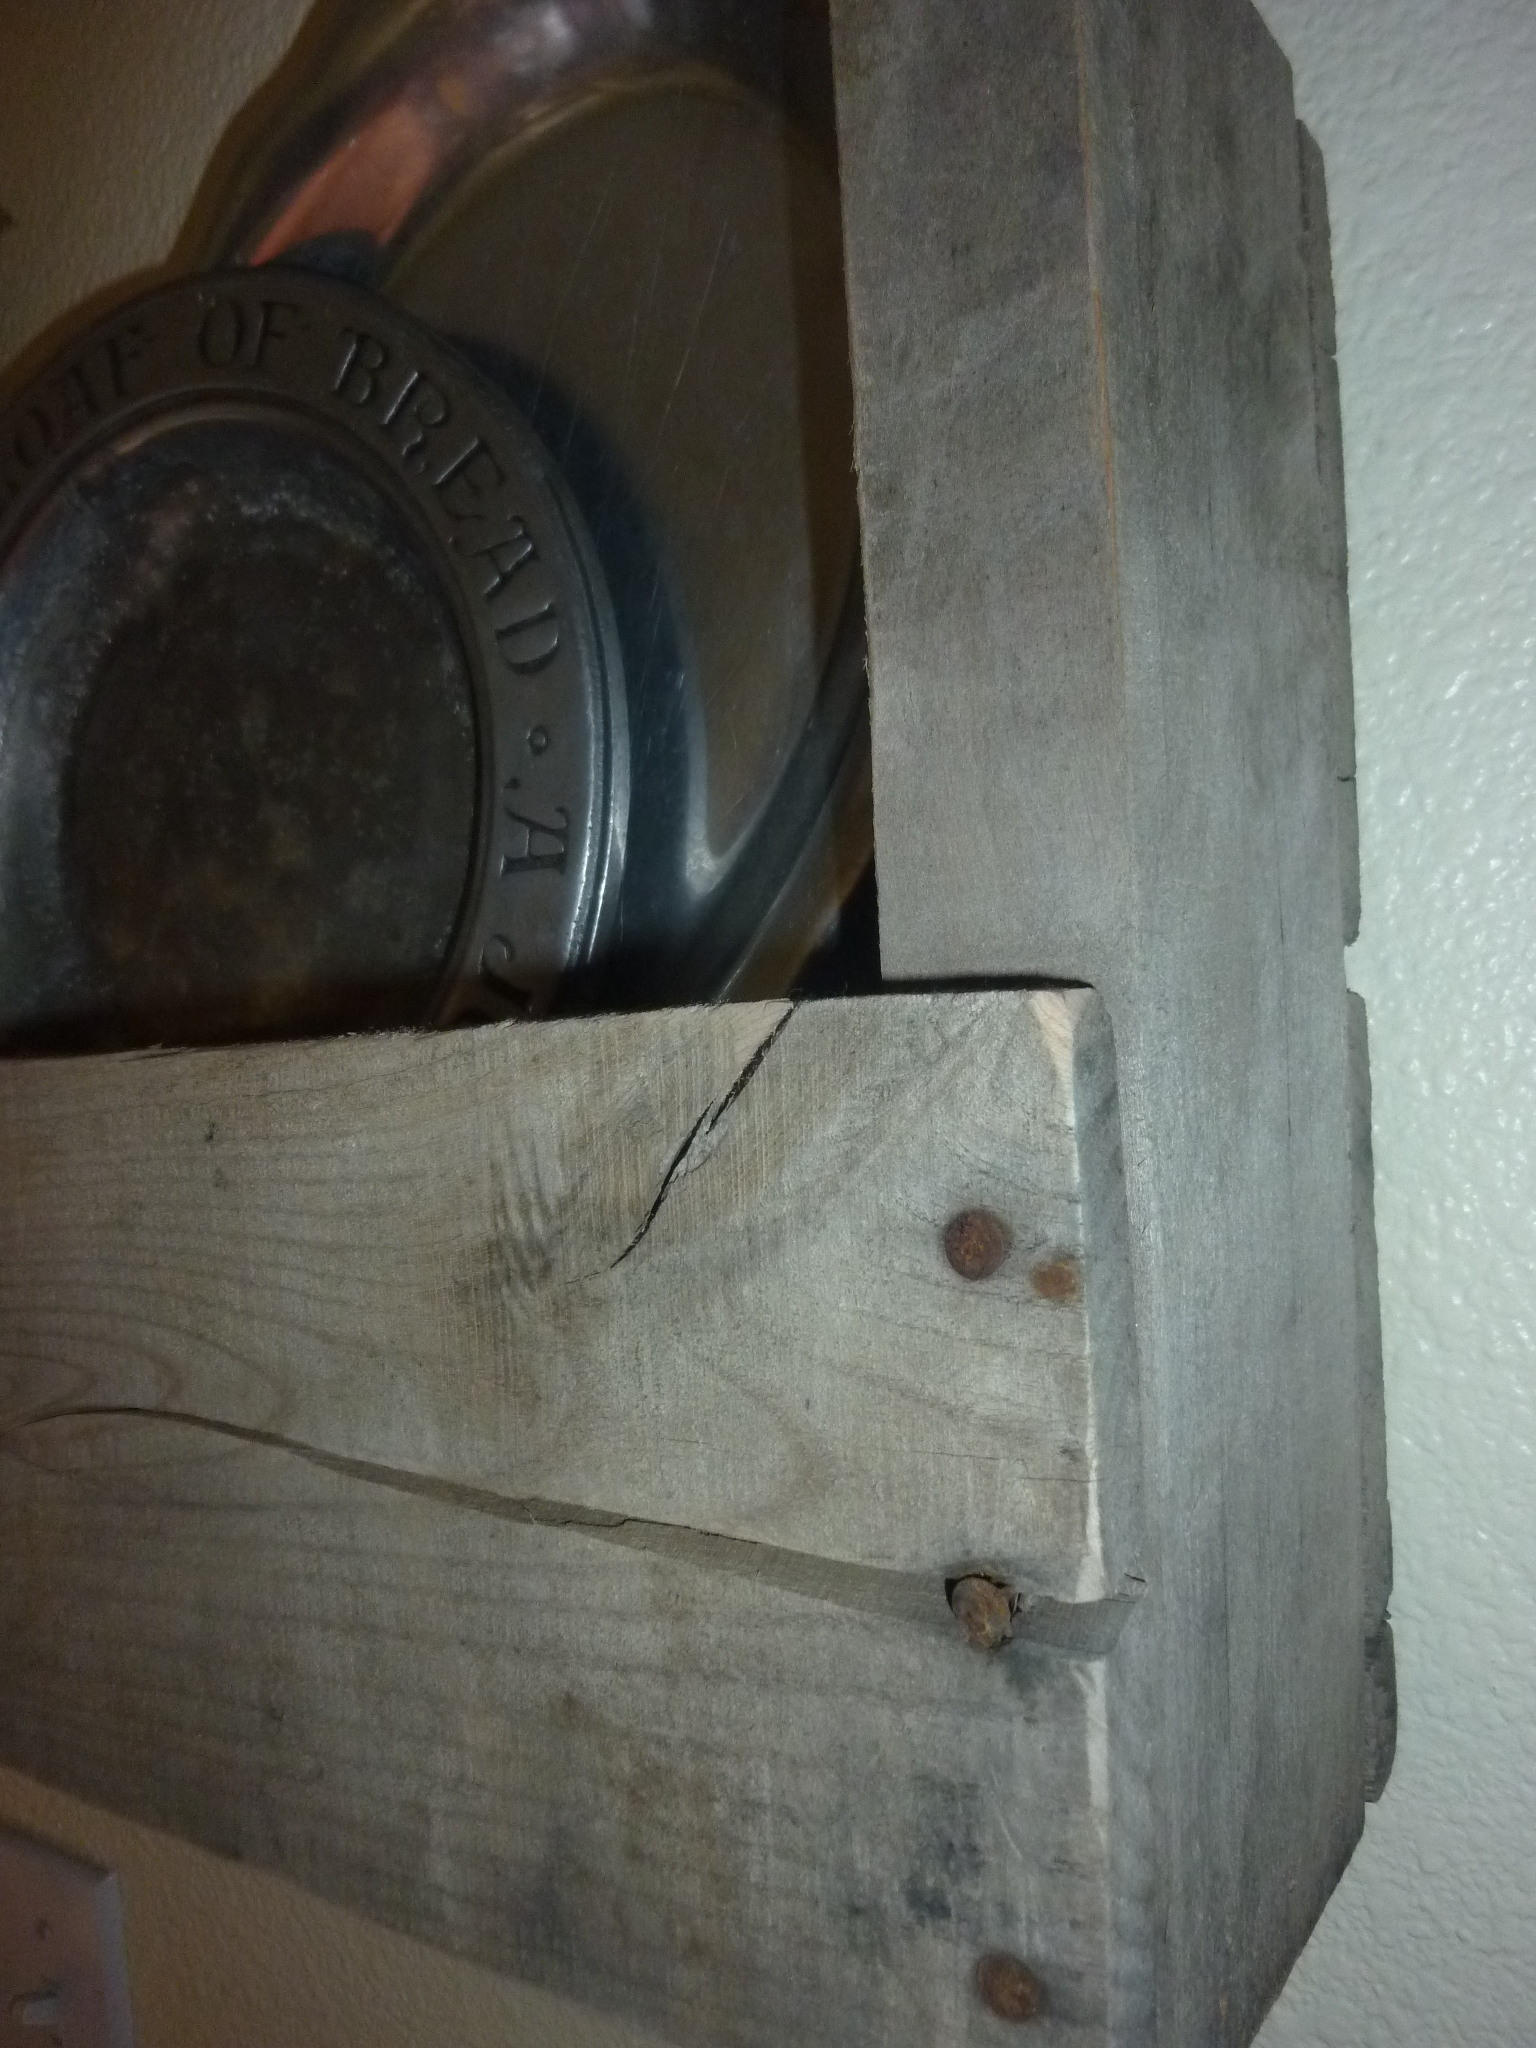
Another great thing about this is you don't need any fancy tools, although it does make it easier! You can choose from a circular saw, a sawsall, a jig saw or even a hand saw to cut your section out.
Built from Plan(s)
Estimated Cost
Free
Estimated Time Investment
An Hour or Two (0-2 Hours)
Finish Used
Lightly sanded then sprayed with a light coat of polyurethane.
Recommended Skill Level
Starter Project


Comments
Guest (not verified)
Sun, 07/31/2011 - 21:11
This is wonderful!
This is wonderful!