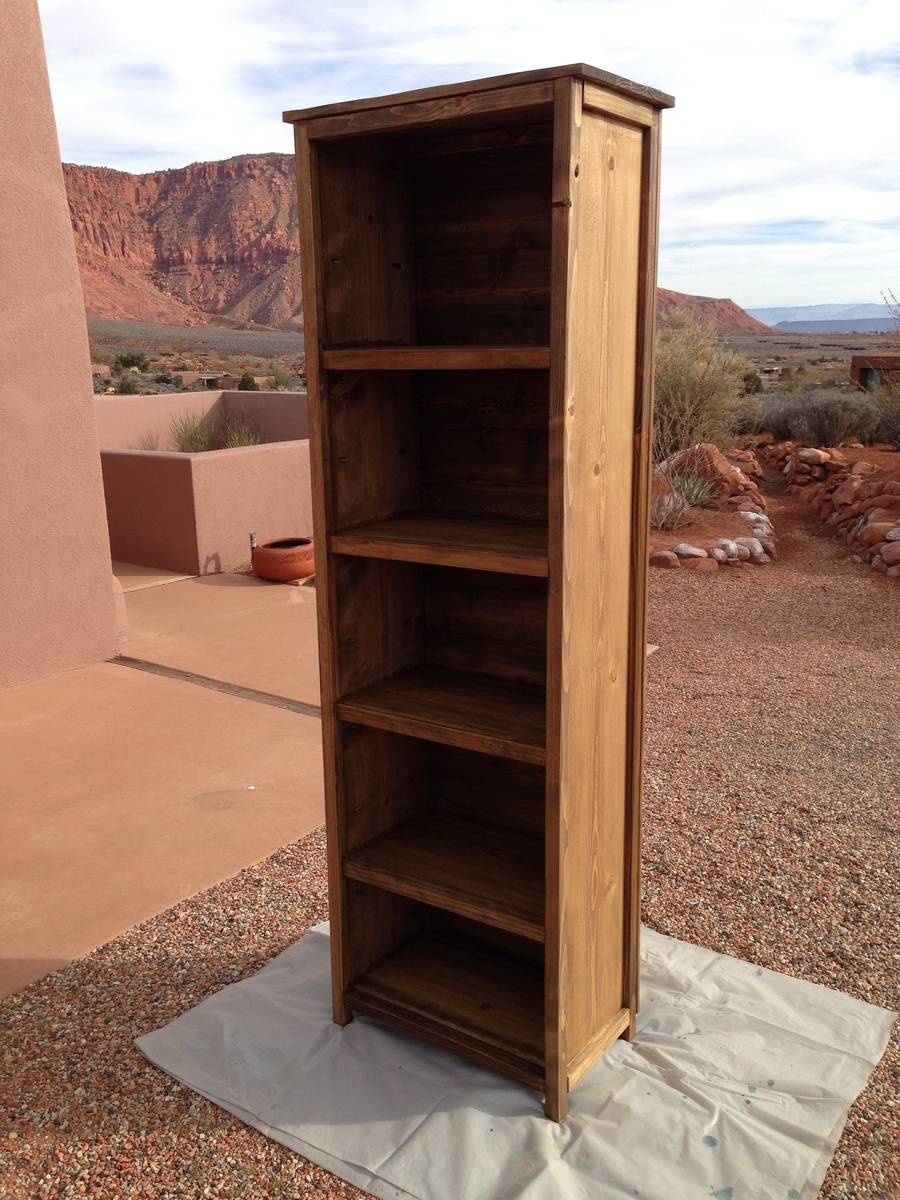
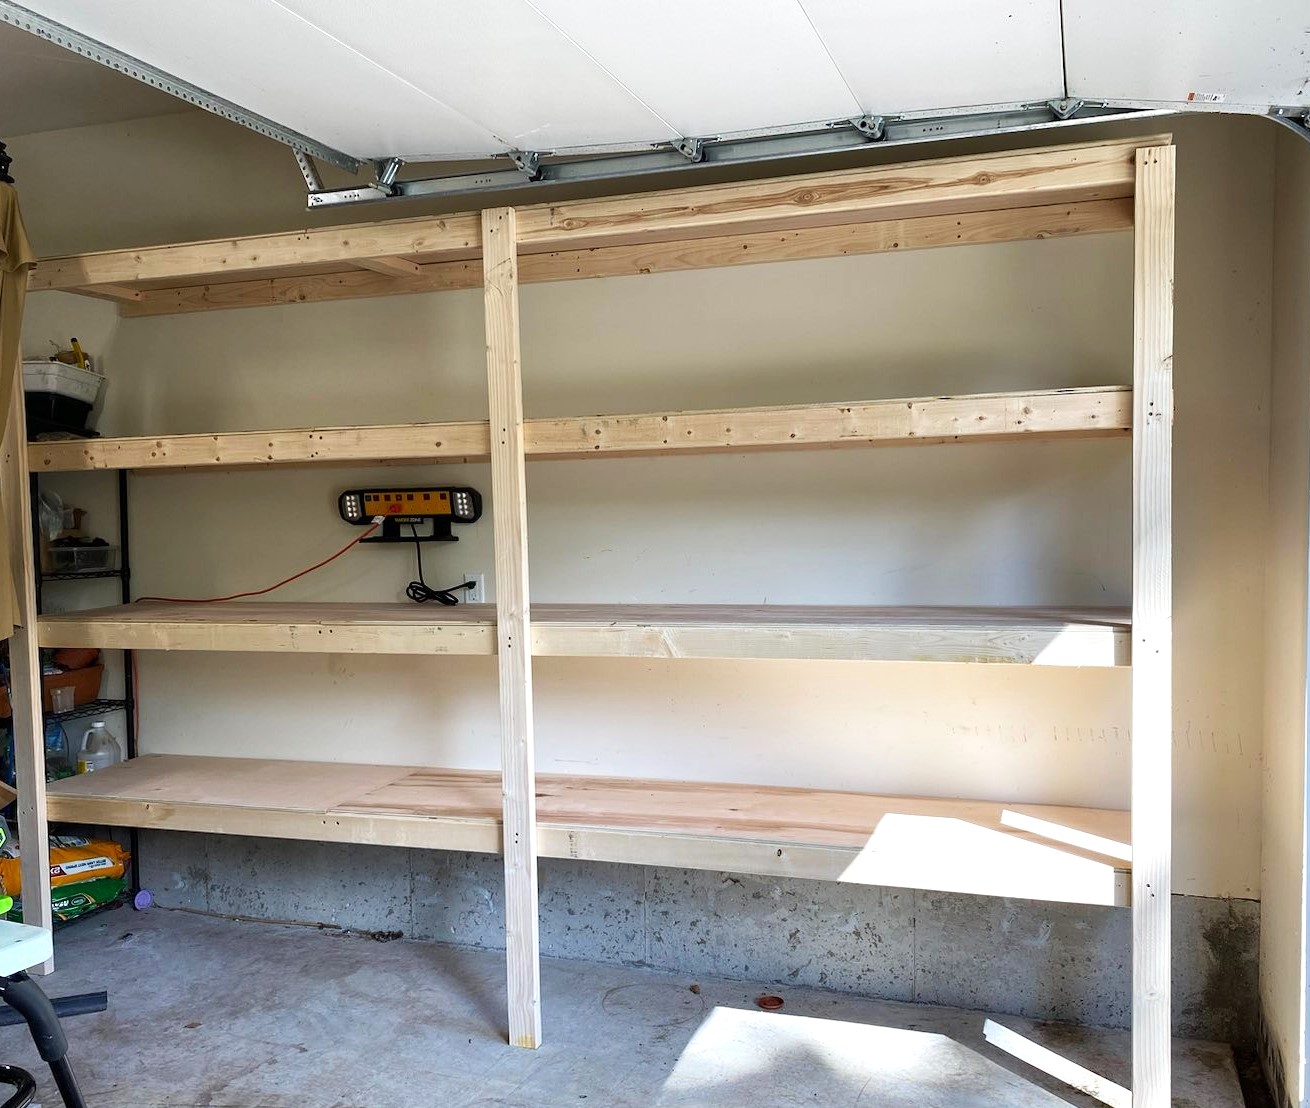
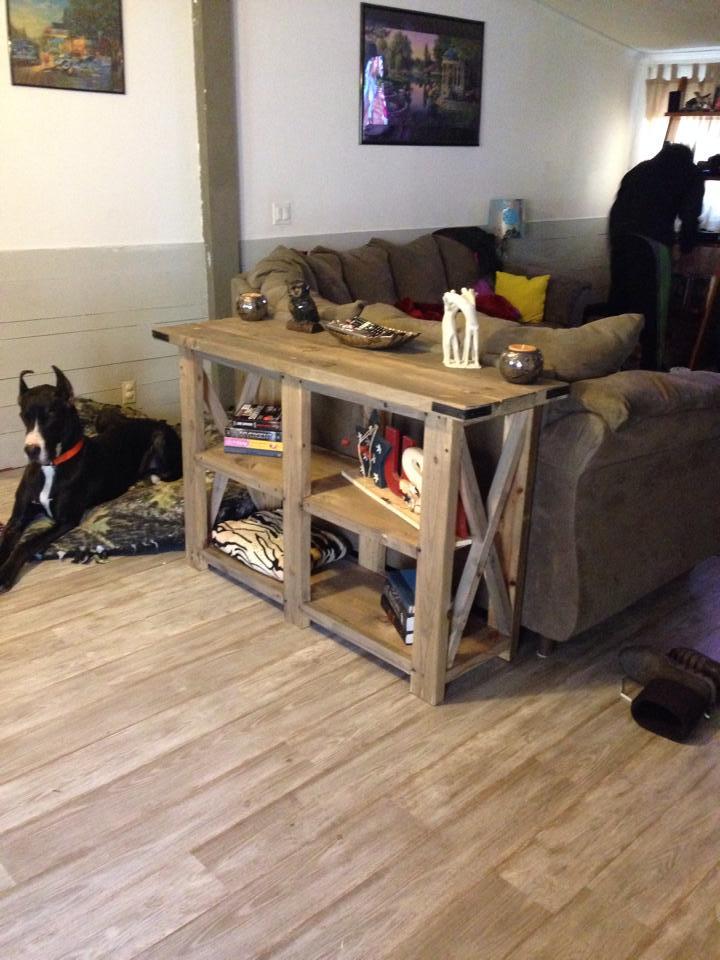
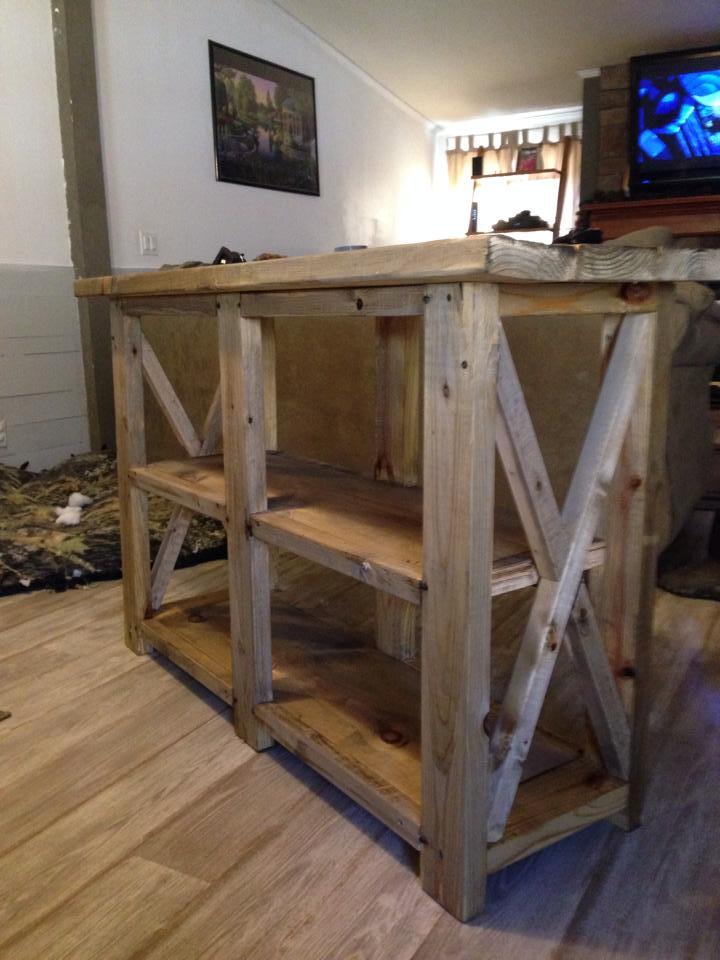
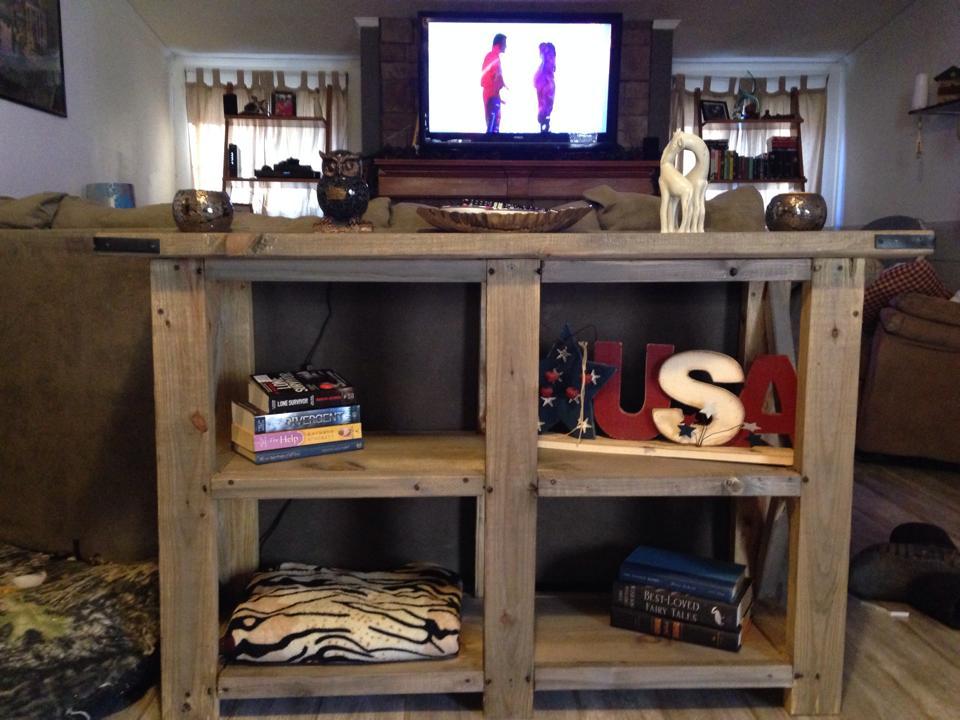
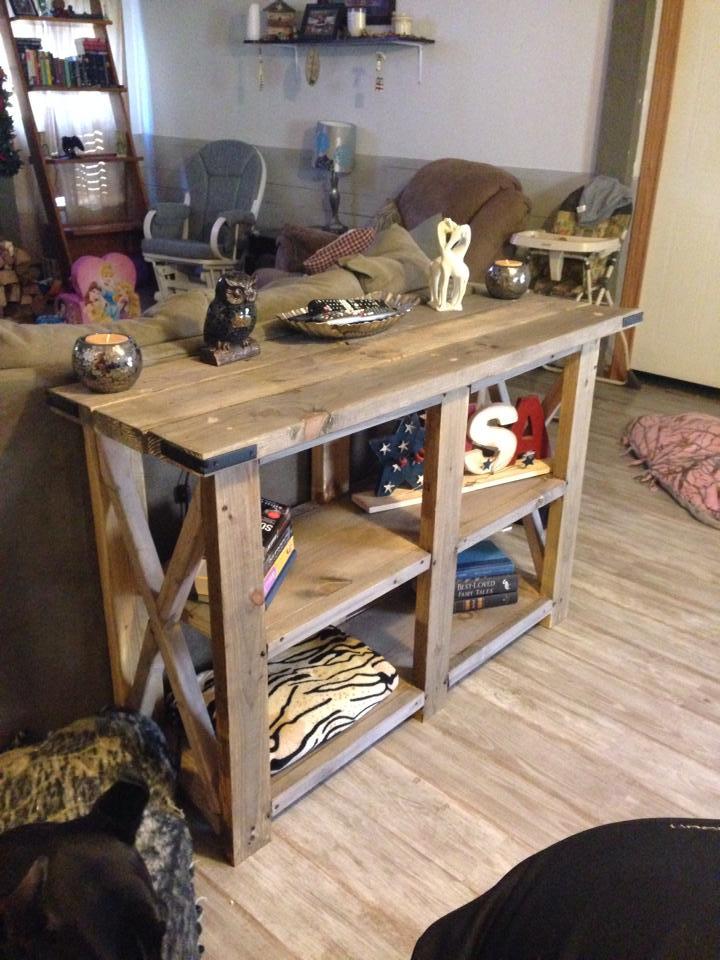
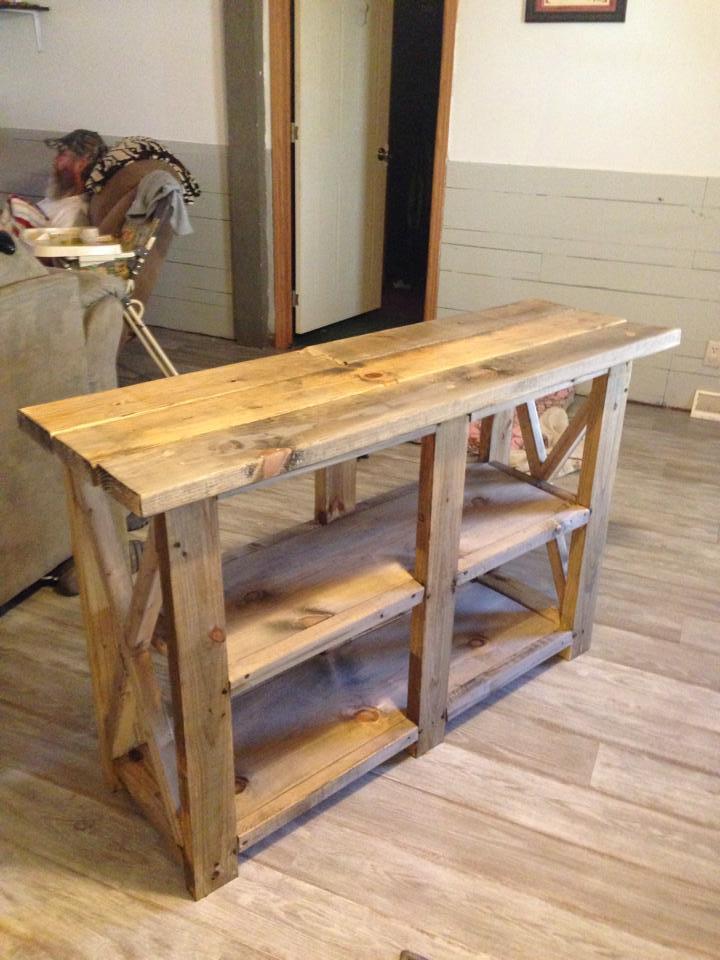
Kentwood Bookshelf - modified taller
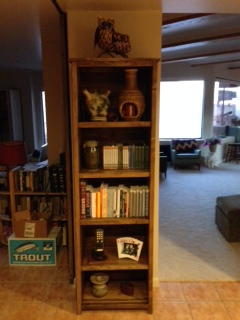
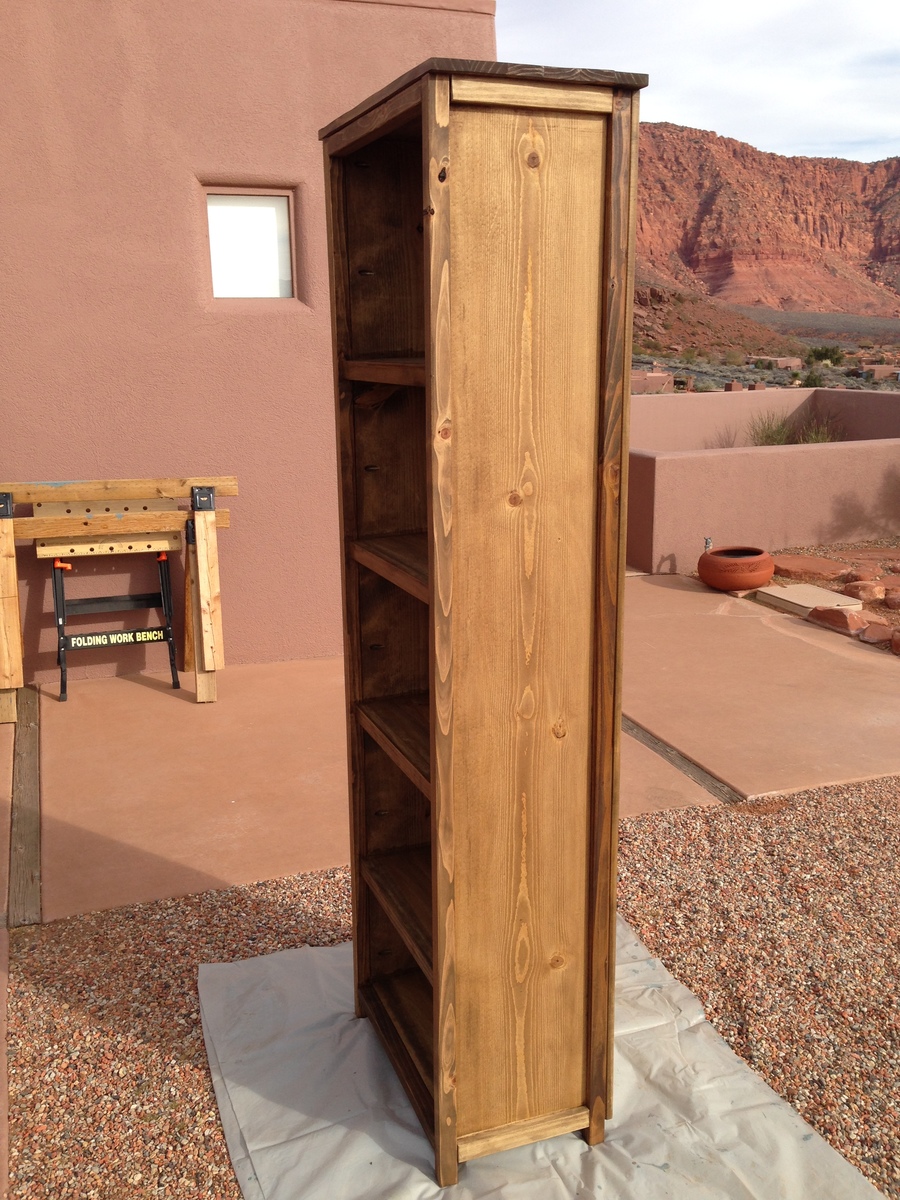
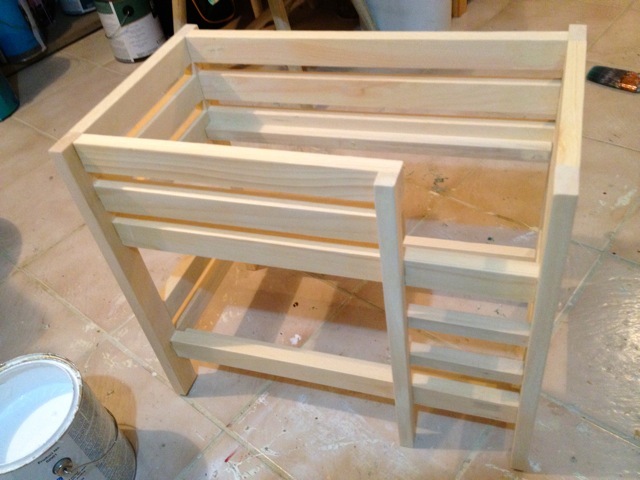
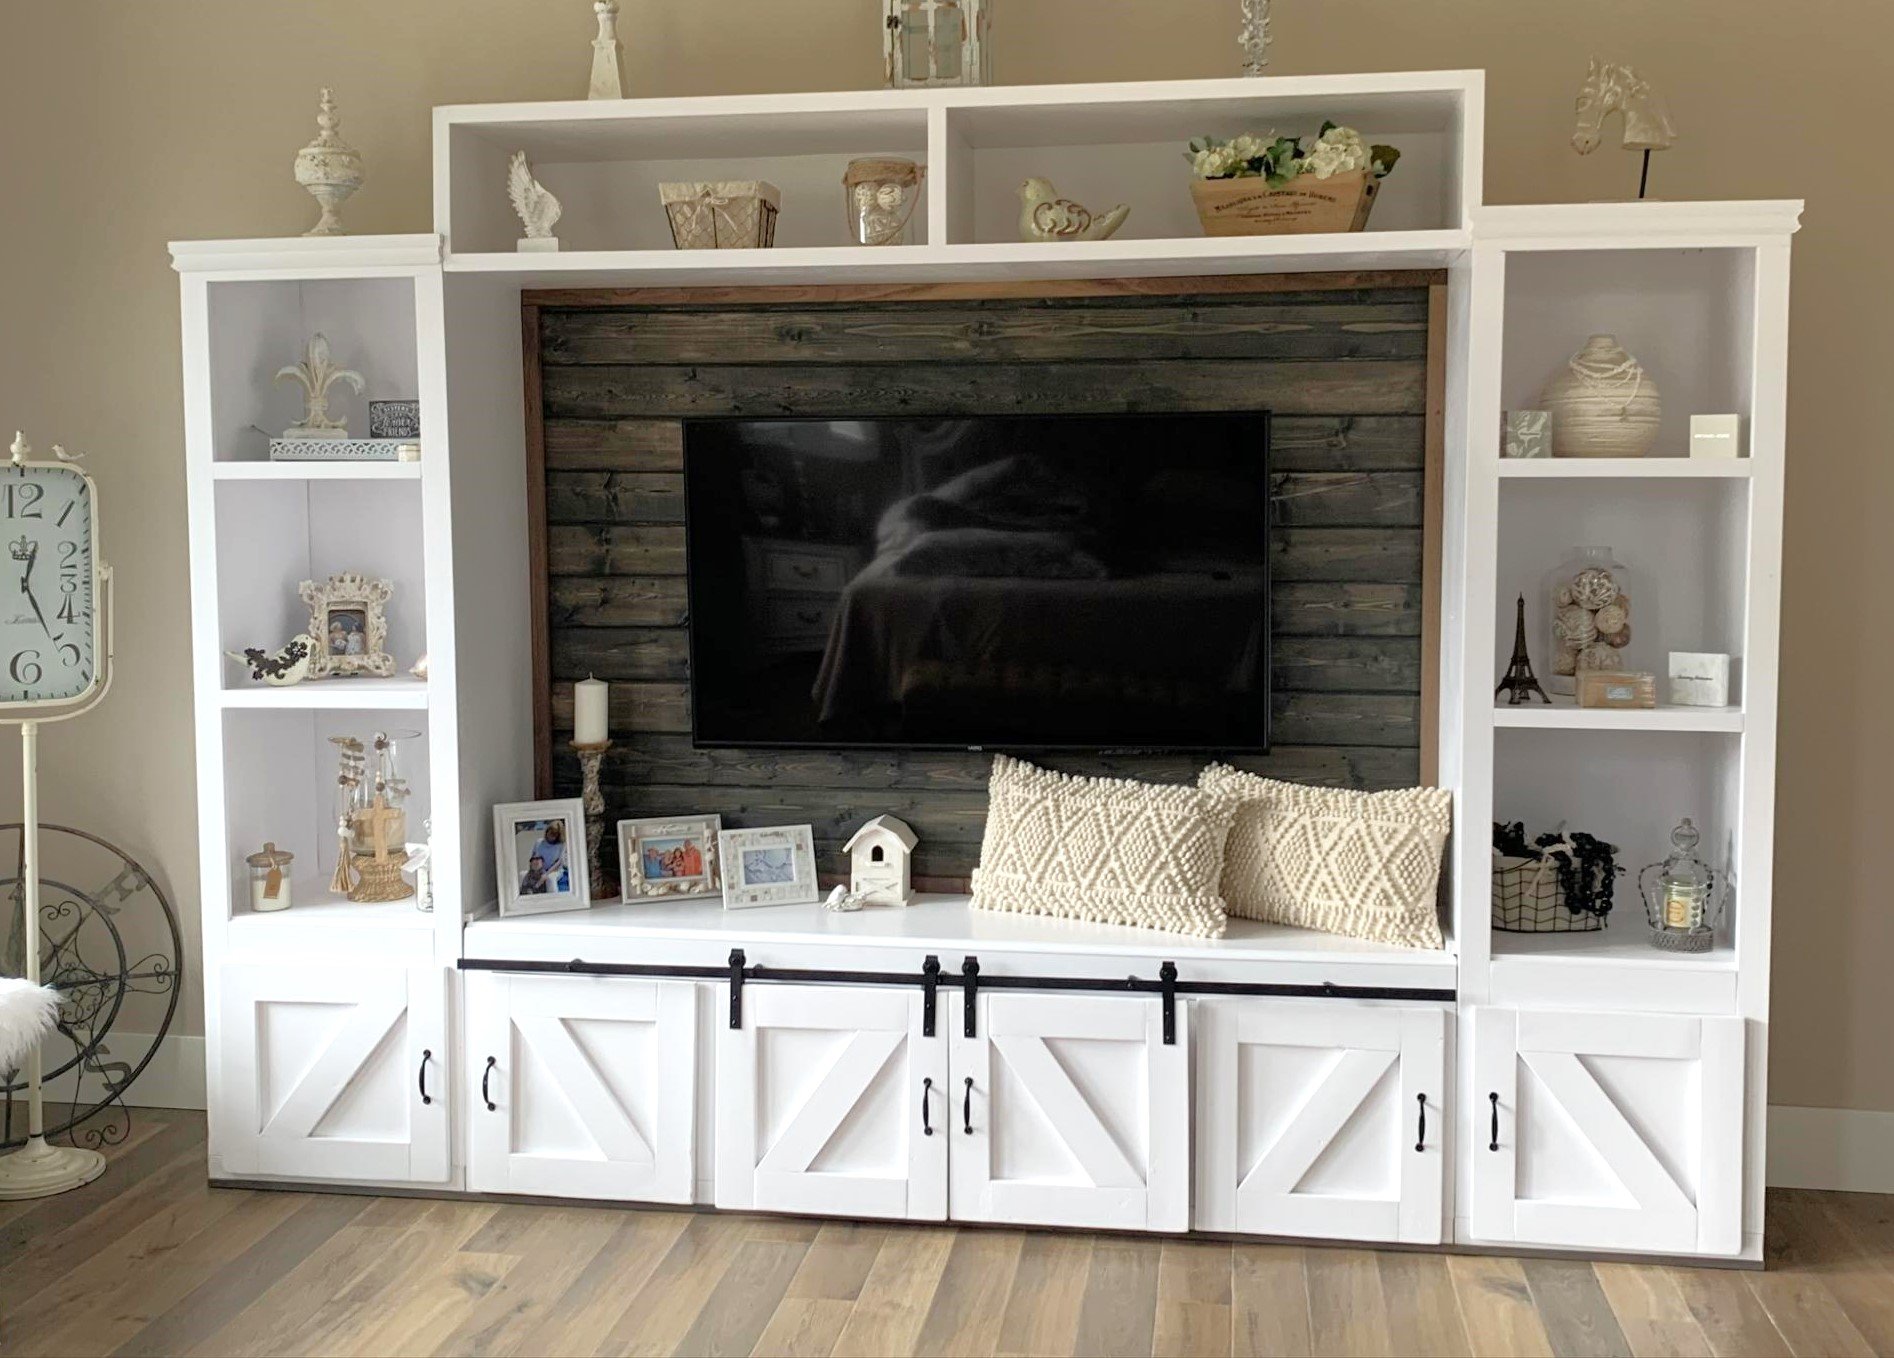
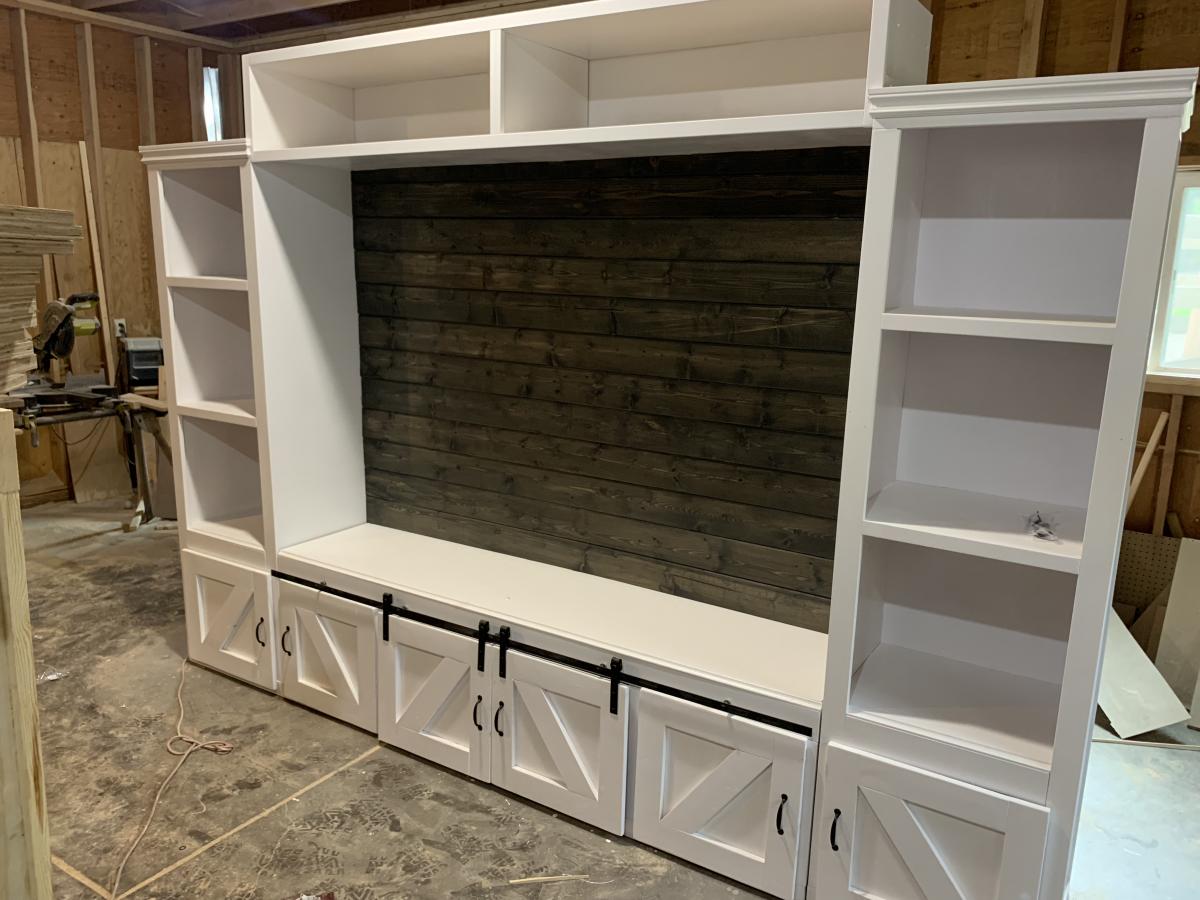
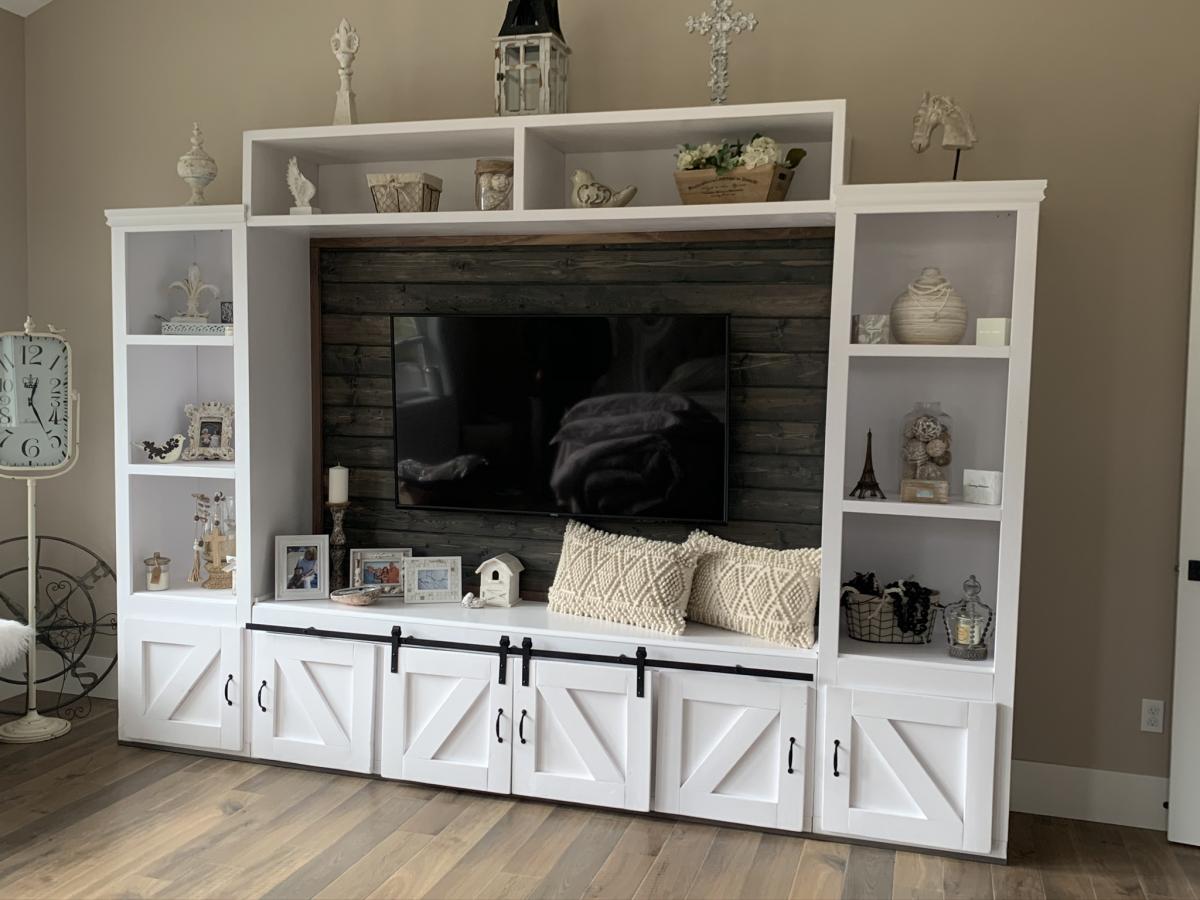
I loved the rustic look of this plan but decided to use prime pine and sanded it smooth. I also used tongue & grove 6" cedar for the backing running horizontal instead of vertical to not make the shelf unit look tall and skinny. I covered over the 2 side edges of the tongue & grove cedar with a pine strip 5/8" wide all the way from the top to the floor. I also increased the height to add an additional shelf. I definitely suggest using a Kreg tool. I also recommend not plugging the Kreg pocket holes. They look terrific just stained. I also recommend not bothering to screw the top slates together. Just glue them using clamps.
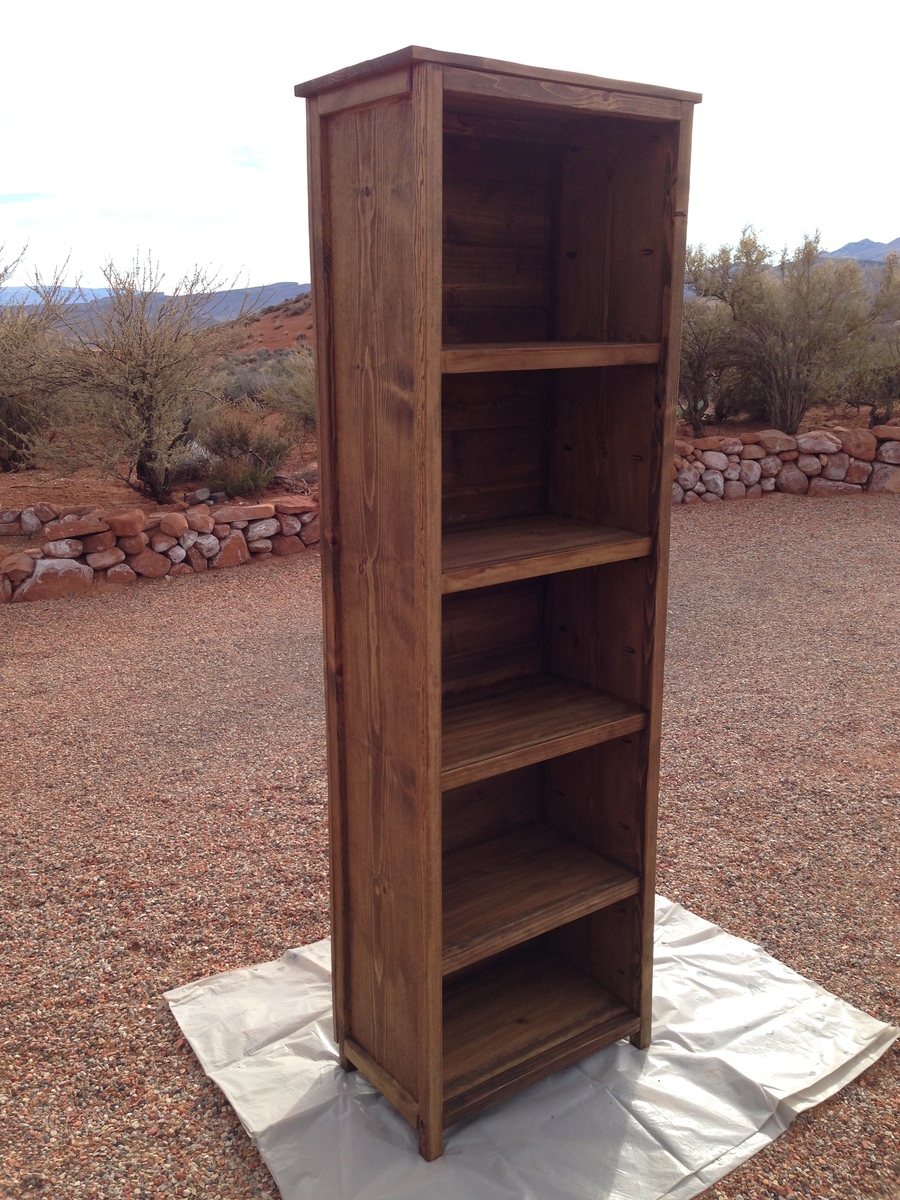
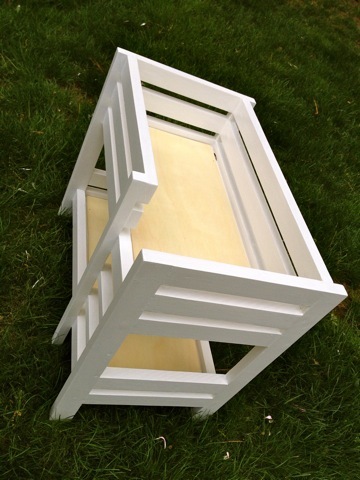
Here are the plan modifications I made for the extra height & shelf:
- sides 76 1/2"
- legs 78 1/2"
My next project is to make another shelf just the same except to make the shelves 31 1/2" wide. This time I will use 1"x4" backing vertically.
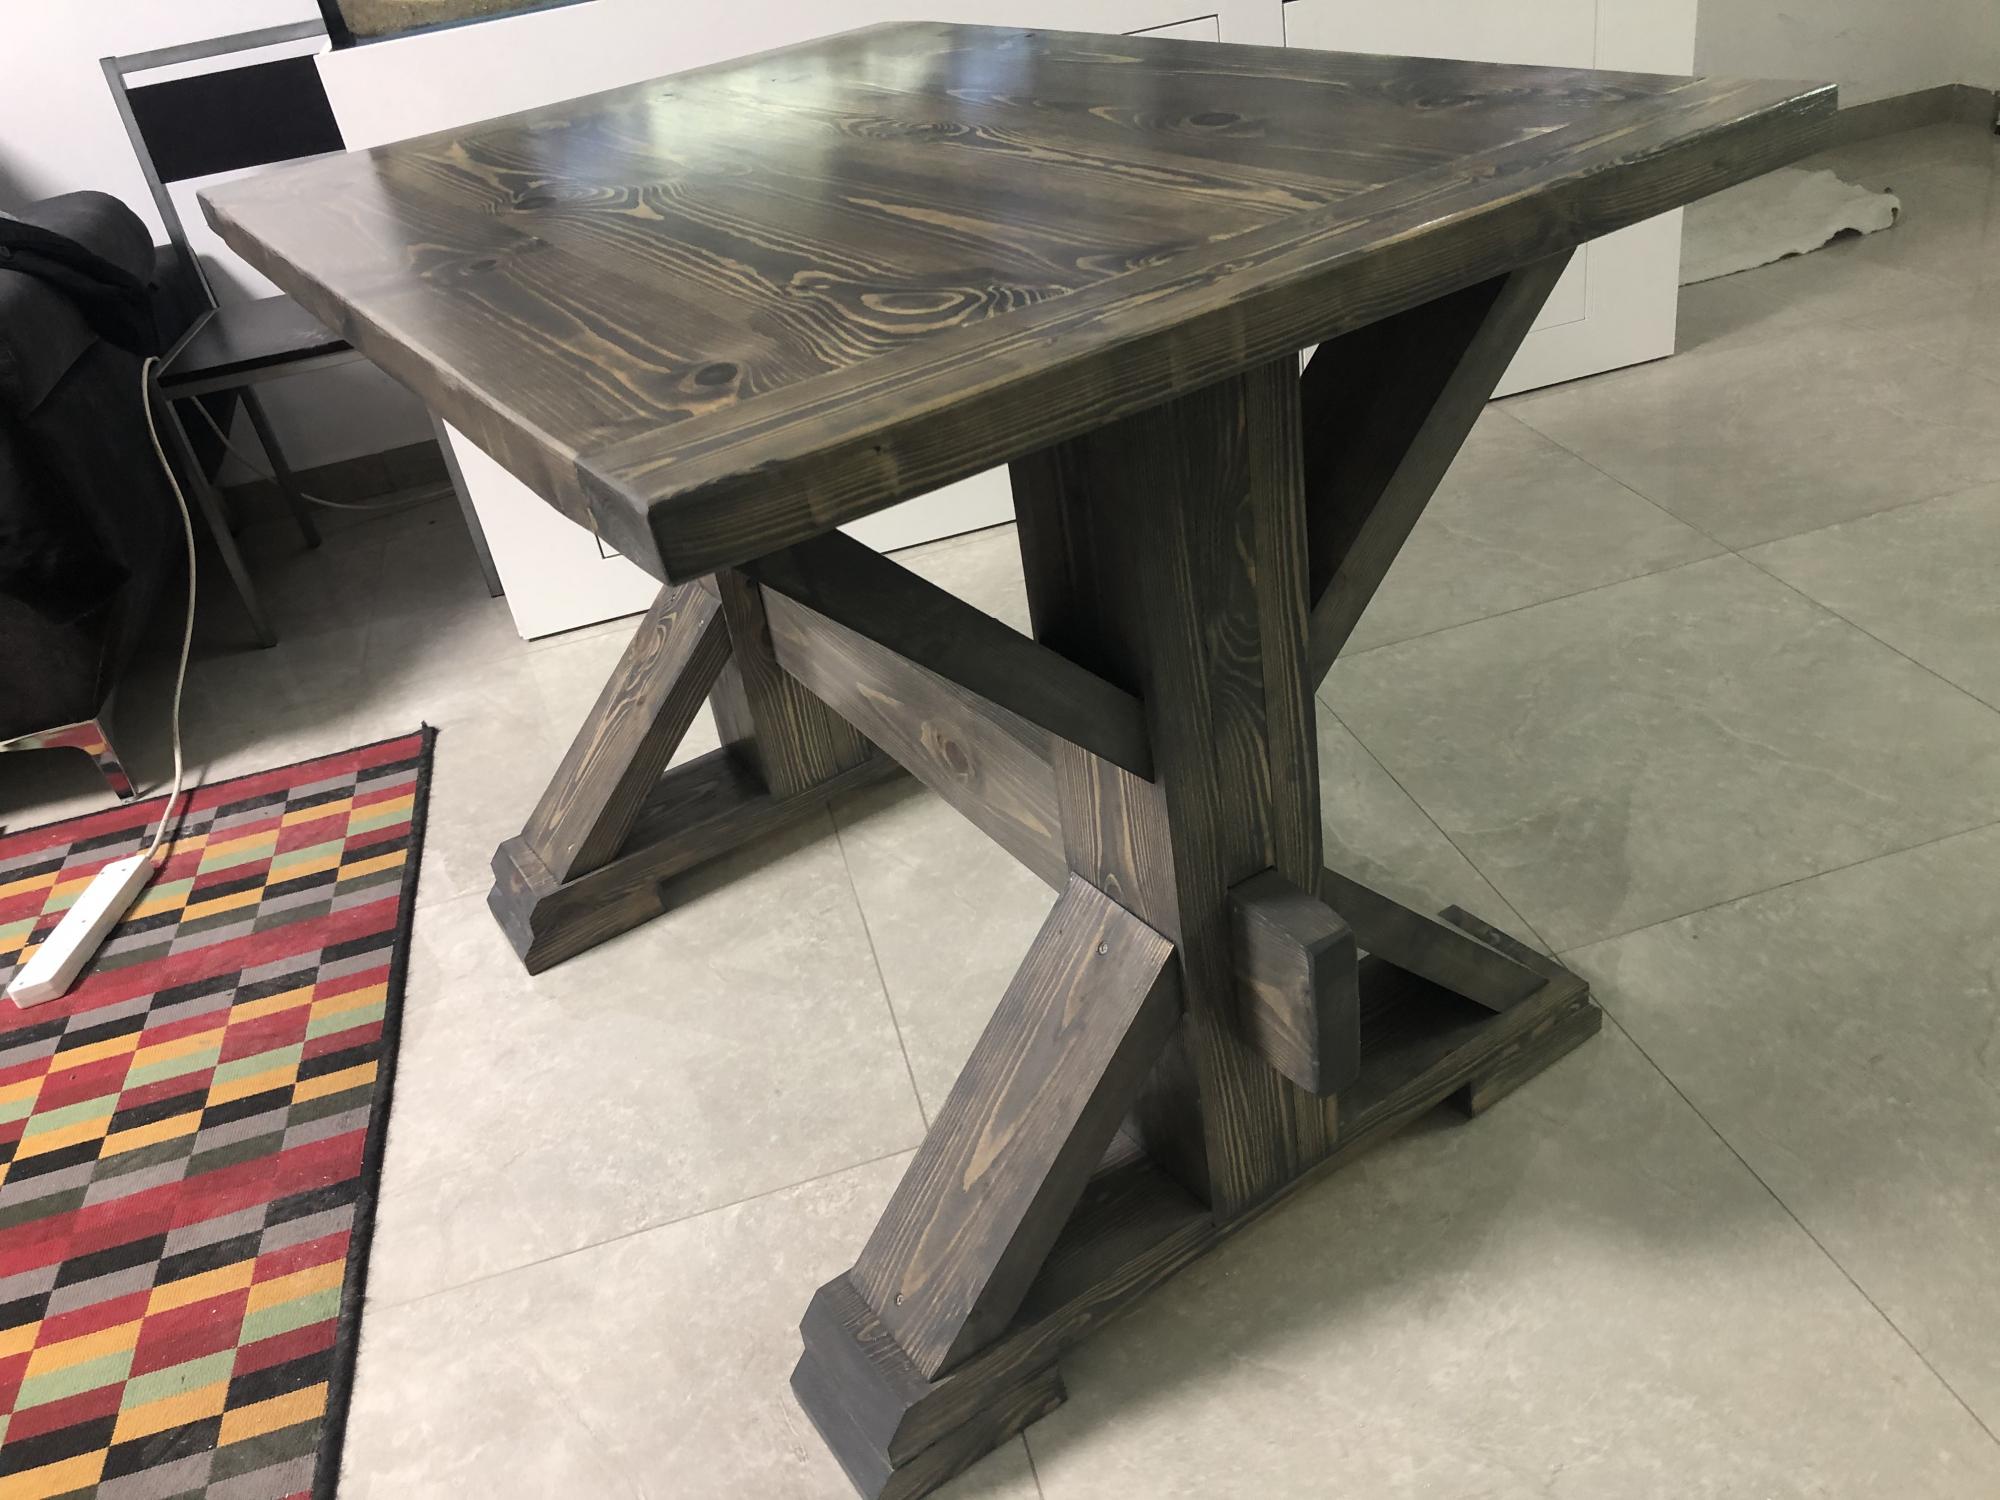
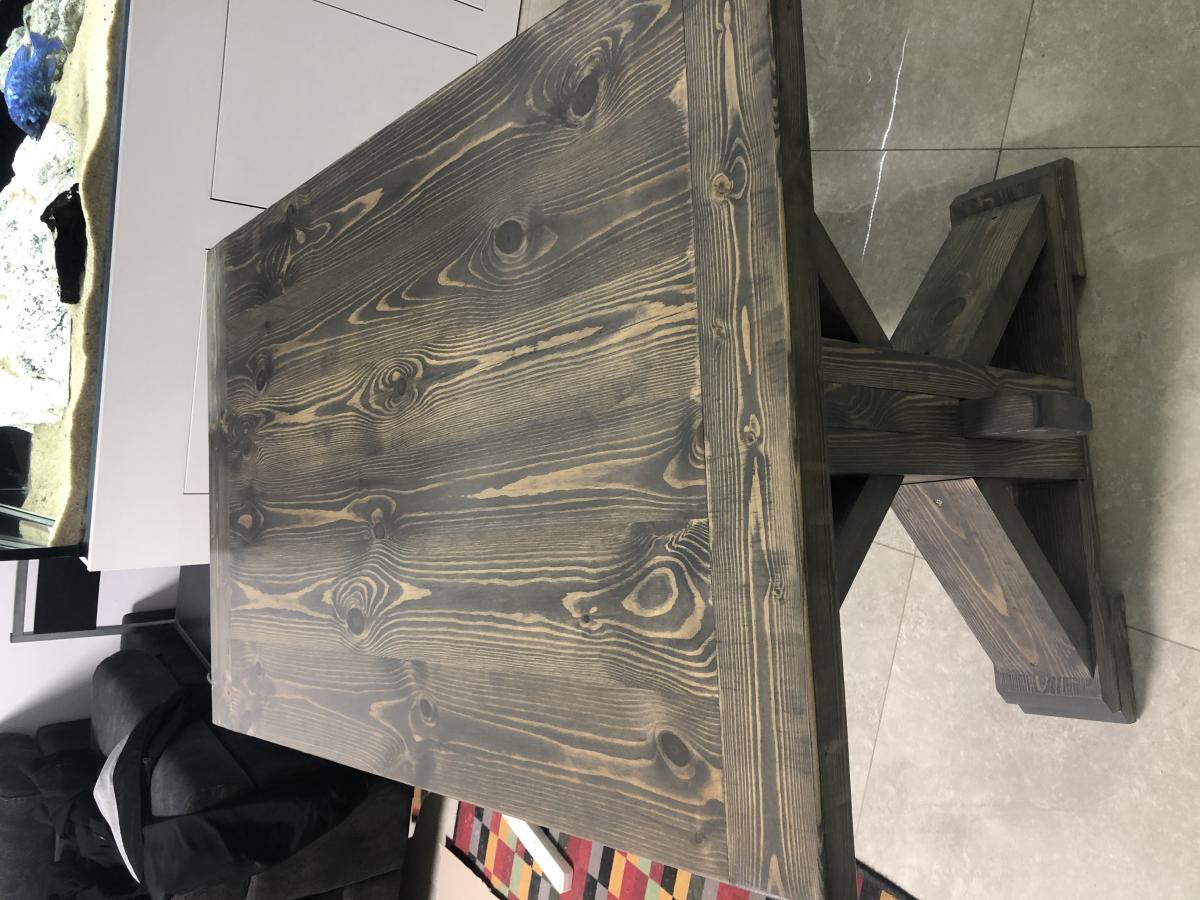
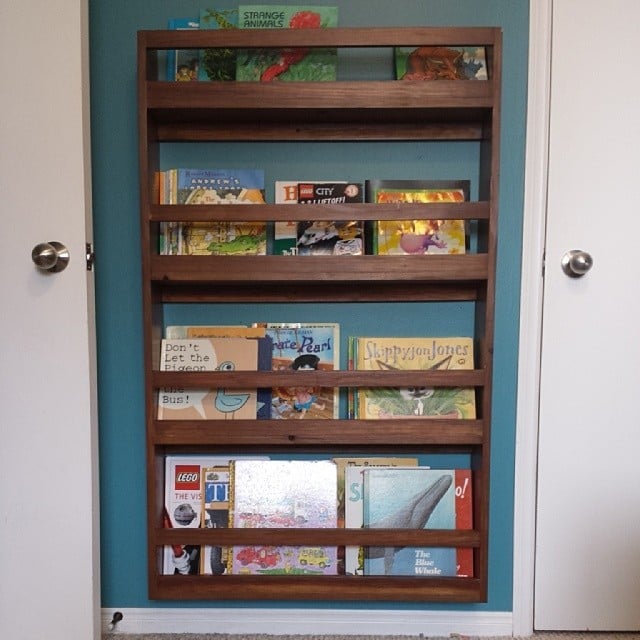
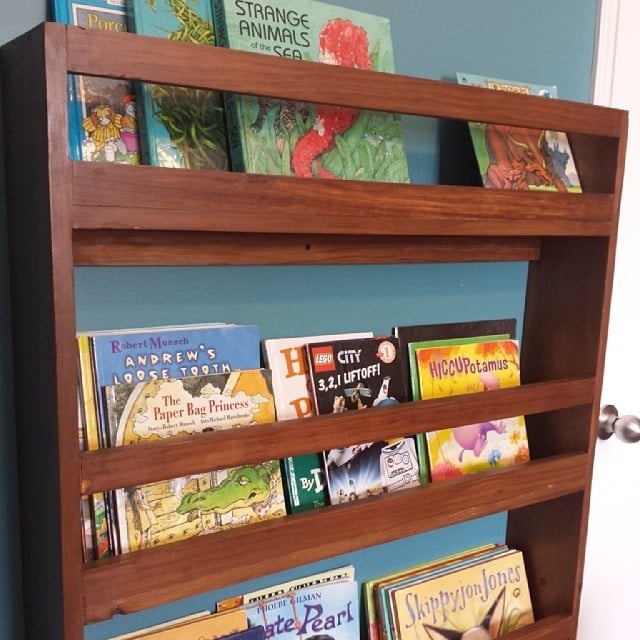
The end product looks spectacular. You couldn't' buy a bookshelf like this anywhere.