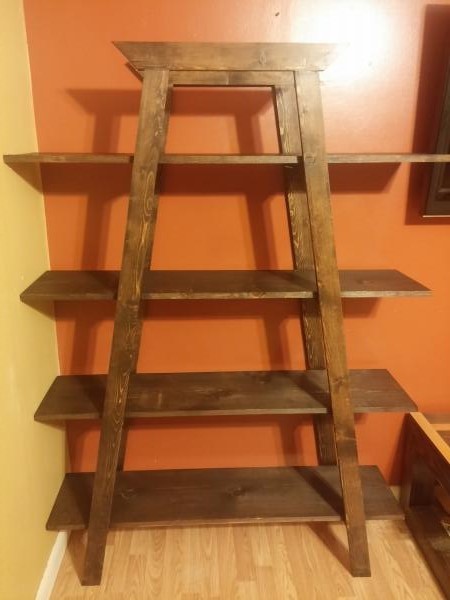
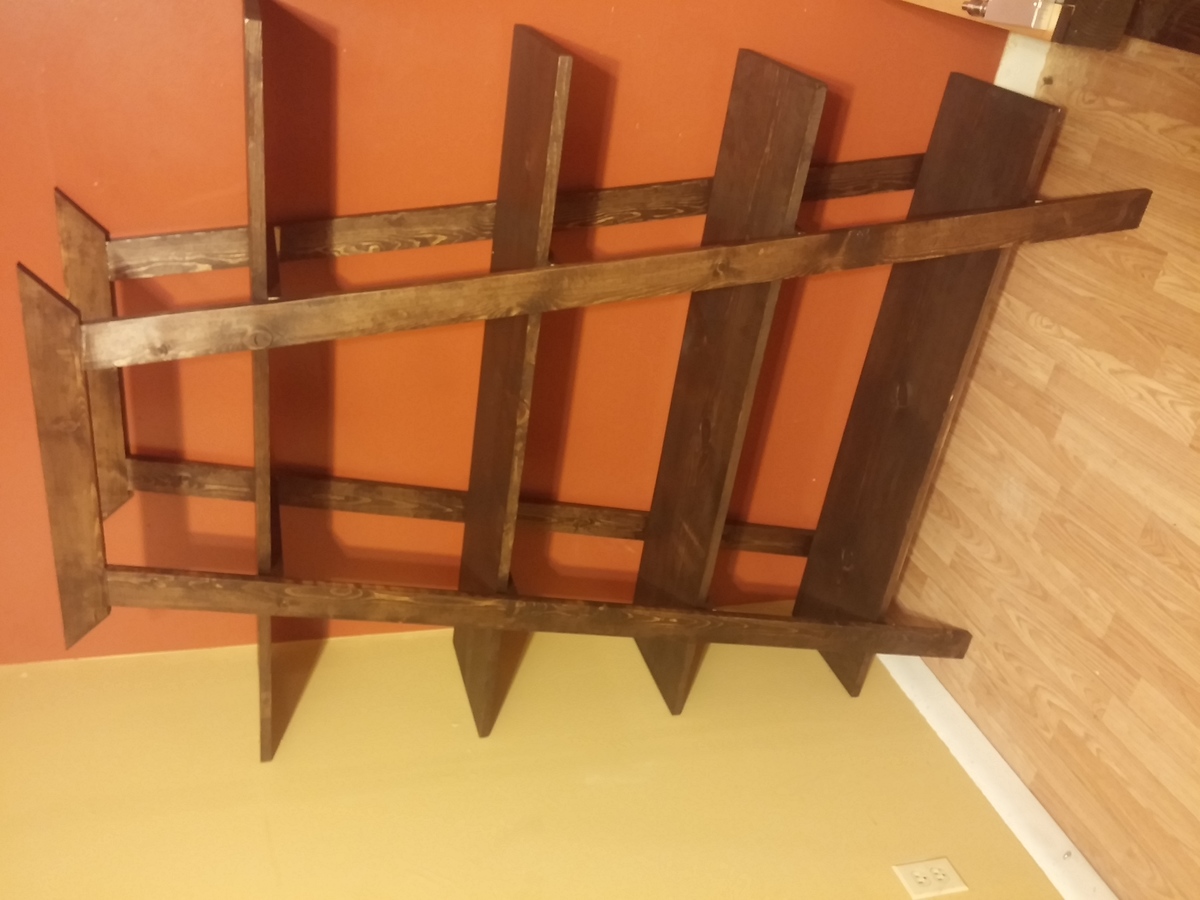
First Project and pretty proud of it!
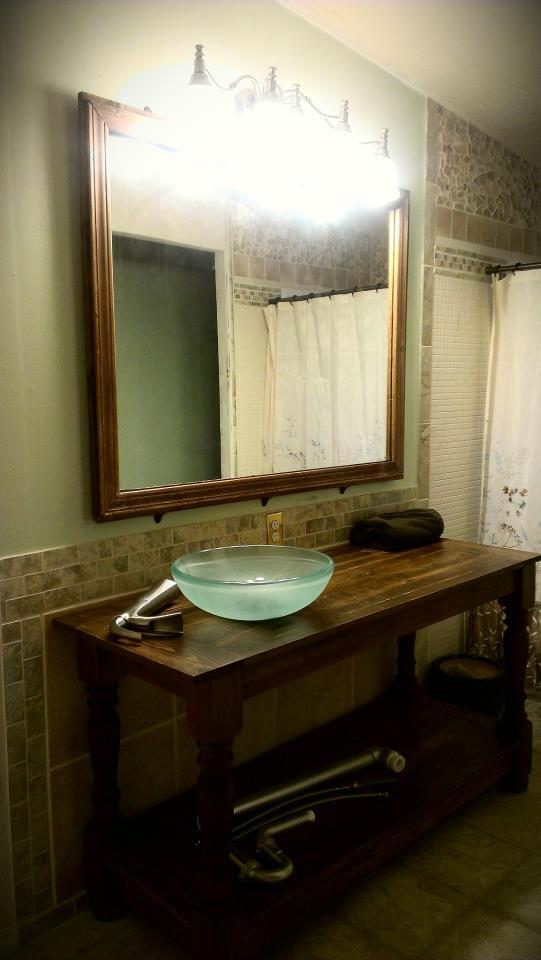
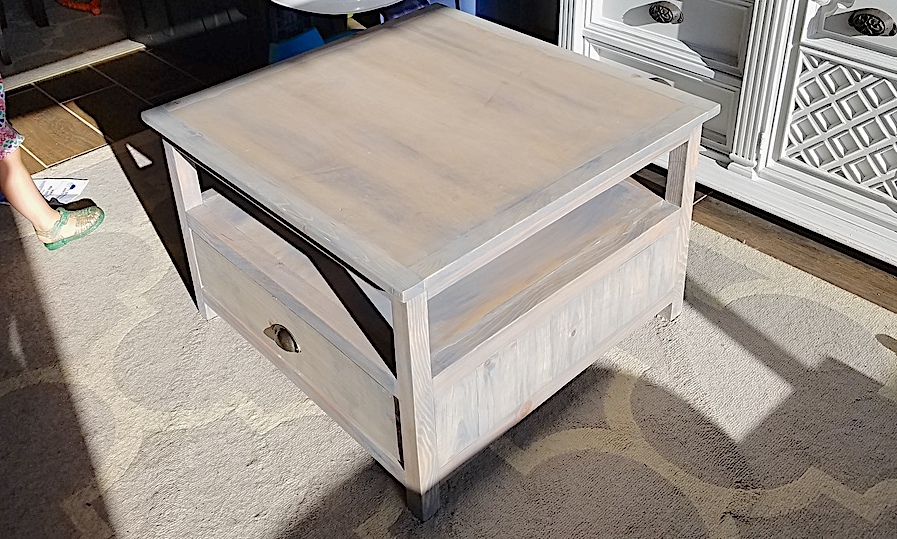
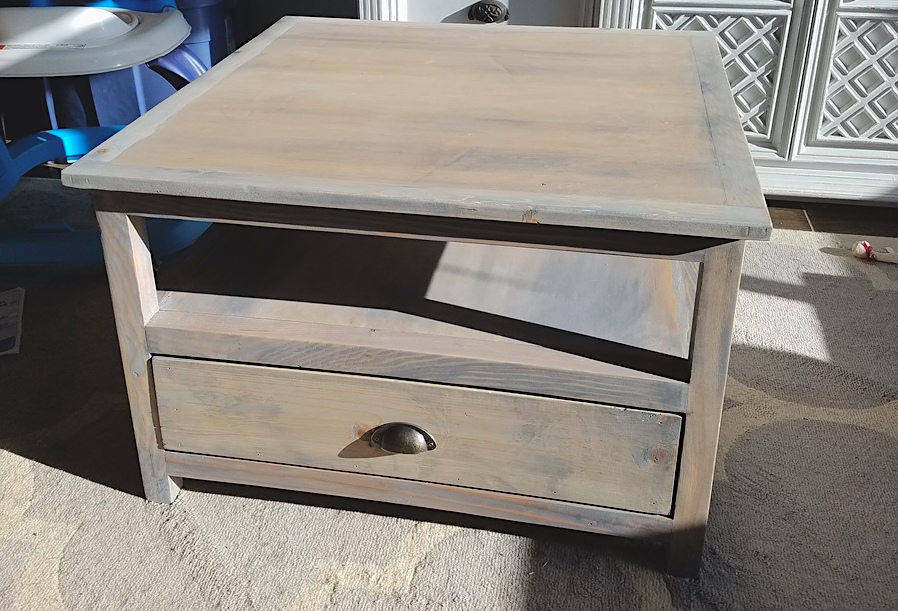
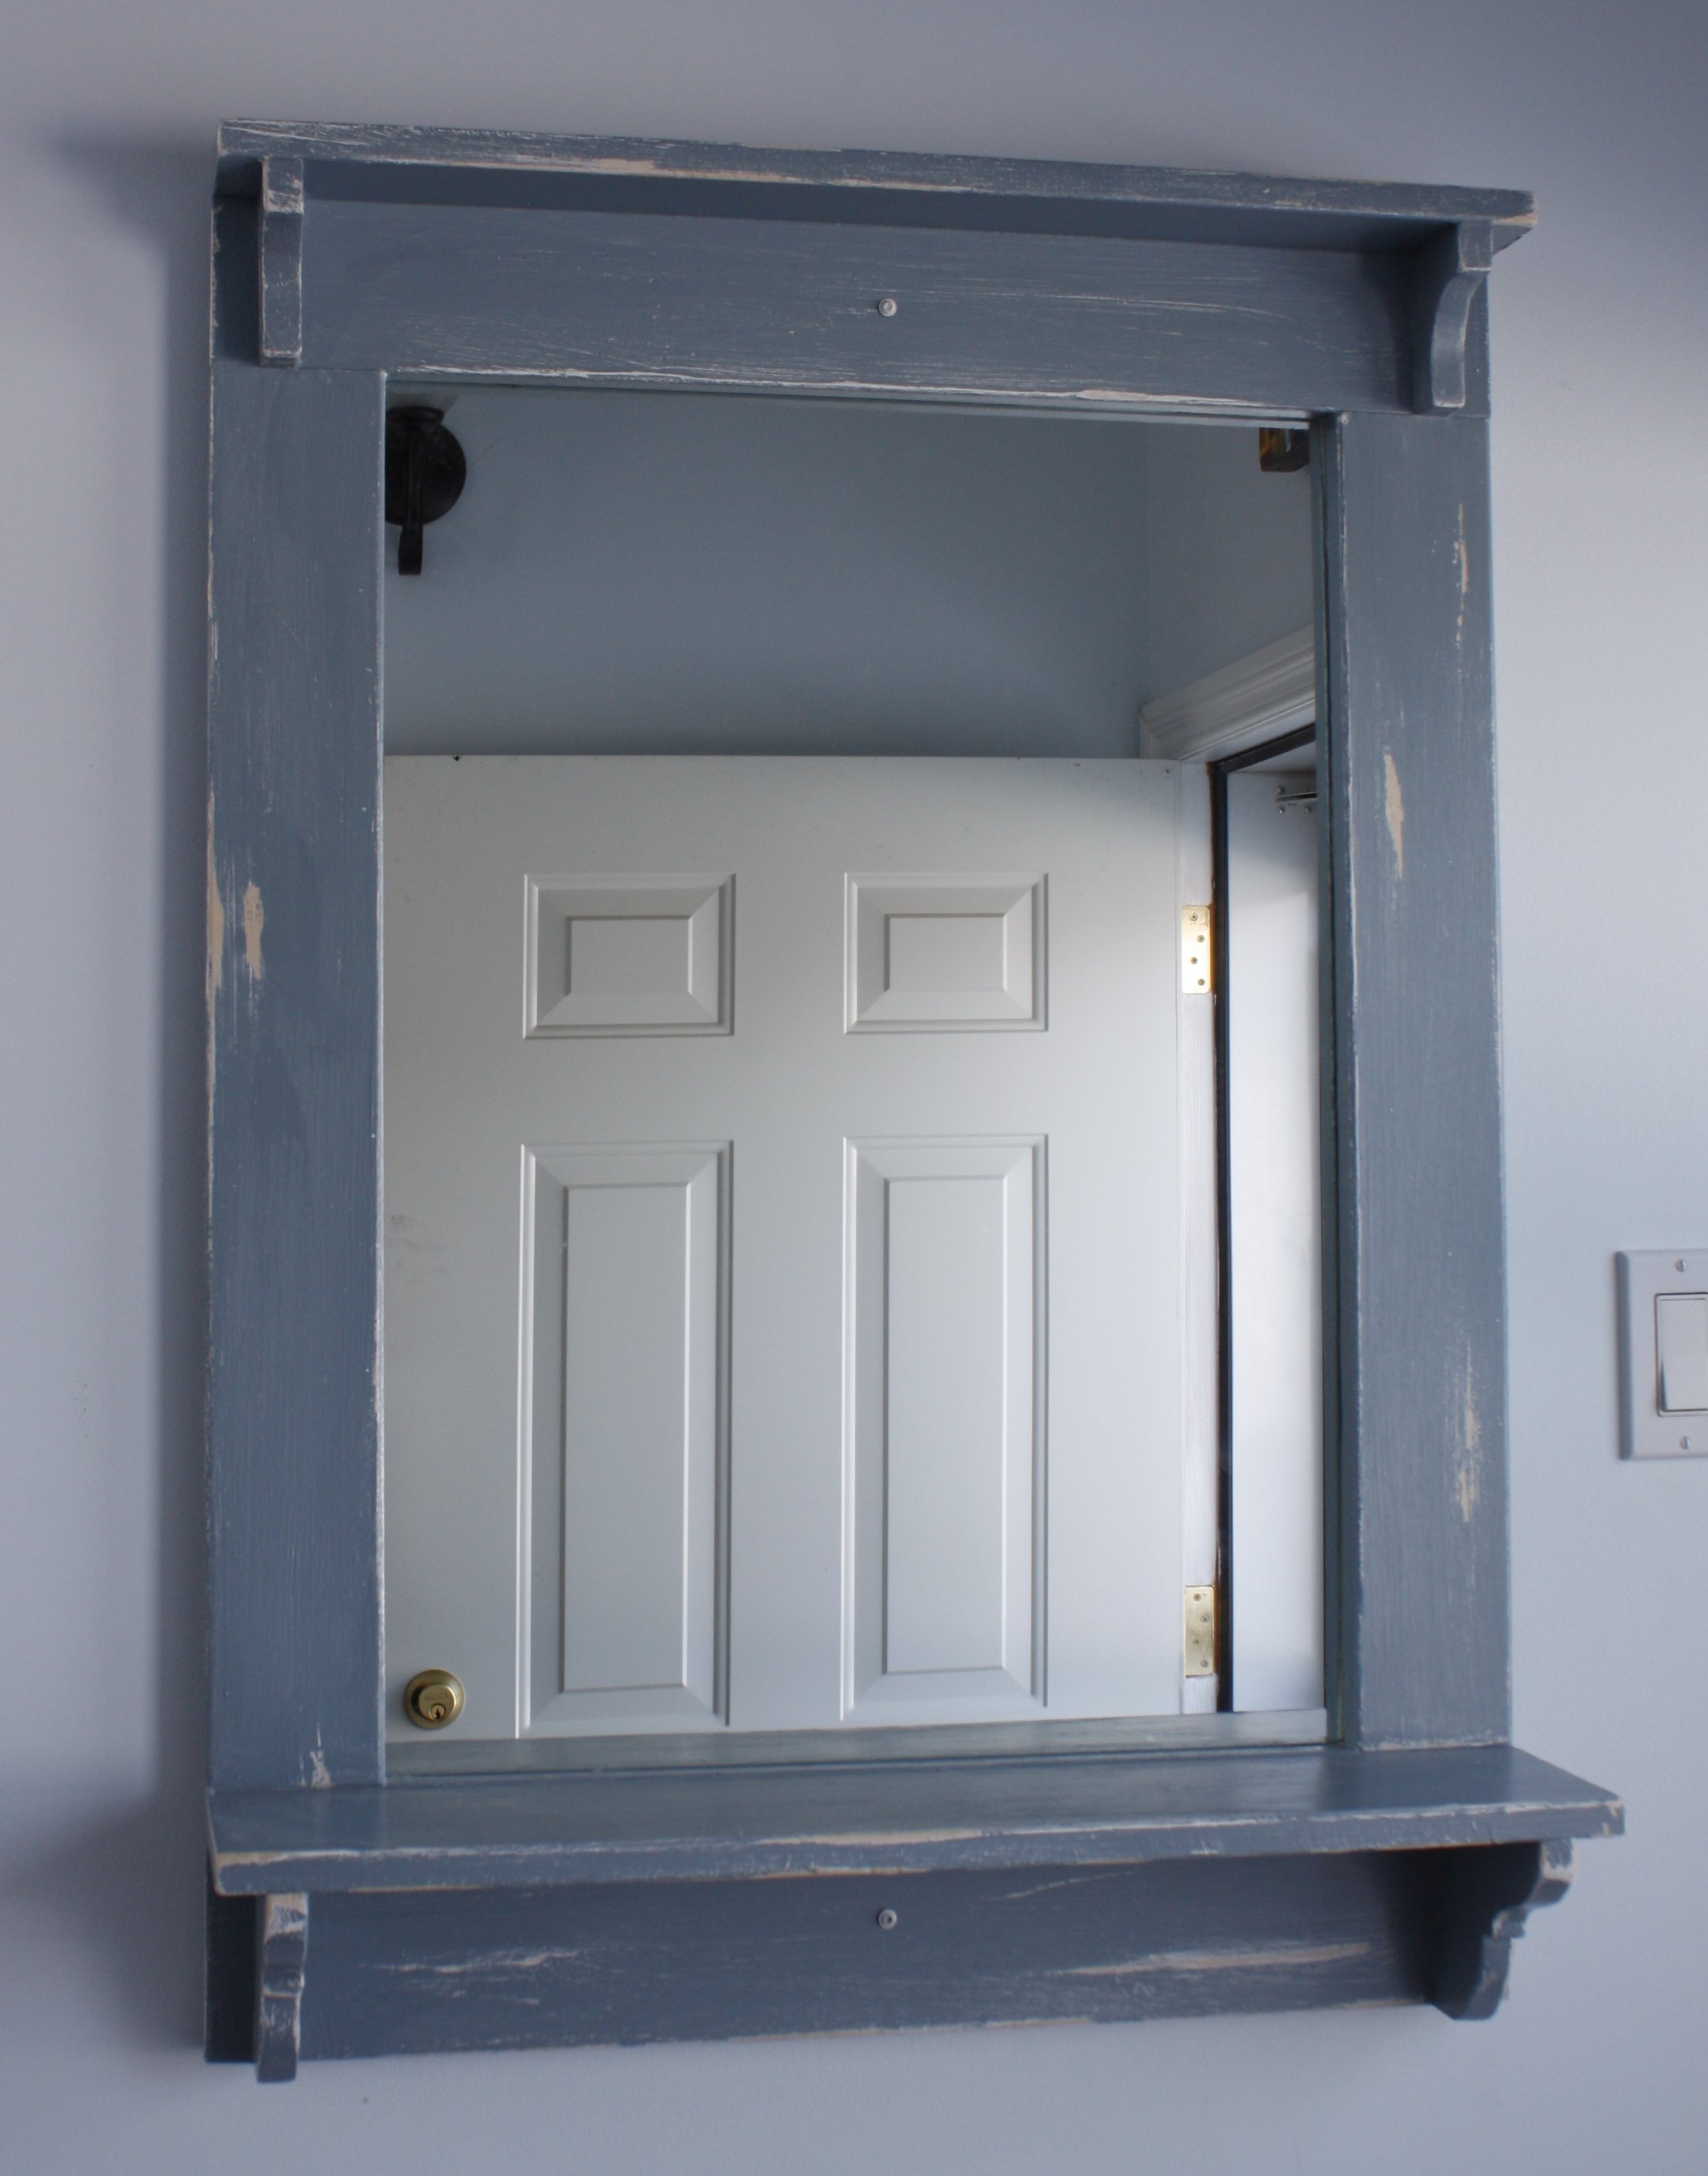
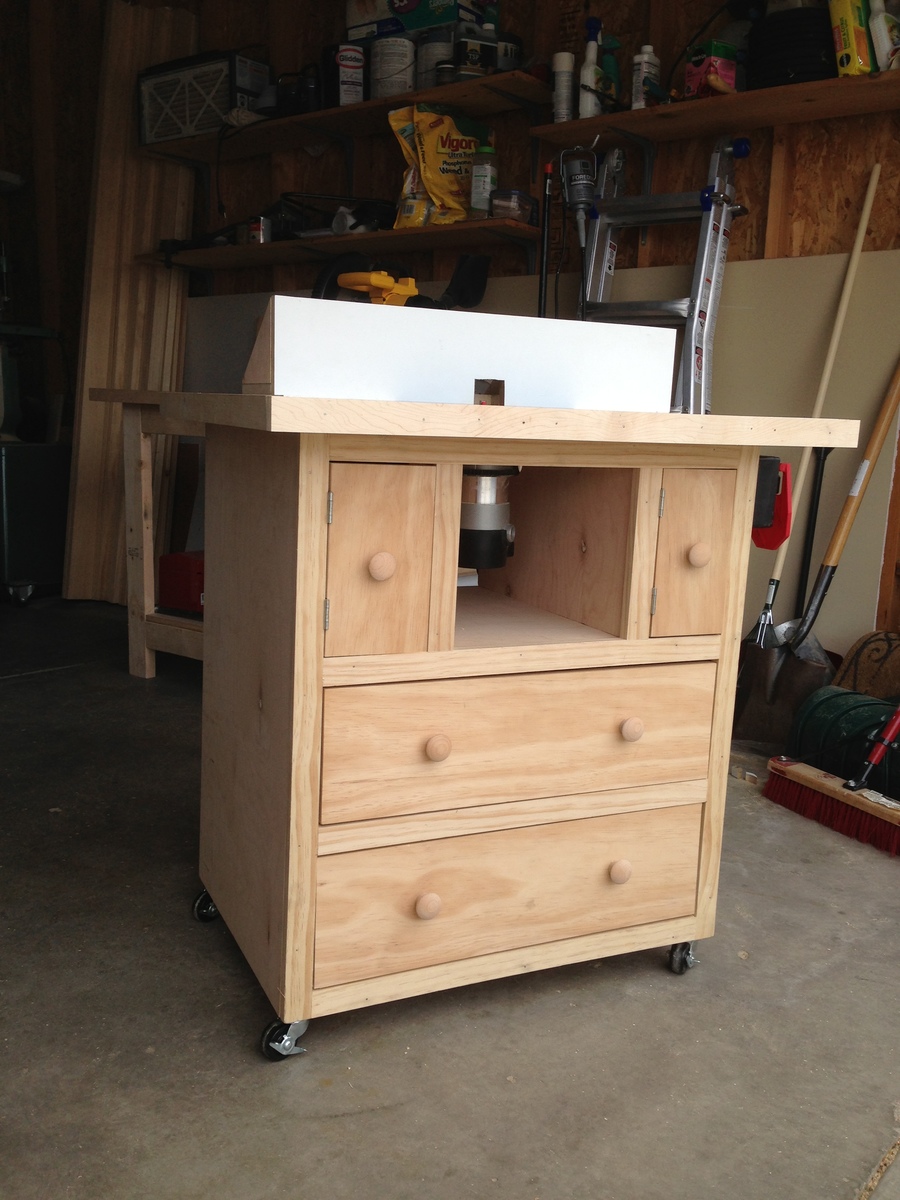
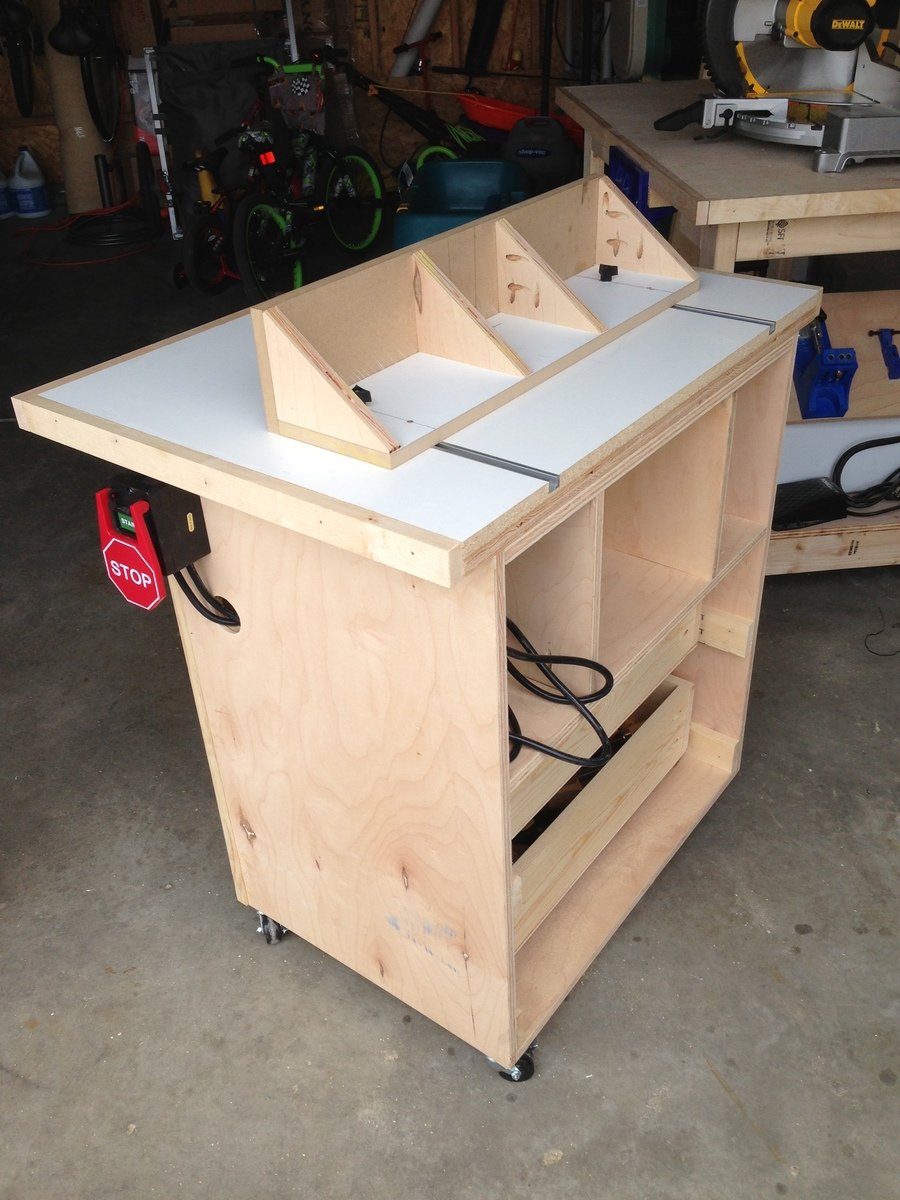
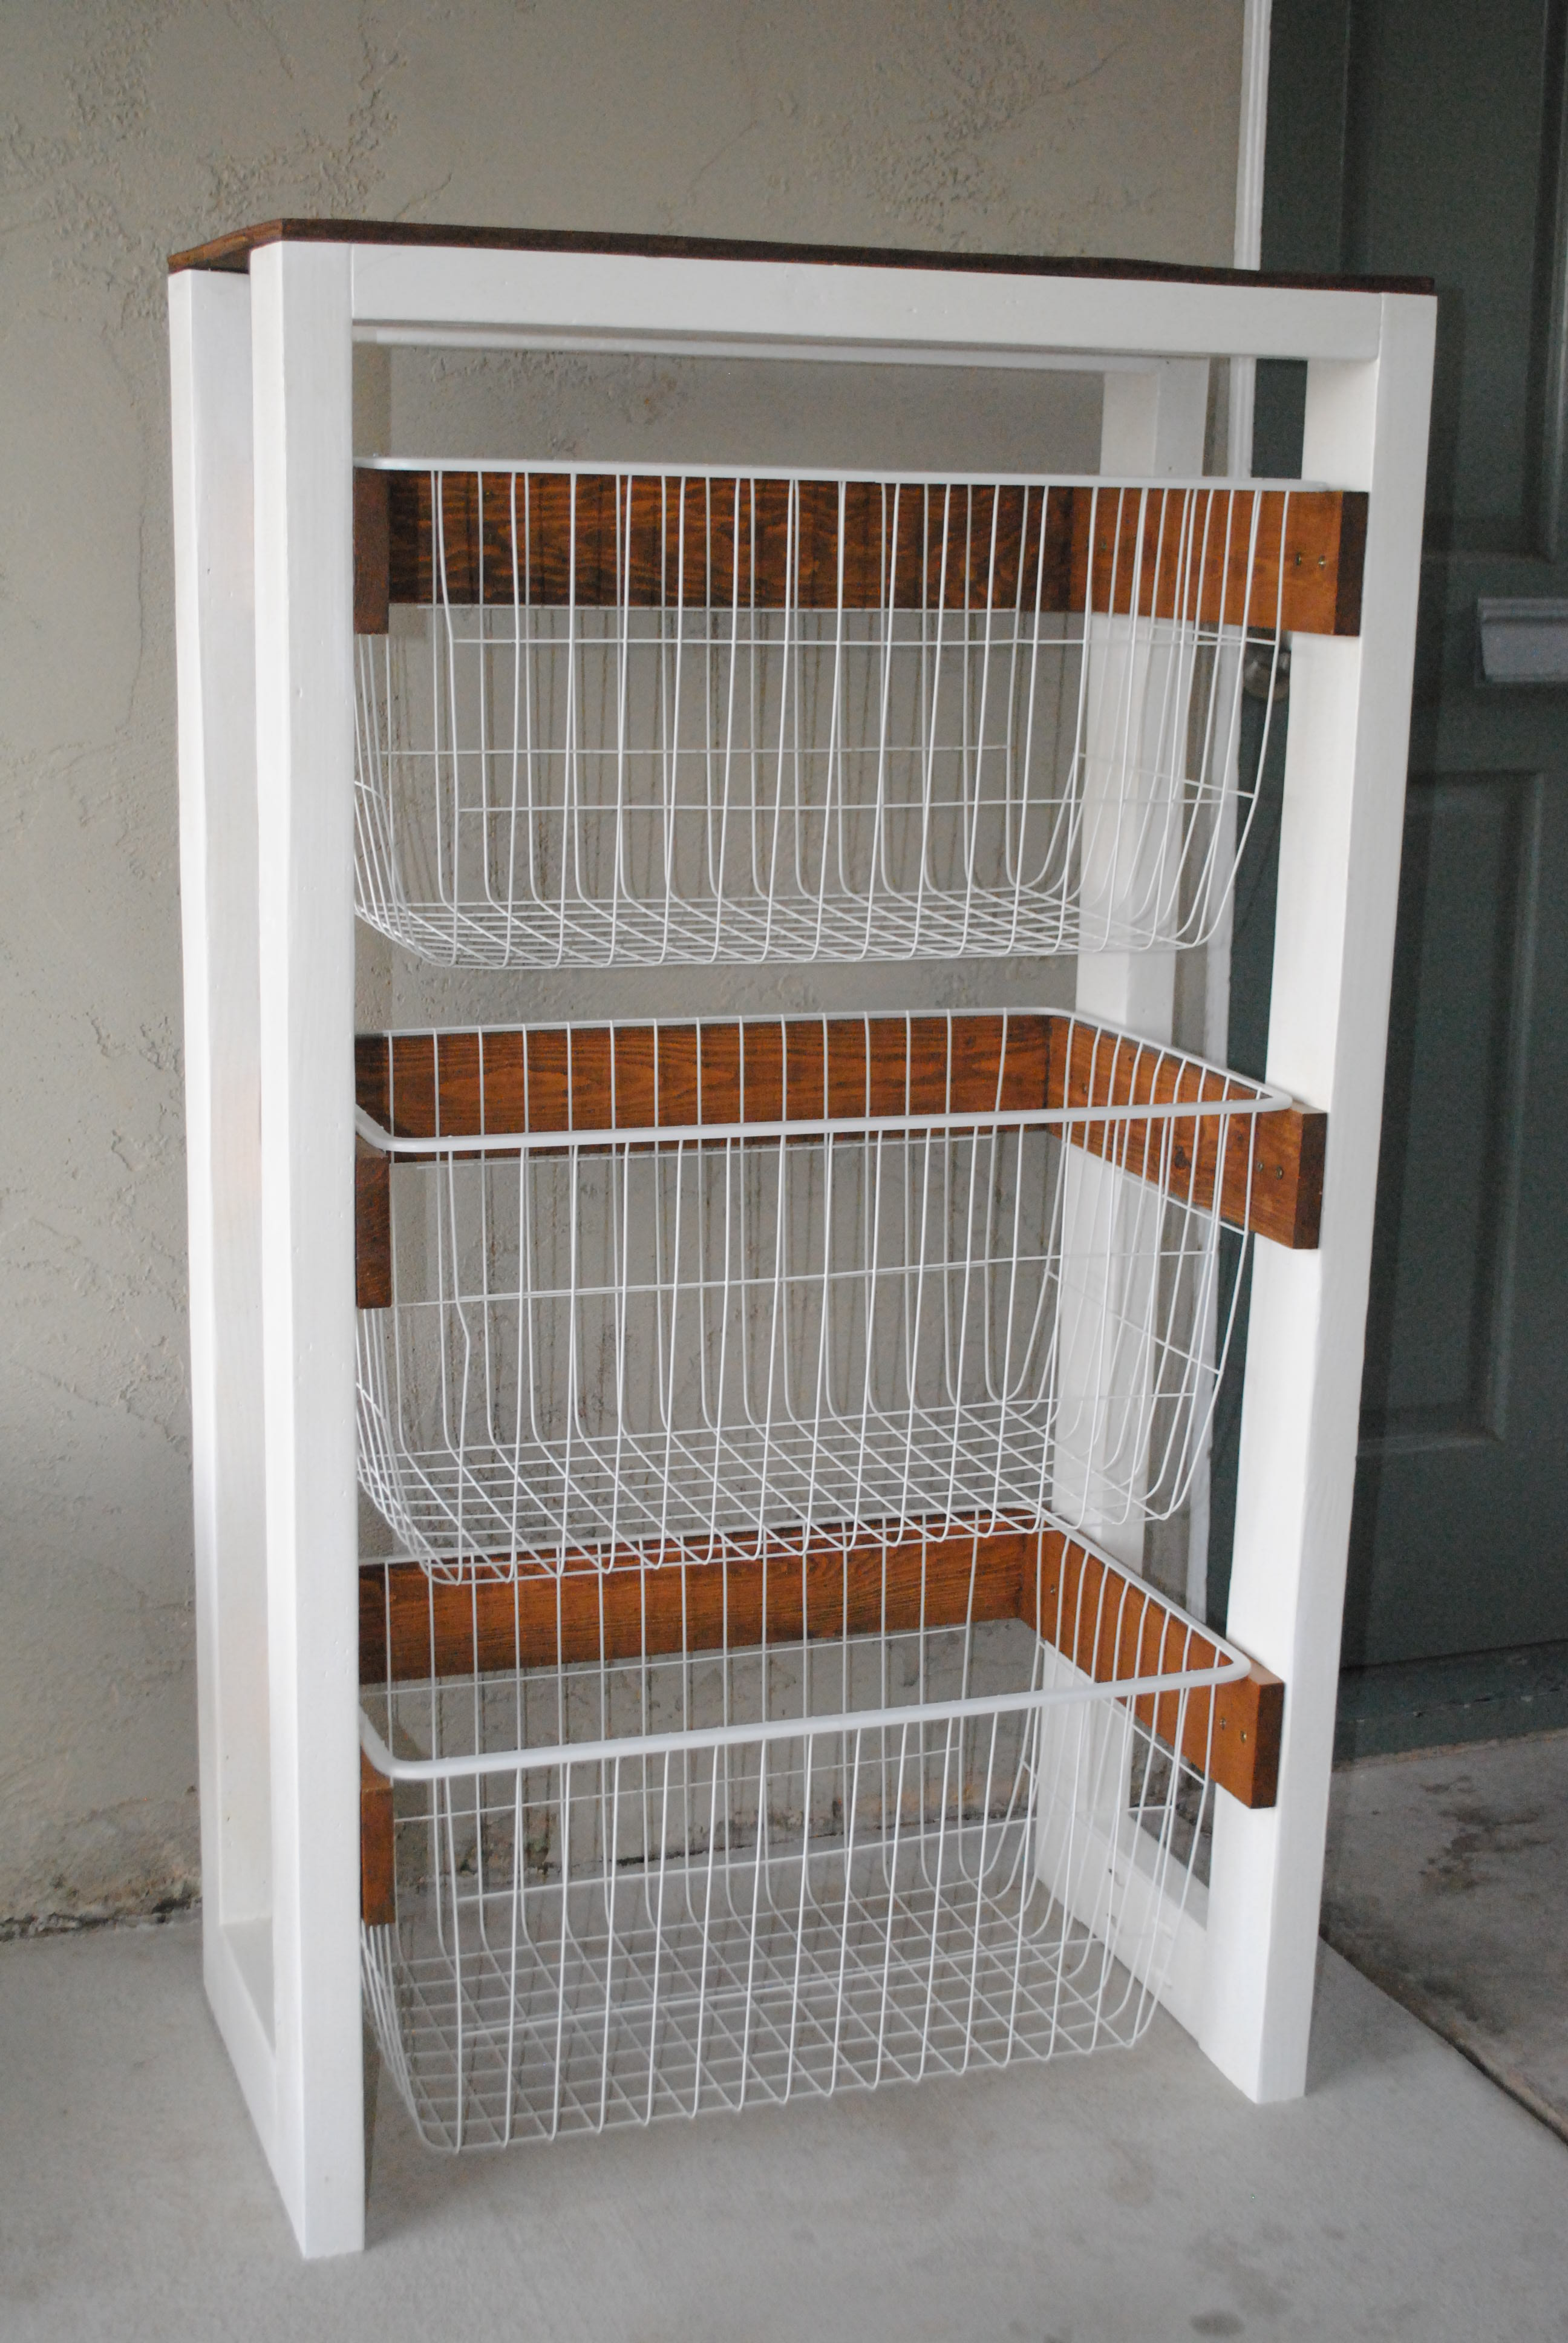
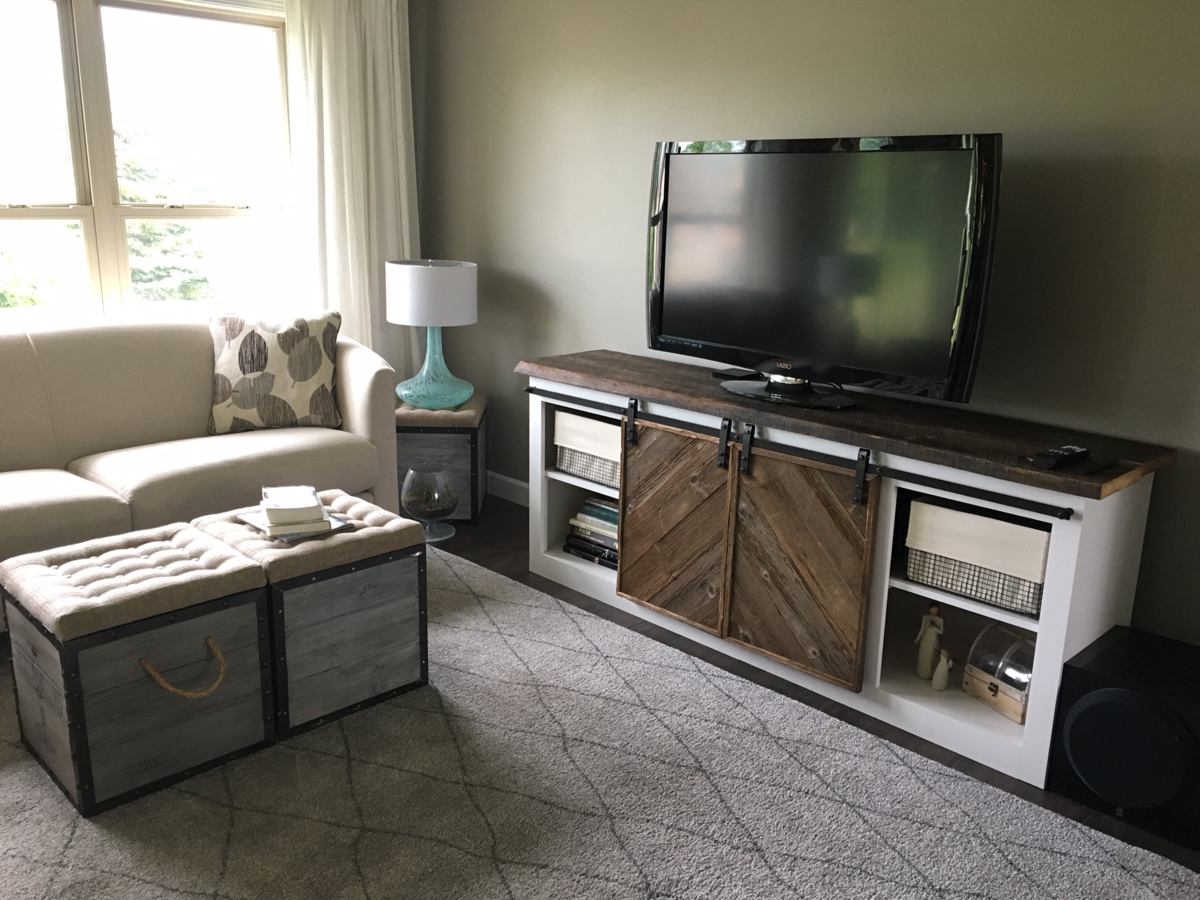
We have quite a fixer upper and while re-doing the bathroom, I came across Ana's Island plan in her book, The Handbuilt Home. This isn't the finished picture as we have installed the sink fixture and pipes, where I wrapped the exposed pipes with twine to give it a more rustic look. The table was modified in size and the mirror was a salvaged piece where I made a backer and framed it. Though still in need of some finishing touches, the look so far is spectacular... I wish I had a before and after photo. Much of what you can see, such as the tile in the shower and mirror has been made from found materials around the house or were items that were going to be sent to the dump. I love recycling!
New to building,
Stephanie Broker
Estimated Time Investment
Week Long Project (20 Hours or More)
Finish Used
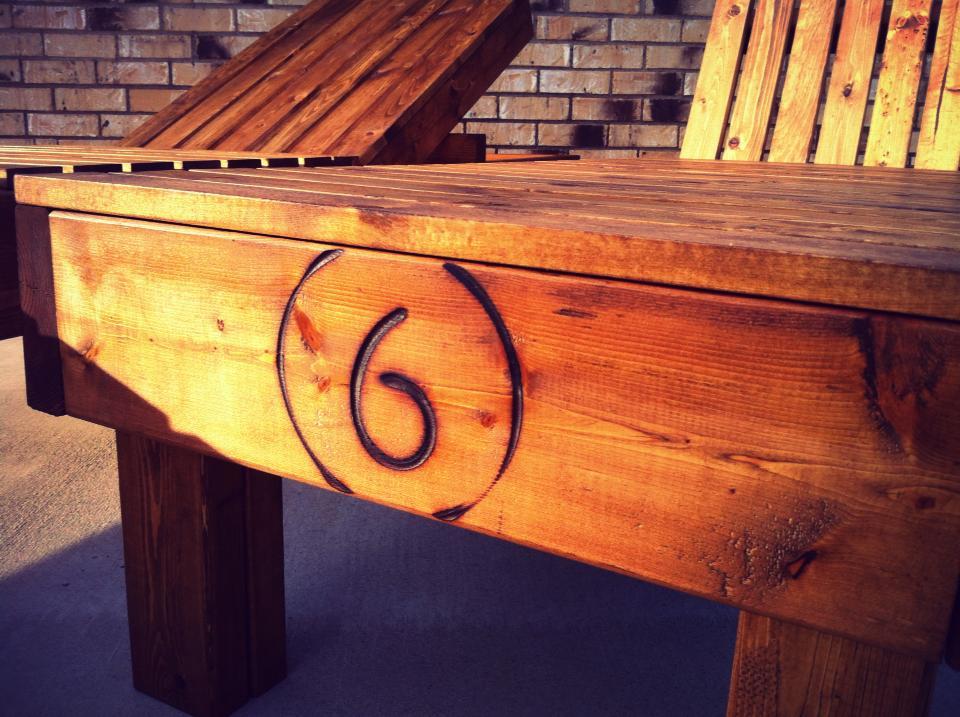
Daly's Stain (Walnut) and water resistant seal
Recommended Skill Level
Intermediate