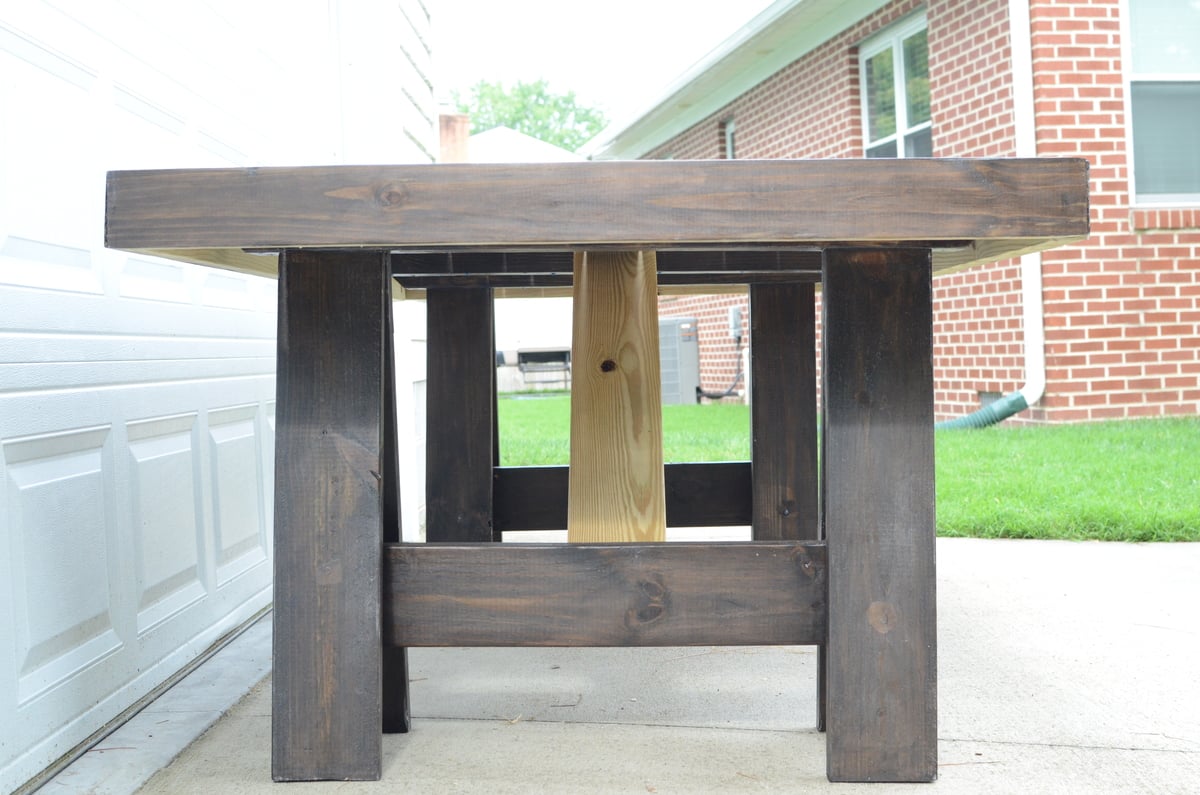
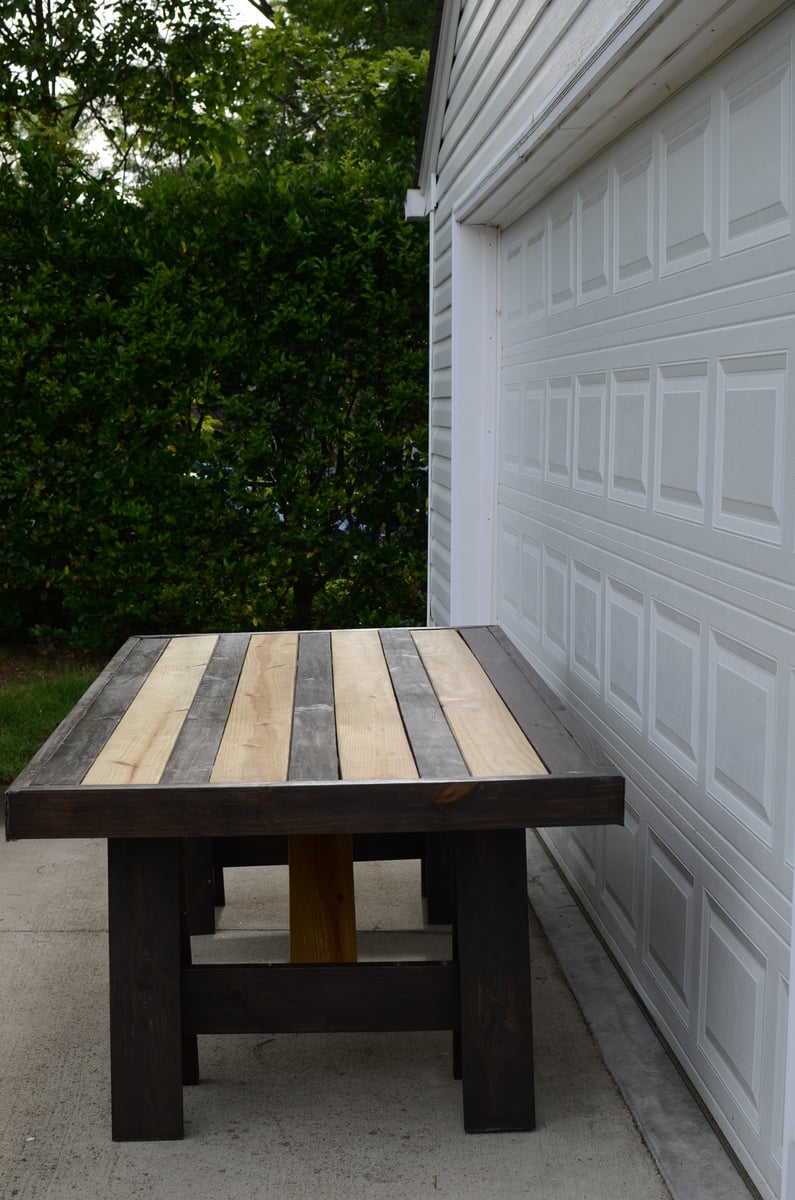
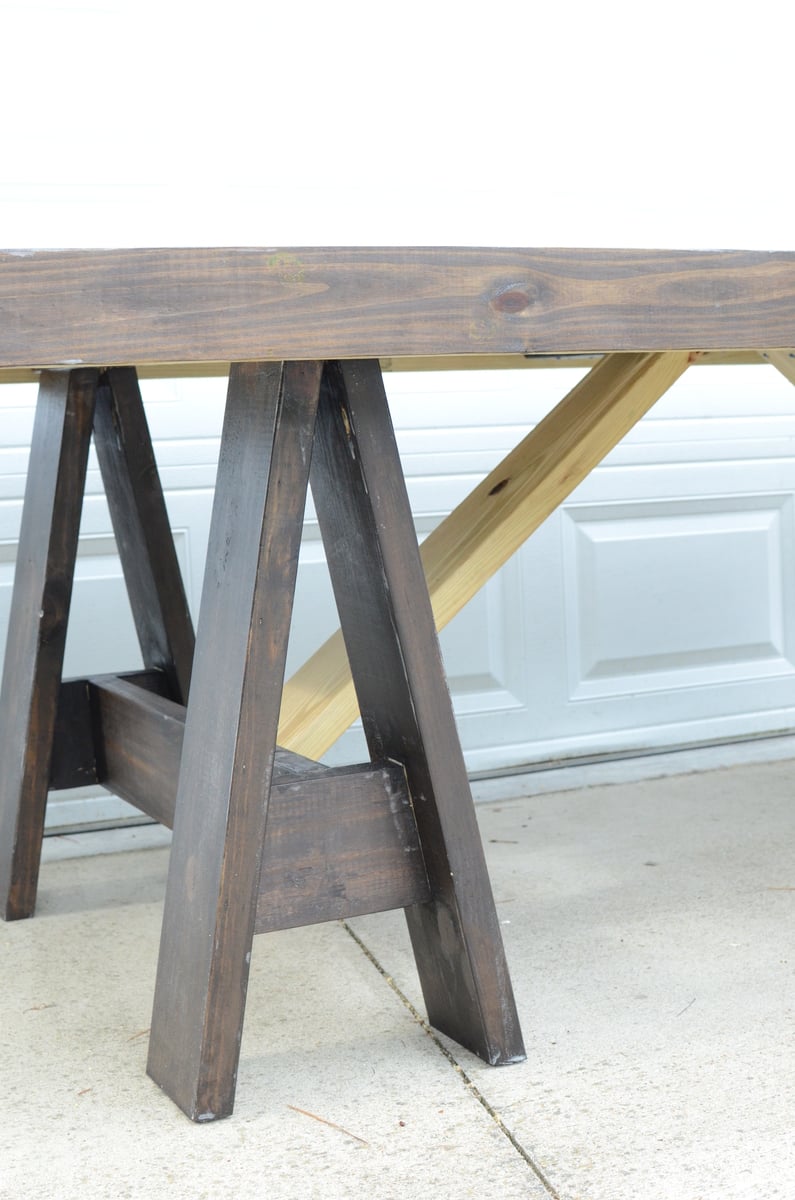
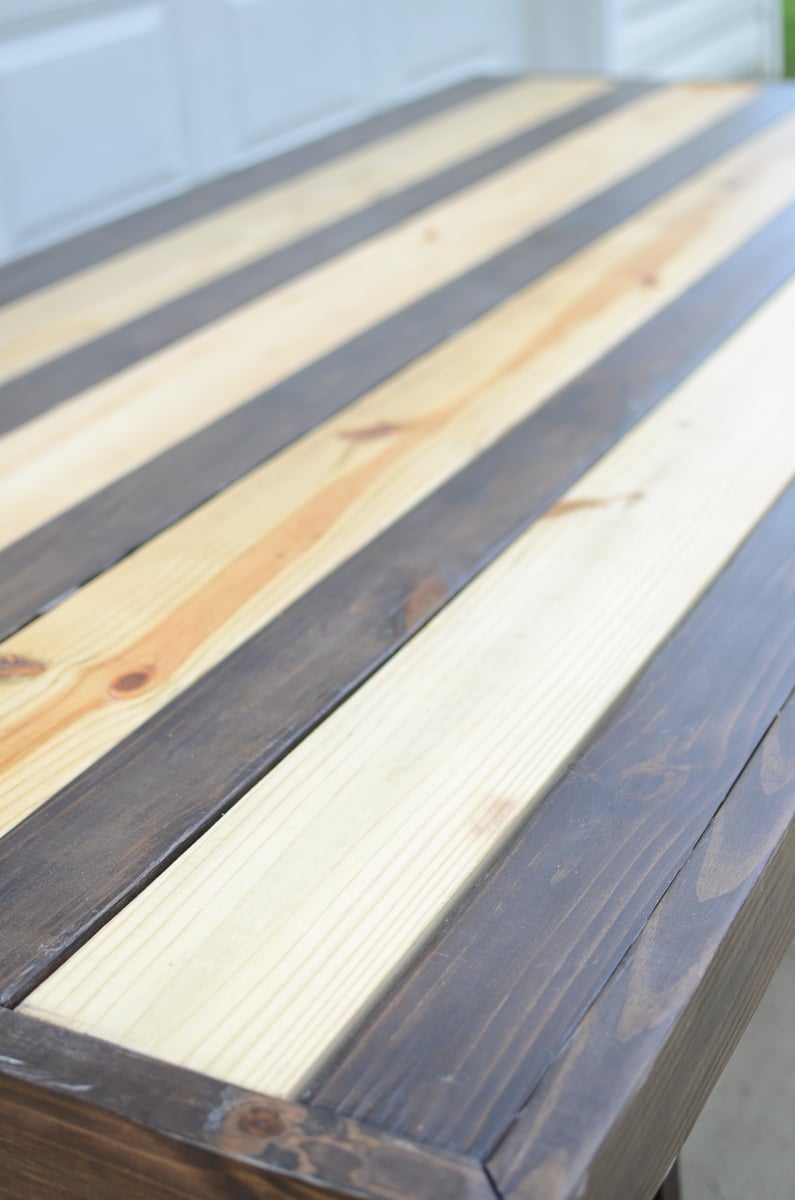
First Rustic X Console table build
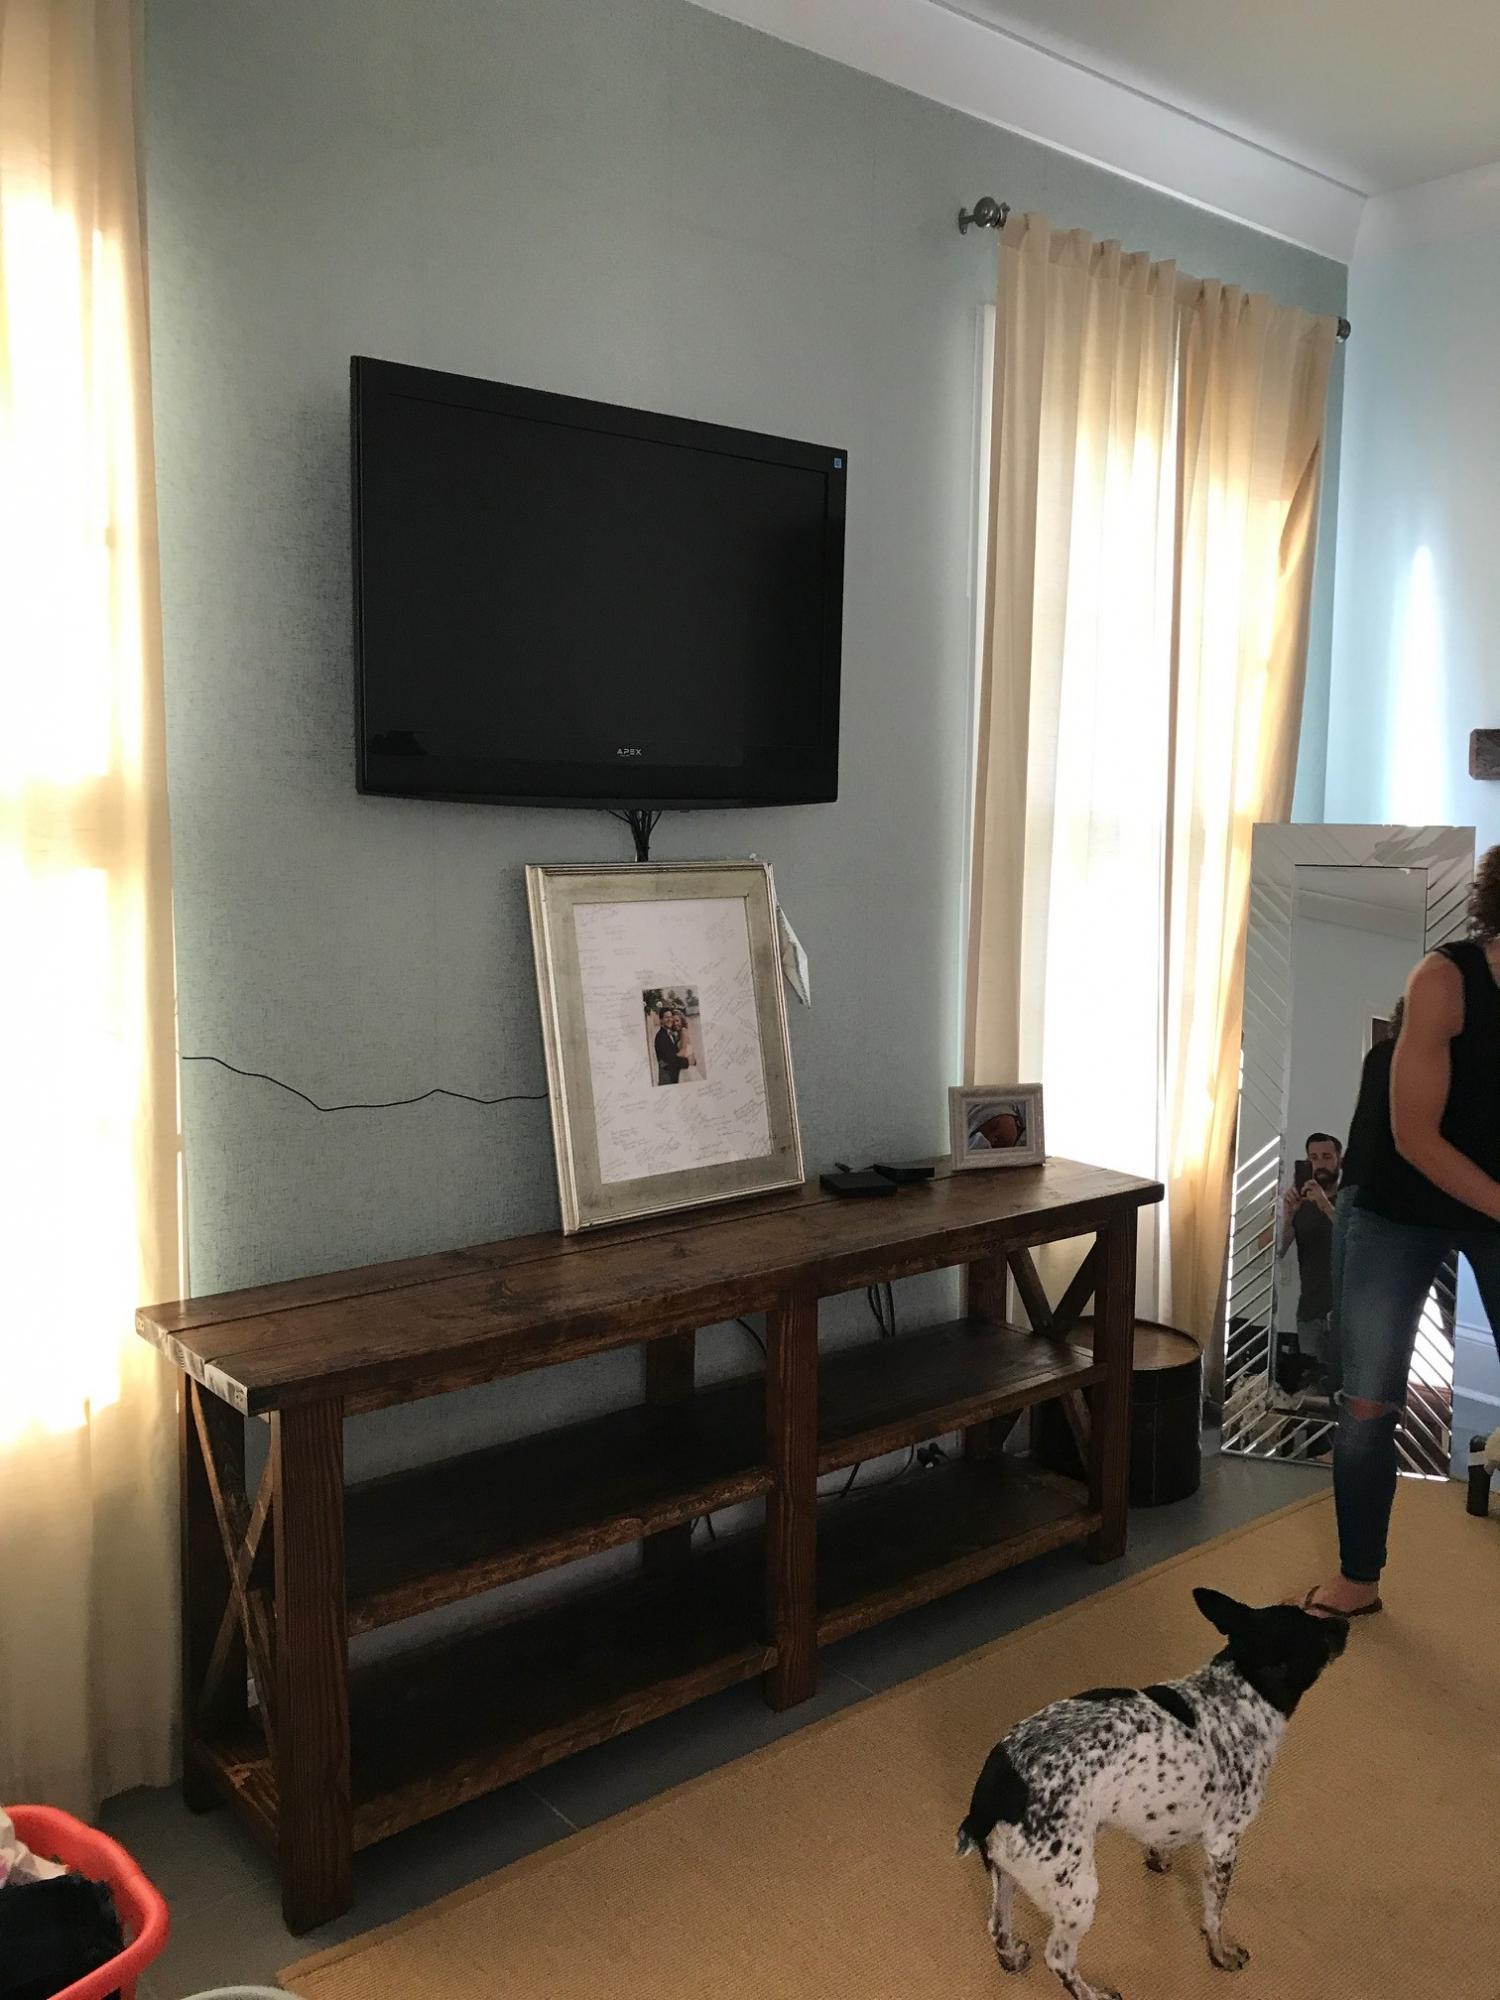
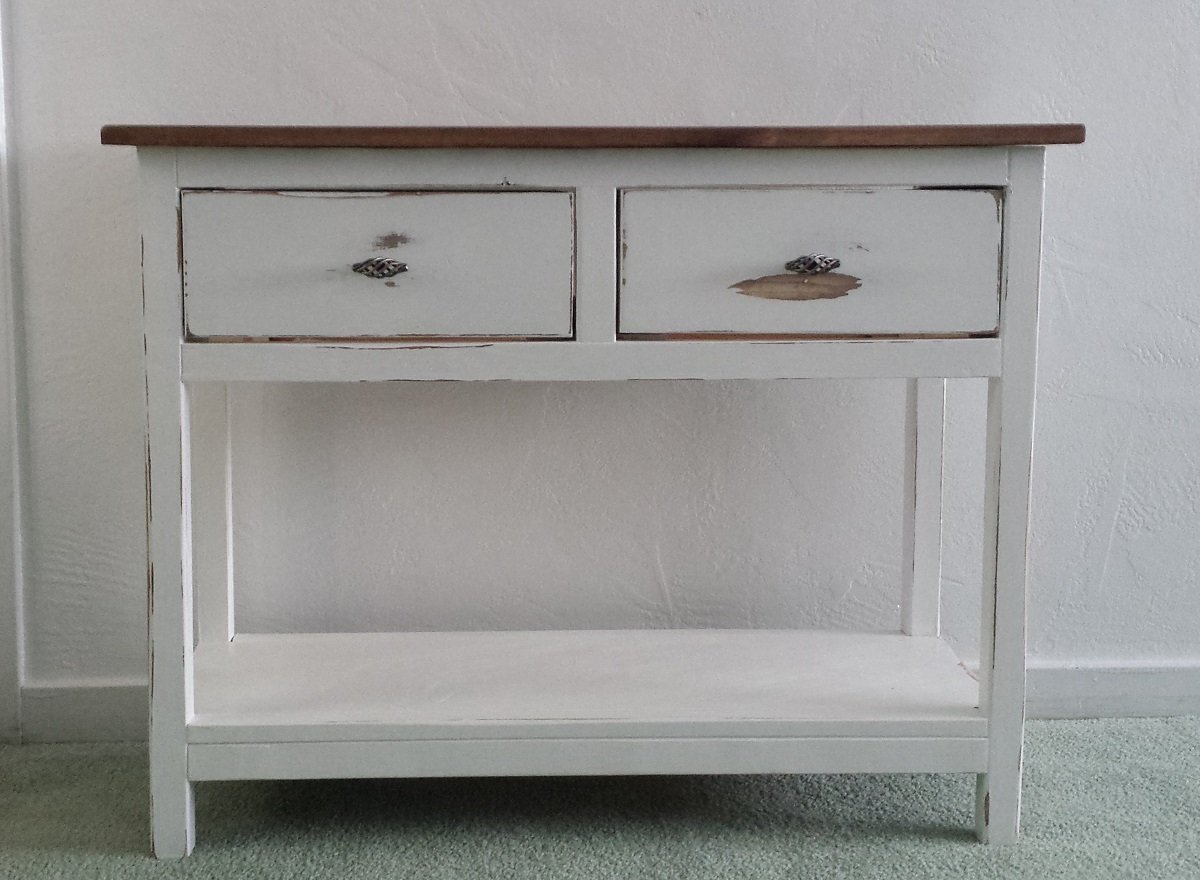
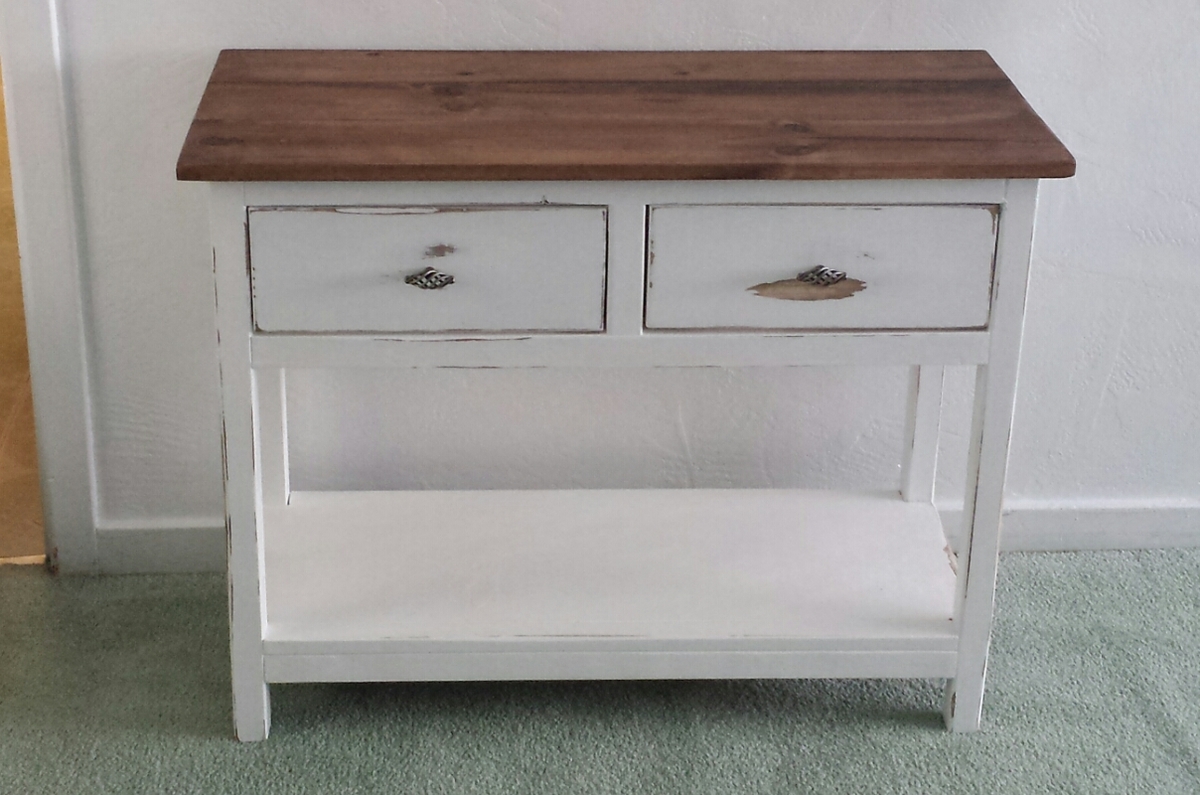
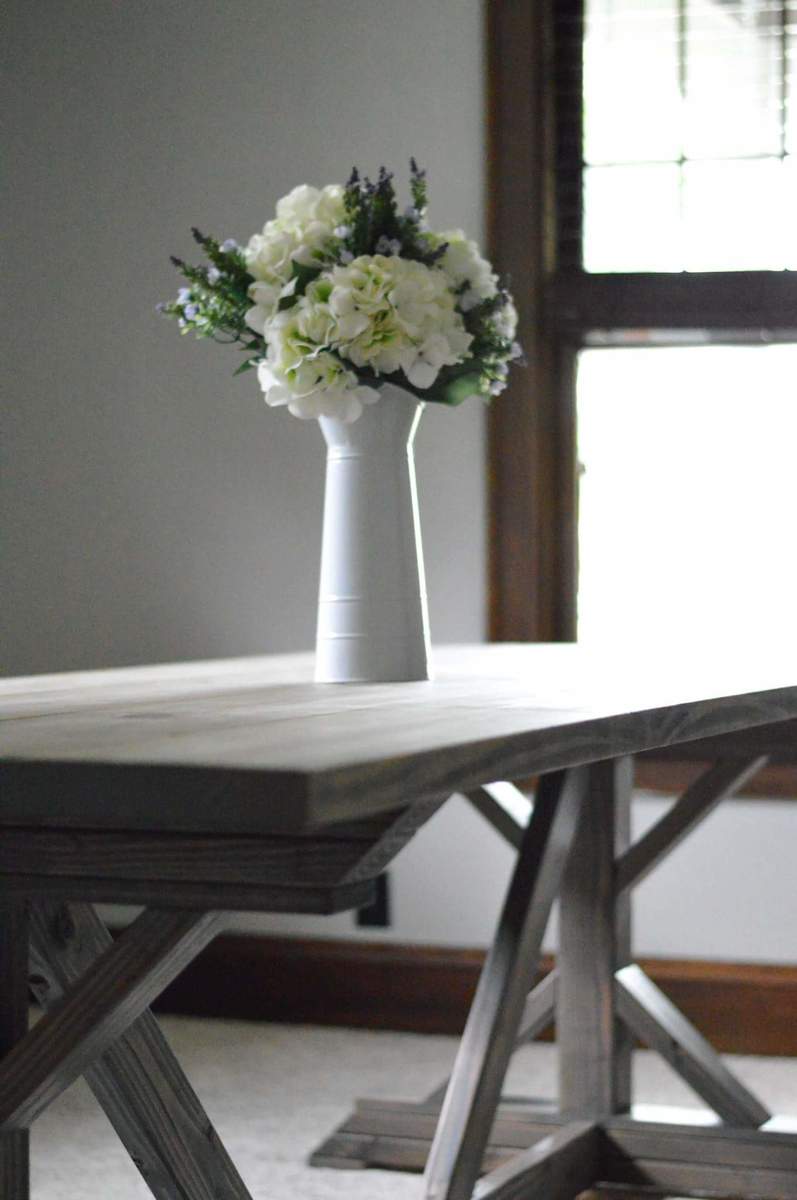
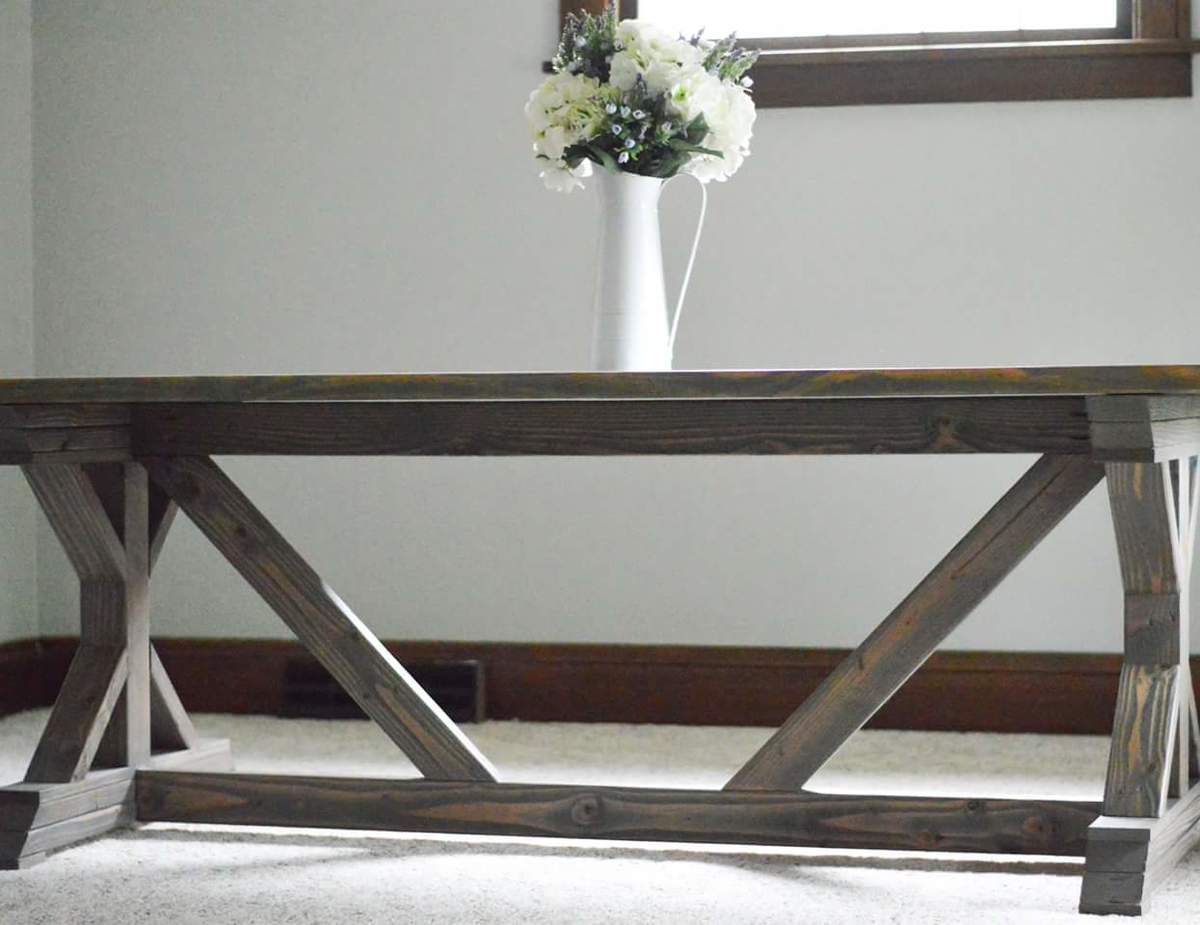
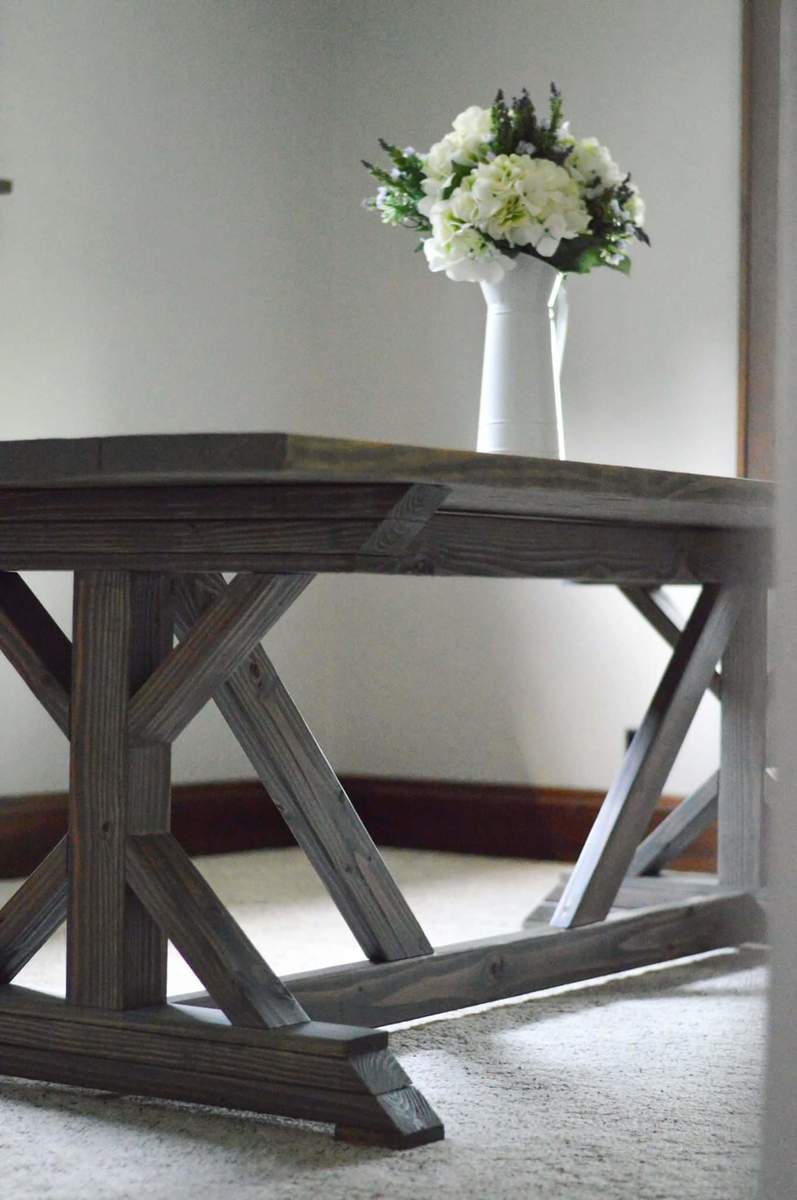
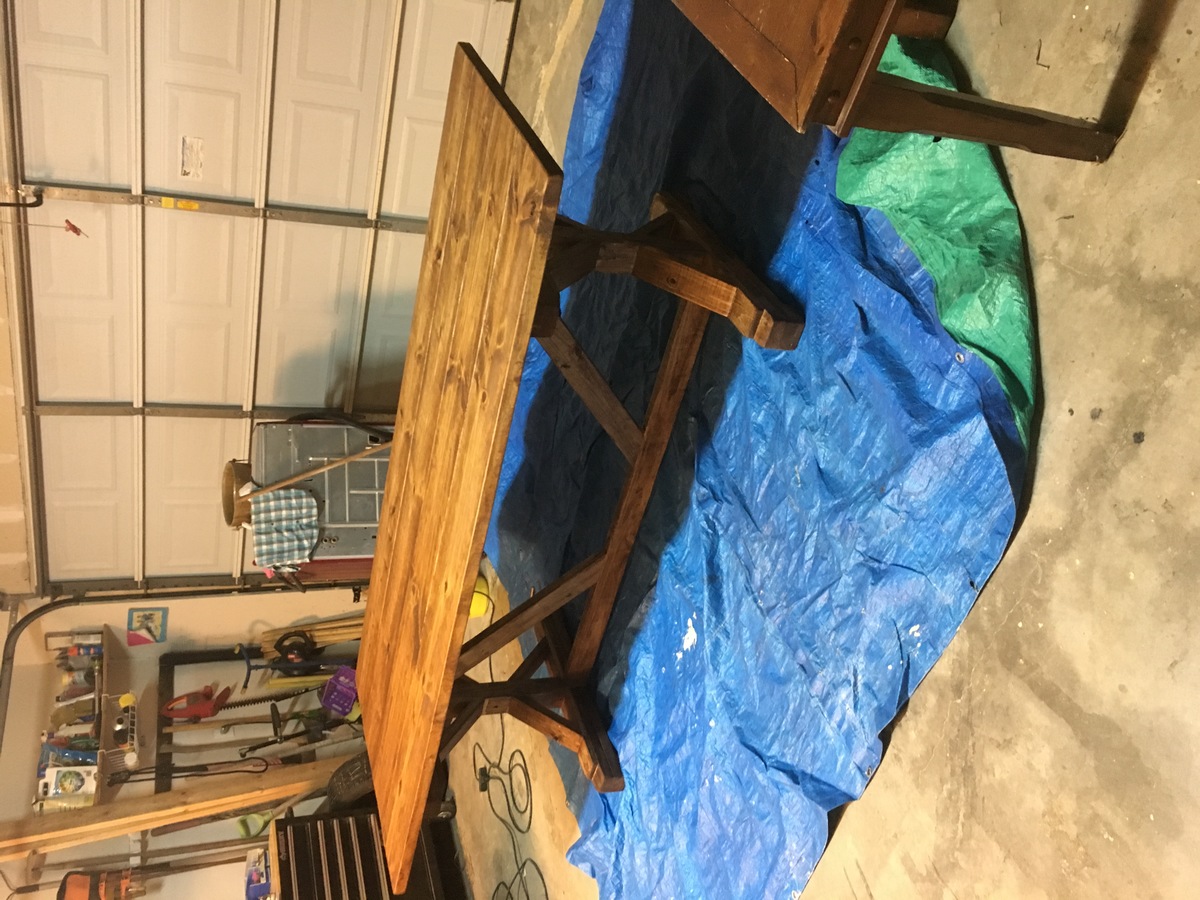
First stab at this table turned out so well a friend bought it off me and I had to build a second.

First stab at this table turned out so well a friend bought it off me and I had to build a second.
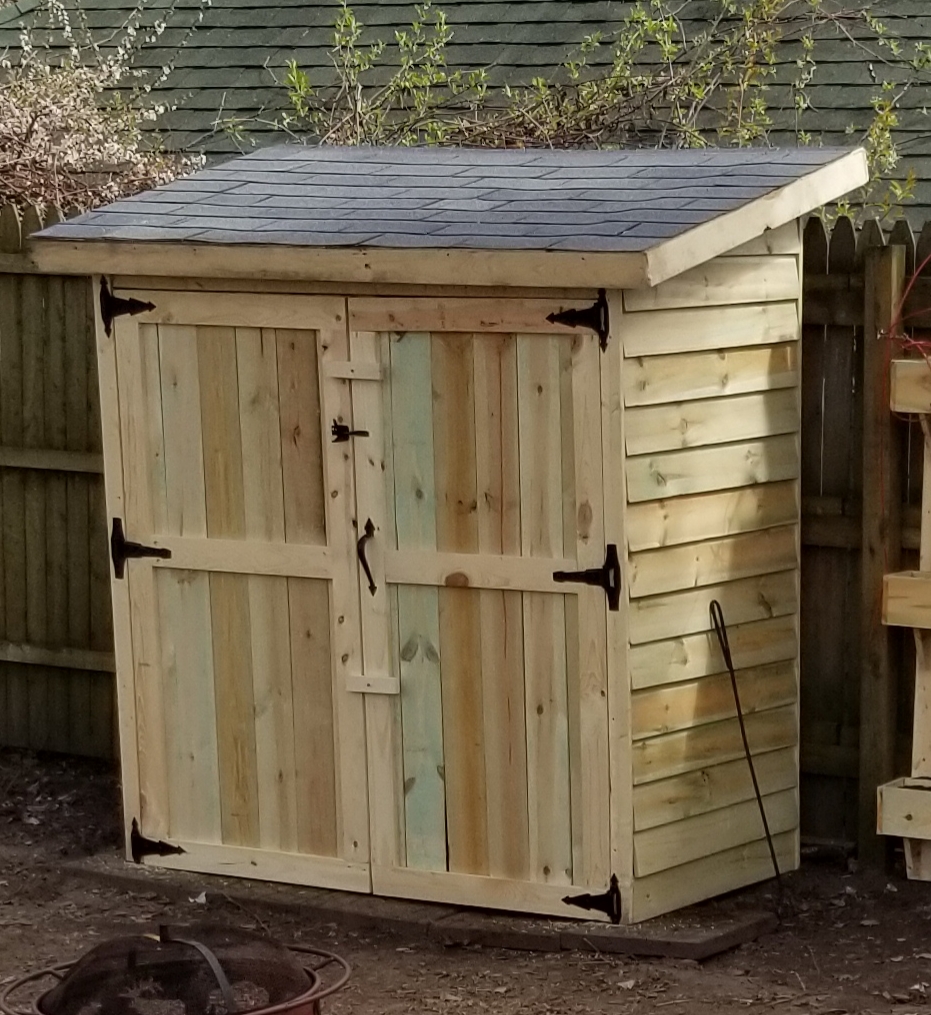
Dear Ana White,
I was looking for an inexpensive shed to build and saw your lean to. I love it and get many complements. Thanks for your site and what you do.
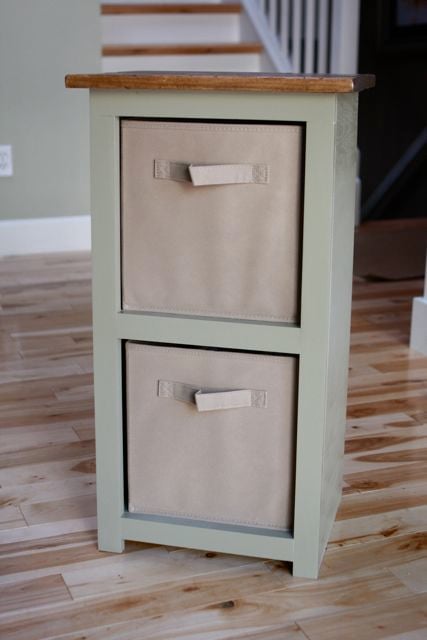
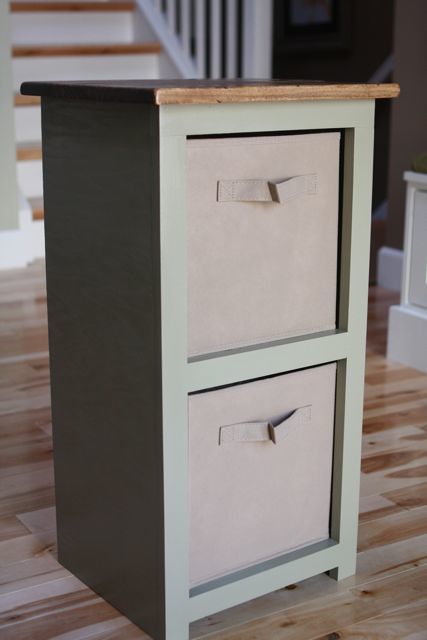
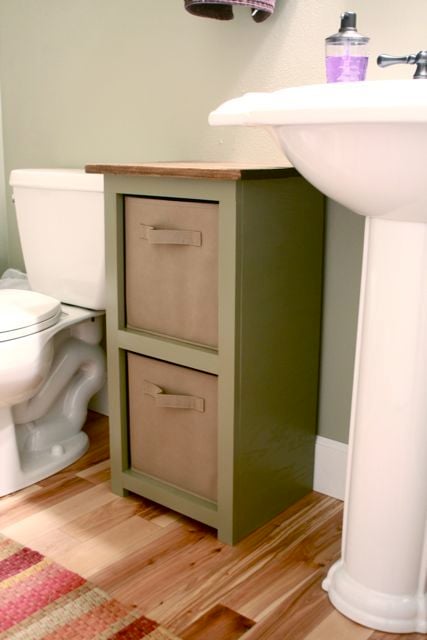
When I saw another builder's little bathroom tower in the brag blog last week, I knew I needed one for my powder room! Ever since we installed a pedestal sink several years ago, we've had nowhere to put extra toilet paper. With this little tower, that problem is (finally) solved!
I built it will materials I had on hand. Oak plywood I ripped to 11" for the sides and shelves, 1x2 pine for the face frame, and a variety of pine for the top glued and screwed together with my Kreg jig.
The only purchase I made for this tower was the two fabric baskets from Target for about $12, I think. The fact that they fit is not a happy accident -- I built the unit around the basket dimensions.
While it is inspired by Ana's storage tower plans, I definitely went out on my own to make it work with the materials I had lying around.

LOVed building and painting this. Although using European wood is a headache as of course the standard wood sizes are different. ... always 4-6 mm off... so all my things are crooked. I don't care though and it is my new favorite chair. I used ArchiTect blue exerior color, two coats, and pine wood.
I am grateful for Ana White's metric conversion chart in the book I now have but when going to the hardware store here, I am confronted with numerous standard wood sizes that are not the same as in the US!
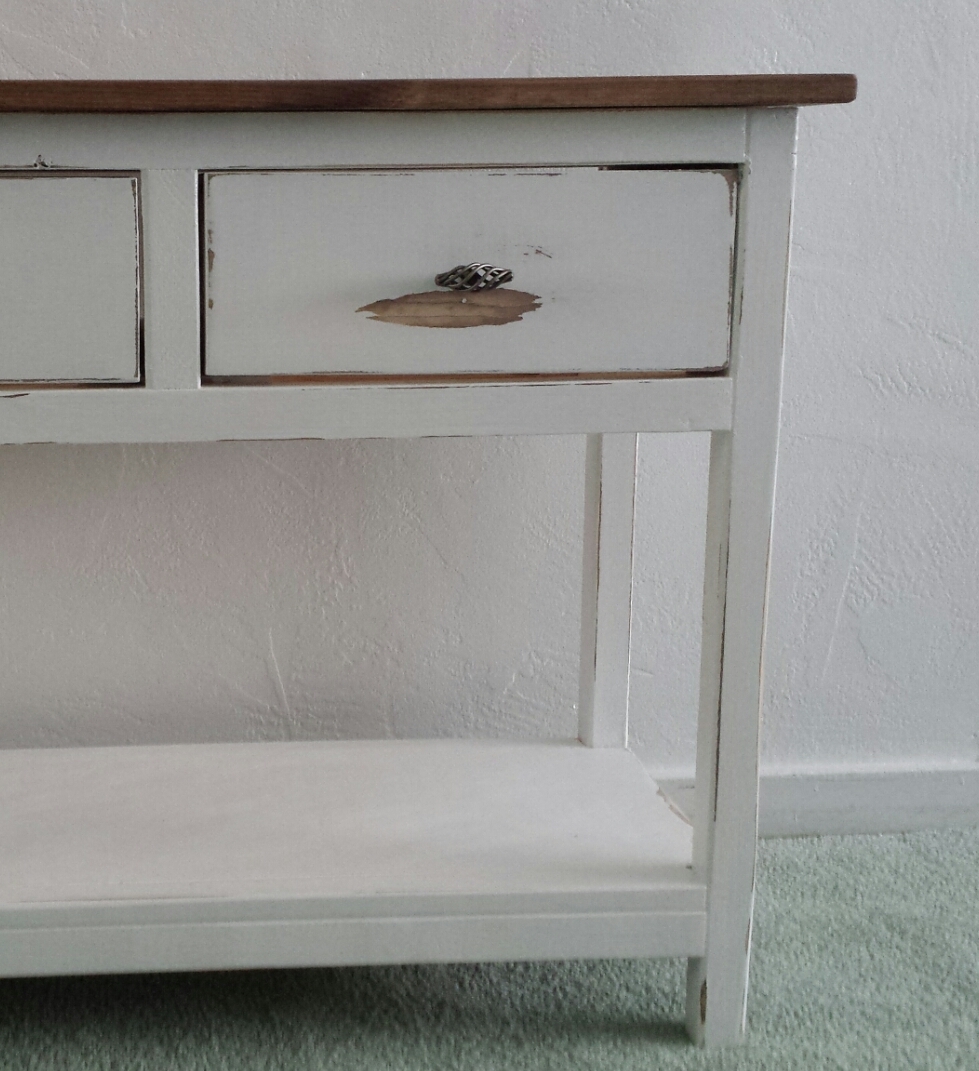
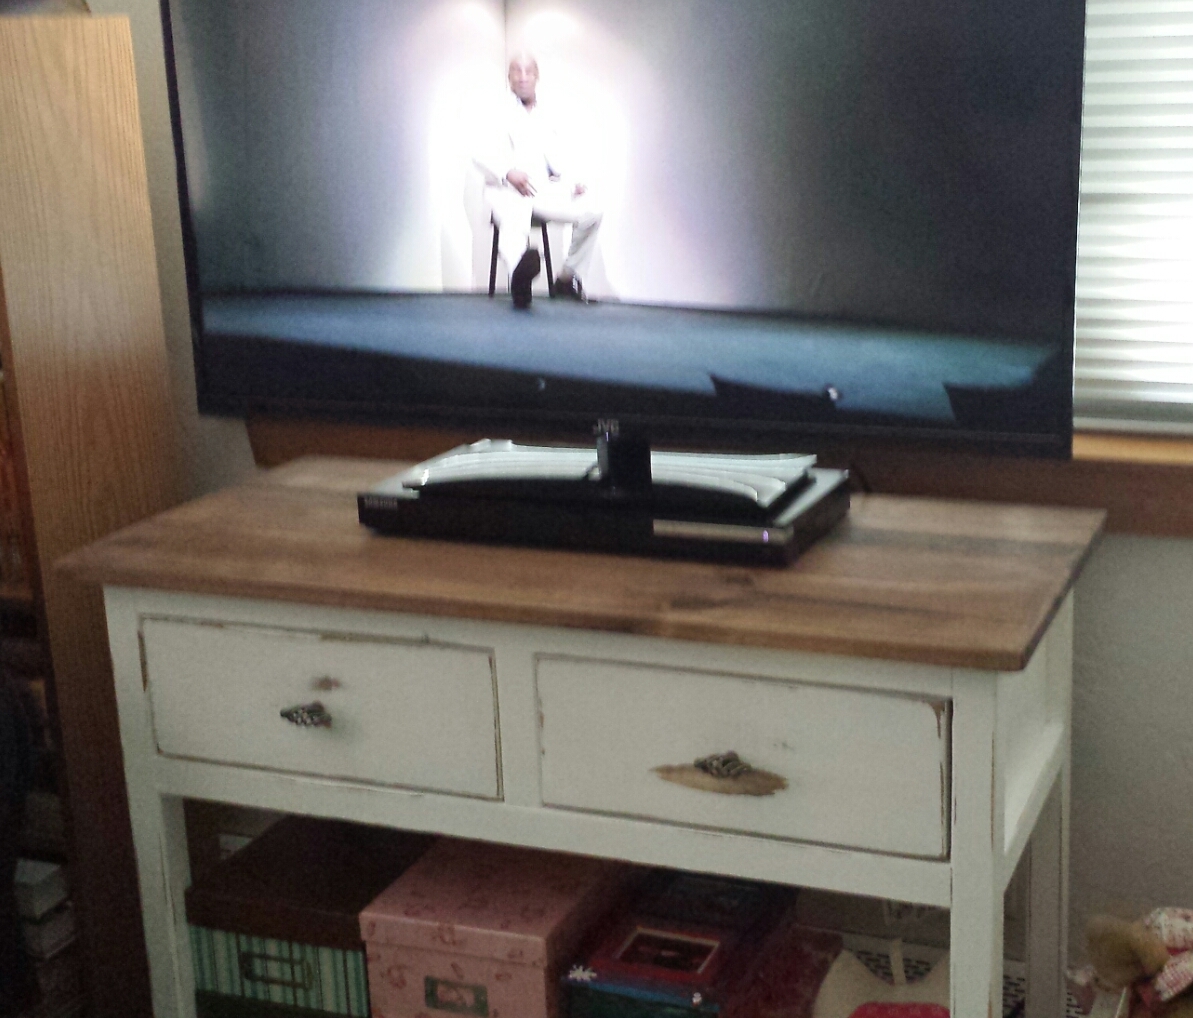
So I bought a tv for our bedroom rather spur of the moment last year and when I decided I didn't to wall mount it I needed a console for the tv to sit. This was going to be my 3rd build and I had recently made the Mini Farmhouse Bedside table. I modified the Mini bedside plans to make the console a larger two drawer style. I also increased the height by about 2" to put the tv at a better viewing angle. I didn't know that there was a similar plan in Ana's book at the time, as it probably would have been easier to just follow that. Oh well.
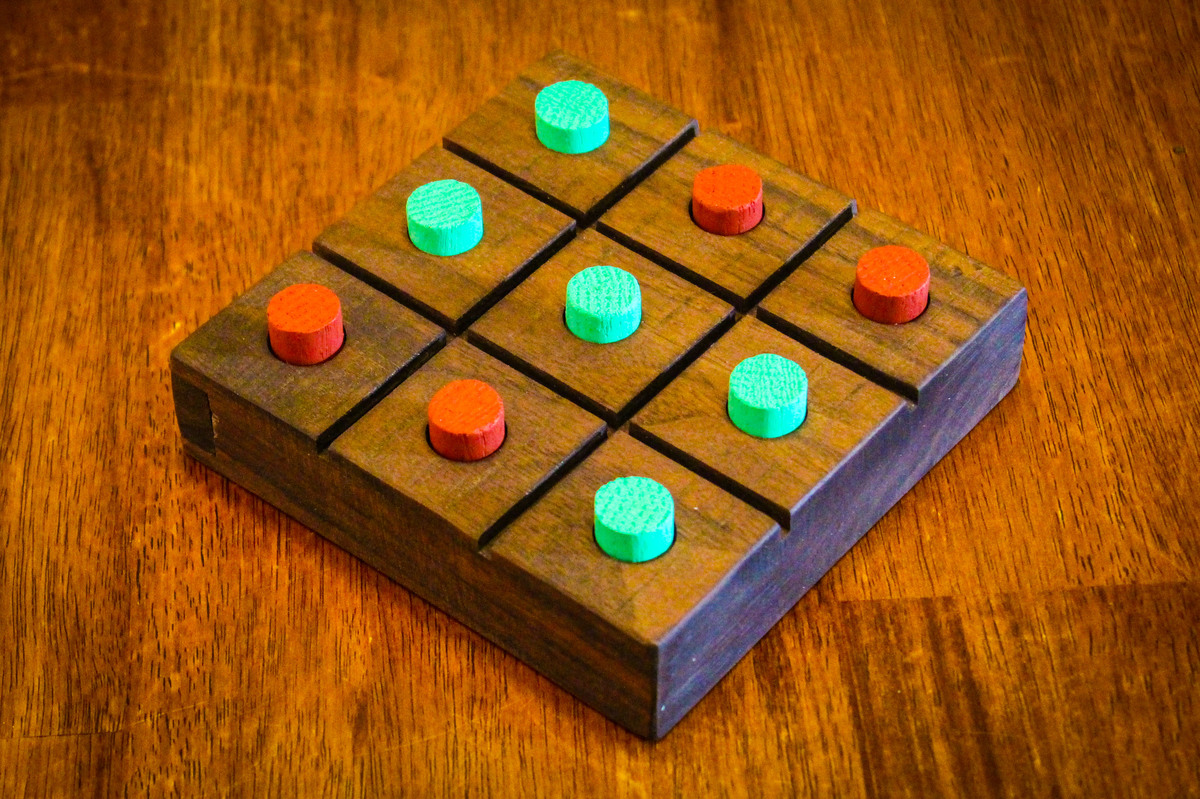
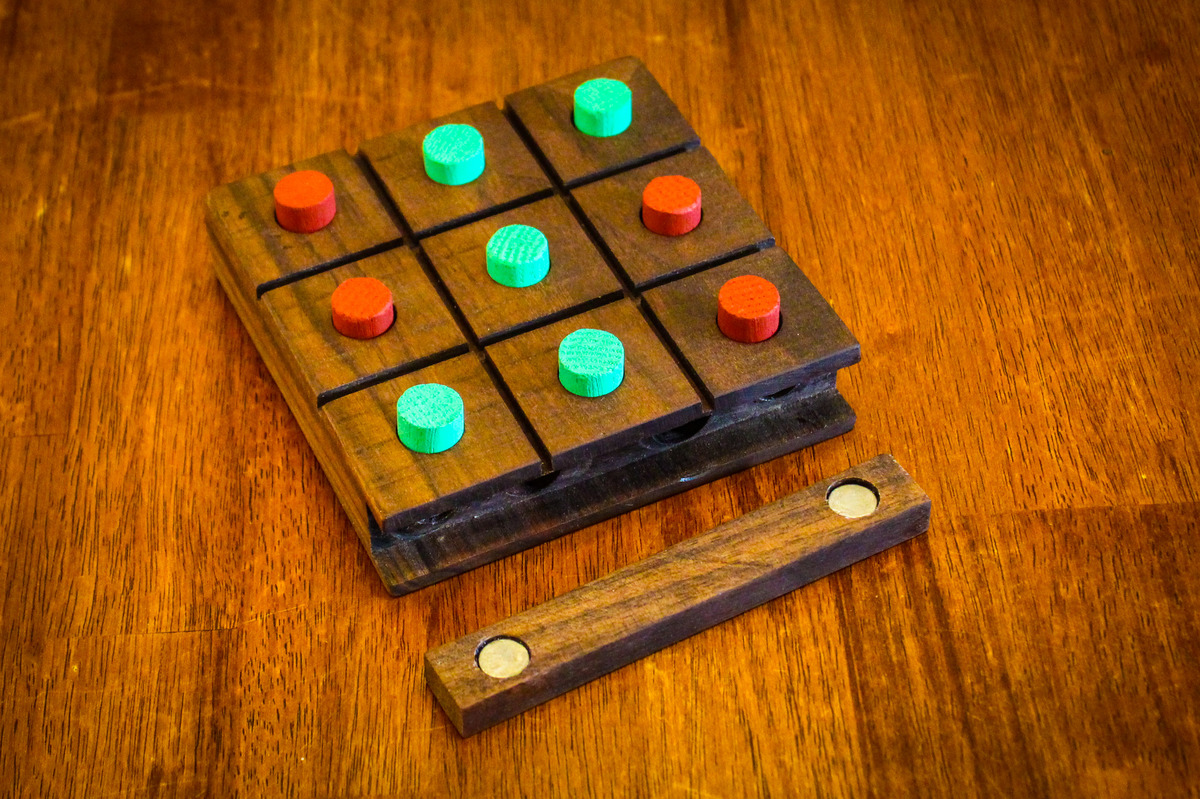
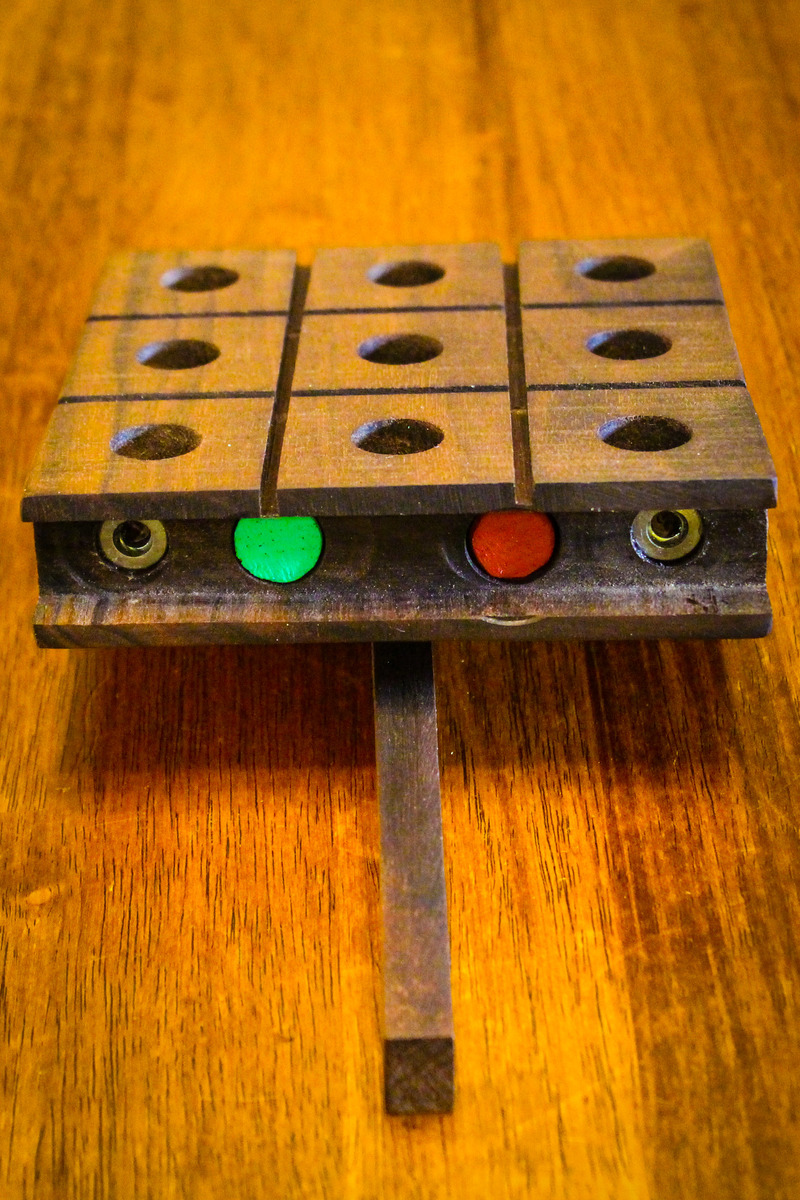
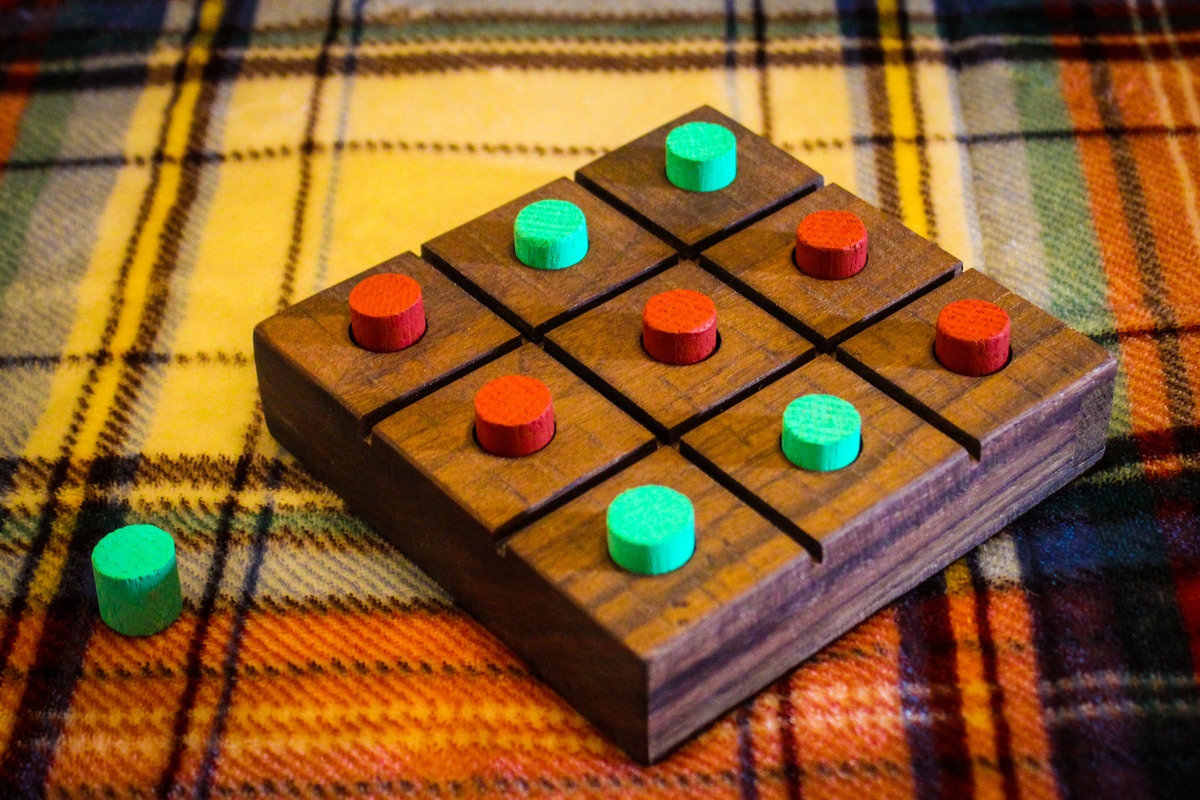
This is a pretty easy project and makes a nice holiday gift. This version was made from a scrap piece of hardwood and a 5/8" dowel. As an extra touch, I added a compartment inside the board to store the pieces. The compartment panel is held on with magnets for a clean look.
The quick video shows how the compartment works.
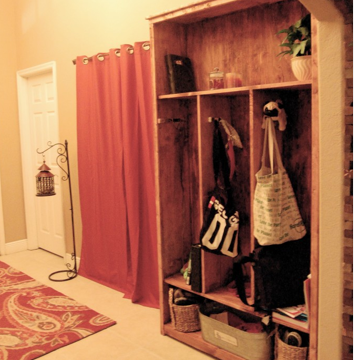
I built this locker system with a twist. I personalized the lockers by drilling the hooks into a cd and paint brush for my son because he is so artistic, a bone holds two hooks for my doggies' cubby, and my daughter has two hooks in a stuffed animal which represents her love for animals.


(I don't know why my picture is horizontal, it shows up fine on my computer).
In redecorating my oldest son's room, we needed him to have a loft bed, but all the commercial loft beds are too tall for his bedroom. So then, we thought we would re-work his current bunkbed. In order to use it as a loft bed we had to remove the bottom support rails and that meant we needed a new solution for a ladder (because it was part of the support system). After looking through the site, I decided that this ladder was the best for our needs. The ladder went together smoothly. We had to modify the directions just a bit to make it the right size. We put a set of U-brackets on the end of the ladder to put over the bunk bed. We also drilled through the bed frame and into the ladder for additional support.
Wed, 10/30/2013 - 12:14
Hi there! I'd like to rework my daughter's bunk bed like you did, but struggling to figure out how to raise it. I also need to build a new ladder. Can you offer any guidance on this? Thanks!
Sun, 11/01/2015 - 08:45
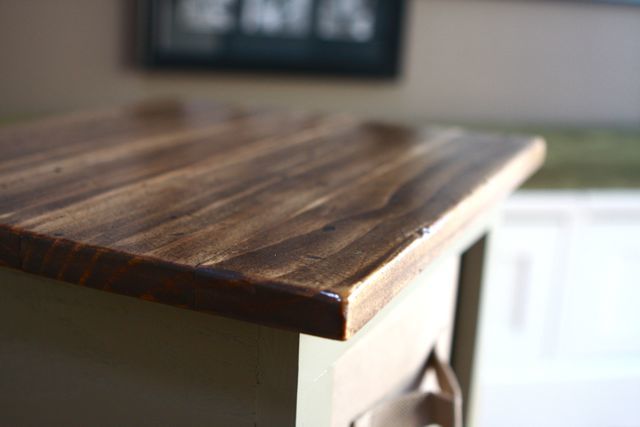
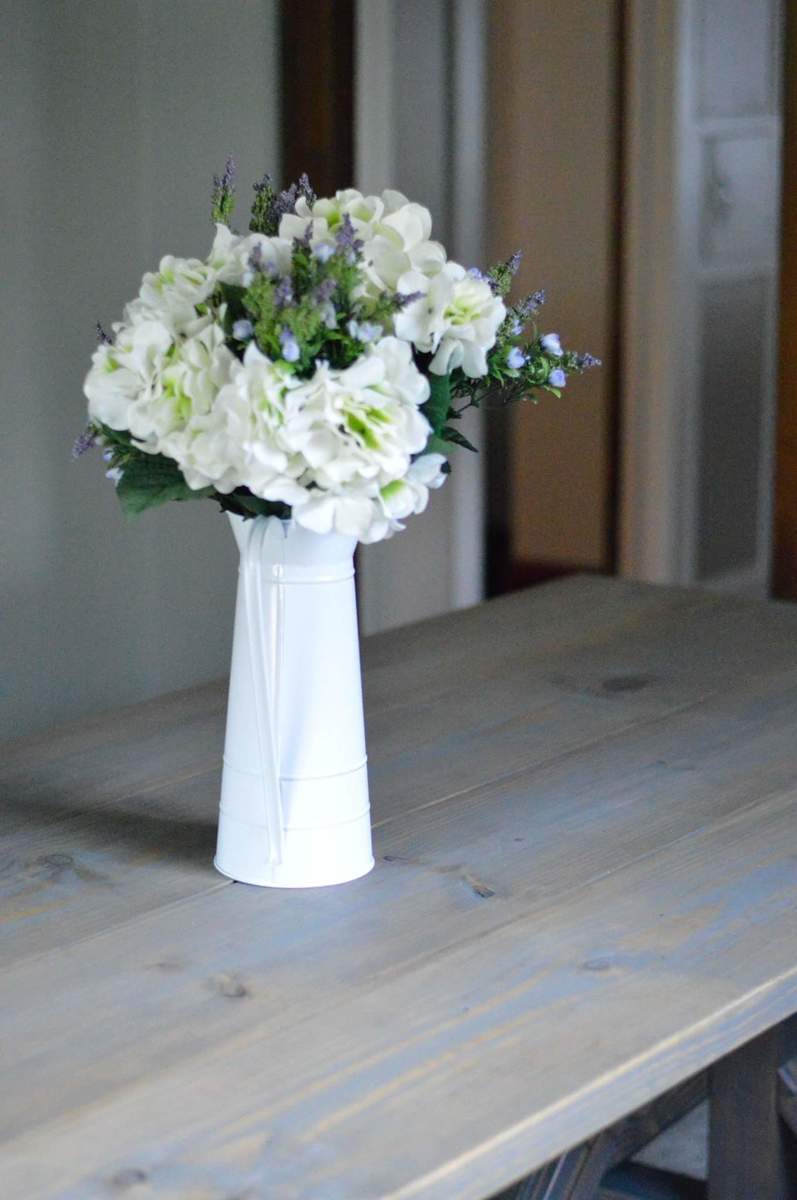
Your table is gorgeous! I'm building this right now and am looking for this color stain ... What did you use? thank you!!
Sun, 11/01/2015 - 08:45
Your table is gorgeous! I'm building this right now and am looking for this color stain ... What did you use? thank you!!
Mon, 12/21/2015 - 21:04
Sorry I'm just now seeing your comment! If you still need the info I used a coat of Rustoleums Weathered Gray and then a coat of Minwax Provincial. I only left the Provincial sit on for maybe about a minute before wiping it off. Hope this helps!
Mon, 12/21/2015 - 21:05
Sorry I'm just now seeing your comment! If you still need the info I used a coat of Rustoleums Weathered Gray and then a coat of Minwax Provincial. I only left the Provincial sit on for maybe about a minute before wiping it off. Hope this helps!
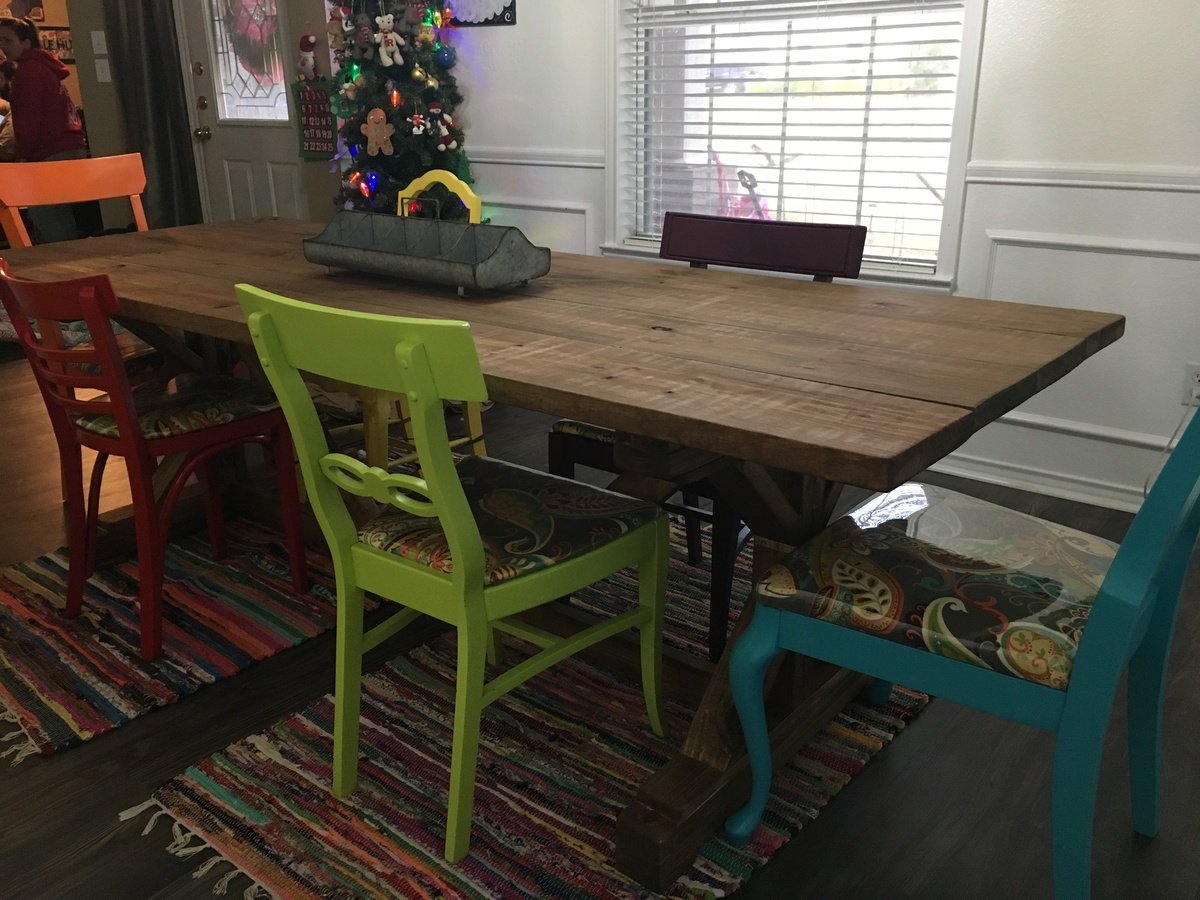
I sent these plans to my dad and said I wanted him to help me build it for Christmas. He came with everything cut and ready to be sanded and assembled! It was put together and stained in a day! I love my Christmas present, and love that my dad and I built it. It will be a family table, for sure!

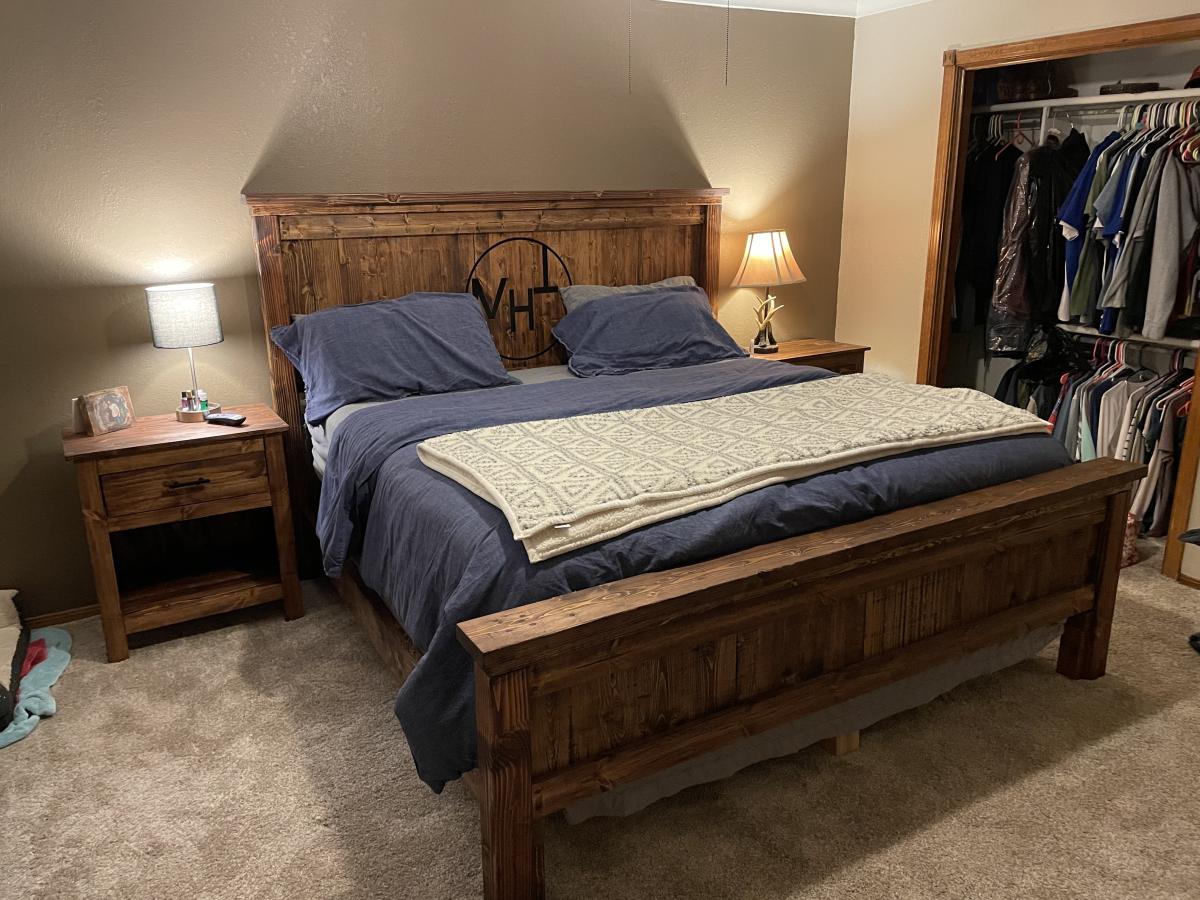
This was a great project to build, easy directions and easy to make modifications to. I built this bedroom suit for my son and his bride with their brand routered in the middle and used black epoxy to fill. Used Miniwax Honey colored stain and finished it with two coats of Danish Oil to protect it.
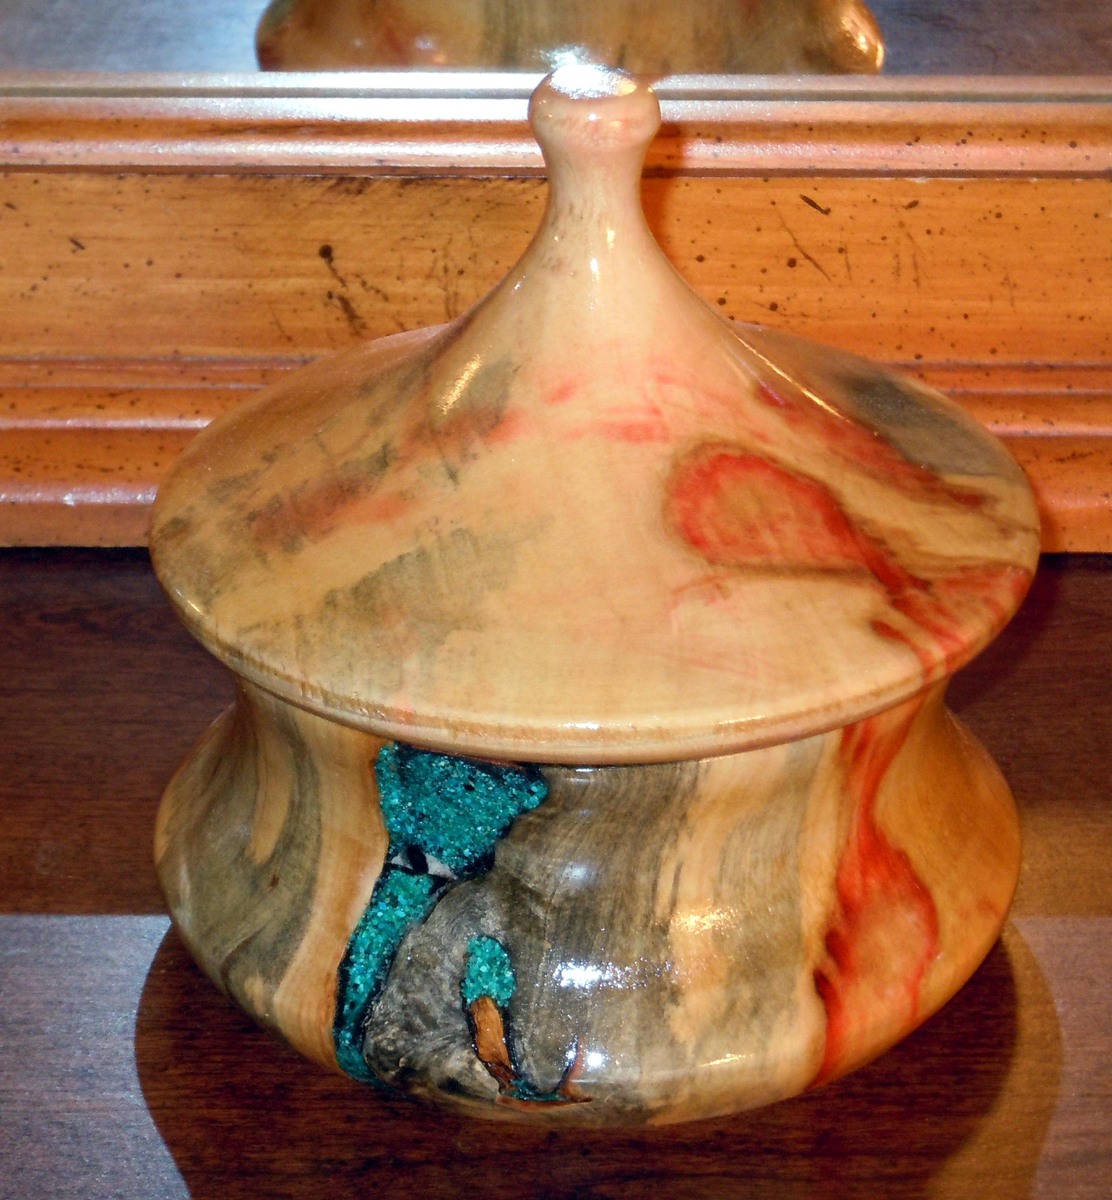
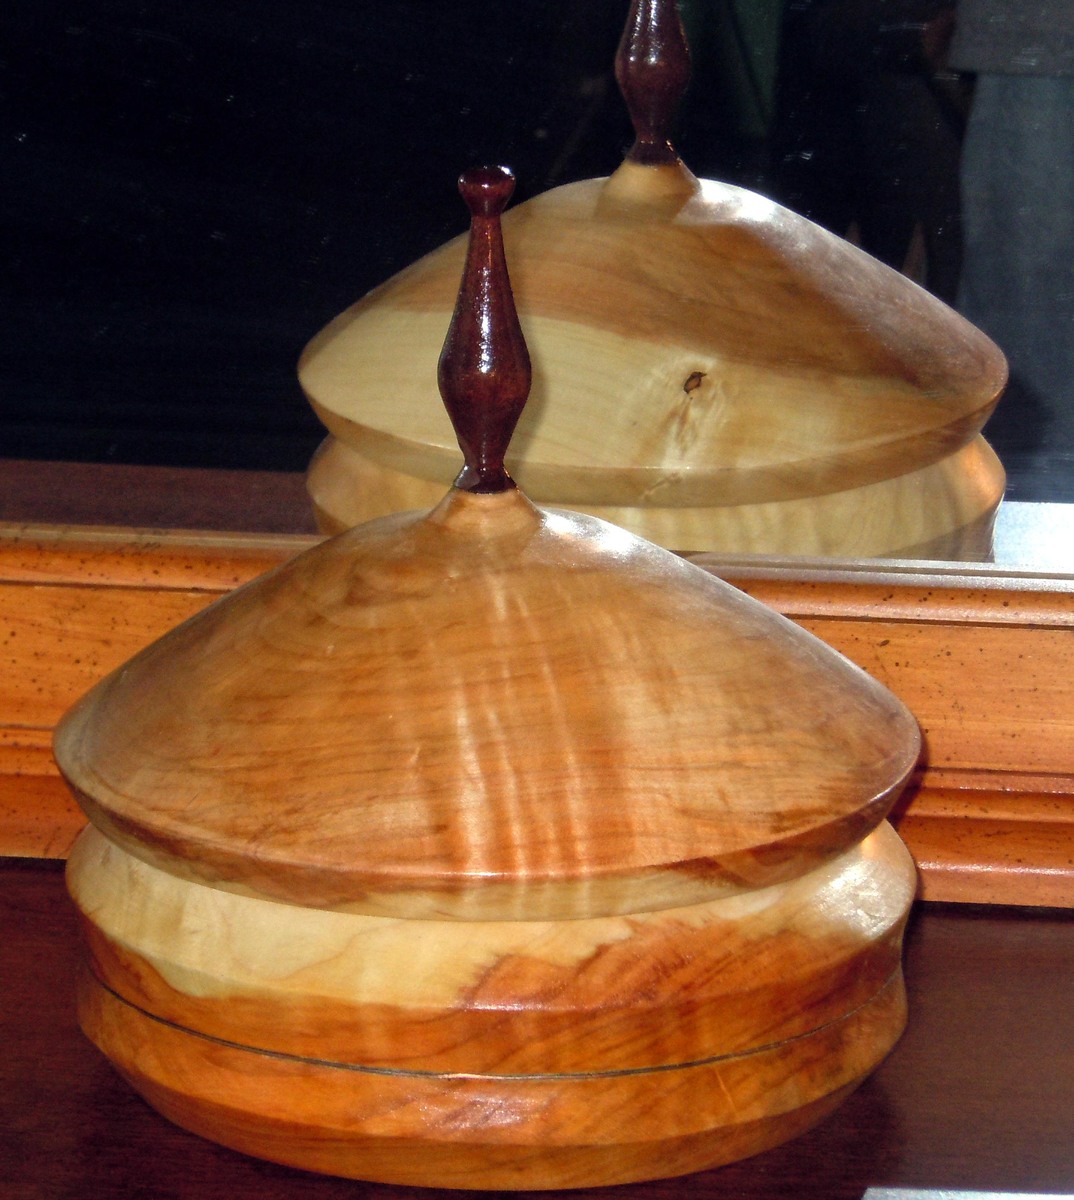
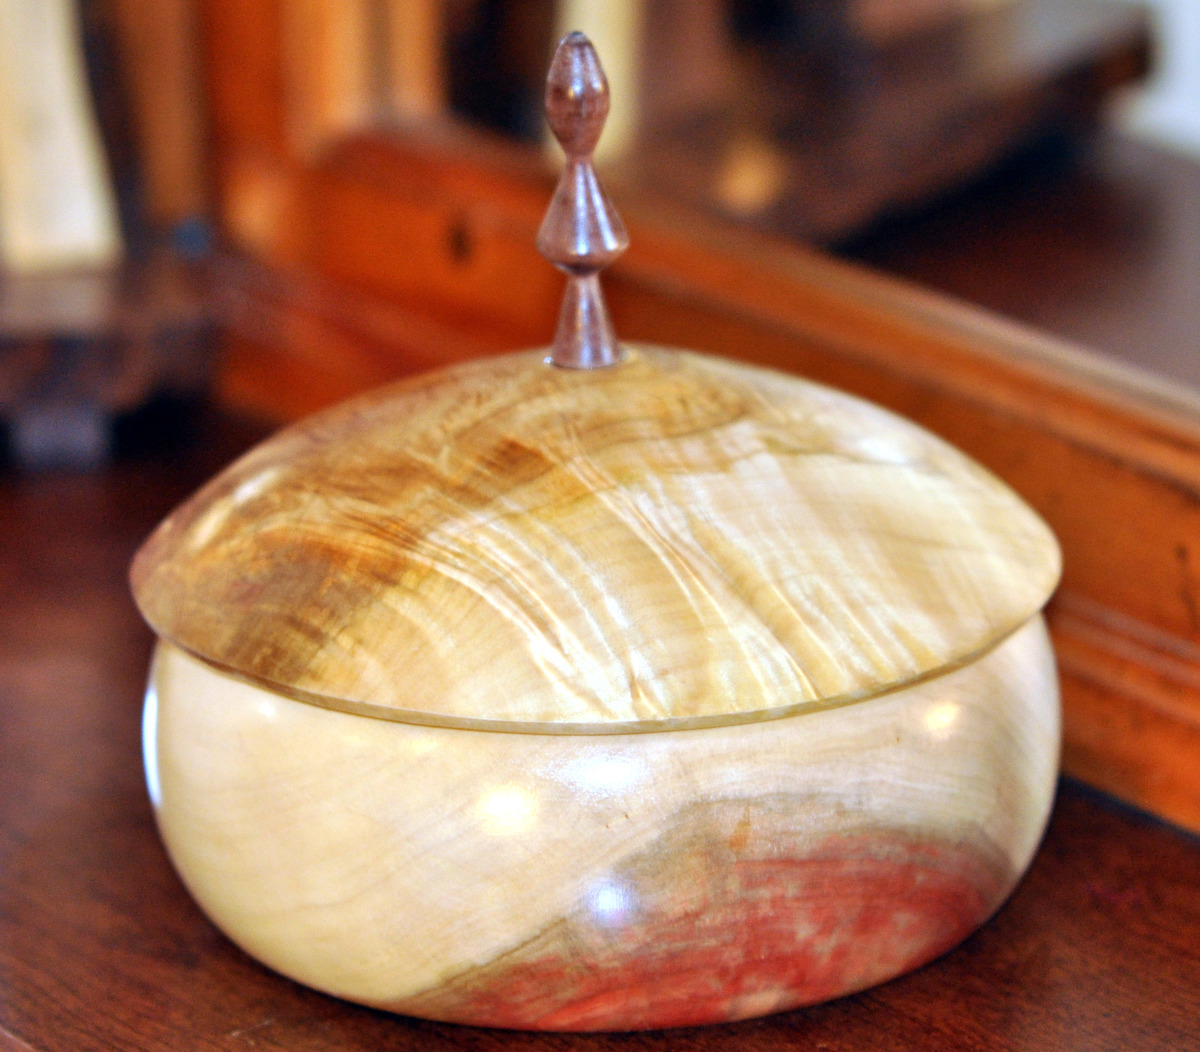
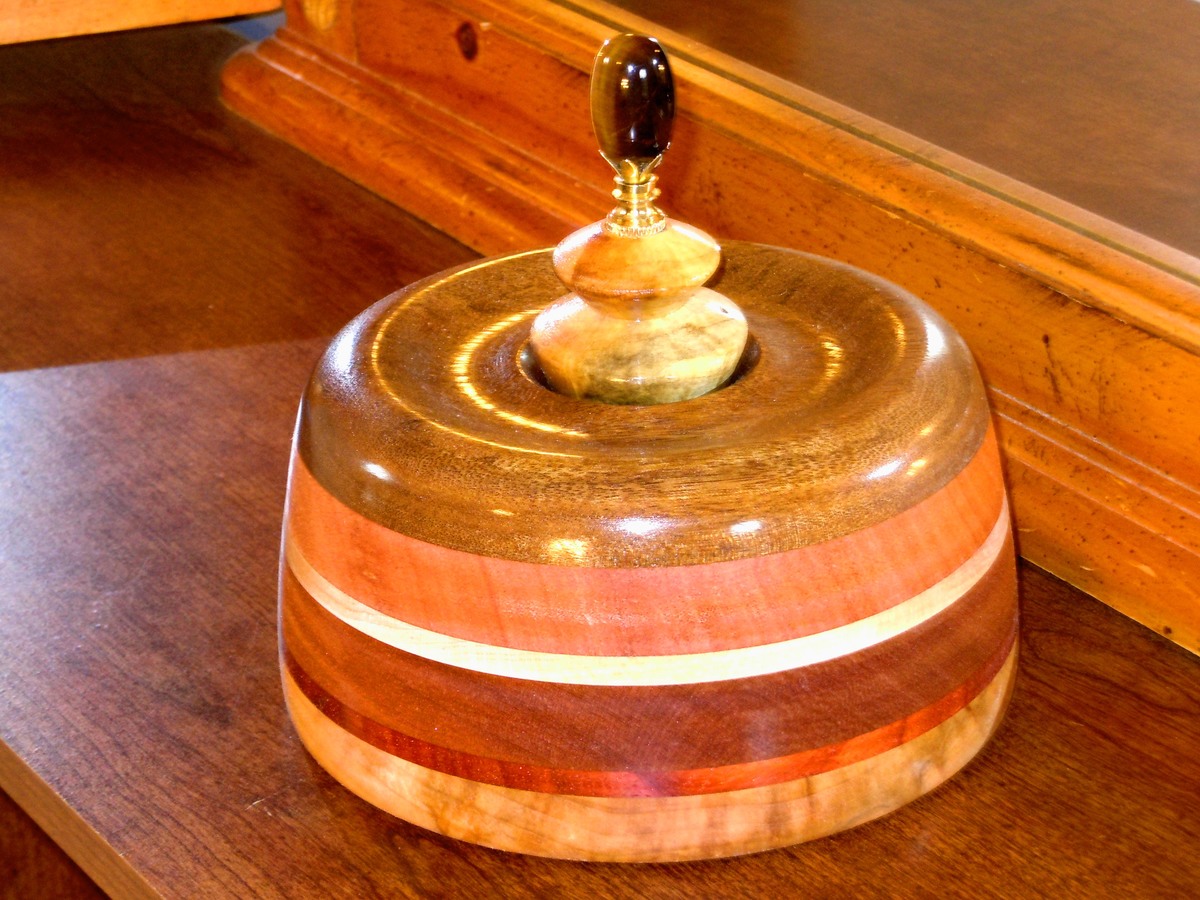
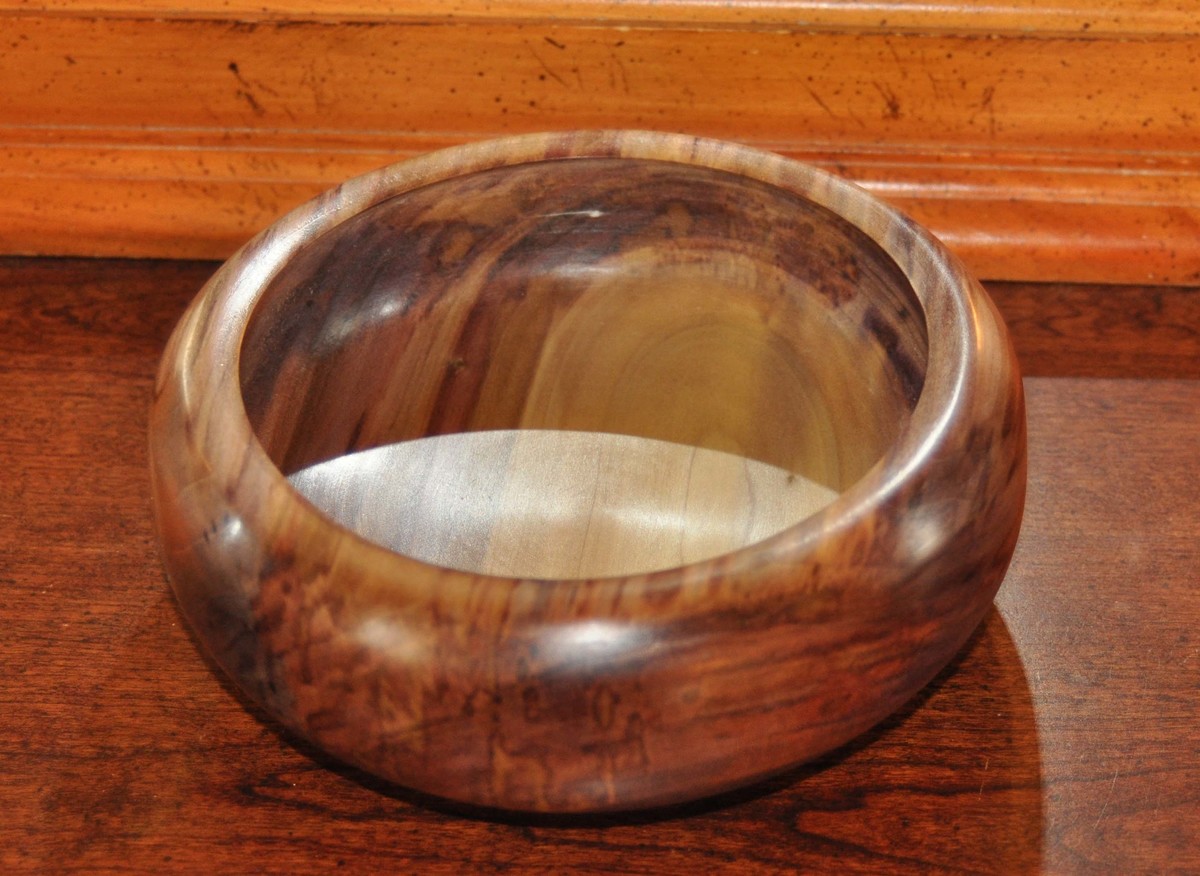
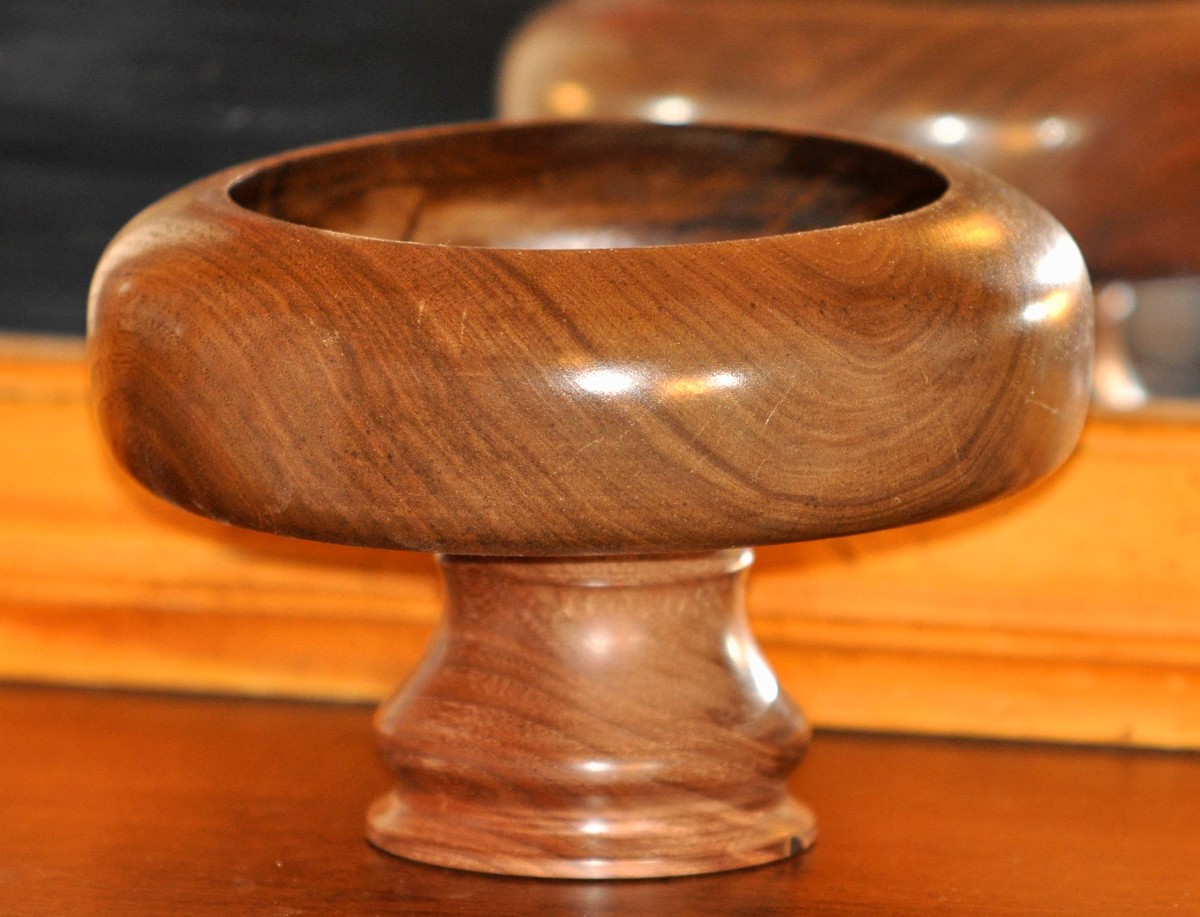
These are a few of my turnings. They are available for sale. Message or comment for price and shipping.
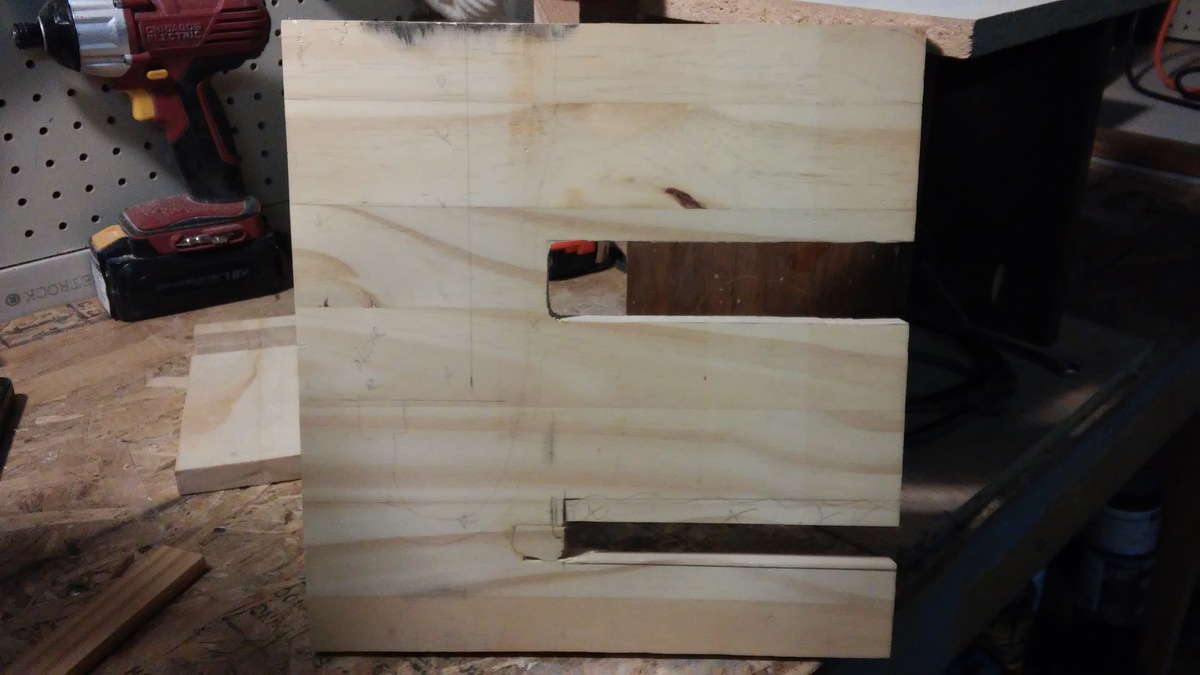
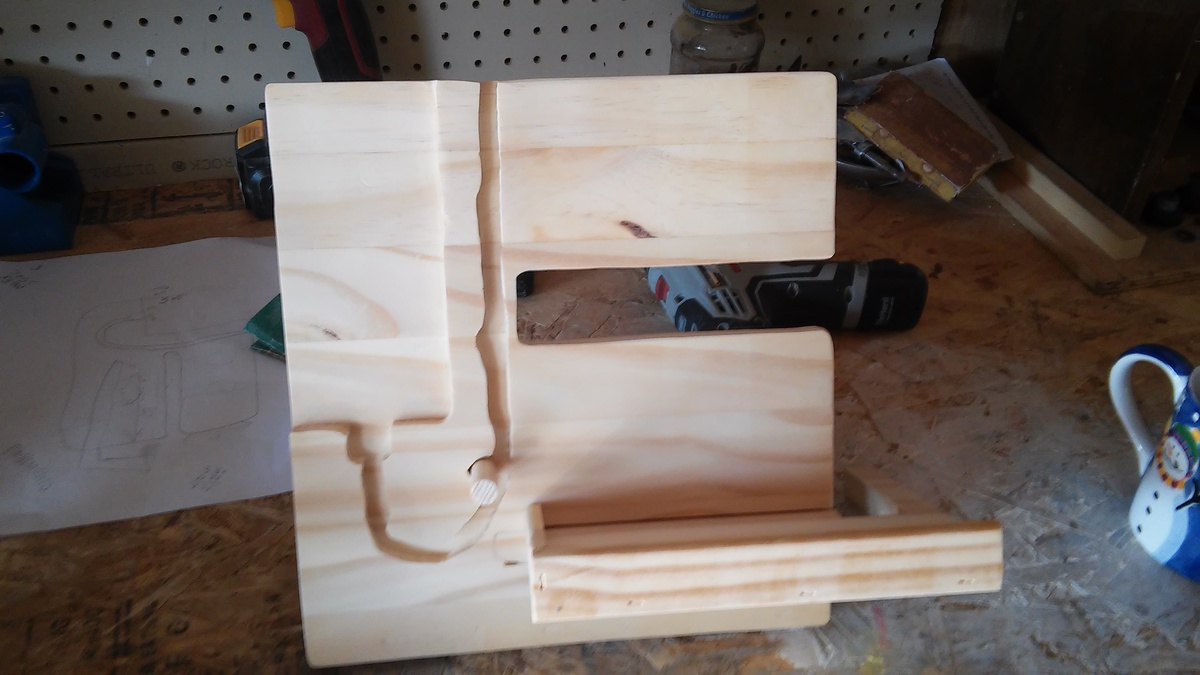
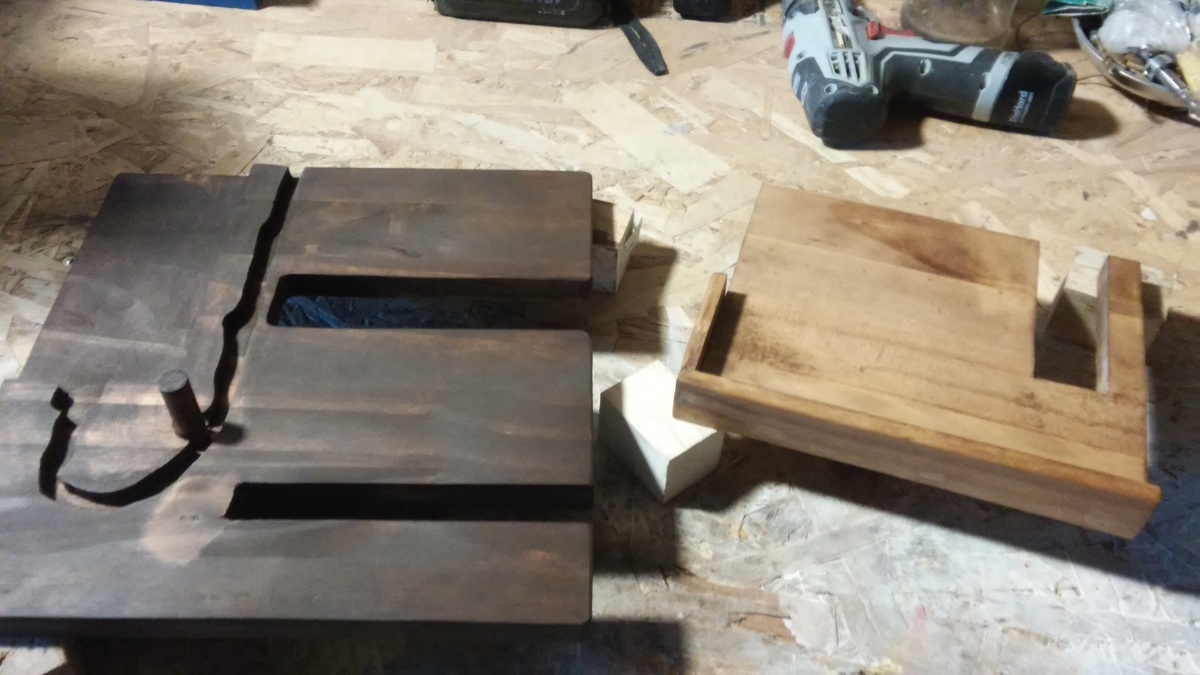
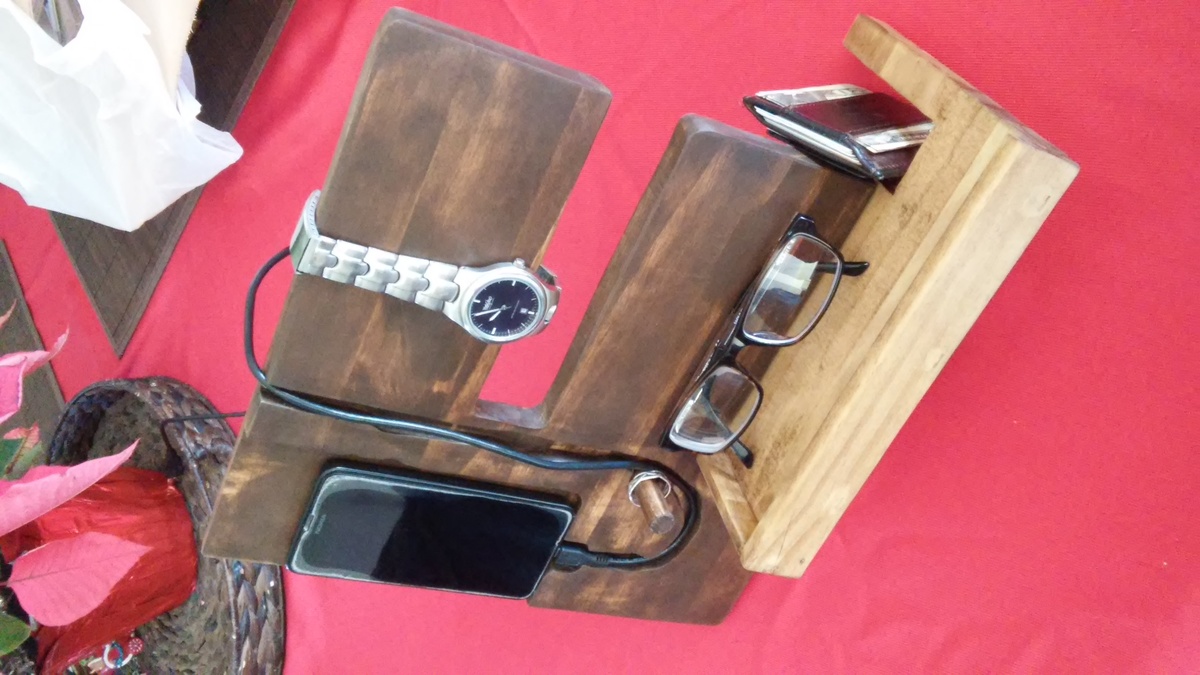
Made this Accessory Holder as a Christmas gift for a male cousin to hold his phone, watch, ring, glasses, and wallet. Comes apart for easy movement. I like the two-tone of the stains and the simplicity of the holder. Router kept giving a bit of kickback, biting into the wood where it was unwanted, hence the messy cord line, but as with most of my projects, I don't mind the mistakes that make them more "unique". Artistic choice? : ) Also difficult was figuring out the angle to cut the opening slot for the side piece. It needed to be angled to set the side piece just how I wanted it. Eventually decided on 10 degrees.
The idea for this holder was based on this: http://cleverwoodprojects.org/woodworking-projects-for-beginners-six-ea…
Don't read the site- it was clearly written by a bot or ESL individual, because it's mostly gibberish. Just used the image for inspiration.
I freehanded a design that then was drawn on the wood and had plenty of fittings and mockup pieces made throughout to figure out how things would fit. Fun challenge, great gift.
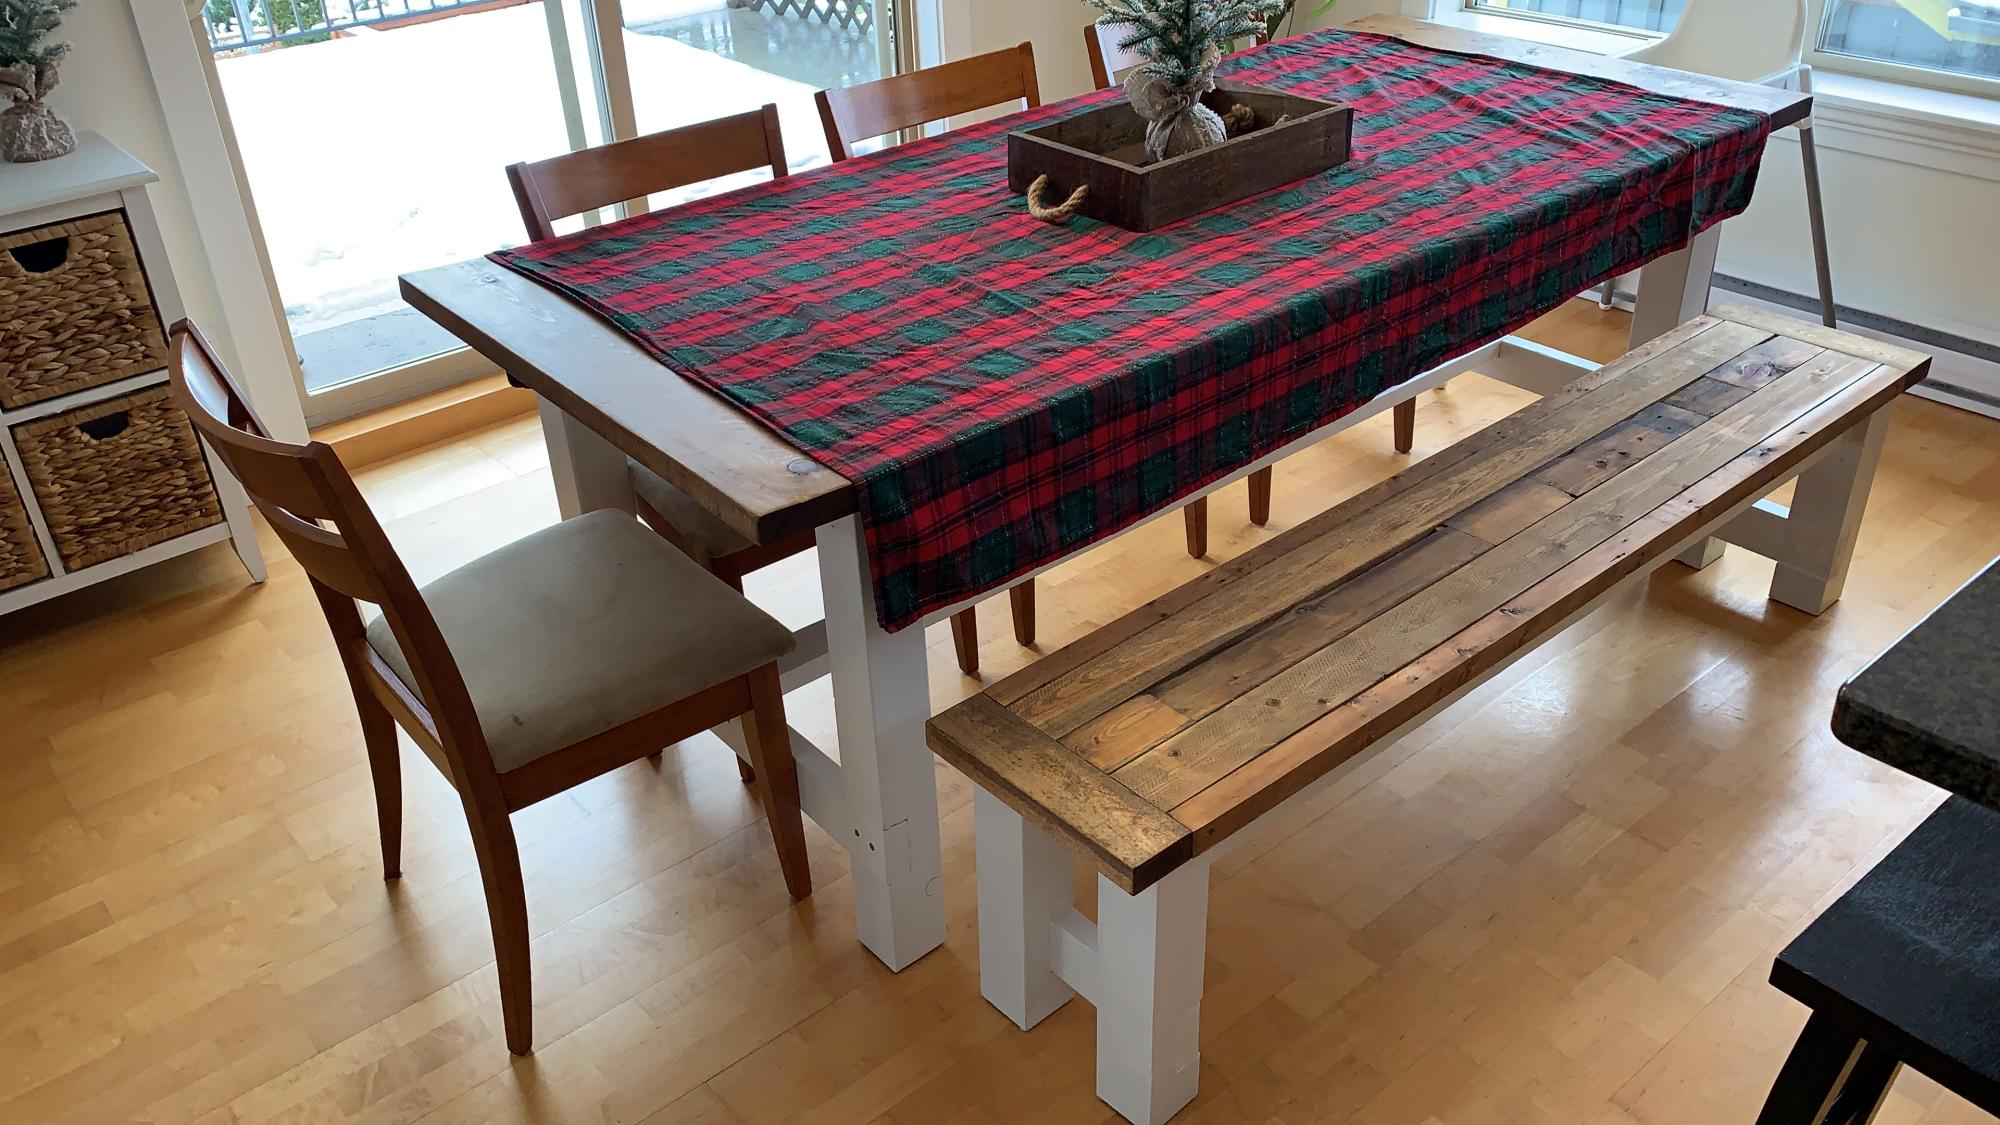
The table is based on the farmhouse table with pocket holes. I used a mulwark pocket hole set. The bench was made with all scrap lumber and I ended up being short on 2x4 wood, so I used 2x2 on each side to accommodate the same dimensions. It was a time crunch, but I got it all done before Xmas Eve and it looks dope.
Sun, 12/26/2021 - 13:49
Oh yes, that is dope! Thank you for sharing, love the finish choices!

We have a funny alcove in our kitchen that is narrow but very high. I didn't want the space to go to waste, but because of the odd shape I couldn't find anything that would work. I modified the Single Locker Cabinet plans to design a tall cabinet and reclaimed a door from an old wardrobe we found on the street.
This was our first project & we worked on it together. My husband melded the Farmhouse plan with the Chunky Leg bed box. The box is reinforced & has 13 slats. We didn't sand out areas that had bark, but left them for the texture. We worked on it a few hours each night & then painted on Saturday & puit it together on Sunday. Design-wise we raised the bed so that the bottom of the frame sits at 12 inches. We also raised the footboard above the mattress level. These changes were just our preference, but we really love how it turned out. It is sturdy, substantial & beautiful!
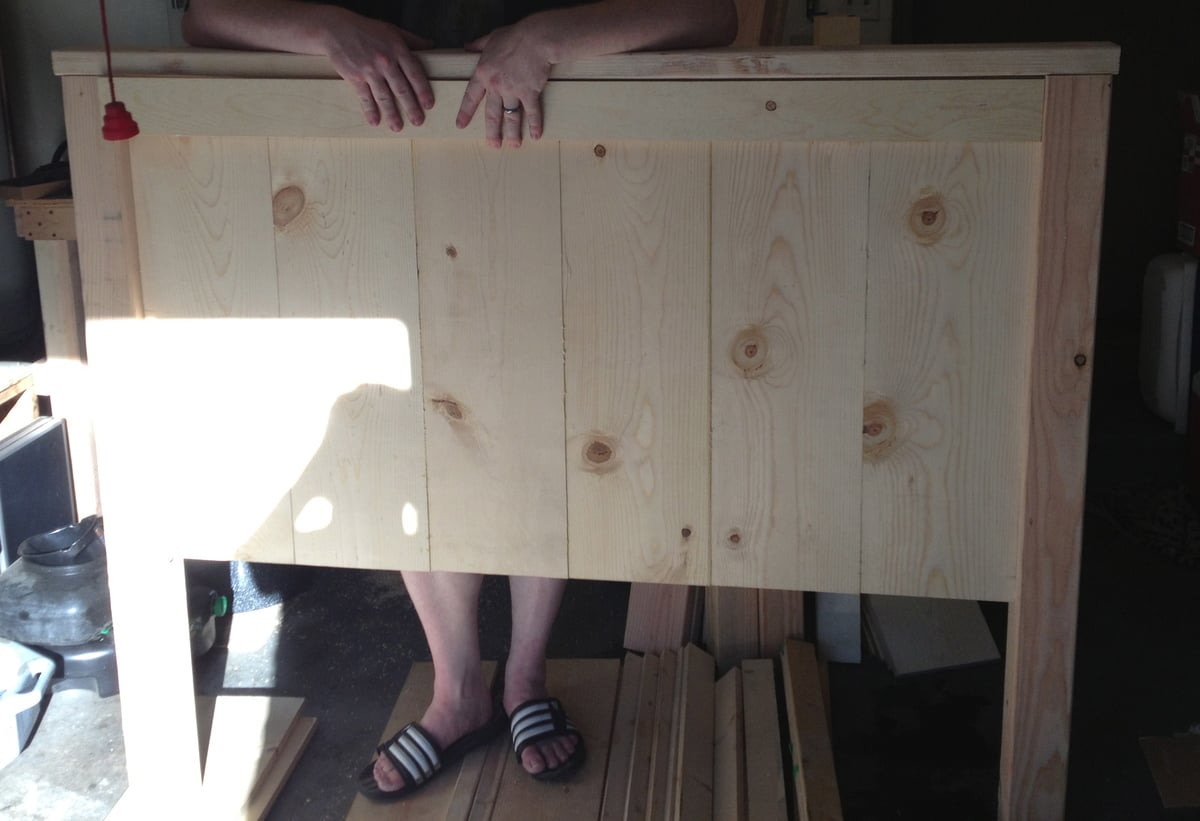
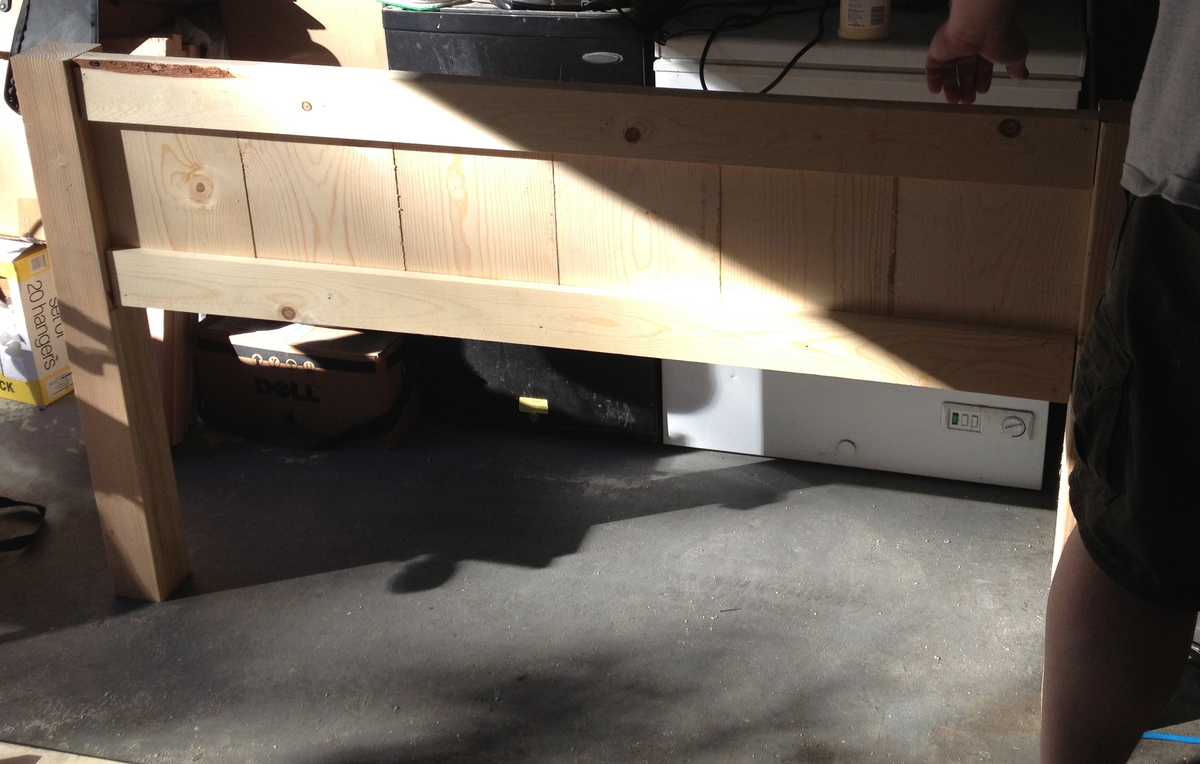
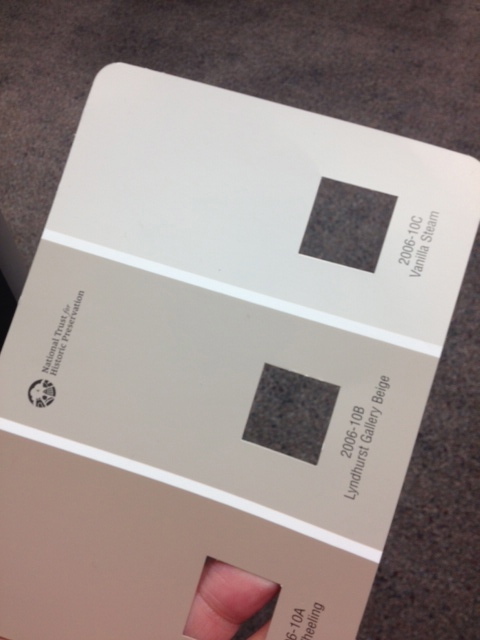
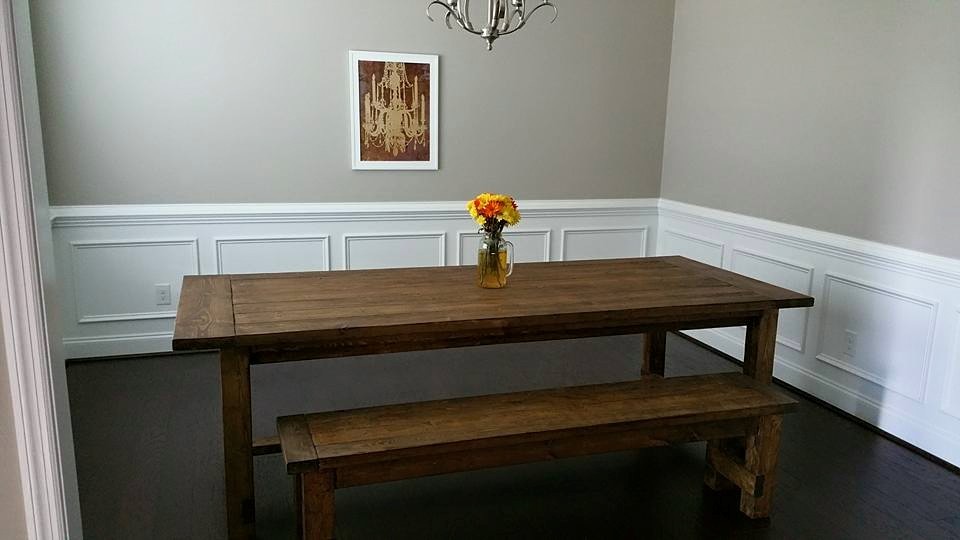
Awesome plans for a table that turned out perfect for our new home.
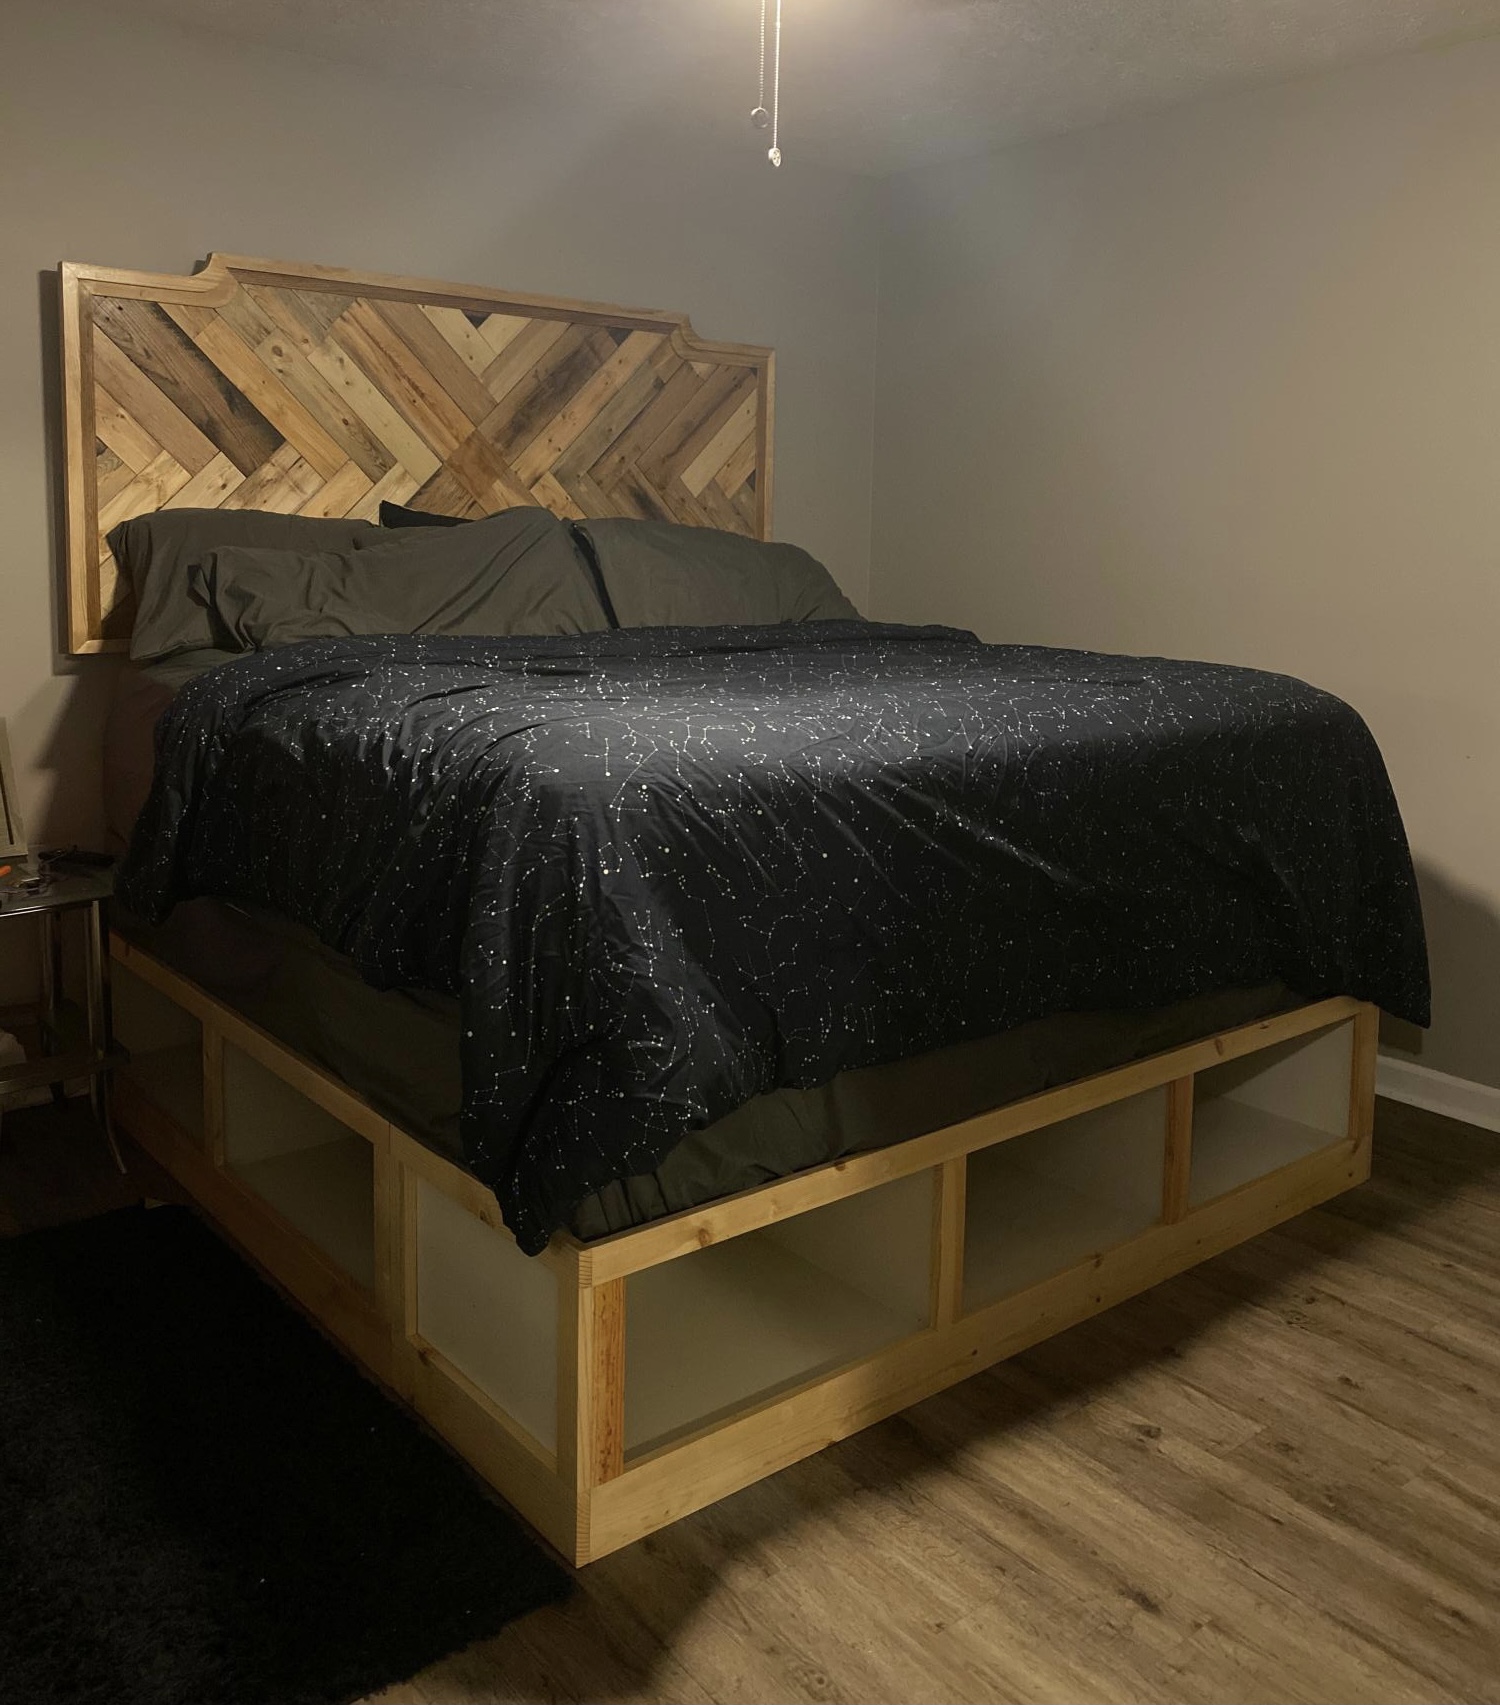
The base came from Ana’s site, the headboard came out of my head ;-)
I upsized this to king size for my daughter. I think I entered the correct ‘plan’ name below. It’s been a few months since I built it. I painted the basket cubbies and applied (I think) spar urethane to the rest.
Super plan on her part, Ana’s, I love the other things I’ve done from here as well. Sorry but the pics rotated when they were resized on upload.
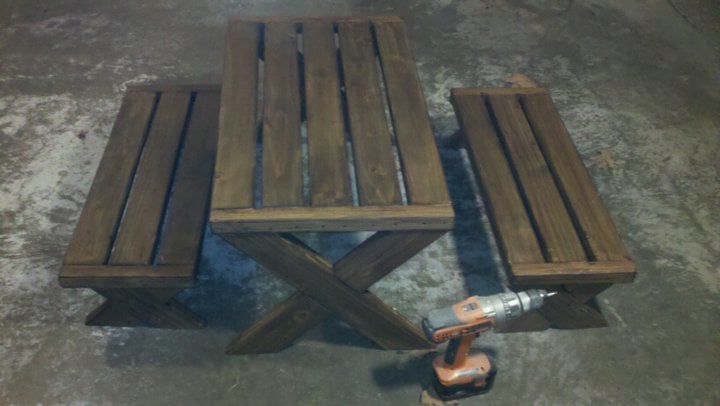
This is a great weekend project I would add supports to the table to make it a bit studier. I found out that any flat surface will be inviting for adults to want to sit on during a BBQ
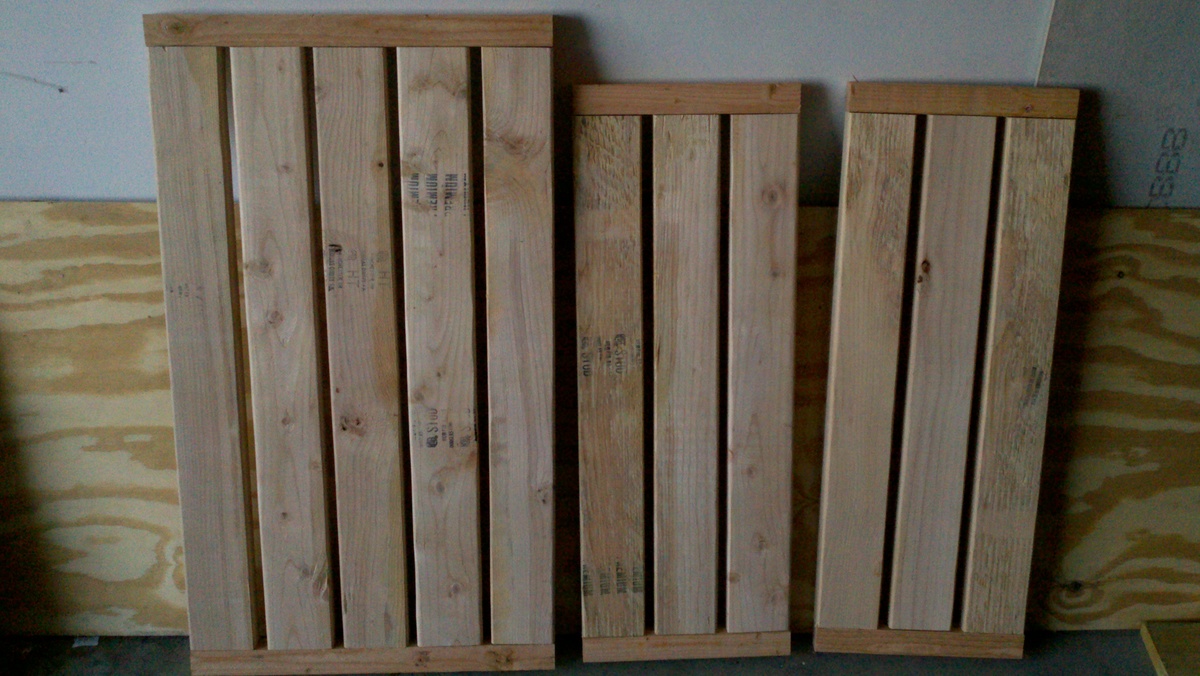
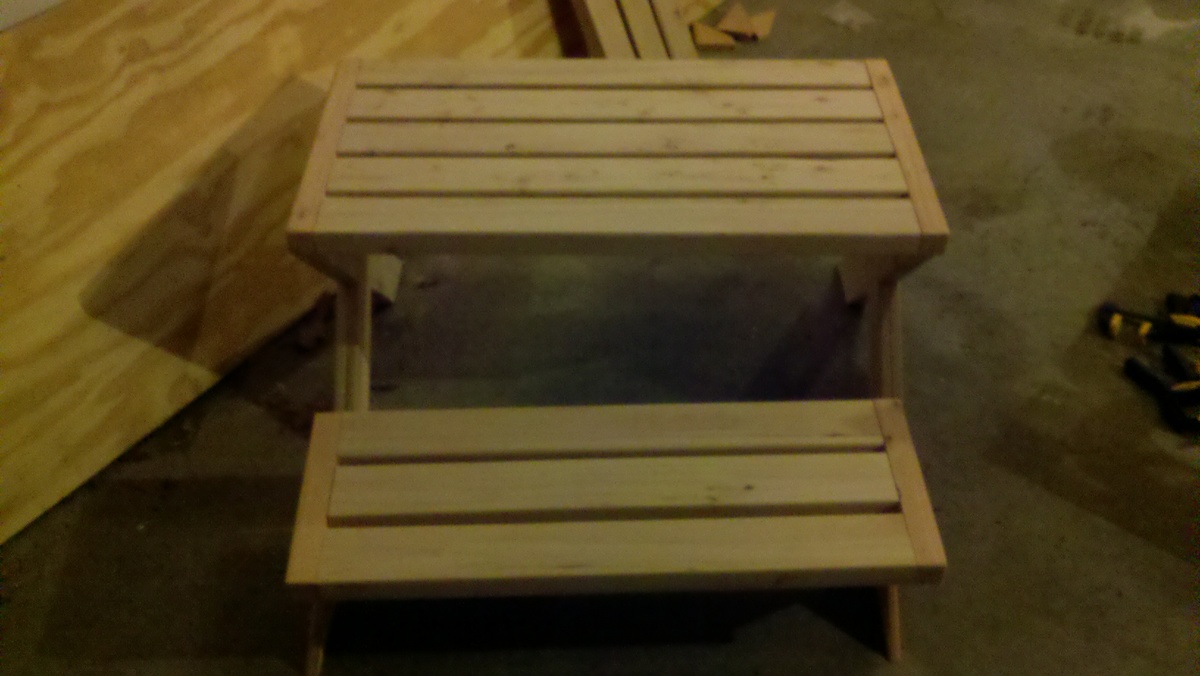
New table for our patio space. This was a fun, relatively easy project. The weather was my only hiccup in the building. Spent an afternoon making cuts, the next day sanding and staining and then assembly. Hubby saw the pieces laid out before staining was complete and loved the two tone look, so I went with it. I used minwax Kona for the stained area and covered everything with Spar Varnish.
