Brick and Wood Fireplace Mantle
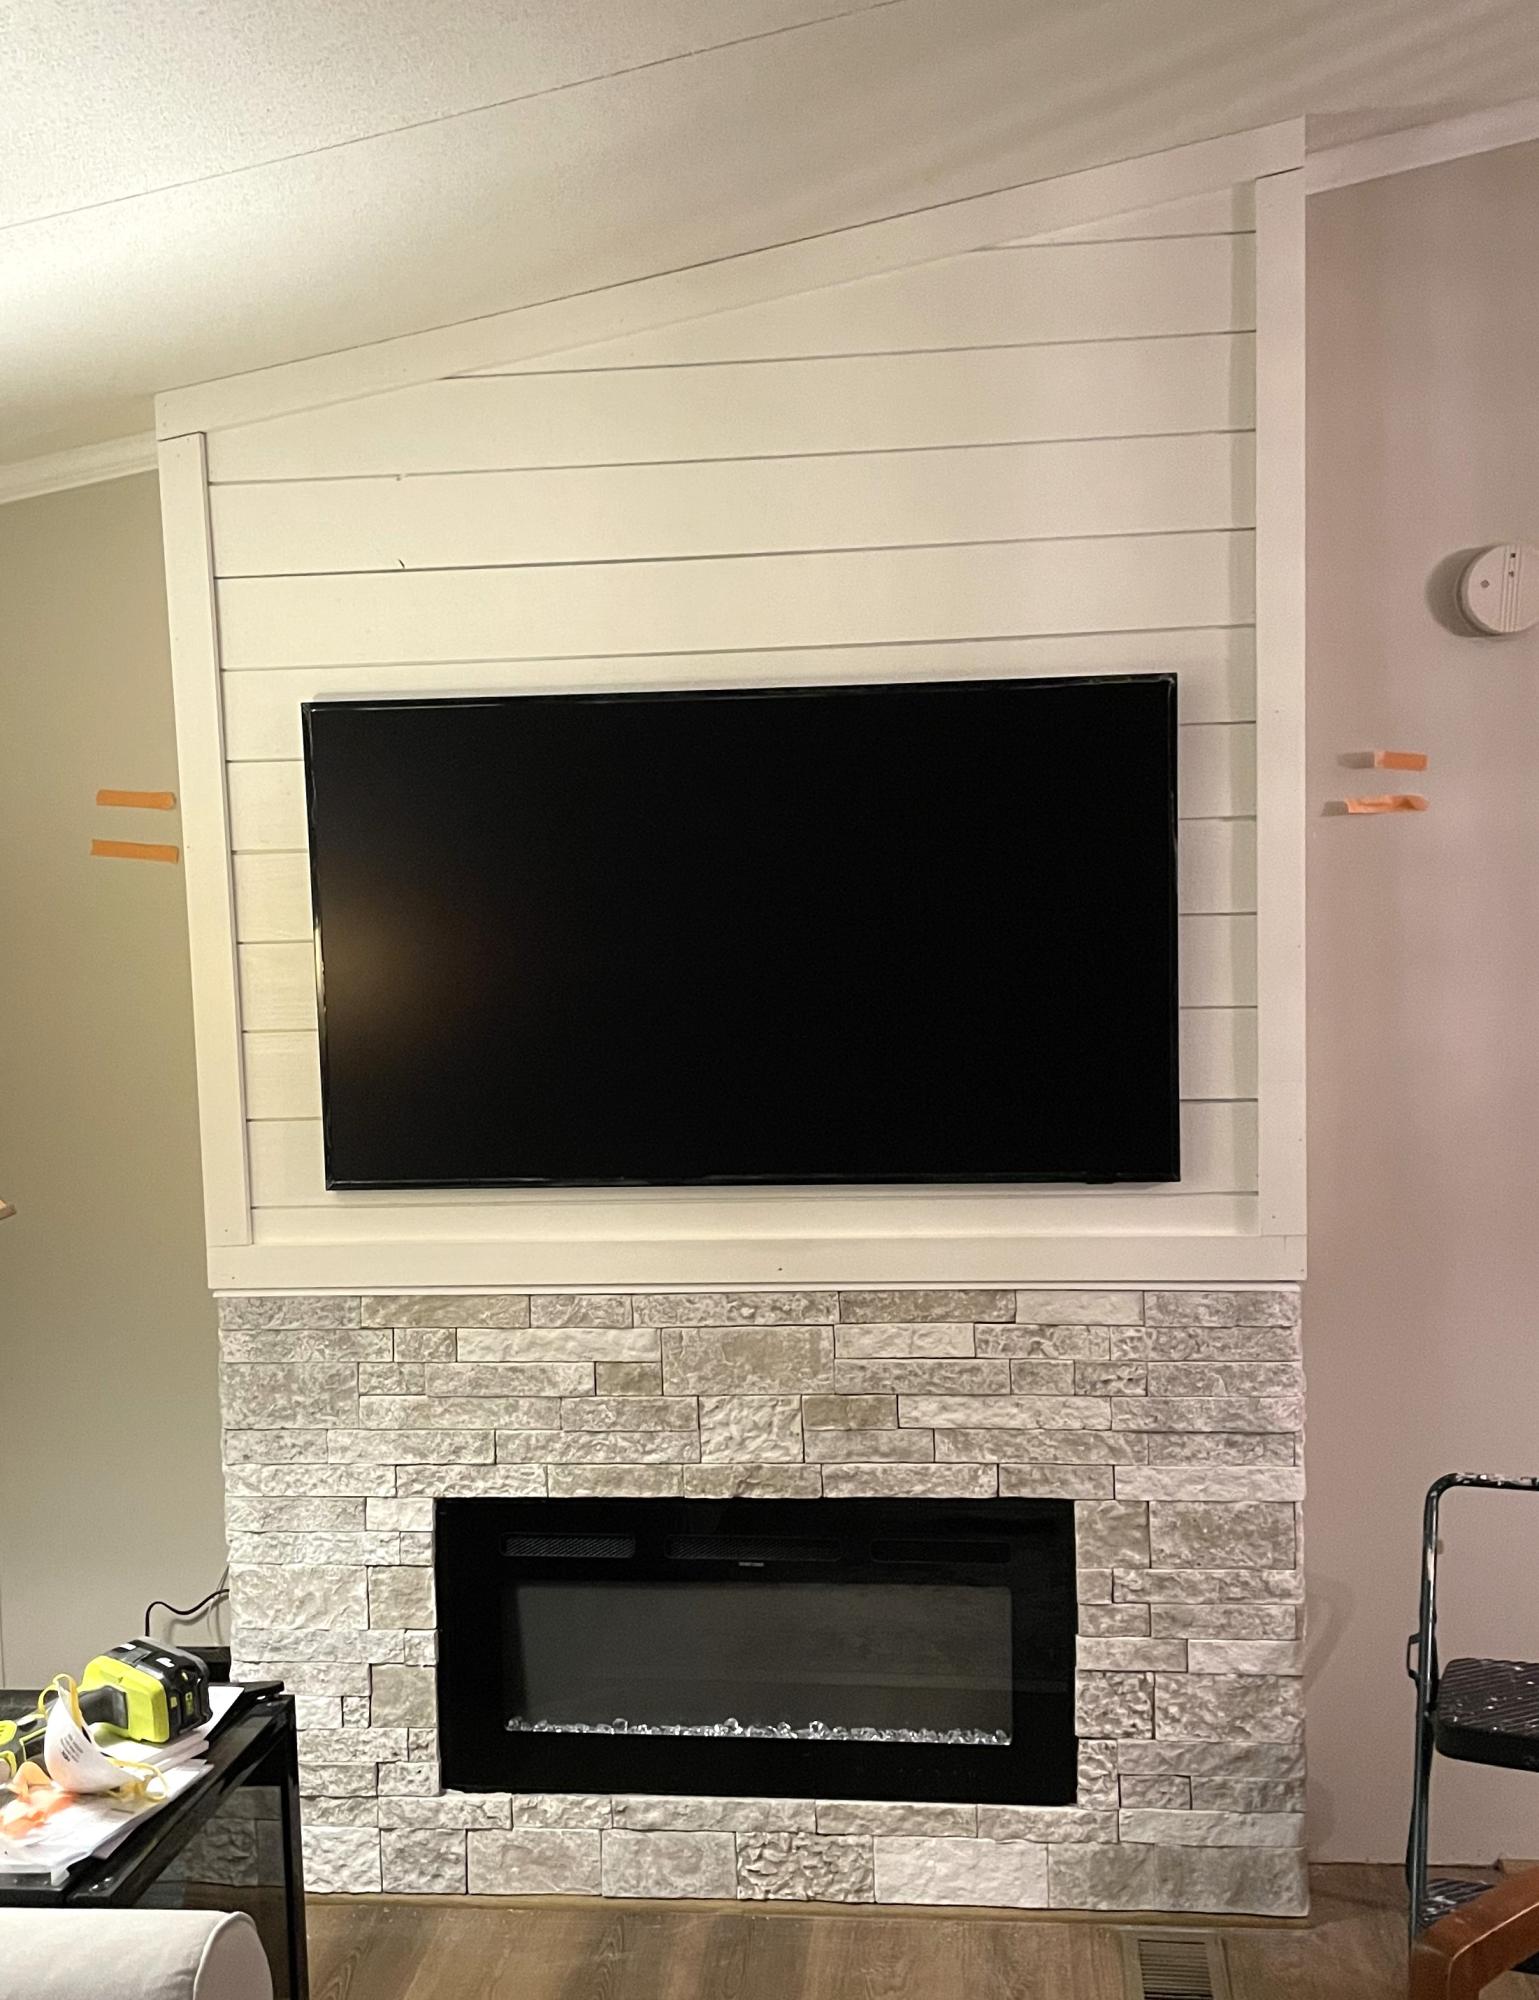
I used Ana’s fireplace plan and added lightweight brick. The vaulted ceilings was a challenge but I figured it out!
Marcia T.

I used Ana’s fireplace plan and added lightweight brick. The vaulted ceilings was a challenge but I figured it out!
Marcia T.
When I saw this we had to build it. Hope you like!
Wed, 02/15/2012 - 06:15
Fri, 02/17/2012 - 01:28
I got so excited when I saw that you built this. Thank you!! :-)
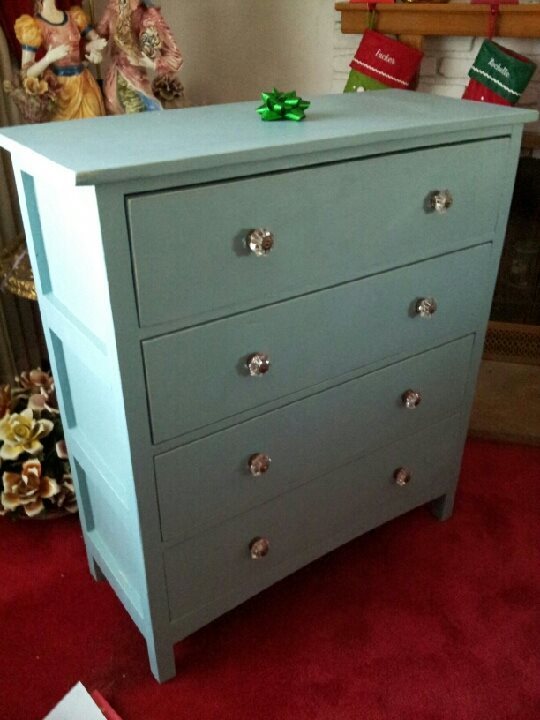
This was my first dresser. The original plans say to lay the dresser on its back and center the drawer fronts then nail in place; in my opinion it is faster and more accurate to hold them in place and have a helper nail them in place. Also, the original plans suggest a certain jig for installing the slides which requires a locking c-clamp to hold the jig in place. Well, in my opinion the locking c clamp, along with a magnetic small torpedo level is faster and easier than the jig. A six in steel rule with a slider clamp is also helpful.This was fun project - learned a lot! Thanks Ana & Patrick!
Tue, 12/24/2013 - 08:23
Oh, another lesson I learned: The drawers are made by attaching drawer fronts to the boxes. This makes the front 1.5 inches thick - this means most drawer knobs won't fit unless you use a Forstner or spade bit to bore a hole on the back side of the drawer face - in turn you may need to do this before you assemble the drawer!
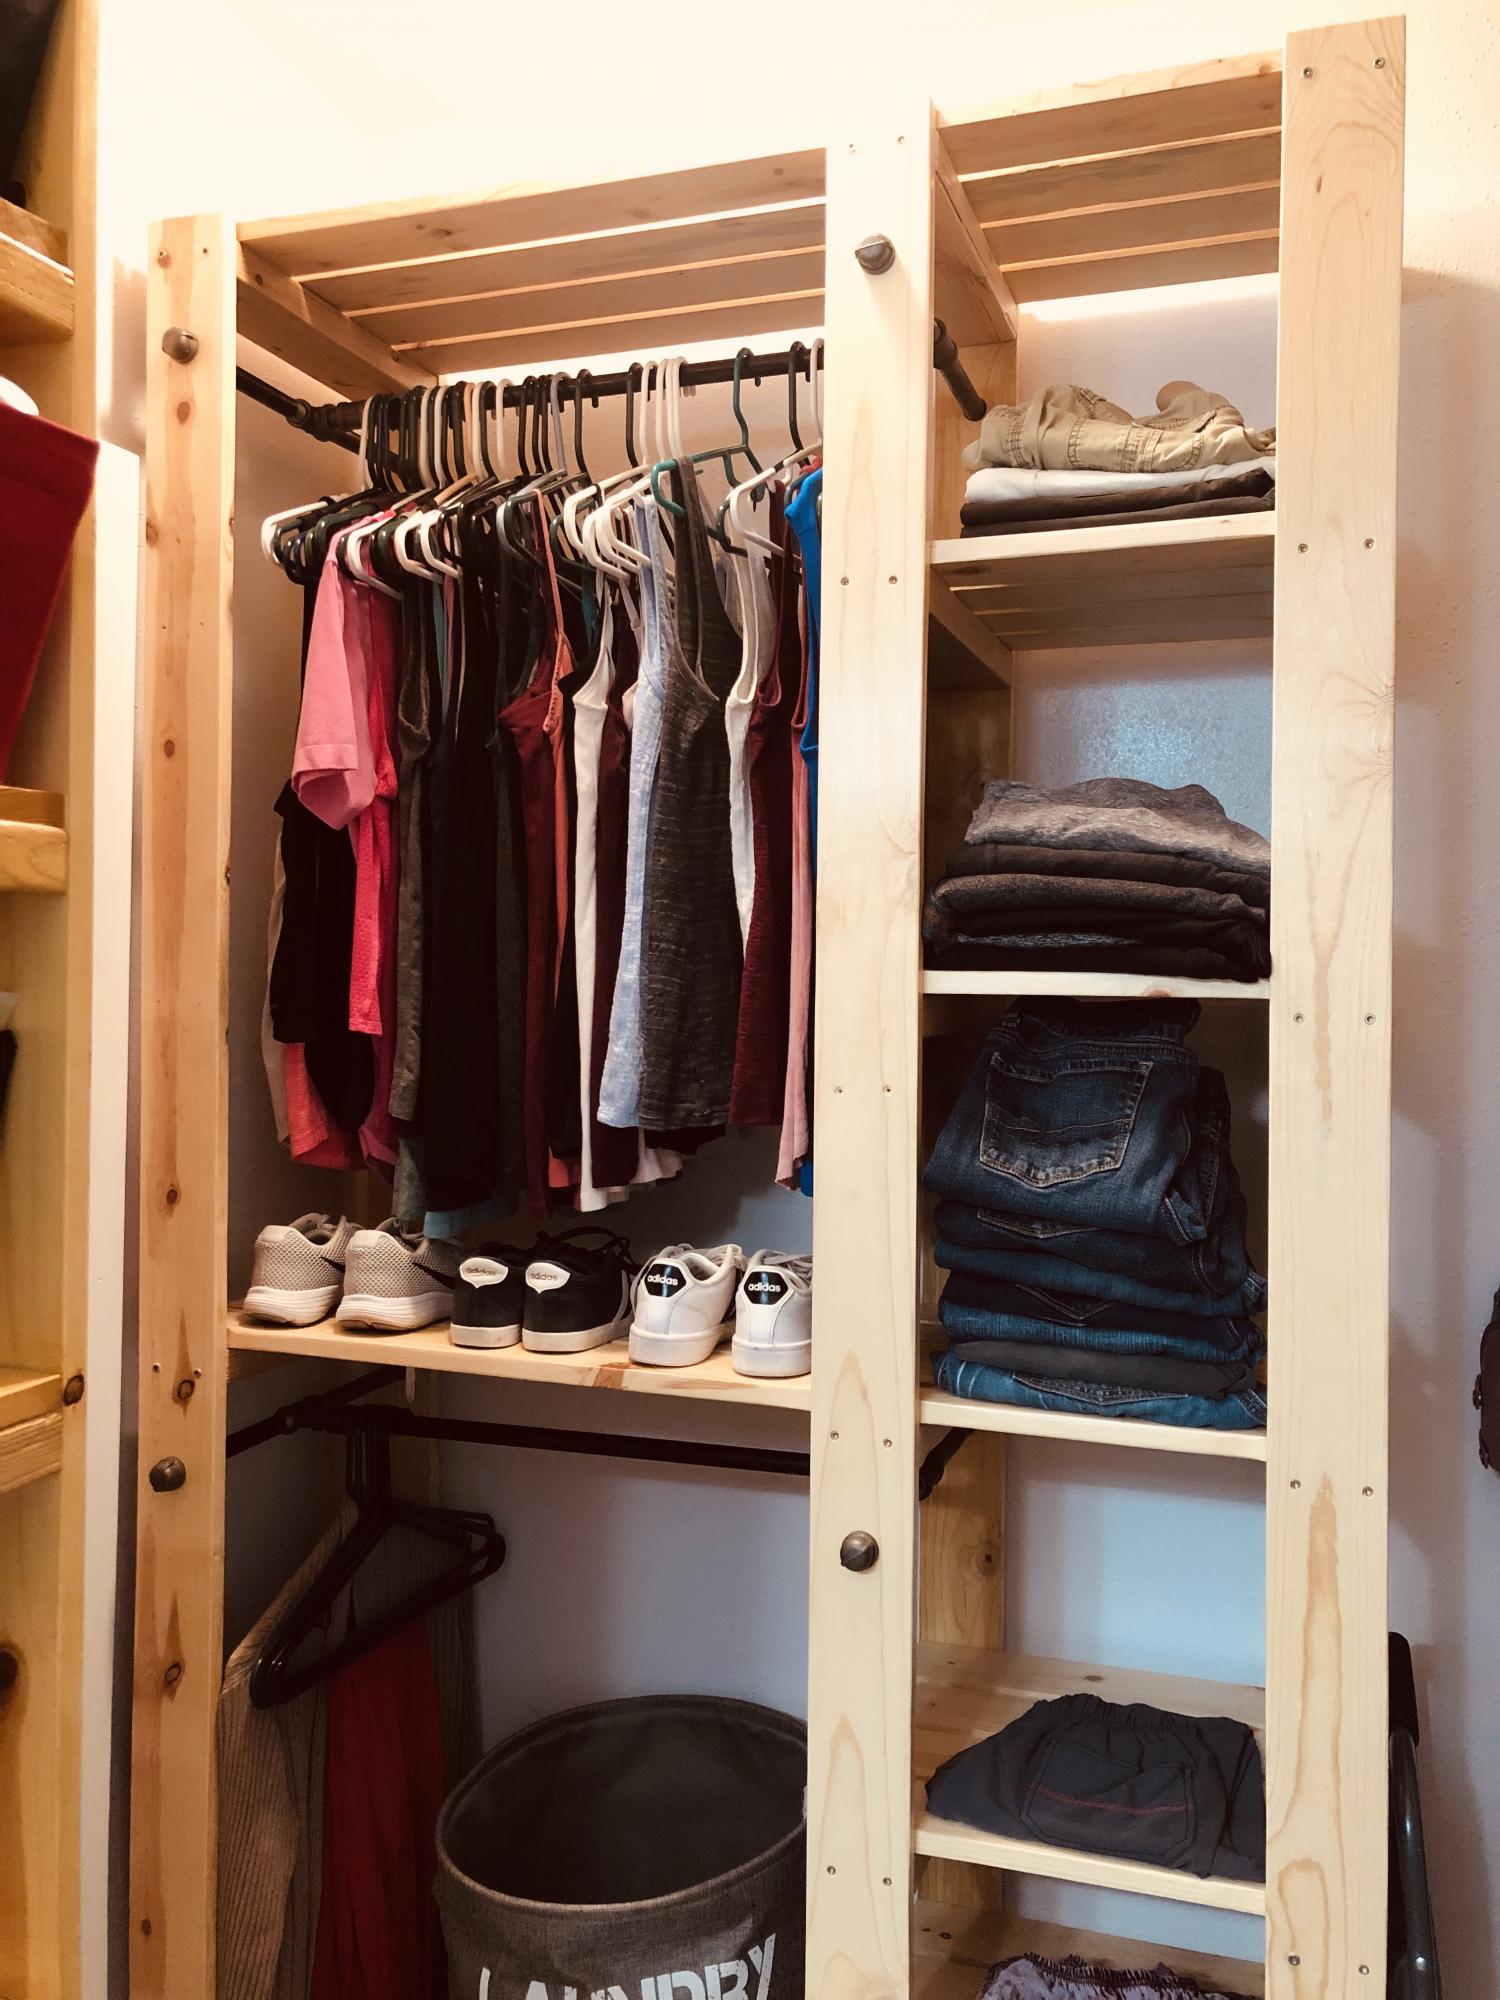
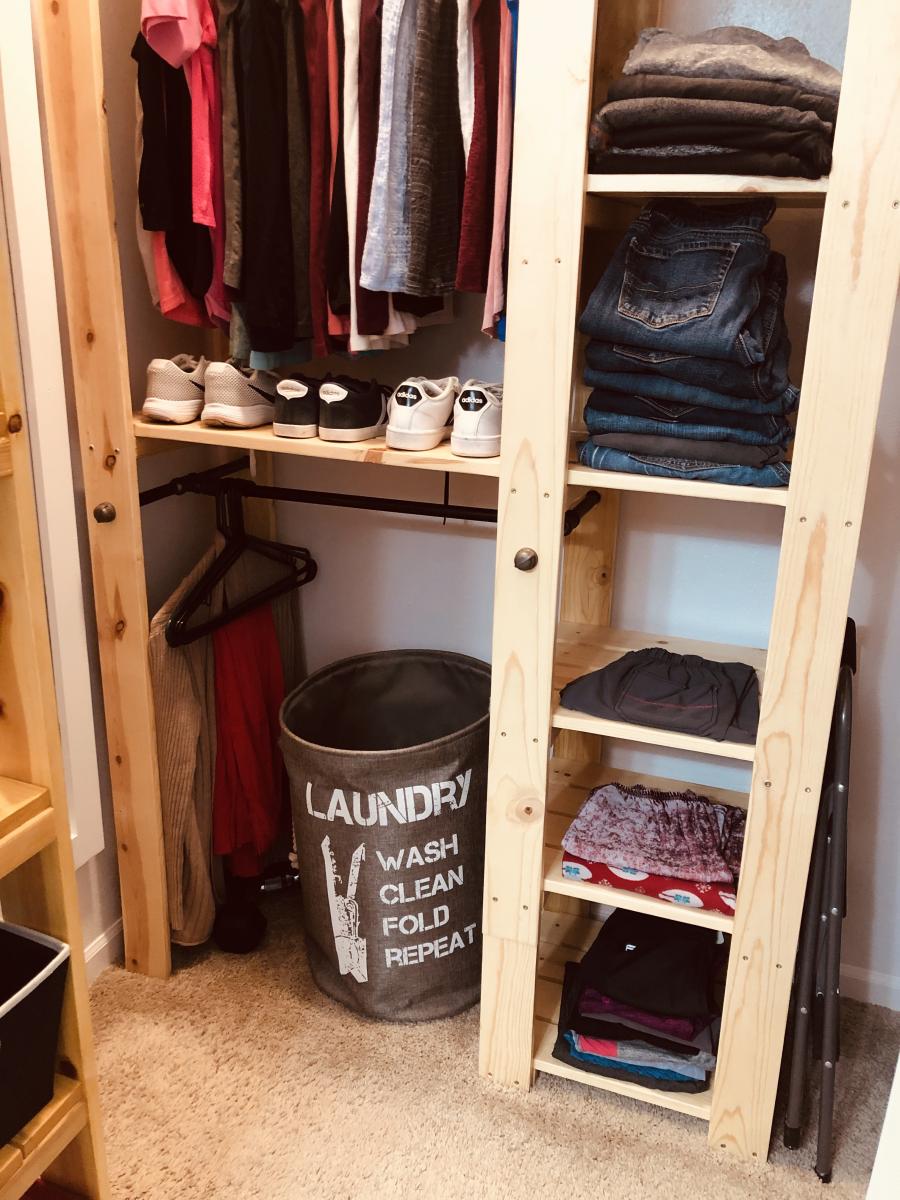
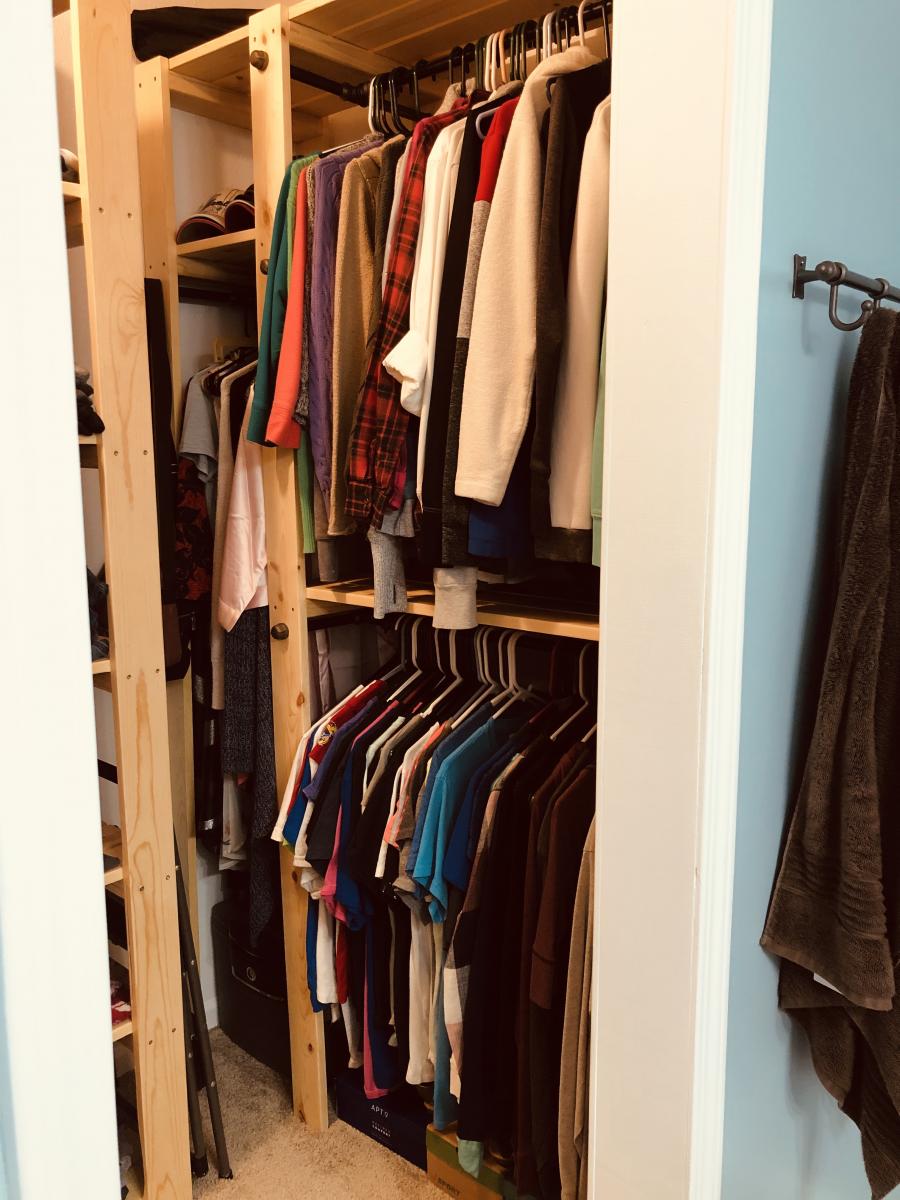
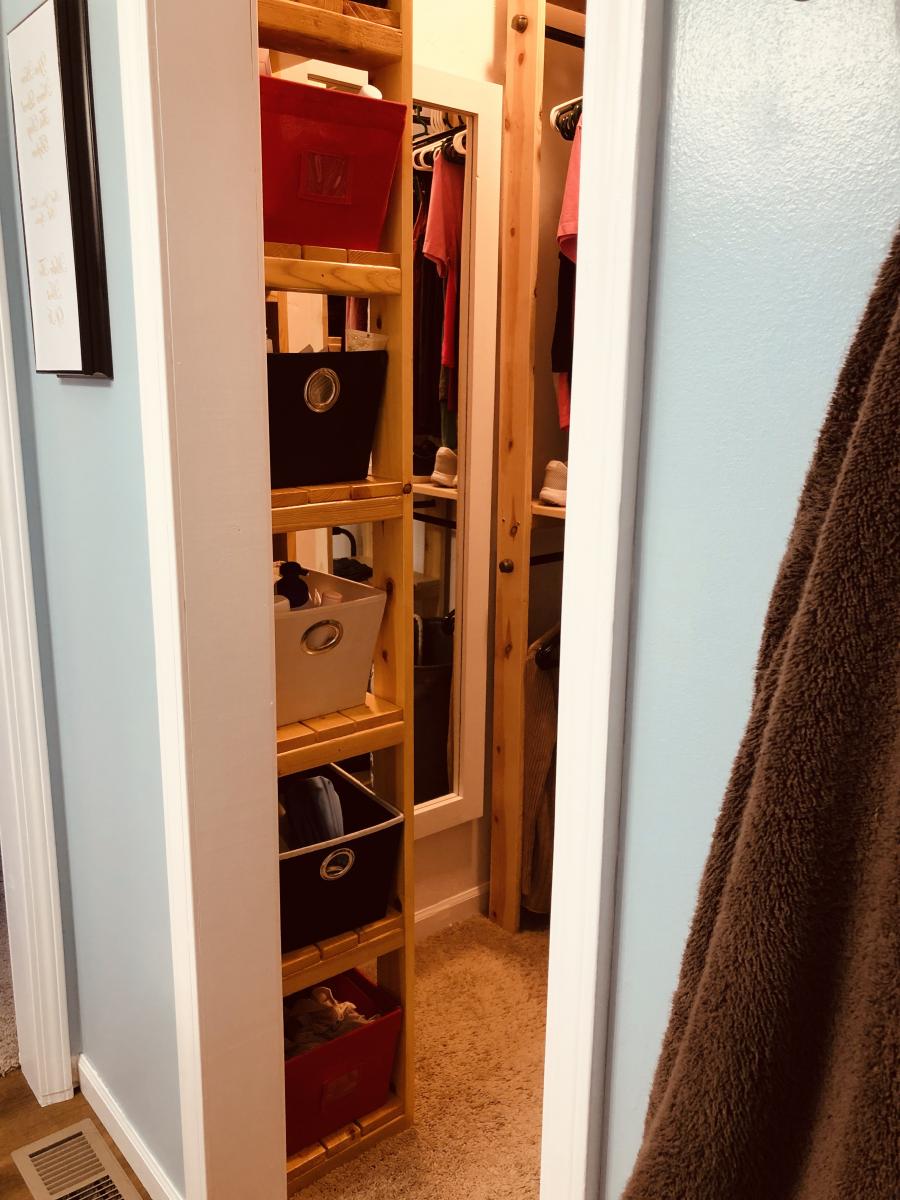
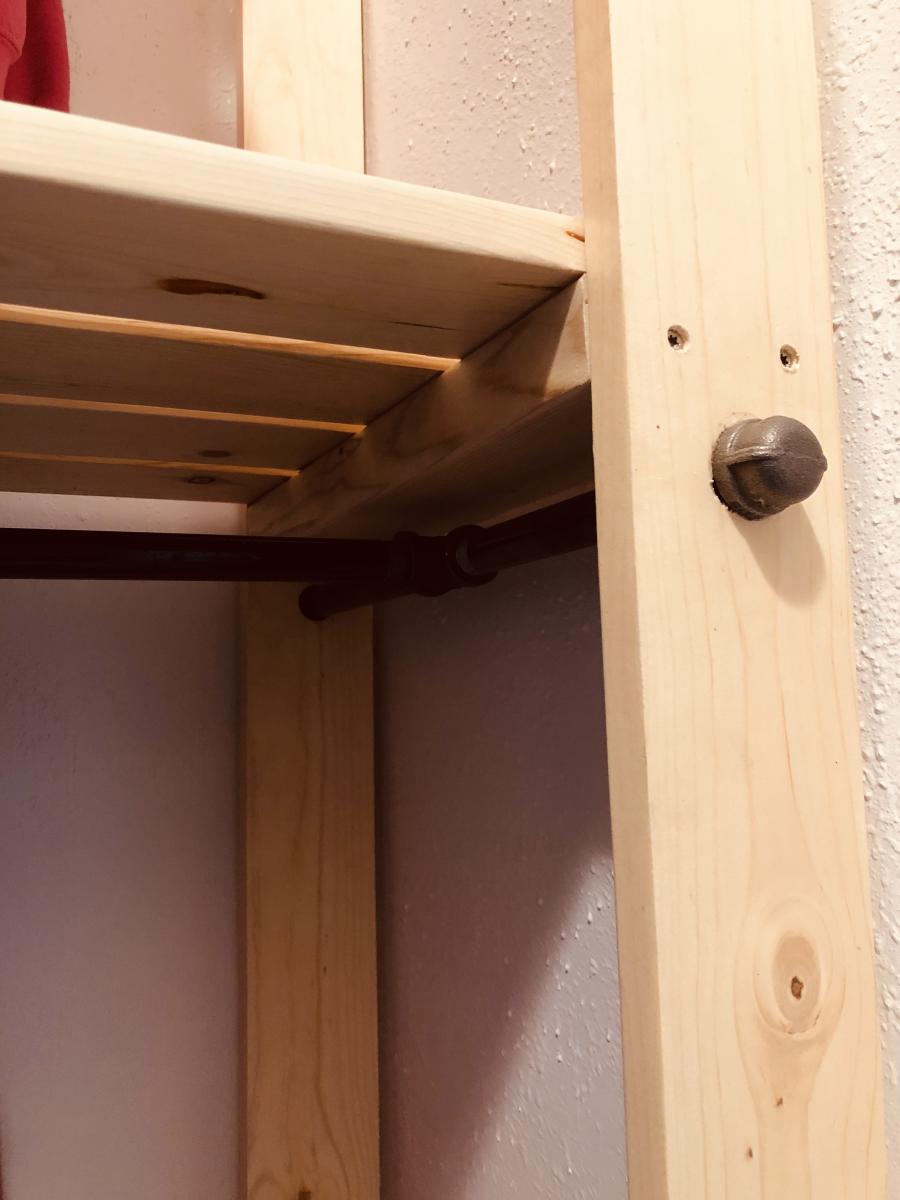
My master closet was a mess when I moved in and something needed to be done. I moved the doorway to create more space in my bedroom and closet. I found this lan and modified it try needs. It works great!!
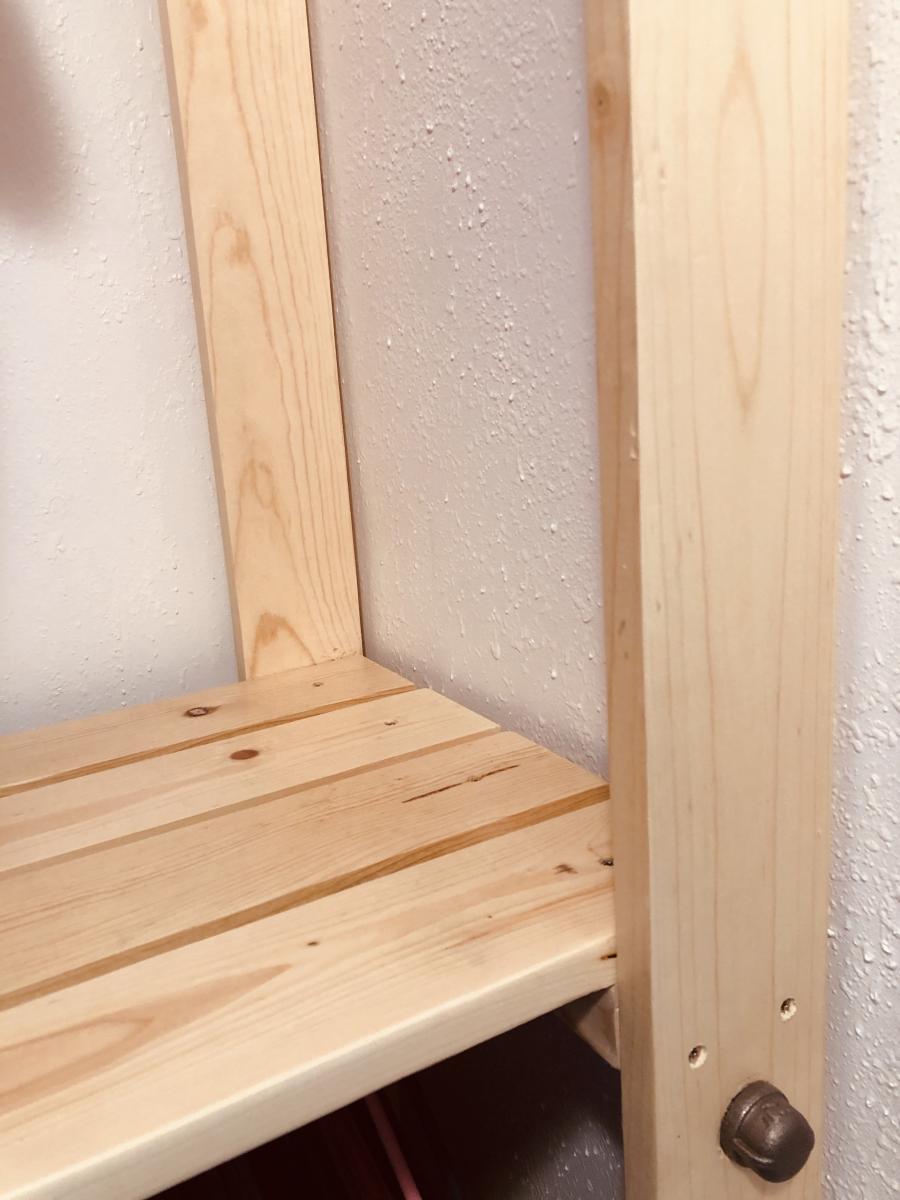
Note: It is much cheaper to purchase the long pipes and have Home Depot cut them down to the right length.
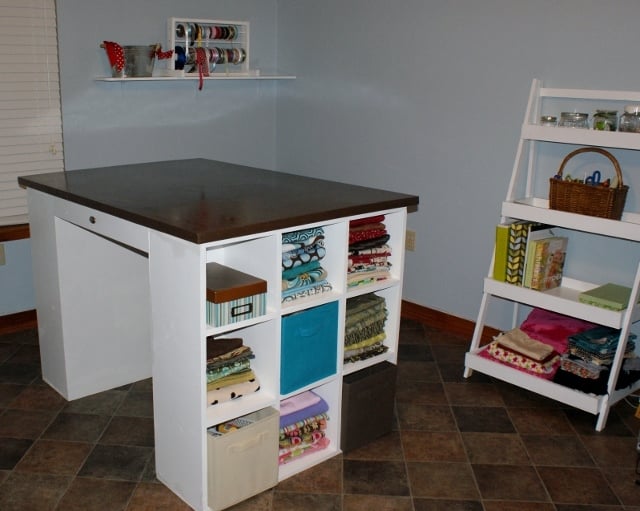
I consider this my first build...notice the ribbon rack and painter's ladder shelf also in the photo. Those were just confidence boosters to help me tackle the craft table I've been asking my hubby to build me for years. I just got tired of waiting, and decided to give it a try. With a 2 and 6 year old in the house, this took me a few weeks to complete...building during nap time and forgoing sleep on some evenings just to get it done. :) The drawers were by far the trickiest part of the whole thing. My first attempt was with 16" euro side mount slides, and I couldn't get the drawers in because they are inset under the tabletop. I ended up going with just a regular side mount drawer slide ($4.30 per drawer). The bookcases and the drawers are just your standard white cabinet paint, but the tabletop is finished in Martha Stewart's Potter's Clay textured paint (Hacienda) with a top coat of polyurethane. I also made the table top twice as thick by gluing 2 pieces of plywood together and screwing them together through the bottom piece. The height of the table is perfect for cutting fabric...no more backaches from bending over a table to cut fabric. I can't wait to move on to my next project! :)
Sun, 02/19/2012 - 23:29
Everything you made came out lovely. Once I finish the sofa, I have to make a sewing table for myself.
Wed, 02/22/2012 - 14:11
Sewing and building two of my favorite things!! It looks great :)
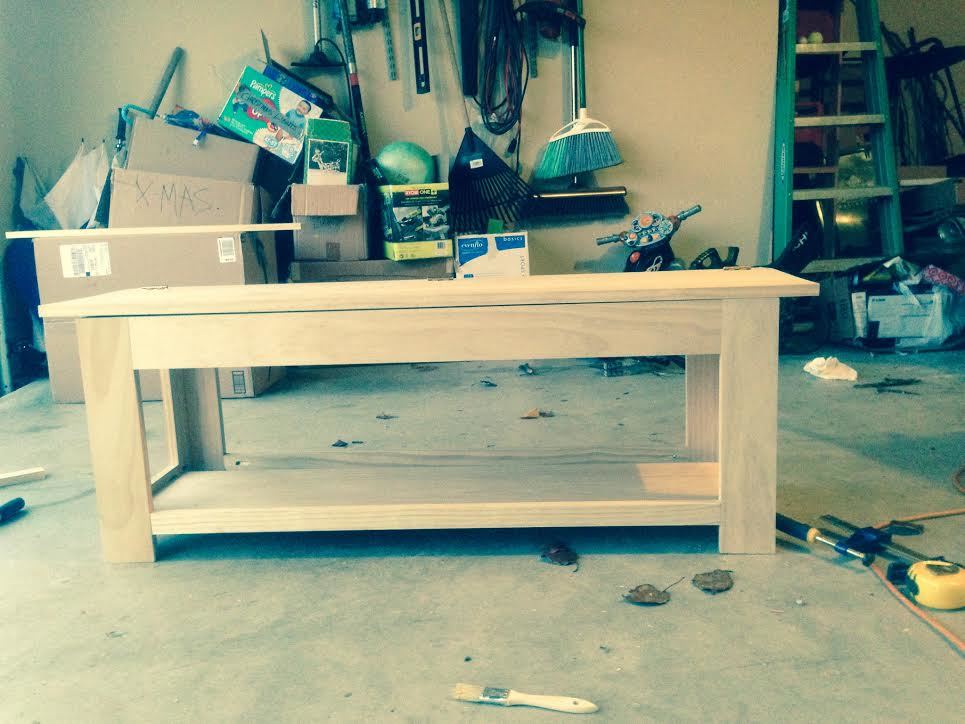
This is my first attempt at building and your website made it possible. There were a couple of mistakes, I admit. This was especially true with the finish. I did my best, but I'm a little impatient with letting things dry.
I am also having a difficult time estimating how long it took to build as I am the sometimes proud father of 3 boys...aged 2, 4, and 5....resulting in frequent stopping, starting, and intermittent chasing down the street. I need an exterior lock on the garage.
Thanks so much for your website Ana.
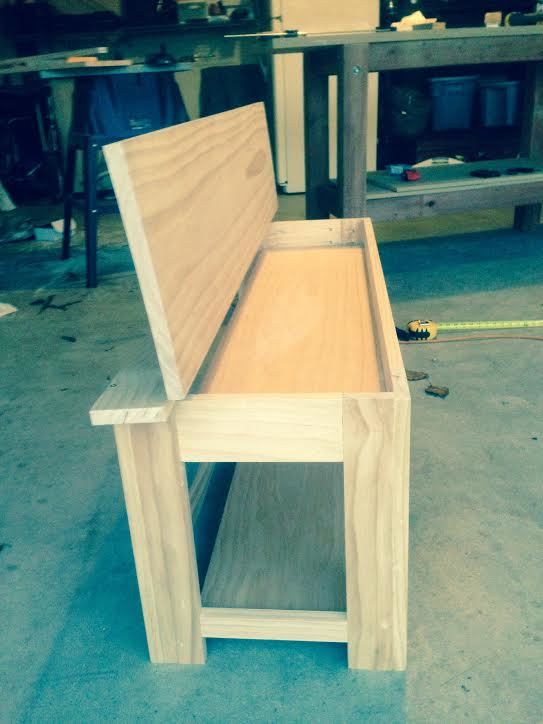
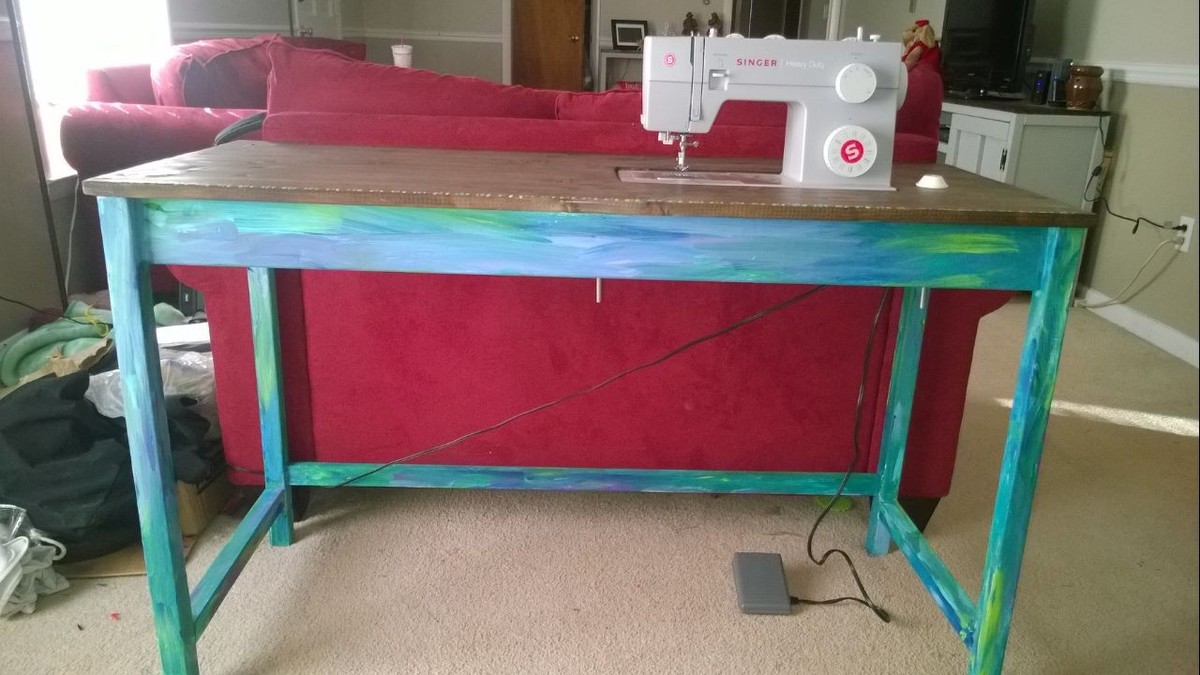
Sewing tables are quite expensive, the cheapest I've seen was about $160. I decided to make one myself. I spent about $30 for all the wood, bolts, and nuts that I used to make it.
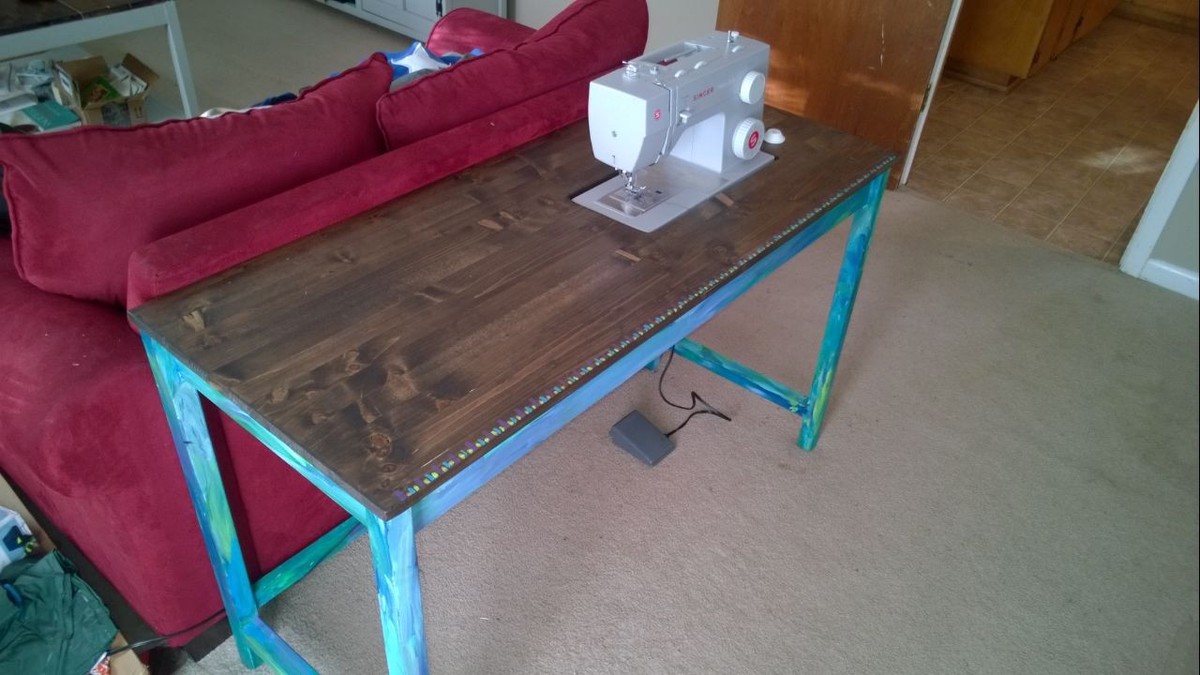

This is the first piece of furniture I have built that I want to put in our house. I used a lot of our tools for the first time. It was really fun and definitely took me a long time but learned a lot in the process. I used all scrap wood from old fencing & old projects. And I had to make an opening for storage on one side! What do you think? :)
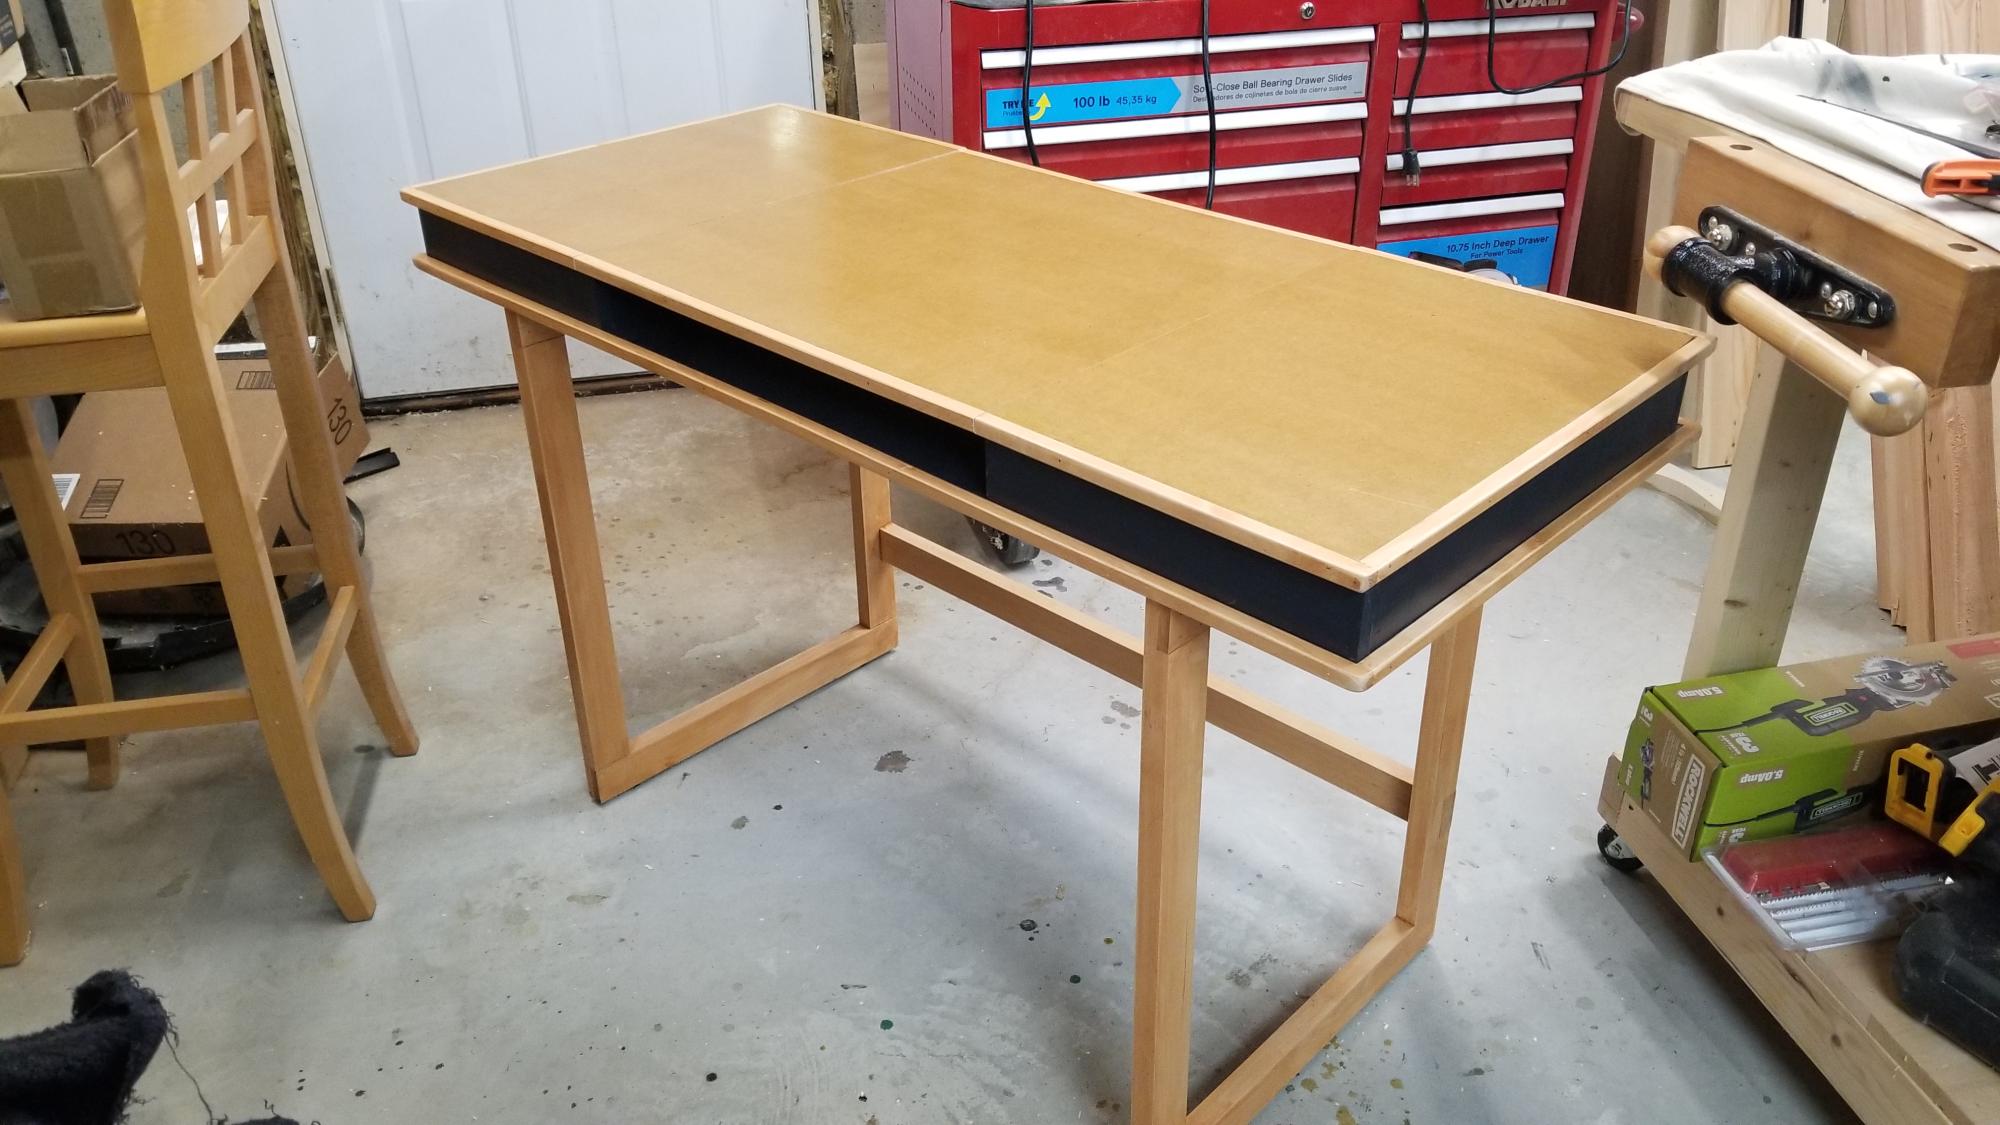
I used these plans as inspiration and made some changes per my son's request. I made the base out of maple and changed the board dimensions to 1x2" I also used half lap joints instead of pocket hole screws (personal preference). The top is MDF and I edged plywood and MDF in Maple. Fun Project
Zen
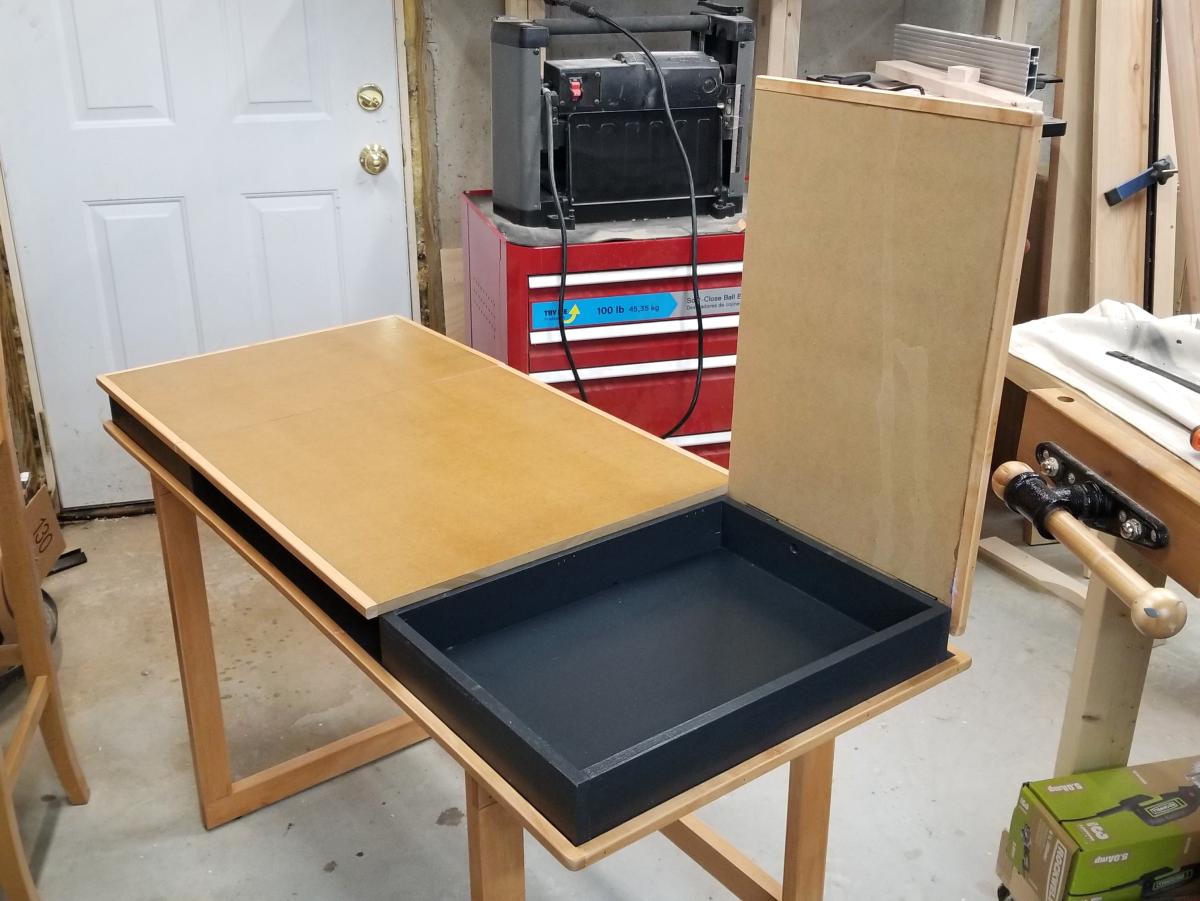
Used the Argie Bedside Table plans, but instead of using plywood for the top I used 1x4's joined together. Painted it a semi-gloss black and put the stainless pull on the drawer front
Great design, easy to follow!
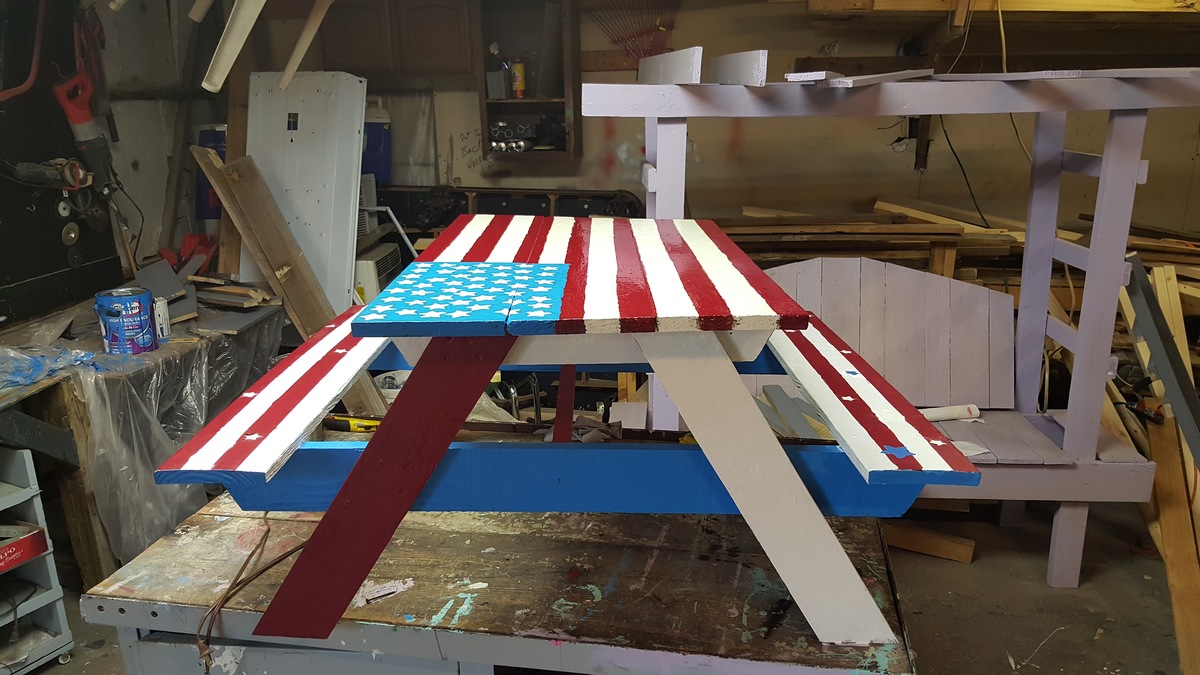
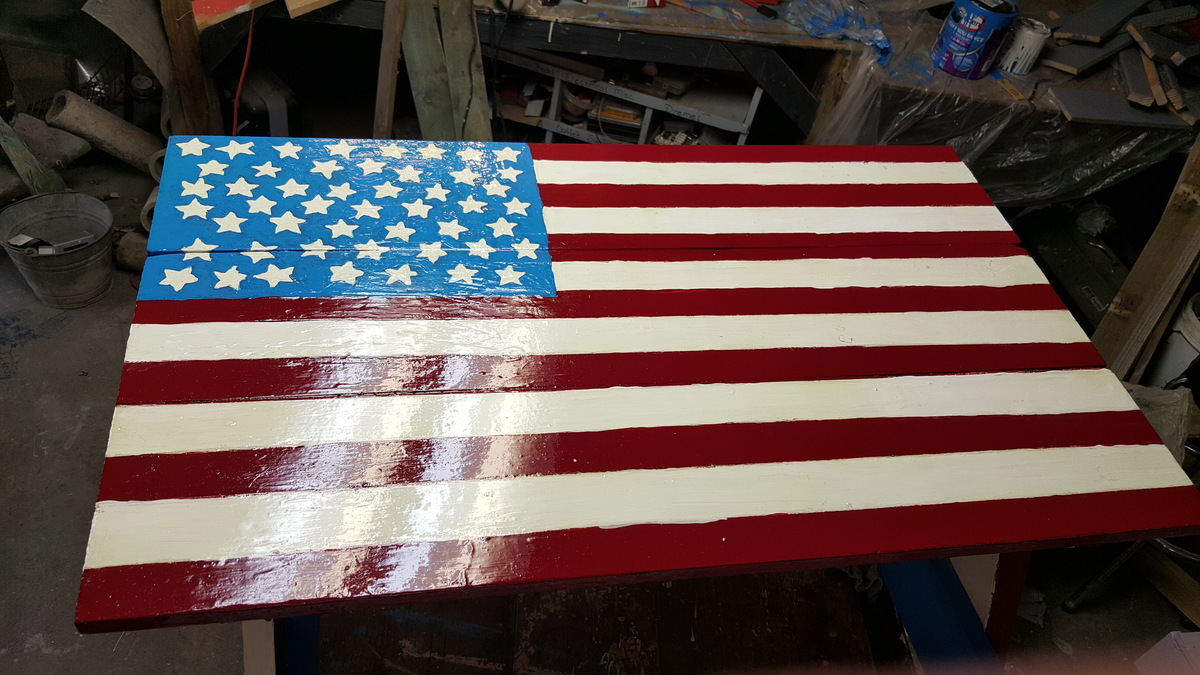
A lot of detail and time spent in painting this, but I am very happy with how it turned out. I used wider boards for the top to accommodate the hand drawn and painted flag. So glad that it is finally done!
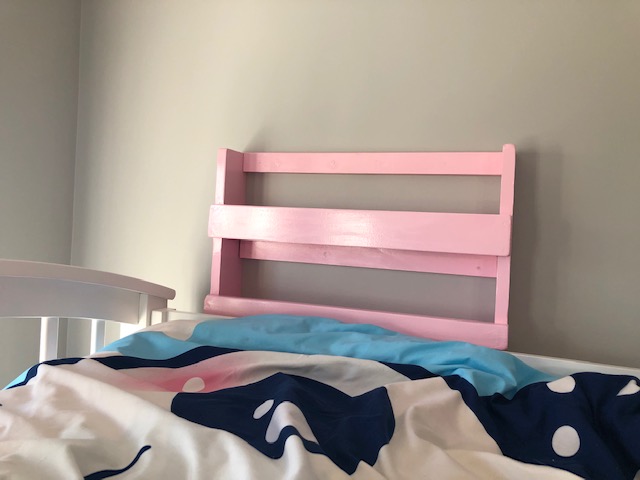
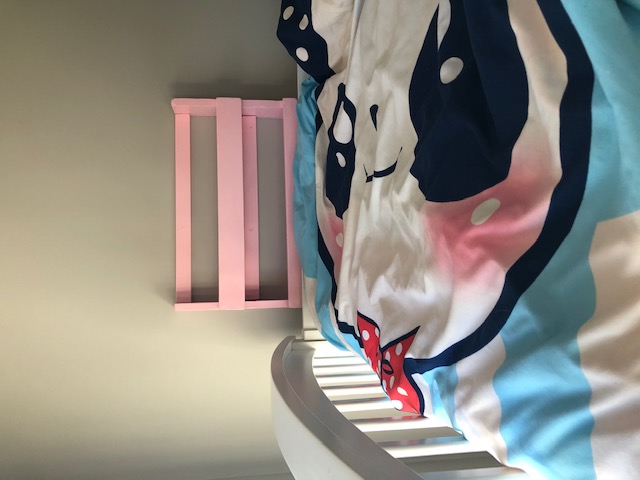
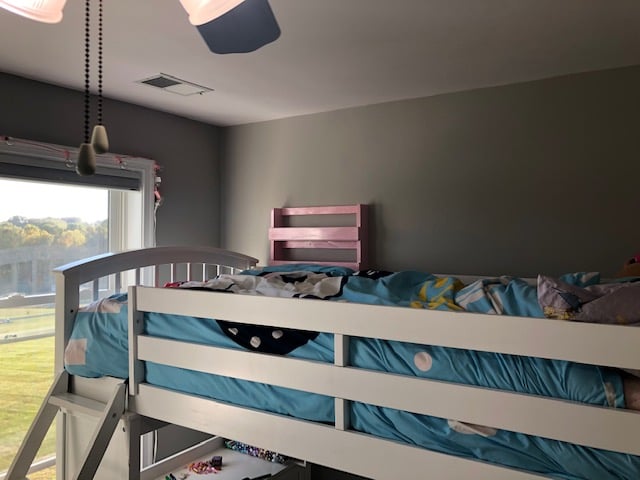
My daughter asked me for a shelf near her bunk bed to put books, glasses, pen, etc. on. I found this plan and made it that day. Self cost less than $15!! She loves it. It was super simple to do!
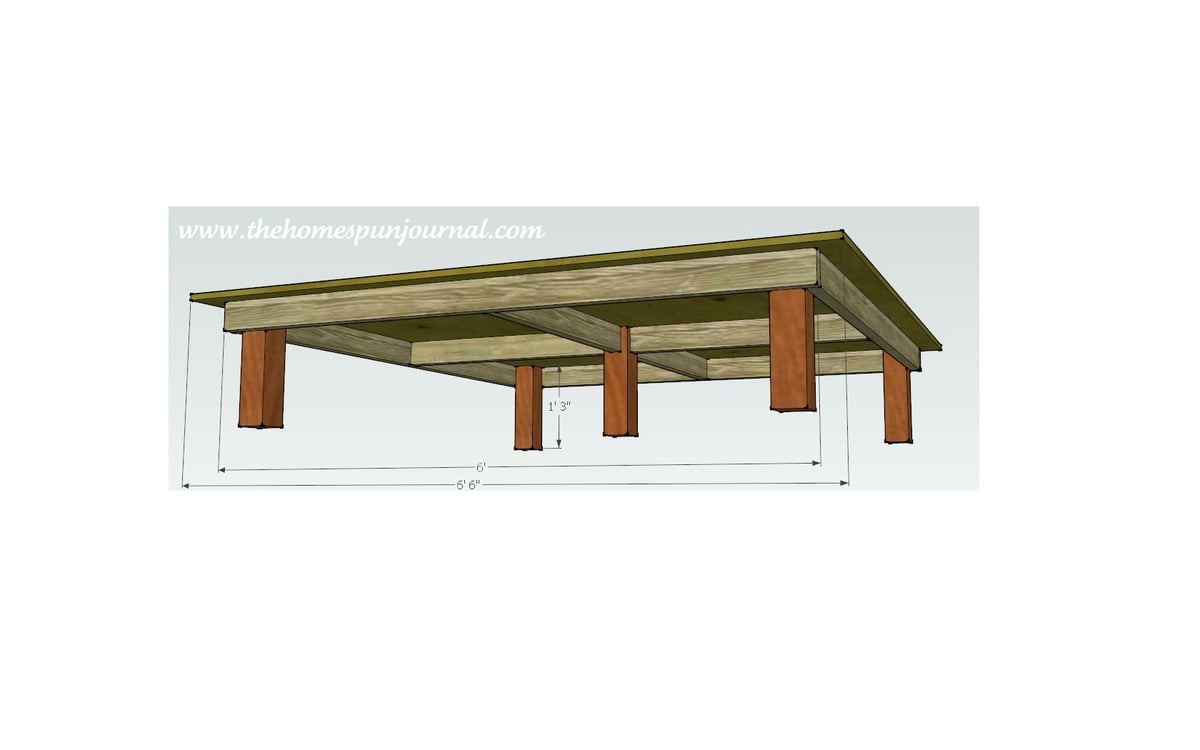
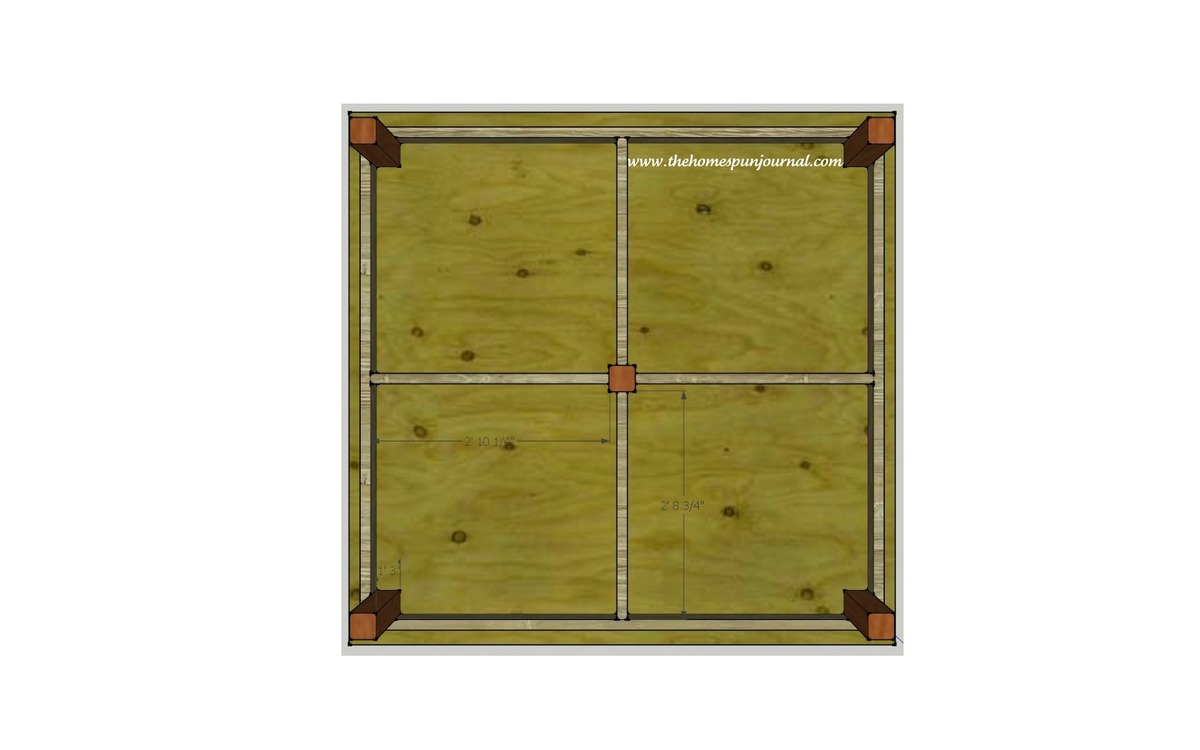
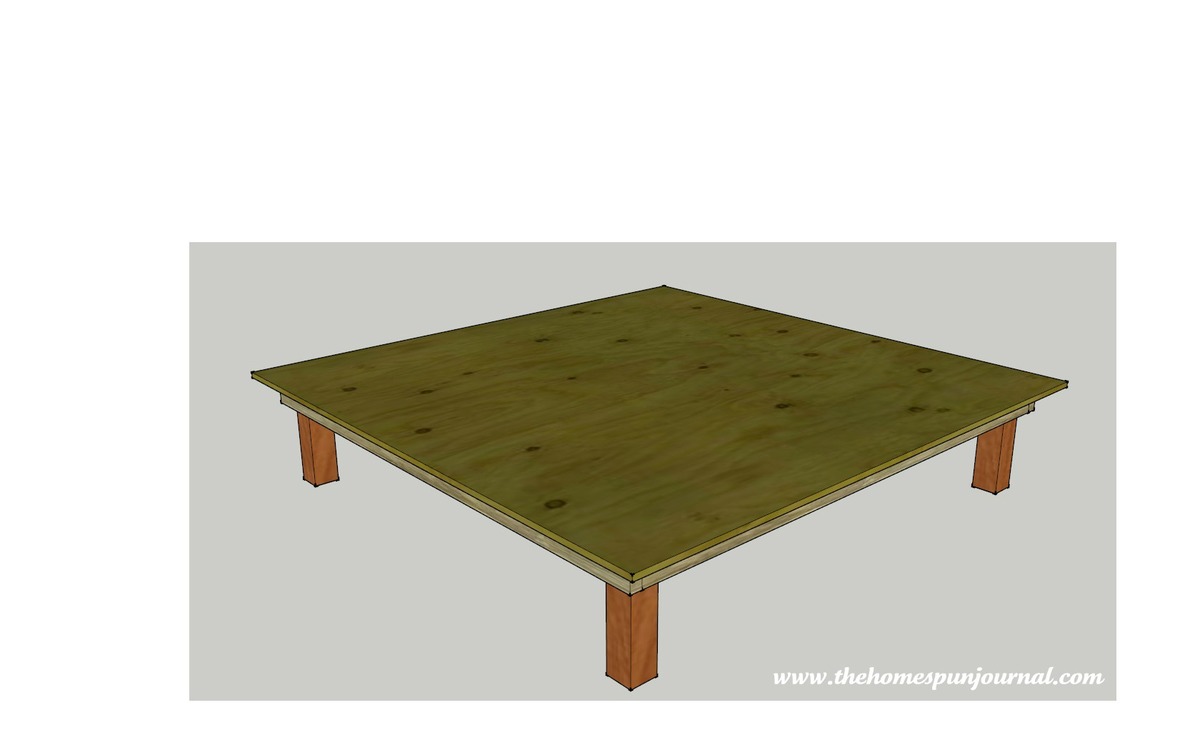
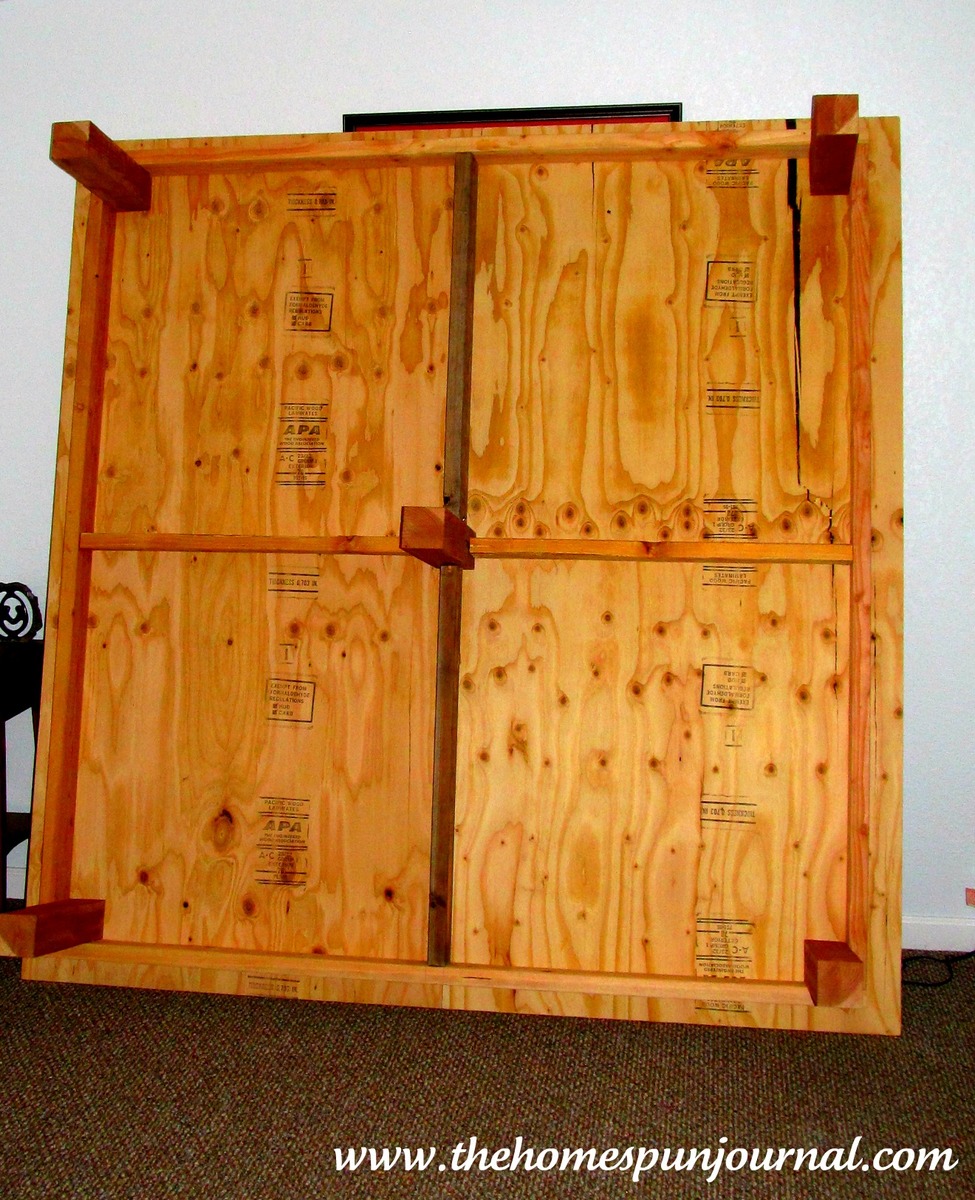
DIY king-sized platform bed. A quick afternoon project to get yourself off the ground. Specifically built for Ikea memory foam mattress (which doesn't honor their warranty if bed is kept on slatted wood platform bed). Detailed plans here. http://www.thehomespunjournal.com/2012/02/27/king-sized-platform-bed/
Tue, 02/28/2012 - 07:52
I am thinking that if you wanted your mattress to breathe on this platform, you could drill a bunch of small holes in the platform to let some air circulate from underneath.
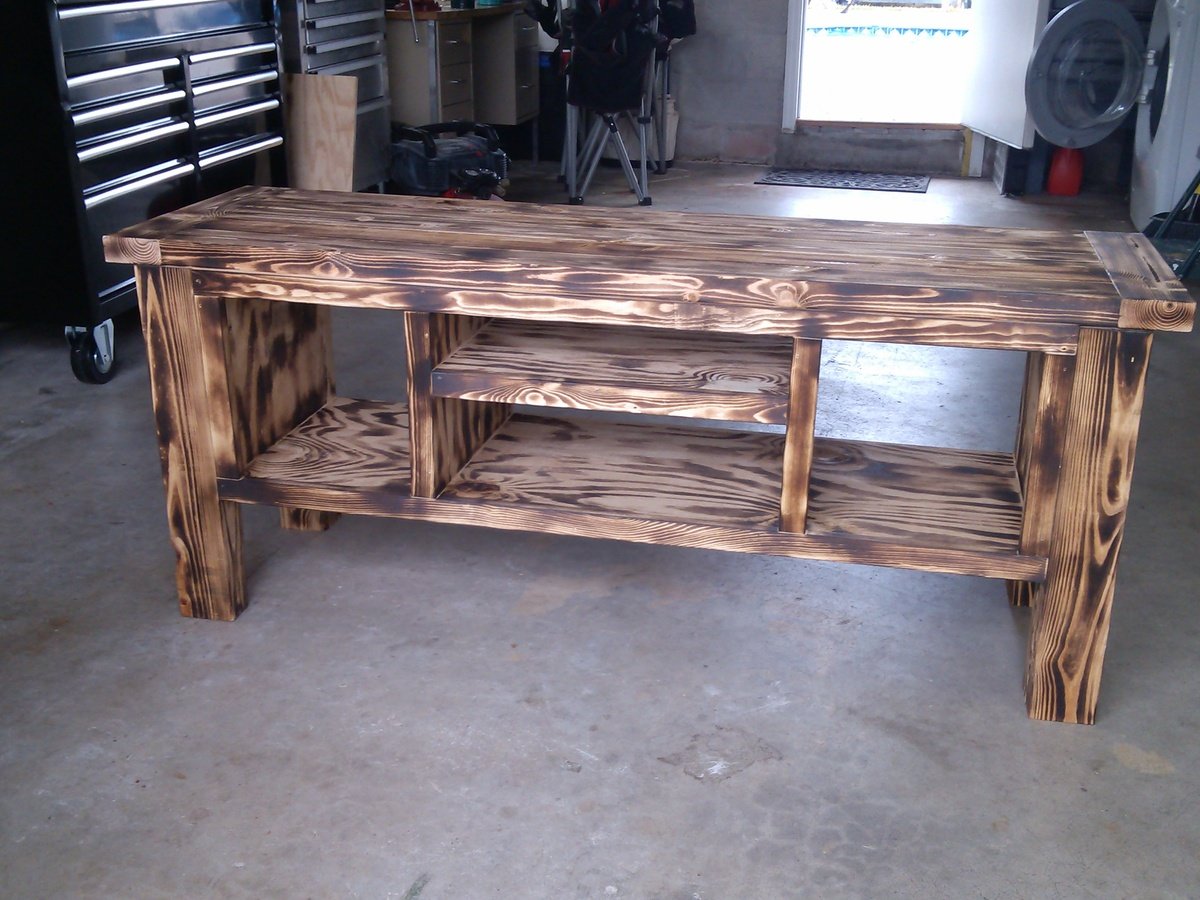
I built this for my little brothers living room because he desperatly needed something for his tv to sit on beside his safe (he has a true bachelor pad) i used the plans for the tryde media console and the finish on it was done with a torch. I put 2 coats of clear satin poly. The project too about 6 hours to complete. i love how it turned out !
Mon, 01/13/2014 - 18:52
Cool finish. Care to share the details on how you did it?
As always, we were super inspired by Ana White designs and wanted to tackle the media console project but add a little bit of our own farmhouse flare. This project was stained with apple cider & white cider vinegar and topped with ivory spray paint. Details are up on my blog, Sincerely the Smiths! Thanks for all your inspiring projects Ana White, we love getting to see all the awesome things you do!
Mon, 03/14/2016 - 21:29
This is so beautiful!!! Thank you so much for everything, I'm so honored that you use my plans and follow our projects. With much appreciation, Ana
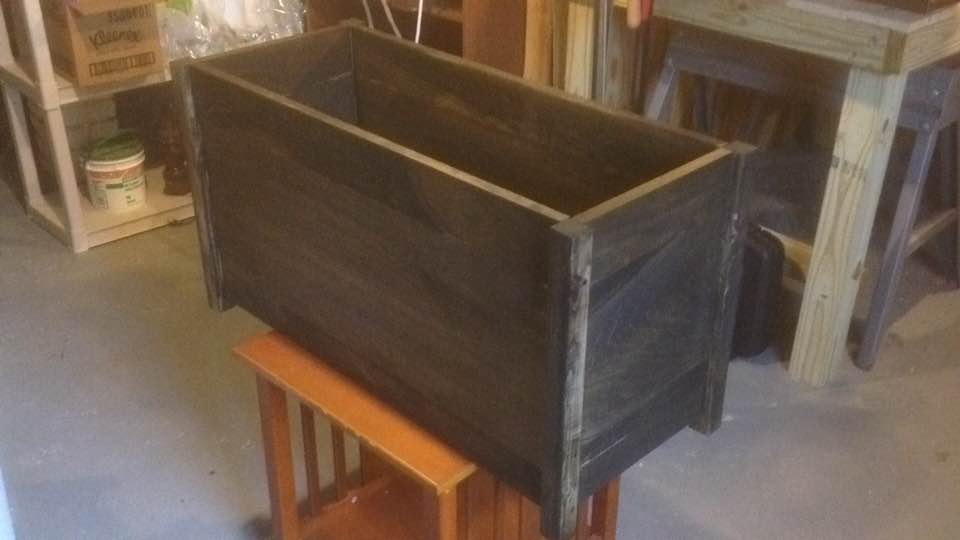
I used these plans to build a toy chest for my daughter: https://www.ana-white.com/woodworking-projects/simple-modern-toy-box-lid
I skipped the lid and a few of the extra details, but I think it turned out alright! It was probably my second project ever, and my first at this size. Being so new to woodwork, I was unsure of a lot of my cuts, or even if I could find the proper pieces of wood at the store, but your plans helped me through a lot of it!
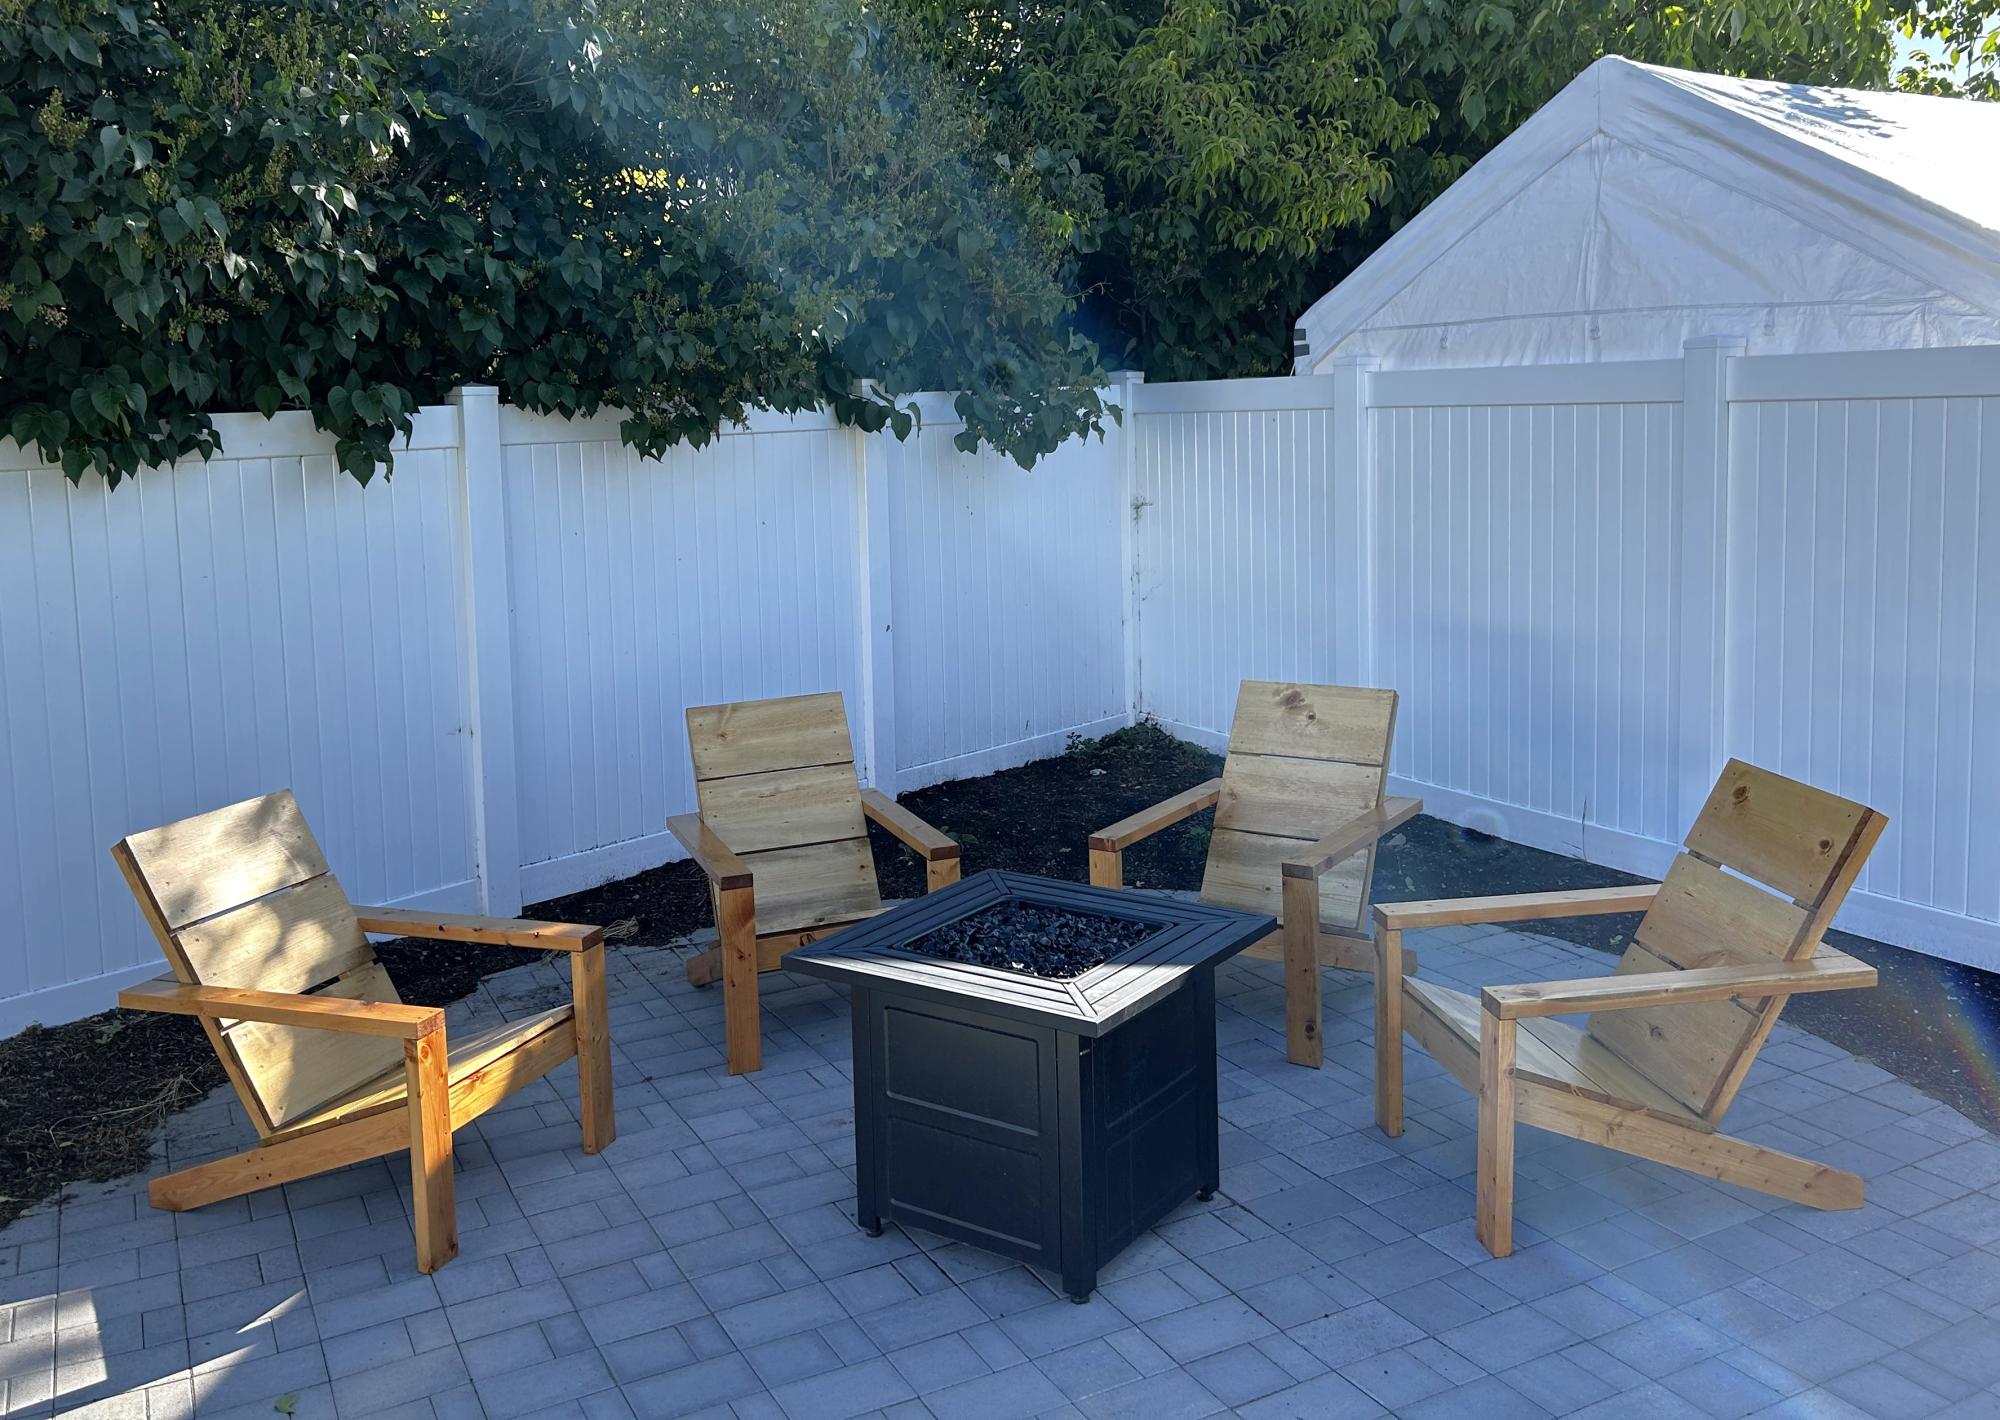
Adirondack Chairs stained.
Rachel M
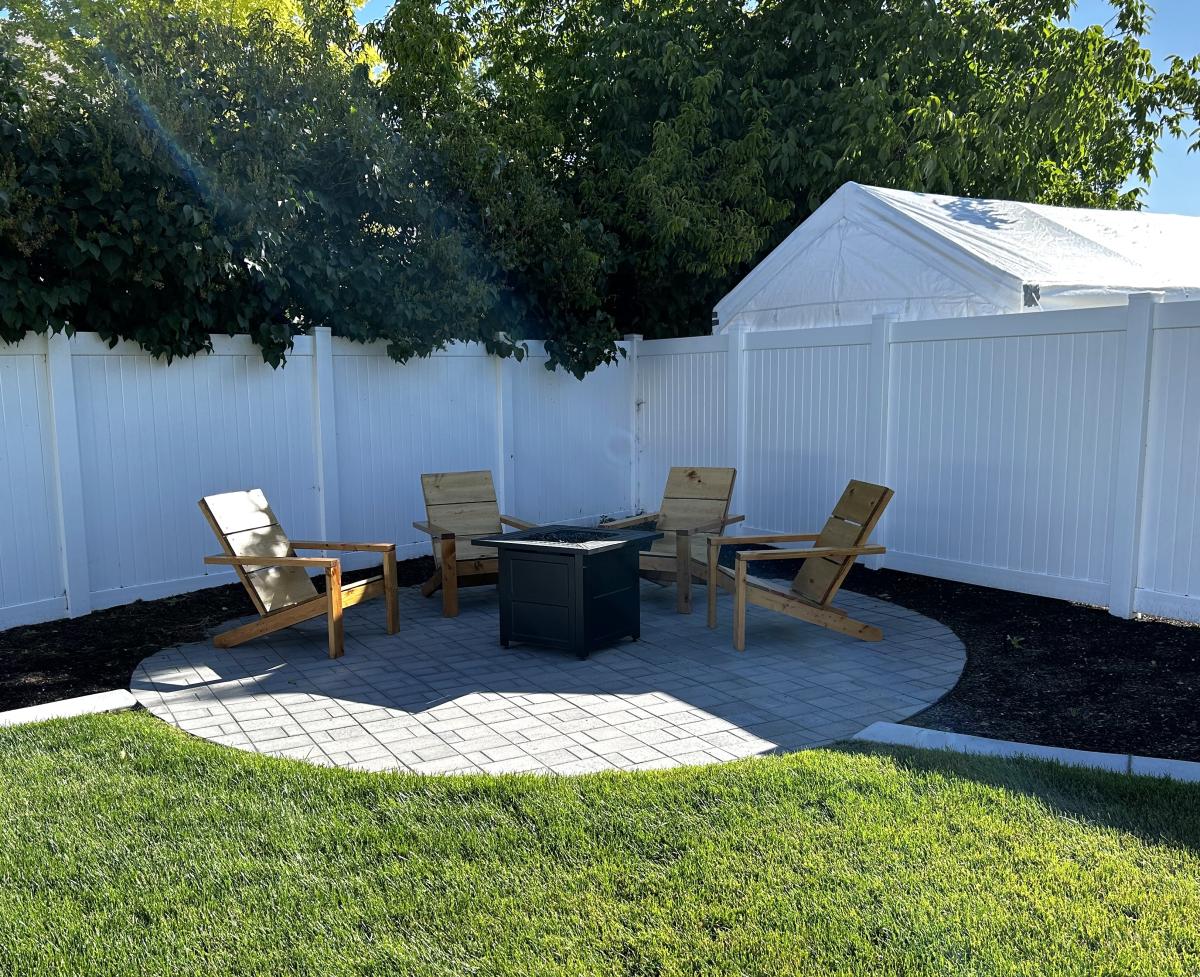
This was my first project and I followed the plan closely, with the exception of adding a center brace under the top. I used a pocket hole jig to attach some of the of the boards, and finishing nails to secure other spots. I had to adjust the side trim pieces because my lumber was a different length than the stuff on the original plan.
I learned a lot doing this. It was wobbly when I first started but got better the more I added to it. The most important thing I learned is to be choosy when selecting boards. My top board is warped a bit so that it doesn't quite rest on the ledge on one side -- I will know what to look for next time I select boards.
