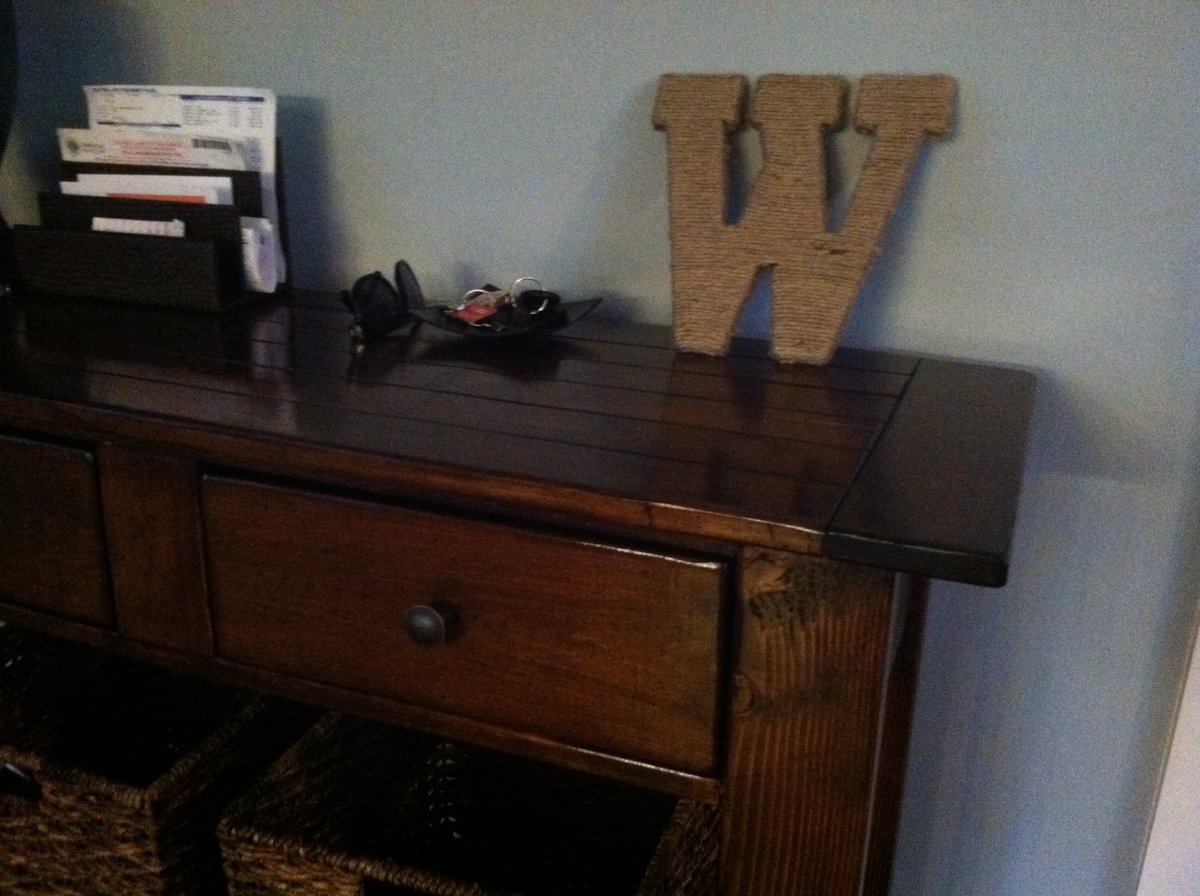
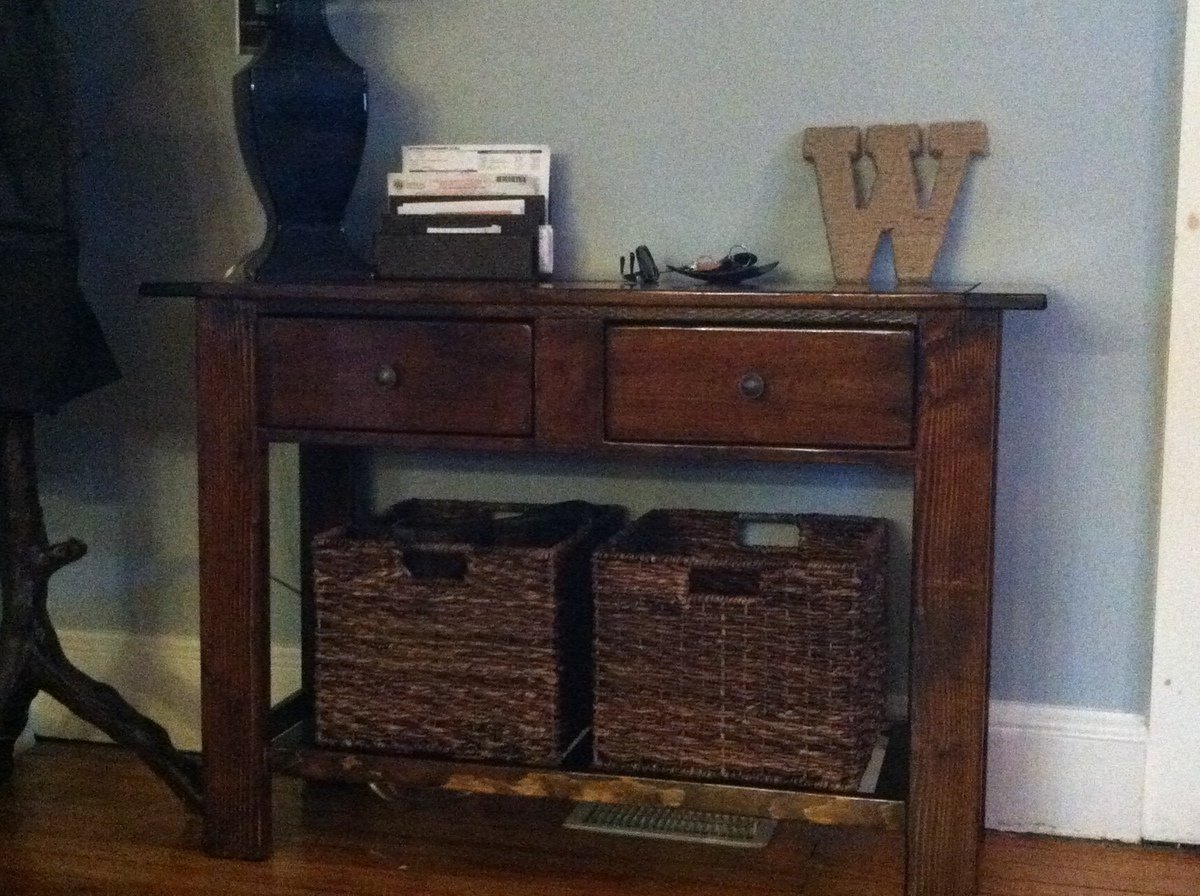
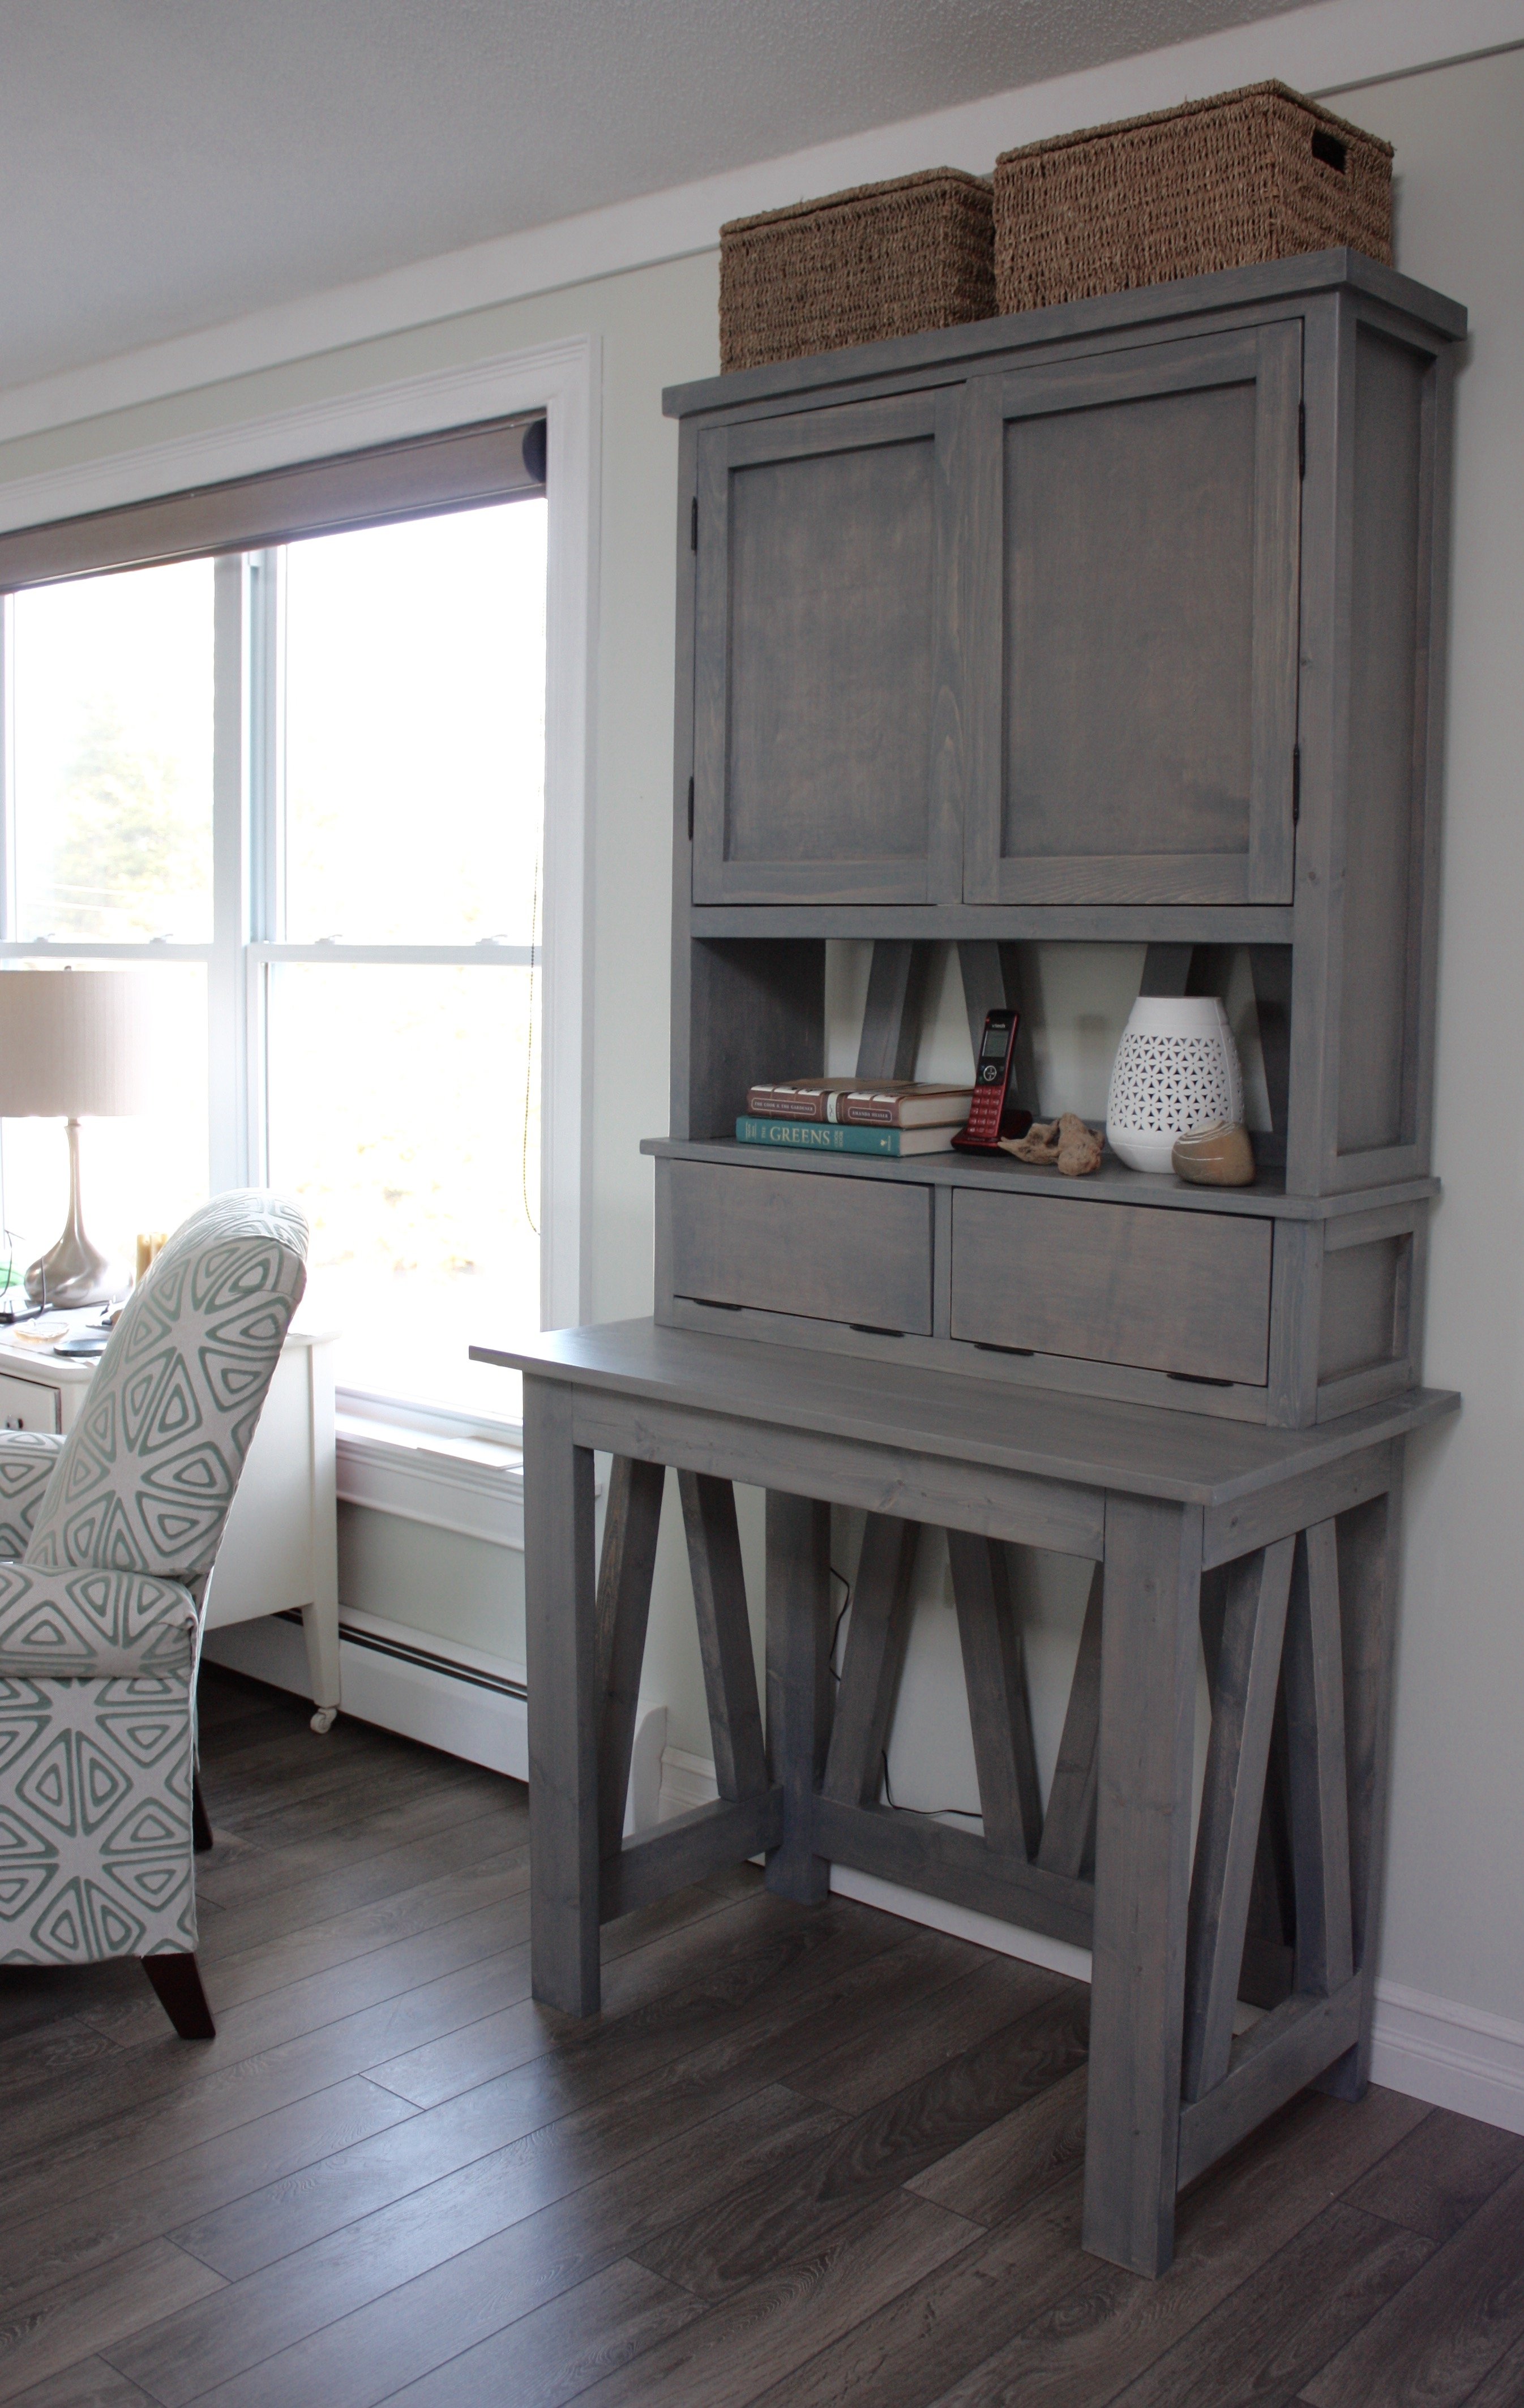
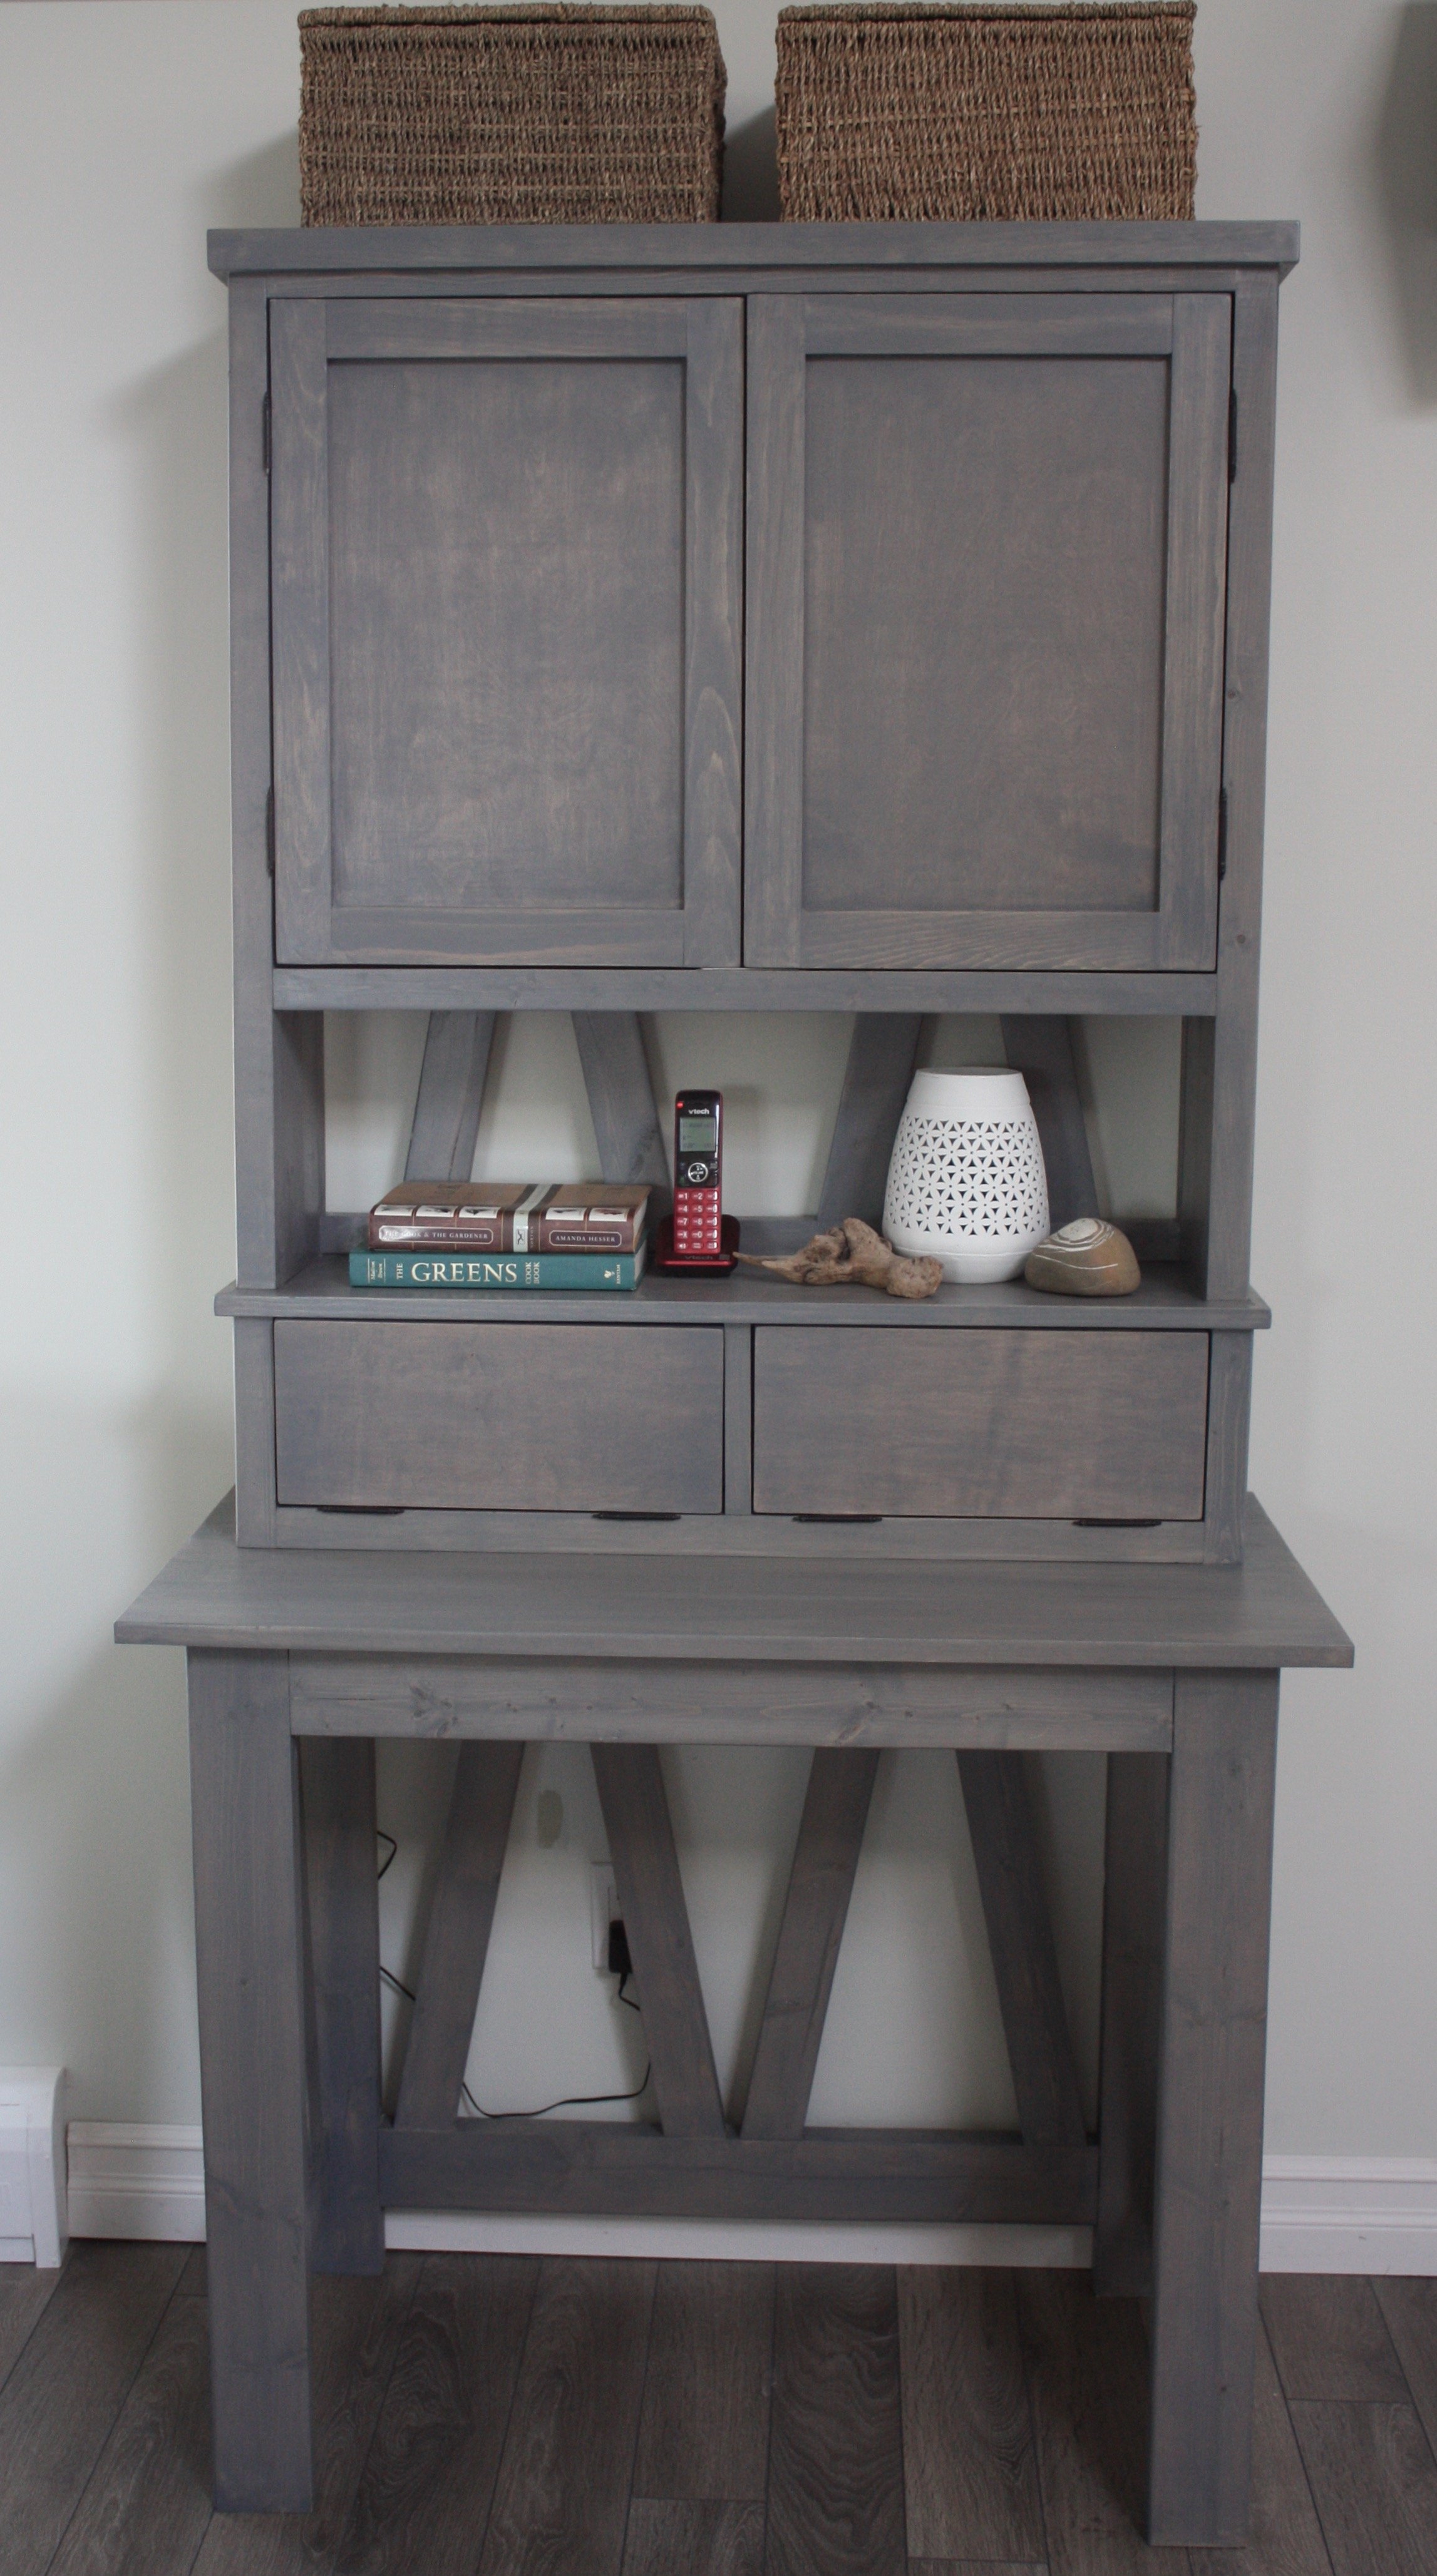
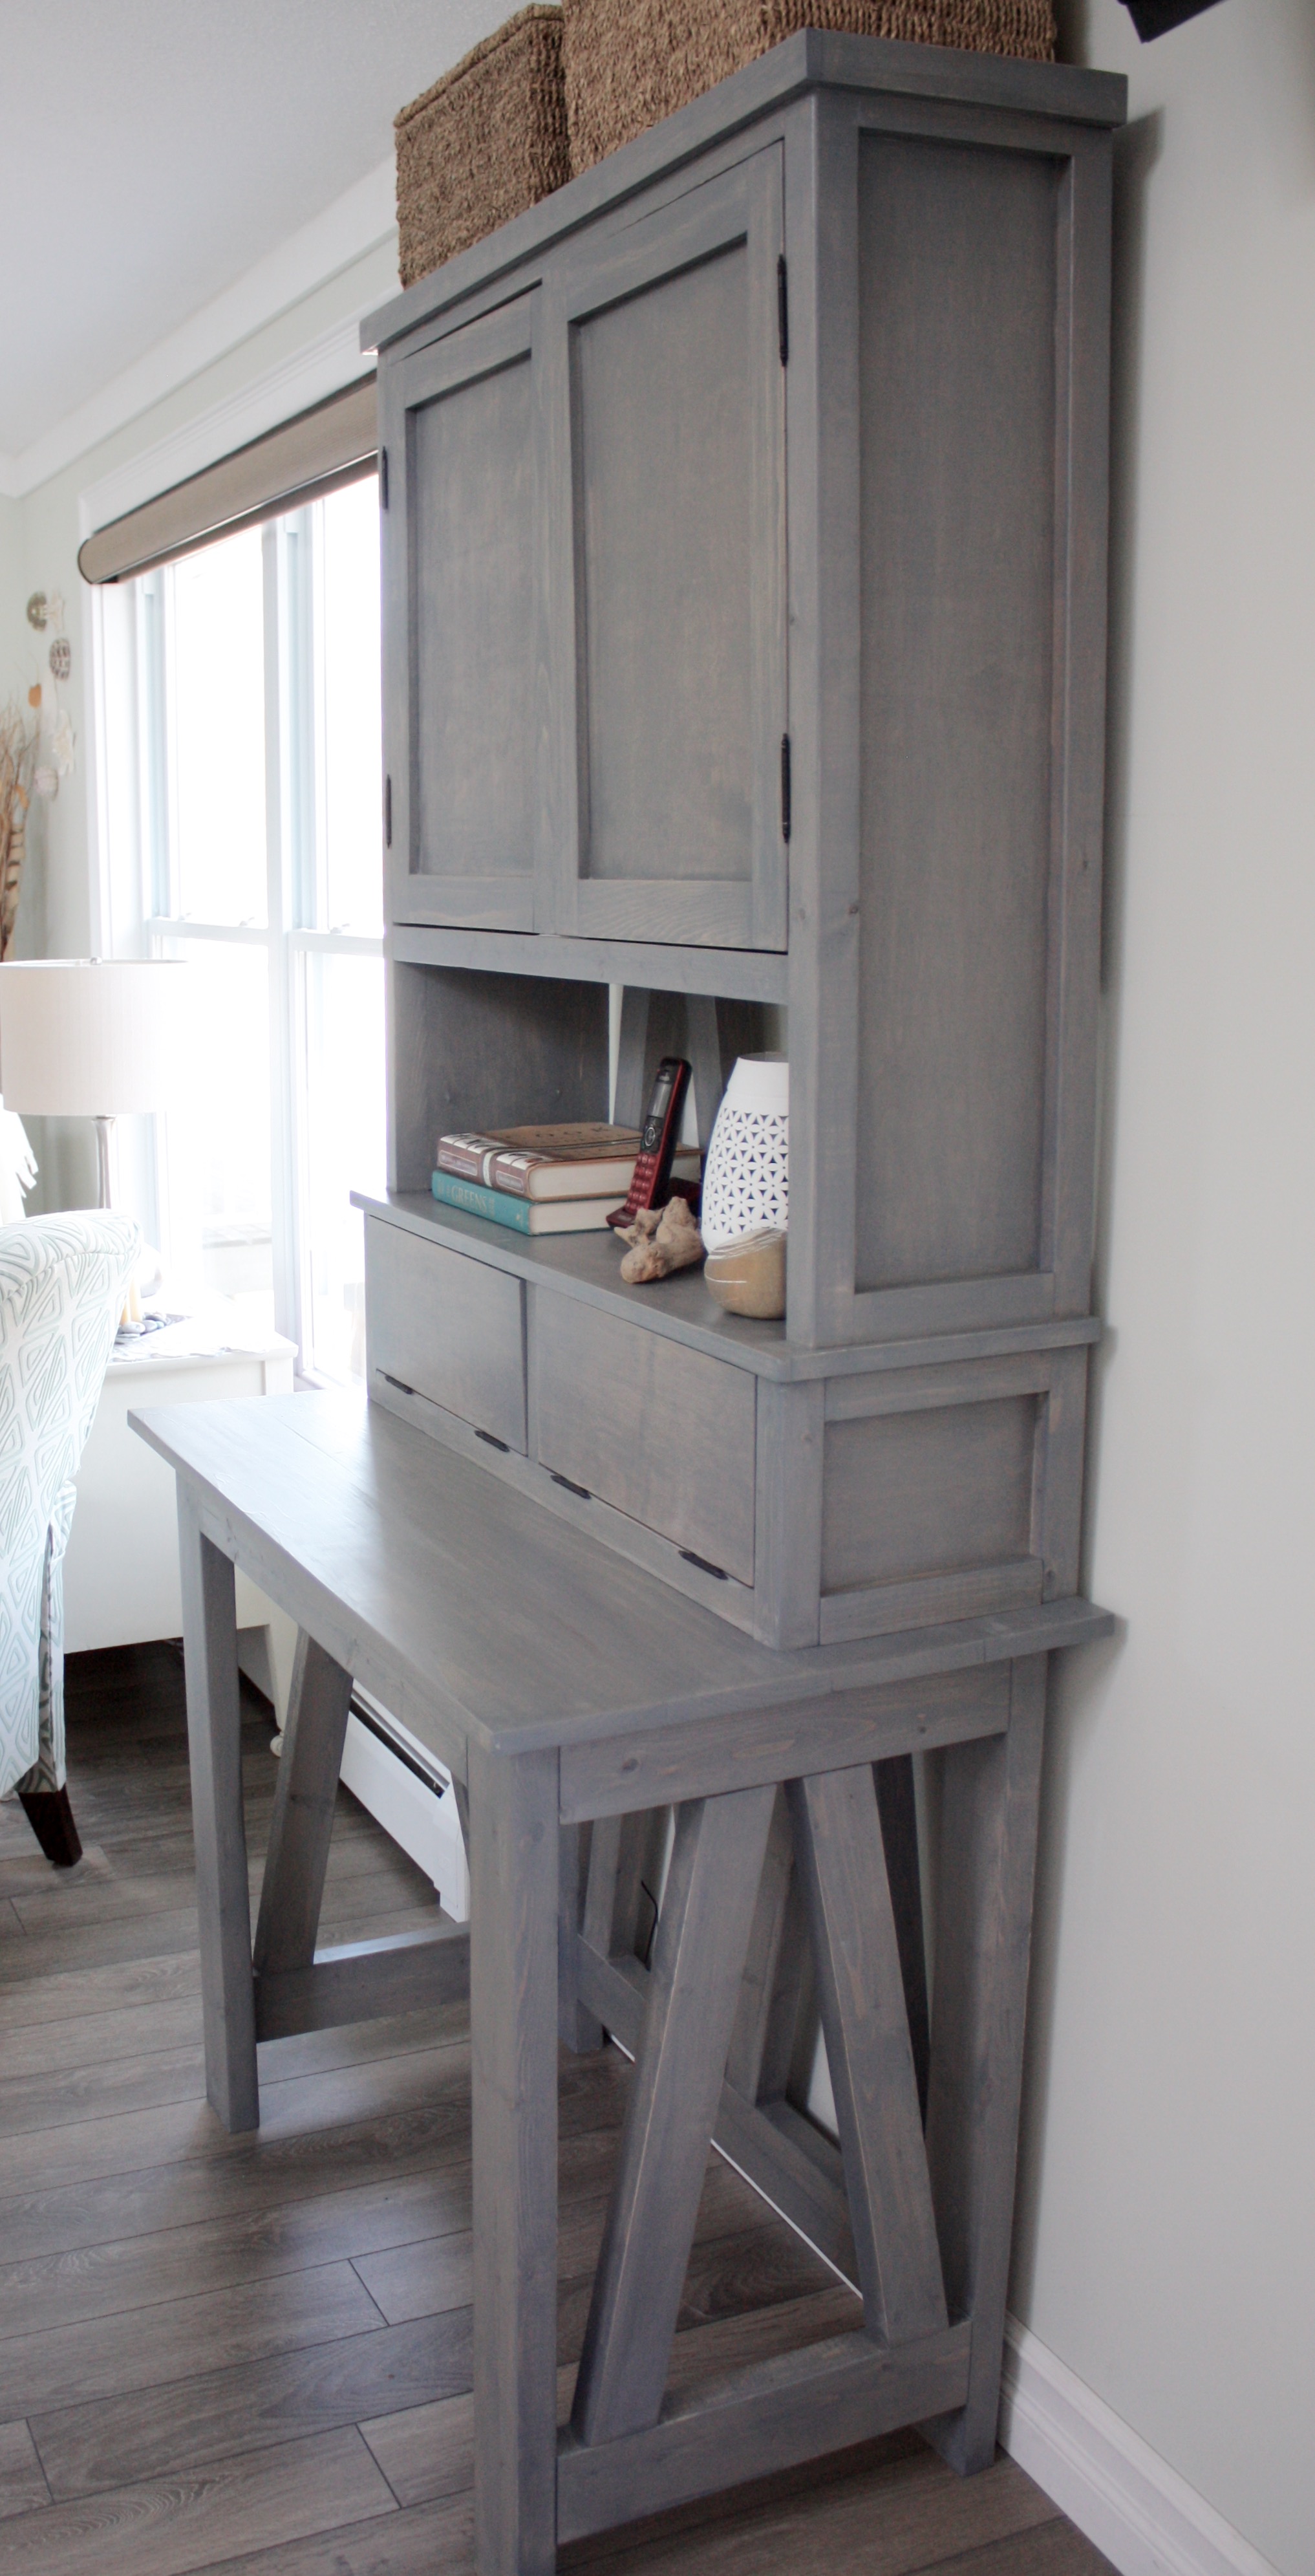
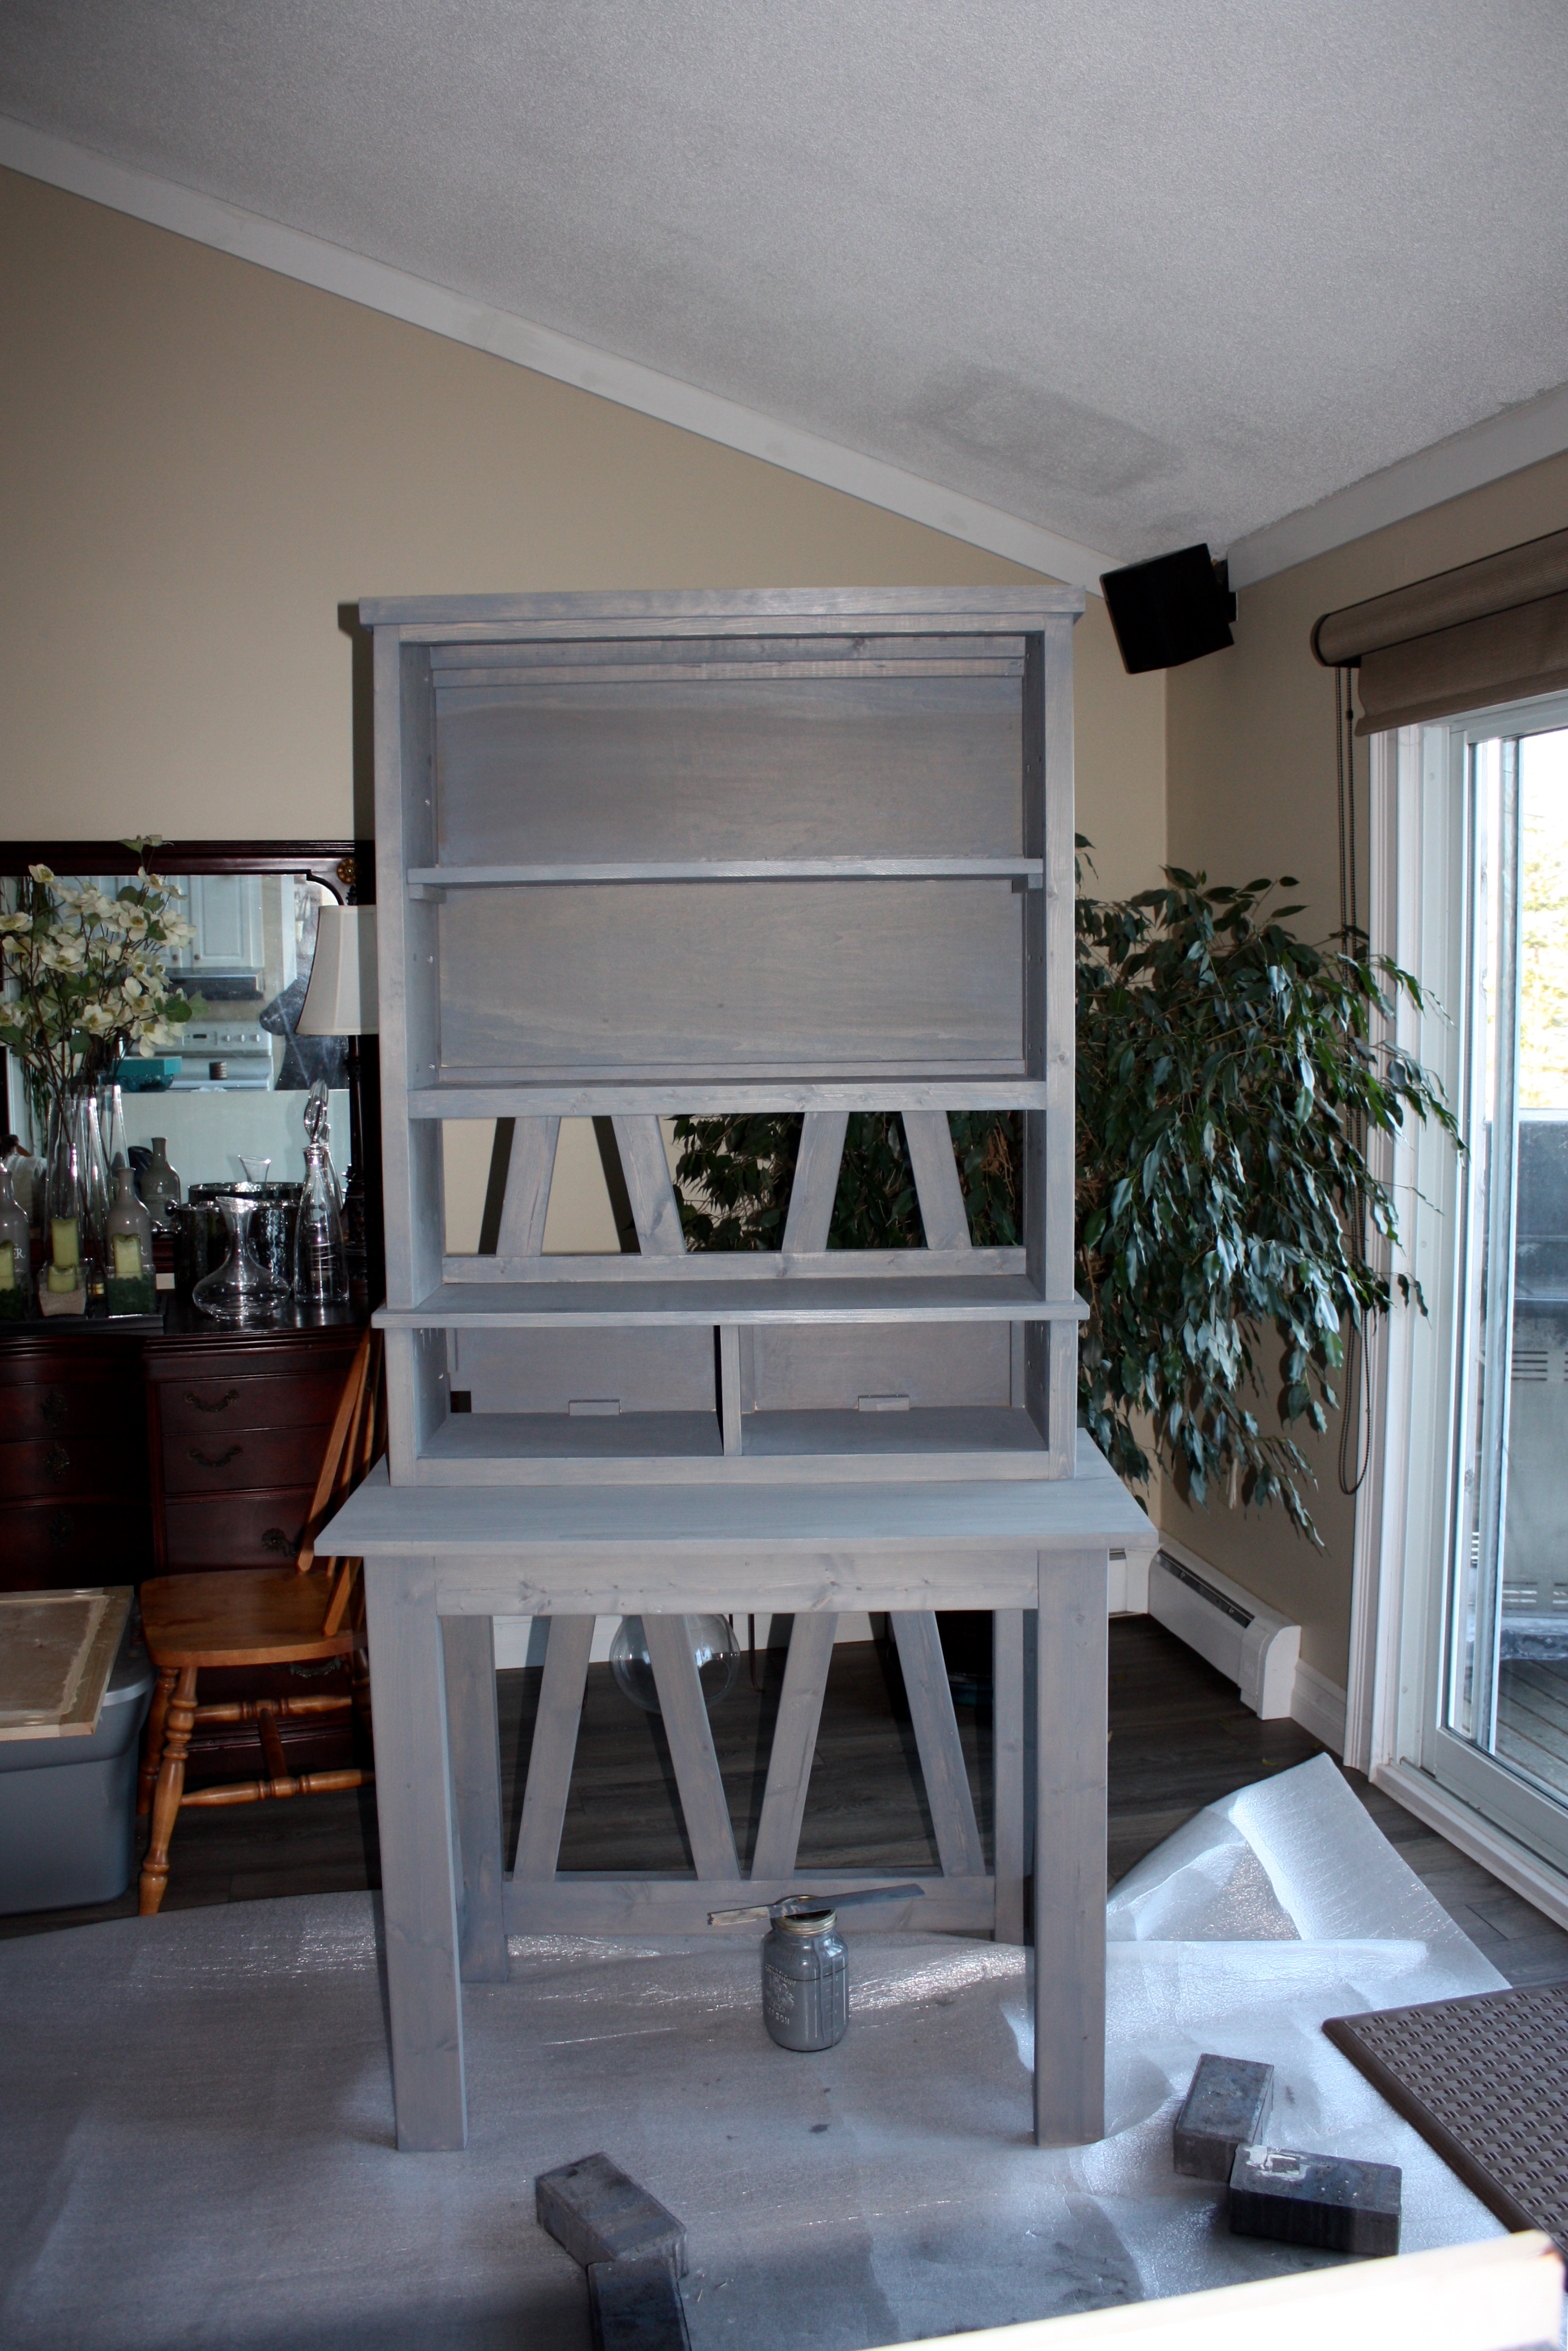
Benchwright/Tryde Console Table
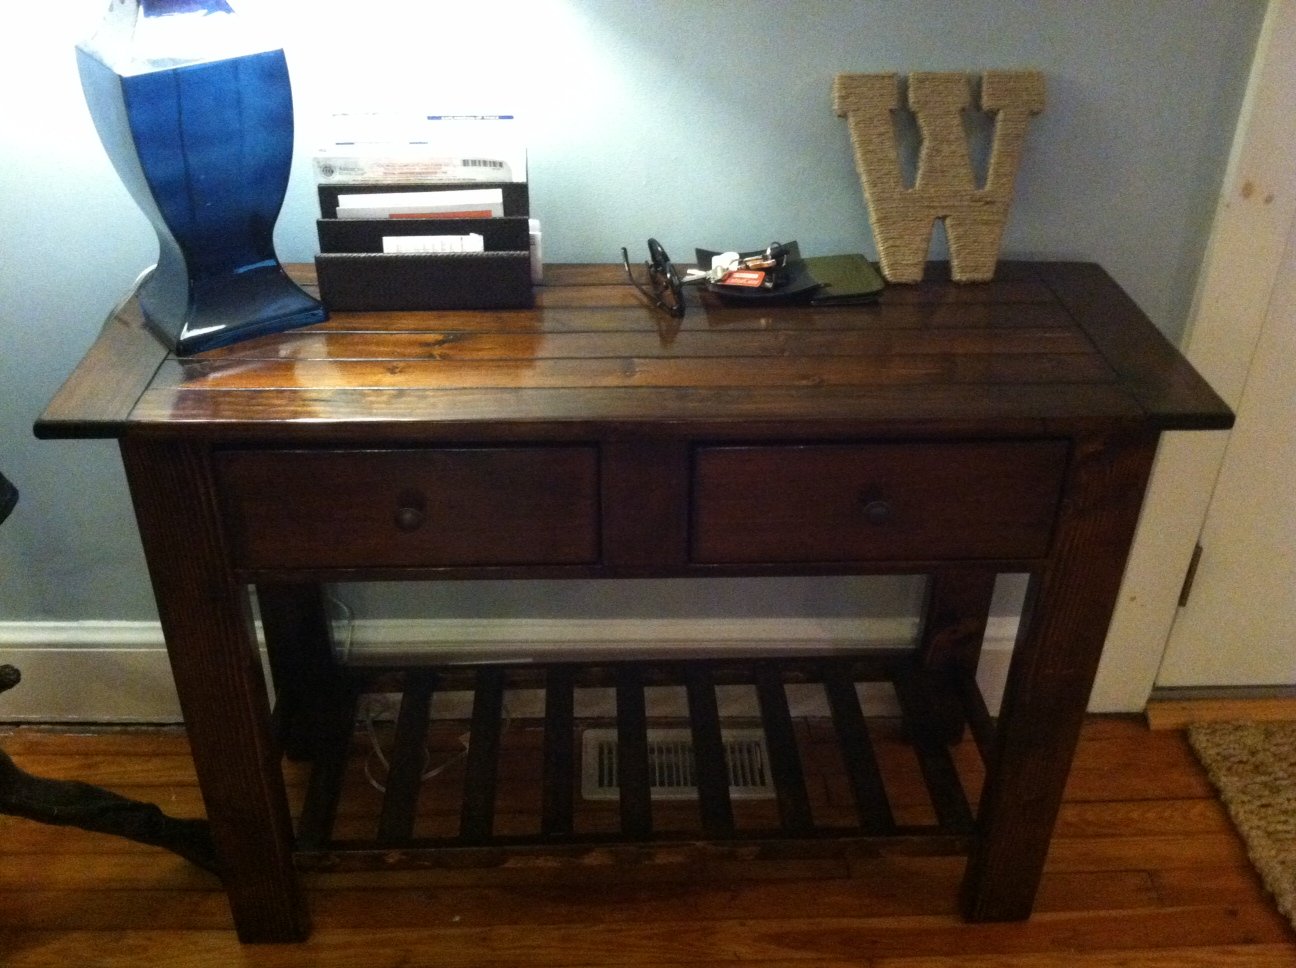
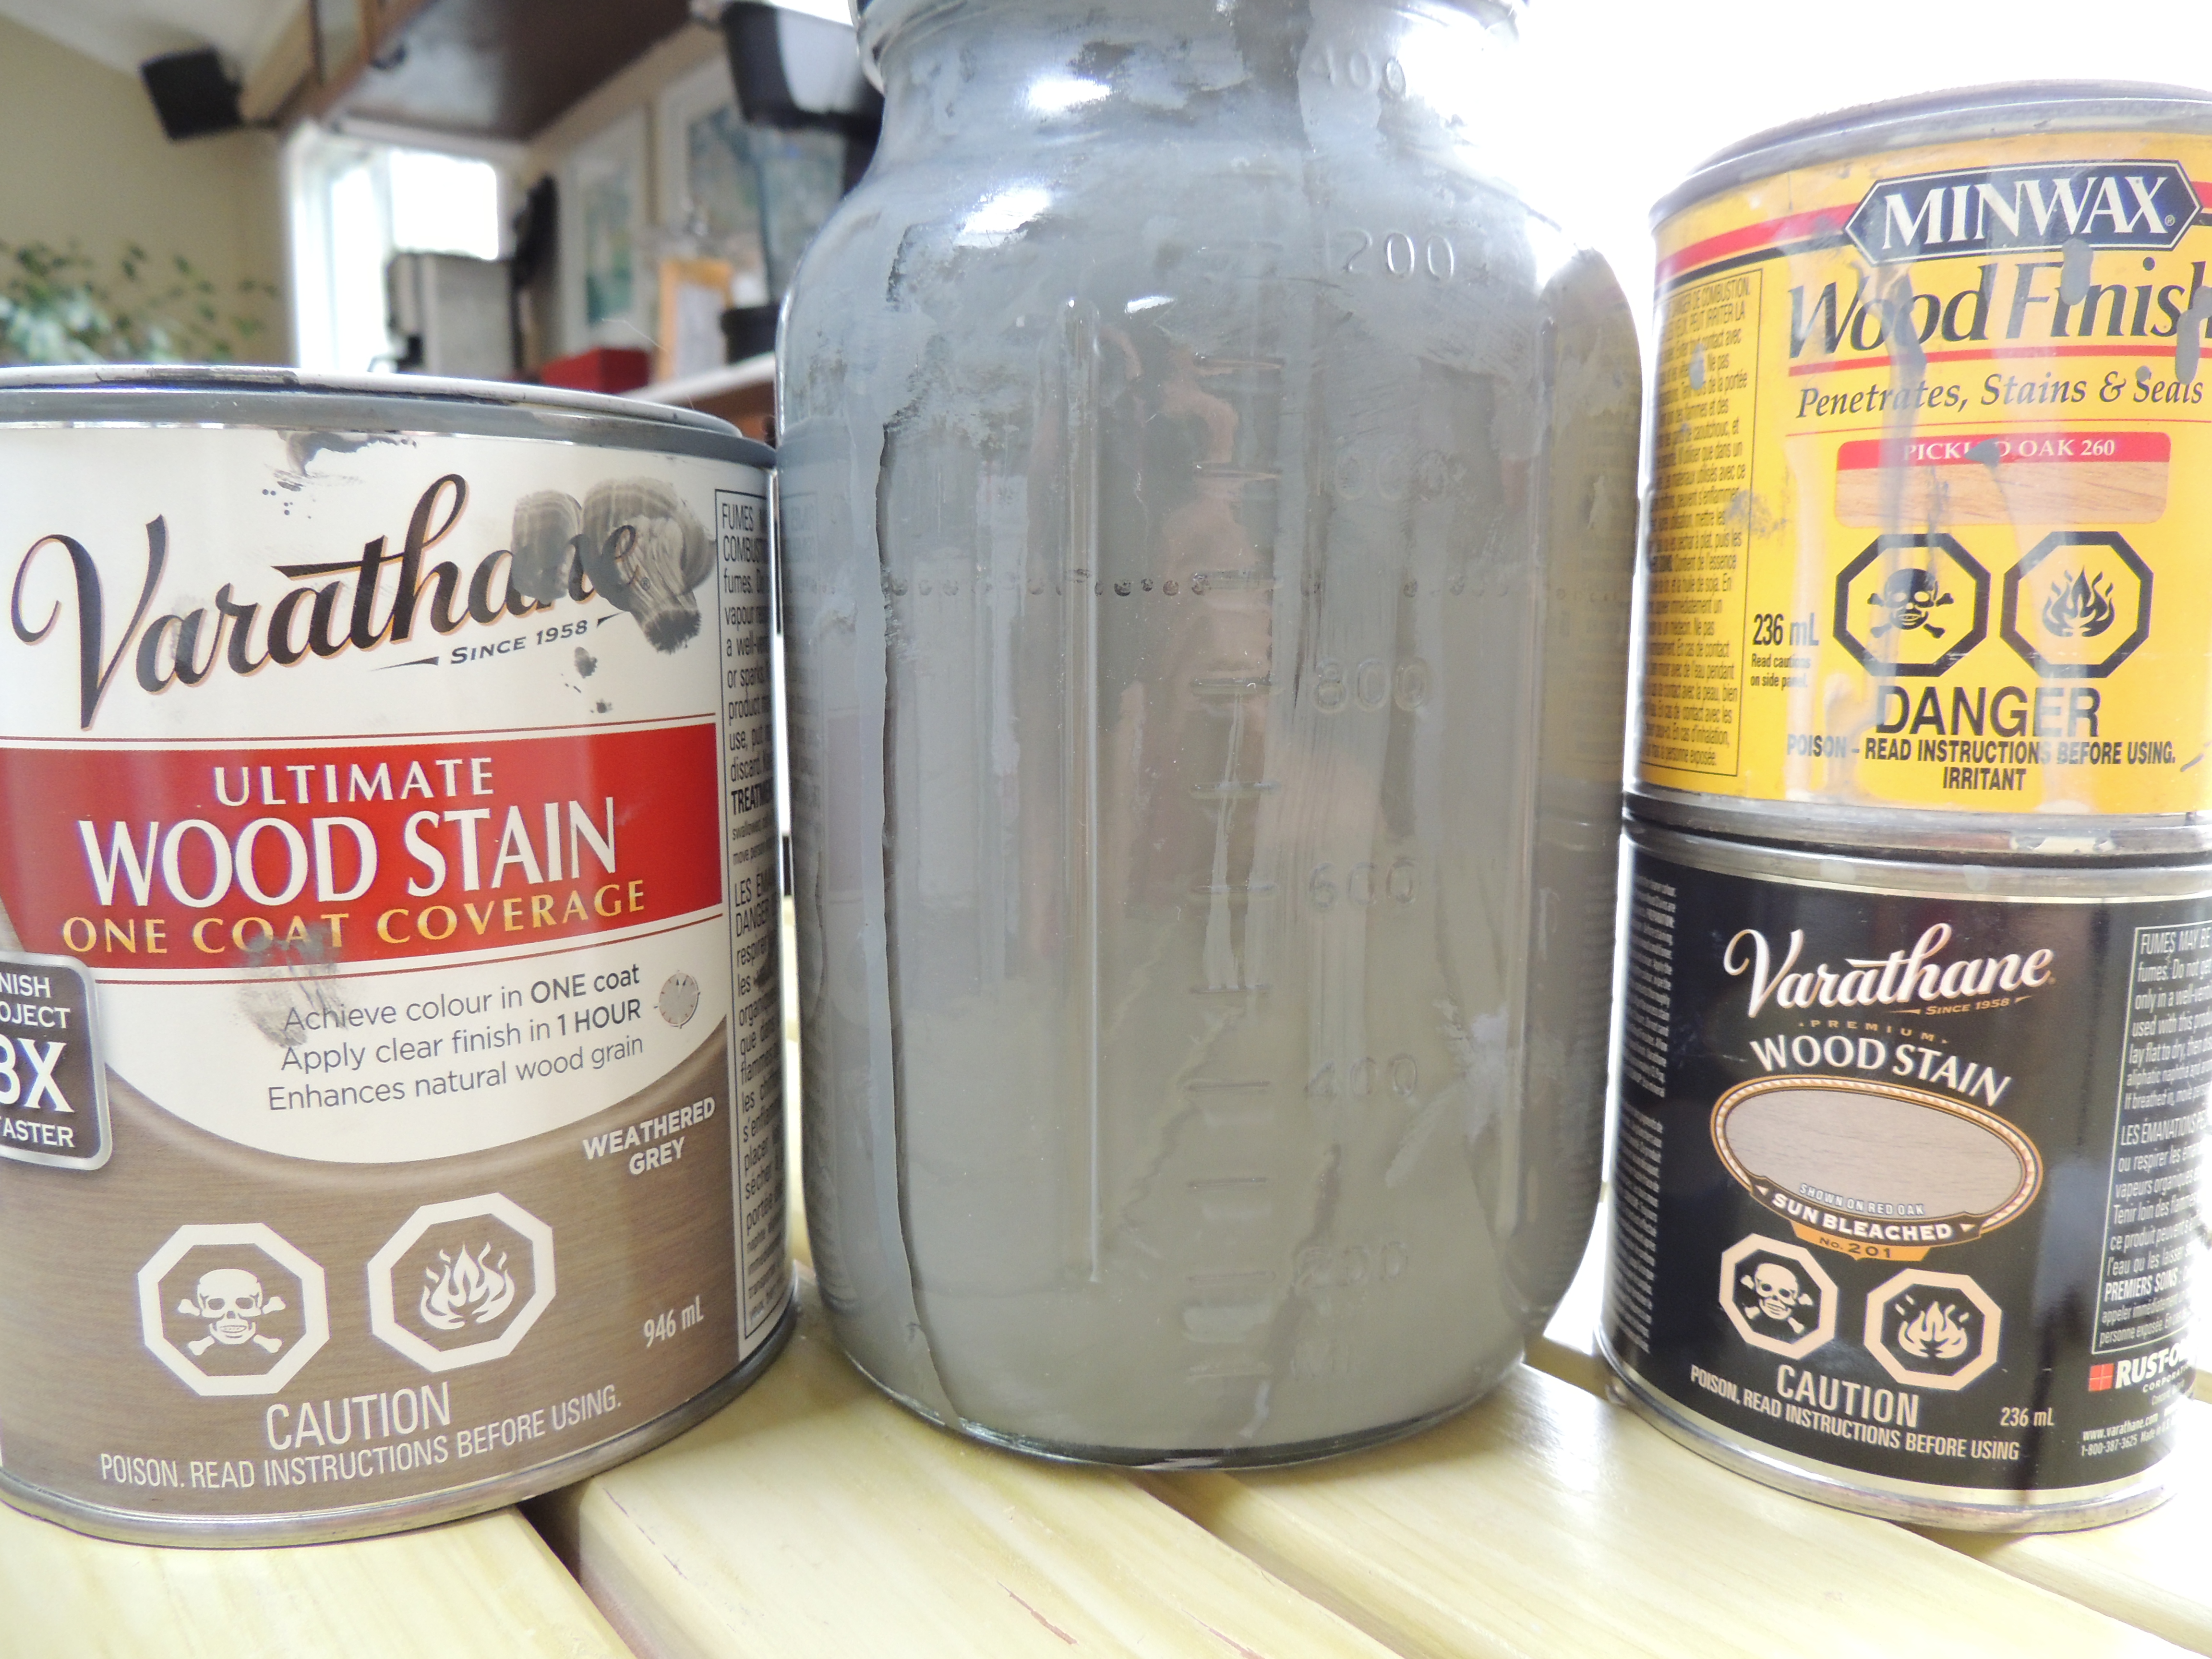
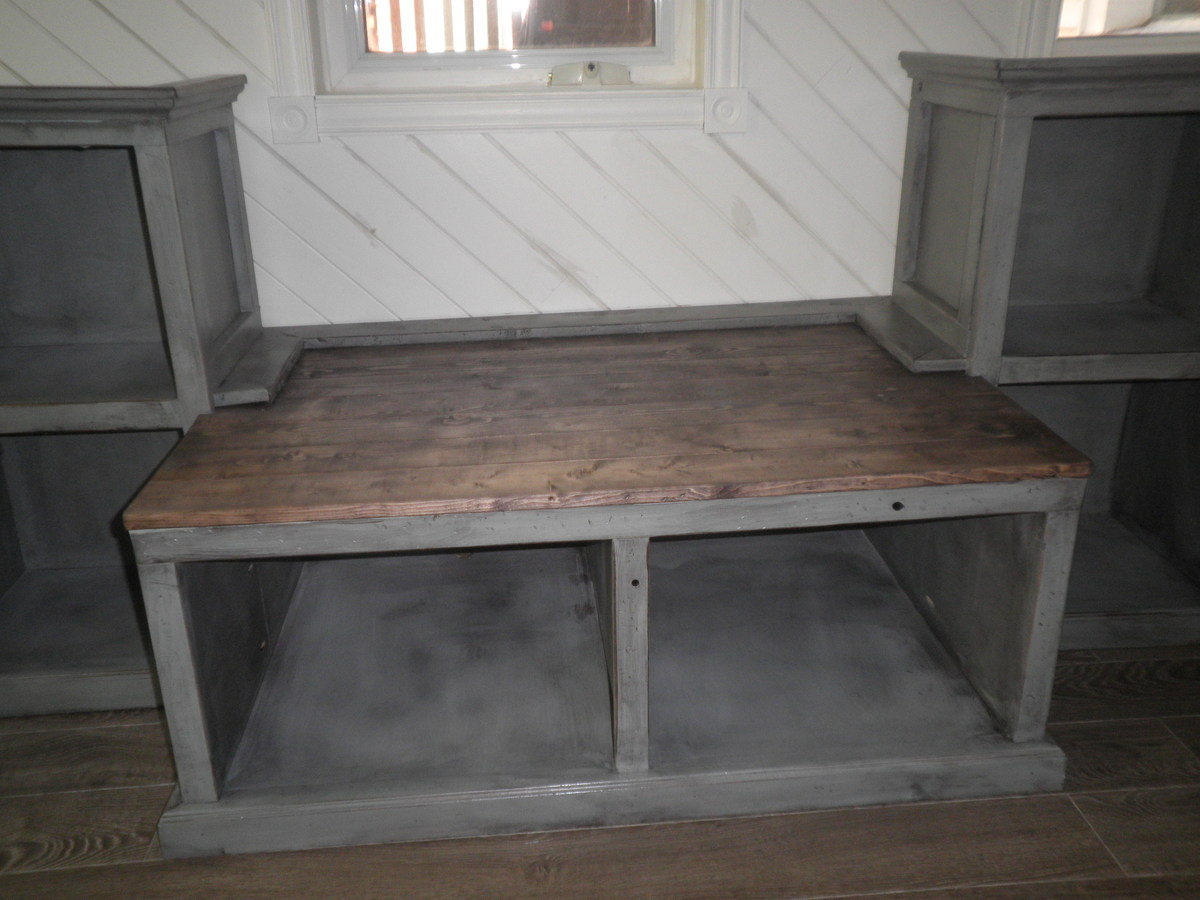
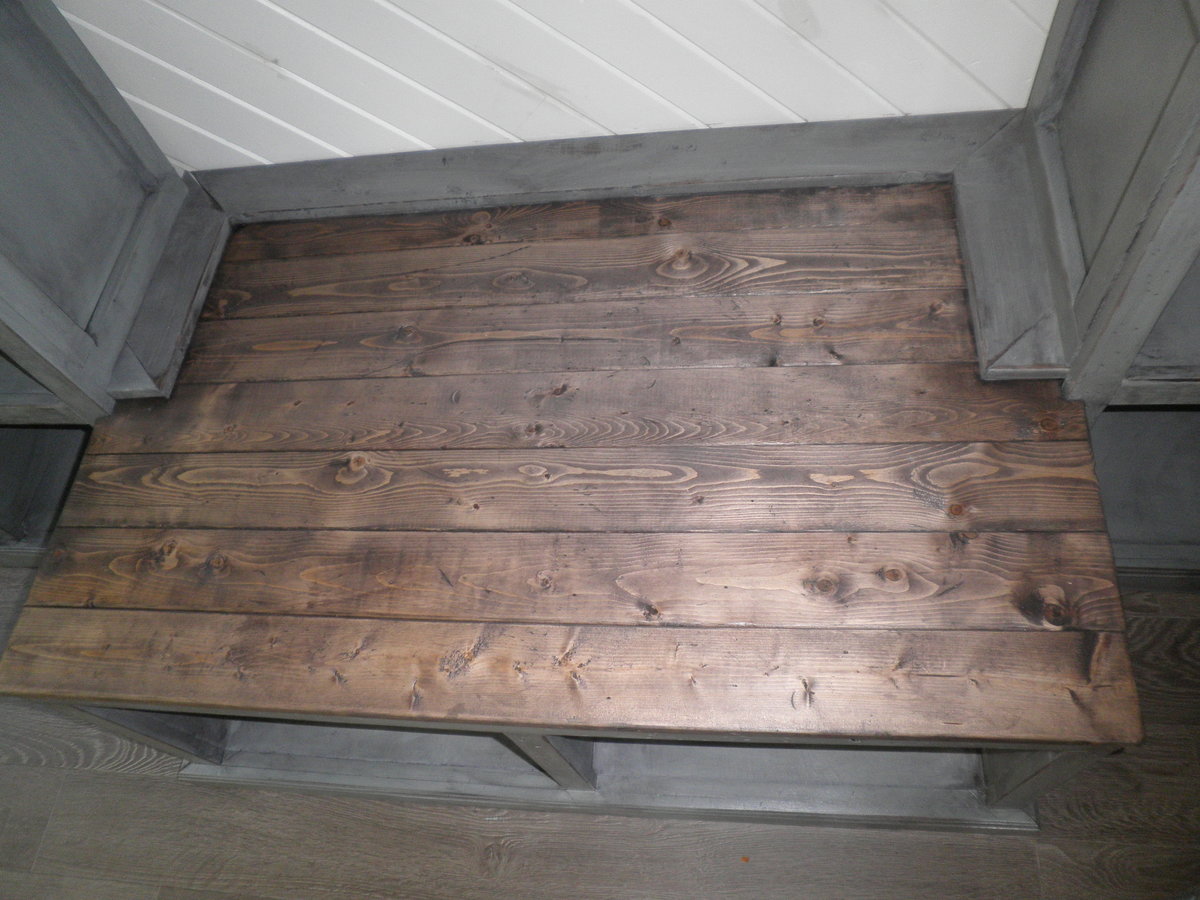
I ended up combining two of the different plans (Benchwright, Tryde) because I wanted something that matched my Hyde Pottery Barn coffee table but that had drawers. My console table only needed to be 44" wide, so I ended up removing the middle 2x4 that was part of the Benchwright plan. I also used 1x2s for the bottom shelf because it was over a vent, and I knew that I was going to be using baskets for storage down there. I also used actual drawer slides because I knew that my console table would be used pretty frequently. The hardest part of the whole table was installing the drawers and making sure they were sliding smoothly and that the front of the drawers were flush with the front of the console table. Favorite part of the entire plan was the planket top...I love how it turned out!


Comments
goose2
Thu, 02/23/2017 - 13:16
Beautiful!
This is exactly what I have been looking for! Are the legs made out of 4 x 4's?