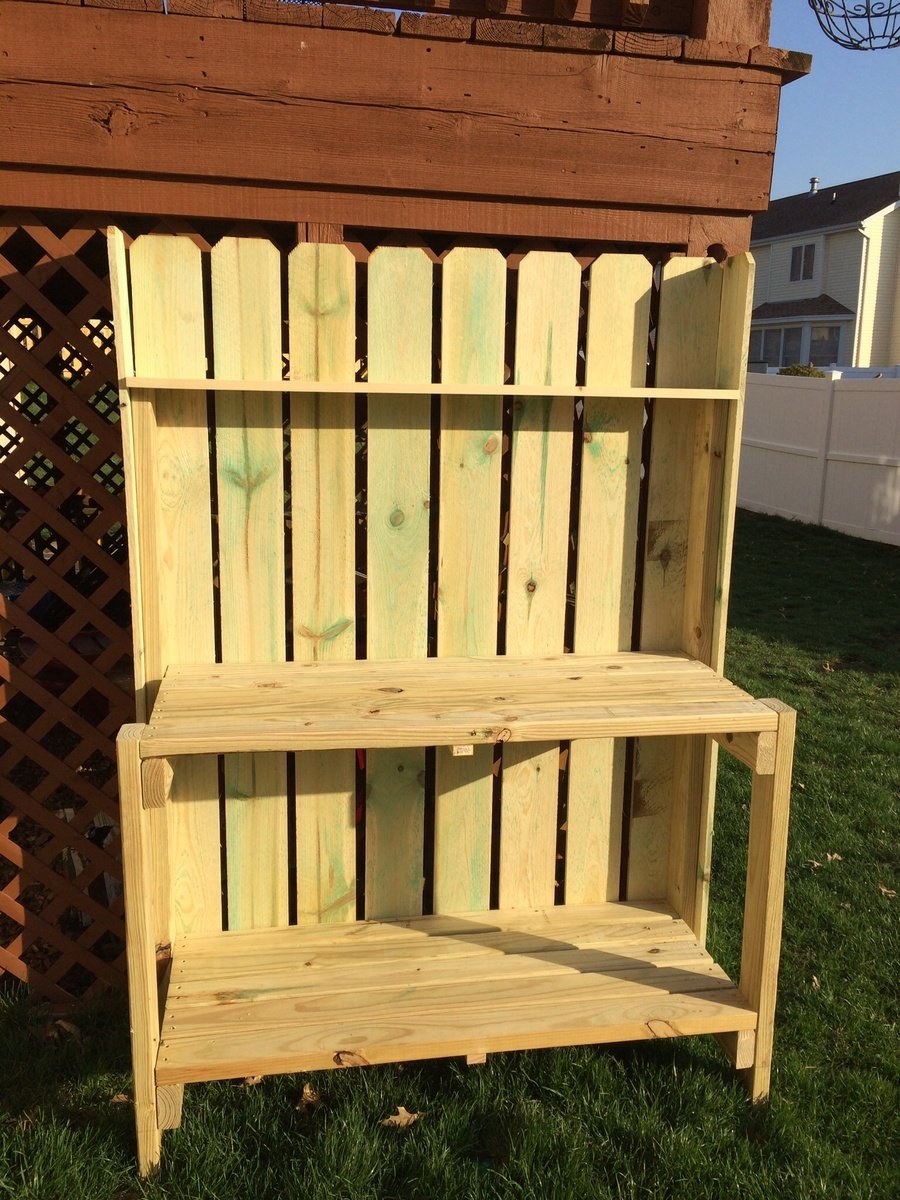
Cedar planter with trellis
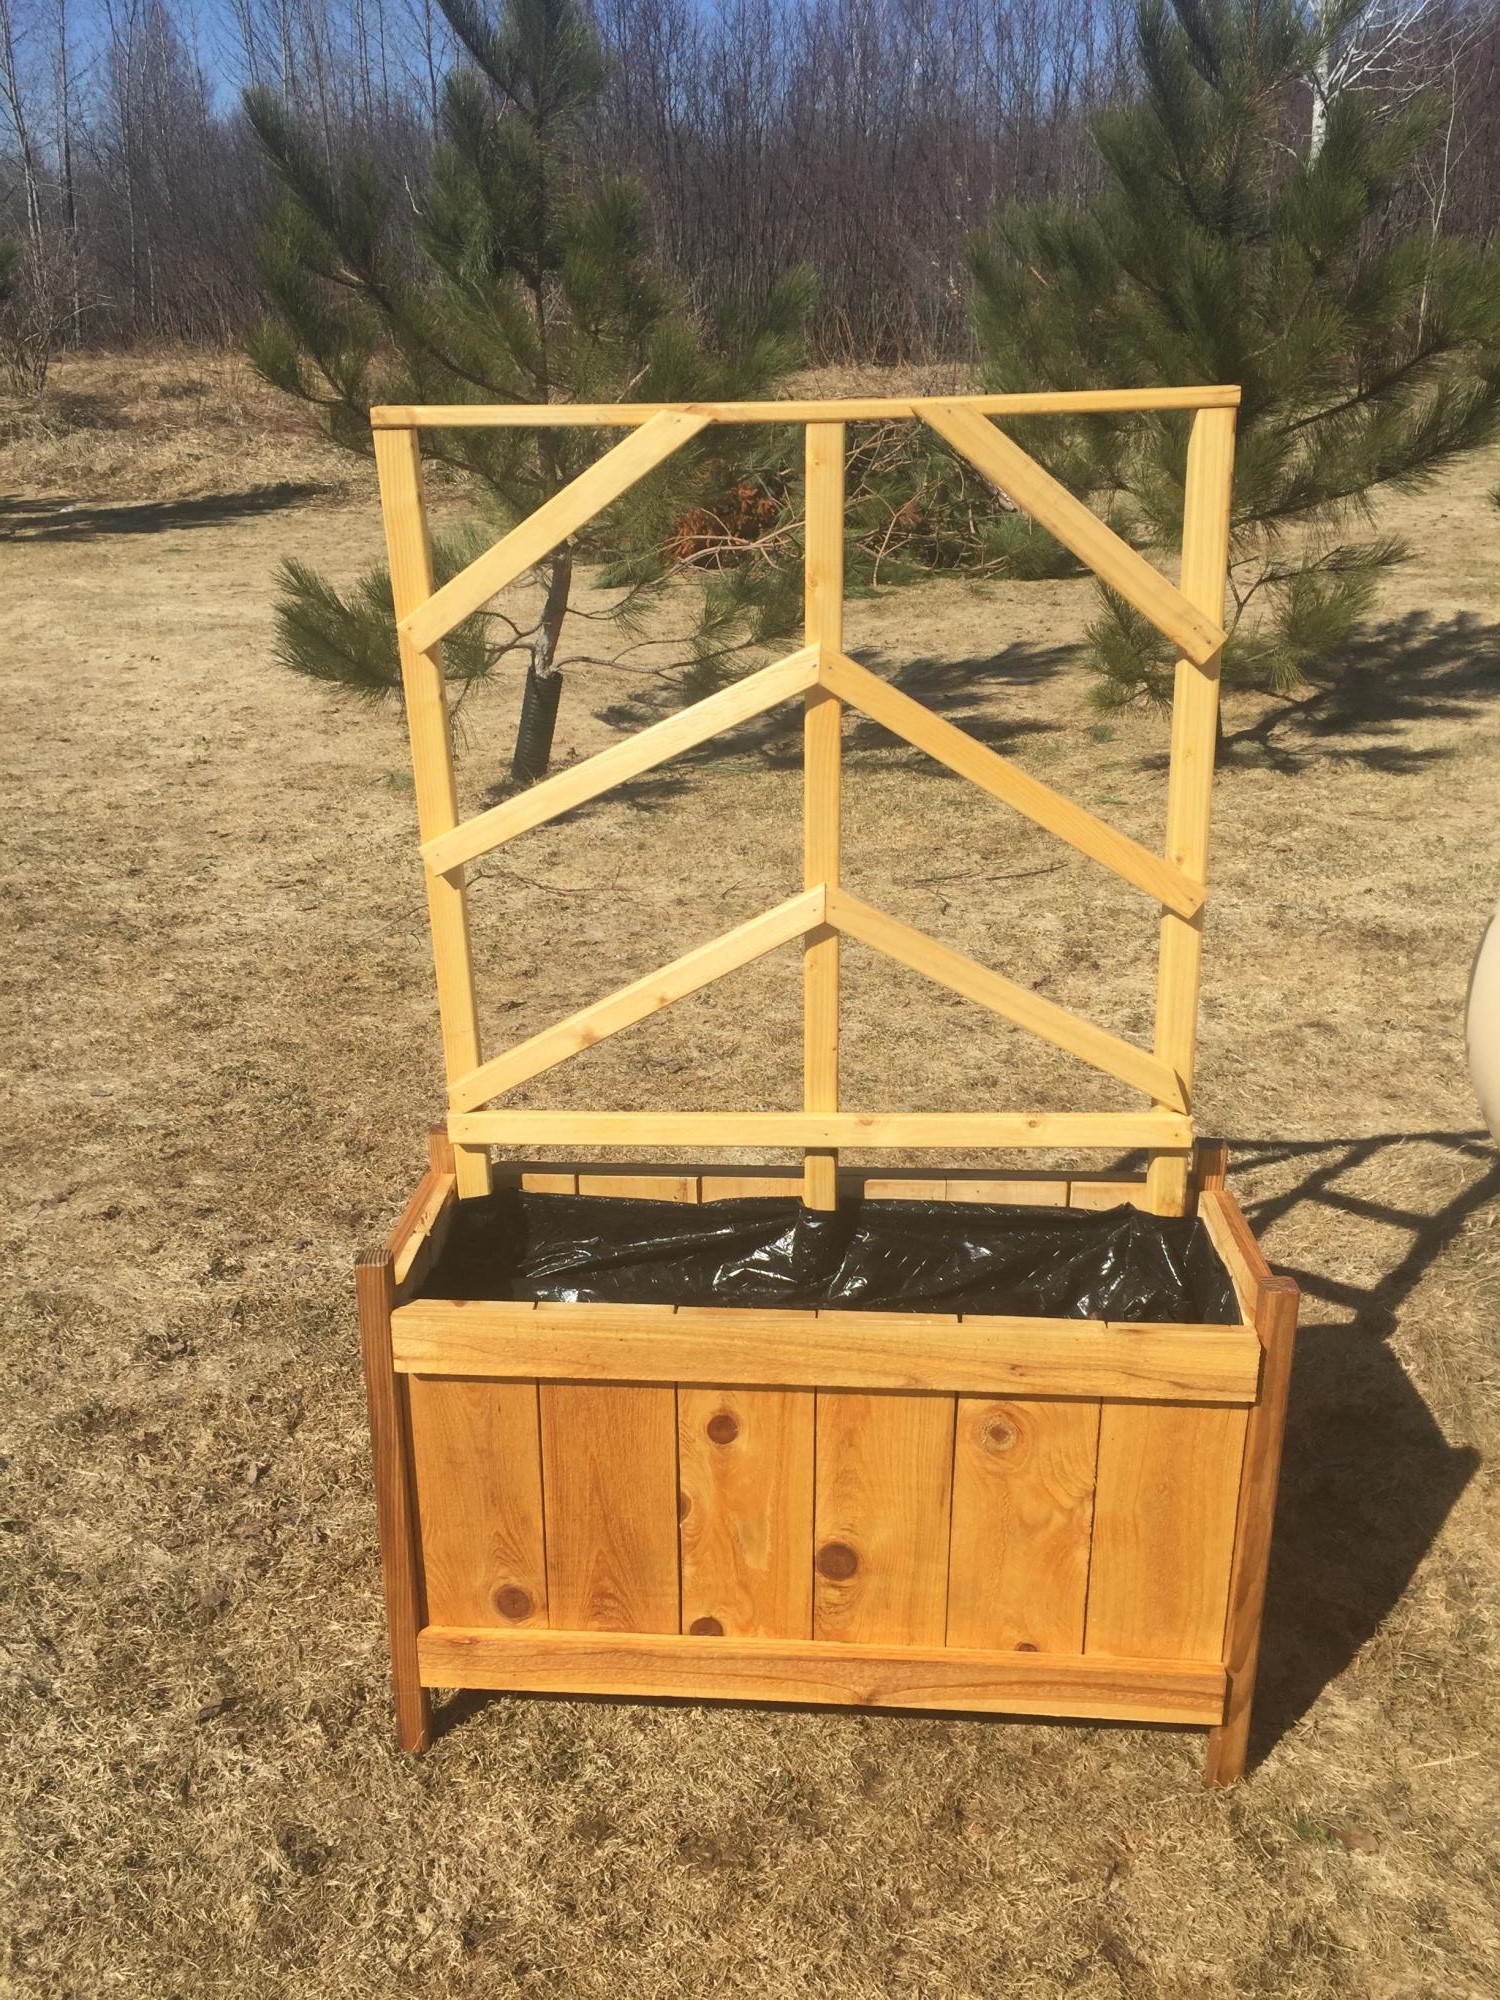
My first cedar planter with trellis. Fun and easy project. Using it in front of my propane tank to hide it.
Built from Plan(s)
Estimated Time Investment
Afternoon Project (3-6 Hours)
My first cedar planter with trellis. Fun and easy project. Using it in front of my propane tank to hide it.
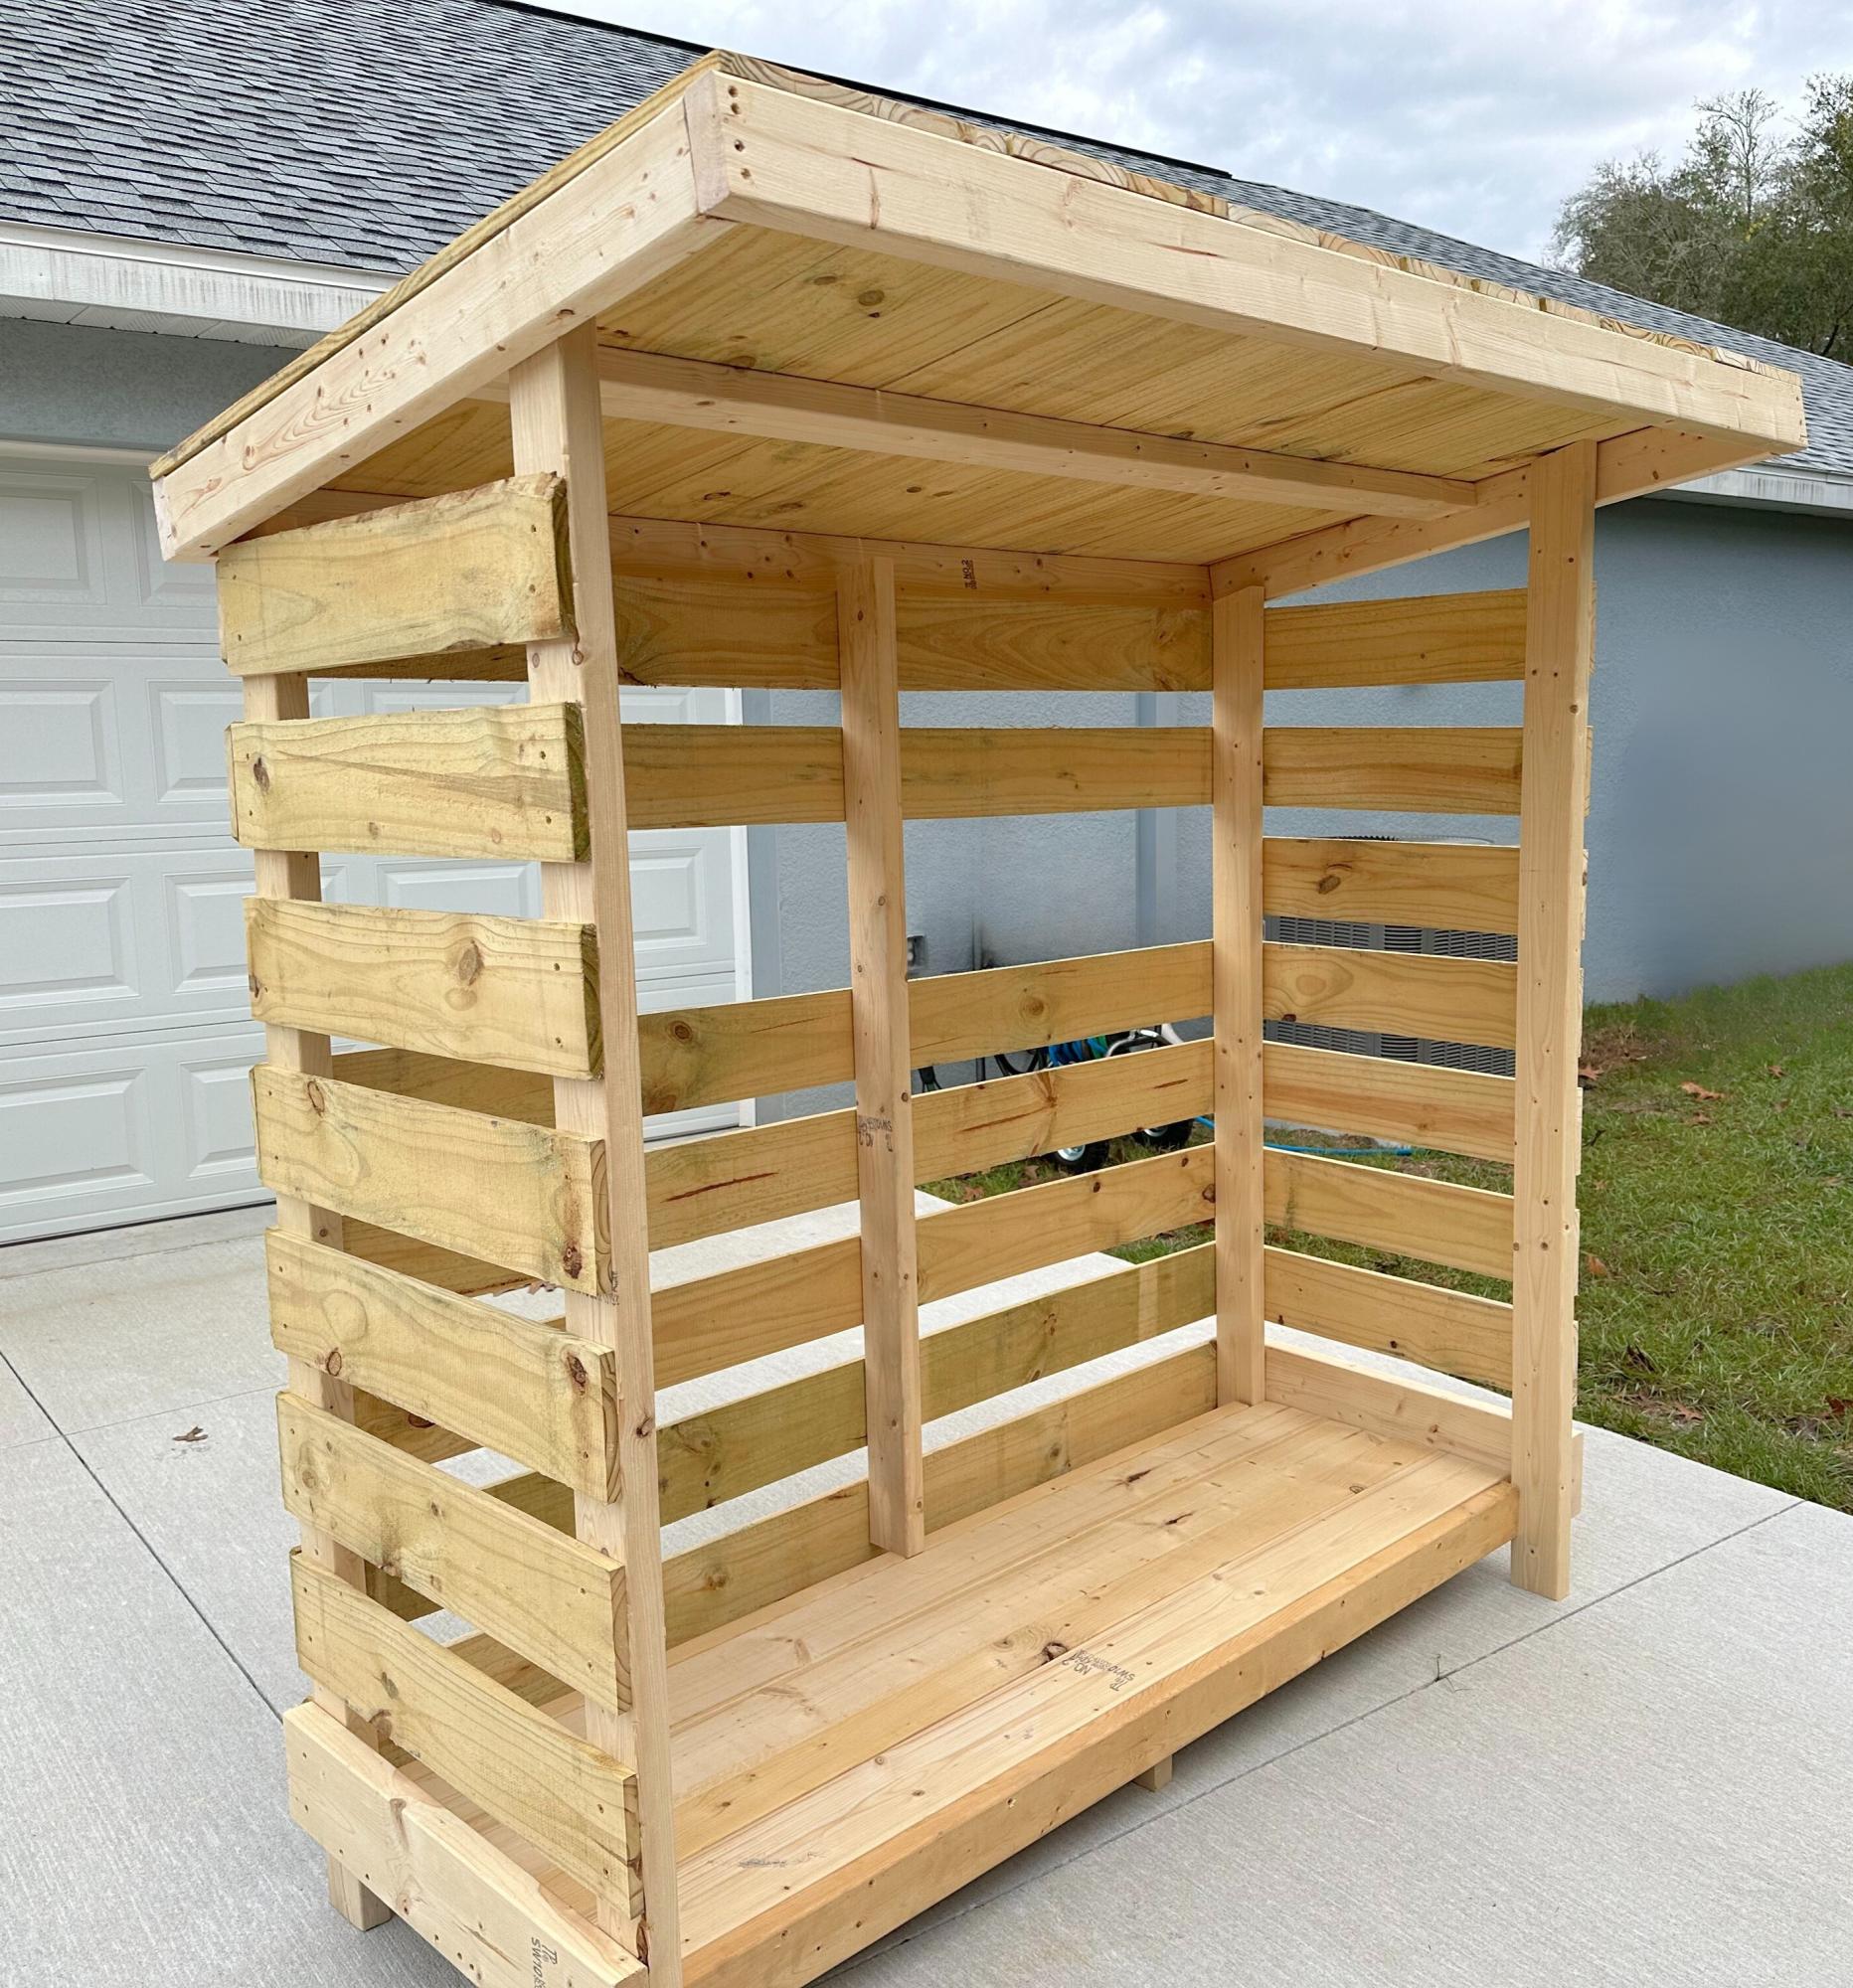
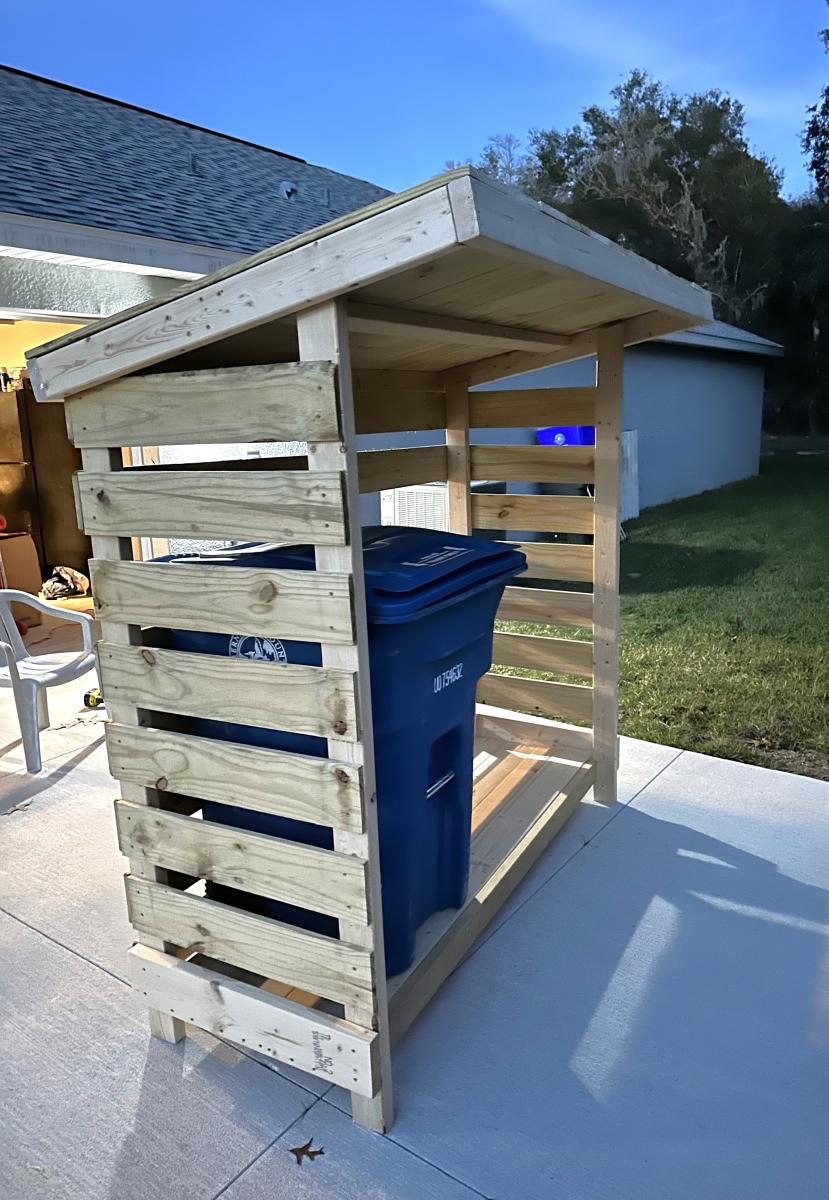
Chose the small firewood shed project as a "template" if you will .. built this to house our garbage cans and eventually put a gate on it to "help deter" the Florida black bears (we do multiple things to keep them at bay) but this will also just be a nicer looking way to keep the cans outside.
I modified the floor since the firewood shed had a floor that was suitable for, well, firewood but not so much for rolling garbage cans. Had to leave the one slat off the back for the depth of the can which I didn't completely account for in the beginning. Overall, still need to paint it and water seal it but happy with how it turned out.
This was a pretty quick and easy project. My third one from this site, as well as being my third one ever. We rented a mitre saw to cut the wood (and cut wood for a few more projects we had on the go at the same time), and then it was just a matter of staining it and putting it together. The staining and waiting for it to dry actually took a couple of weeks, mostly because we don't have a lot of room to do that, so couldn't do it all at once, and it wouldn't stop raining. Once we actually had that done, drilling and assembling only took 2-3 hours at most. (Maybe even less, but hard to judge as I had two children helping the whole time.)
I've put a video of it in use on my blog as well. :)
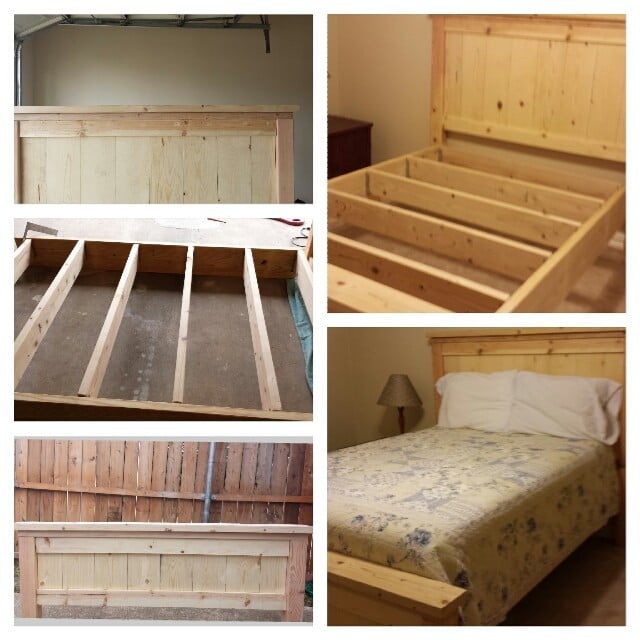
Day one...Two of us making cuts and starting headboard and footboard.
Day two...Working solo, had to get creative in order to add posts and 24 and 26 to top of headboard. Sanding and staining complete.
Day three...Two of us again. Built frame and added slats using decking brackets rather than screws for ease in disassembly. Attached headboard and rails with bolts.
Only issue not specified in plans was how to attach frame to footboard. But we made it work.
Thanks, Ana!!
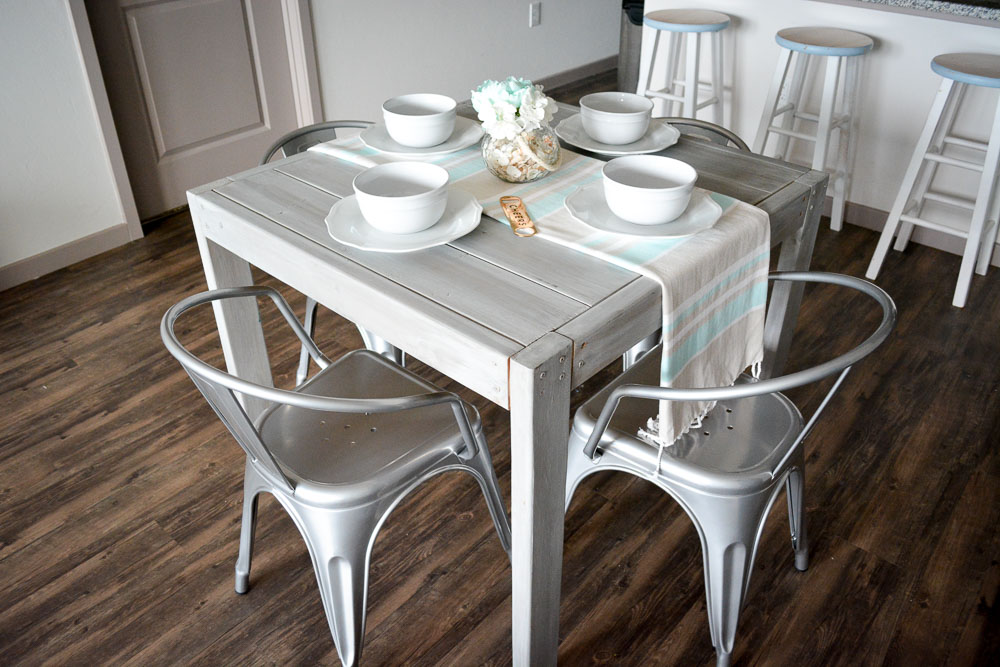
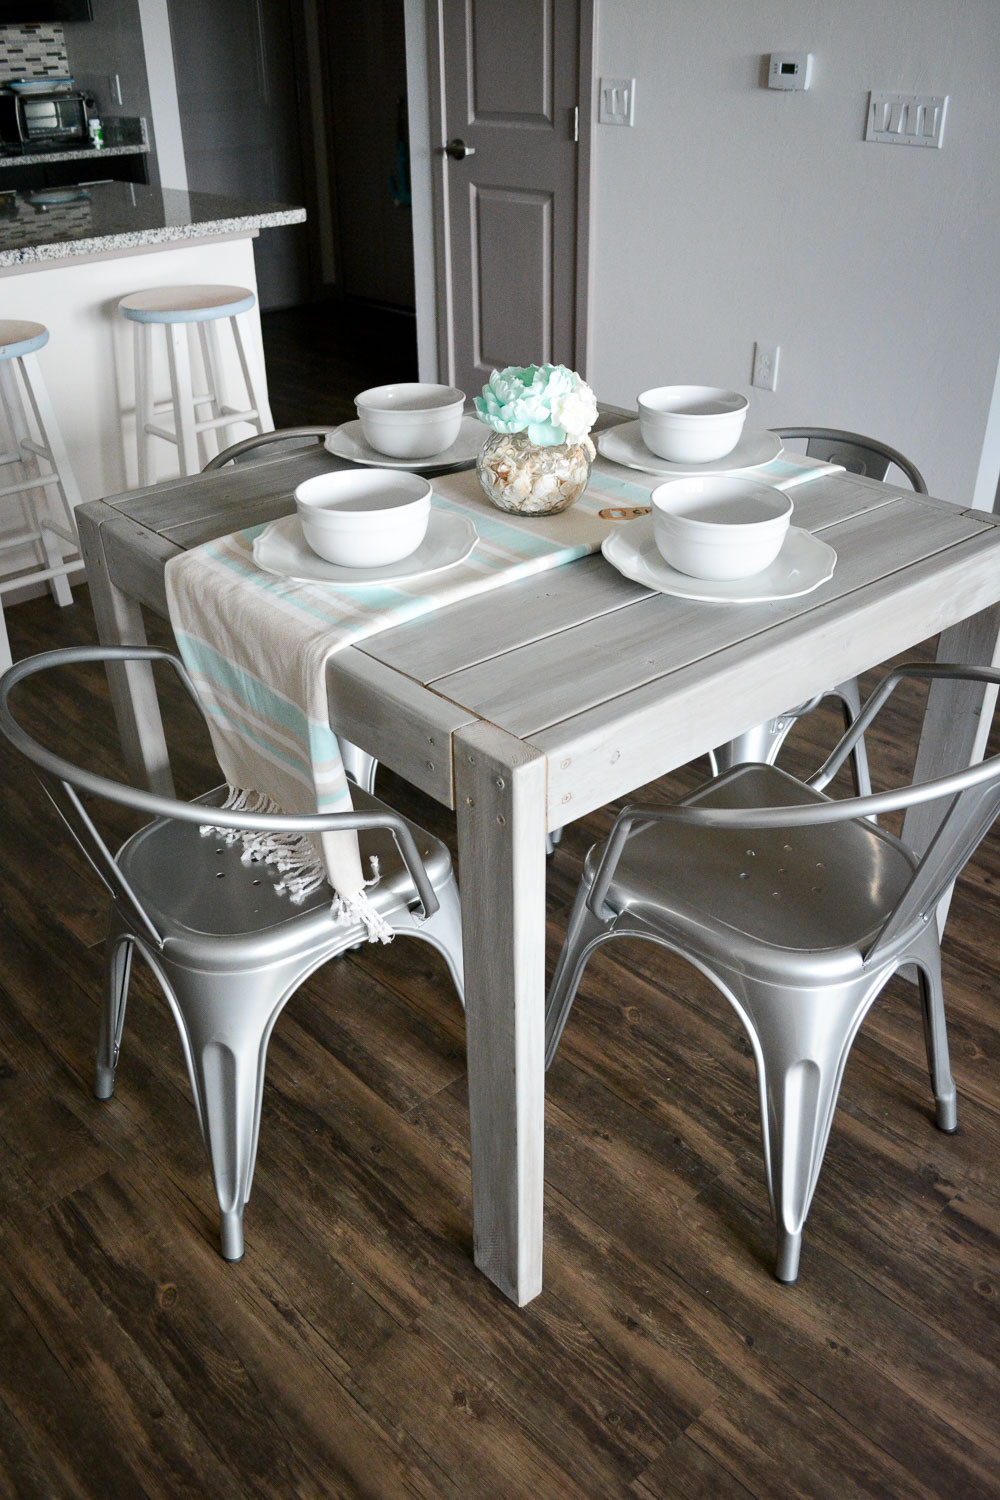
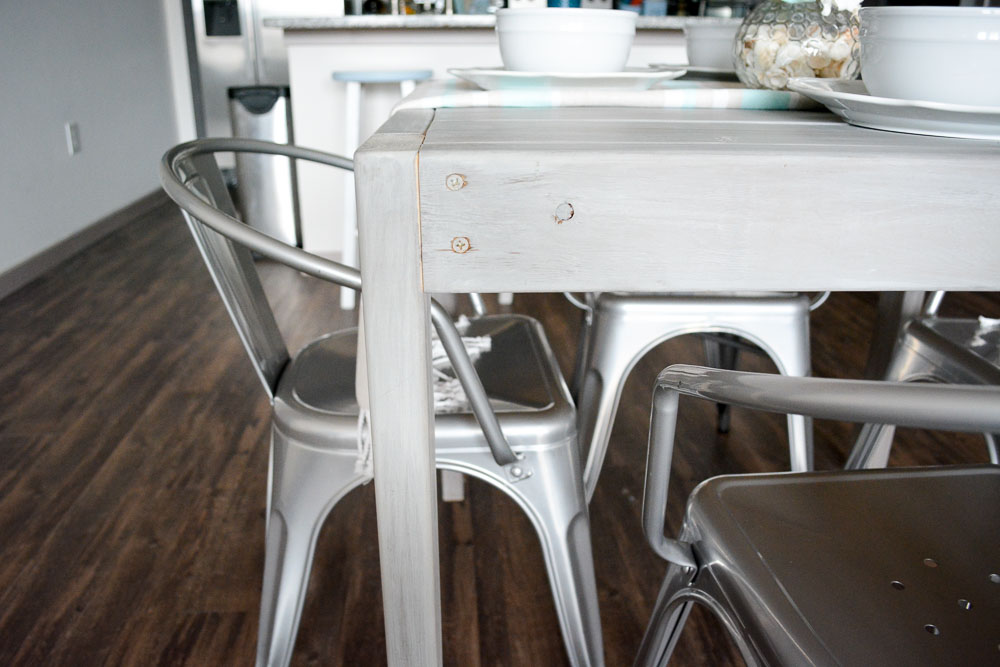
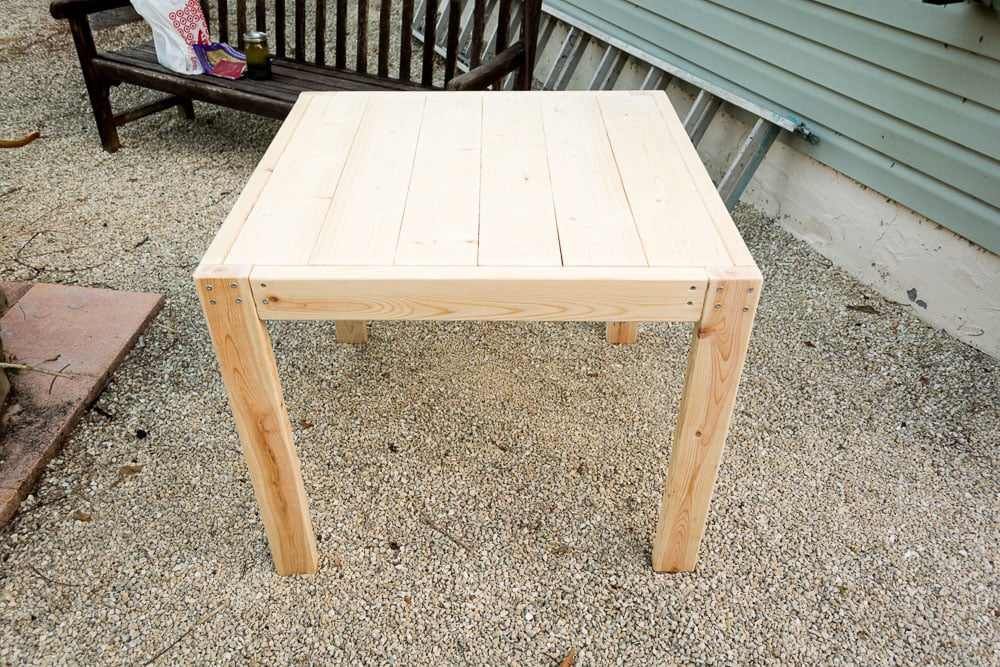
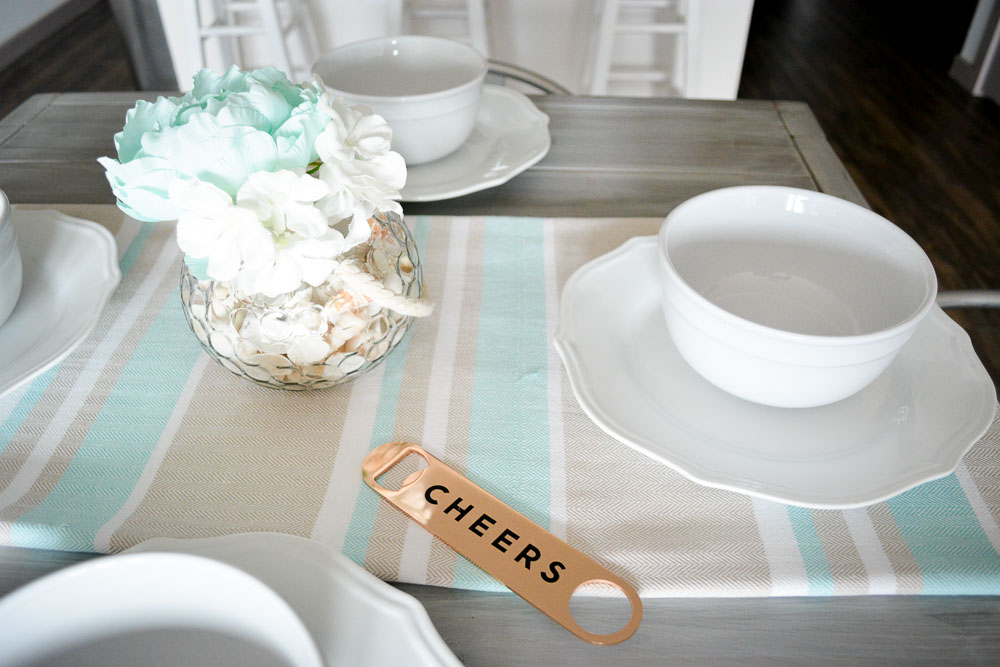
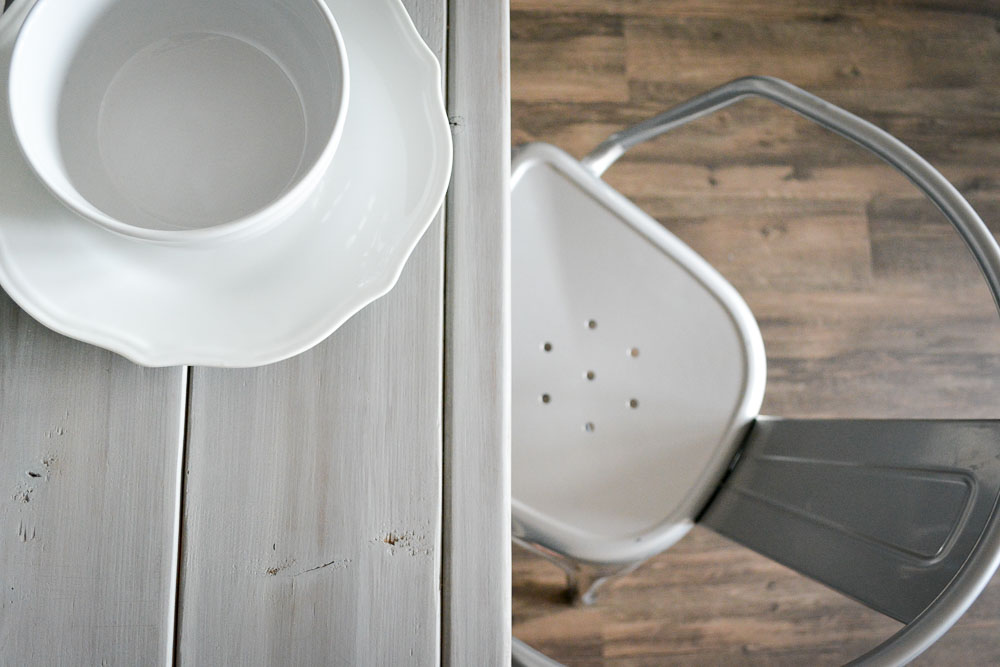
This is my sqaure farmhouse style dining table. It is so easy to make! An important tip is to get good pieces of wood. You don't want any bowing or else it won't be perfectly level. To see more photos and tips, go to SweetTeal.com/diy-farmhouse-table.
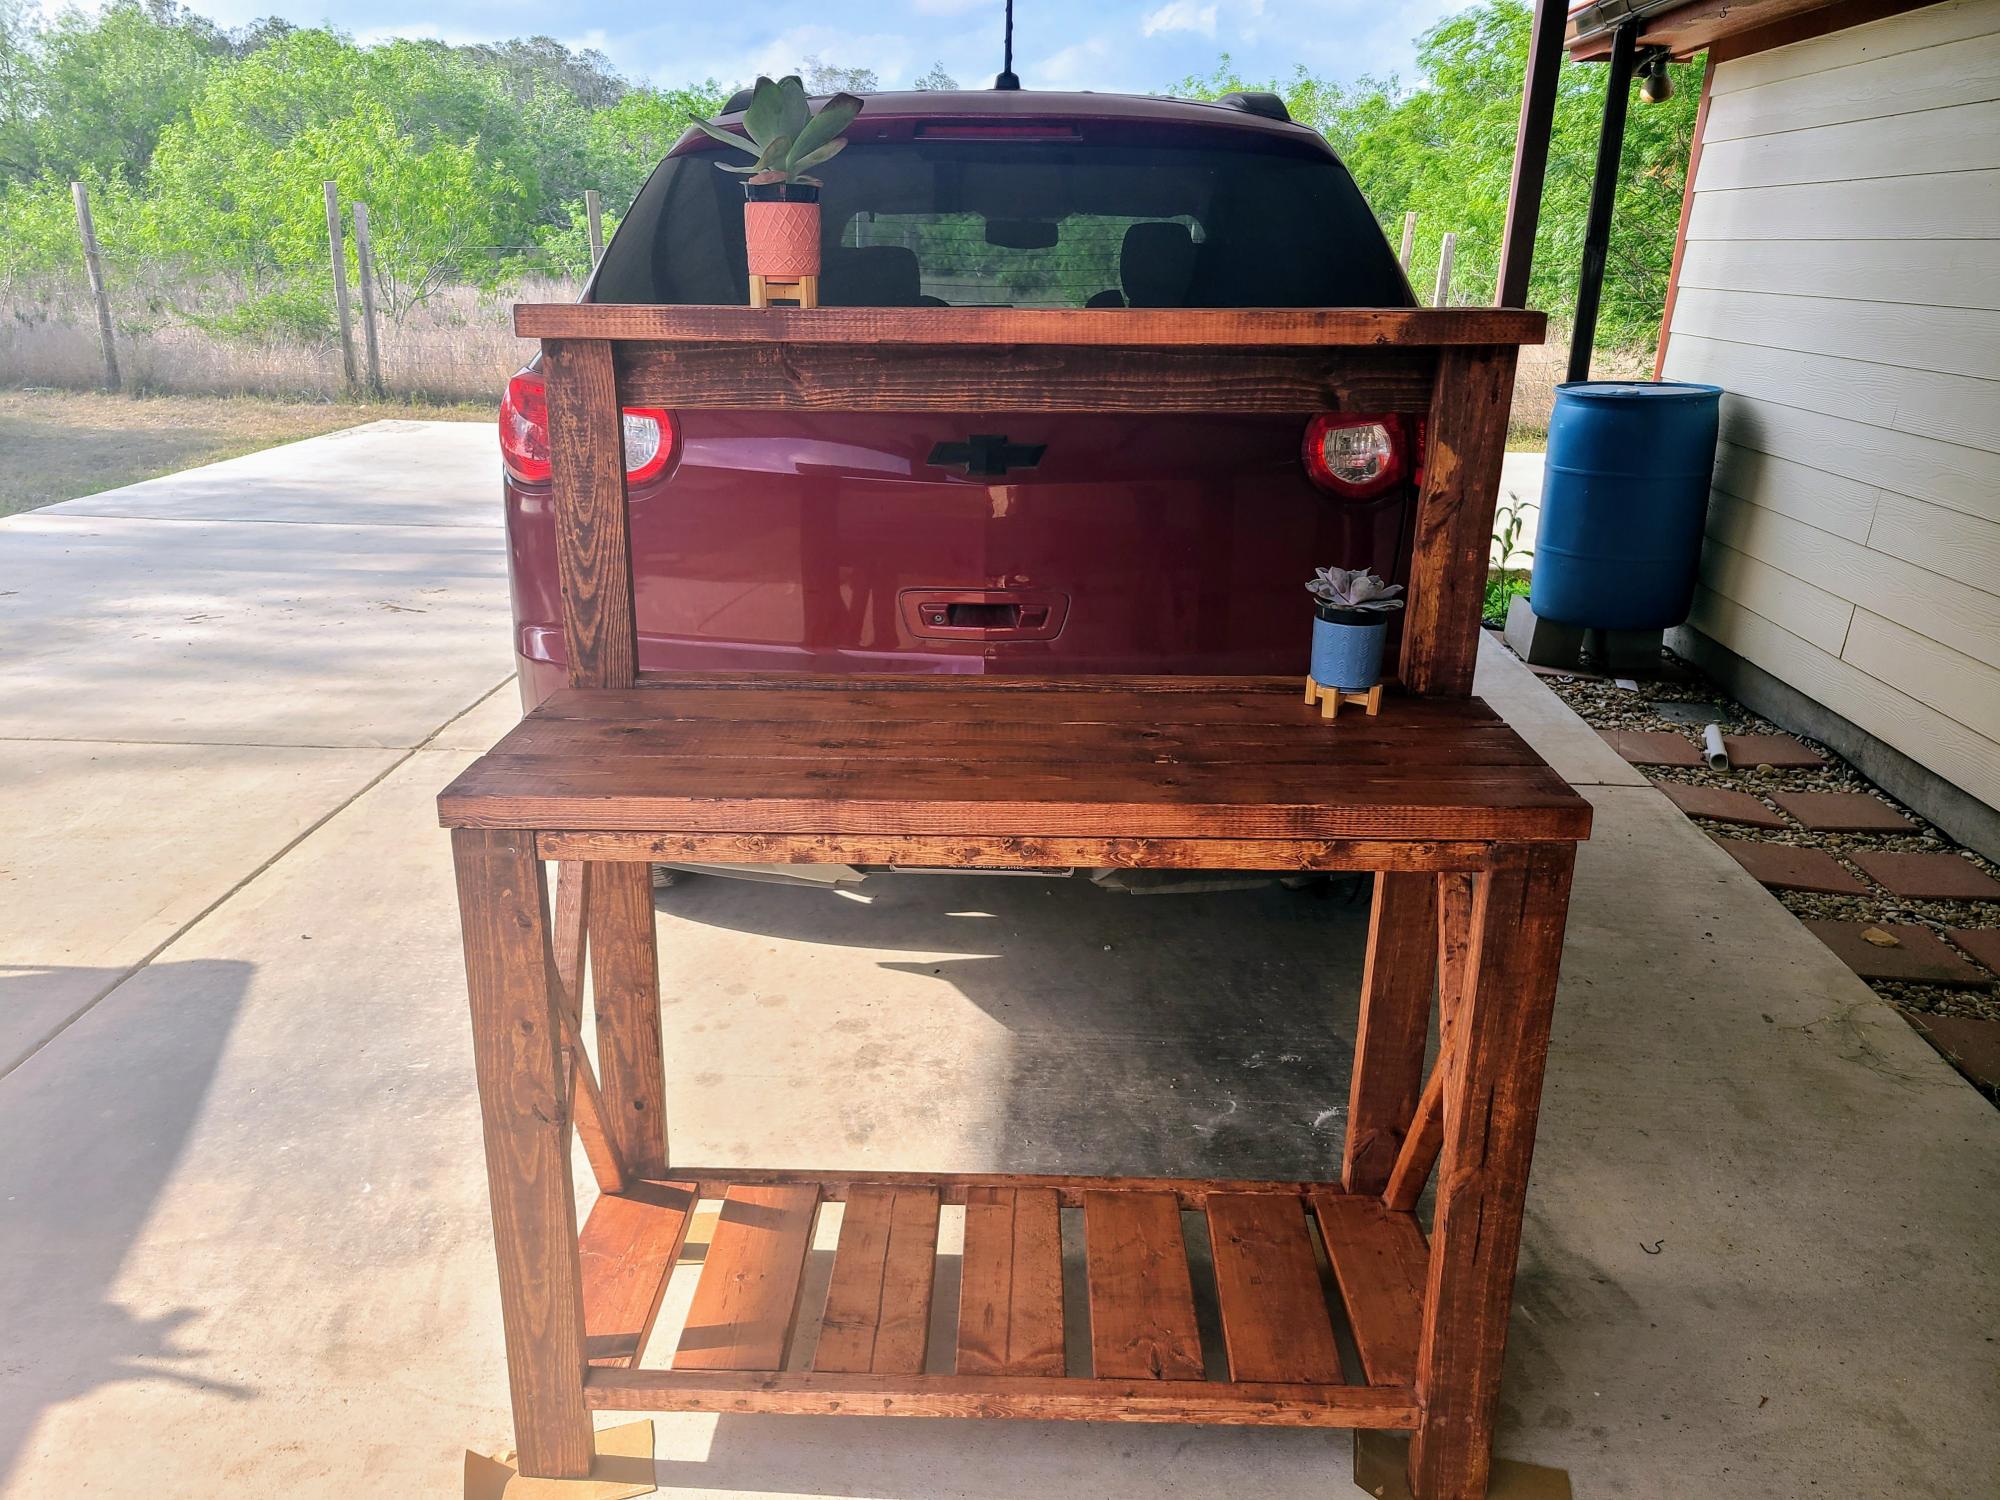
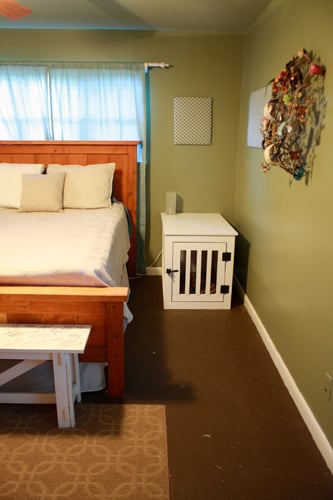
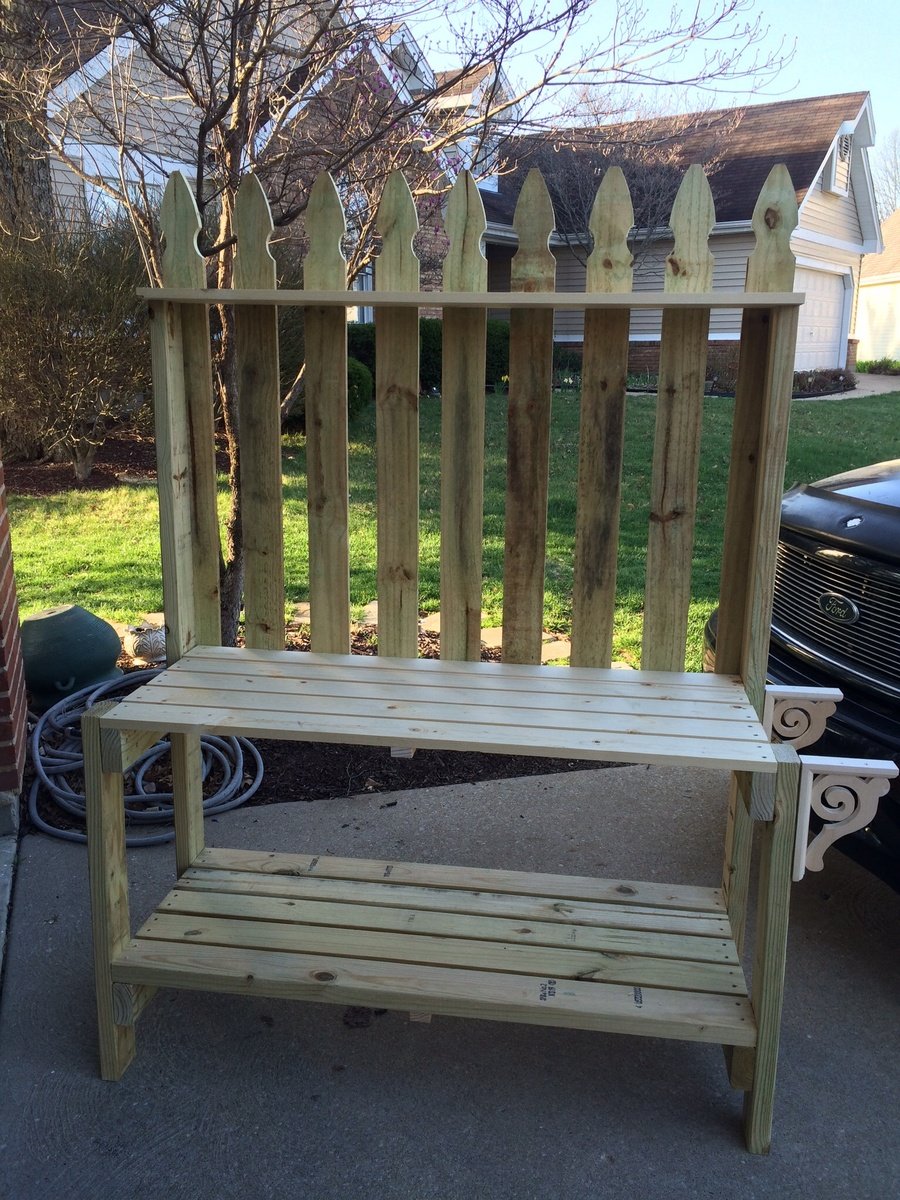
My husband and I decided to turn this potting bench into an indoor coffee bar. Great project for first timers, like myself. 😊
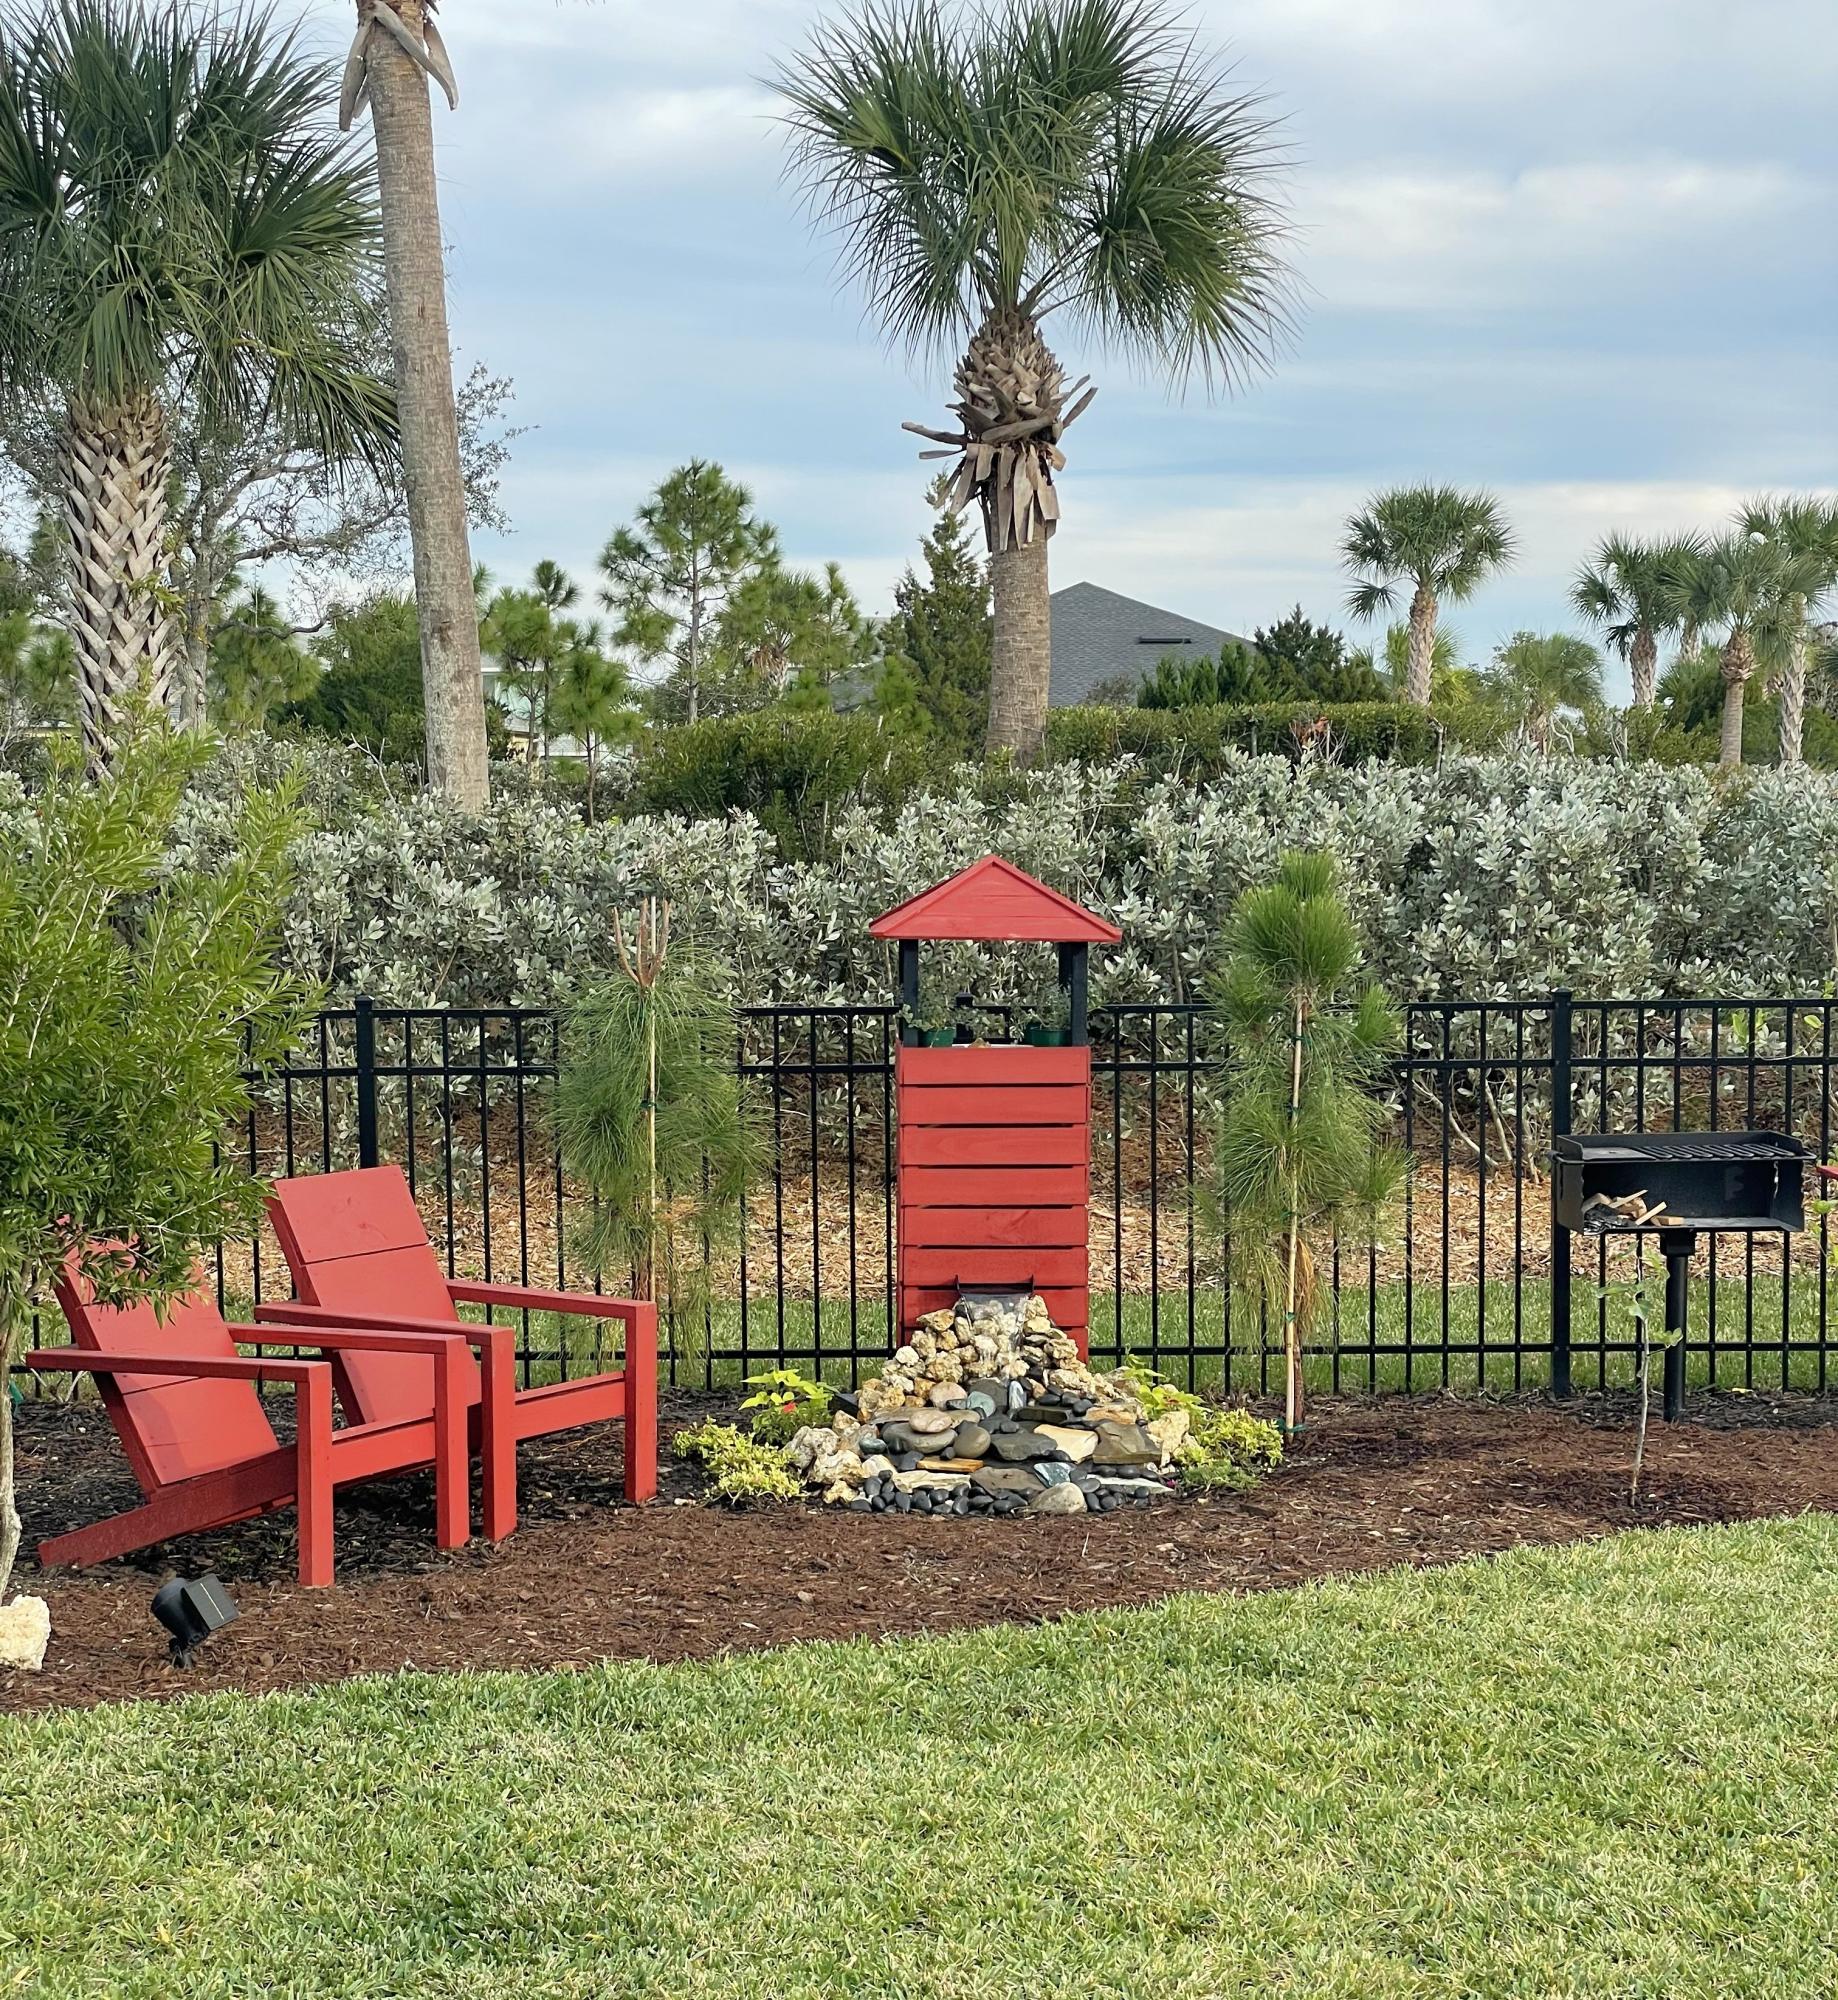
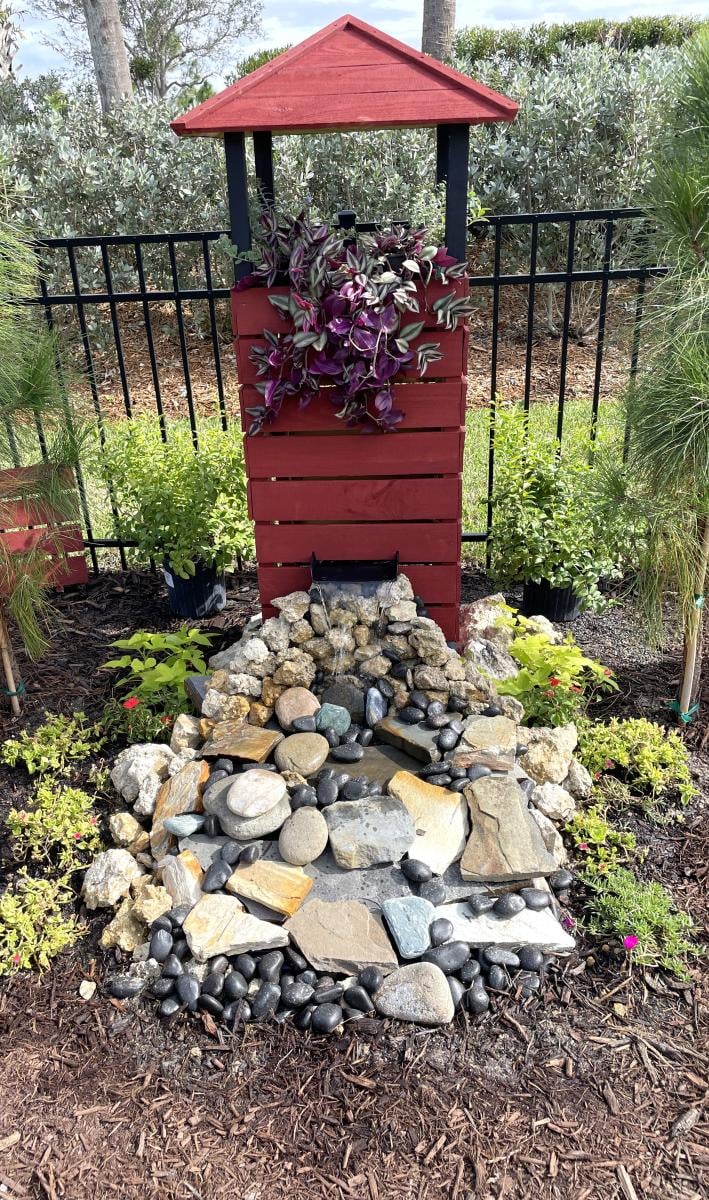
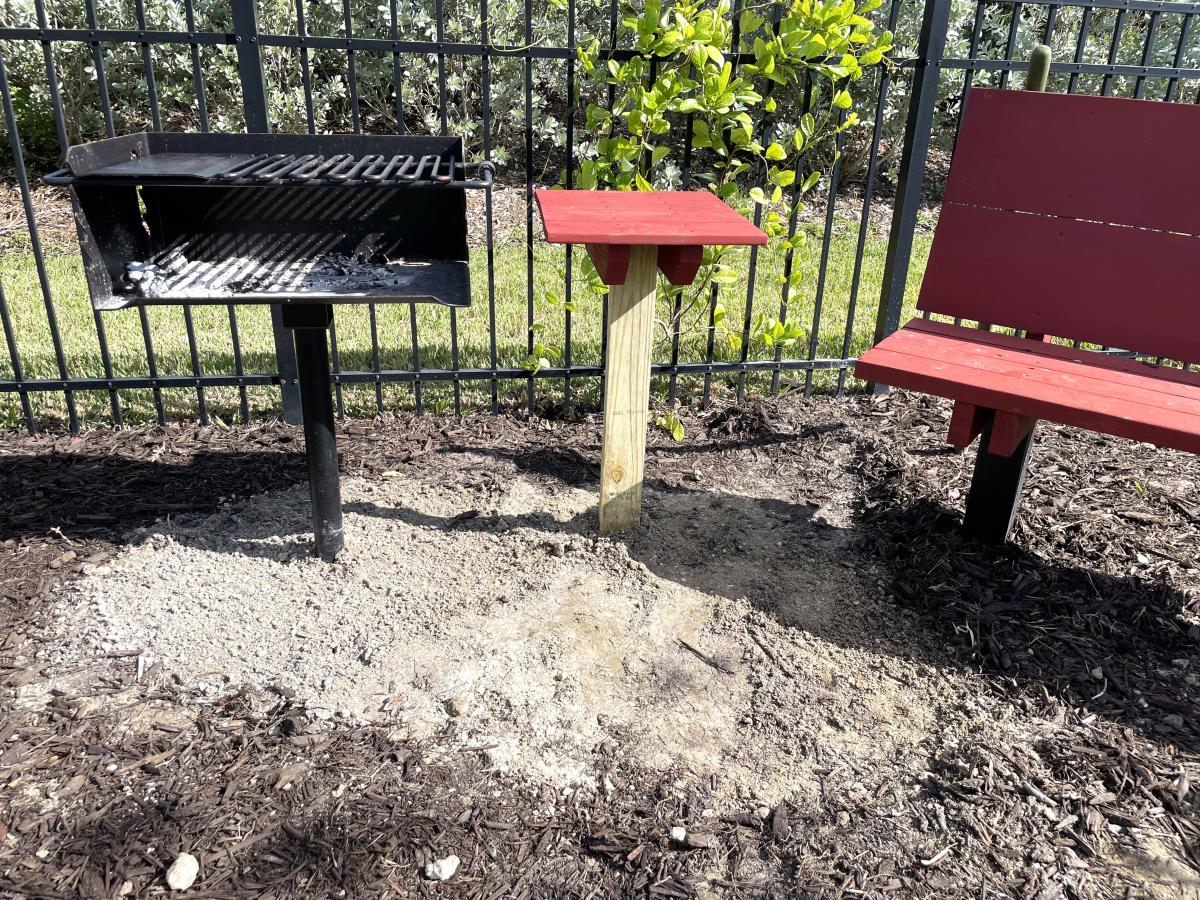
Ana, I want to say how inspirational you have been to me over some years. I think my first project found on your website was a chicken coop. More recently I have built the large garage workbench system with 2 rollout workbench/storage units (still in progress). In the past few weeks I have built the Adirondack chairs. The Adirondack chairs spurred me to continue building a “park like” setting in my small backyard. This includes a park bench (to match the Adirondack chairs), a park style grill, and a water fall. The waterfall is fairly simple (now that I have done it once - ha).
Ken Moody - Babcock Ranch, Florida


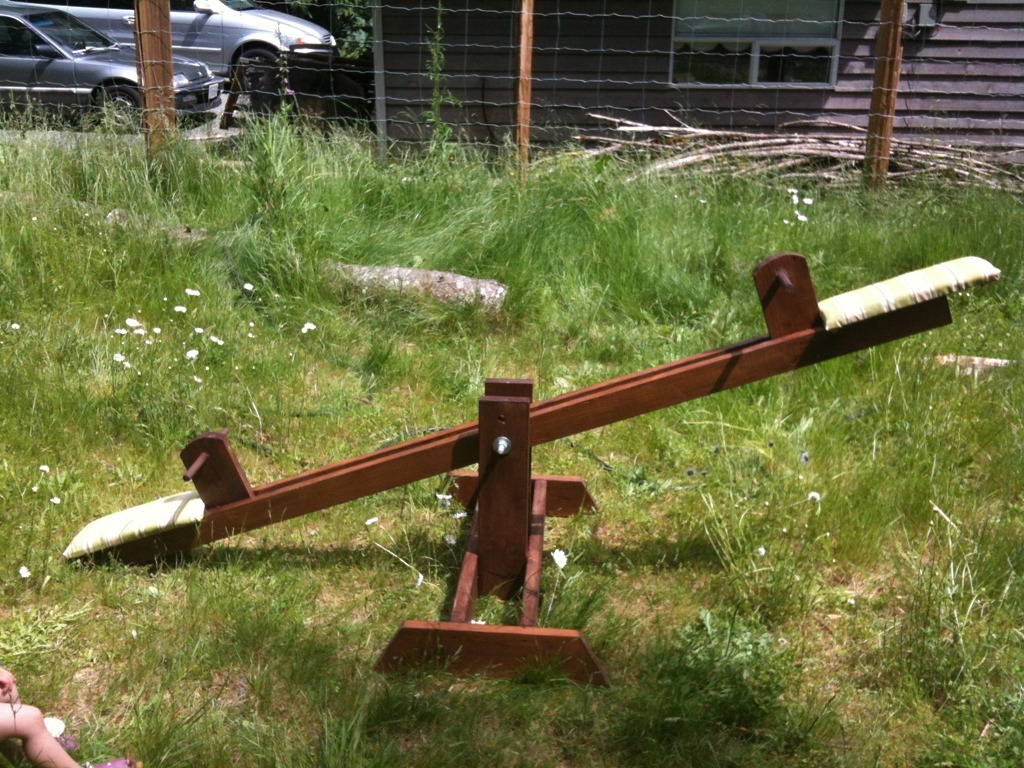
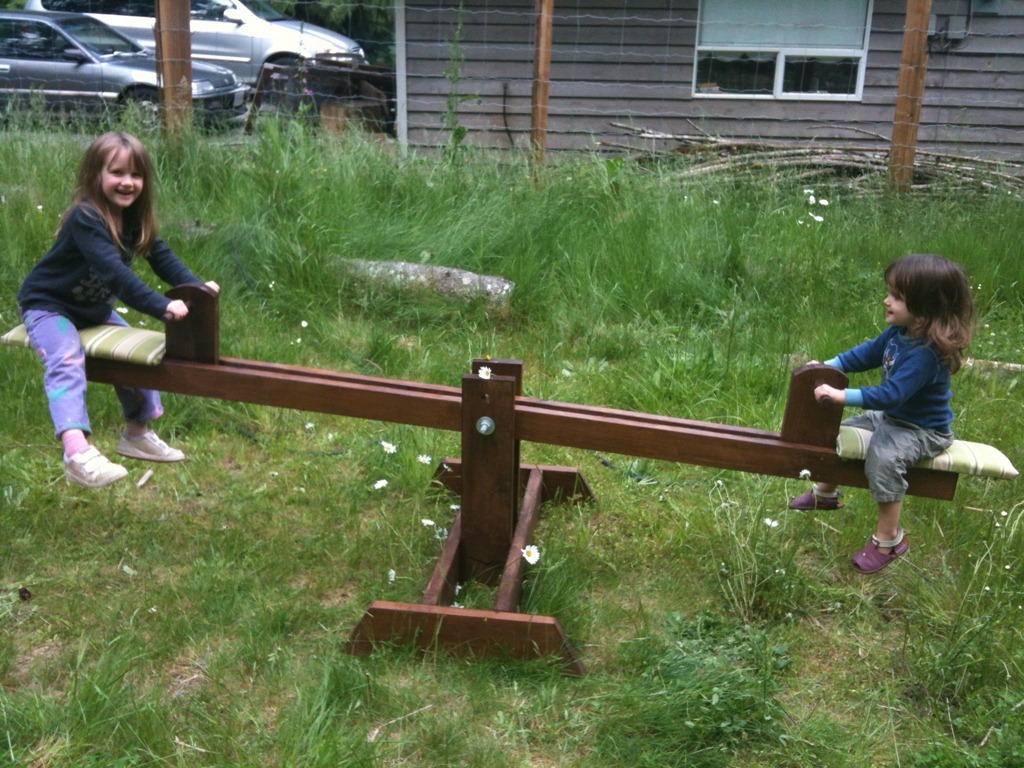
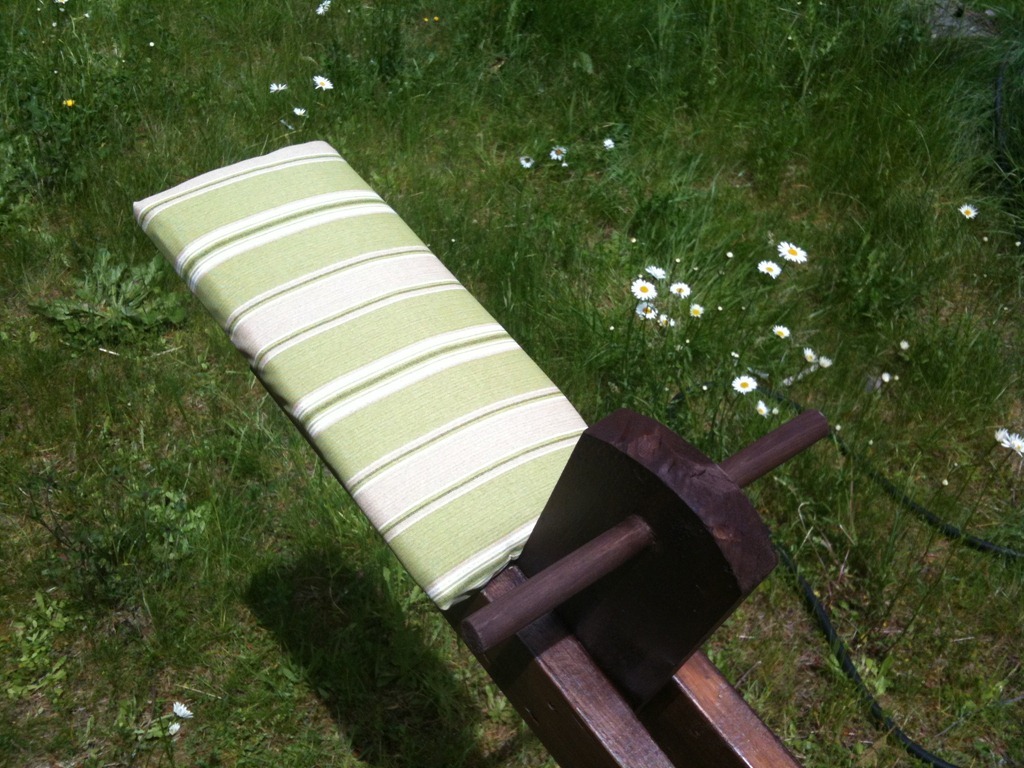
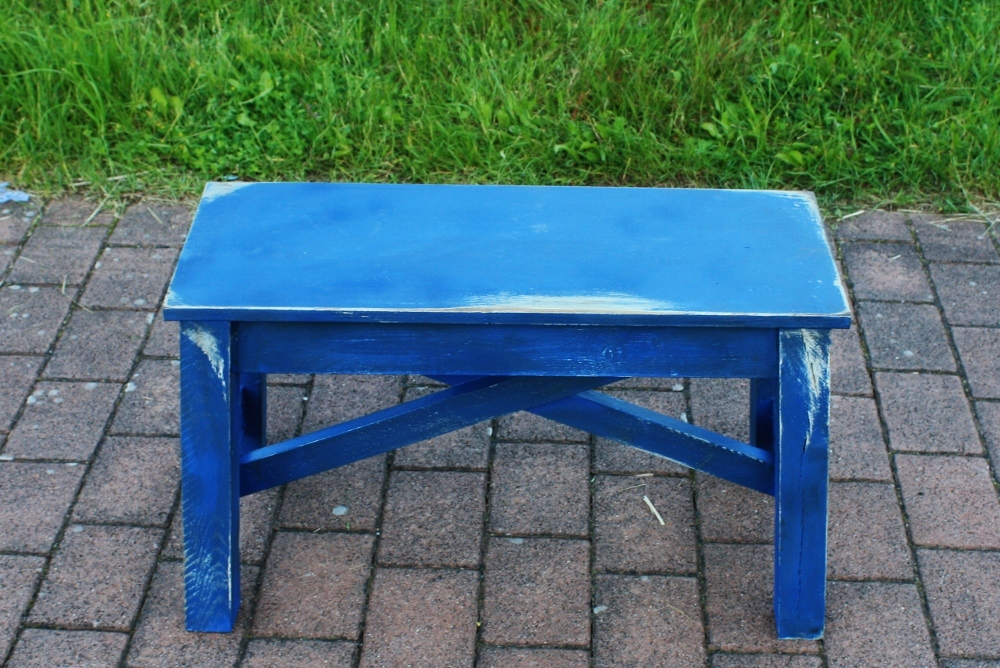
My sister wanted this to go with the Simple Outdoor Chairs I had built her for her birthday. I added a 2x4 between each leg to make it more stable and shortened it by one slat to fit the cushion. This was very easy to build and would make a great beginner project.

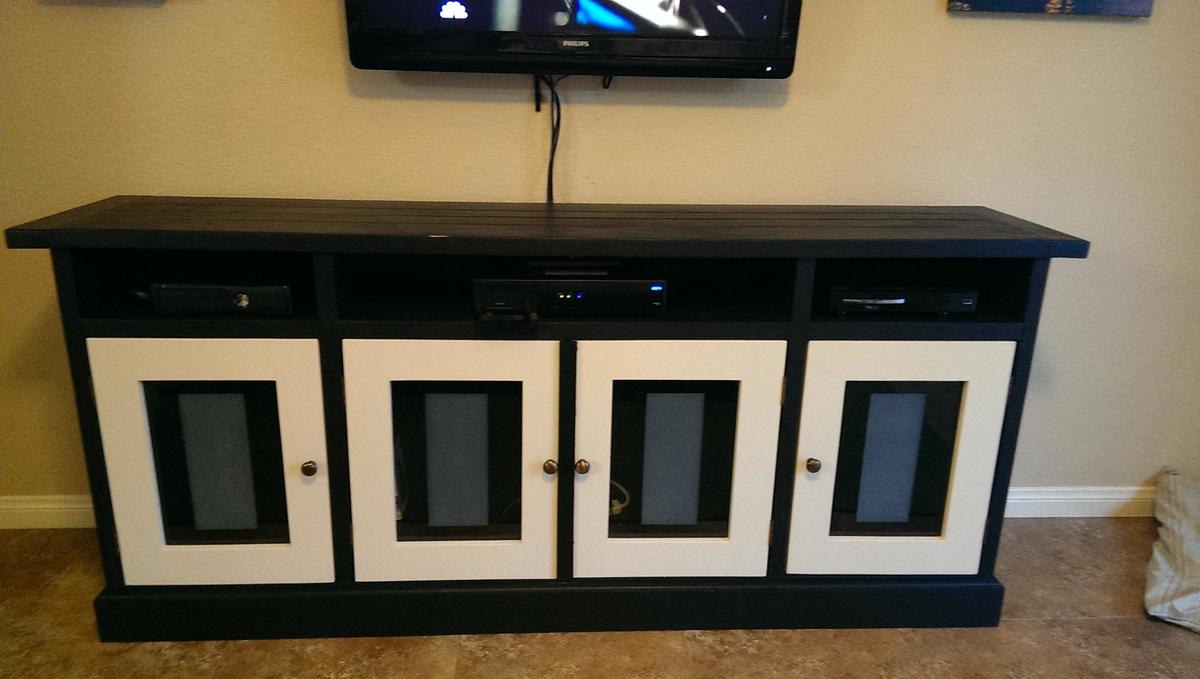
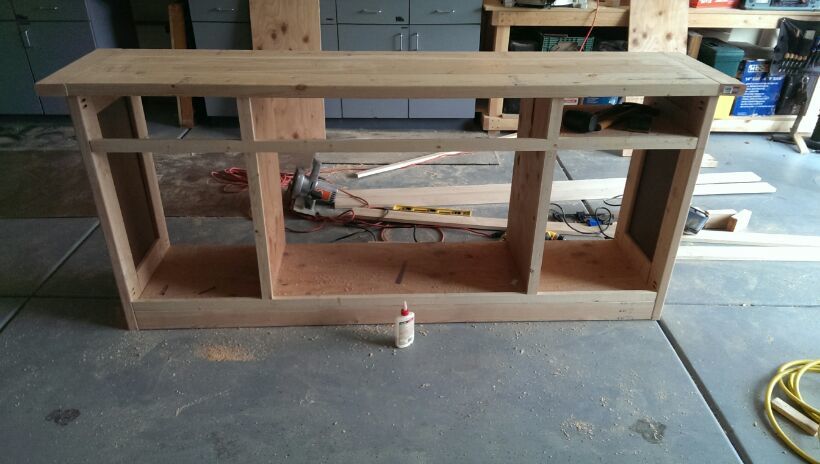
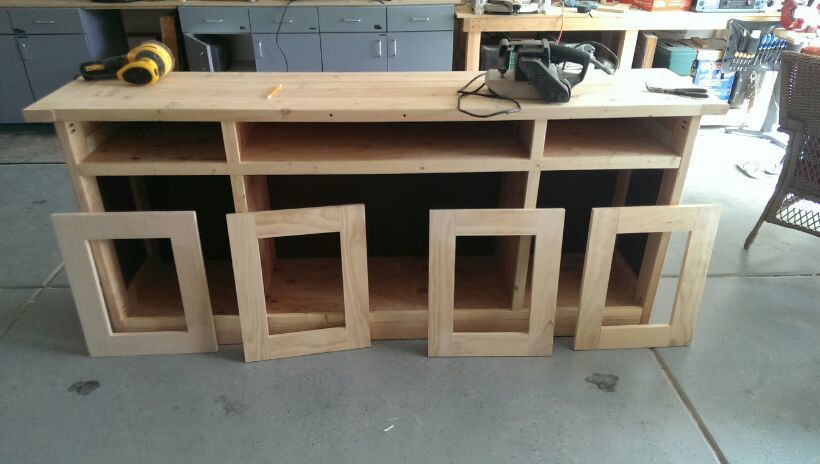
I found this plan while looking for a entertainment center, I had never built such a large piece of furniture. After reading thru plans I decided to build my first. Plans were simple, yet effective. I did make some modifications on the fly. I didn't want to go with the panel look so I replaced side panels with 1/4 plywood routered into outer legs (cleaner look than nailing to inside). Also went with glass doors(partially frosted to hid junk stored inside). I deleted the drawers and placed shelfs instead for tv components.
My advice to anyone making this is to be really careful when building main frame of cabinet and check square-ness several times and when applying wood strips around door jams careful measuring openings for consistency top to bottom and side to side. This will make hanging doors much easier. I learned the hard way, had to make some adjustments when hanging door. Also have hinges you plan on using on hand so as to measure thinkness of desired hinge to check clearance of door.
Went together well, a few things modified.
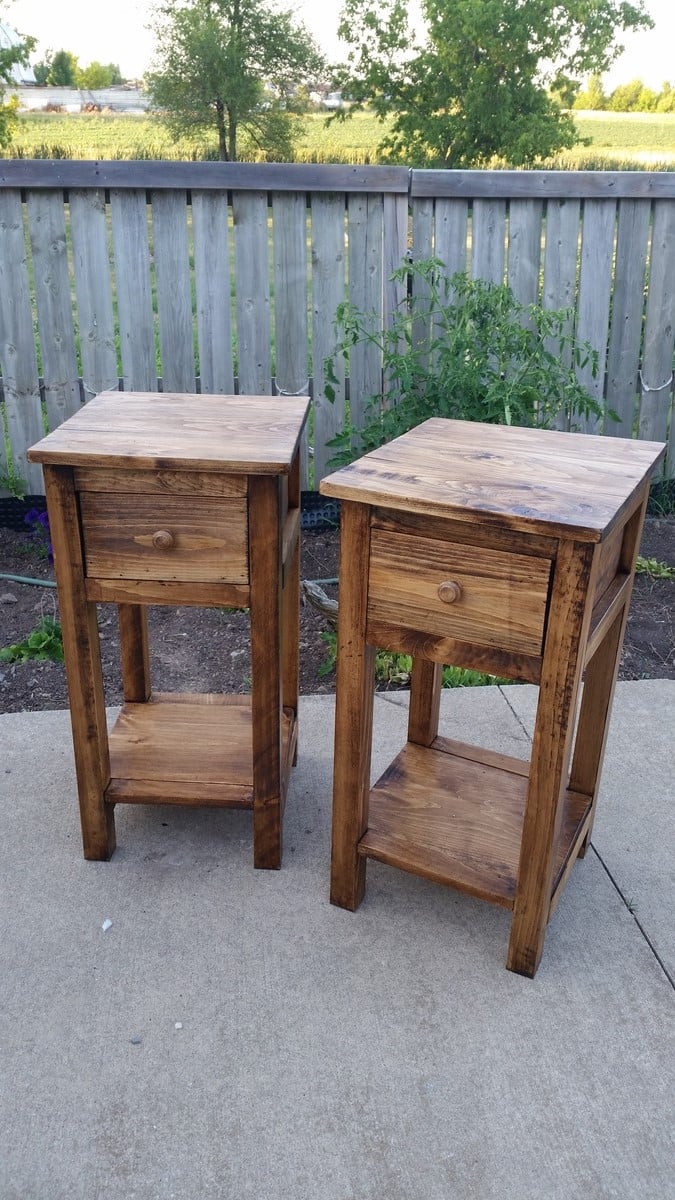
I get my wood from a sawmill and plane it myself, so the legs are 2x2's instead of the commercial sized 1.5's x 1.5's and to make them go with my Ana White Farmhouse bed I built a few weeks back I made the legs 30" long to compinsate for the height of the bed
Winwax Polyshades Mission oak

Built using the farmhouse table plans
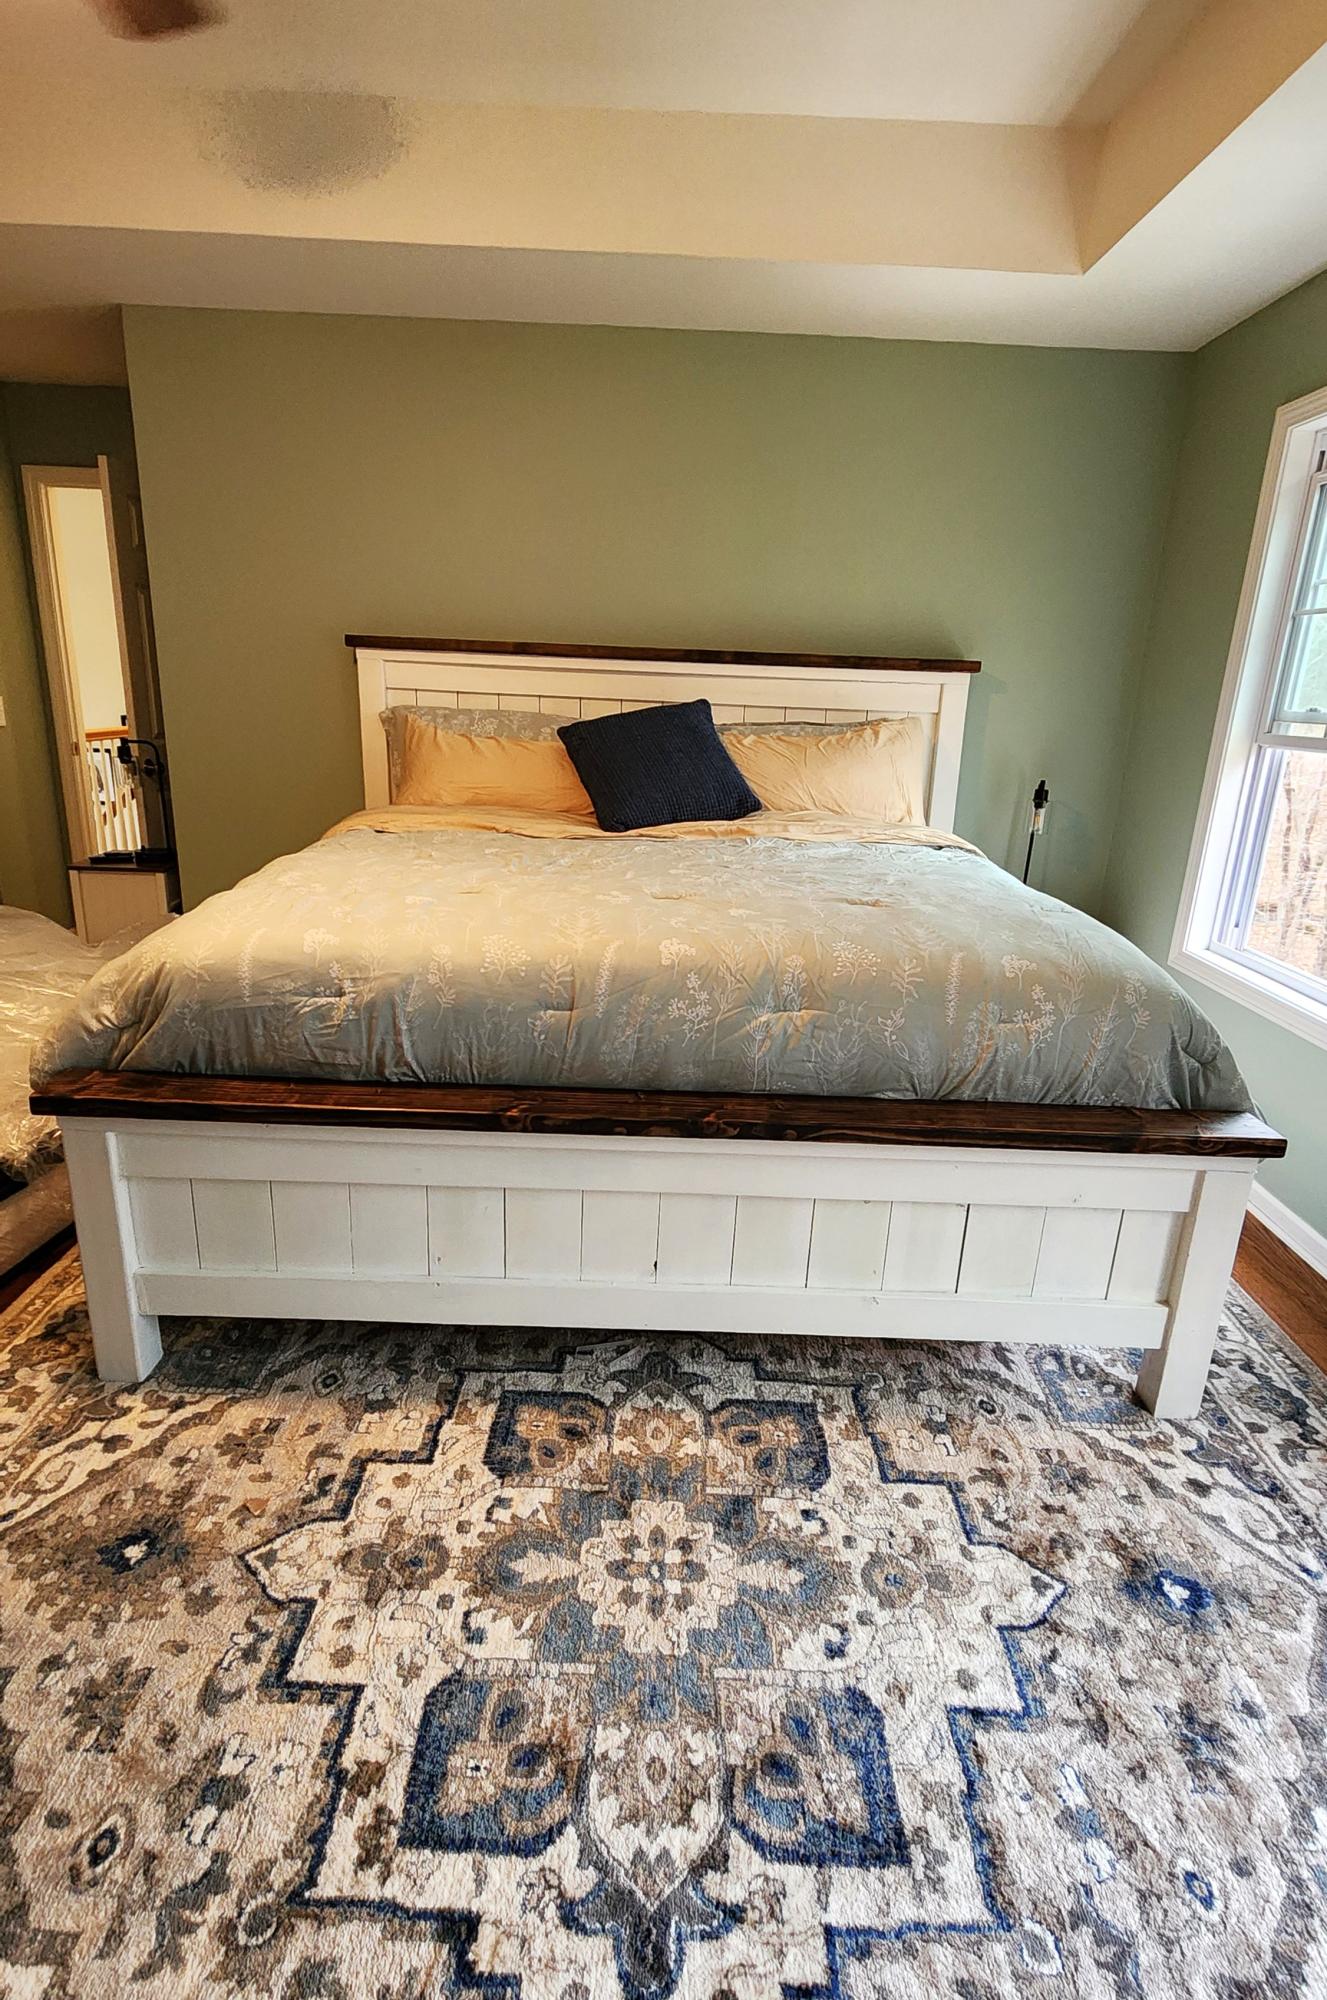
After realizing how much solid bed frames were selling online, I started googling. Thankfully I came across the farmhouse design! It was EXACTLY what I was looking for. Total for wood and paint etc was approximately $400.
kategelineaurealestate
I have been redoing furniture for quite some time, but had never actually thought of making my own furniture, until I ran across Ana's blog. Now I am so addicted! My husband is very handy with his tools and can follow plans fairly easily (unlike me) so I definitely had to enlist his help with this project. We are stationed overseas in Germany so our project costs us a bit more than it would have if we were stateside, but still quite a bit cheaper than purchasing the similar one at Pottery Barn.Since it was our first project it did take us a bit longer than normal, but still easy enough to do. I absolutely love how this turned out and now my husband and I are ready for our next project of a rustic console table that we made our own plans for.
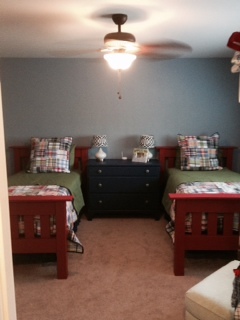
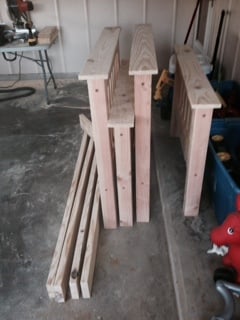
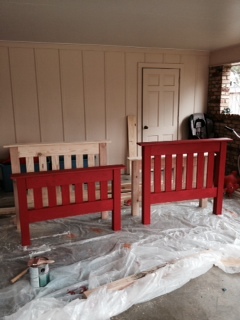
I have boys that share a room and we needed some sturdy twin beds. My wife looked online and found some on potterybarn.com or crateandbarrel.com for $425 each and that's before shipping. I told her I could make them for half that. The plans were pretty straight forward. The finishing (sanding, sanding and more sanding - then painting) was the hardest and longest part. I would recommend an electric palm or disc sander. It will be your best friend. I used 100 grit and then moved to 120 to sand all of the wood. I did this after I made all of the cuts and before I assembled. Seemed to make it easier. We decided to paint them to go with the colors in the room. The bed is very heavy and sturdy. I made both beds at the same time, which cost me right at $300. Clock hours was about 20-22 from beginning to end and it took me a little longer than a weekend since I was working around weekend soccer games and birthday parties.
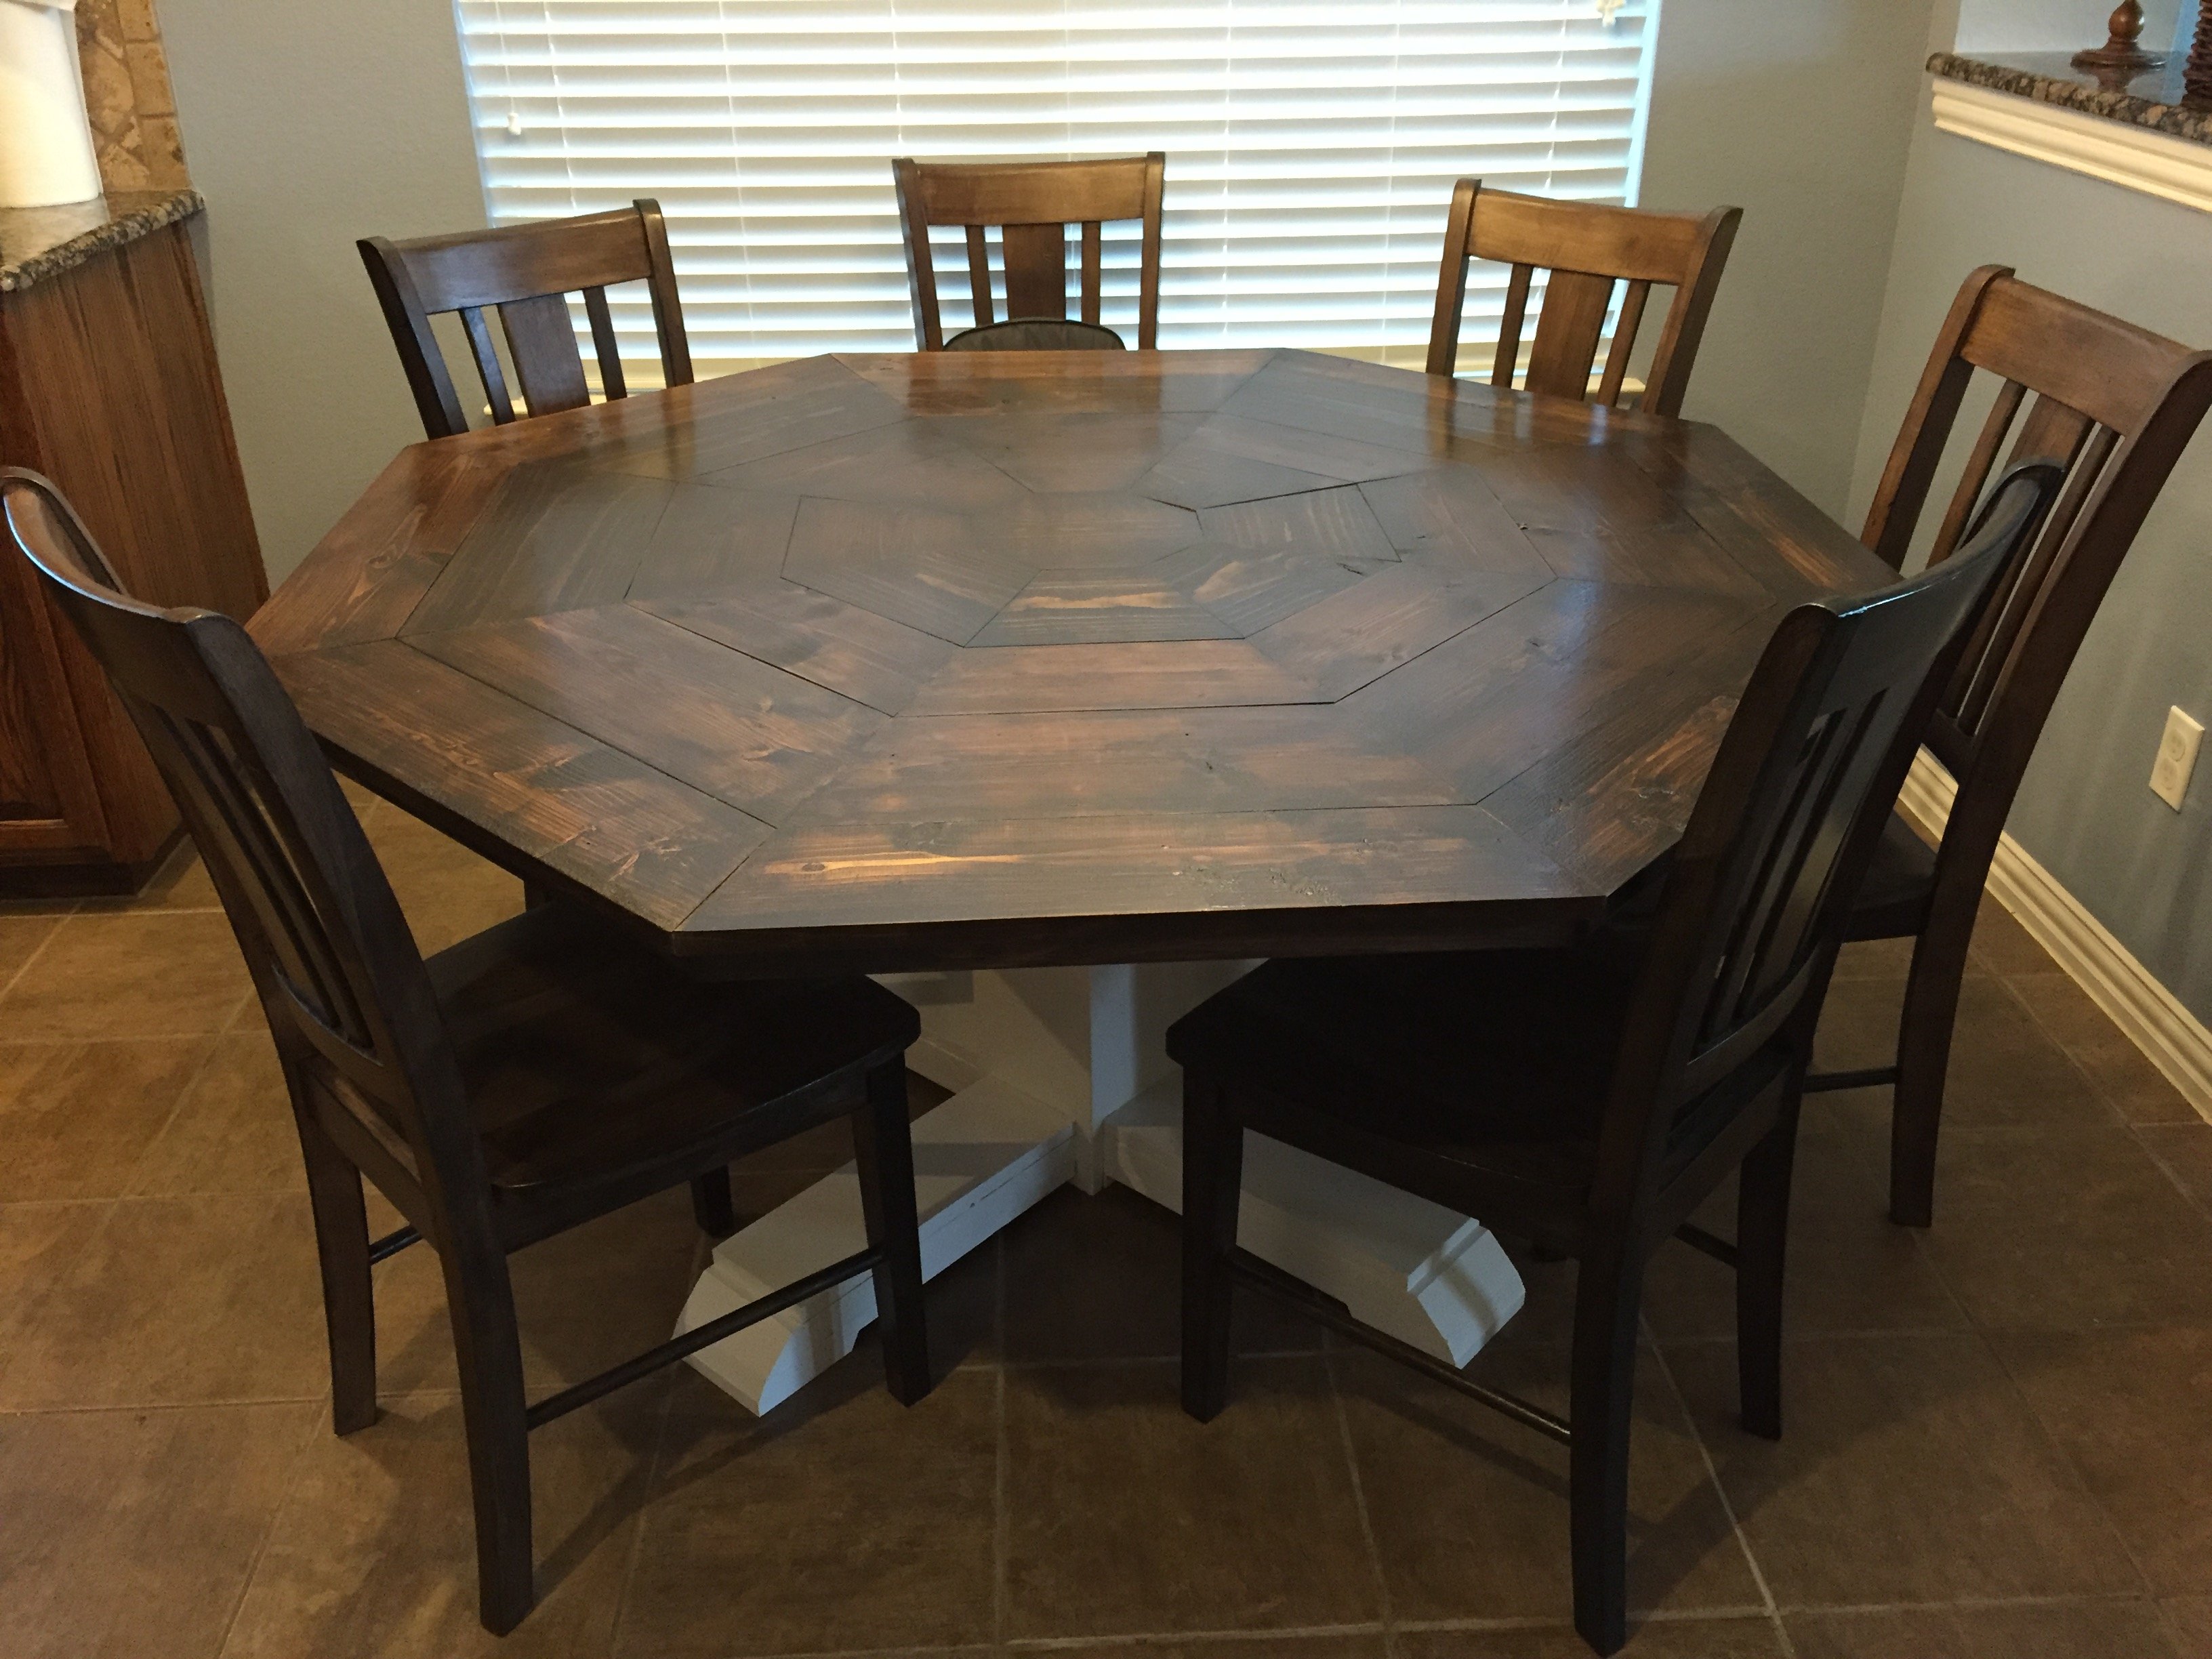
Octagon Dining Room Table

Super fun and easy project! I had to cut down the length of the table to 6 ft to fit the space in the house. I also did 2x8 tops on the bench for more surface area. I will def be building an ana white project again!
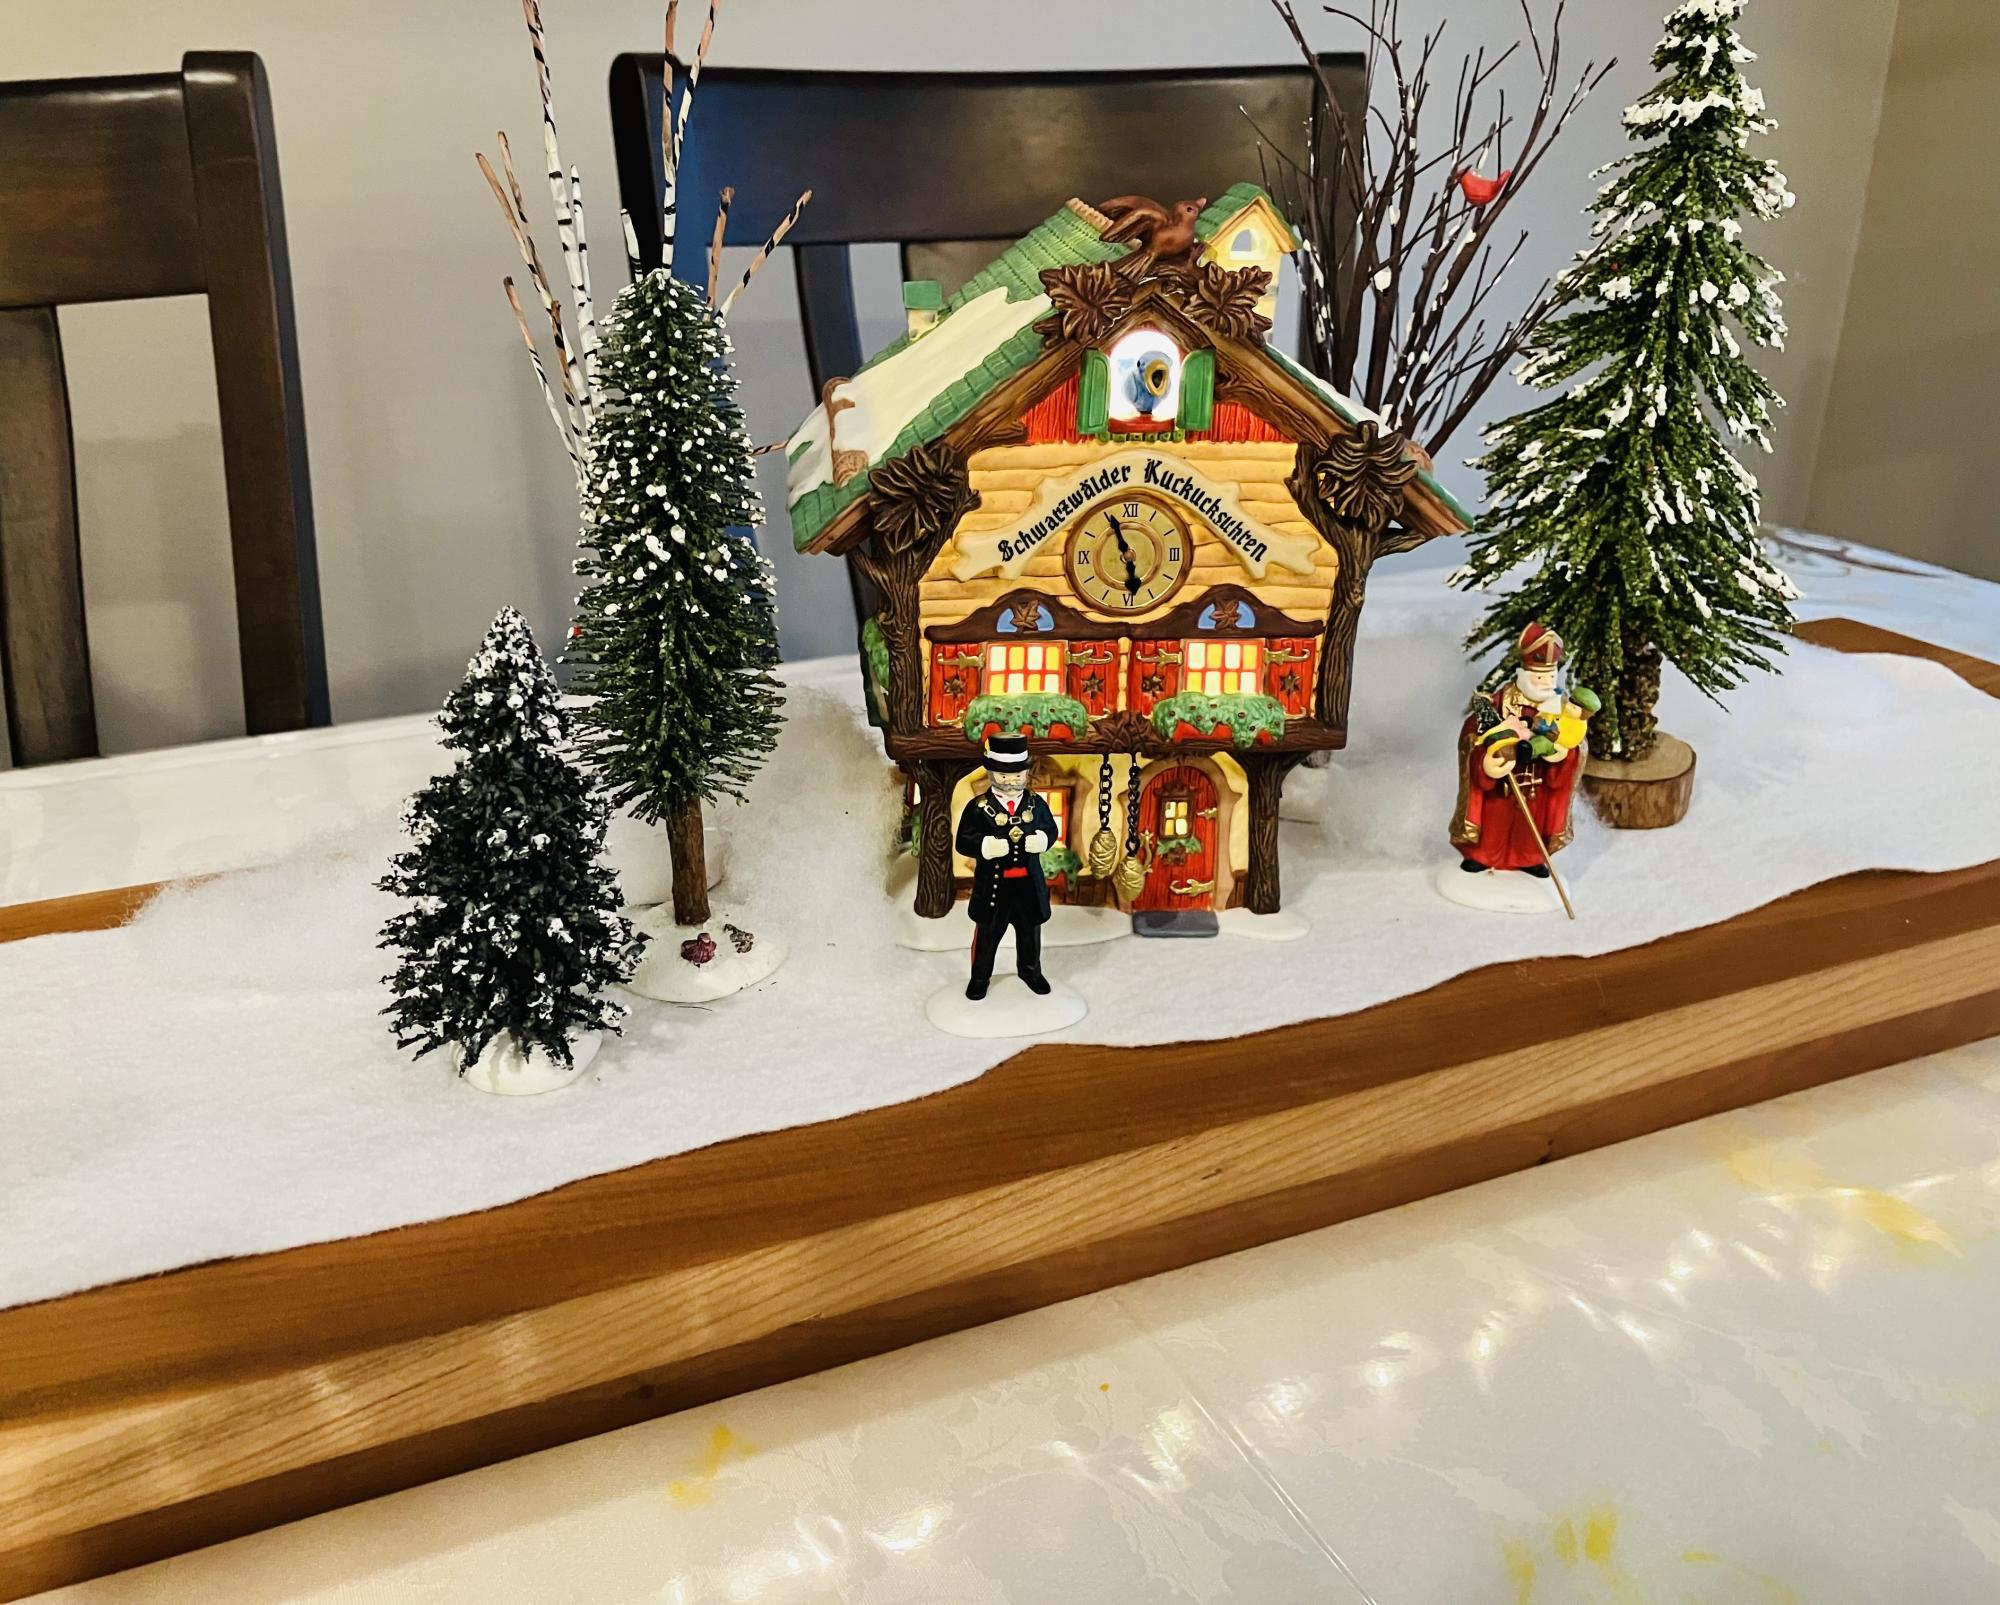
Made the table runner from cherry for my wife for Christmas. We have lots of Department 56 pieces and no place to show them in our new and smaller home.
John Covert
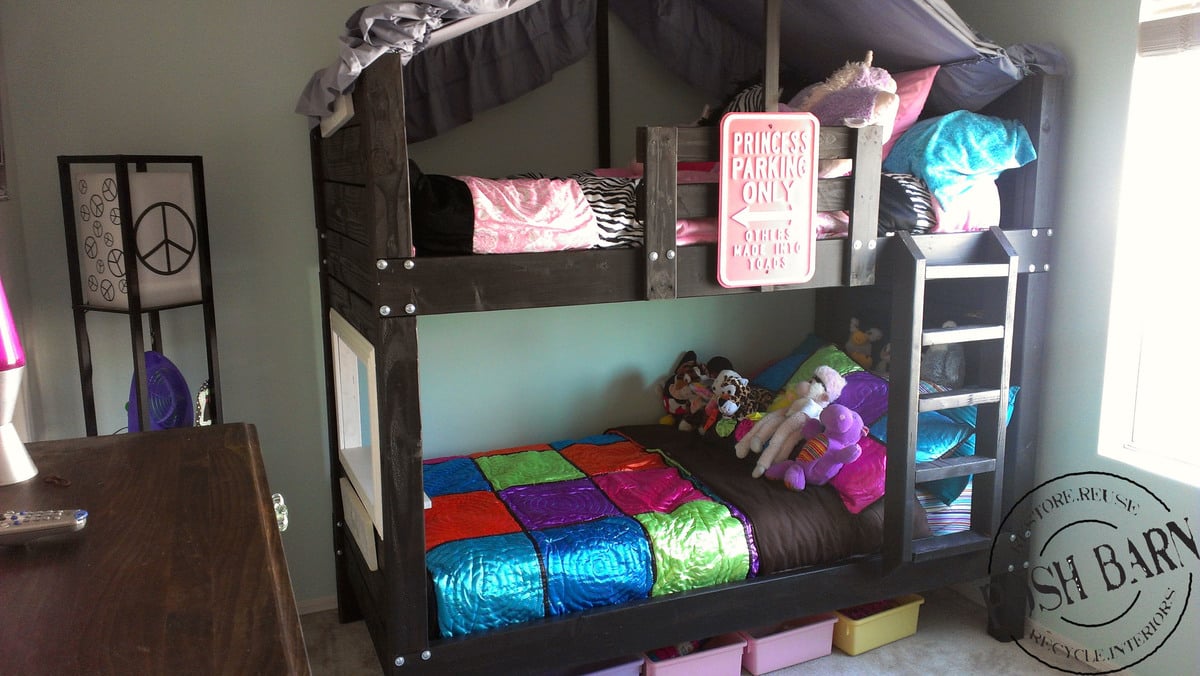
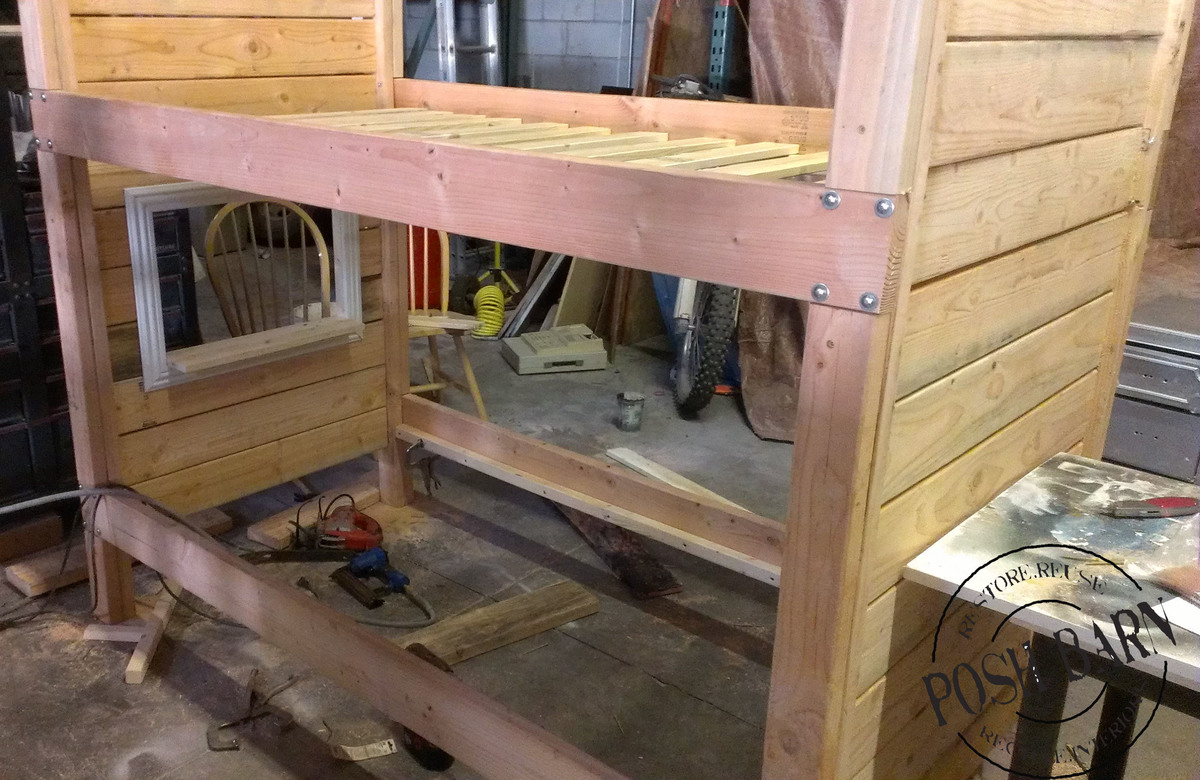
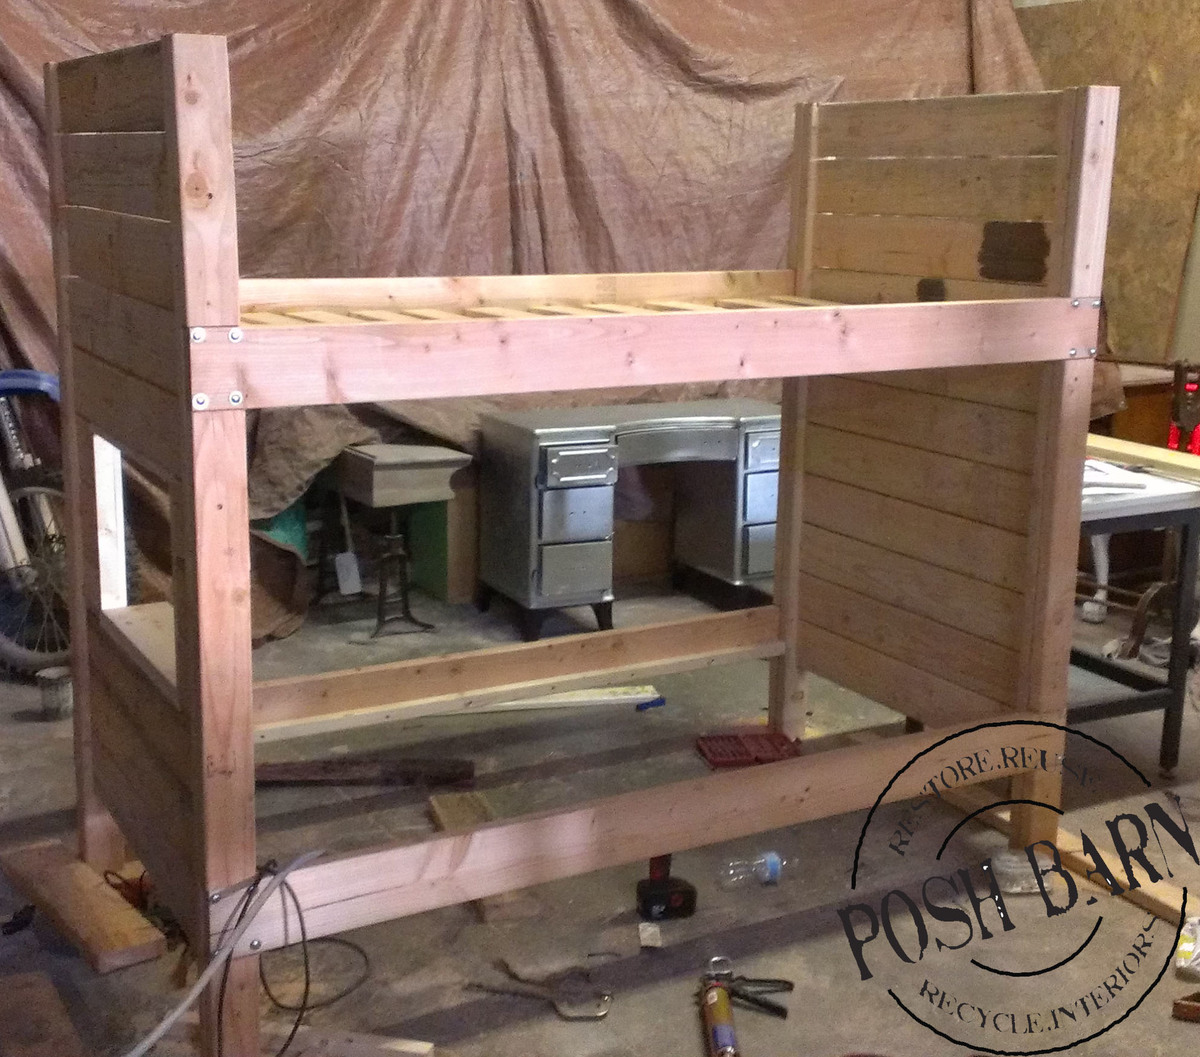
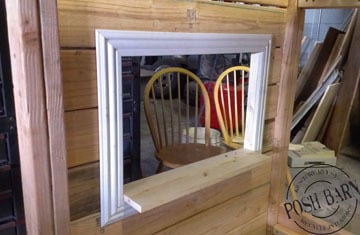
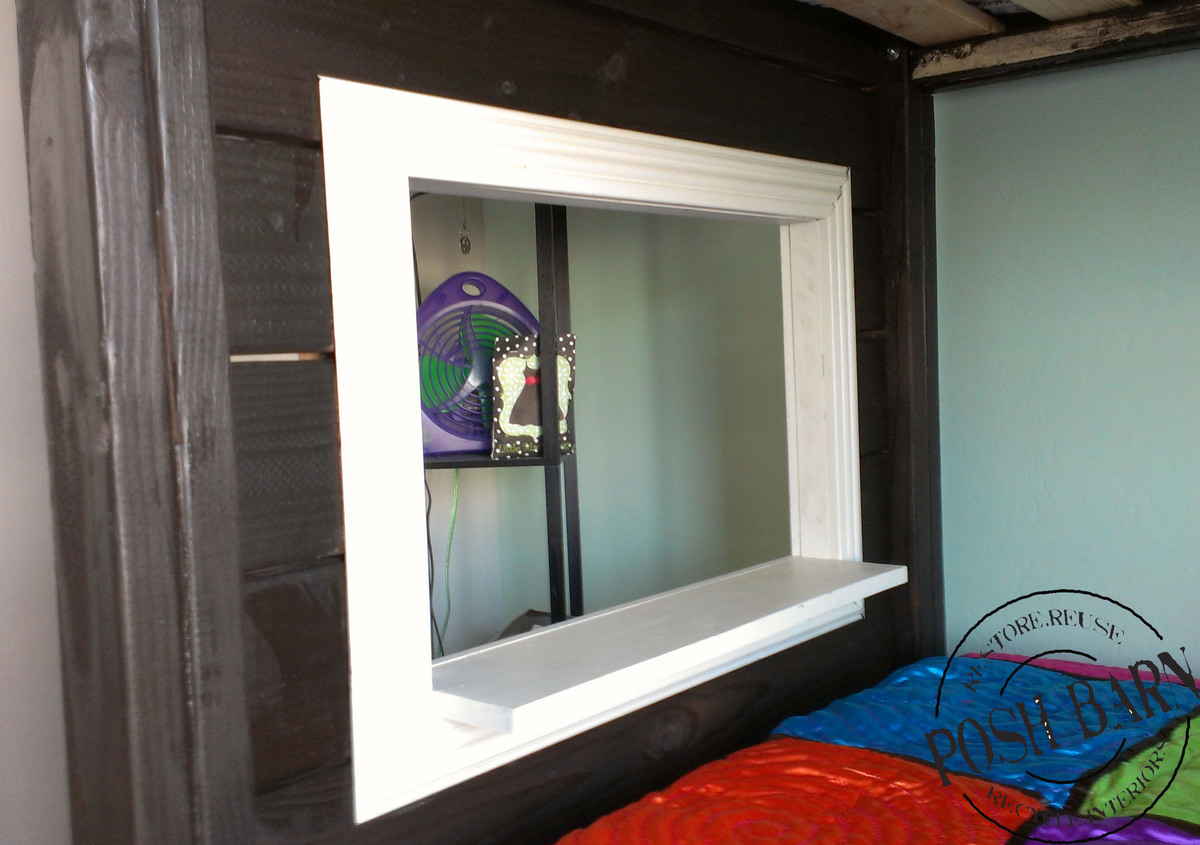
My girls wanted a bunk bed badly! I was shocked to see the prices shopping around at local furniture stores. So I made one :)
Bed is constructed with all pine wood and stained with Kona color stain. I added a few fun things like a window and a tent on top. These were really simple. Email me if you have any questions.

These potting benches were so fun to make! The plans are well-written and easy to follow. My friend and I had a blast!
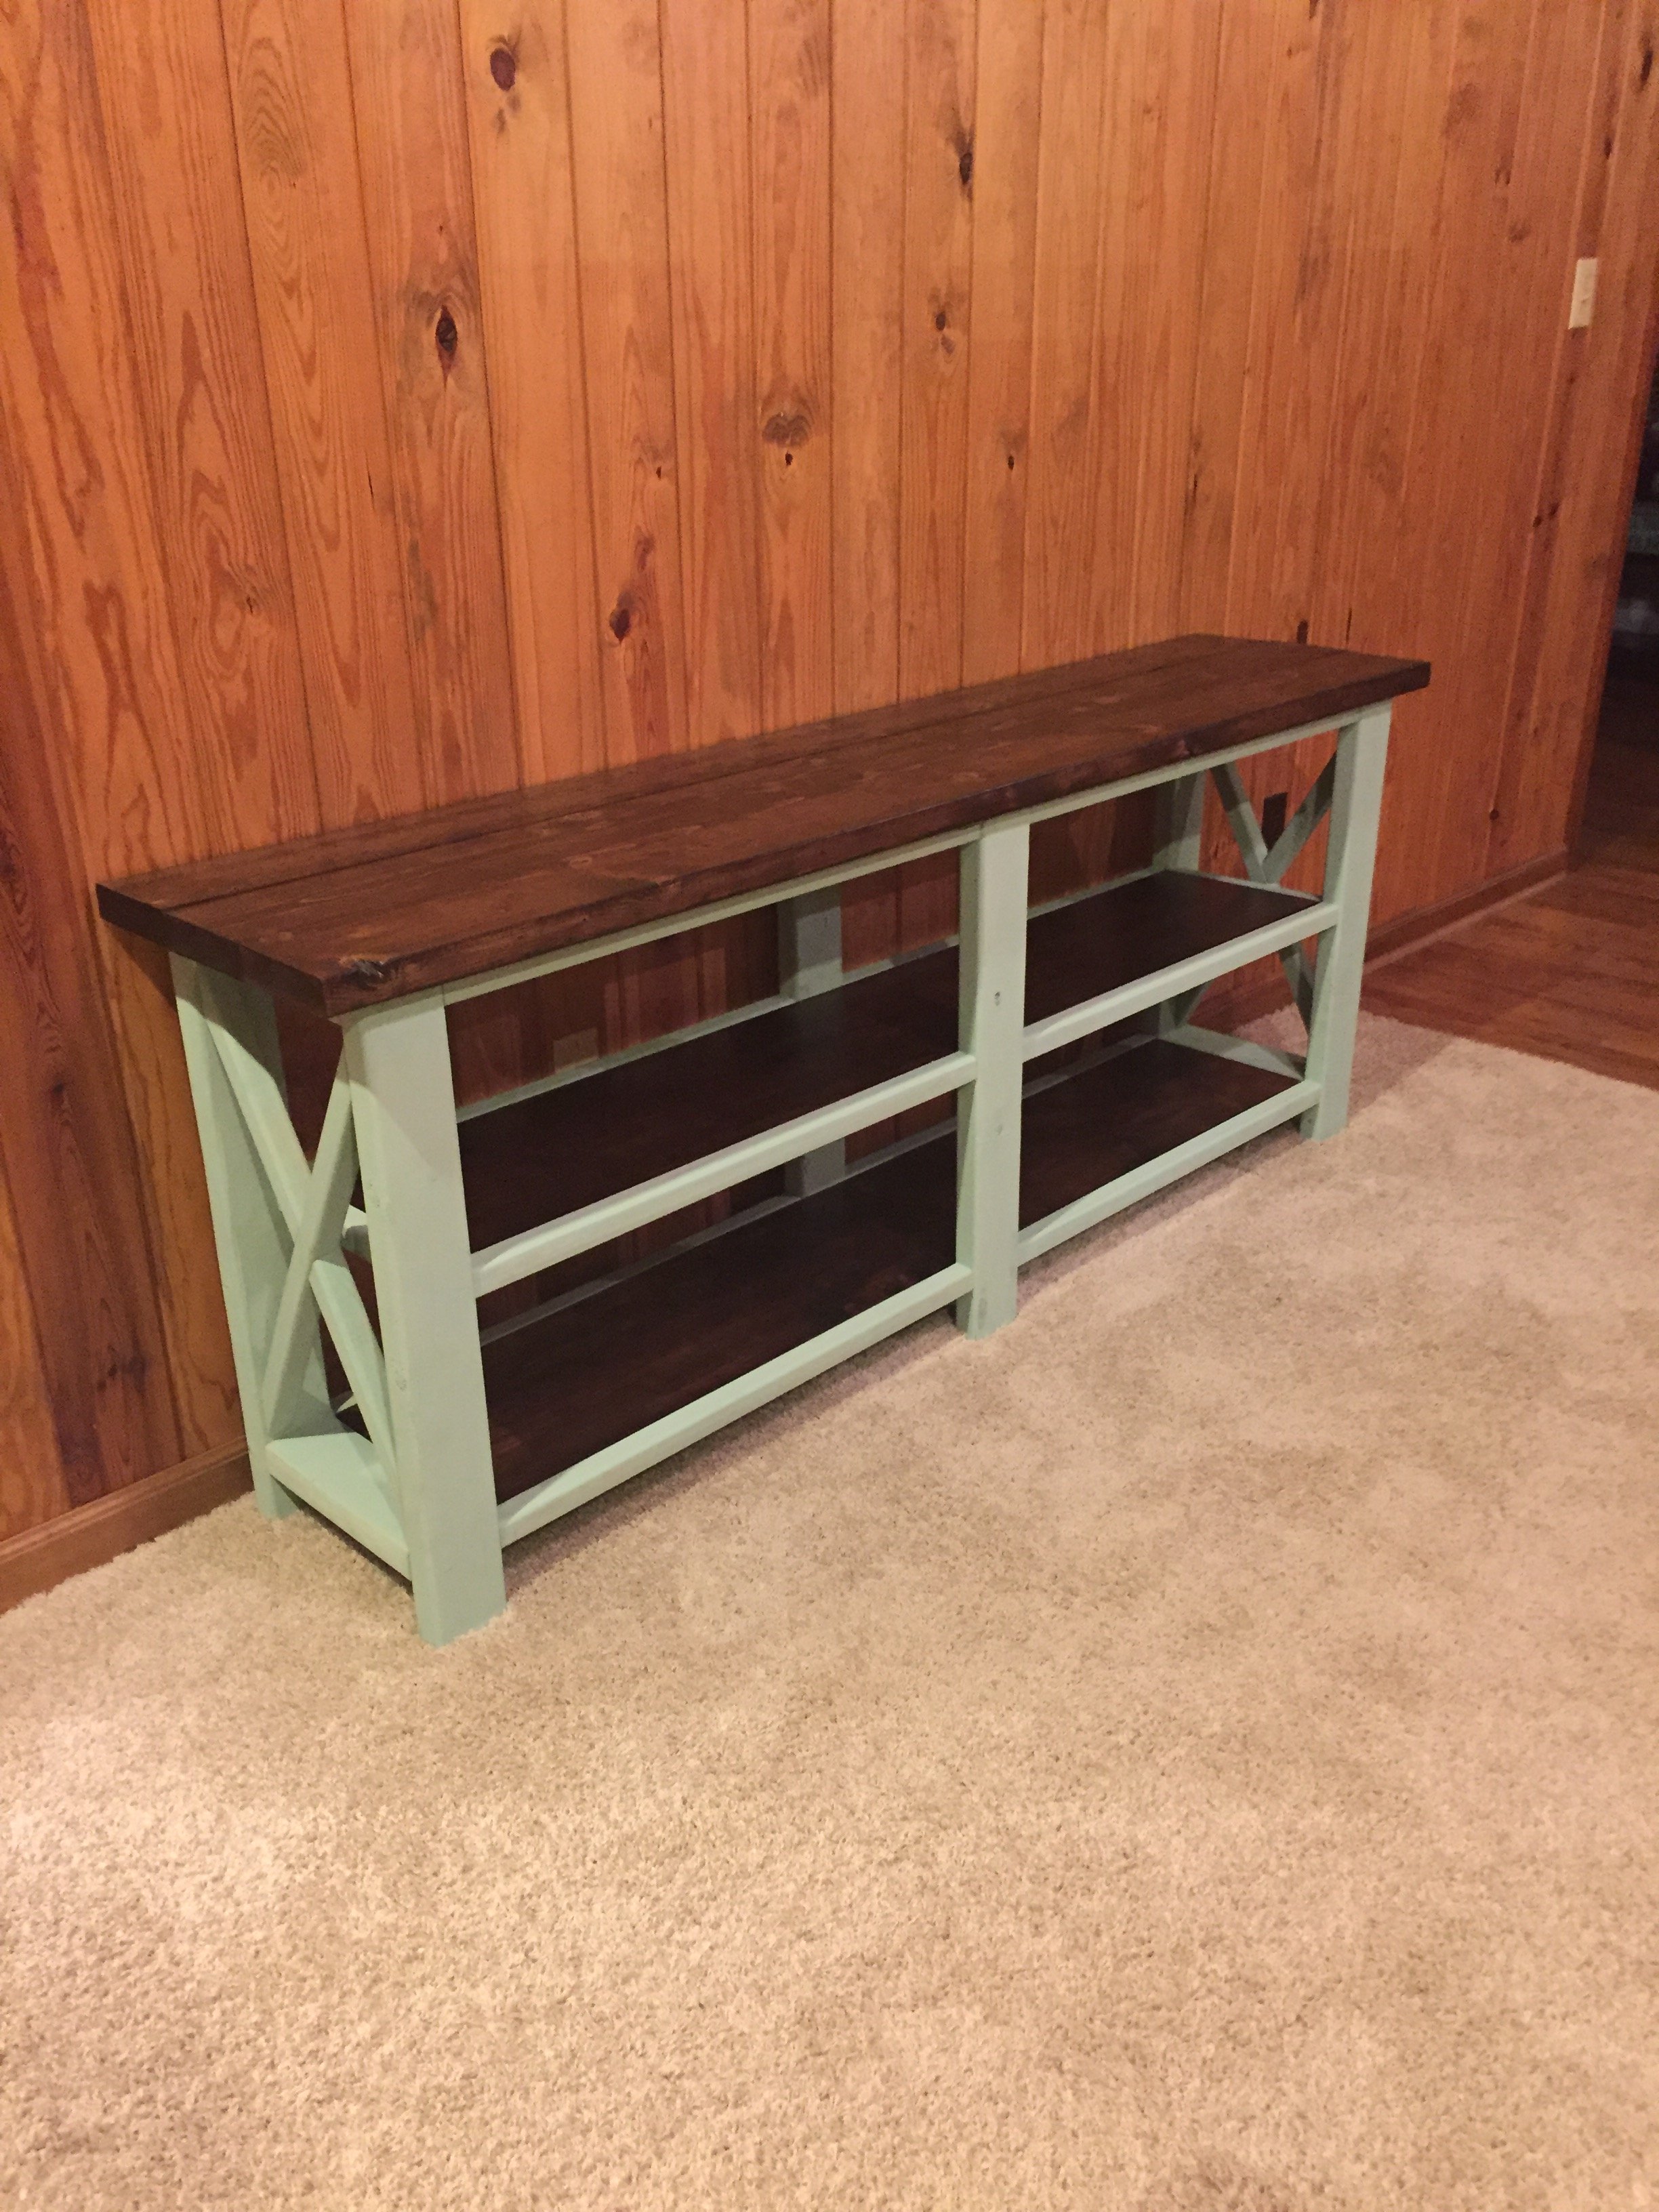
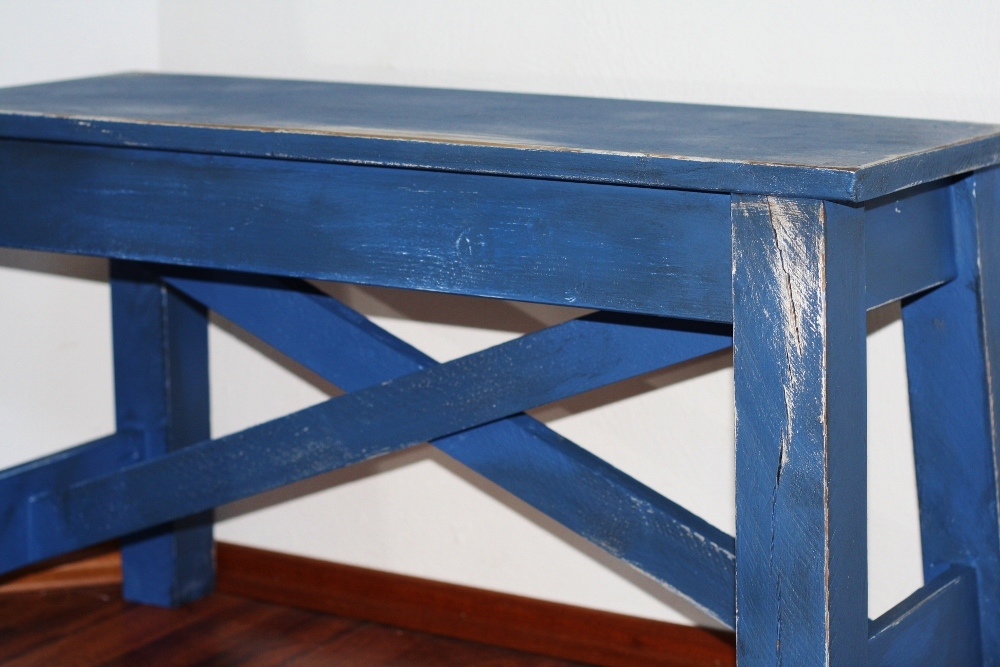
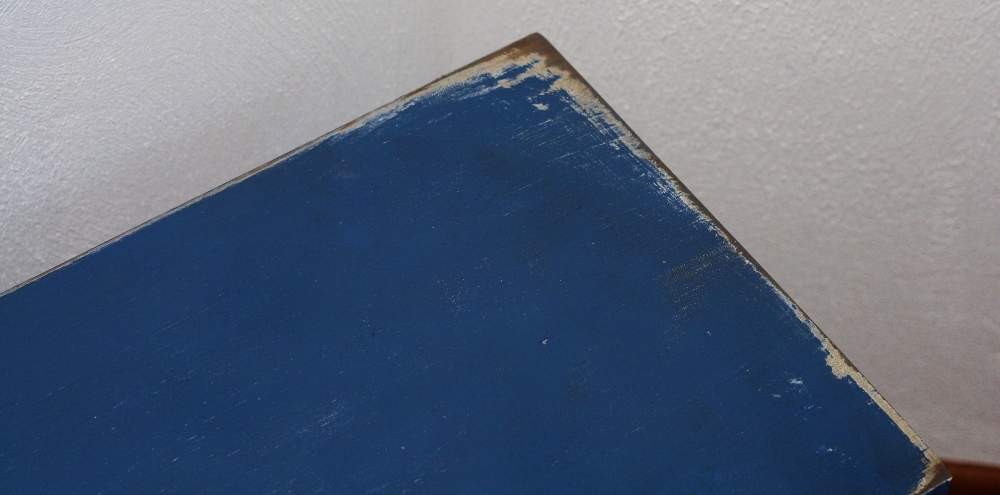
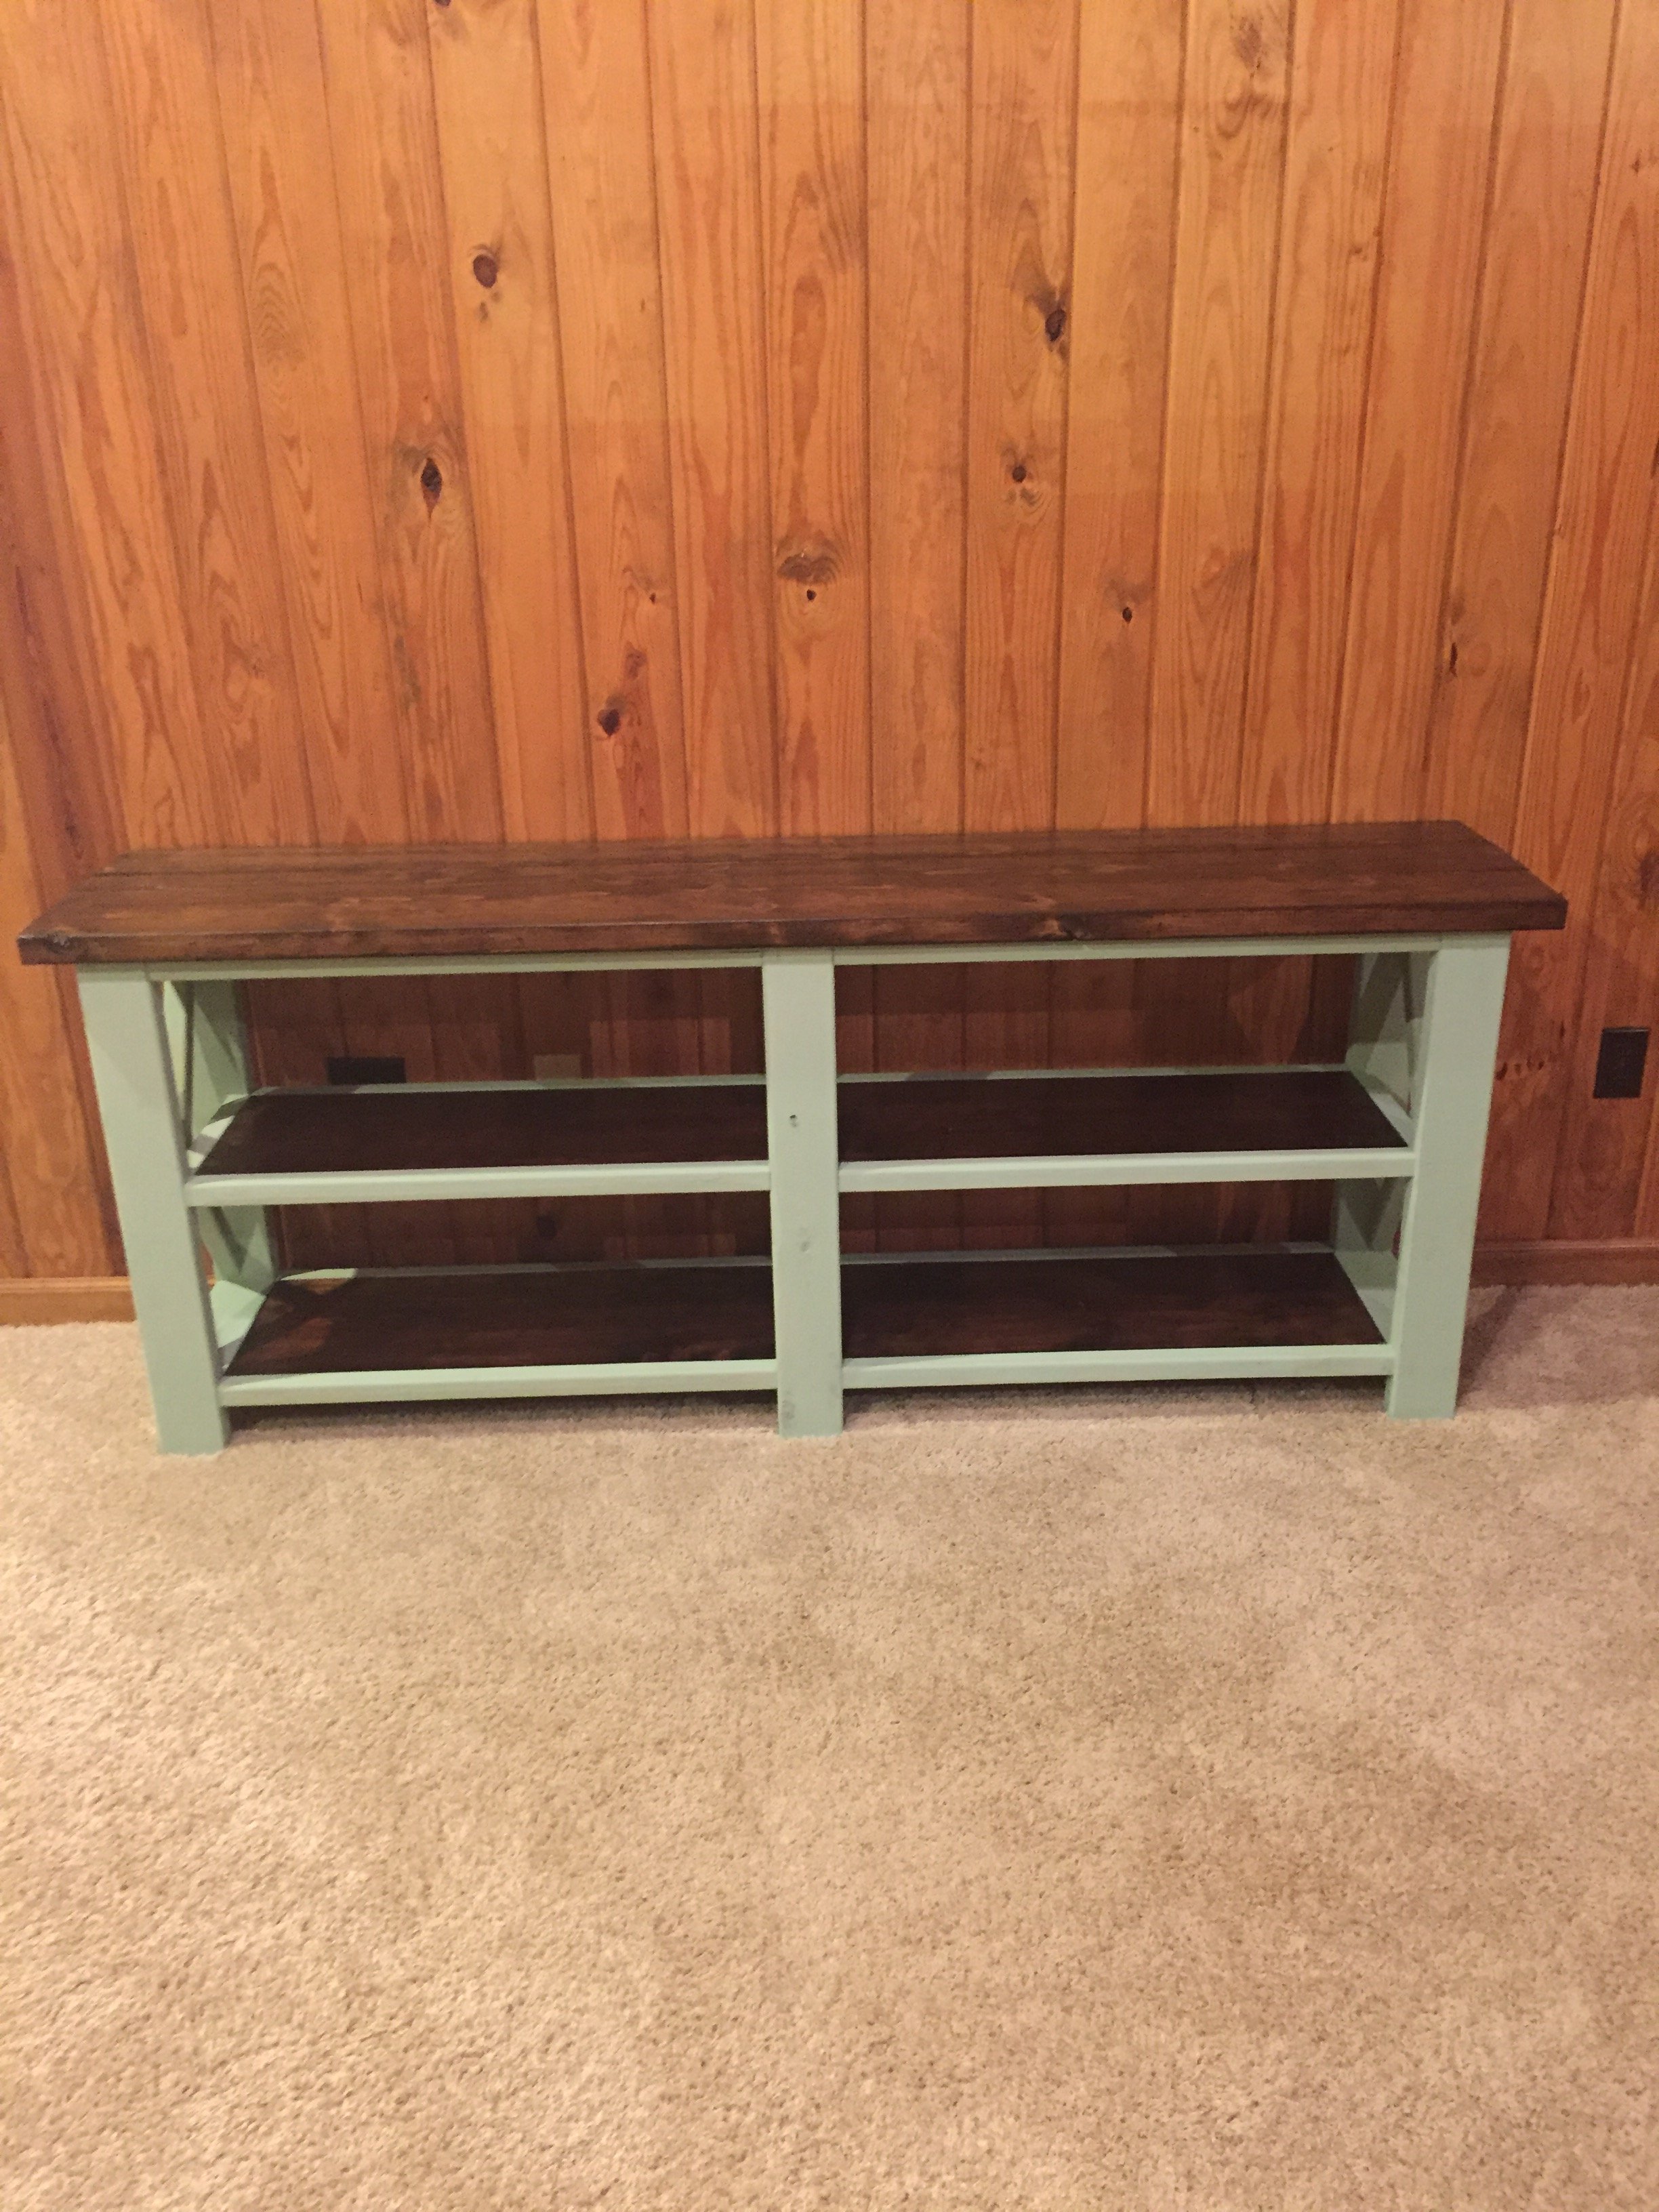
My wife and I loved the look of this plan, so I decided to make it happen! I built this same console, only half the length for our dining room, and then made this full size version for the living room area. I used this plan for both designs. I used a table saw to cut dado channels from the intersecting pieces of material for the "X" design on each side of the table which was considerably easier for me. It can get a little tight when trying to secure the 11.25 inch pieces of 2x4 and 2x2 with pocket holes so I opted to secure through the outer frame with 2.5 inch screws. Countersinks, wood filler, and some sanding made for a clean alternative to the pocket-hole approach. Stained and chalk painted frame and shelves separately before assembling. We love this table and promise you will not be disappointed either.
My 15 year old son built this for me!