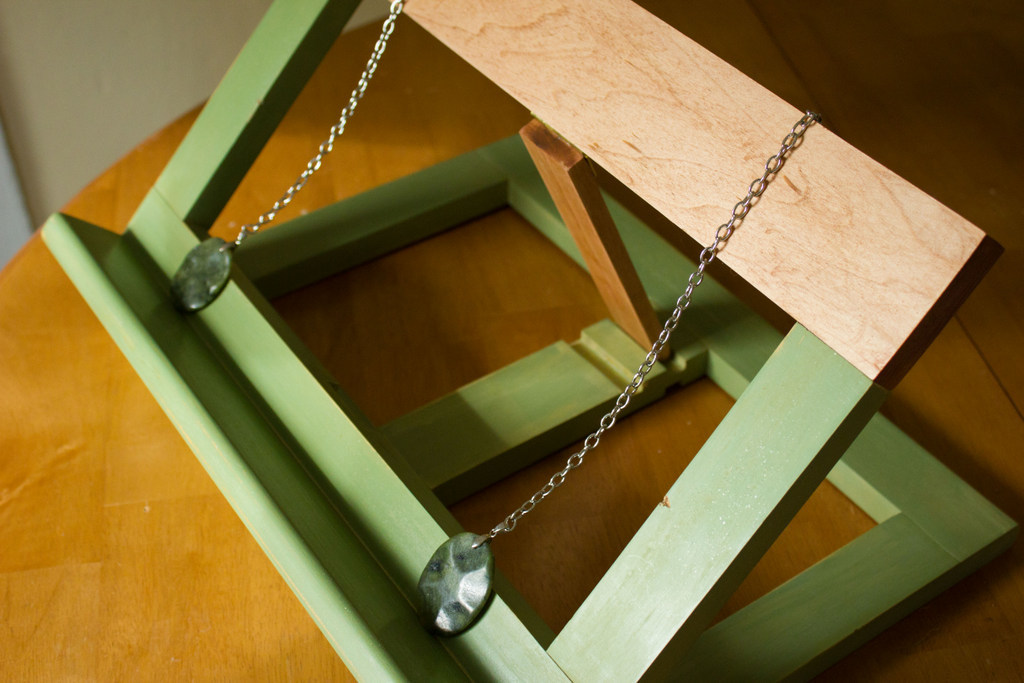
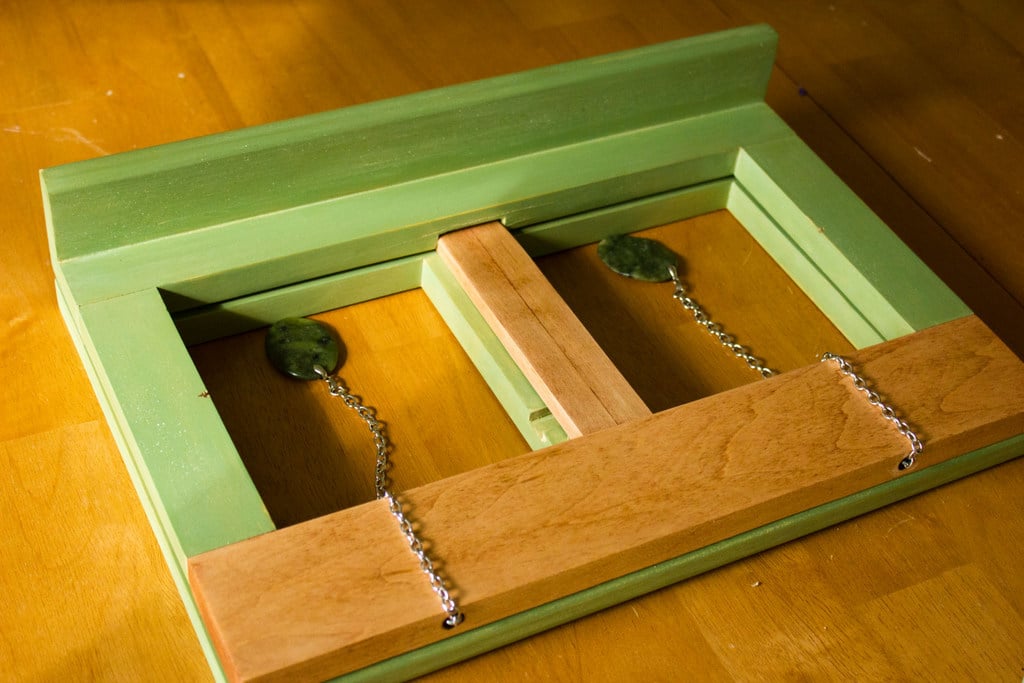
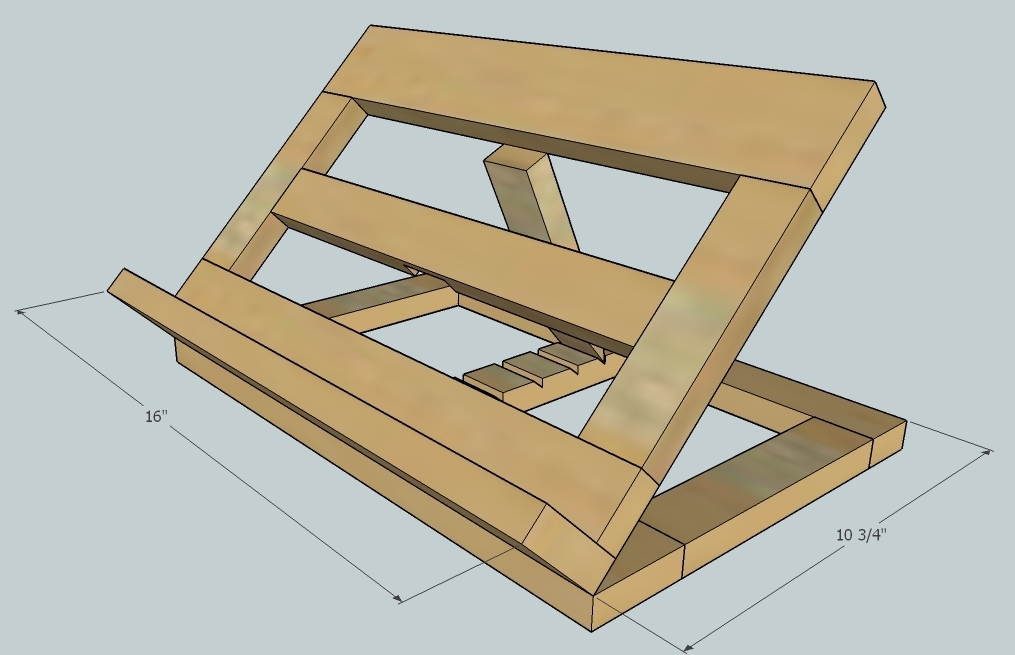
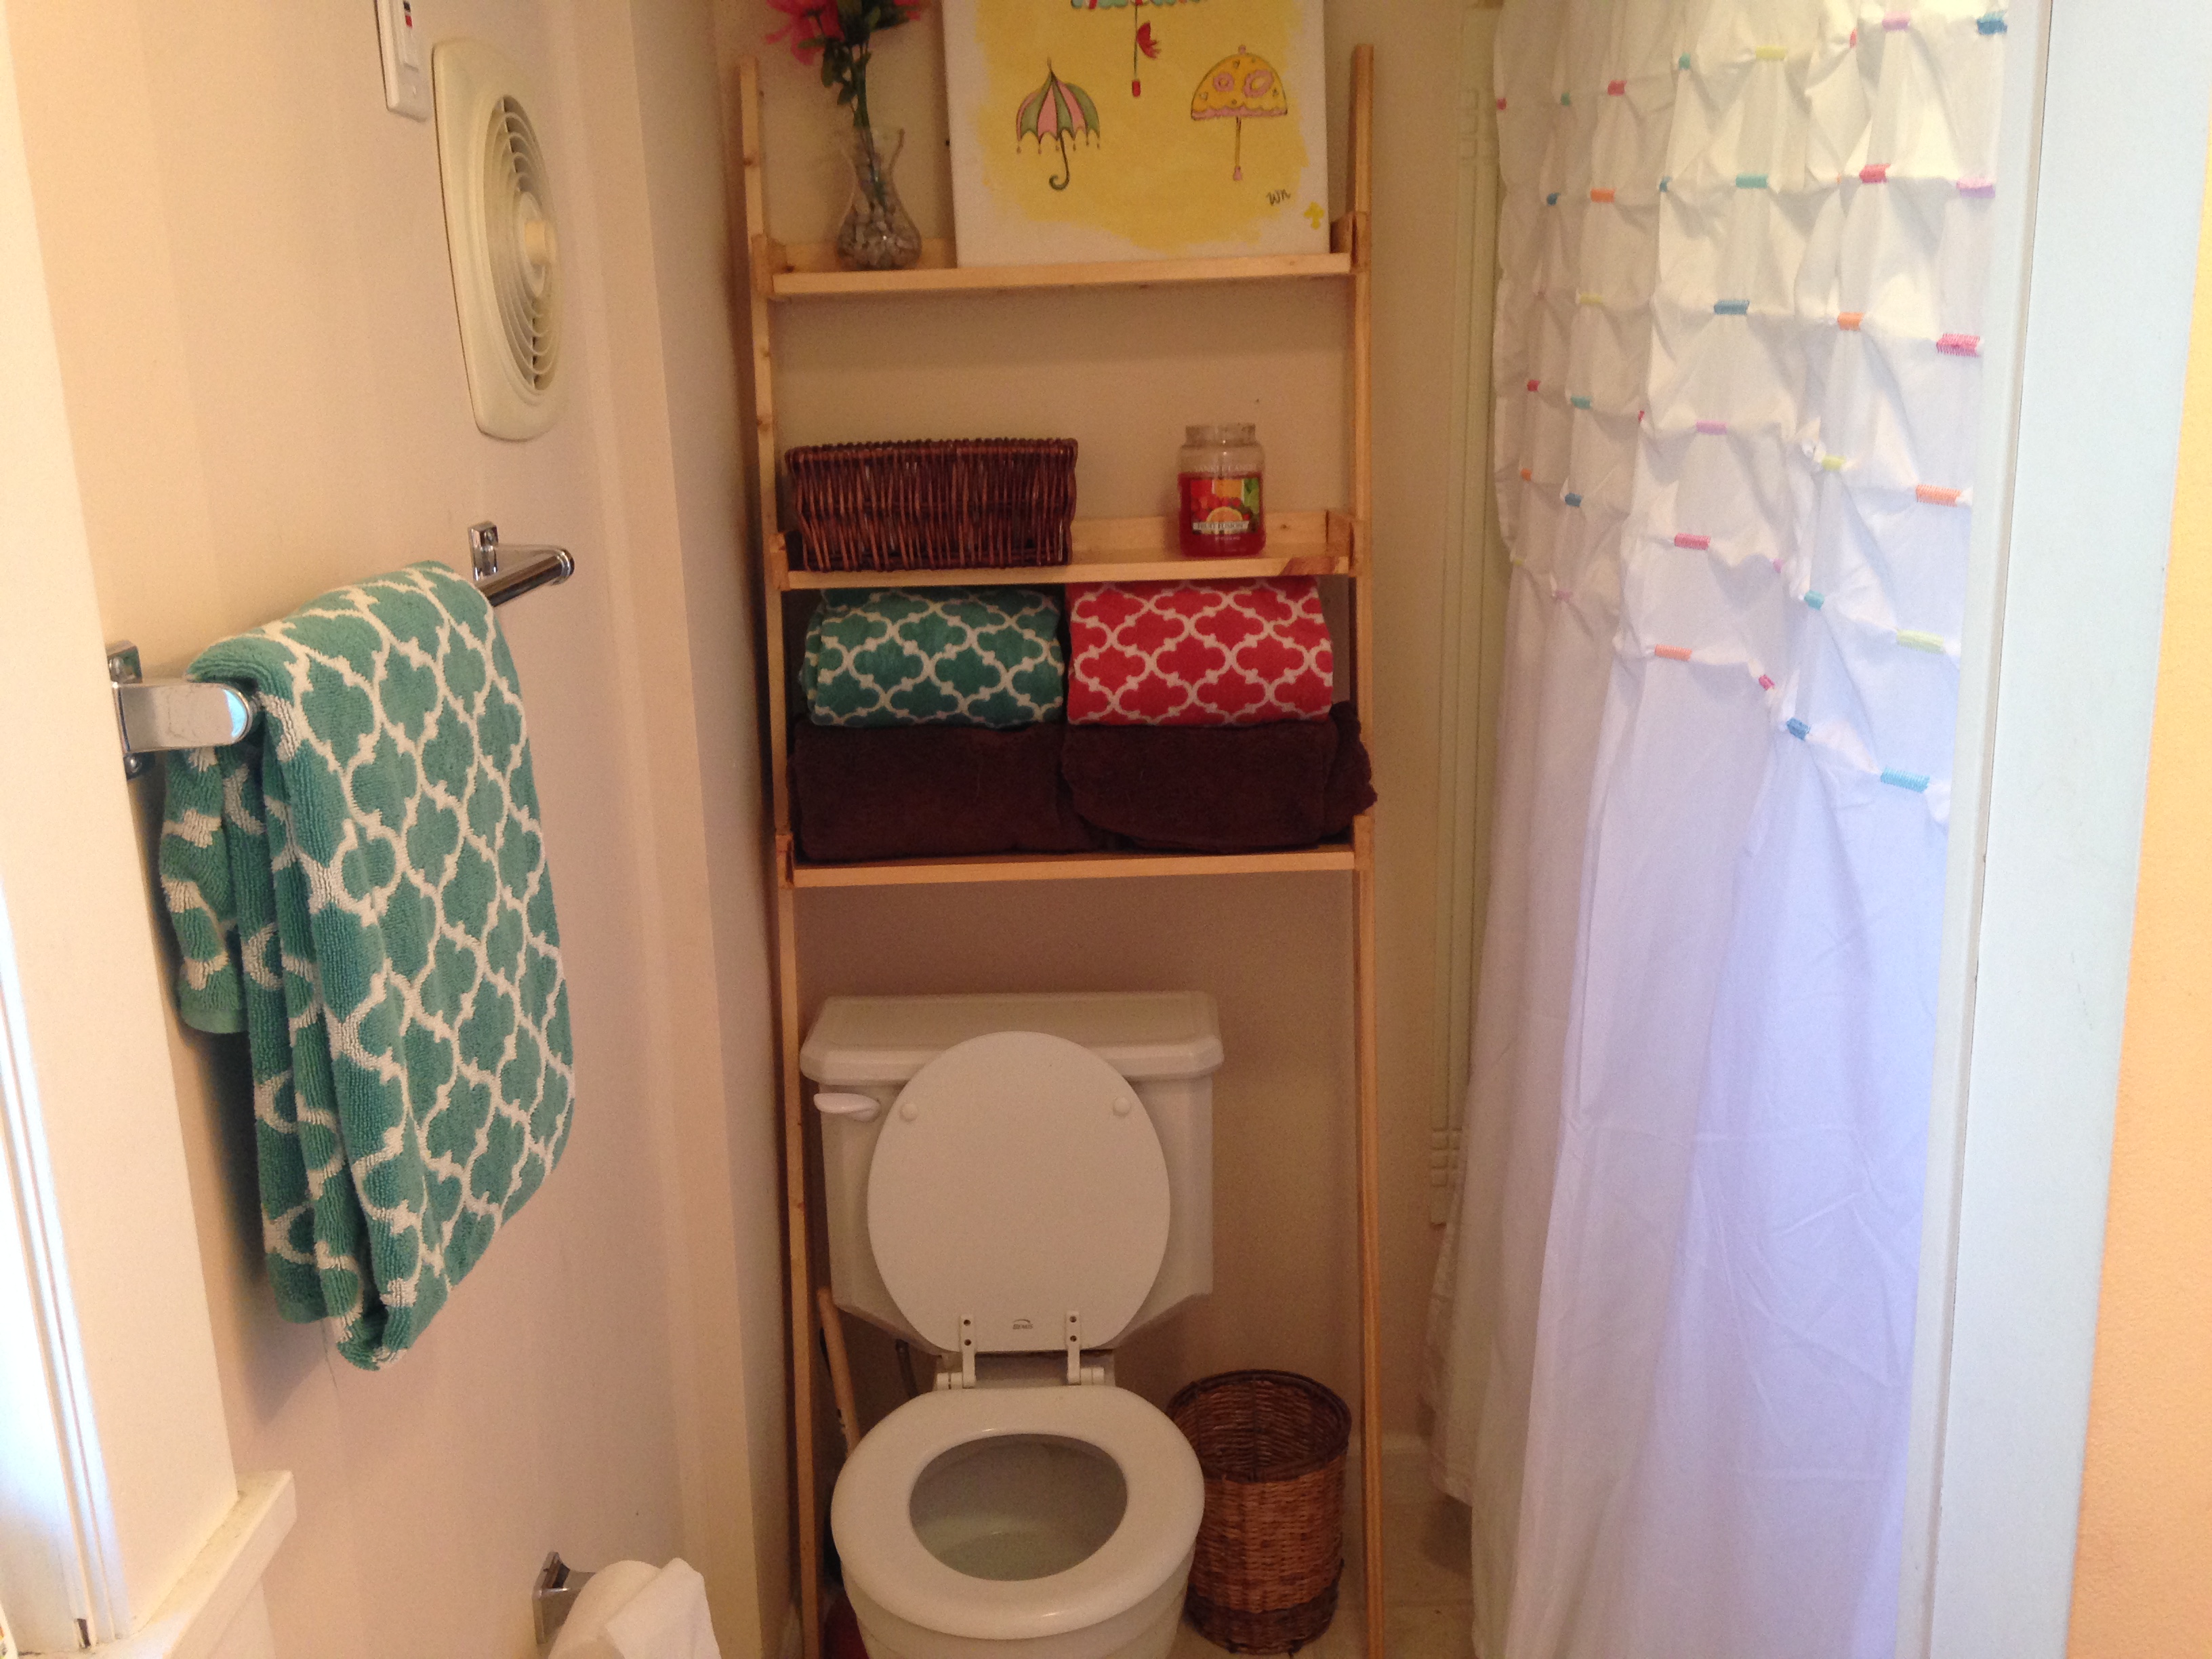
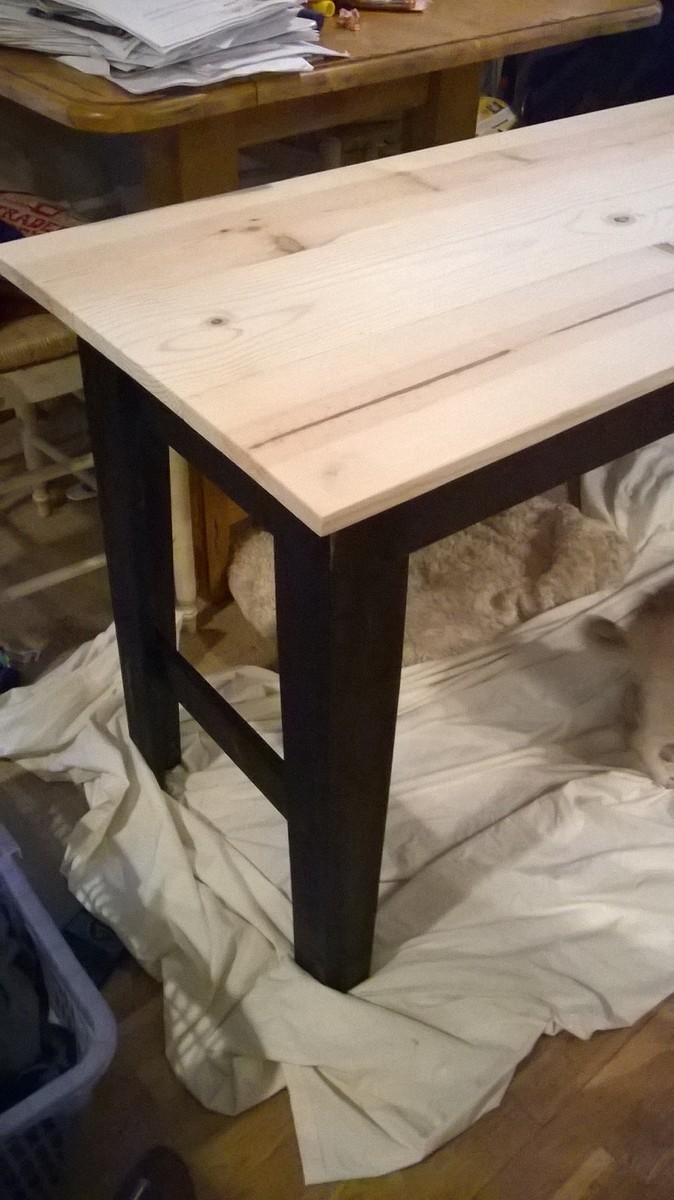
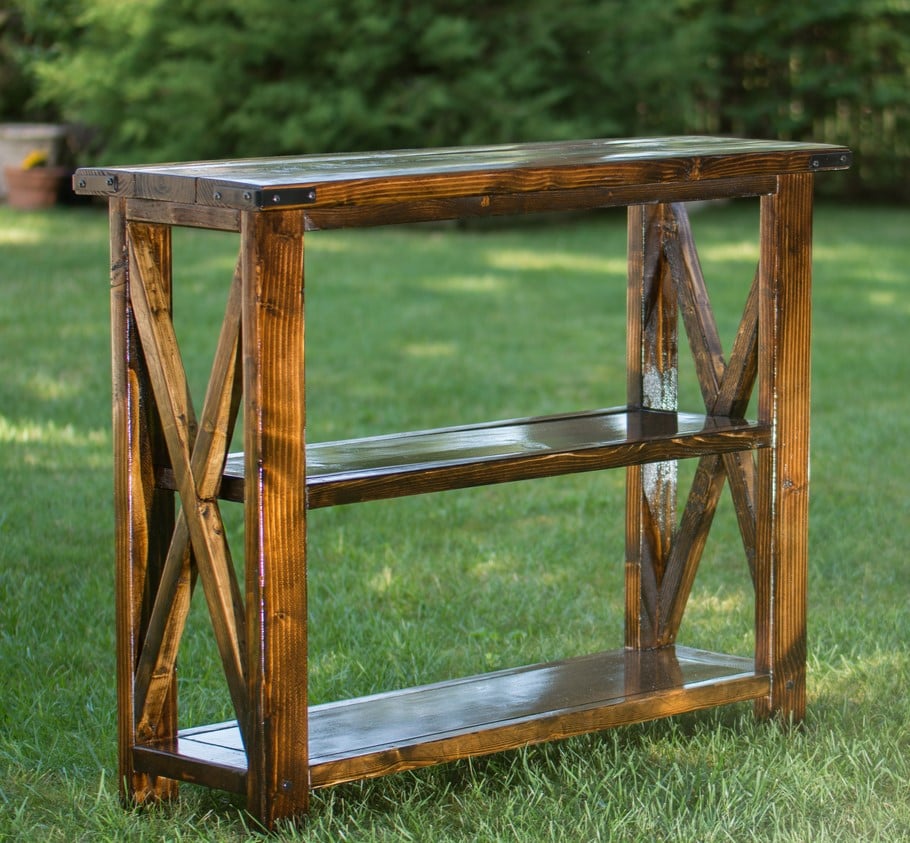
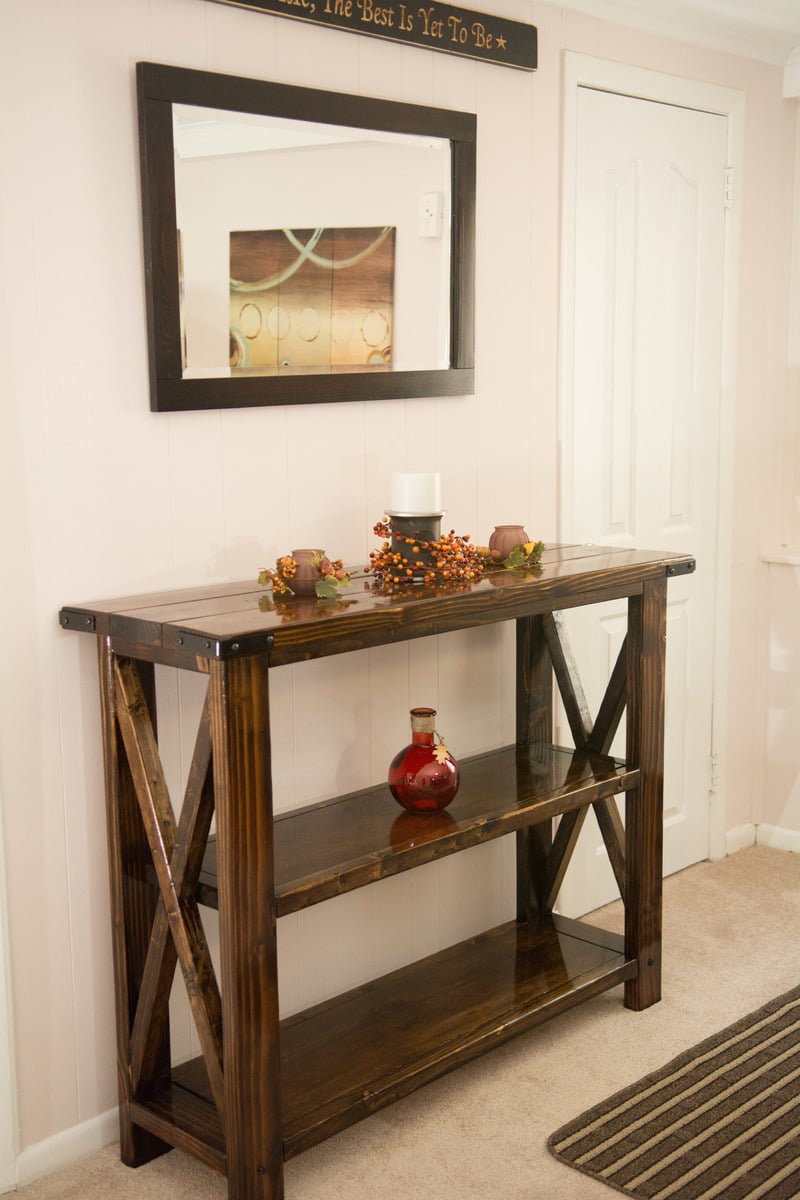
Leaning bathroom Shelf
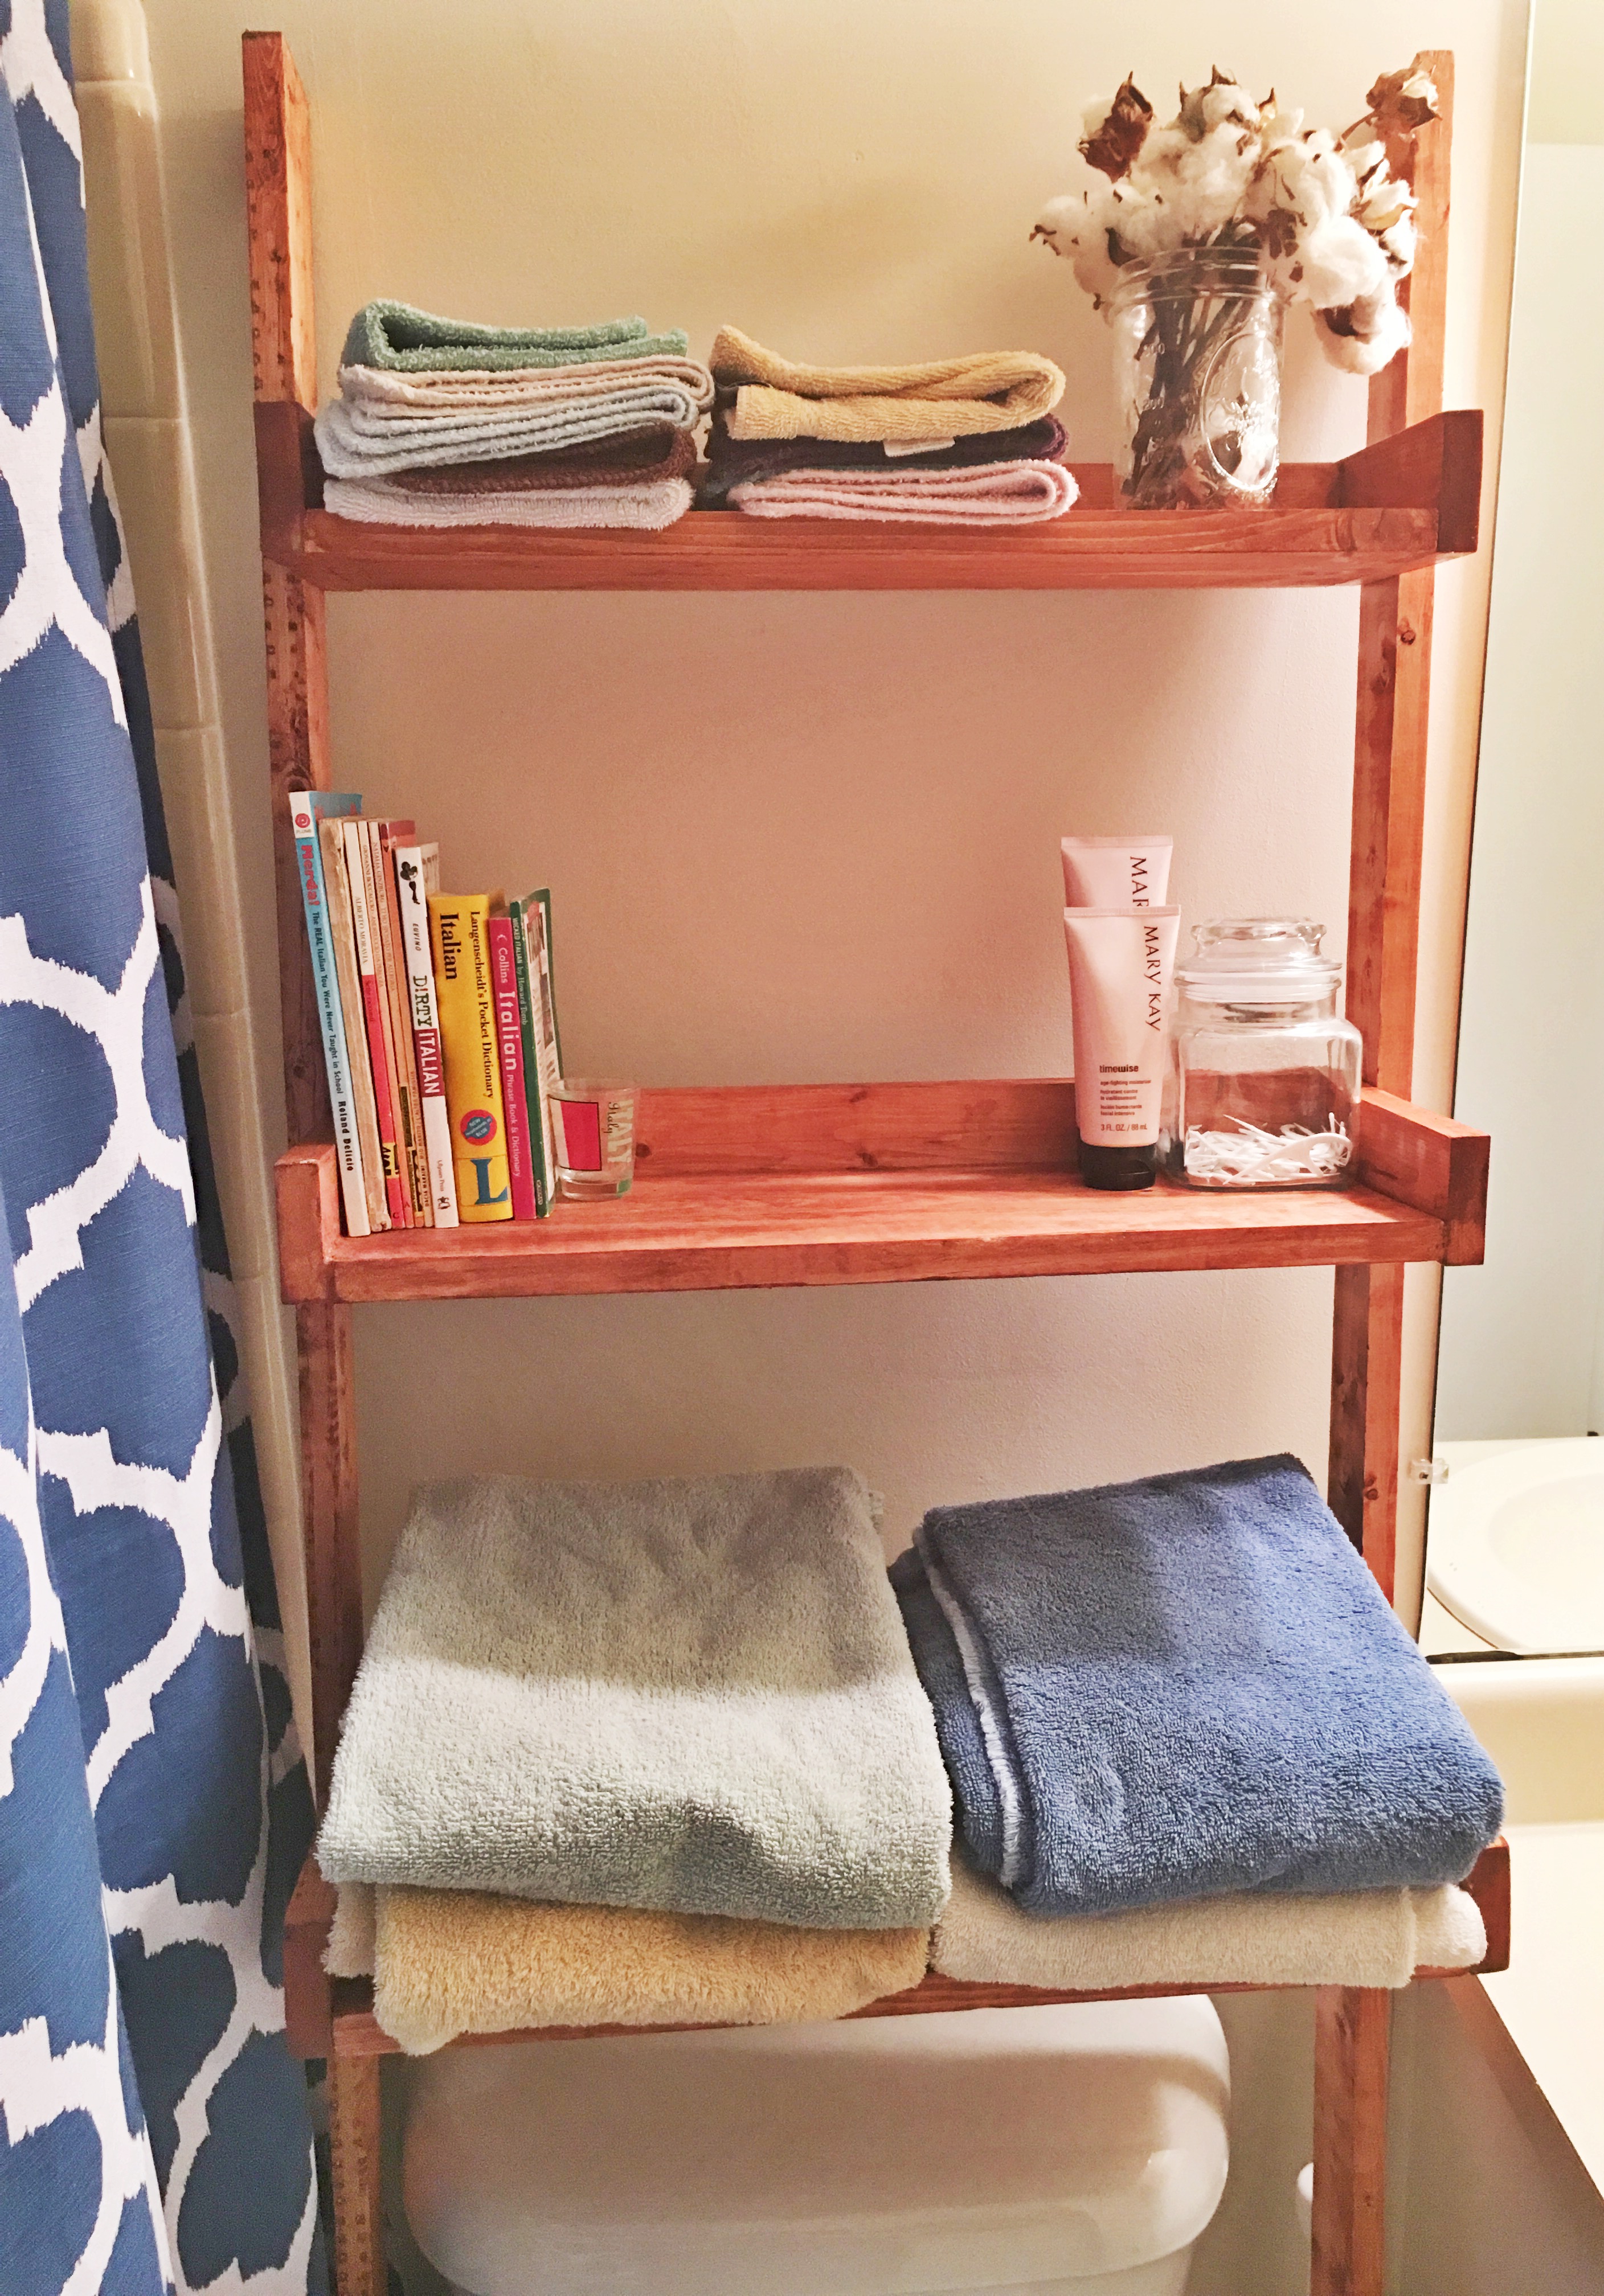
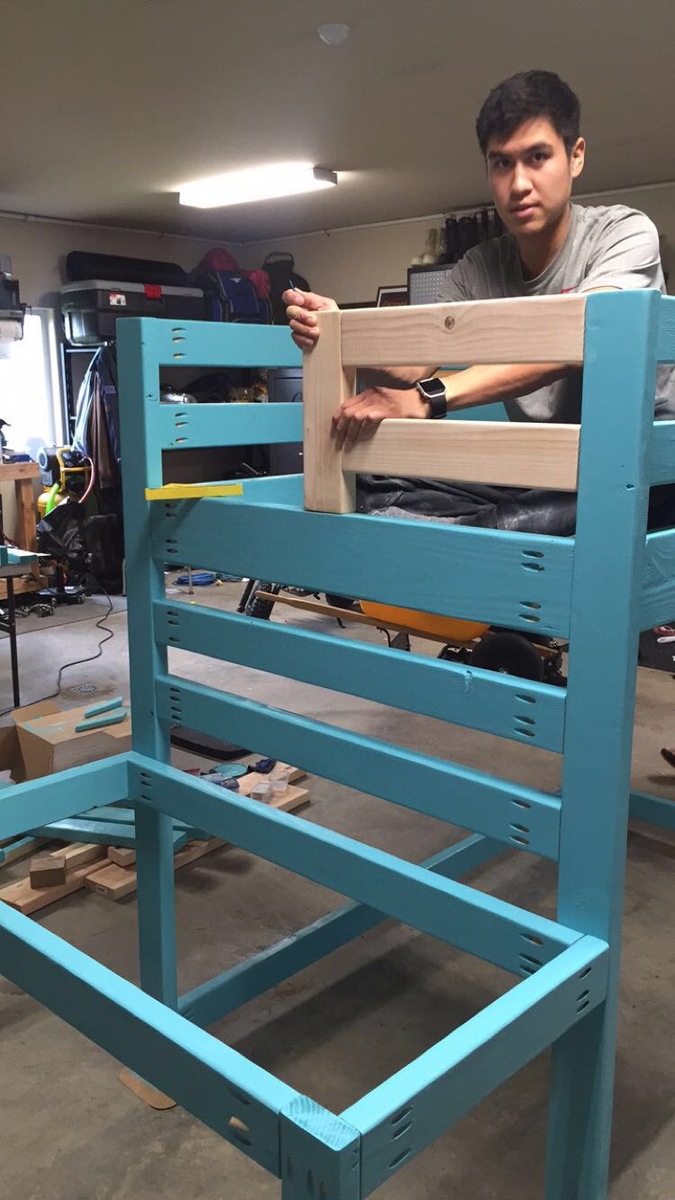
I had fun building this Leaning Bathroom shelf you posted from RyobiNation! I had been looking for the right bathroom storage for awhile. I have a small bathroom and not much really did it for me until I found the link to the plans on your Facebook feed. The moment I saw it I knew I had to build it for my bathroom so thank you so much for posting it!

Built from Plan(s)
Estimated Cost
$30
Estimated Time Investment
Afternoon Project (3-6 Hours)
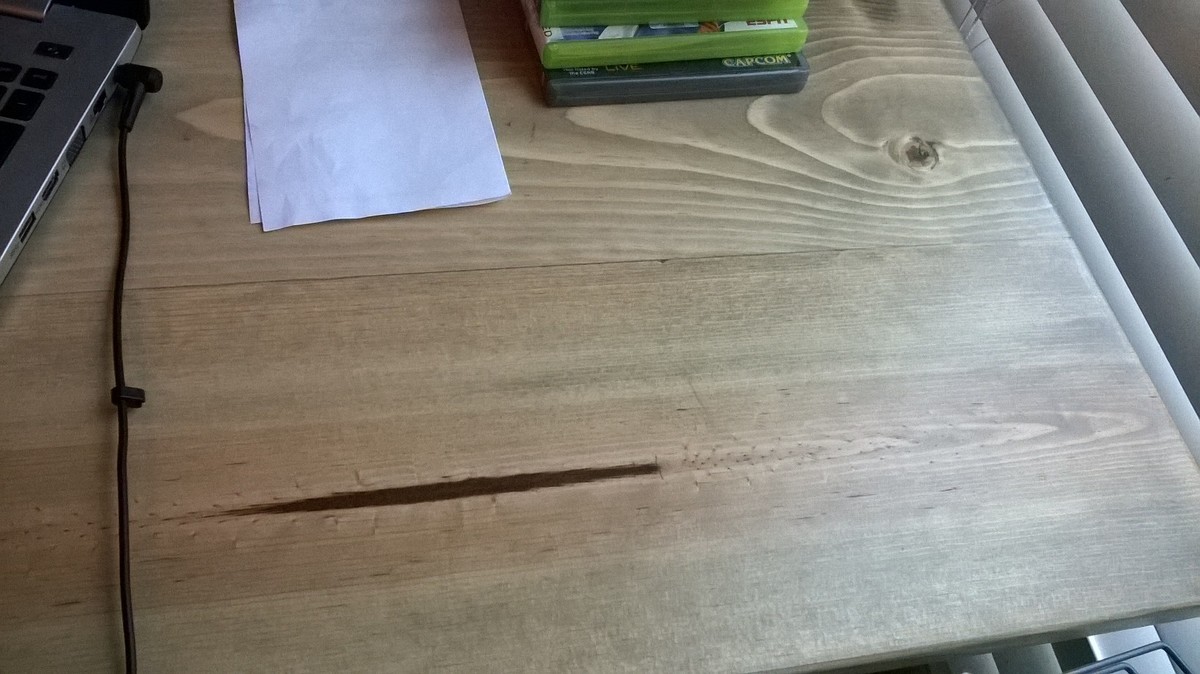
Finish Used
Rust-Oleum Traditional Cherry: I just made sure my wood was sanded and smooth and just applied the stain. Not much to my finish.
Recommended Skill Level
Beginner