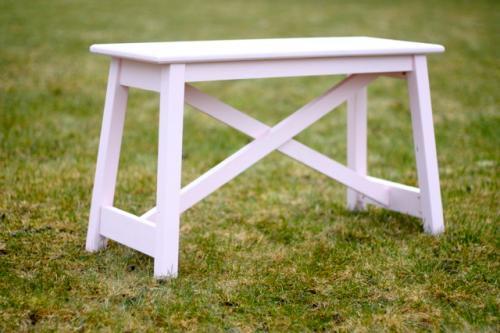
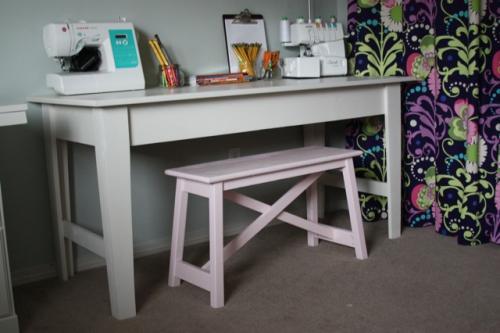
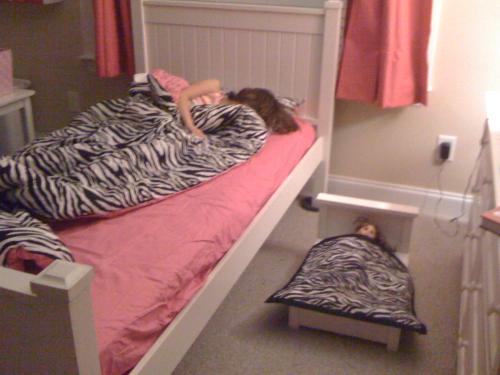
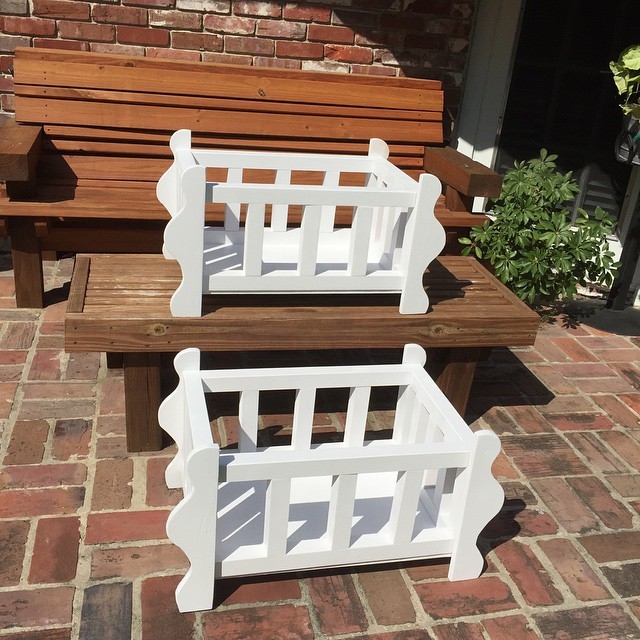
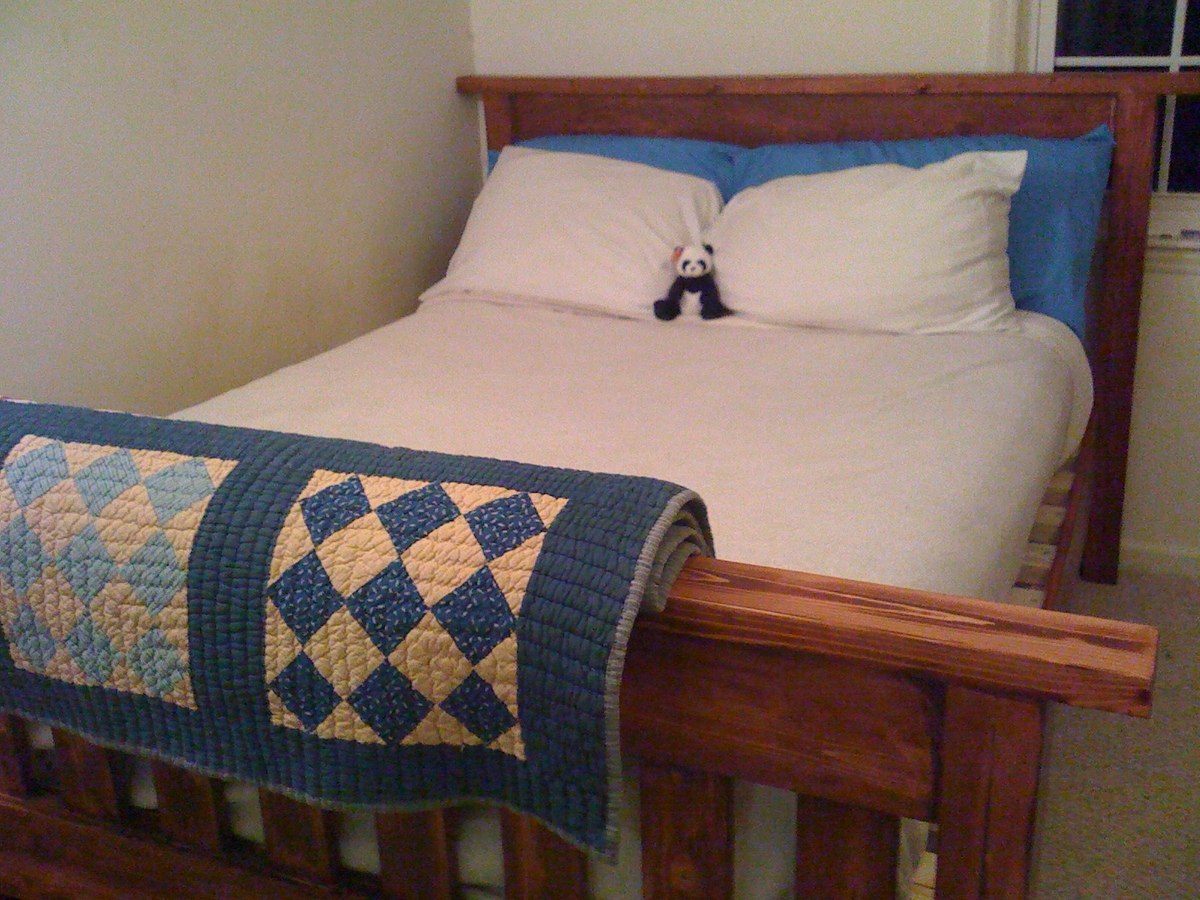
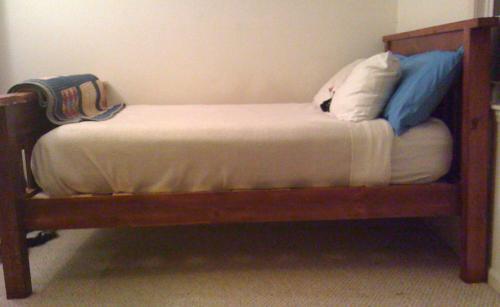
Building Ana’s farmhouse doll bed went so well that I felt ready to take on a full-sized bed.
Each project seems to come with its own set of lessons. I learned the hard way about the “Measure twice, cut once” rule with a couple of “oops” cuts that sent me back on another trip to the Blue store.
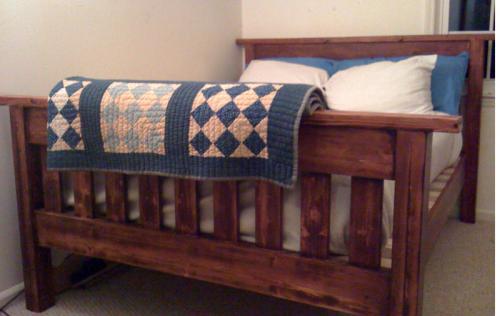
Sourcing untreated 4×4′s was also an issue. I ended up gluing and screwing 2×4′s together to use as the headboard and footboard legs.
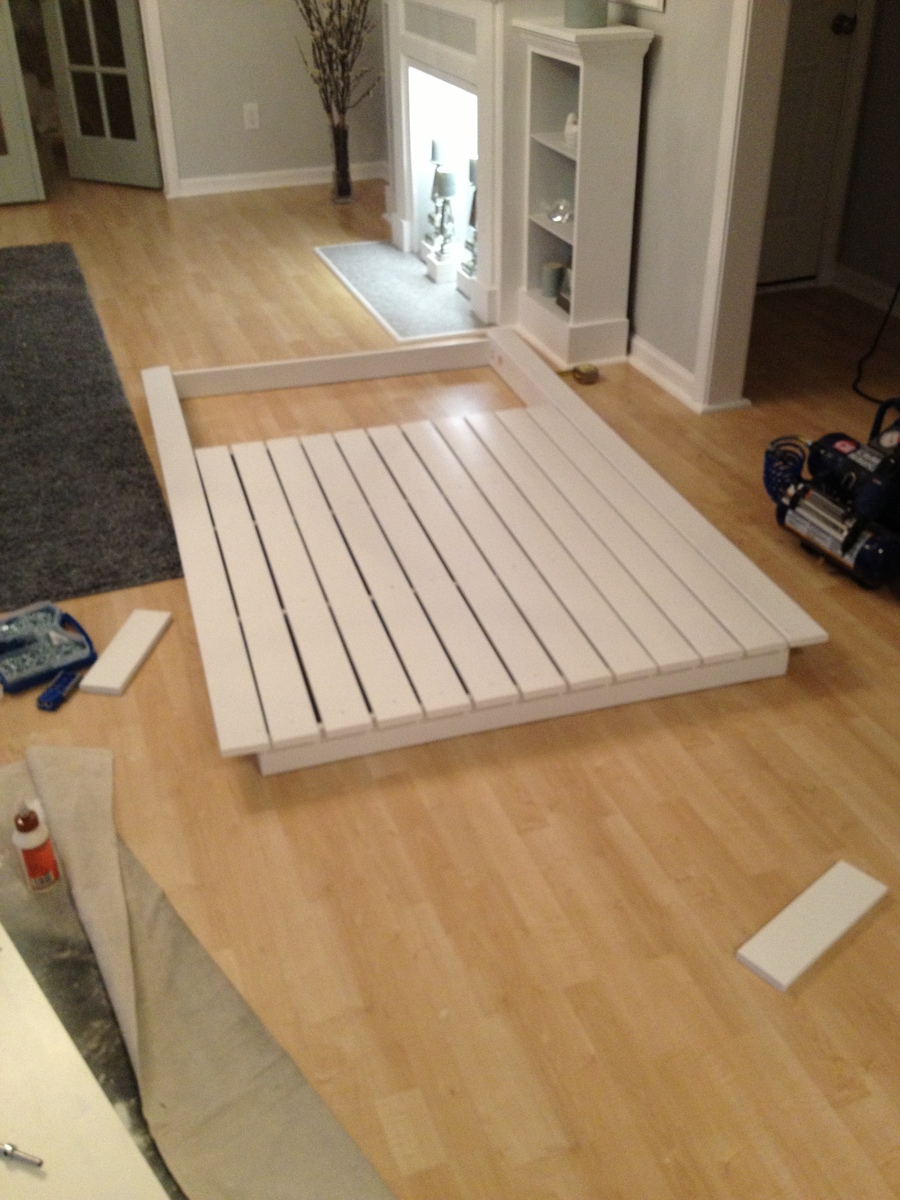
The biggest issue, though, was my own fear. Sure I hit some stumbling blocks during the build, but resolved them and got the headboard and footboard all put together… and then choked. Who the heck makes her own bed? Is this really going to work? I delayed and delayed the final steps of screwing the siderails to the legs and attaching slats until I finally had to give myself a stern talking-to and a self-imposed deadline! Has anyone else ever been scared to push through to the final steps?
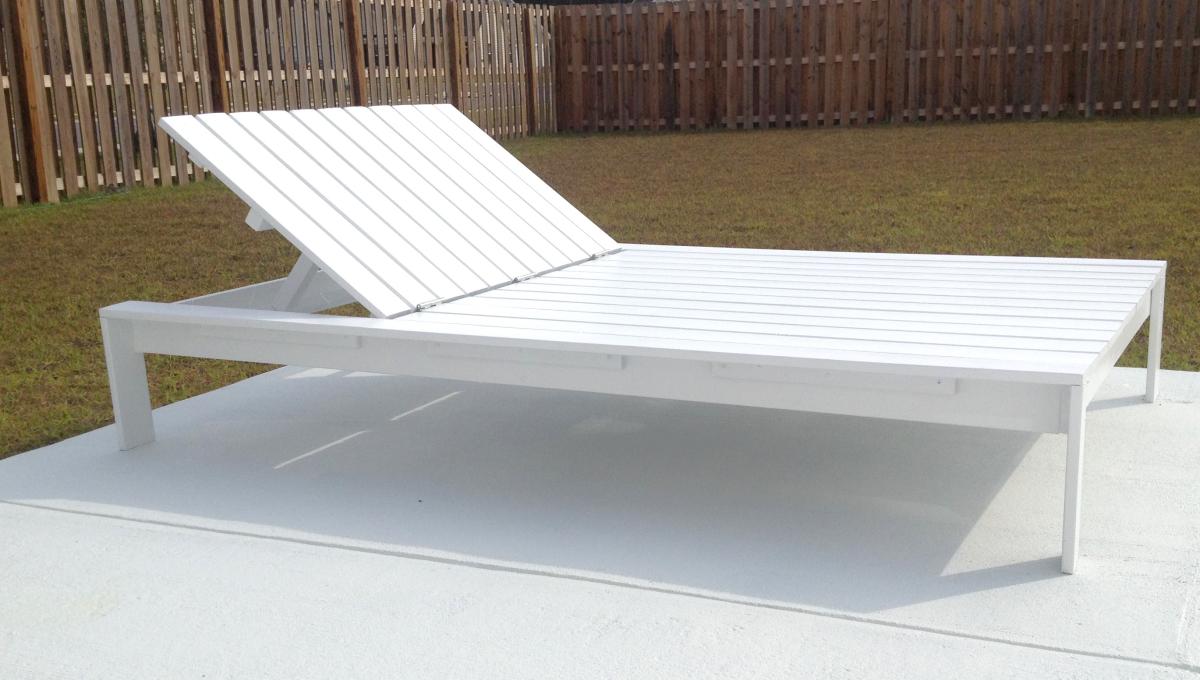
OK, here goes! I wasn’t sure that I understood the step about toenailing lagbolts through the end of the cleats into the legs until I got out the drill and tried it. Yup, it worked just fine! Next came the slats, and then when I hoisted the mattress on and saw that I had built a bed…. Well, I don’t even know how to describe that feeling of success and empowerment. Wow!
Ana, I wish I could thank you for all that you do.


Comments
Spolitte
Fri, 12/19/2014 - 16:02
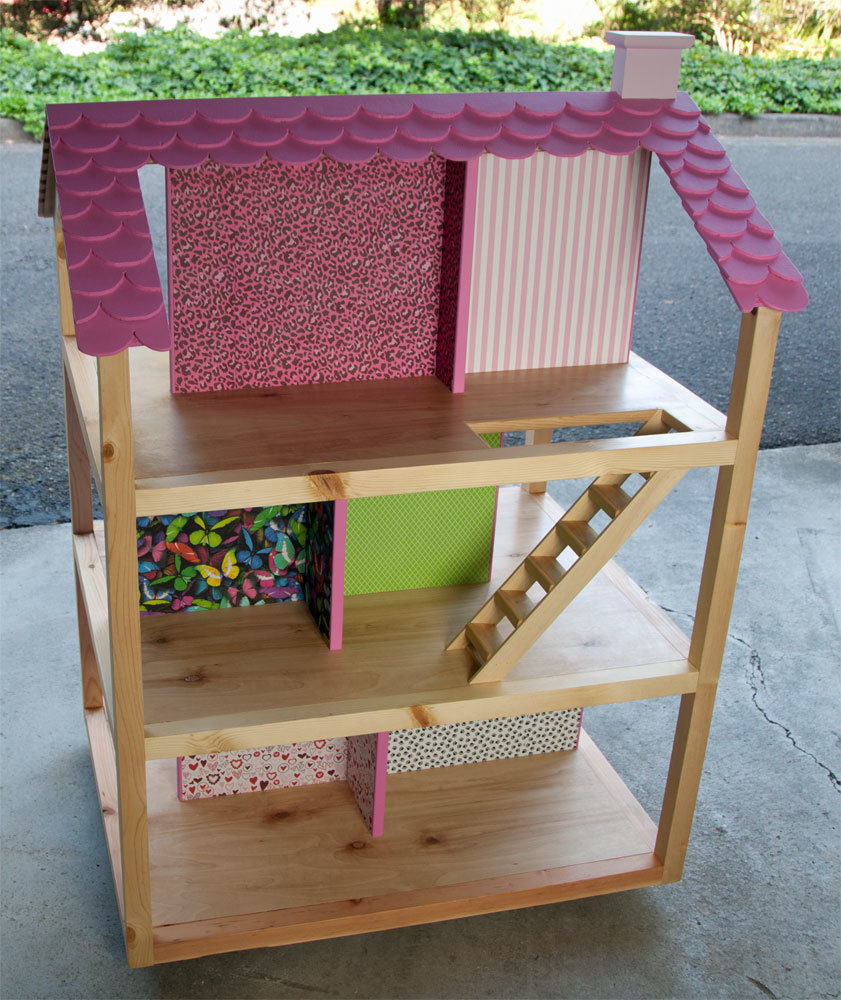
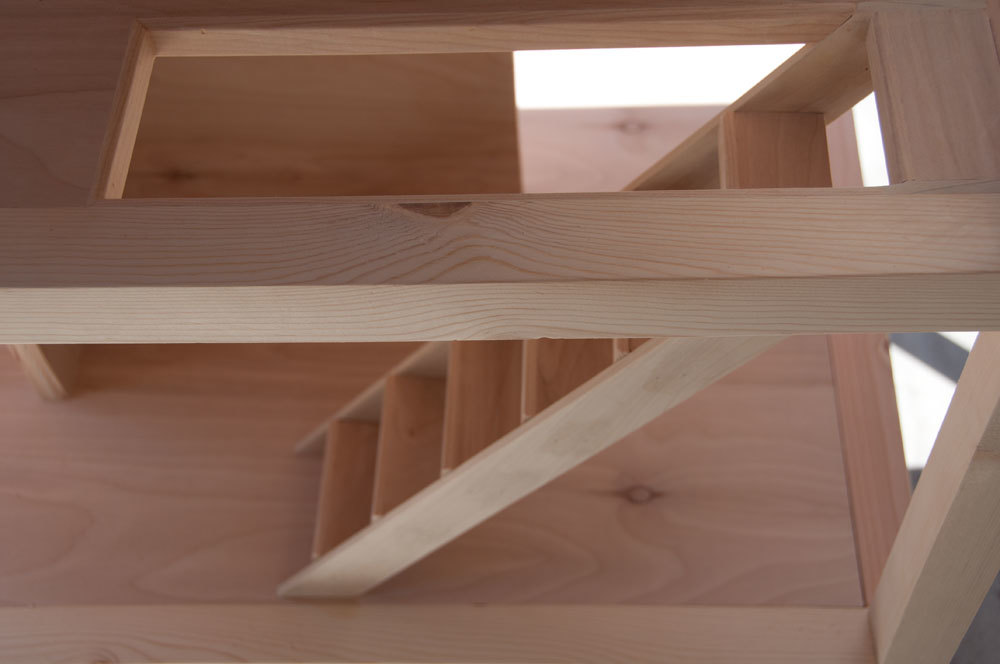
Stairs???
My husband is currently building this dollhouse for our own granddaughter. We are loving the way you designed your stairs. Can you tell us how you did this? The doll house is beautiful! Thanks.
Spolitte
Fri, 12/19/2014 - 16:07
Stairs???
My husband is currently building this dollhouse for our own granddaughter. We are loving the way you designed your stairs. Can you tell us how you did this? The doll house is beautiful! Thanks.