Community Brag Posts

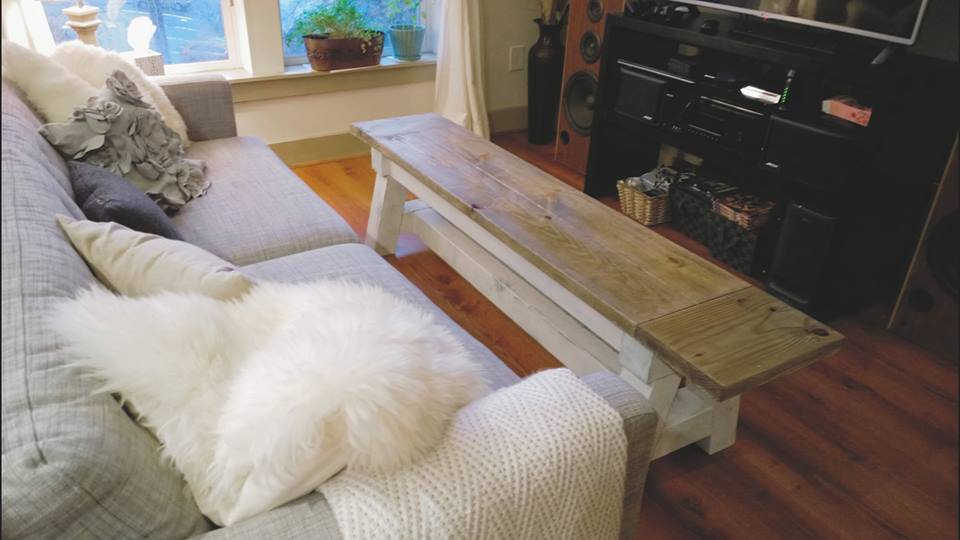
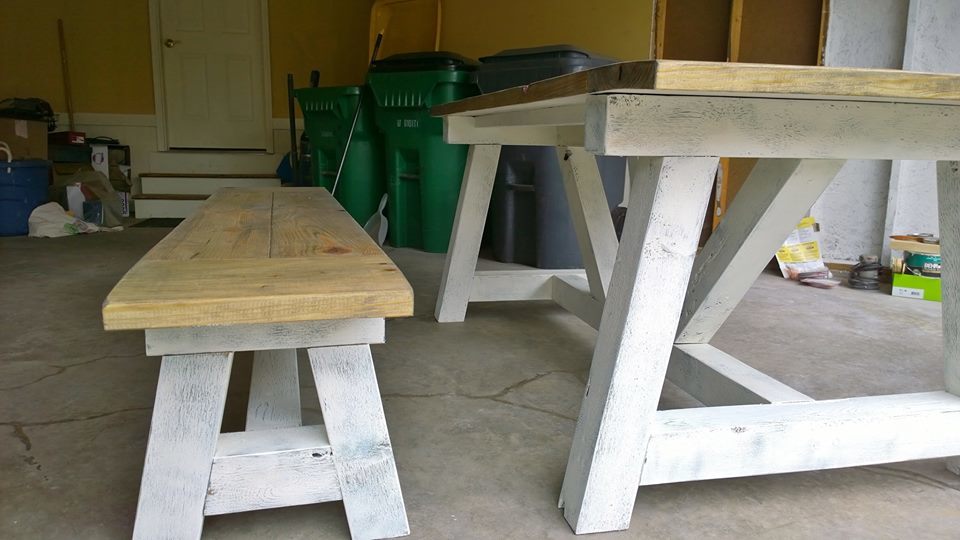
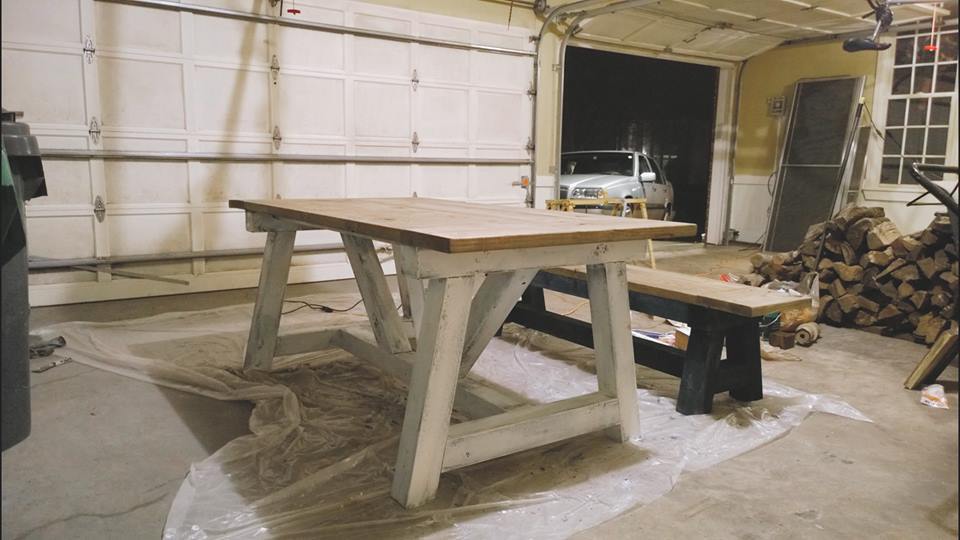
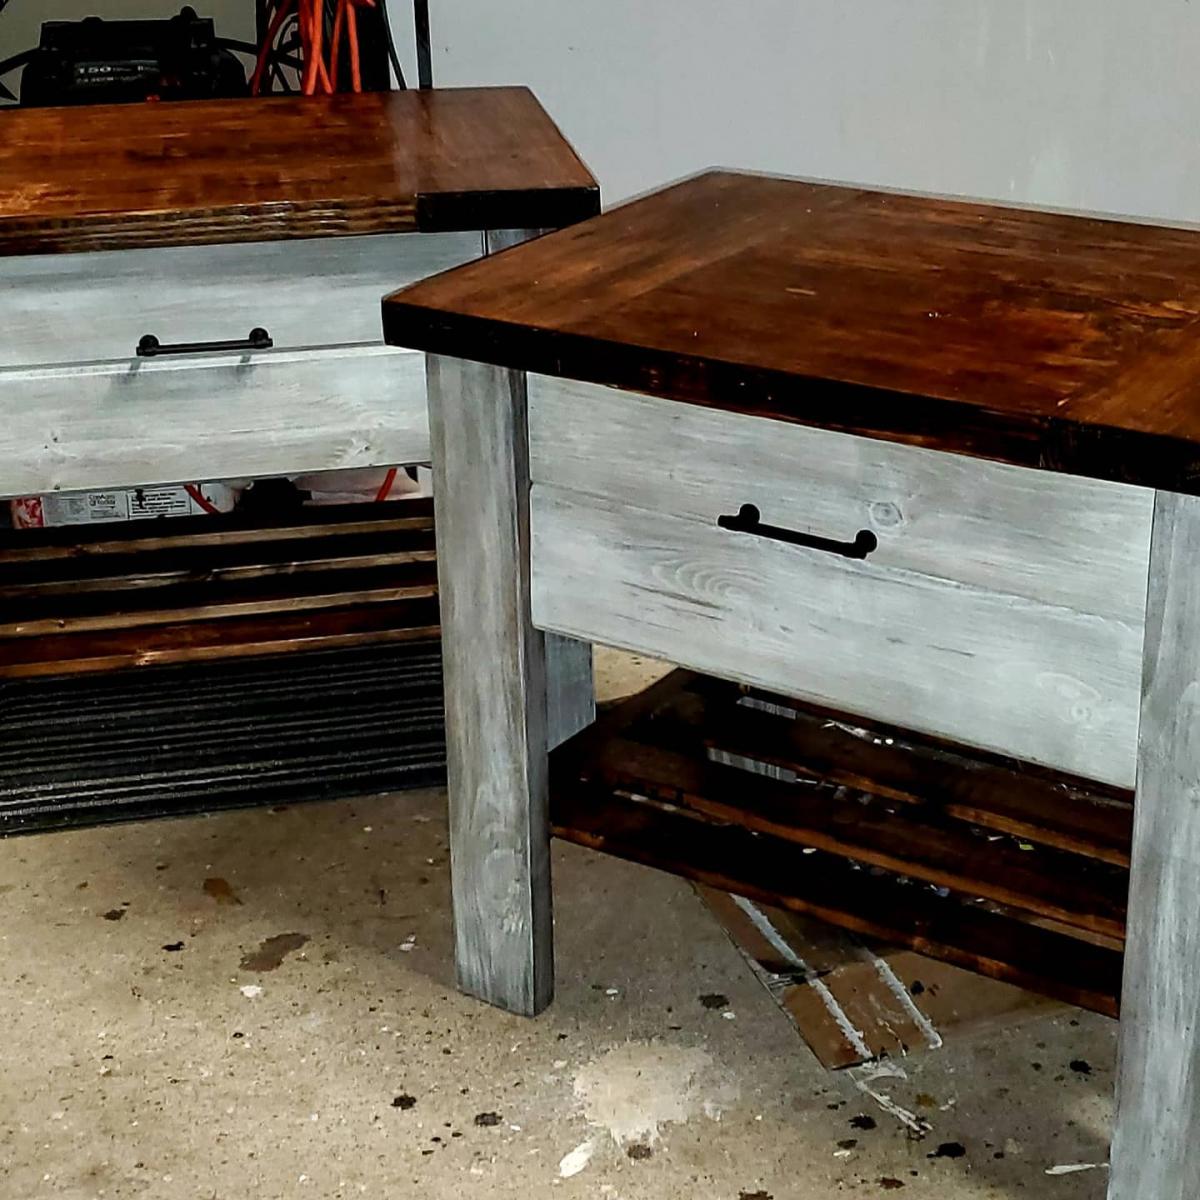
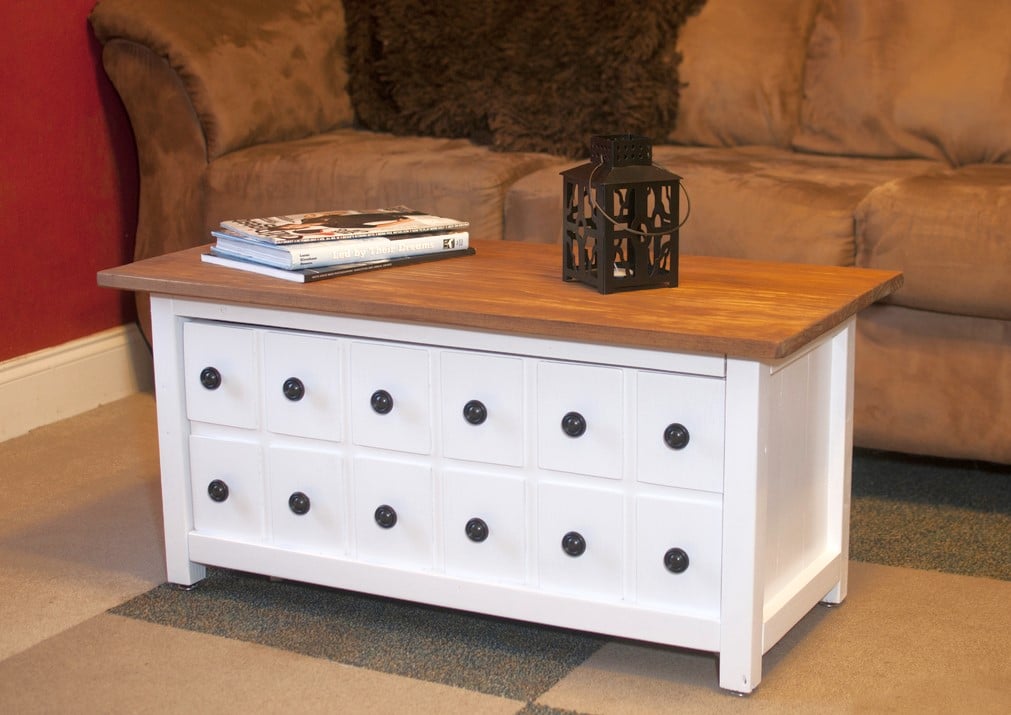
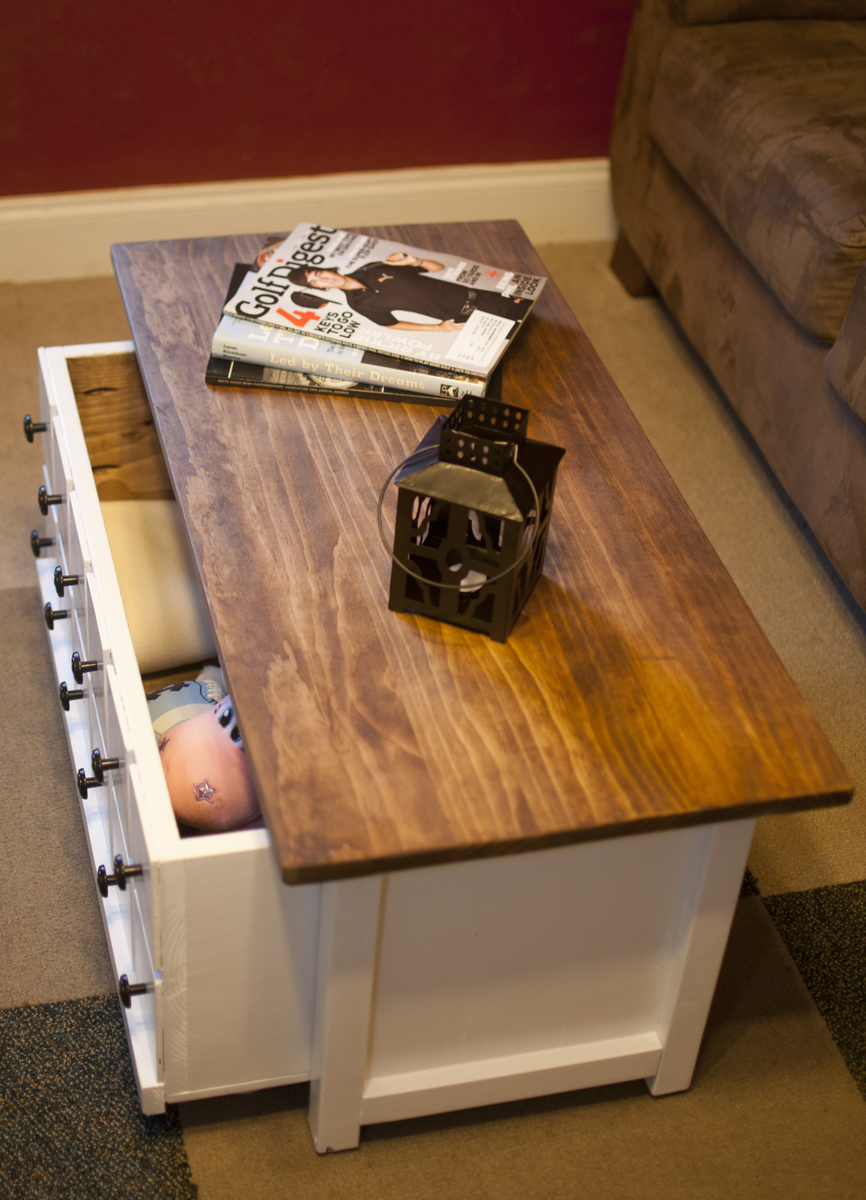
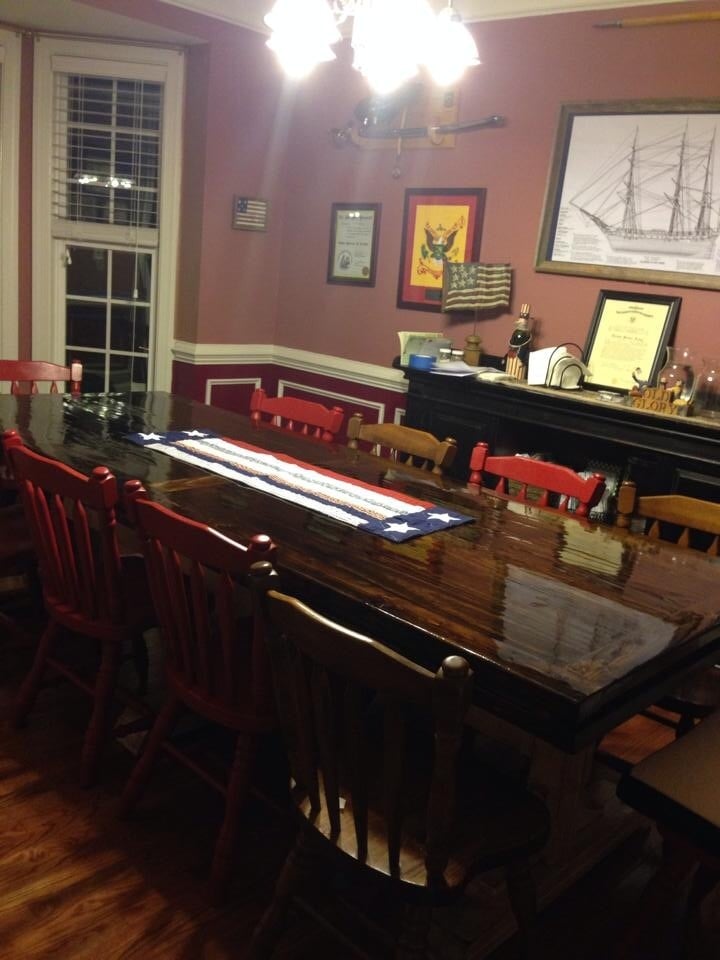
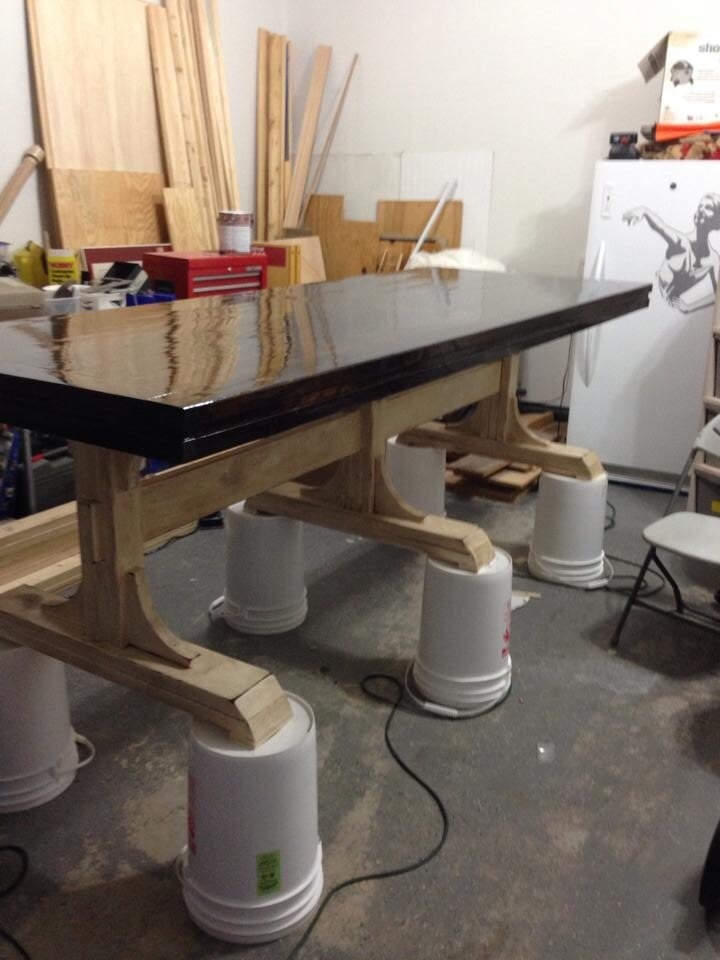
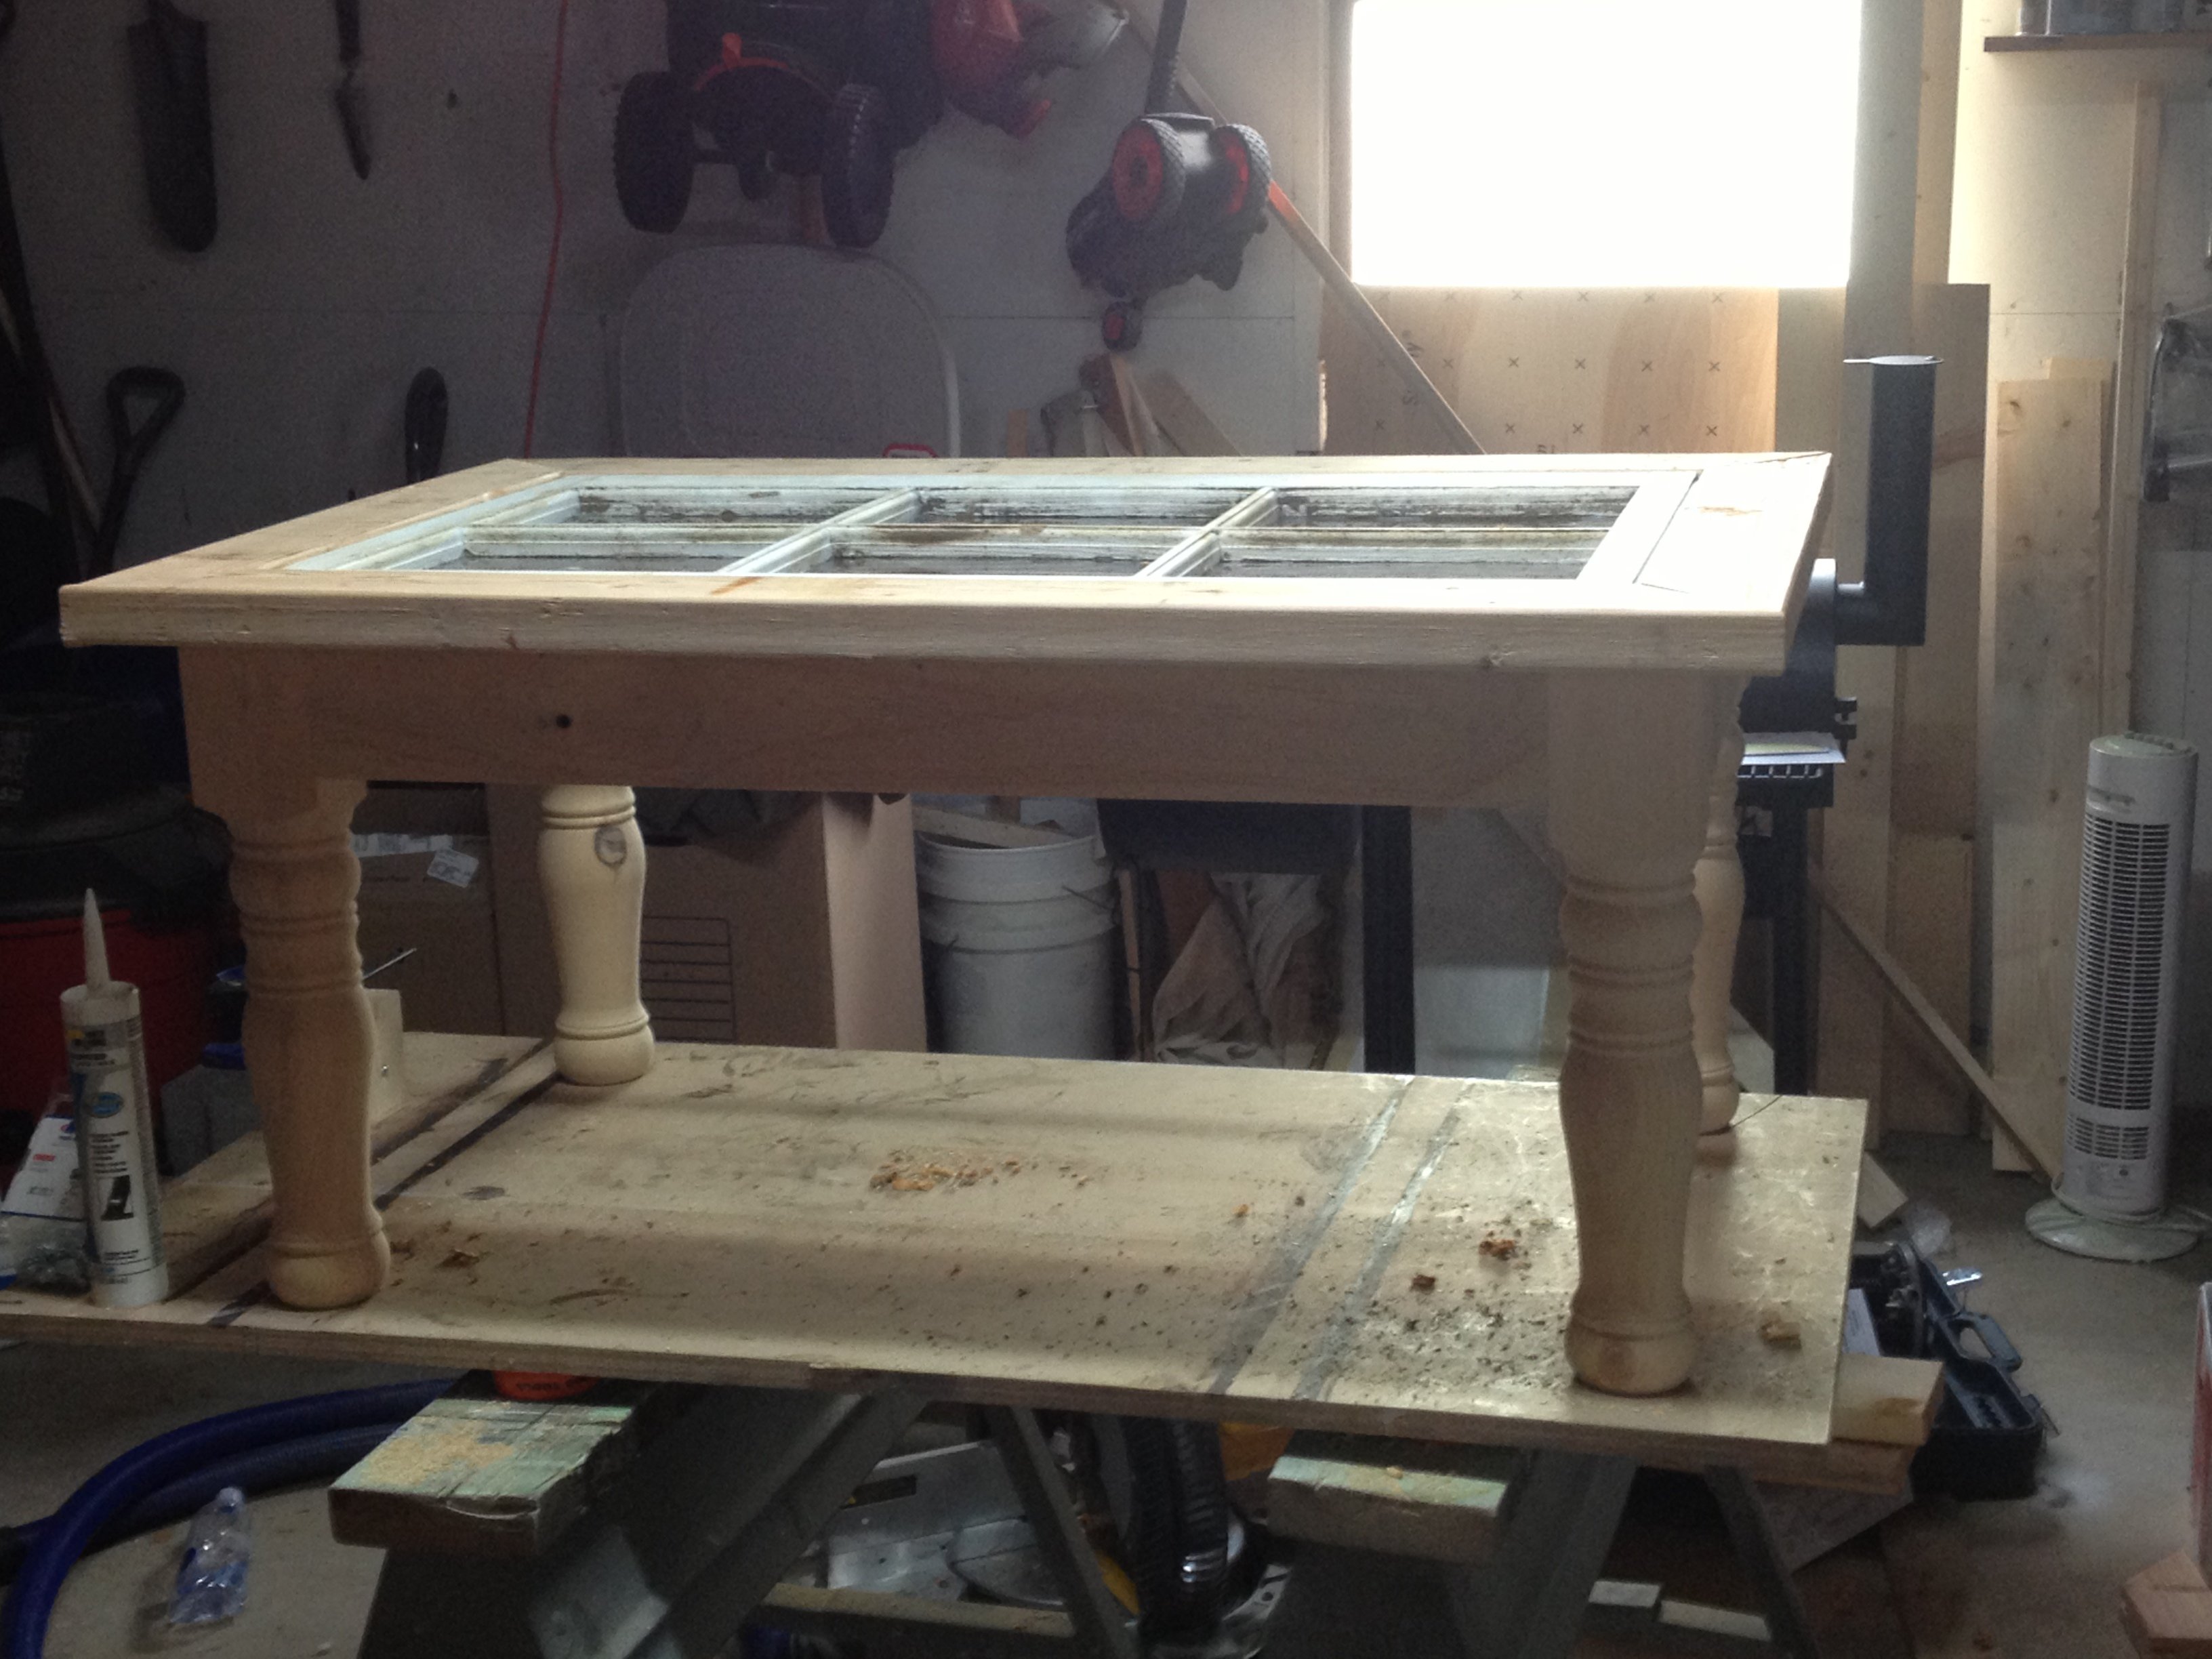
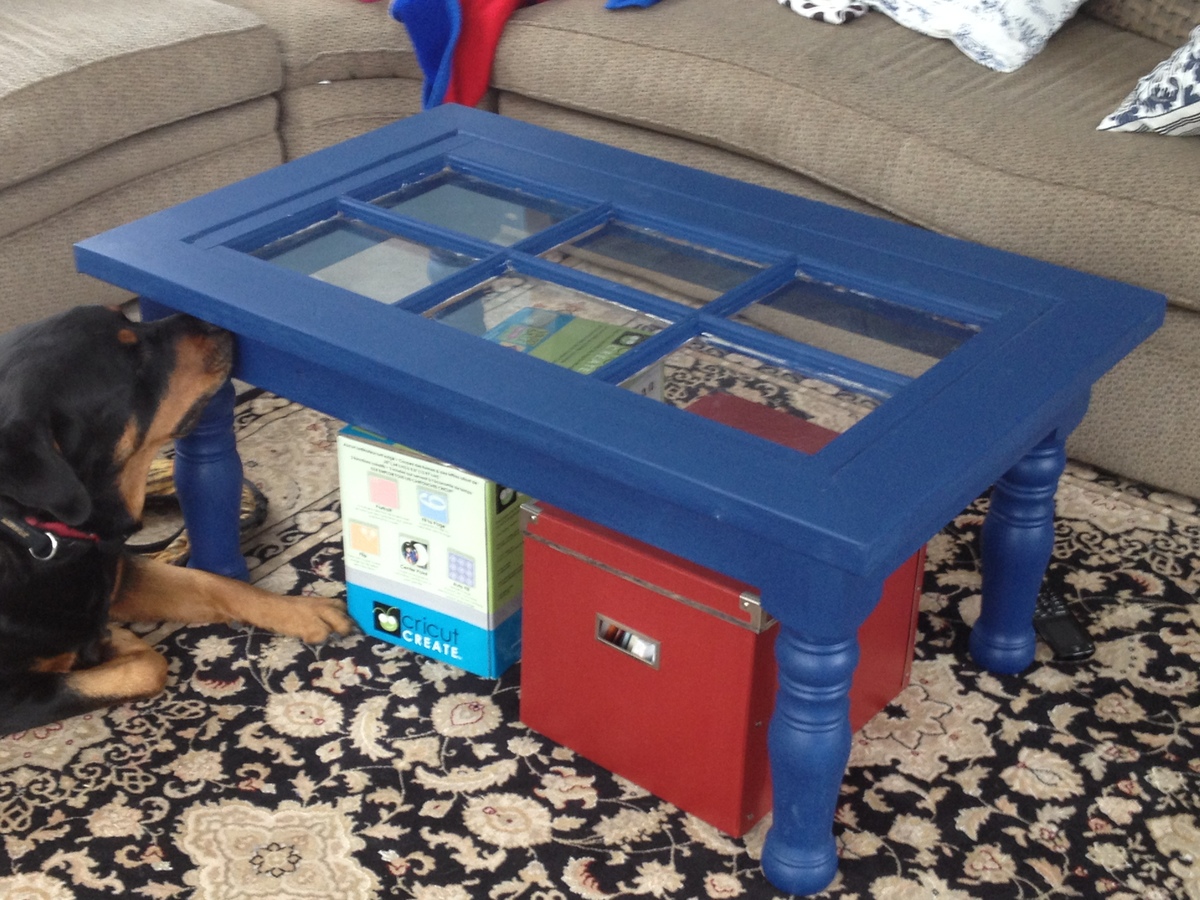
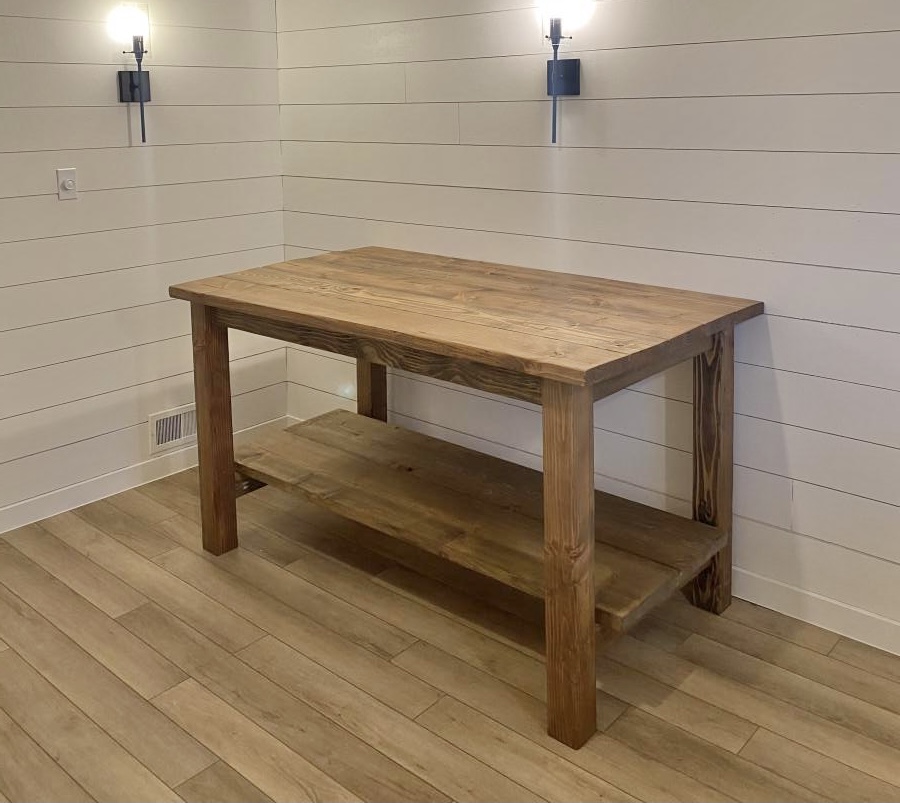
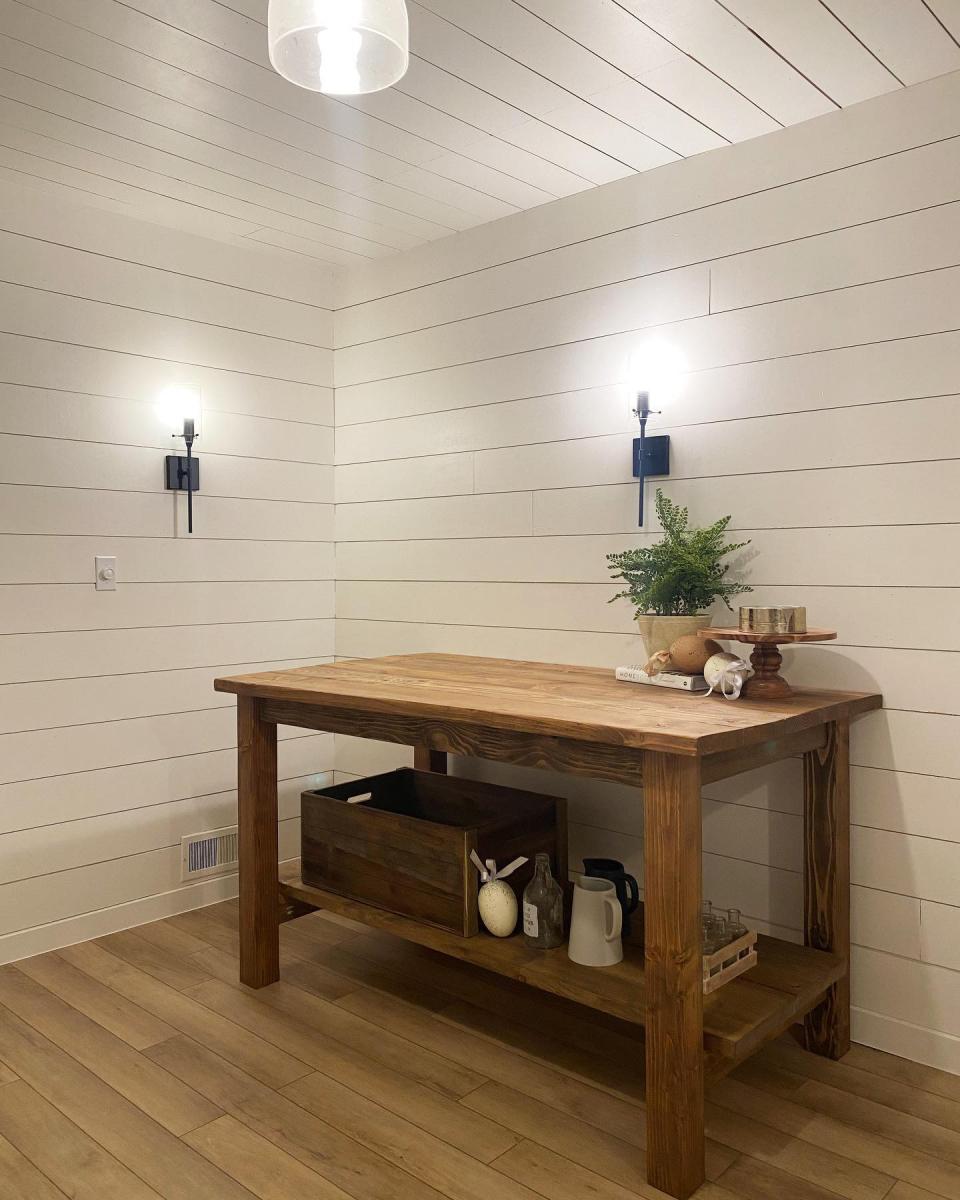
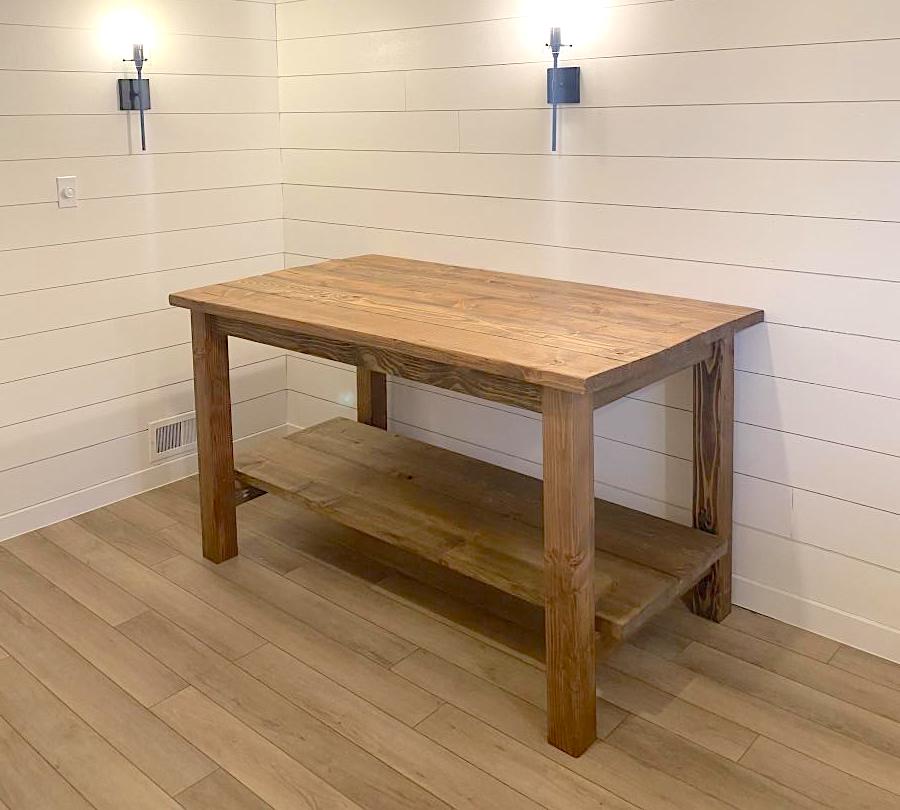
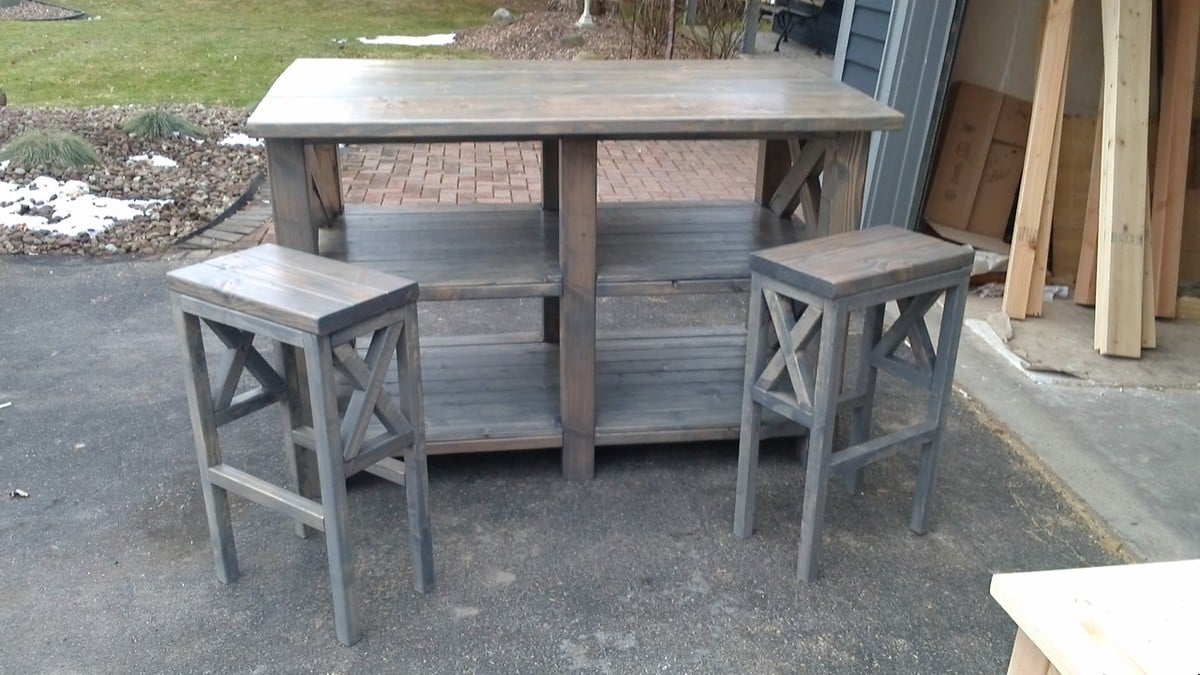
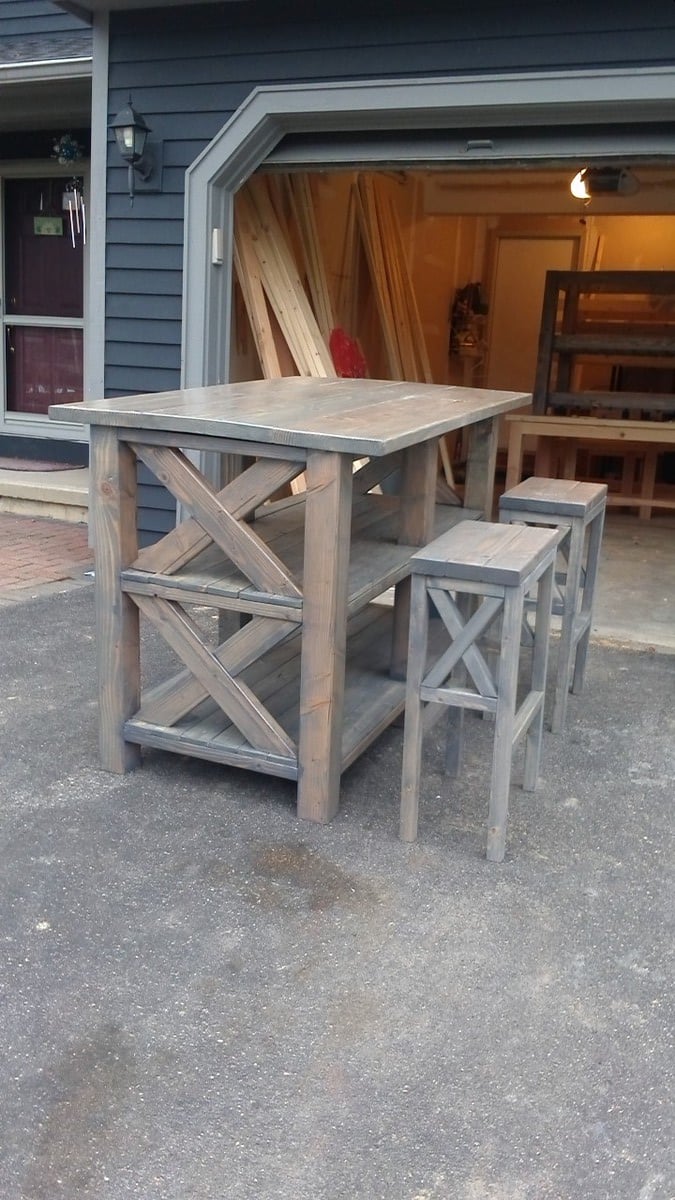
4x4 Truss Beam Table

Submitted by kmlimoges on Mon, 01/05/2015 - 06:39

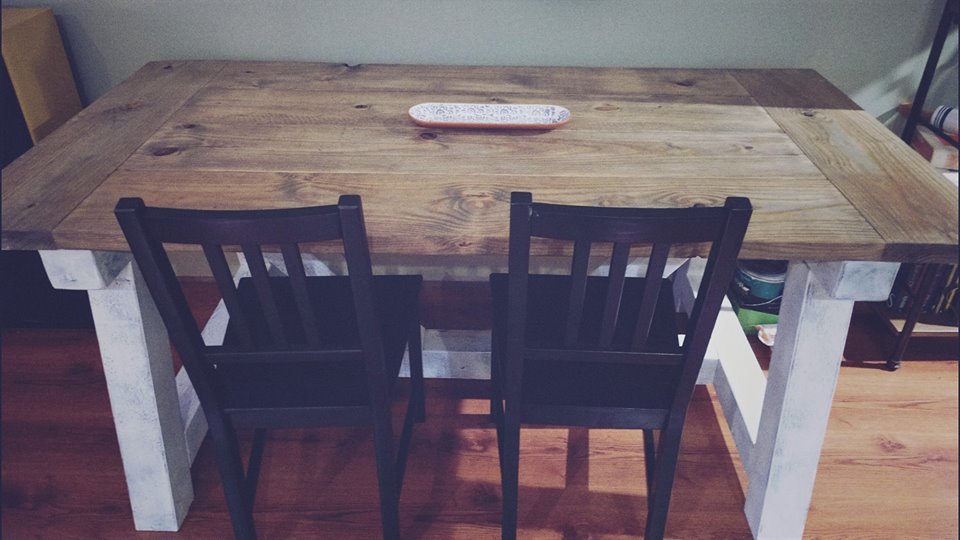
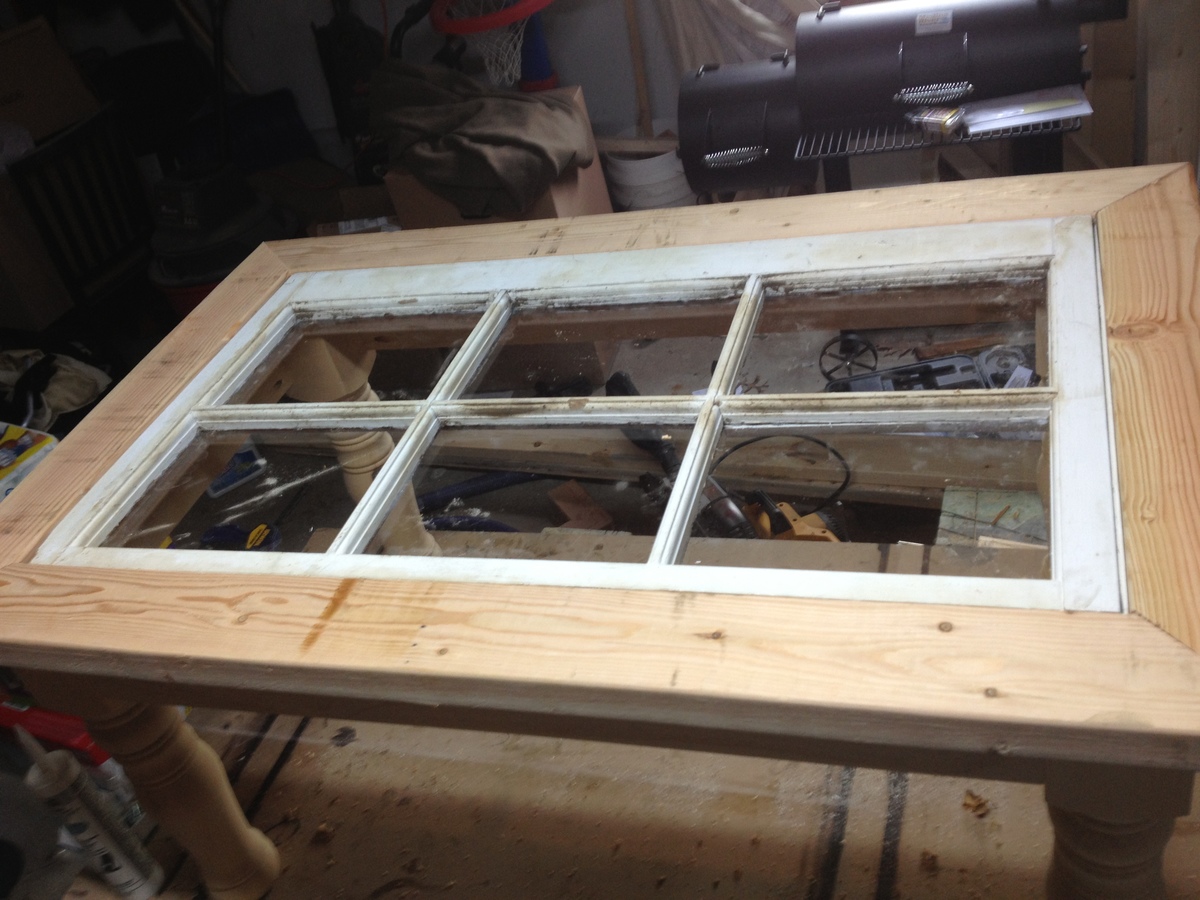
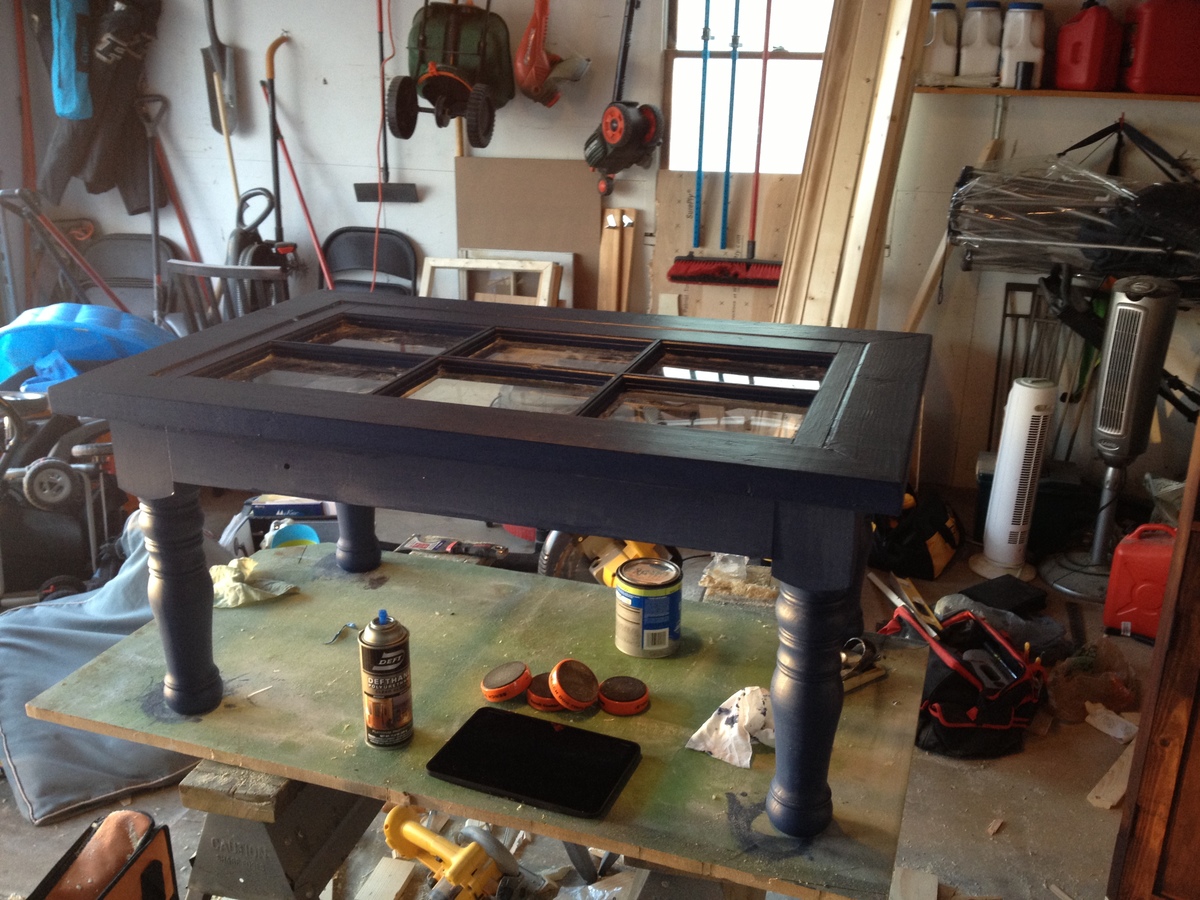
First DIY. Took roughly 17 hours completed over 3 days. Used untreated pine from Home depot for top and untreated cedar (the only 4x4's available) for legs.

Total cost $270

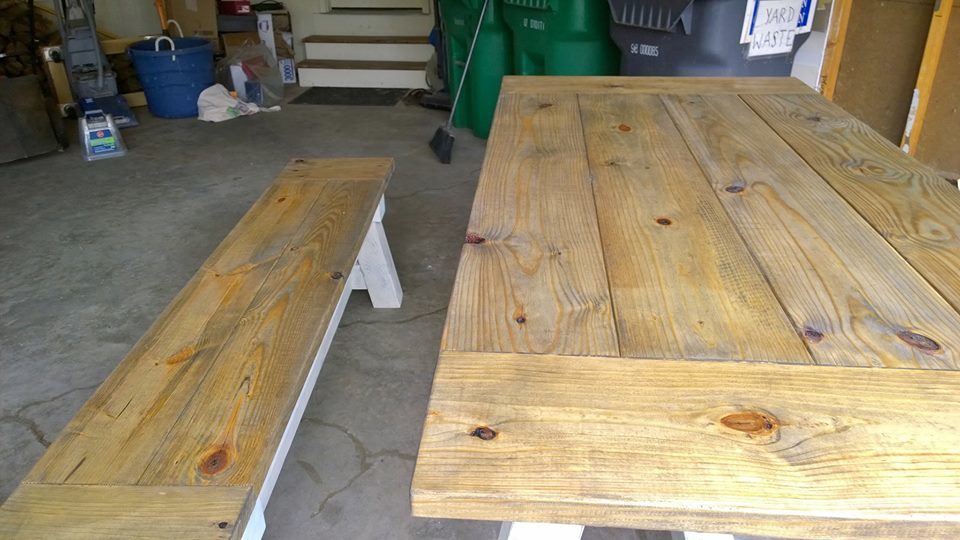
Top stain: weathered oak (2 coats)

Top finish: Rustoleom polyeurothane clear satin

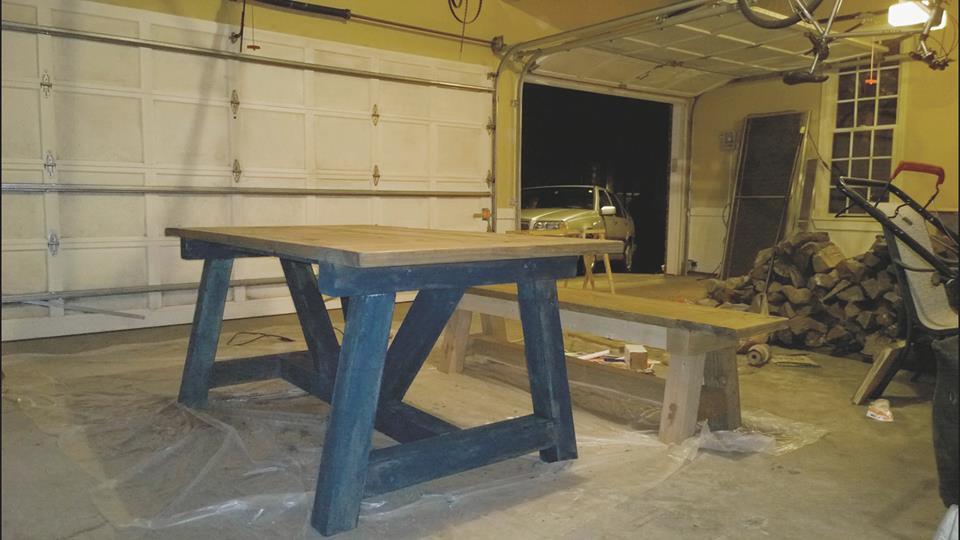
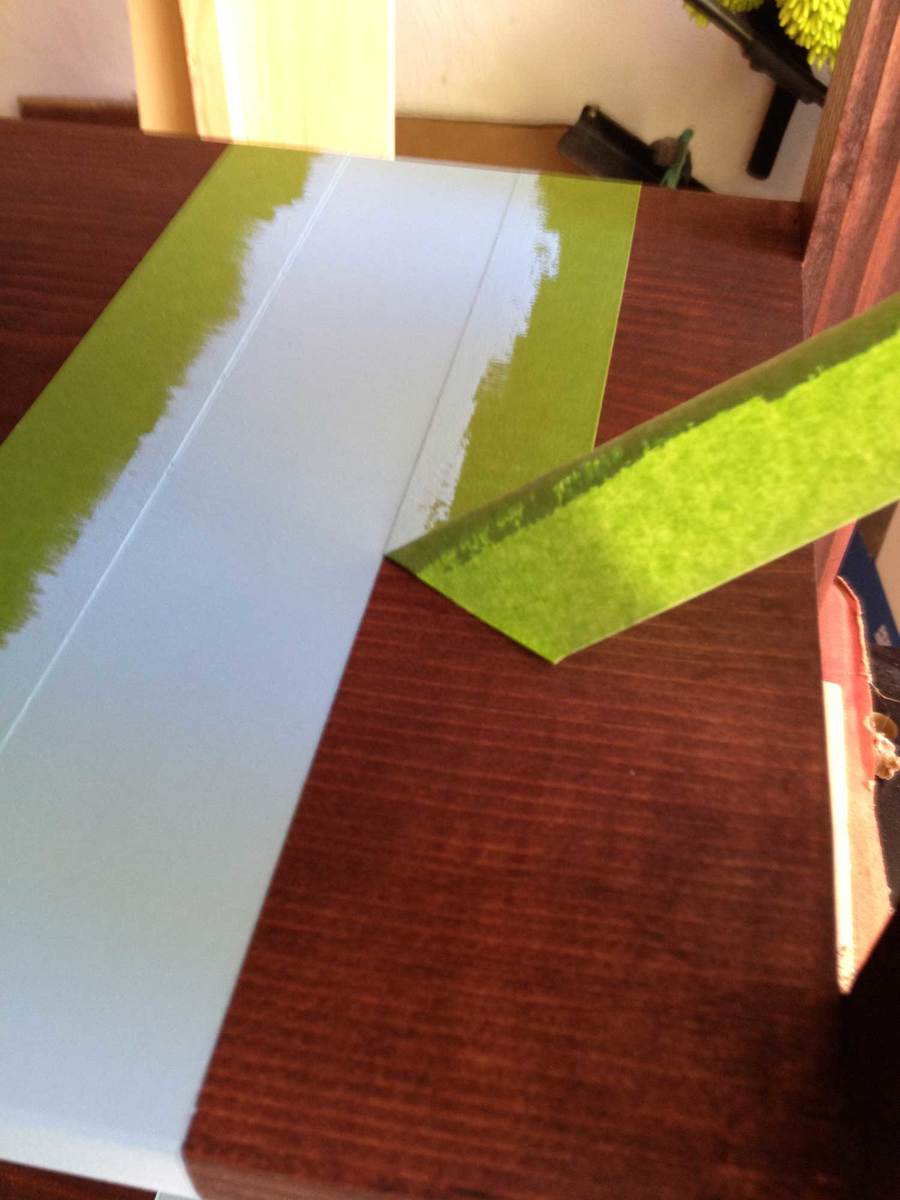
Legs: undercoat of Behr's Nautical blue and two thin coats of a white paint we had on hand. Then we distressed with an orbial sander and a 220 grit paper.

Built from Plan(s)
Estimated Time Investment
Weekend Project (10-20 Hours)
Recommended Skill Level
Intermediate

Loft Bed with Desk & Bookcase

Submitted by Anonymous (not verified) on Tue, 04/04/2017 - 12:47

Created but Modified from the plans found on here, my daughter has a great new bed. This bed saved a ton of space in her very small room. PLUS it allowed her to have an area to do her homework and all the art projects she does! Very easy build. Took a day to build and another to paint. 

Estimated Cost
$250.00 CDN
Estimated Time Investment
Weekend Project (10-20 Hours)
Finish Used
Behr Marquee Paint
Recommended Skill Level
Beginner

S&H bedroom

My nephew ordered the bed for his bride to be and one year later I gifted them the bedside tables to match as a wedding gift. This plan was easy for someone who has trouble with drawers!

Built from Plan(s)
Estimated Cost
basically free. Used scrap wood from beds built. bought hardware only.
Estimated Time Investment
Weekend Project (10-20 Hours)
Finish Used
Expresso stain with dry brush white paint.
Recommended Skill Level
Beginner

Comments

Shiplap Fireplace with Hearth and Hidden Drawer Mantle

Submitted by cgarrett42 on Thu, 04/17/2025 - 07:20

Inspired by Ana White’s tutorial “Easiest Shiplap Fireplace with Free Plans and Video,” I customized the design by adding a hearth bench and recessing the television into the shiplap for a cleaner, built‑in look. A discreet access panel on the left side keeps wiring tidy, while a hidden drawer in the mantel provides convenient storage for remotes and accessories. The room features 9‑foot ceilings, and the fireplace unit spans a total width of 81 inches. The bench lid is hinged for easy access to additional storage. The main body projects 12 inches from the wall, and the bench extends 24 inches. - Carl Garrett

Convertible Shoe Rack

Submitted by tfox on Fri, 03/01/2013 - 15:41

A few weeks ago I was getting ready for work and was excavating my shoe collection in search of my brown wingtips. Although I had managed to curate a pretty respectable collection of dress shirts, slacks, suits, and shoes, I still relied on a cheap coated wire shoe rack that could likely double as a grilling grate for my bbq. This was amplified by the fact that is was meant for about half the number of shoes I was using it for. I know, first world problems. It’s tough out there. So, I decided to build a two piece unit that I could stack atop one another or use it side by side in the future.

Estimated Cost
$50
Estimated Time Investment
Afternoon Project (3-6 Hours)
Finish Used
Minwax Red Mahogany Stain with Robin's Egg Blue stripe (in eggshell finish). Finished with three coats of Minwax Wipe-On Poly.
Recommended Skill Level
Beginner

Comments

zendup

Tue, 03/05/2013 - 09:12

That looks great! I need something like this in my front entry closet. I could probably use some in the master closet too. Thanks for posting!

Apothecary coffee table with toy trundle

I found the original plans and LOVED them, but my house is tiny, so I was forced to re-work the plans to fit my space! This is a good bit smaller, but every bit as awesome! ;) I decided not to distress it, but I may down the road if it starts to scuff up! ;) Project took about a week long including finishing time. Actual build time was 9-10 hours over two days.

Estimated Cost
Total cost was $60-75
Estimated Time Investment
Week Long Project (20 Hours or More)
Finish Used
Finished the top and inside of the box with Minwax stain and the outside with Kilz primer and latex paint.
Recommended Skill Level
Beginner

Printers table

Submitted by Anonymous (not verified) on Fri, 04/07/2017 - 12:26

I used your printer cabinet plans however altered them  a bit.  Wood is various  including gum, cherry,pine, etc.  Enjoy and thanks

Built from Plan(s)
Estimated Cost
$74
Estimated Time Investment
Week Long Project (20 Hours or More)
Finish Used
Danish oil
Recommended Skill Level
Intermediate

Comments

Farmhouse Doll Bed

Made from 1x3 and 2x2 pine furring strips and a piece of 1/4" scrap plywood. I added an additional support across the center of the bed to provide some extra strength as was suggested in the tutorial. Painted with Benjamin Moore Select Soft Gloss White. Mattress is a foam pad inserted into a pillow case which is folded over to make it easy to wash. The bedding was purchased through TreasuresDollShop located on Etsy. https://www.etsy.com/shop/TreasuresDollShoppe

Estimated Time Investment
Day Project (6-9 Hours)
Finish Used
Painted with Benjamin Moore Select Soft Gloss White.
Recommended Skill Level
Beginner

Comments

modified version of X Desk with Drawer

Submitted by JMBower on Mon, 03/04/2013 - 15:47

I was looking for a desk with sort of a "campaign furniture" style feel to it, and came across Ana's plan for the X Desk with Drawer.

I made a lot of changes from that starting point, some of which worked well, some of which didn't. In the end, my desk varies pretty drastically from the original, but I definitely have to give credit for lots of helpful tips and inspiration from Ana's plan!

It's a little rough, but it's one of my first real builds, so I'm pretty happy.

Note: picture does not show spreader on back legs, added afterwards. Drawers are out while guides dry, they normally sit flush with front face.

Made from pine, with poplar edging on front. Mostly pocket hole joinery. Finish is a light version of the Minwax Dark Walnut (looks lighter in picture than real life.) Lacquer coating. Pulls are from Home Depot.

To give it an antique, campaign look, the edges are roughed up a little, the finish is left a little streaky/worn, and the holes for the drawers were cut out of the board by hand, and then hand-fit to the drawers.

Built from Plan(s)
Estimated Time Investment
Weekend Project (10-20 Hours)
Recommended Skill Level
Beginner

Shiny AND antique

First project built using plans from Ana White.  Loved completing it.  Take the time to sand and prep for finish.  Makes it sooo much better.

My glossy finish adds a lot of luster to the project.  I trimmed the inside edges of the 2x4 peices on the outside trim to make a smooth surface.  


Built from Plan(s)
Estimated Cost
$200
Estimated Time Investment
Week Long Project (20 Hours or More)
Finish Used
Minwax dark walnut. Spar poly. Offwhite semigloss, sanded and antiqued with stain.
Recommended Skill Level
Beginner

Too cute not to have one for the 18" dolls! Hubby tweaked the plan, I "had fun playing!"

Submitted by Anonymous (not verified) on Mon, 04/10/2017 - 15:09

I fell in love with your stand, and showed it to my husband (who is not a carpenter, but holds his own with making doll furniture).  I forgot to mention to him it was for real girls, but he figured it out quicky when he saw the size of wood pieces, hah!  So I begged him to use the basic idea, and so he tweaked a plan and this is what he came up with.  The signs are laminated, and 8 signs fit into the slot he made on top.  We have  a lemonade stand, a market, a theatre, a boutique, a candy shop, a bakery  and a frozen treat shop.  Our granddaughter is beyond delighted!  We don't have a blog. We craft and sell 18" doll items and have Facebook page.

Finish Used
Just sanded, primed and painted white.
Recommended Skill Level
Beginner

Mega Mom Board

Submitted by agarrigan on Wed, 03/06/2013 - 20:18

Inspired by many projects here on Ana's page, my "Mega Mom" board is not just a pretty face, it's also great at multitasking. It helps calm the chaos and juggle the daily influx of papers with the same ease that it manages a quick message or coats.

The "Mega Mom" board has a chalkboard, shelf, and hooks for coats. It also has letter bins for important papers, a magnetic board to hold the family calendar, additional hooks for keys and a bucket to hold chalk or loose change. Our ceilings are 9' and I'm 5'10", so I made it big and hung it high to make the best use of the space. The finished board measures 37 1/2" wide by 30 1/4" tall. If you like what you see, you can find a materials list and more detailed drawings on my blog http://theelusivebobbin.blogspot.com/2013/03/plans-for-mega-mom-board.h…

Estimated Cost
free-$50 depending on what is in your craft stash/scrap pile.
Estimated Time Investment
Afternoon Project (3-6 Hours)
Finish Used
Chalkboard paint and flat latex
Recommended Skill Level
Beginner

Cutting Board

My Dad made a few cutting boards for christmas.  I've added a few additional photos and tips on my blog -  http://www.woodworkingfourdummies.com/blog/more-cutting-boards.

thanks for looking.


Ian

Finish Used
mineral oil
Recommended Skill Level
Intermediate

Comments

dbermolen

Tue, 01/13/2015 - 04:28

Hi Ana! Love your site!!!!!! Please tell me, did you use just mineral oil in order to make this non-toxic finish? I guess you would have done some posts including this kind of information, but I can't find it. Regards from Argentina! =)

Big kids picnic table

Submitted by Anonymous (not verified) on Fri, 04/14/2017 - 10:58

I followed the plans to a T with this one. I wish I had made the seat supports longer so I could have the seats sit a little further from the table for bigger kids. I drilled a hole for the umbrella in the table top and the cross support. Sanded for hours, primed, and painted 3 coats. I will add feet to the legs so the legs aren't sitting flat on the ground, with the potential to rot. 

Took 2 hours to build, 2 hours to sand, and many hours to paint multiple coats. Very solid and should last a long time! 

Built from Plan(s)
Estimated Cost
$50 with paint and screws.
Estimated Time Investment
Day Project (6-9 Hours)
Finish Used
1 coat of Zinzer BIN primer. 3 coats of Valspar Duramax in Lime Candy (6011-8) from Lowes
Recommended Skill Level
Beginner

Attic Reno and Built-ins

This was my first-ever woodworking project, which followed a pretty significant renovation of my attic. The built-ins were inspired by the plans and videos from this site. The renovation started with removal of the wall-to-wall carpeting (including 20k nails and staples), repairing the subfloor, replacing the stairs and landings, including the drywall. I used Home Depot’s Lifeproof floating vinyl flooring, which I’m really pleased with.

Built from Plan(s)
Estimated Cost
$3500
Estimated Time Investment
Week Long Project (20 Hours or More)
Finish Used
White paint
Recommended Skill Level
Beginner

Comments

Window Coffee Table

Submitted by searcyb on Sat, 03/09/2013 - 19:09

We needed a new coffee table in the family room, one that went with the ever changing decor. One of my neighbors threw out a rather nice, but older wooden framed window that they had been holding onto for who knows how long. My wife actually grabbed it out of the garbage with both the kids sitting in the car while she loaded it into her SUV in dress clothes.

Anyway, I broke down the window into two sections and used one of the sections to build this table. The area around the window is made out of 2x4 and the table skirt is 1x4. I bought the turned legs from www.osbornewood.com (colonial coffee table leg). This project was made a lot easier by using my kreg jig to attach the skirt to the table legs as well as the top to the skirt. Knowing that I would have two young kids playing around and setting things on the table I placed the glass panes with plexi that I bought from Lowes. This will be safer as well as more durable in the future.

Estimated Cost
100.00
Estimated Time Investment
Weekend Project (10-20 Hours)
Finish Used
Royal Blue Satin paint
Recommended Skill Level
Intermediate

Comments

Childs Adirondack Chair

This chair is for my son and is a first build. The plans were super easy to follow and the whole thing went very smoothly. I used my jigsaw to round off the top edges just a bit and I really like how it turned out. Thanks for the free plans!

Built from Plan(s)
Estimated Cost
$15-$20
Estimated Time Investment
Day Project (6-9 Hours)
Finish Used
Valspar Greener Grass
Recommended Skill Level
Beginner

Grandy slider built in attic cabinets

Submitted by Anonymous (not verified) on Mon, 04/17/2017 - 08:49

I have a gambrel style barn roof in the house I built. Space is tight and the double pitch of the roof made for having to get clever. Saw the plans for grandy sliding door console got out the graph paper and went to work. There were lots of cuts and had to rip some wood with a table saw but was not terribly difficult just time consuming. 

Built from Plan(s)
Estimated Cost
700 dollars.
Estimated Time Investment
Week Long Project (20 Hours or More)
Finish Used
Tong oil
Recommended Skill Level
Intermediate

My spin on the Counter Height Farmhouse Table from Ana White’s free plans!

Submitted by Anonymous (not verified) on Sat, 03/20/2021 - 06:52

The counter height farmhouse table plans were so helpful! Thank you Ana White! I replaced plywood on top with 2x8s and added a shelf underneath the table for some kitchen storage! I am in love thanks again😍 Follow me on Instagram @abbbclark_homeee for more home renovations, decor and DIY!

Estimated Cost
$200
Estimated Time Investment
Day Project (6-9 Hours)
Finish Used
Weathered oak oil based stain
Recommended Skill Level
Beginner

Comments

Easy Street Breakfast Bar

cross between a kitchen island and the x frame console table. LOL

Cross breeding furniture, gotta love it! :0)

Estimated Time Investment
Day Project (6-9 Hours)
Finish Used
Classic Gray minwax, and poly
Recommended Skill Level
Intermediate

Comments

Farmhouse Bed - Taylor Family

Submitted by mikeandnic on Mon, 01/19/2015 - 14:38

This was my Christmas present for my wife for 2014. Took about two days for me and my brother, with another 4 hours of staining and assembly. Could have been done quicker, but we took our time and enjoyed it! I have a good knowledge of tools, as does my brother, but I haven't done a woodworking project since Junior High School.


All in all, it was great and the result is perfect. I highly recommend using a pocket hole for the headboard attachment if doing the plywood - I didn't use one and it was tricky smiley 
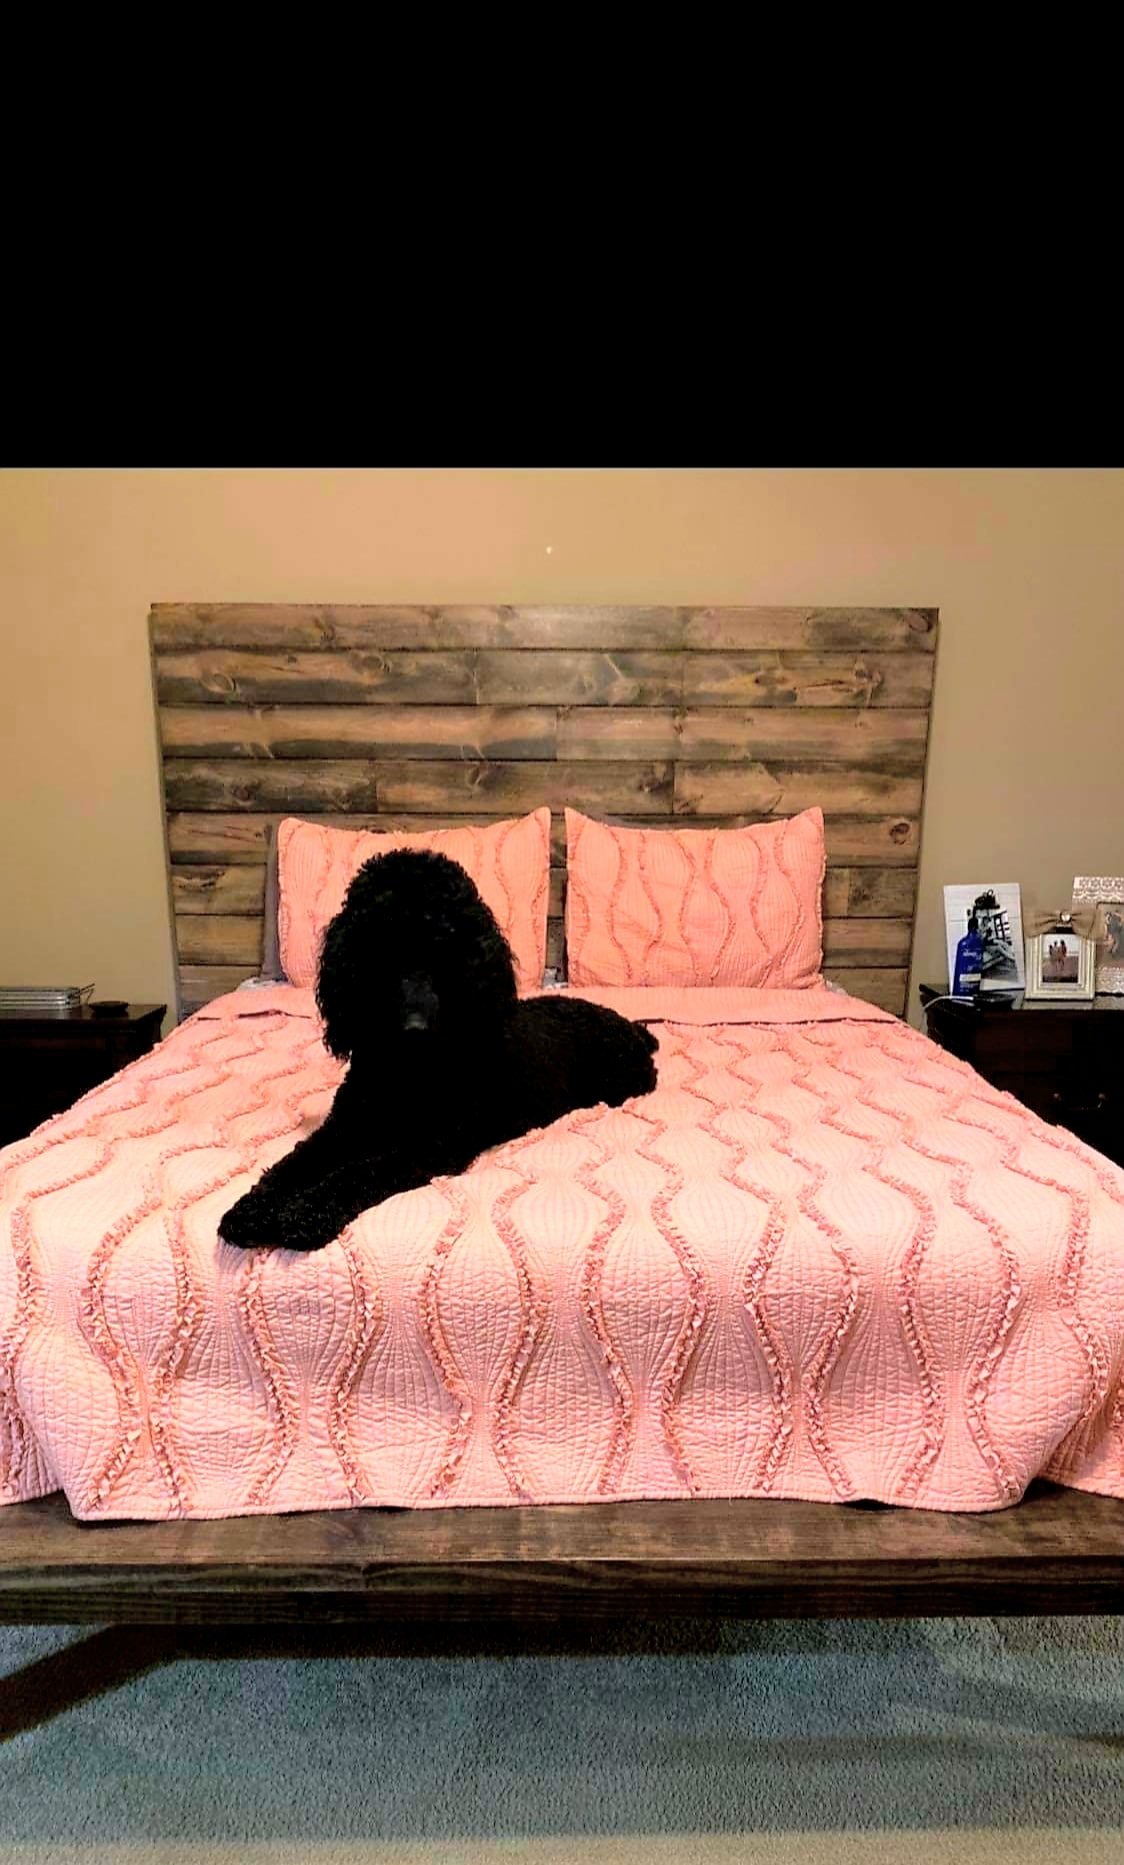
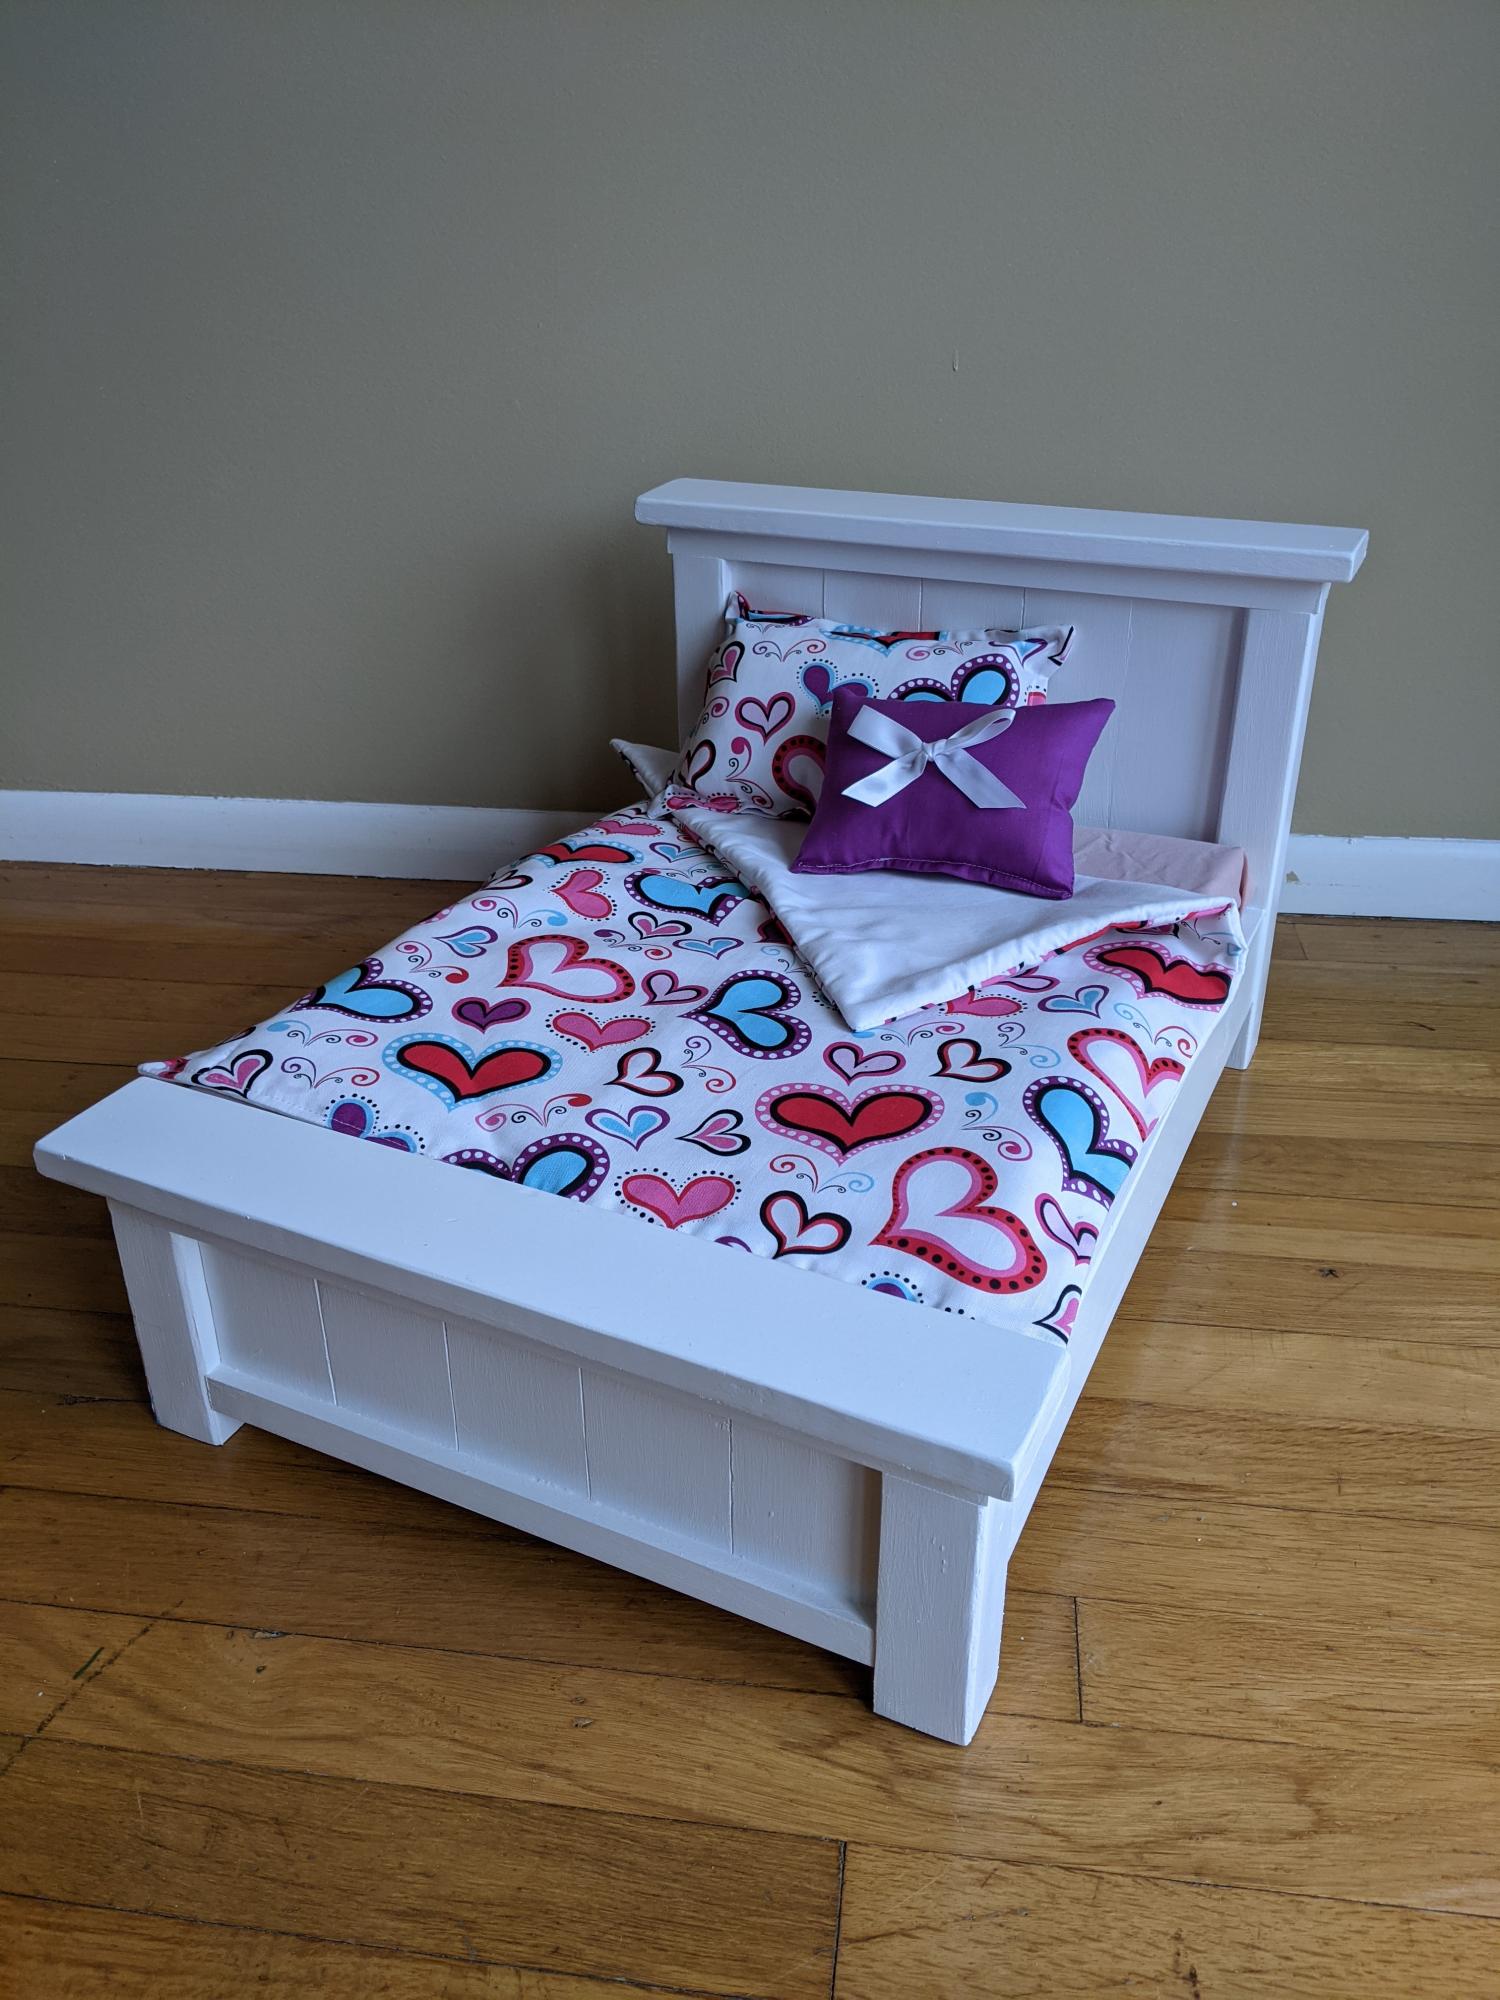
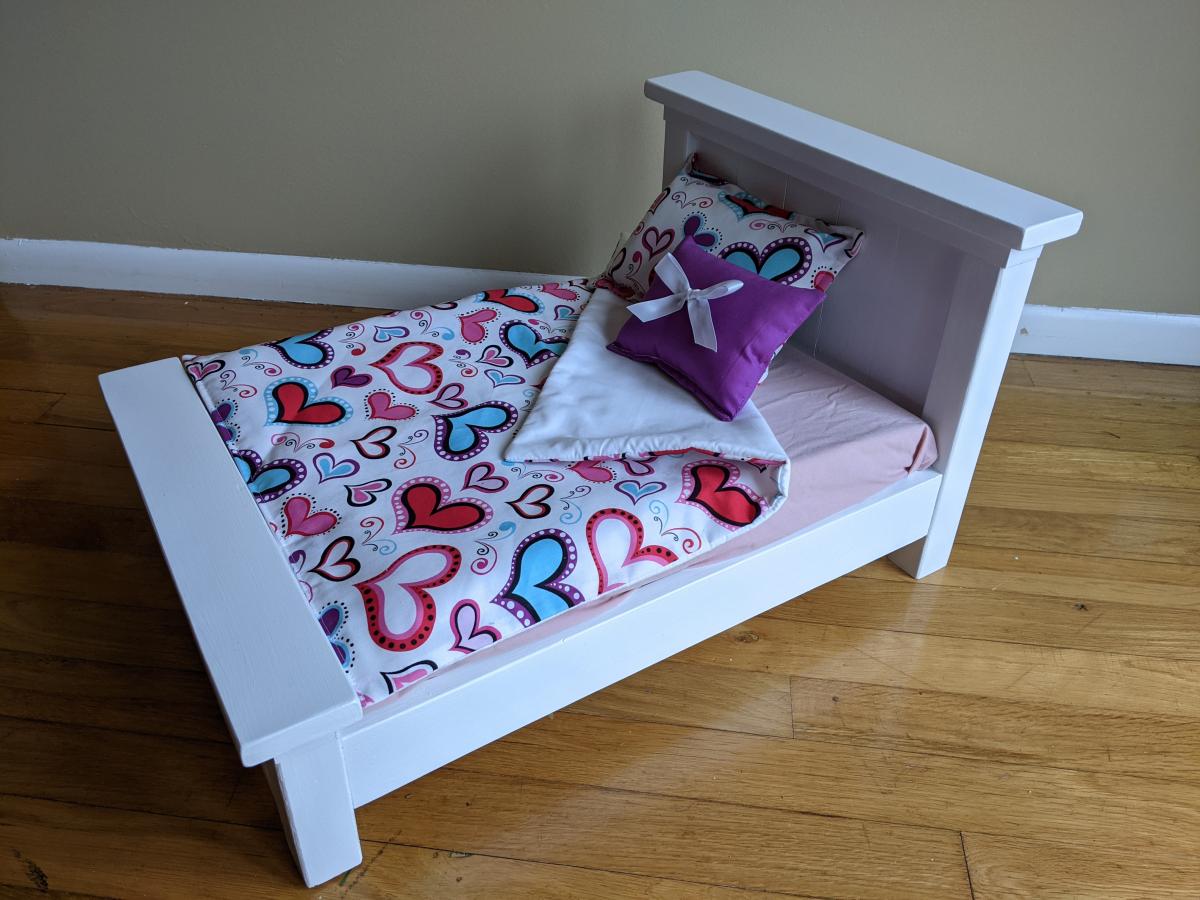
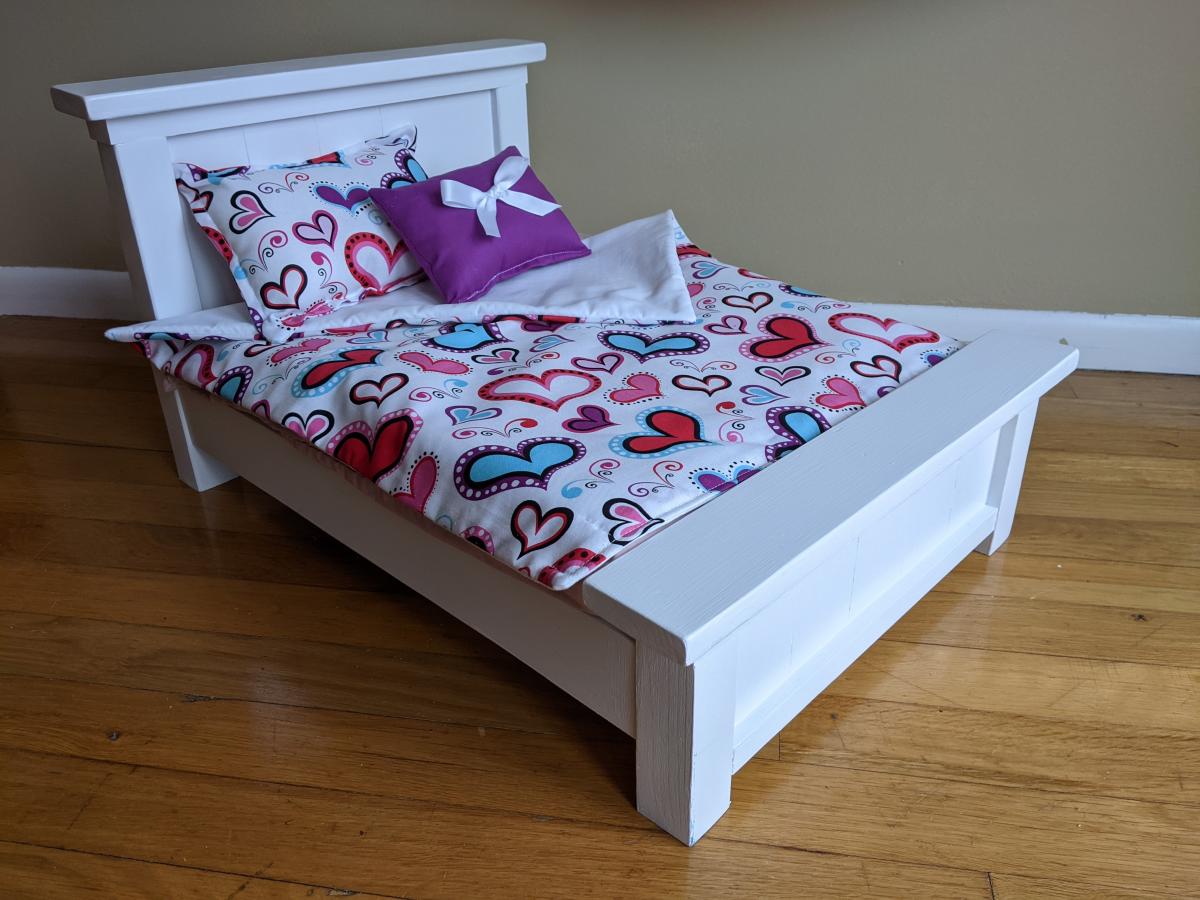
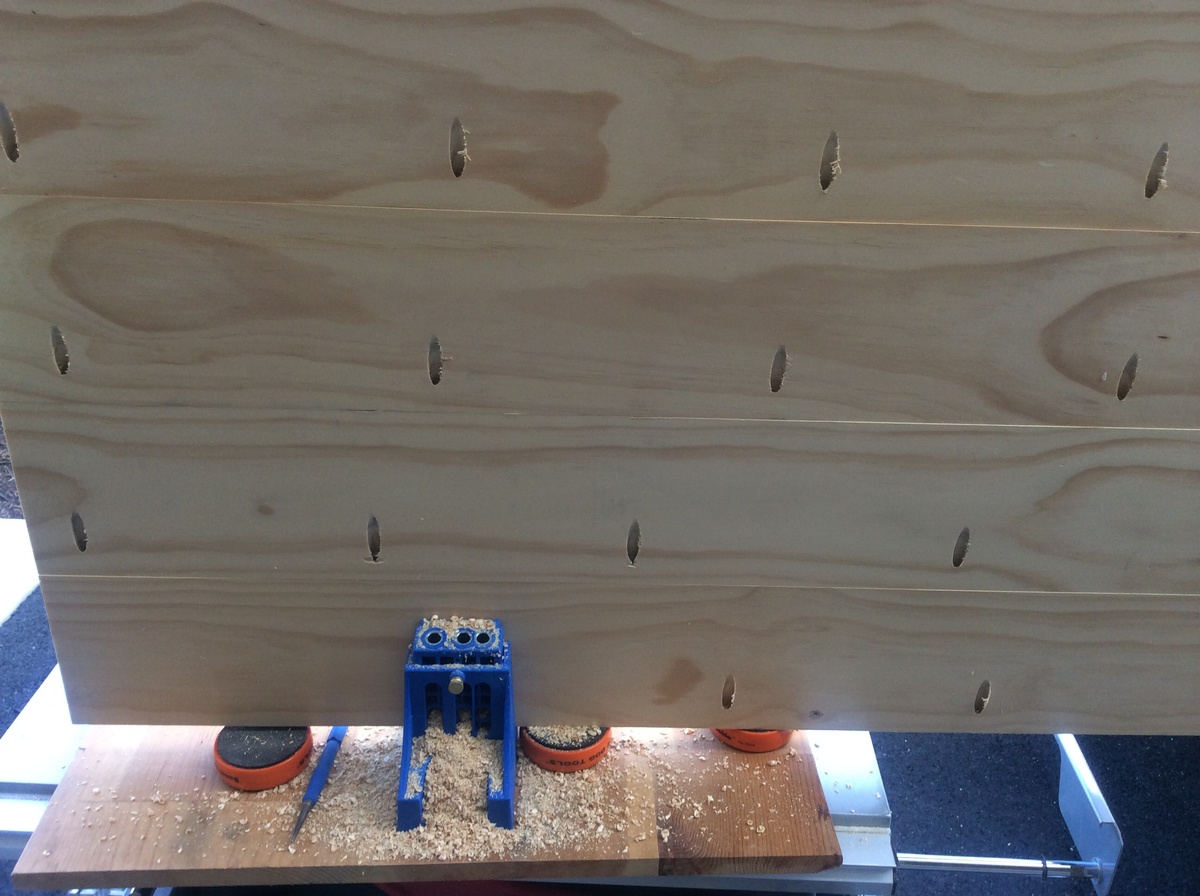
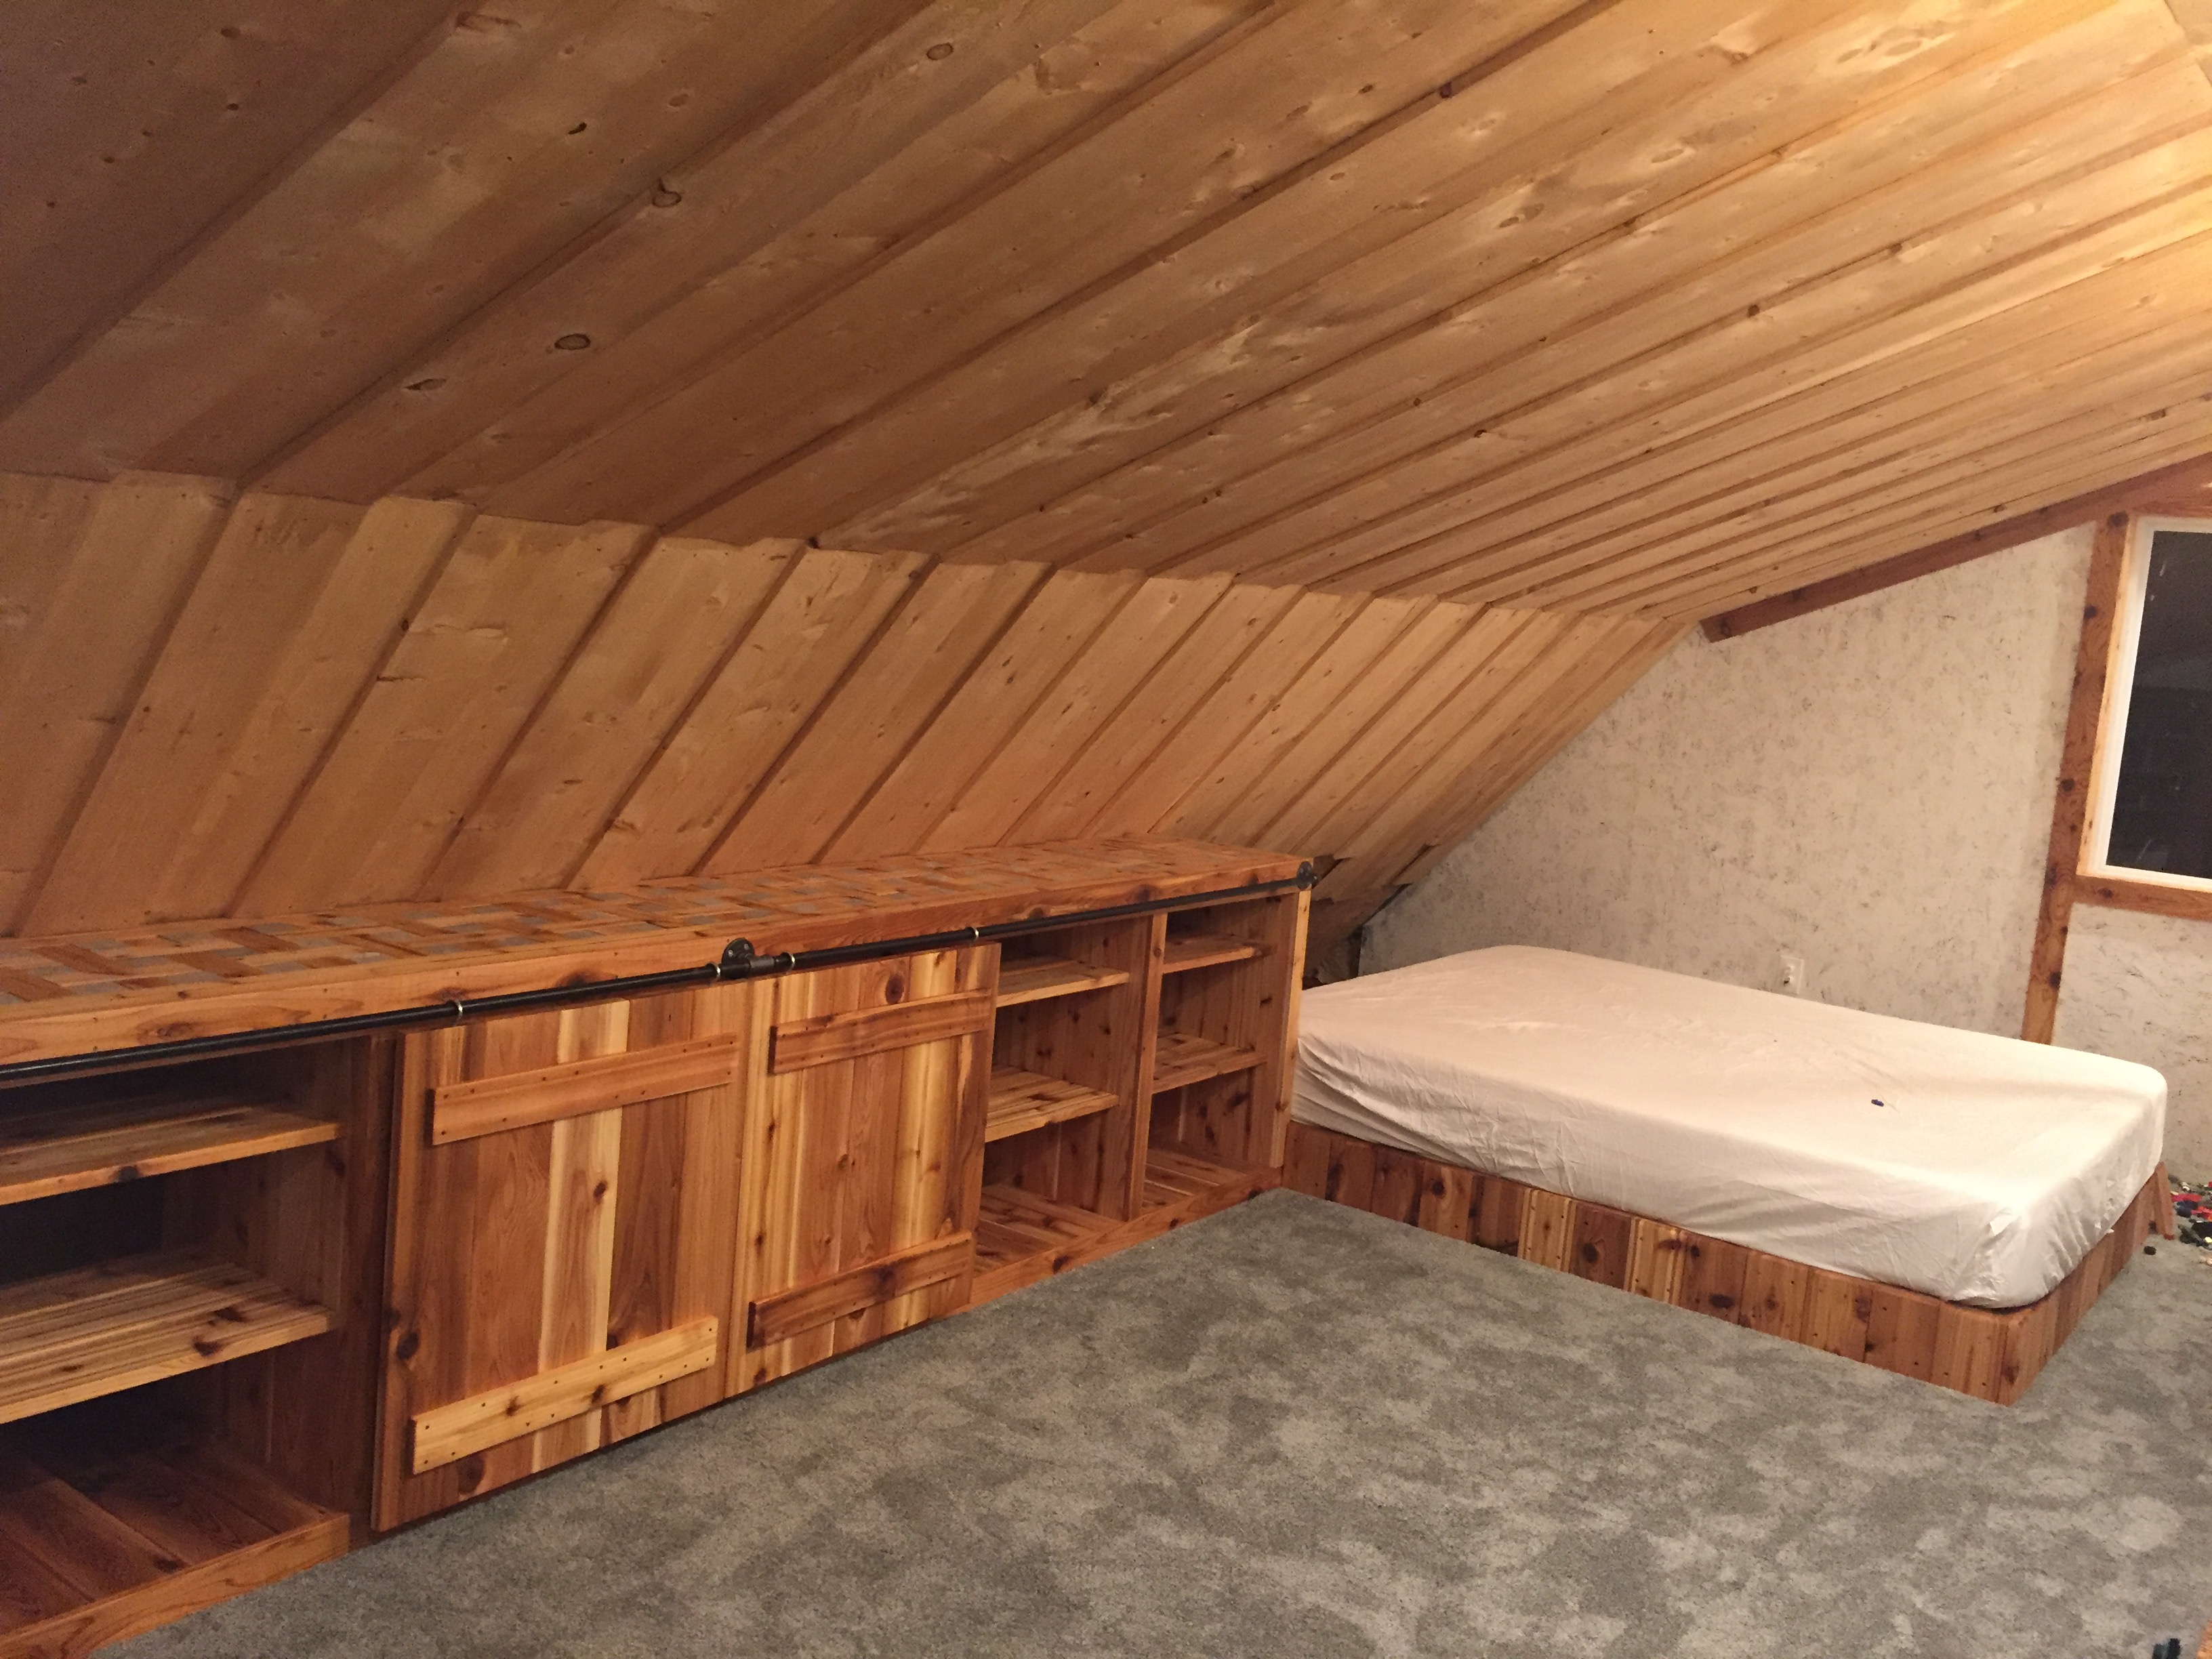
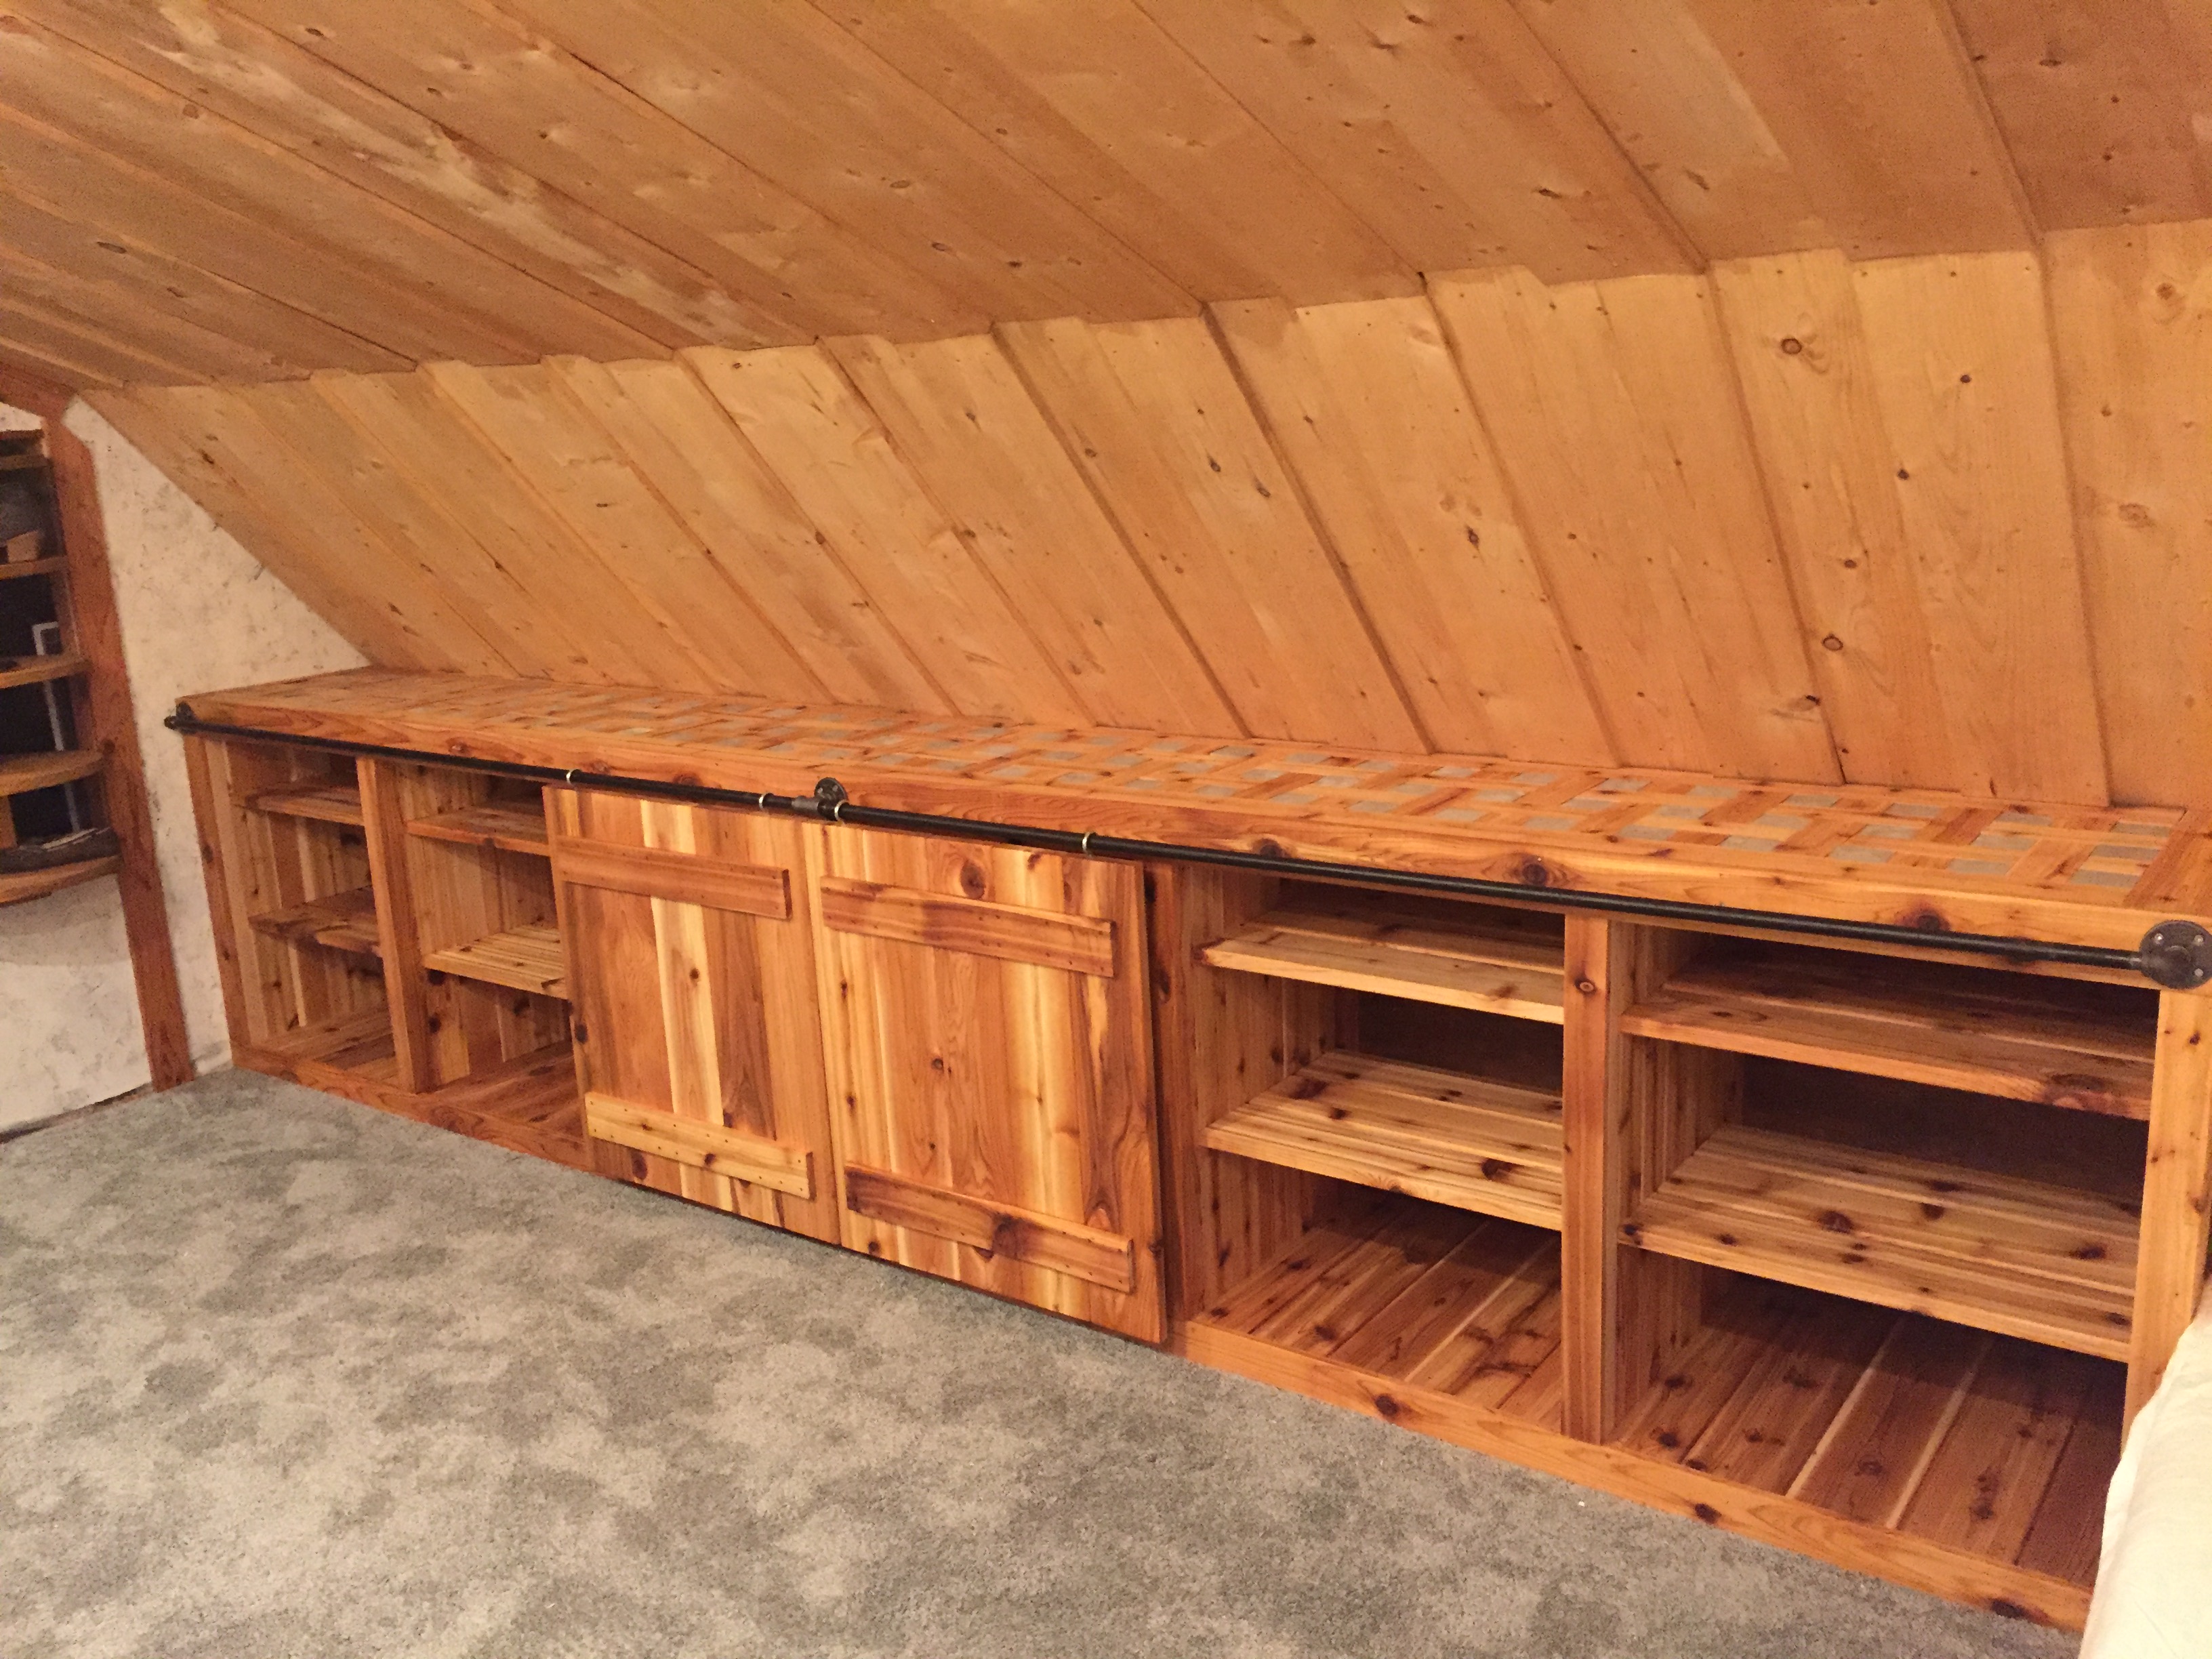
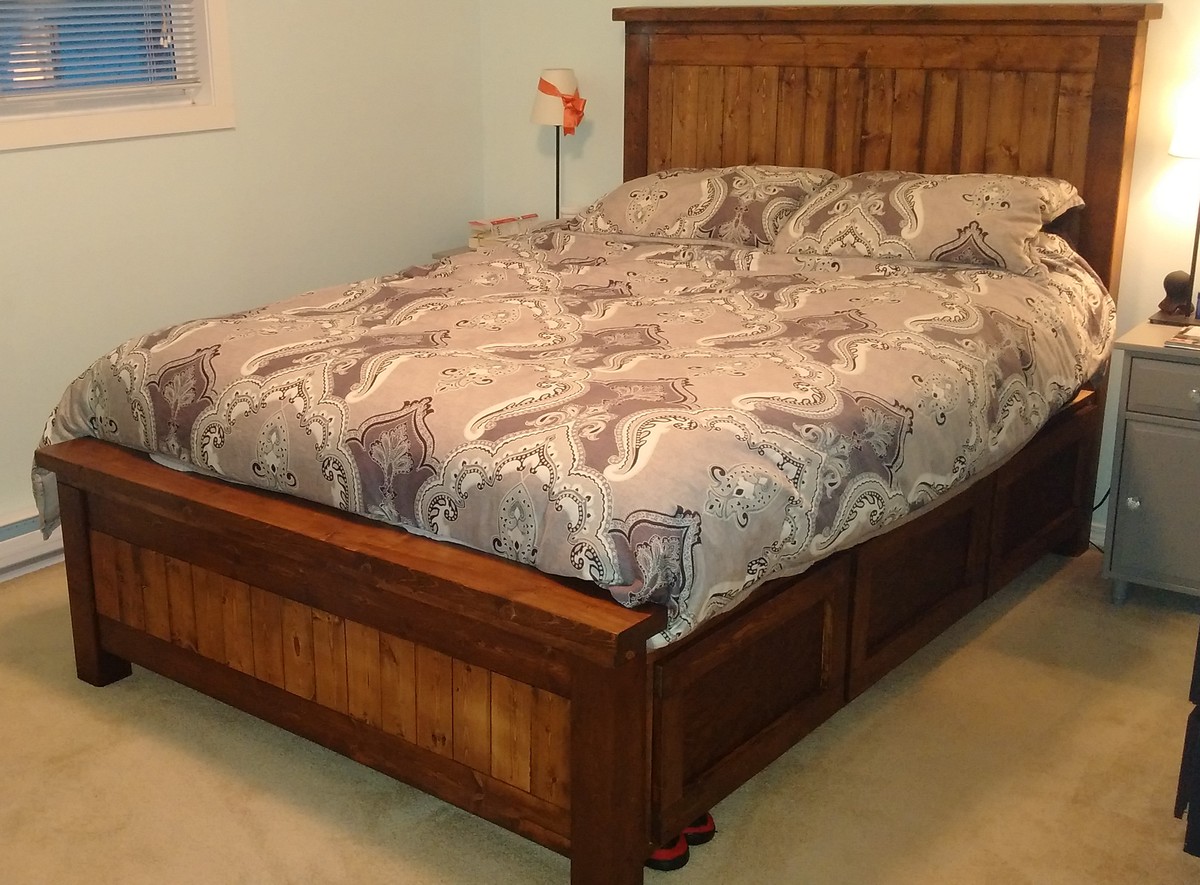
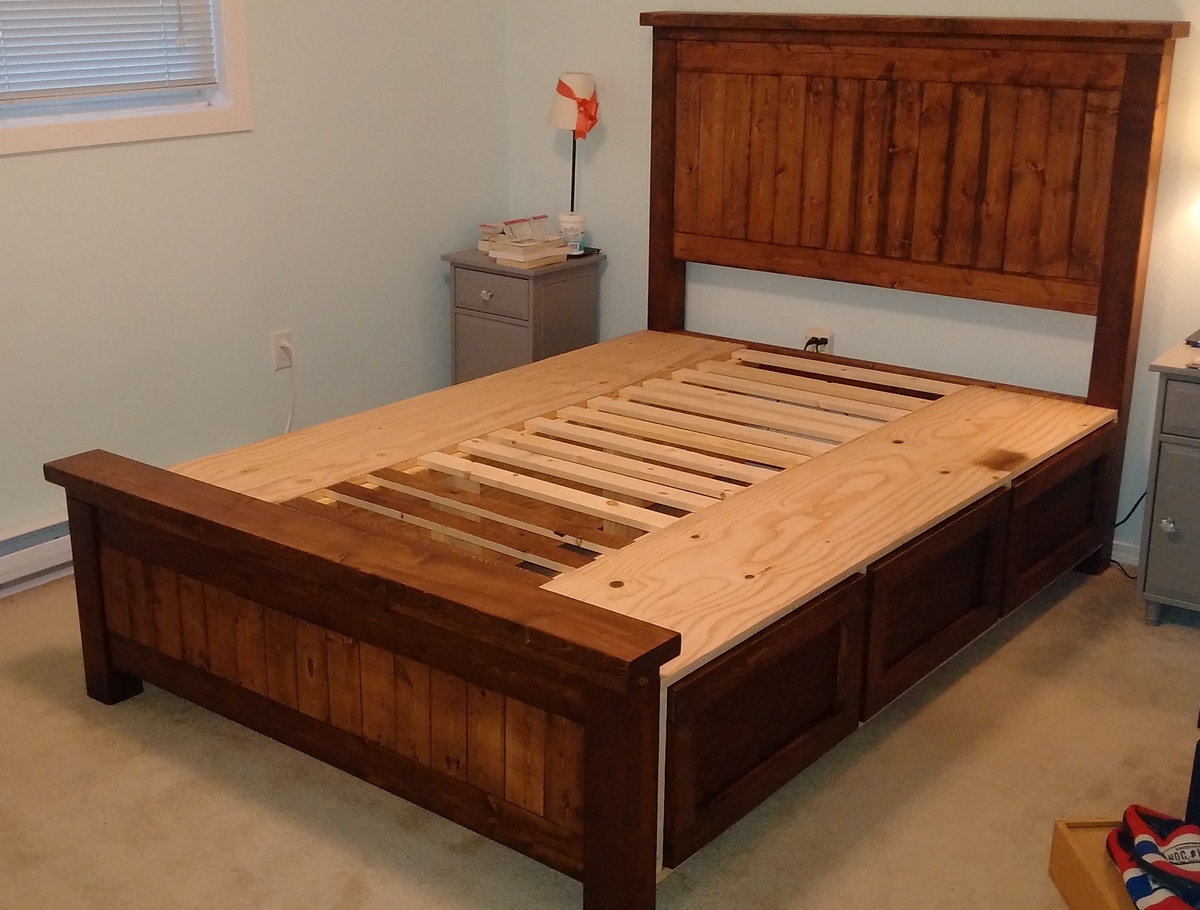
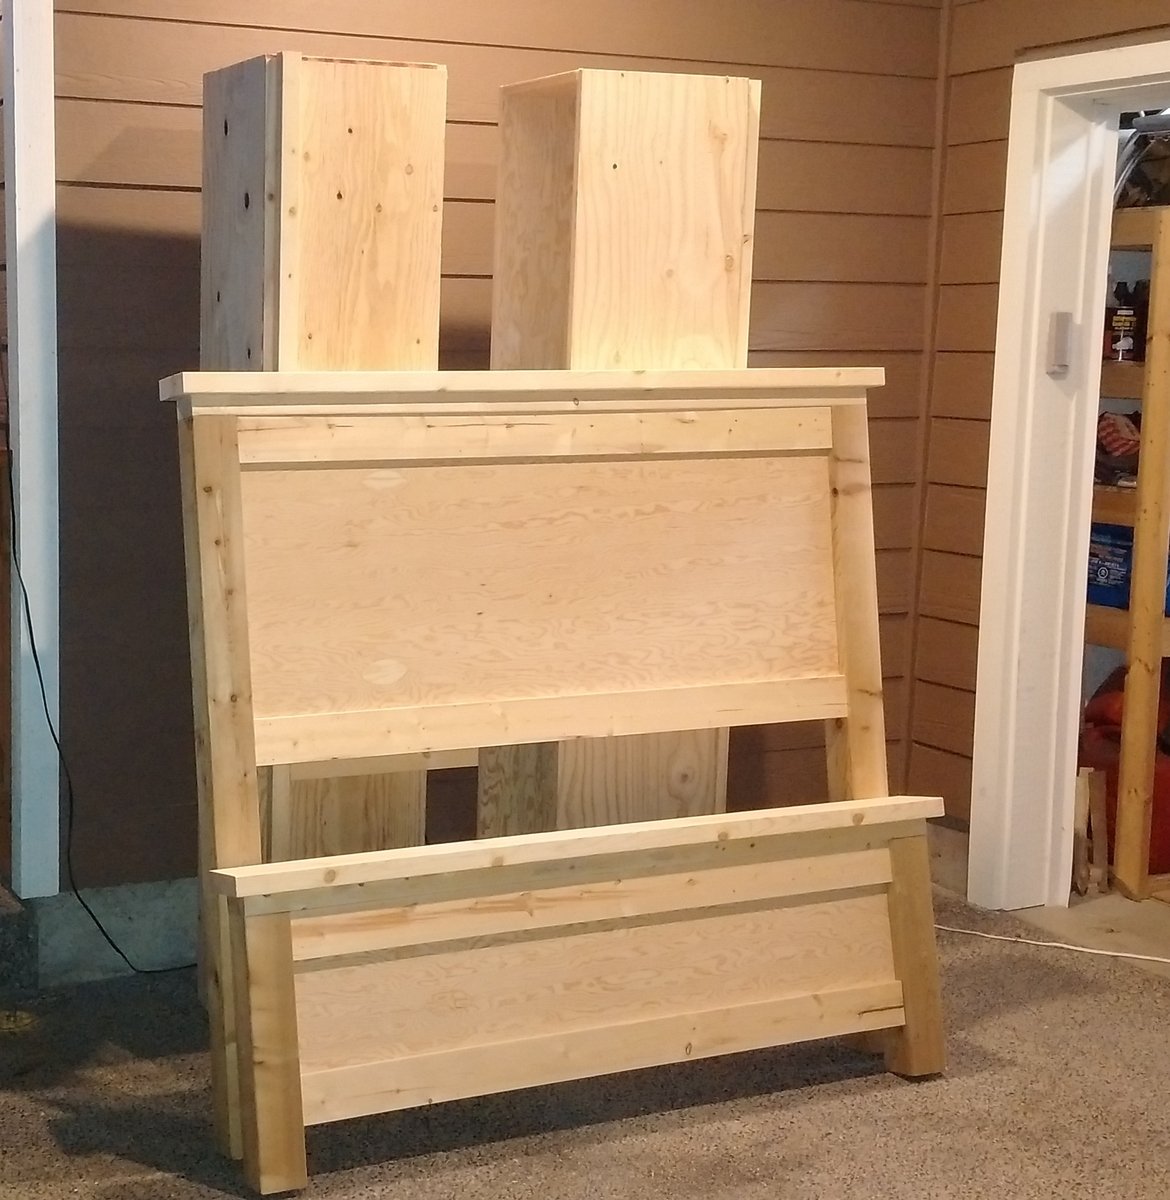
. You can't see the plywood because I decieded to add slats to the headboard and footboard in the end (wanted to stain the wood, not paint it as planned originally).

Estimated Cost
$400
Estimated Time Investment
Weekend Project (10-20 Hours)
Finish Used
Used a dark walnut stain as the finish, however, in the end we will do an espresso colour. Final top coat using Minwax® Polycrylic® protective finish was applied as well.
Recommended Skill Level
Intermediate