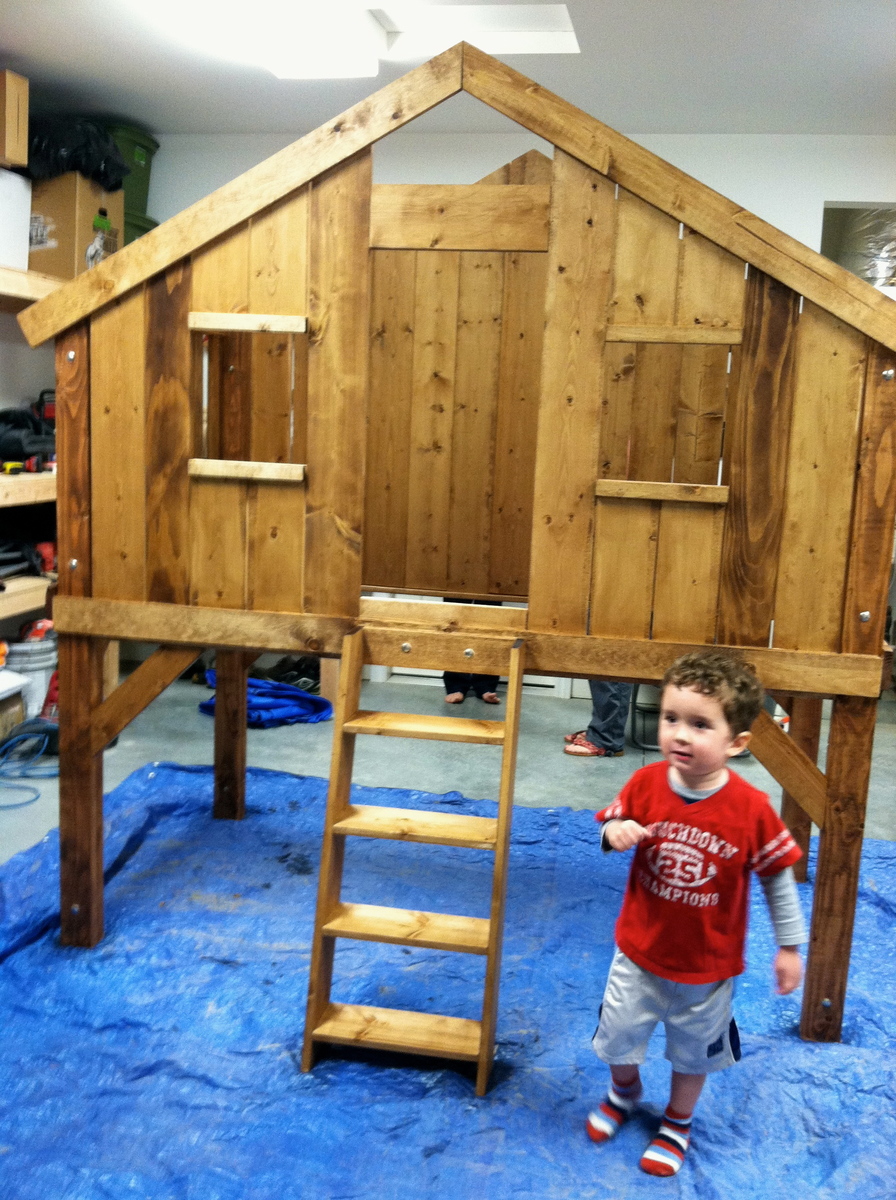
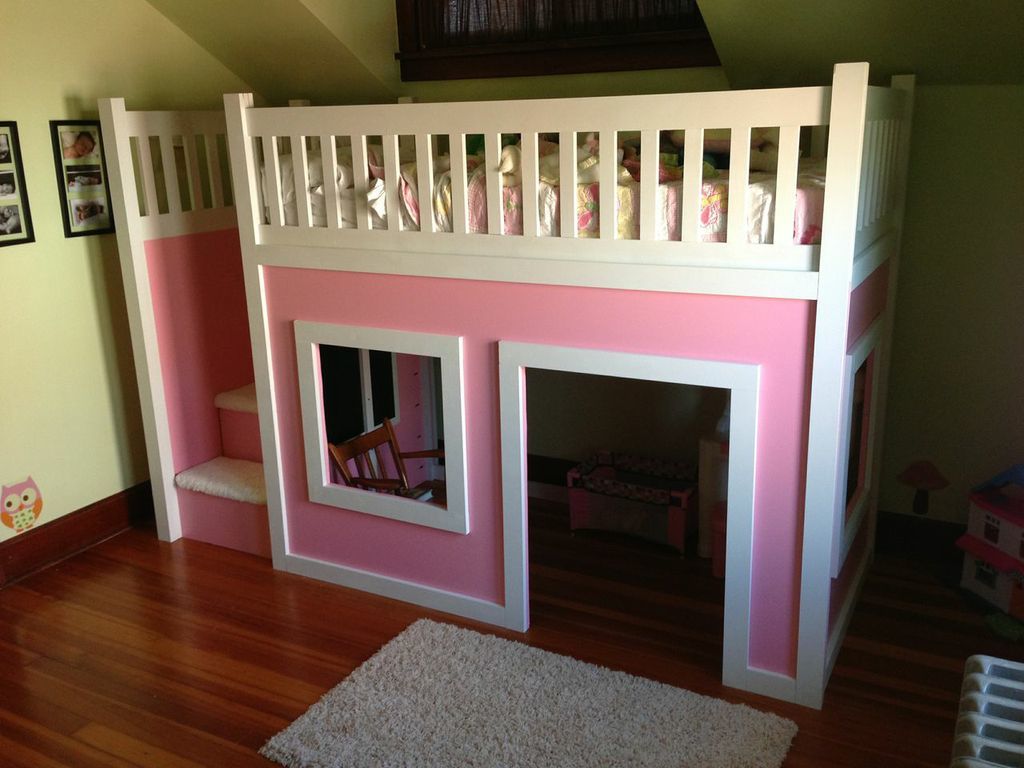
Indoor Playhouse for nephew
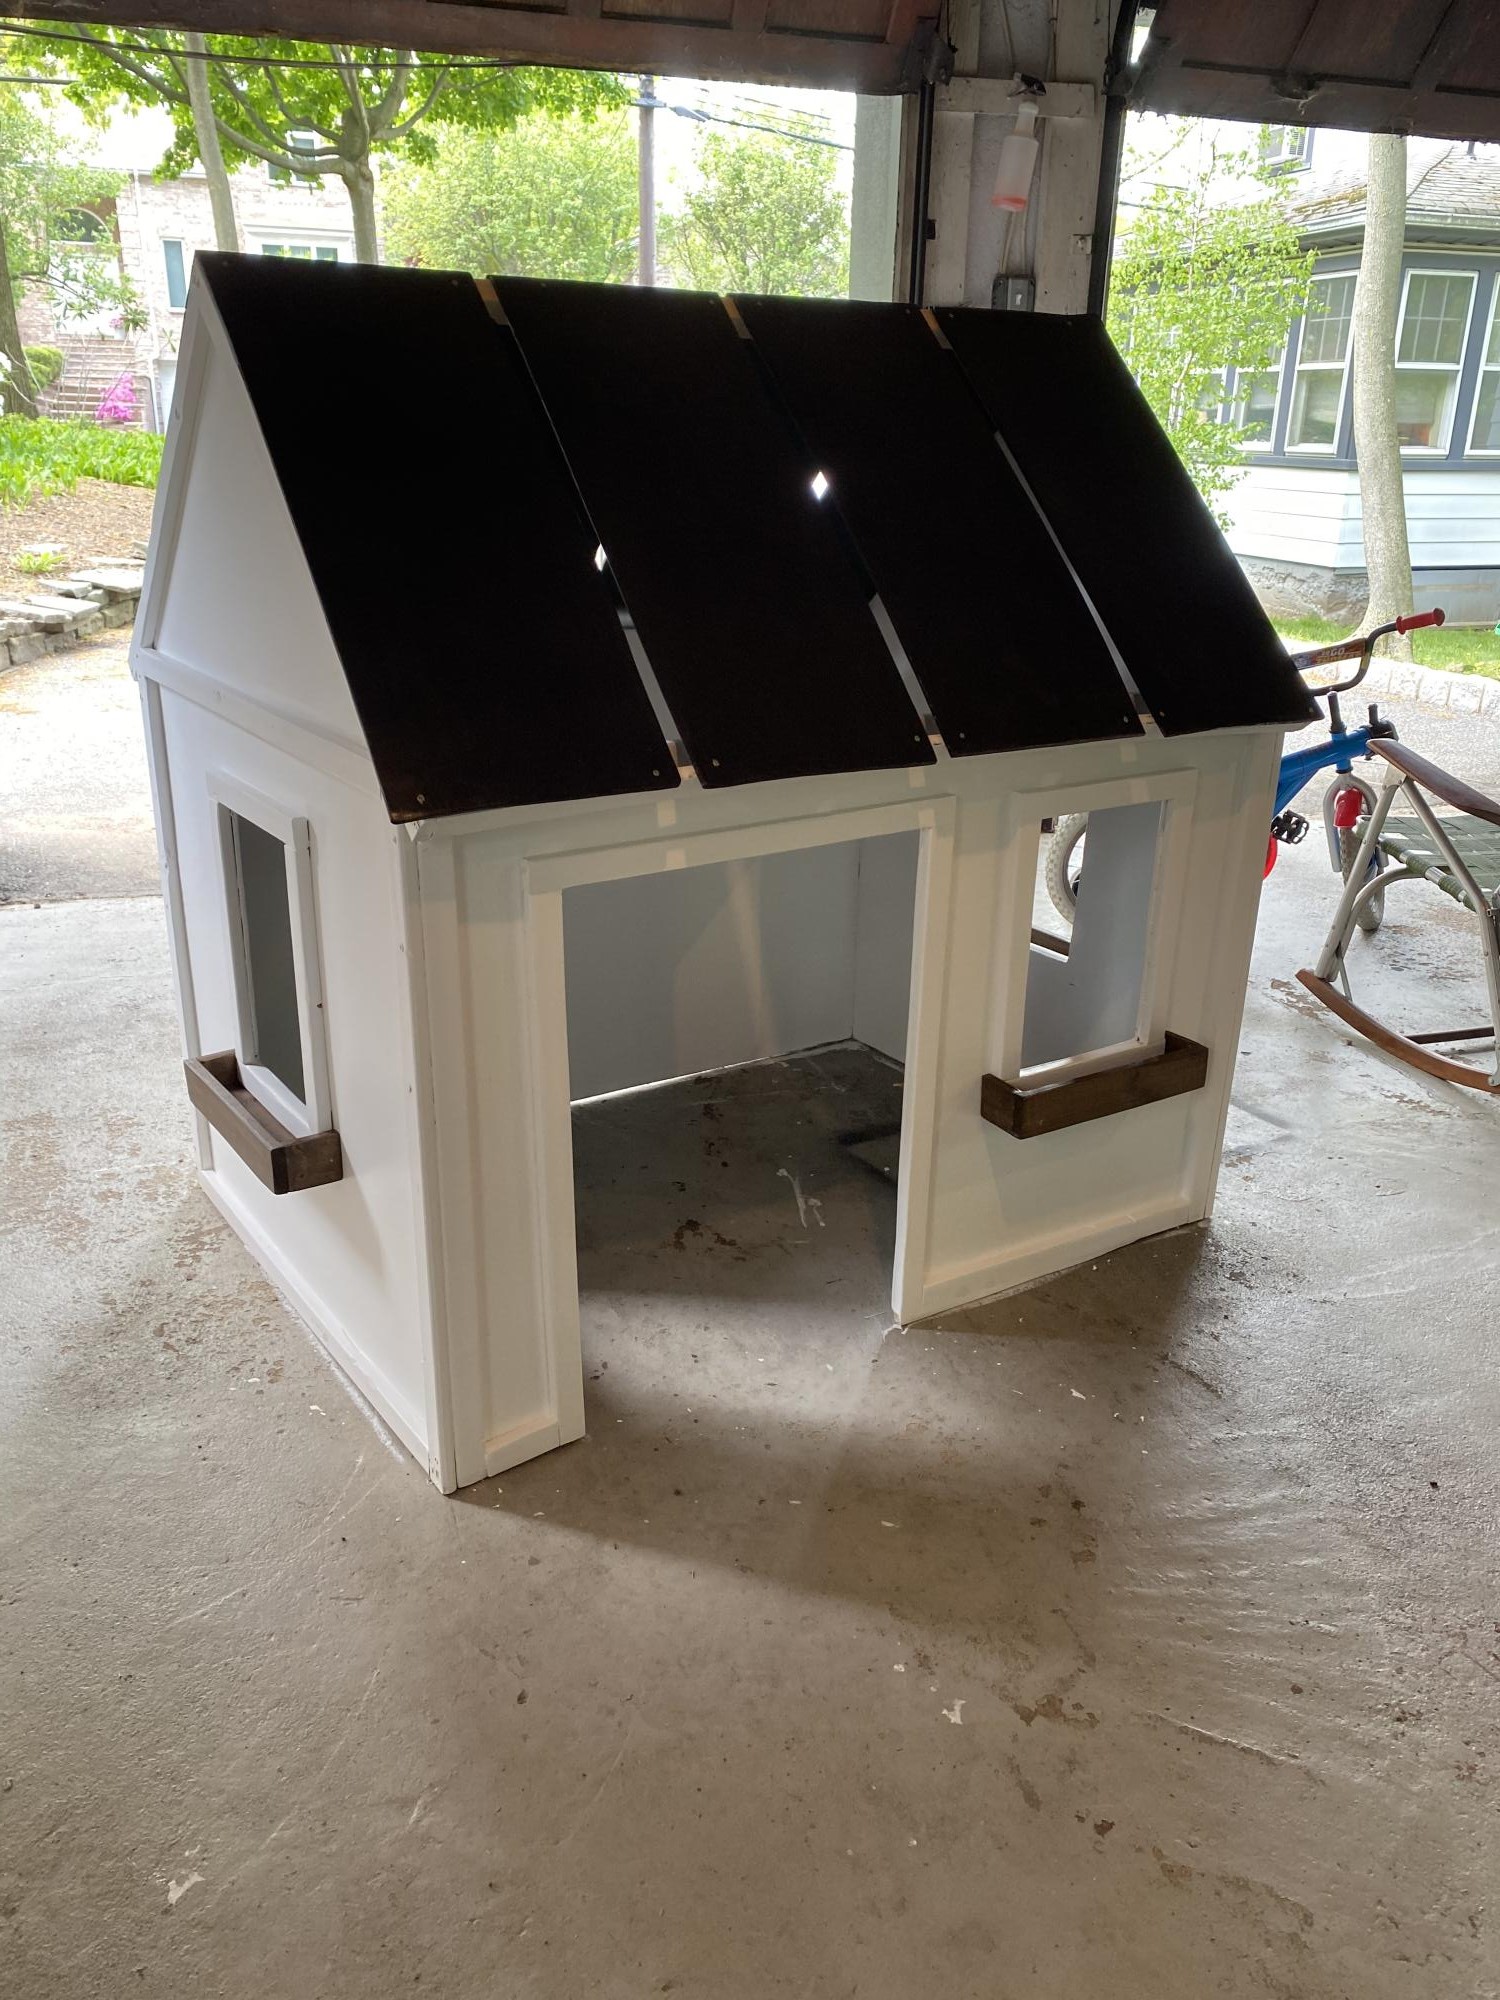
First project with pocket holes. A little challenging for a complete beginner, but pretty forgiving and fun to make! My nephew LOVES it!
Built from Plan(s)
First project with pocket holes. A little challenging for a complete beginner, but pretty forgiving and fun to make! My nephew LOVES it!
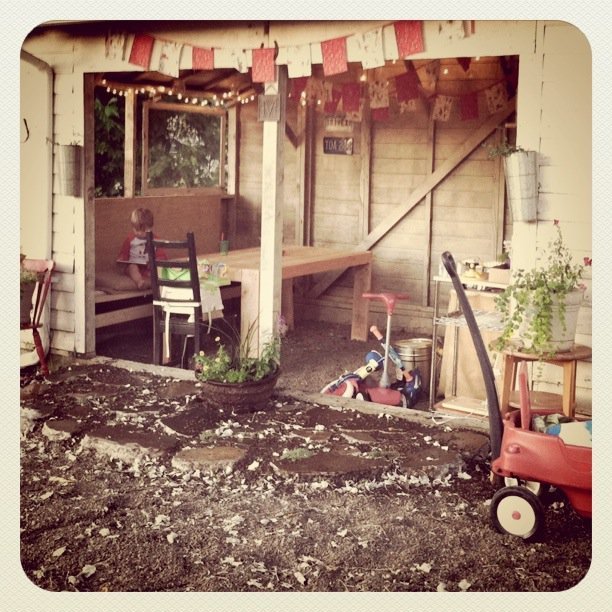
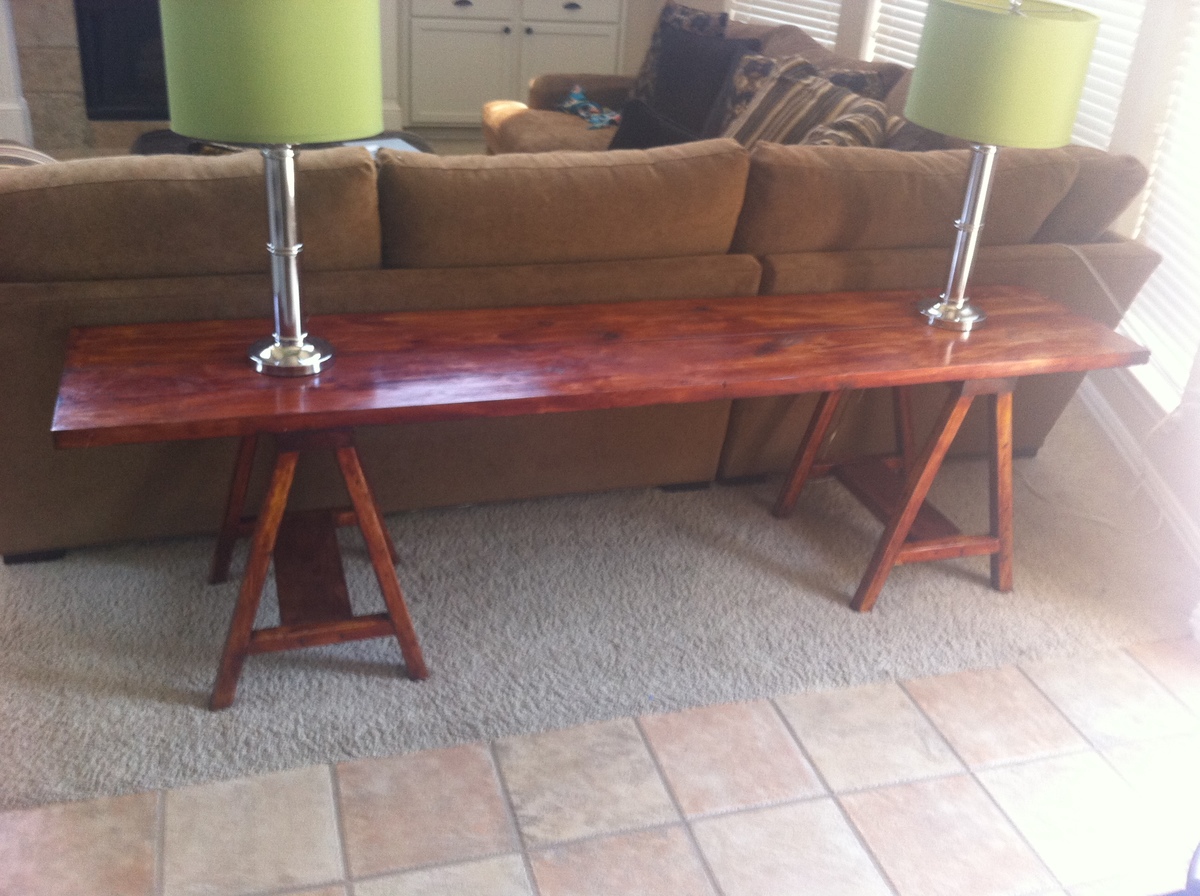
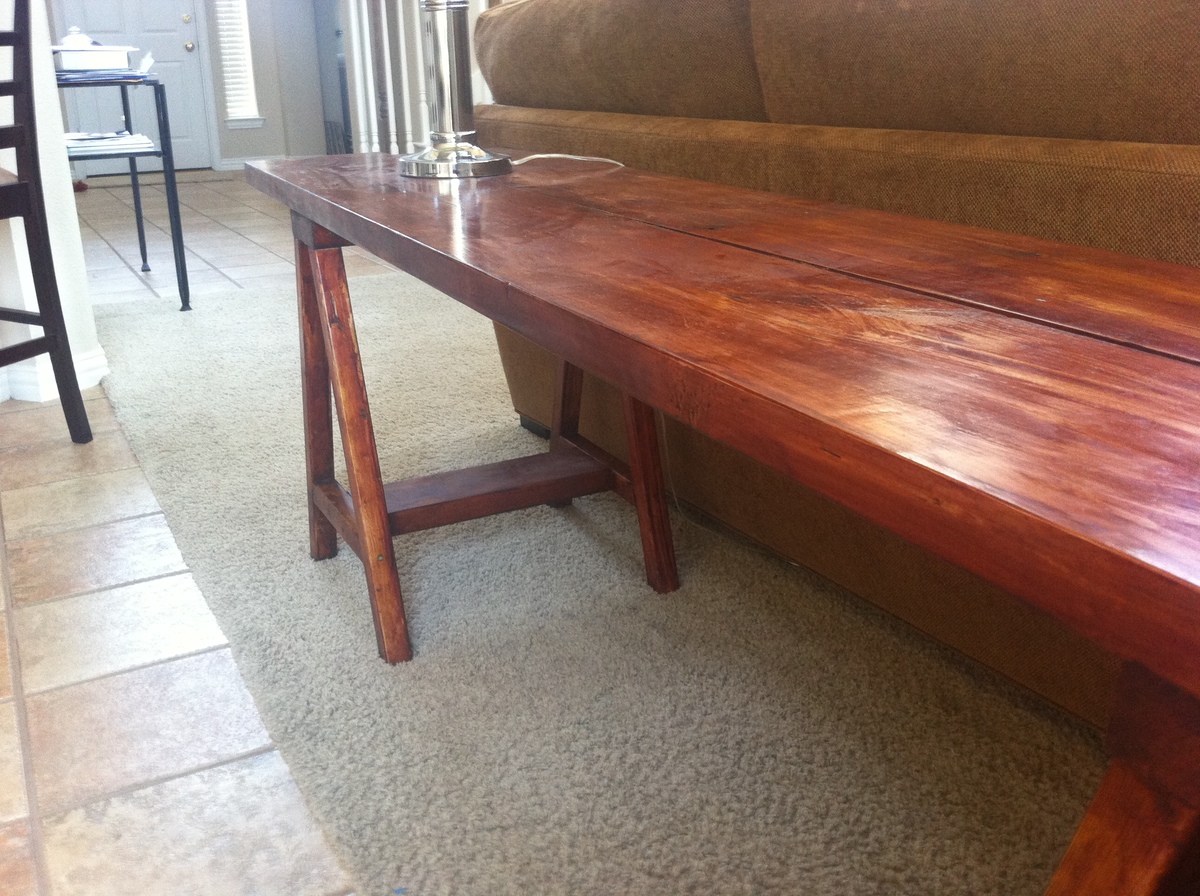
I have a rustic outdoor room made out of our garage. We started the project last summer but it took until this weekend to get a table built. I was skeptical that I would be able to build a table myself, but I knew this table would fit in my backyard decor and I had to do it!
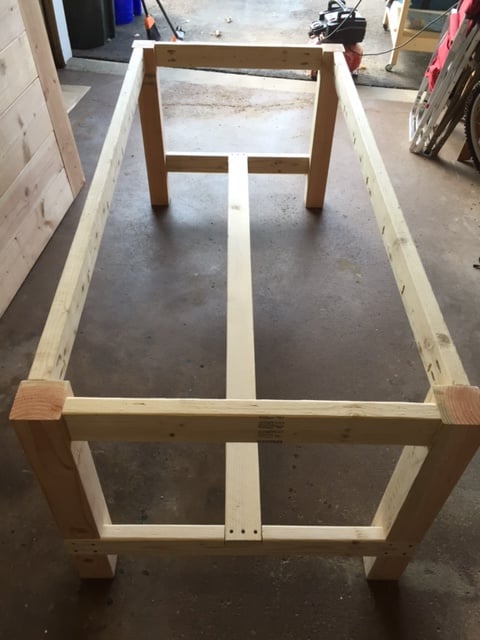
Using the plans from the site, I was able to build this almost entirely by myself. I got help for flipping it and adding the side aprons.
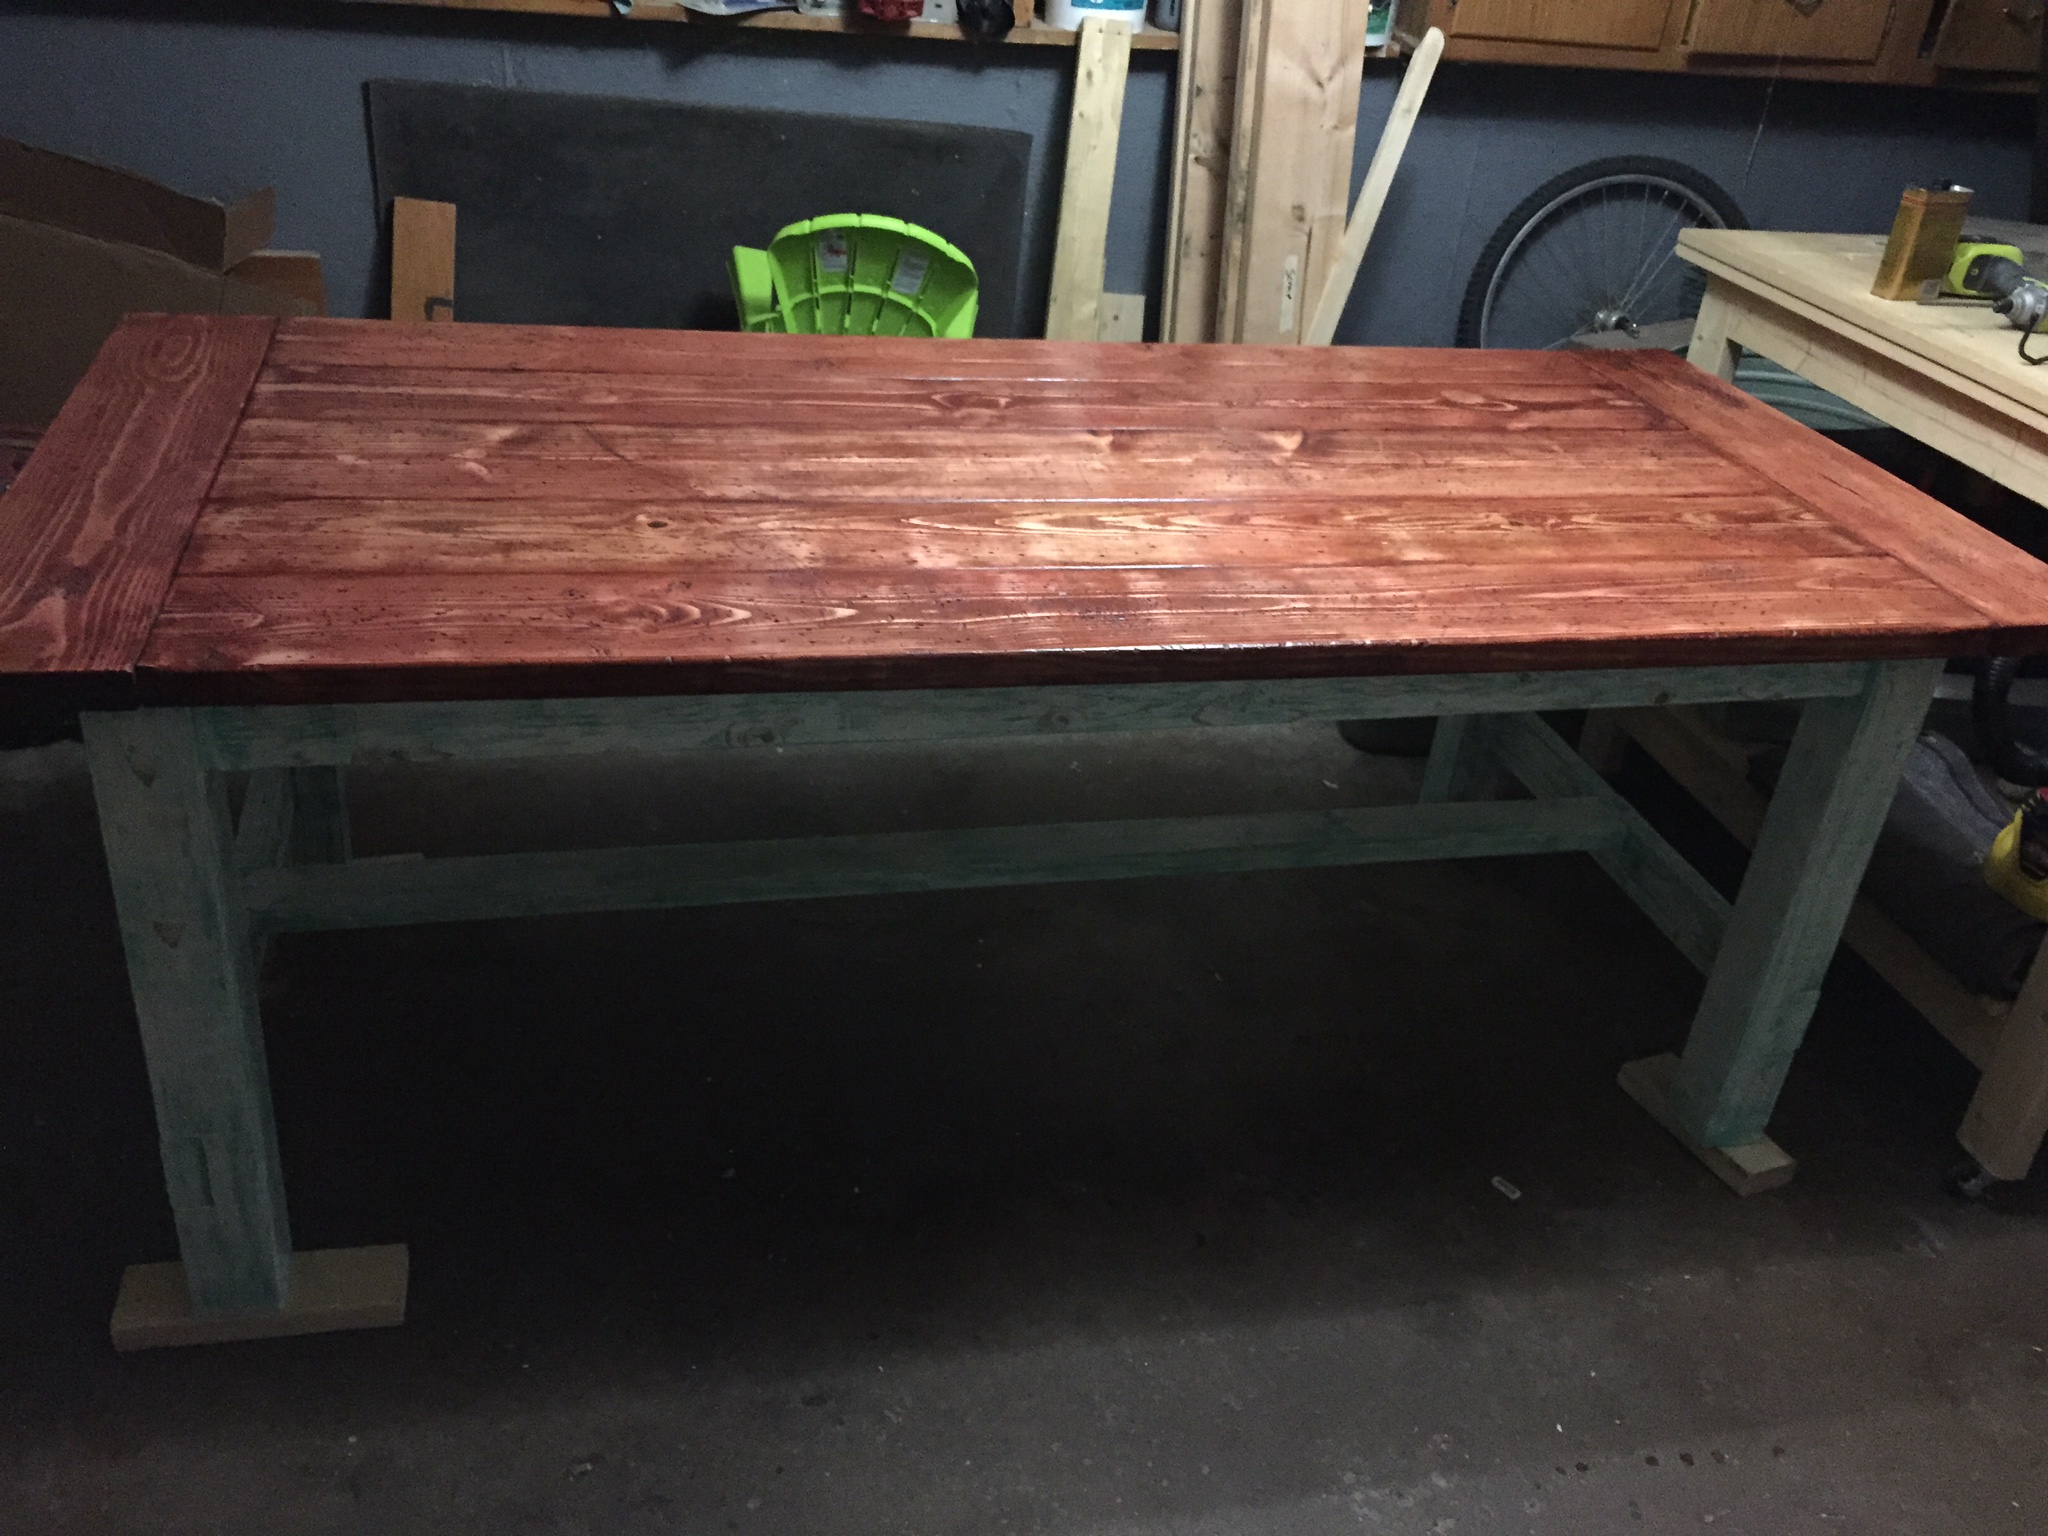
I started around noon with a trip to Lowe's and was done by about 7:30. The wood and screws cost around $50. I still have to finish it and am thinking of staining it dark brown.
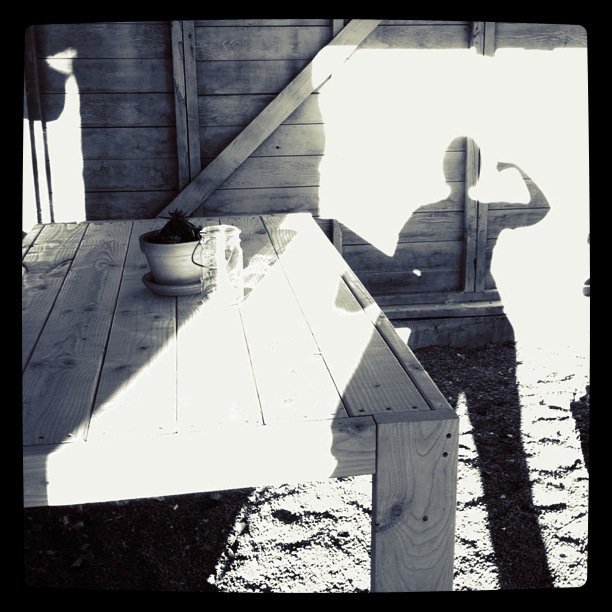
Also, the guy at Lowe's recommended that I used deck screws. So that is what I used. I did not pre-drill all the holes. I also put the 2x6s in the table top, then flipped it over and added the 2x2 supports and screwed them in. I think that saved some time and seemed to work out okay.
Thanks for a great project, Ana! I am so proud of myself that I did this! Now I am off to make a bench to match.

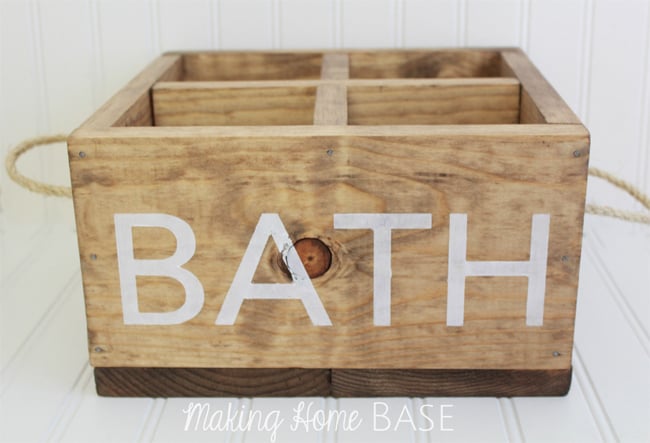
Using Ana's great Reclaimed Soda Crate Caddy plan I built the perfect wood caddy for my bathroom by just adding rope handles and stenciling "BATH" to the front.

This was a fun and very rewarding project. Thank you Ana for sharing your talent with us. I got tired of stores wanting too much money for cheaply built bar stools, so I turned to the internet and found Ana. These stools are quality built, and at a fraction of the cost. The only thing I altered in Ana's original plan was the backrest. I tried to build the horizontal braces but kept damaging the wood. So I just built them vertically.
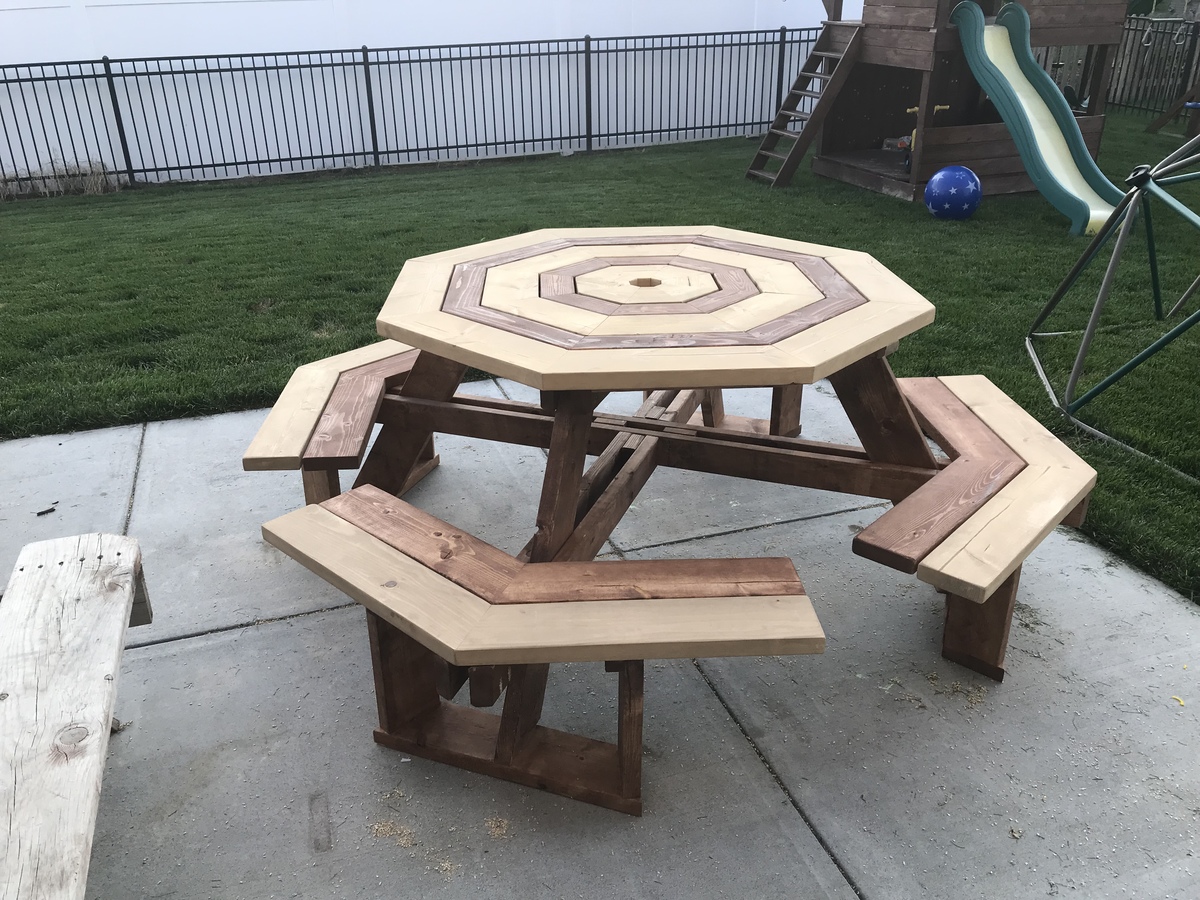
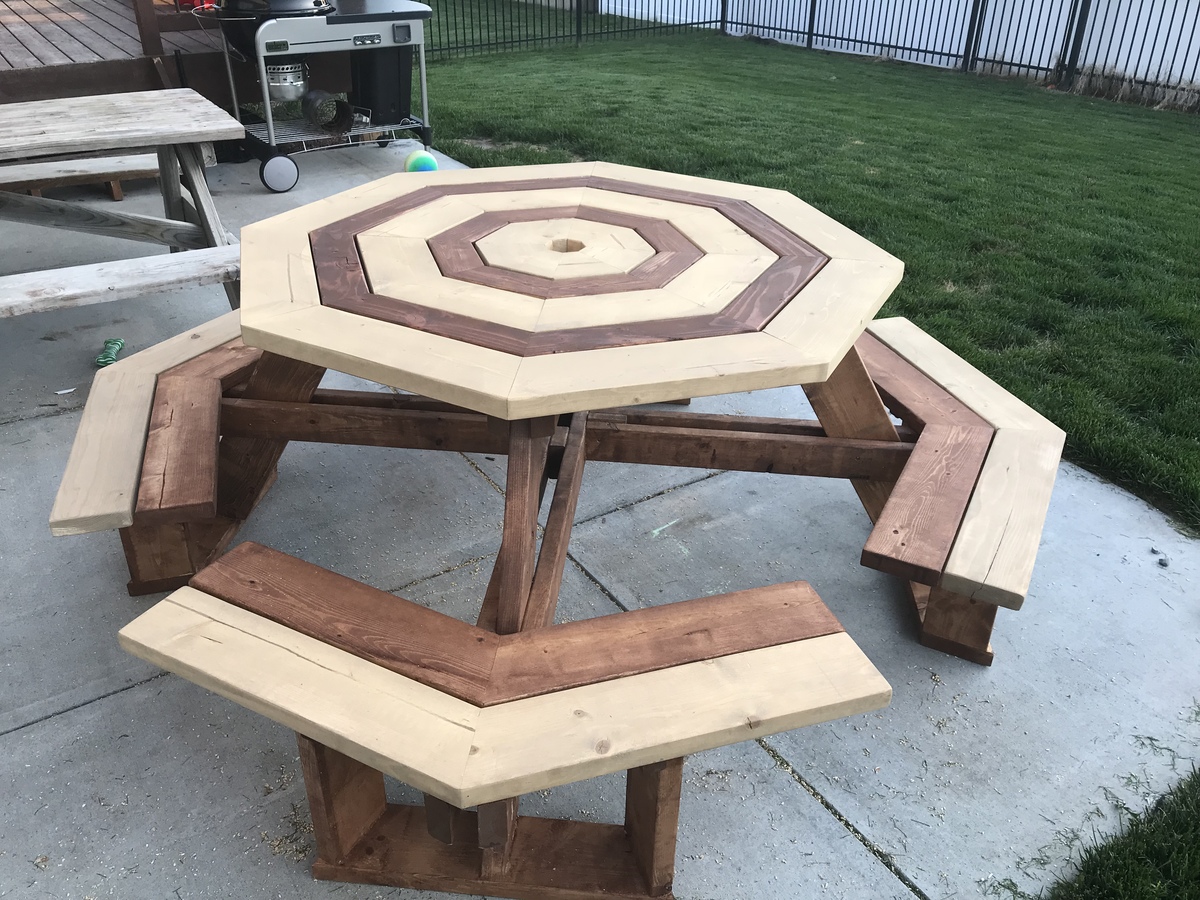
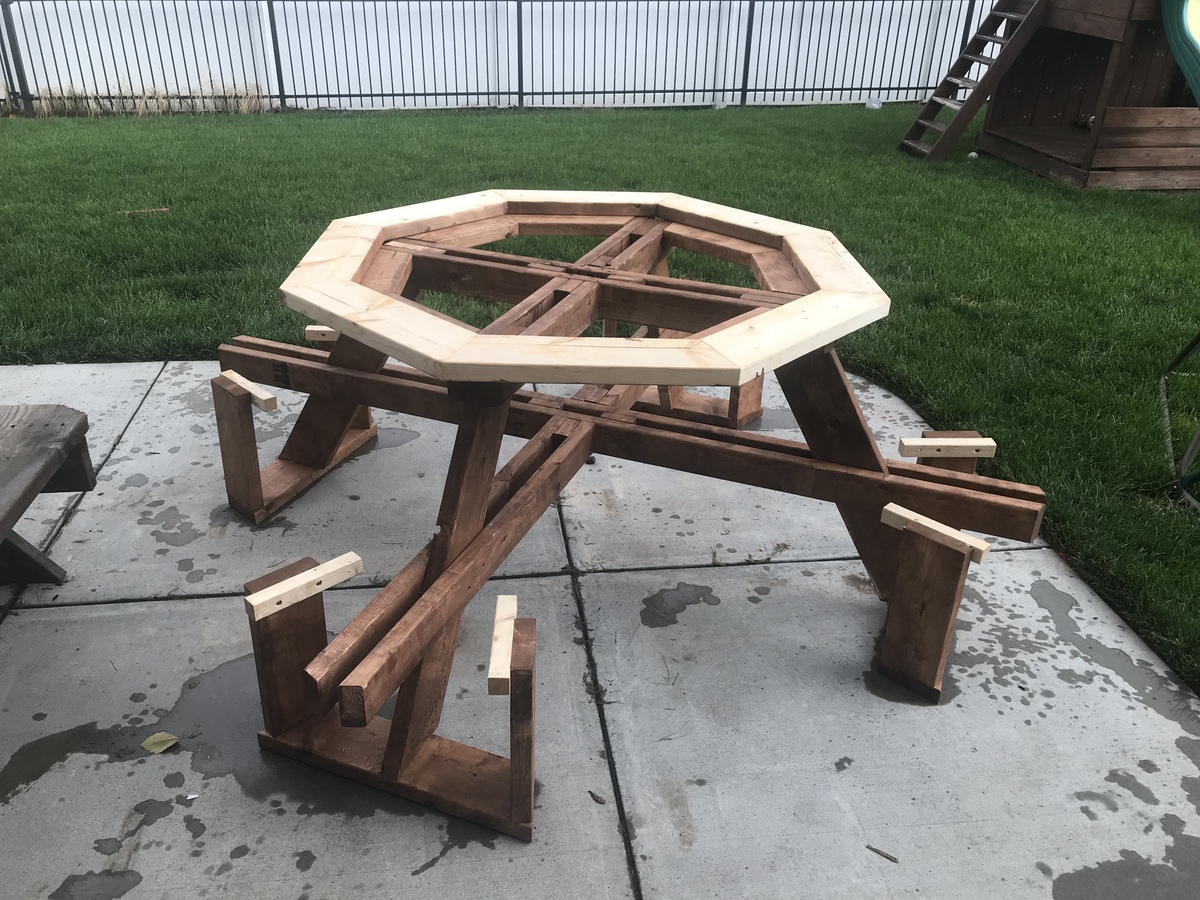
Picnic table is built of non treated pine. 2x6 and 2x4 only. I did stain as I went with outdoor stain just so everything would be protected. I don’t have the exact amount of wood bought but I think it is around 11 2x6 and 6 2x4. I used plans off of YouTube from A Simple Design of Ocalala. https://m.youtube.com/watch?v=WlprN_rUiJg
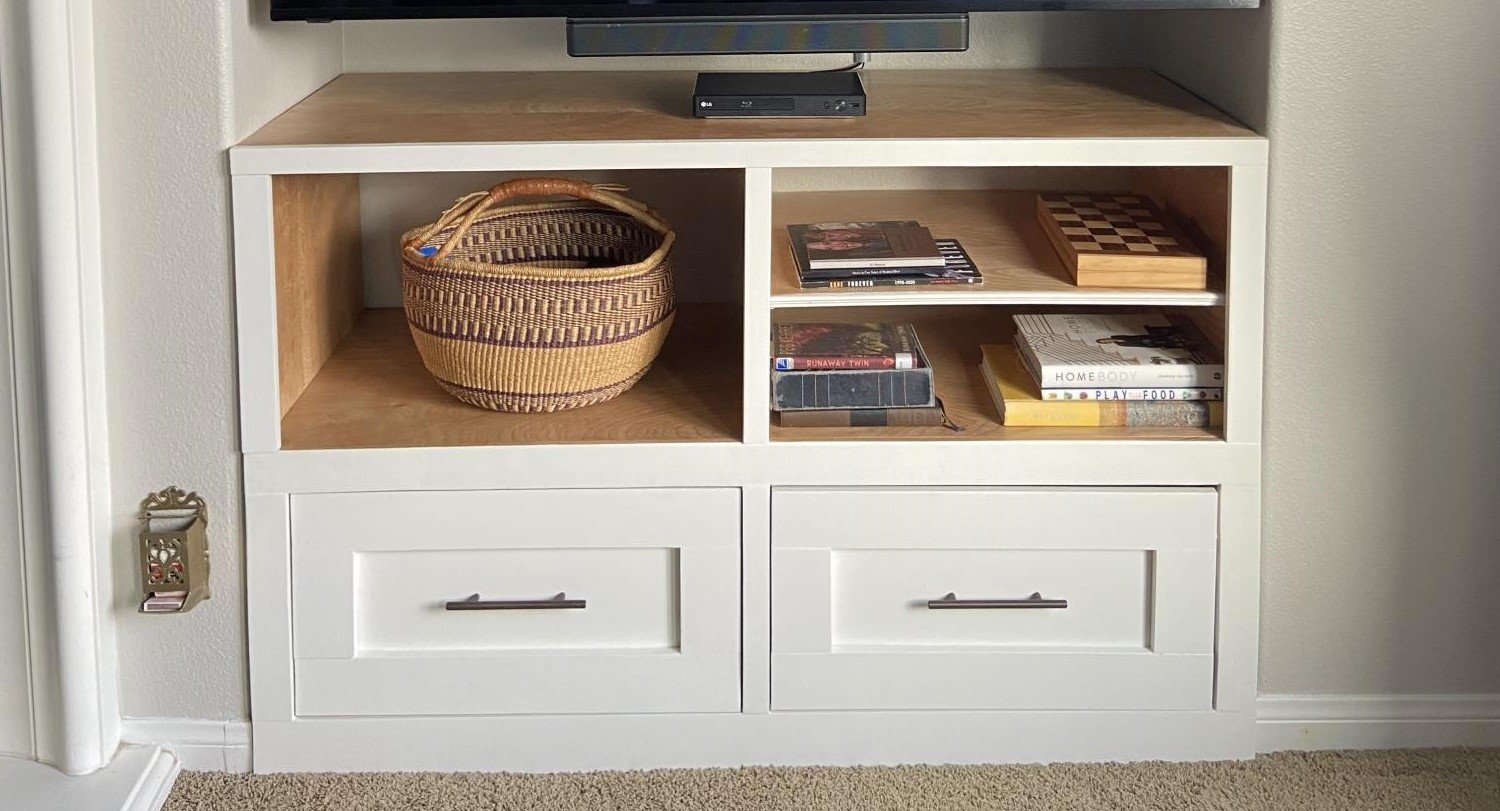
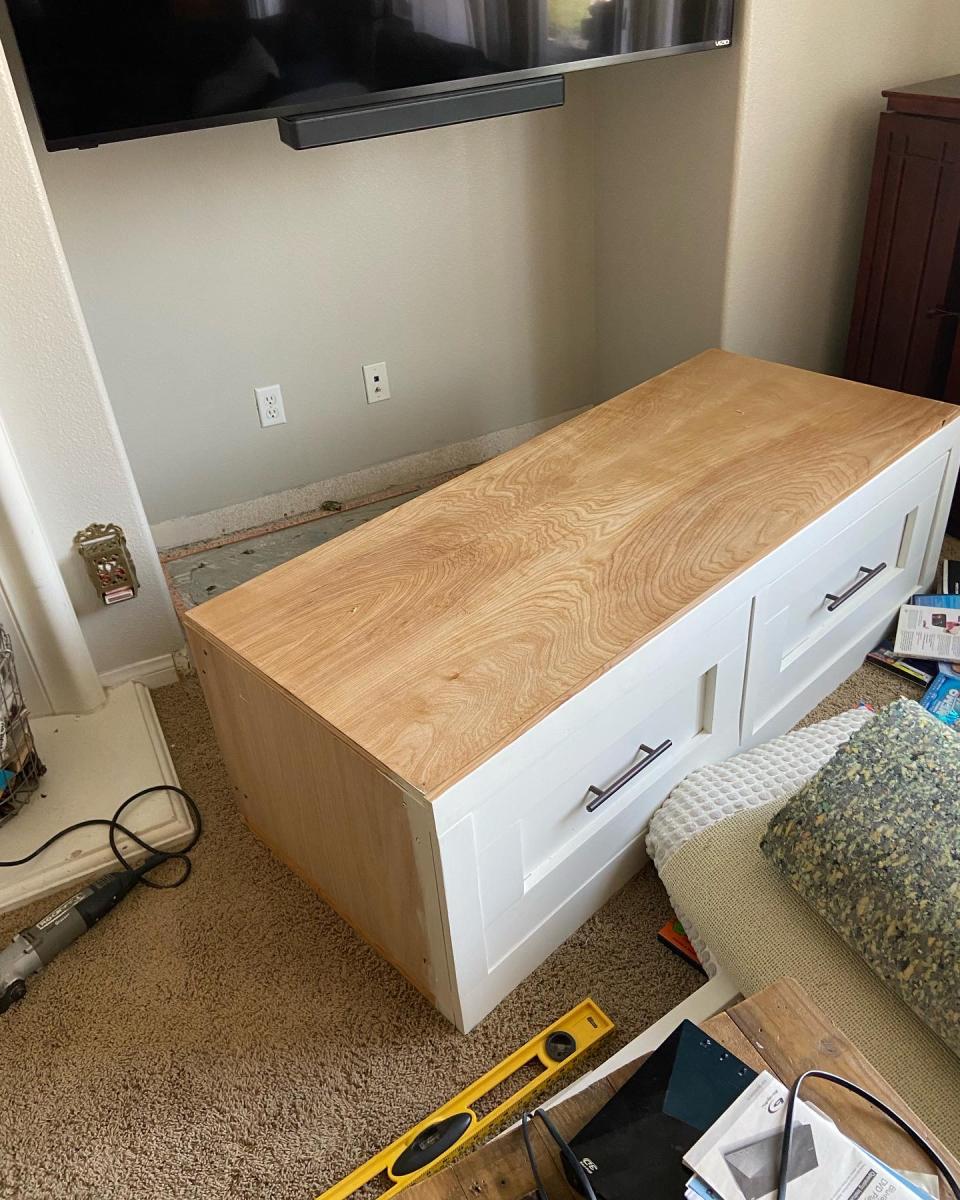
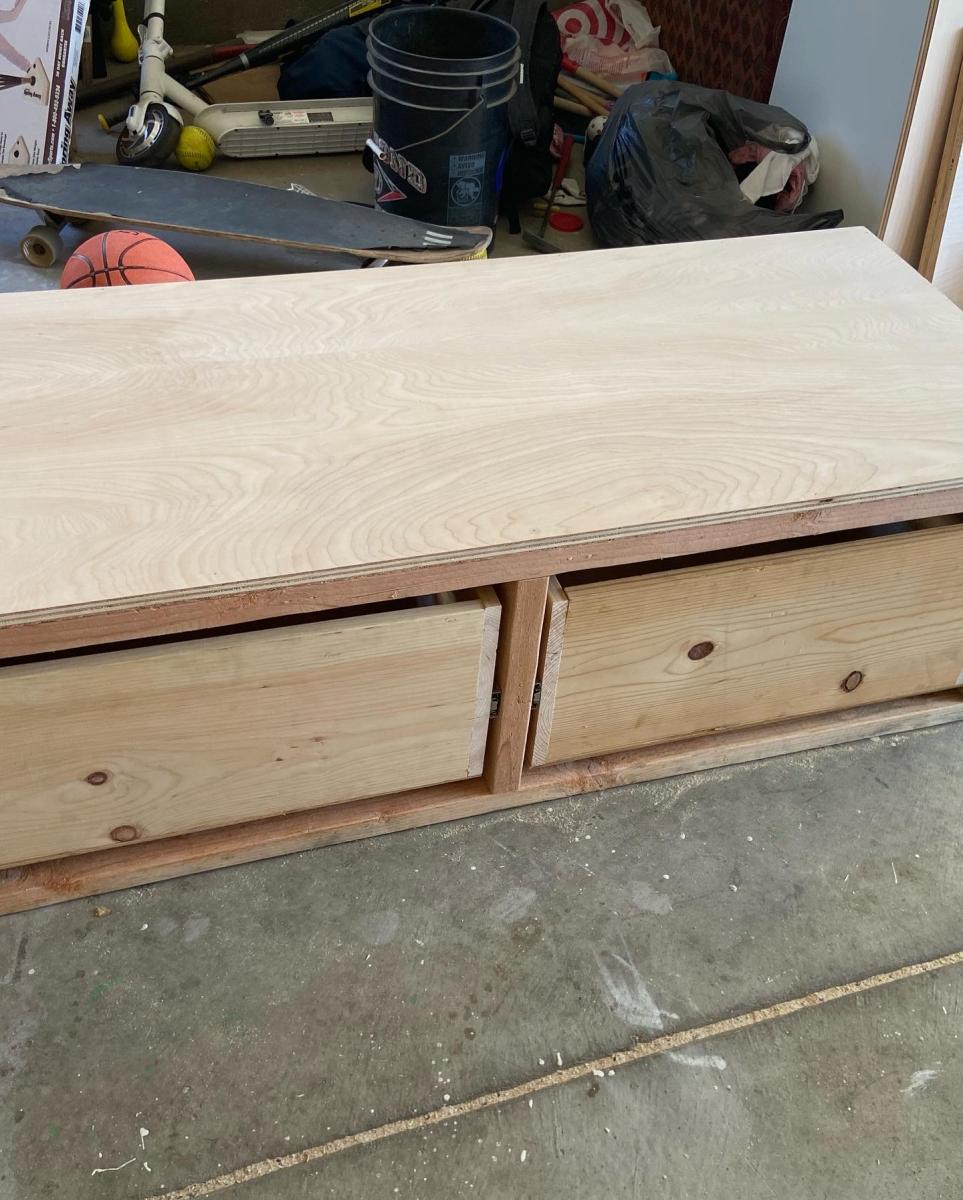
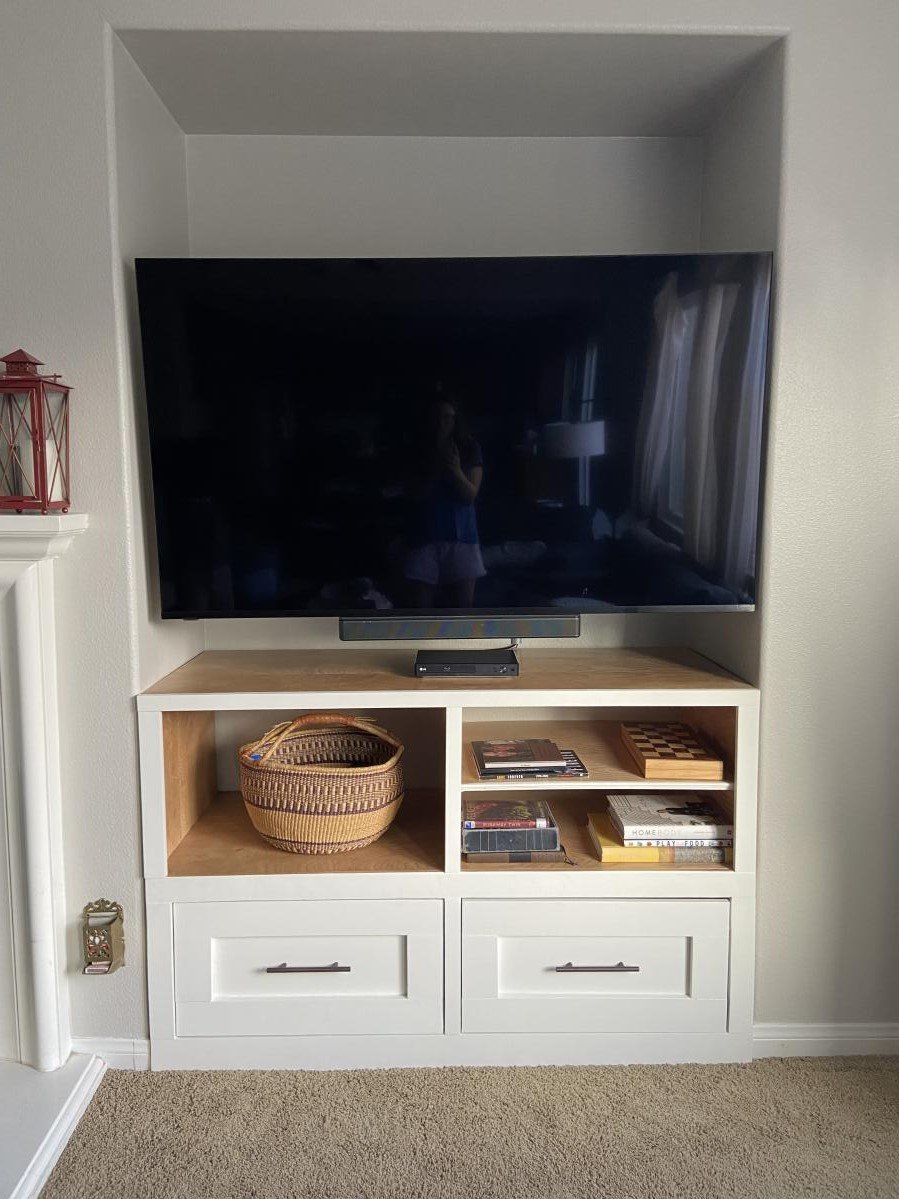
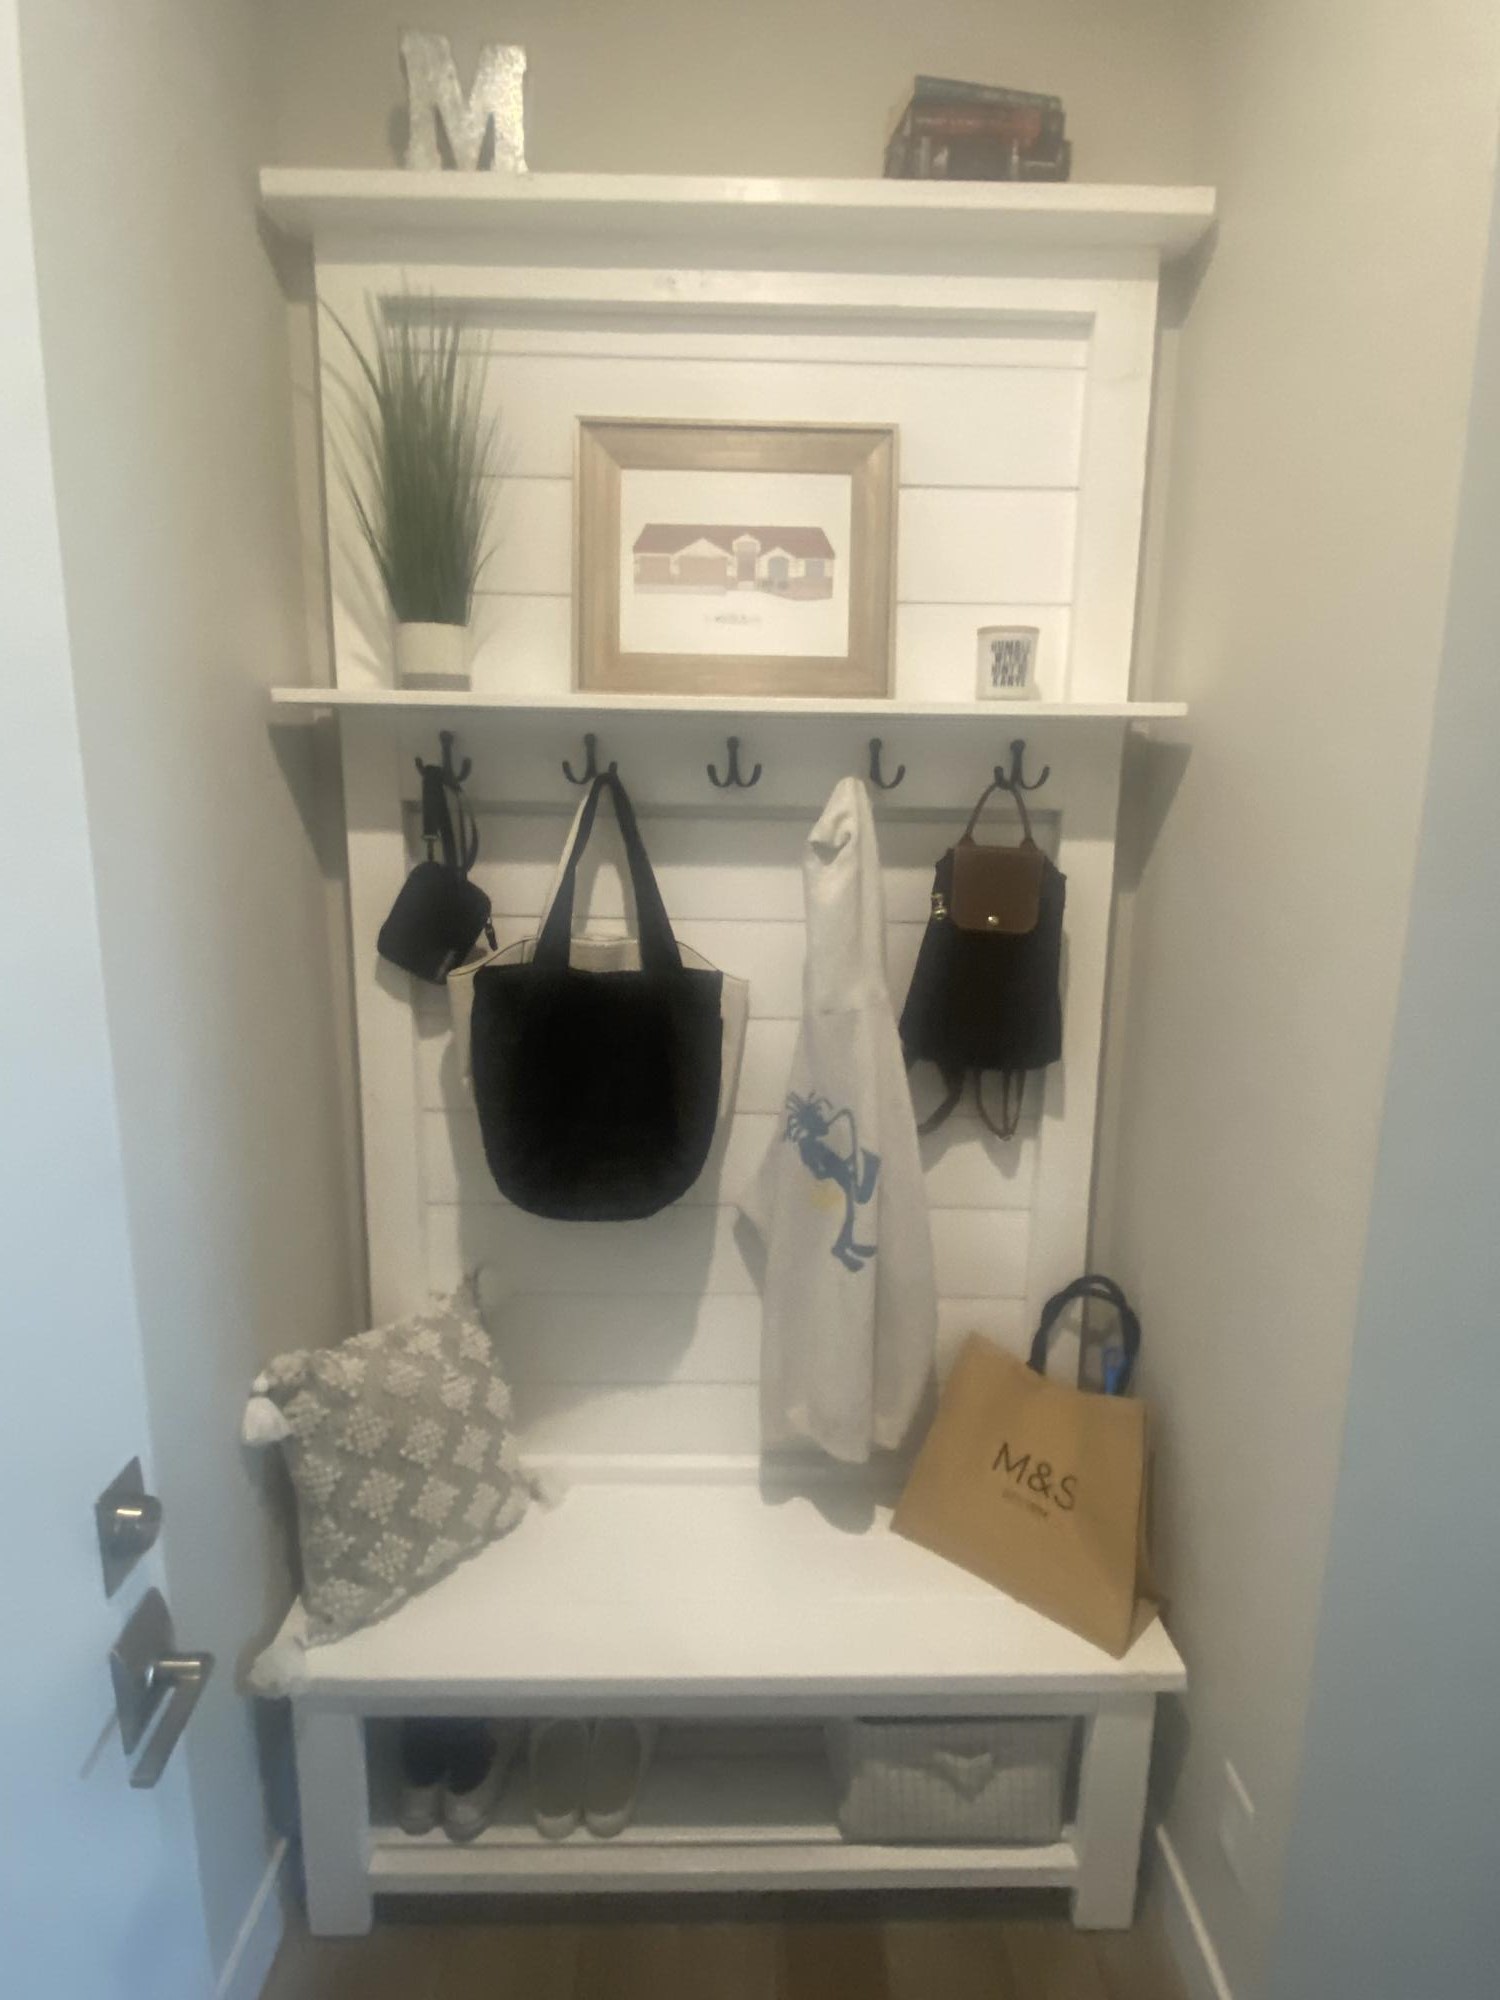
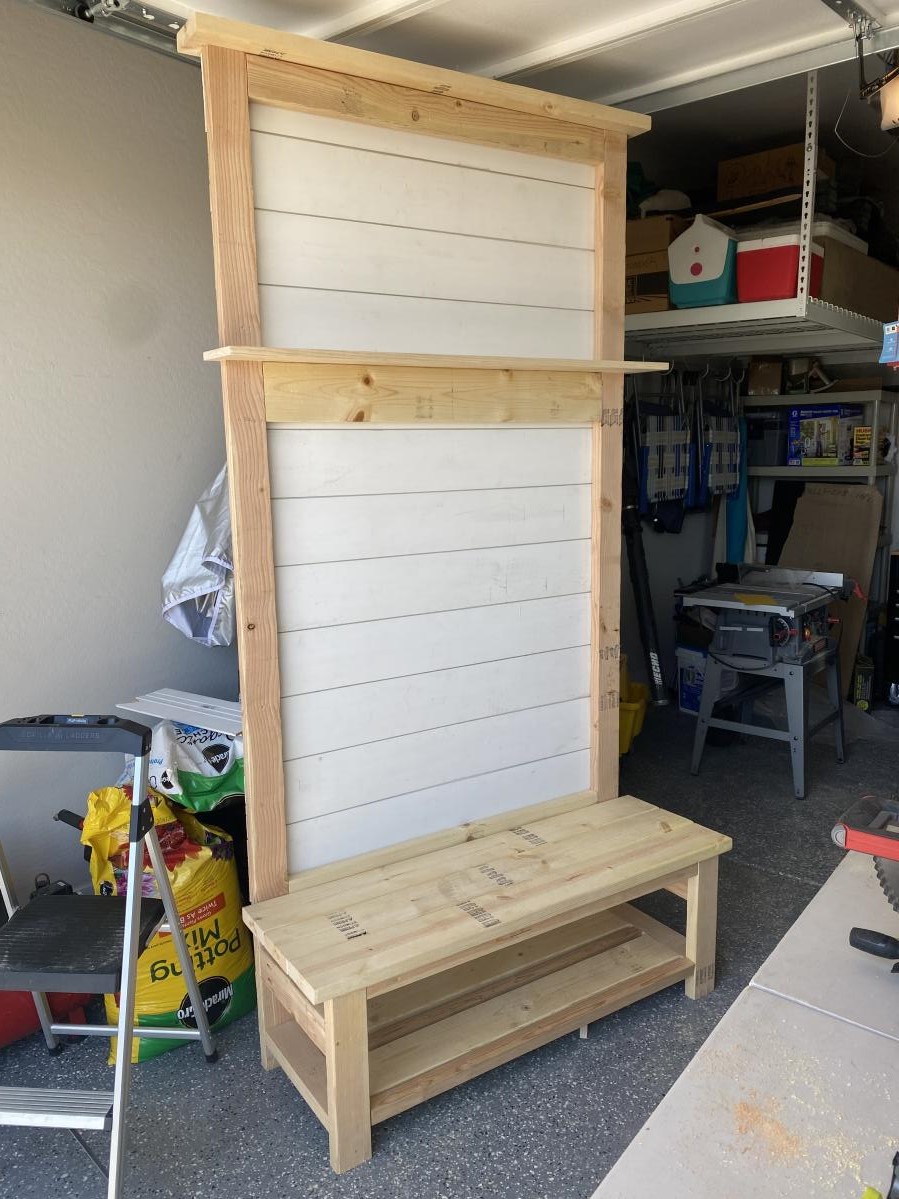
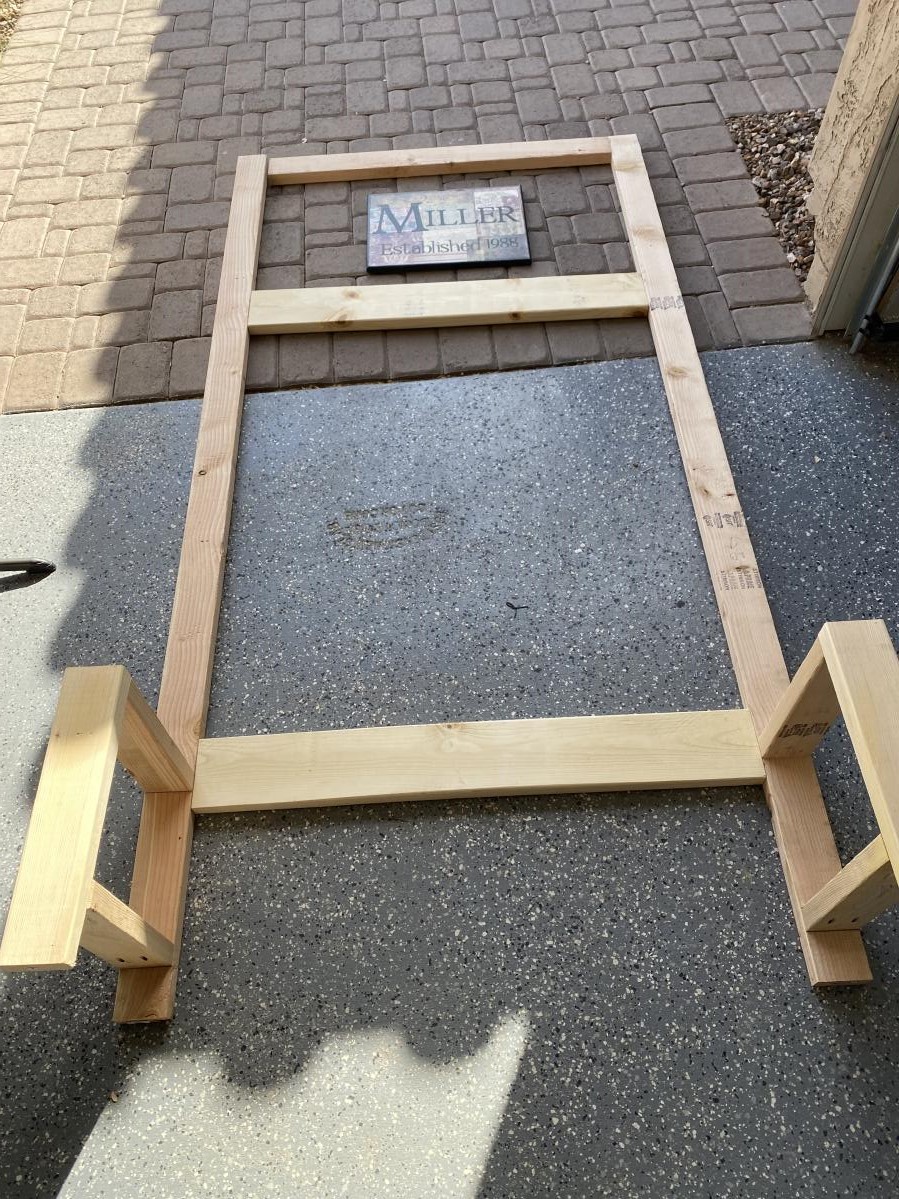
Modified the mudroom bench with drawers to make a built in entertainment area. Thank you for the ideas. It was tricky to modify and definitely a learning experience but I always learn something new when I build.
Tue, 05/03/2022 - 10:37
That is just beautiful, way to think out of the box to get exactly what you wanted! Thanks for sharing.
This was my first project that I took on from this site, and I was very happy with the result.
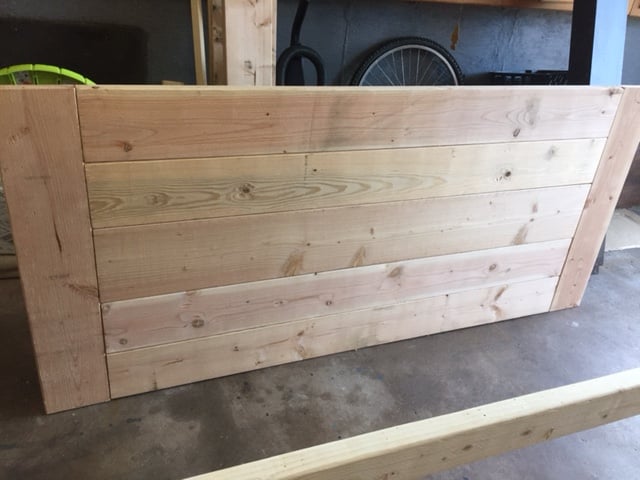
I used the plans from the Simple Sawhorse Table, and adjusted to our needs.
The only real adjustments were instead of using a solid top, I used 2 2x10's. I also made the total length 90" on top.
Very great site, and hope to be building more soon.
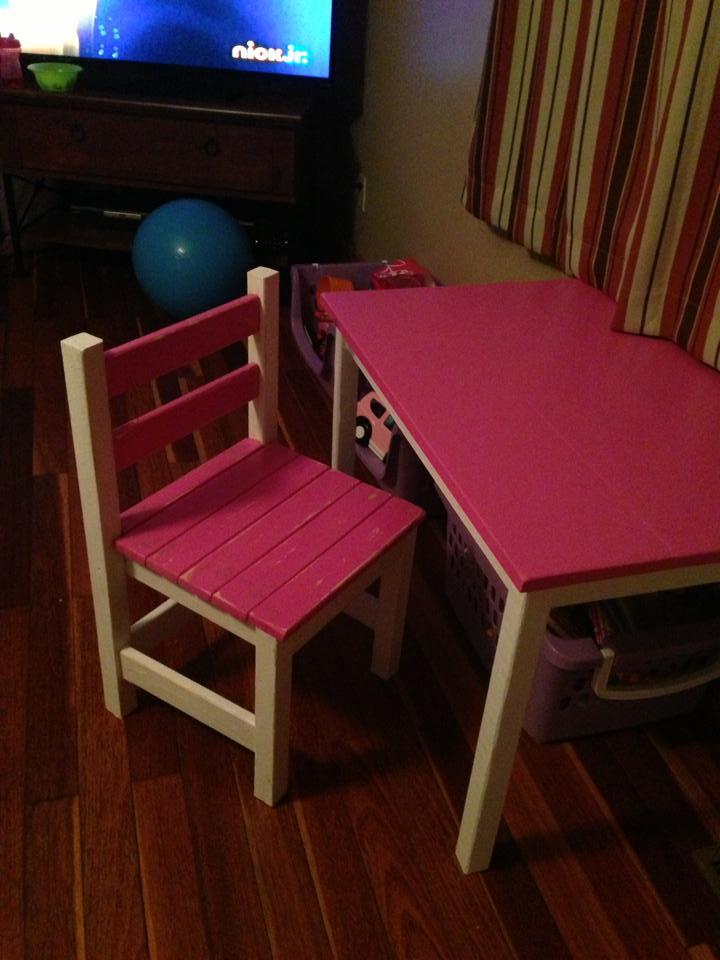
I made the $4 dollar chair and Ana Table. For the chairs I used 2x2's for the legs to help sturdy it up and because of that my seat slats are closer together. It's a very sturdy chair. I can sit on it and it doesn't budge.
The table was easy to do.

Sun, 08/11/2013 - 20:35
This is just so cute! =D Now I want to stop what I'm doing and build one too; infectious! Haha.
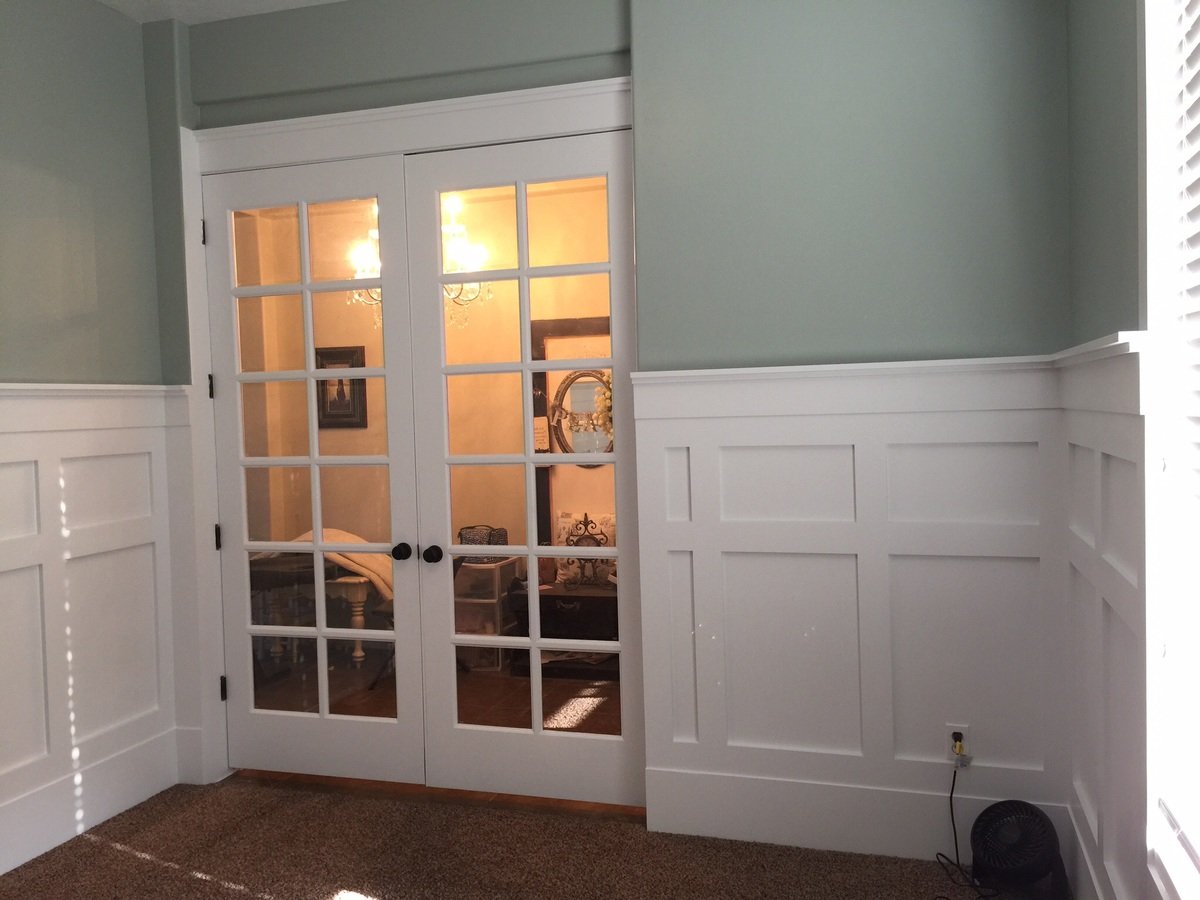
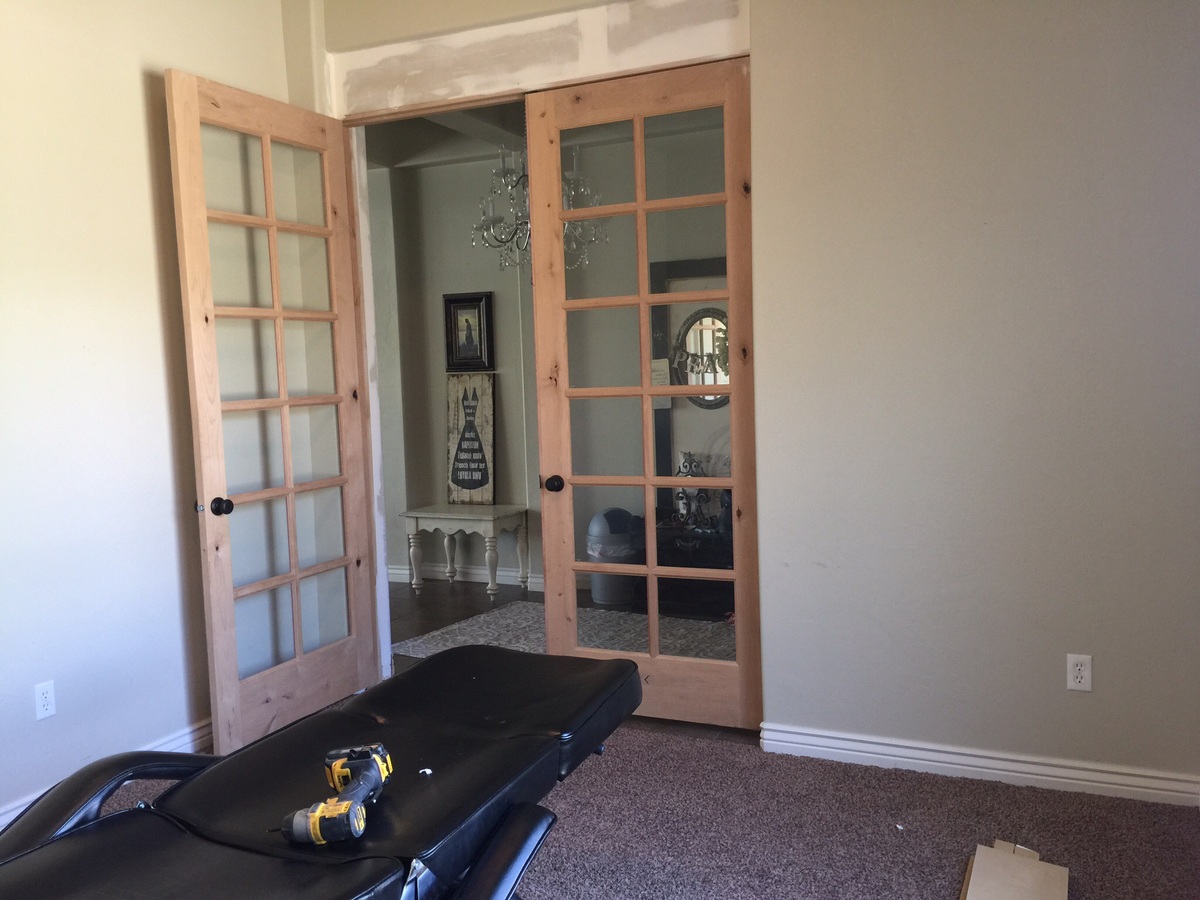
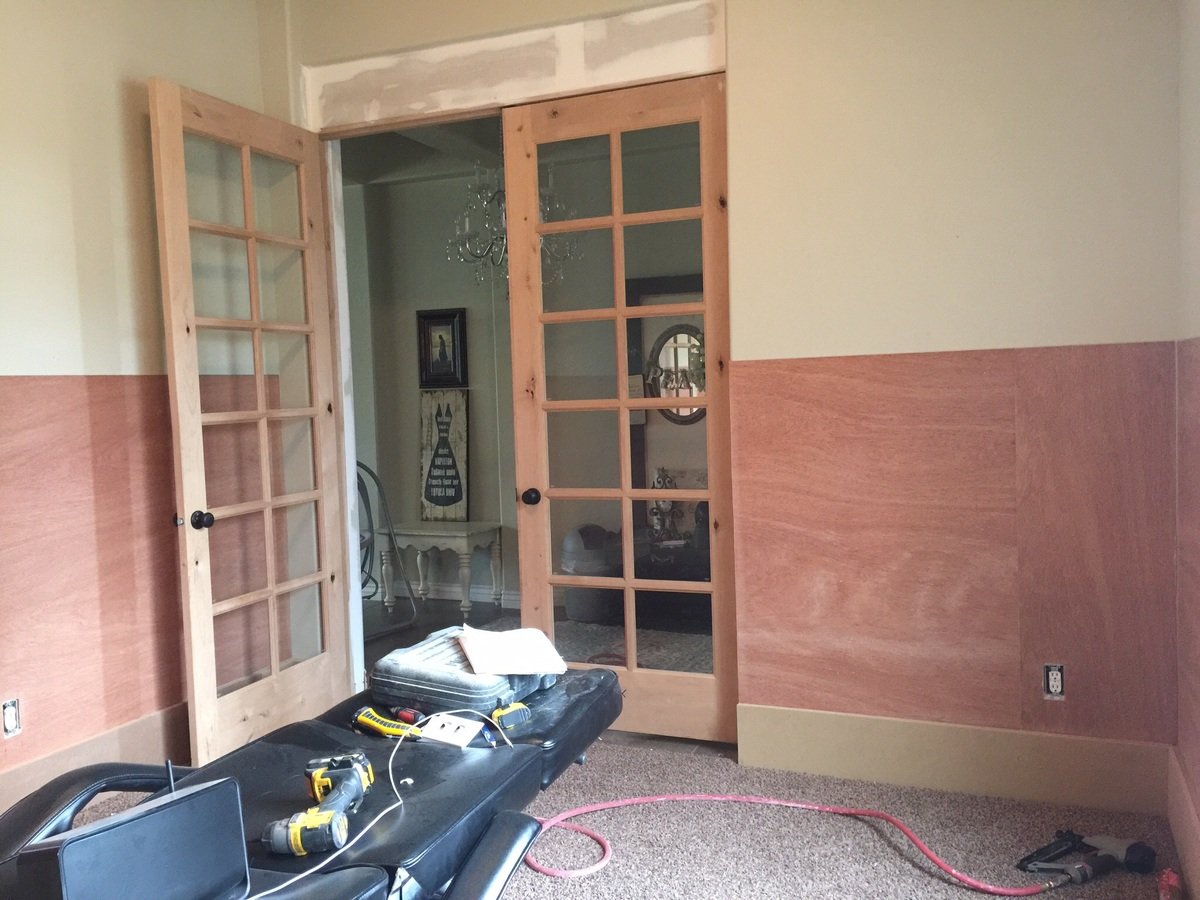
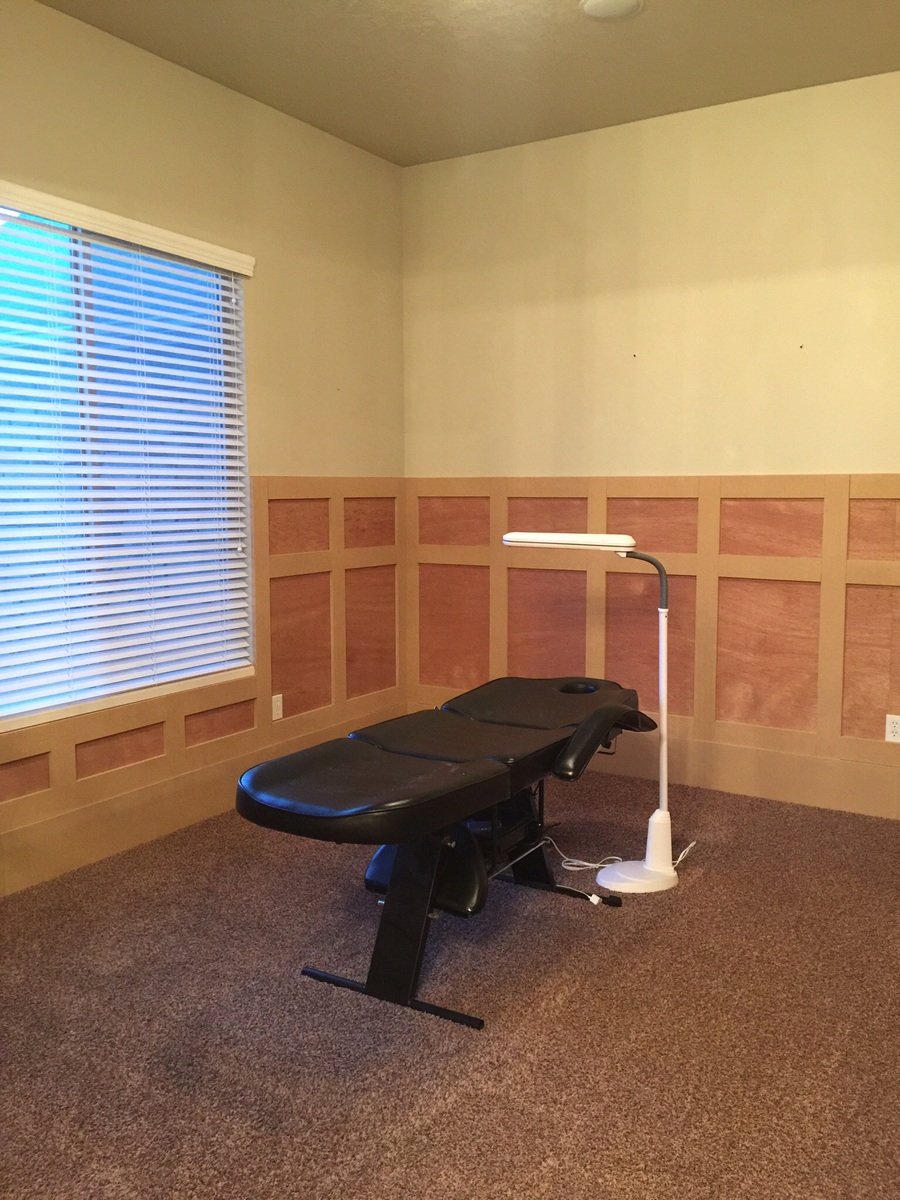
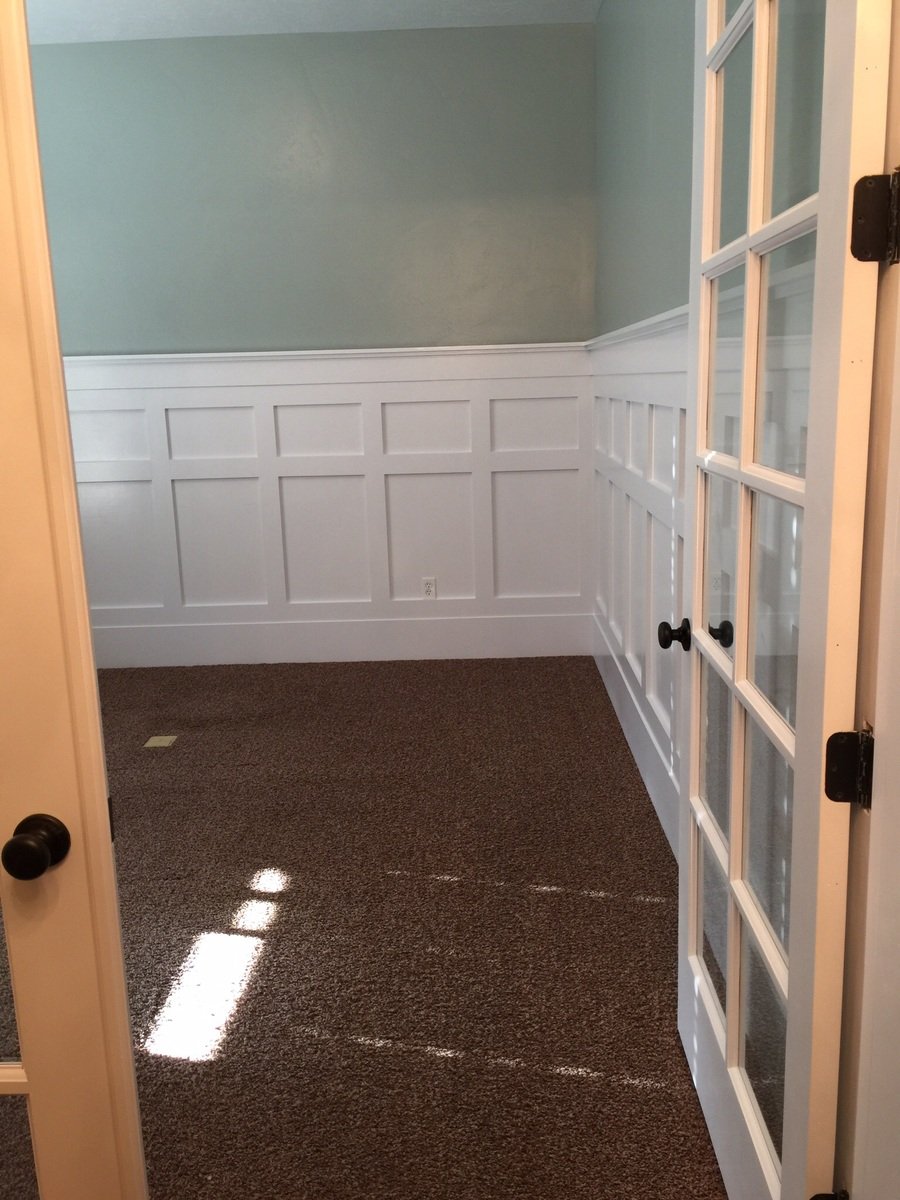
This was a project that took me about 4 weekends. Last year I installed the French doors. I decided that this was the year to finish them and the rest of my wife's office with a custom Wainscotting, based off the farmhouse style. In order to keep it cheap, I used 4' x 8' sheets of 3/4" mdf. I would then rip them to the width of my choosing, based upon design. Overall, I used 4 4'x8' 1/4" plywood (for backing), I used 5 4'x8' 3/4" mdf... At a cost of $29/sheet. After installation, filling holes and seams, I primed then painted using a spray gun. Total cost: about $350. The room is much more rich, and really lightens up the space.

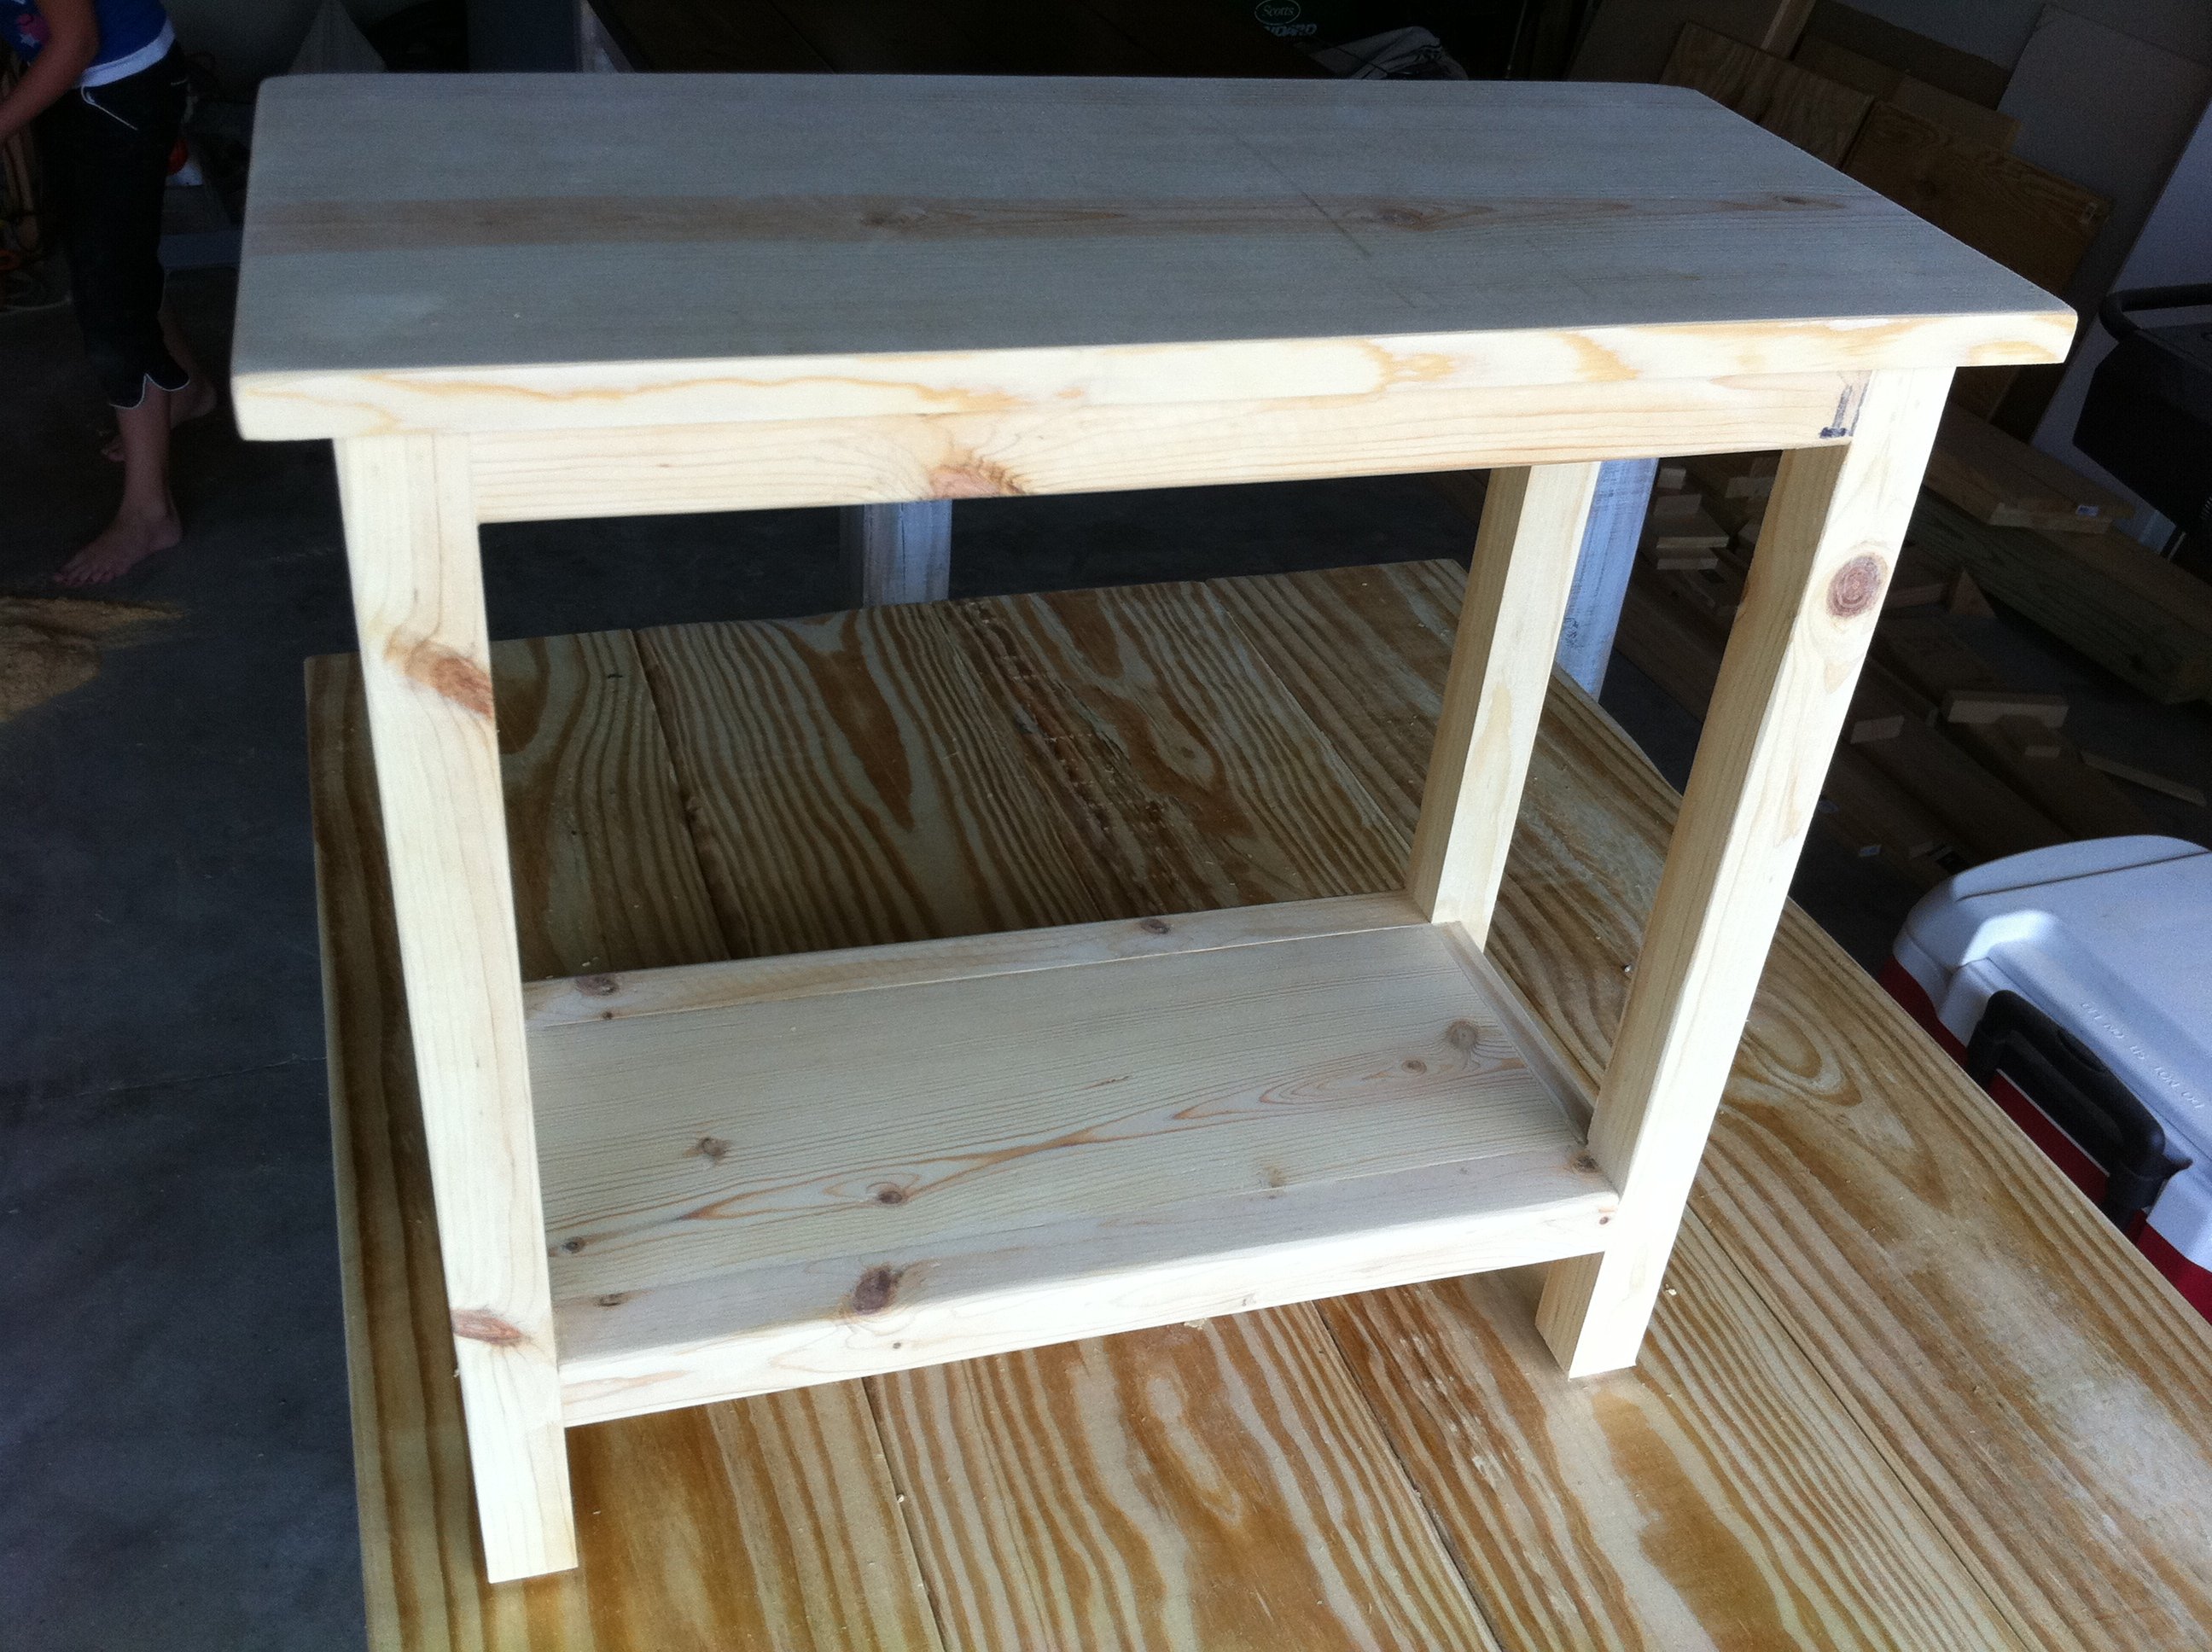
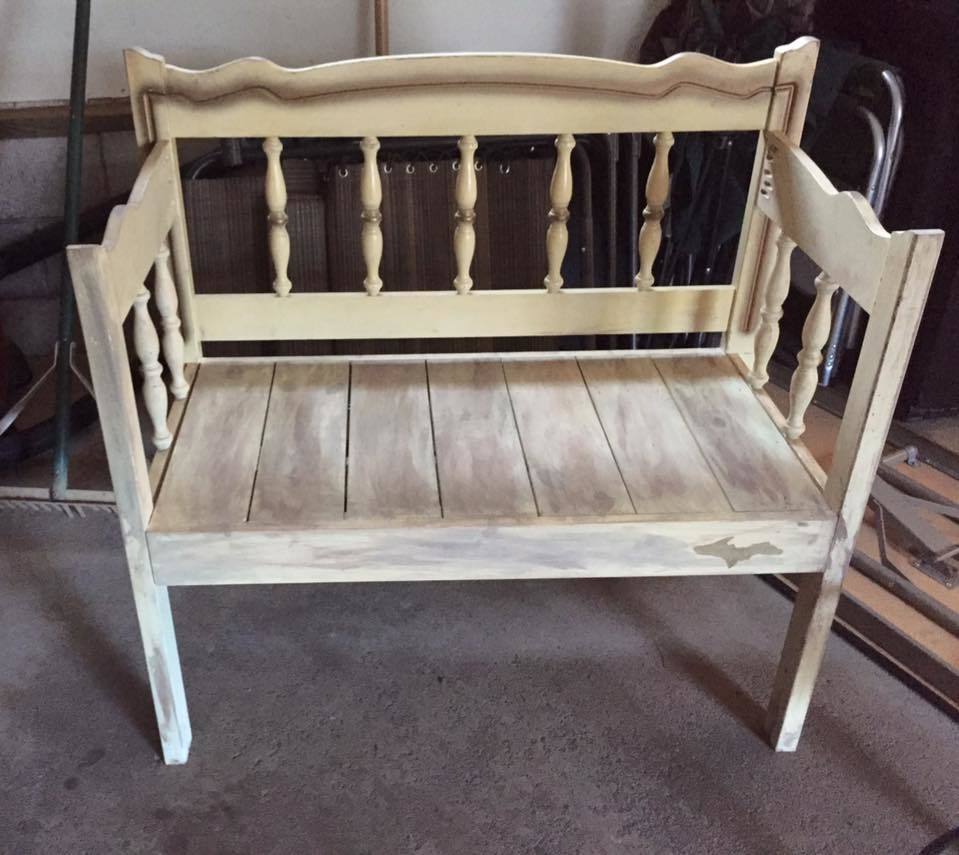
I wanted a table like Ana's narrow cottage table, except I just wanted an open shelf instead of a drawer for a basket.
Here is my version modified to fit my needs. Thanks to Ana, of course. :)
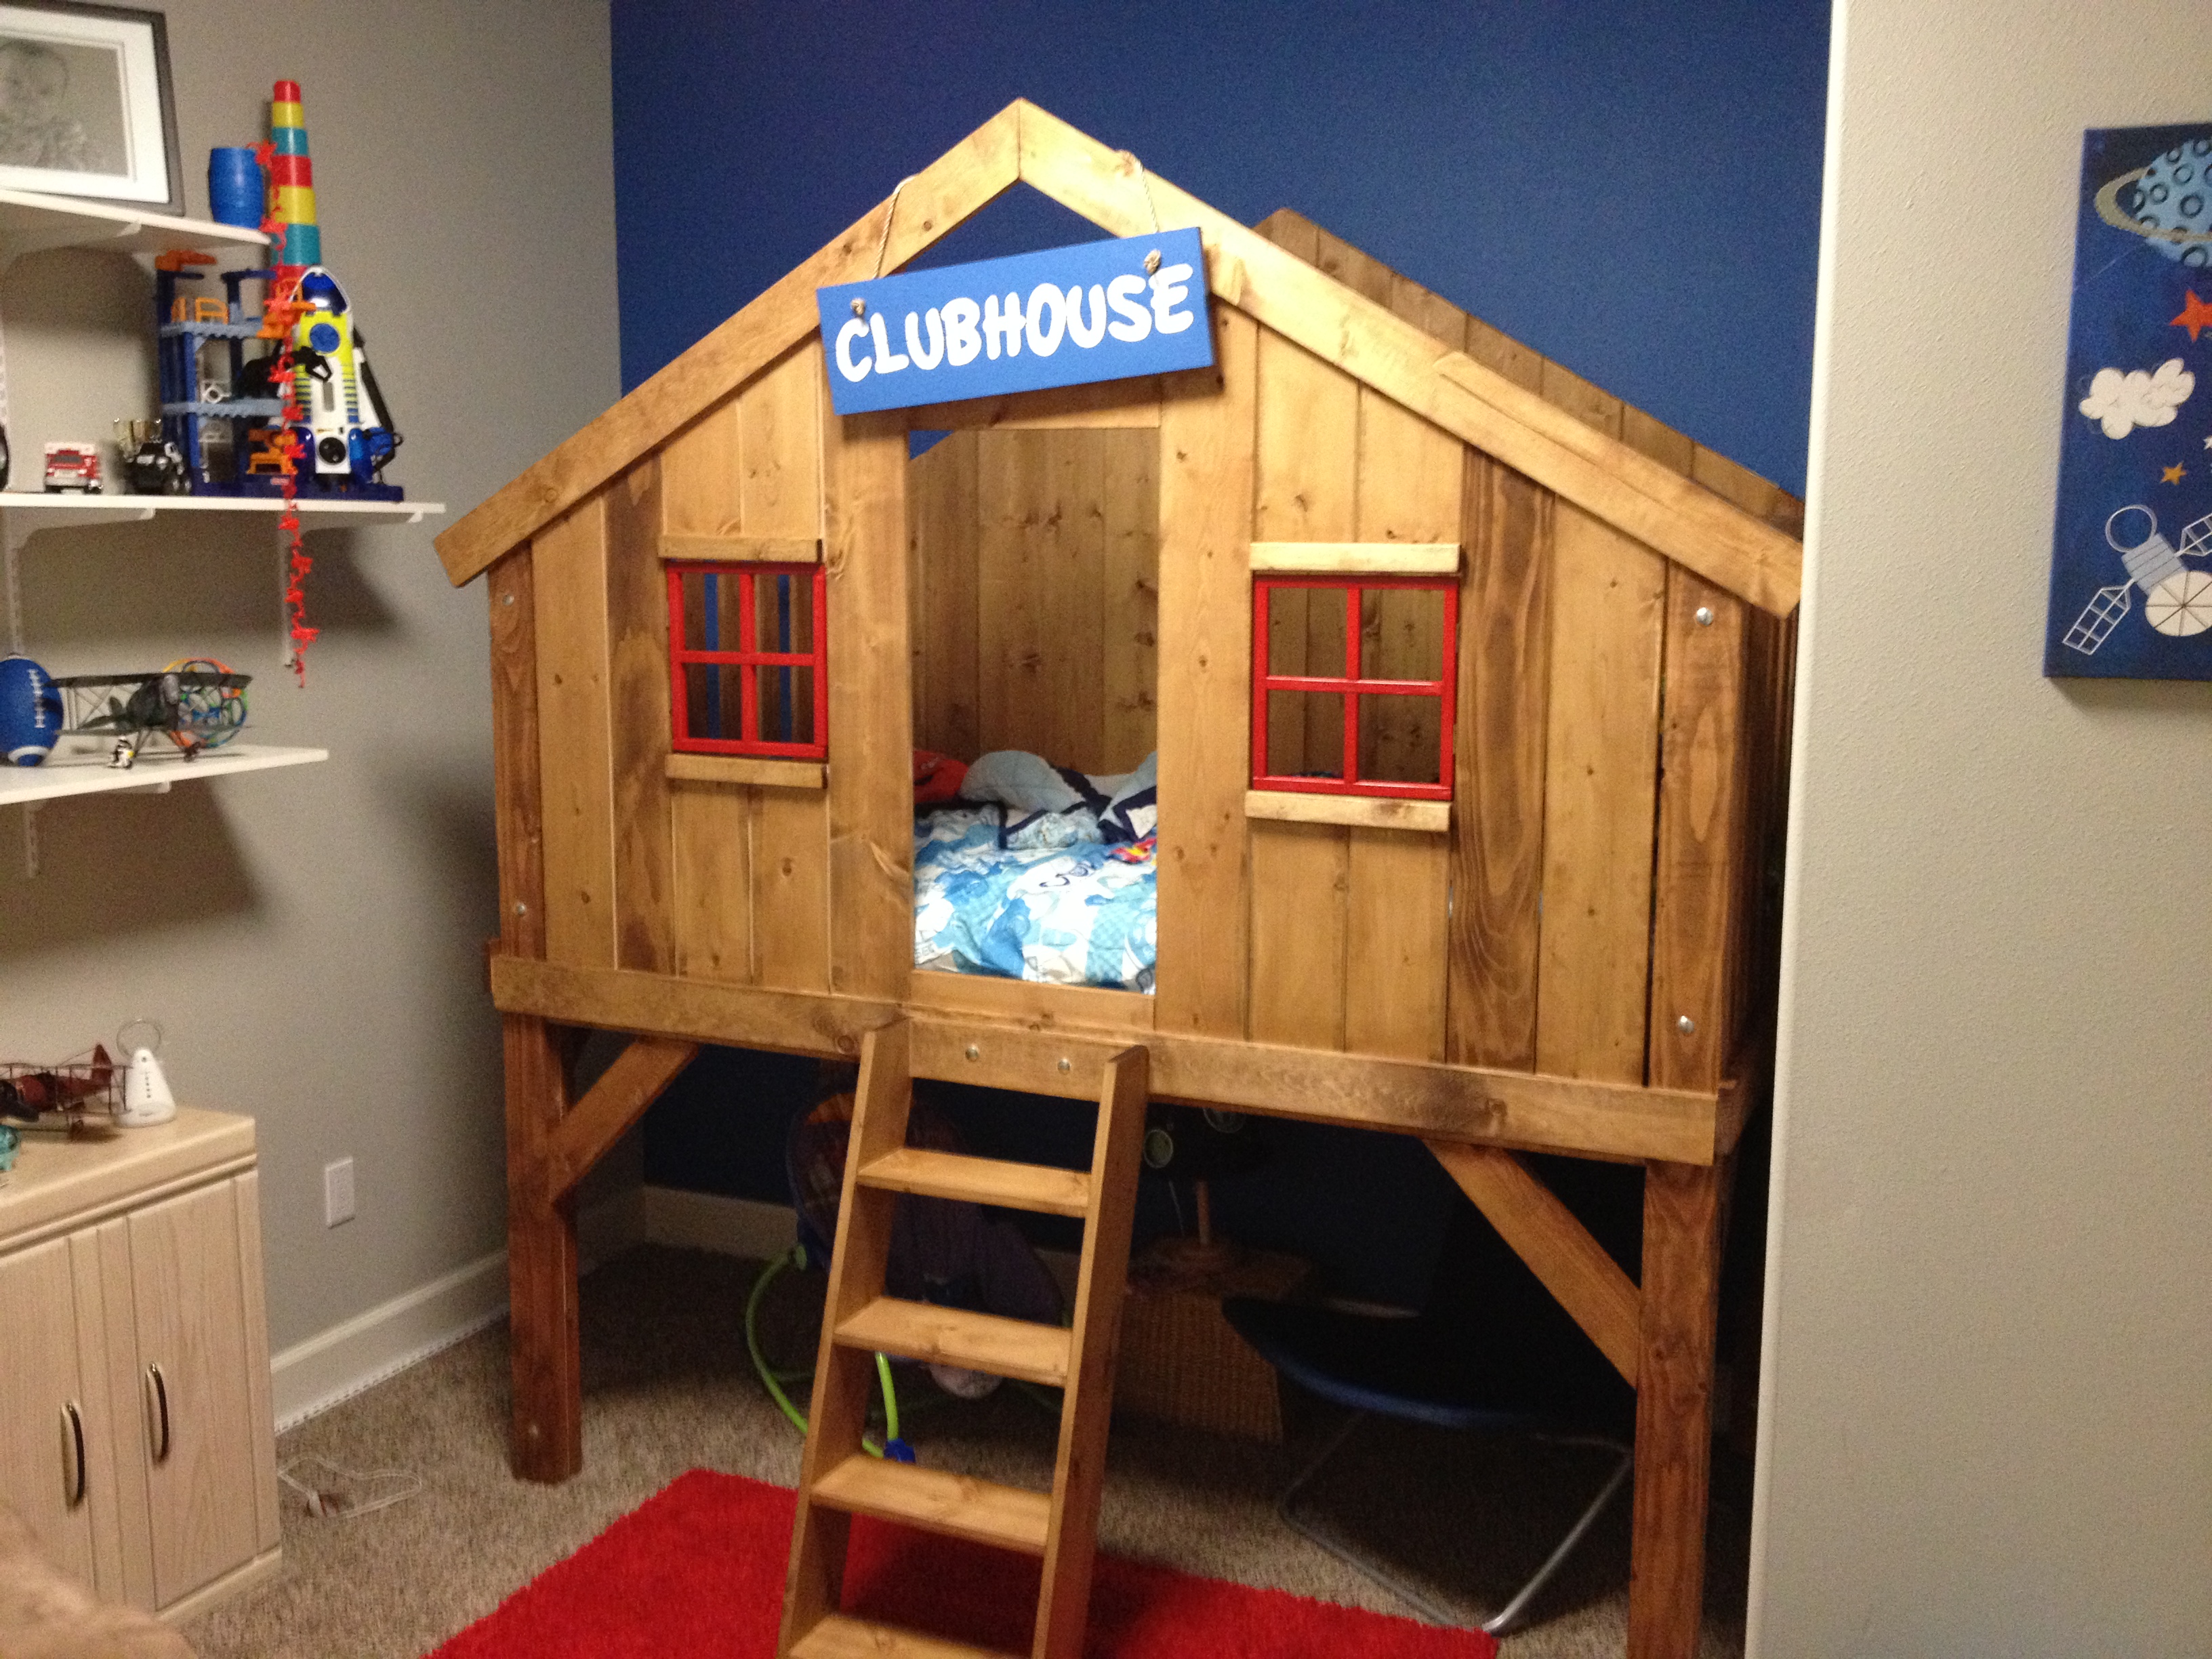
This project is fun and relatively quick for the end result. All together, it took just over 20 hours. For the most part I followed the instructions and wood cuts according to the plan. I ended up having to tweak some things and I'm not sure if the error was in the plans provided online or my own error. Probably mine!
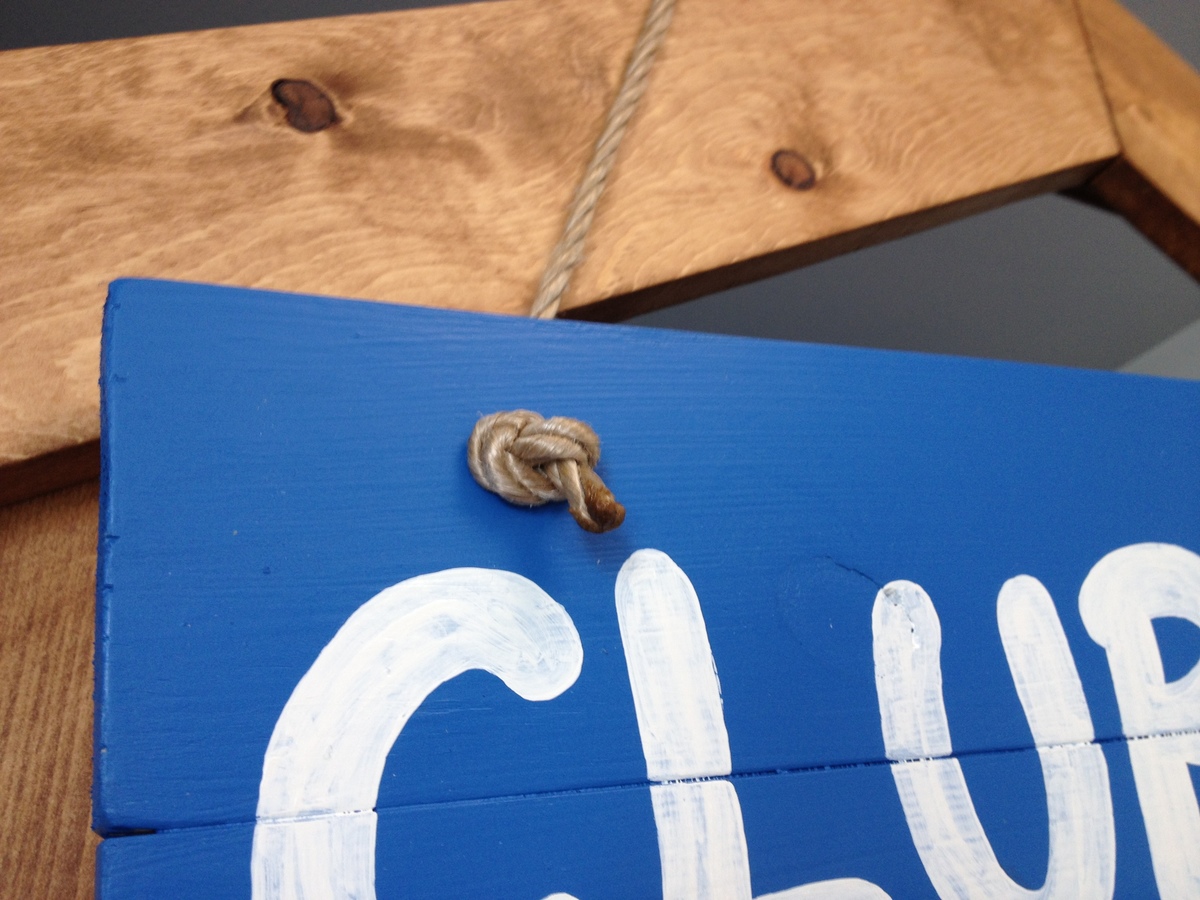
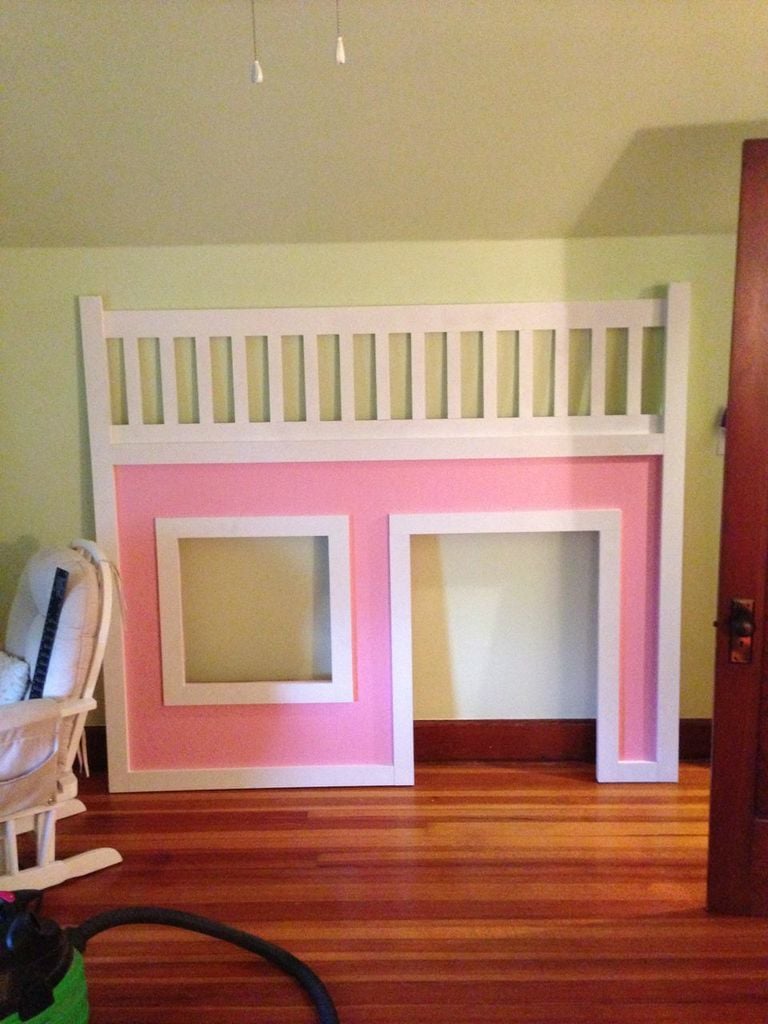
I thought I would add that, for the sign, I simply picked a font on the computer and printed out big letters (a size that would fit nicely on the sign) and then used those letters to trace out the border. Then I painted the letters by staying inside the lines! Easy Peasy. I used a small rustic rope and drilled holes in the sign to slip the rope through. I then tied knots so as to hold the sign in place. Works great and definitely completes the set. I thought about skipping the windows, but I'm so glad I did not. They really stand out and look amazing. My son loves to open them and just stare out (who knows what his imagination is making him see).
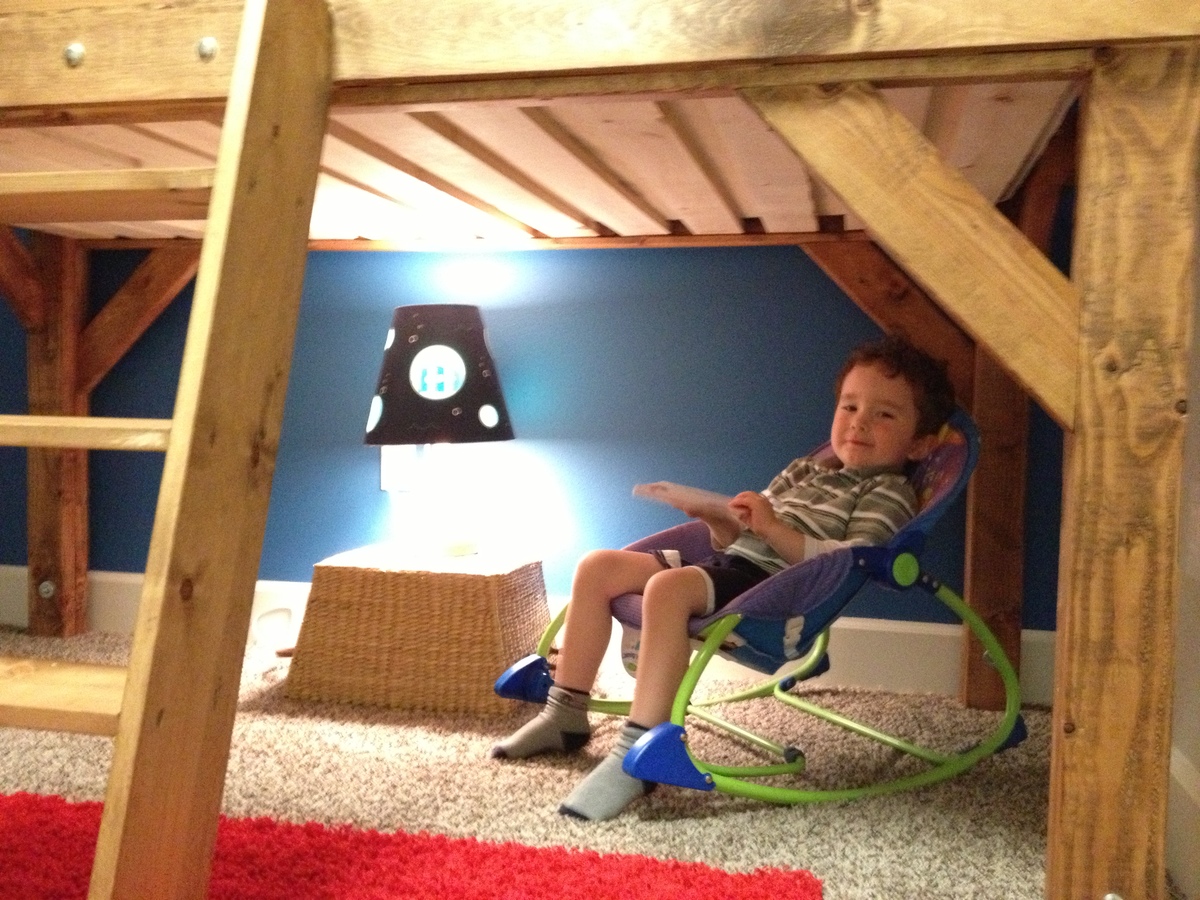
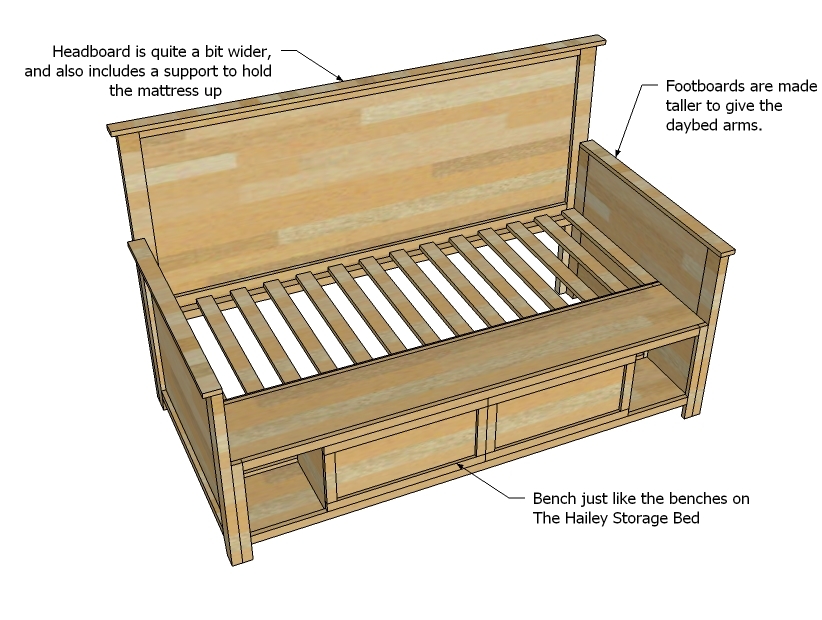
This bed is great because it allows for another area below. My son likes to turn on a lamp, sit in his chair and read. Thank you SO MUCH for this plan!!!

Mon, 03/14/2016 - 19:00
May I ask which mattress size do you used? Looks small for me and I'm guessing you've used toddler bed?
Sun, 03/27/2016 - 09:53
I used a regular size Twin Mattress. I'm 6'2" and I've actually slept in this bed : )

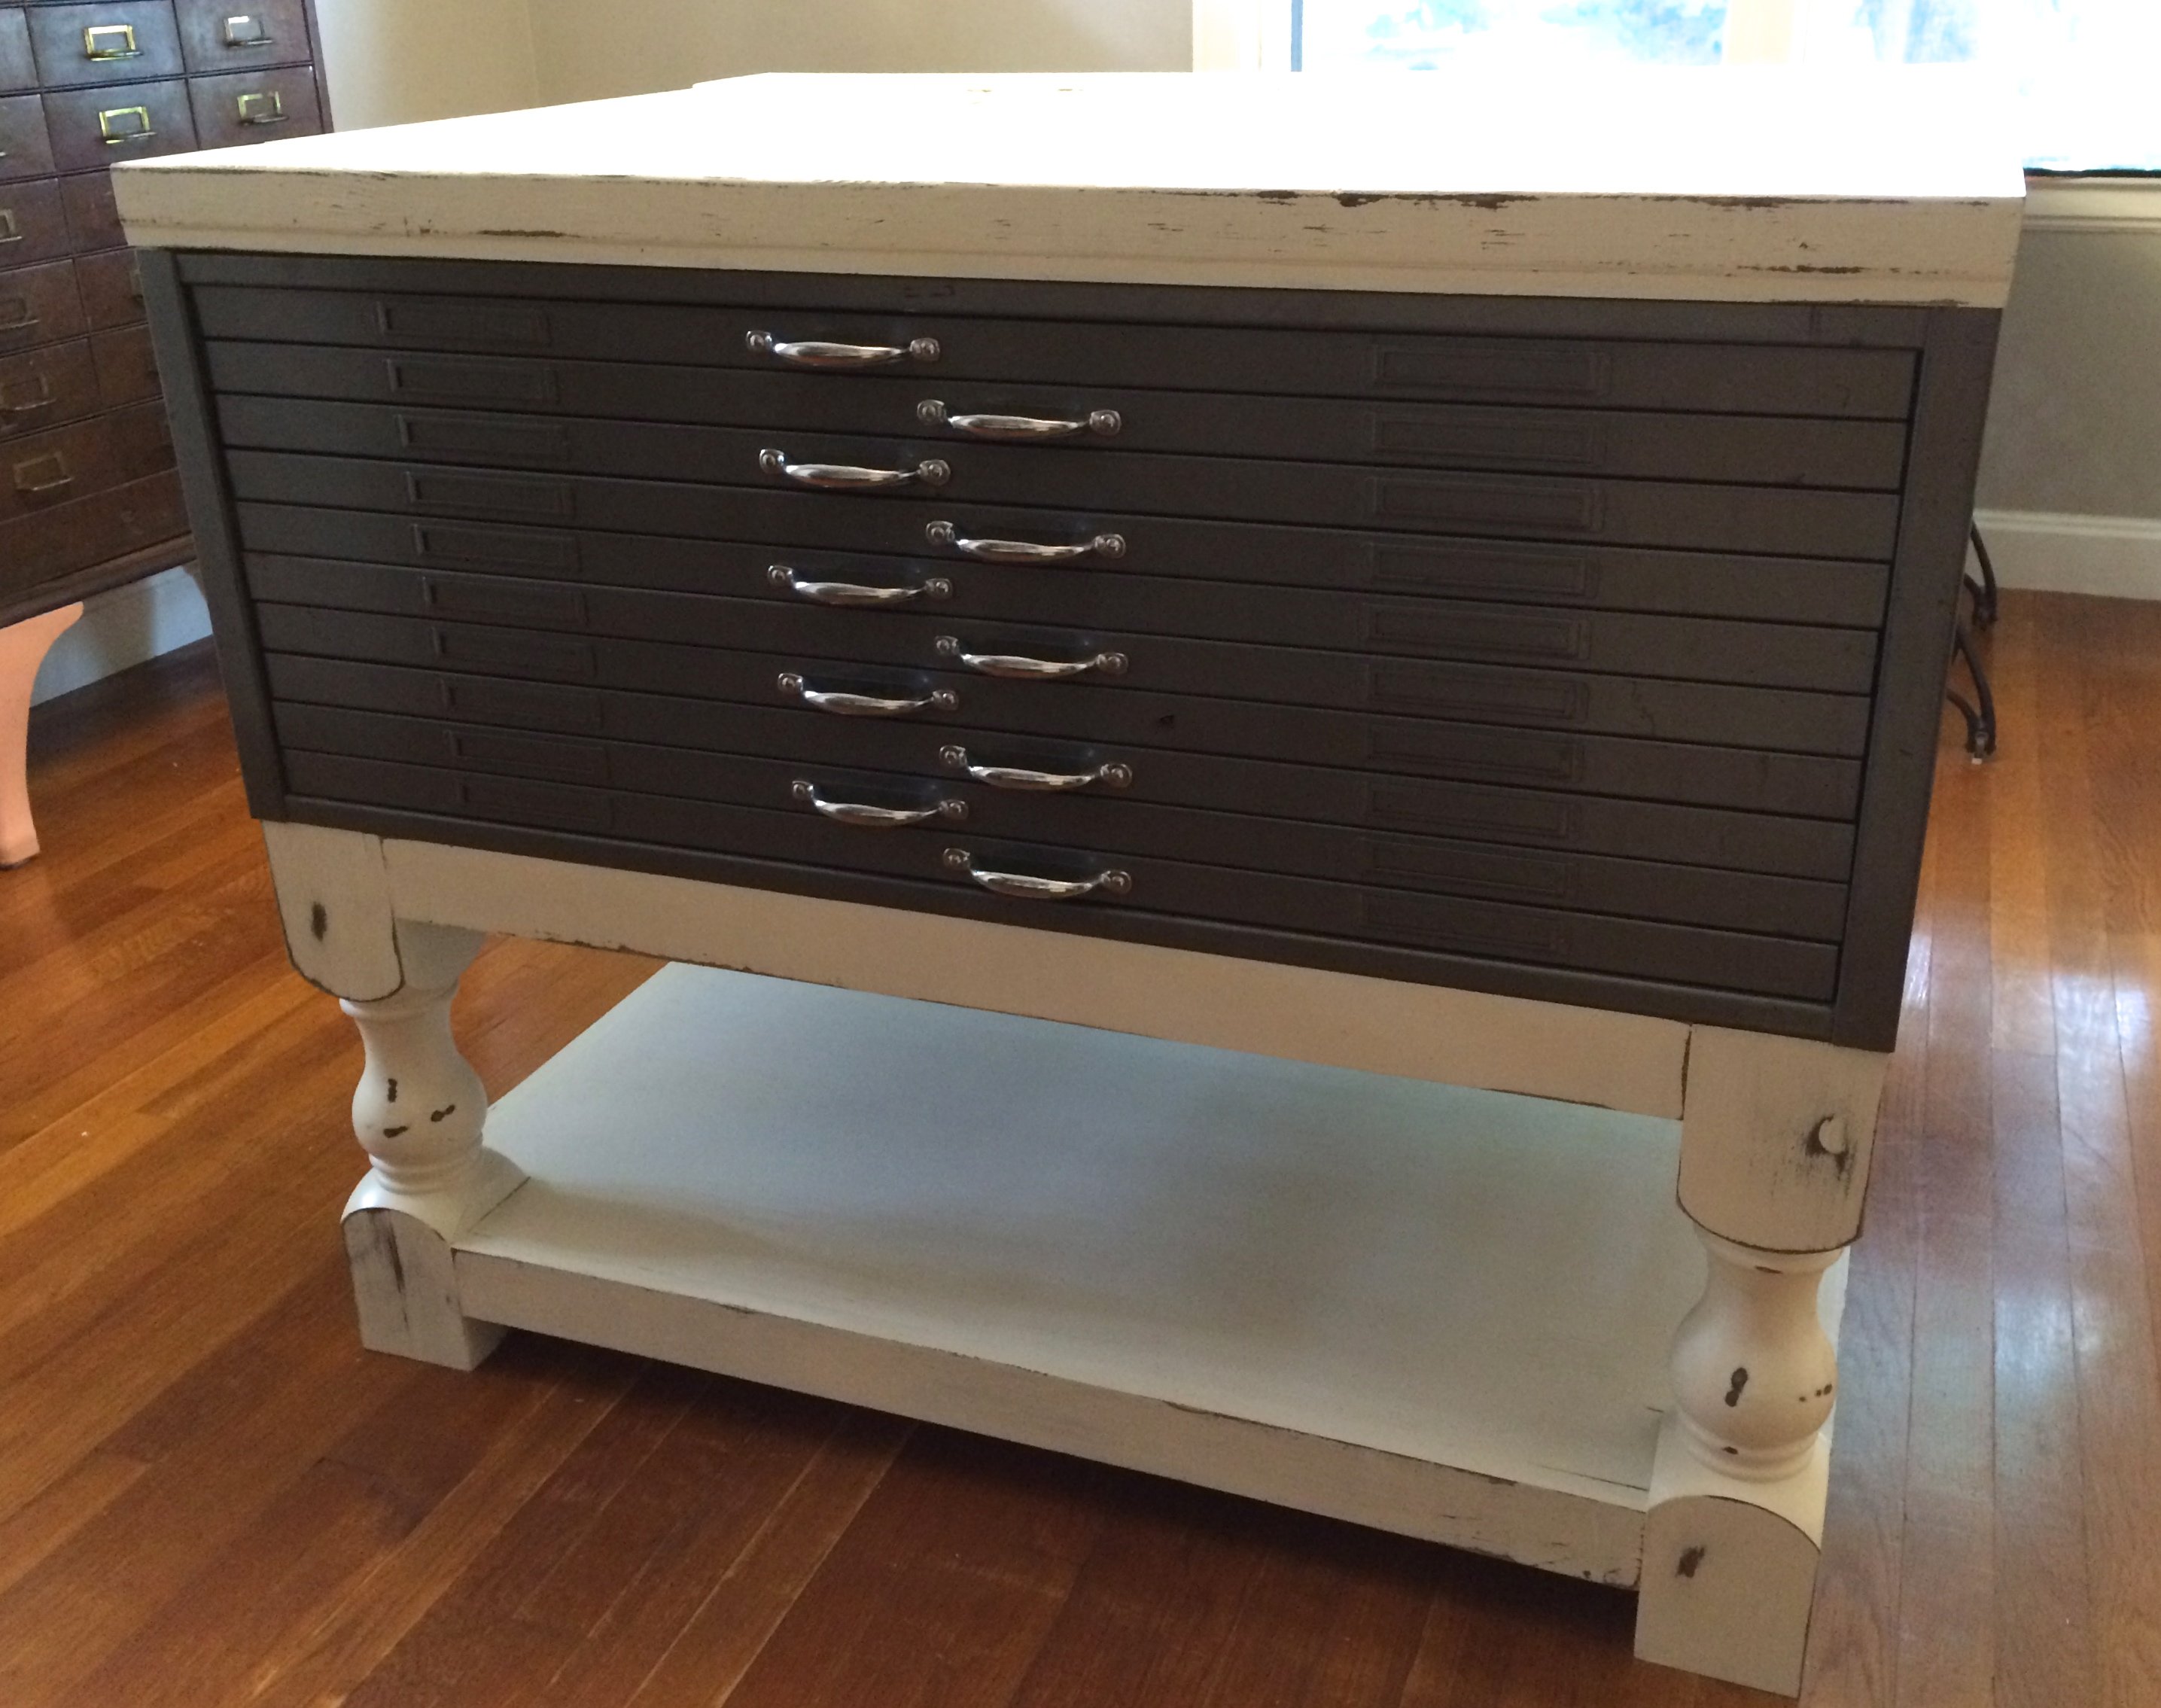
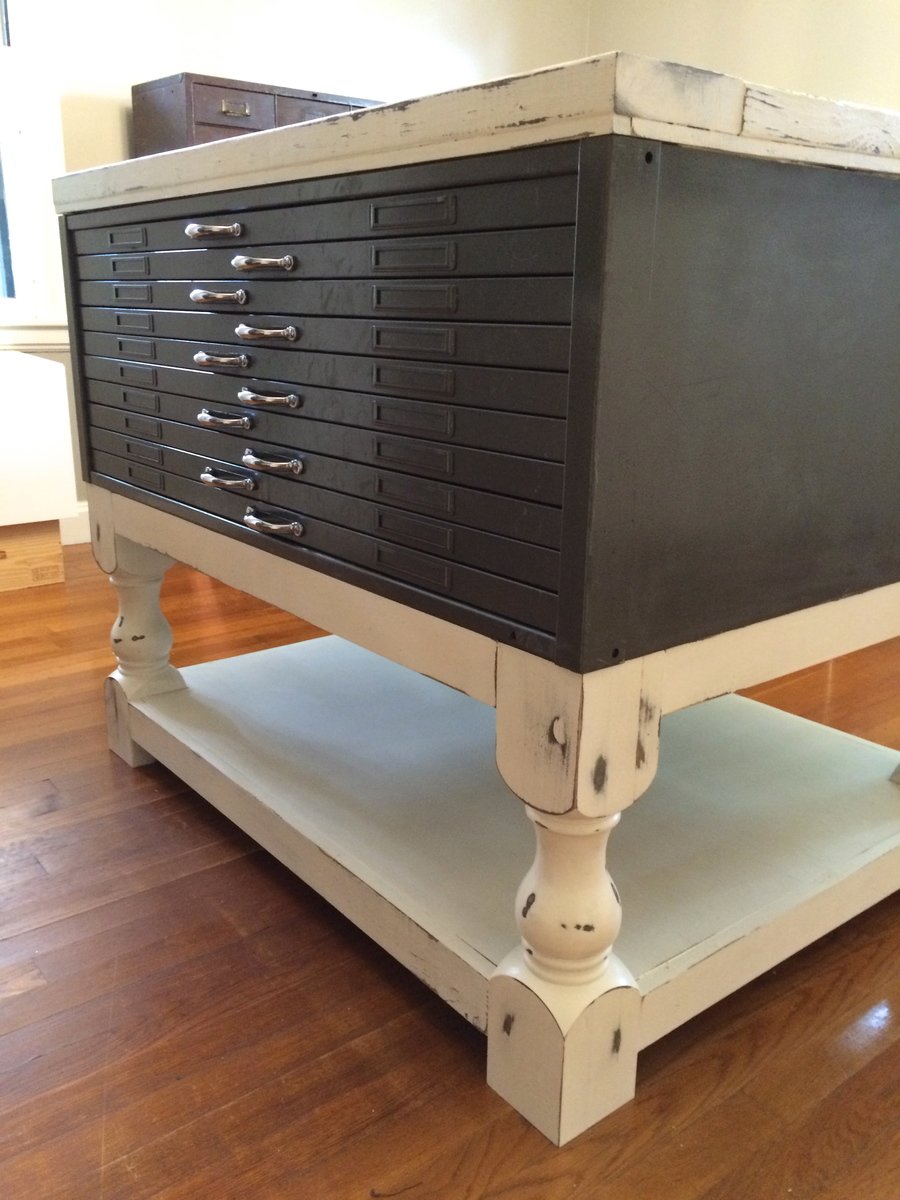
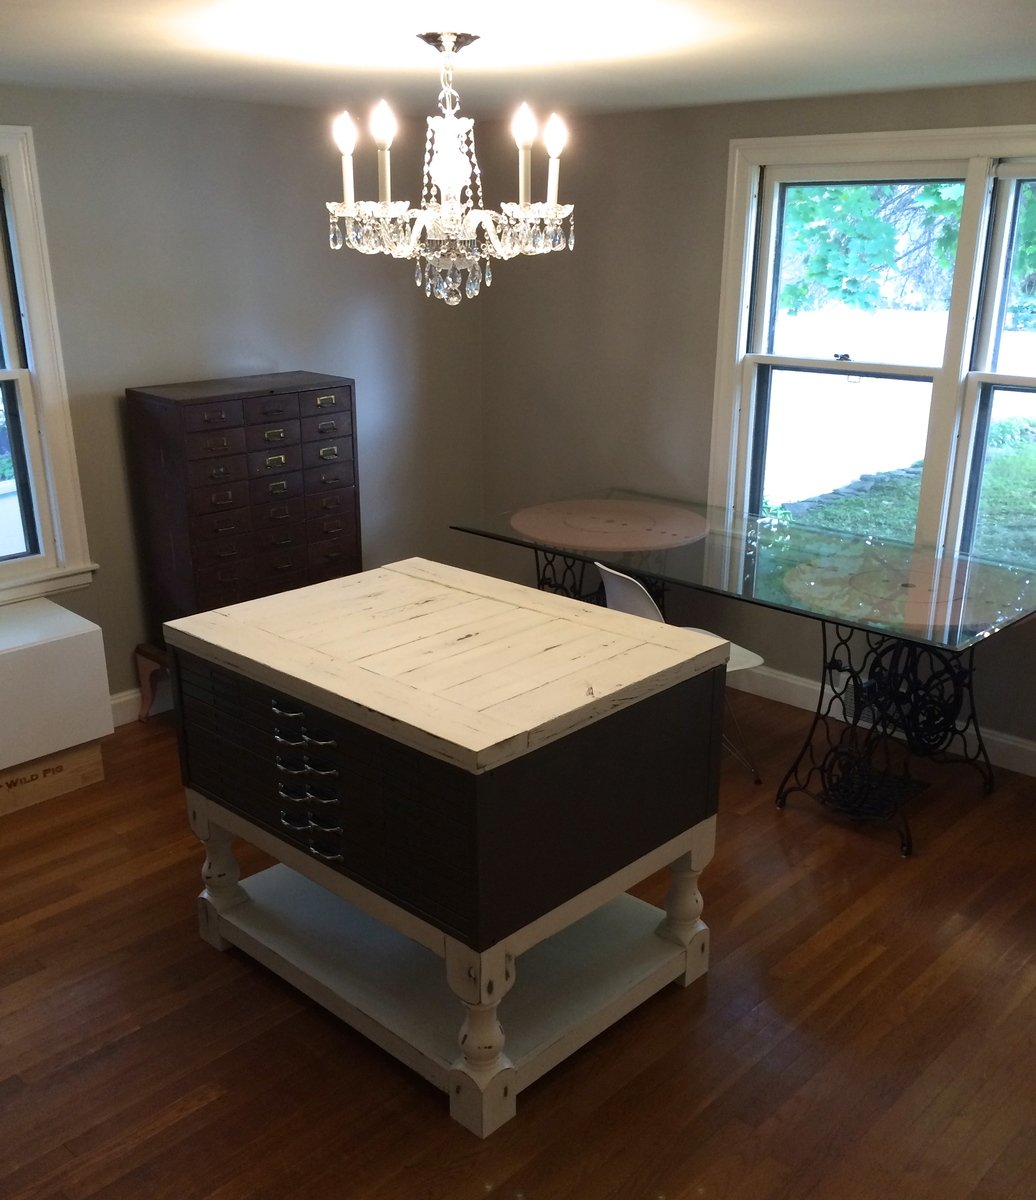
I found this fabulous vintage metal flat file cabinet at an antique store (Hunt & Gather Vintage Market, in Princeton, MA), but it didn't have a base or a top, so I went searching online for something that I could build. The Corona Coffee Table plans were going to be perfect! I just had to make a few adjustments:
LOVE how this table turned out! It's counter-height and the perfect centerpiece for my craft room.
Not much to say, just a quick project to use up some scrap lumber. Better to use it than burn it.
Simple to do with a good saw and drill. Took me about 3 hours to do both.
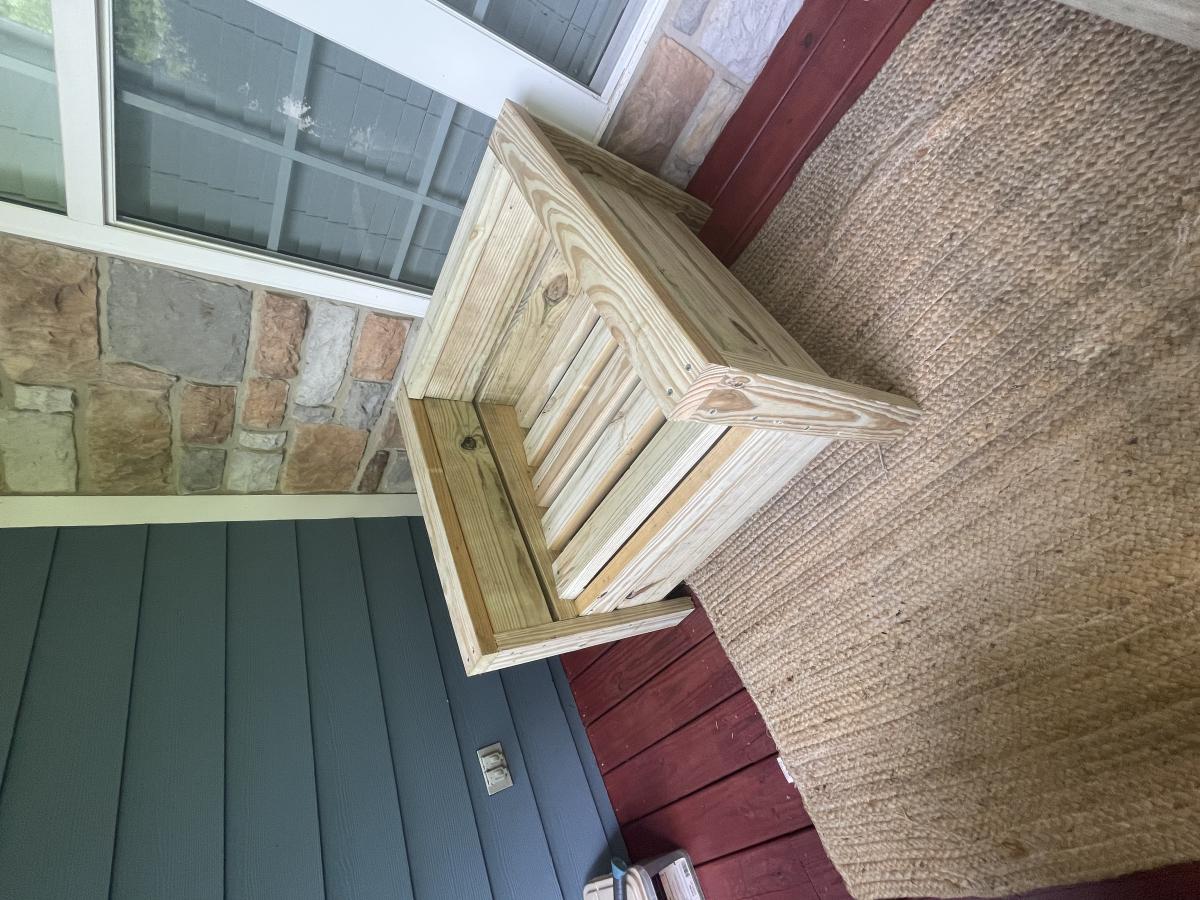
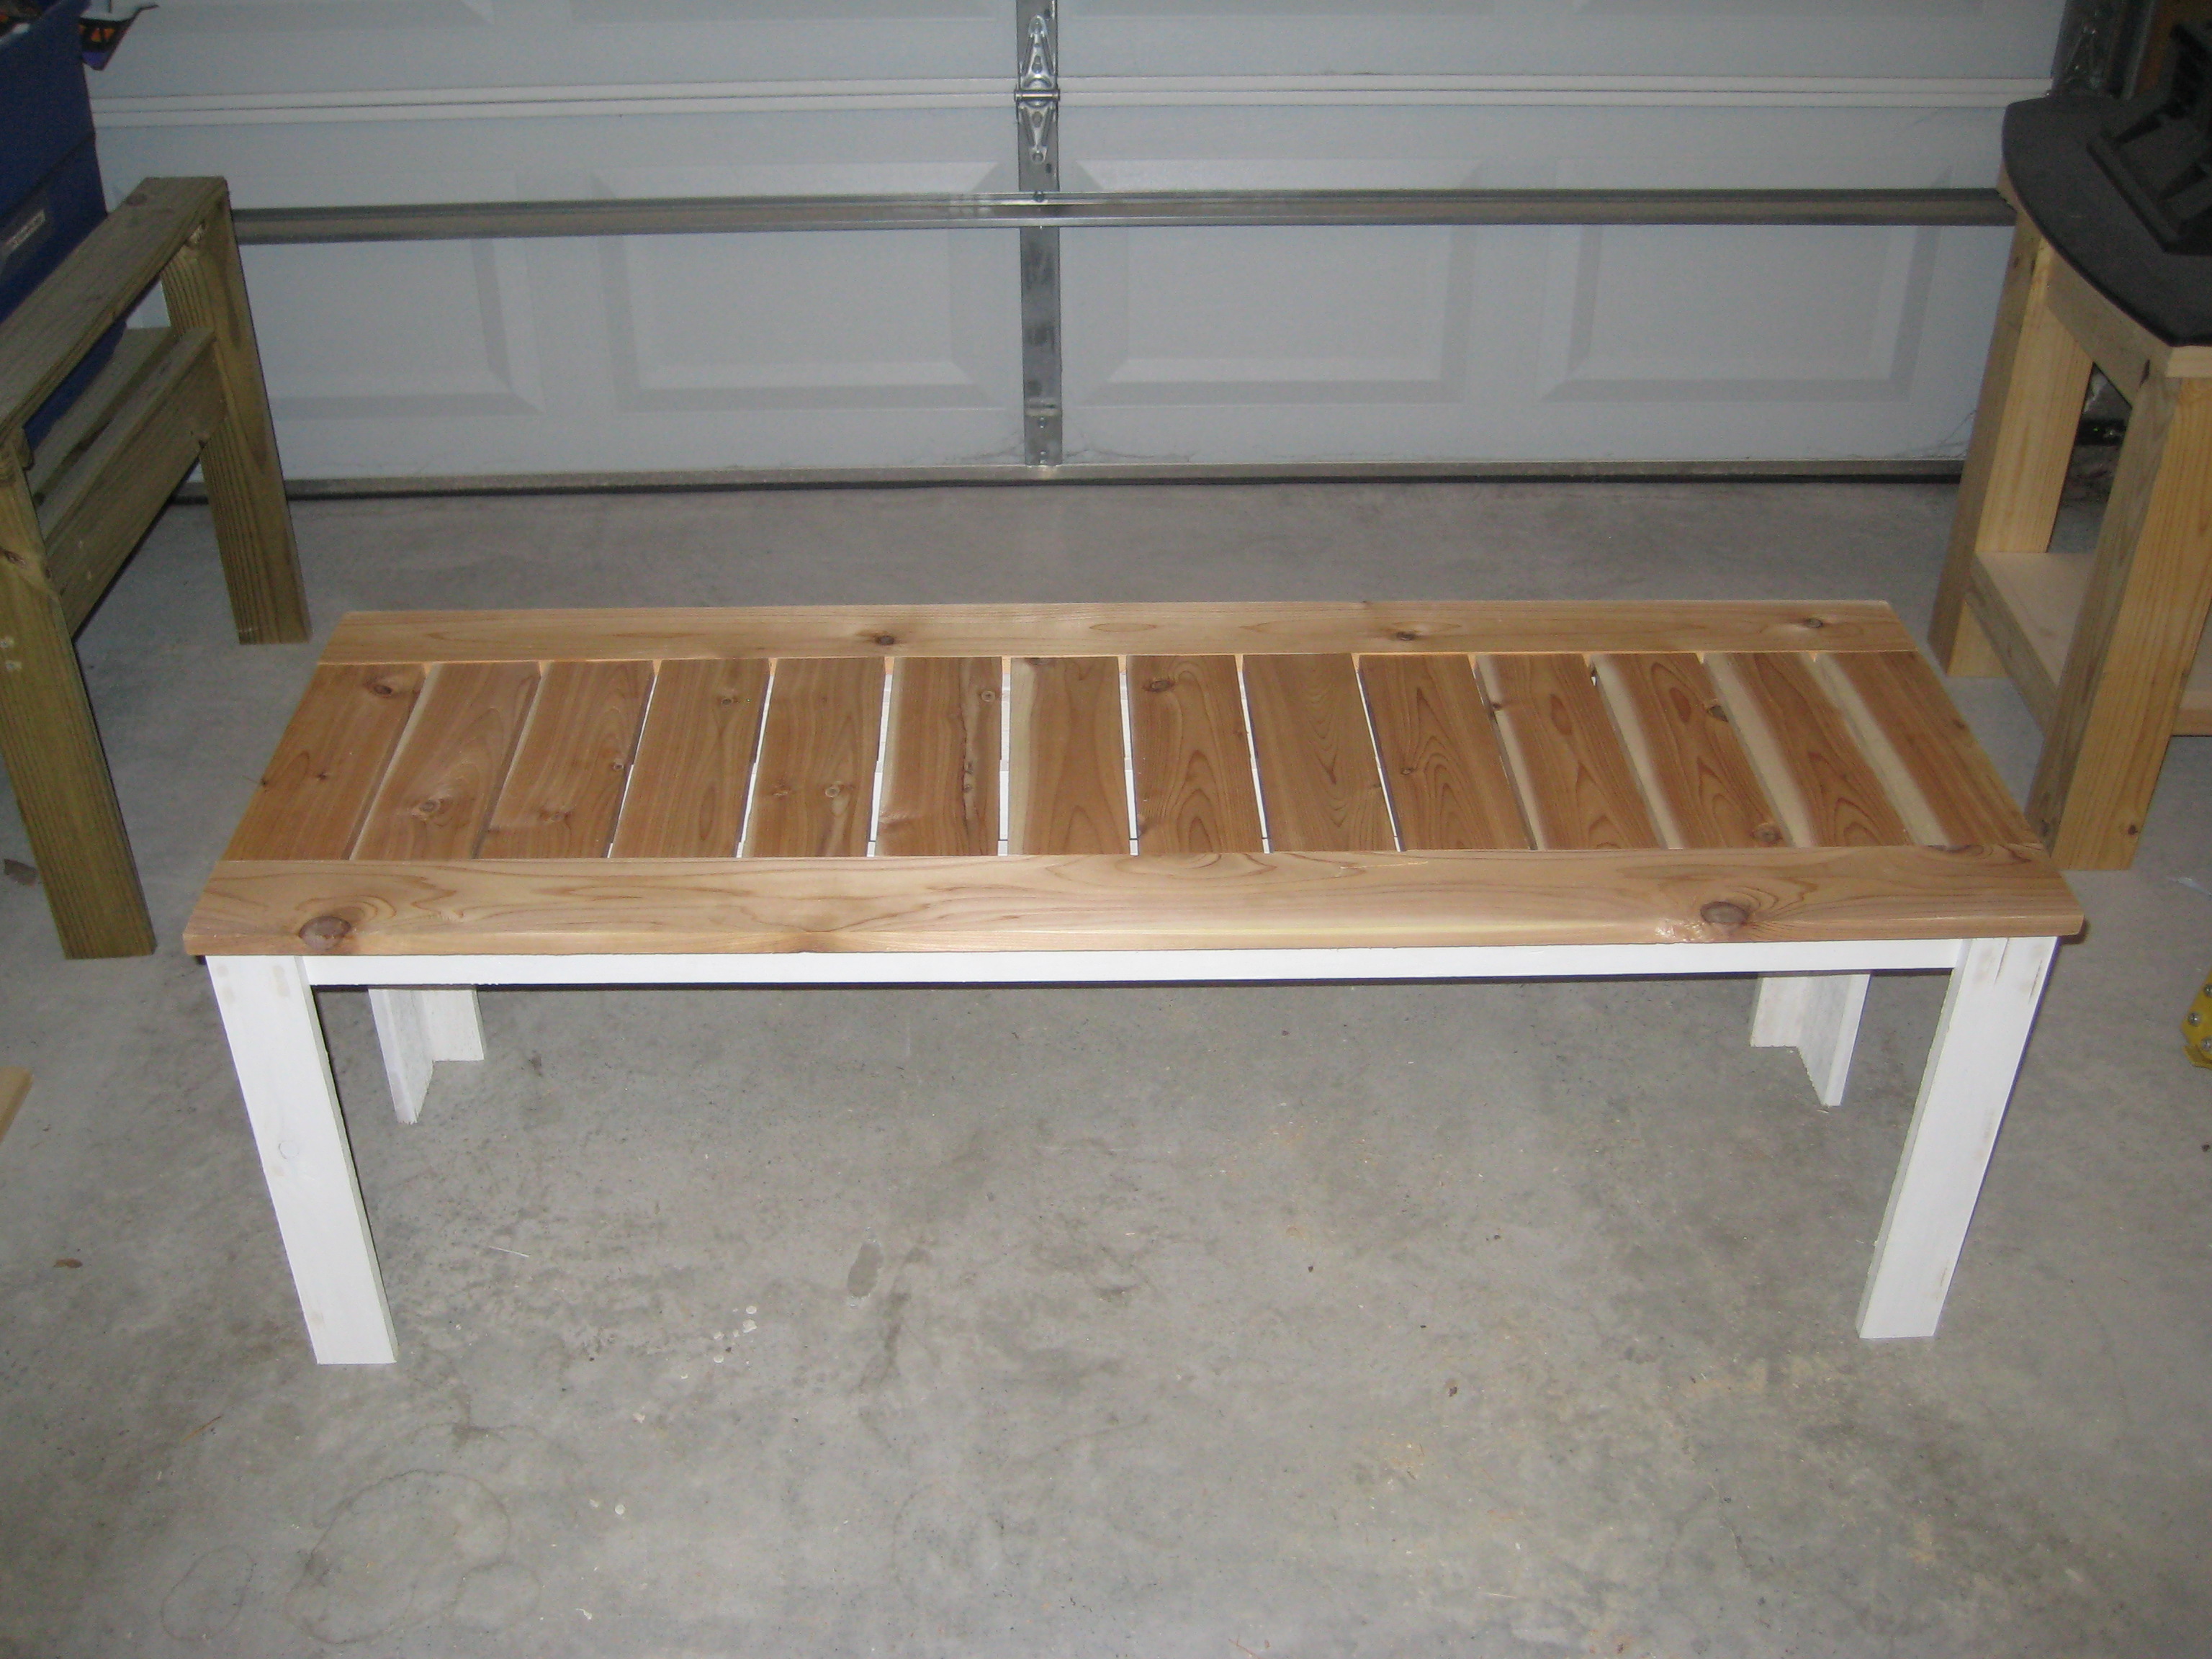
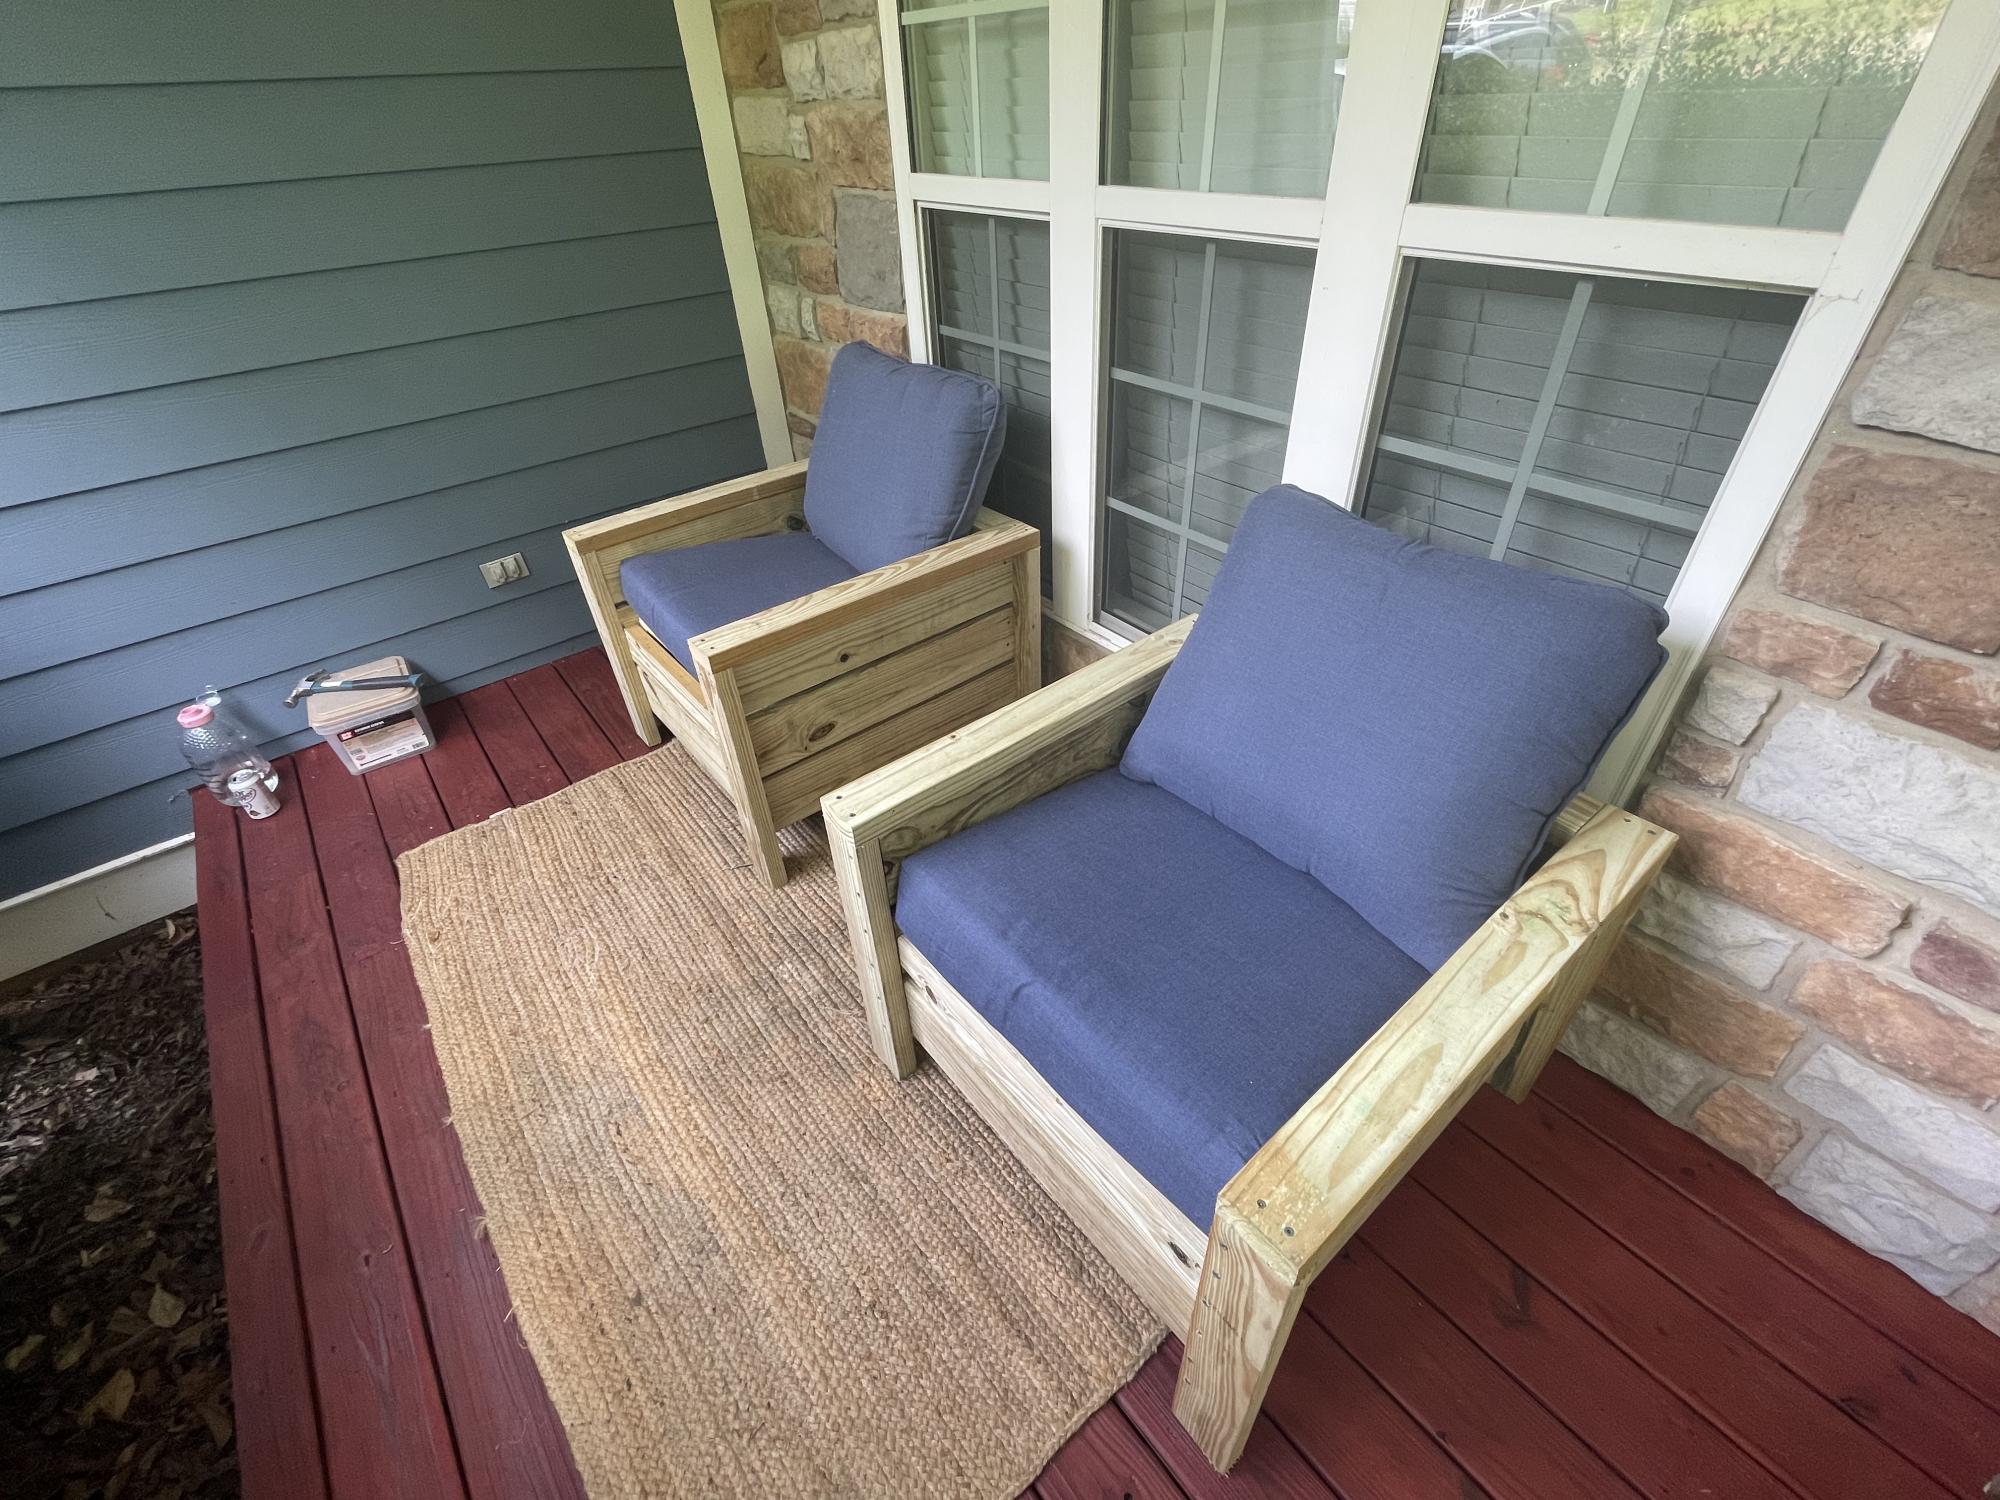
I am close to completing an outdoor set with only the table to go. My parents are going to love this at their new house they are building!! I found the cedar 1x4's at home depot for about six dollars a piece. I painted the base a basic semi-gloss white before I built the bench. It's so much easier to paint first and build later. I have a few more touch ups but I am happy with it. I used the Kreg Jig Jr to screw in underneath($40), which made this project and every project I've done so far that much easier.

Tue, 07/26/2011 - 15:28
Looks great! Love the two toned wood look. I wondered whether you added an extra support in the middle... sort of seems like there's one at least in the last picture. Also did you build the top completely separate so it was one piece? Sorry for all the questions. I really want to make this bench for a friend and I would like it to look better than the last outdoor table I made with my kreg jig. Thanks

Tue, 07/26/2011 - 16:42
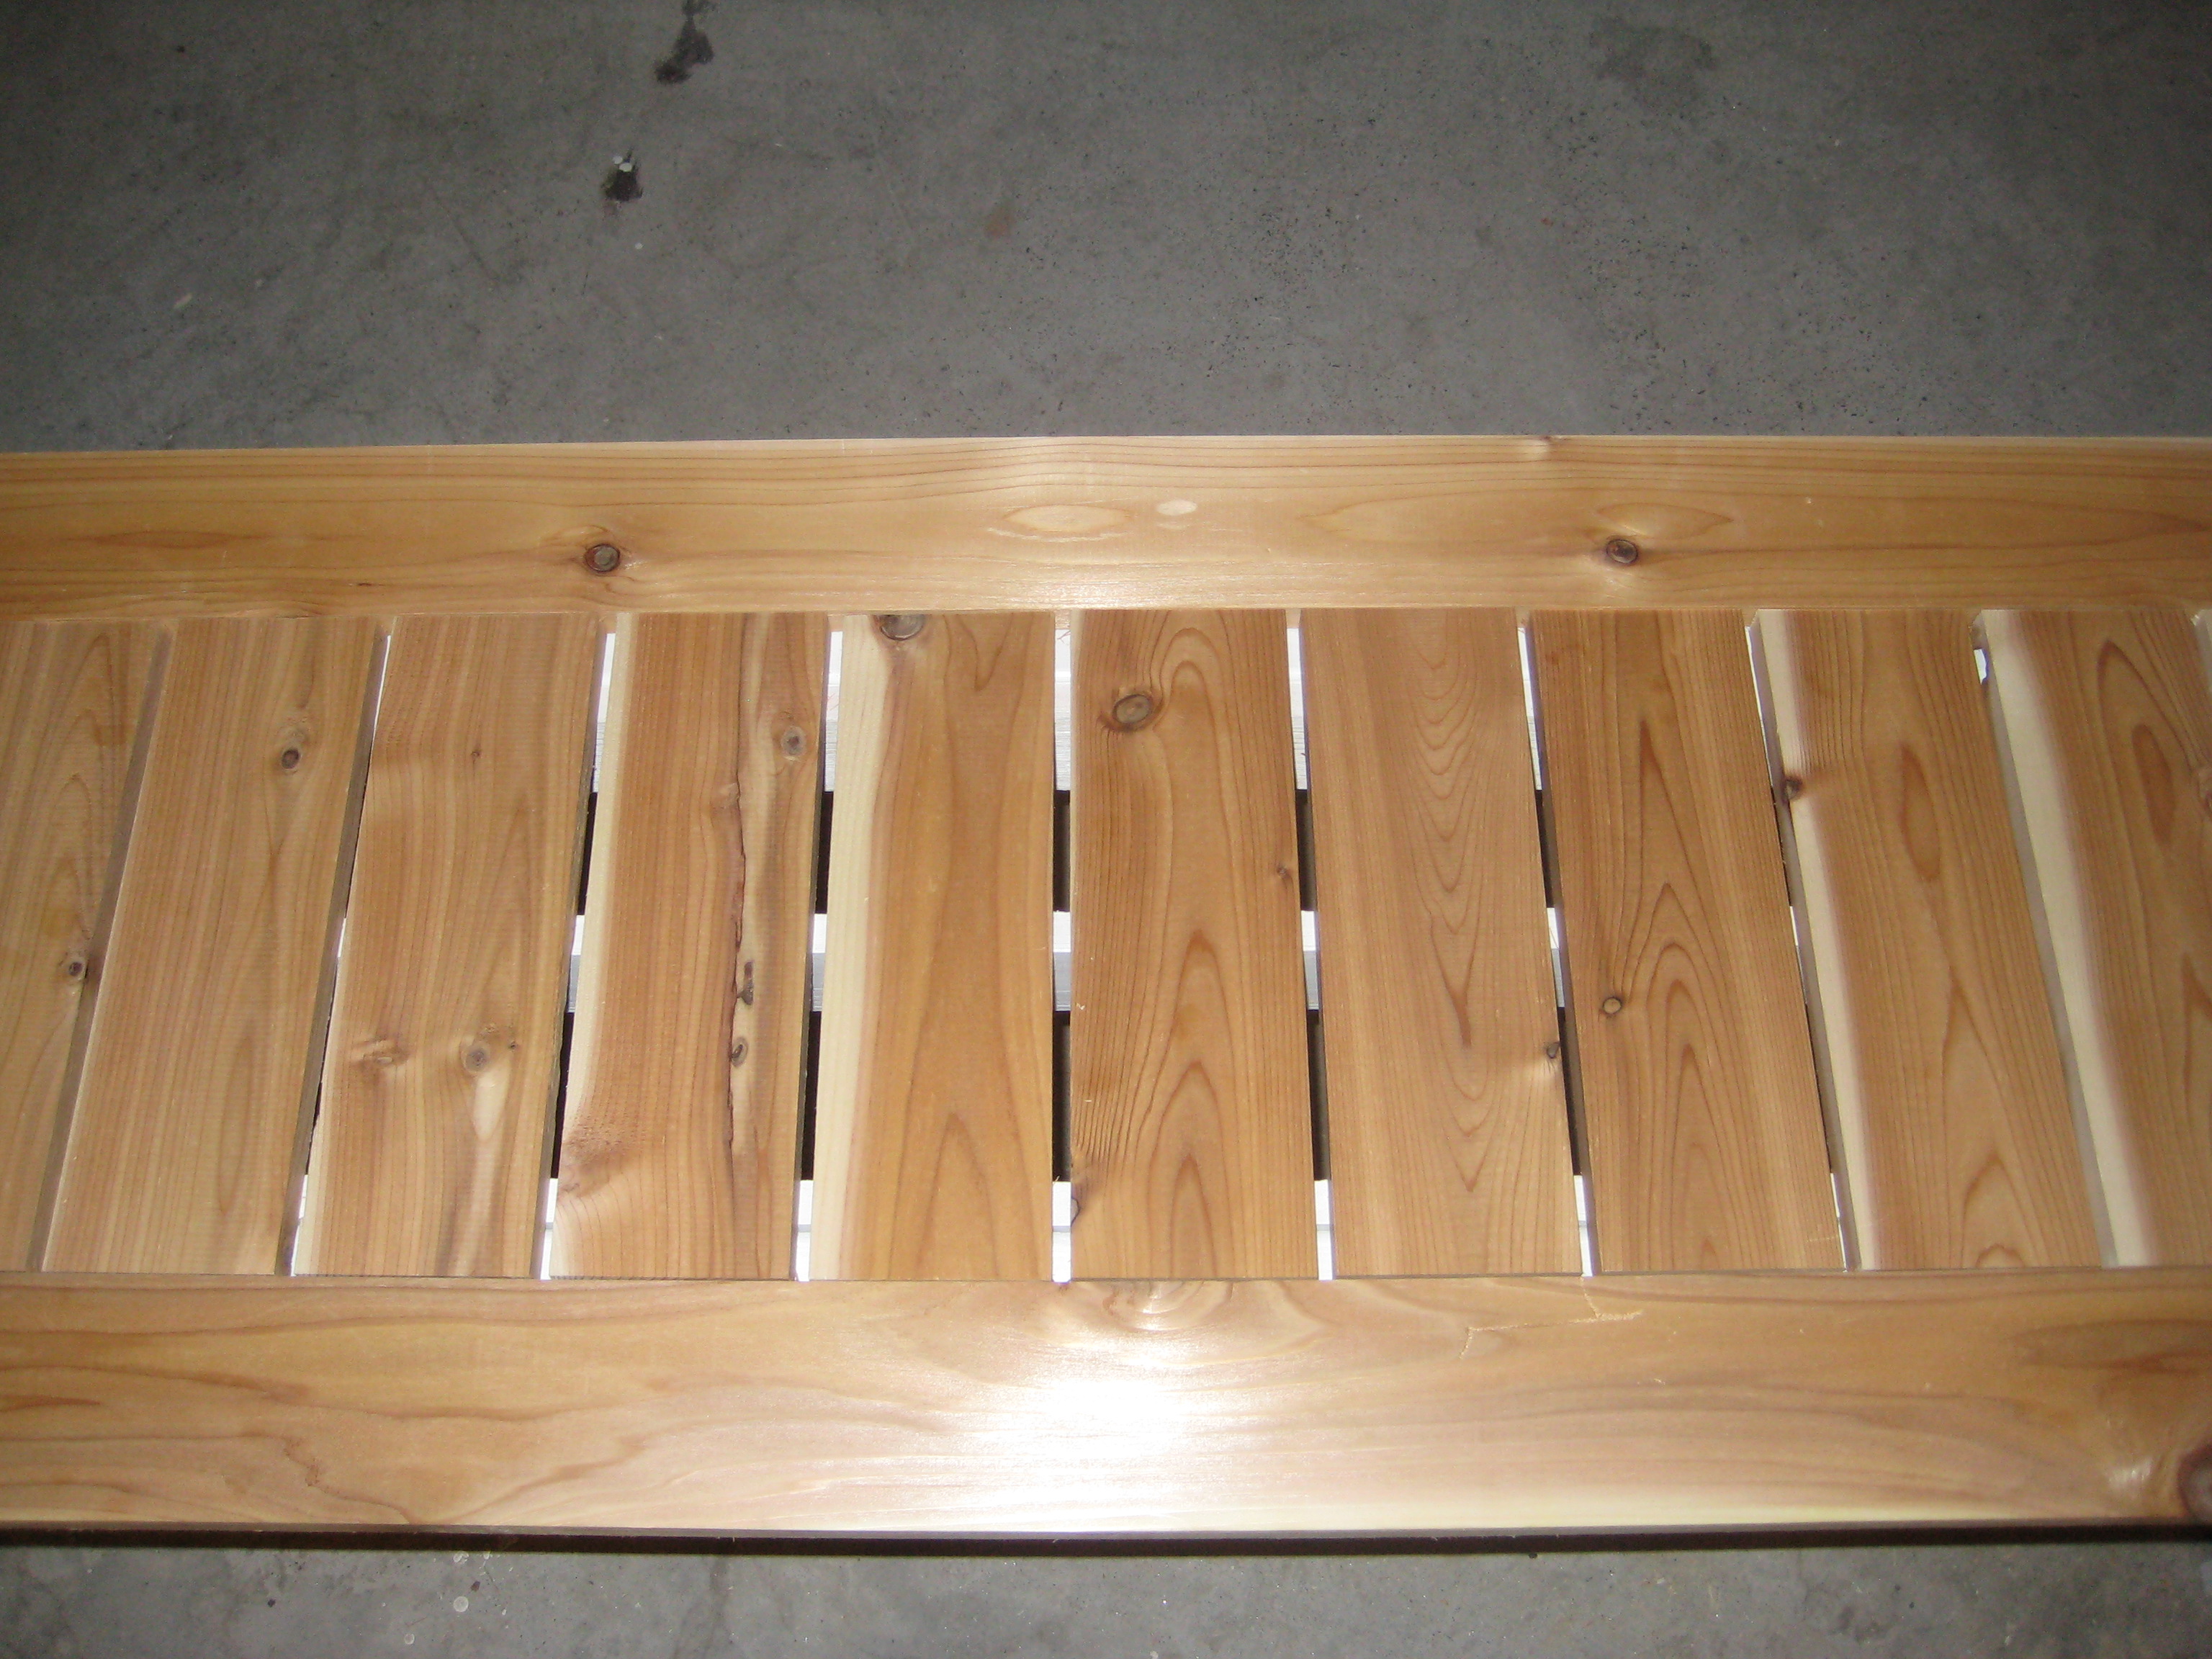
Thanks! The bench had a little flexibility when I sat in the middle of the bench. I added the extra support in the middle which made no difference at all. It turns out that cedar is a naturally light and flexible wood. If I had it to do over again I would use treated pine for the white base and keep the top cedar. The 1x4 cedar from home depot I used is actually .625 x 3.3875 not .75 x 3.5. So as you can imagine, it threw off the whole slat configuration. Best thing to do is use 28 or so .25 inch spacers to place in between the 14 or so slats on level ground. Once you space the slats like you want, then you can maneuver the frame freely until its even on both sides. Once it looks even on both sides start screwing kreg screws at one end and continue until the last one is done. FYI - I highly recommend drilling the pocket holes first before building the frame in Step 1. Hope that helps!!
Tue, 07/26/2011 - 17:05
Almost forgot. I did add 2x2's in between the blue and green boards on each side of the frame to add more support. The middle board I added as you can see in the last picture did nothing structurally speaking.
Fri, 08/05/2011 - 10:11
Thanks for the tips. I finished cutting all the wood and am going to start putting it together tonight... After reading through the comments I think I'll join the 14 slats together with the side 52 1/4 boards before attaching it to the frame. Did you use an extra 1x3 for the second leg board?
This was my first "real" project other than making a small bench to hold my miter saw in order to make this project! :)
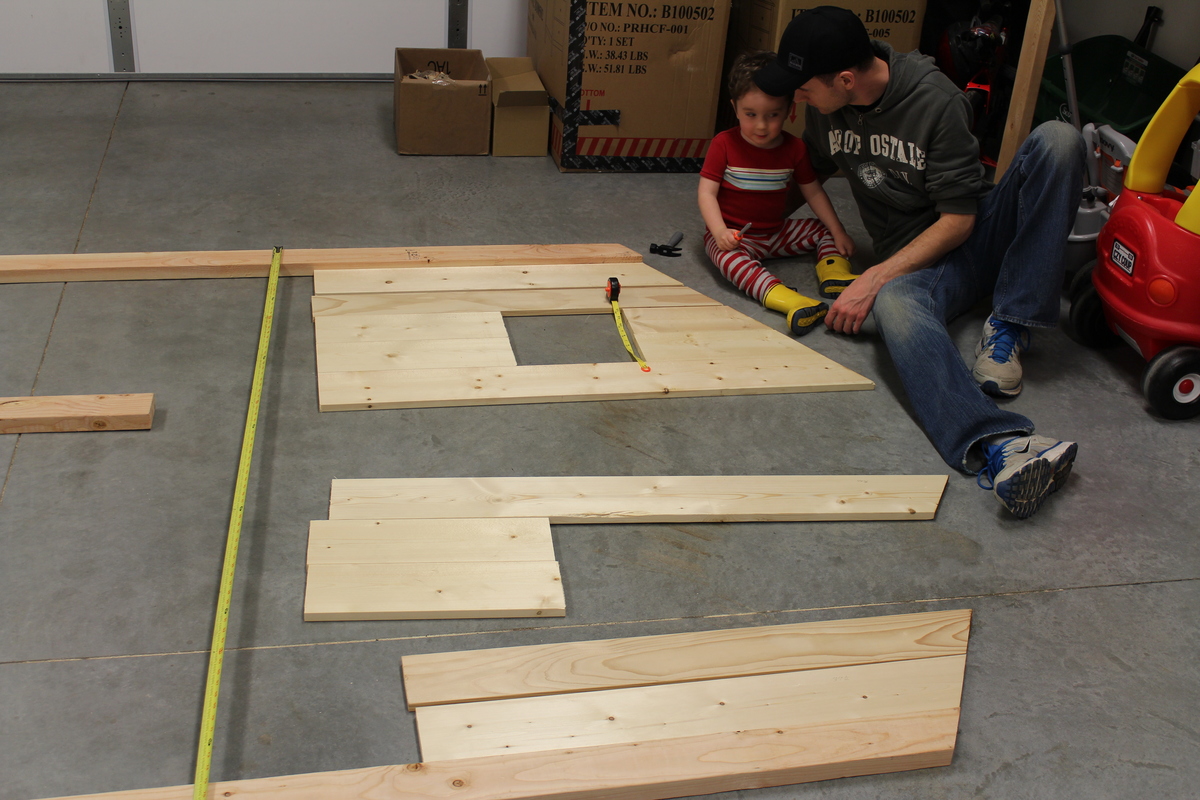
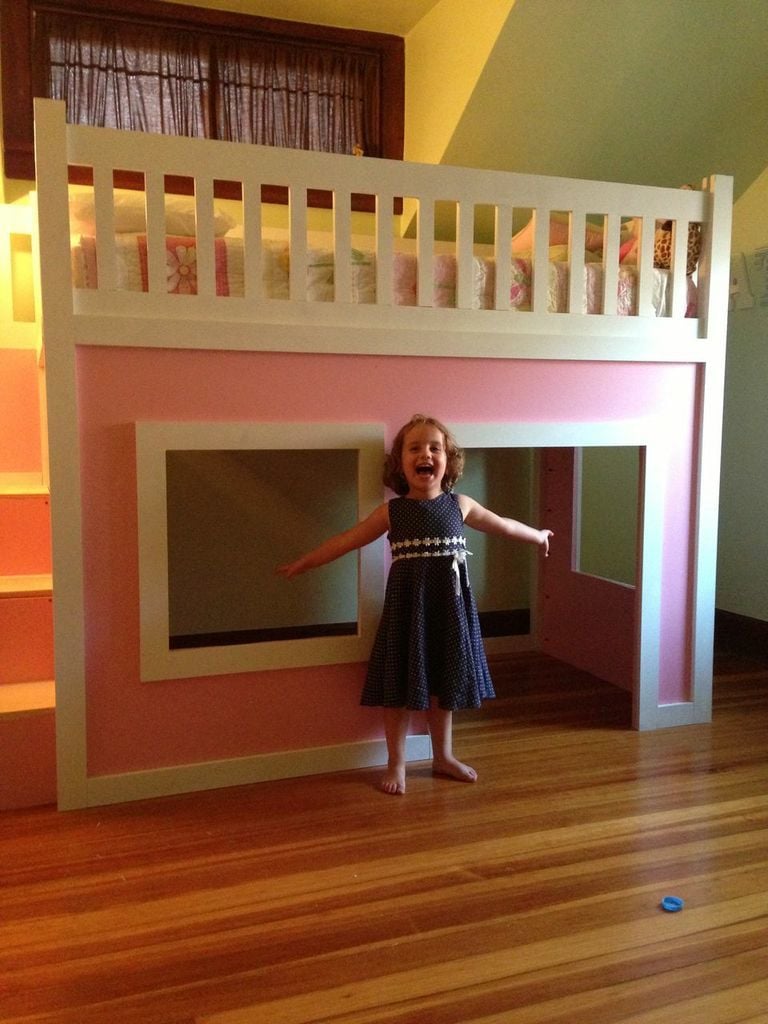
Saw these plans and instantly fell in love. I knew my daughter's birthday was coming up soon (she turned 4) so I got to work!
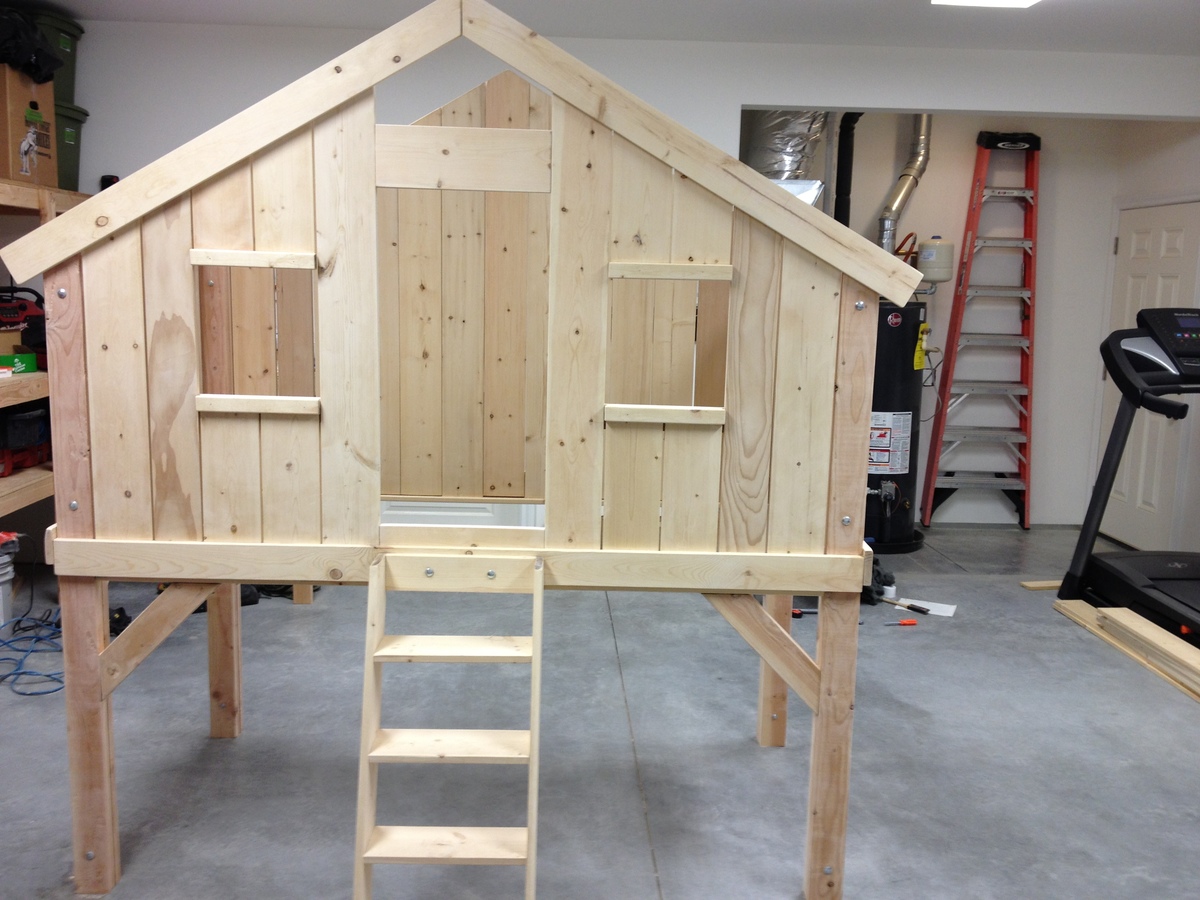
I used Poplar wood that had different nominal dimensions than the standard making this project not nearly as easy as what it should be. A lot of headaches, but seeing Tatum's smile on her face when we revealed her surprise made it ALL worth it!
I mostly used my Kreg Jig and Kreg screws. Used my nailer to tack up all trim. used wood screws to secure all of the walls together through the legs.
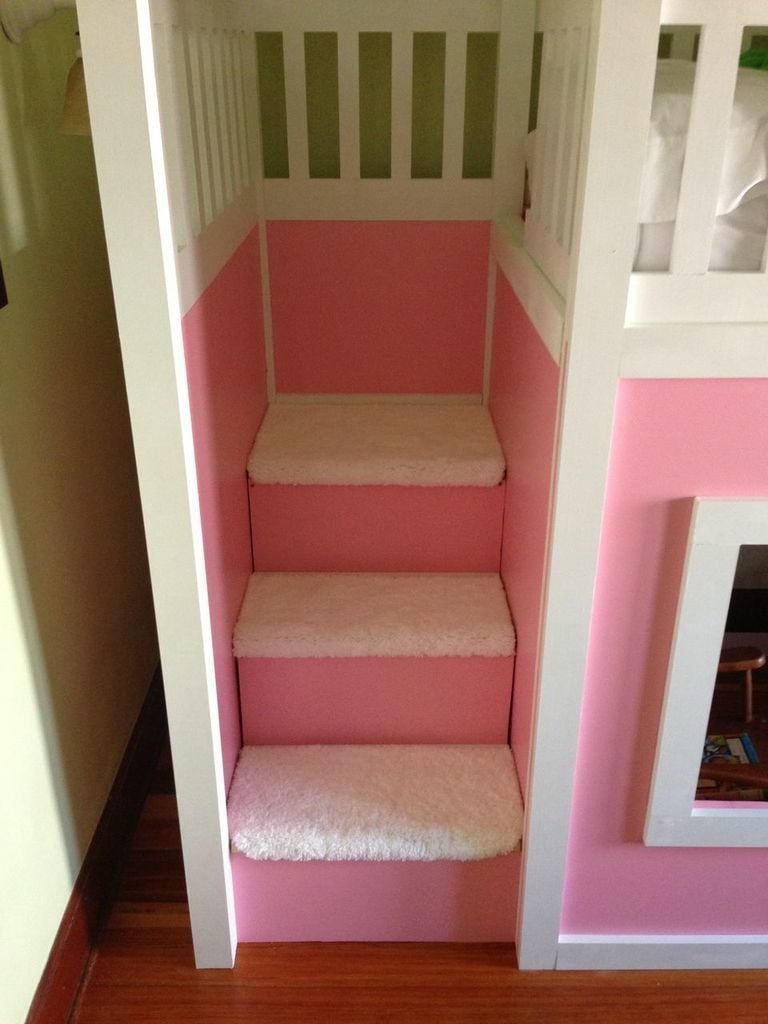
For the stairs, I purchased a large bathmat from Walmart and cut it to fit each step. I tacked it down with some staples and adhesive. I used 12" continuous hinges for the stairs and they worked perfectly.
Keep in mind other expenses, as the bill can increase rather rapidly!
My total wood bill was $398...but I used Poplar. If you go with pine, it will cost you less. $40 for primer and paint. $100 for new twin mattress. $30 for protective mattress cover. $75 for pottery barn quilt set (eBay). $13 for carpet on stairs. $24 for hinges ($8 each)!! $28 for 2 sets of sheets...bringing the grand total to a whopping: $708!
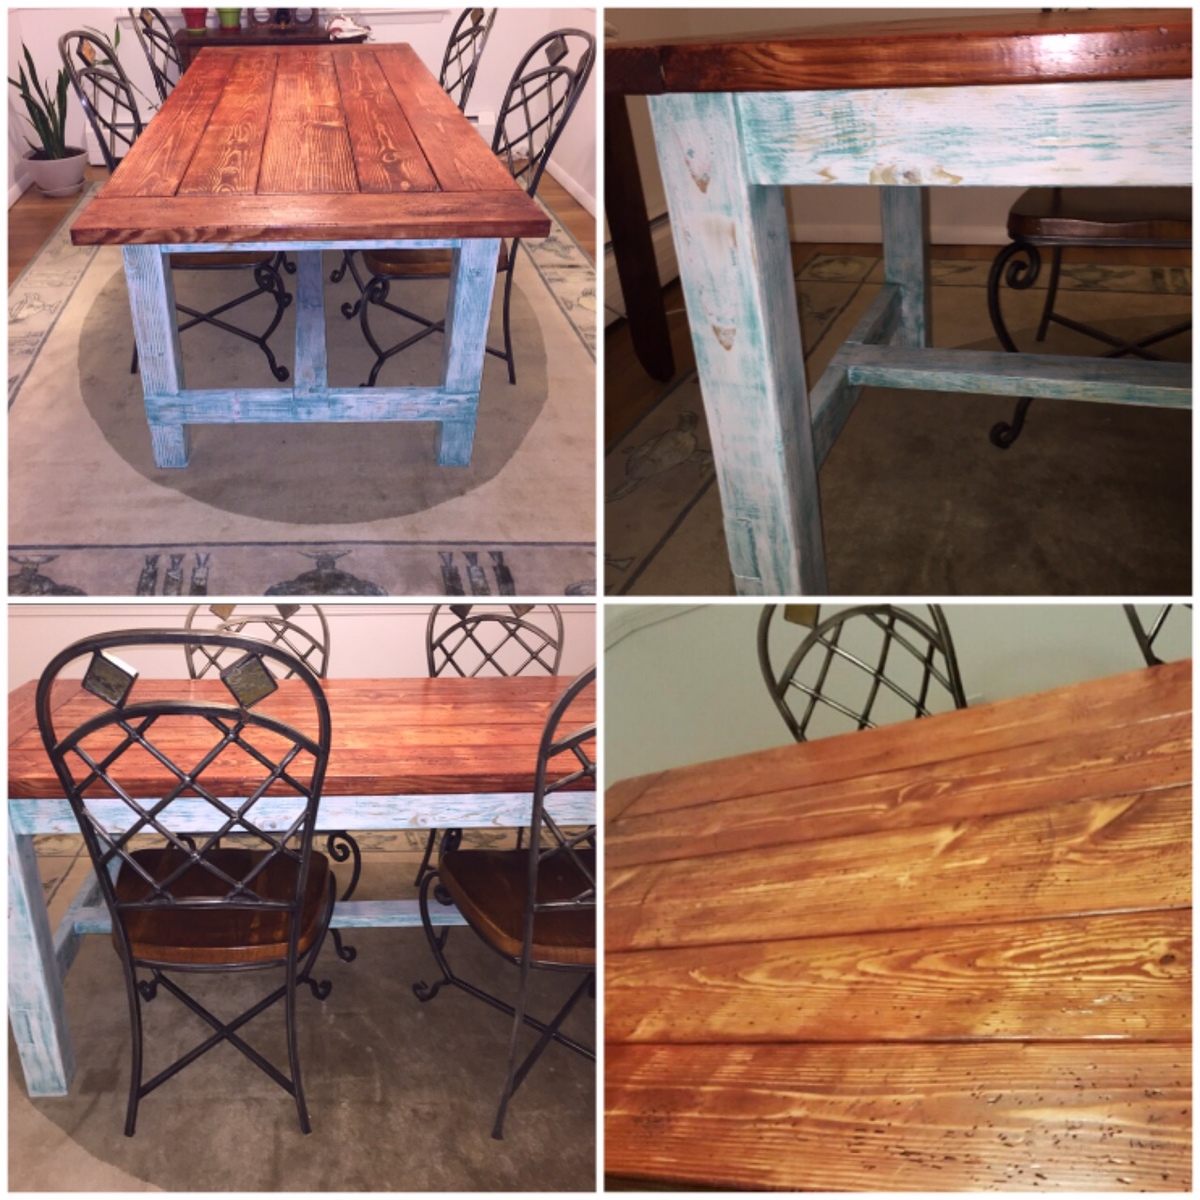
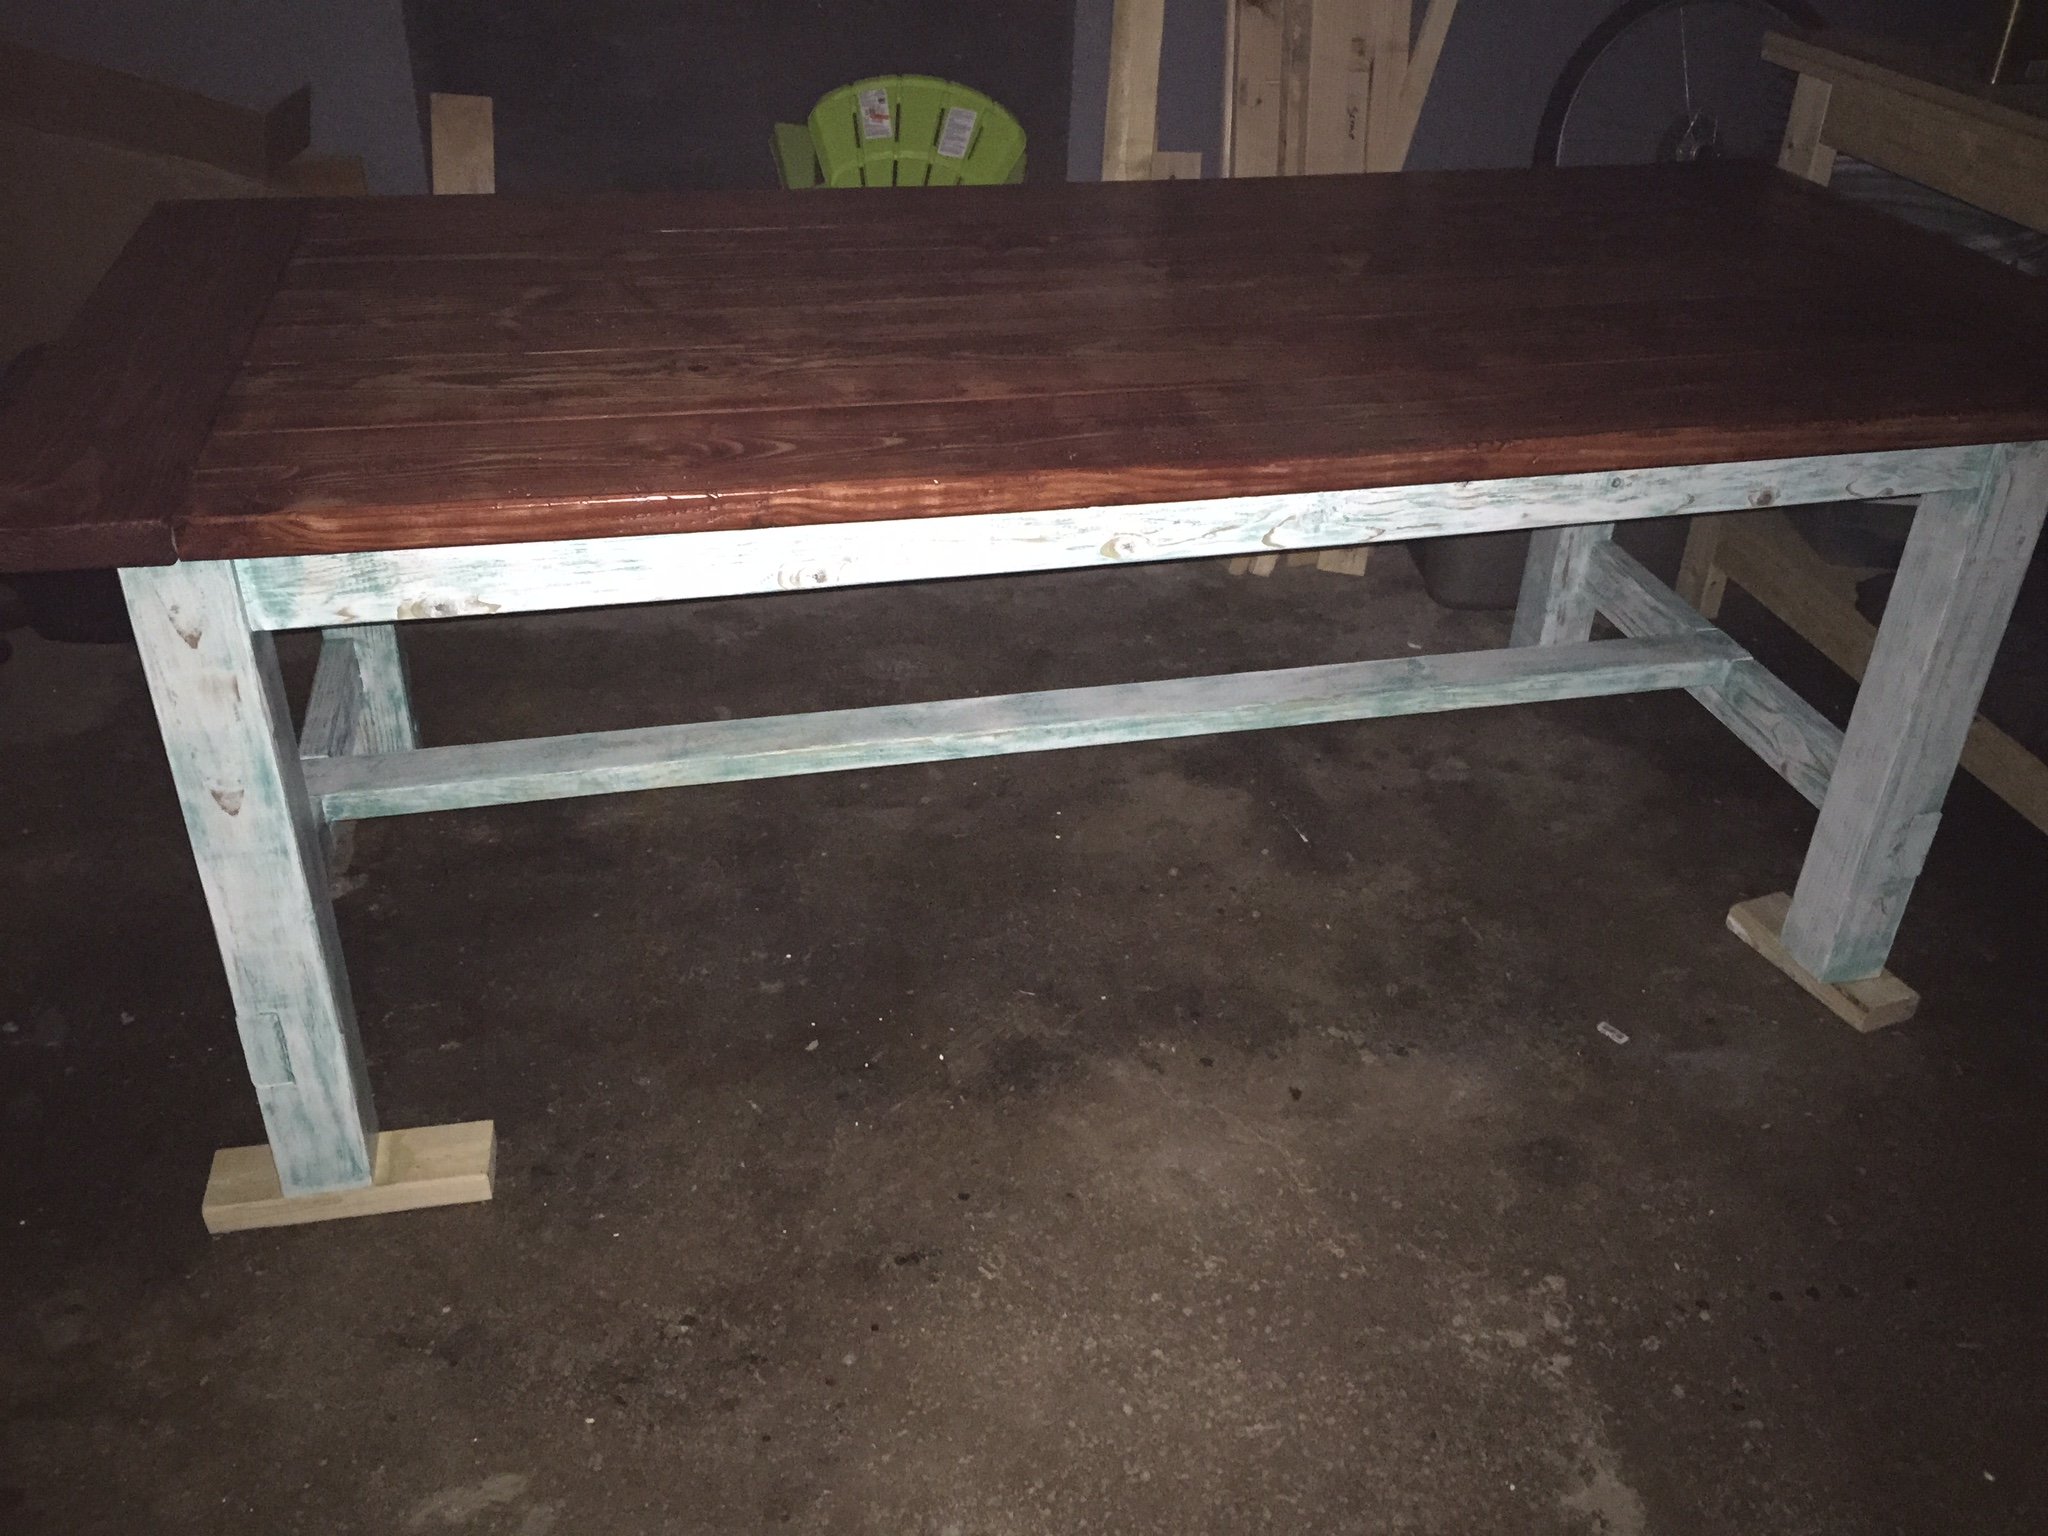
This is my 2nd built and it was a fun one. I built this table for a friend of mine and she wanted a different look to the table. She picked Patina Green and Snow White paint for the base and legs. First I applied the white paint, let it dry and then applied a very small amount of the patina green and dry brushed it in. After it dried I used my sander to blend it in and have some of the wood grain to show. On the table top, I applied the stain and let it dry over night and then sanded down (lightly) so the grain would pop. She loved the different colors and look of the table. She had the perfect chairs to match the rustic look. Excellent project!
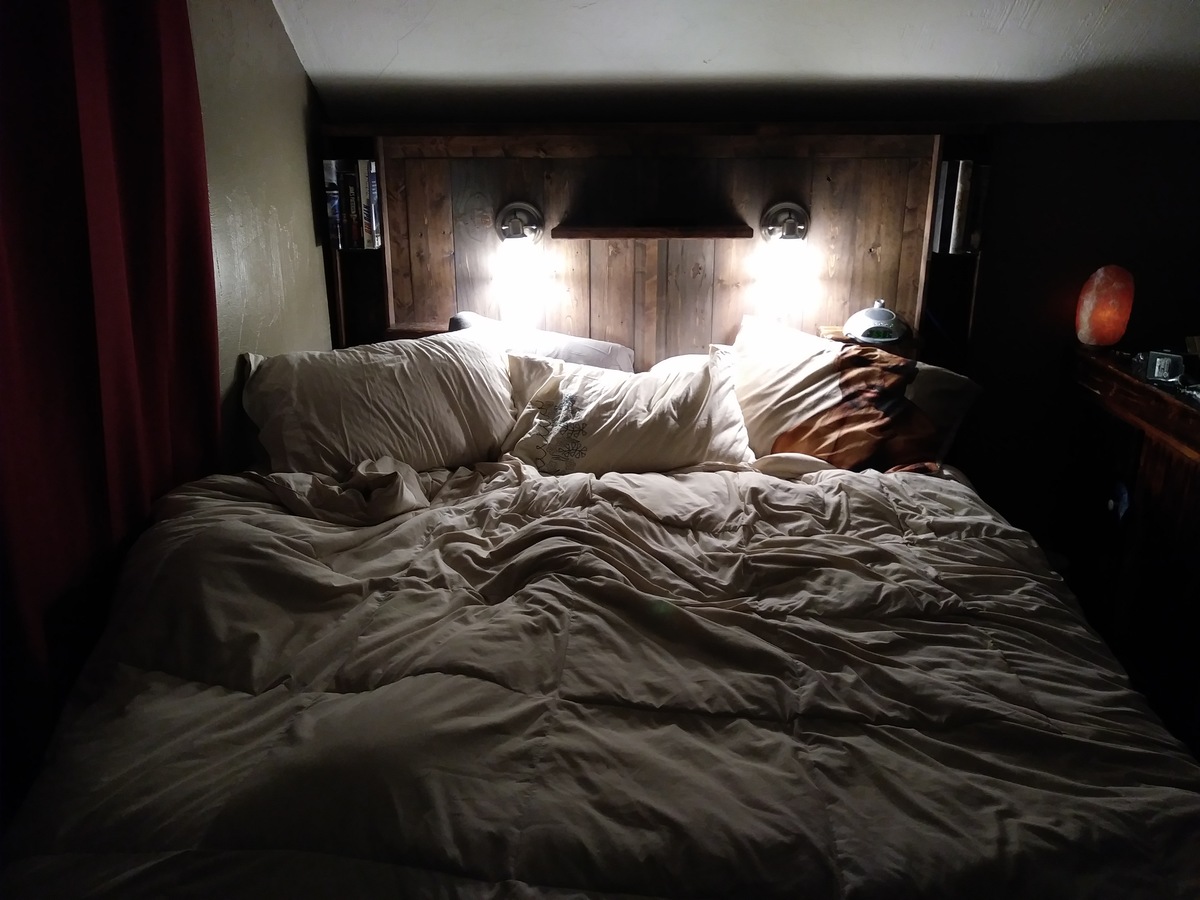
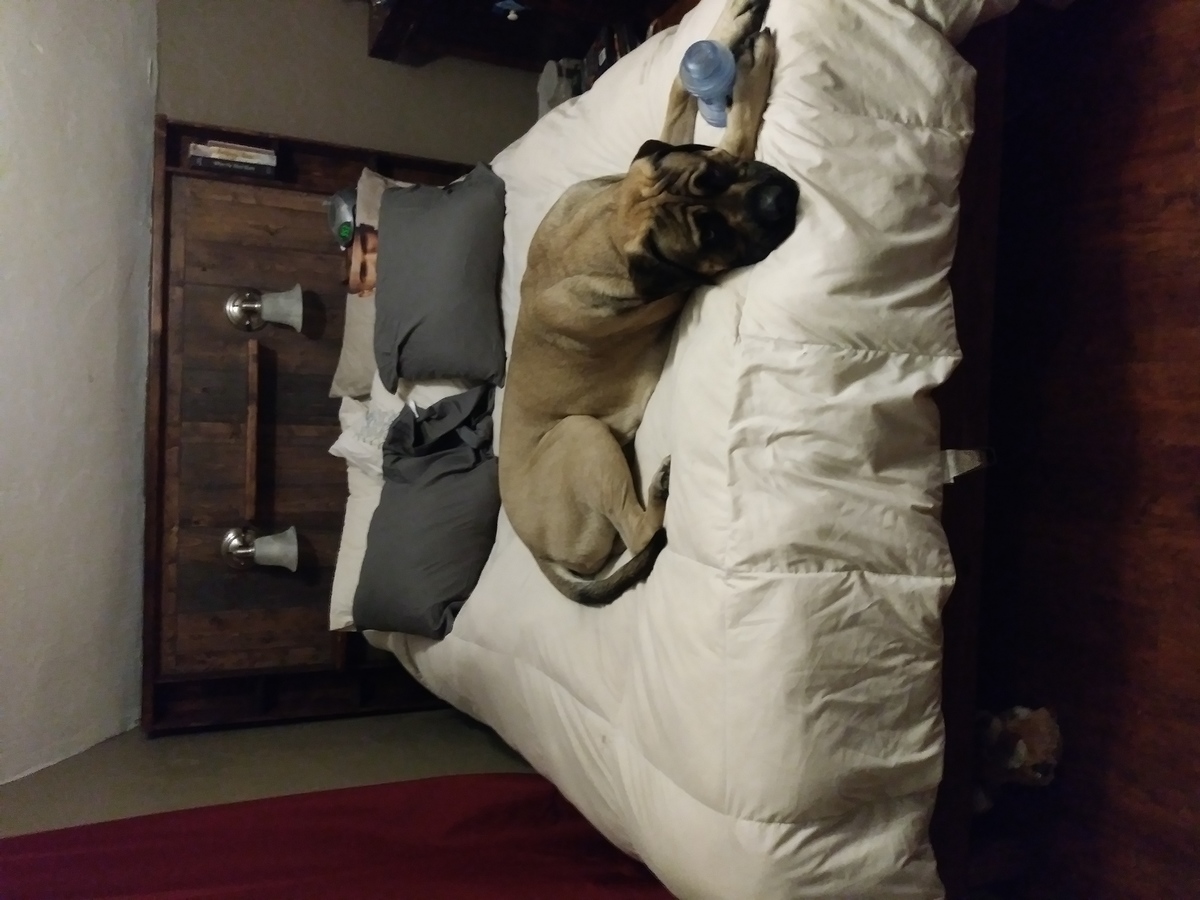
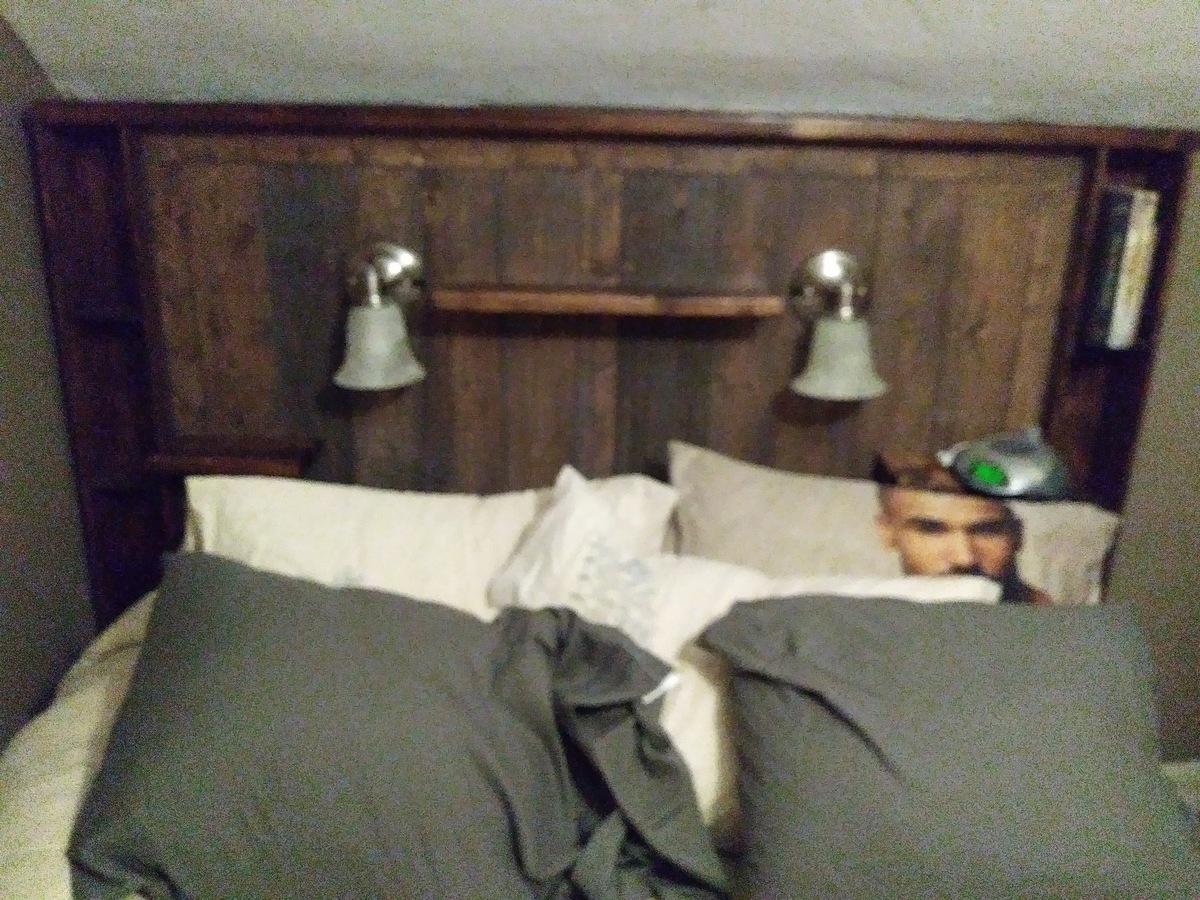
I wanted a new bed that was a little taller that the irobot vacuum could get under and the dog could not. Altered the modern queen sized farmhouse bed using mostly pallet wood to come up with this. Overall cost about $65 with the lights and all.
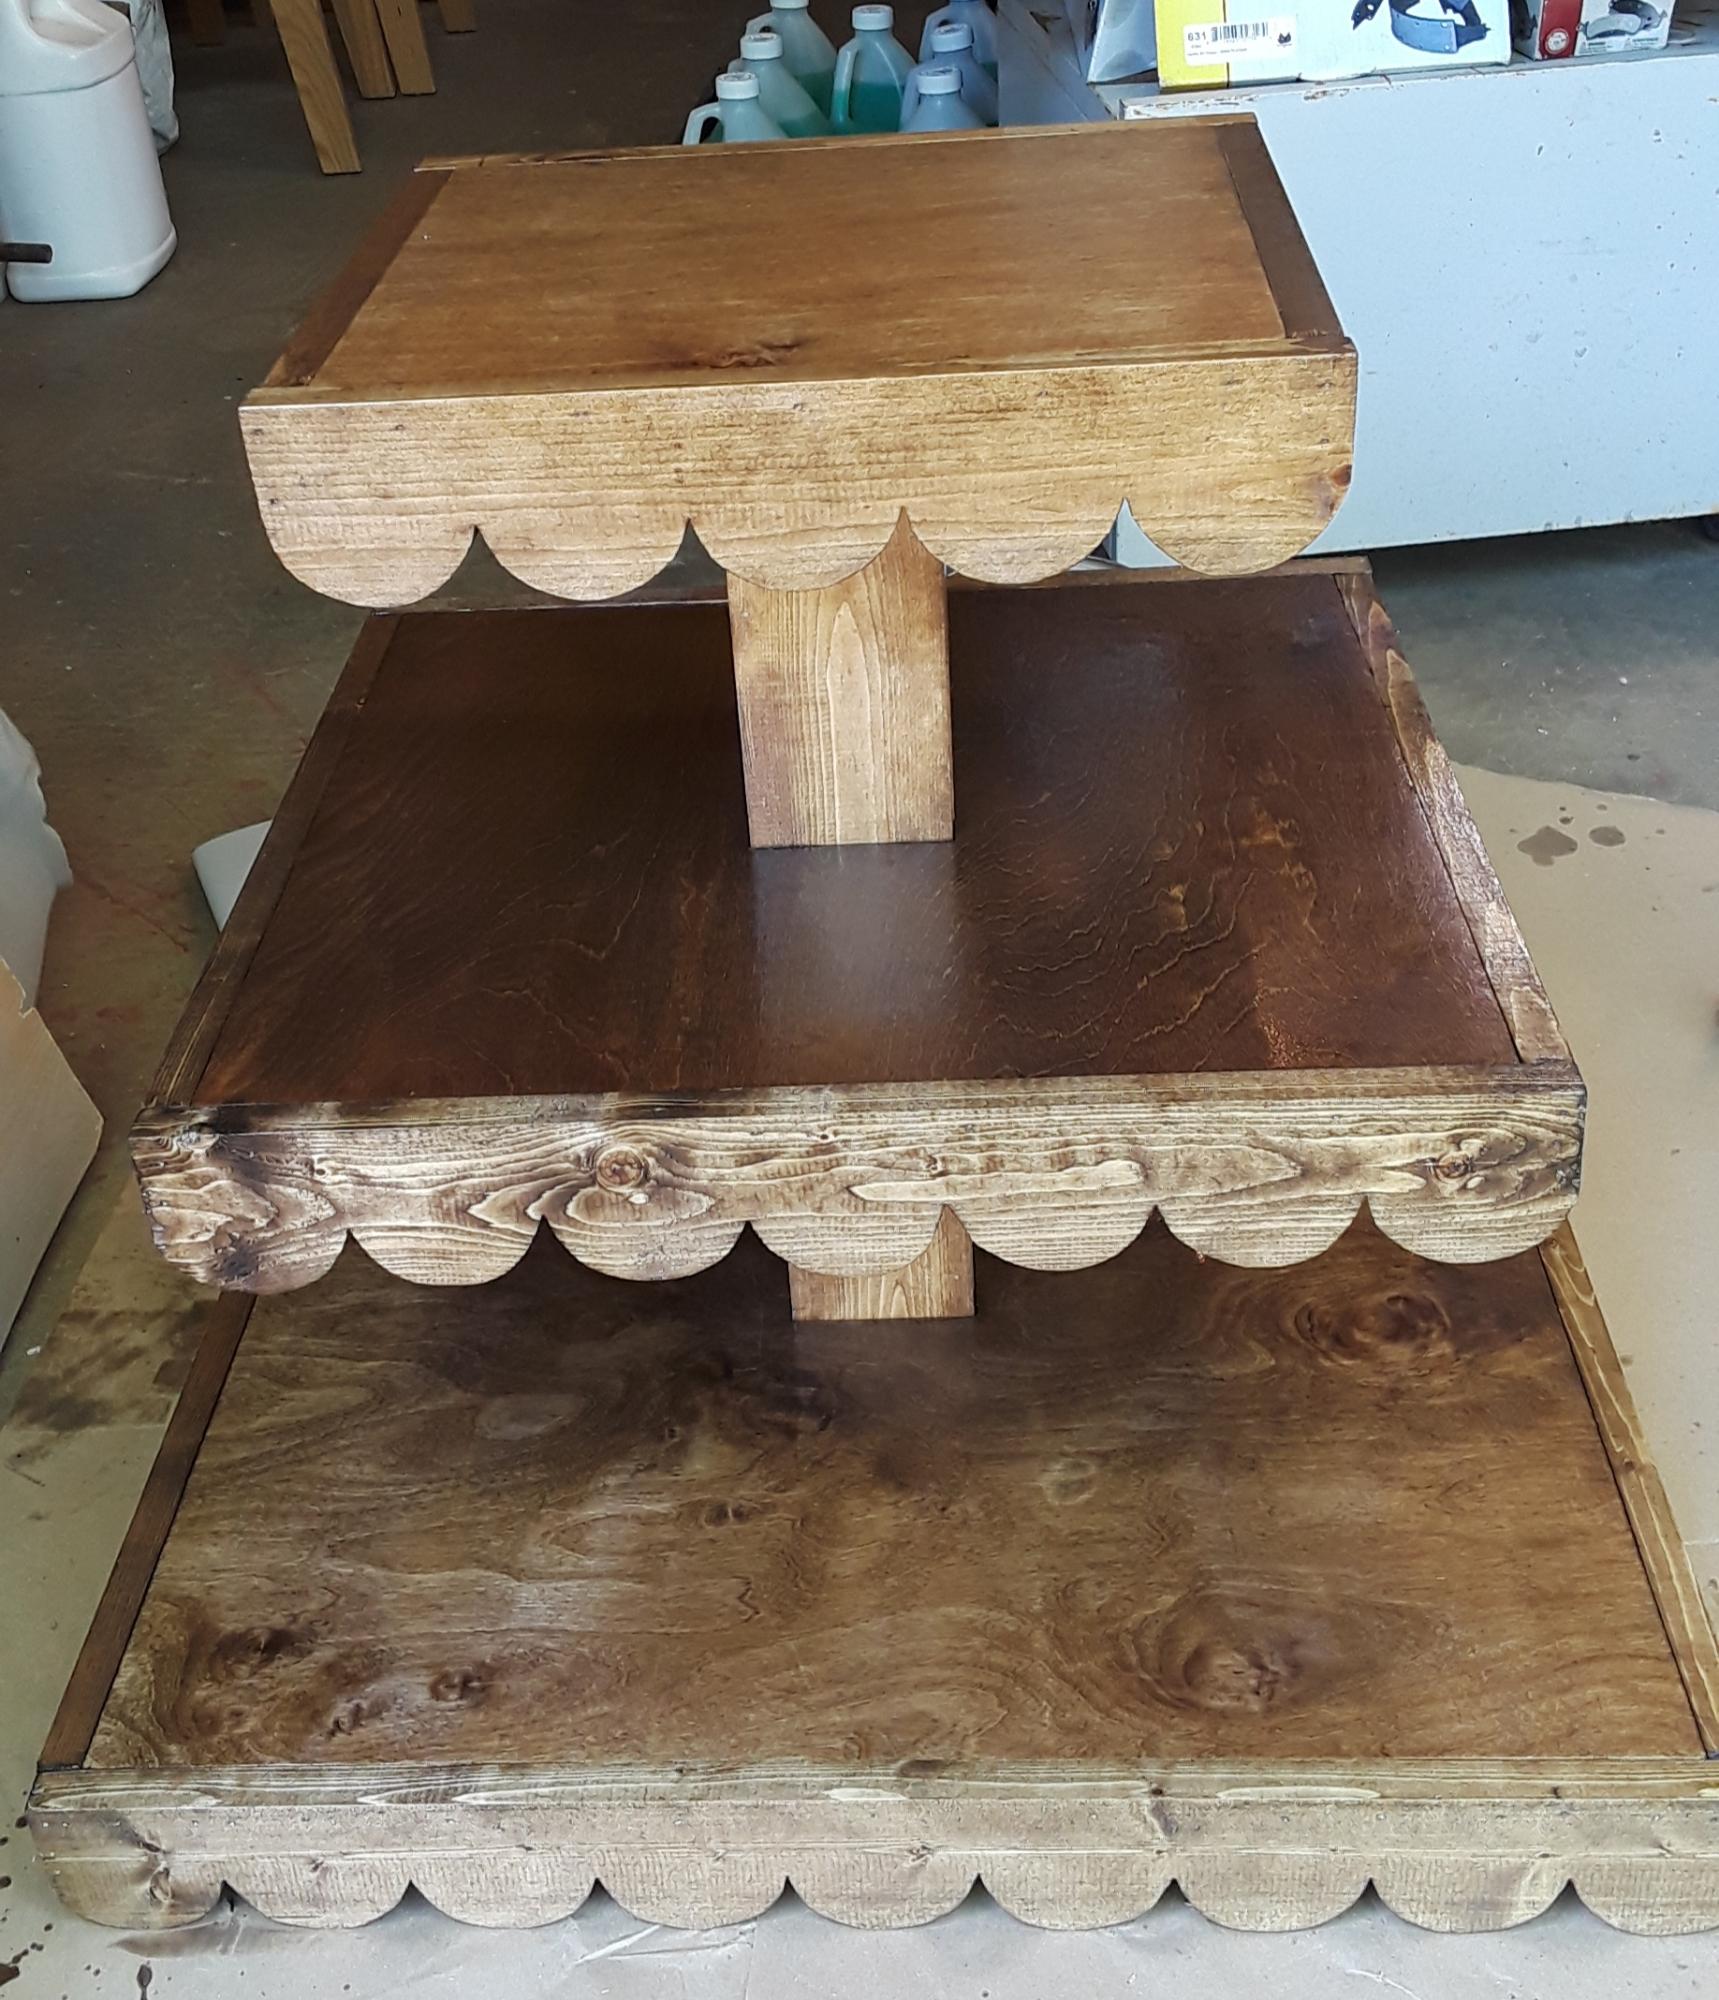
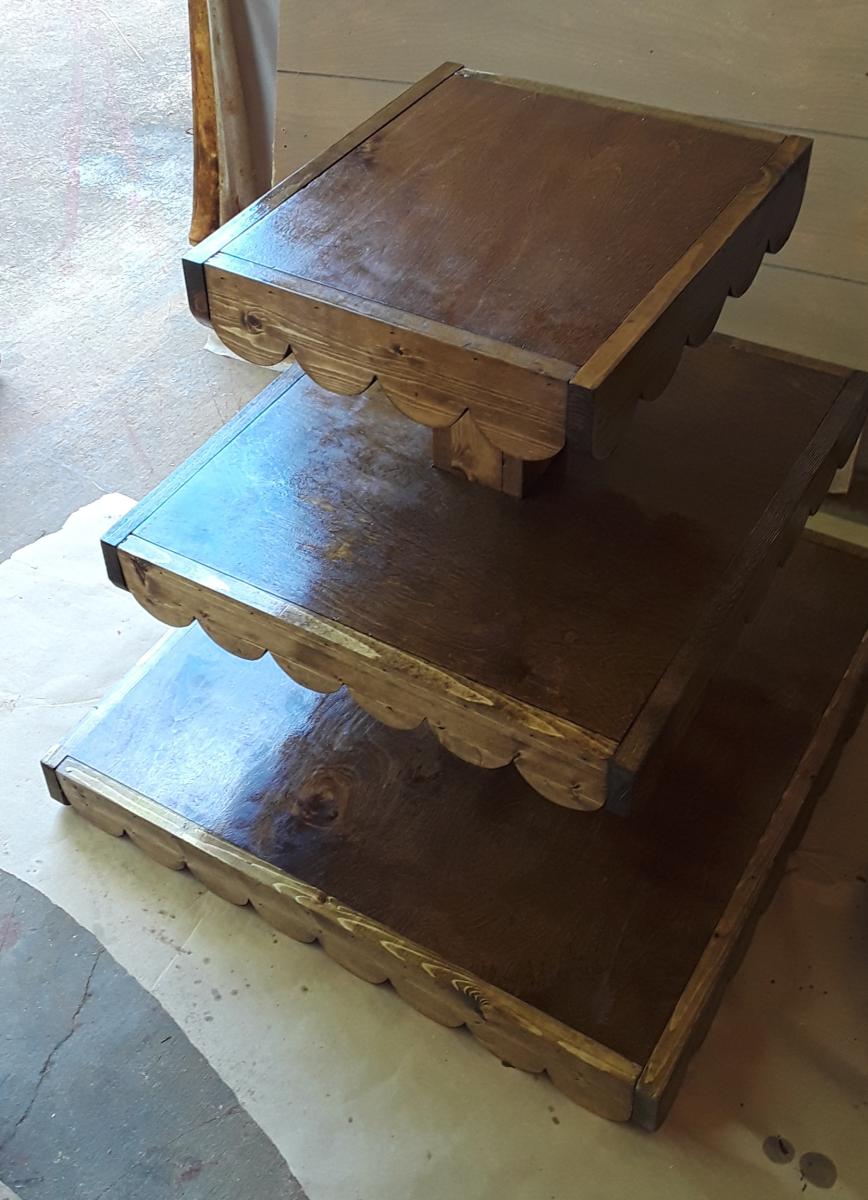
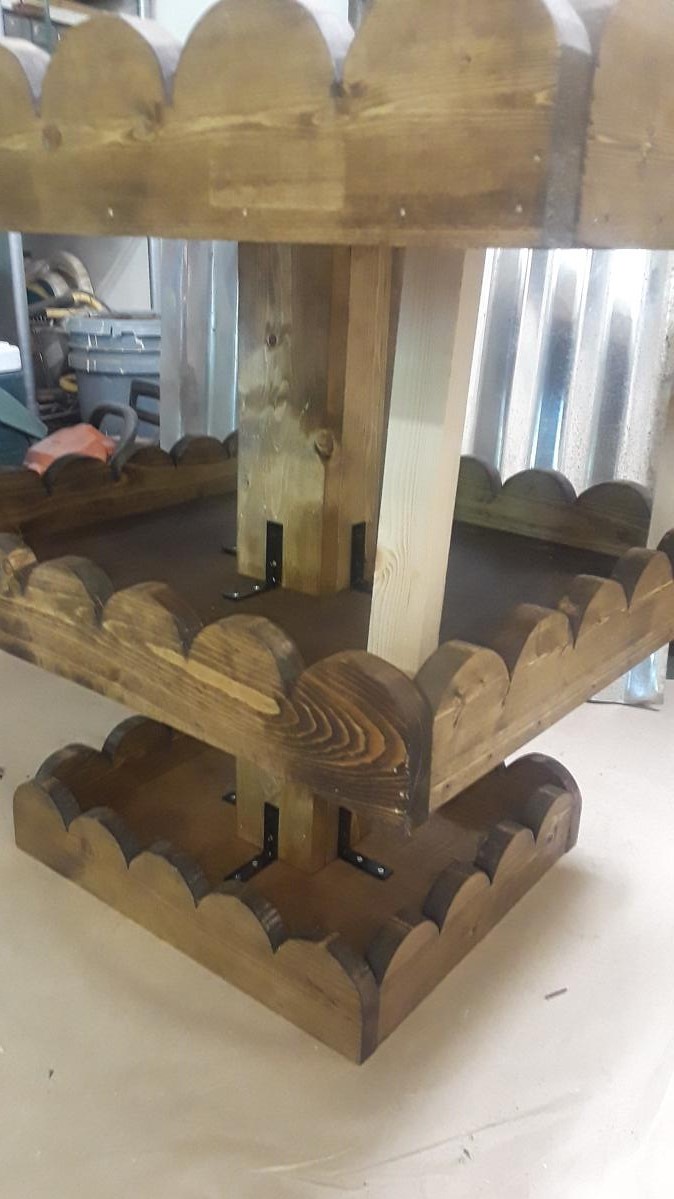
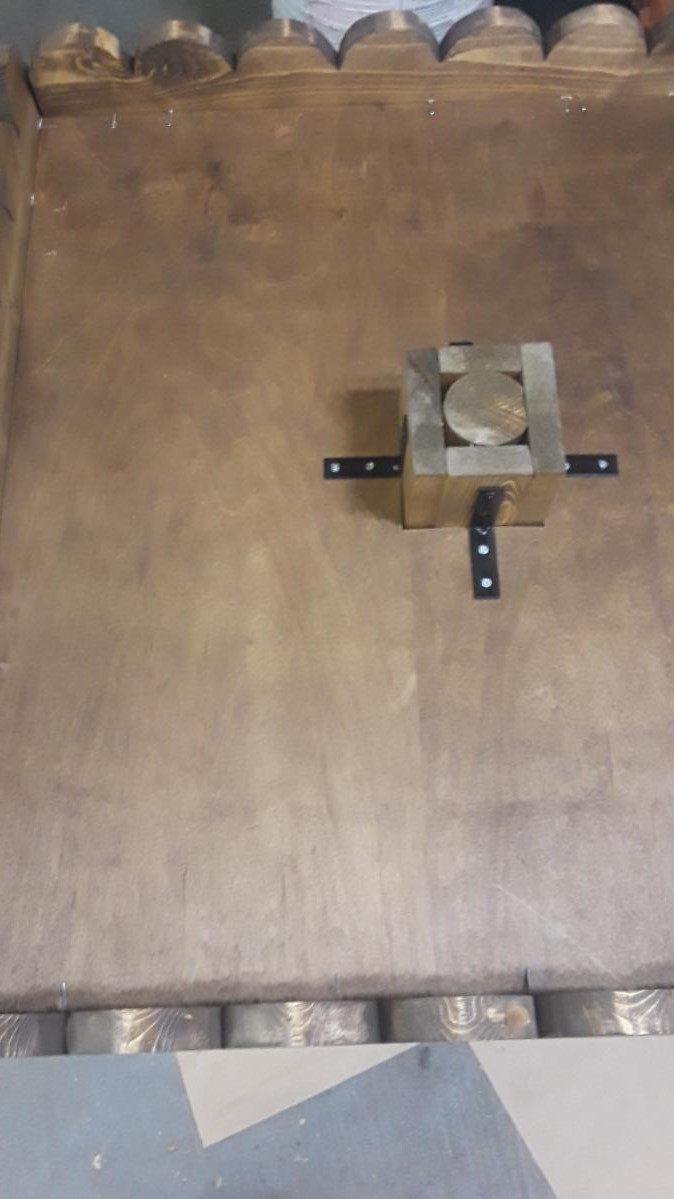
Rustic Cupcake Stand!

Comments
Ana White Admin
Wed, 04/27/2022 - 10:32
Fun!
Great build, this is super cute! Thank you for sharing.