Wood Farmhouse Bed
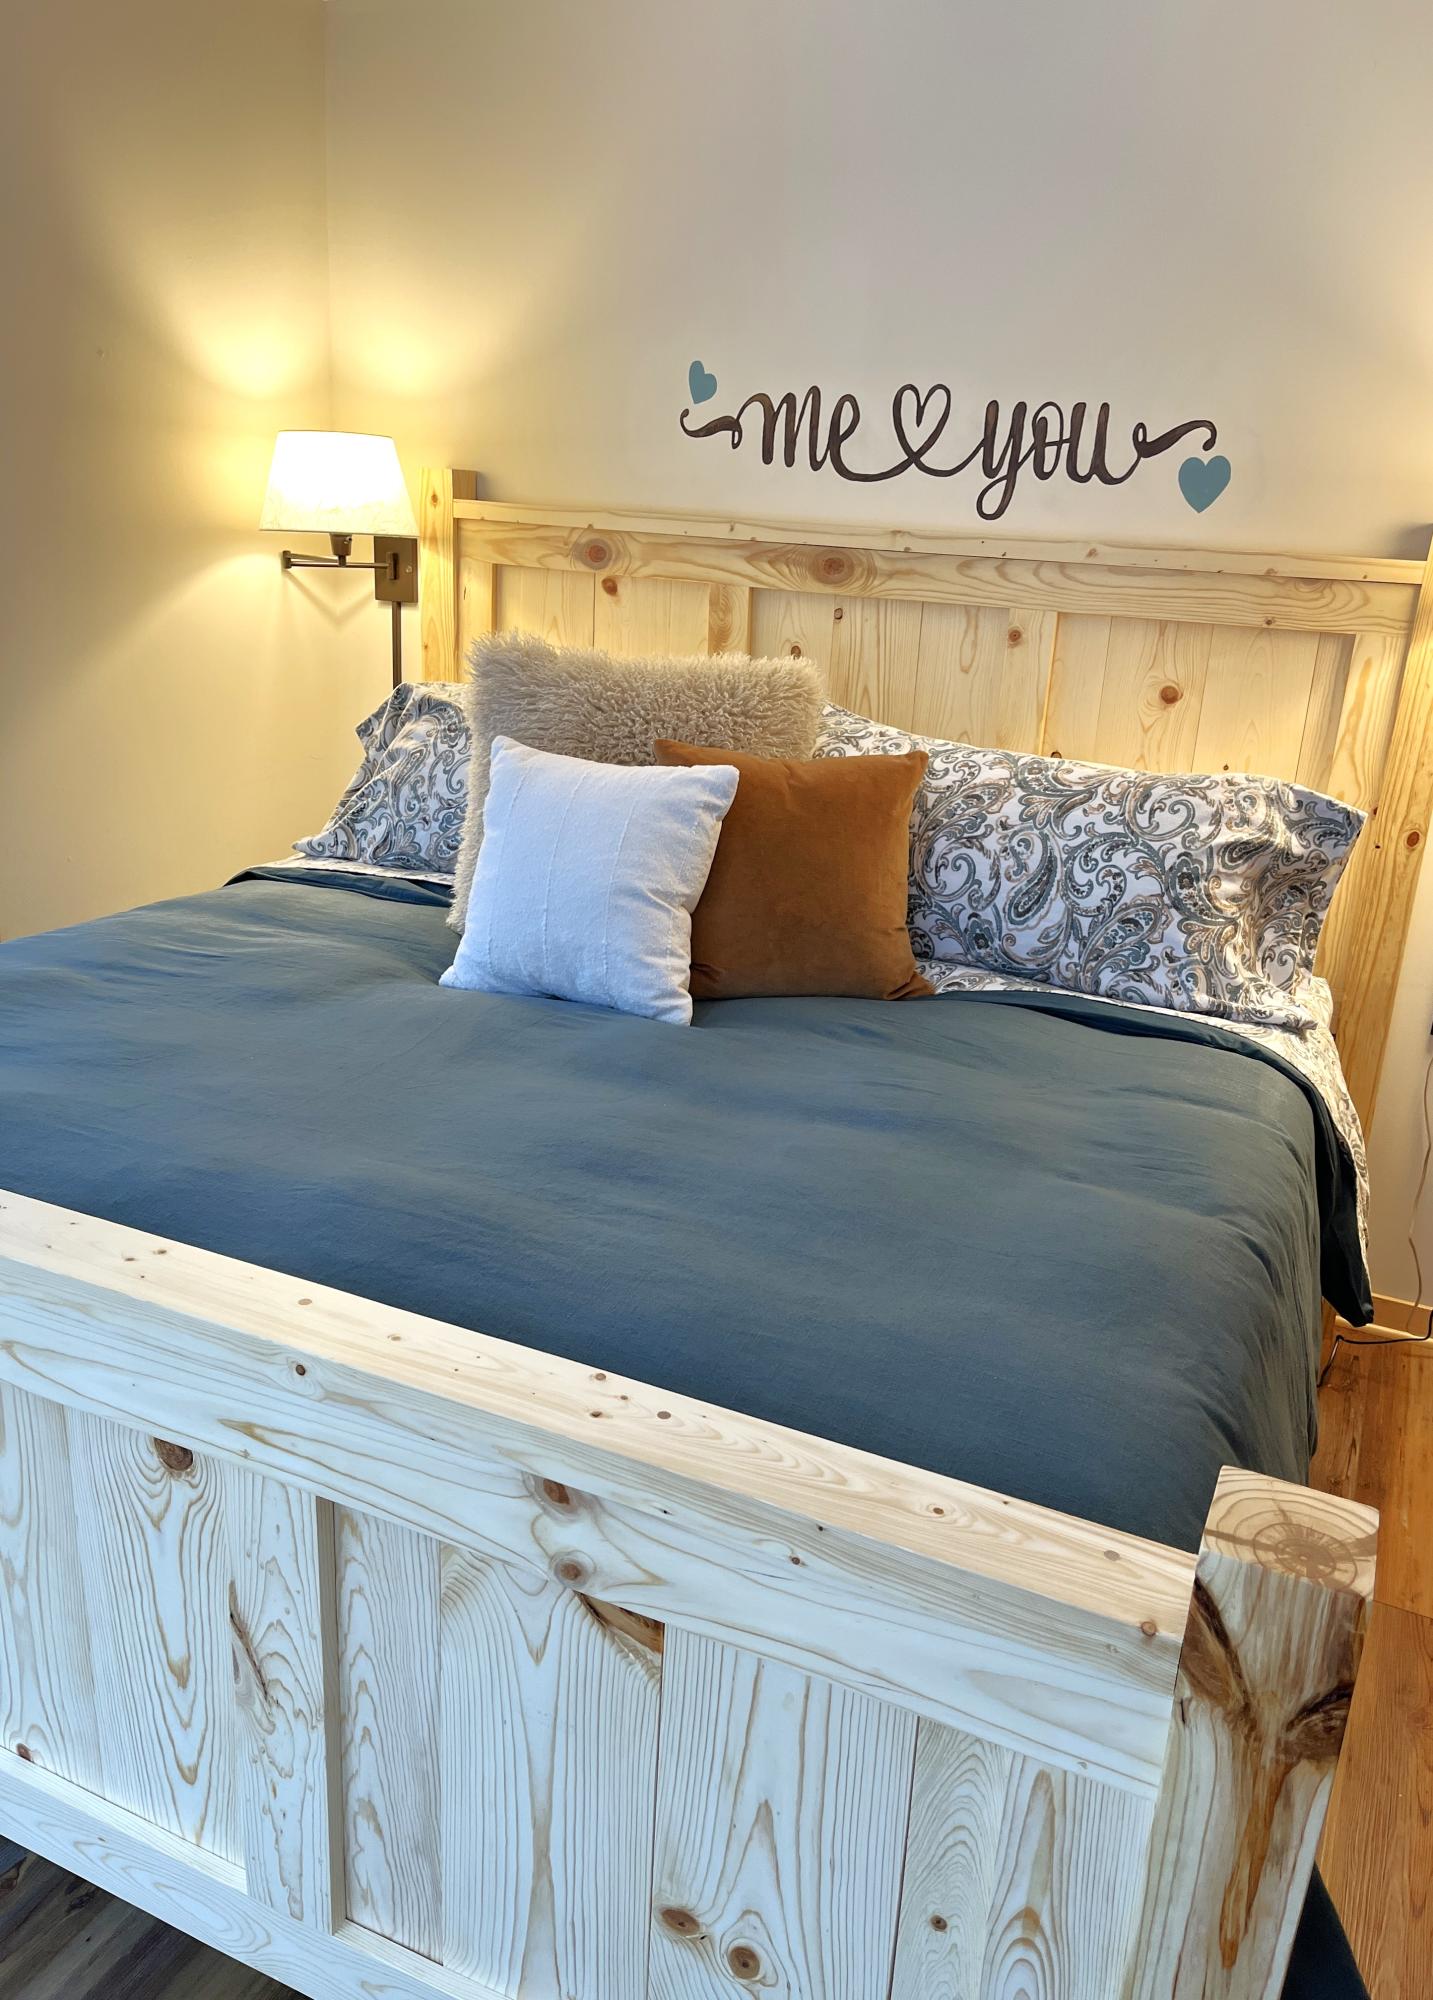
Made the Farmhouse Bed to fit our new adjustable bed. Thanks to Ana White and all her free plans, I’ve been able to build SO many things!
Jessica Benson

Made the Farmhouse Bed to fit our new adjustable bed. Thanks to Ana White and all her free plans, I’ve been able to build SO many things!
Jessica Benson
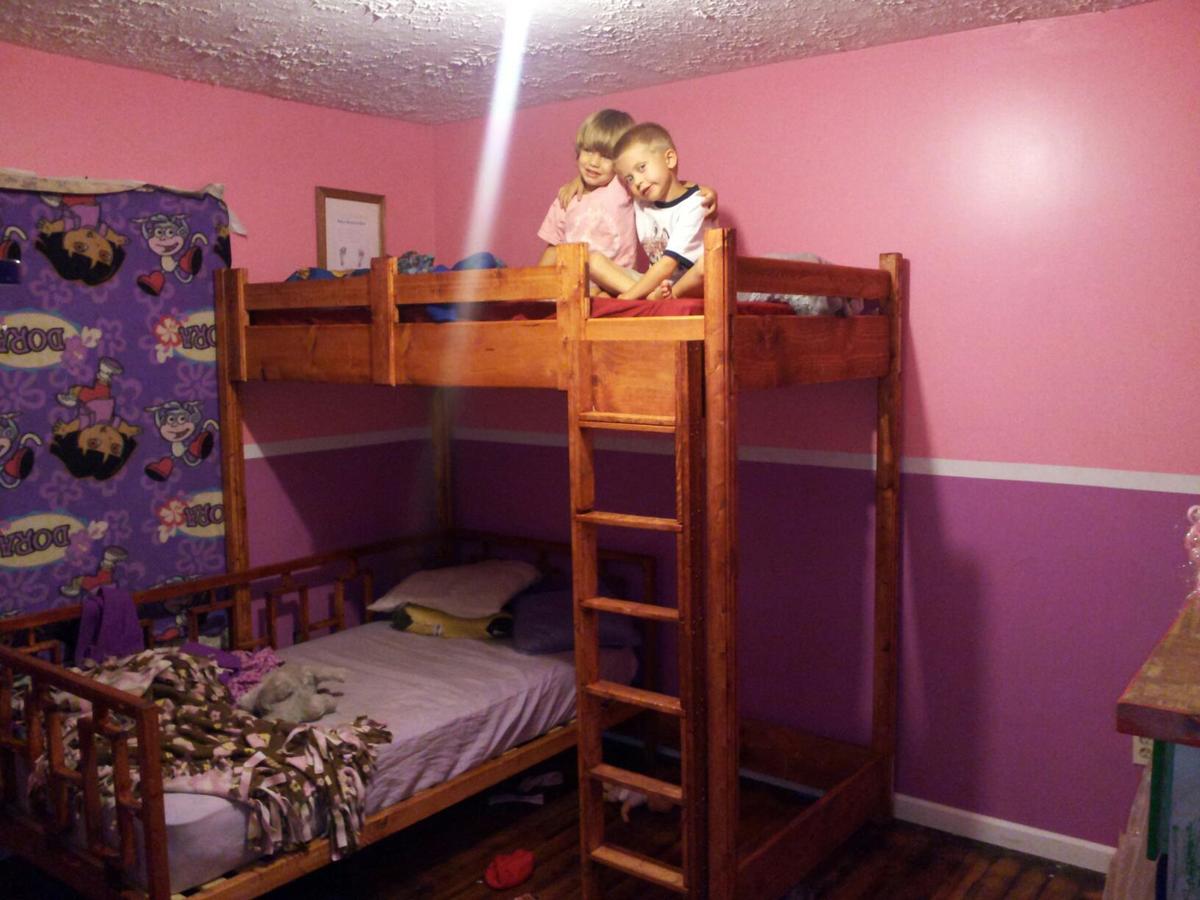
Built my daughter the day bed, and my son needed his own bed. But with a 2 bedroom house they have to share a room for now. So I seen the loft bed and well this is what I came up with. I stained it cherry, and routed the edges to give it a little touch.
Fri, 12/20/2013 - 07:57
This looks great! I like the way you kept it simple yet more rustic type appeal without adding the top board (laying flat).
Fri, 12/20/2013 - 07:57
This looks great! I like the way you kept it simple yet more rustic type appeal without adding the top board (laying flat).
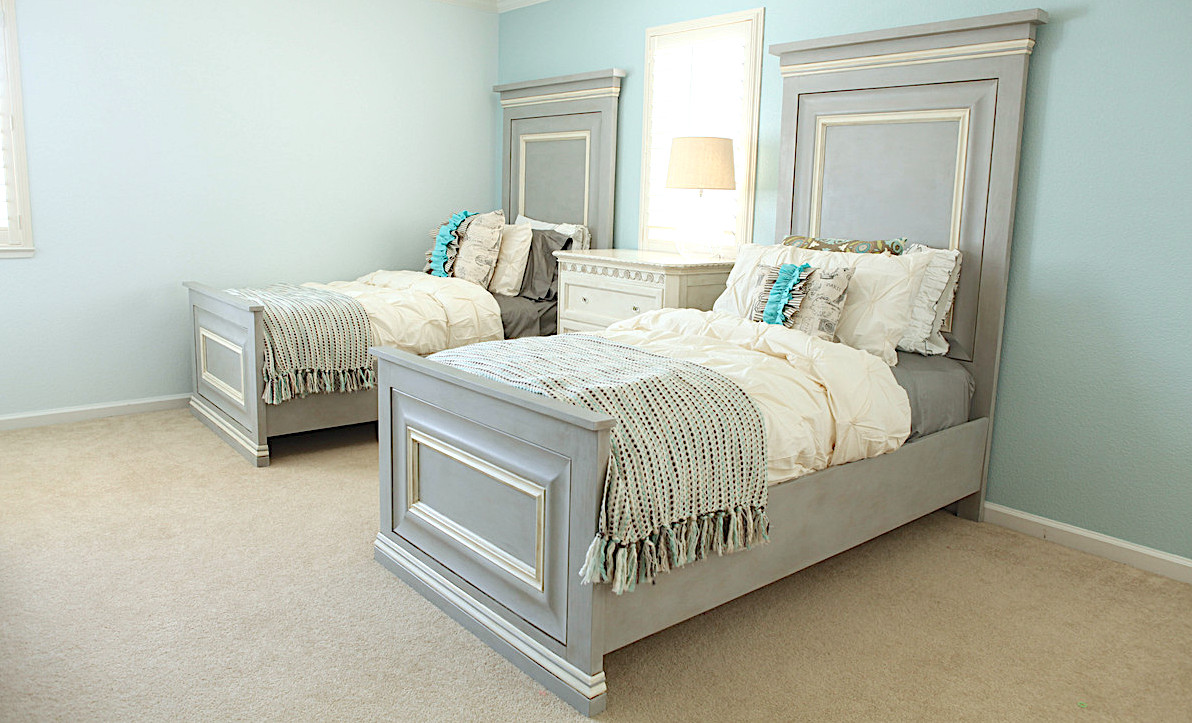
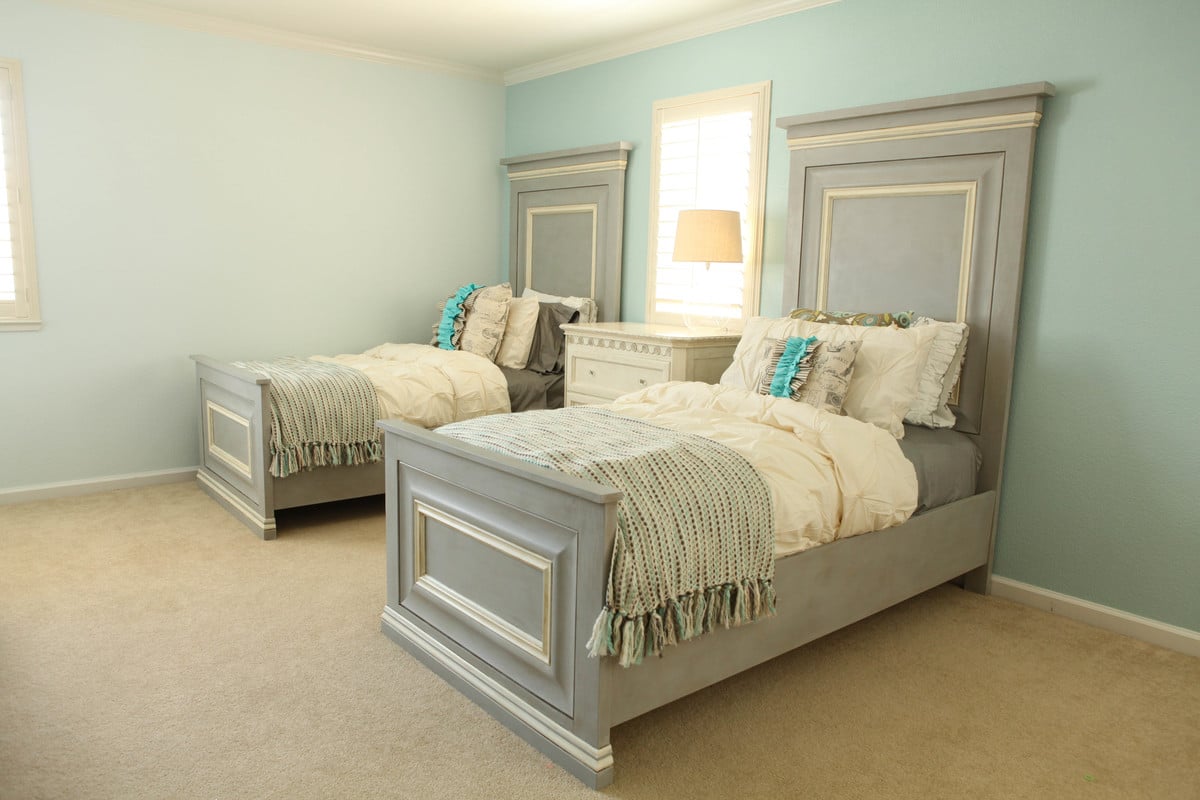
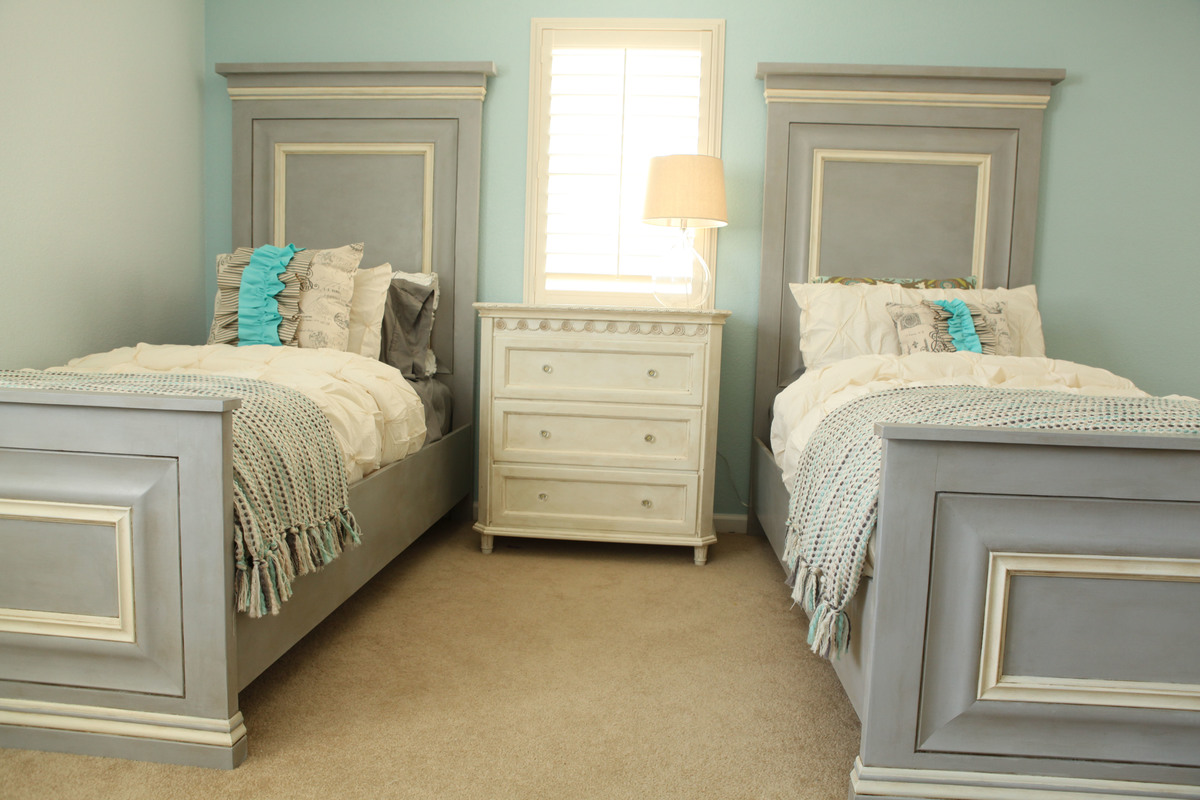
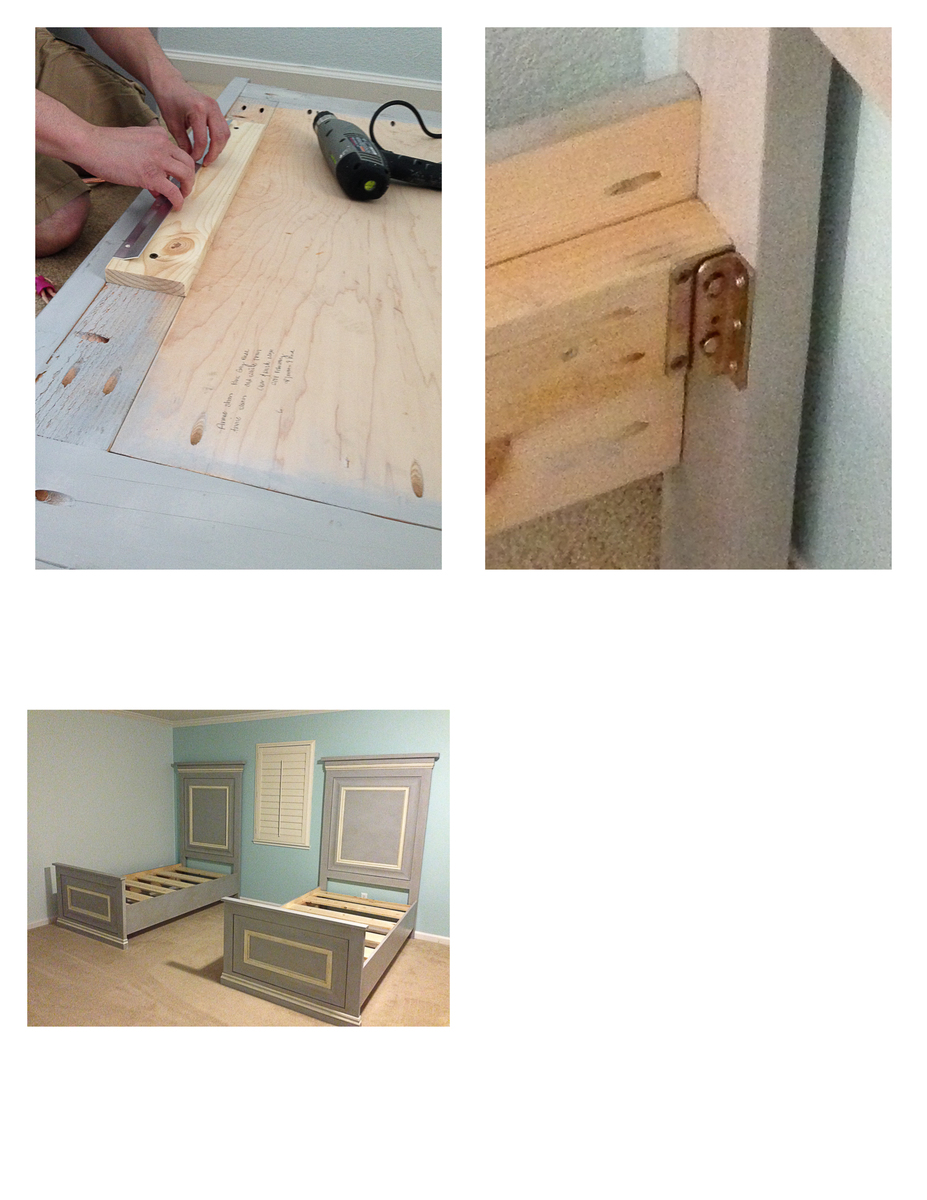
Thank you so much for these awesome plans. When I saw the original twin panel bed, I knew this was exactly what I wanted to build for my two daughters. I love super high head boards, and these are exactly that. I am in love. I did make some changes to the plan. I went with taller side rails, and used metal bed rail brackets. The brackets were super important. We move every few years being in the military, and I wanted something that would with-stand time and moves. I am also quite impressed how solid these beds are. I could never find anything this amazing in a store. I would also like to thank my husband for his help. It was our first build, but definitely not our last. Thank you!
Wed, 06/11/2014 - 17:27
Thank you for your very nice comments:
Here is some info, let me know if I can help further more.
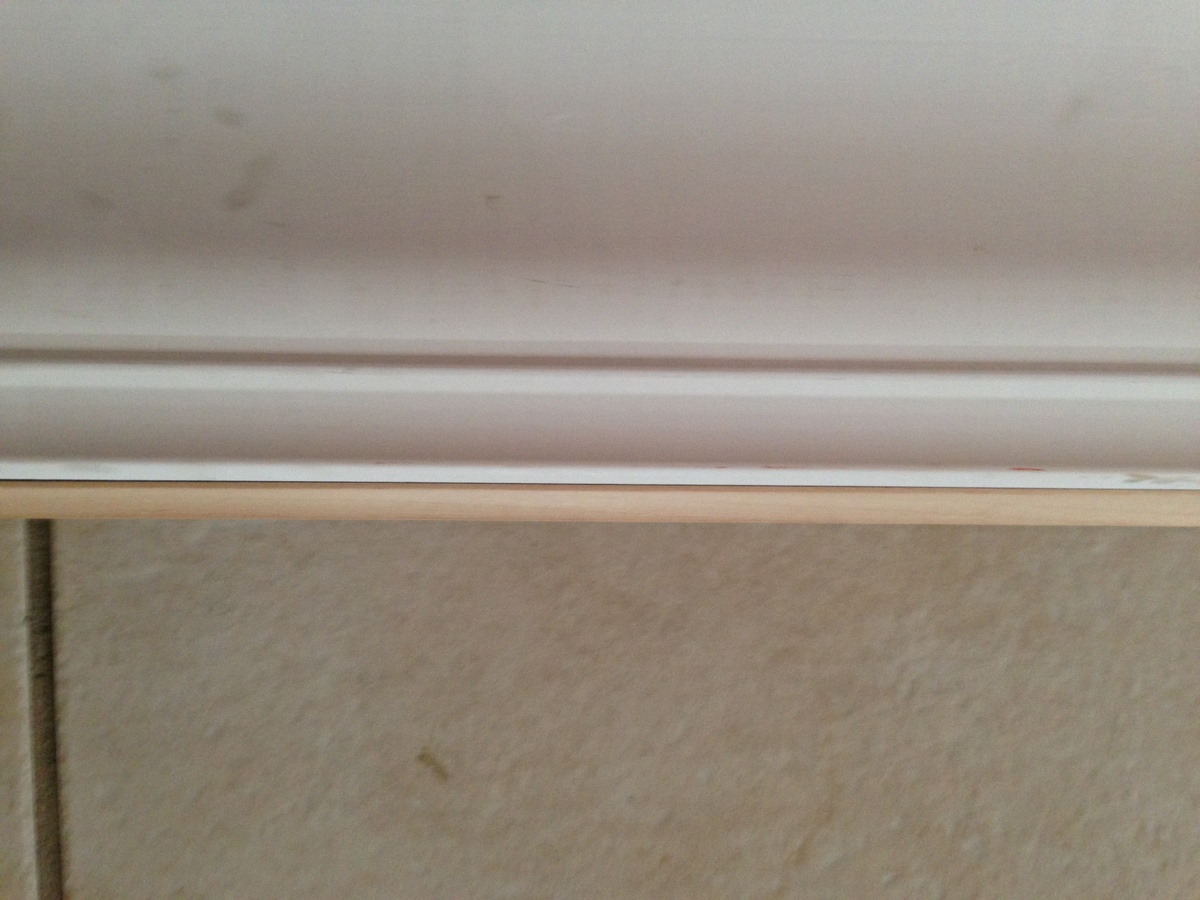
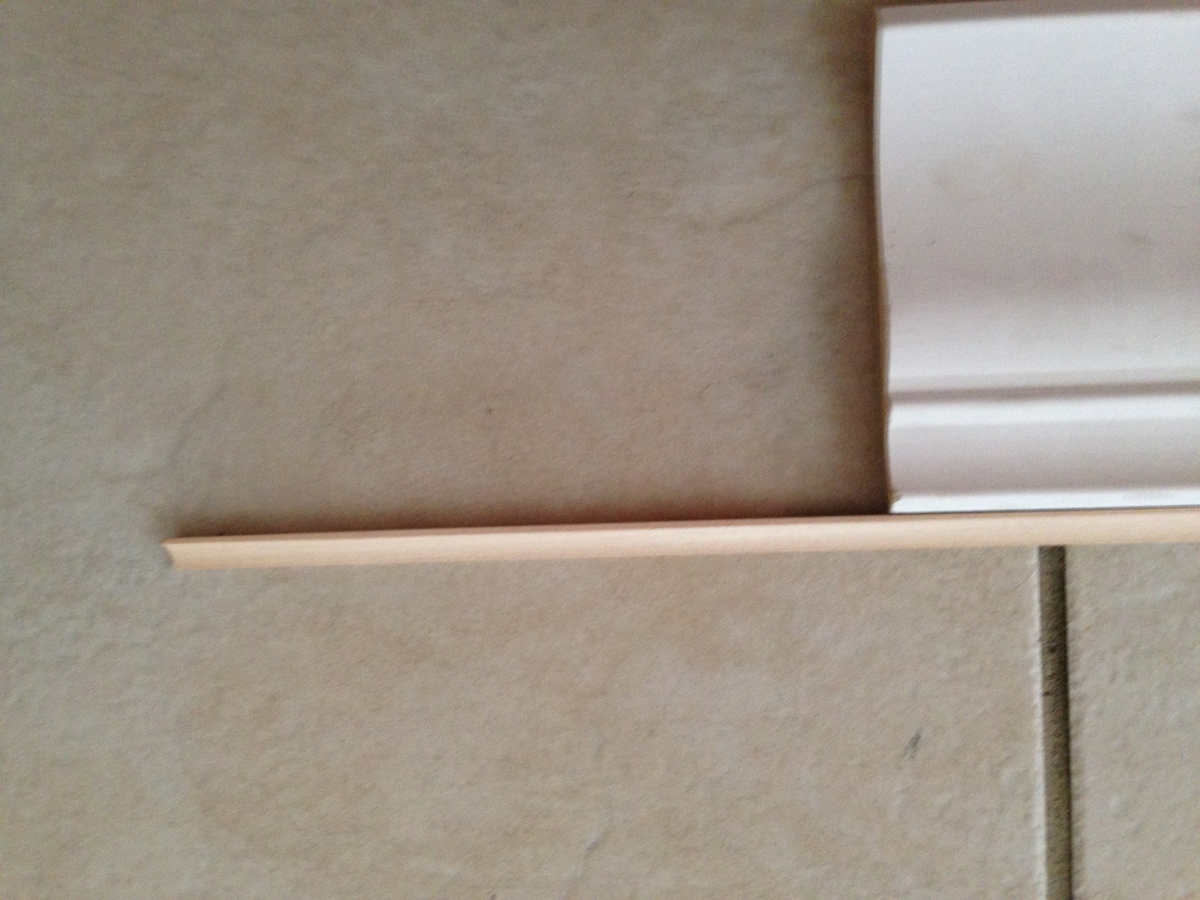
This is what we used for the base molding and the headboard molding at the top. http://www.homedepot.com/p/House-of-Fara-5-8-in-x-4-in-x-8-ft-MDF-Base-…
For the the inner molding we used two pieces of molding: This is the style (link below) we used, but ours was a little bigger, 5 1/4 inches. Couldn't find it on the home depot website, but this is exactly the same style.
The addition molding below is a finishing molding that we had to use since the above molding was not flush to the back board. It finished really nice. Glad we added this addition dimension. You can easily skip using it with different "above" molding.
http://www.homedepot.com/p/American-Wood-Moulding-LWM47-9-16-in-x-4-1-4…
http://www.homedepot.com/p/American-Wood-Moulding-WM100-11-16-in-x-11-1…
For the side rails we also used 10 inch boards. I thought it made the bed look more proportioned. I will add additional pics of the molding, so re-check pictures. Again, let me know if you have further questions.
Mon, 07/20/2015 - 18:51
I'm in awe!! Thank you so much for sharing, I just saw your beds and had to comment and say thank you for sharing and beautiful job! Ana
In reply to Your Bed is Beautiful!!! by Ana White
Sat, 11/28/2015 - 15:53
Thank you! You are the one made it possible. We truly feel inspired when we look at your page. Thank you for sharing all your plans. You are the best.

My wife had begged and begged for something like this, so I took the plunge. This was my first build and I’m getting the itch to try other things! We built the ship lap wall and sign together as well!
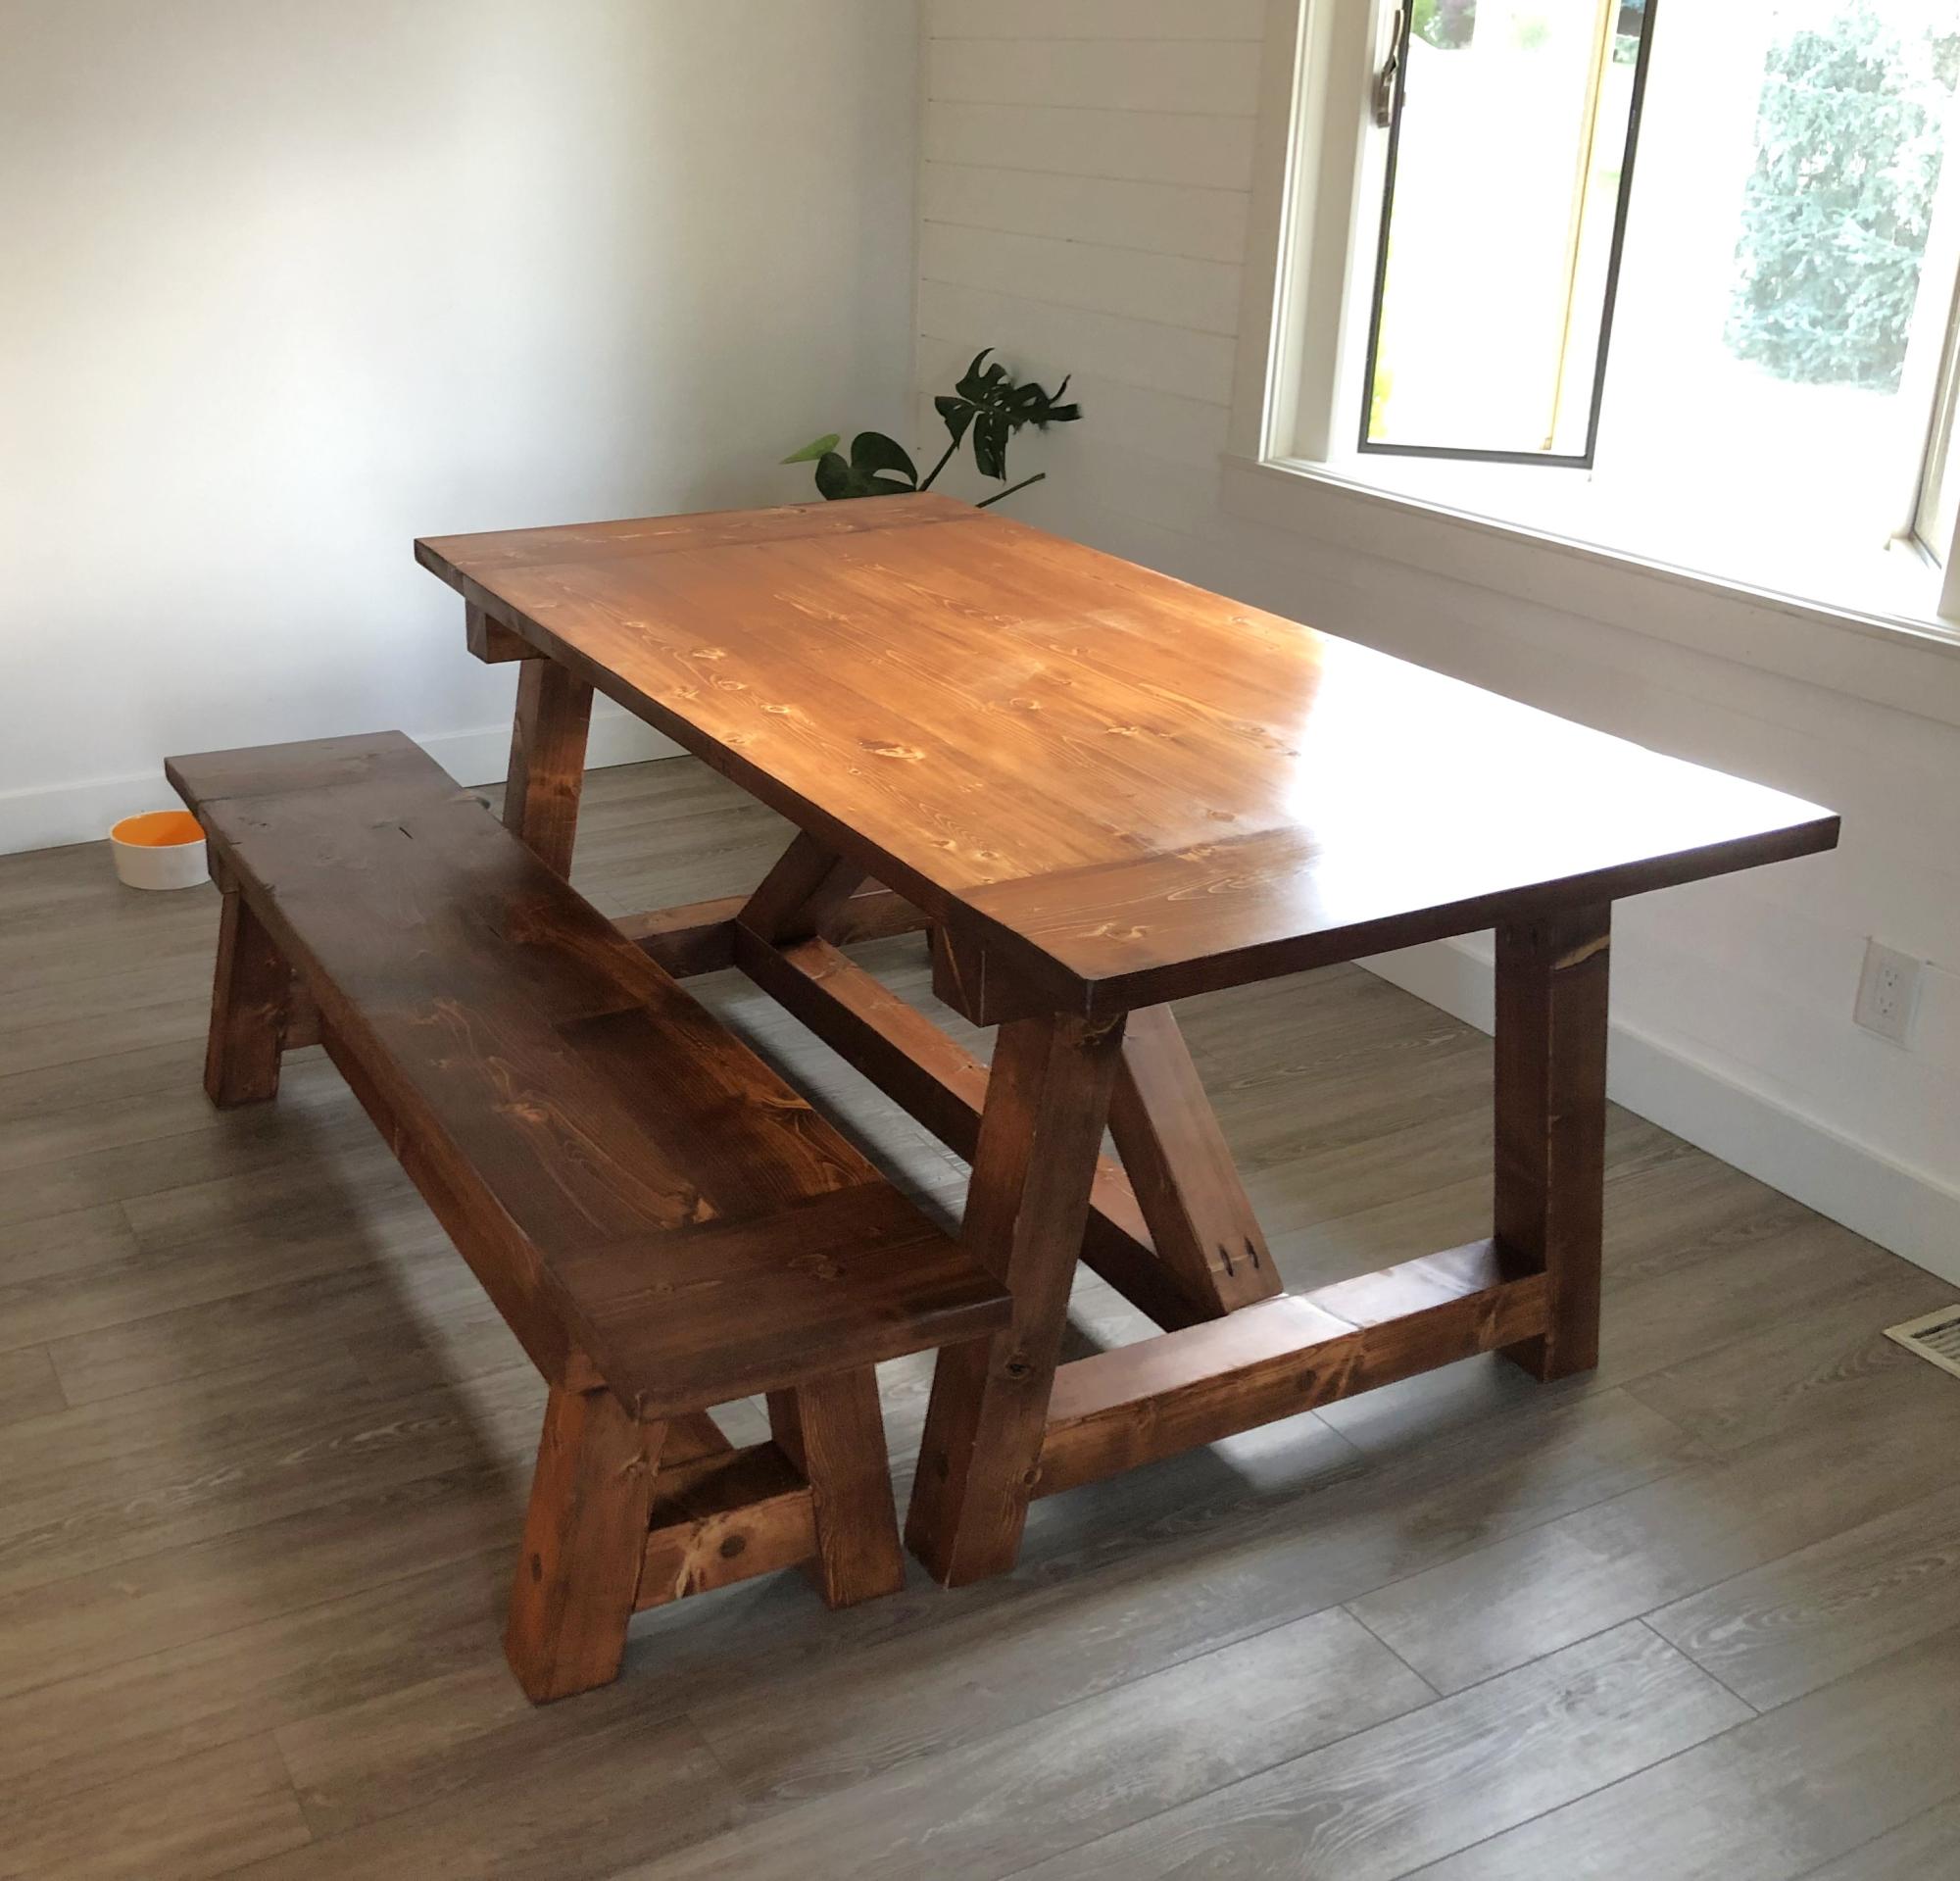
I built this Truss Table for a house warming gift for my daughter.
Rick Briere
I modified the plan slightly to make it longer and higher to fill the space I wanted it to fill.
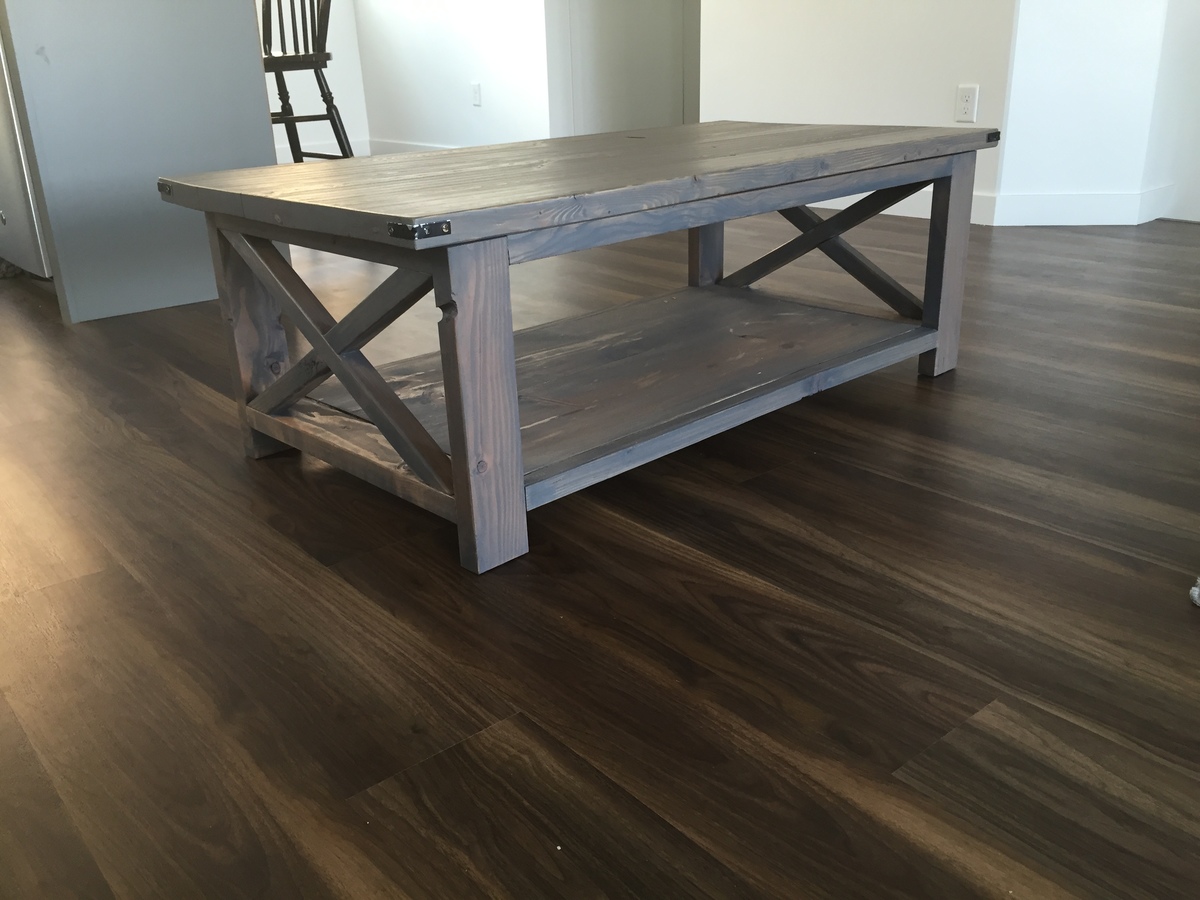
I really love this table! Thanks for the plans!
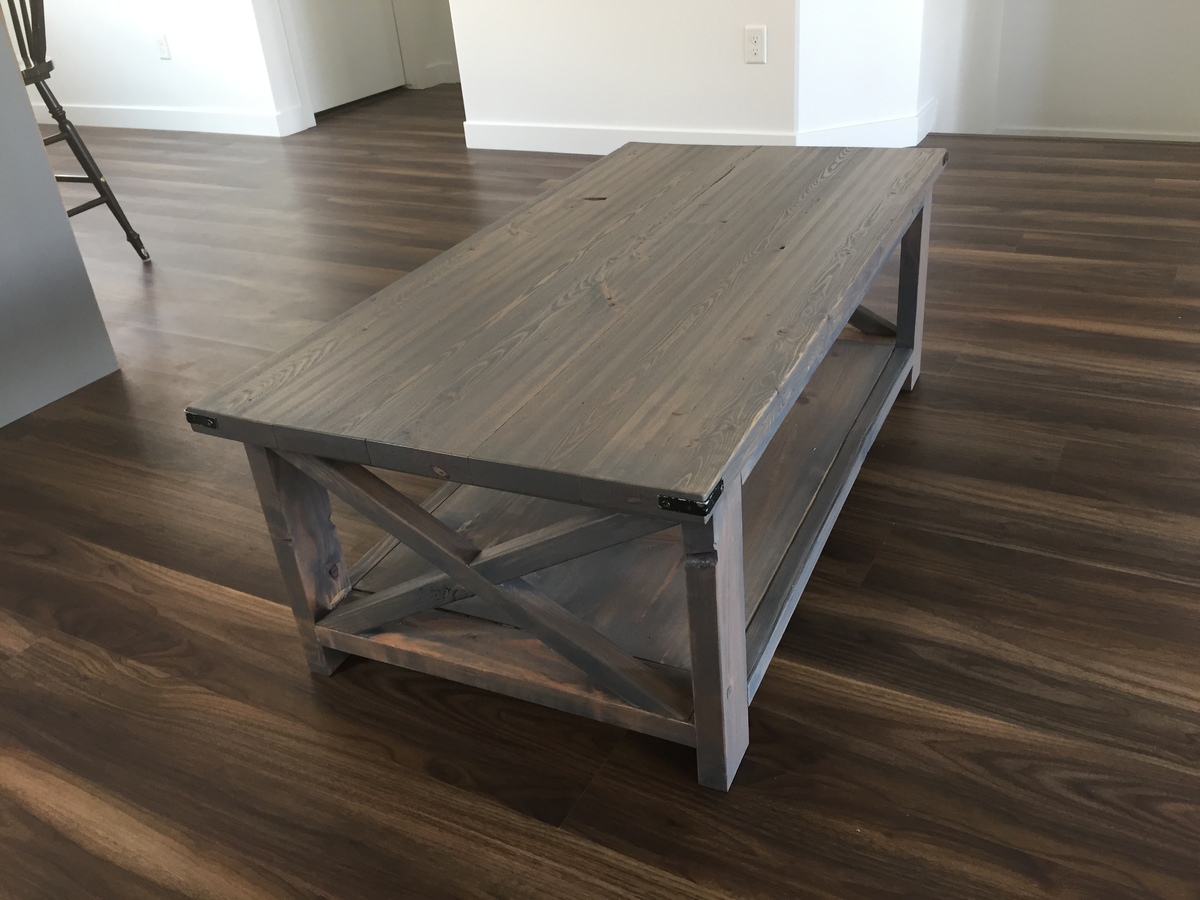

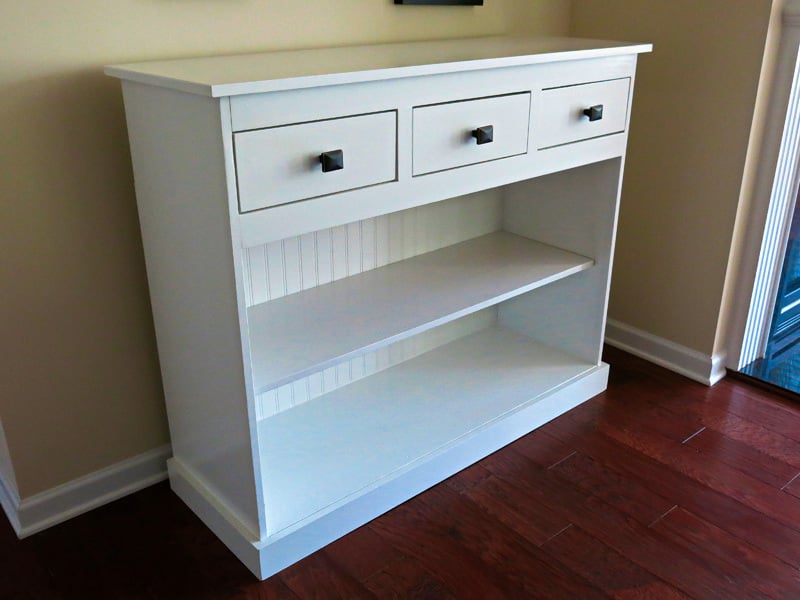
Modified the top of Ana’s plan for a Hall Tree and very happy with how it turned out.
Steve Nadler, High Springs Florida

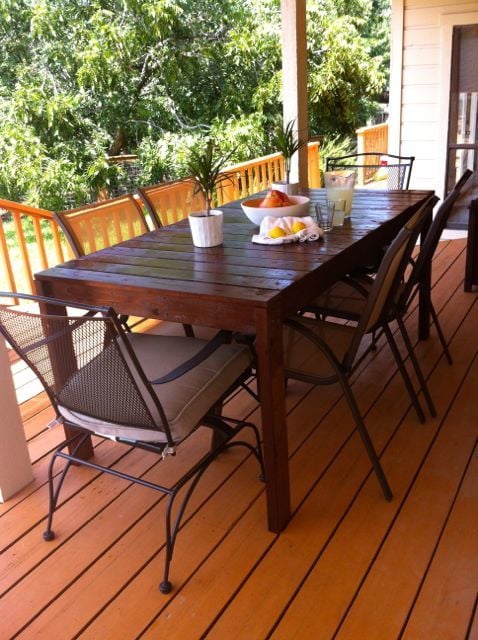
I built this outdoor patio table in about a weeks time working on and off. There are mistakes, it's uneven in places and it is not perfect! That being said, the plans for this are very forgiving and nobody would ever know without looking for these things.
You can get the breakdown on the build, the finish I used, chair solutions and other suggestions here:
http://legosecretagent.blogspot.com/2012/07/outdoor-patio-table.html
This beautiful table only cost around $60 total to build!
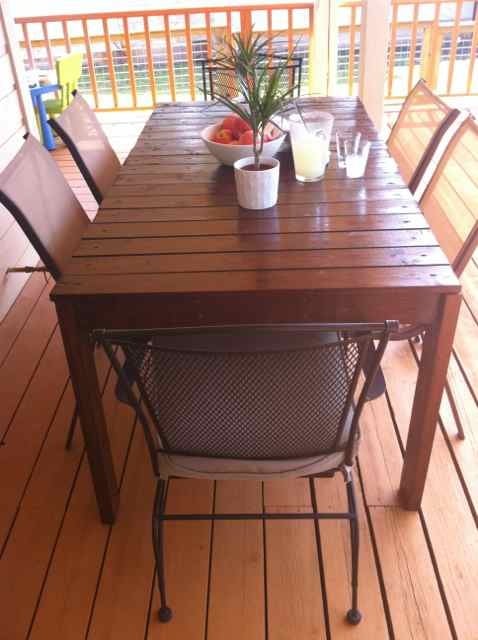
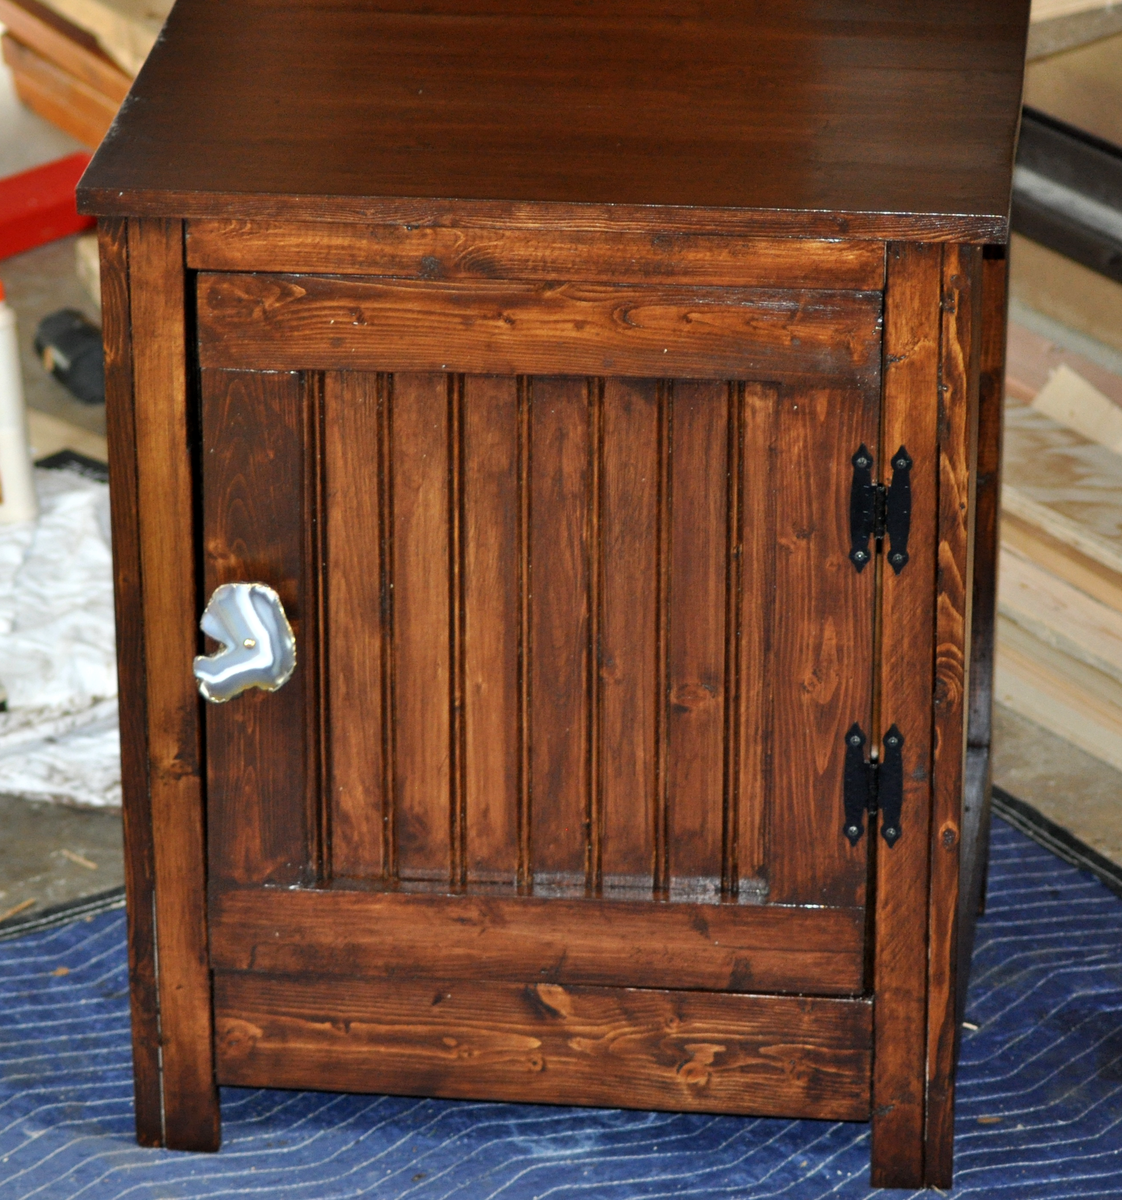
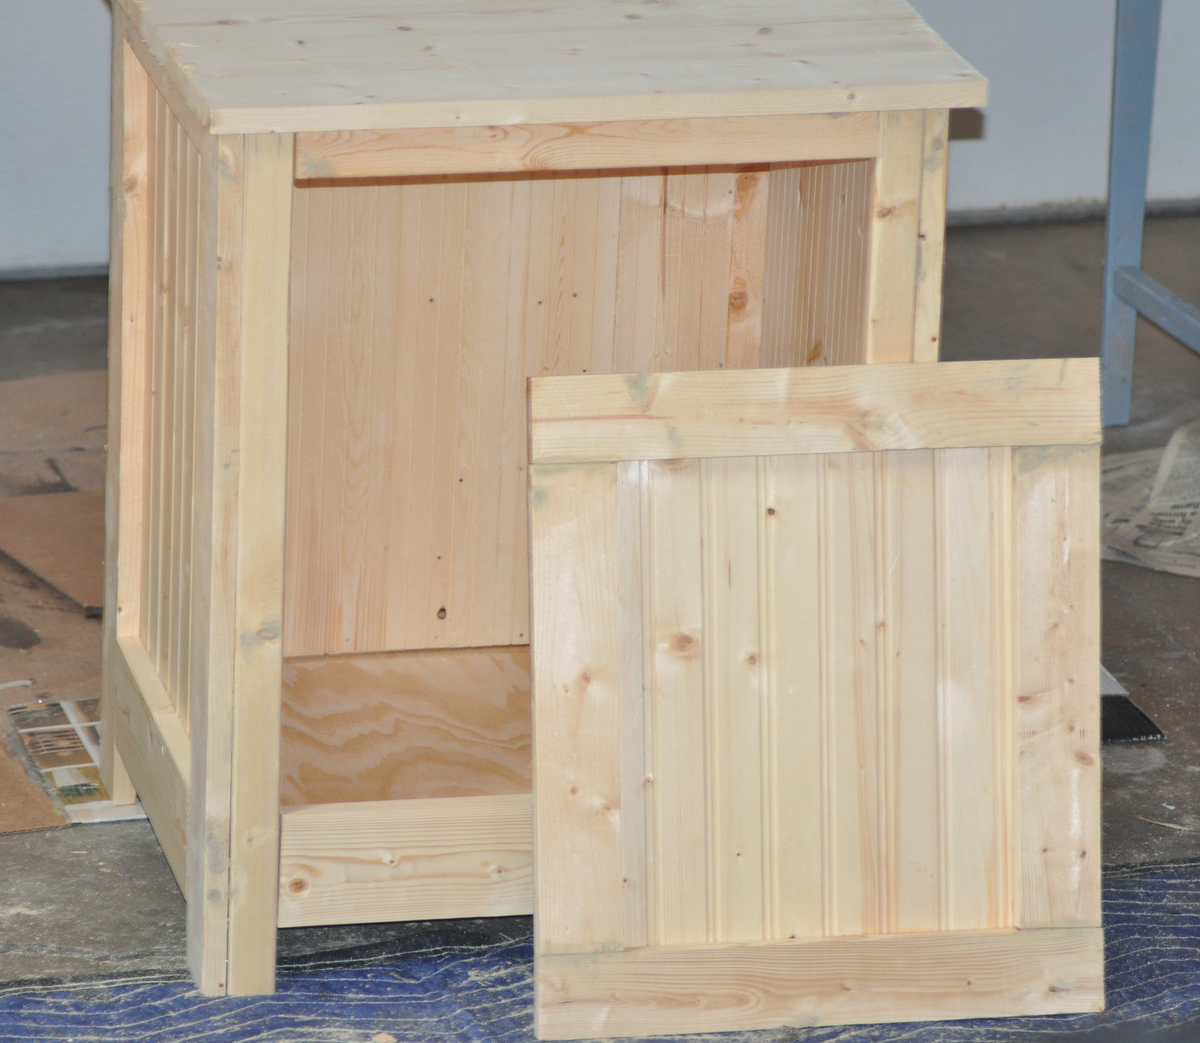
I DO NOT have a Kreg Jig. If you don't have a Kreg Jig, I recommend purchasing small mending plates. I got mine at Walmart, they were $1.77 a 4 pack. I do not recommend using 3 inch nail screws and trying to get them in super straight. While it worked for 3 face frames, the last frame I just could not get to work (maybe I was getting tired). Speaking of tired, I mostly build in the middle of the night while my family is sleeping. If you look closely, I put the 1x2 26 1/2 inch pieces on the front and back frame. Wah wah.... I had to add an extra 1x2 across the top and re-size the 3/4 inch plywood on the bottom.
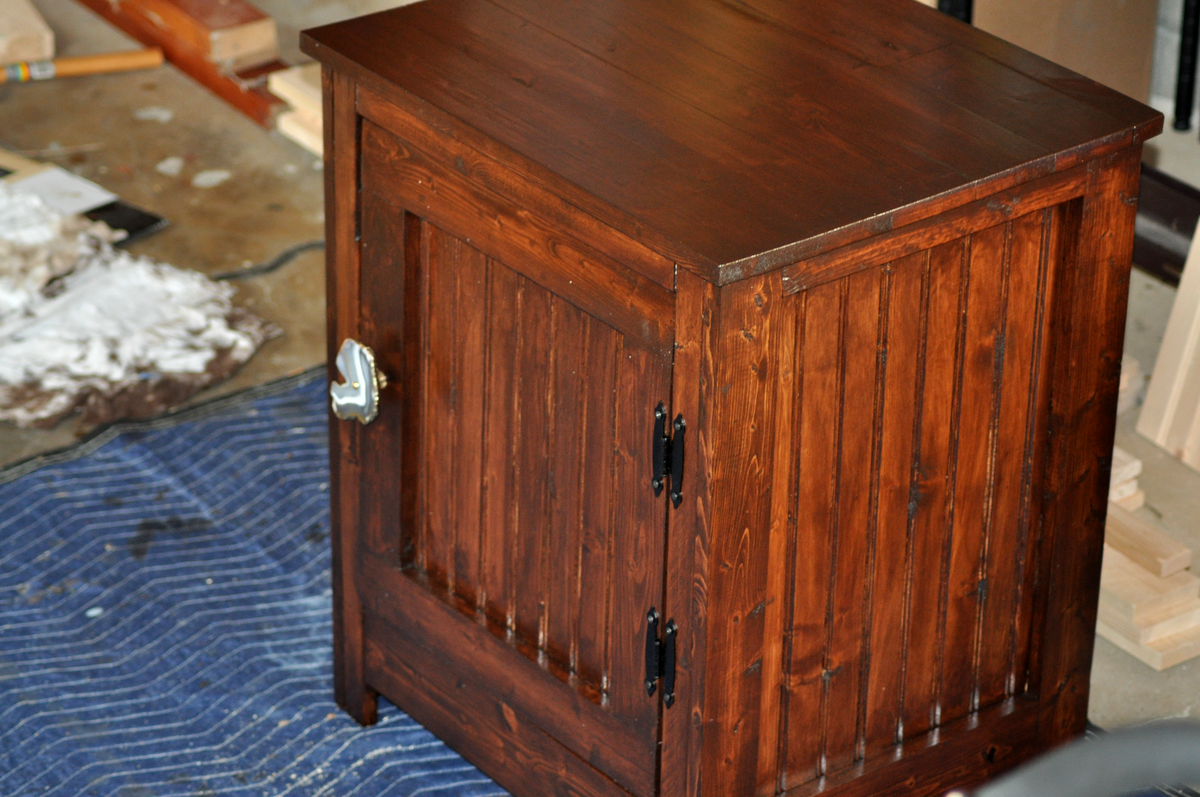
I'm pretty sure everything went wrong for me with this build but I wasn't going to let a nightstand beat me!
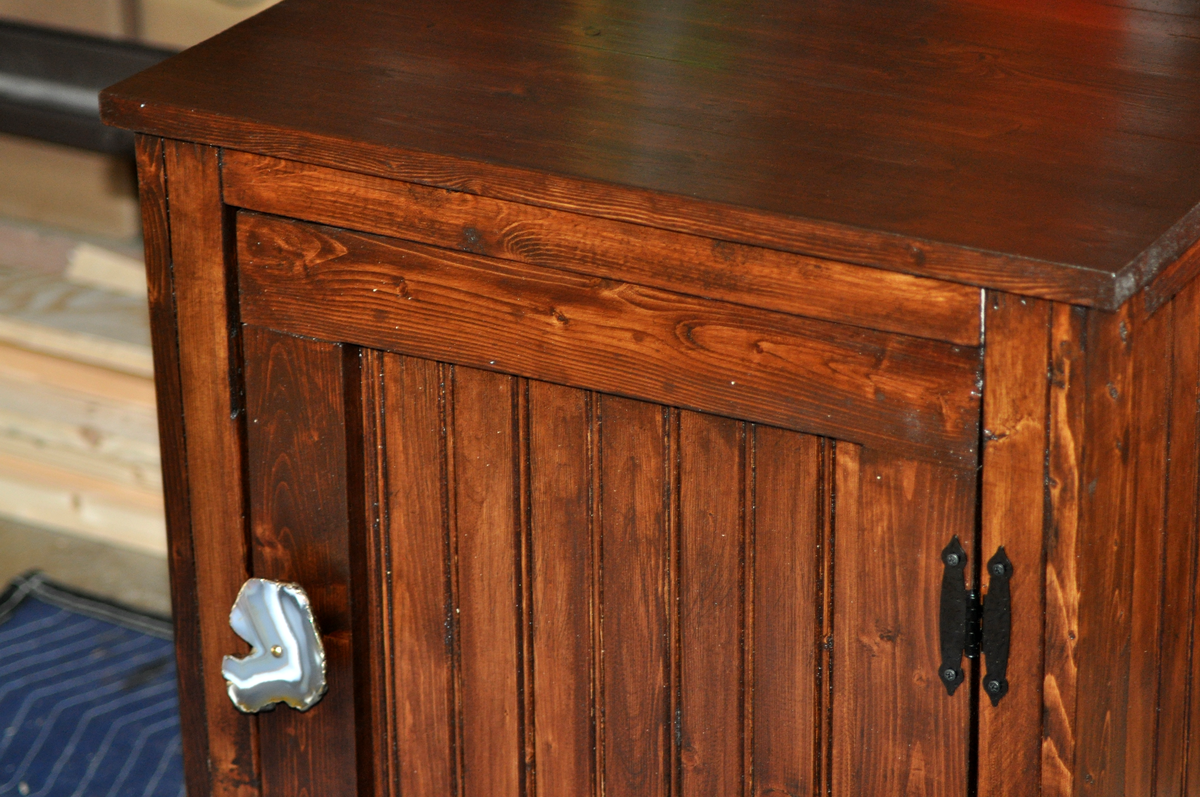
In case you are wondering, the cabinet pull is from Anthropologie. I haven't decided whether or not it's too fabulous for this piece.
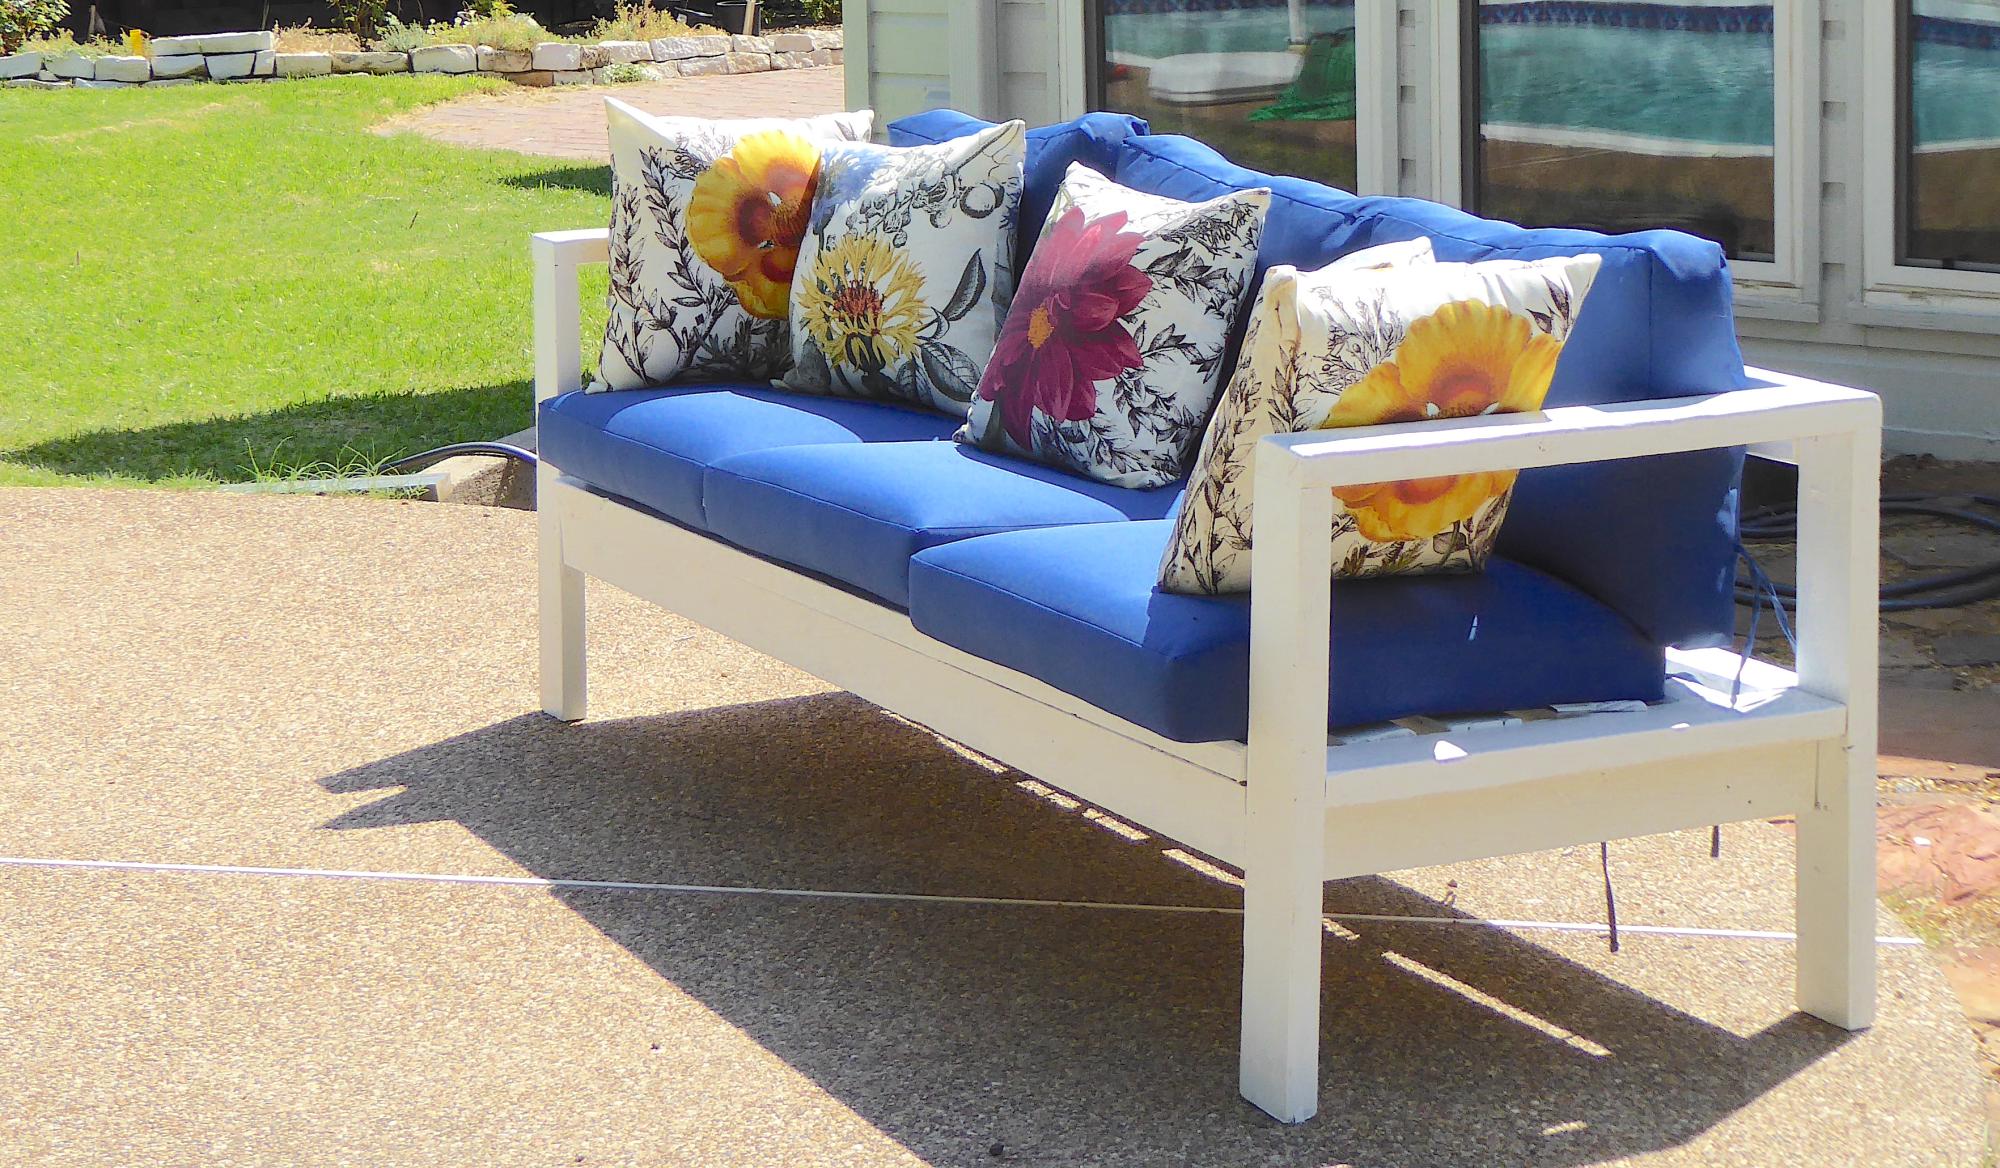
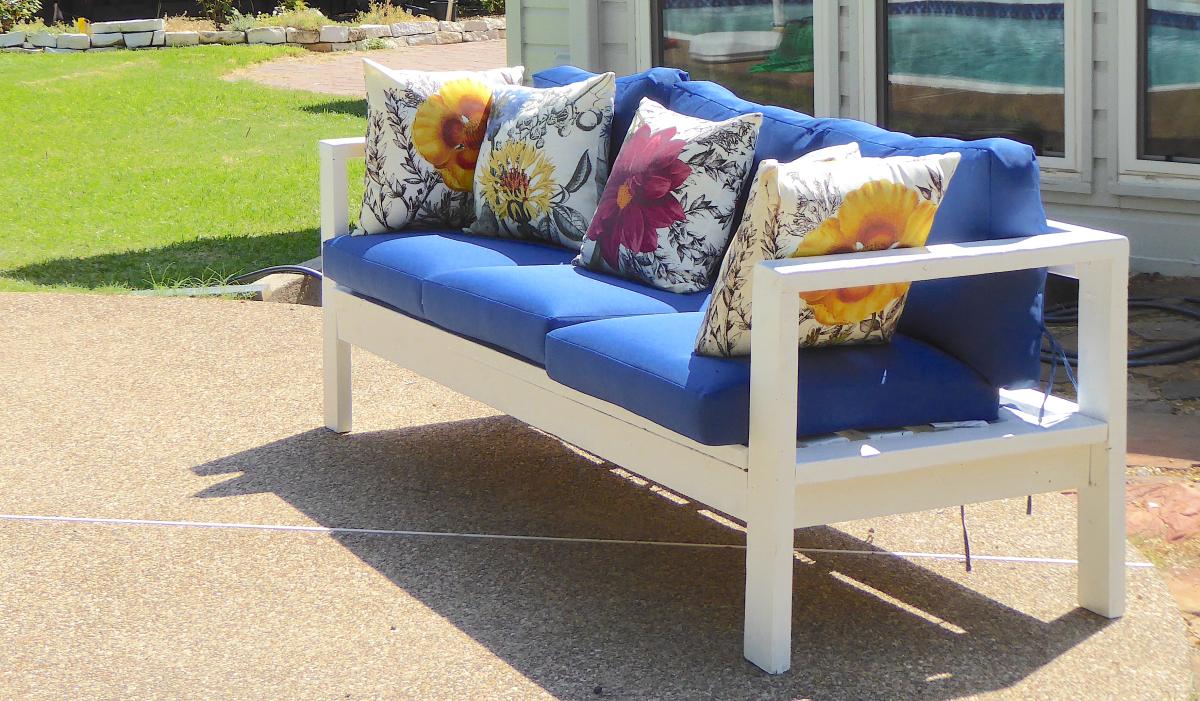
Made from wood salvaged from a renovation. Cushions from Improvements Catalog and Target.
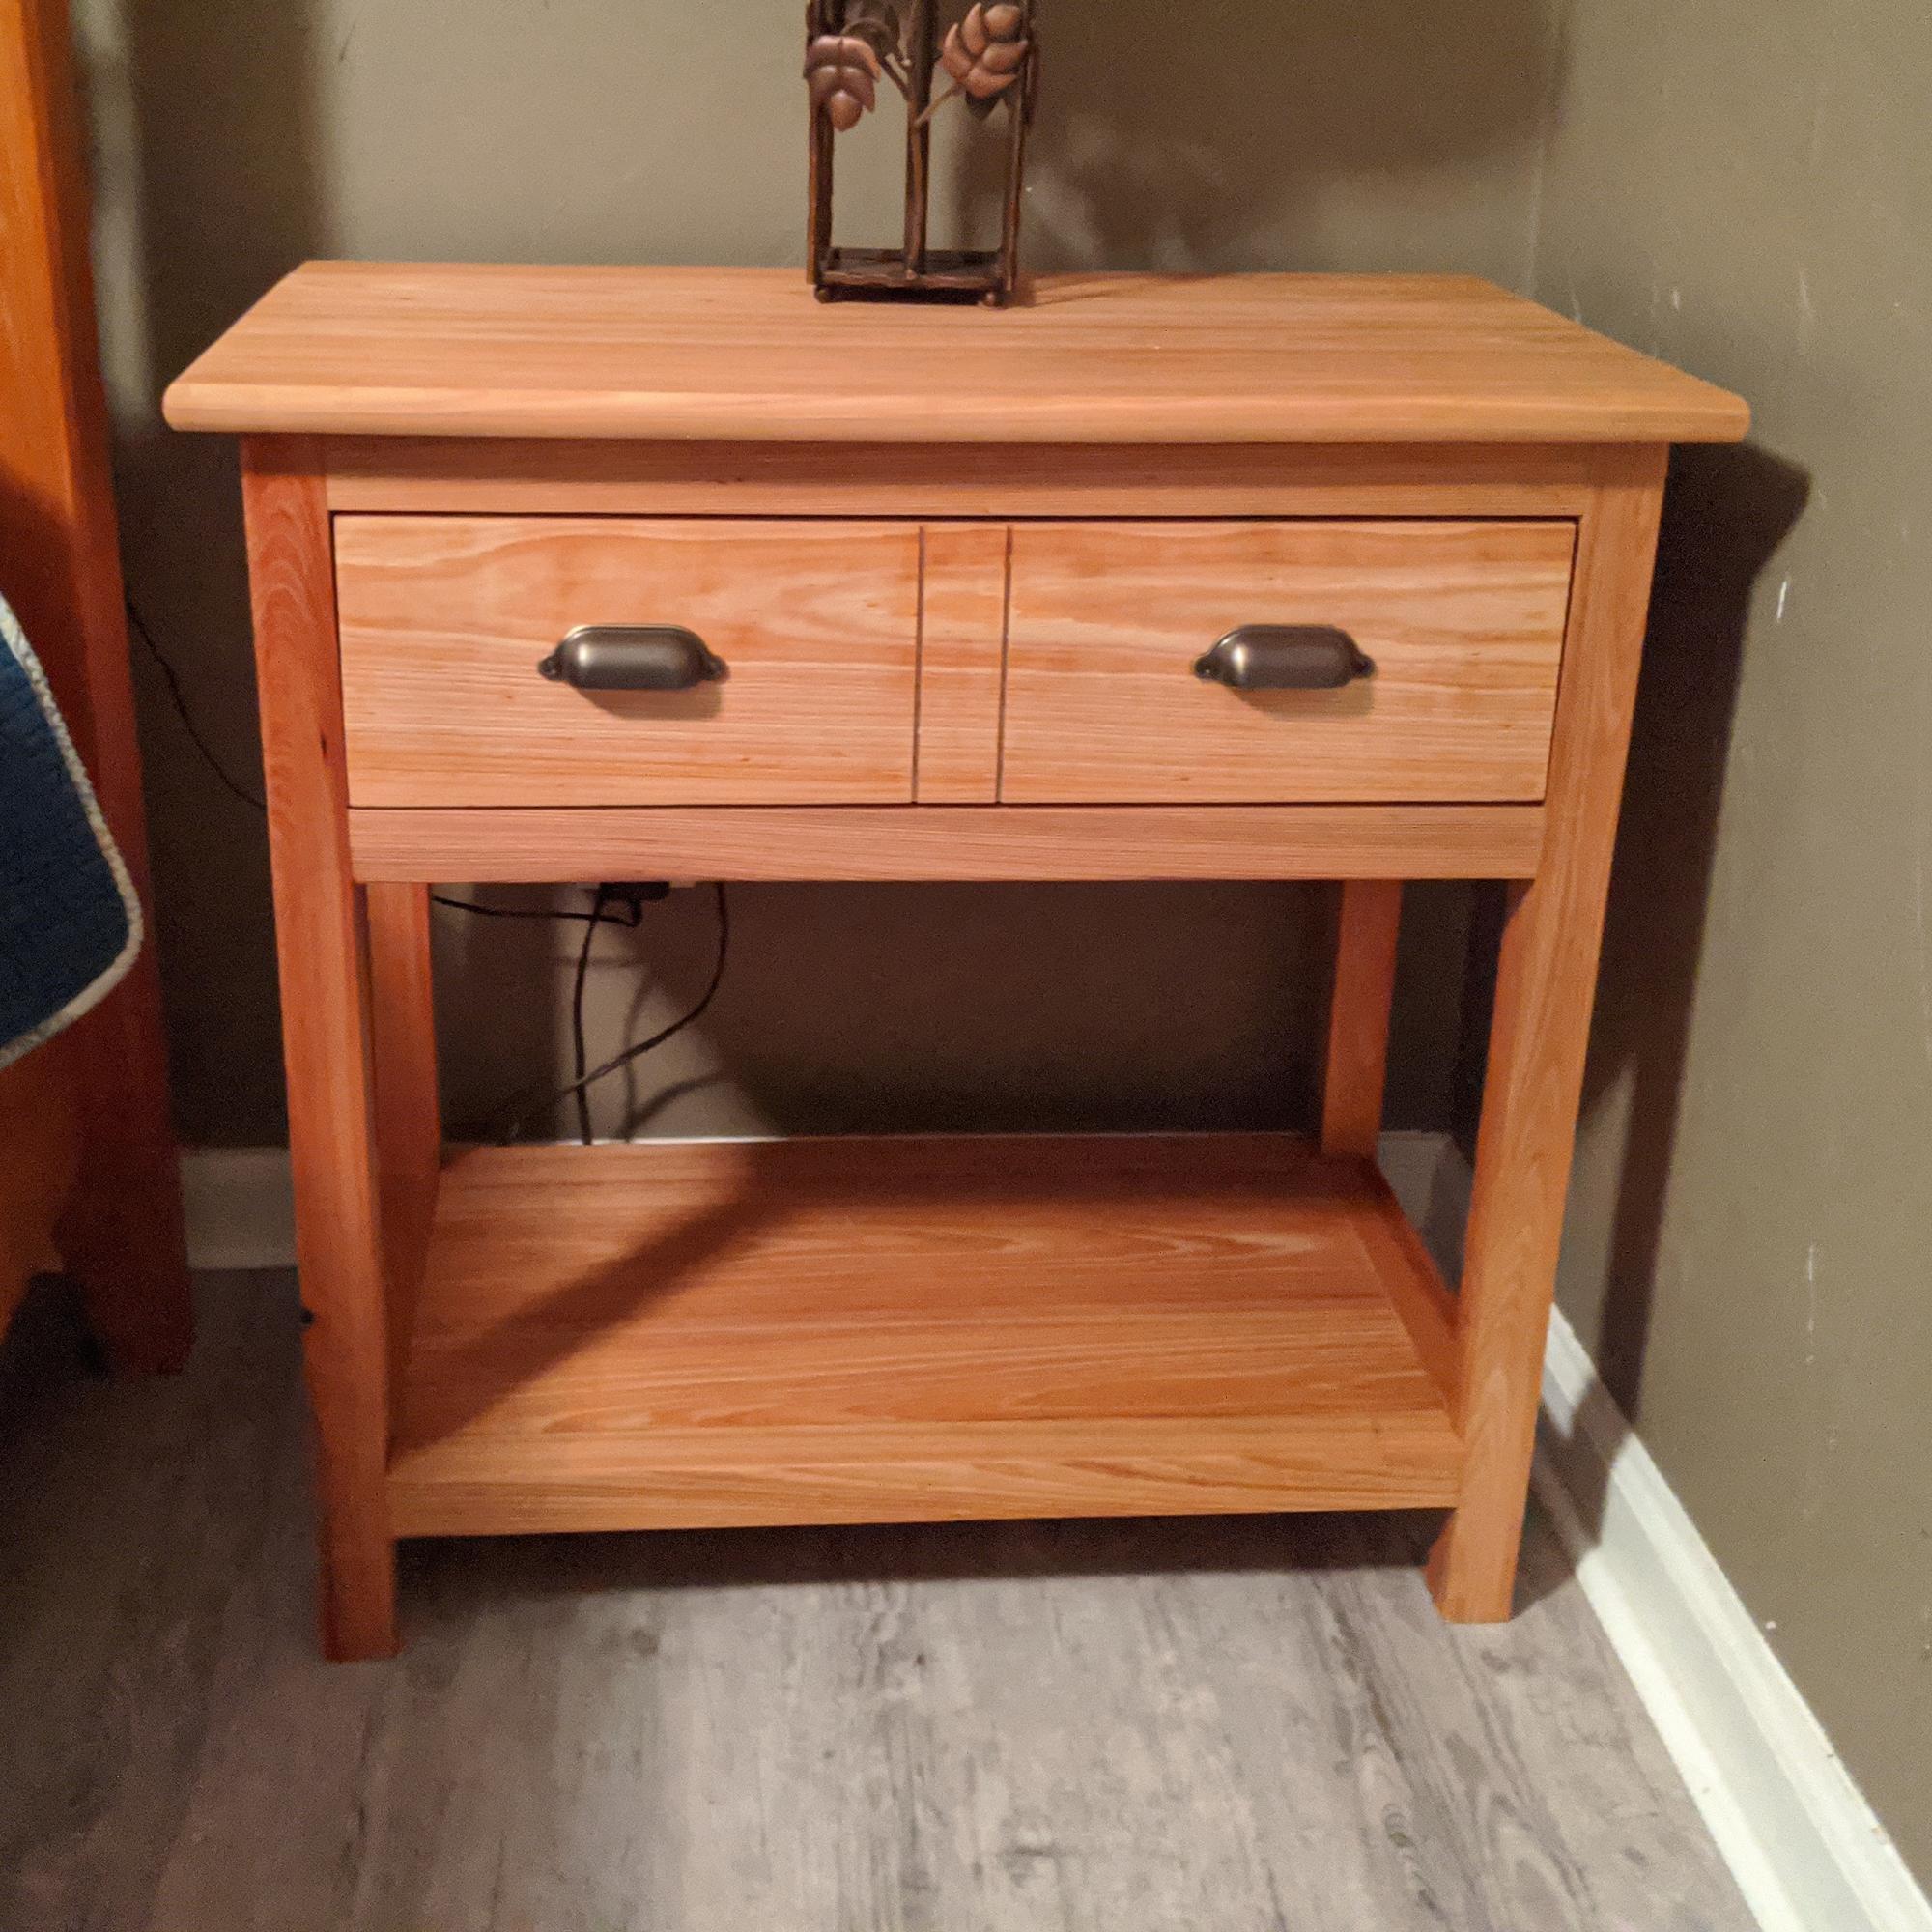
Farm House bedside table made of cypress. Bottom shelf inset.
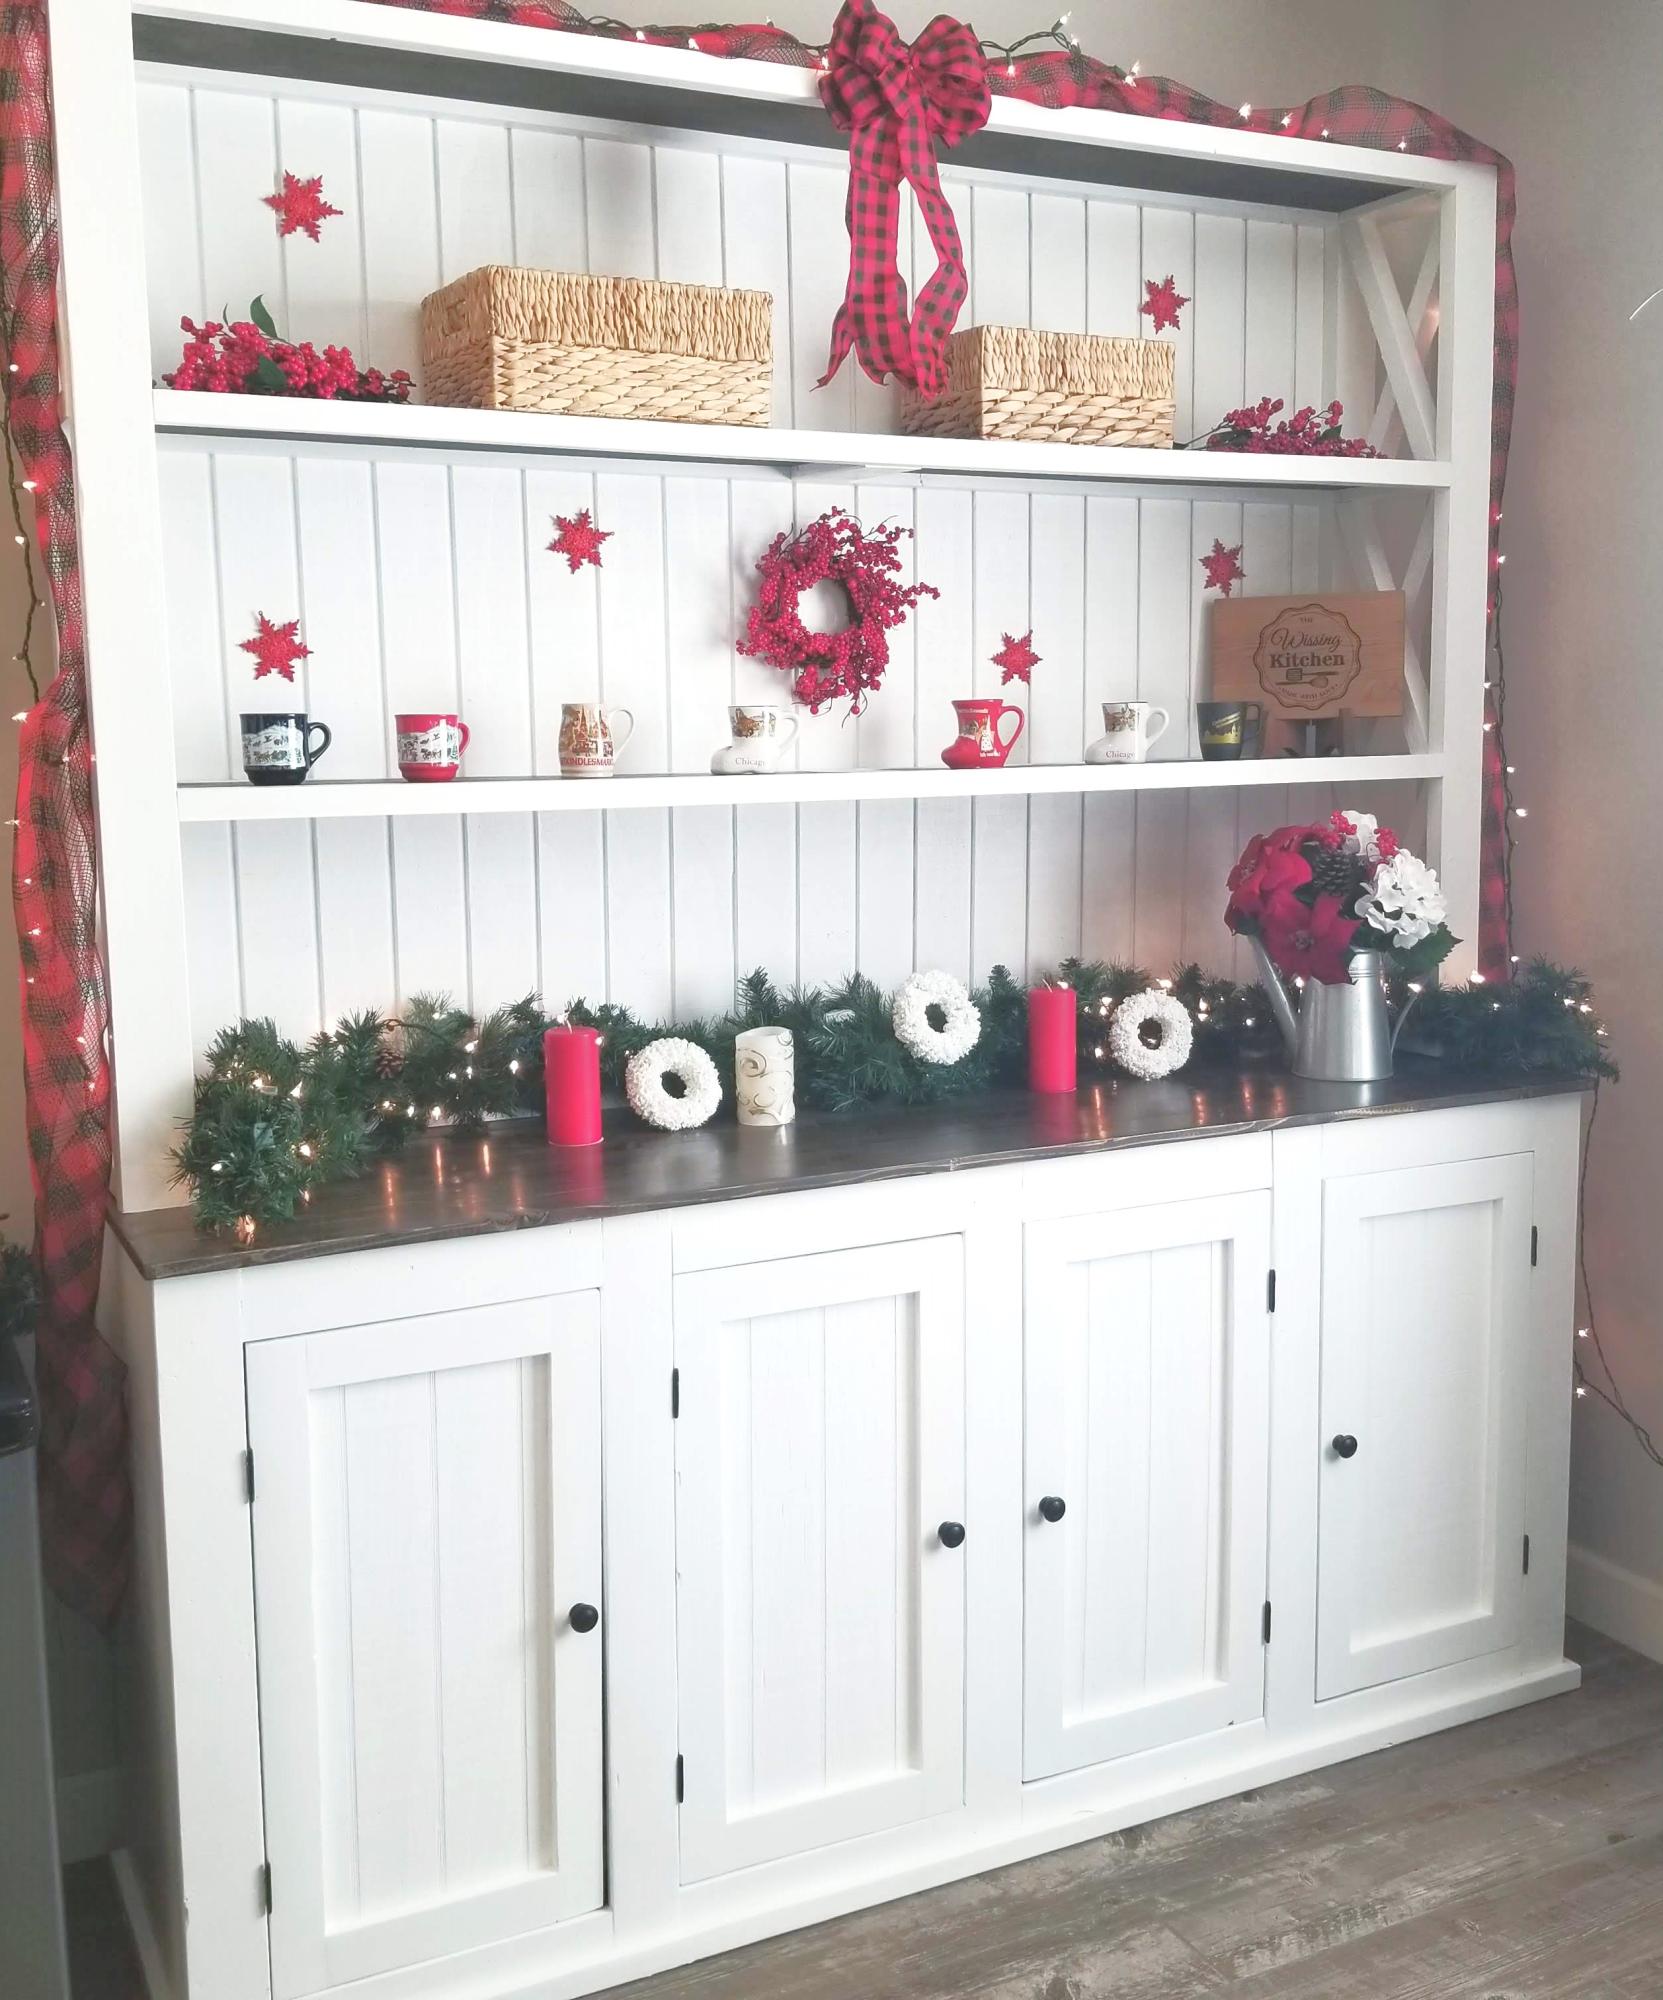
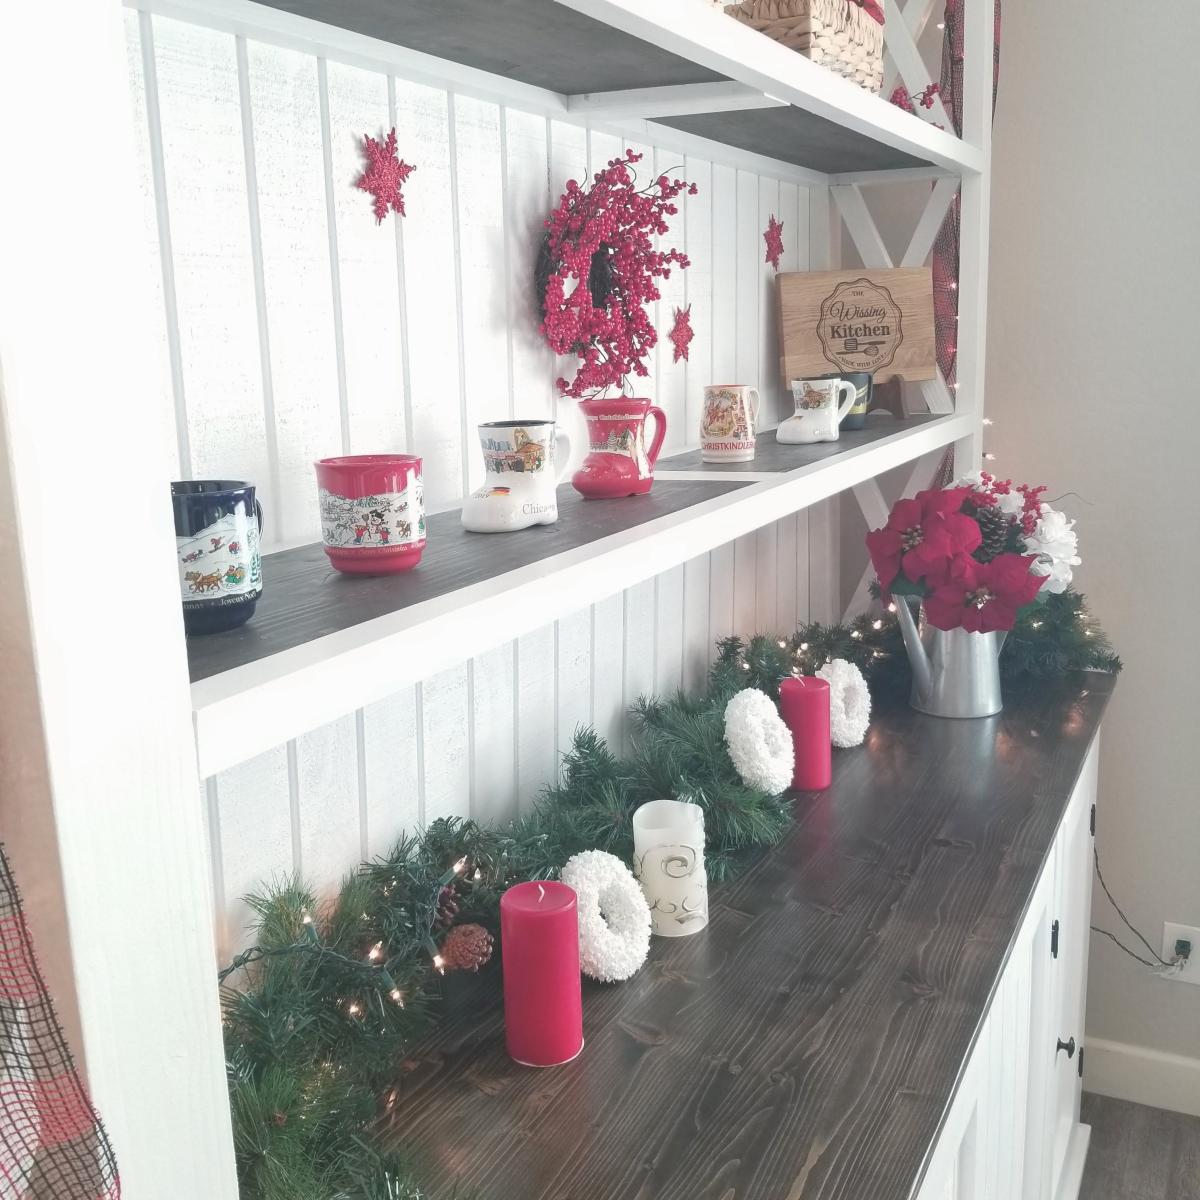
Sideboard and hutch project for my wife.
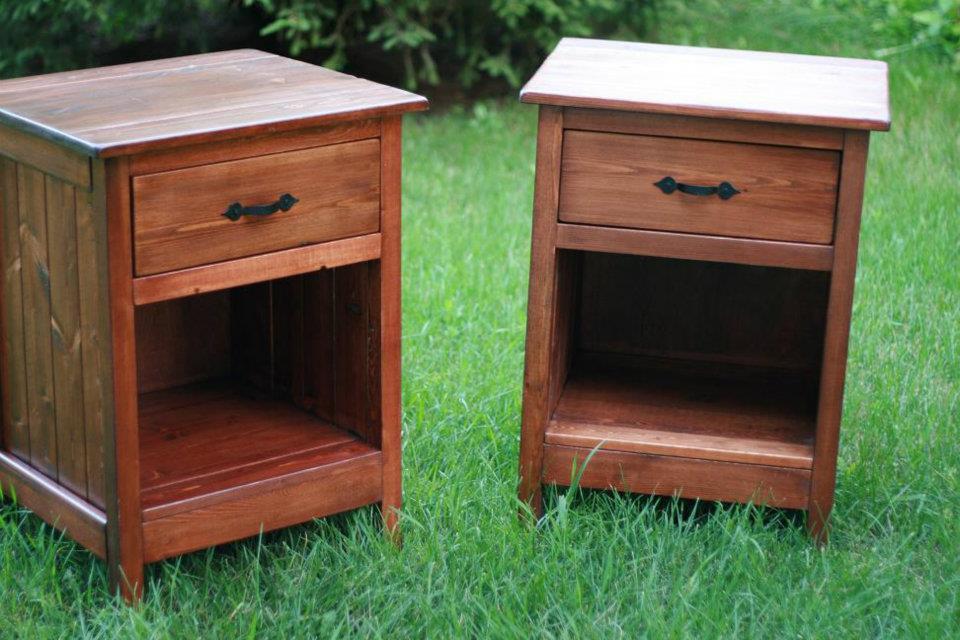
I used the plans for the Reclaimed Wood bedside tables but I didn't want to make all those drawers (being a beginner) so I settled on one. It took me fairly long to complete but really it should have been only a weekend project. I love the way they turned out.
Fri, 07/20/2012 - 20:16
I too fear drawers.
Your bedside tables have turned out beautifully!
I was inspired by Handymommy's set, using the arm chairs instead of the standard ones, so thanks to you!
The wood I had was all rough cut 1 x 6's so I had to adjust the plans a bit.
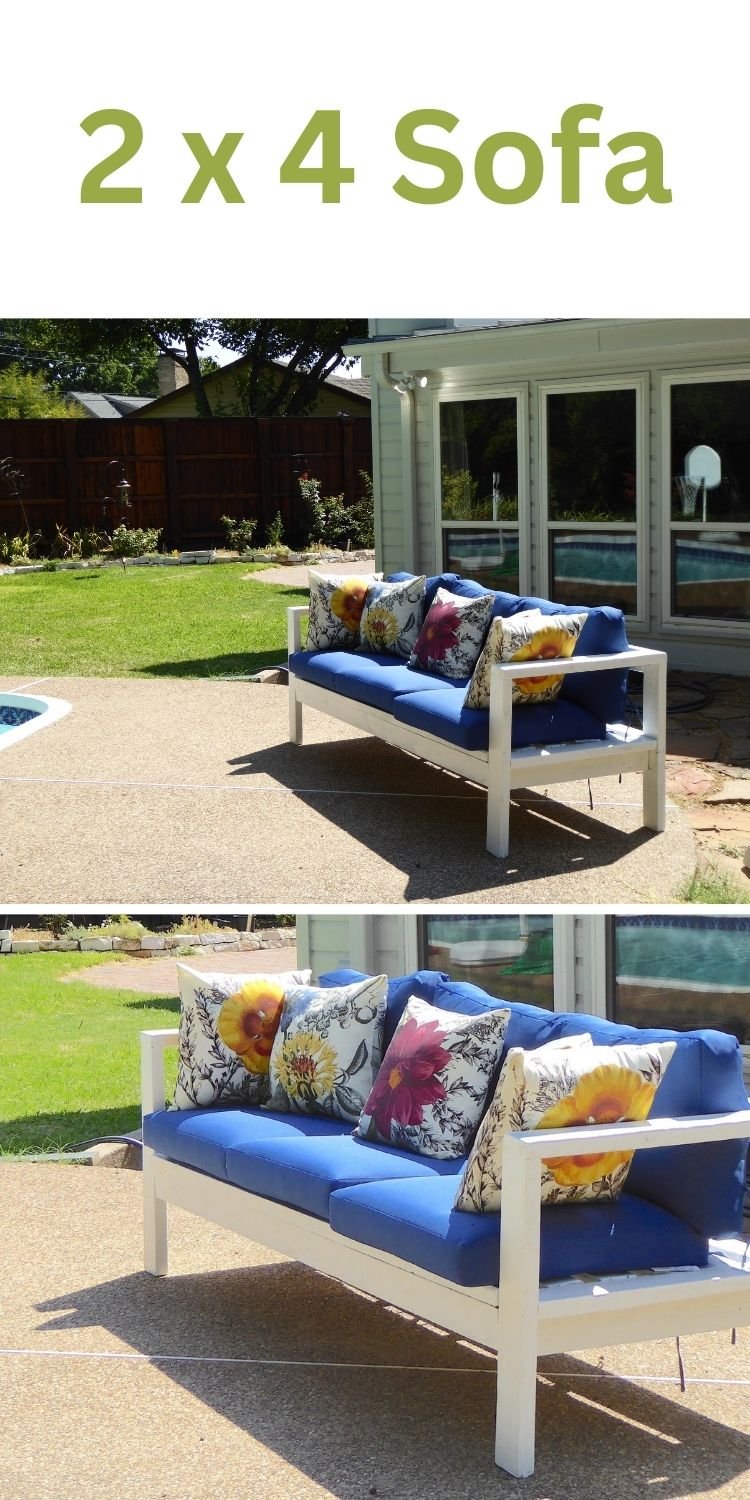
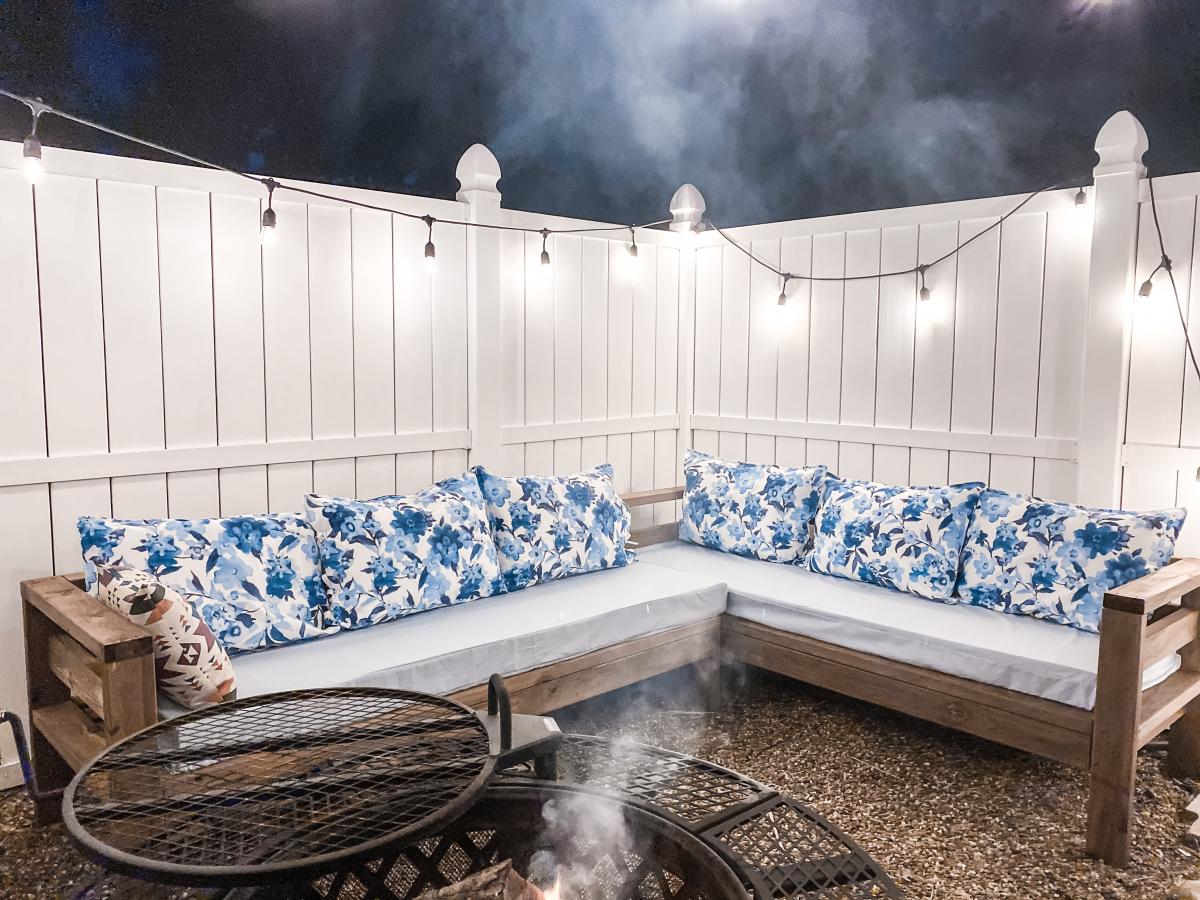
We have been looking for a deal on an outdoor sectional for a whole year. Nothing. The cheapest we could find was $899 for one that was much smaller than this one and with thinner cushions. So we upped and drove to the lumber yard and purchased the lumber on the list and got to building. The total cost of lumber was $200, the Spax screws we already had on hand. We used pocket holes for the joints. The wife made the cushions herself. She had most of the fabric on hand, we just had to buy 3 yards for the back cushions, which are made of standard size pillows. They have been sprayed with fabric protectant for outdoor use (I think she used the Scotch brand). The seat cushions are 5 inches thick (they are wrapped in silk film to protect them from getting soaked when it rains or when someone who just got out of the pool sits on them), around $100 for both. It took her a couple of days to sew the box cushion covers.
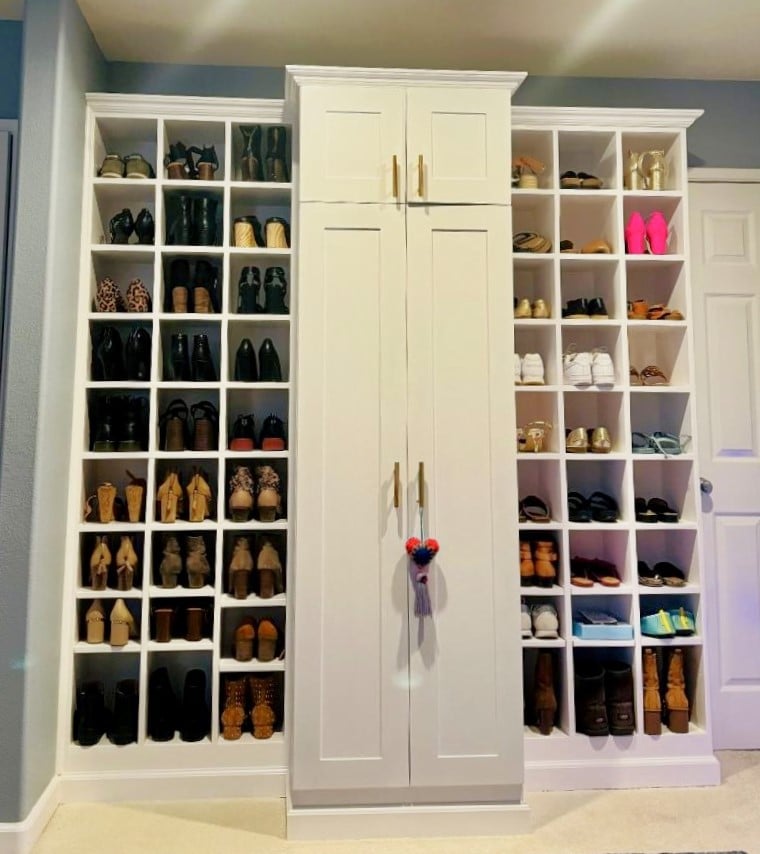
I made 2 shoe shrines then decided to add a cabinet between them for long dresses . Was going to put cabinet doors on the shoe shrines but decided it looked good displaying her shoes. I followed the shoe shrine plans from Ana's web site I found the plans easy to follow although once I was finished I realized it would have been much easy to make the outside frames first and then square them rather then build the insides and then put the outsides on last. It's challenging to keep them square when following the plans . The whole project was allot more work then I anticipated I used my sprayer to paint it I filled all the pocket holes and used wood filler to make the cubbies all one seamless look. Then added crown molding to the top. The doors are the faker shaker doors . I have made real shaker doors on other projects I cant tell the difference between the fakers and the real shakers . Happy with how it came out.
Mark DePonzi
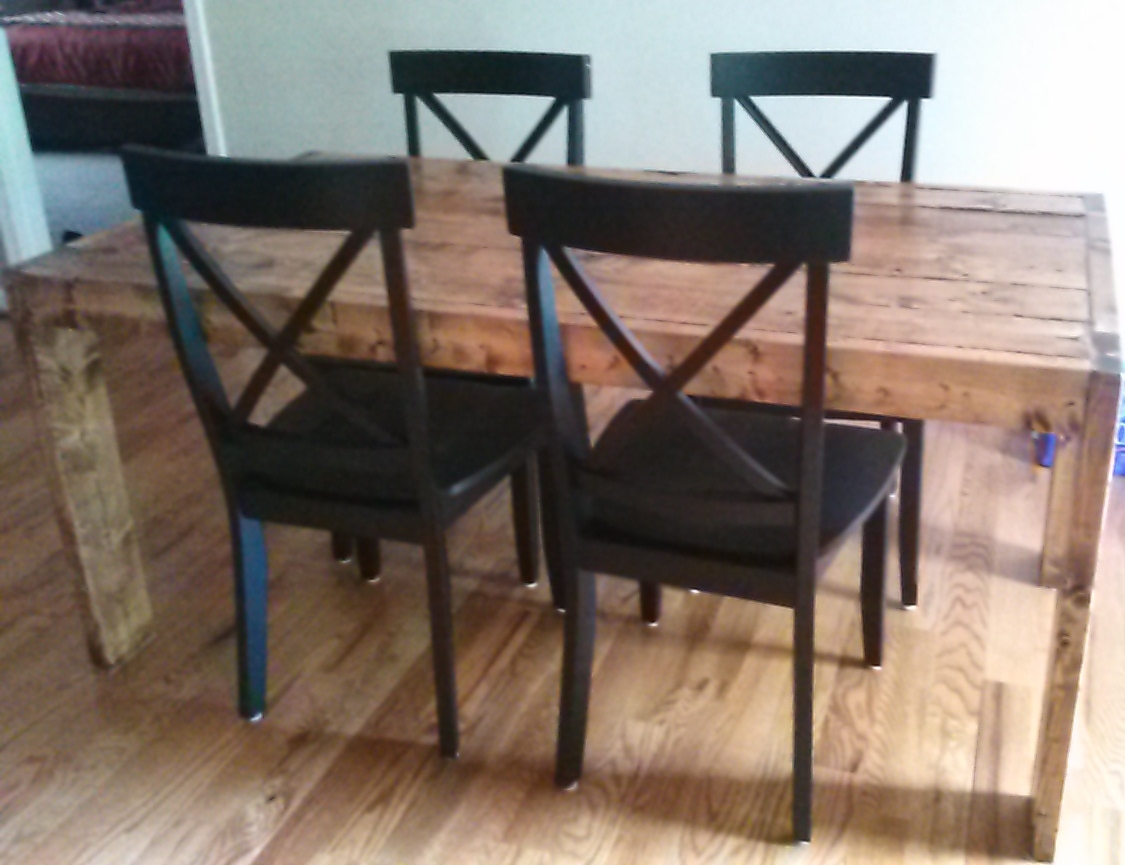
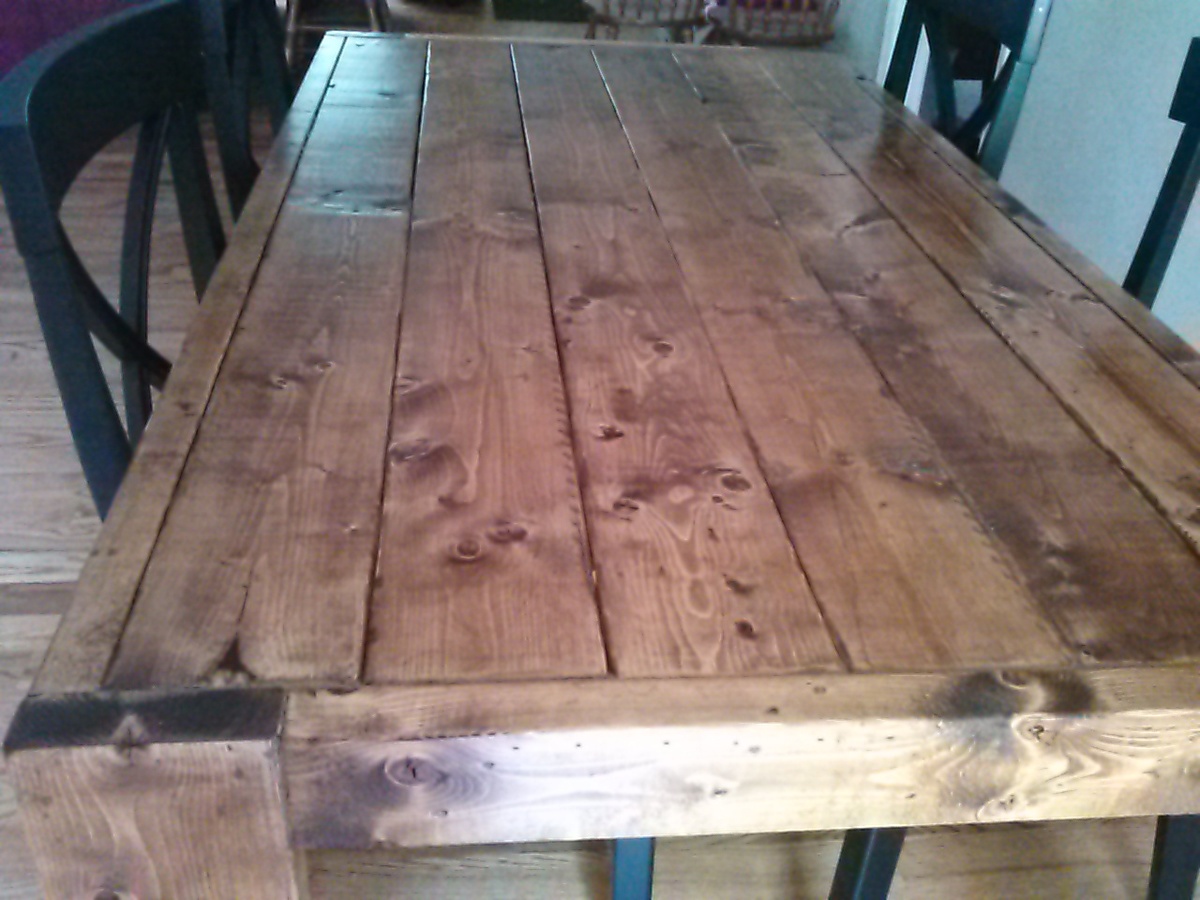
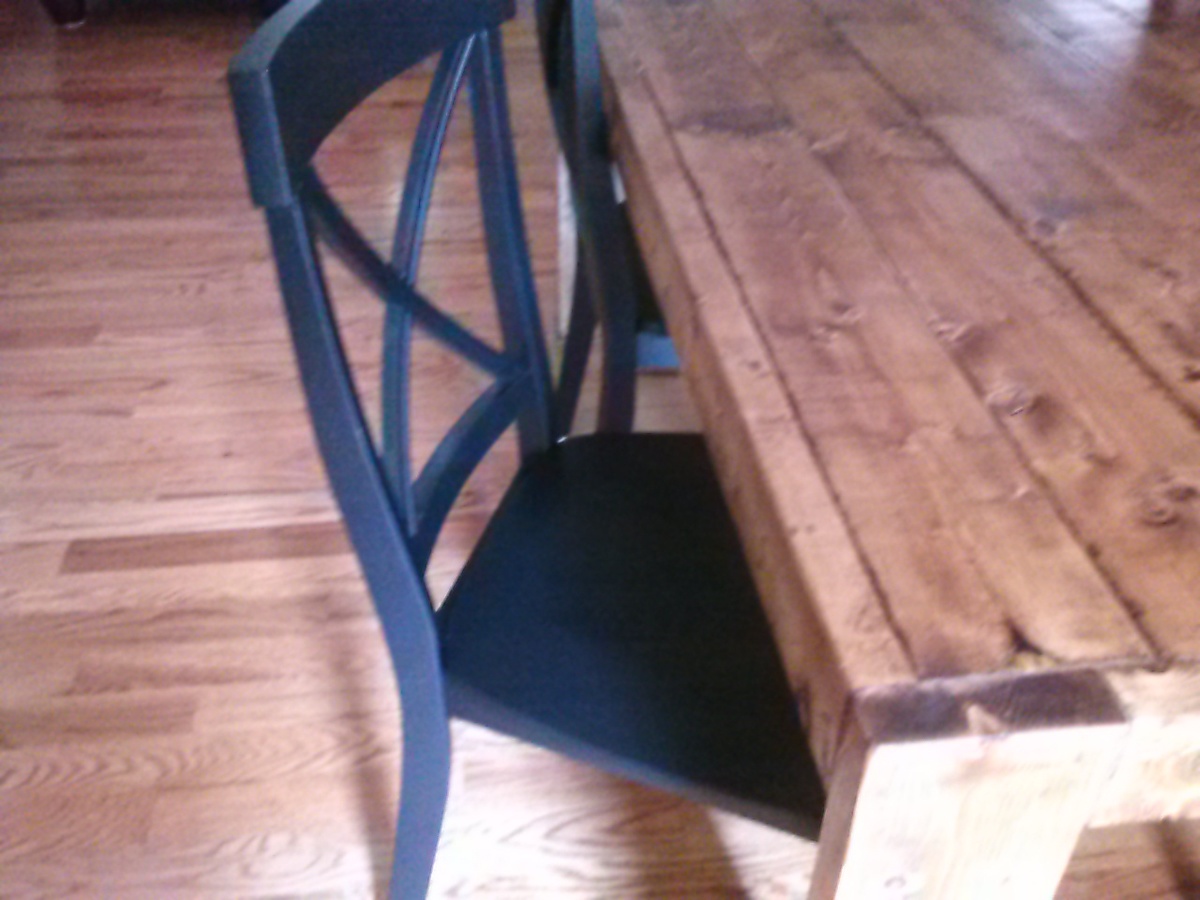
This was my first woodworking project. Thank you Ana for providing the plan and making it easier for me.
Thu, 05/15/2014 - 07:43
This was a fairly simple plan and I'm thrilled about how the table looks.
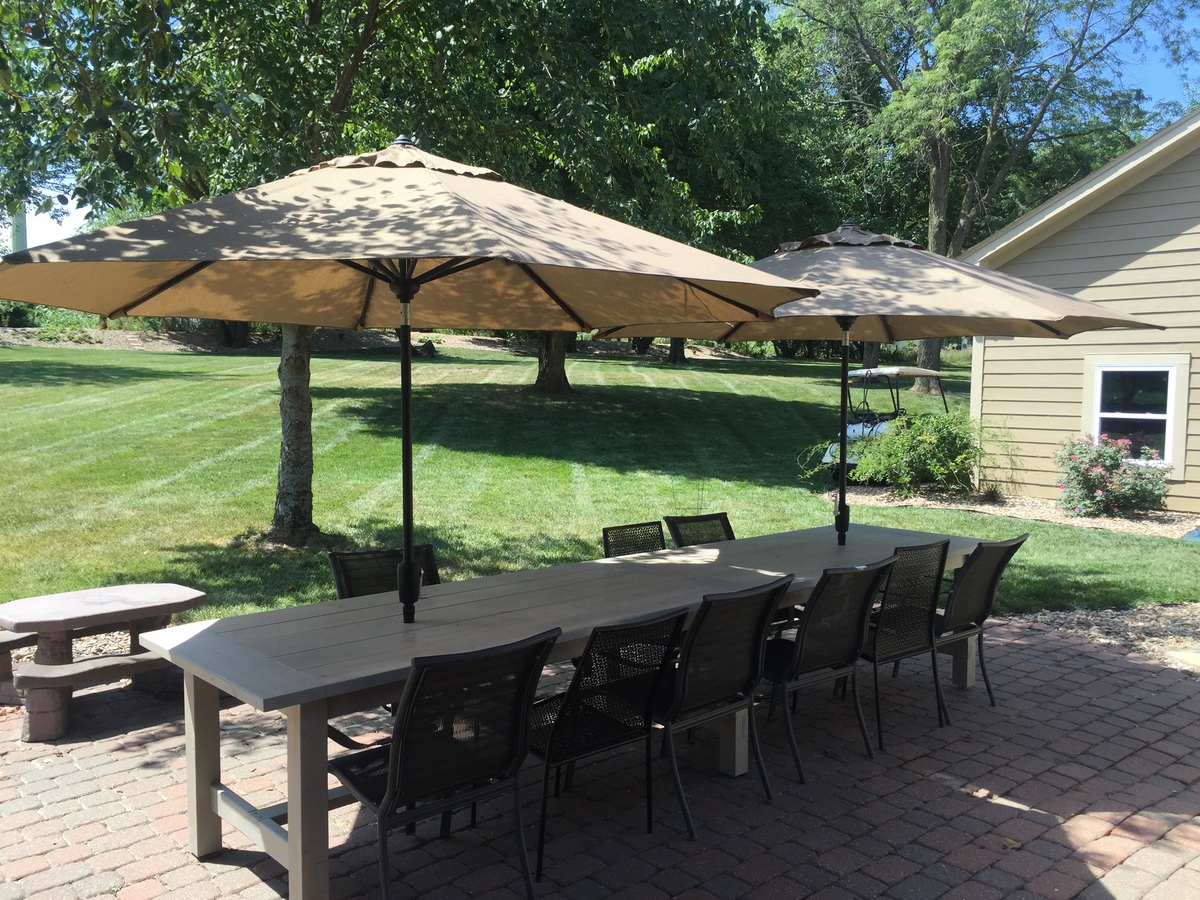
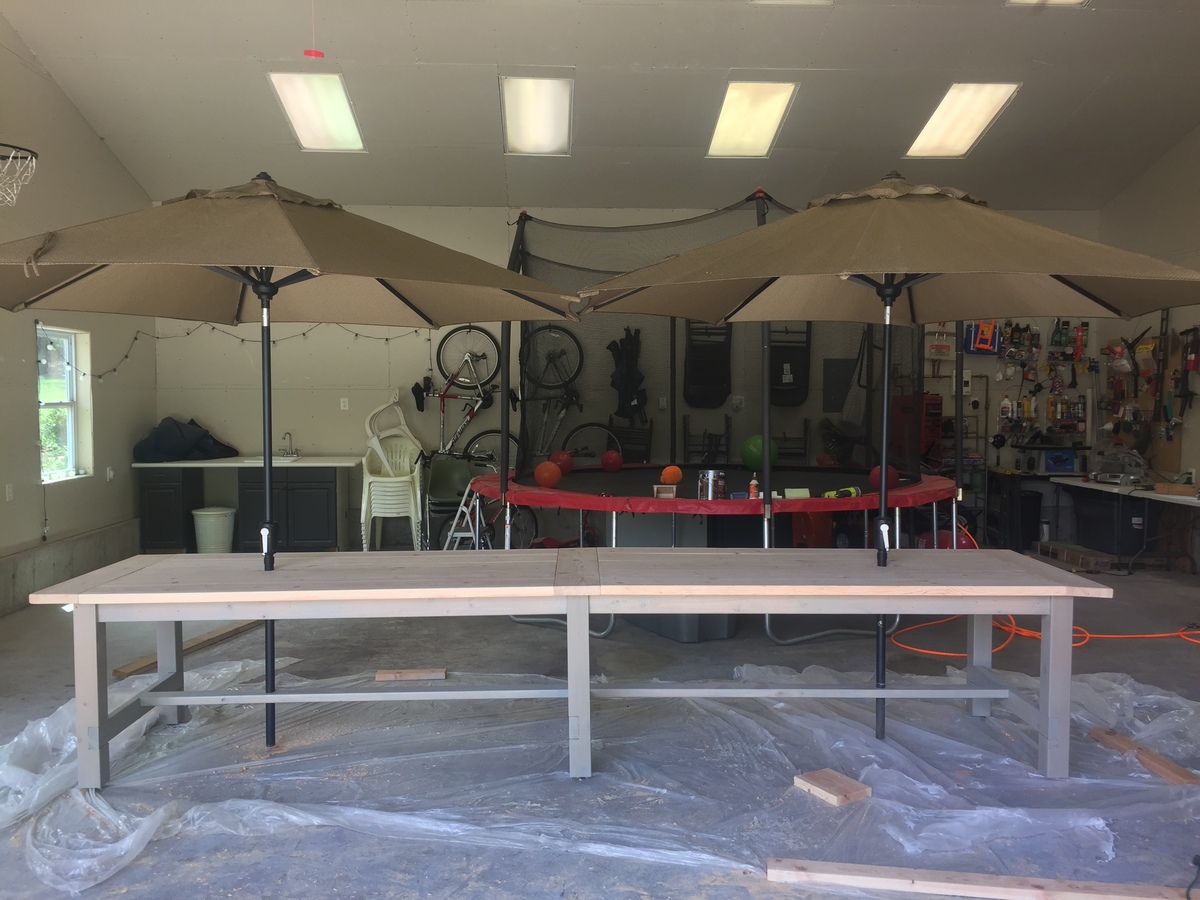
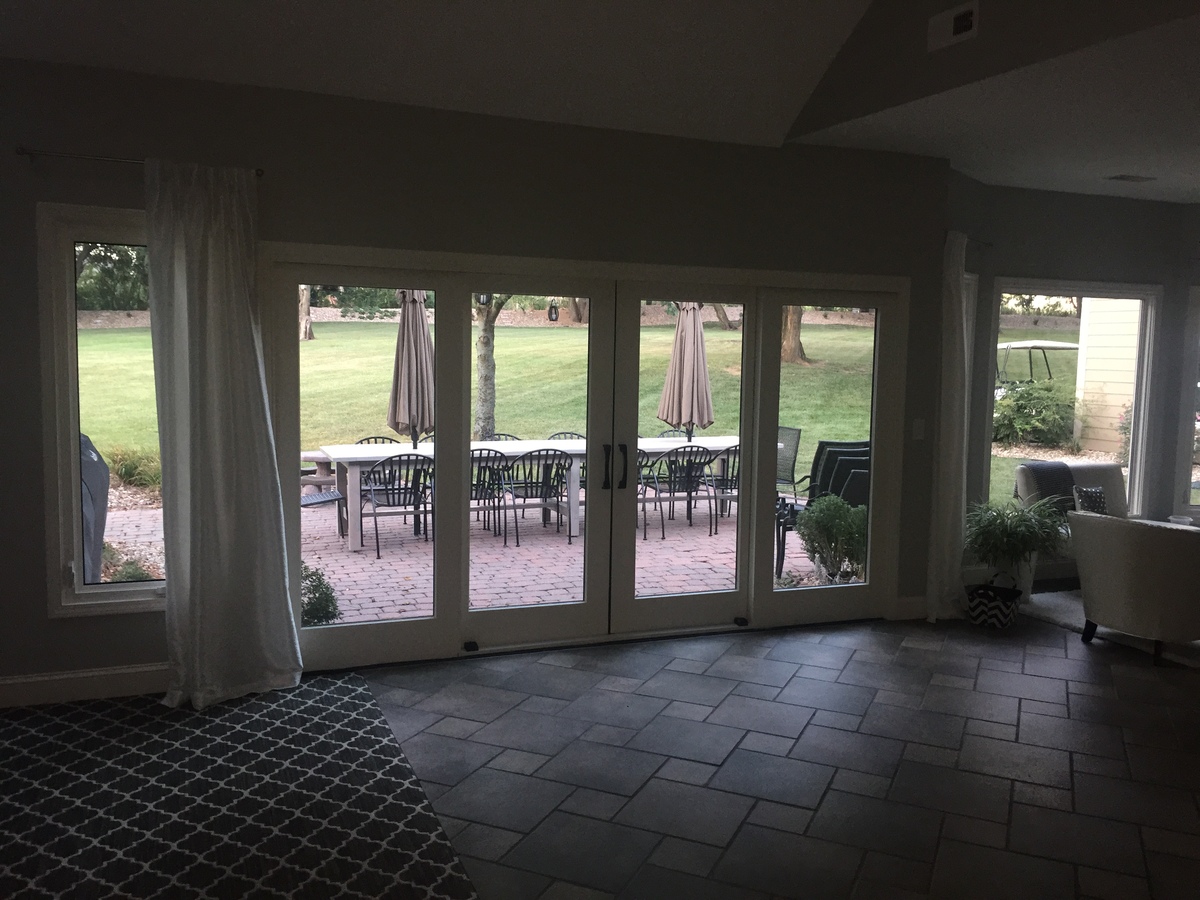
My wife wanted to seat 14, so I basically doubled the plan with a few extra inches on each side. We also wanted umbrellas, so drilled holes where they would just meet. The stain is the Behr semi-transparent deck stain and sealer in Harbor grey.
