Community Brag Posts

Corner bench with drawers
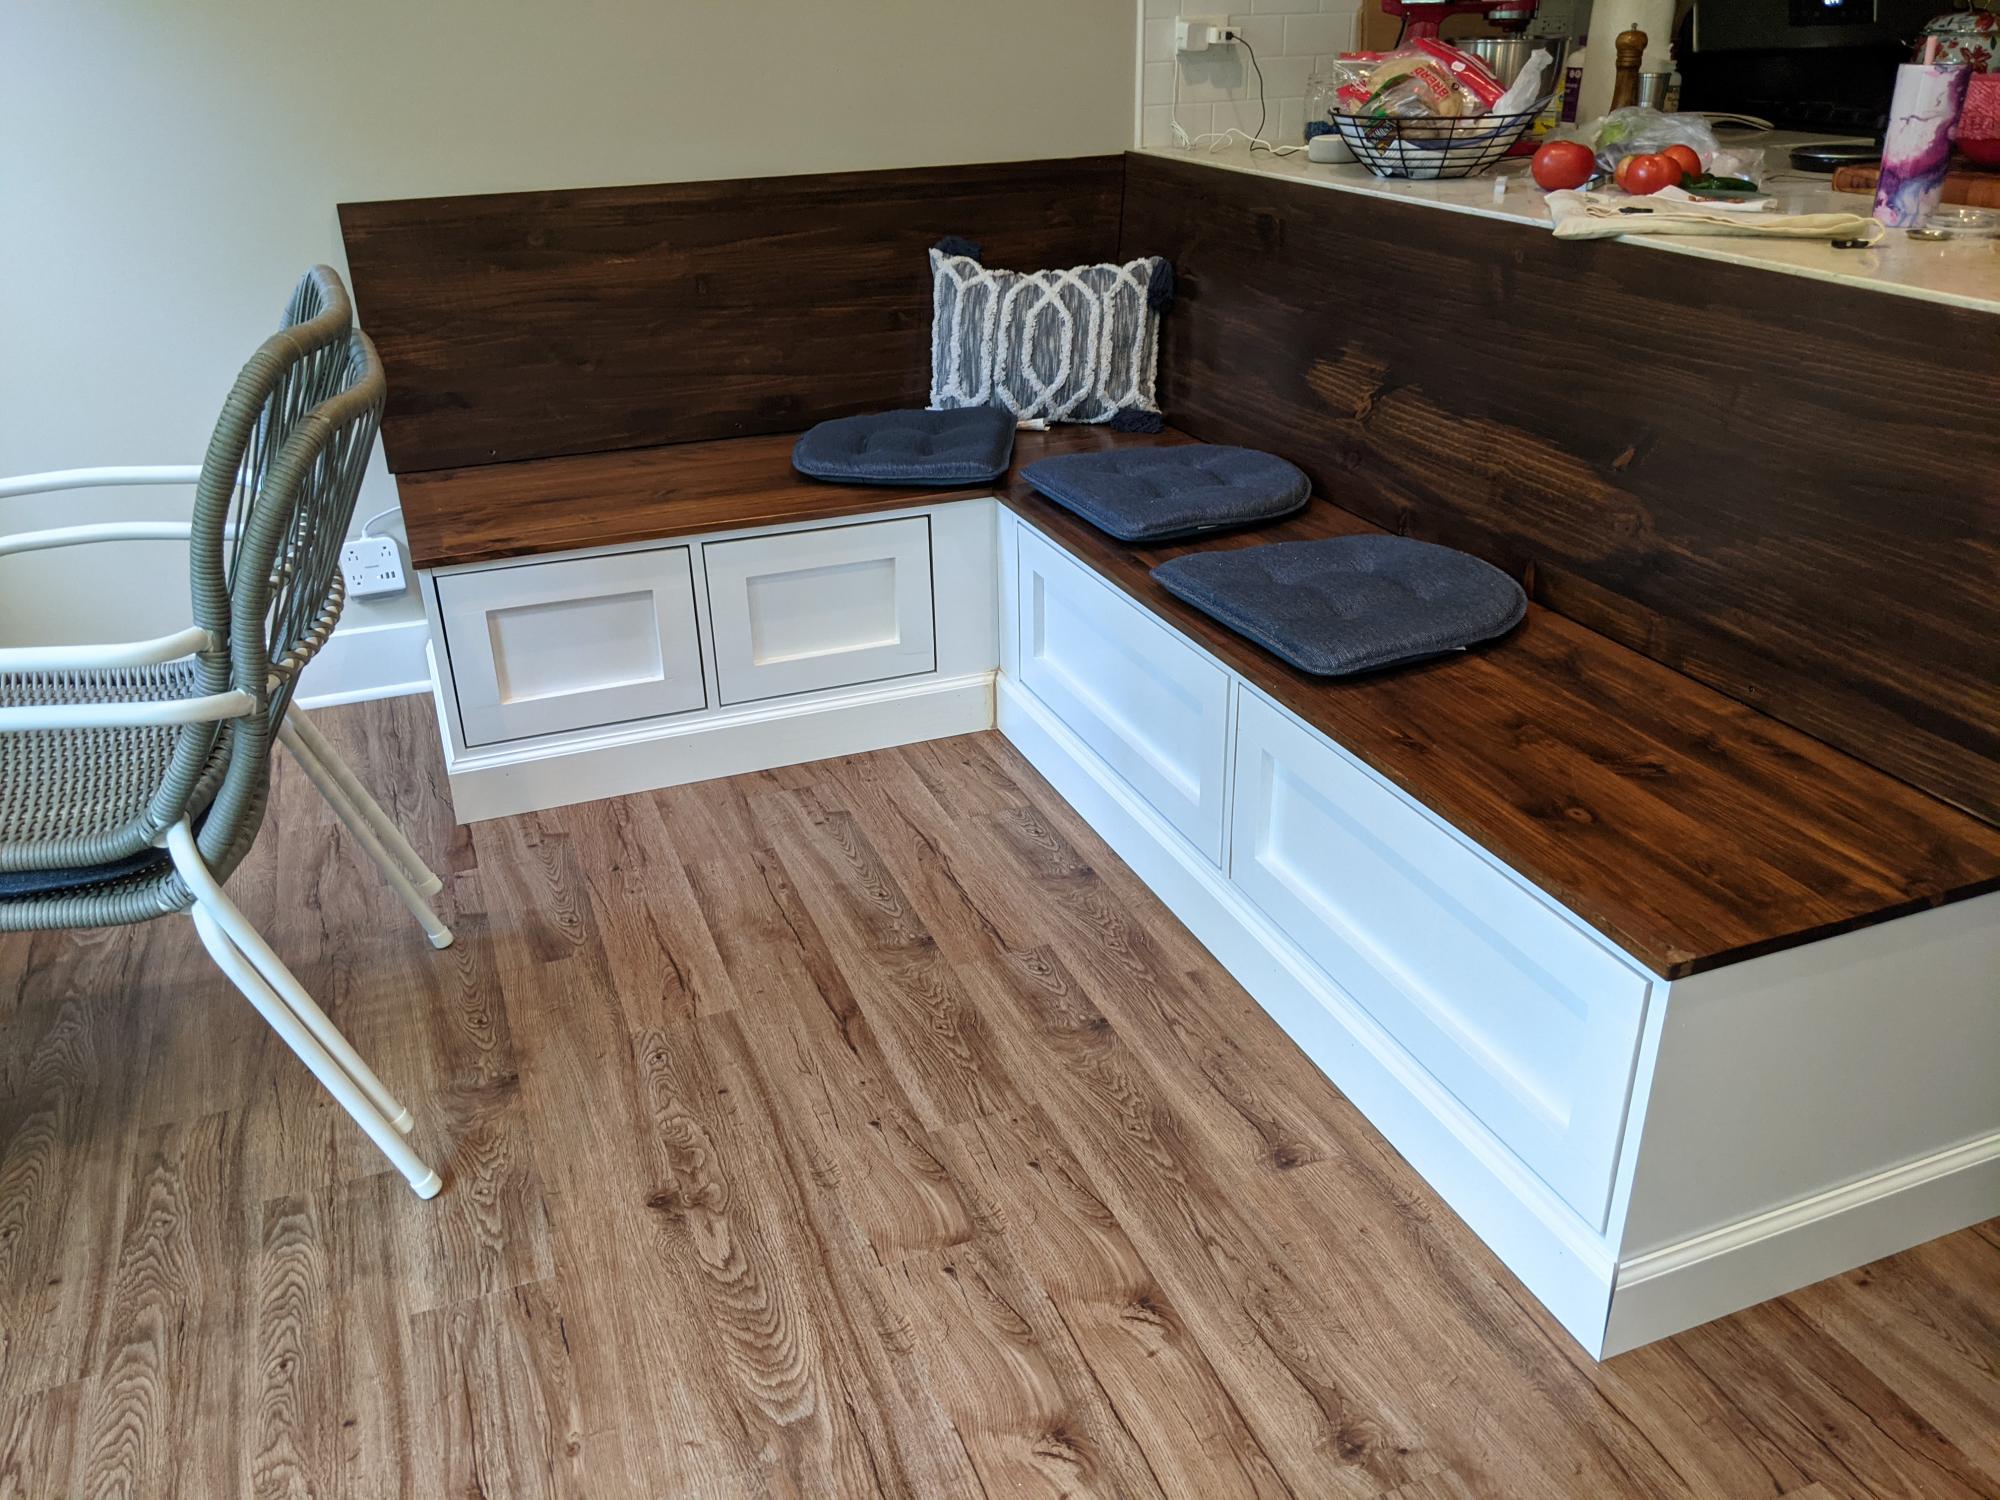
Submitted by Anonymous (not verified) on Mon, 10/04/2021 - 12:15

I built the above corner bench based off of the frameless drawer bench plans (they are on the shelf help site) which are very similar to the essential entryway bench plans, but the drawers are included. The long bench is 60", the shorter side 42".
For the carcass i did use the shelf help pre cut plywood.
When I started the project beginning of 2021, there was no tutorial for the corner part yet, so I was very glad to see I did the right way when the corner 'add on' came out, also found on the shelf help site).
The shaker fronts were shown in the barn door console plans, so I adopted that.
I get loads of compliments and obviously even more when people hear I built it myself.
The hardest part about this project were the drawer slides and getting them to line up and work as expected. The I broke the soft close on one of the big drawers during final assembly and still didn't bring myself to exchange the slide to a working one... 😊
But overall I'm really proud of it!
Comments

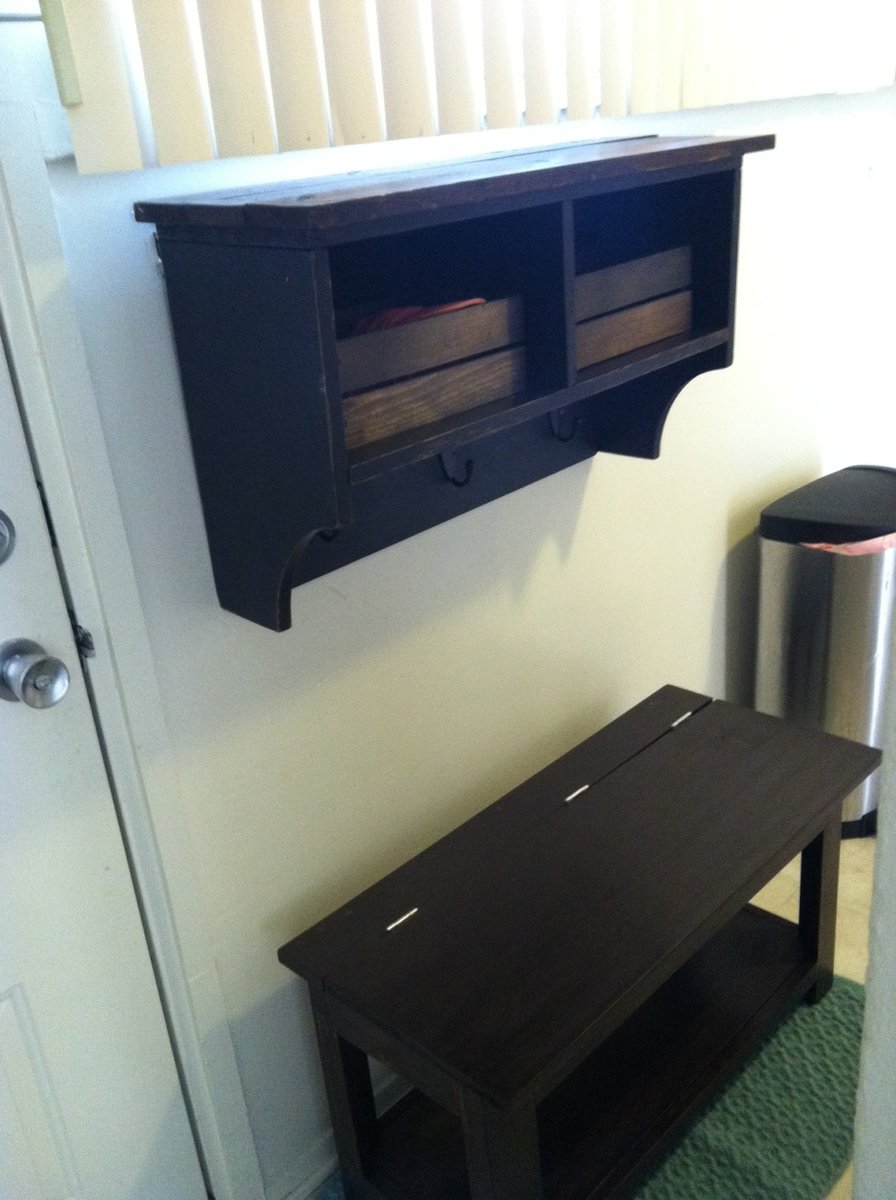
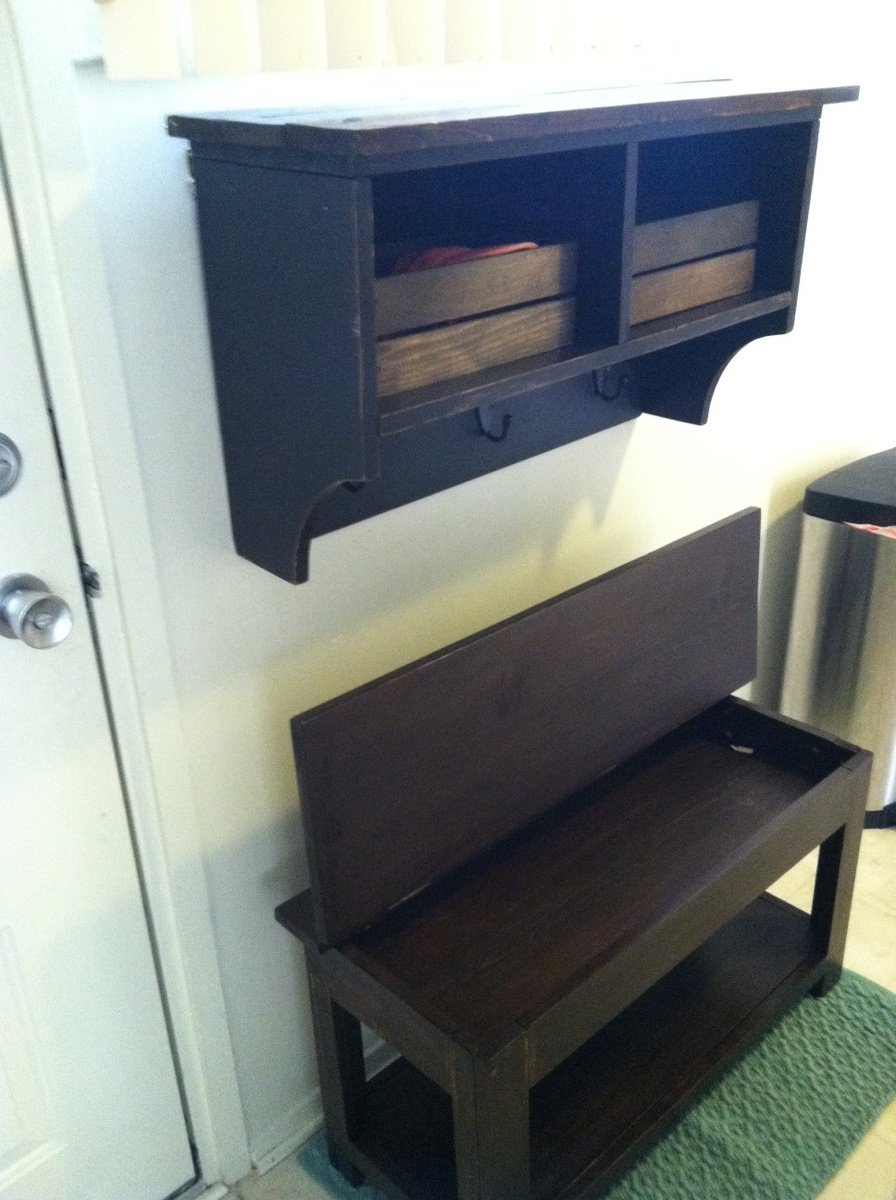
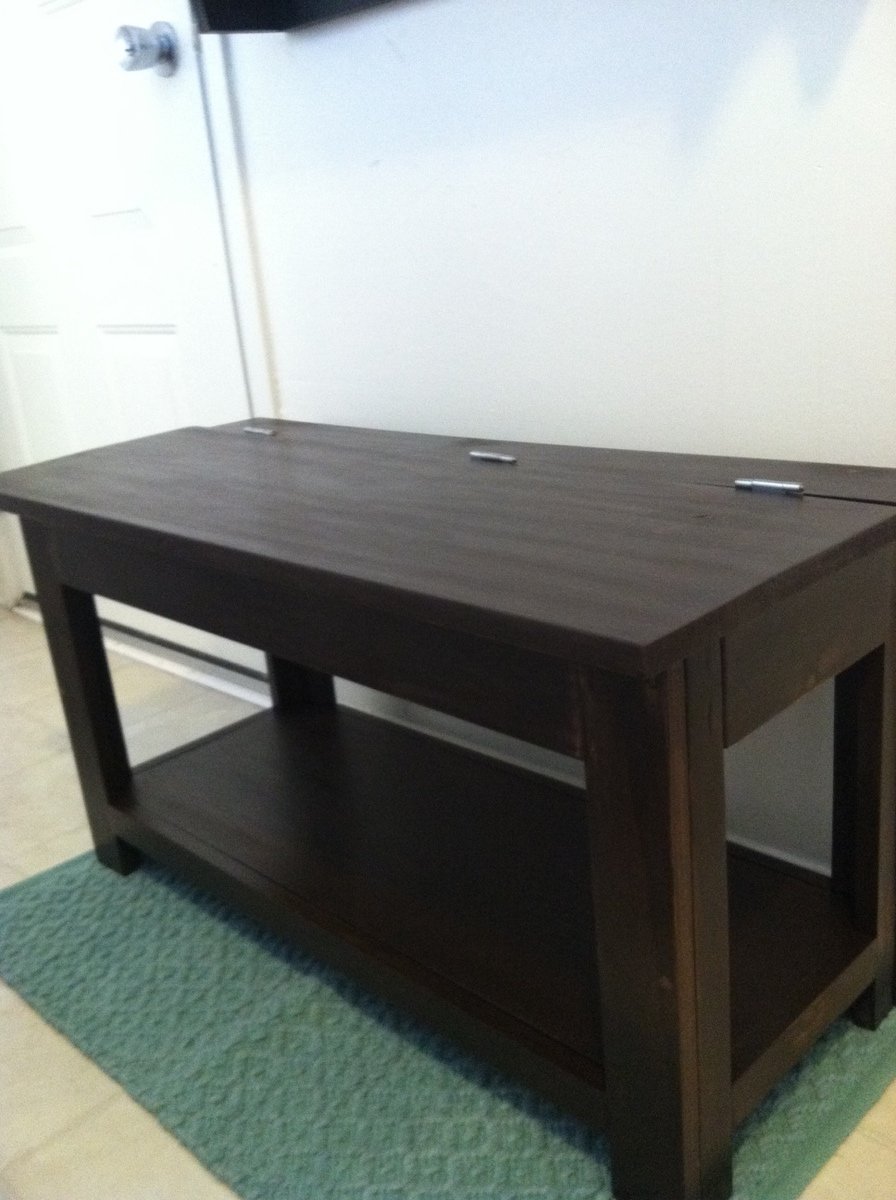
Flip Top Storage Bench

Submitted by DMax2010 on Tue, 05/07/2013 - 05:56

I made the entryway cubby from the book and finally couldn't stand the pile of shoes (3 year old) in the front entryway any longer! So I made the bench and my son is thrilled that he can open and close it and put things in it. I have a few touch-ups to do yet from the pocketholes and countersink holes, but I love it! It was really easy to do. I did modify the plans to fit my entryway, so it's about 36 inches long.

I love it!

Estimated Cost
40.00
Estimated Time Investment
Weekend Project (10-20 Hours)
Finish Used
Minwax Pre-Stain Wood Conditioner (1 coat)
Rustoleum Dark Walnut Stain (3 coats)
Rustoleum Soft-touch matte polyurethane (2 coats)

I sanded in between coats of finish and in between polyurethane coats
Recommended Skill Level
Beginner

Sideboard by KC

Submitted by Anonymous (not verified) on Wed, 06/28/2017 - 14:20

This took me about a month to build.  Ana's plans were great.  Installing drawers was the toughest part. 

Built from Plan(s)
Estimated Cost
$300
Estimated Time Investment
Week Long Project (20 Hours or More)
Recommended Skill Level
Intermediate

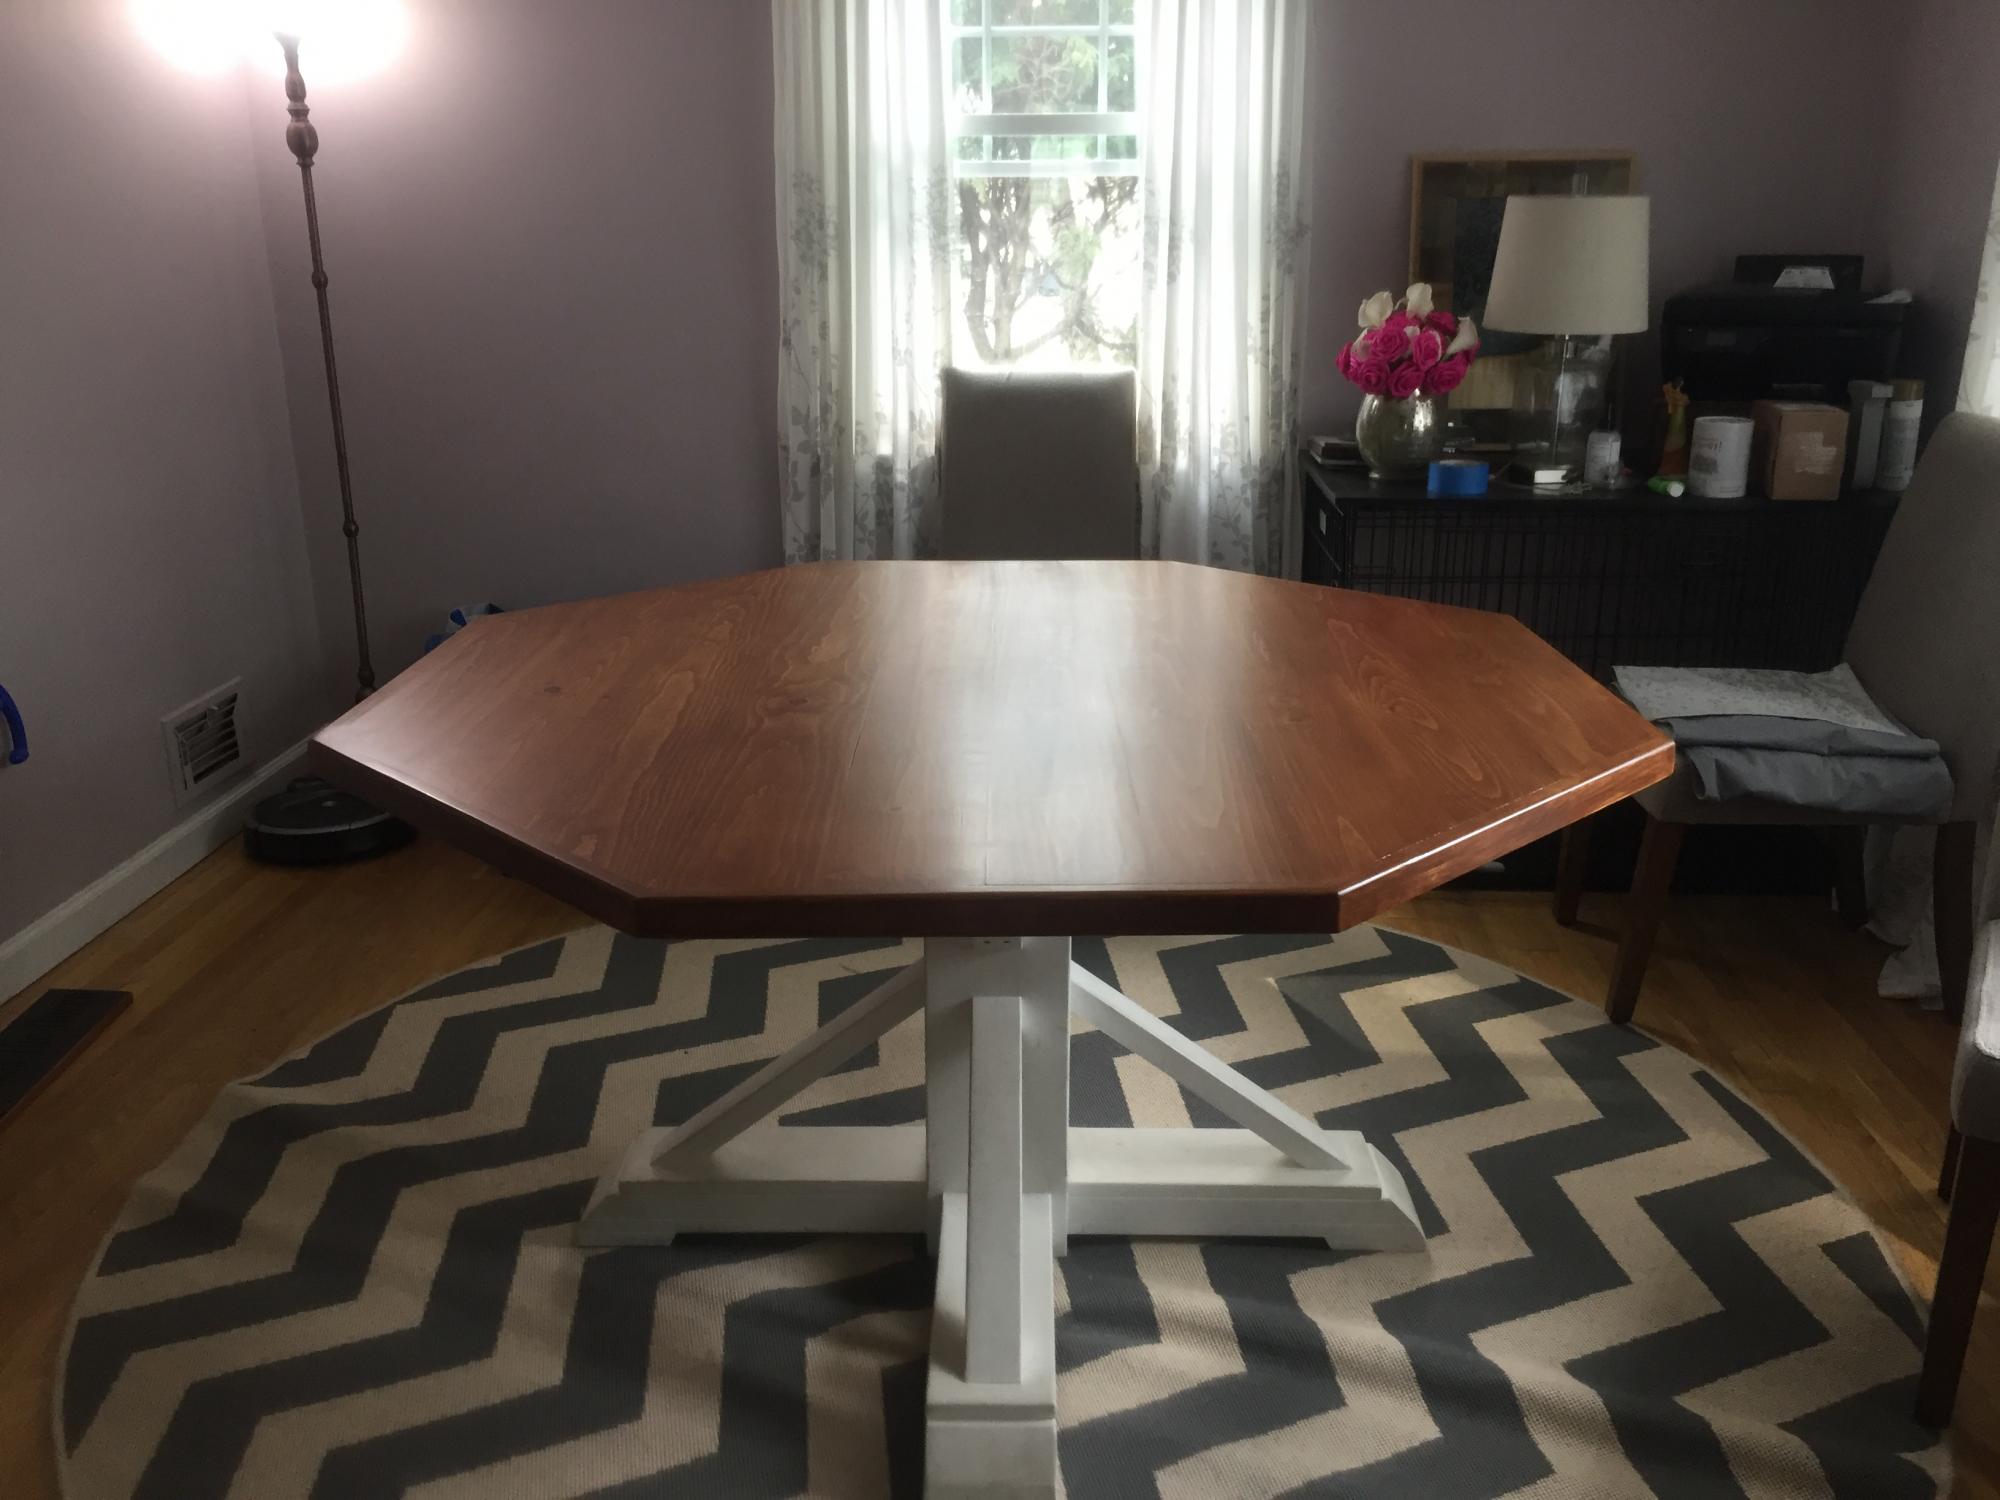
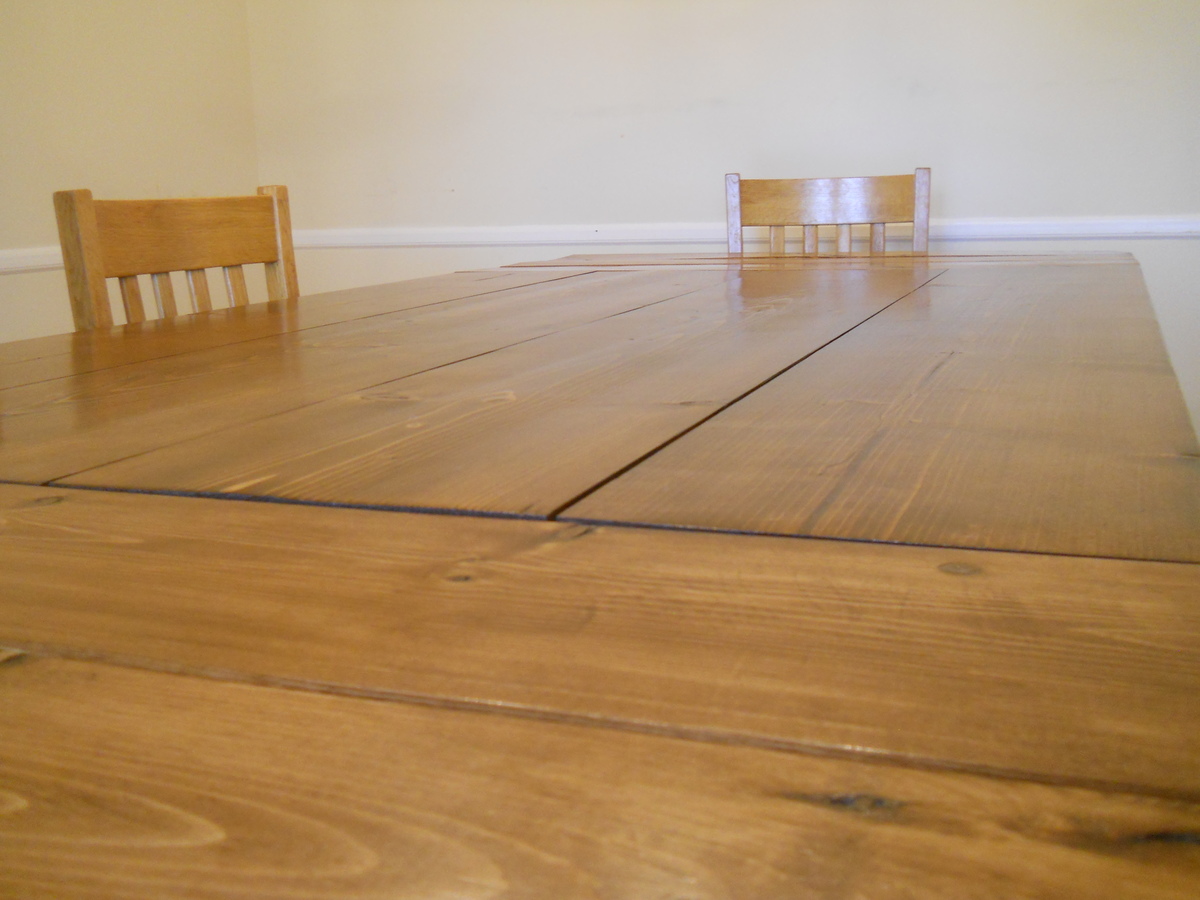
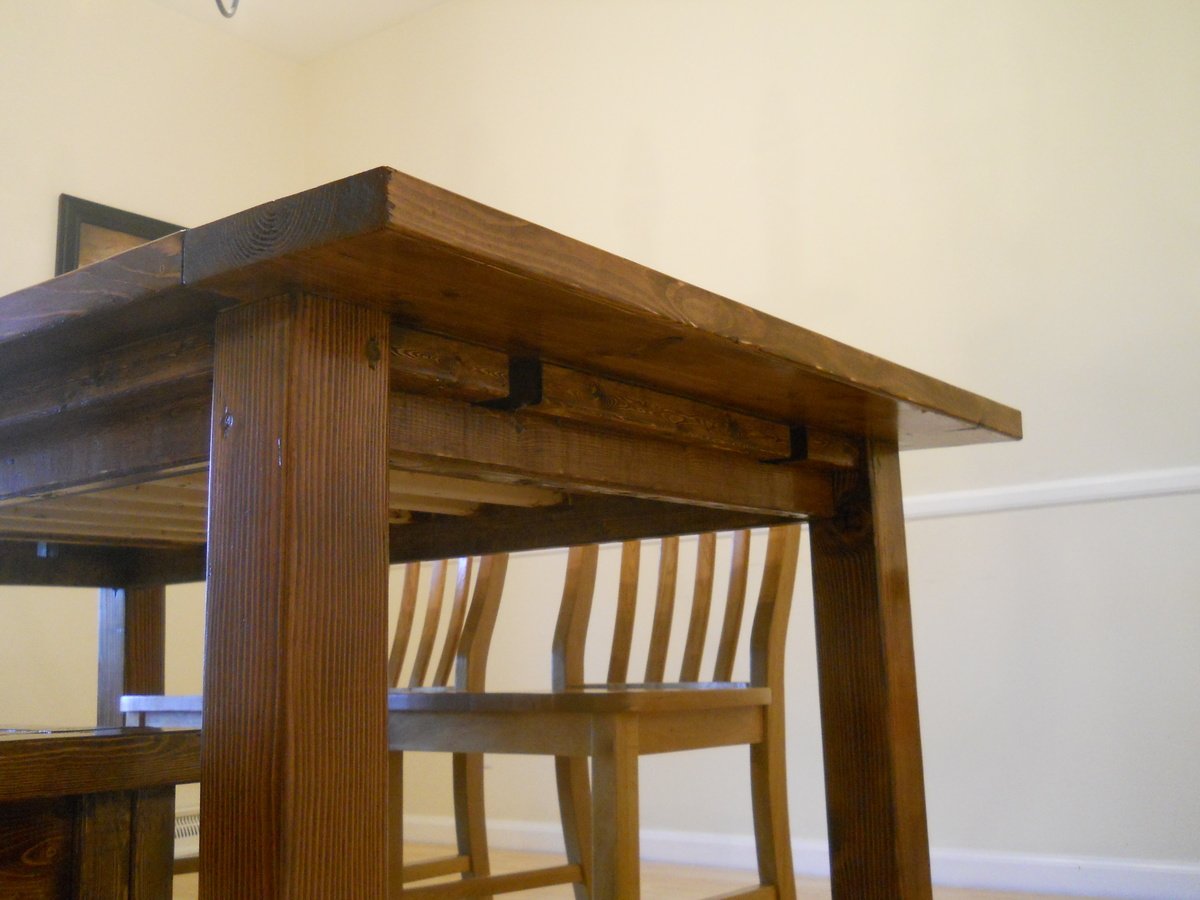
Dining room table

Submitted by Anonymous (not verified) on Mon, 10/04/2021 - 12:55

I built it. My wife stained and polyester it.

Comments

Cedar Planter - Mother's Day Gift

Submitted by MMTruncale on Thu, 05/09/2013 - 08:09

We made this for my husband's Granny who has a bright green thumb, campared to my slightly black one. It turned out great.

This is also the project I learned how to use a Kreg Jig. Amazing. My husband is hooked.

Built from Plan(s)
Estimated Cost
$25
Estimated Time Investment
Afternoon Project (3-6 Hours)
Finish Used
We used what was left of our SPRAY stain. I think it turned out well. Still has a bit of that cedar to it. We really did it so the Pine wouldn't stick out tremendously.
Recommended Skill Level
Beginner

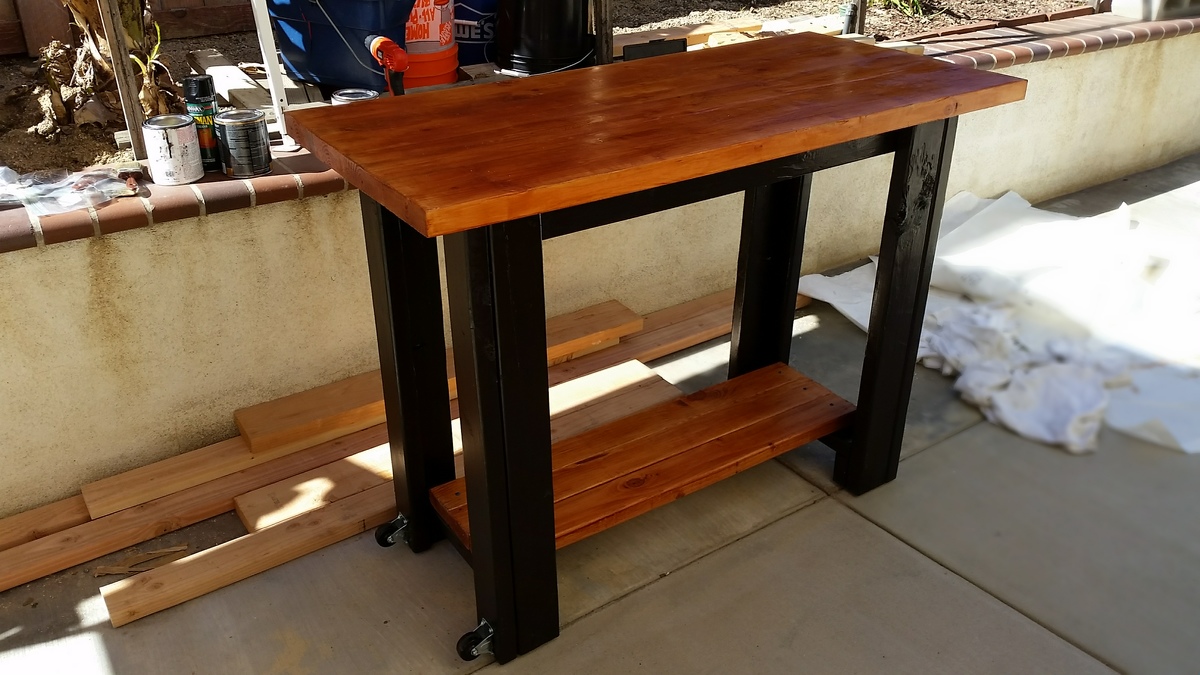
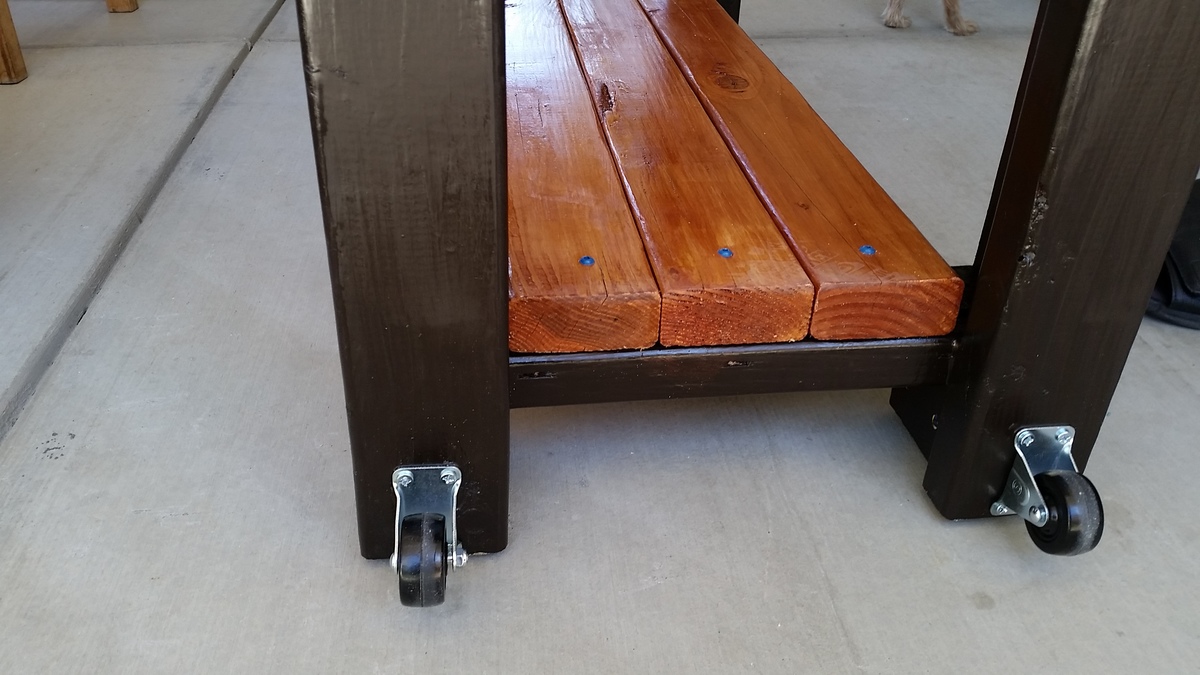
Work bench with wheels

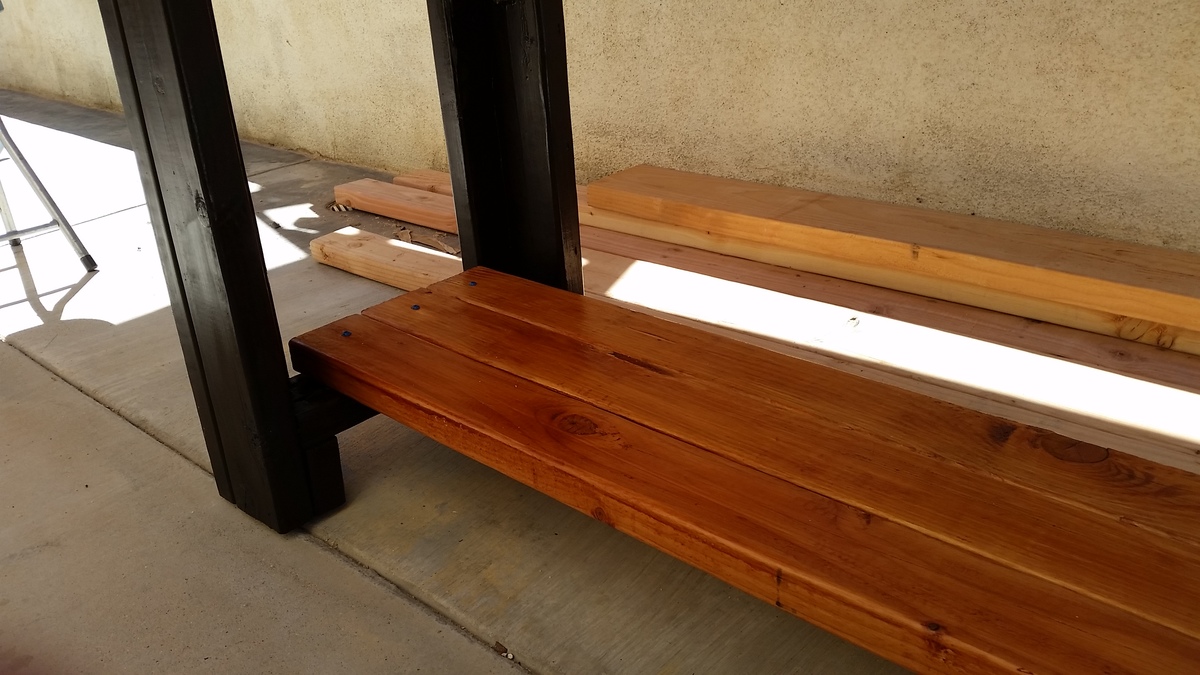
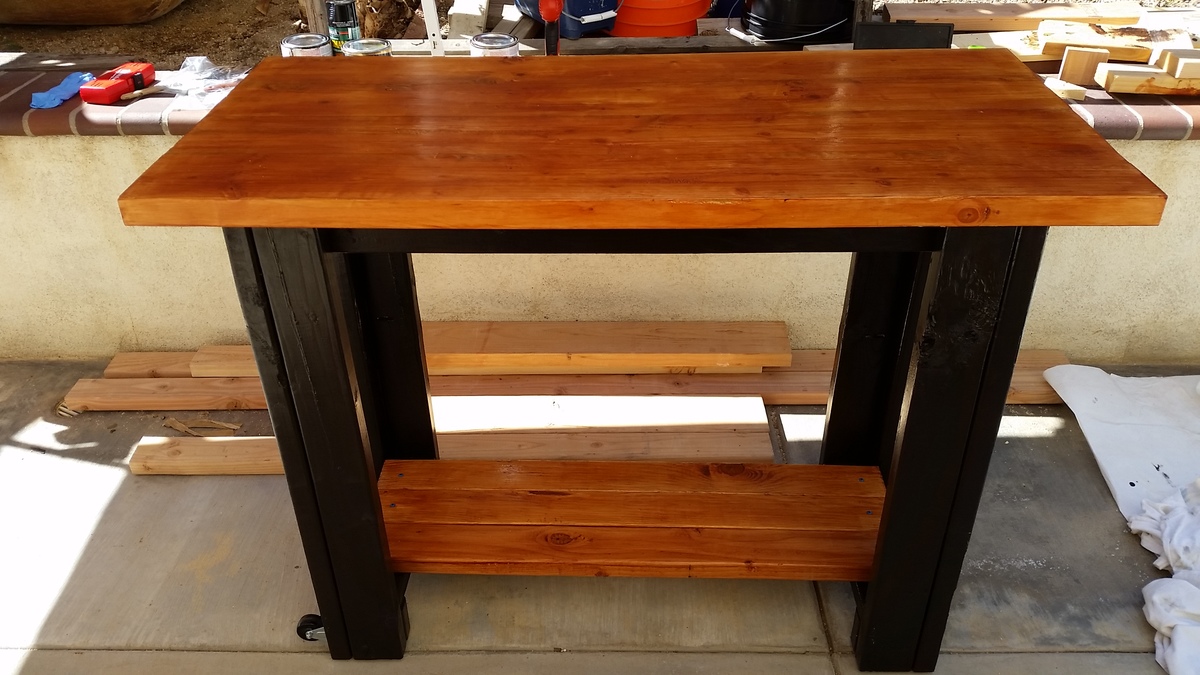
Built this over a week because the table top needed to dry and harden. I decided to paint the whole thing to make it look decent. I Kreg jigged four 2x6's together and added wood hardener to the table top. It was pretty weak because the wood was still wet so I had to dry it out for a few days. I also filled in the gaps with wood filler and then used a belt sander to smooth everything out. Everything else were just 2x4's. I knew it would be heavy so I added wheels to move it around and as a final touch I am adding 90 degree iron accent brackets to the table corners but I haven't got those delivered yet. I also added rubber screw-in feet so that the bottom doesn't chip when you move it around. Got those from Home Depot for $3

Built from Plan(s)
Estimated Cost
$100 for wood and paint and sandpaper
Estimated Time Investment
Week Long Project (20 Hours or More)
Finish Used
Kona stain, Golden pecan stain, polyurethane
Recommended Skill Level
Beginner

Comments

Truss beam table

Submitted by Anonymous (not verified) on Fri, 06/30/2017 - 07:59

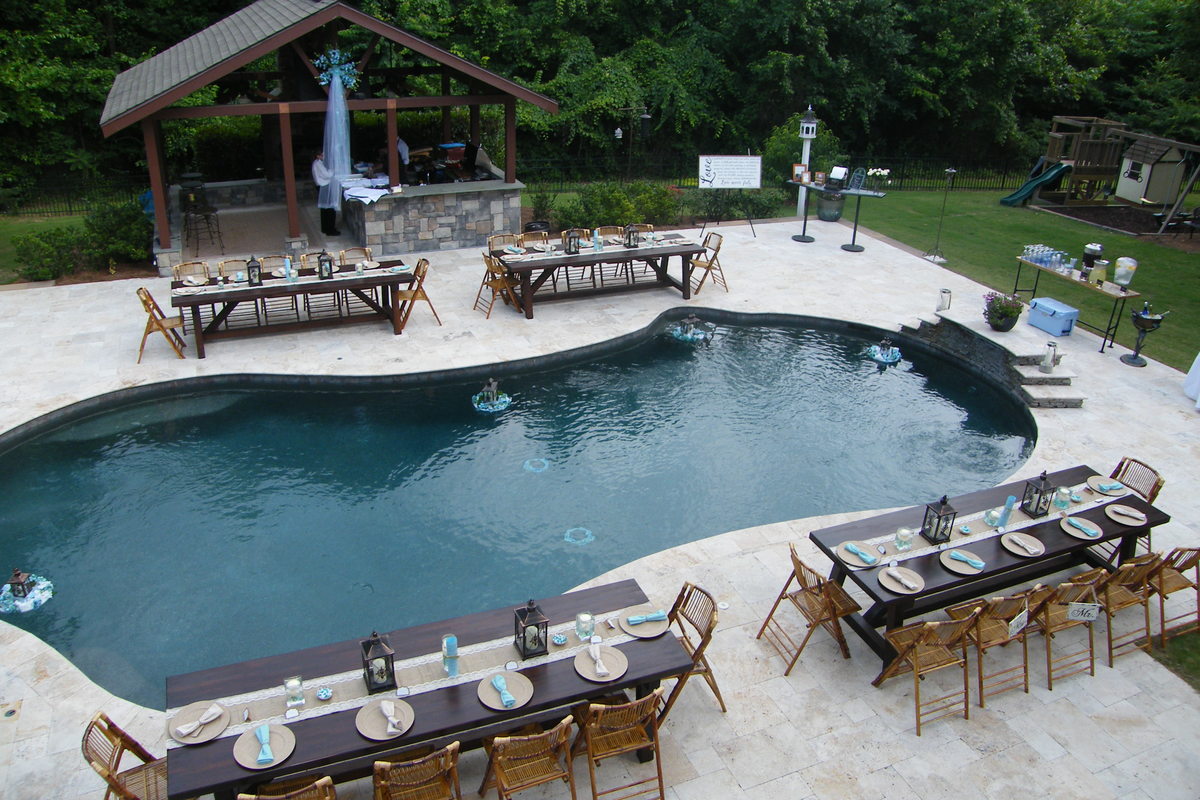
I wanted to try attempt the beam table and my son's wedding rehearsal dinner was the perfect reason. My wife liked the table so much, she asked me to make three more. Because they will be used in our new wedding venue business, I wanted them to to withstand the weather. The materials were quite a bit more expensive as I used 10 ft x 3 ft  x 2 3/8" thick redwood butcher block planks for the tops and cedar 4 x 4's for the bases. Stained and sealed with Cabot sealant. What do you think?

Built from Plan(s)
Estimated Cost
$700 per table
Estimated Time Investment
Week Long Project (20 Hours or More)
Finish Used
Cabot outdoor sealant
Recommended Skill Level
Beginner

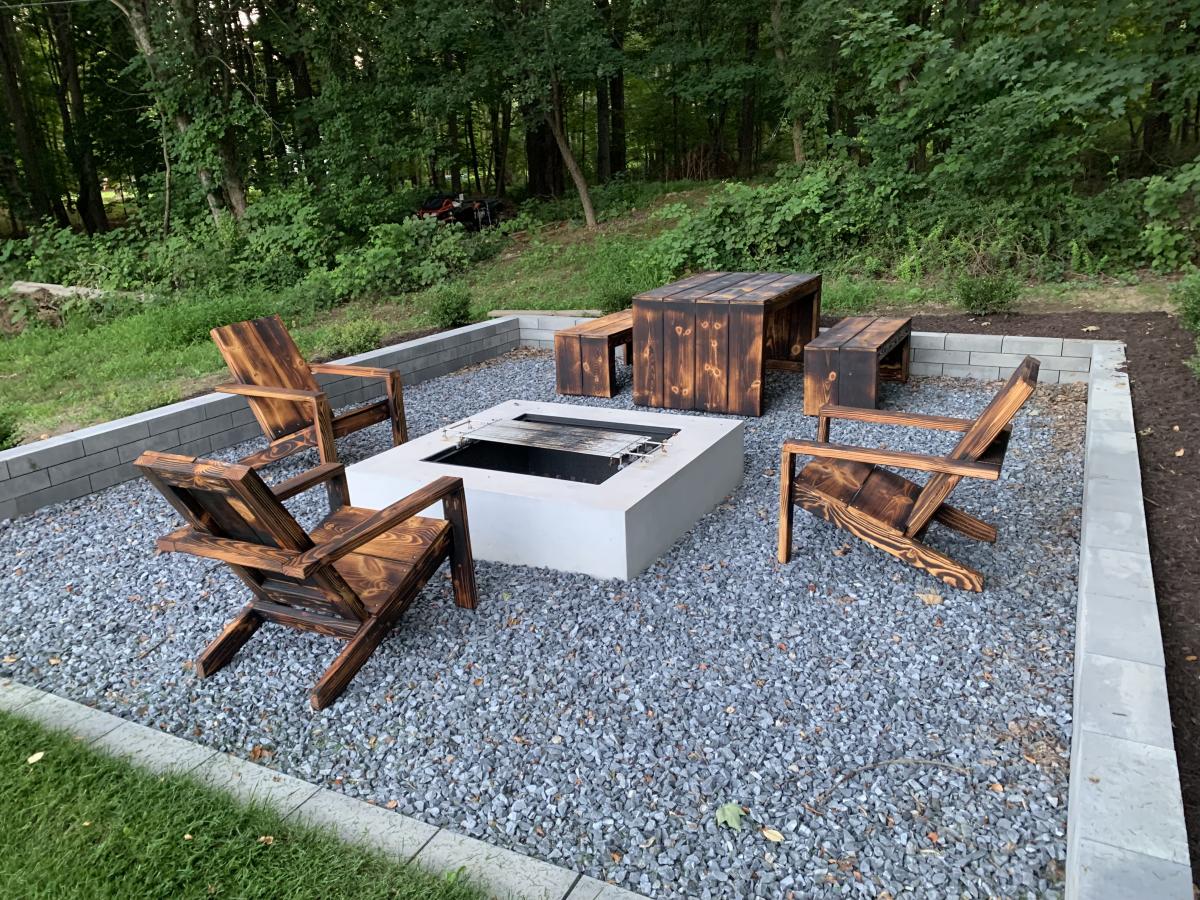
The Modern Fire Pit

Submitted by prelude on Mon, 10/04/2021 - 13:20

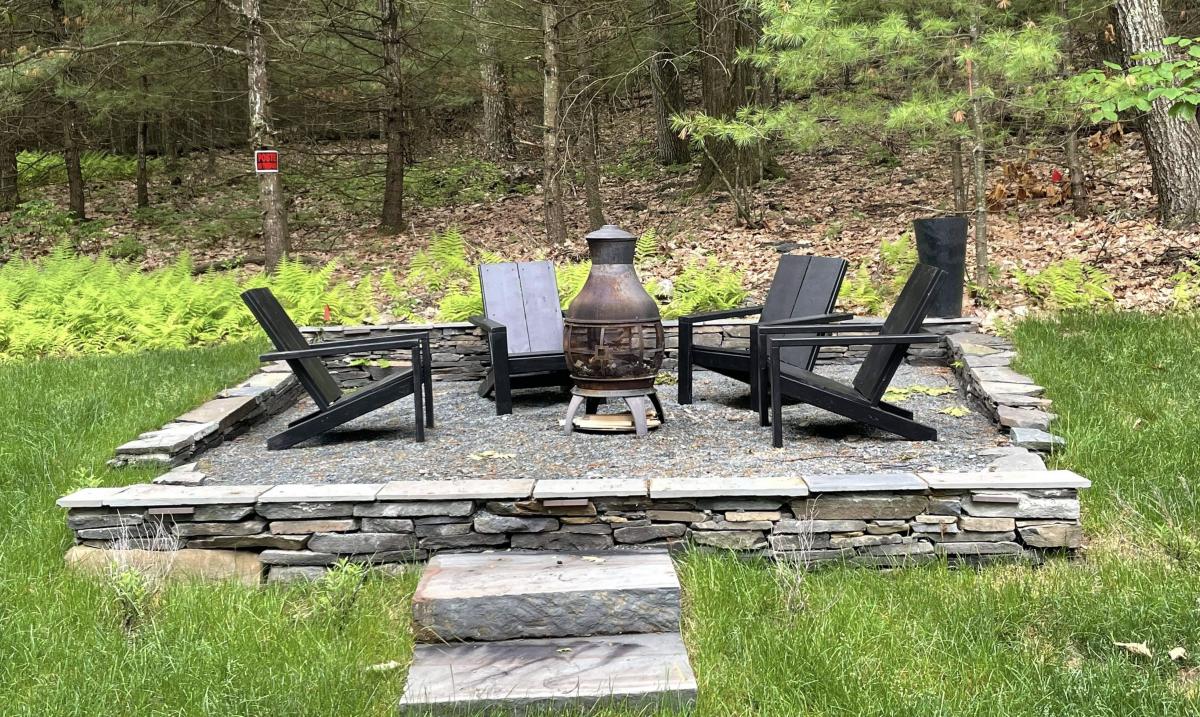
I started out several years ago building the Modern Adirondack Chairs using Ana White's plans. Customers loved the modern design and I was able to fulfill orders in any color or stain. Customers even asked if I could make a children's and adult size chair. These pans are available upon request.

As the trend towards outdoor living increased due to the pandemic, I expanded my product line to tables, benches and patio planters. I even created my own design for a fire pit rack and bench based upon Ana's designs.

Today, I have a thriving business for commercial and residential fire pit furniture and accessories.

I continue to follow Ana White for inspiration and ideas, George

Comments

Outdoor Canopy Daybed

This is made from cedar, but I painted it anyway. Used a standard single mattress. I highly recommend painting everything first before you put the project together. Full plans are here.

Estimated Cost
$225 for lumber
Estimated Time Investment
Week Long Project (20 Hours or More)
Finish Used
Primed the entire piece with Kilz and then used Rustoleum Spray Paint (Espresso).

The canopy is made from Ikea curtains (19.95/2). I purchased 2 packages, each containing 2 panels. I then sewed the 2 panels together from each package, now having 2 extra long panels. To secure to the bed, I hand-stitched velcro fasteners to the curtains and wrapped around the top part of the canopy.
Recommended Skill Level
Intermediate
Seasonal And Holiday

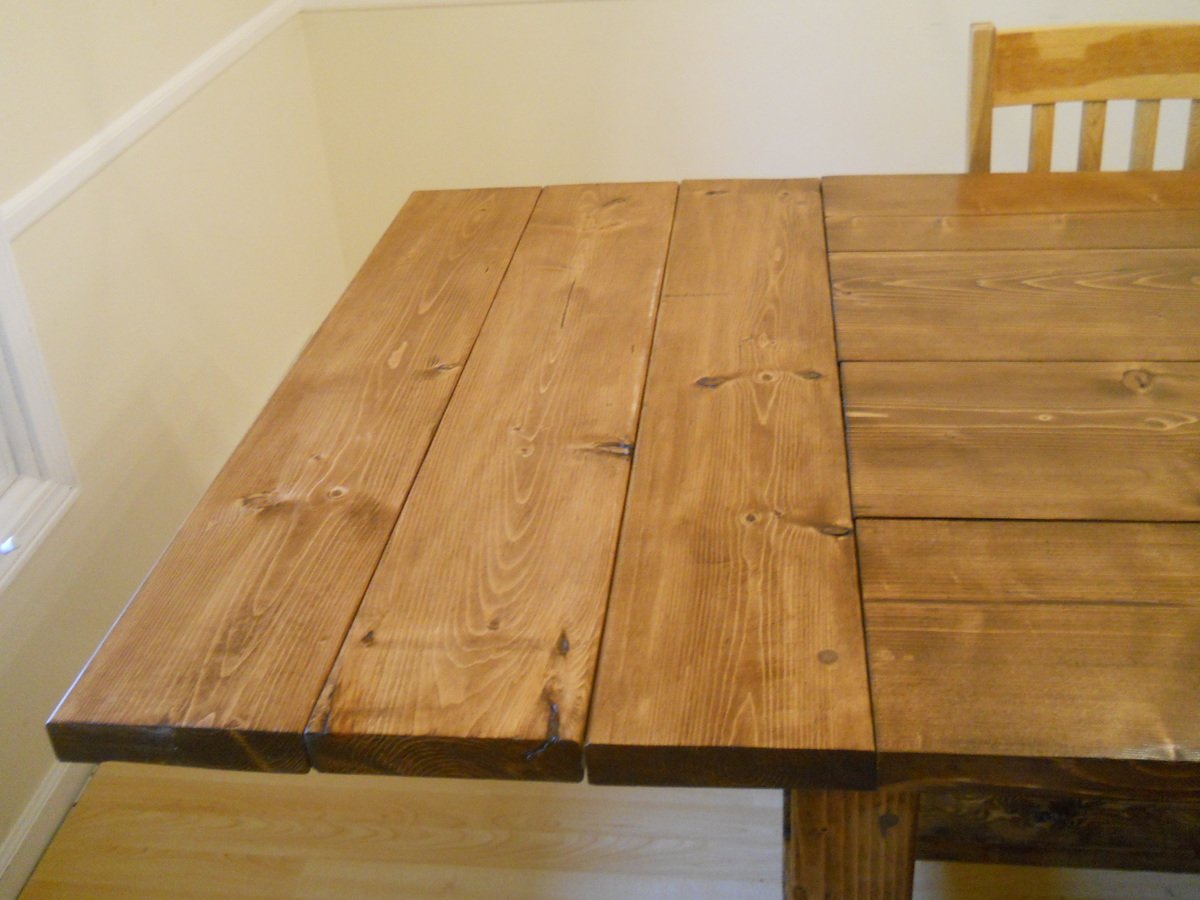
Farm House Dining Room Table (Modified with Breadboard Extensions)

Submitted by jvanhorn on Fri, 05/10/2013 - 07:56

This is a modified plan for Ana White's Farm House Table.

I shortened the table to about 72 inches with breadboards on the ends and added removable breadboard extensions for a total of about 100 inches of table for a 12x11 room. I also built the Farm House bench but shortened it to 48 inches.

The wood is white pine and Douglas Fir 4x4 legs. The total cost was $198 for the wood/screws and about $30 for the stain and sand paper. I bought an additional set of countersink bits for holes.

I used the following tools:

  • Hand Saw
  • Table Saw
  • Compound Miter Saw
  • Hand Drill with various bits and countersinks
  • Square, pencil and straight edges
  • Tape measure
  • Clamps
  • Wood Chisel Set
  • Sharpening Stone
  • Level
  • It took about 35 hours of work.

    The stain is English Chestnut and we pretreated the wood to accept the stain by using wood conditioner. This made a dramatic difference in leveling out the stain between the white pine and Douglas Fir. I used 3 coats of clear polyurethane and 2 coats of satin on the top with gentle sanding in between coats.

Estimated Cost
$230
Estimated Time Investment
Week Long Project (20 Hours or More)
Finish Used
Prepped the wood with wood conditioner before applying stain. English Chestnut stain with 3-clear polyurethane coats followed by 2-satin coats. Light sanding in between coats.
Recommended Skill Level
Intermediate

Pottery Barn Logan Knock Off Media Build

Submitted by anb80 on Tue, 03/31/2015 - 12:37

This was one of our early builds.  I"ve learned a new way to do doors since then so hope to replace these before we move.  I love all the storage on this unit!  The finish on the tops is a metallic glaze I made.

Estimated Time Investment
Week Long Project (20 Hours or More)
Recommended Skill Level
Intermediate

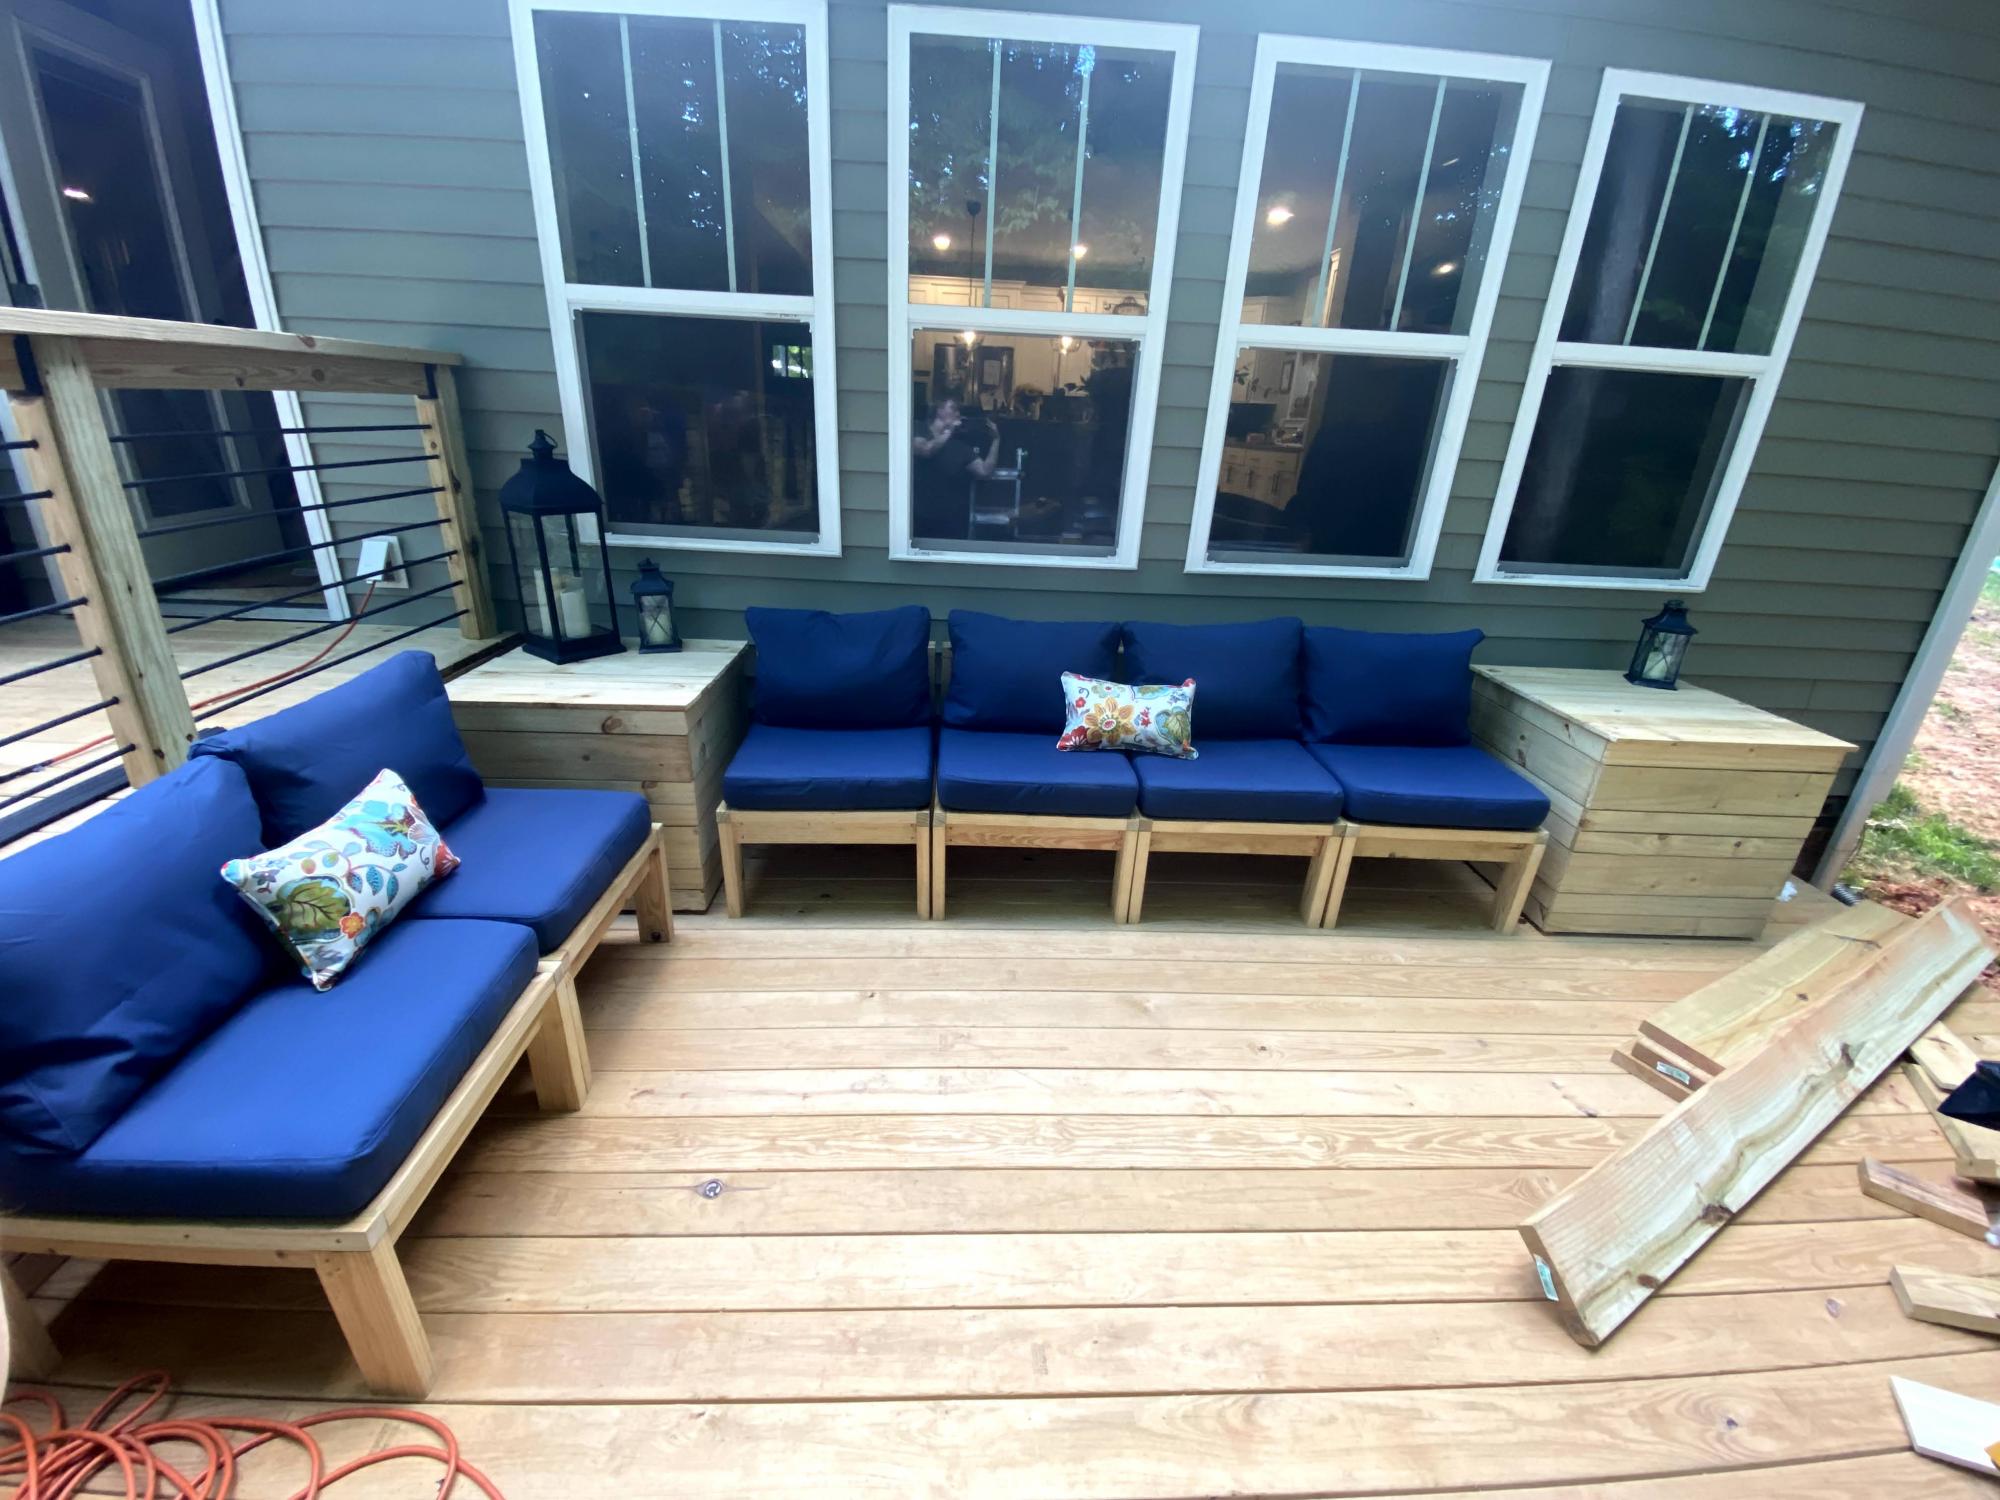
Outdoor sectional

Submitted by Anonymous (not verified) on Tue, 07/04/2017 - 06:52

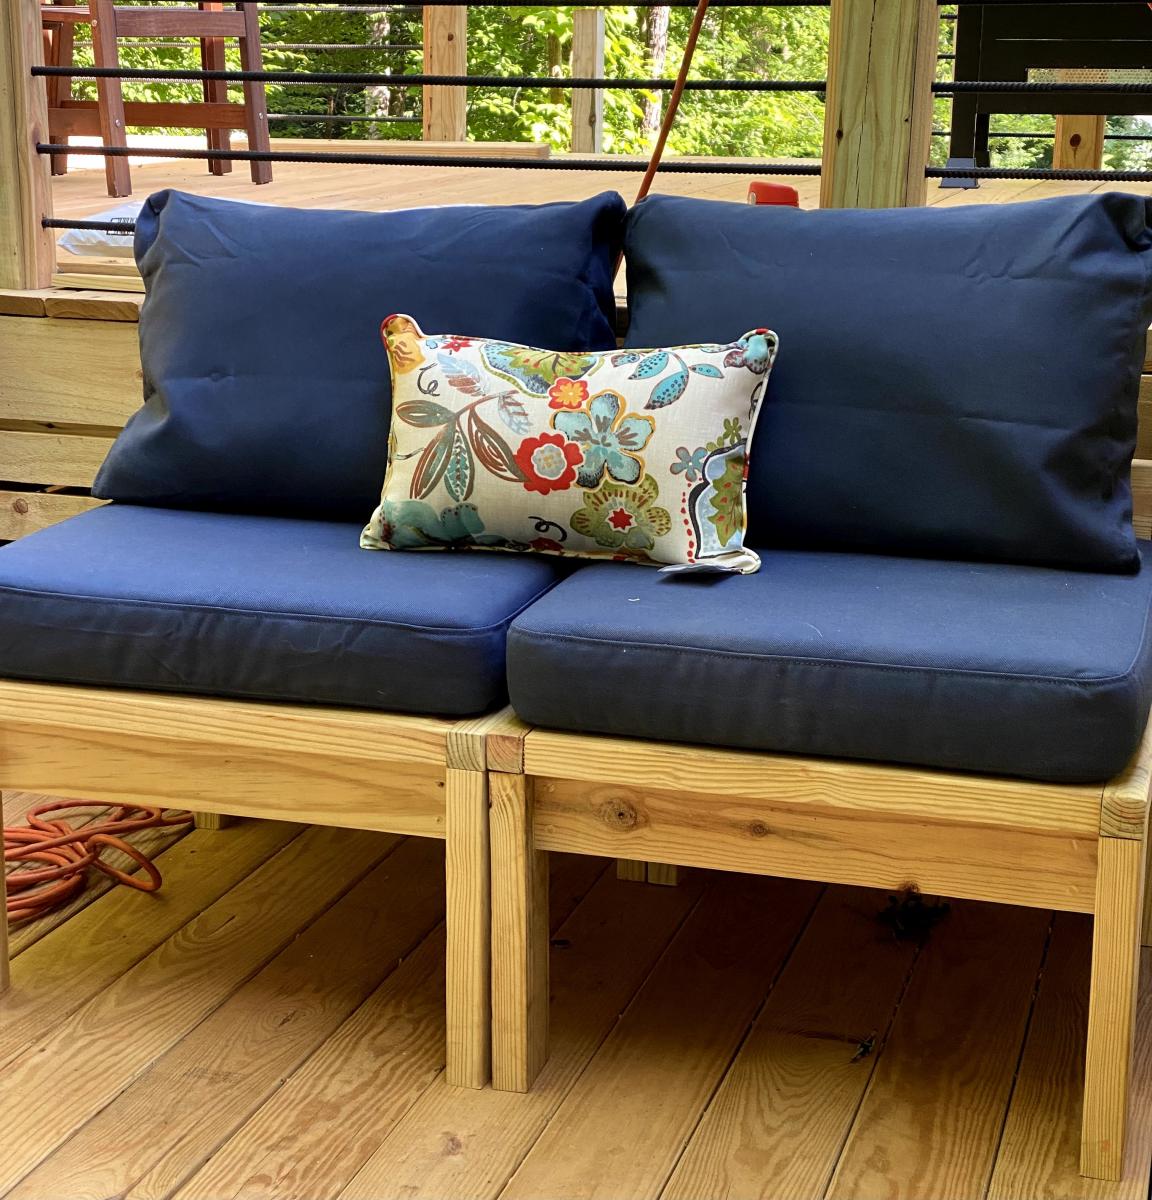
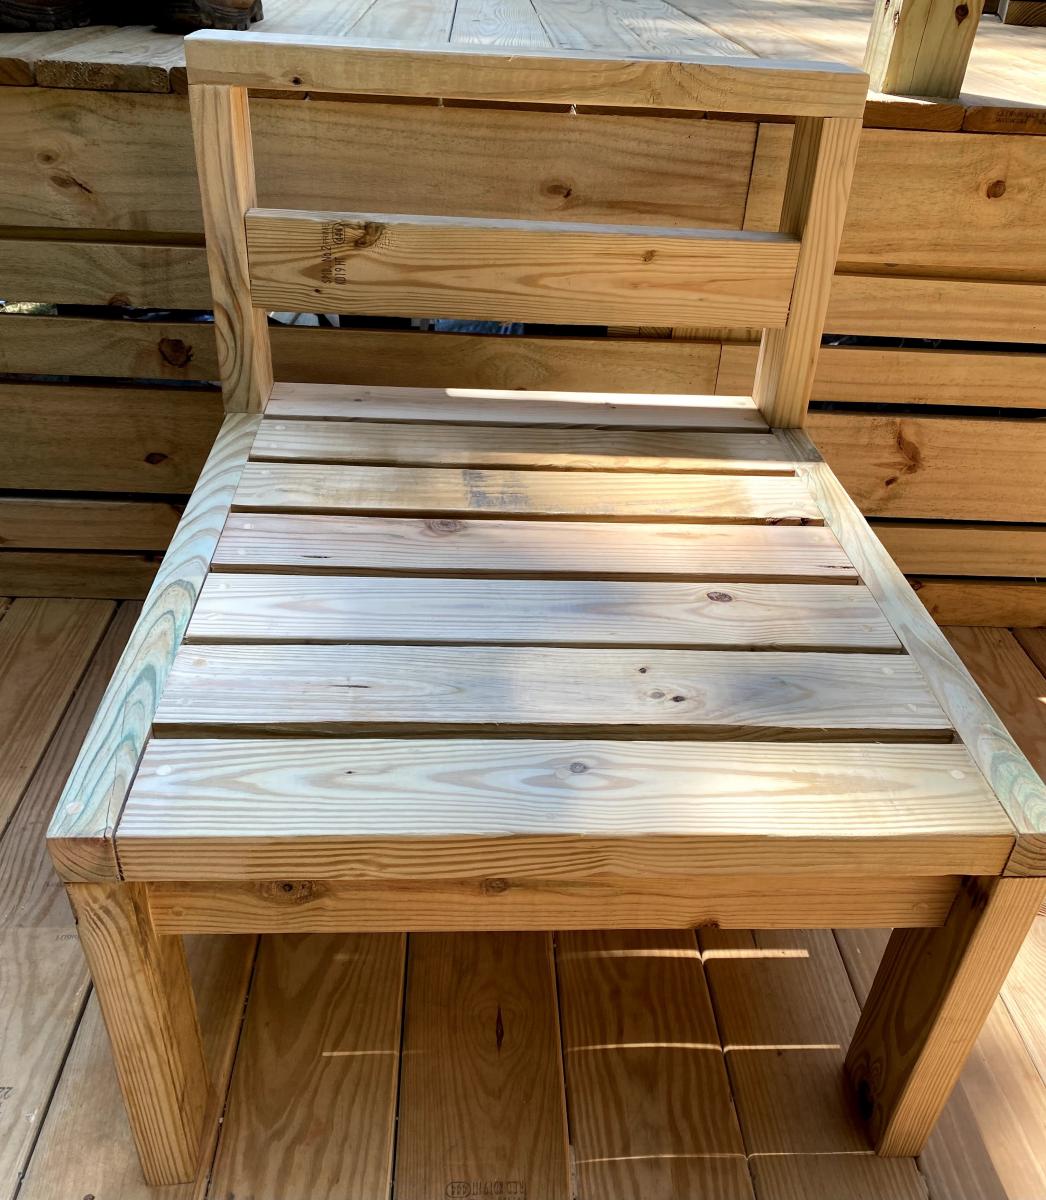
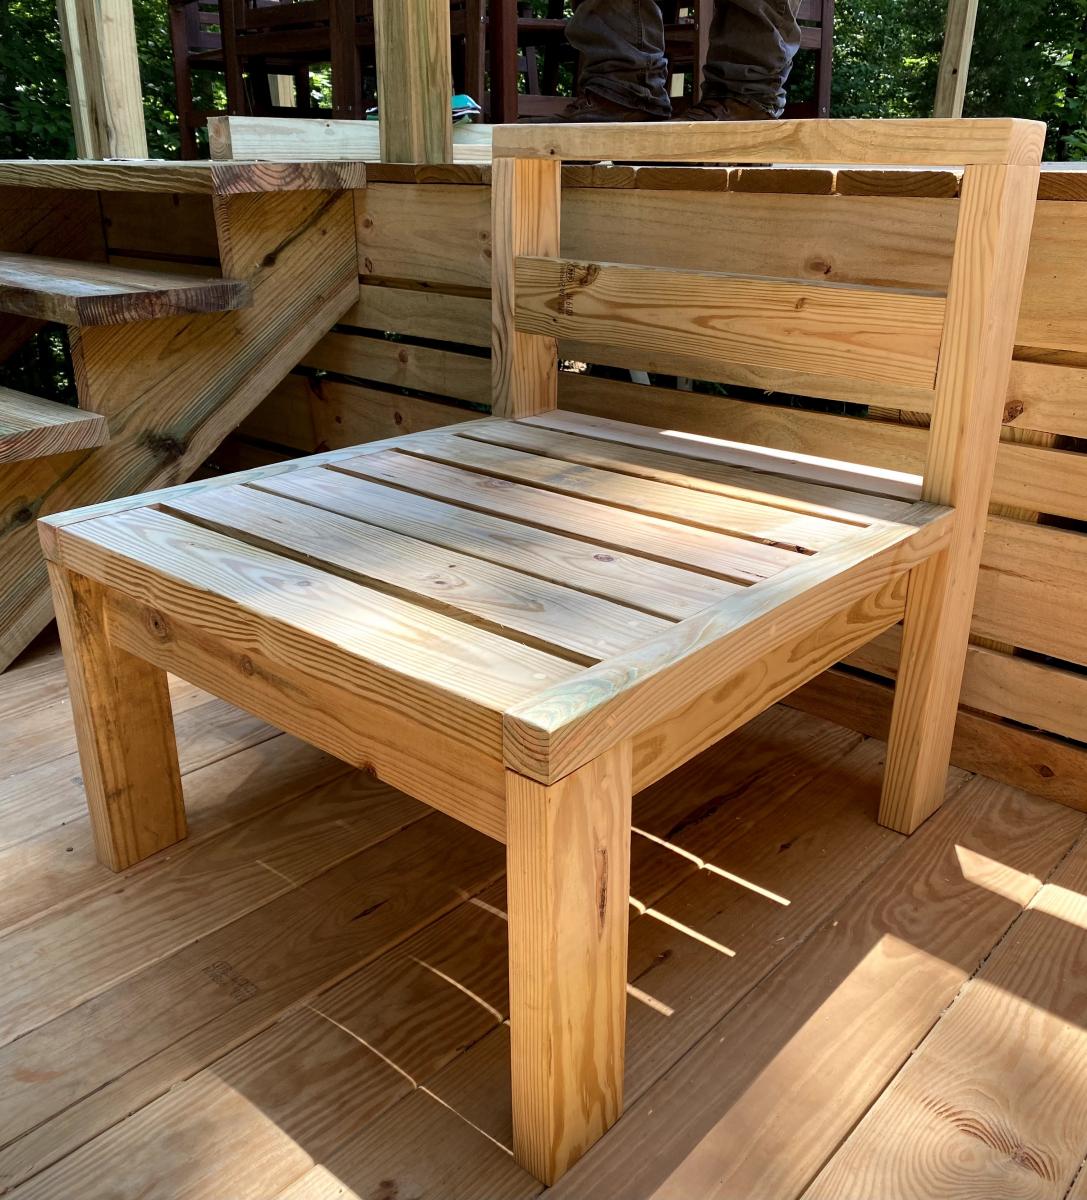
Our version of the outdoor sectional.  We couldn't find 24" wide pillows so we modified the design to accommodate 22"x24" ones.  We also added a 1x8 held on with pocket screws to provide some additional support on the back and help keep the pillows from falling through.

Estimated Cost
$110 in wood
Estimated Time Investment
Weekend Project (10-20 Hours)
Recommended Skill Level
Beginner

Comments

Outdoor Sectional Furniture

Submitted by Anonymous (not verified) on Mon, 10/04/2021 - 13:36

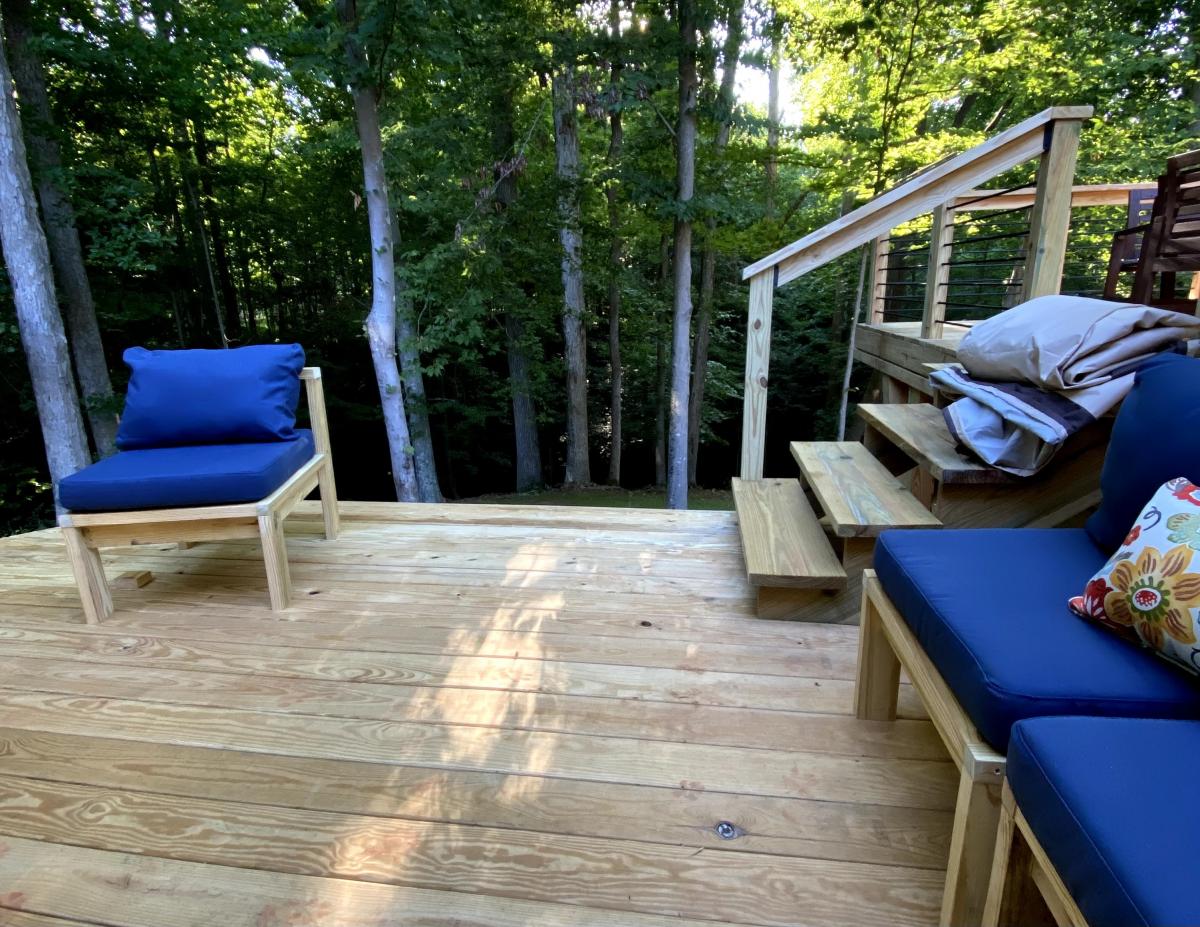
I love the versatility of this furniture. I wanted the ability to move it around in different seating sets. It was my first project with no help from my husband. So very easy to do and follow. I made a few tweaks and made wood plugs for all the screw holes. I plan to stain it later. I used ikea cushions.

Comments

Magnetic White Board Organizer Wall

Submitted by Christian on Mon, 05/13/2013 - 10:24

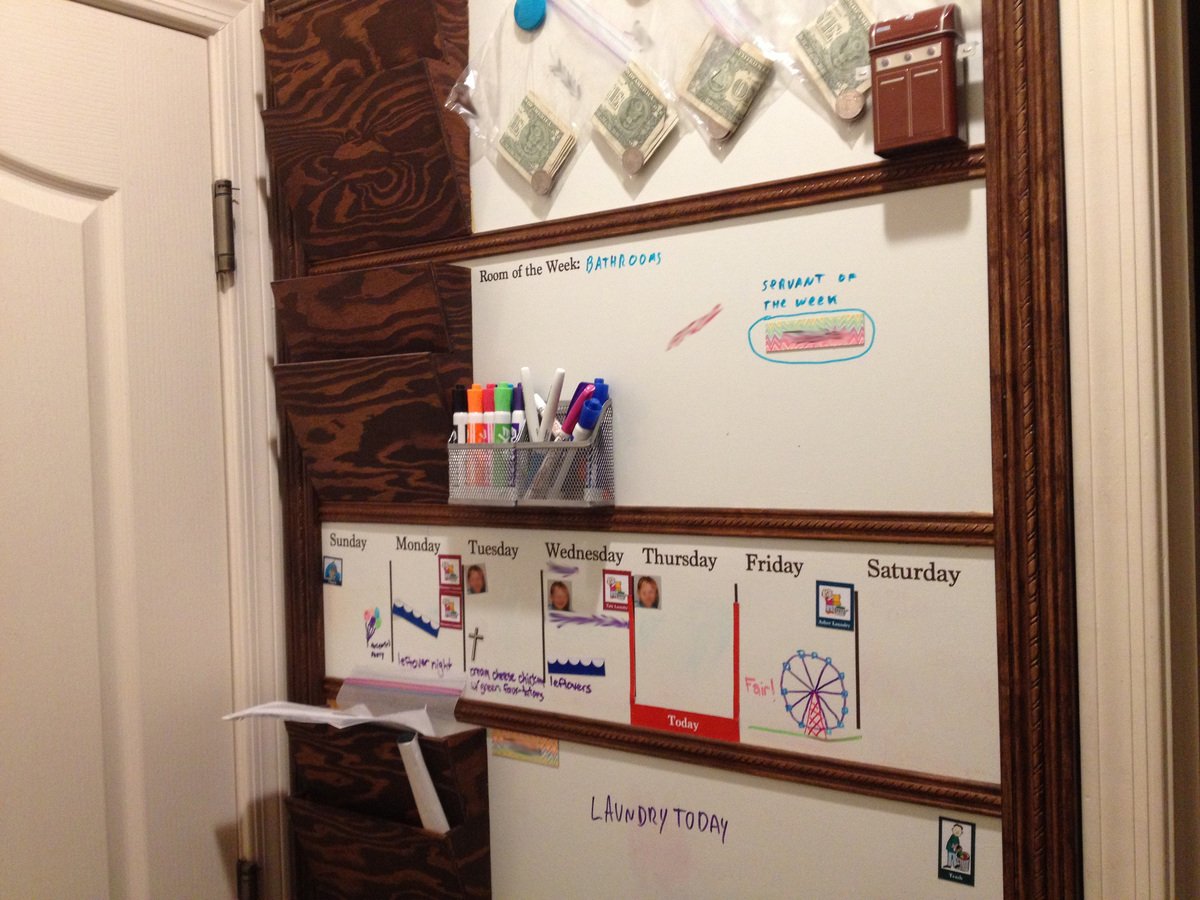
Easy project that has helped us stay more organized. We use Cozi to maintain the calendar, but this allows us to highlight things that the kiddos need to know during the week. We keep the chore schedule, laundry schedule, meal plan, and out of routine activities on the week calendar so the kids can tell what is going on at a glance. The allowance is also hanging up at the top as an incentive to get their respective jobs done for the week. I used galvanized sheet metal glued onto a 1/4 inch plywood base and coated it with whiteboard paint. This allows it to be magnetic and easily written on. Love the letter holder for homework and important paperwork.

Things we have used it for so far:
Activity schedule (swimming lessons, soccer practice, etc.)
Meal plan
Unusual activities (parties, movie night, etc.)
School stuff (project due, spirit week, etc.)
Chore schedule
Laundry Schedule
Room of the week: what part of the house gets a deep clean this week.
Servant of the week: which kid is the designated helper for non-chore activities when an extra hand is needed.

We are still figuring out all the ways to use this to good effect, but the kids really like being able to see what is coming up in the schedule for the week.

Estimated Cost
$100
Estimated Time Investment
Weekend Project (10-20 Hours)
Finish Used
Whiteboard paint
Minwax Walnut Stain
Spray Acrylic to whiteboard marker proof the wooden parts.
Recommended Skill Level
Beginner

nightstand

Submitted by cnlynch on Thu, 04/02/2015 - 19:32

I needed a small nightstand and was able to build this with wood left over from the Farmhouse table project, it's not perfect but I love it.

Estimated Time Investment
Afternoon Project (3-6 Hours)
Recommended Skill Level
Beginner

Comments

Double trash bin with drawers

Submitted by abbpim on Thu, 07/06/2017 - 19:48

I am very happy with how the finish in this turned out... the green gold paint and the American Cherry wood compliment each other well!  Doing this again on more proj

Estimated Cost
$50
Estimated Time Investment
Weekend Project (10-20 Hours)
Finish Used
Liquitex green gold paint and minwax paste finishing wax and polyurethane on base. Several coats of Mineral oil on top finished with finishing wax again.
Recommended Skill Level
Intermediate

Comments

Over Toilet storage shelf

Submitted by Anonymous (not verified) on Mon, 10/04/2021 - 14:30

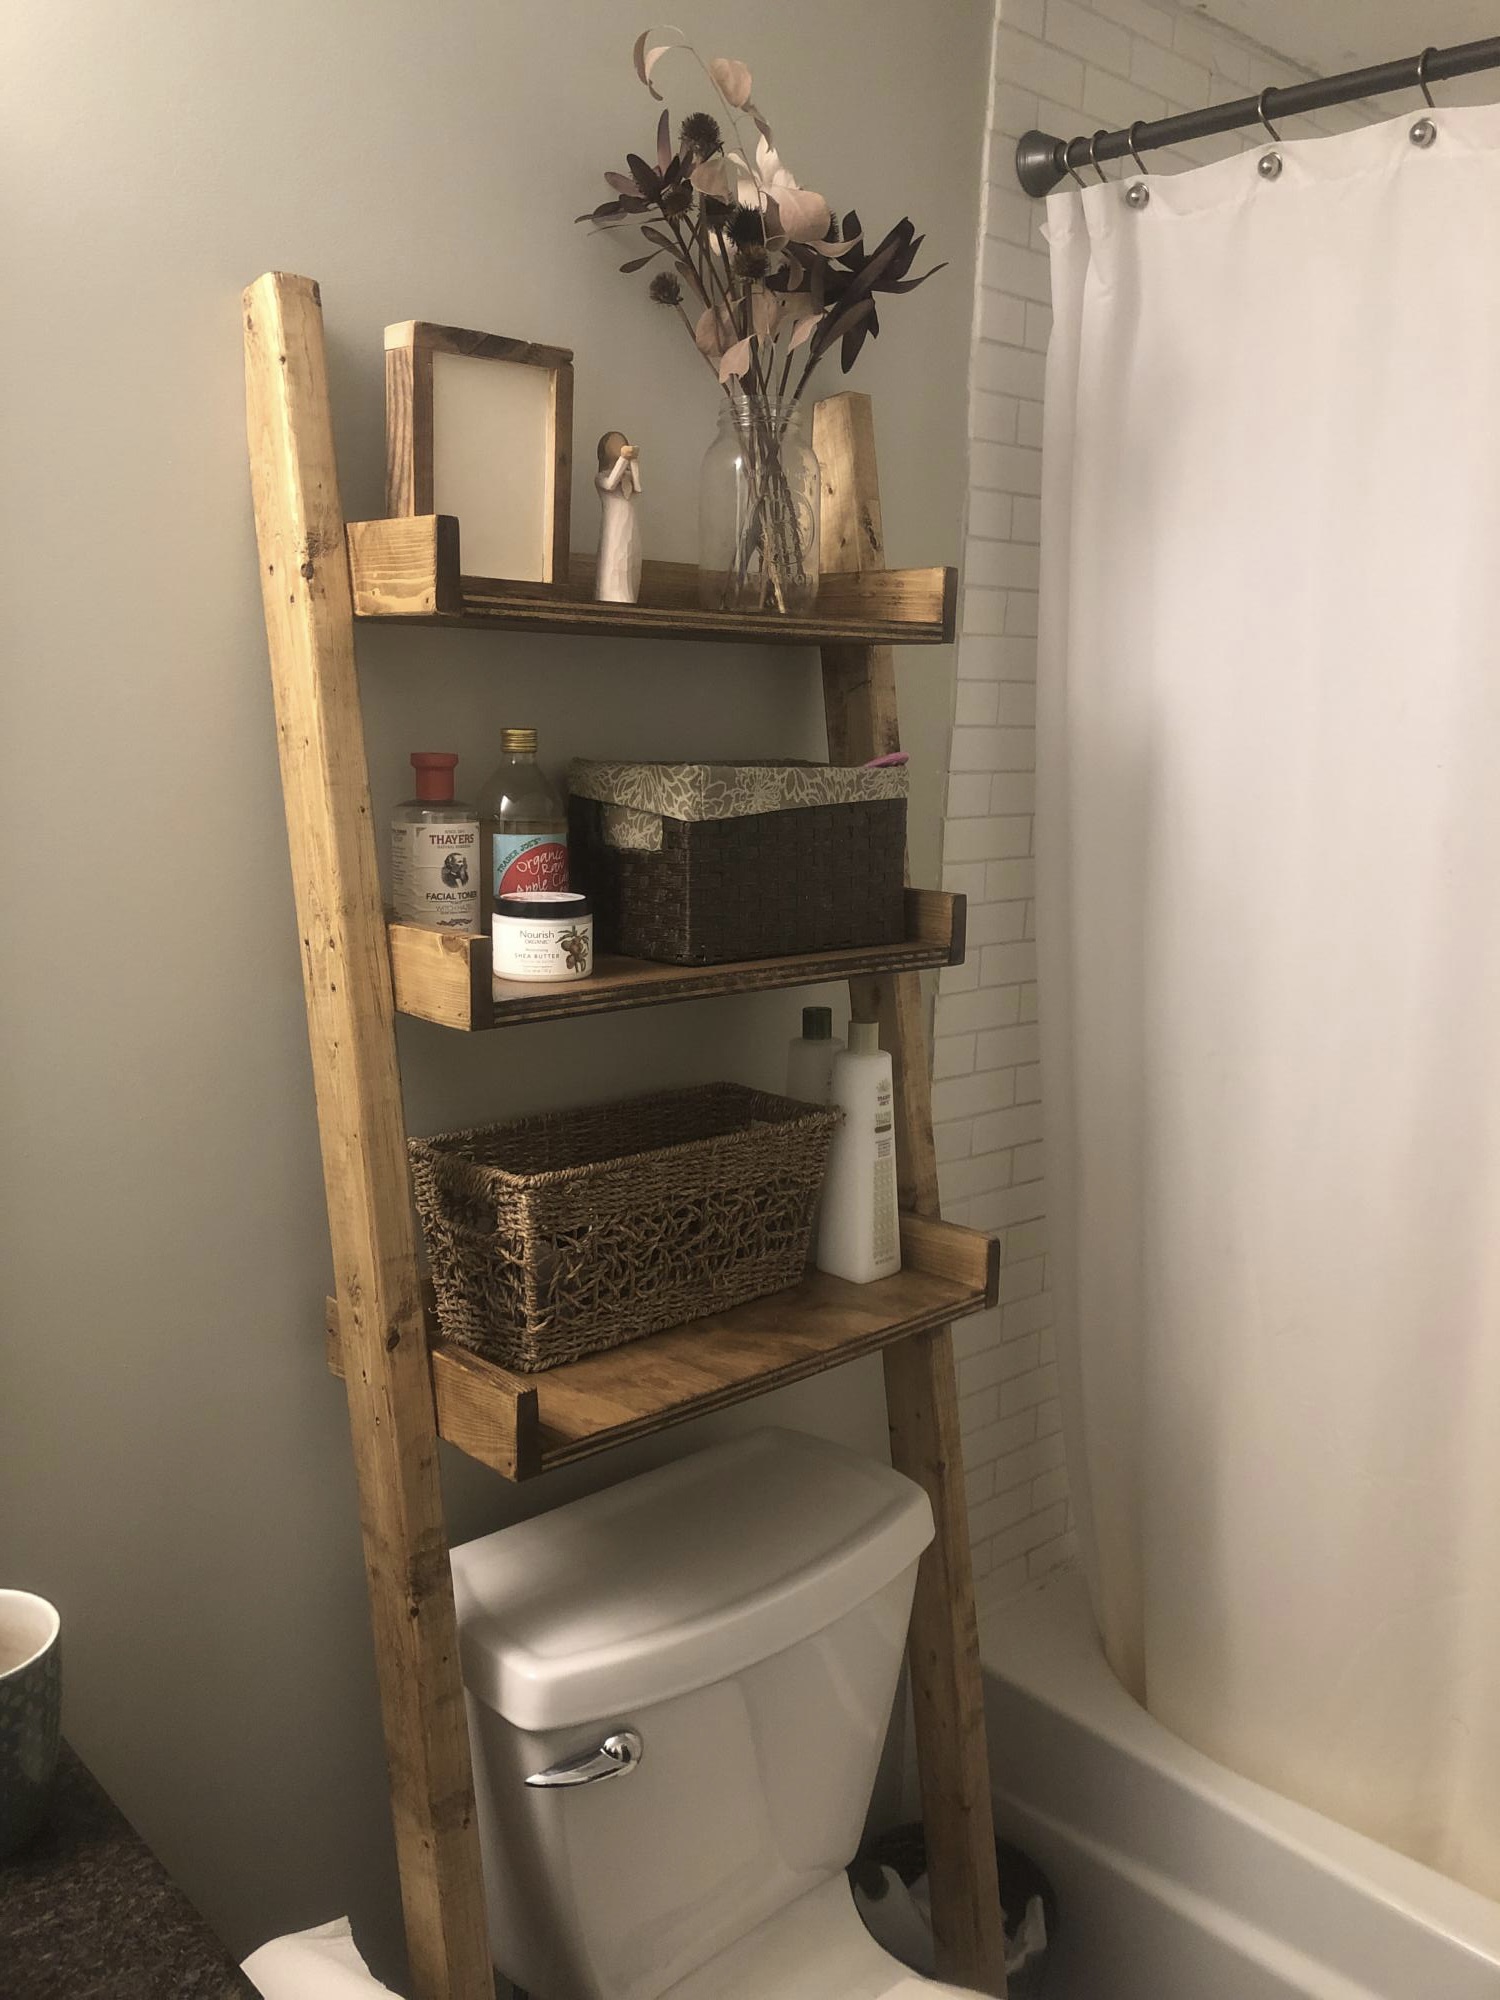
I made this less wide then the plans to fit in my small bathroom. Thank you for these wonderful
Plans!

Comments

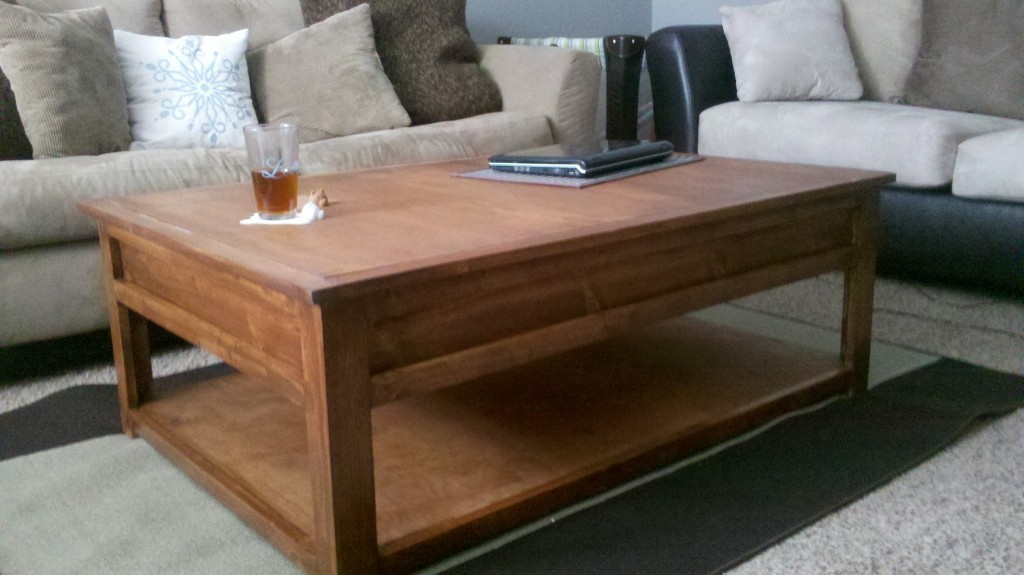
No Train Needed

We needed a table to compliment our Apothecary cabinet we built prior to this project. We needed a big table b/c our furniture is so bulky. We have a 6 month old, and an 8 year old, so toy storage is a must. We built the table in one evening. We swapped the top trim 1x3s w/ 1Γ—2. The bottom shelf only sits 1 inch from the floor, so I can fill it with itso bins for additional baby storage! The top board is not cut in half, rather we drilled 1 inch holes on both ends. You can’t see them in the pics, b/c I hid them, with the cutest thing ever, bear coasters. The coasters are too protect the table b/c we cant use poly here in the winter.
I wanted a David Bromstad cow rug & hubs said no. Bear Skin Rug style coasters for $20 from Urban Outfitters are our compromise. I love this table. It’s super heavy & I hope it lasts forever.

Estimated Cost
$80
Estimated Time Investment
Afternoon Project (3-6 Hours)
Finish Used
Miniwax Autumn Harvest from Lowe's
Recommended Skill Level
Beginner

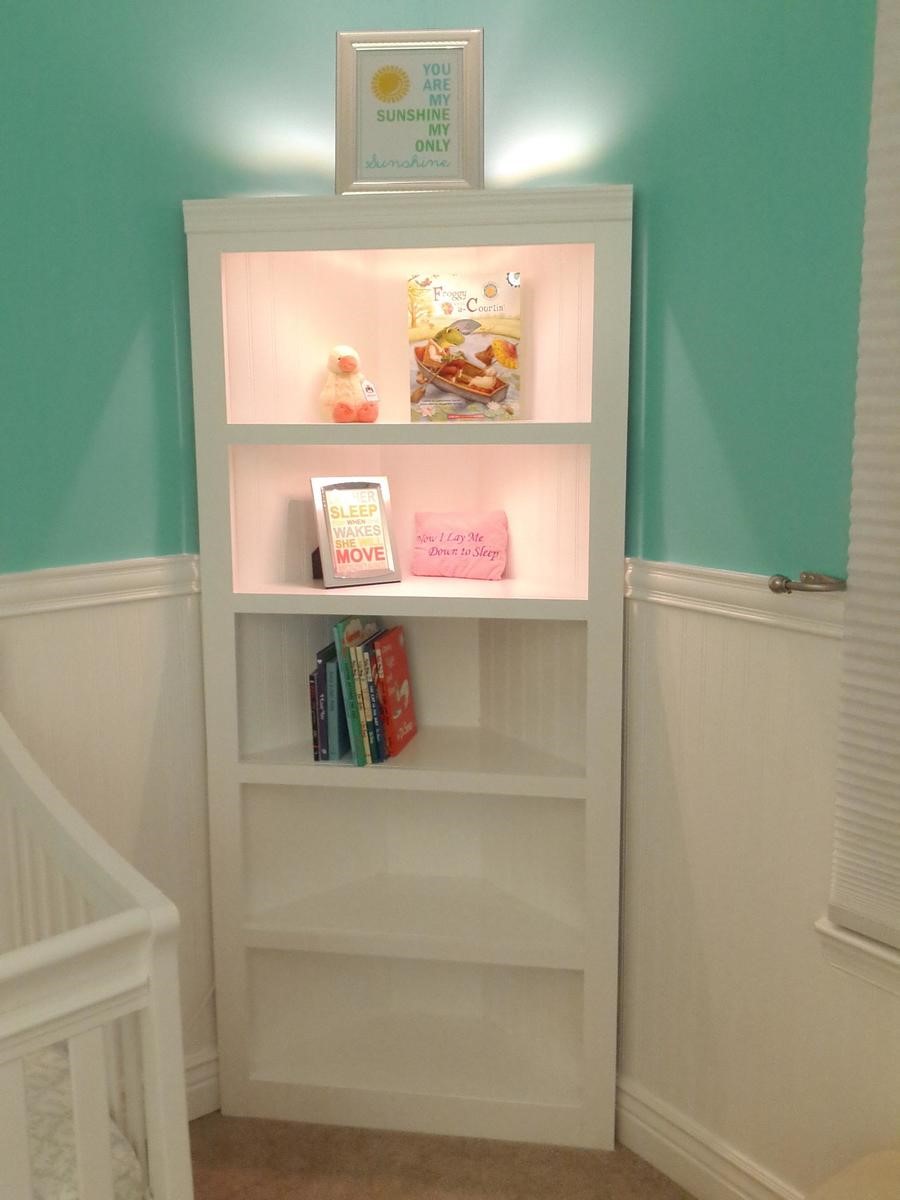
Corner Shelf for Nursery

Submitted by wojo1 on Thu, 05/16/2013 - 07:21

Super Easy.. I like it better without the doors. Recommend getting a KREG Jig. I have the Jr and it was perfect for this project.

Built from Plan(s)
Estimated Cost
$130
Estimated Time Investment
Afternoon Project (3-6 Hours)
Recommended Skill Level
Beginner

Comments

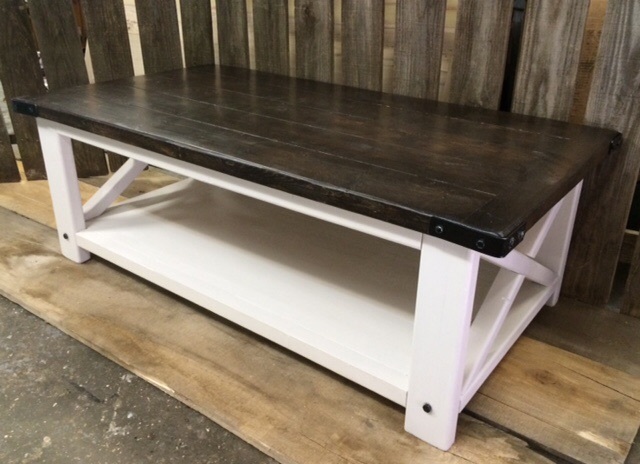
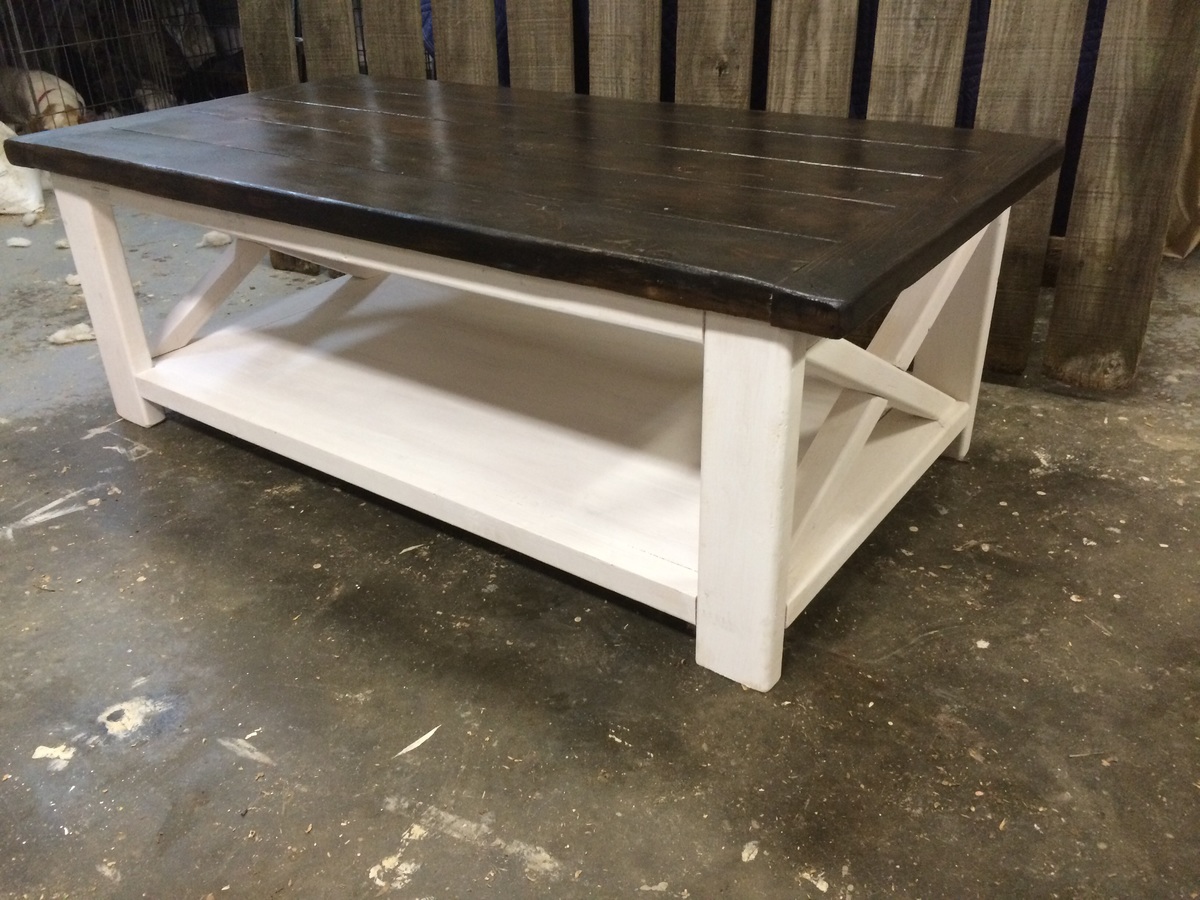
Rustic X coffee table with industrial trim

Submitted by AndWhatnot on Sun, 04/05/2015 - 18:34

I added metal corners made by bending 1 1/4 x 1/8 inch flat bar and attached with 1/4 x 1 inch lag bolts 

Built from Plan(s)
Estimated Cost
60
Estimated Time Investment
Weekend Project (10-20 Hours)
Finish Used
Asiago paint and Kona stain
Recommended Skill Level
Beginner

Comments

Email Me
Free Plans

Get new plans sent right to your inbox for free!

    We won't send you spam. Unsubscribe at any time.