Community Brag Posts

Bunk Bed From a Loft Bed

This bunk bed was made out the Camp Loft bed plans. With my daughter out growing her toddler bed, we really needed a "big girl" bed without giving up too much space. This was perfect. It was really easy to add an extra set of 2x6's around the bottom of the loft, and poof, it’s a bunk bed. The kids really love it and it is really strong. I weigh about 250 lbs and it doesn't even move when I get on the top bunk. To accommodate for the lower bunk, I raised it to 72” high. As you can see, I also added extra vertical supports on the top rails. I did this so all the weight on the top bunk wasn’t only supported by the 2x6s, but also the 2x4s as well.

I also painted it white becuase that matched the other furnature in the room better than staining it. To keep the wood from seeping sap all over the paint, I sealed it with BIN primer before painting it with latex paint.

I don’t have much experience building furniture, but this was extremely easy. The wood cost us around $100. Slightly more than the post said, but I added a few extra 2x4s and since comparable bunk beds are being sold for about $800, this was a steal. The plans were great and my son and I had a great time building it. Thanks for posting it
Estimated Cost
$100
Estimated Time Investment
Week Long Project (20 Hours or More)
Finish Used
BIN primer (2 coats), latex flat paint, a lot of sanding
Recommended Skill Level
Beginner

X console

Submitted by Anonymous (not verified) on Wed, 02/01/2017 - 19:37

X console 

Recommended Skill Level
Beginner

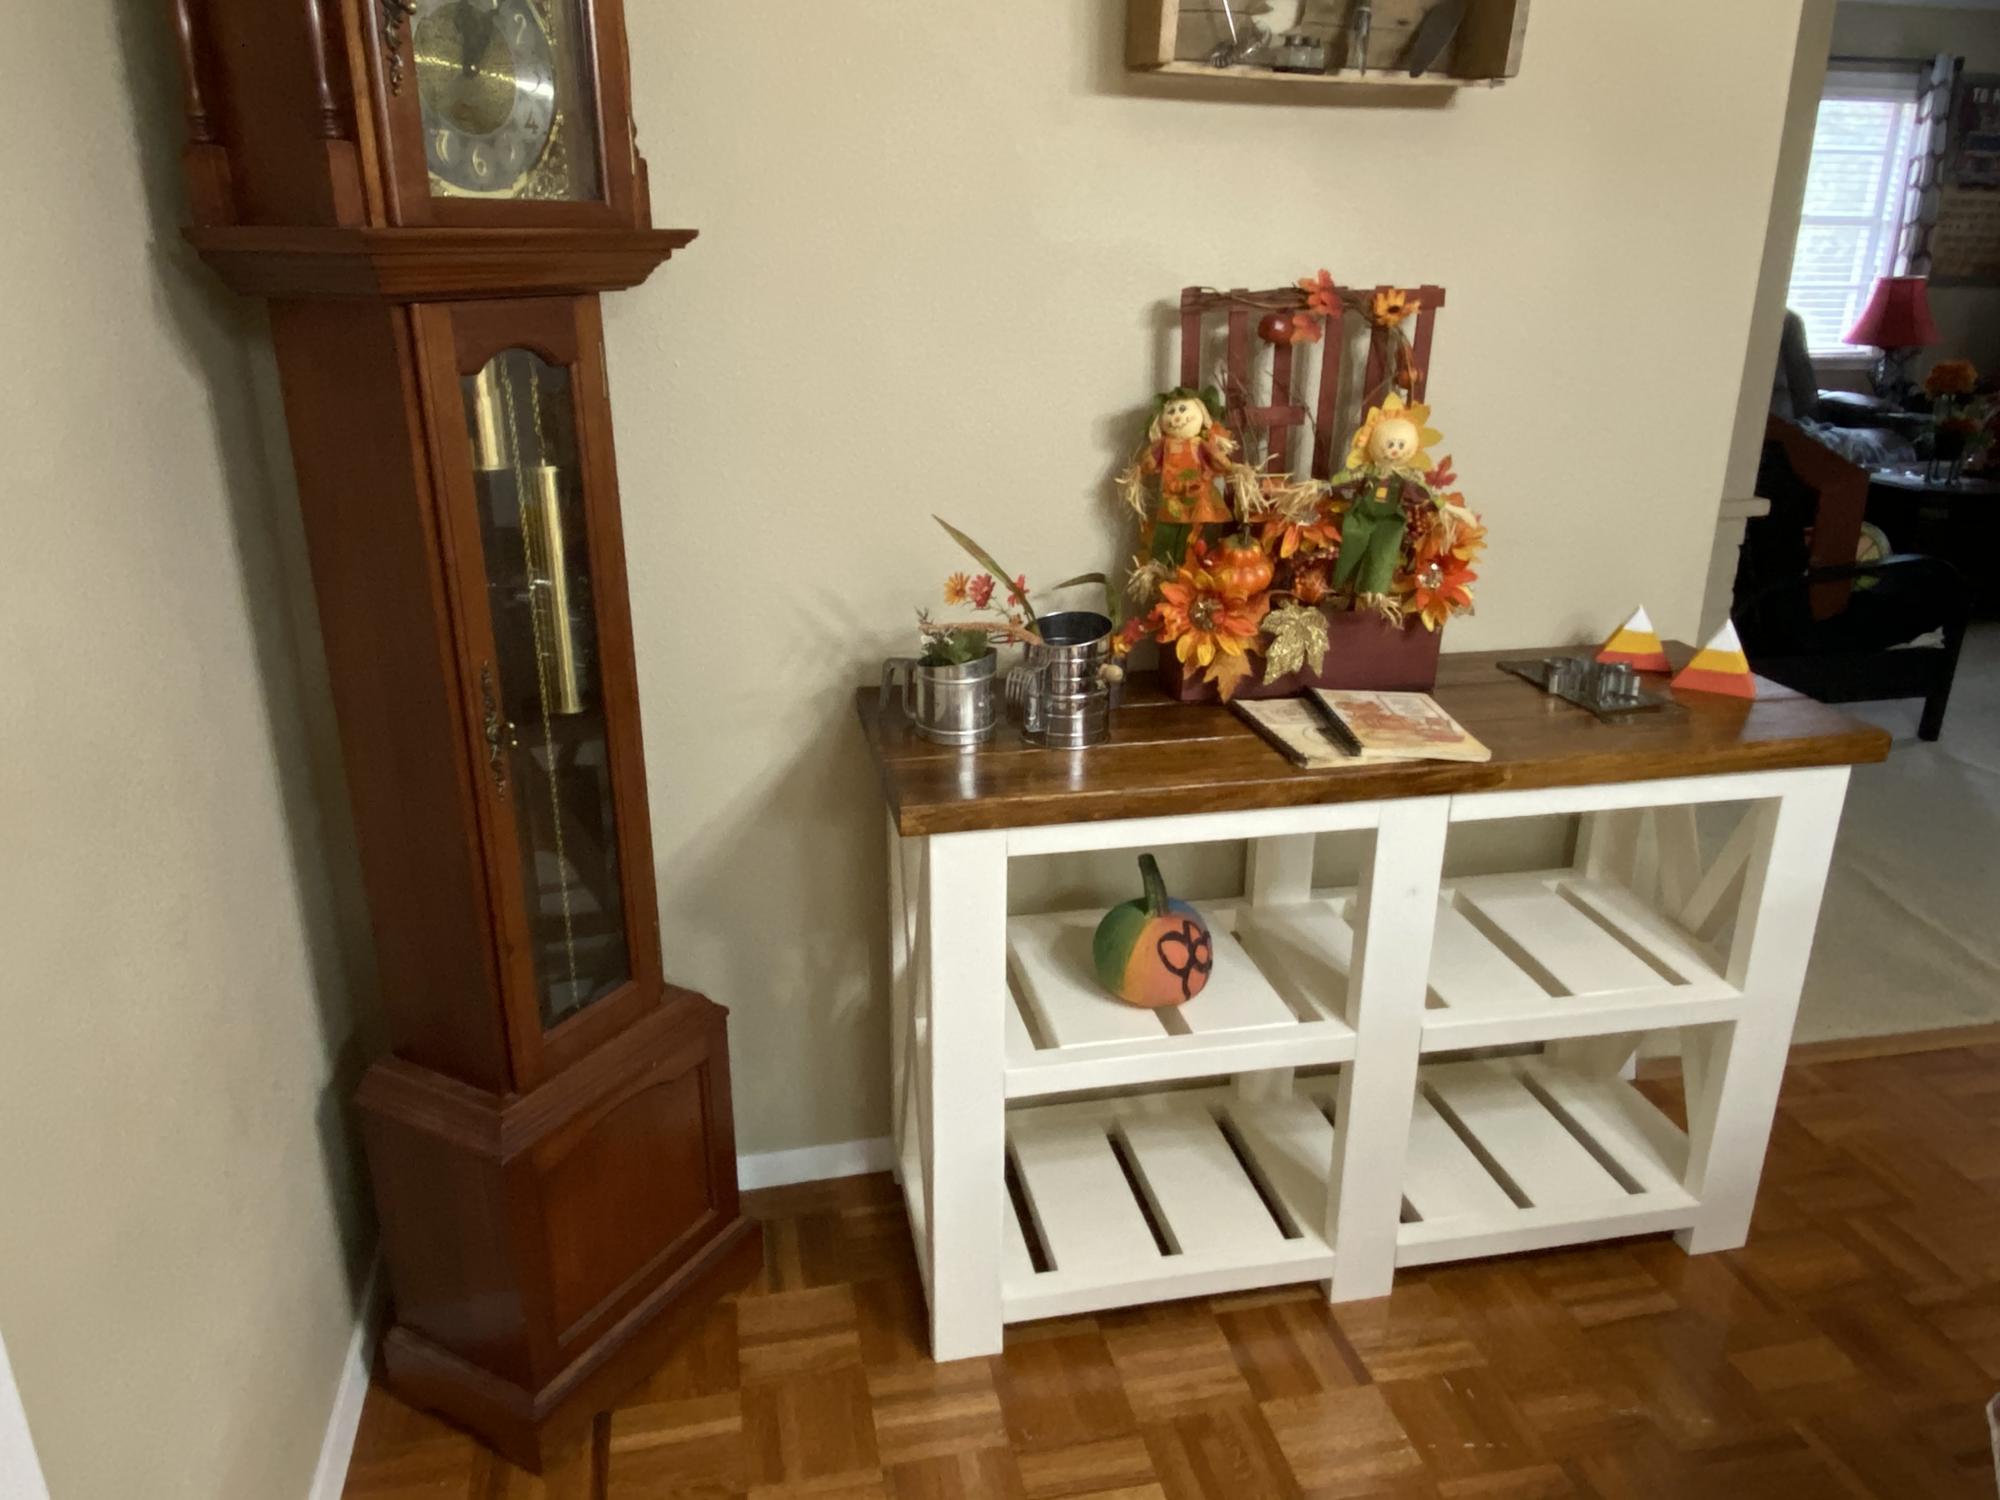
Farmhouse console table - Shortened

My wife wanted a console table for our dining room but the original plans were too big for the spot next to the grandfather clock, so I shortened them a bit and this is the result.

Built from Plan(s)
Estimated Time Investment
Day Project (6-9 Hours)
Recommended Skill Level
Beginner

Comments

2x4 Banquette Seat

Submitted by boyledover on Sat, 01/05/2013 - 16:47

I have been wanting a banquette for years and when I spied Ana's version in the post about Grace's birthday party, I knew I could do it. I waited for the plans, and yesterday, I got out the tools and in 6 hours (real time - including cooking meals for kids, potty breaks, and life in general) I had my bench done.

I am so pleased with it. I had all the fabric on hand already, and was able to buy batting, foam and pillow forms all 50% off at Joann's, plus 2 zippers for the blue cushions. The woman who was cutting my foam asked me what I was making, and I told her I was building an upholstered bench for my dining room. She said "wouldn't it be less trouble to just buy one already made?" Clearly she has no idea how much this would have cost me. As it stands, I had the lumber and fabric on hand, so my total purchase price was just over $95.00. I would estimate the cost to build to be about $200.00 for everything, depending on how expensive your fabric is.

I love to sew, so I had no problem with the fabric portion of the project, though I did as Ana did and did not upholster the back of the bench. Instead of adding a piece of fabric across the back of the frame, I extended the side fabric by about 6 inches on each side and stapled it to the back. I hope that makes sense. I used a metal cleat to hold the seat back in place. I also used 3 L-brackets to attach the bottom to the frame. I think people will slide into their seat and I didn't want the seat cushion to move.

Not bad for a few hours work!

This project would be an easy starter project for building, though it is a little more advanced when you factor in the sewing. Here is the tutorial I used for the toss pillow cushions: http://sewmamasew.com/blog2/2011/02/add-a-zipper-to-your-pillow/, and here is another from the same blogger for boxed cushion covers (just leave the bottom off of yours for this project, since it will be stapled to the plywood, skip the zipper and handle, and add piping if you want to fancy your cushion up): http://sewmamasew.com/blog2/2008/07/summer-sewing-perfectly-portable-cu…

Thanks Ana for the constant inspiration!

Built from Plan(s)
Estimated Cost
$200.00
Estimated Time Investment
Afternoon Project (3-6 Hours)
Recommended Skill Level
Beginner

Garage Storage from Rescued Lumber

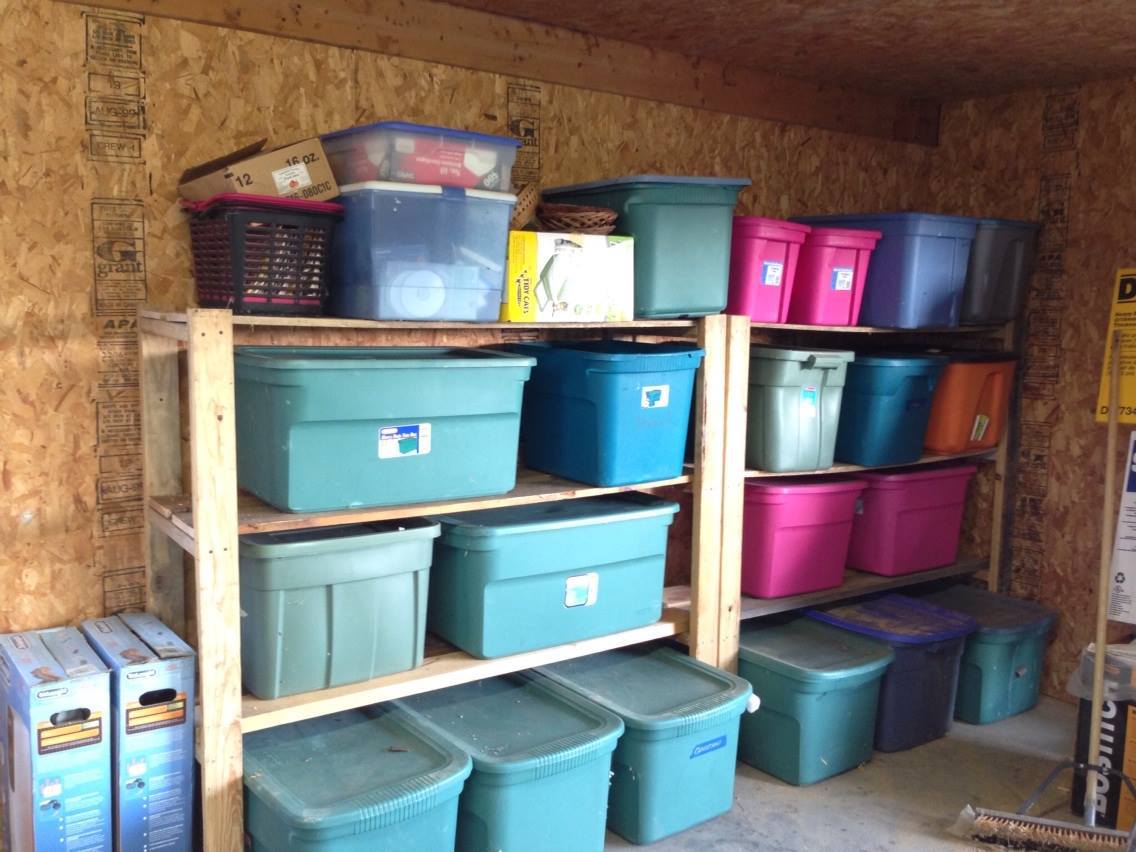
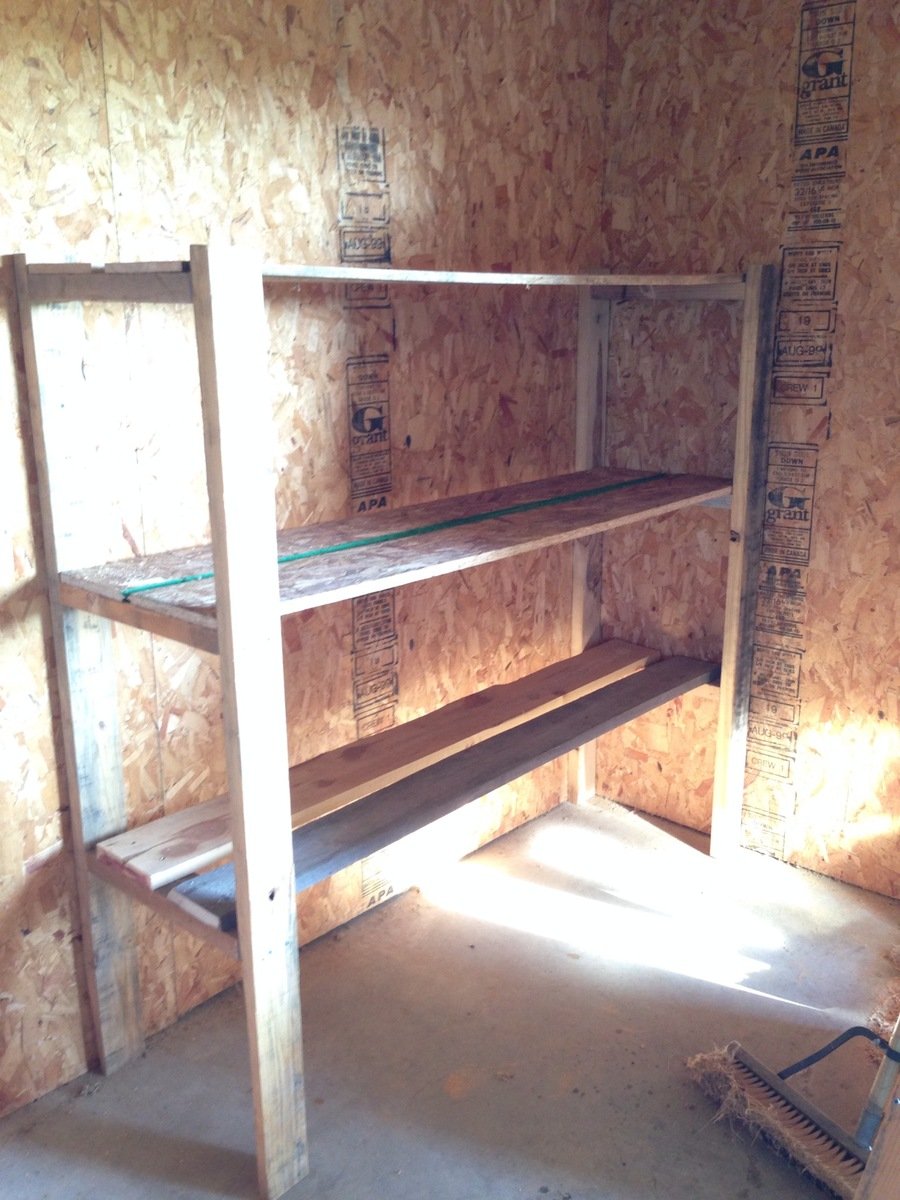
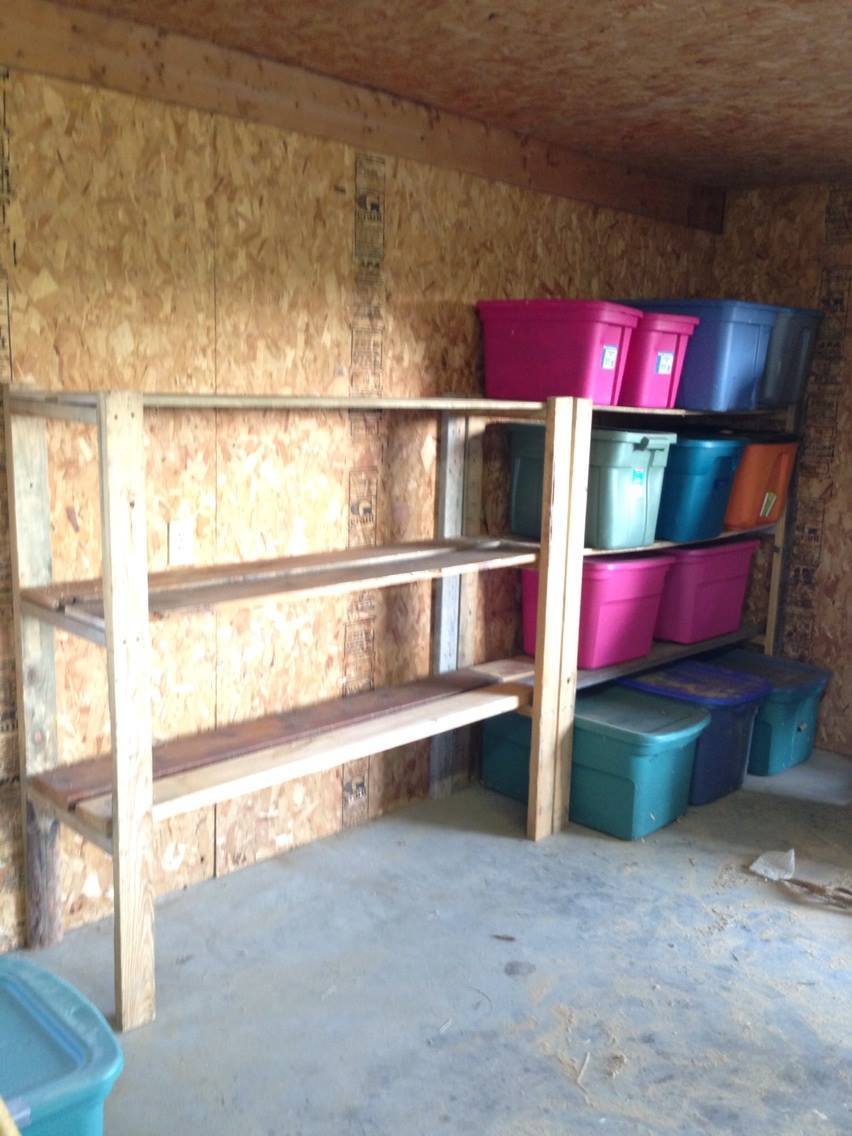
My daughter and I used these easy plans to build these two shelving units for the garage. We altered the plan slightly.The sizes that I used were determined by the lumber I had available as we used rescued lumber for this project. The height on each is 5' (tallest 2x4's we had) and the length is 64". All I had for 2x4's were 48" pieces so we used some other rescued lumber for the shelves. We used whatever we had. So they are made from misc lumber. The 2x material made for the strongest shelves. Depth is 17" as in original plans. 

We added additional brackets for support under a couple of the shelves. We also attached to the wall to avoid tipping. I absolutely love these. So useful. No more unstacking each tote to find out what's in the bottom one. I LOVE IT! Thanks for the plans.

We completed these in one afternoon. 

Estimated Cost
Used rescued lumber and screws already on hand.
Estimated Time Investment
Afternoon Project (3-6 Hours)
Recommended Skill Level
Starter Project

Fancy X Farm House Table

Submitted by Anonymous (not verified) on Sun, 02/05/2017 - 12:24

Great way to turn inexpensive pine into a beautiful piece. Our wood was quite wet so we were extra careful to keep it tight and straight. Once the top was assembled, out came the torch! The torch provided an instant partial drying of the wood causing a great bonding and snug fit. The flame brought out the grain in various colors. We opted to use polyurethane as a finish.

Of course we had to make benches to match! 

Estimated Cost
$120
Estimated Time Investment
Weekend Project (10-20 Hours)
Finish Used
Torch Polyurethane
Recommended Skill Level
Beginner

Brookstone Desk

This was a fun project. My first using drawer slides. Best advise would be to recheck squareness before attaching top.

Built from Plan(s)
Estimated Cost
$65
Estimated Time Investment
Weekend Project (10-20 Hours)
Finish Used
Dark Walnut stain
Poly top coat
Recommended Skill Level
Beginner

Comments

DIY Step Stool

Submitted by Anonymous (not verified) on Mon, 12/16/2024 - 10:28

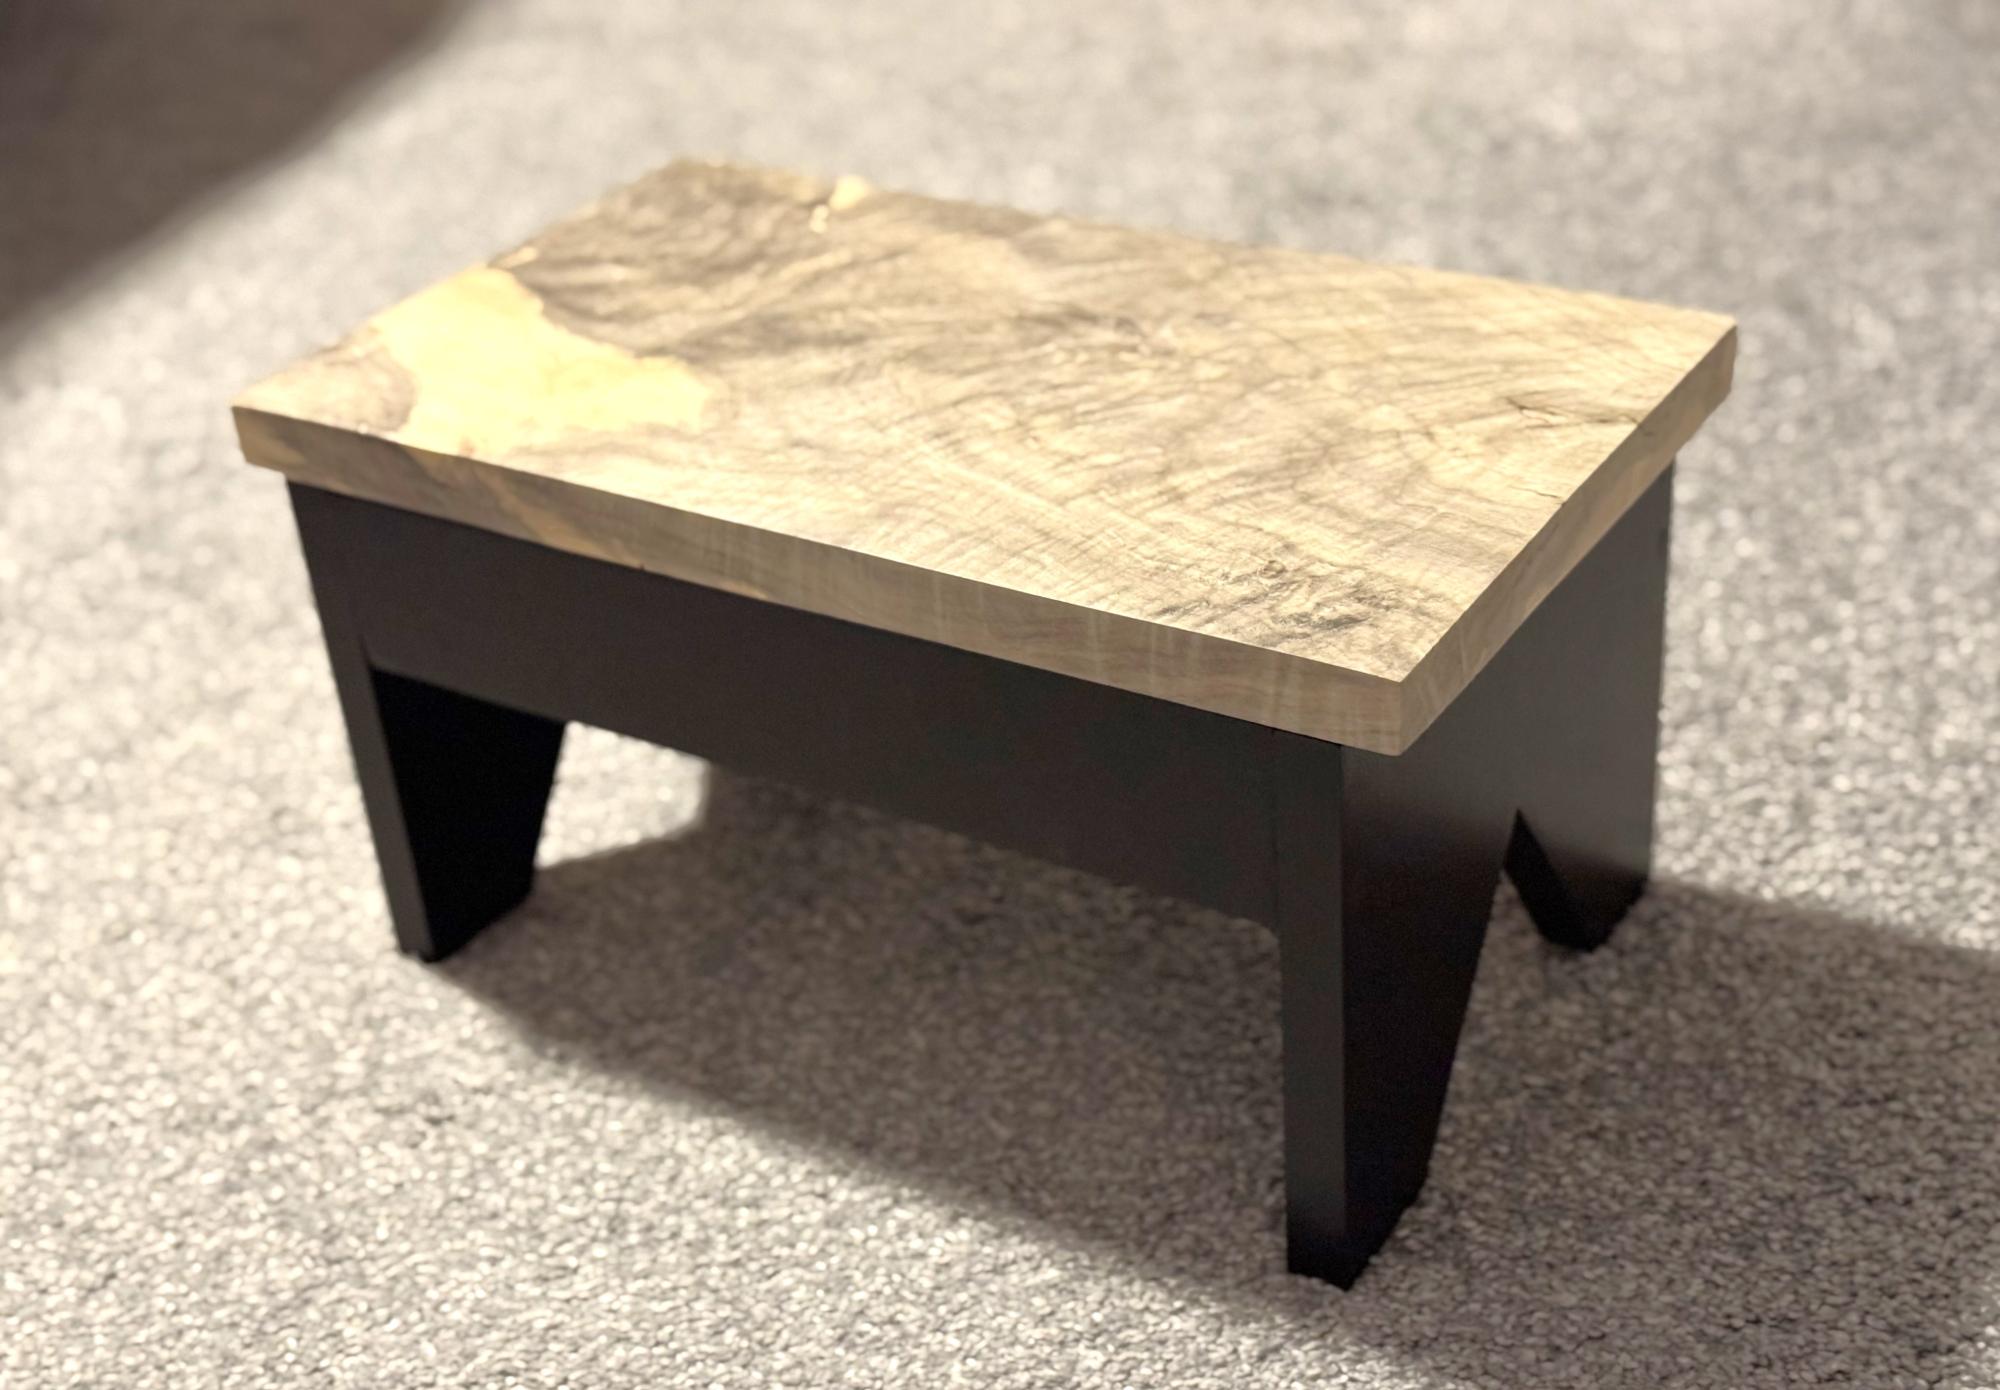
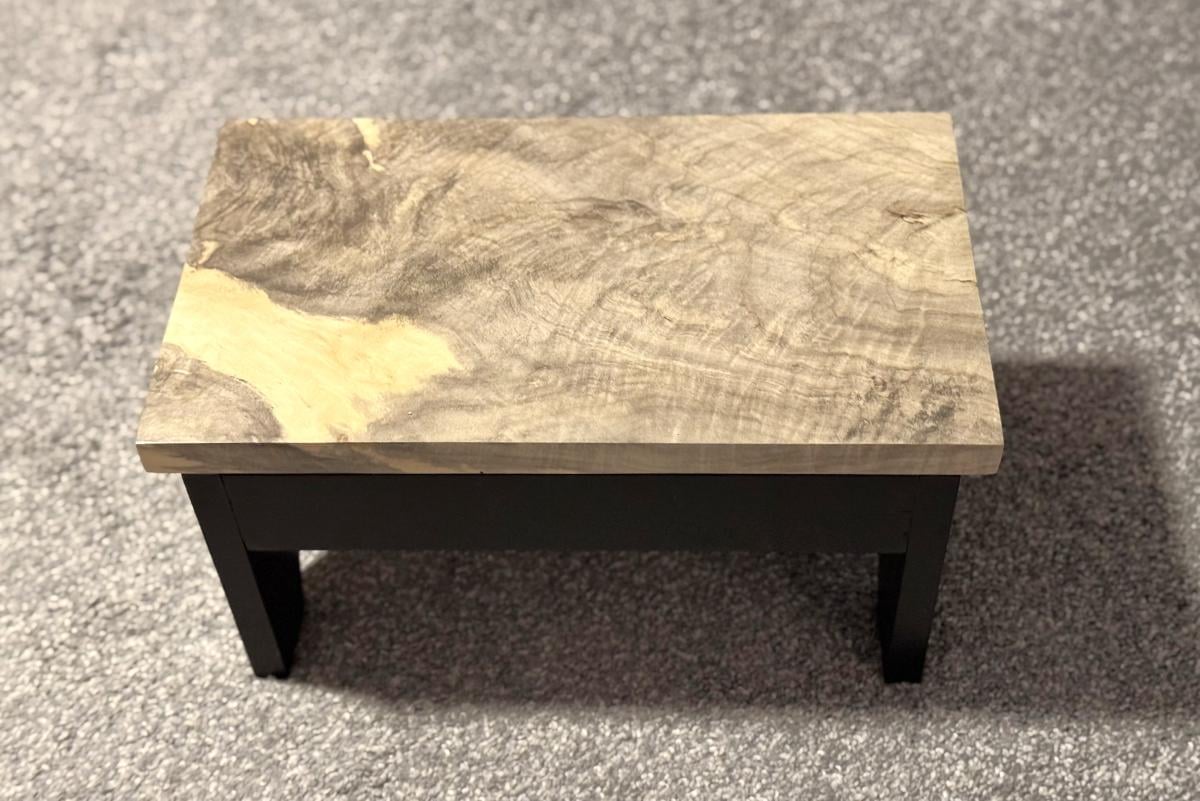
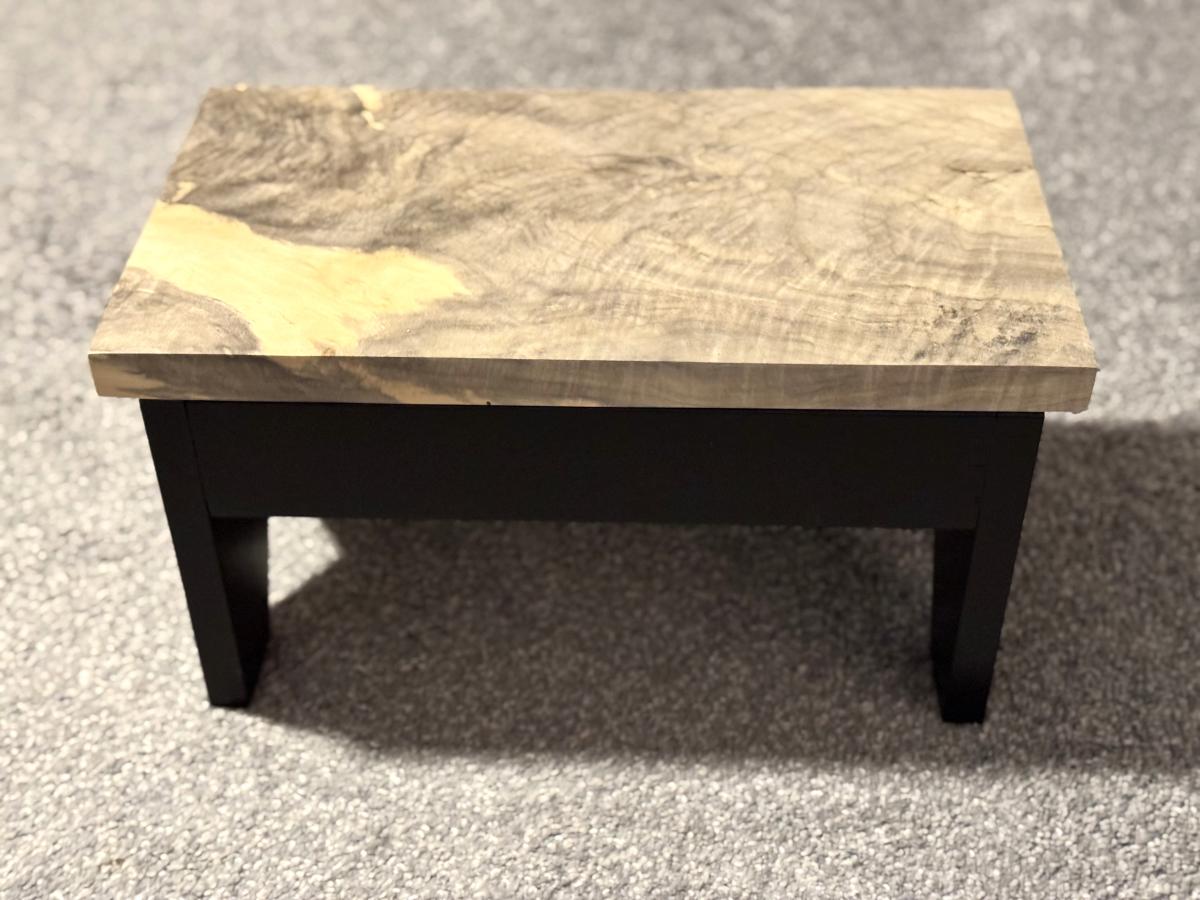
I followed your plans for a step stool using poplar for the base (painted black) and boxelder maple for the top. (Finished in satin polyurethane ) I started out used pocket holes for all the attachments to hide the fasteners, but the first support piece I attempted to attach split the edge of the leg. I was able to repair it and fix the piece, but decided to use wood screws from the outside instead, plugging the holes with poplar. Thanks for the plans, they were a big help!

Seasonal And Holiday

Farmhouse Bed

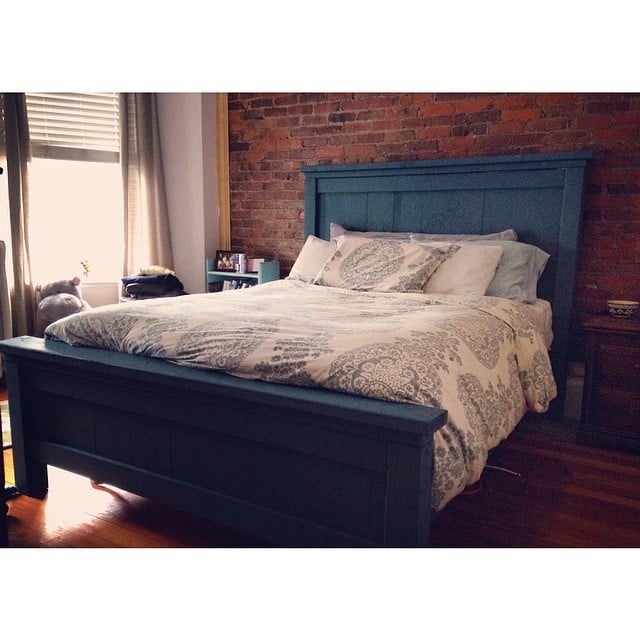
My boyfriend and I made this bed in about six hours on a saturday. The instractions were easy to follow and I am in love with this bed! Its very sturdy and i get tons of compliments on it! 

Built from Plan(s)
Estimated Time Investment
Day Project (6-9 Hours)
Finish Used
blue paint
Recommended Skill Level
Intermediate

Comments

Farmhouse table

Submitted by Anonymous (not verified) on Tue, 02/07/2017 - 18:52

Thanks for the amazing detail in your plans. I was able to make this table for my family. 

Estimated Cost
$120
Estimated Time Investment
Weekend Project (10-20 Hours)
Finish Used
Dark walnut
Recommended Skill Level
Starter Project

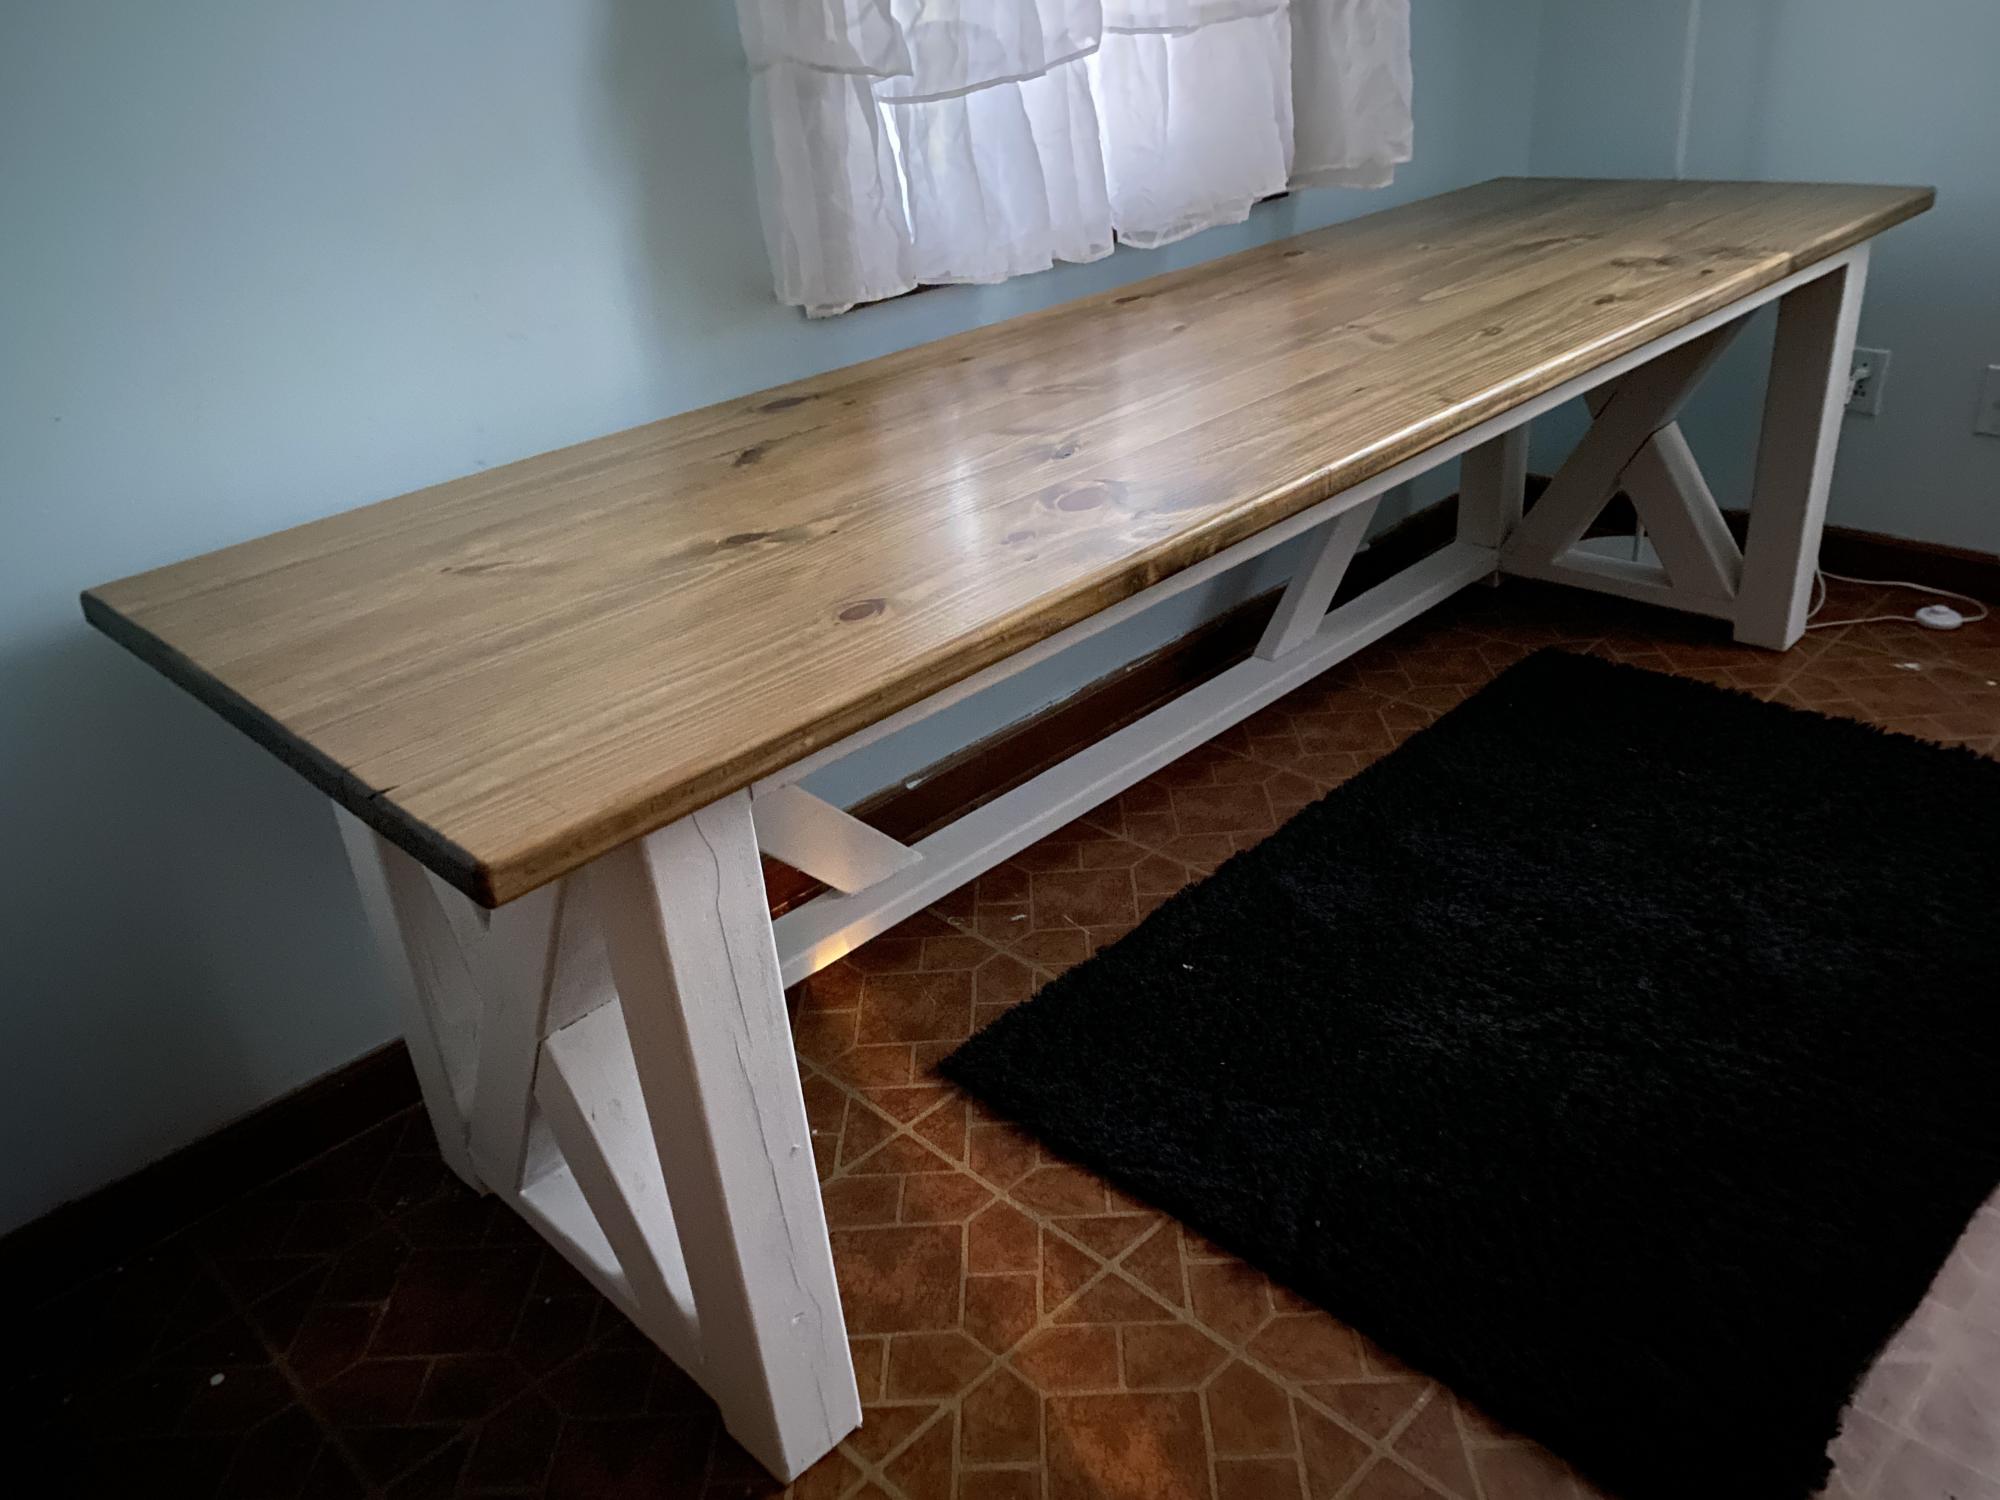
8' Farmhouse Desk

I created this farmhouse style desk. Quite the challenge dealing with such long boards!

Estimated Time Investment
Week Long Project (20 Hours or More)
Finish Used
Top: Varathane Dark Walnut x1, Minwax One Coat Satin finish x2, Minwax paste wax
Bottom: Rustoleum Espresso brown spray paint, thick coat of Behr smokey white matte finish.
Recommended Skill Level
Beginner

Comments

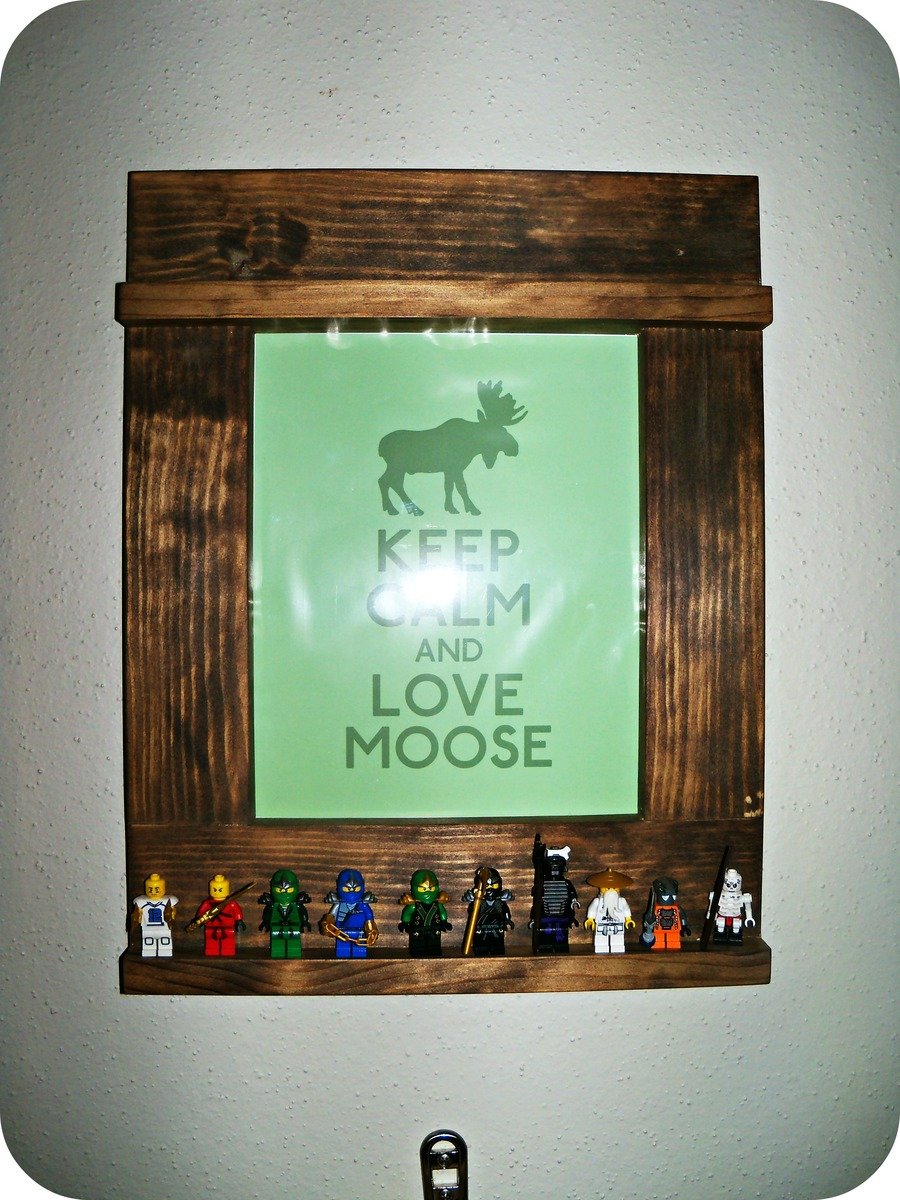
Craftsman Frame

Submitted by Mrsmike on Tue, 01/08/2013 - 15:07

I bought this really cool print from a shop on Etsy, but I was having a hard time finding a frame for it My husband made the bed for his room too, and I wanted the frame to coordinate.

This was a simple project and really looks great in his room. We used an inexpensive pine and the same stain as his bed. I really wanted a green stain, but I couldn't find any like the type Anna used. This frame took just a little over an hour to put together.

Built from Plan(s)
Estimated Cost
$6
Estimated Time Investment
An Hour or Two (0-2 Hours)
Finish Used
minwax Americana and minwax furniture polish
Recommended Skill Level
Starter Project

Comments

Loft Bed

Submitted by Anonymous (not verified) on Fri, 02/10/2017 - 11:58

Made from the Camp Loft Bed plans.  Added some additional strength with 4x4 legs instead of 2X4 and added some additional supports underneath for the rambuncious kid that was going to be using it.


Also since the room was small, it was made to be dismantled with a ladder instead of the stairs.


Fun little project for a friend who is also expecting another.  So it looks like we will expand this loft bed for future expansion.

Estimated Cost
$100
Estimated Time Investment
Day Project (6-9 Hours)
Finish Used
Wood Stain - Mini Wax Red Oak
Recommended Skill Level
Intermediate

Rustic logo end table

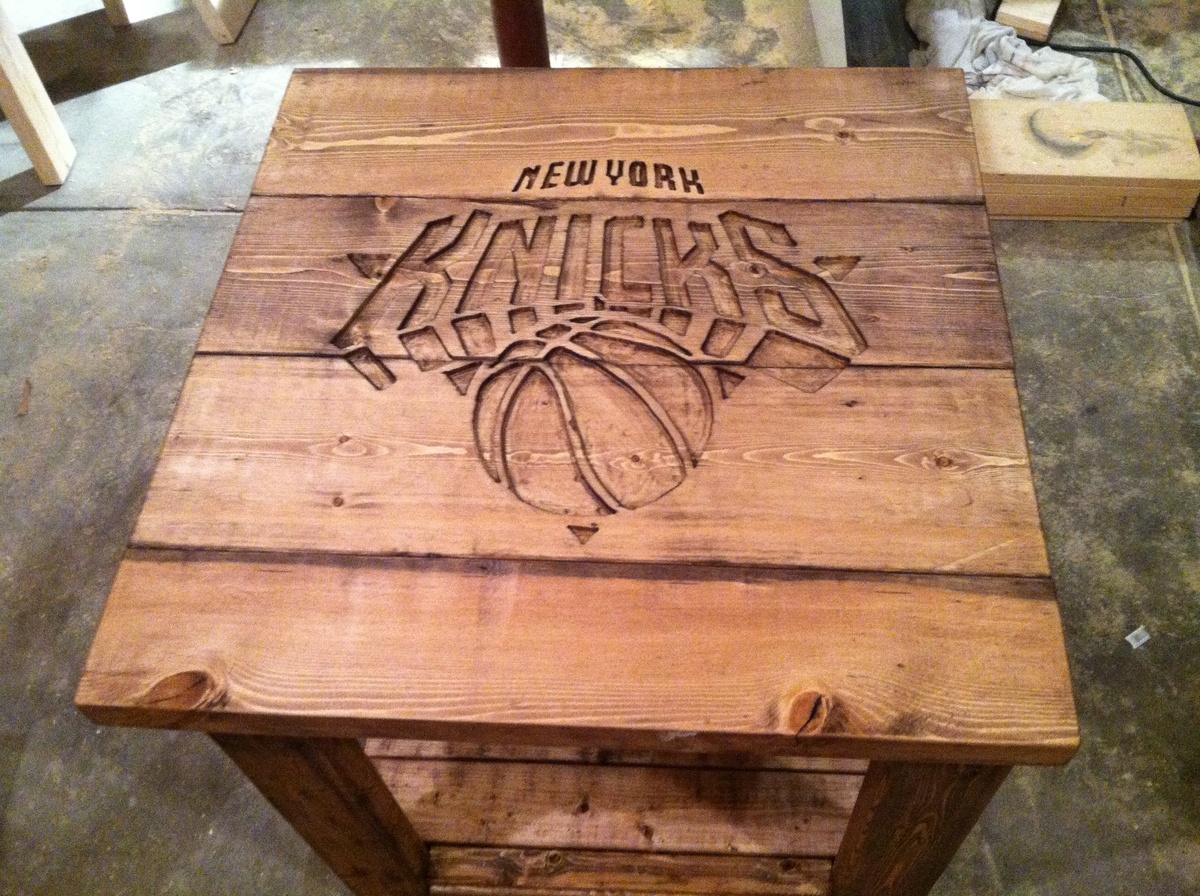
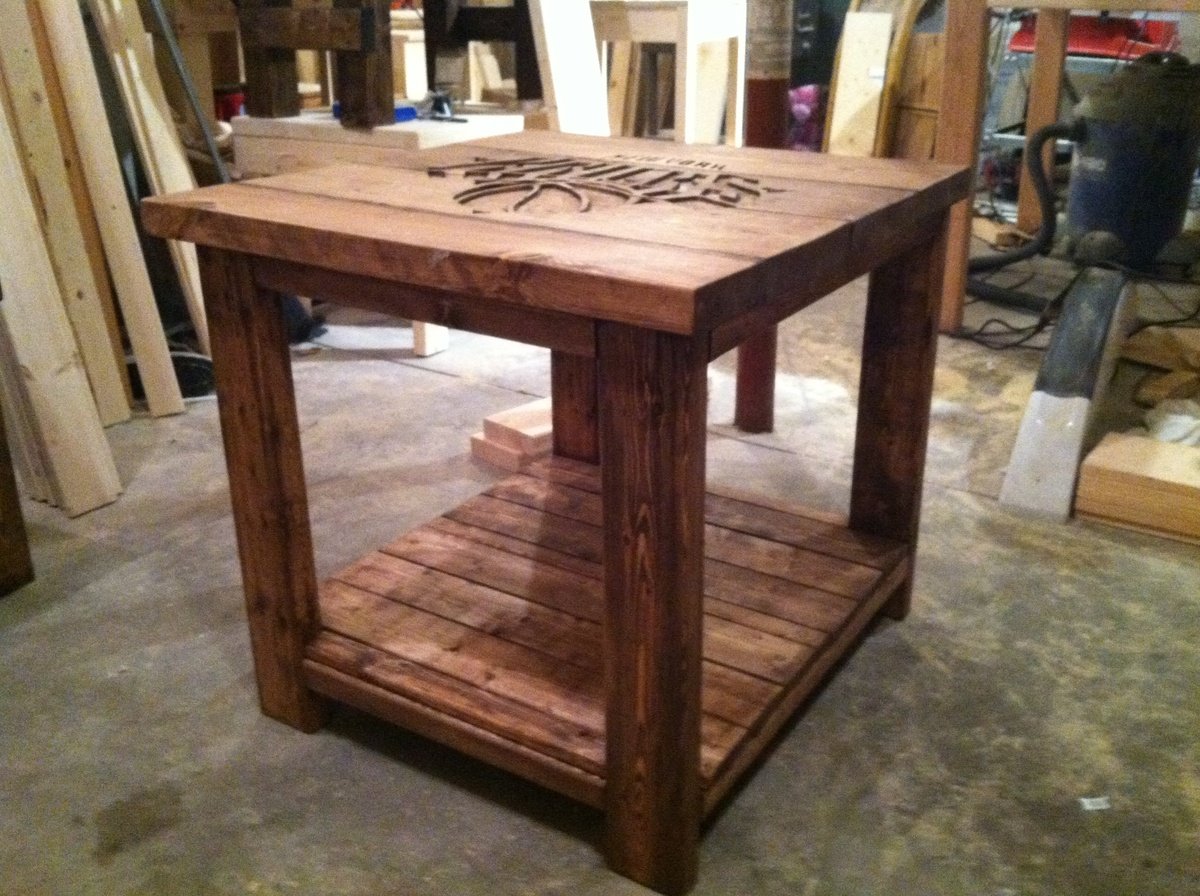
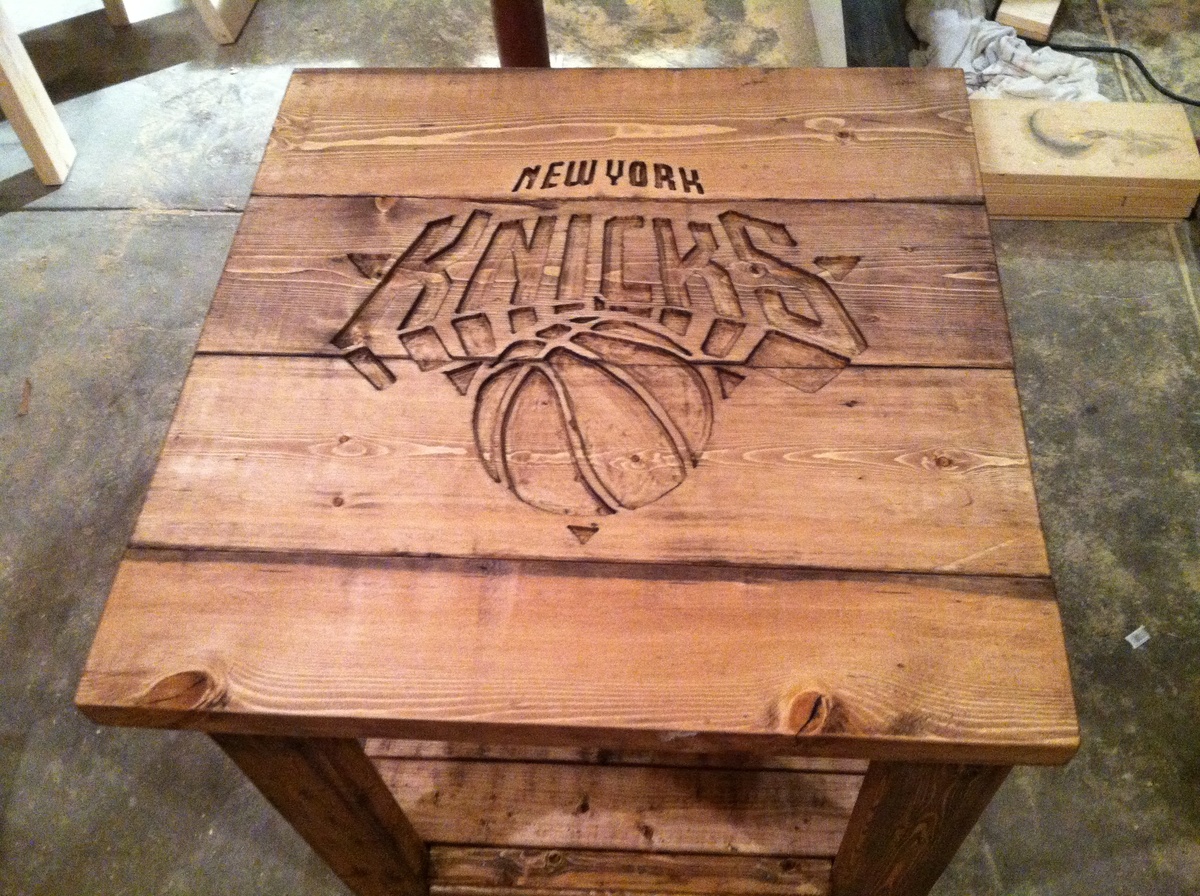
Made a gift for a Knicks lover. Used a dremel trio to etch in logo. Went back and forth on adding color and in end decided not to. But gave me another idea on my next logo table

Built from Plan(s)
Estimated Time Investment
Afternoon Project (3-6 Hours)
Finish Used
Min wax special walnut
Recommended Skill Level
Intermediate

Comments

ekimwa

Thu, 01/10/2013 - 17:54

Now that's cool!!! Need a tutorial on how to do that!!!

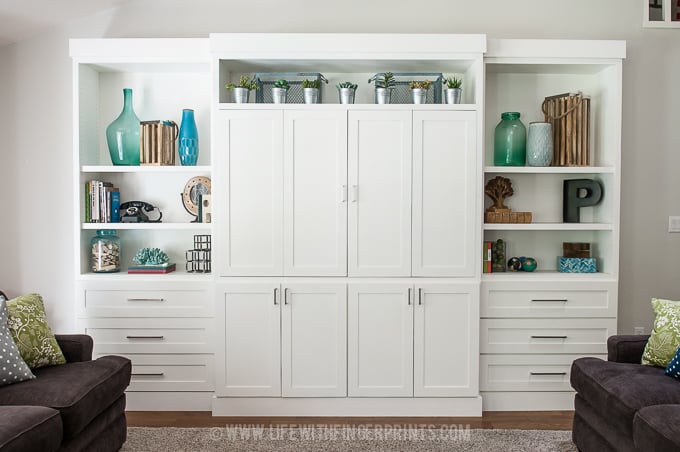
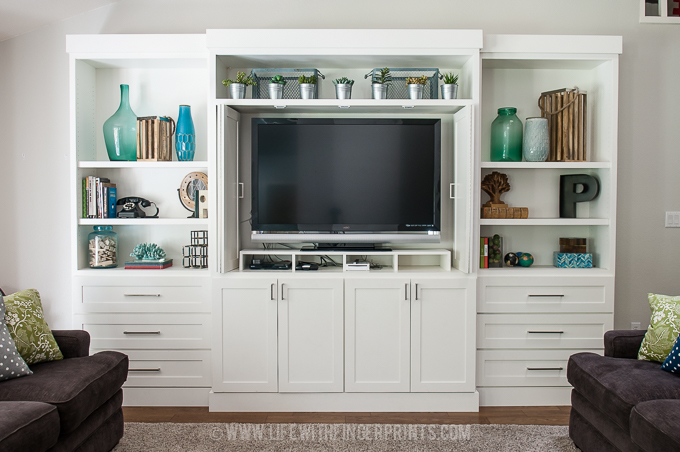
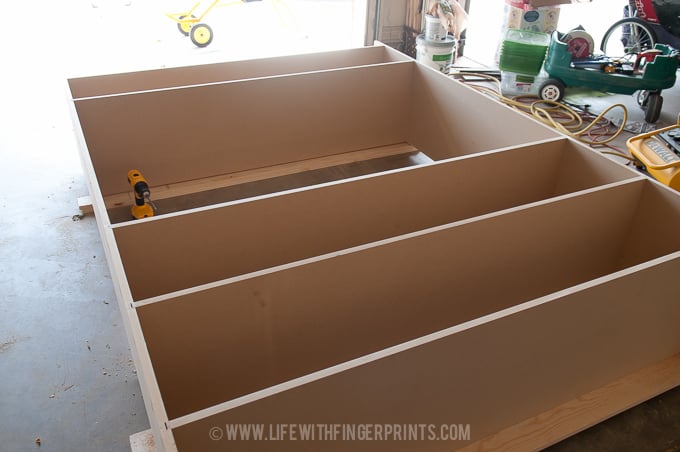
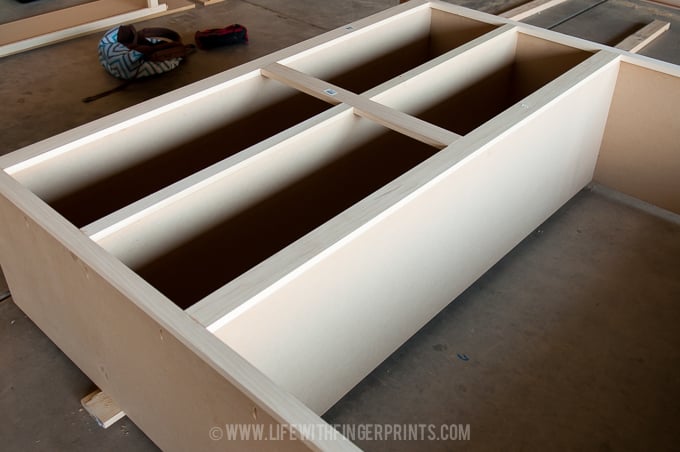
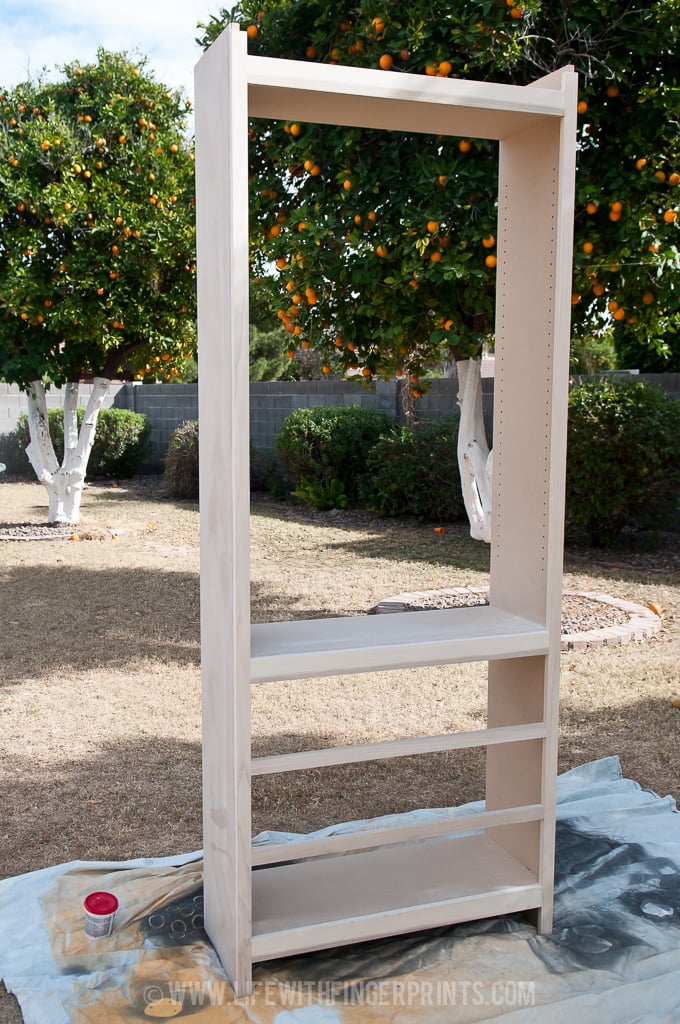
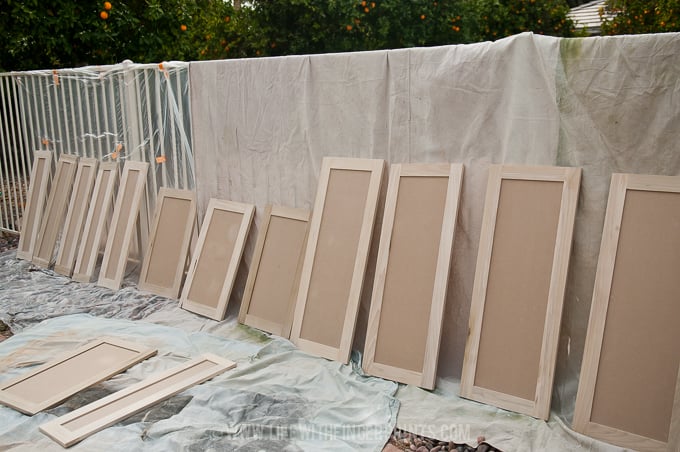
DIY Entertainment Center

Get behind the scenes on this entire project broken down step by step on my blog; http://www.lifewithfingerprints.com/2014/10/the-entertainment-center.html

Estimated Cost
$1000
Estimated Time Investment
Week Long Project (20 Hours or More)
Finish Used
Painted using a Graco TruCoat sprayer.
Recommended Skill Level
Advanced

Comments

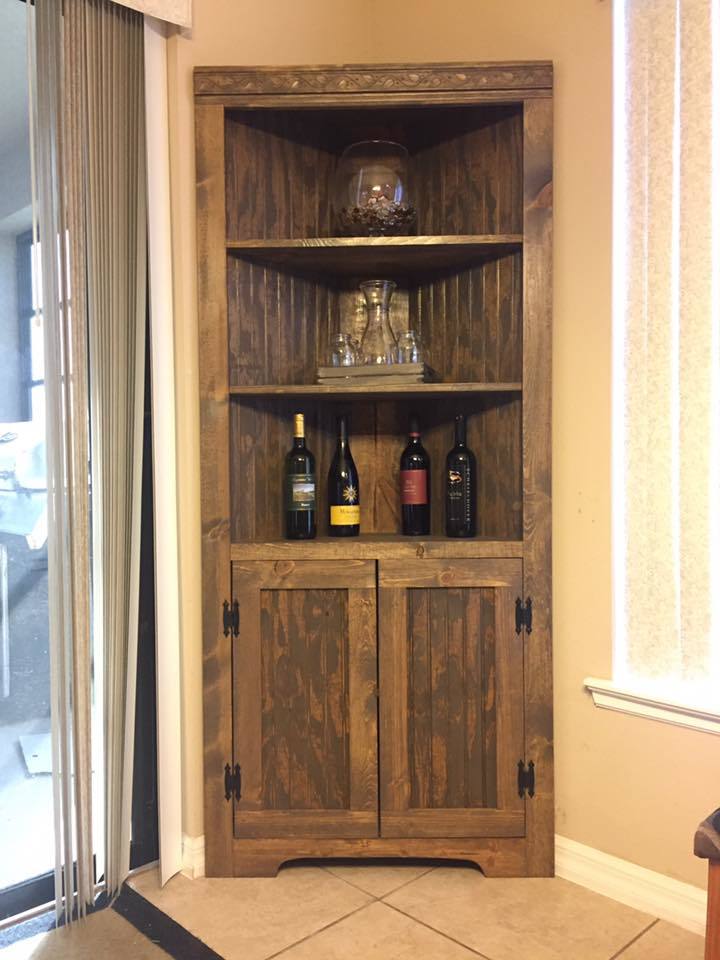
Corner Cabinet

Submitted by T-Dan on Sun, 02/12/2017 - 13:02

built to fit messy corner.  wife loves it there!

Built from Plan(s)
Estimated Cost
$105 for wood and I had the stains and screws from previous projects. Fixtures (some yet to be installed), were about $20.
Estimated Time Investment
Day Project (6-9 Hours)
Finish Used
mixture of walnut and gray stains, with polyeurethane topcoat.
Recommended Skill Level
Beginner

Comments

Email Me
Free Plans

Get new plans sent right to your inbox for free!

    We won't send you spam. Unsubscribe at any time.