Salvaged Wood Projects!
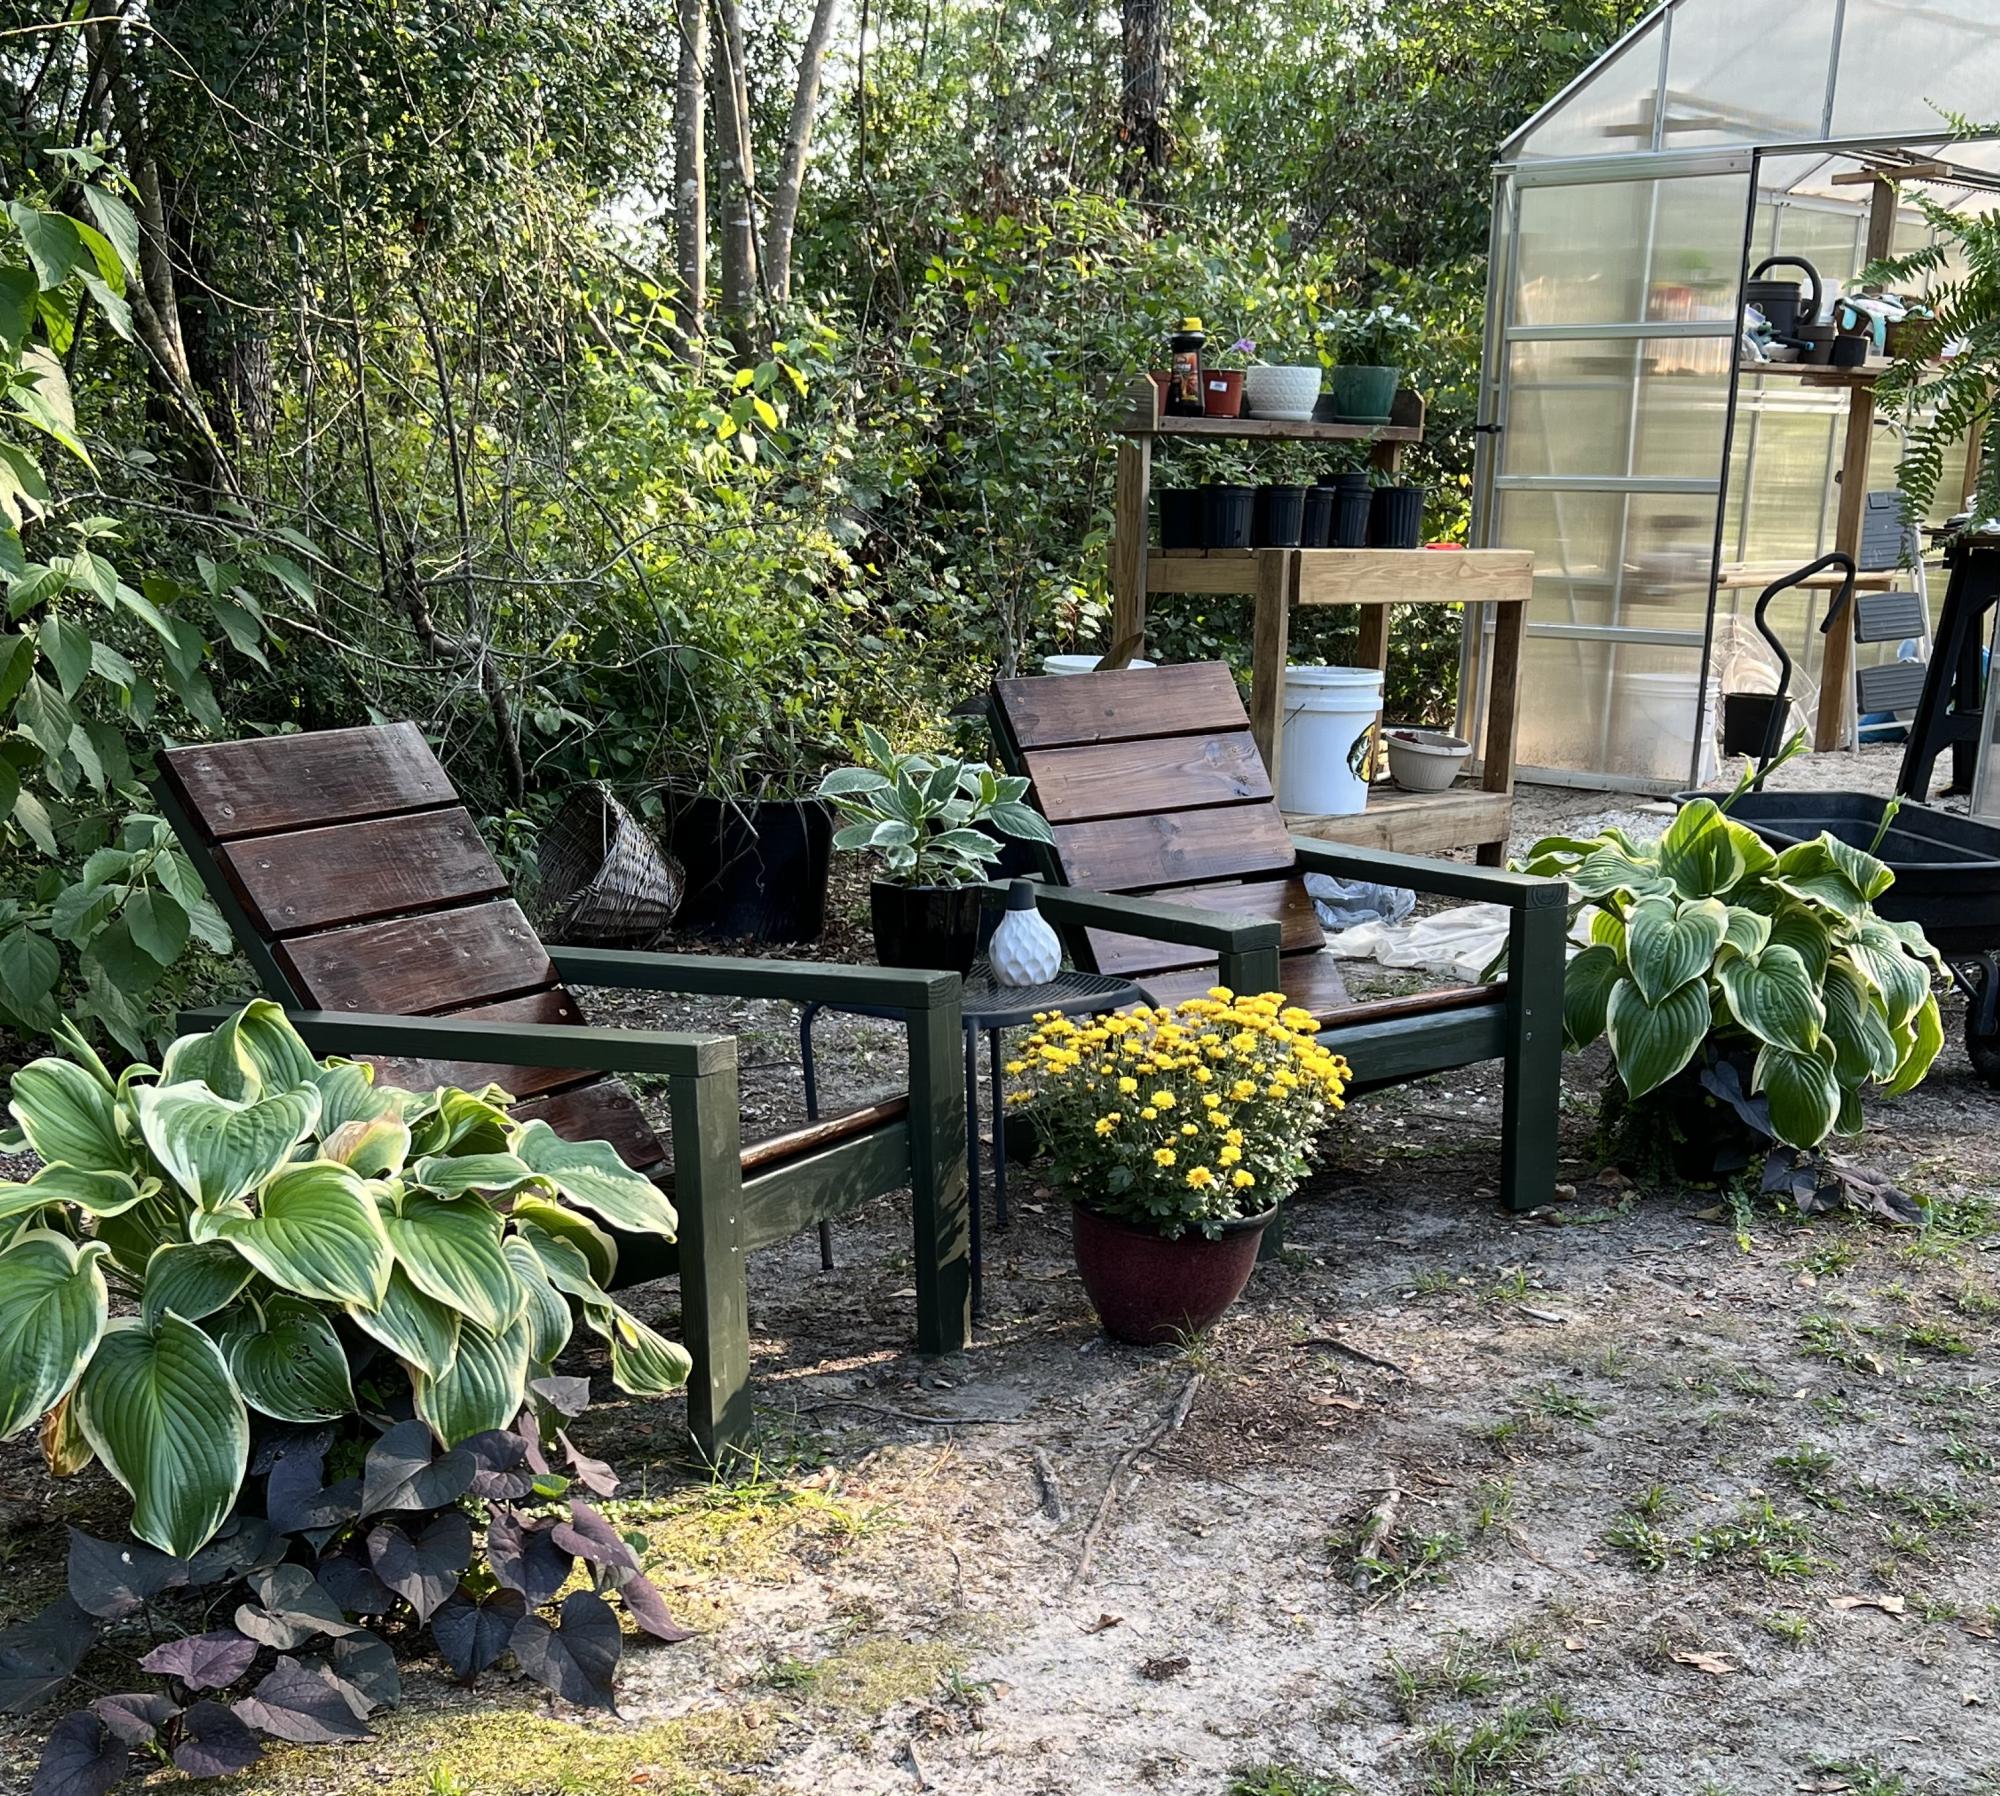
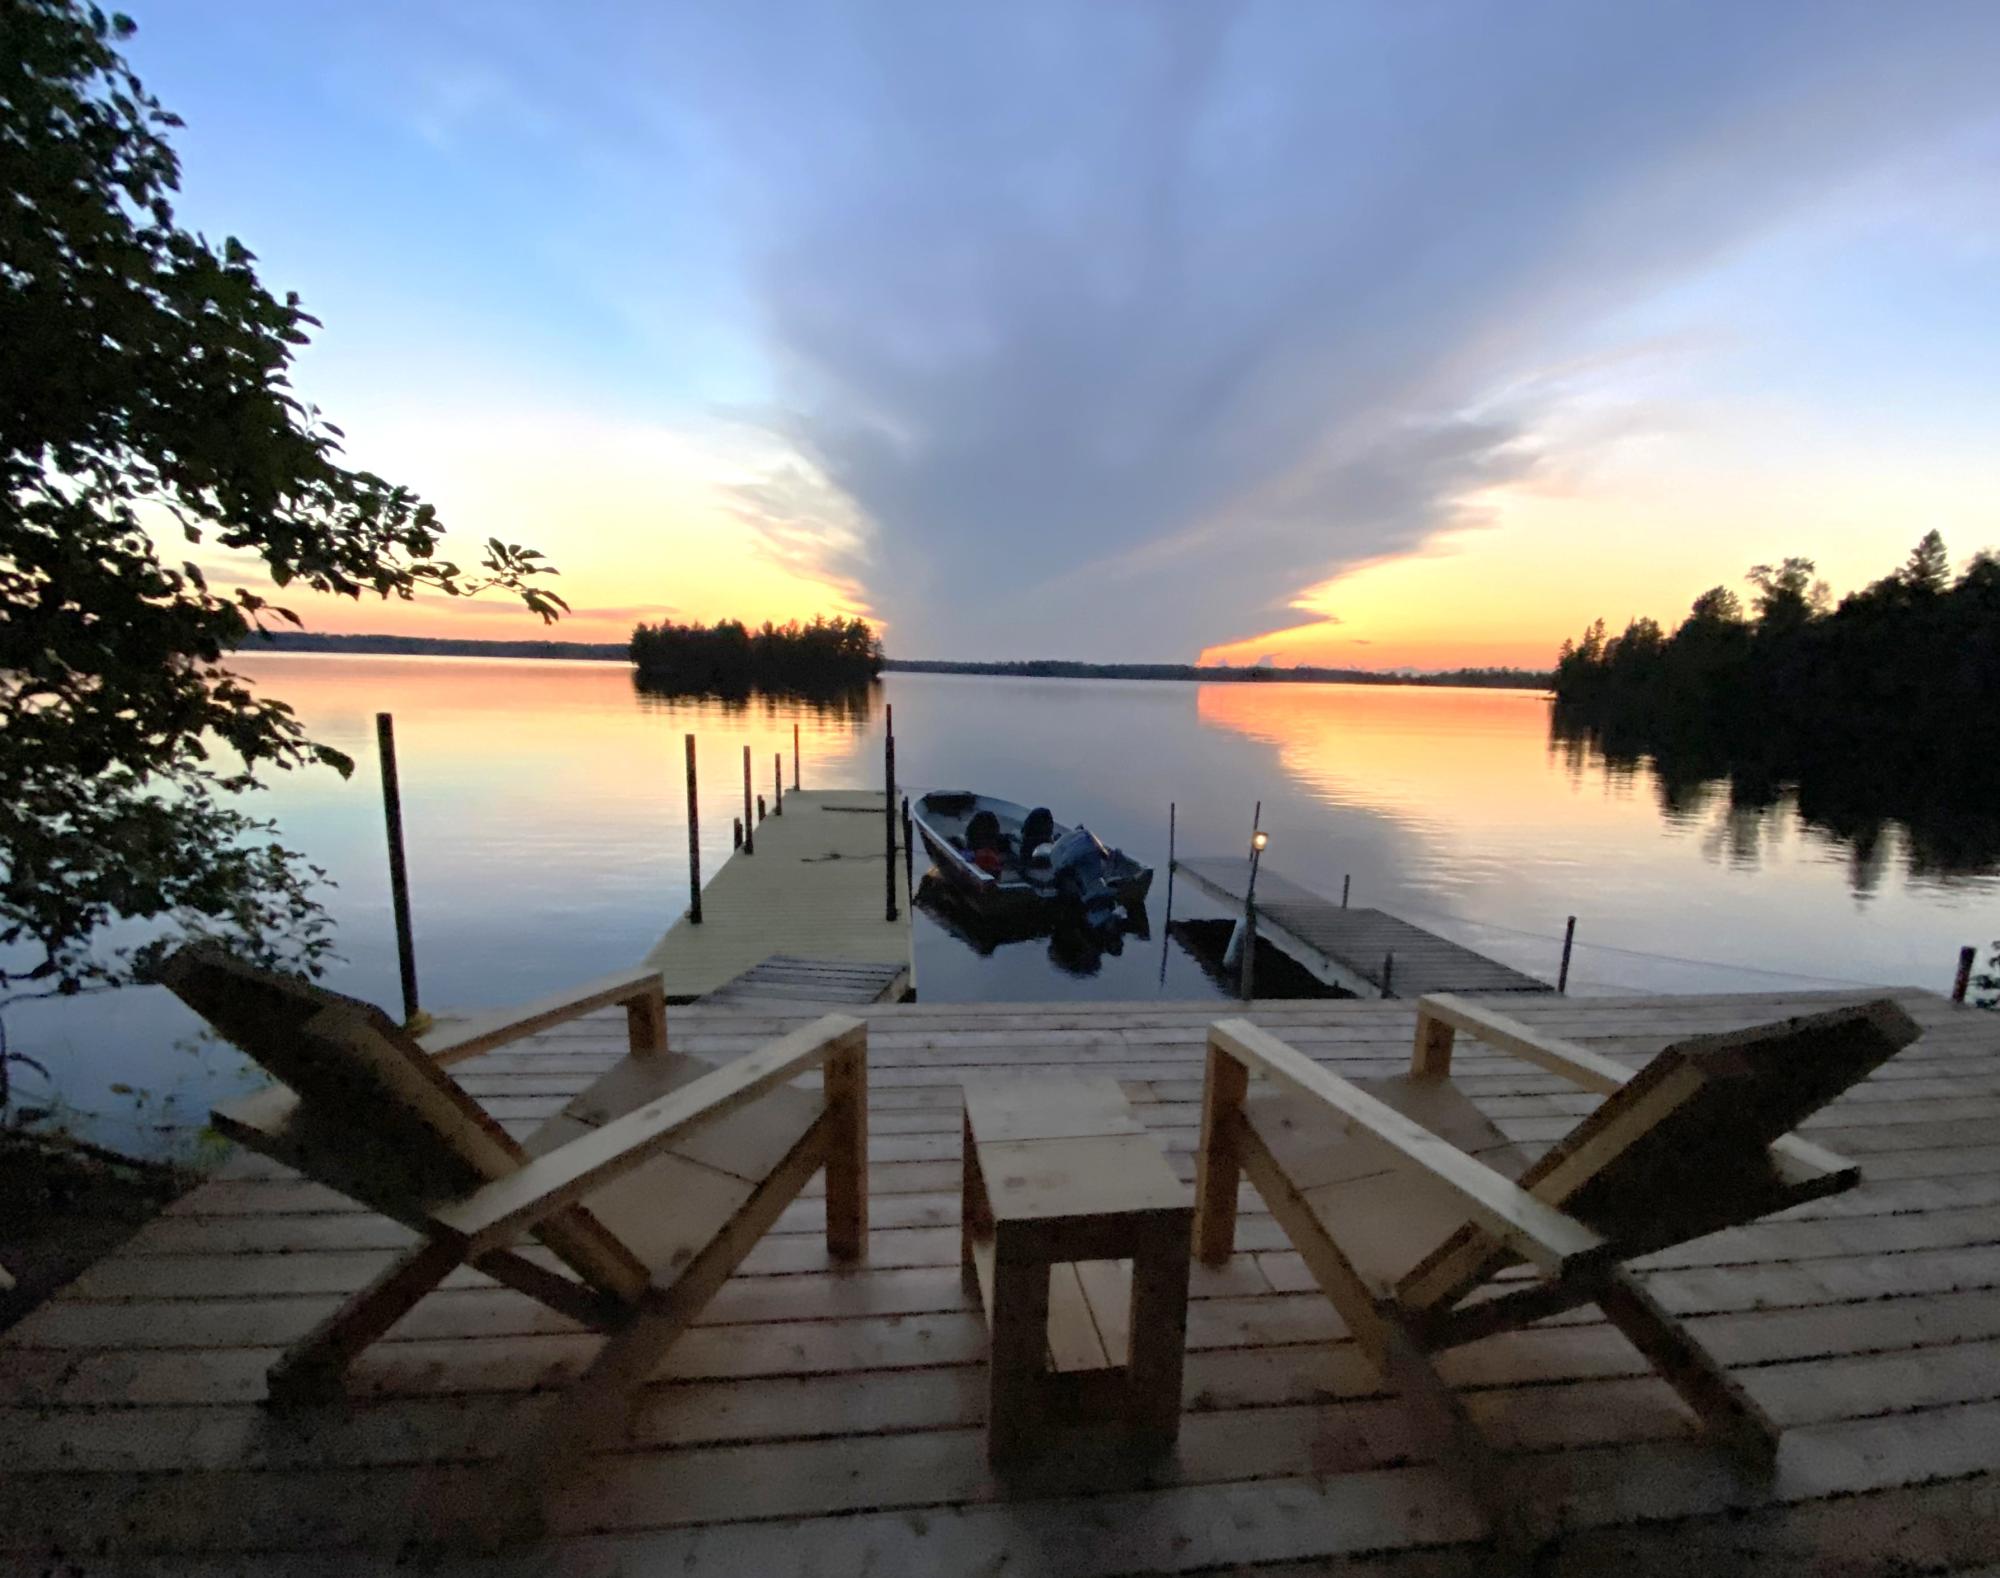
The potting bench was my first ever project followed soon by the essential Adirondack chairs. All were made with reclaimed wood salvaged from a porch and from my husband’s scrap pile.
Kelly
Built from Plan(s)
The potting bench was my first ever project followed soon by the essential Adirondack chairs. All were made with reclaimed wood salvaged from a porch and from my husband’s scrap pile.
Kelly
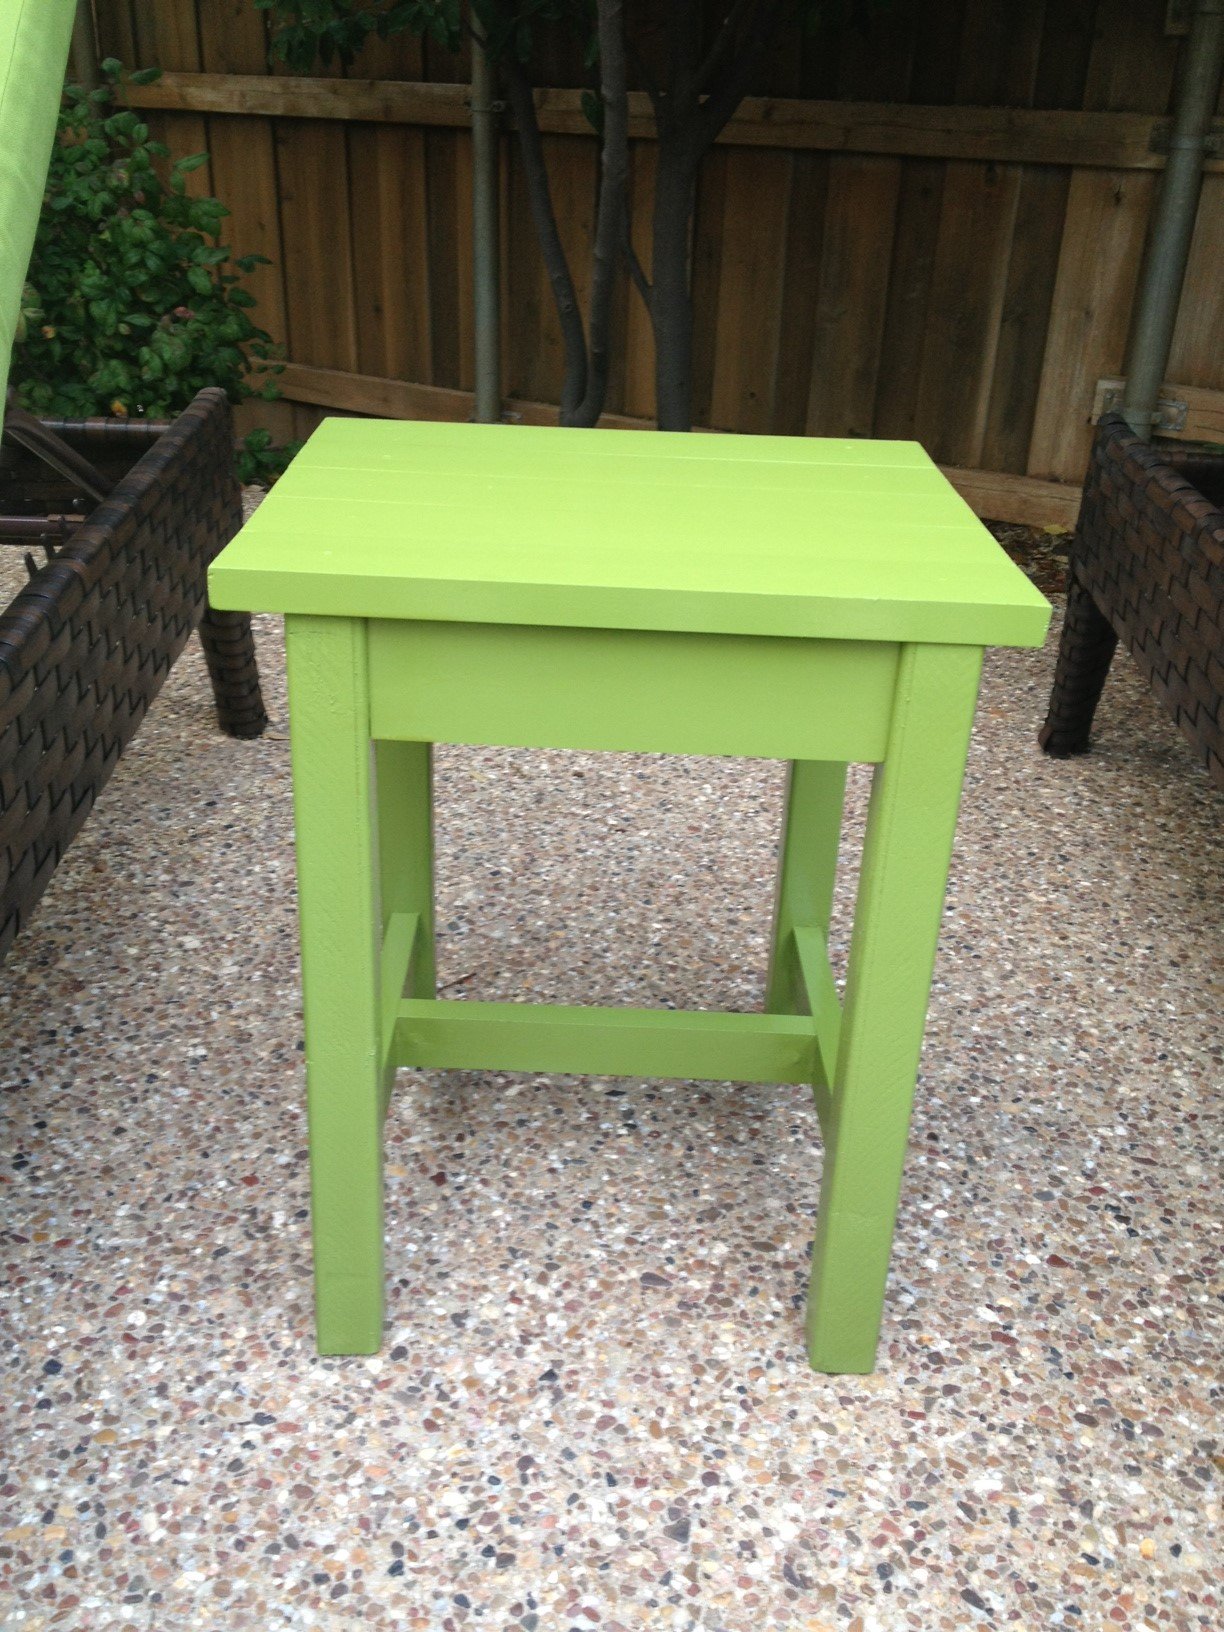
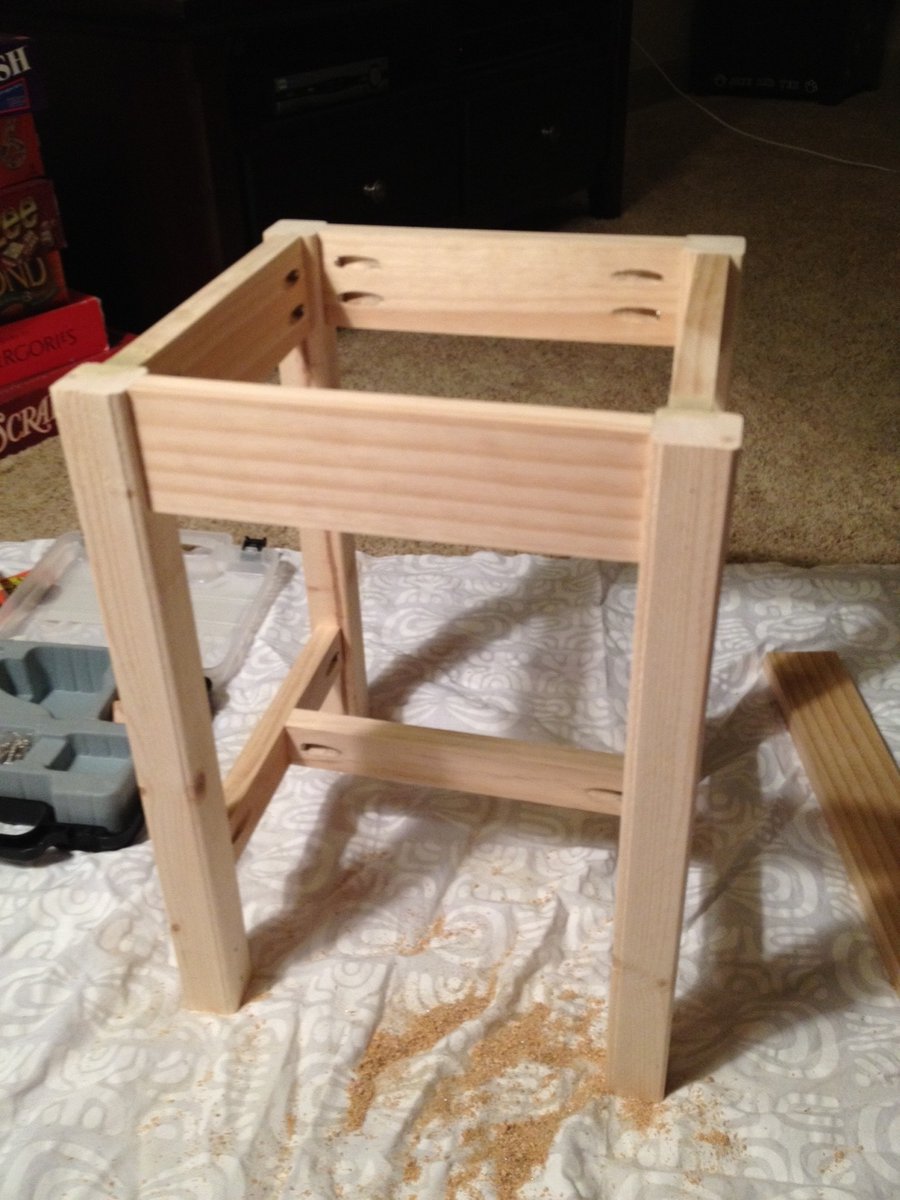
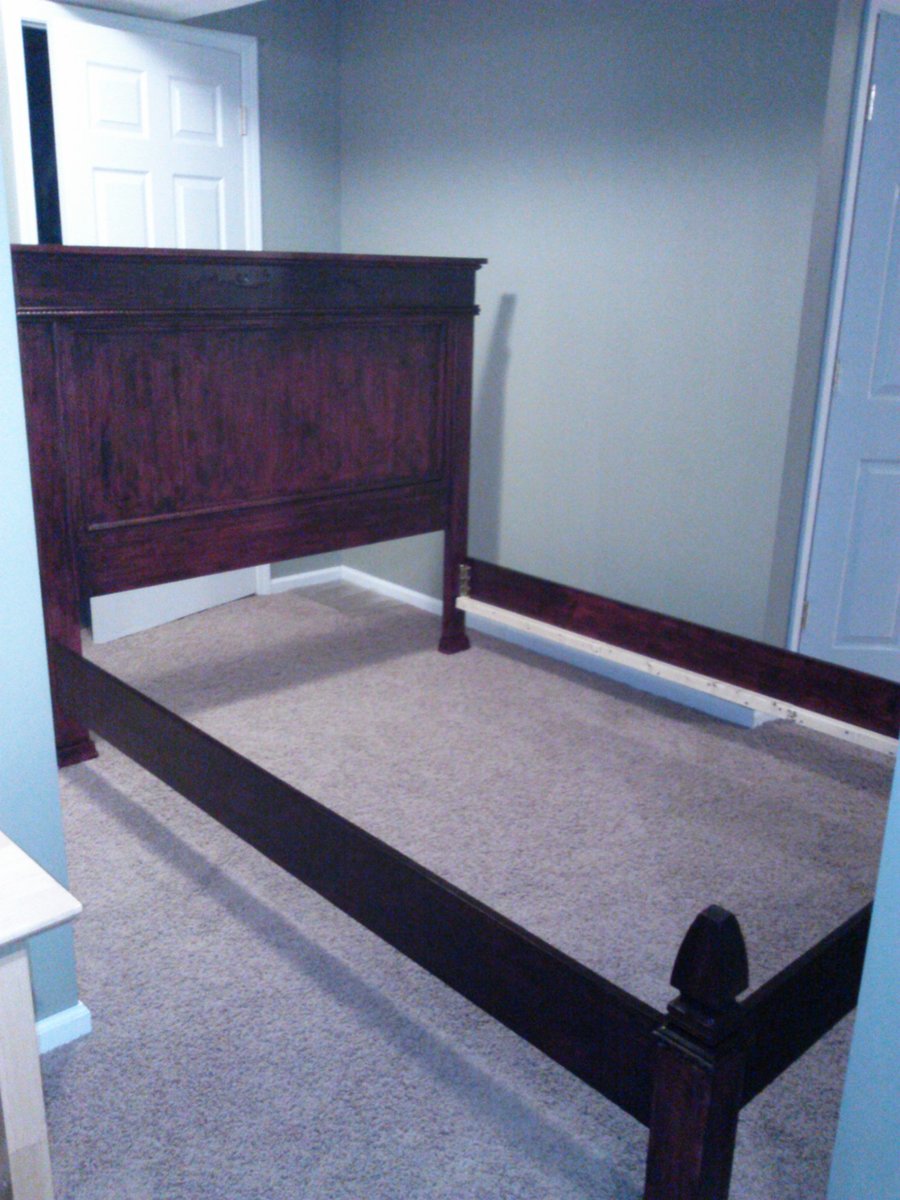
This was my very first furniture-building project. I was pleasantly surprised with how it turned out! It's definitely not perfect, but with some practice I plan to try bigger projects! It was a little more expensive than I would have liked because I had to buy a pocket hole kit that was $40, but hopefully I will be able to use the kit for future projects.
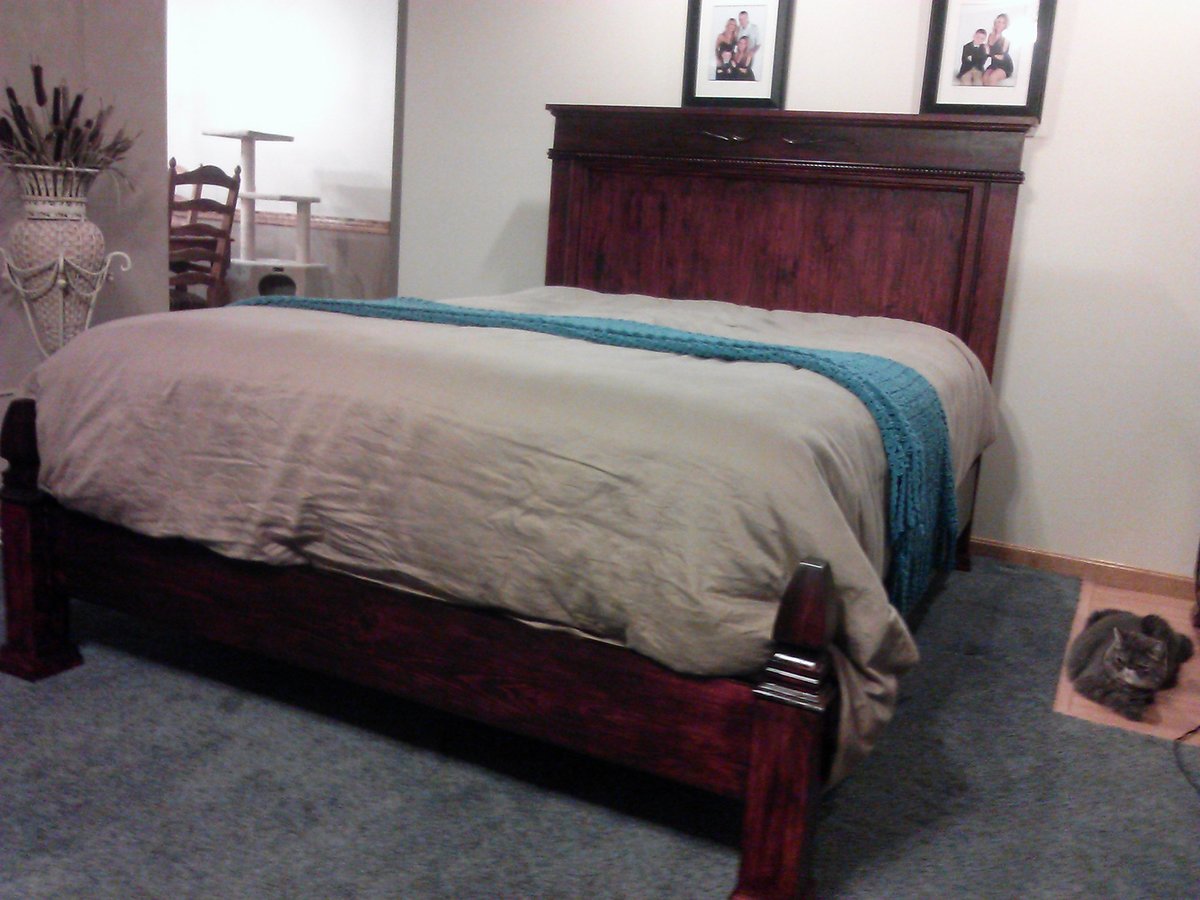
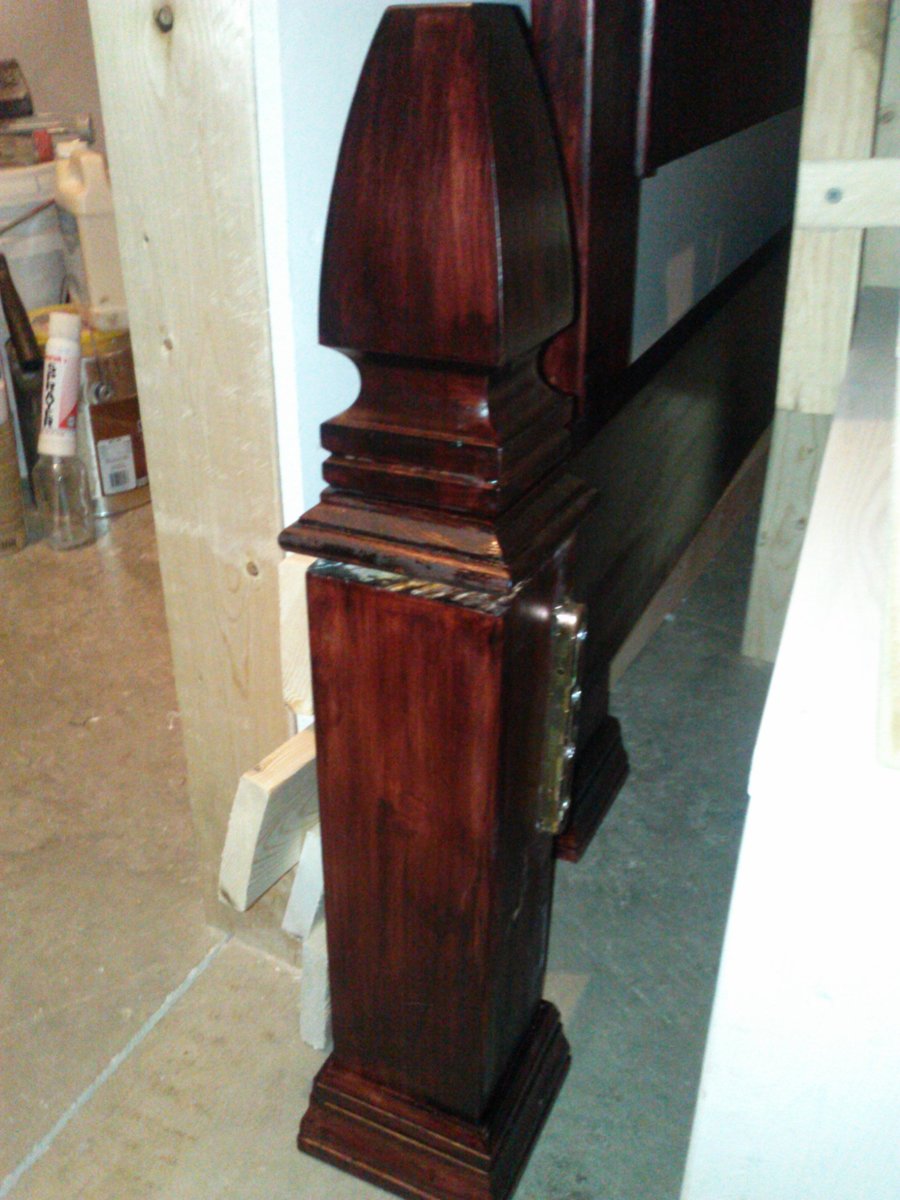
I followed the plans exactly except I used 4X4's for the "footboard' legs. I added molding to all the feet. I also added screw in fence top posts to the footboard legs. I had a small blemish I wanted to hide on the headboard, so I added wooden appliques to cover the mark.
To make the bed easy to move and store, I bought bed rail fasteners from this site http://www.wwhardware.com/wood-technology-bed-fittings-wt8056.

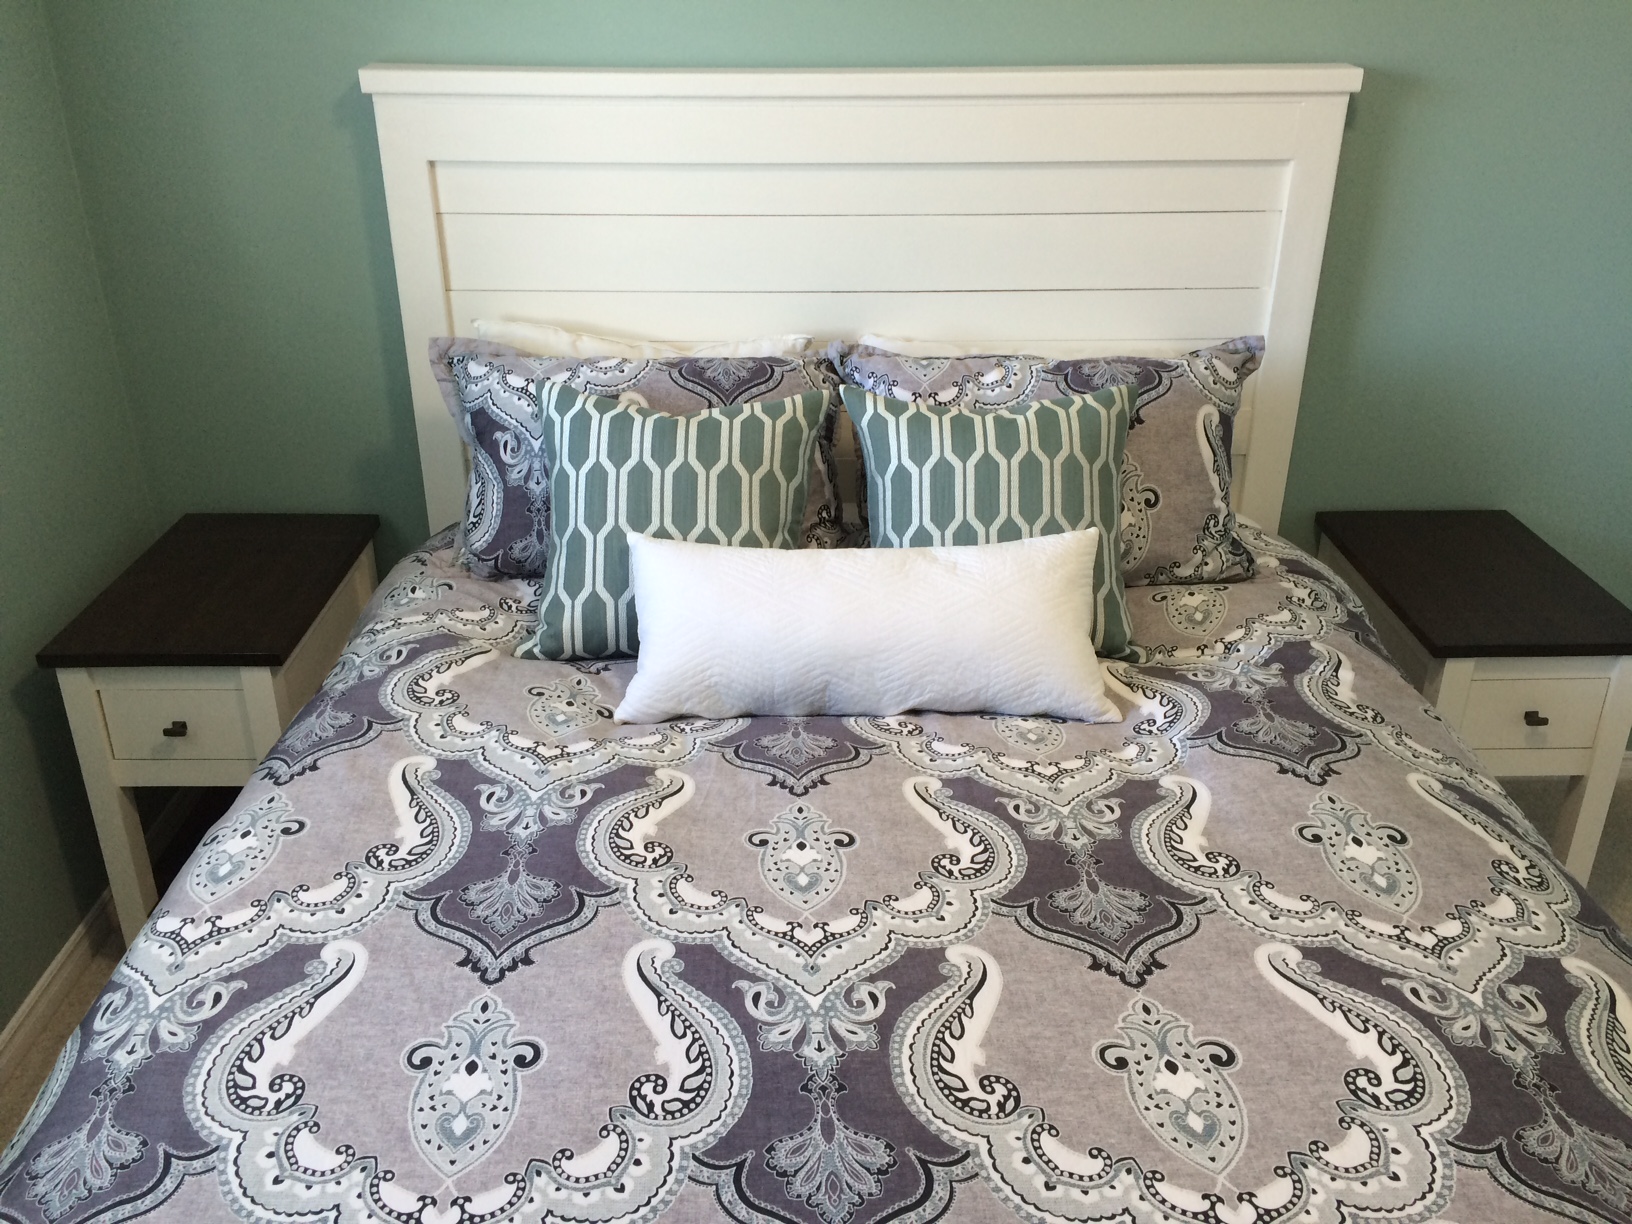
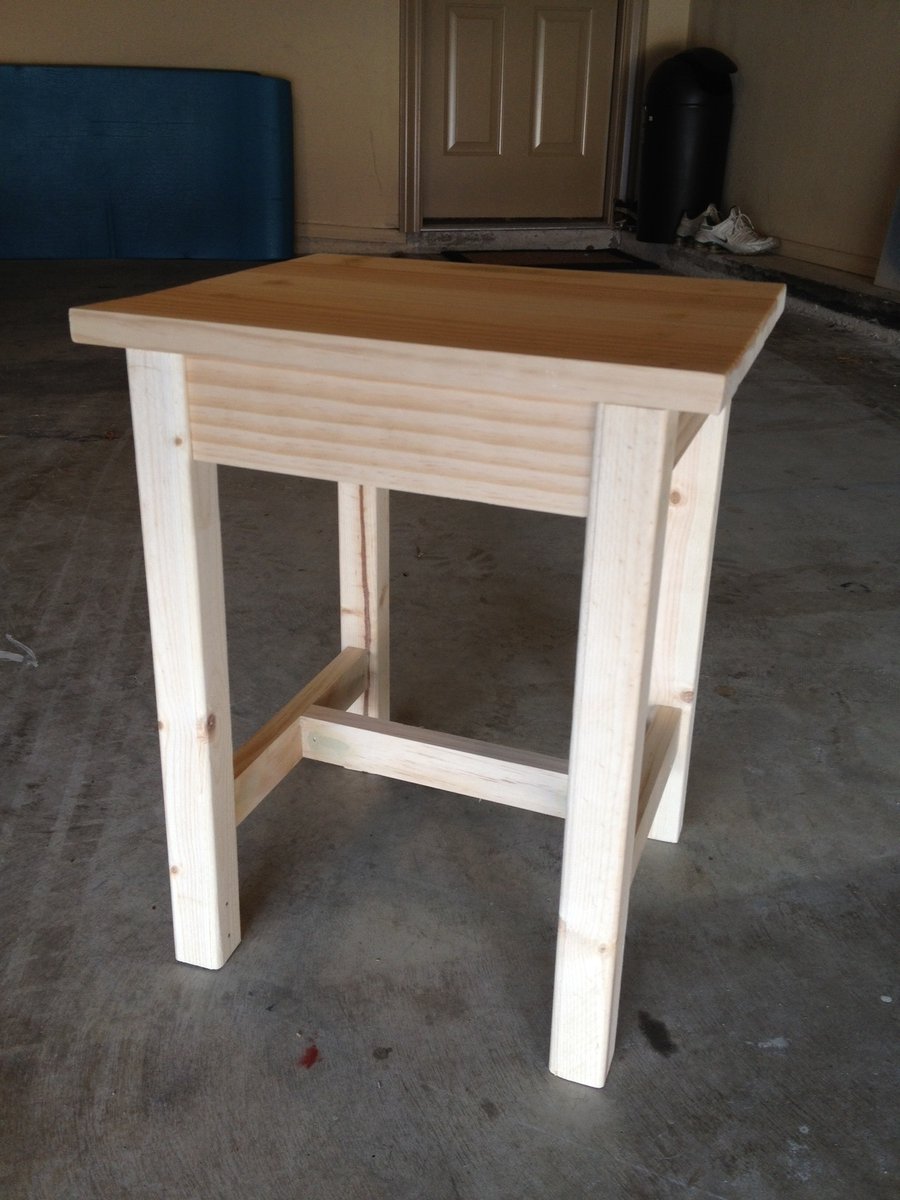
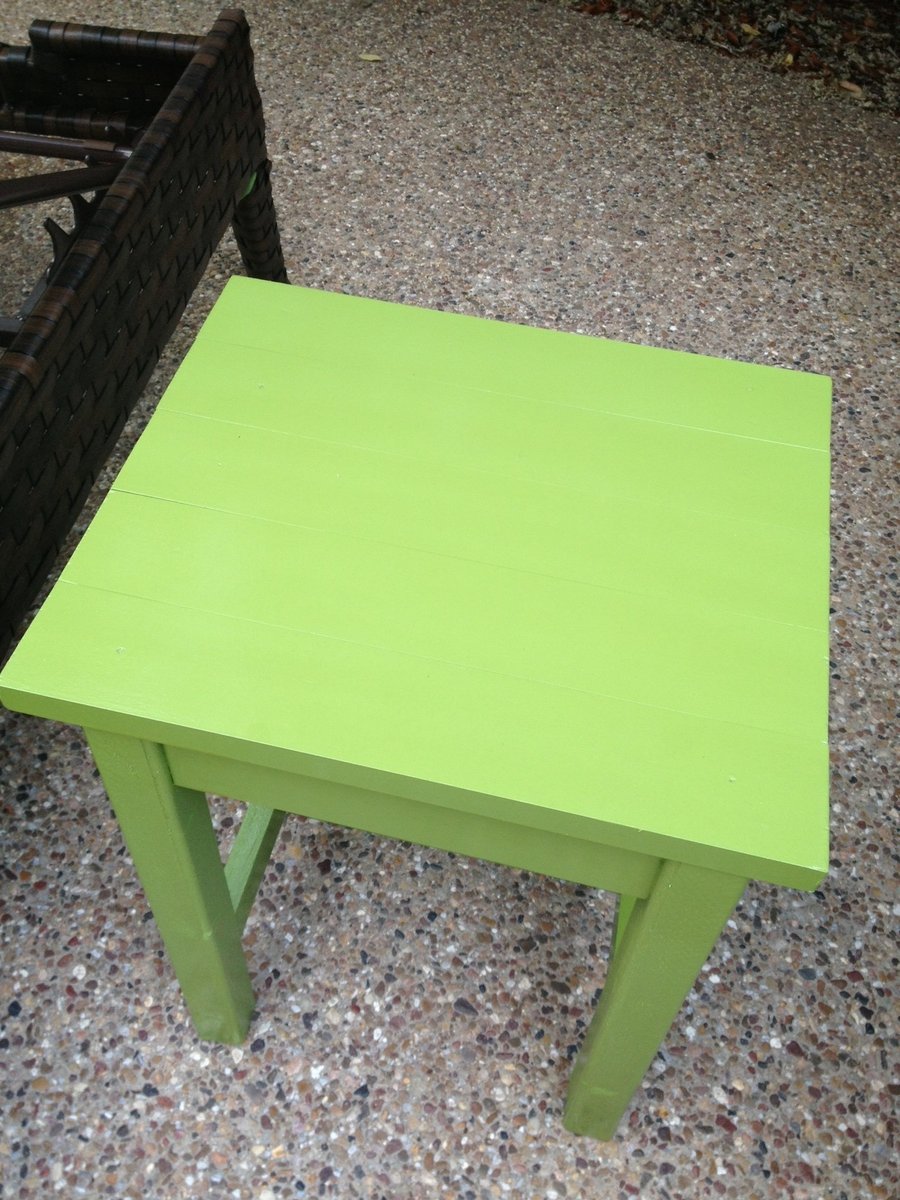
Great, matching bedside tables and headboard. Made it mostly from pine, and scrap lumber.
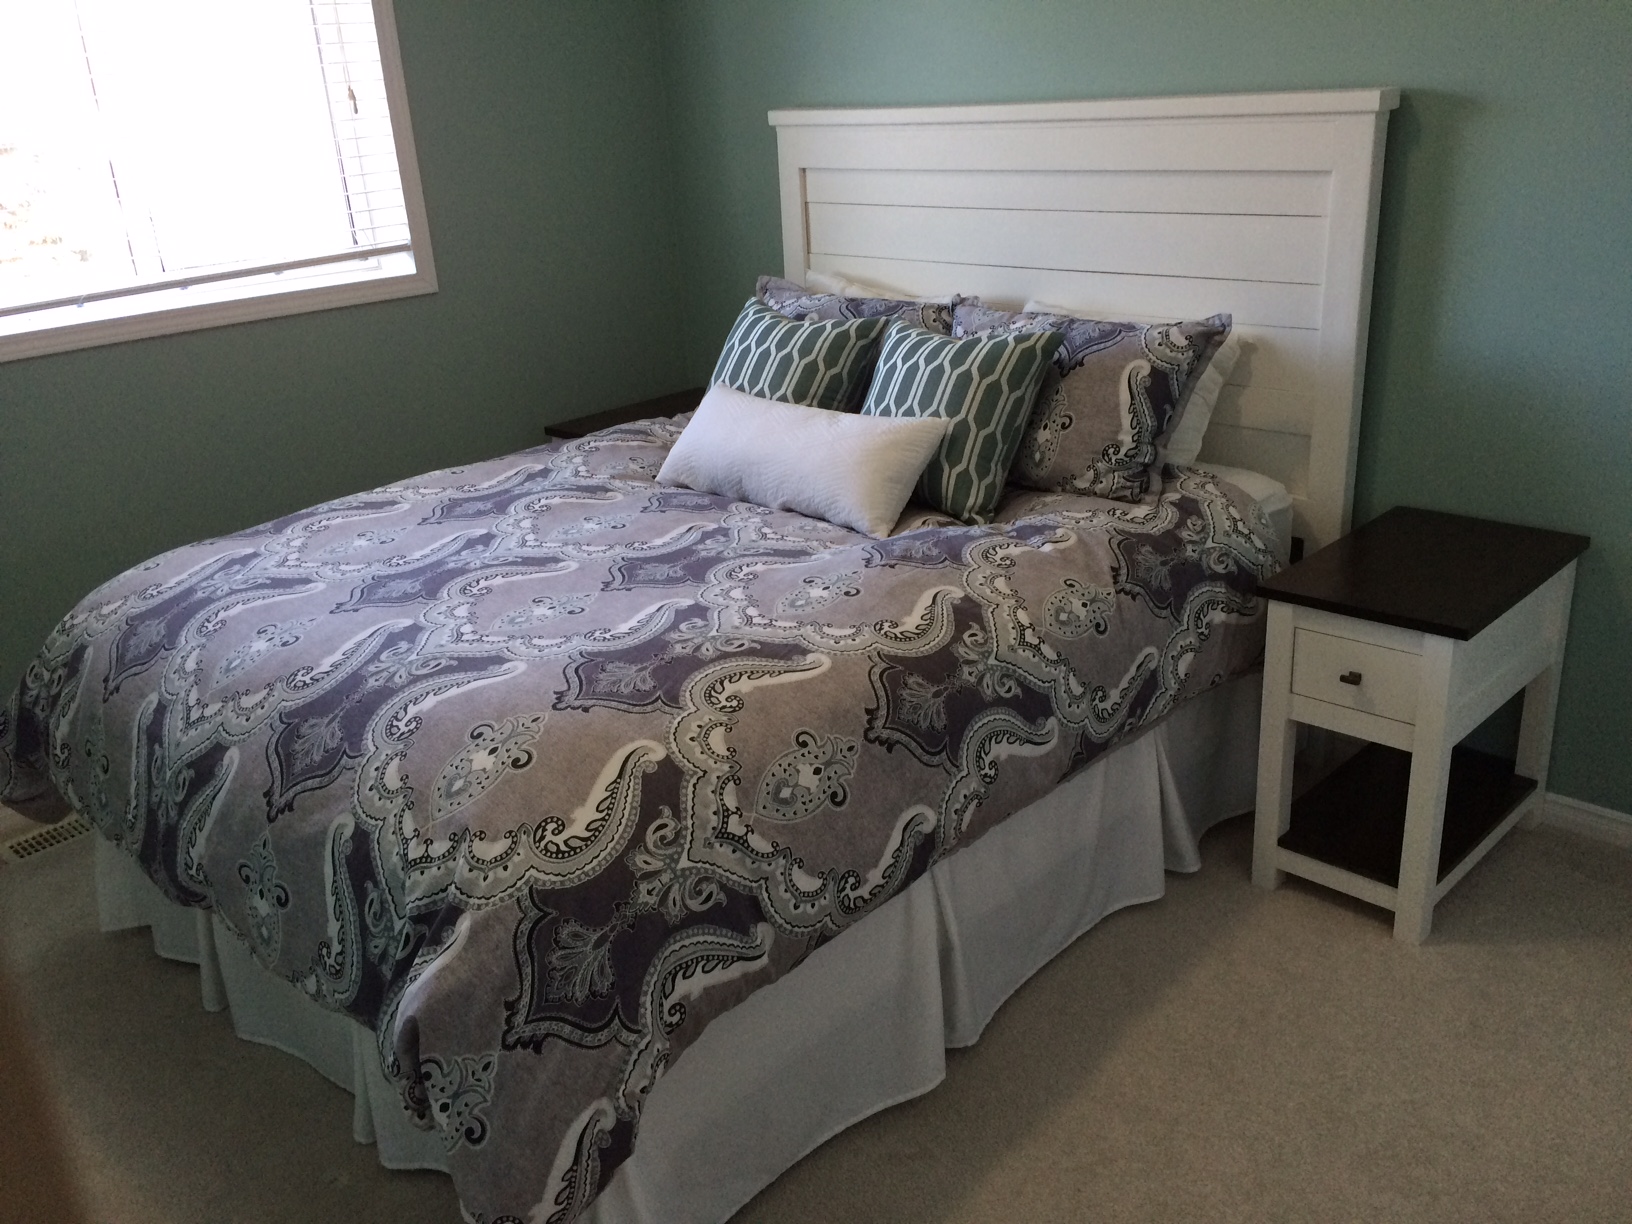
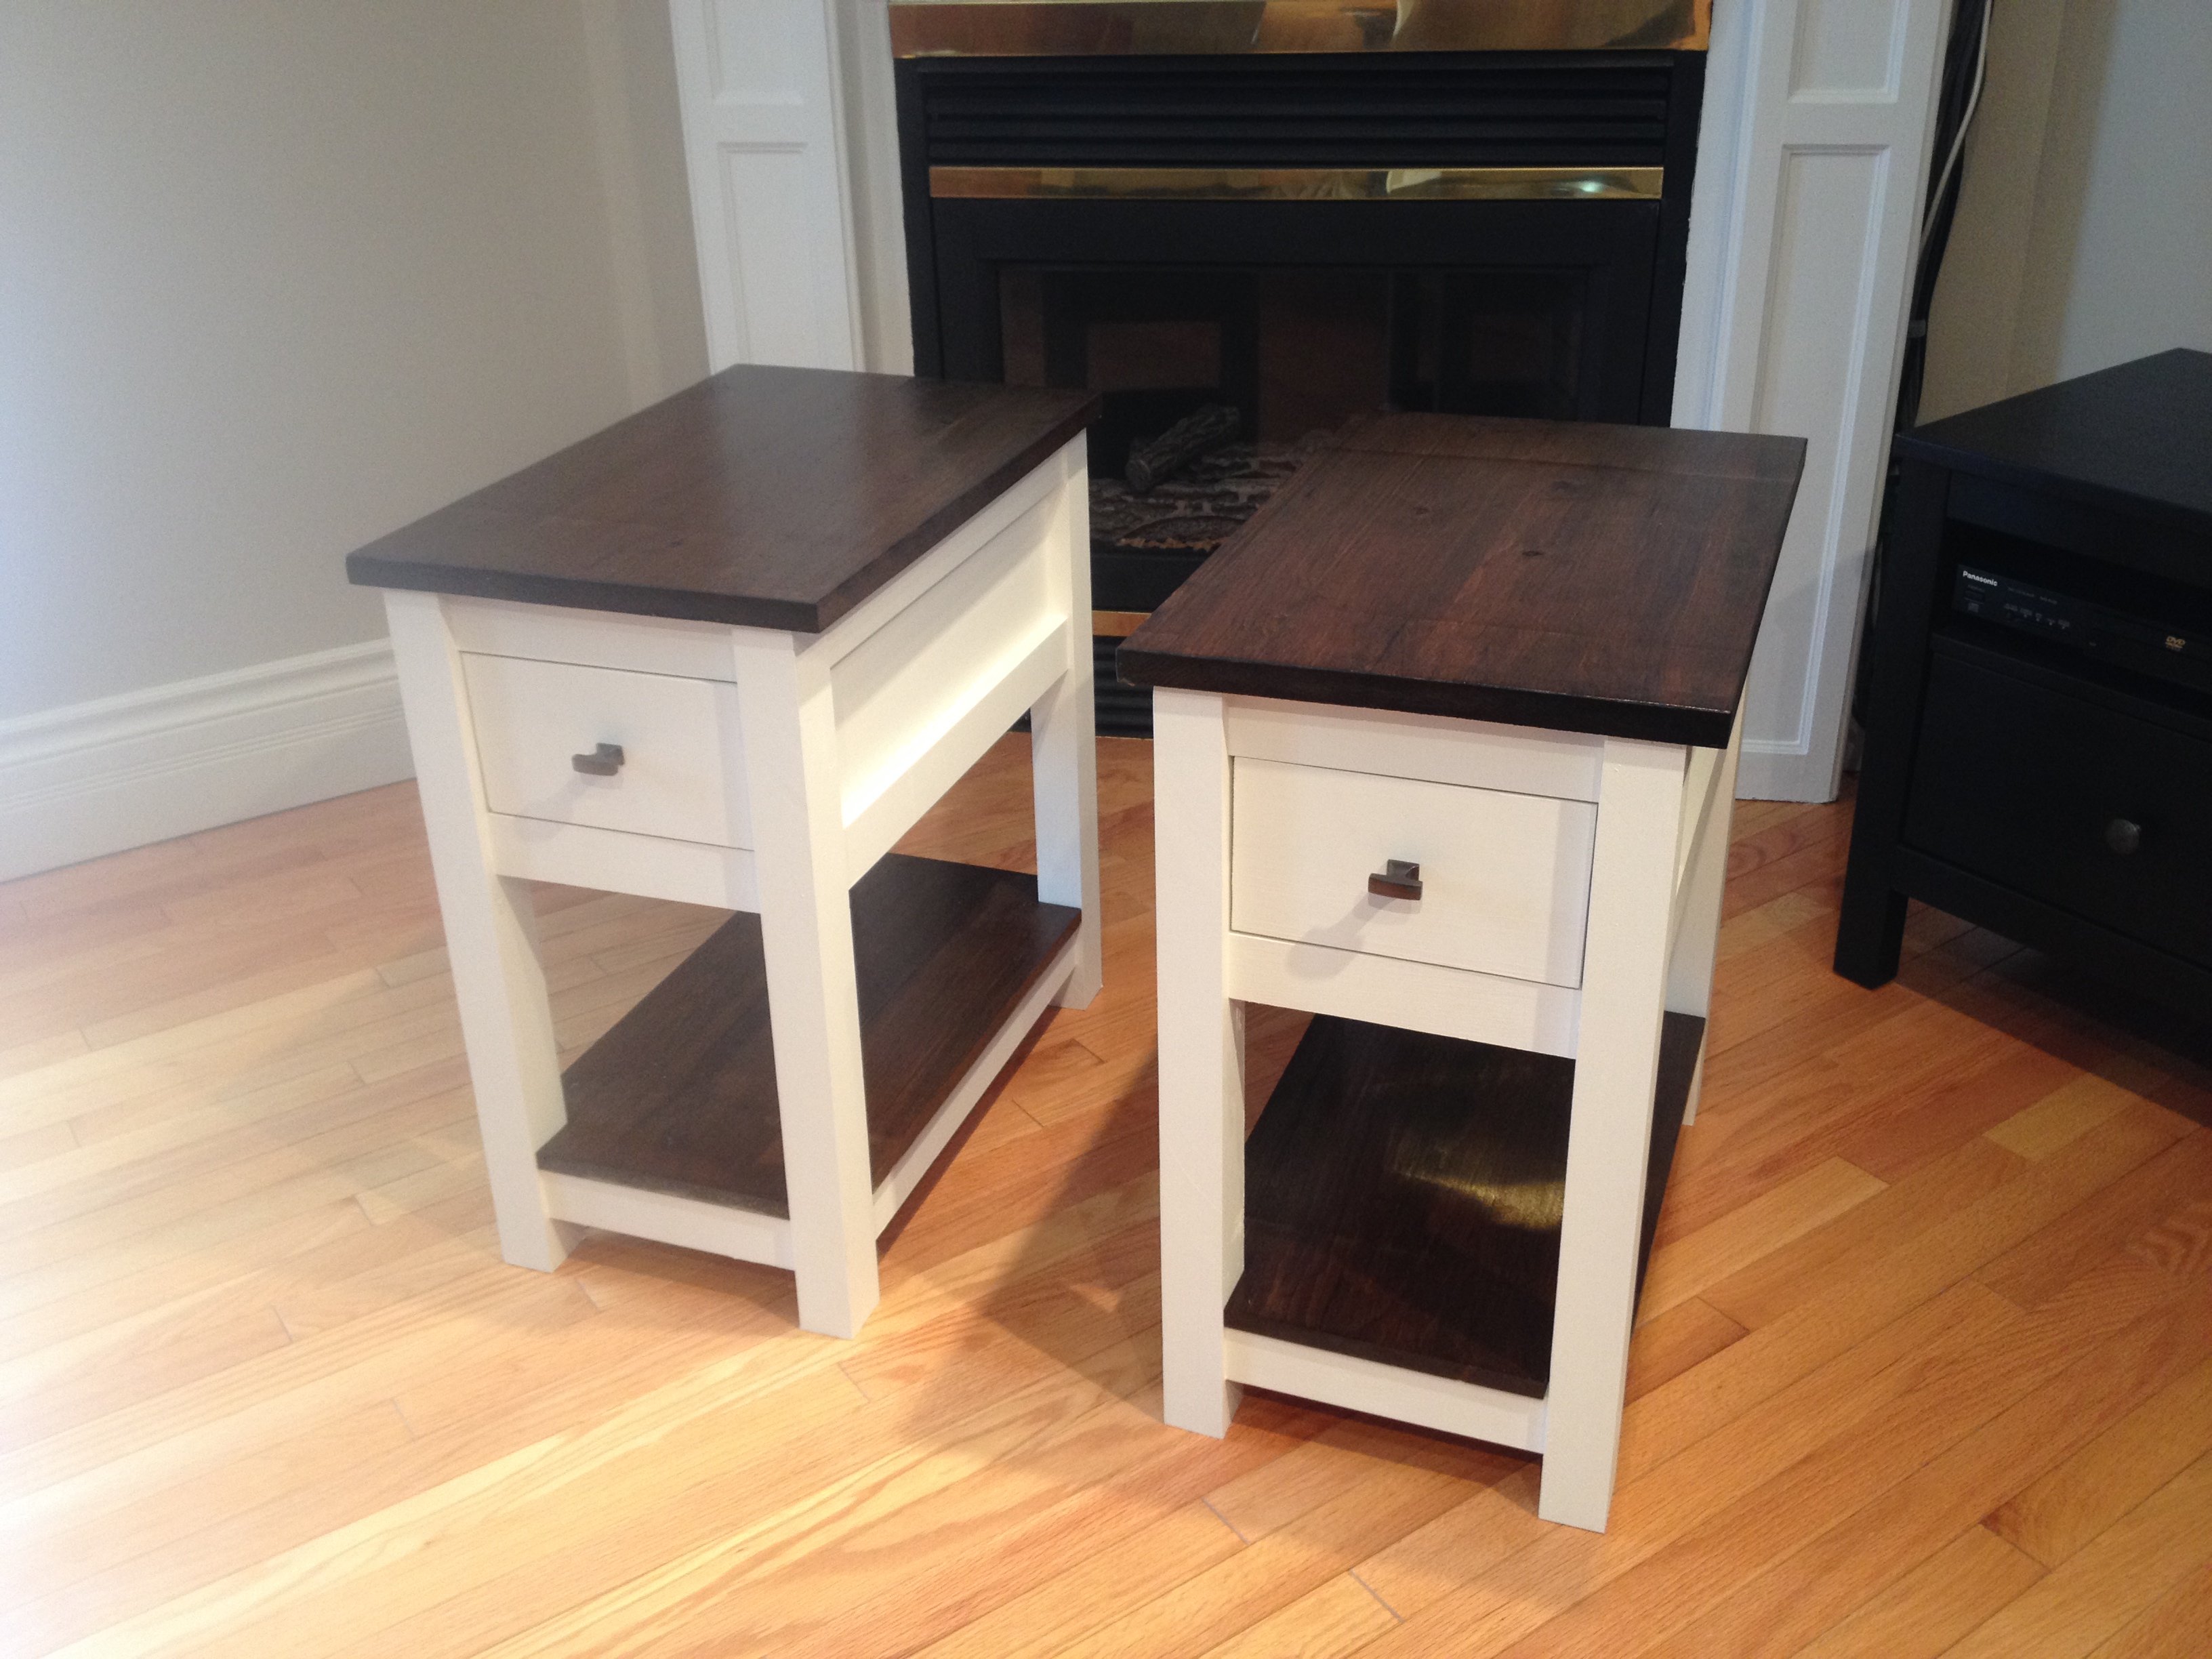
My first wood working project and I just want to keep trying other projects! My wife and I saw this project and had to try it out! Now I want to keep building more.
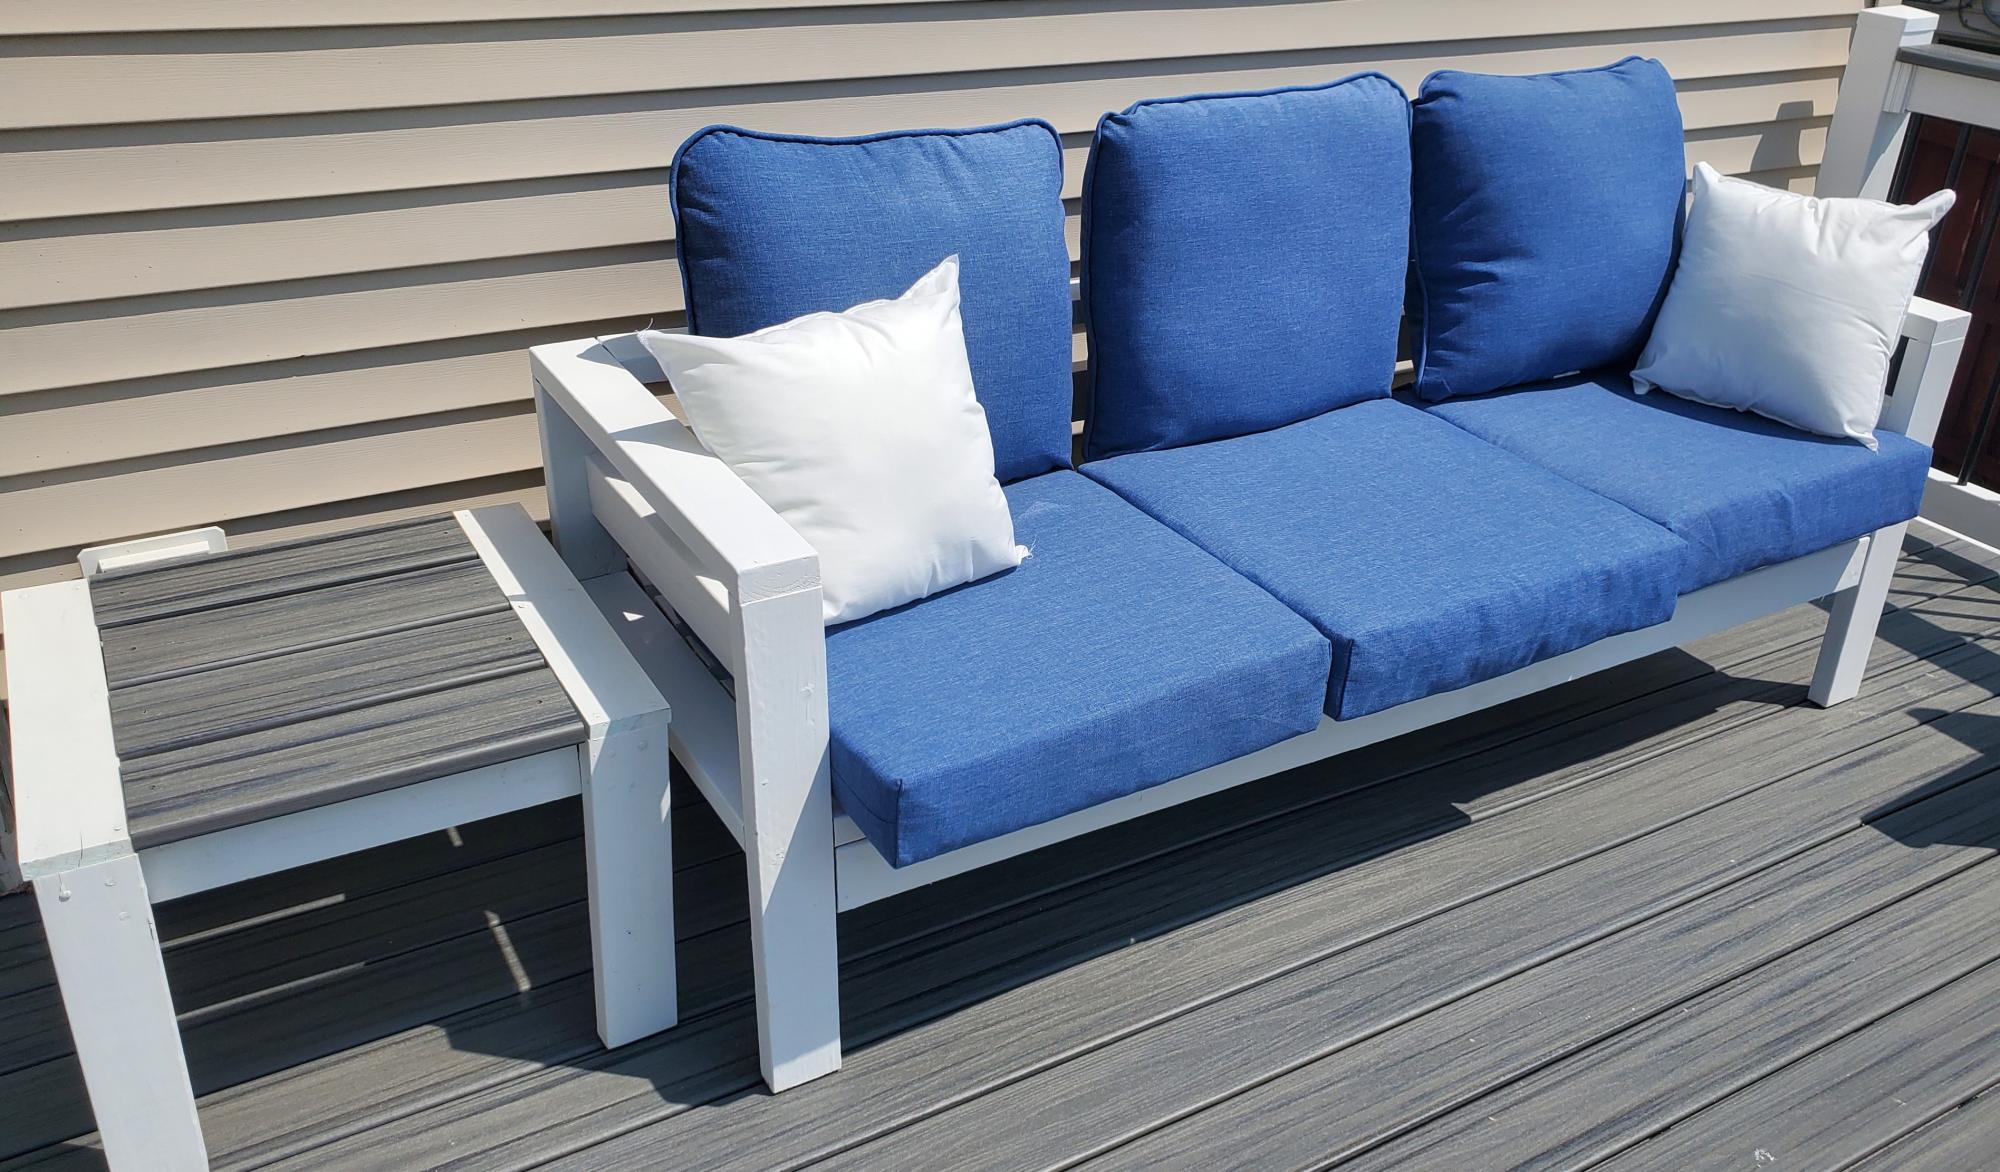
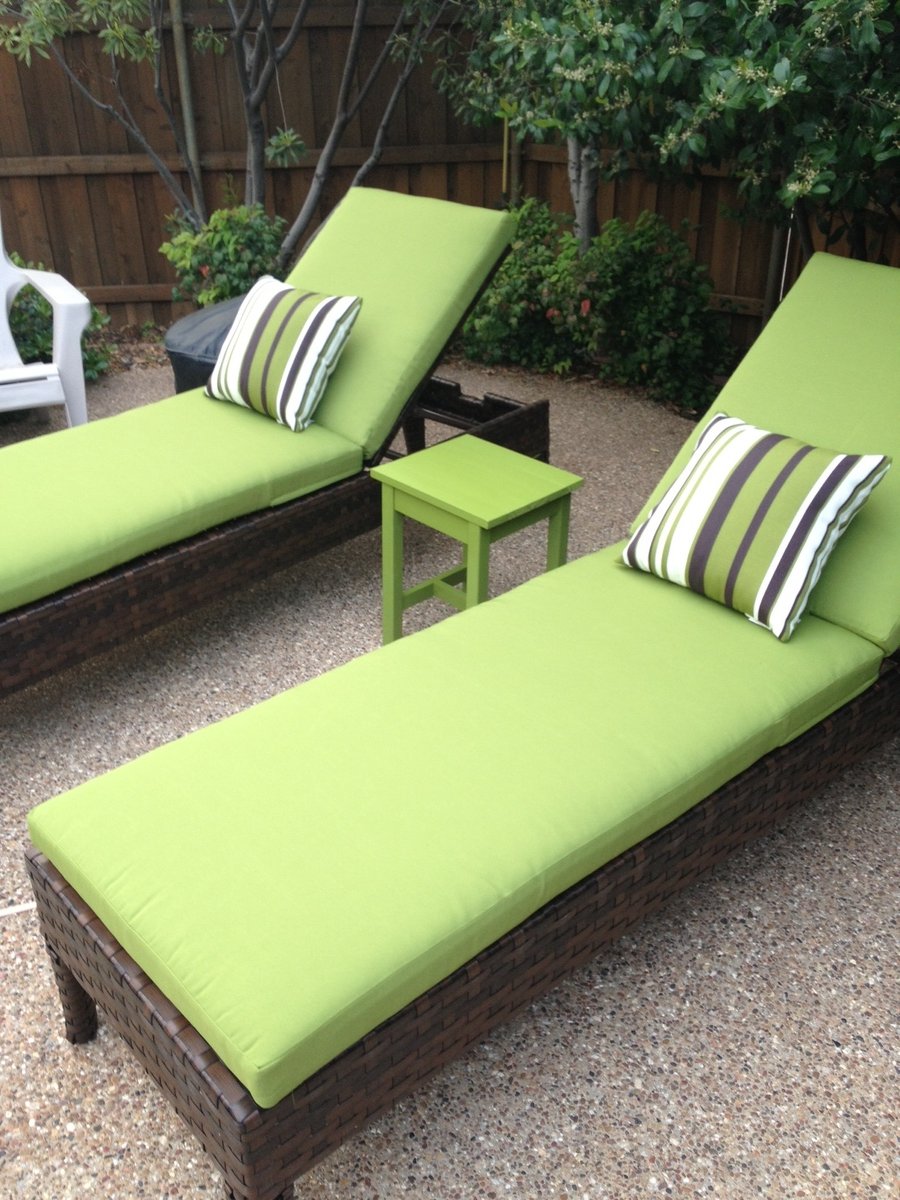
Deck sofa from a Ryobi/Ana video a few years ago. End table is also from Ana's plan using leftover Trex decking. Special thanks to Jen for her assistance.
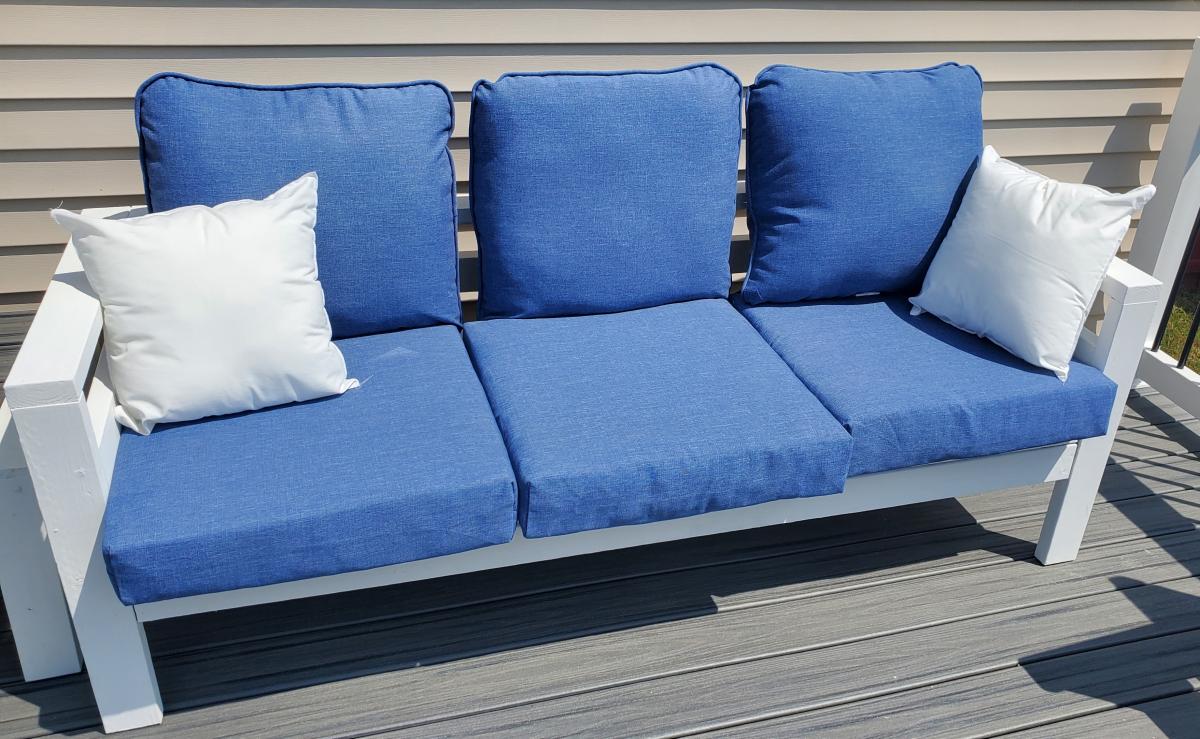

*I did not have any plans to work from*
the cost really depends on how much you can get your wood for. I had a lot left over from previous projects, so $500 is only a low guess.
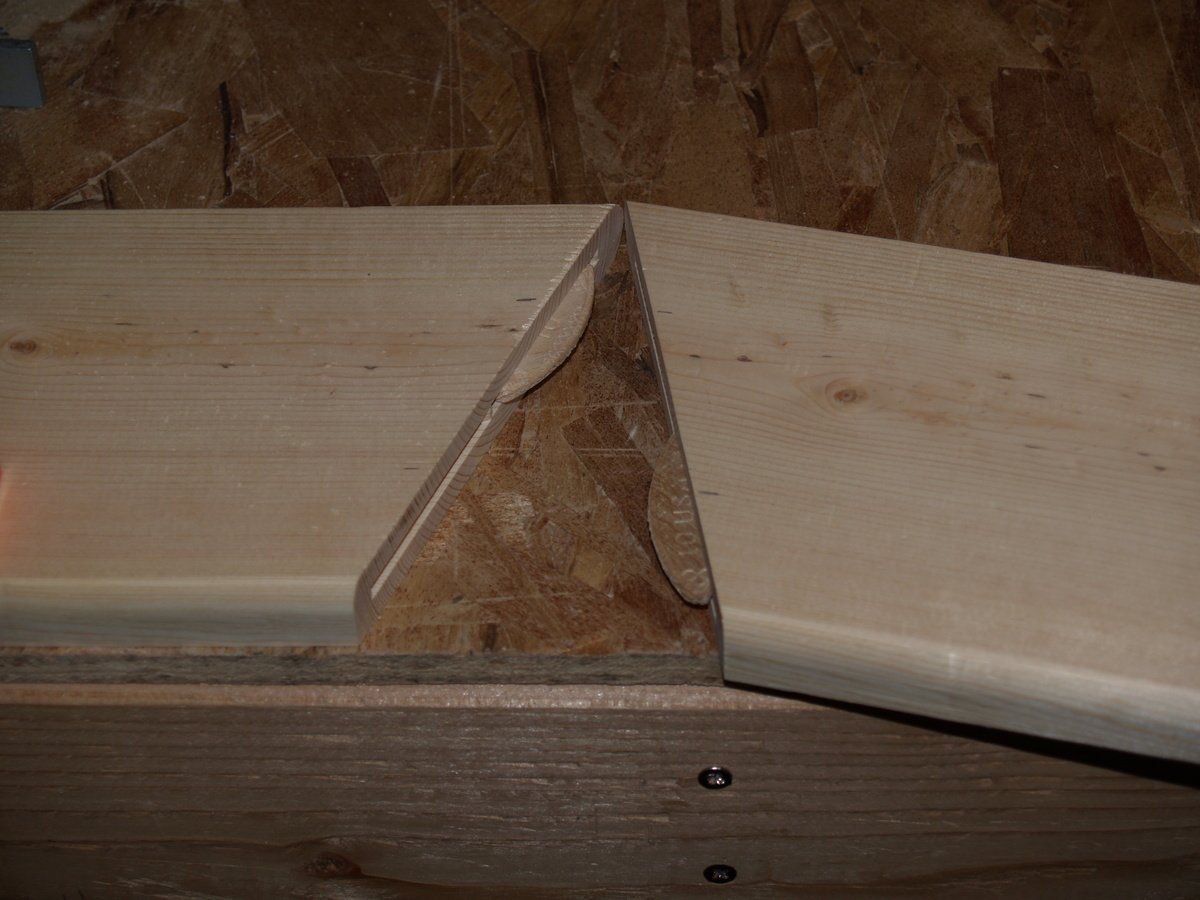
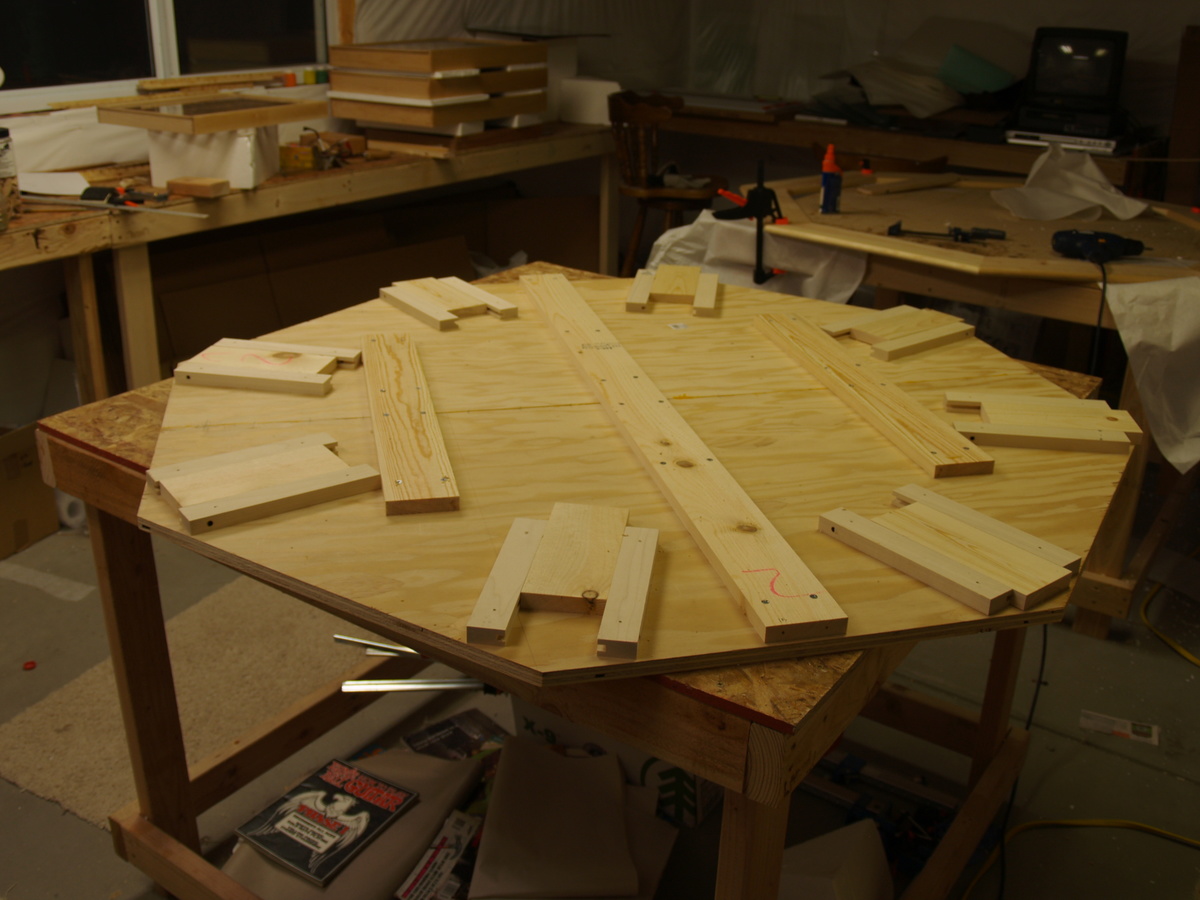
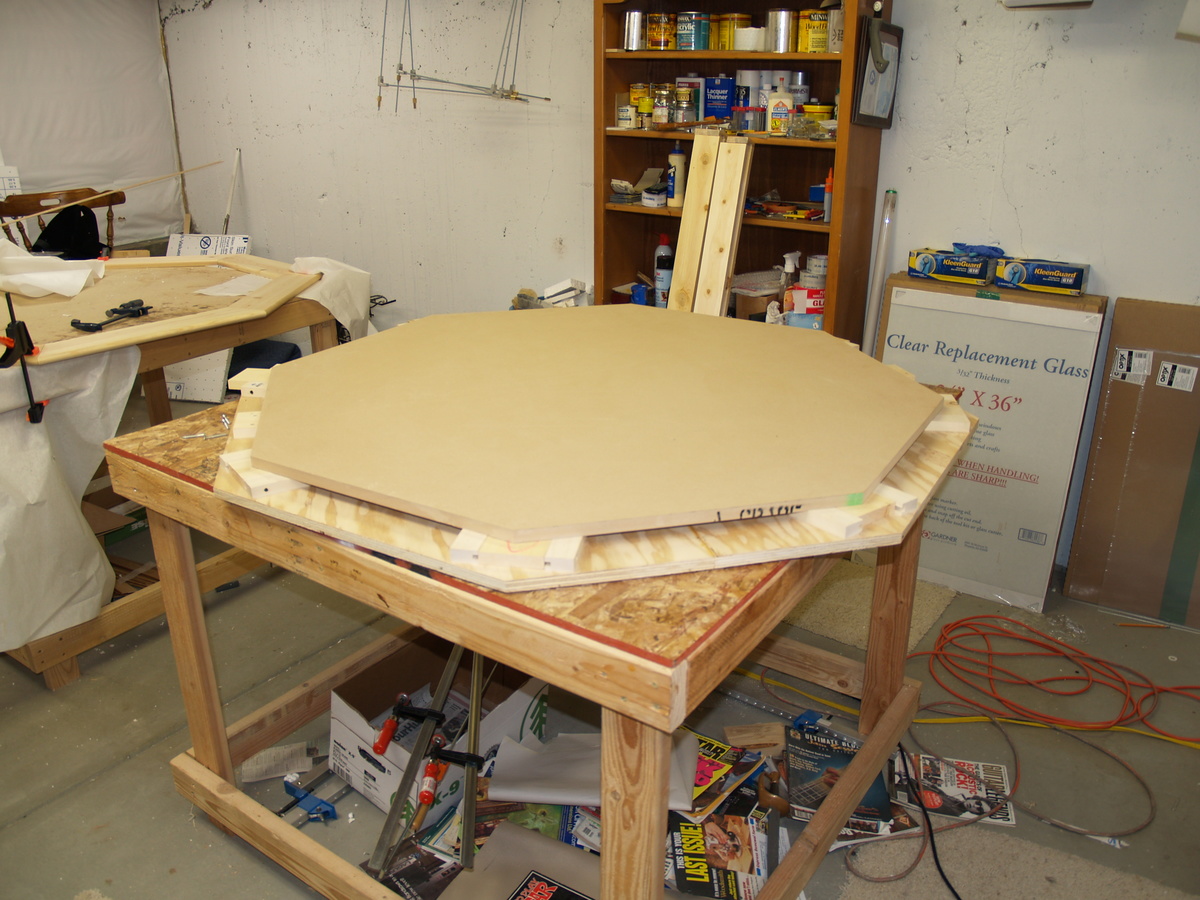
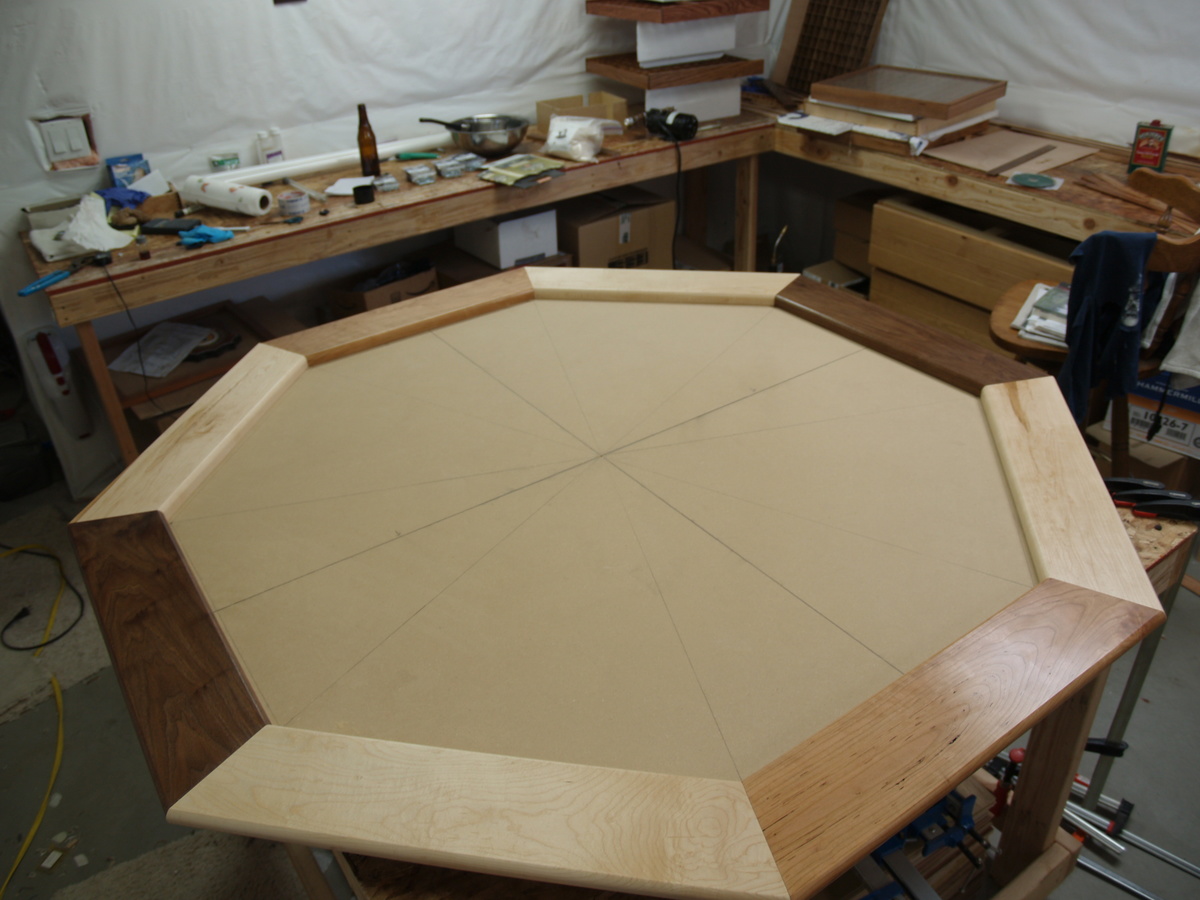
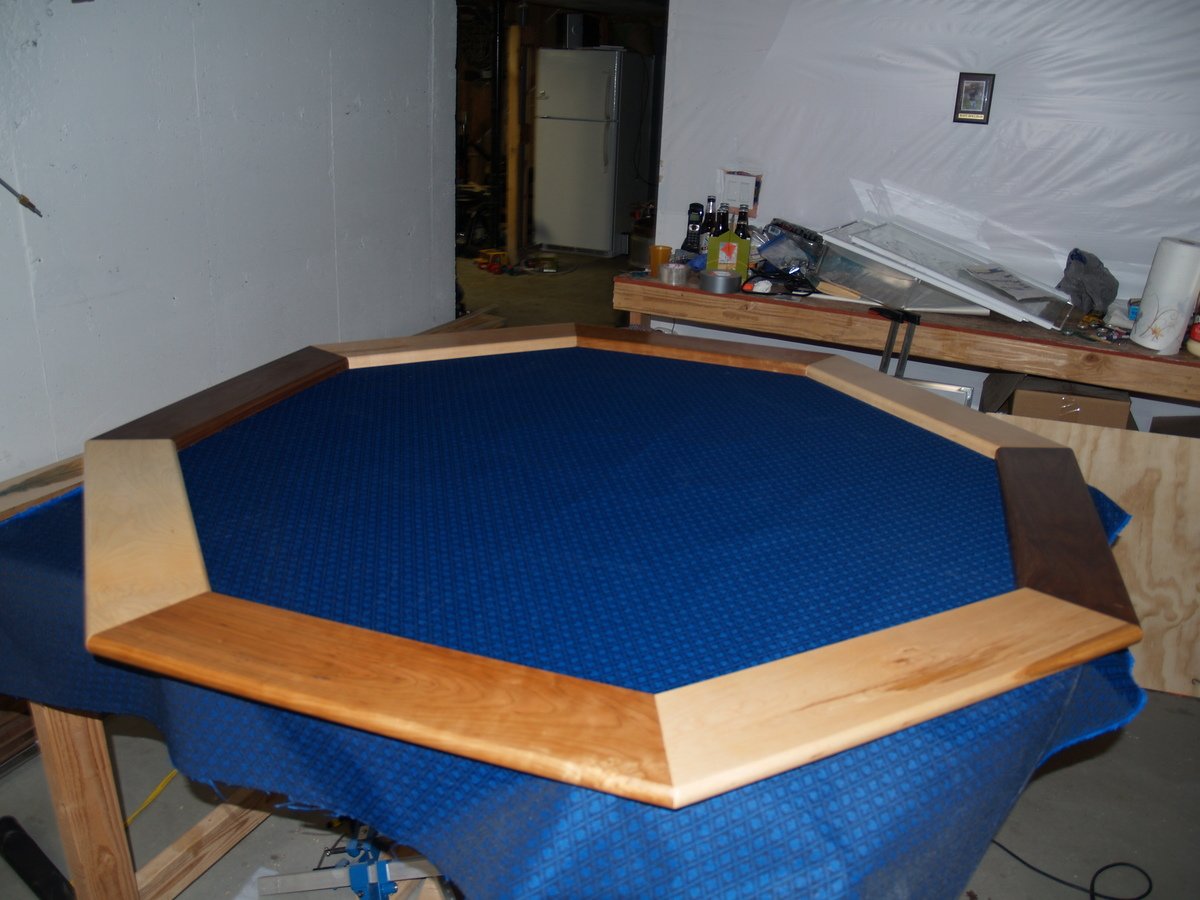
This is the second of 3 poker tables built.
Each side is 24"
the table measures 58" across
Some of the accompanying photos of the build were from my first table, but thought they might help.
I purchased a foam pad and "speed cloth" from a local poker supply store. The slide away bev. holders are kept in place with rare earth magnets
If you need any specifics, I'll try to help
Sun, 04/22/2012 - 20:59
I love this! This table is perfect for home games. Please post the plans.
Thu, 03/27/2025 - 12:51
Rakebit changes the gambling with crypto by offering a solid rakeback system that rewards you while you play. Instead of losing everything to the house, you get a percentage of your wagers back, making gambling more sustainable. The platform is easy to use and supports various casinos, giving players plenty of options. If you’re into crypto gambling and want to maximize your returns, Rakebit is definitely a great tool to have.

We built this command center to hang in our kitchen so that we can organize incoming papers and jot notes on the chalkboard portion. Also a hook for keys!


These wood plans were great! Easy to follow and an awesome first project for my hubby and I to build together. Only hitch for us was by choosing to make the longer bench we didn't check the placement of the feet before attaching it. When we were done we weren't able to push the benches under the table so we had to redo that step.
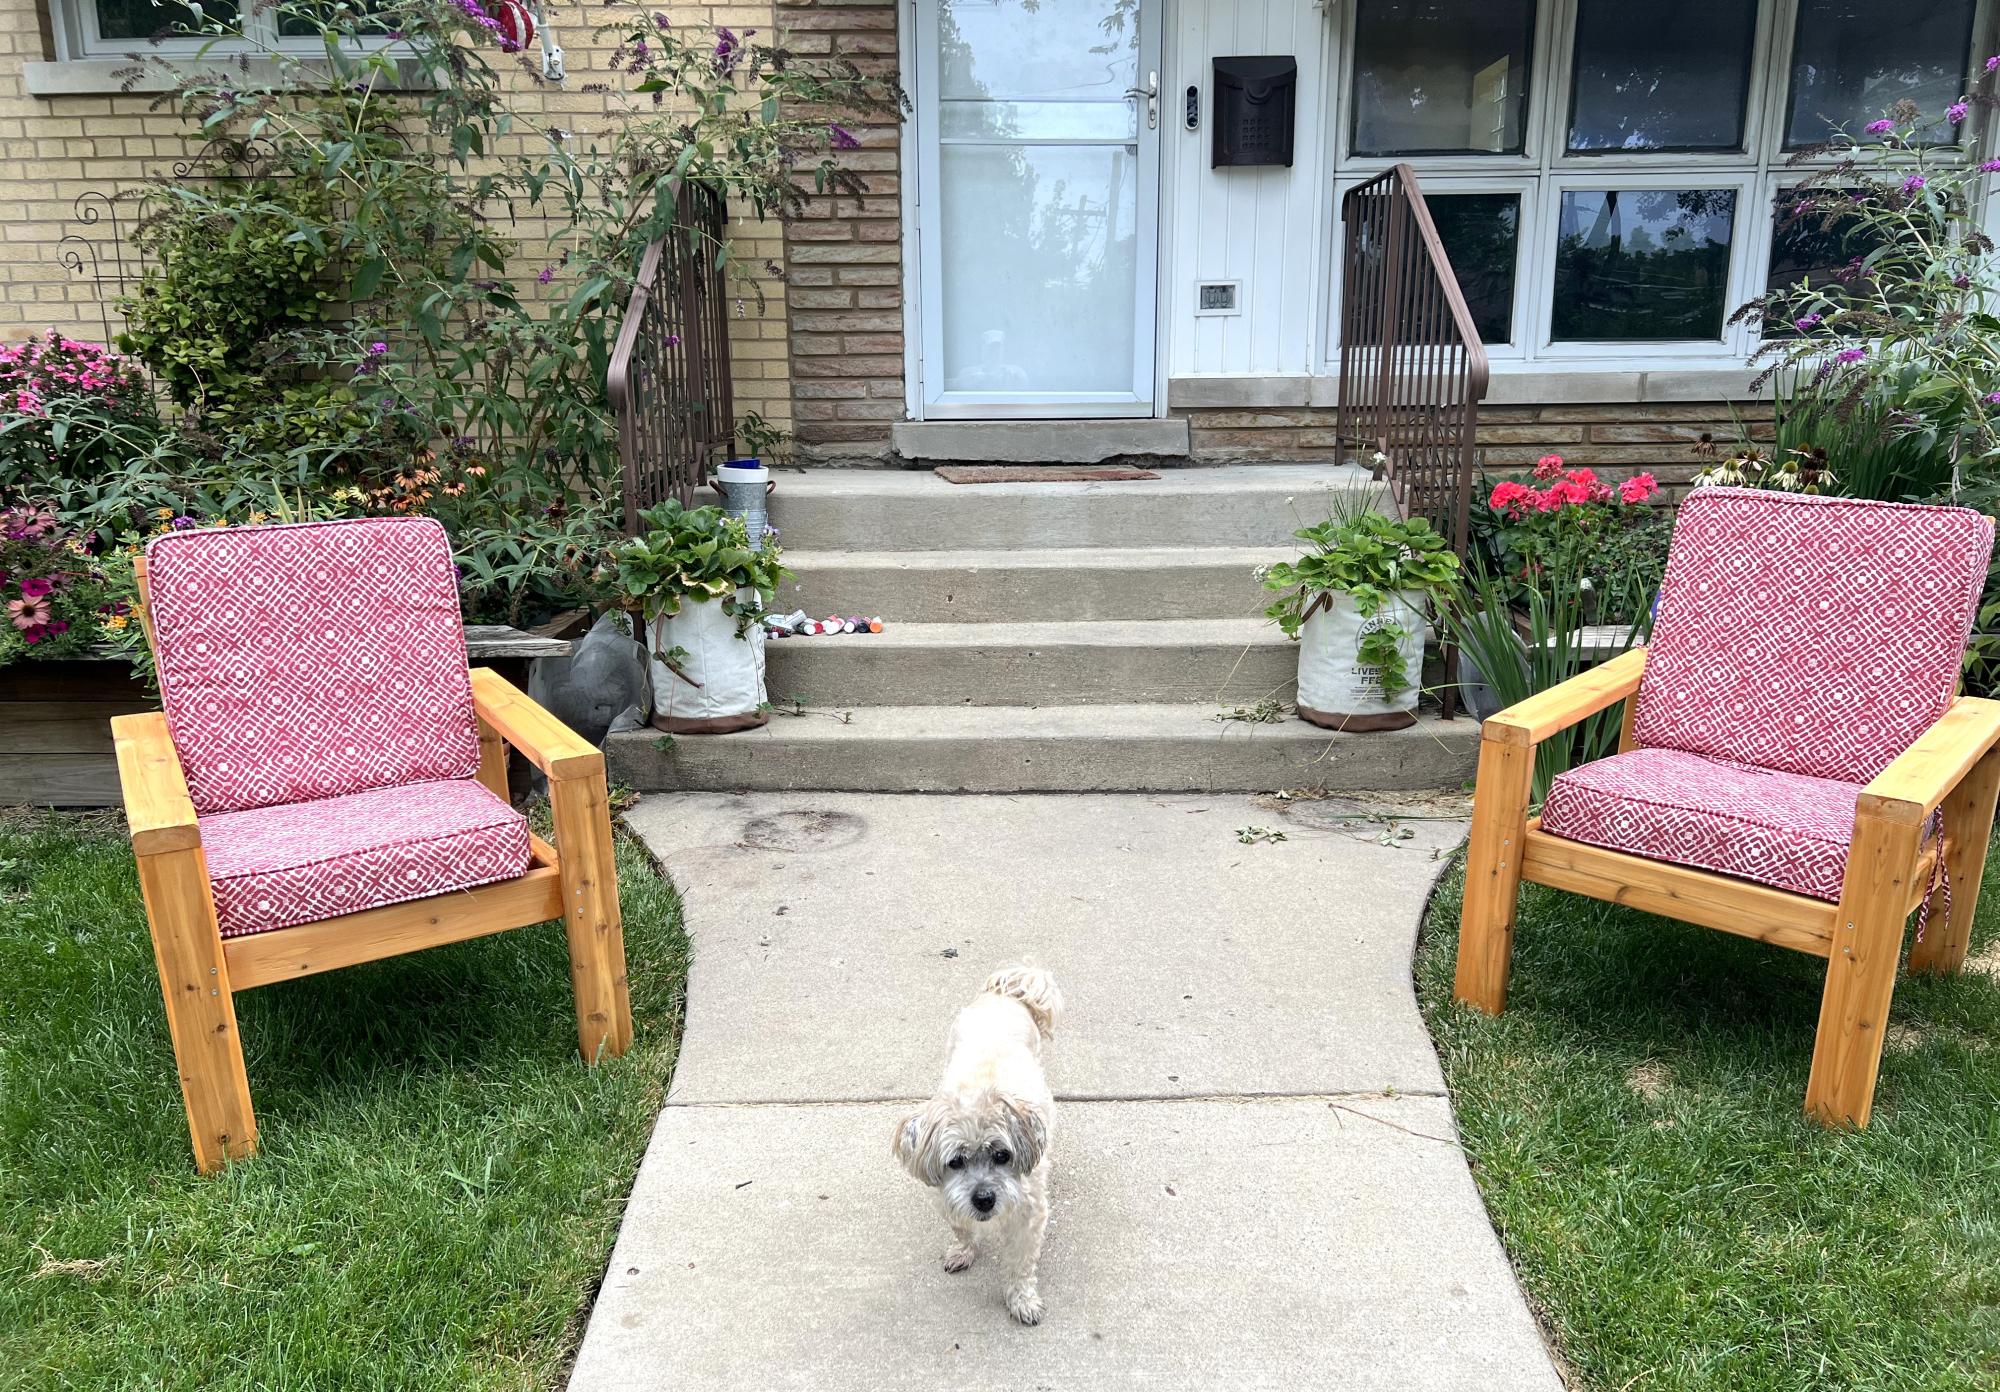
I made two of the chairs using cedar 2x4's and then stained them cedar color. The cushions were on clearance at Lowes for 6.97 each. Super excited about that as well. For the back I did the three board suggestion versus just the two for more back support and I also added an extra board for the bottom seating. Project was pretty easy and the instructions were easy to follow.
Carrie
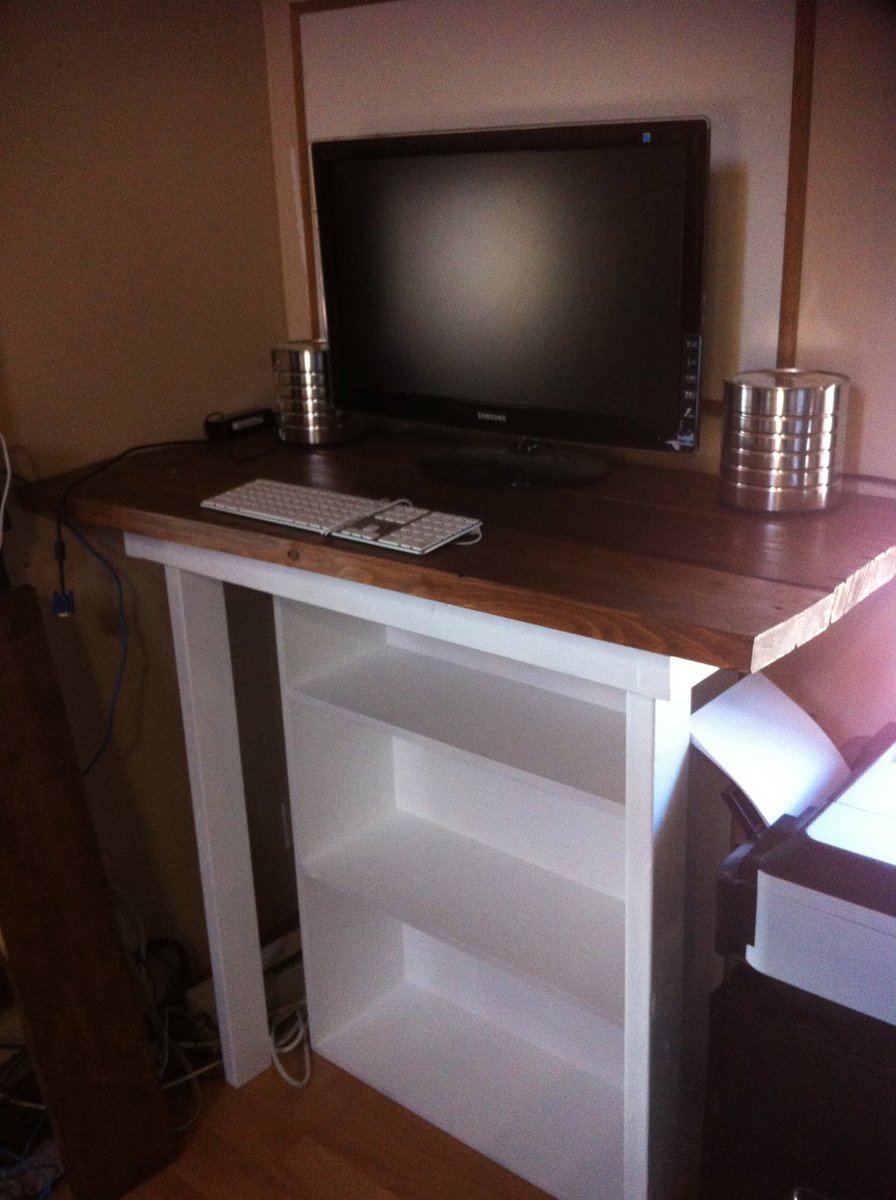
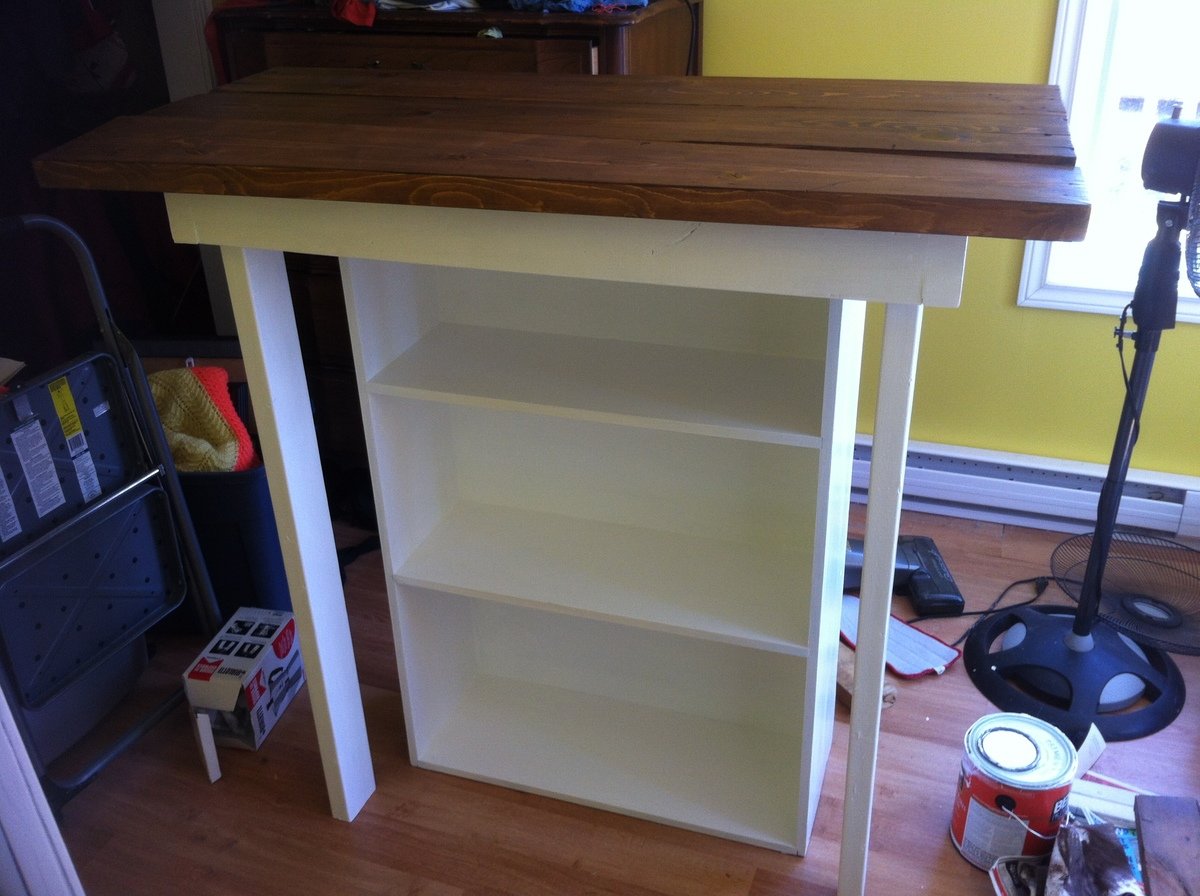
This is my very first build which was inspired by this website. I have been wanting to build something for a while but was pretty scared. In any case, my husband really wanted a standing desk for our office corner in our little house. After browsing forever and not finding anything I liked in store I decided to build. The entire project was built from materials we had laying around in the shed (1 - 1x2, 4- 2x4 and 3- 2x8 pieces for the desk top).
This was my first Ana White project, and i'm hooked! this was a lot of fun, and i've already done several other projects since.
As with any of these, the straighter and flatter the wood, the better the whole thing goes!

I made it! Yes, my first project is complete. I made a small piece to place in my soon to be repainted half bath. It was not perfect, but for a first time project and stain job, I am proud of my work.
Ana White … we love our chairs. We did make our chairs out of cedar and a side table from some cedar scraps.
Jon & Ginny
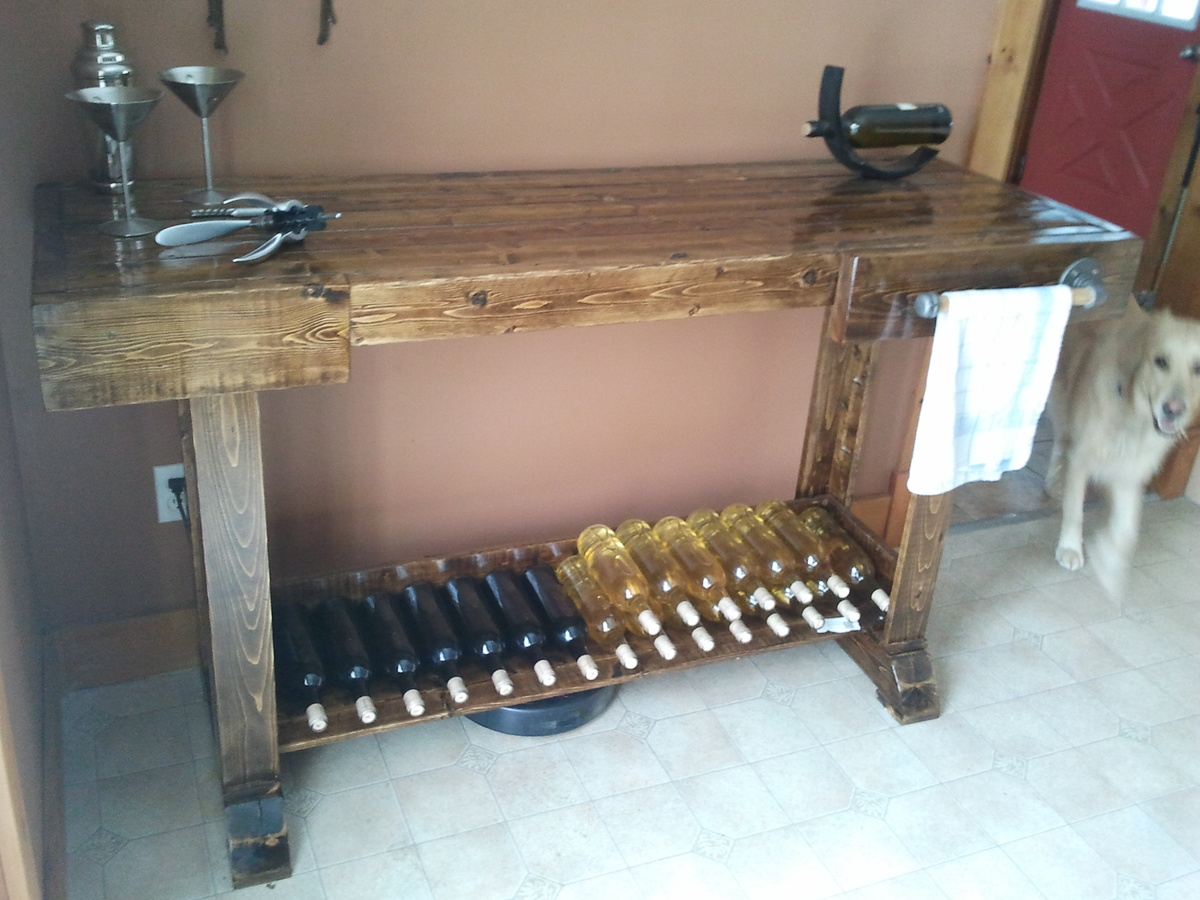
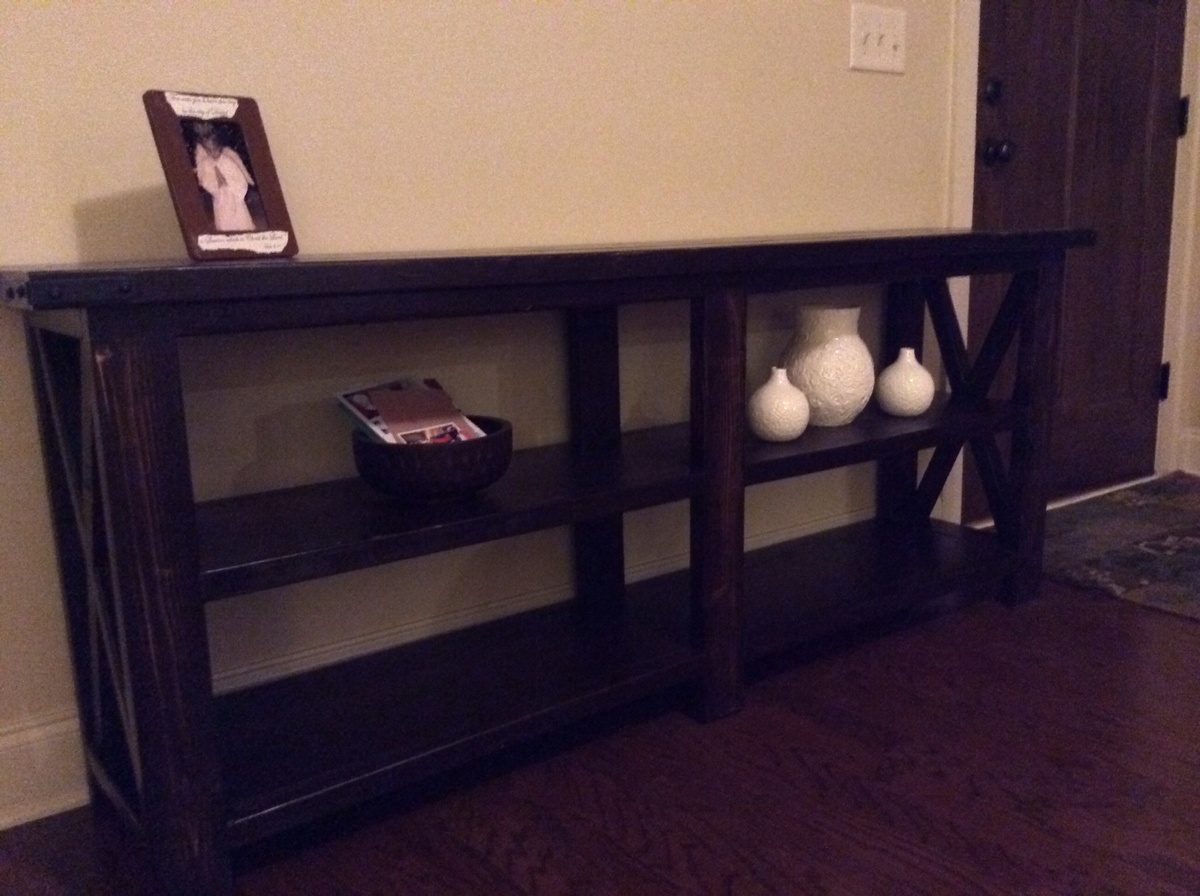
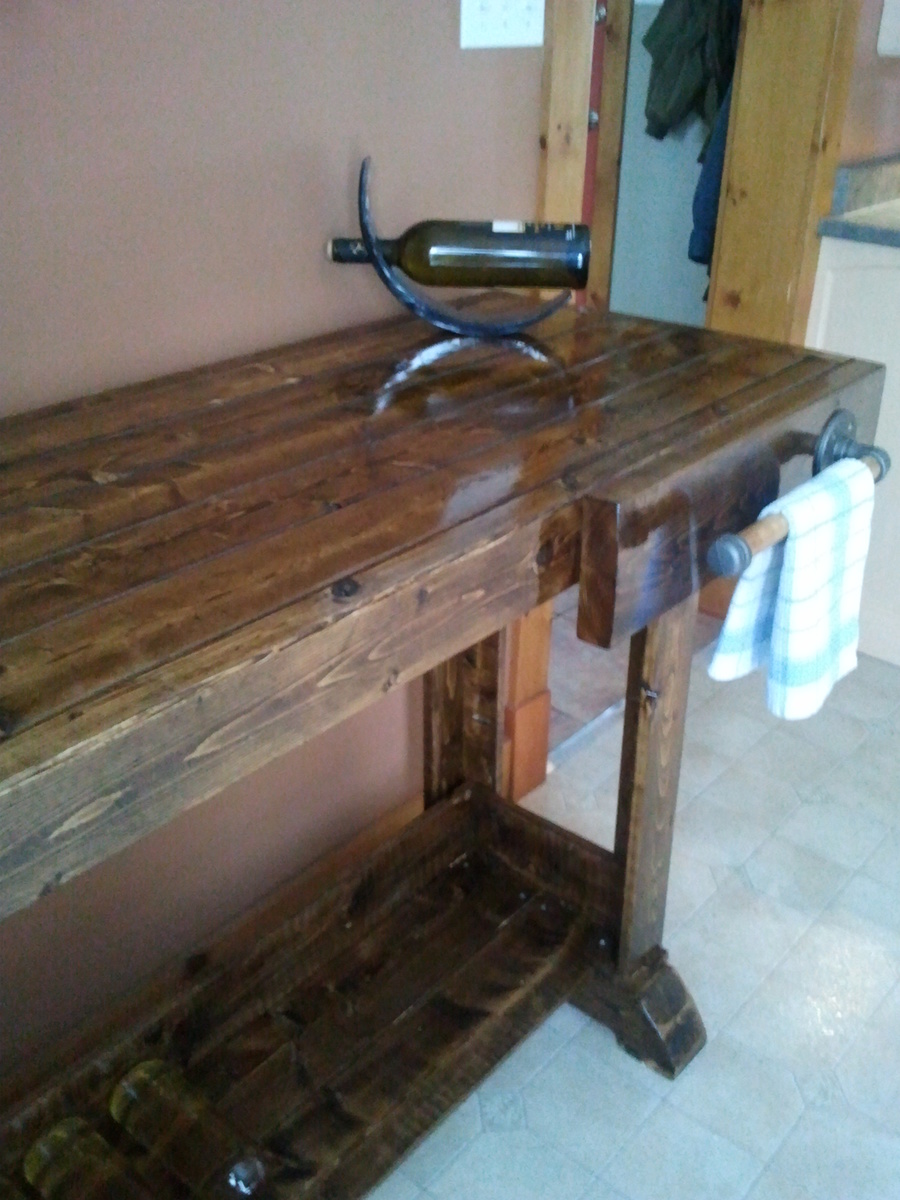
I saw this and thought I would give it a try. First time building furniture out of dimensional lumber. Worked out for the most part. I forgot that wood dries and shrinks along its width so there are a few small gaps that eventually appeared in between the boards. I am sure they will disappear once summer's humid air arrives. All in all it was pretty straight forward. I switched which side has the towel bar and I modified the bottom shelf to accommodate wine bottles for easy storage. I had fun.

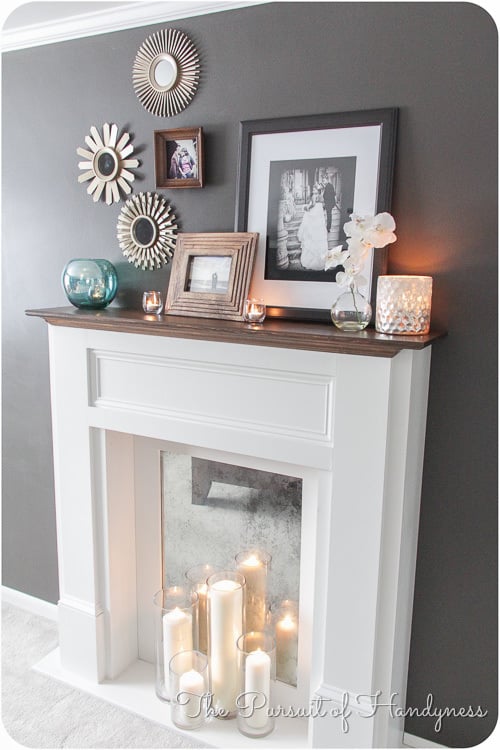
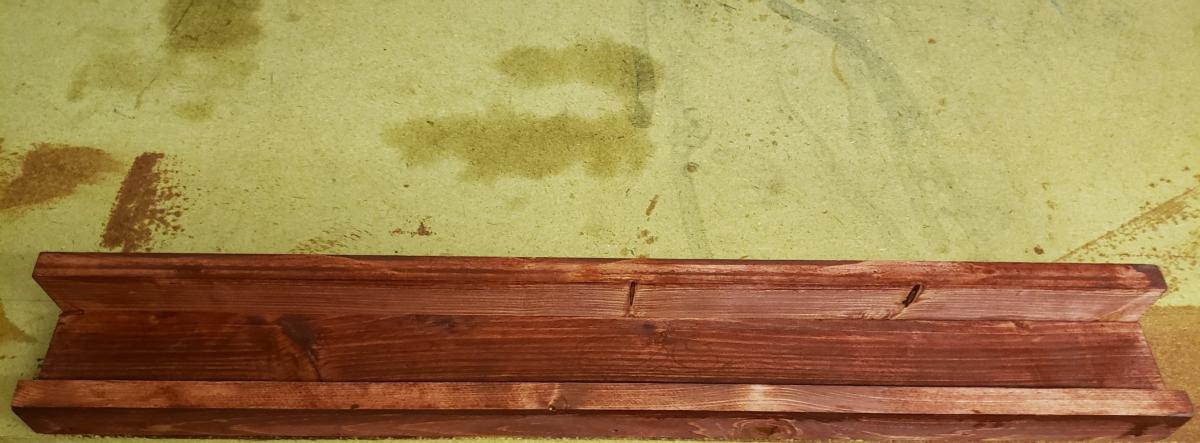
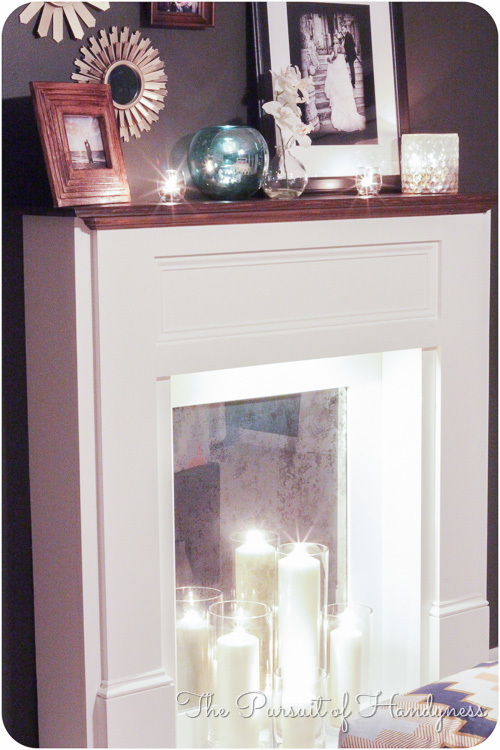
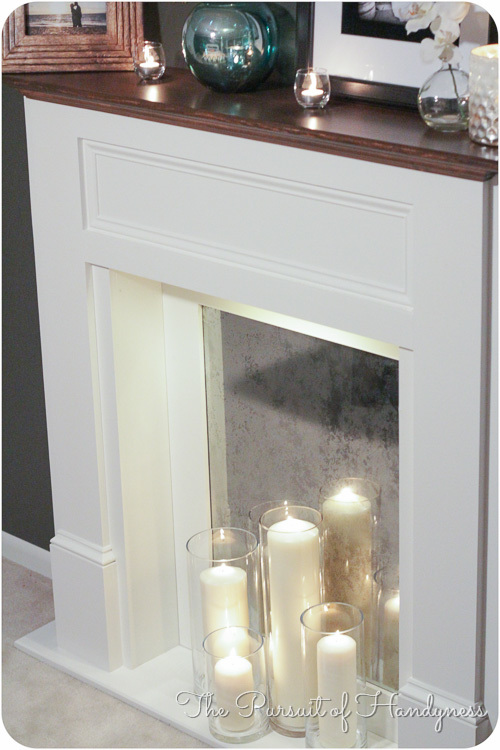
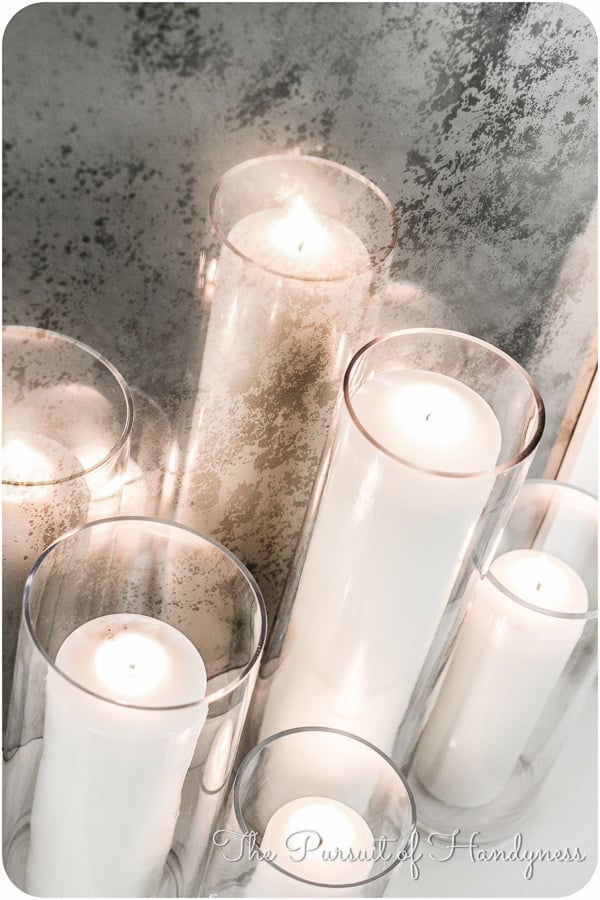
When I first saw Mimi's Faux Mantle I dreamed about building one for my house but I didn't know where. When I began renovating my Master Bedroom I found the perfect place for it on a bare uninteresting wall.
To add interest to the mantle, I stained the top and attached a faux hearth using a 1x12 painted the same color as the rest of the mantle. I also Diy'd a distressed mirror glass insert to bounce the lighting off. I added low voltage LED lights too.
It turned out better than I expected.
Visit my blog http://thepursuitofhandyness.com for a full tutorial of the building process and the distressed mirror glass.
Wed, 01/22/2014 - 23:56
Hi Ana,any chance you can fix the link for the plans of this mantle?
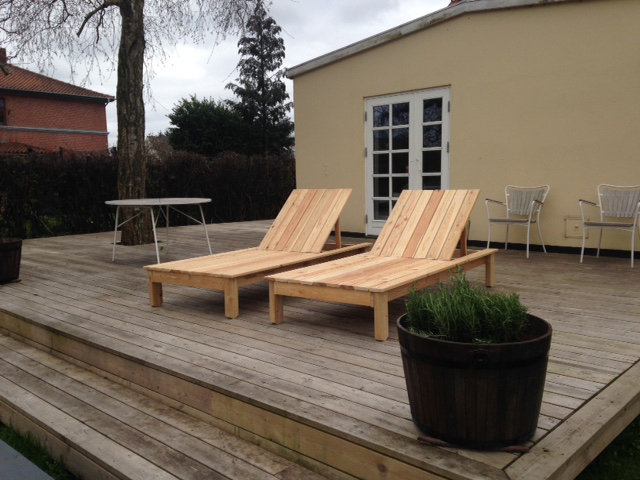
Thank you for a very clear tutorial. Only challenge was the hinges but managed OK. I changed the position of the legs and chose some bit thicker tree and rounded the bottoms to make it more steady and easier to move around.
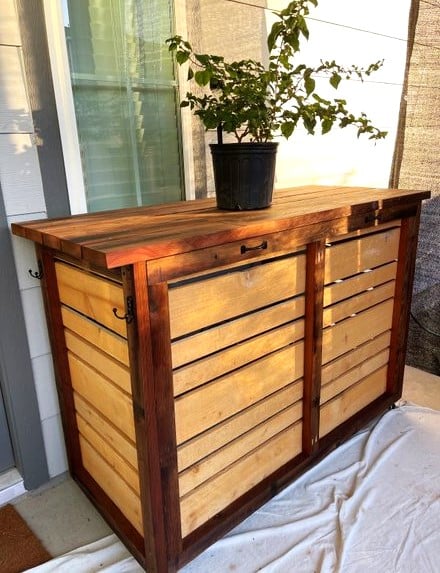
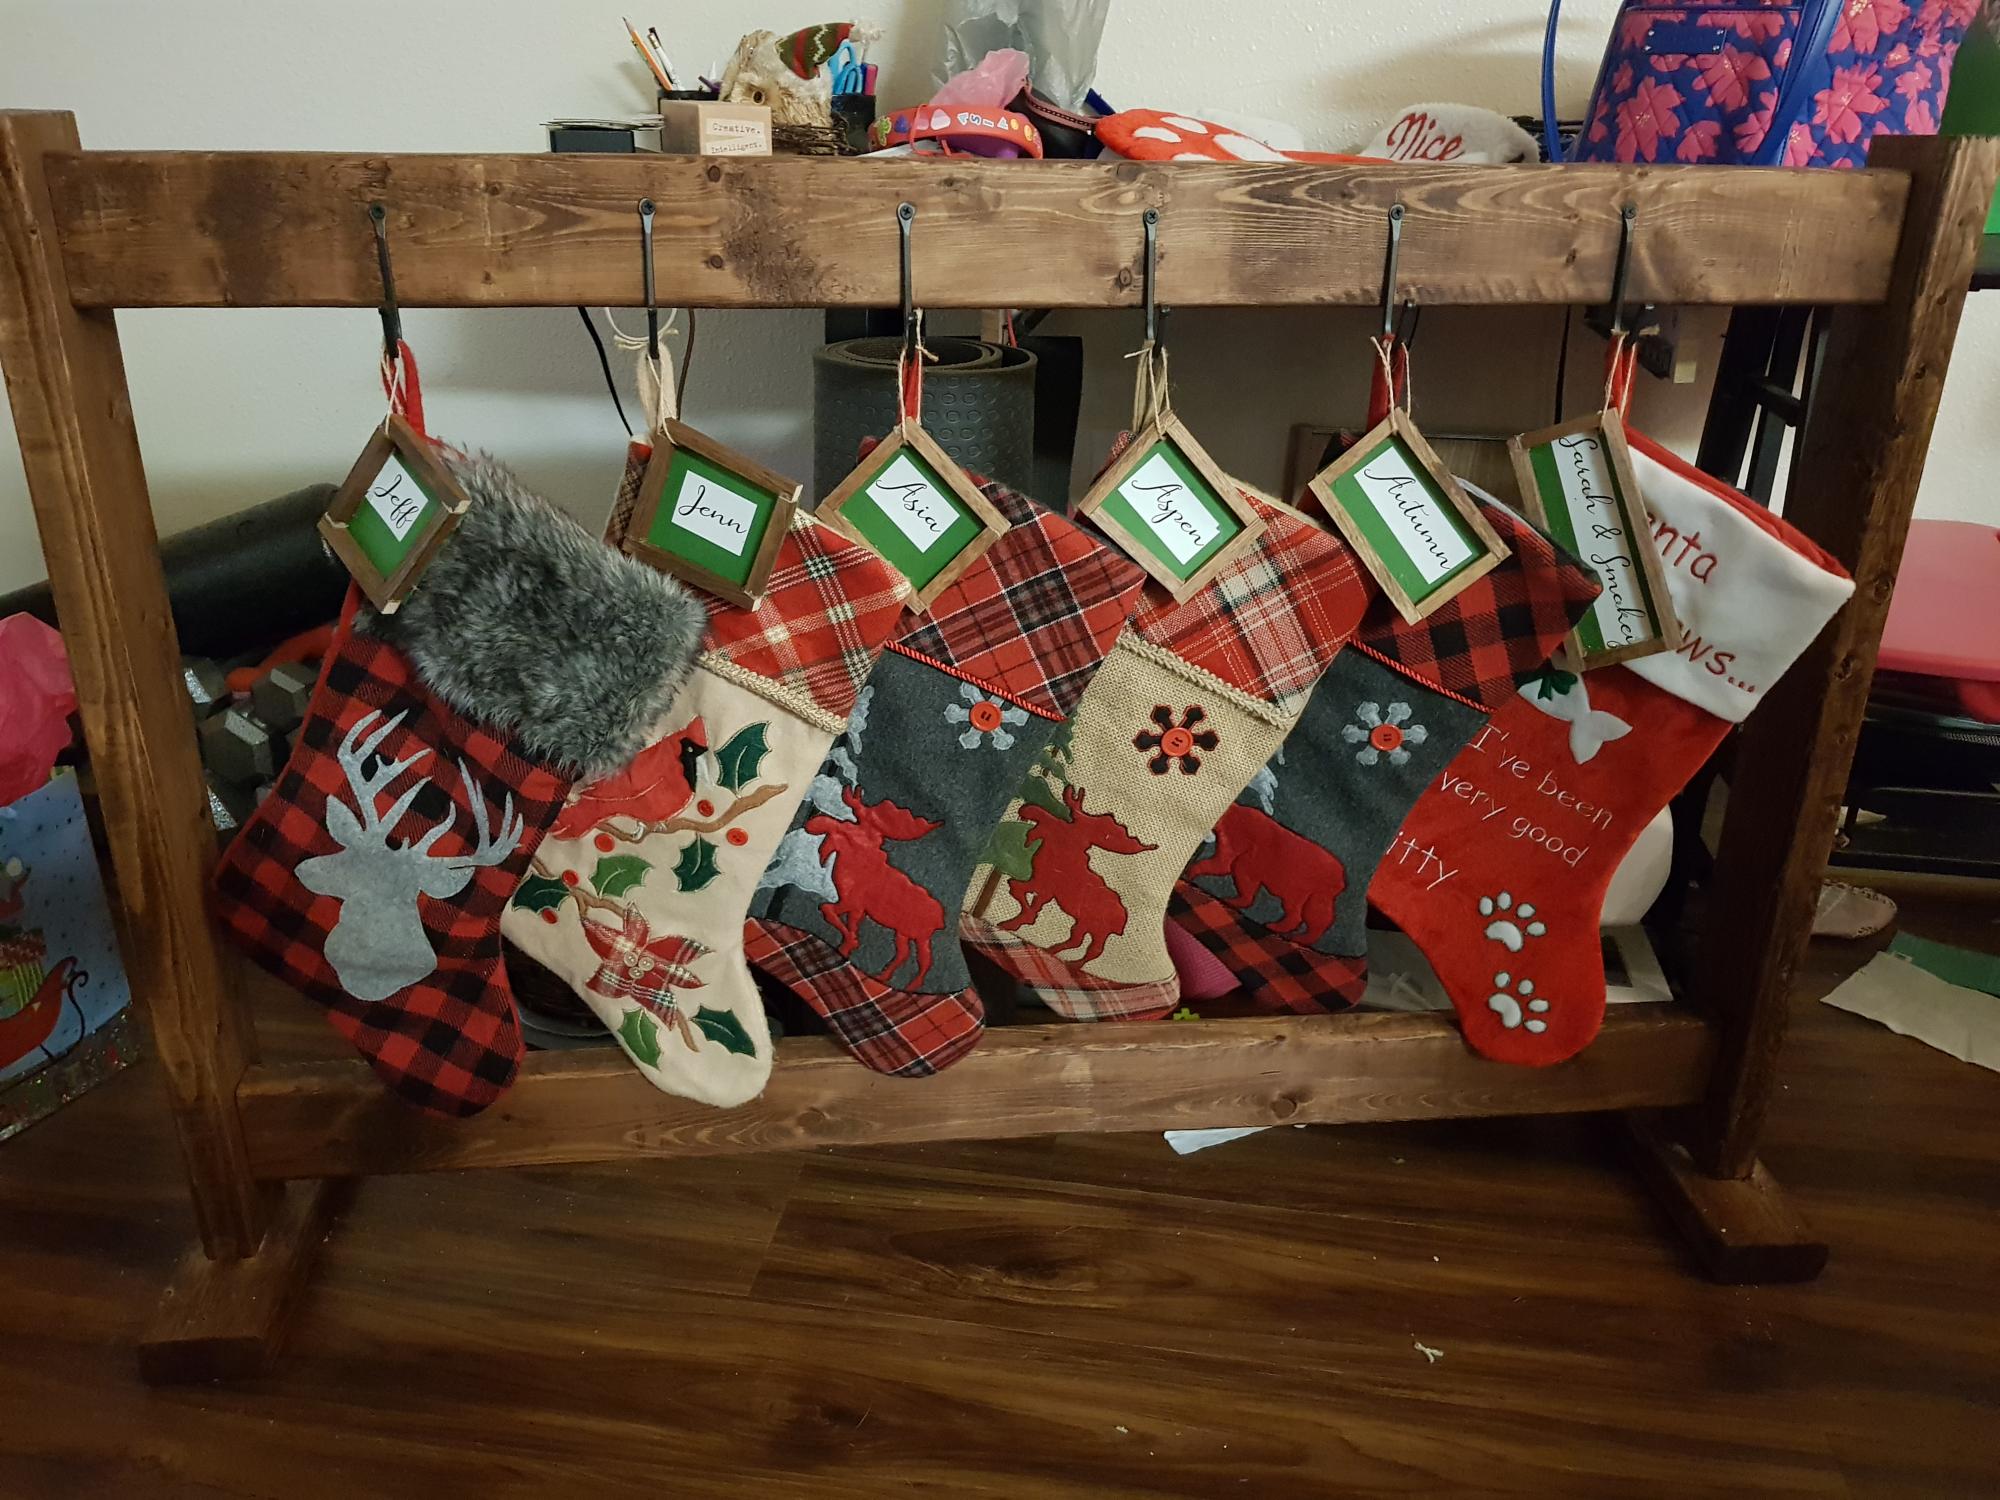
This rolling bar was inspired by Ana White's plan. It is used as a bar and conceals an electric smoker and a grill. I added handles for moving and some hooks on the sides. I stained the salvaged 2 X 6 's and brushed on clear oil based poly on the new Cedar fence boards.
Billie