Community Brag Posts

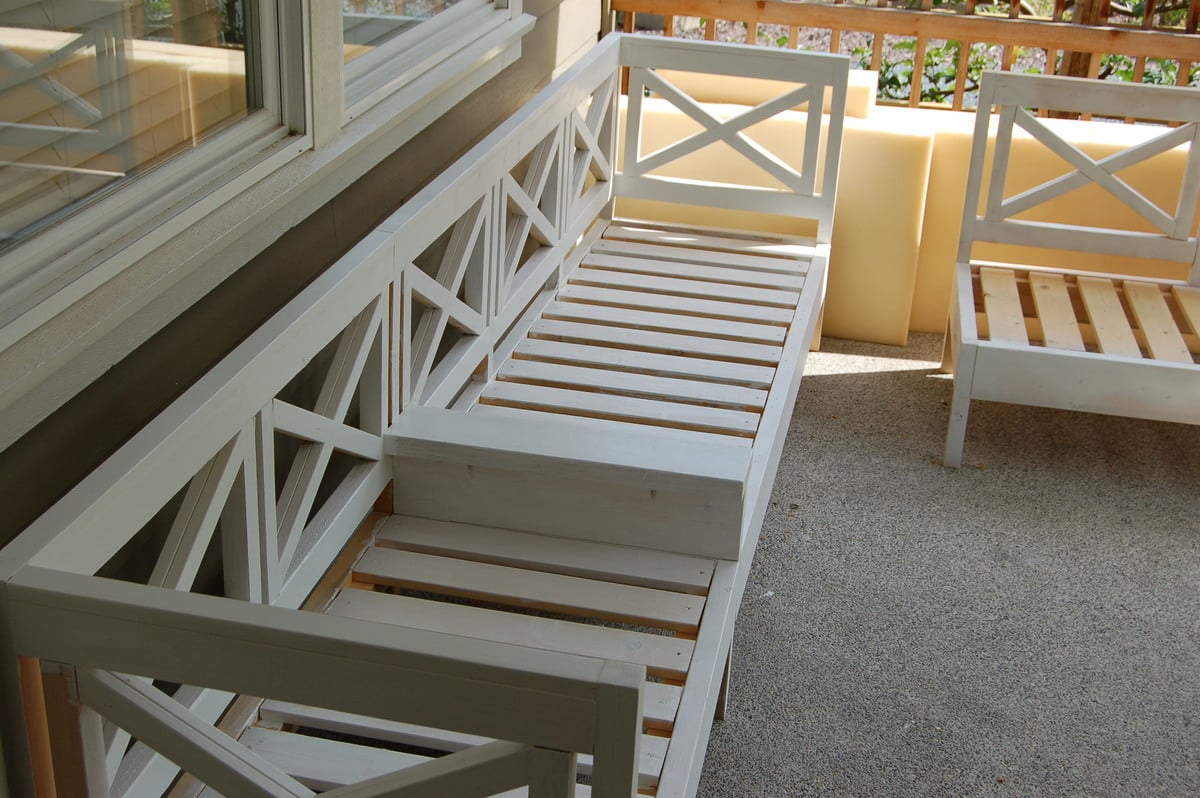
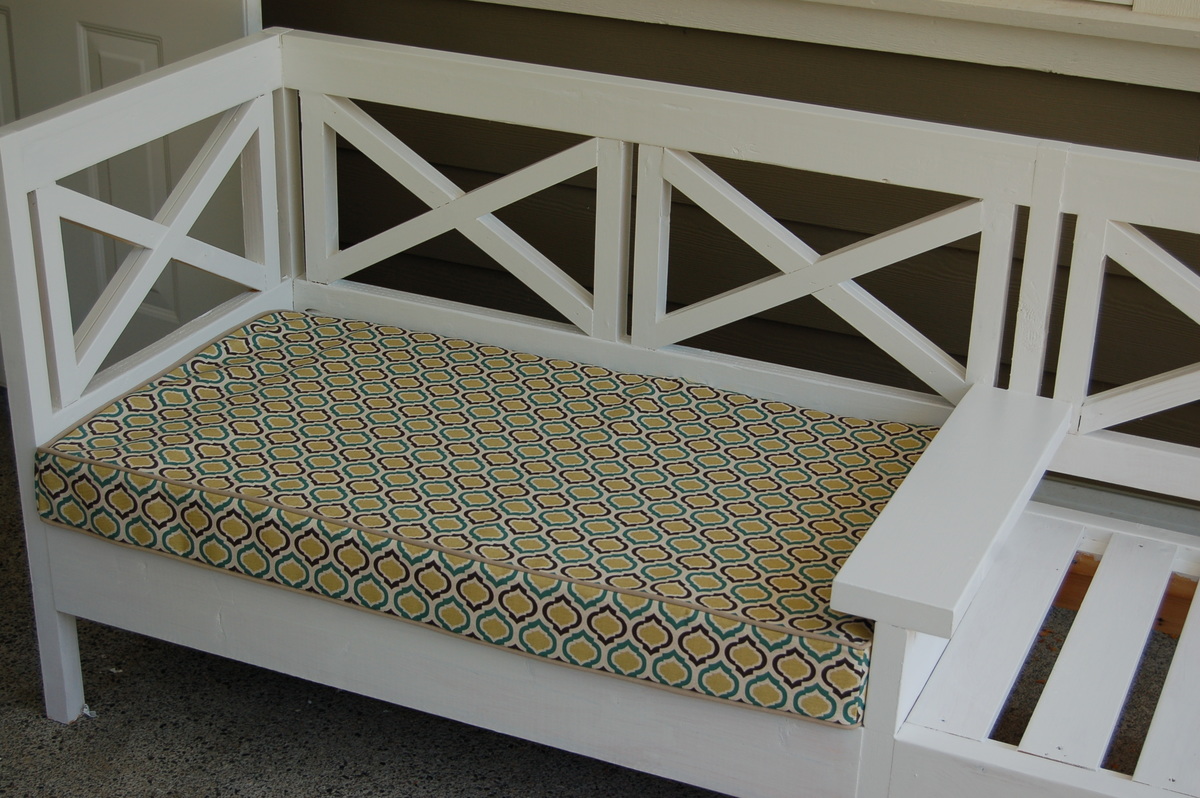
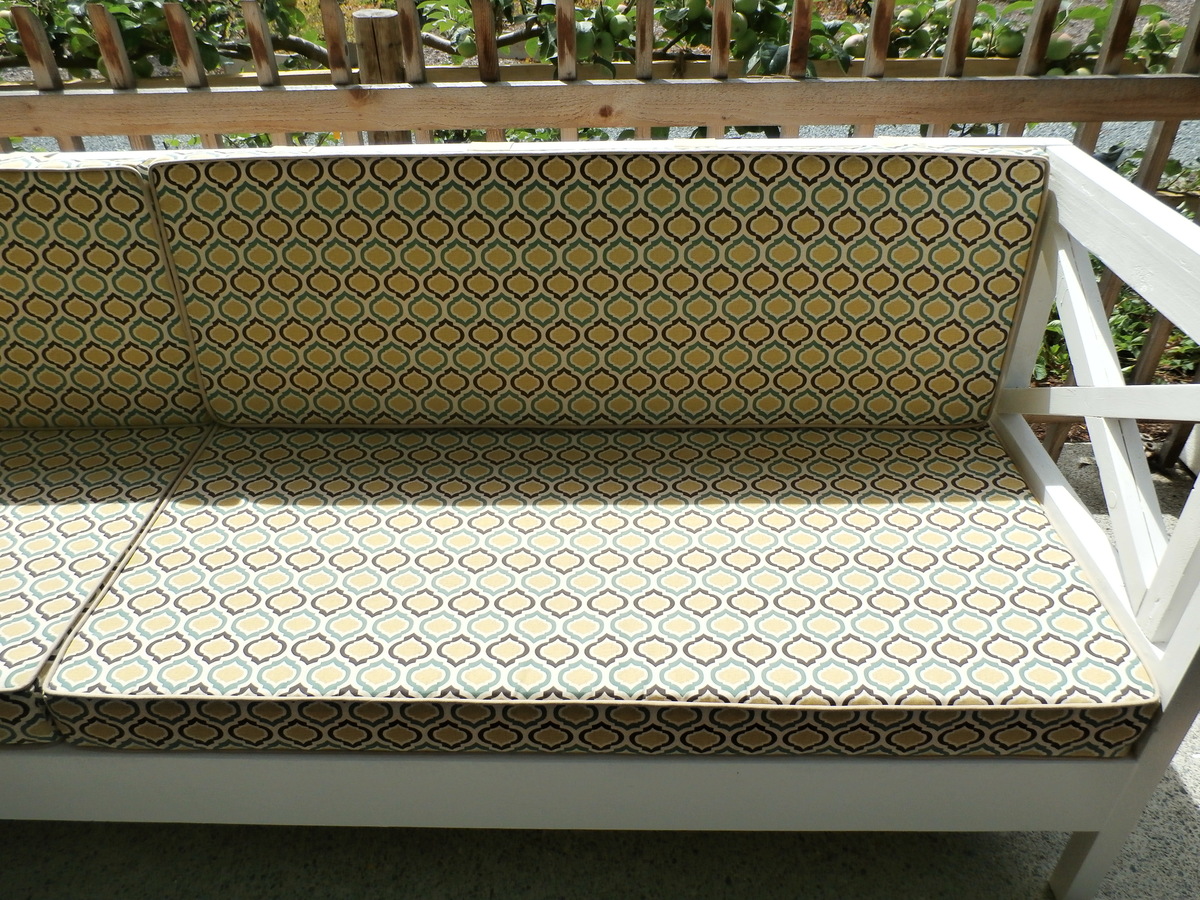
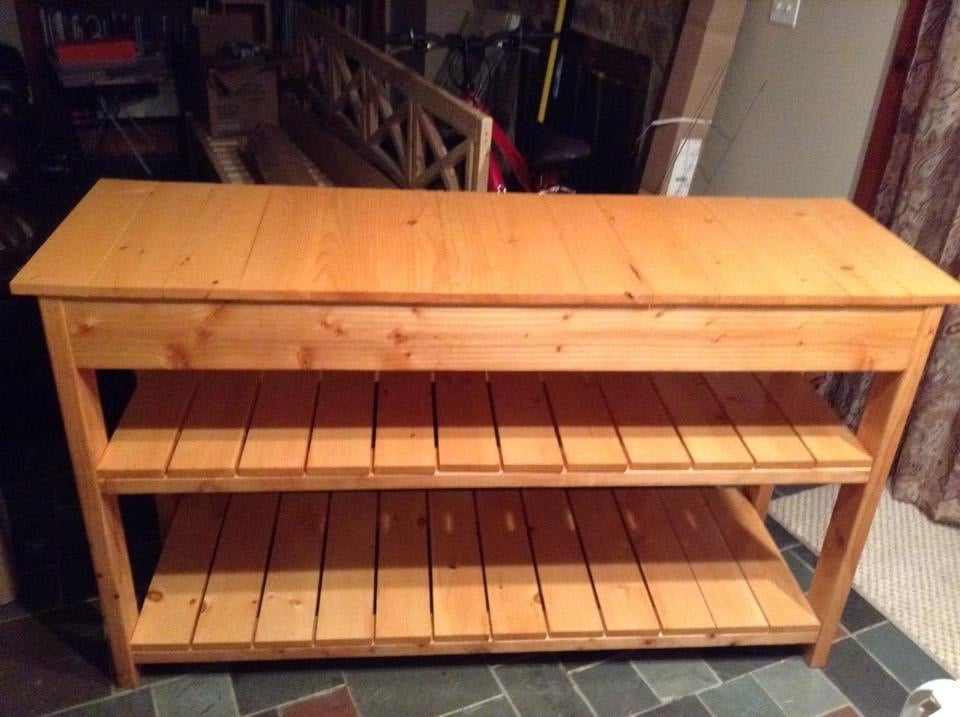
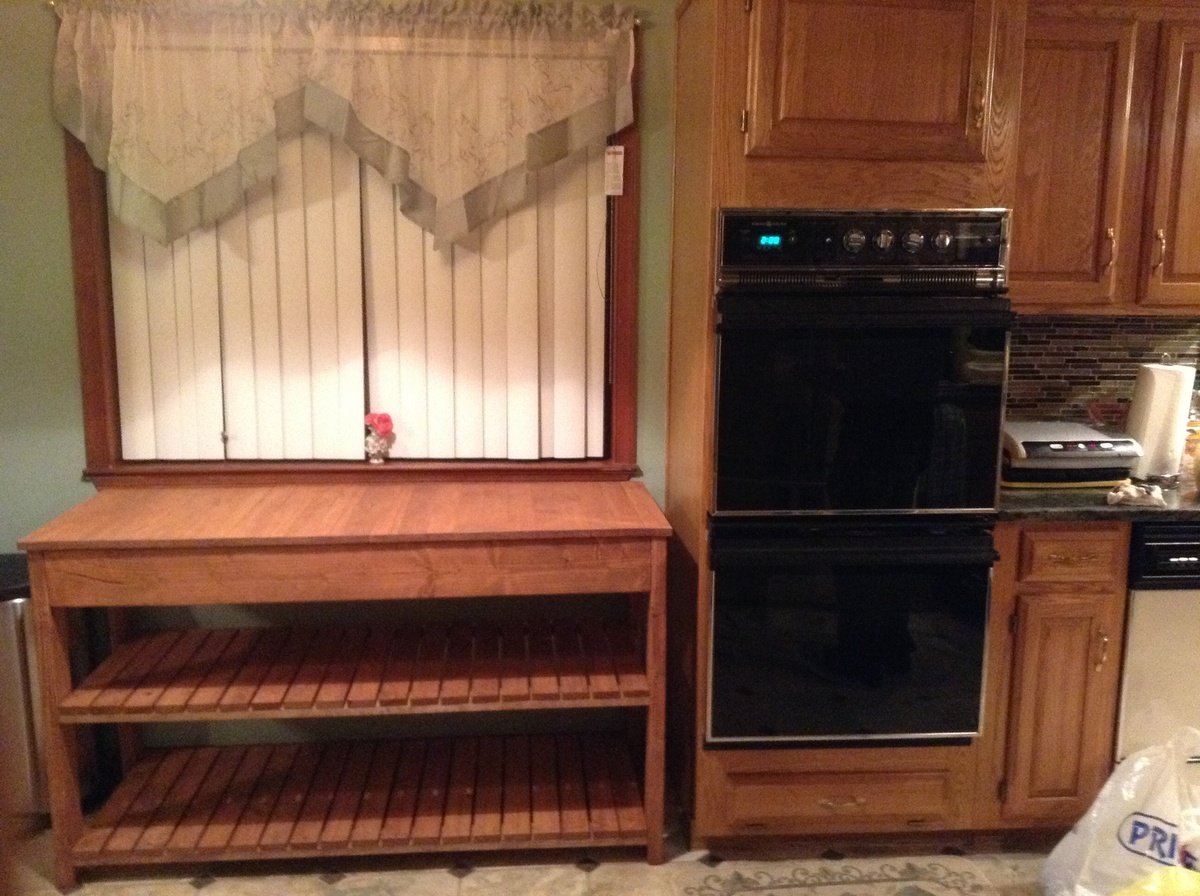
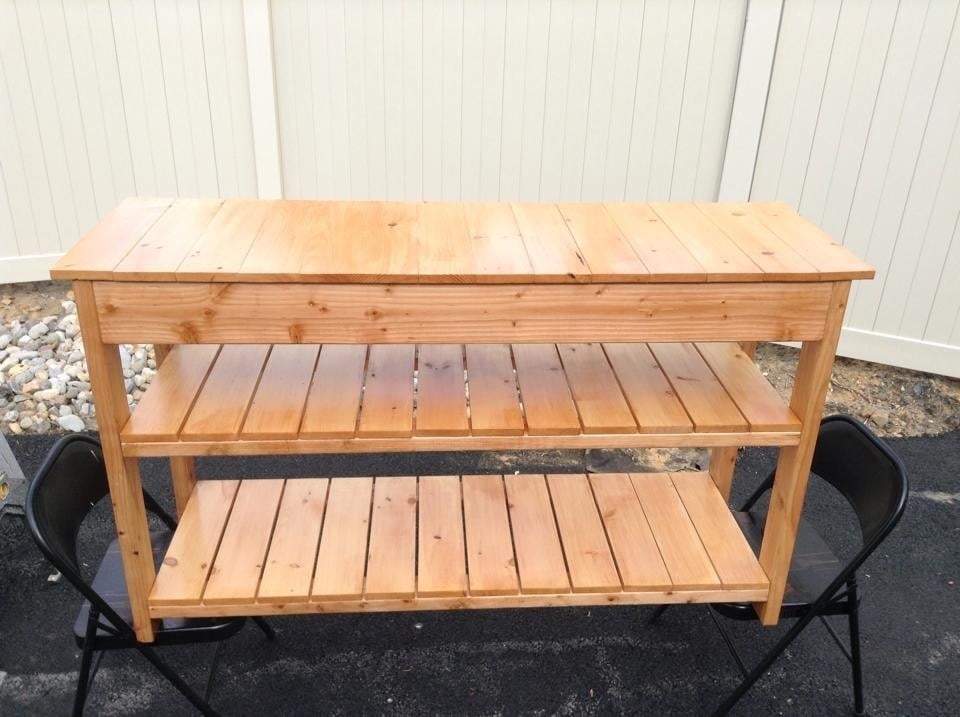
Outdoor Grill Station with Table and Nesting Storage Cart

Submitted by Anonymous (not verified) on Tue, 06/11/2024 - 08:42

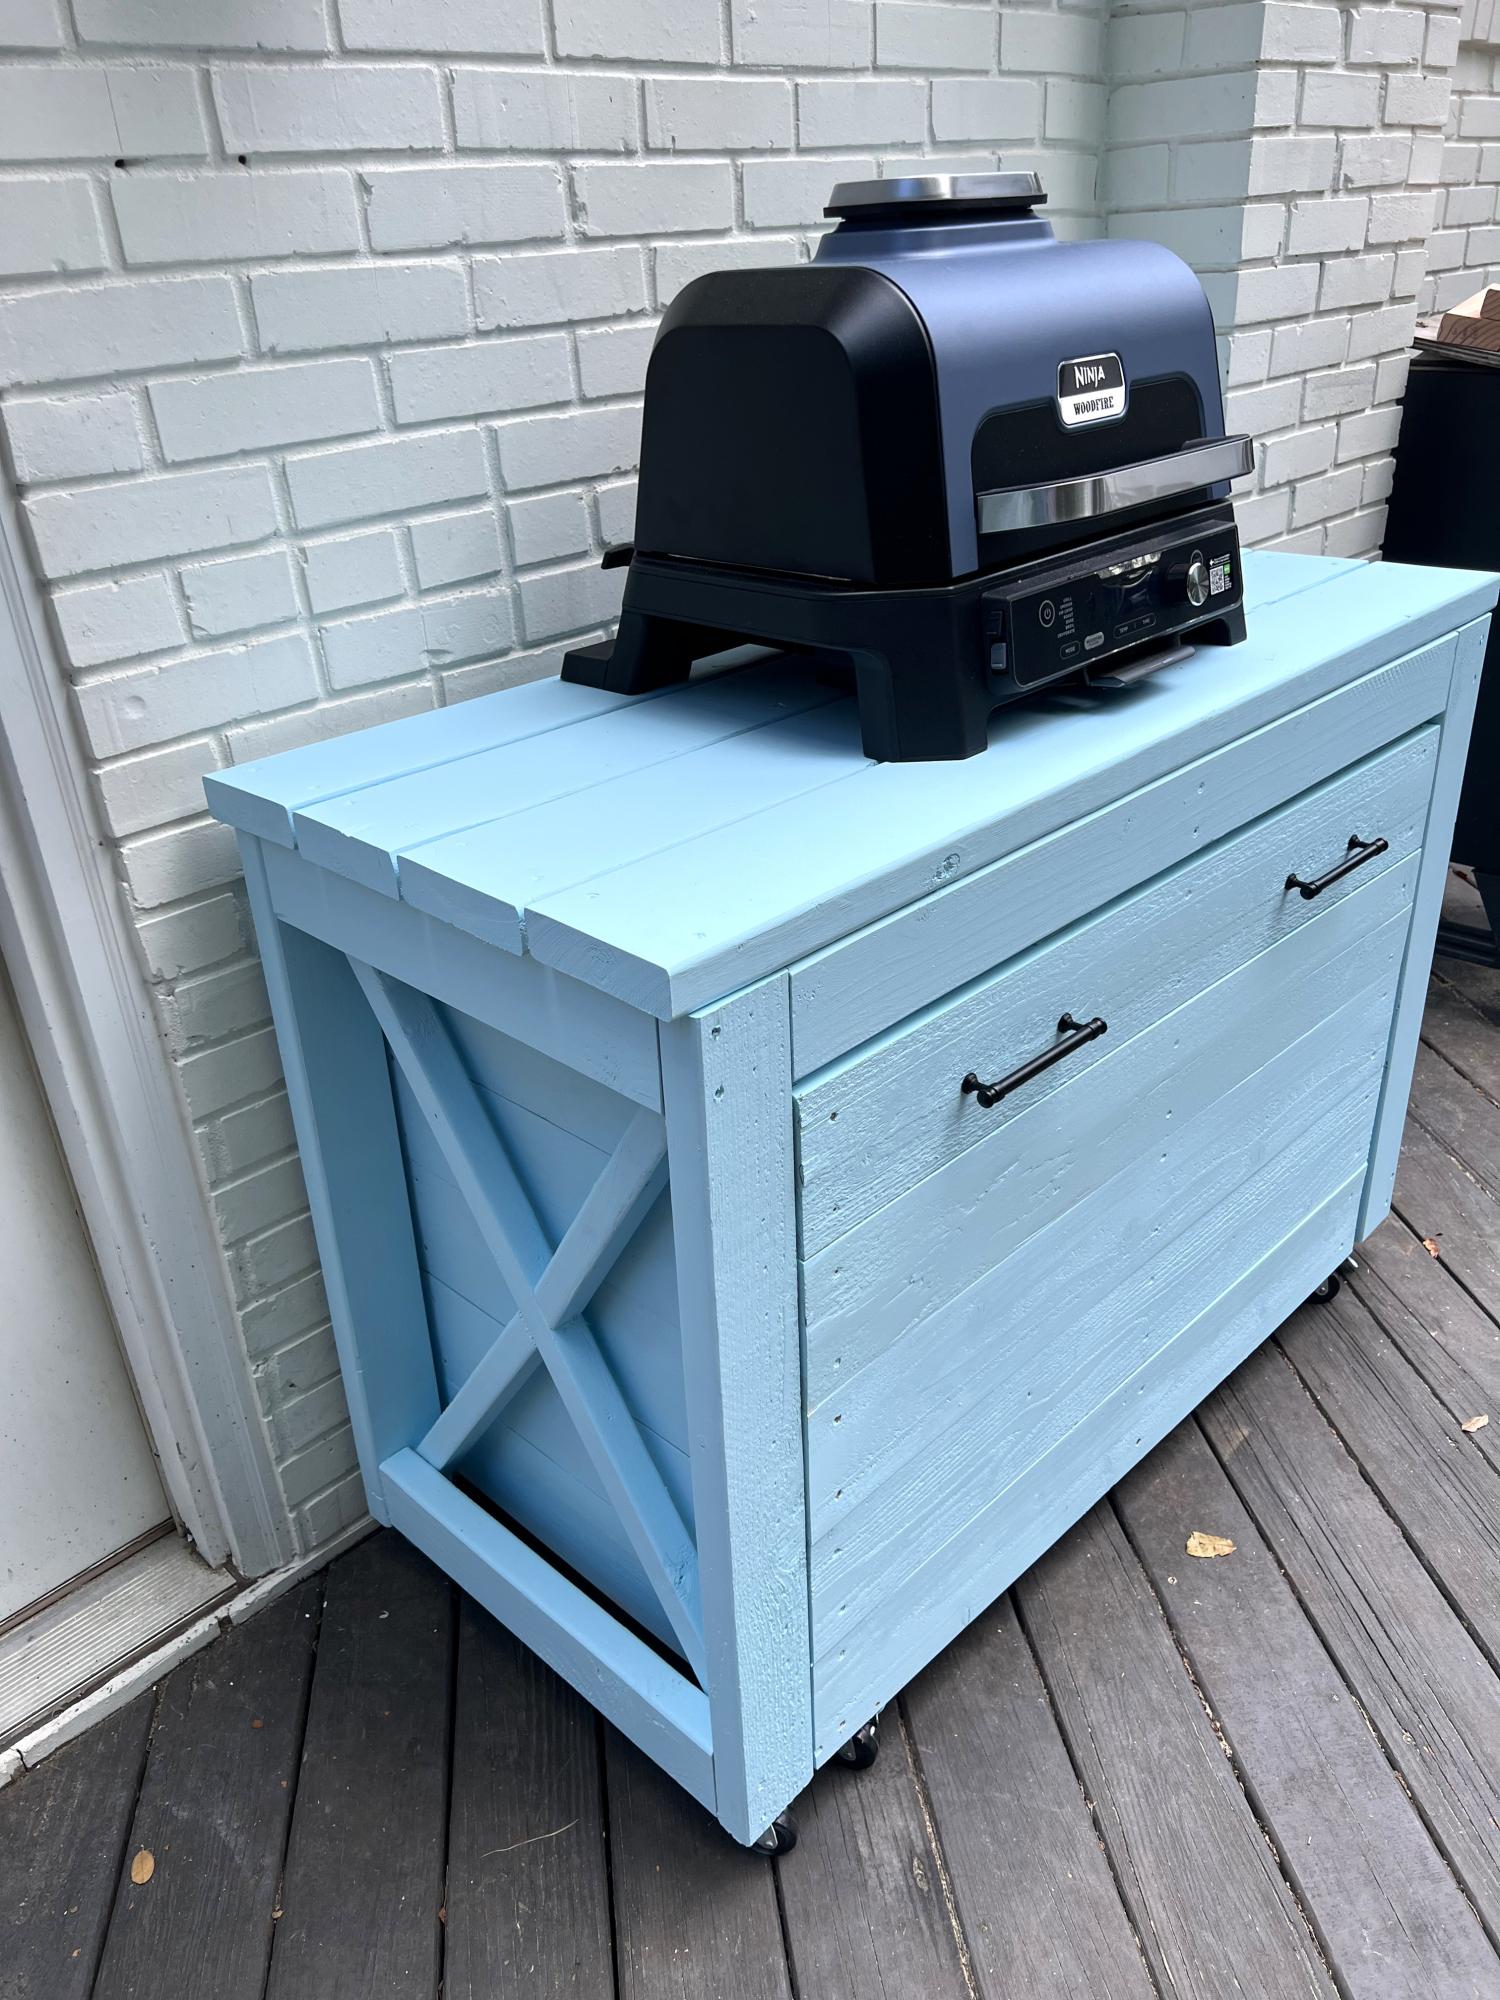
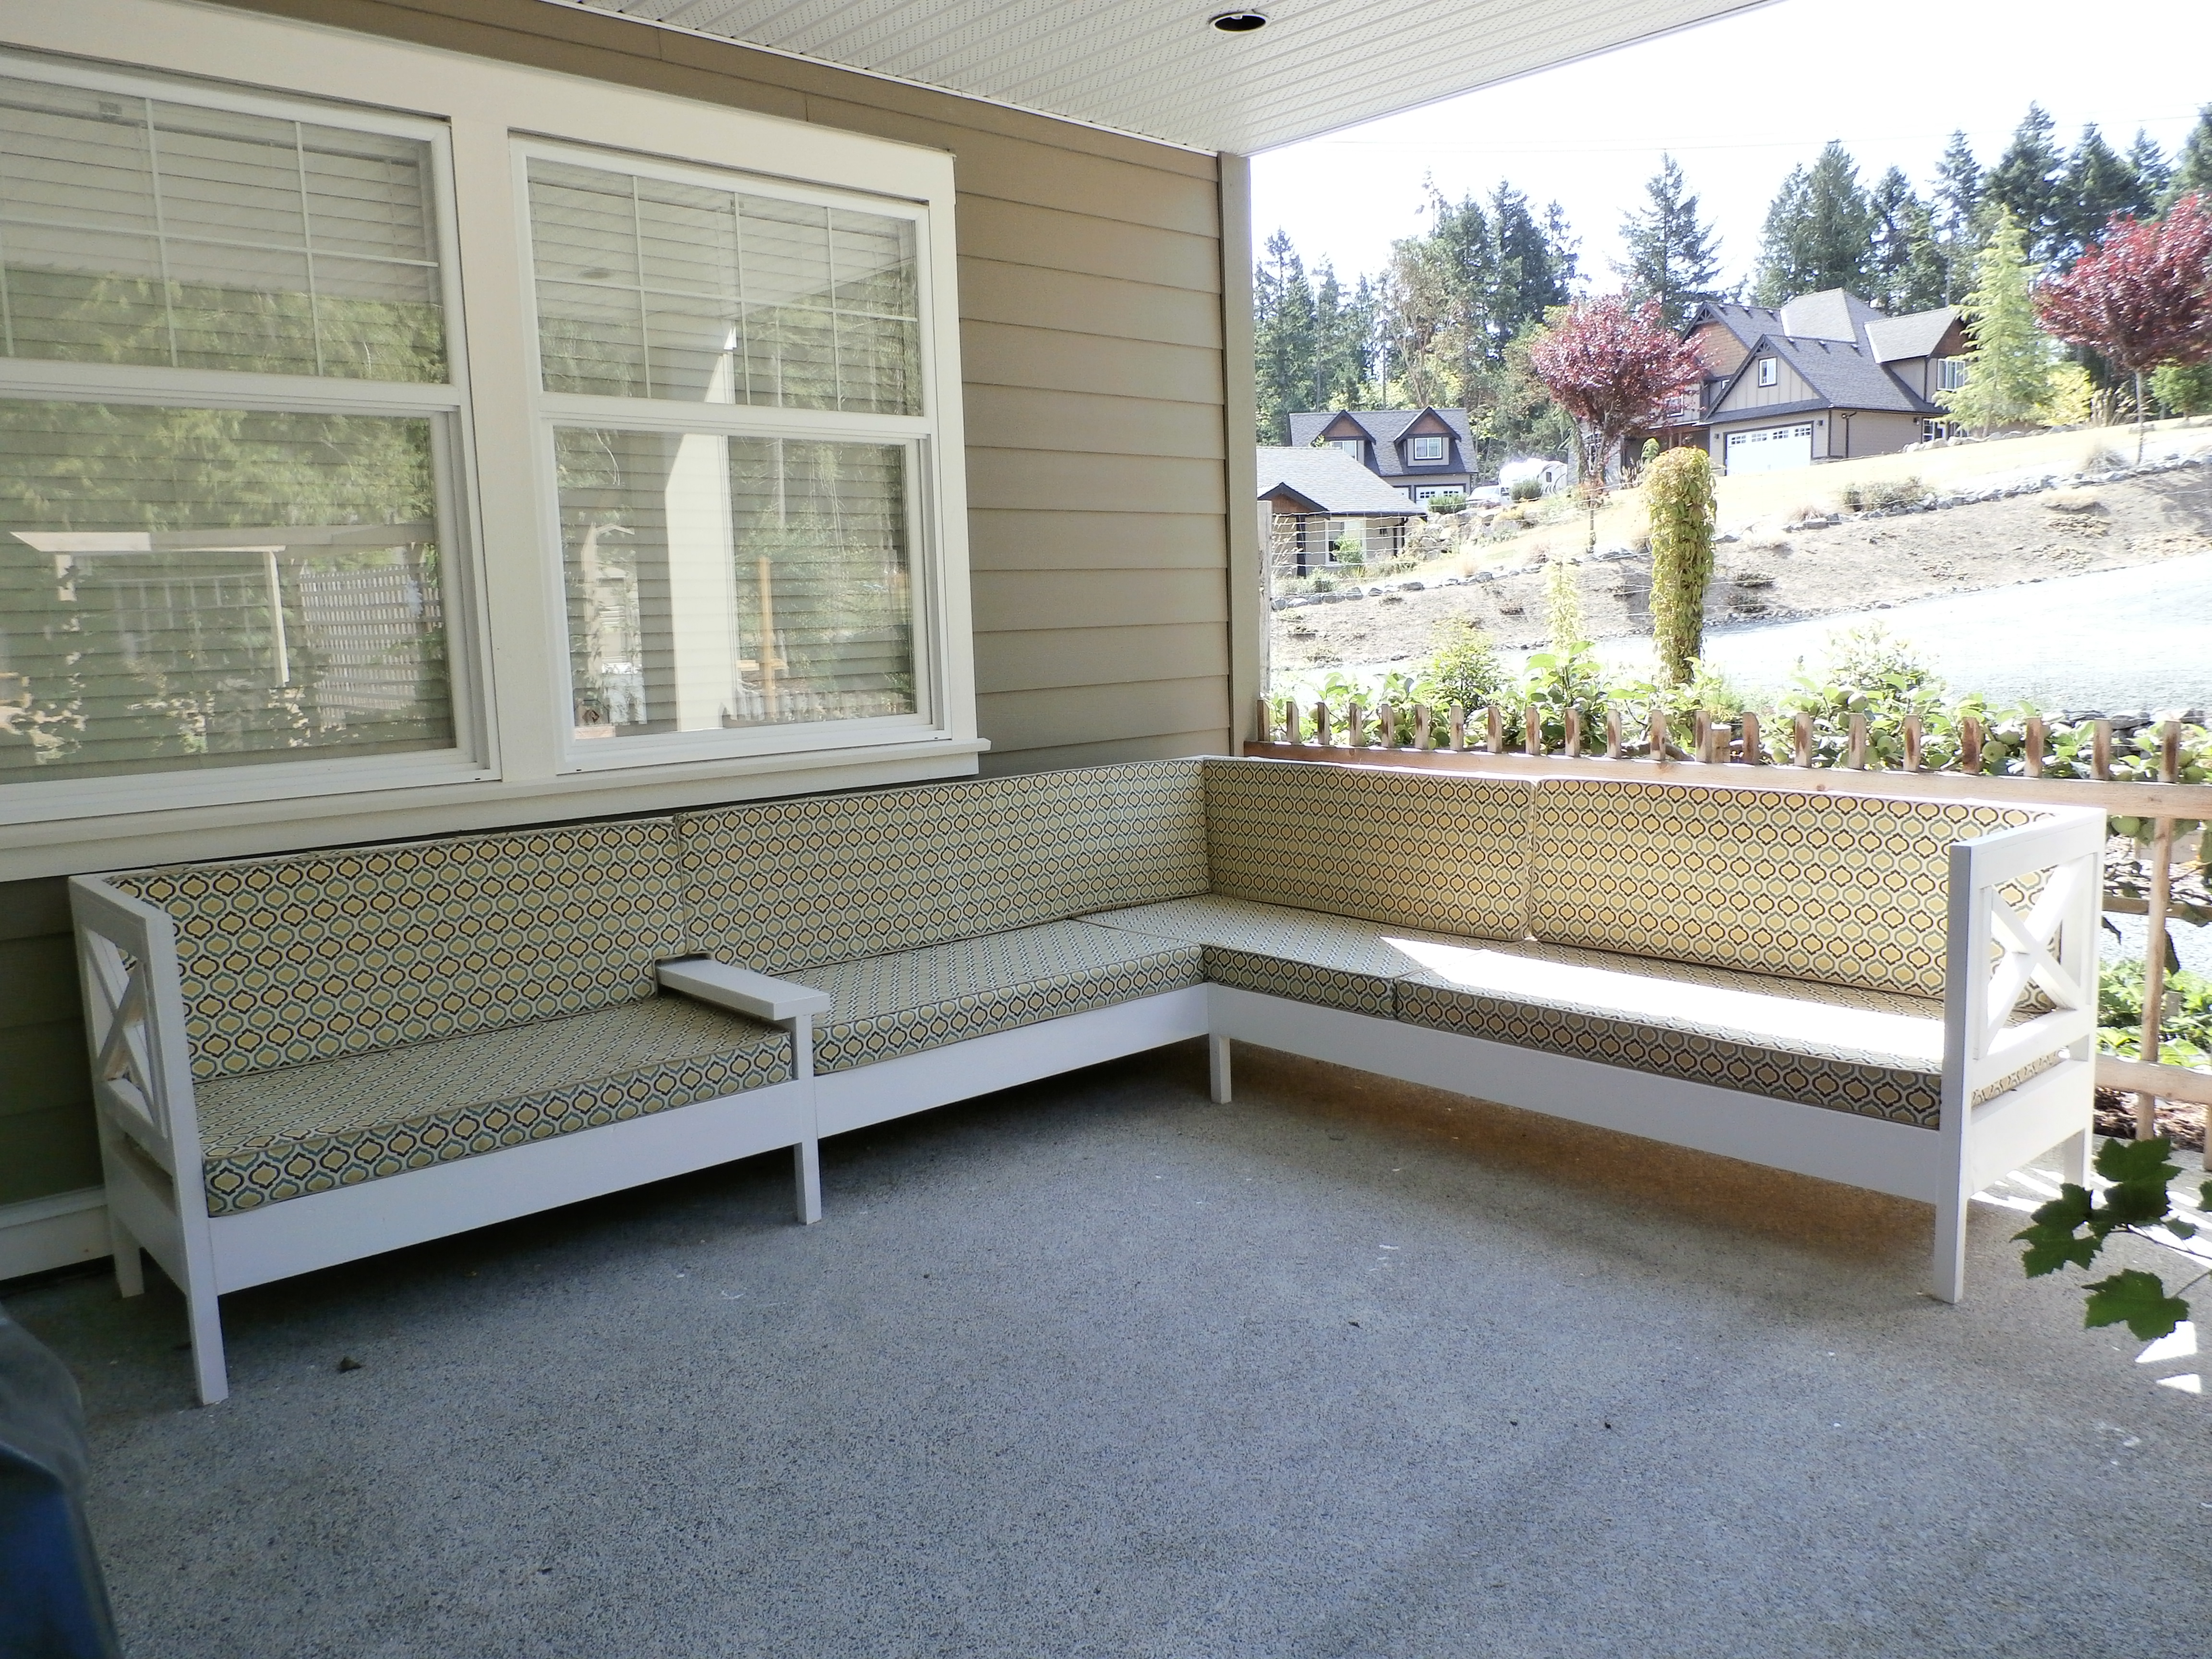
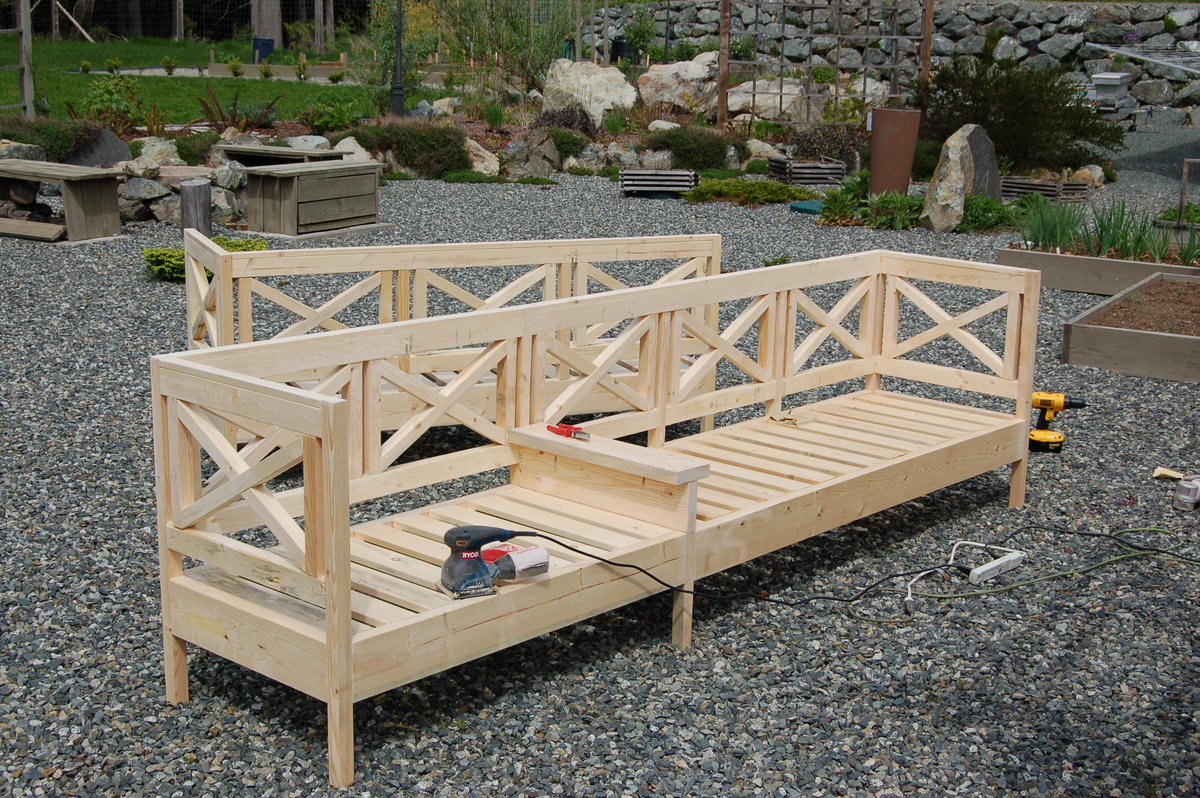
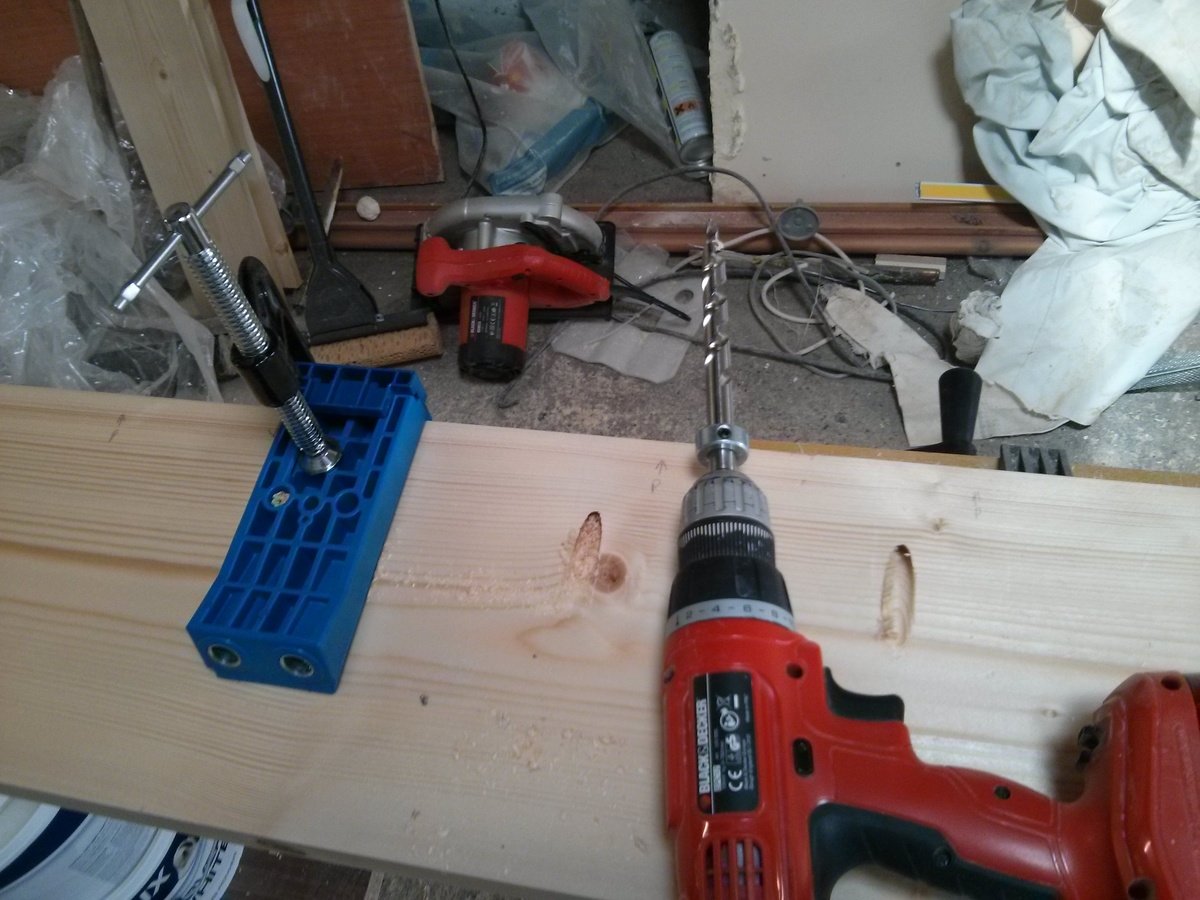
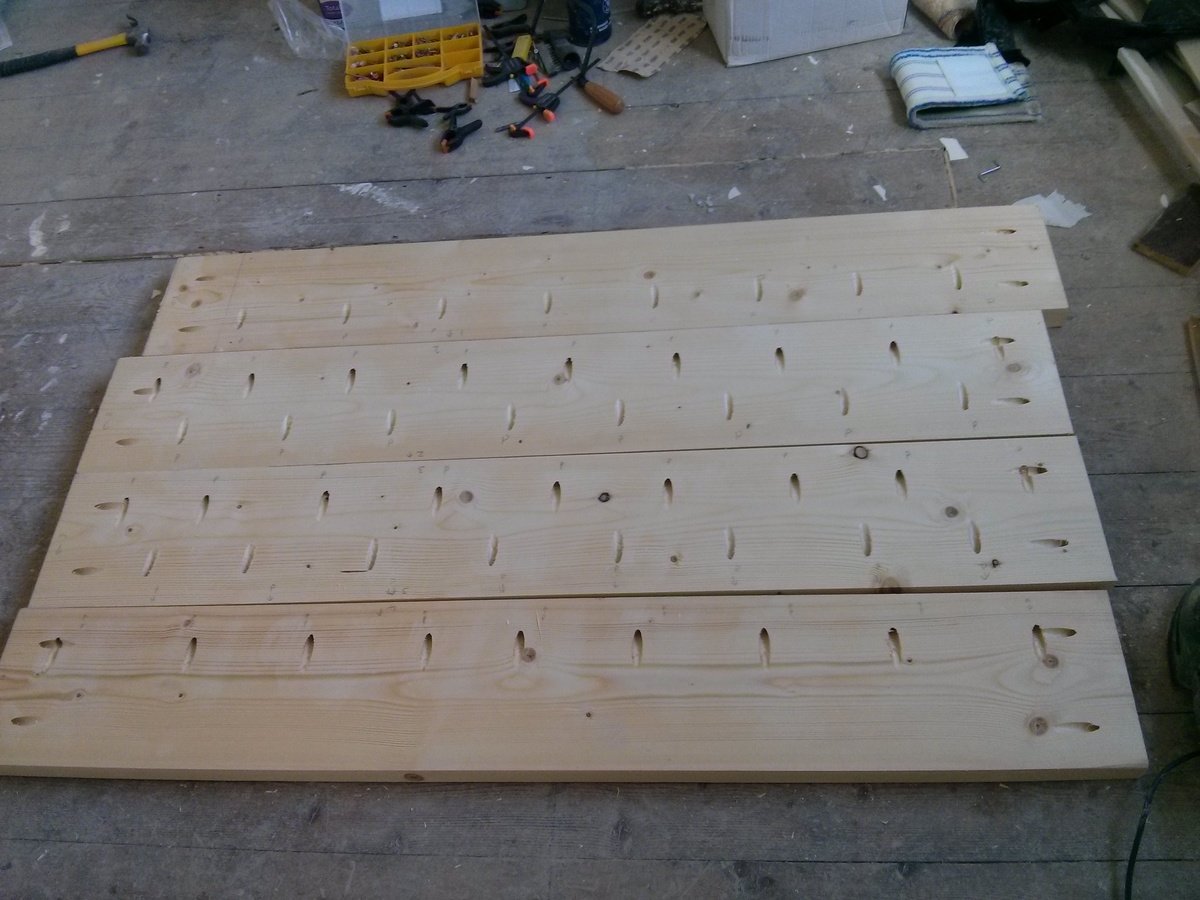
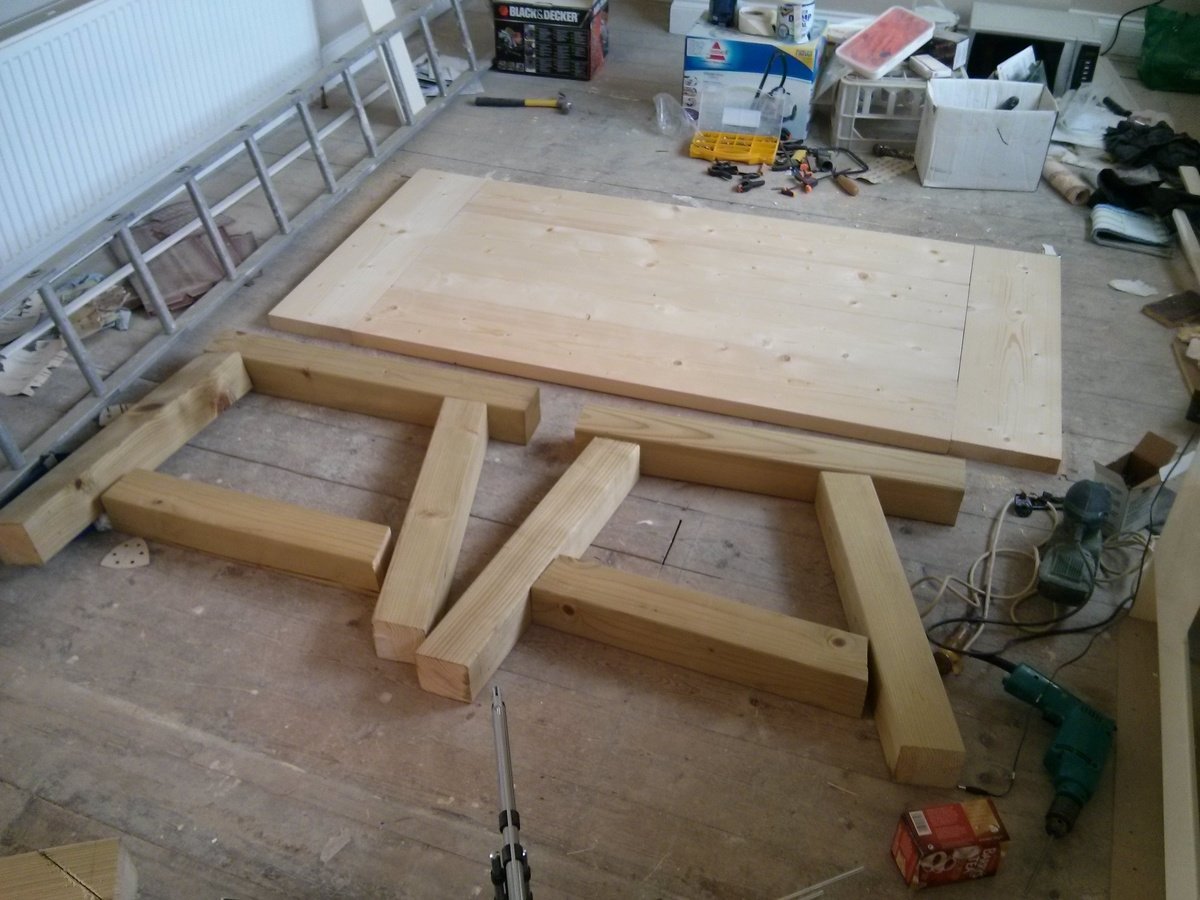
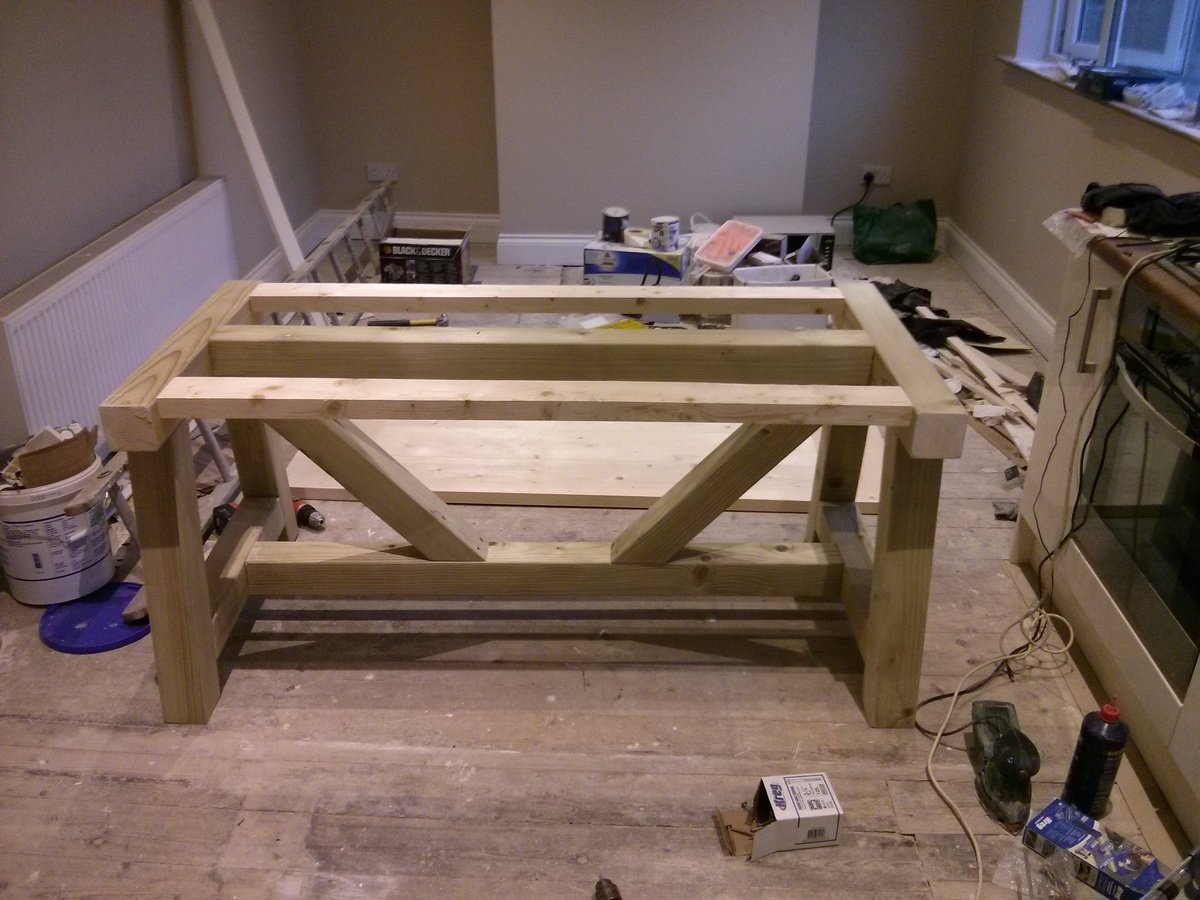
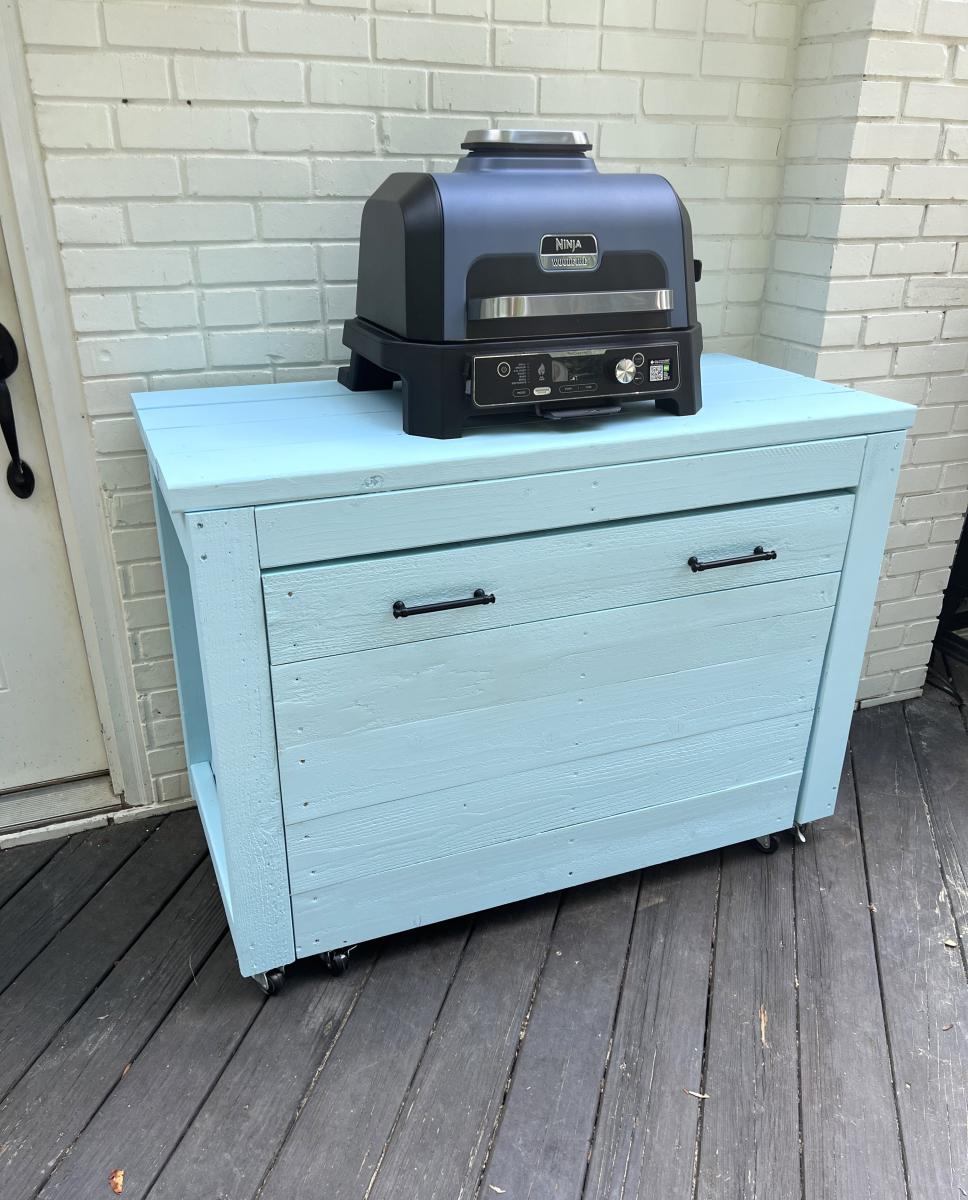
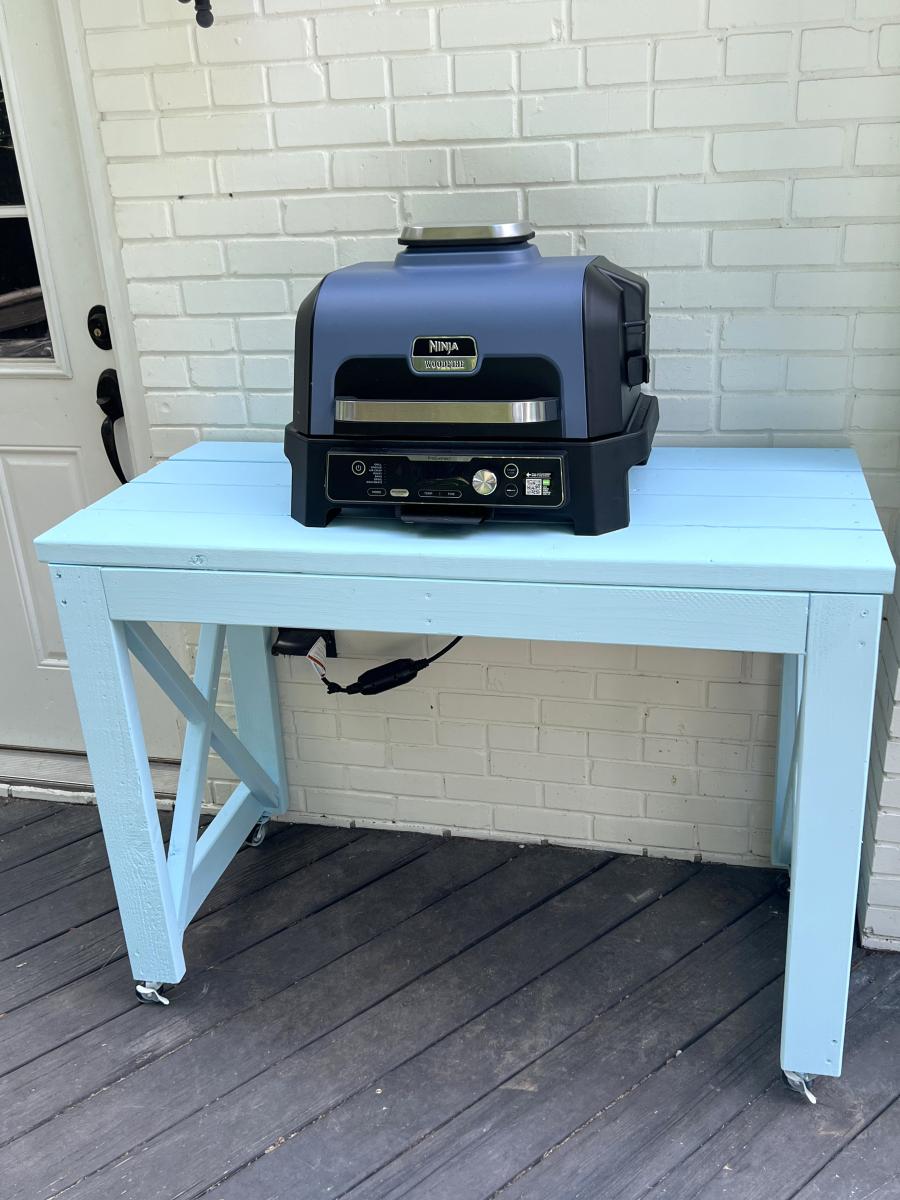
Sarah loved your Nested Grill Cart build however, the plans called for a 5 foot wide cart and we only had room for 4 feet on the back deck. Made the appropriate adjustments and went to town. Turned out well and Sarah is quite pleased with how it turned out. Adding a shelf for needed storage.

Smaller Rustic X end table

Submitted by cgolden on Sun, 09/23/2012 - 22:20

I built these two end tables from the rustic x end table plans. I tweaked the original plan to make them smaller. I only used 4 - 2x6's for the top instead of using 5, and I used 2 - 2x6's for the bottom shelf instead of using the 2 - 1x12's. My top is 20x22.5 and the base is 18x18.

Built from Plan(s)
Estimated Cost
$12/table
Estimated Time Investment
Afternoon Project (3-6 Hours)
Finish Used
I started off with a blend of minwax classic grey, rustoleum sunbleach, and rustoleum kona (I was going for a weathered grey look). It looked good on the scrap piece i tried, but it turned a blueish grey on the tables. I then covered everything with minwax ebony to try an kill the blue tint and darken it. It ended up being a dark brown with some gray tones. Finished with minwax satin polyurethane. I spent alot more time playing around with stain colors than I did actually building the tables.
Recommended Skill Level
Beginner

Comments

Bobcan (not verified)

Fri, 09/28/2012 - 10:36

Great job ! these Rustic table are good for interior design and make a good look .I read this , have good price ,timing ,wood and also your hard work .

jhmesa

Wed, 04/20/2016 - 05:43

i love this! we just built the bigger one to find out it was a bit too big but we were still able to find a place for it. my husband and I are going to build your smaller version cant wait!

ChristianFro

Mon, 06/13/2016 - 12:50

I built the larger version and found I want to tone it back a bit.  How tall did you build yours?  What angle cut did you end up with?

Baby's first step stool

Submitted by n8amis on Sun, 07/20/2014 - 12:09

I made this for our first new family addition. My wife is 20 weeks pregnant and we find out if it's a boy or girl tomorrow at 0800! So excited, and thanks to Ana for the great plans.

Nate

Built from Plan(s)
Estimated Time Investment
Afternoon Project (3-6 Hours)
Finish Used
I applied an ebony stain first. When dry added glue over stain and painted antique white before glue dried for the "crackle" effect. Polyurethane applied afterwards (yellows the paint a bit, but that's what I was going for). My wife then painted the sea life and we covered in a spray on enamel to finish.
Recommended Skill Level
Intermediate

Corner hutch

Submitted by Soni_max on Wed, 07/22/2020 - 15:05

Built this for a friend. She ask for it to be built with Chicken wire for that Country feel. I think it turned out really nice.

Front Porch Planters

Submitted by Anonymous (not verified) on Sat, 06/15/2024 - 13:36

My son was looking for some type of planter for his front porch and could not find anything that suited him. I seen these plans on your website so my wife and I decided to try and make these for him as a surprise. These are very simple to make by following your plans. Our son loved them and is wanting two more. Thanks Ana.

Dronetastic views

Built from Plan(s)
Seasonal And Holiday

Weatherly Benches

We used the Weatherly plans for this project amending in a couple of places. The two seat version was attached to the three with using just one set of legs and then we added a 2 x 6" upright at the join and put another 2 x 6" on top for a drinks tray! Rather than 8 individual 24" cushions we went with 48 x 24" seats and did the same for the backs.

The cost for materials was only about $70 and the outdoor fabric was twice that amount. As it is under a covered deck we just used 4" foam for the seats and 2" foam for the backrests, costing about $100. All Canadian Dollars.

Built from Plan(s)
Estimated Cost
$70
Estimated Time Investment
Day Project (6-9 Hours)
Finish Used
We coated everything twice with Benjamin Moore Cloud White external paint.
Recommended Skill Level
Intermediate

Ottoman

This is my 3rd completed project. This has storage, individual hinges was used.

I am still on the sofa after 9 months could not decide if I wanted to make storage.

Built from Plan(s)
Estimated Cost
estimate cast was $55 dollars, and that was due to the coast of the fabric covered top with plastic covering.
Estimated Time Investment
Day Project (6-9 Hours)
Finish Used
I sand the piece with 120, 220, 500 grit. Then stain/protection, it was suppose to be walnut, and it turn out this color. Can't complain, the cats are happy about it.
Recommended Skill Level
Intermediate

Easy kitchen island

Submitted by JoseO1998 on Fri, 07/25/2014 - 02:15

I built the cherry stained easy kitchen island for my own kitchen... After friends and family looked at it, my daughter' smother (of course my ex) asked if I could buiild her one... we love both of our "islands" even though we both have them along walls in our homes... I added a second shelf for extra storage but it's great for what I call a grocery drop off point... Very sturdy and they both compliment our kitchens... I don't have a picture of it in her home (both of these were in my home on different floors of the house) but she says it matches well with her oak cabinets... Hope you like them :)

Built from Plan(s)
Estimated Cost
Approx $150-200 depending if you stain and polyurethane
Estimated Time Investment
Weekend Project (10-20 Hours)
Finish Used
The first pic I used a medium oak stain and polyurethane... The second pic I used a cherry stain without polyurethane; however I have decided I'm going to add polyurethane to it for a nice shine ;)
Recommended Skill Level
Beginner

Entry way cubby

Submitted by mmaixner06 on Fri, 11/04/2016 - 16:57

My dad helped me build this. I wanted to make one out of crates similar to another post but we decided on plywood and my dad wanted to play with the portable saw he bought me. We customized it for my space and didn't use any plans. I think it turned out nicely though I may need another for all my other shoes!

Estimated Cost
$75
Estimated Time Investment
Weekend Project (10-20 Hours)
Finish Used
Flat matte indoor Behr paint in a light grey.
Recommended Skill Level
Intermediate

Grandkids built Cedar Planter

Submitted by atlayank on Sun, 07/26/2020 - 18:22

Two of my grandsons built this cedar planter after I did the cutting of the wood. They did all the measuring and put it together very nicely!

Built from Plan(s)
Estimated Cost
15
Estimated Time Investment
An Hour or Two (0-2 Hours)
Finish Used
Natural
Recommended Skill Level
Starter Project

Cedar House Number Planter

Submitted by Anonymous (not verified) on Sun, 06/30/2024 - 12:30

I've used a few plans from Ana since I found her over the past year, but this is my first brag post! This plan helped to inspire me to make something similar! I used some free pallet boards instead of cedar fencing, and modified the plan by adding a solar powered fixture to it, so you can see the numbers in the evening as well. I attached it to my siding using vinyl siding hooks and D-rings, so I wouldn't have to drill into the side of my house as well because I I'm a happily lazy builder! Added fake flowers leftover from our wedding because I KNOW I'll forget to water real flowers if I put them in here haha.


Seasonal And Holiday

iSideTable

I bought my first home in July, and have been looking for furniture to fill it with. Then I found this site, and decided I would build what I want. I plan on making the iTable as well, but for my first project, I thought about starting a little smaller. I also needed side tables for my couches more. So was born the iSideTable ;)

23 3/4" high
10 1/2" wide
22 1/2" deep

Materials used:
1 4x4x8
1 1x4x8

All told materials alone for this project is a miserly $23!!

I have just finished my first coat of Varathane Kona (it's what we have in Canada). I want it nice and dark so I am leaving it on to dry, then applying a second coat.

Built from Plan(s)
Estimated Cost
$30
Estimated Time Investment
Afternoon Project (3-6 Hours)
Recommended Skill Level
Starter Project

Farmhouse Table 4x4 truss

Submitted by ayoung82 on Mon, 07/28/2014 - 15:40

This is my first attempt to build anything since the age of 17 (school!). I have recently bought a house and tried my arm at installing skirting (base boards in the US I think?) and it piqued my interest. The family needed a table, so I built one..

Its not perfect, but I'm looking forward to many family meals with our young family :)

Built from Plan(s)
Estimated Cost
€162 euro in wood (white deal) and left over stain and varnish from my floors
Estimated Time Investment
Weekend Project (10-20 Hours)
Finish Used
Rustins Medium maple & satin varnish
Recommended Skill Level
Beginner

Comments

bclute

Mon, 07/28/2014 - 19:48

Great job! ... it looks great. I know you are not in US, but did you just use the cheap pine? I made a farmhouse bed with it this past fall and I have had problems with it shrinking on me. I want to do this table, and I know that the kreg will keep it tight ... I just need to buy one. Good work!

ayoung82

Fri, 08/01/2014 - 08:32

Hi bclute... thanks for the comment and the compliment. As for your question about the type of pine, I’m so new at this I’m not sure really. I understand there are grades of timber, but I went to my local timber yard and got what they had. Construction grade I believe. The bed is my next project so it's interesting to hear about your project. I suppose letting the wood dry fully is an option, but that takes a lot of time. I used the Kreg HD, it was great and easy to use, although clamping it each time makes for a slower job than the standard jig. Thanks again A

Simple Bed, Simple Plan!

Submitted by Anonymous (not verified) on Mon, 11/07/2016 - 20:04

Total cost was around $170. I used western red cedar for 4x4 posts and 2x4's, all the rest is carpenter pine. For the slats I decided to go with .375" dowel pins and drilled holes to hold slats in place. I sunk 3" screws through frame to connect head and footboard, if I decide to move it one day, I will just remove screws and do the same again. The finish is Milk Paint, i absolutely love it, mostly because it is 100% non toxic for my kiddies :-). The bed is for my two year old who is delighted with it! Thanks Ana for once again saving the day! We have such great and solid furniture because of you!

Built from Plan(s)
Estimated Cost
$170
Estimated Time Investment
Weekend Project (10-20 Hours)
Finish Used
Milk Paint
Recommended Skill Level
Beginner

Farmhouse Table & Bench

Submitted by frmoody on Tue, 07/28/2020 - 17:22

I've built tables from this plan several times. This one was a little different in terms of the colour wanted. I also beefed up the support in the table frame itself.

Estimated Cost
$120
Estimated Time Investment
Weekend Project (10-20 Hours)
Finish Used
Varathane "Worn Navy" mixed with some "Espresso" to darken it up. Then followed up with three coats of satin varathane. Table support was first painted a diluted black and then two coats of a diluted white were applied with light sanding in between coats to reveal some of the dark.
Recommended Skill Level
Intermediate

Our version of the Rustic X Console Table

Submitted by Jeepmommy on Sun, 10/07/2012 - 20:30

We LOVE this Rustic X Console table! We used a Kona stain and we took the iron hardware and rusted it up with heat, vinegar, salt and hydrogen peroxide.

Built from Plan(s)
Estimated Cost
$130
Estimated Time Investment
Weekend Project (10-20 Hours)
Finish Used
Kona Stain
Recommended Skill Level
Intermediate

Farmhouse Twin in Weathered Grey stain

Submitted by kymbarylee on Wed, 07/30/2014 - 09:27

This was for my 5 year old son and it was much easier than we thought it would be! We didn't have a nailer when we did this and wish we had one! Get a nailer for this project!

Estimated Time Investment
Afternoon Project (3-6 Hours)
Finish Used
Valspar Stain in Weathered Grey and Valspar Poly.
Recommended Skill Level
Beginner

Annie E

Submitted by Anonymous (not verified) on Sat, 11/12/2016 - 22:38

Our fireplace only had a  granite surround and was lacking personality. The wall that our fireplace is built into is kind of a strange size and all of the mantle kits won't fit our fireplace. It wasn't until I ran across Ana's plans that I knew this was exactly what I wanted around our fireplace!  We adapted the plans a little bit, and created a ladder up the sides of the fireplace  to attach the front plate onto. I couldn't be more thrilled with how it turned out 

Estimated Cost
$100
Estimated Time Investment
Weekend Project (10-20 Hours)
Finish Used
Semi-gloss paint to match kit trim
Recommended Skill Level
Beginner

Comments

I made Adirondack chairs!

Submitted by Anonymous (not verified) on Sat, 08/01/2020 - 12:39

Hi from Pittsburgh! I’ve always wanted to make stuff from your site, and I finally did it — I made Ana’s favorite Adirondack chairs and man, are they comfortable! I made them out of cedar 2x4s and cedar shelving pieces for the slats. Very comfy and I hope they last a long time. Awesome instructions, Ana— I’ve directed my neighbor to your site bc he wanted to make some, too!

Estimated Cost
$80/ chair
Estimated Time Investment
Afternoon Project (3-6 Hours)
Finish Used
Chairs by fire pit
Recommended Skill Level
Beginner

Email Me
Free Plans

Get new plans sent right to your inbox for free!

    We won't send you spam. Unsubscribe at any time.

    Back