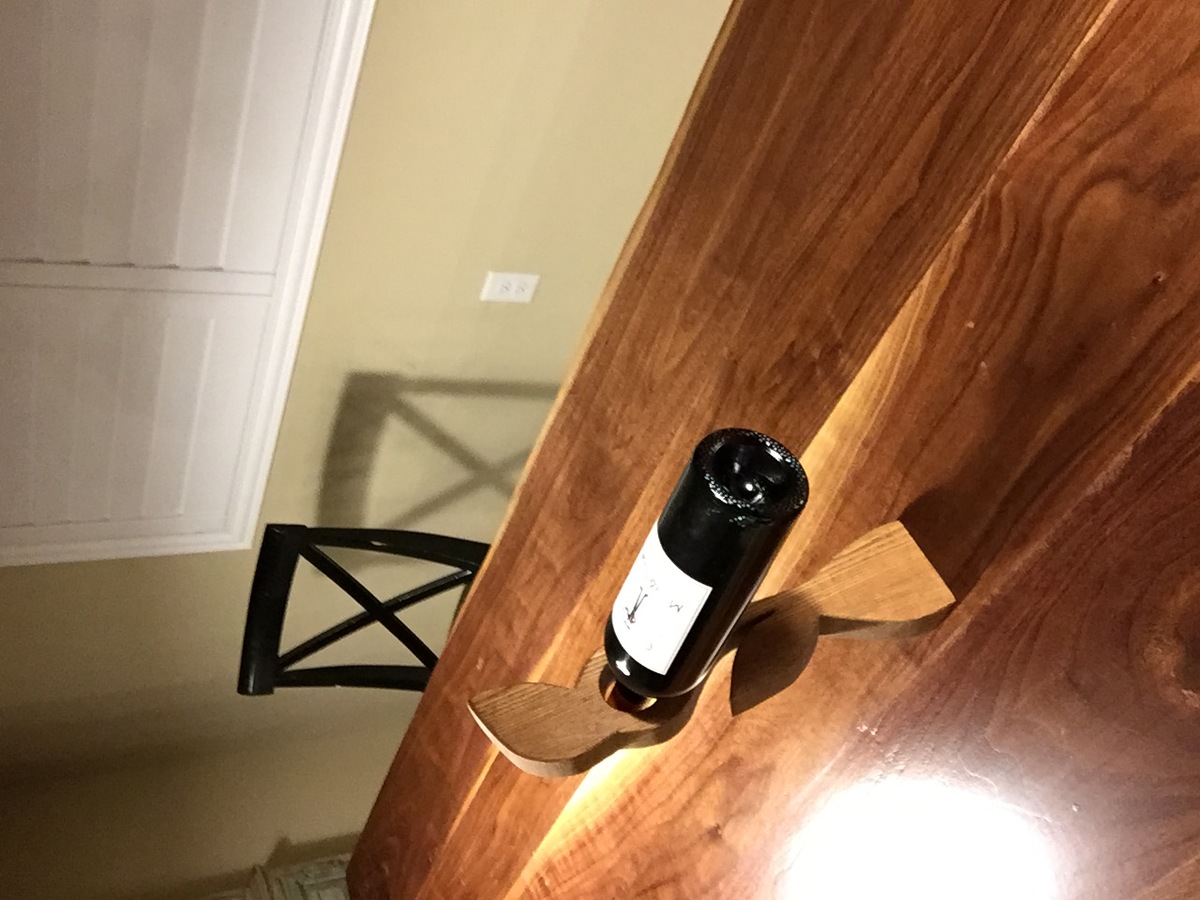
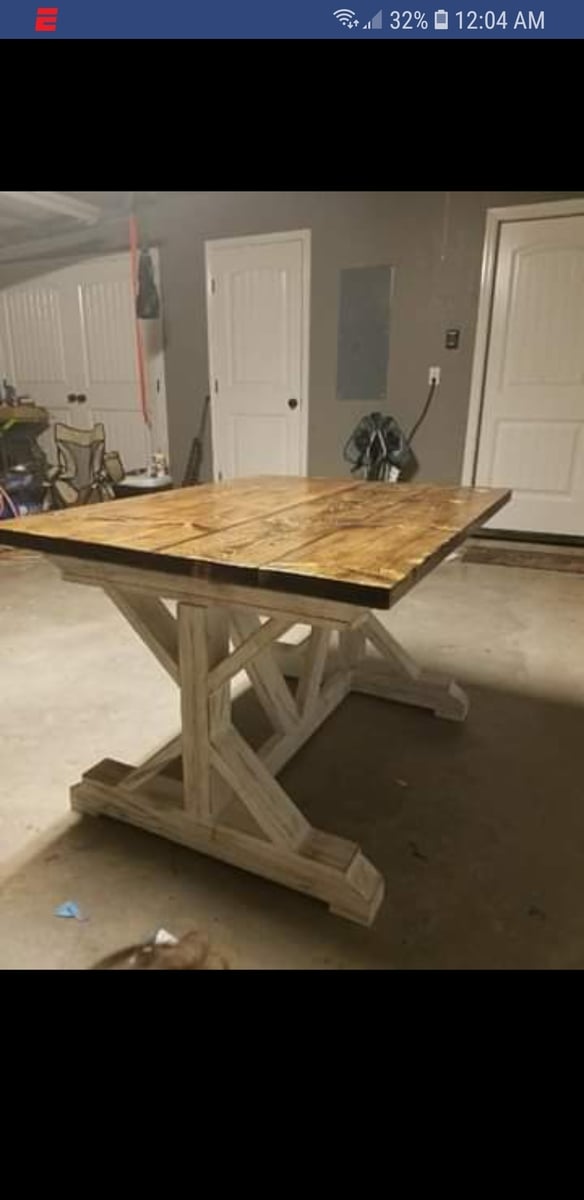
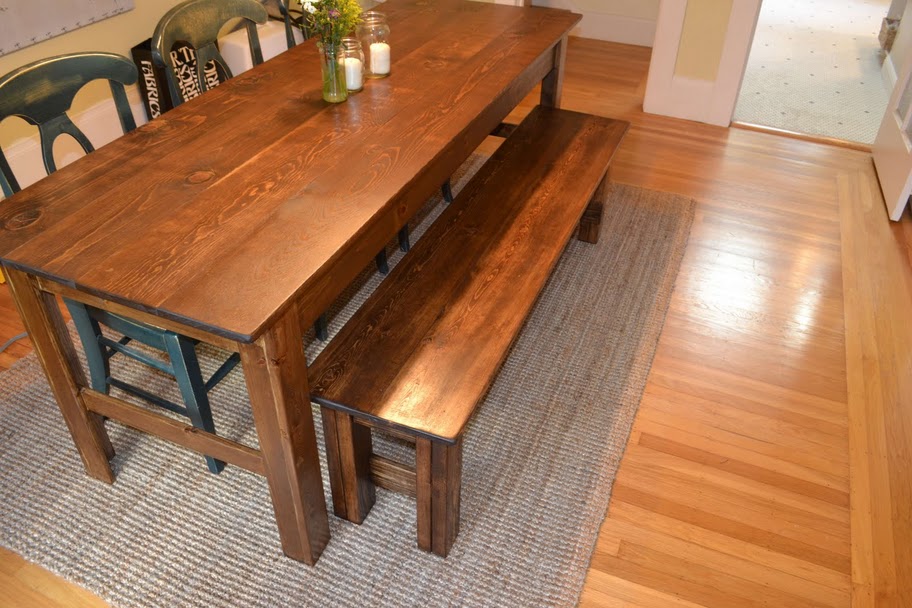
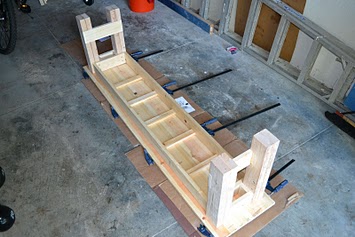
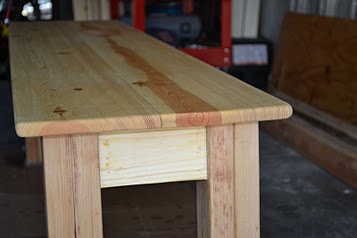
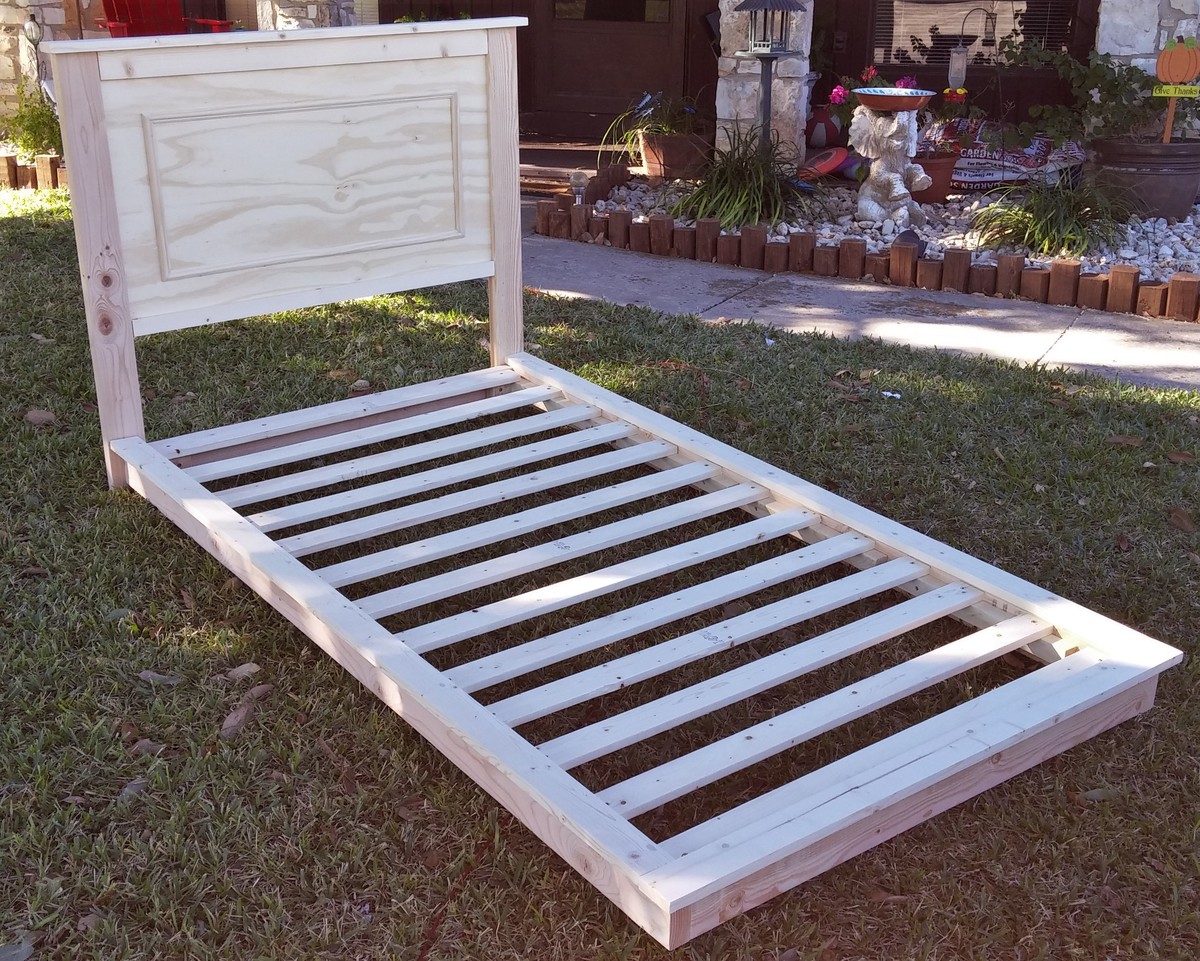
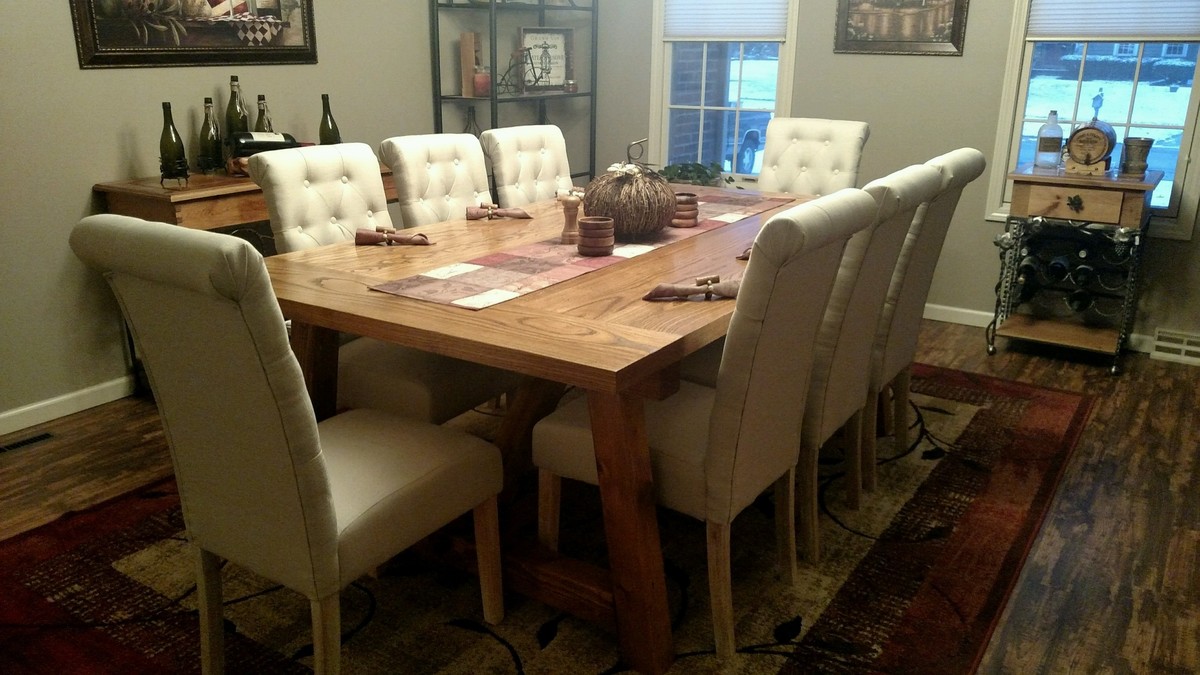
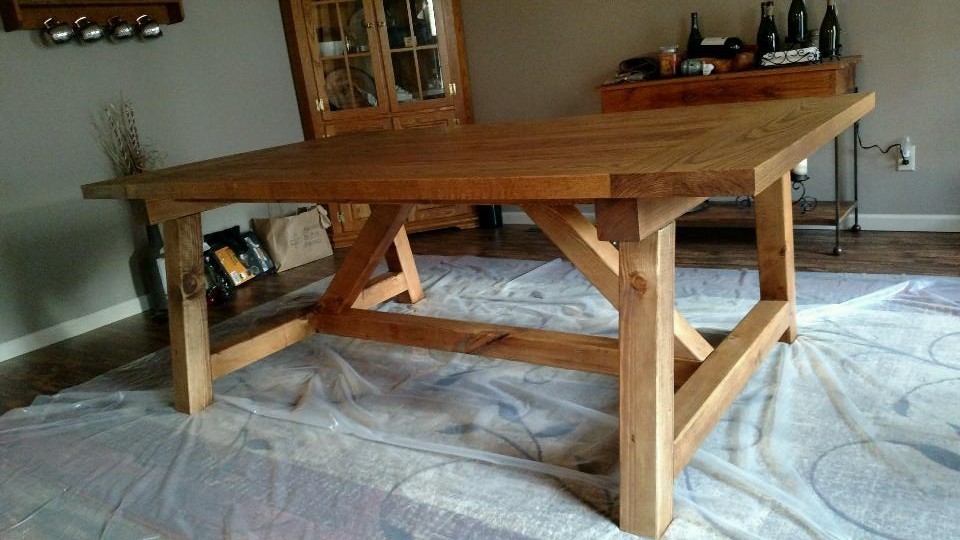
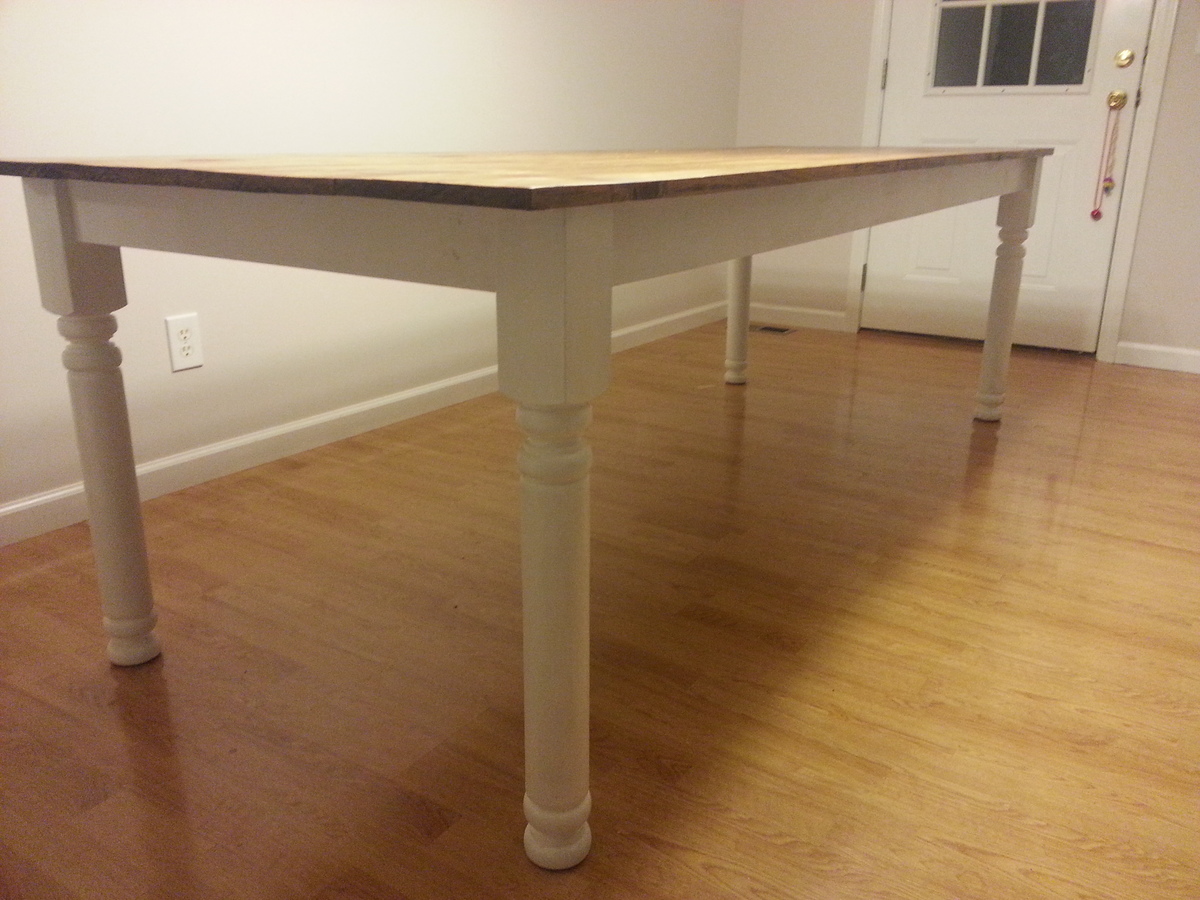
Rustic Table
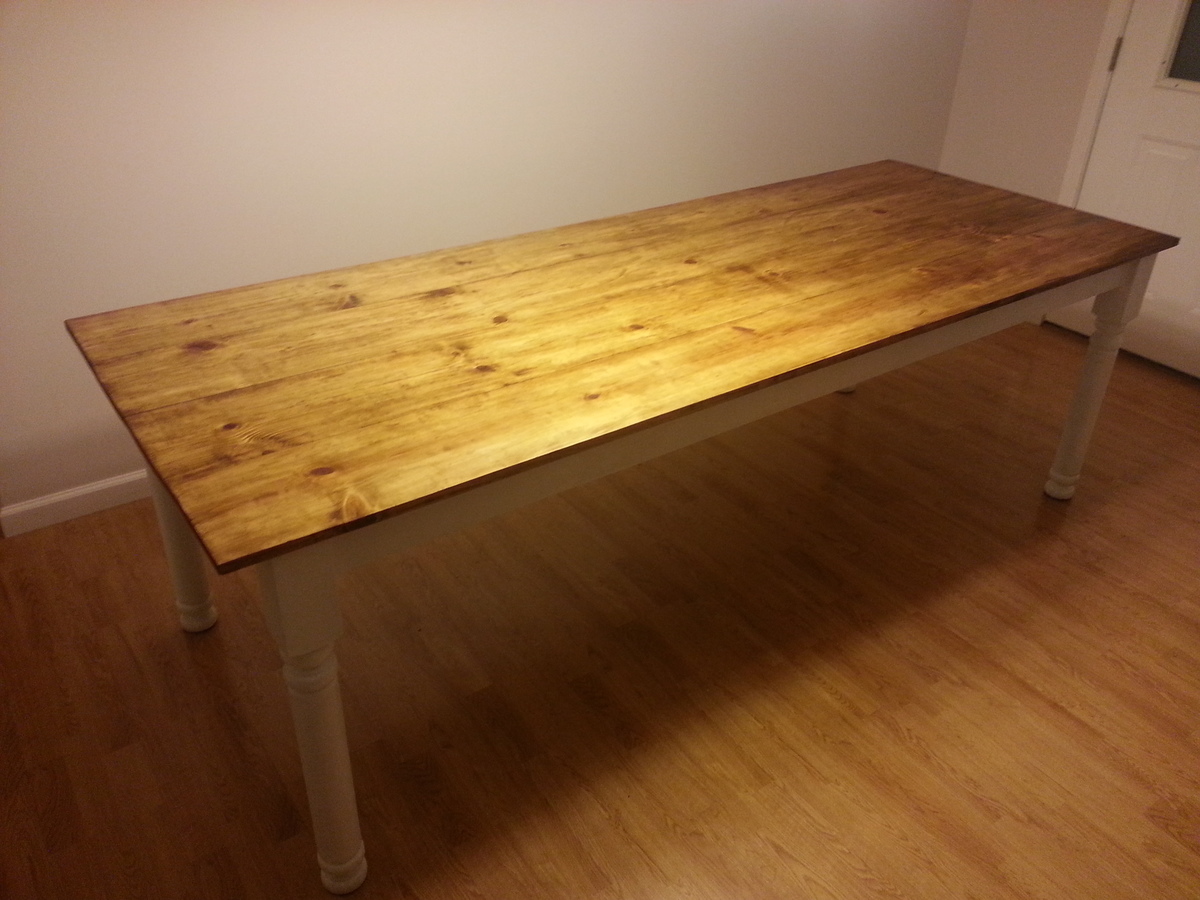
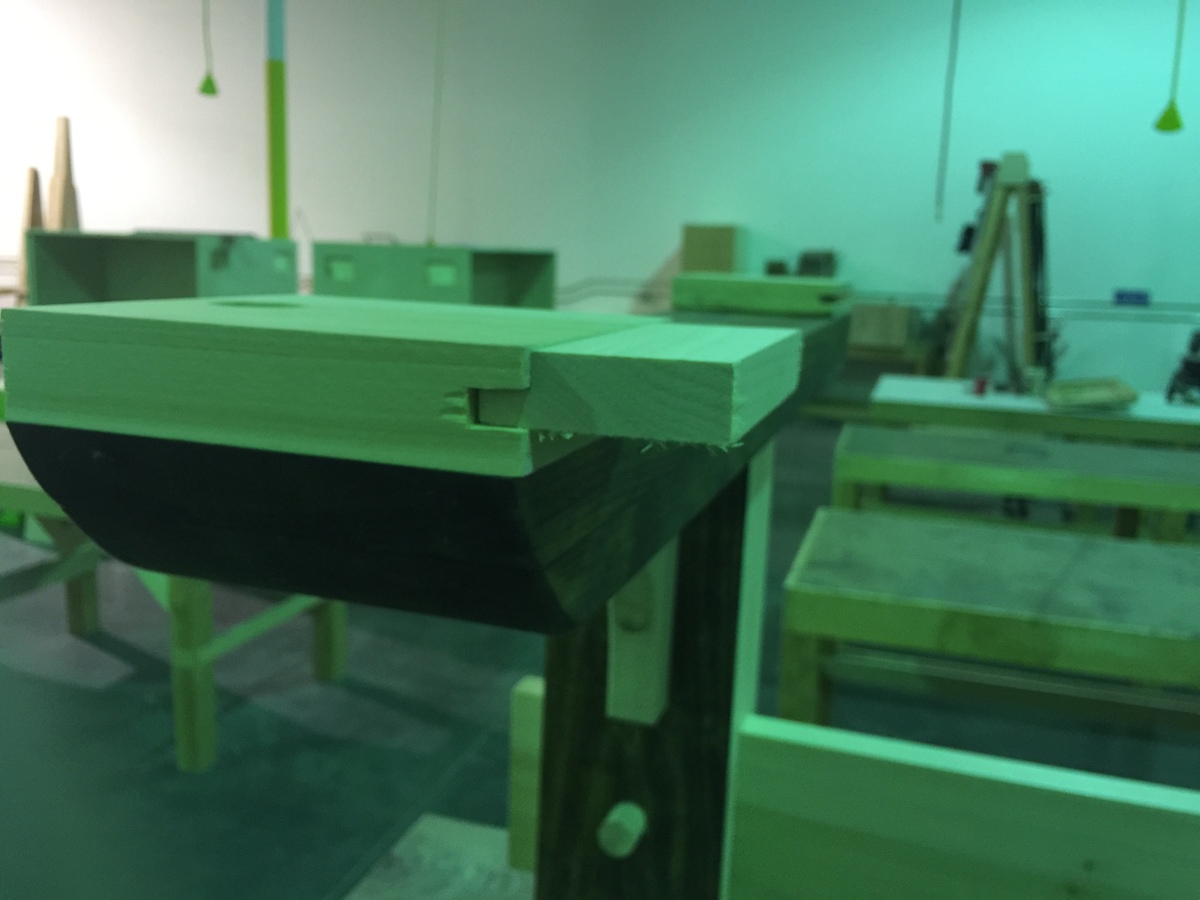
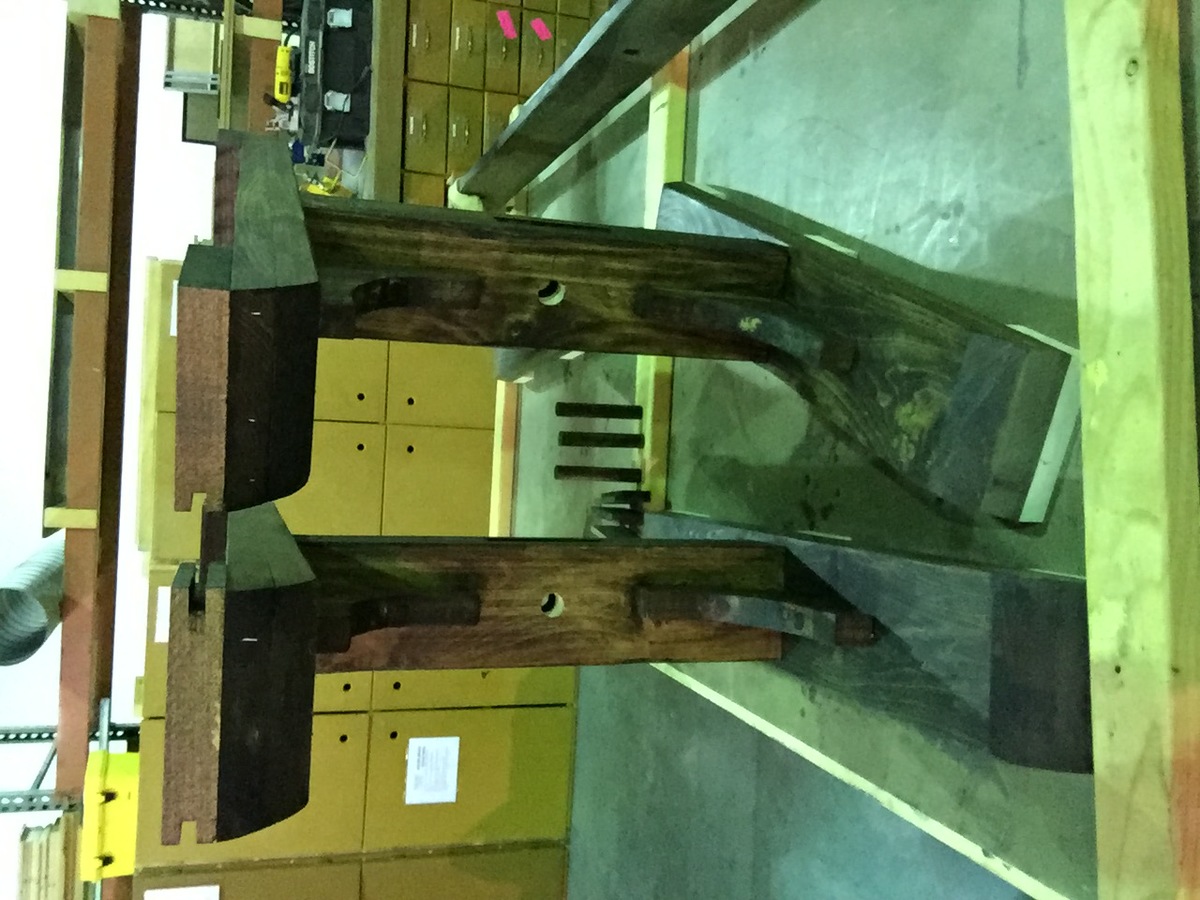
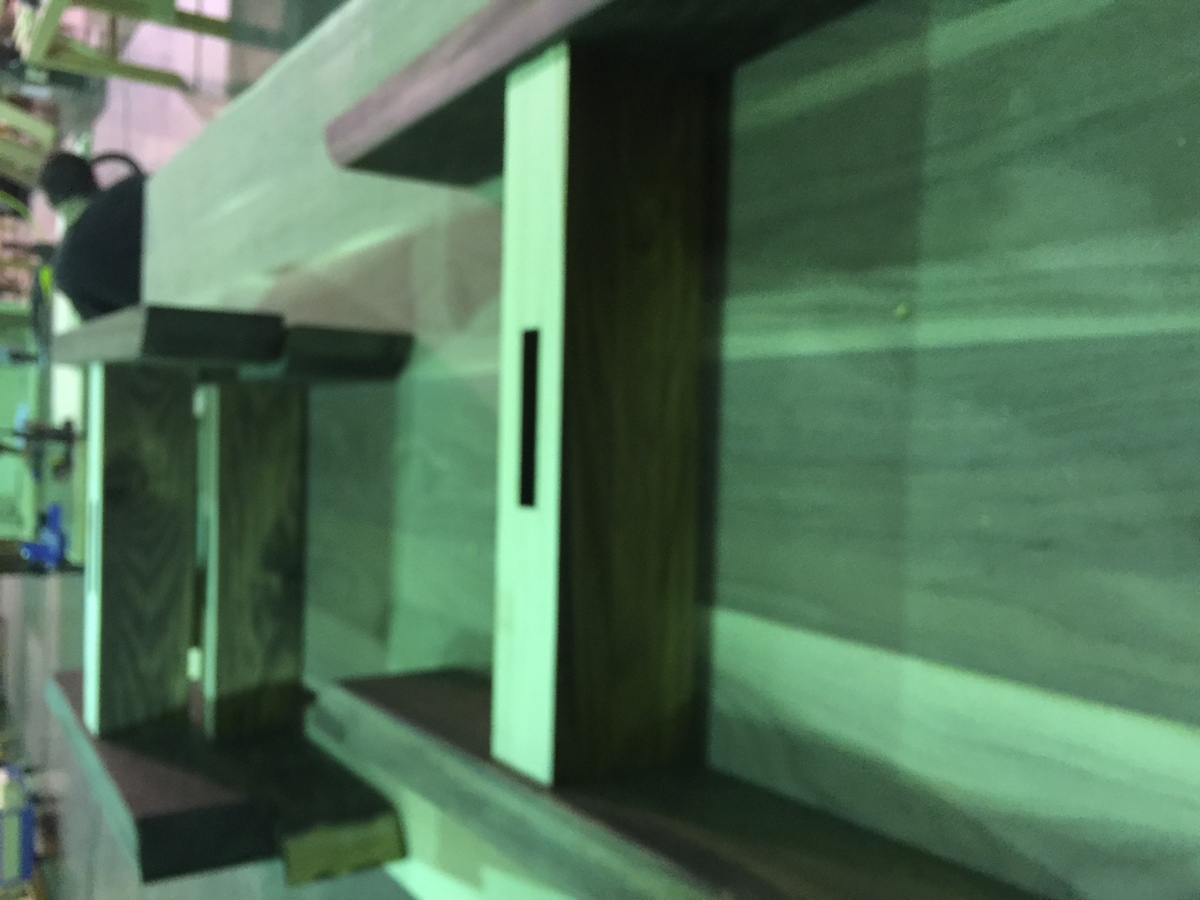
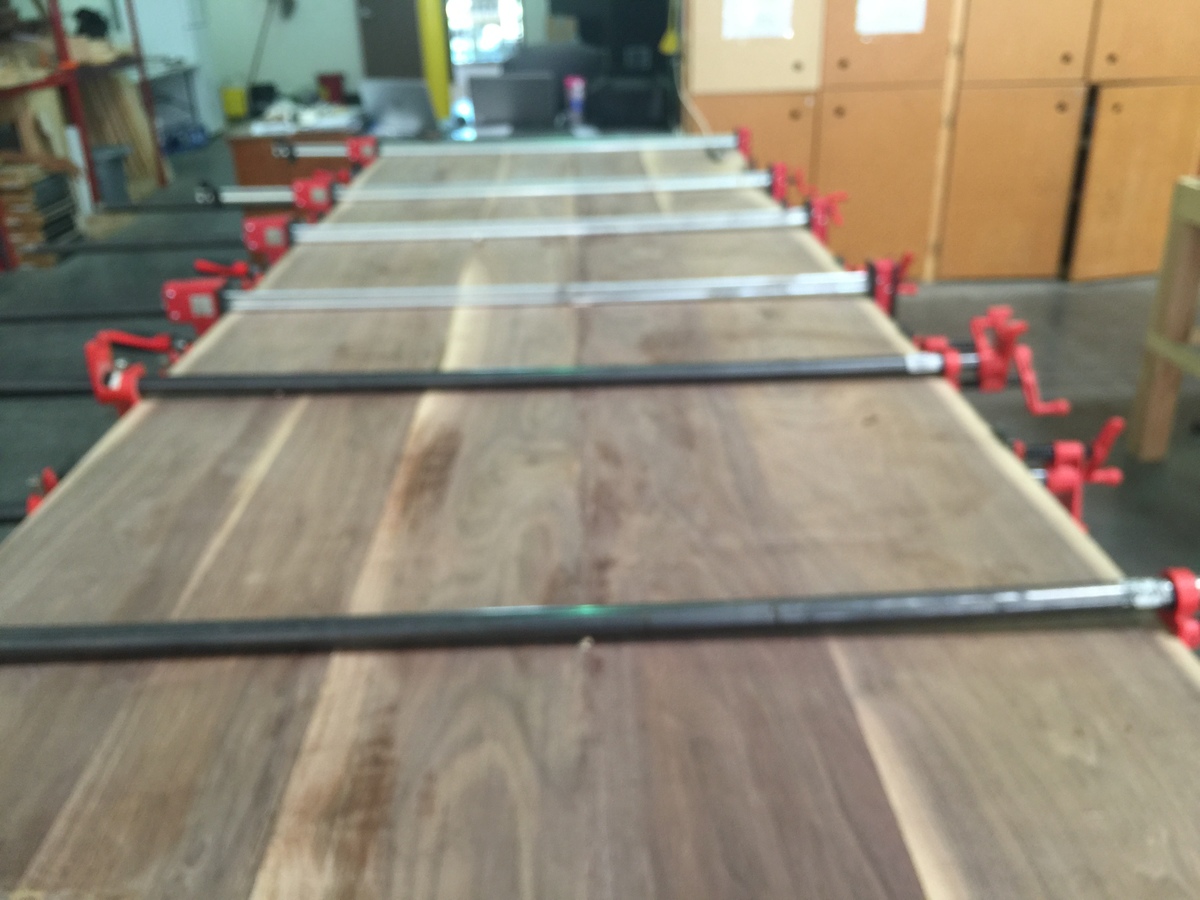
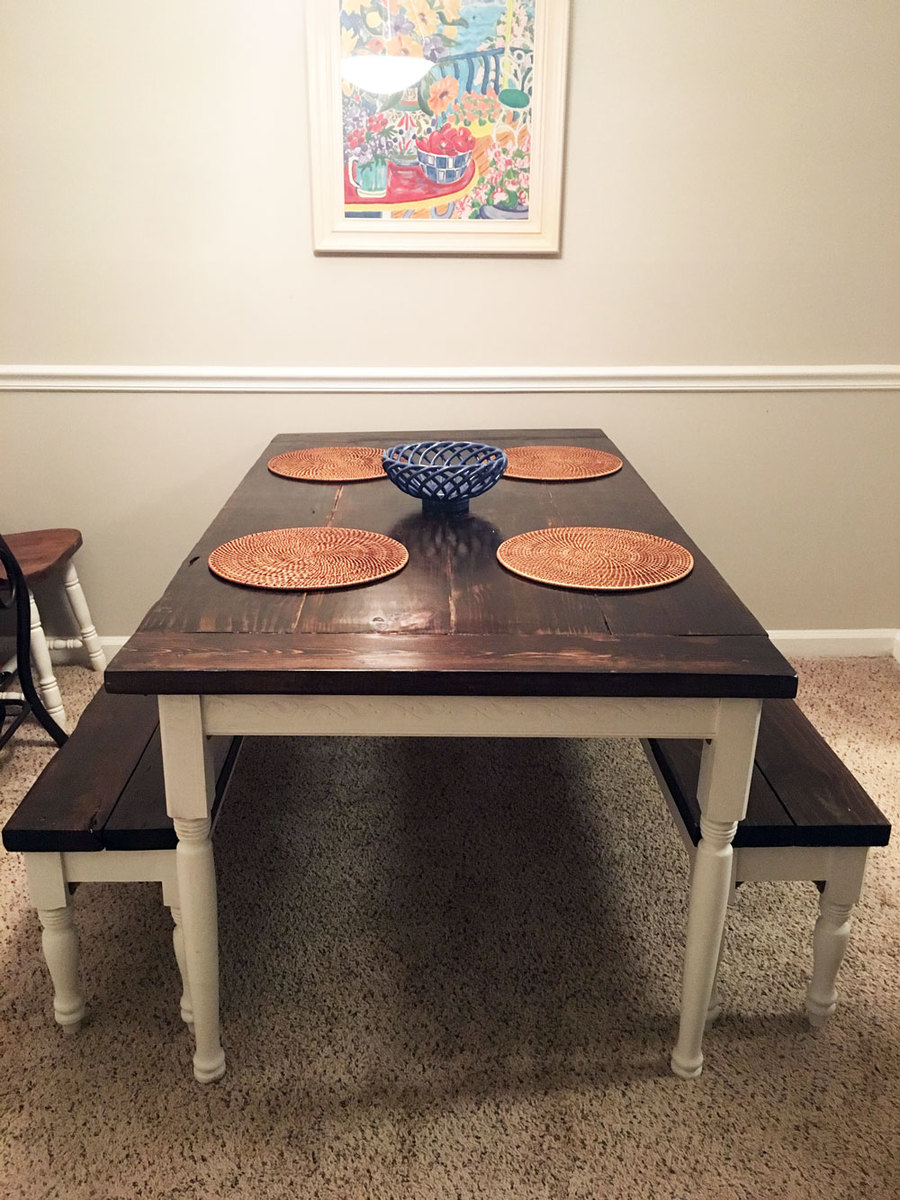
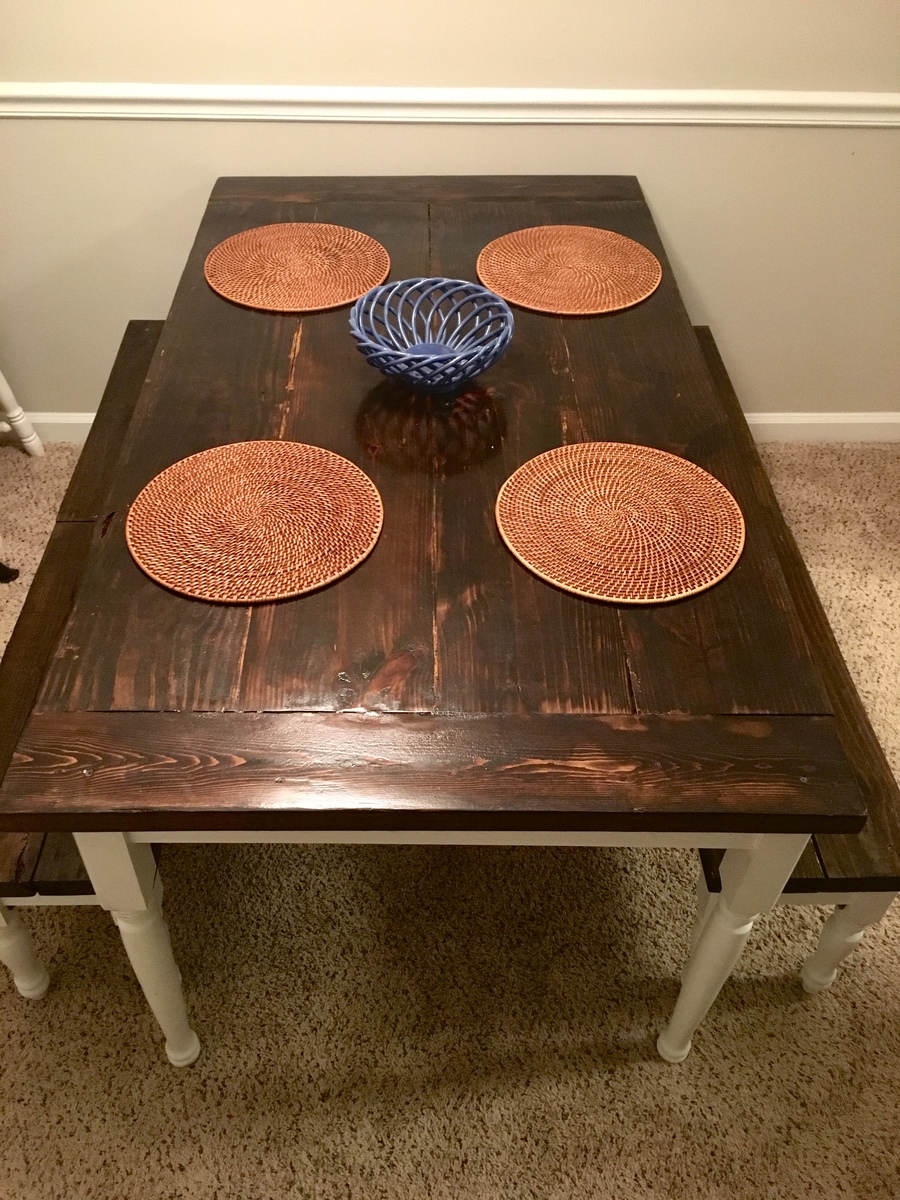
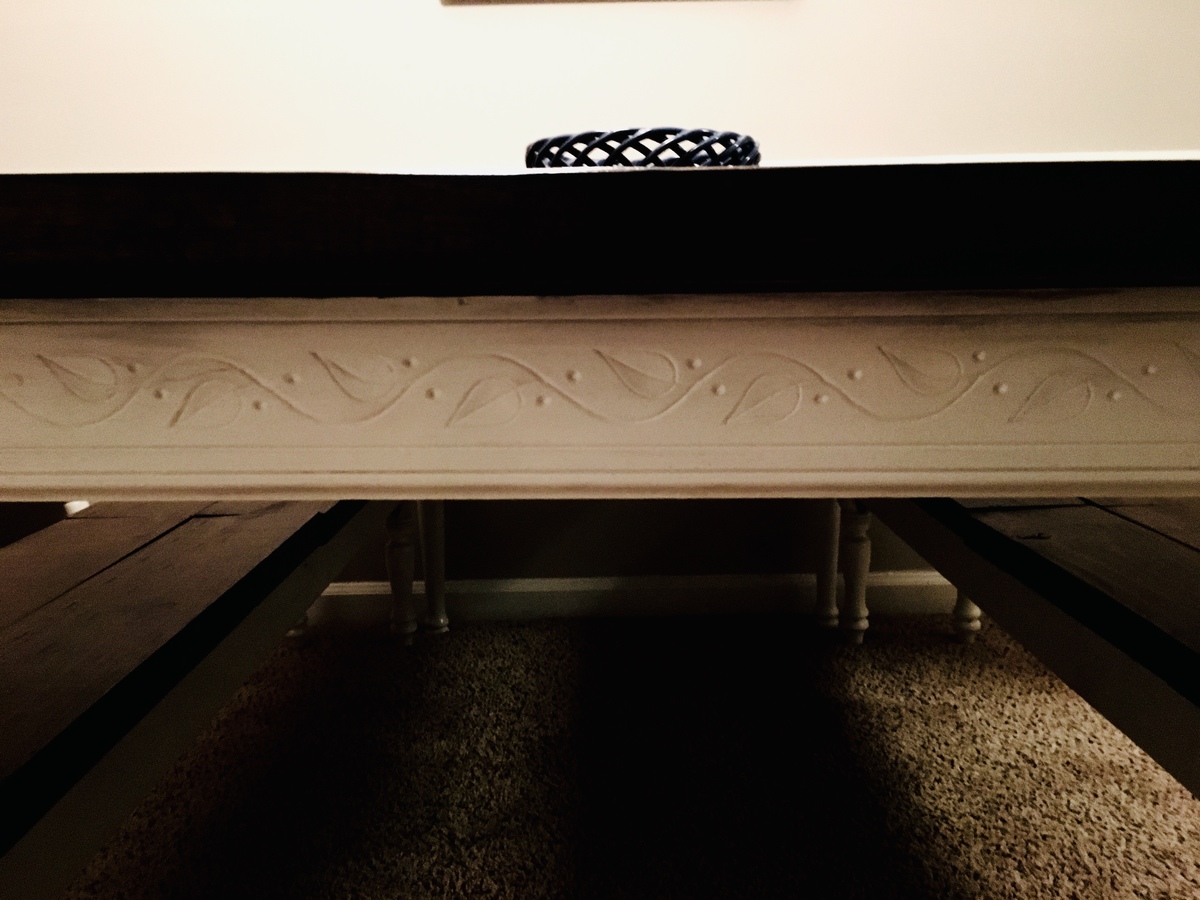
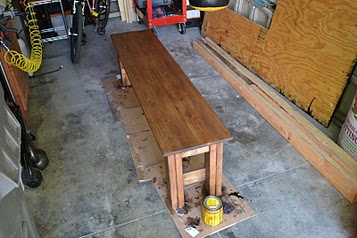
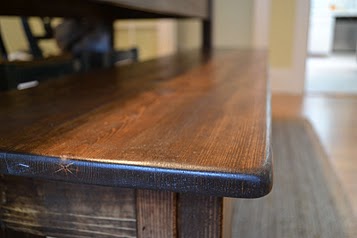
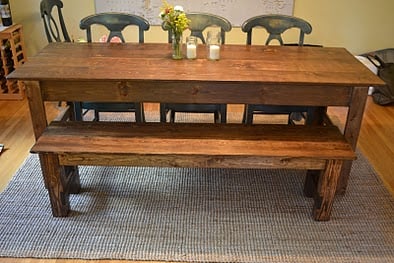
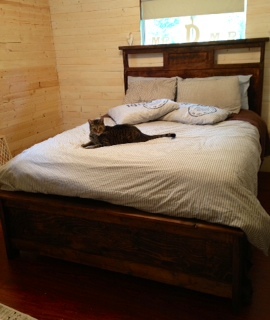
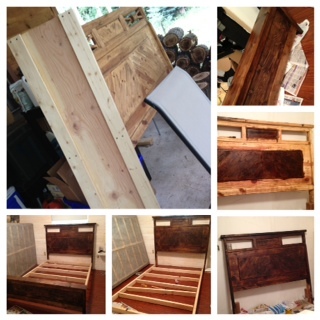
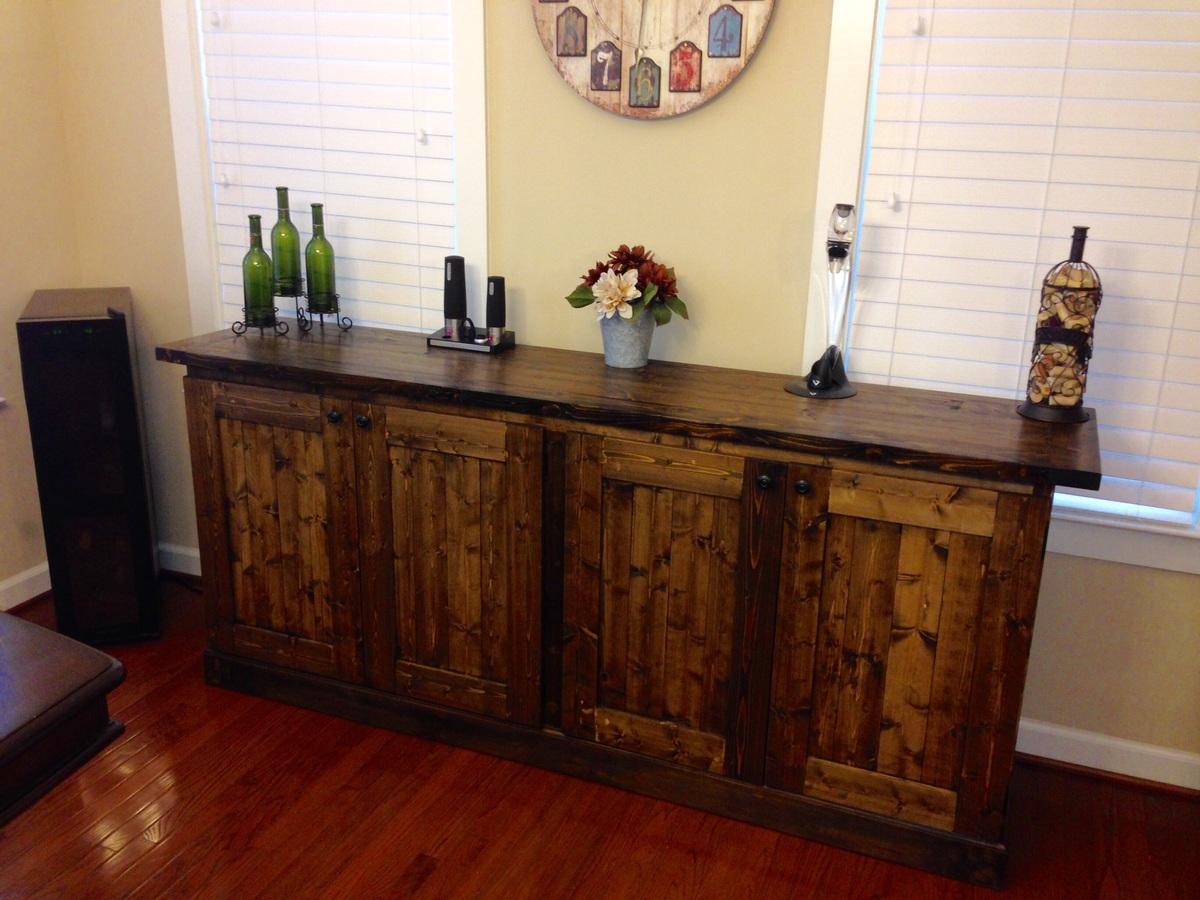
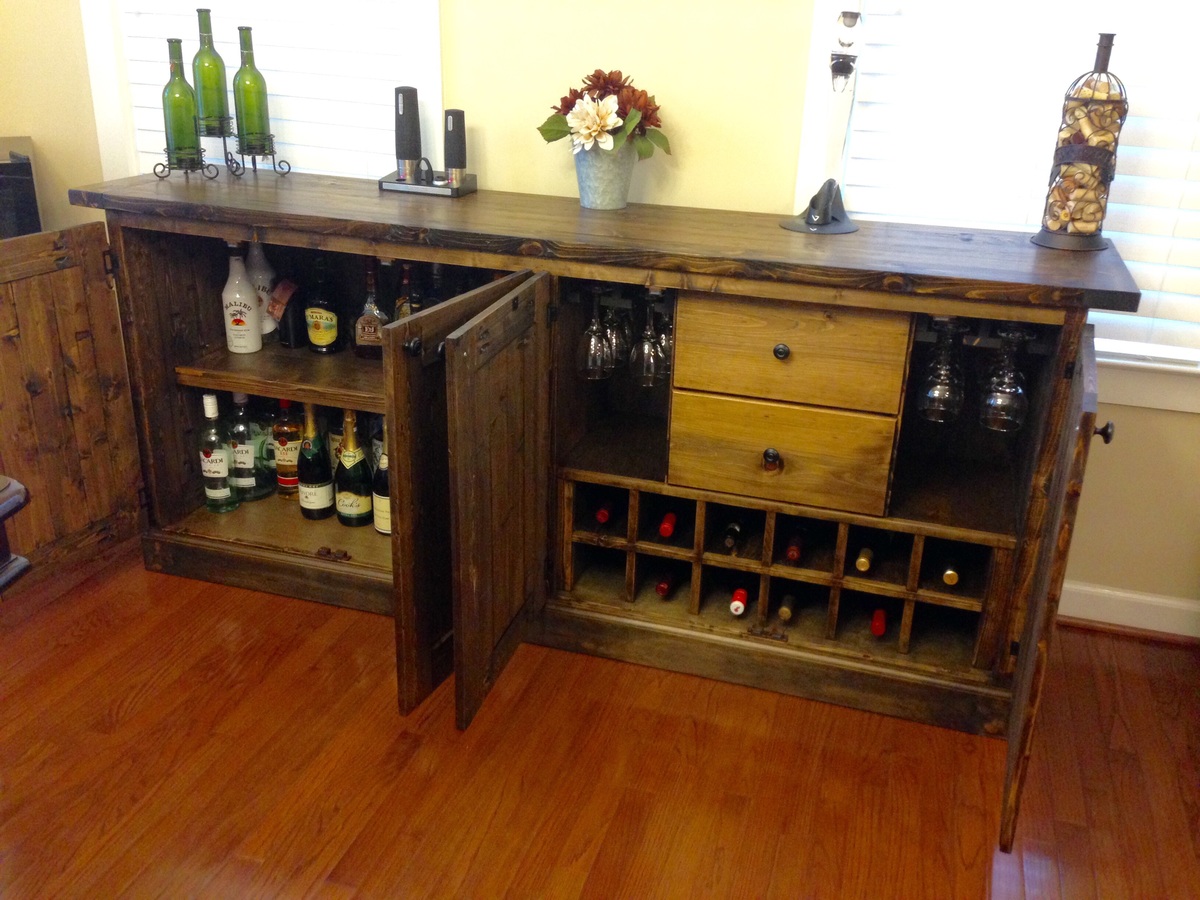
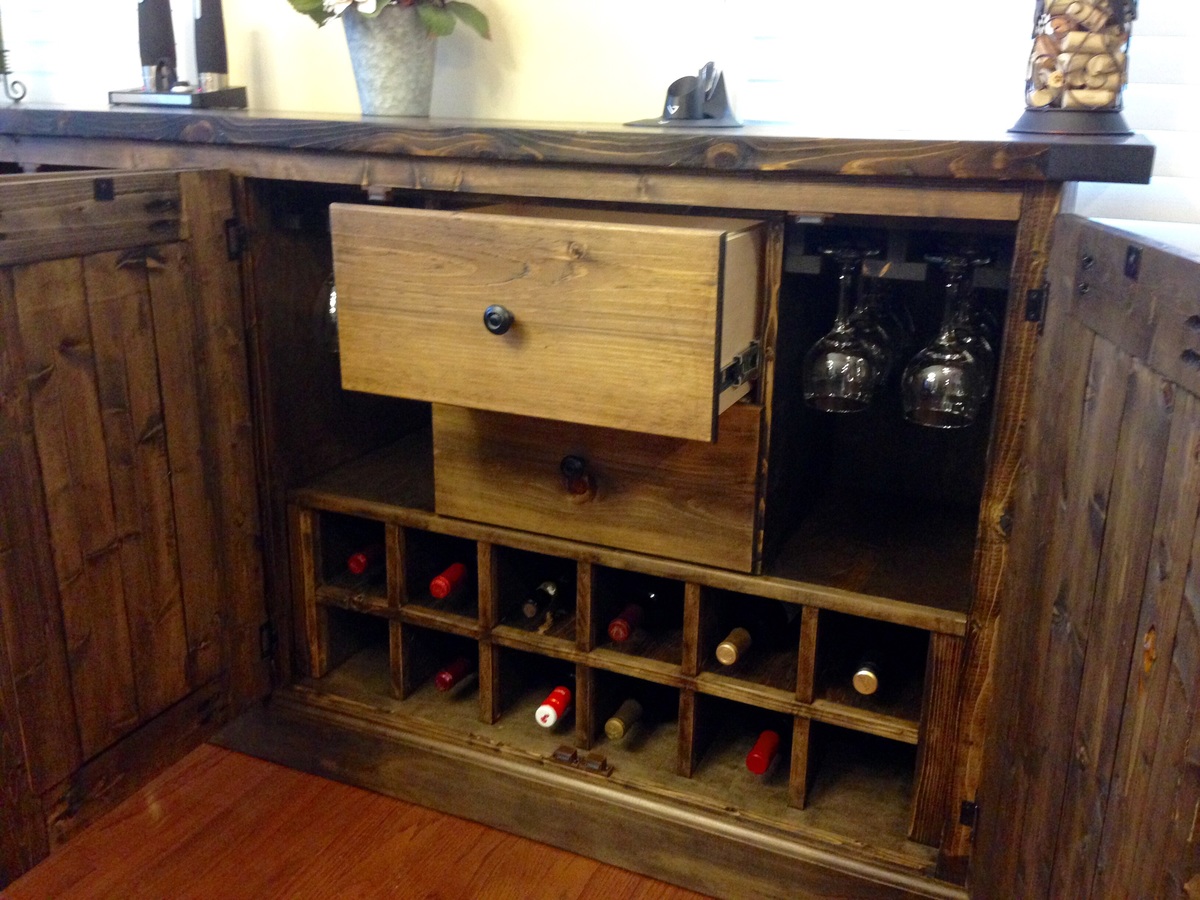
My spin on the rustic table. Used staircase spindles for legs, cut the side boards to accommodate. Rest of plan was pretty much the same. Wife wanted a big table, thats what she got.
Built from Plan(s)
Estimated Cost
$200
Estimated Time Investment
Weekend Project (10-20 Hours)
Recommended Skill Level
Beginner