Simple Twin Size Bed

Built for my son's room!
Minwax Polyurethane

Built for my son's room!
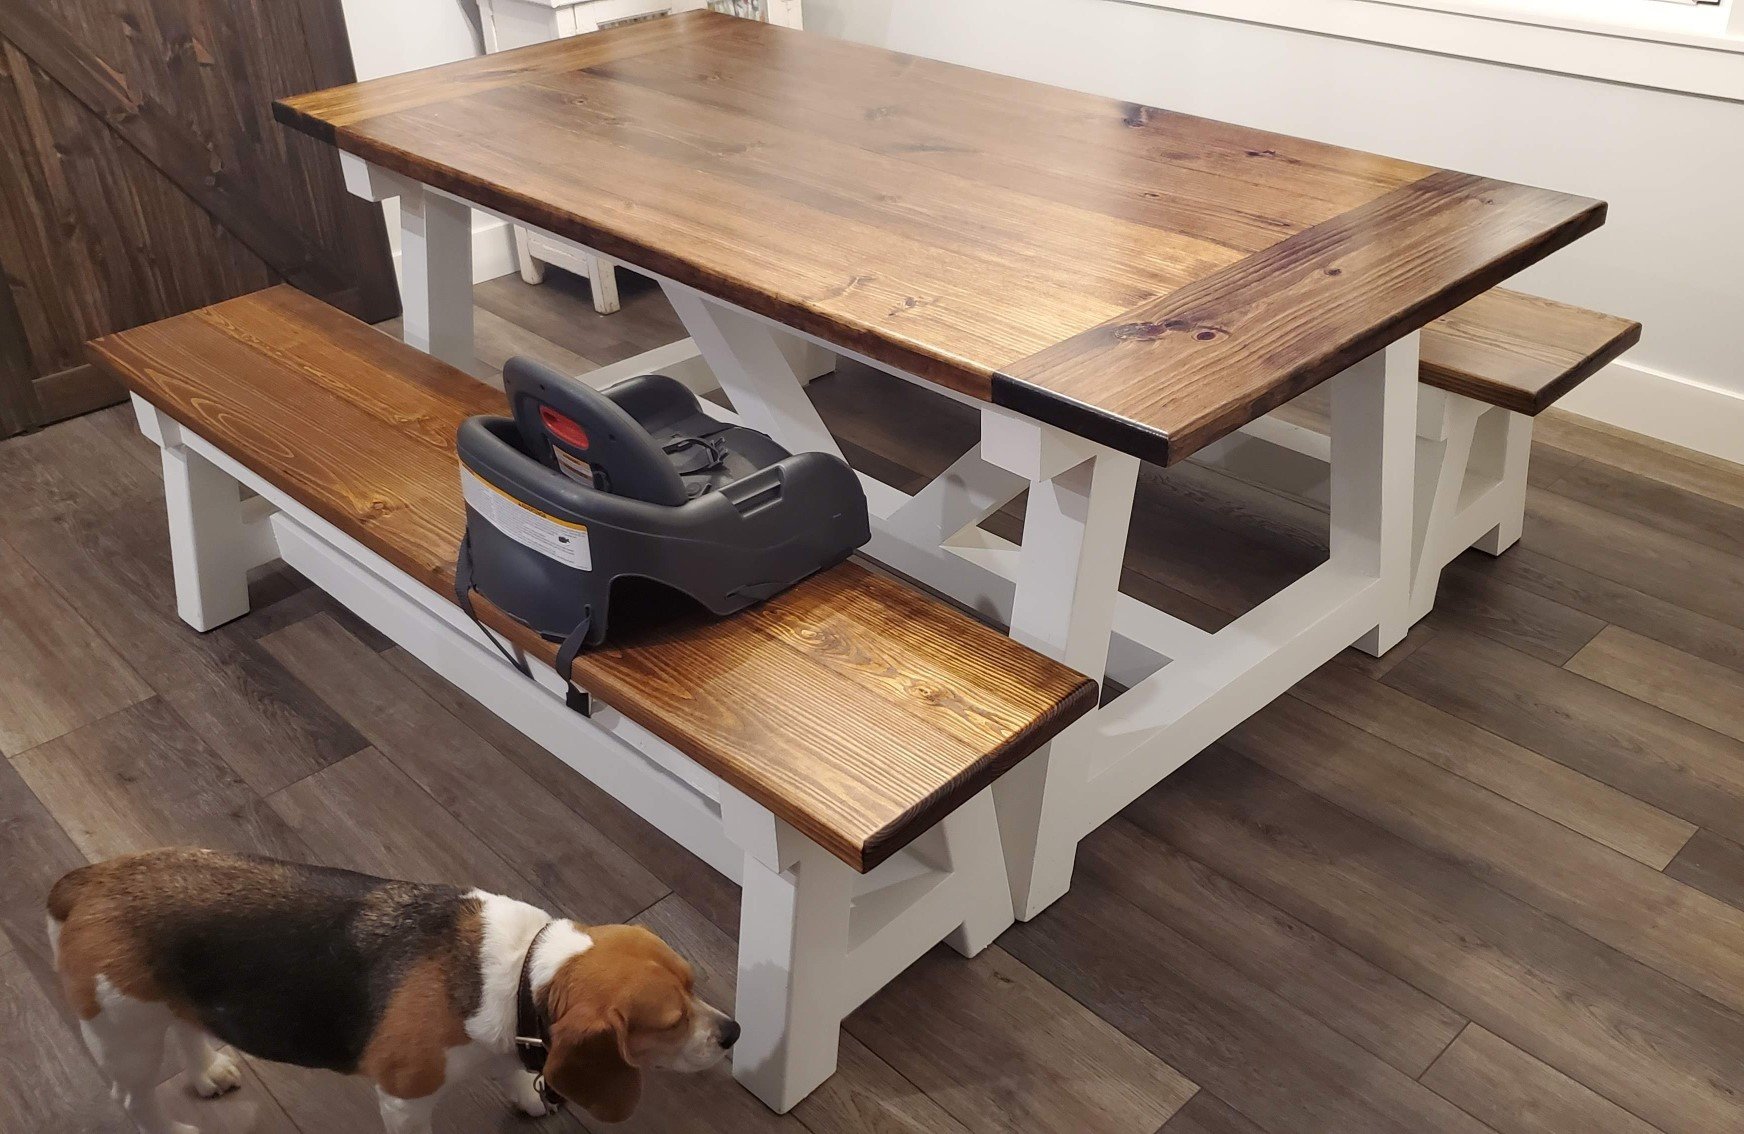
Built this table and bench for my son and his wife's new home. Made from southern yellow pine.
Pat Sprunk
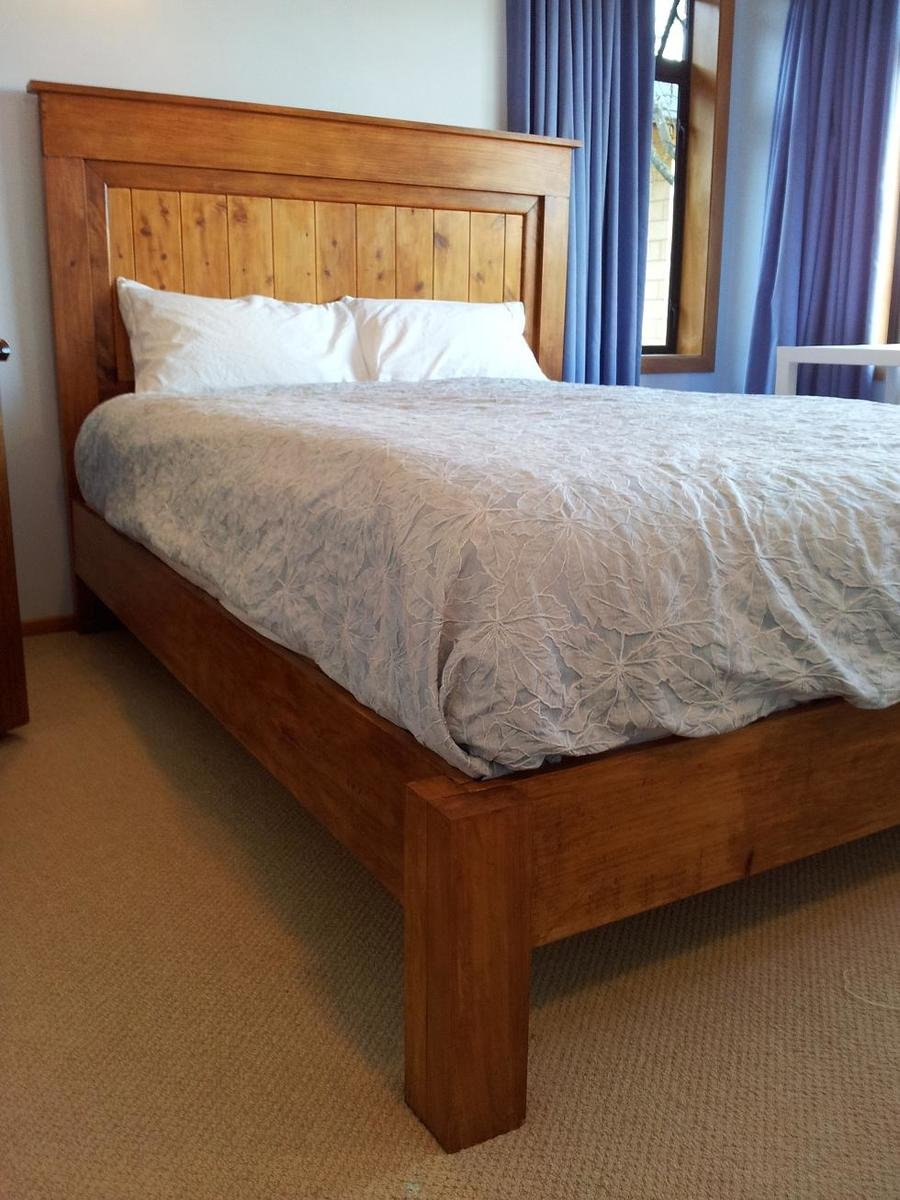
This bed has been a true labour of love over the last few months!
I made all cuts with a hand saw, and mainly used a kreg jig to assemble the bed.
The 'insert' in the headboard is made from macrocarpa window trim and tongue-and-groove panelling, which was leftover from when my parents built their house. The rest I bought from a local supplier as rough sawn timber, which I got dressed by a woodworking guy who lives nearby. Had I bought all the timber I used, the cost would have been closer to $400.
I didn't add the moulding that is included in the plan - it's just my preference.
It took a bit of work to convert Ana's plans into metric measurements, but I got there in the end! I love my bed
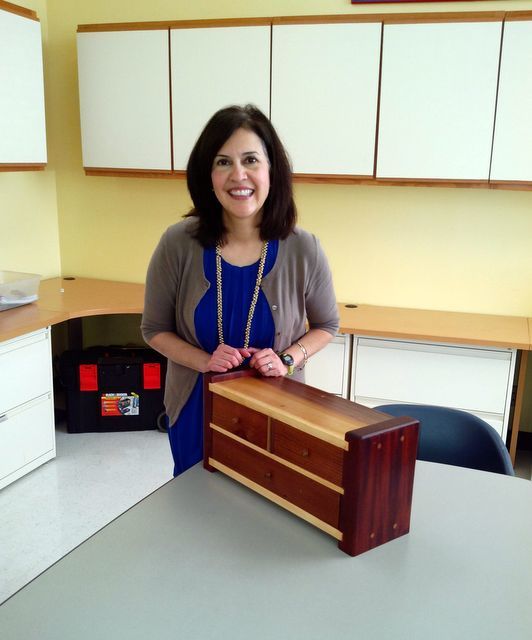
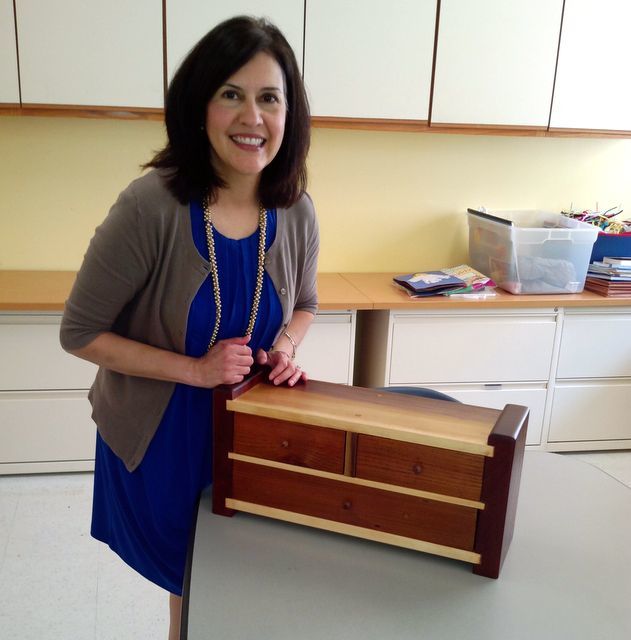
A friend wanted a small box for her cosmetics. She gave me the dimensions of her present container but my mind and my saws envisioned a different end. My only promise was that she would get three drawers. To keep cost low I used only scrap lumber I found around the garage. I added oak dowels for strength and decoration.
Tue, 08/12/2014 - 11:51
I happened across your profile this morning, and I've spent a good part of the afternoon looking through your projects, as you've posted more brag posts than most people I've seen on Ana's website. I loved seeing all your projects and experimentation! Your sense of humor doesn't hurt, either. :) Keep it up, and I look forward to seeing more of your work in the future.
In reply to I happened across your by booksnotbombs
Tue, 08/12/2014 - 14:32
Over the past four years I have learned a lot. The most important lessons are experiment and don't let the frequent screw ups get you down. Lately I have been concentrating on learning to weave seats (reed and rush), build small boxes, and turning wood. Today was terrible. Nice bowl blank I cut from a Hackberry log turned out to have cracks and a really nice scoop built up of poplar and walnut broke into two flying pieces when my gouge caught at 1200 RPM. Only thing to do is start over and hope you learned something.
If you are new to woodworking check for square at every opportunity and be safe. Accidents happen in milliseconds.
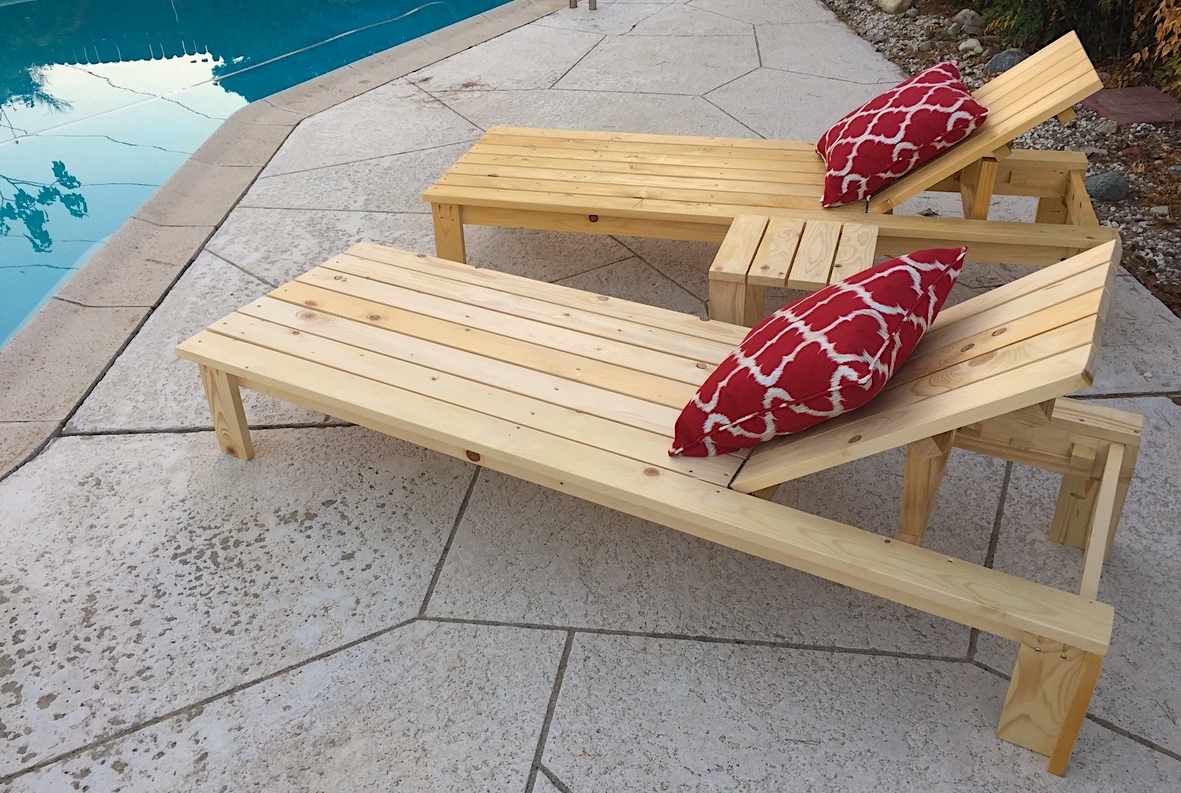
THANK YOU ANA FOR ALL THE GREAT PLANS!!
I am in southern california (mild weather) so i just used pine and coated them with urethane.
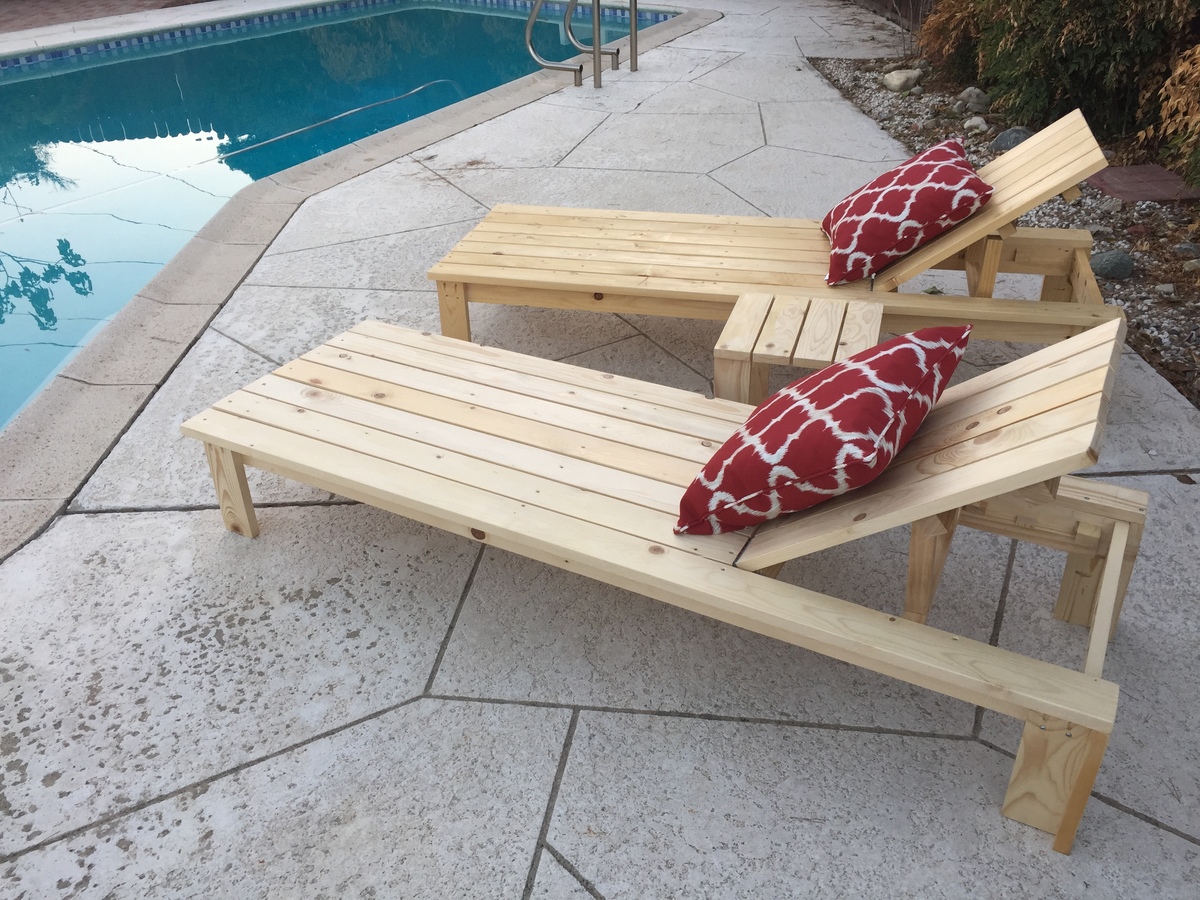
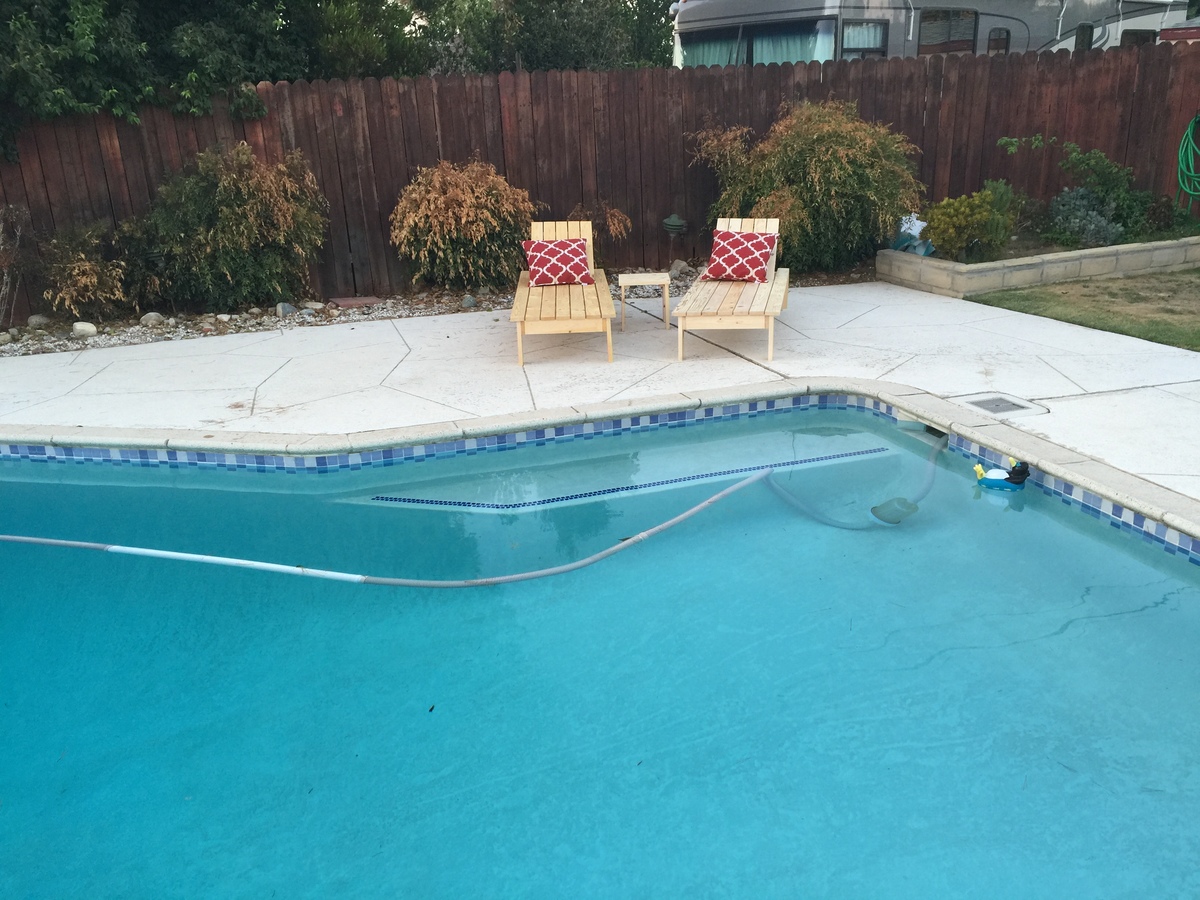
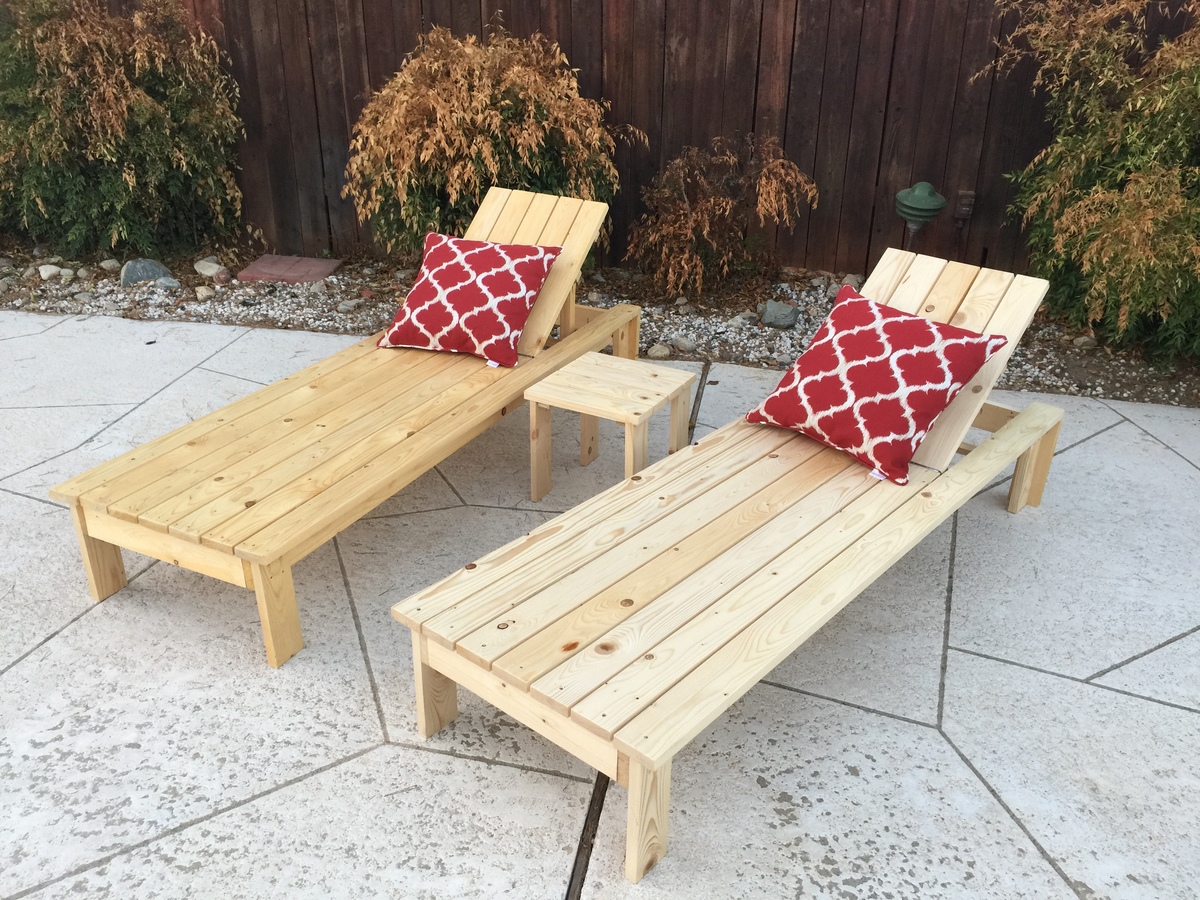
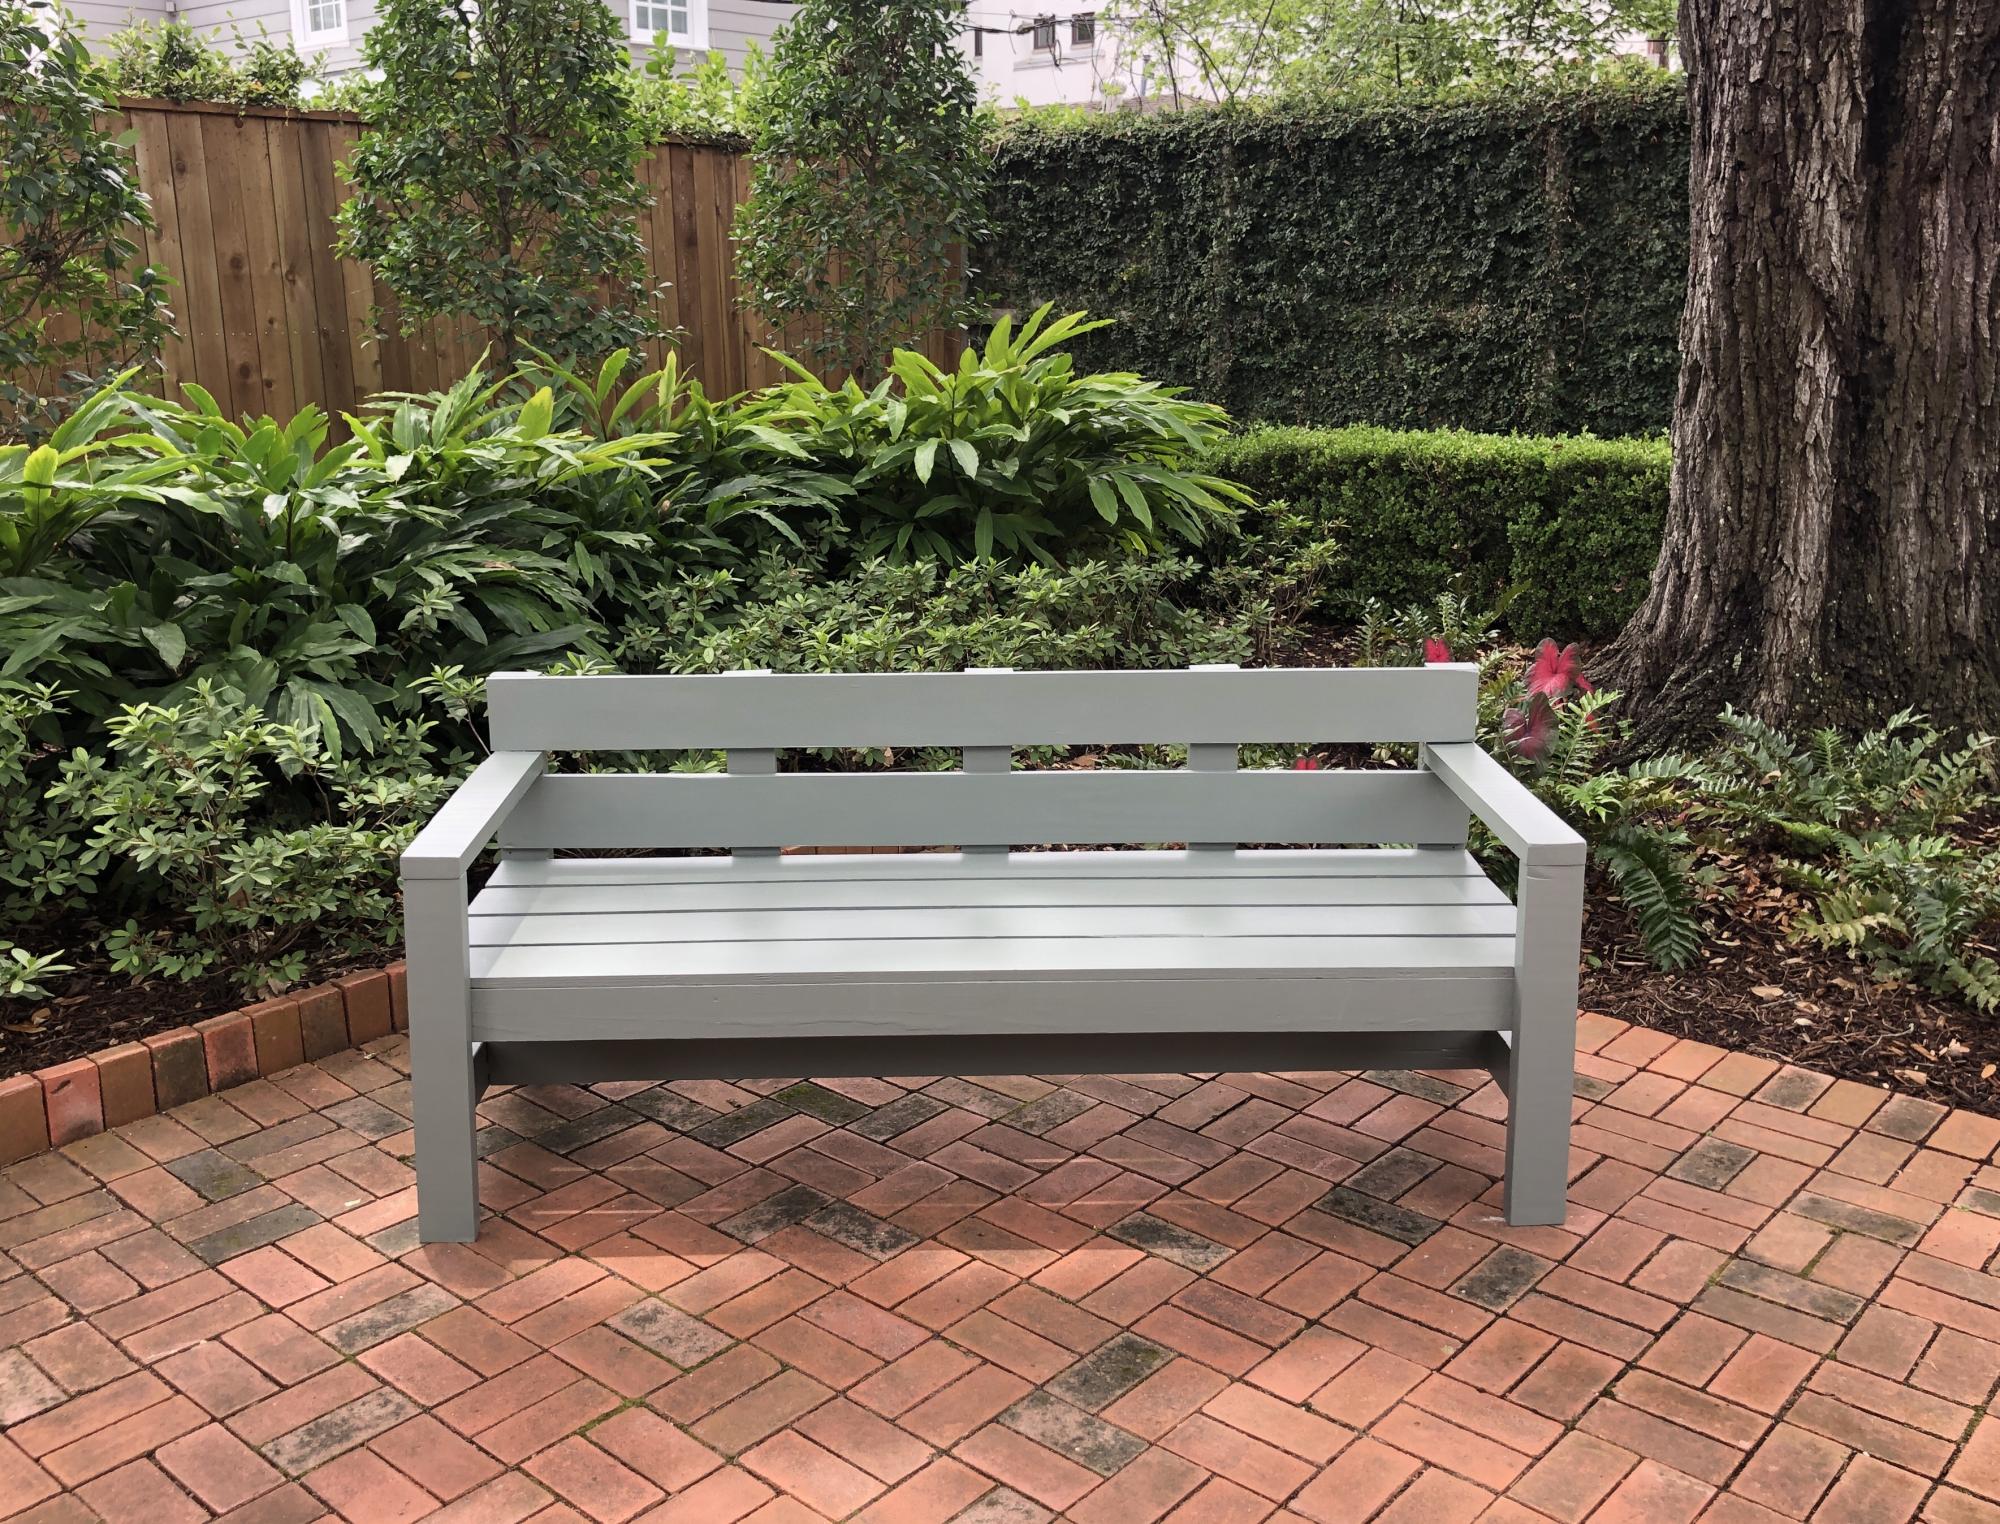
This was one of my first projects. I just used a circular saw but a mitre saw would be better. I’ll look for one soon. It was rewarding, fun and we love how it looks on our back patio.
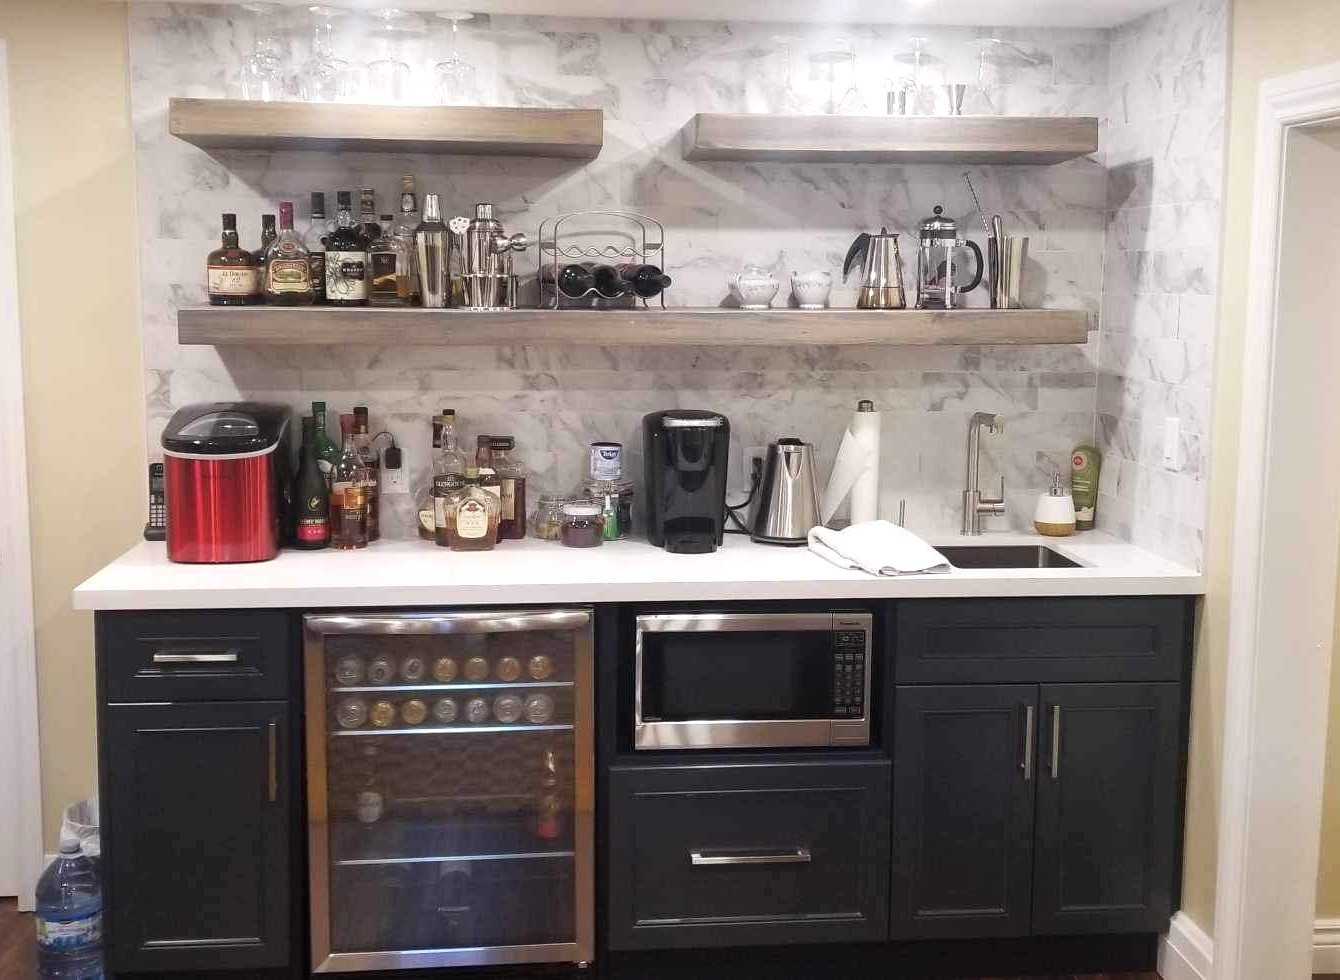
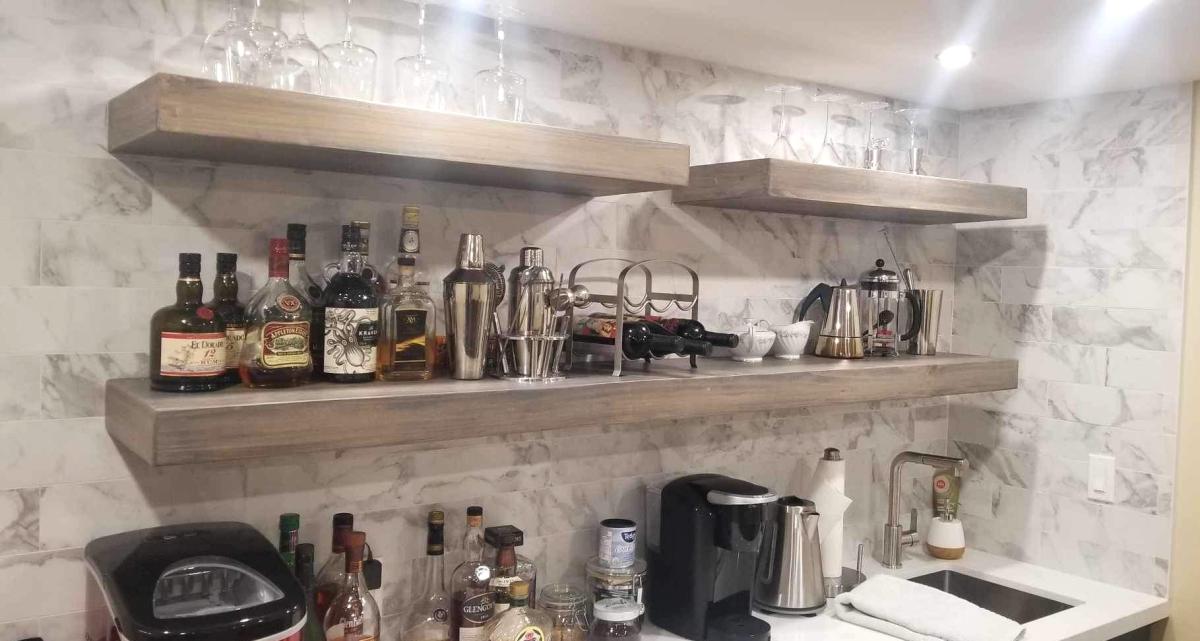
Custom Floating shelves for Bar/ Coffee bar.
Urban Wood Solutions (Dwight Hodder )
I decided to do some modifications to the original plans to make it more like the Pottery Barn original. I made the legs 4x4s like the original, as well as the horizontal bases of the legs. The major change that this entailed was in the bottom shelf. I notched the edges of the 1x12 so that it would fit flush, then connected it to the legs with pocket screws. The lowered ledge on the table top is two 2x4s on the bottom, a 2x4 on the front and back, and a 2x6 cut to size for the ends. I then attached it using pocket screws on the front, and just 2.5 inch screws from the back. The rest is pretty much the same as the plans. For the back of the hutch, I used 1x4 carsiding to give it a more finished look. It only cost a couple cents more for each 8 foot piece.
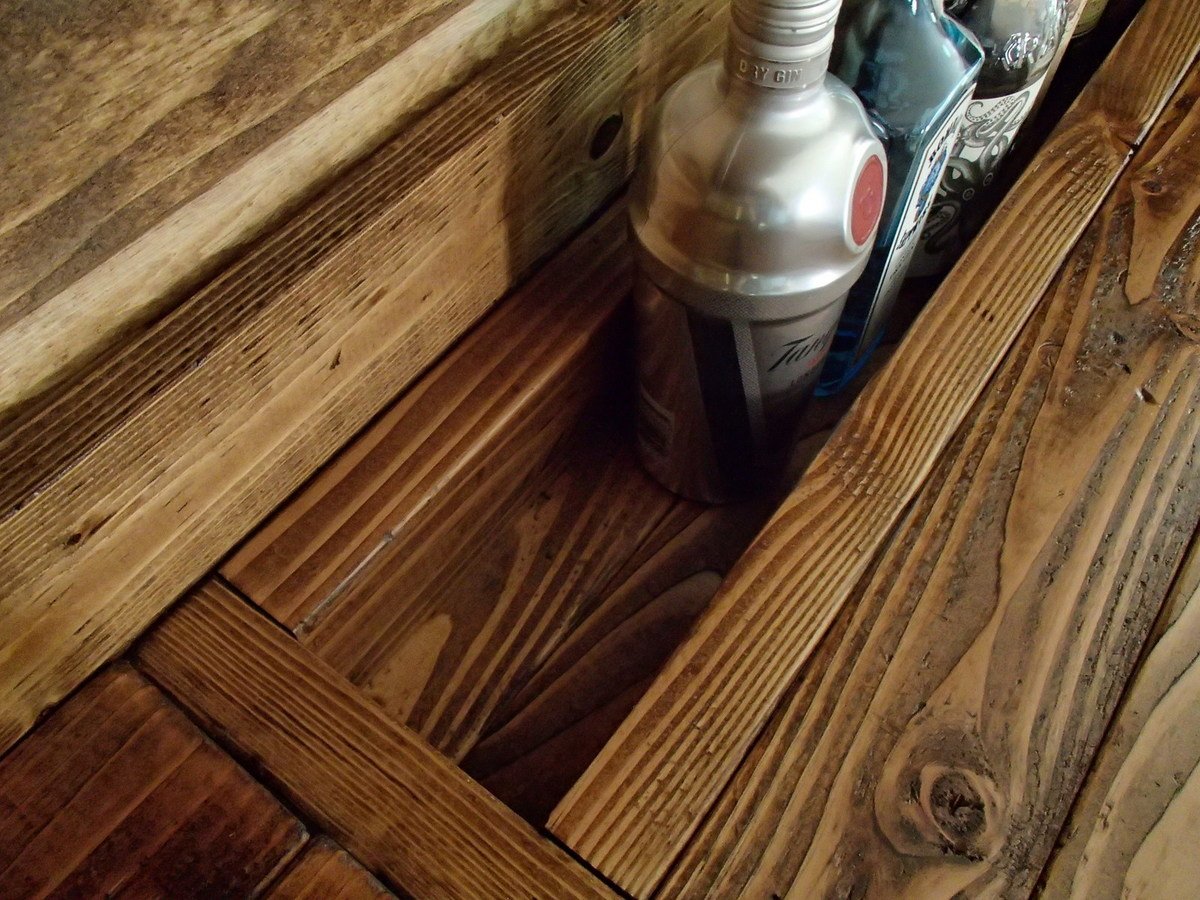
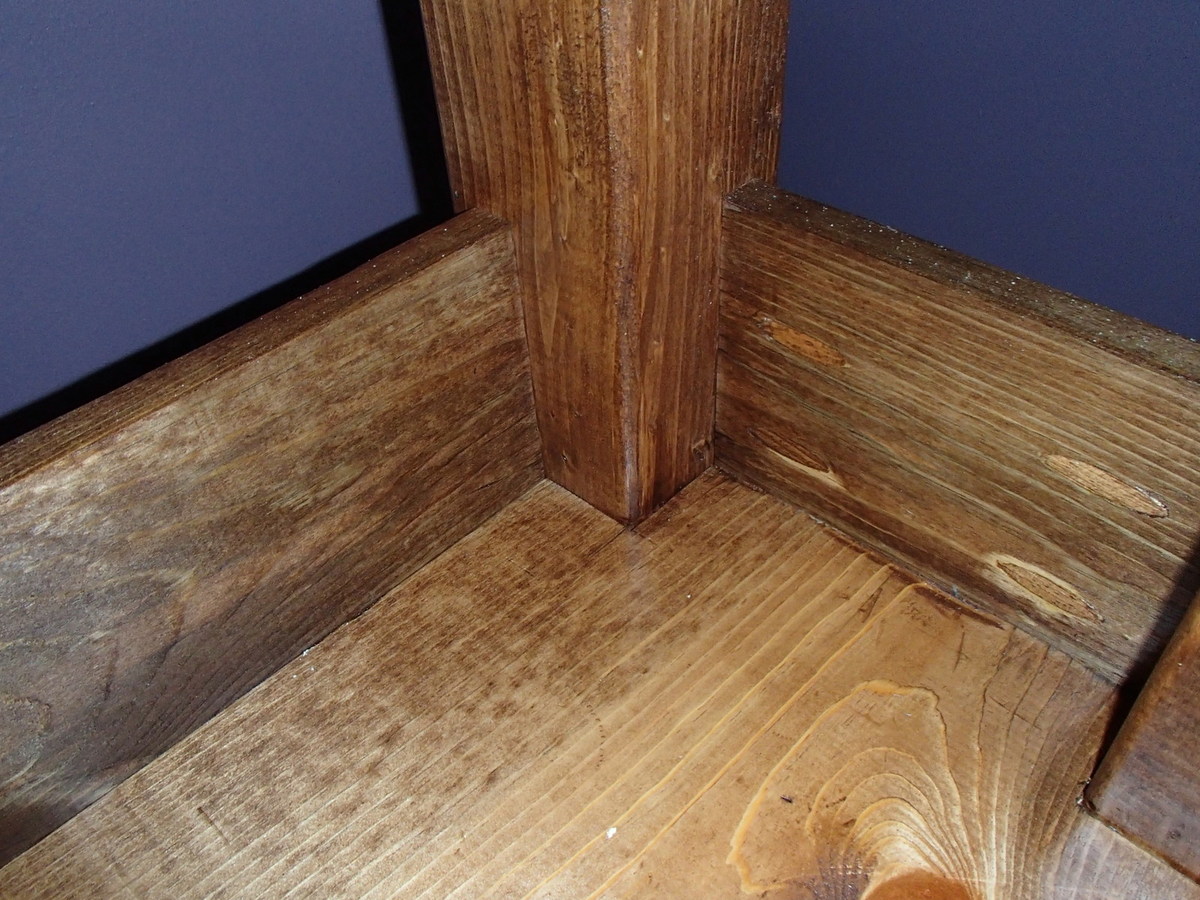
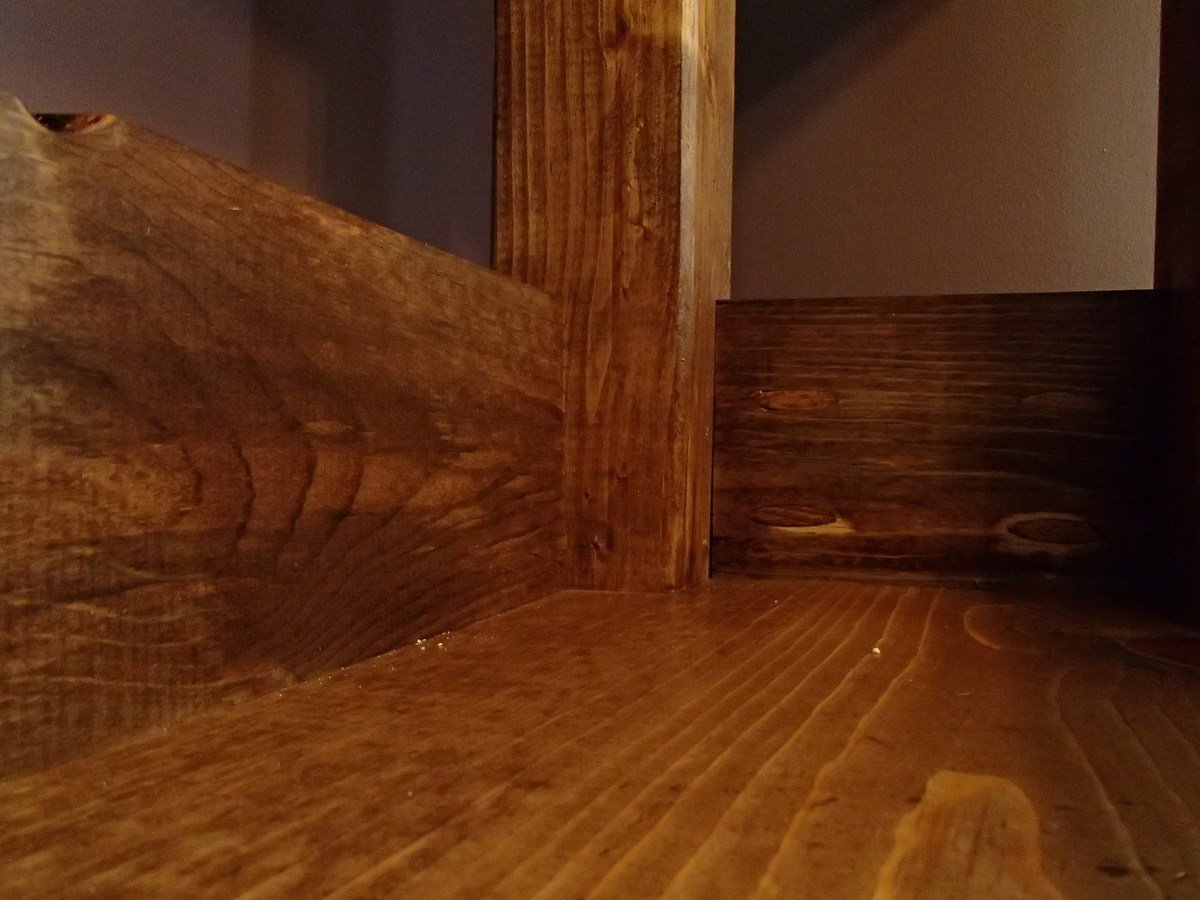
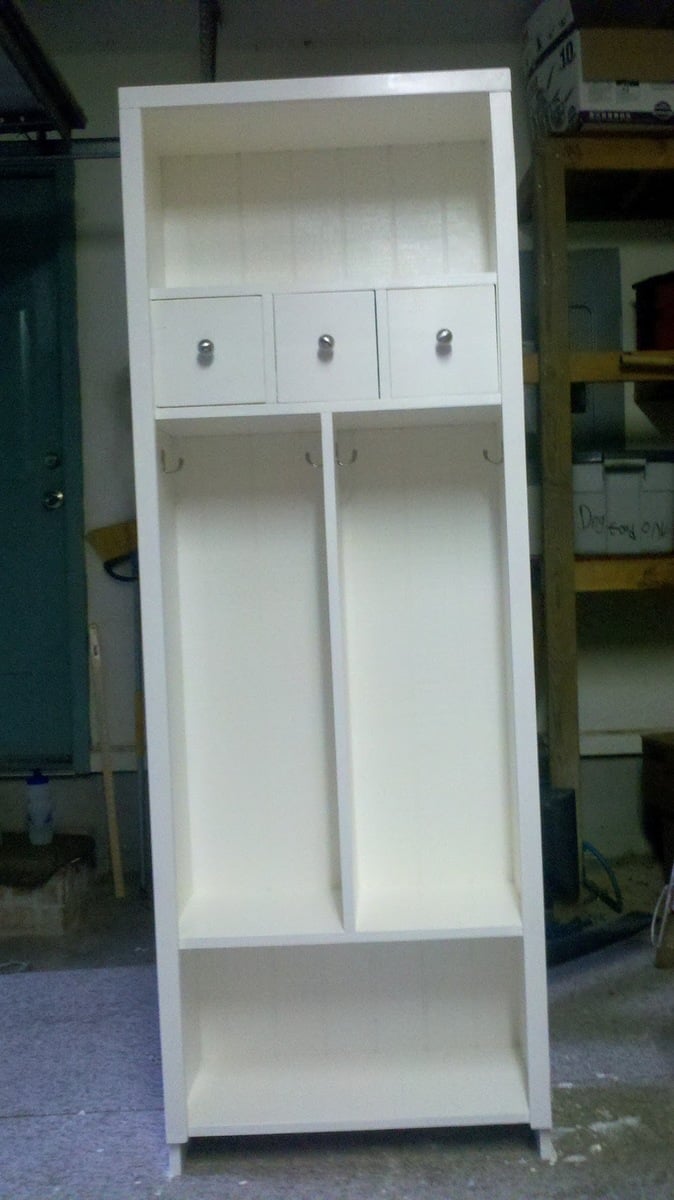
Thanks to our daughter who gave me plans from Pintrest for the popular locker. This is my first project in a long time. It has been followed by a few projects which have been inspired by plans or skills from the site.
Thanks
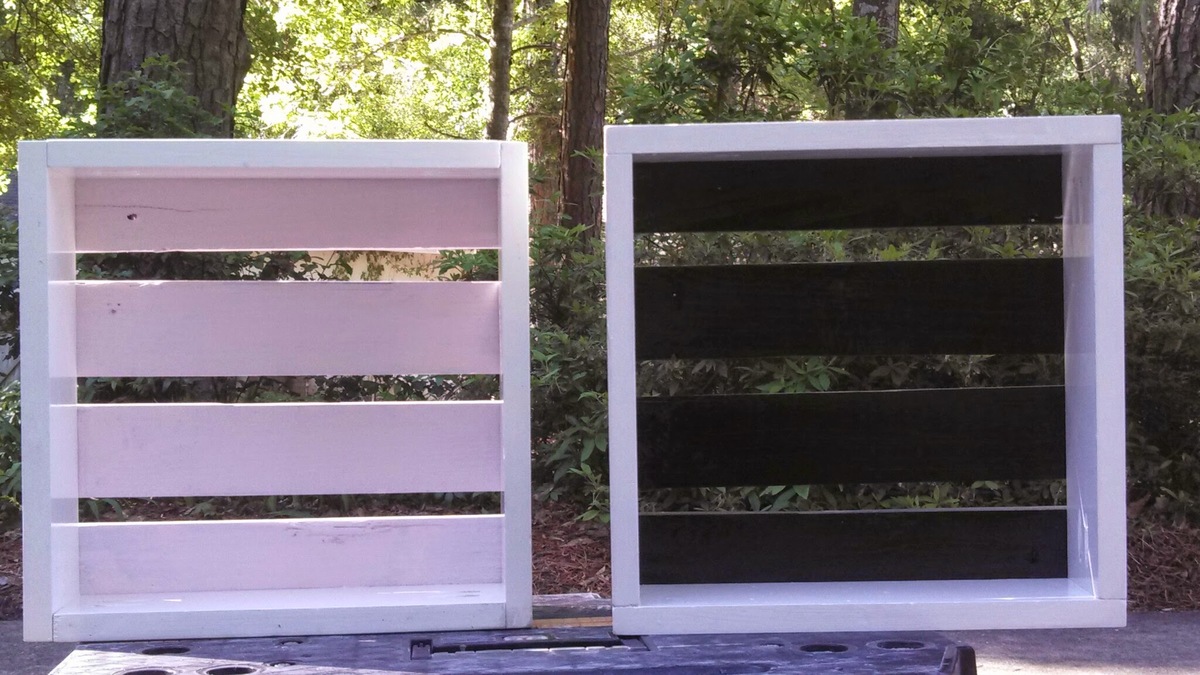
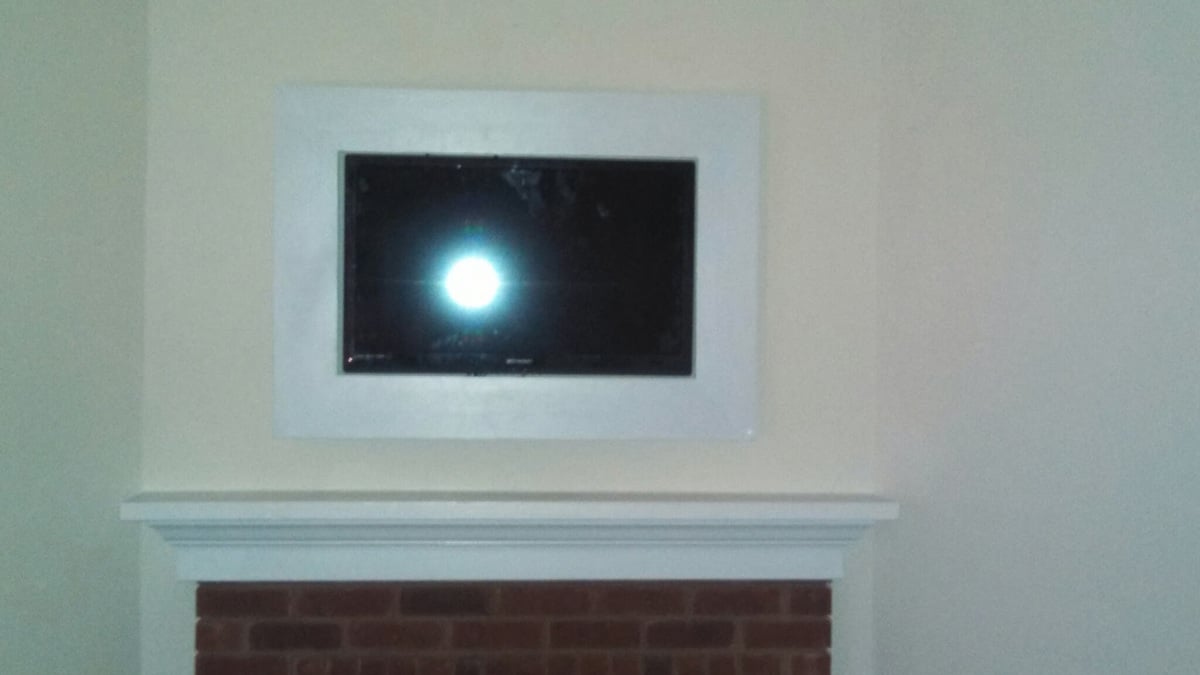
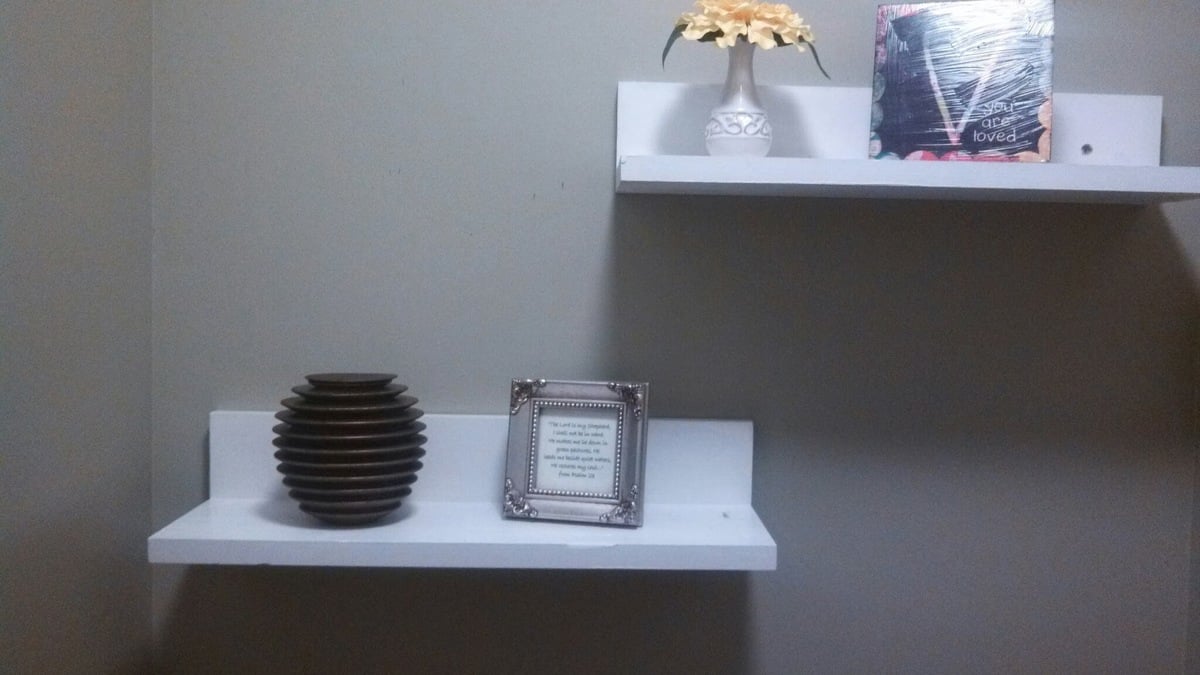
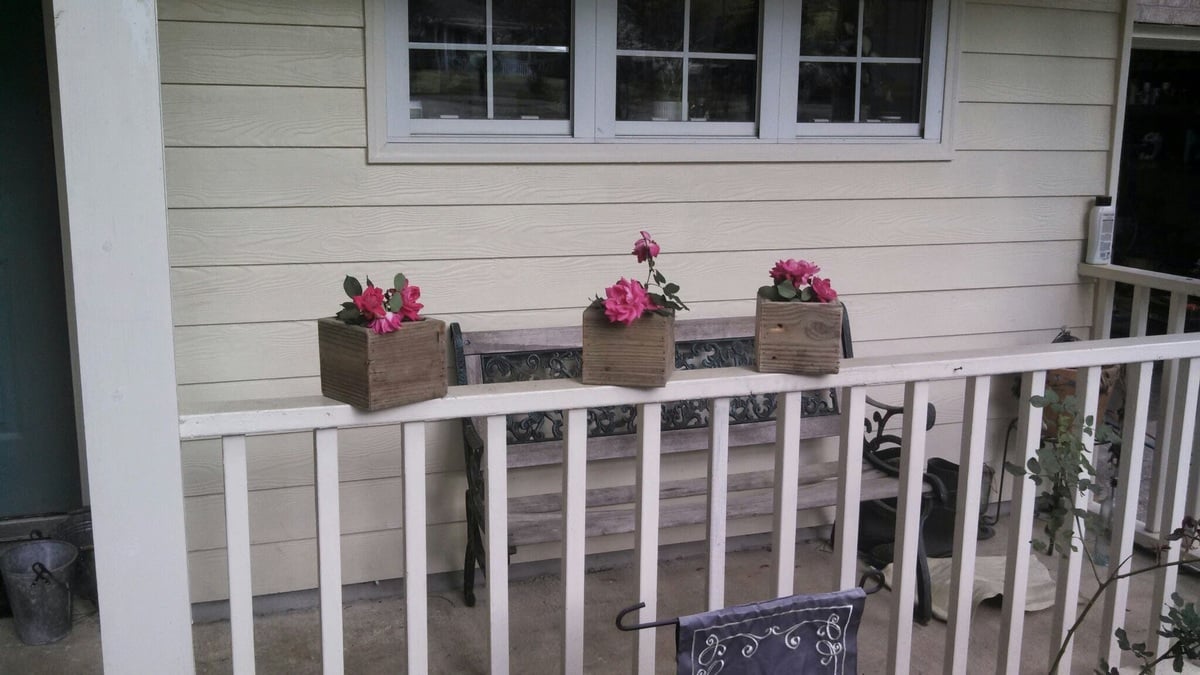
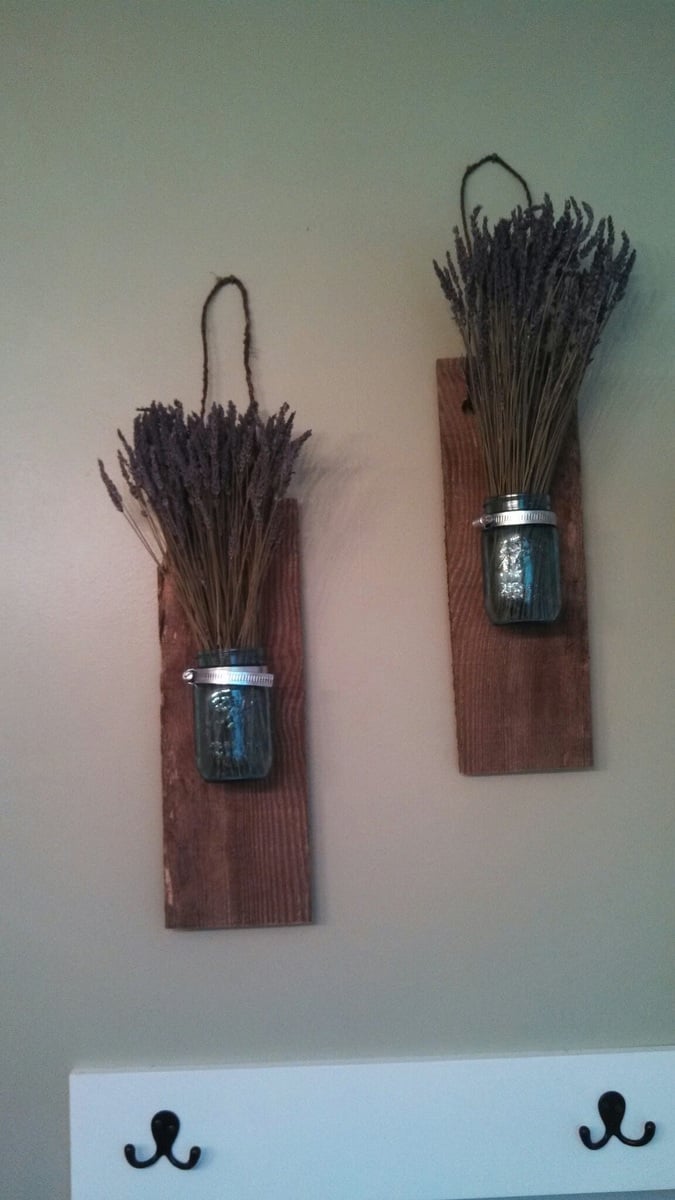
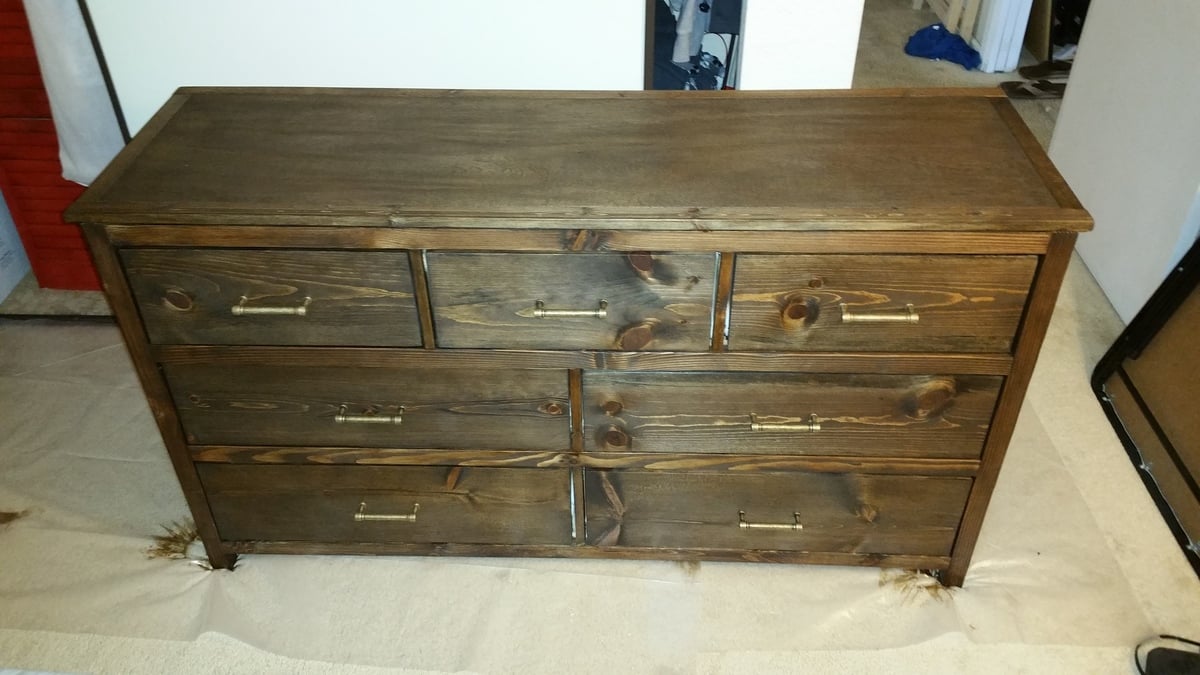
I started woodworking about 6 month ago and I love it!
I made our kitchen table and nightstands.
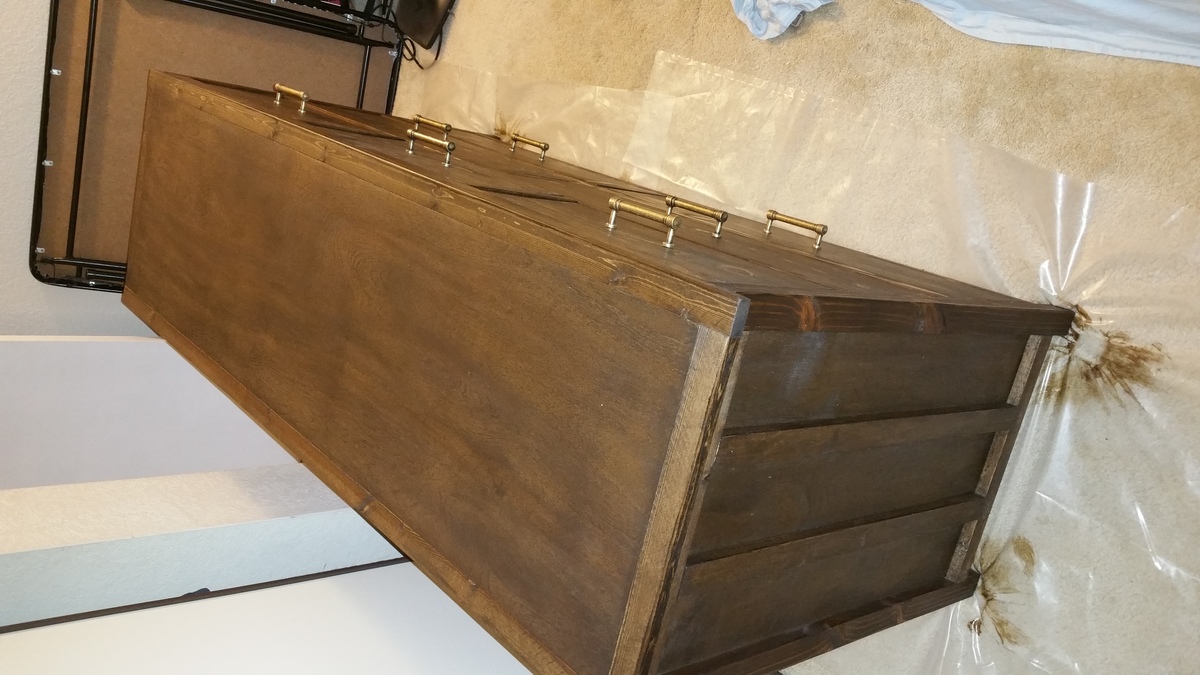
This was a real test! The drawers took as long as the frame, if not longer.
It's all worth it when it turns out this good though!
Thank you for all the wonderful plans, my wife practially has all the furniture in our house in line to built by me.
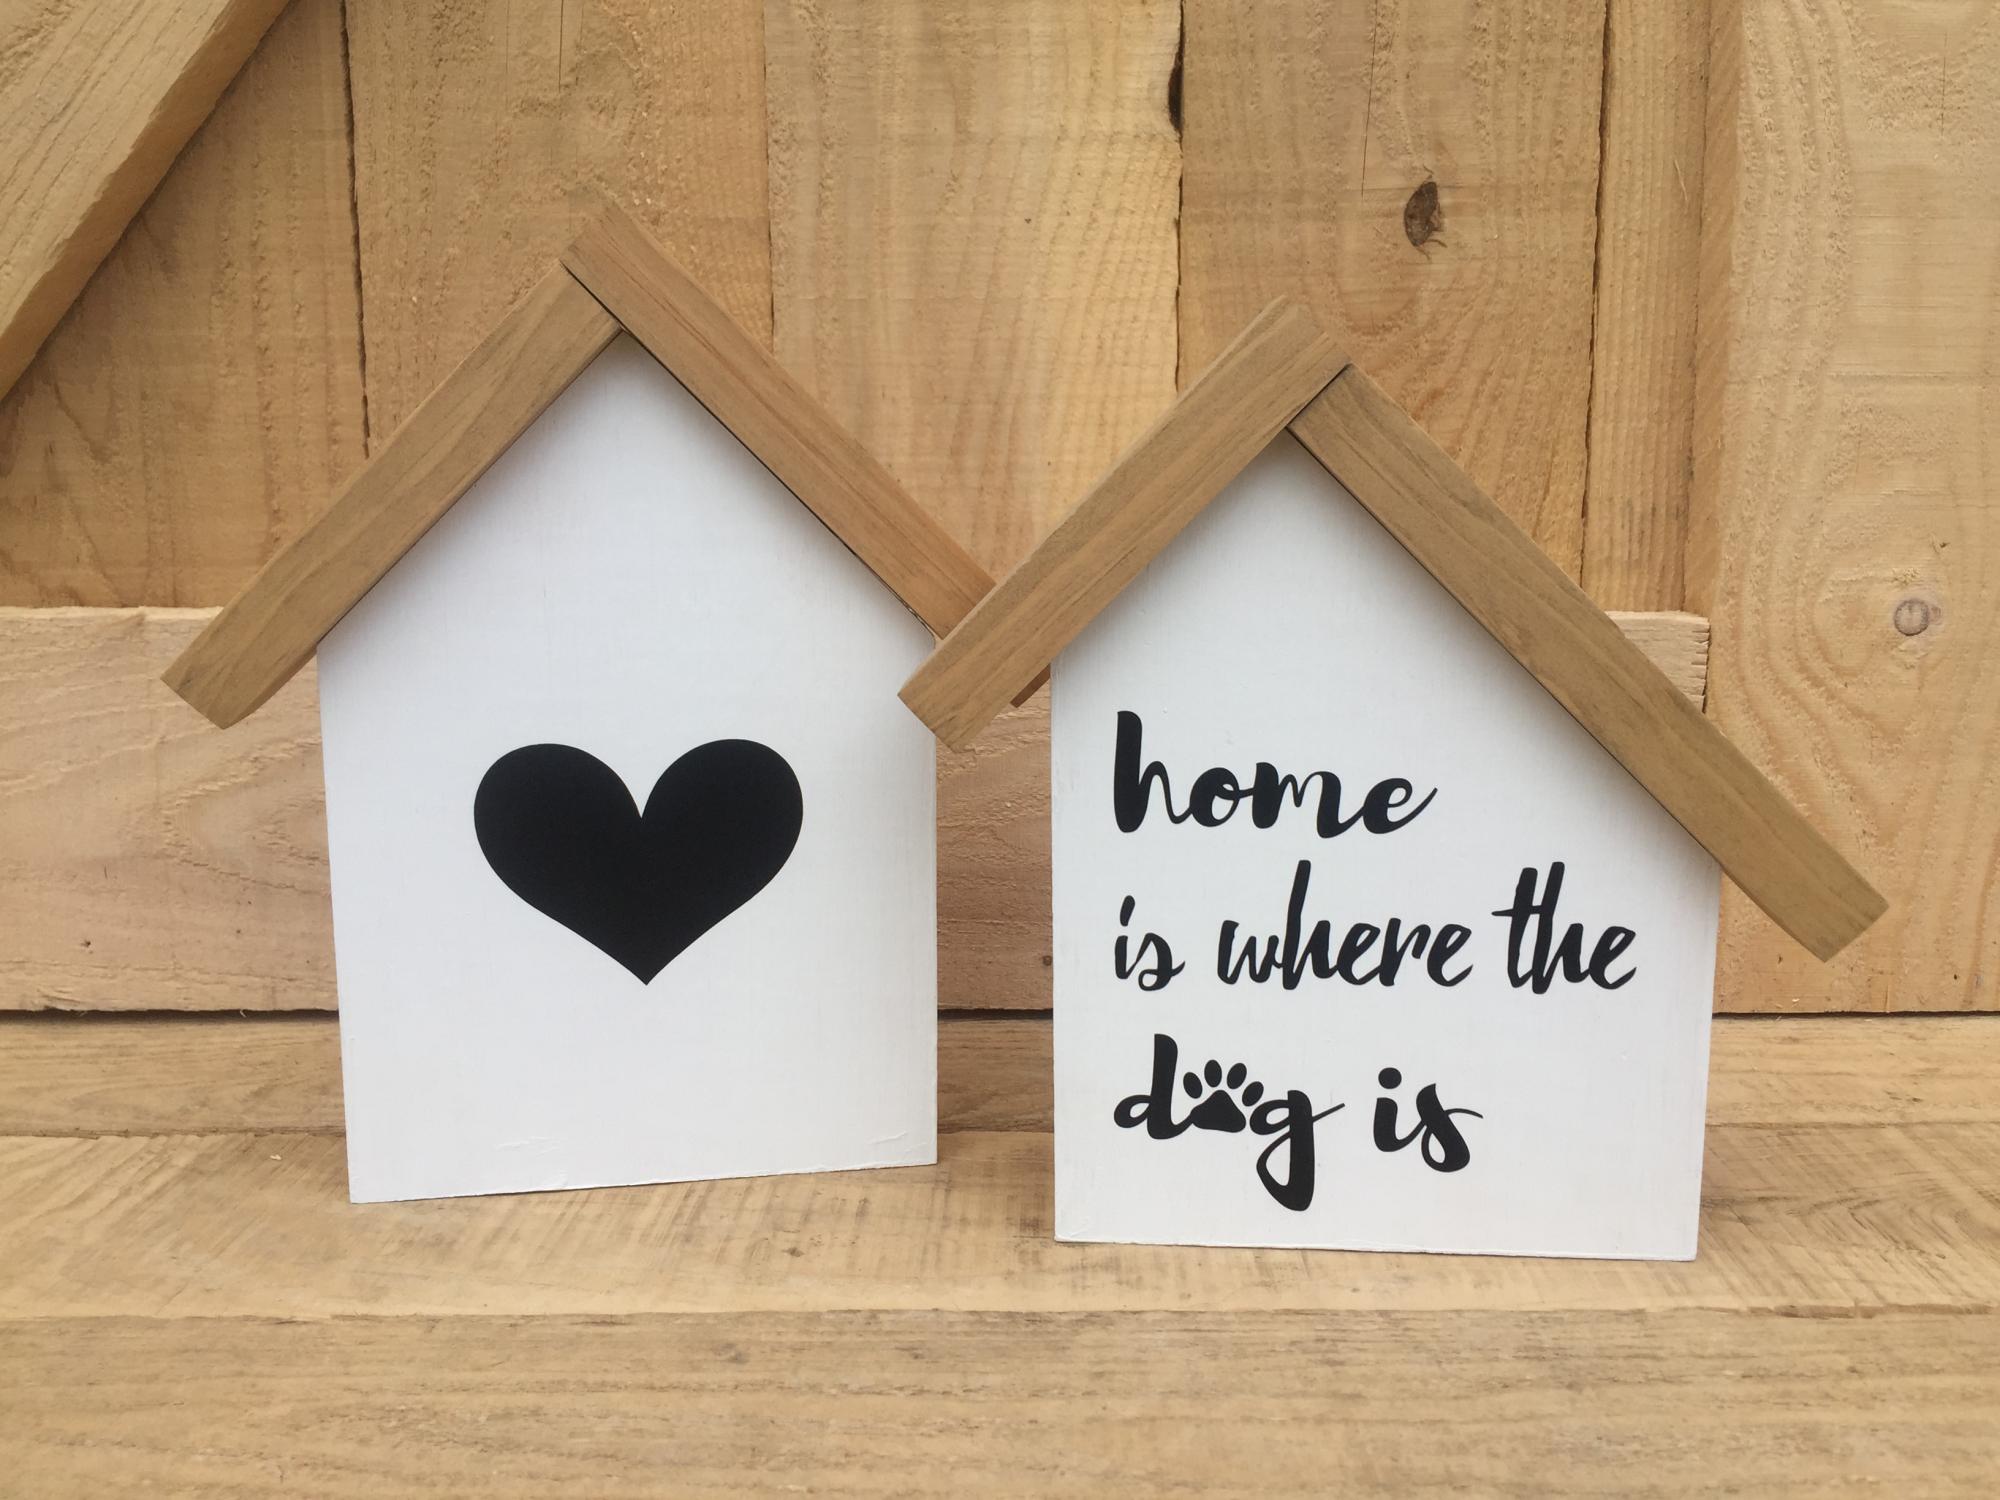
I built these cute little houses with scrap wood. They are easy to customize!
I used 1x6 boards for the house and 1x2 boards for the roof. I attached the roof with bradnails.
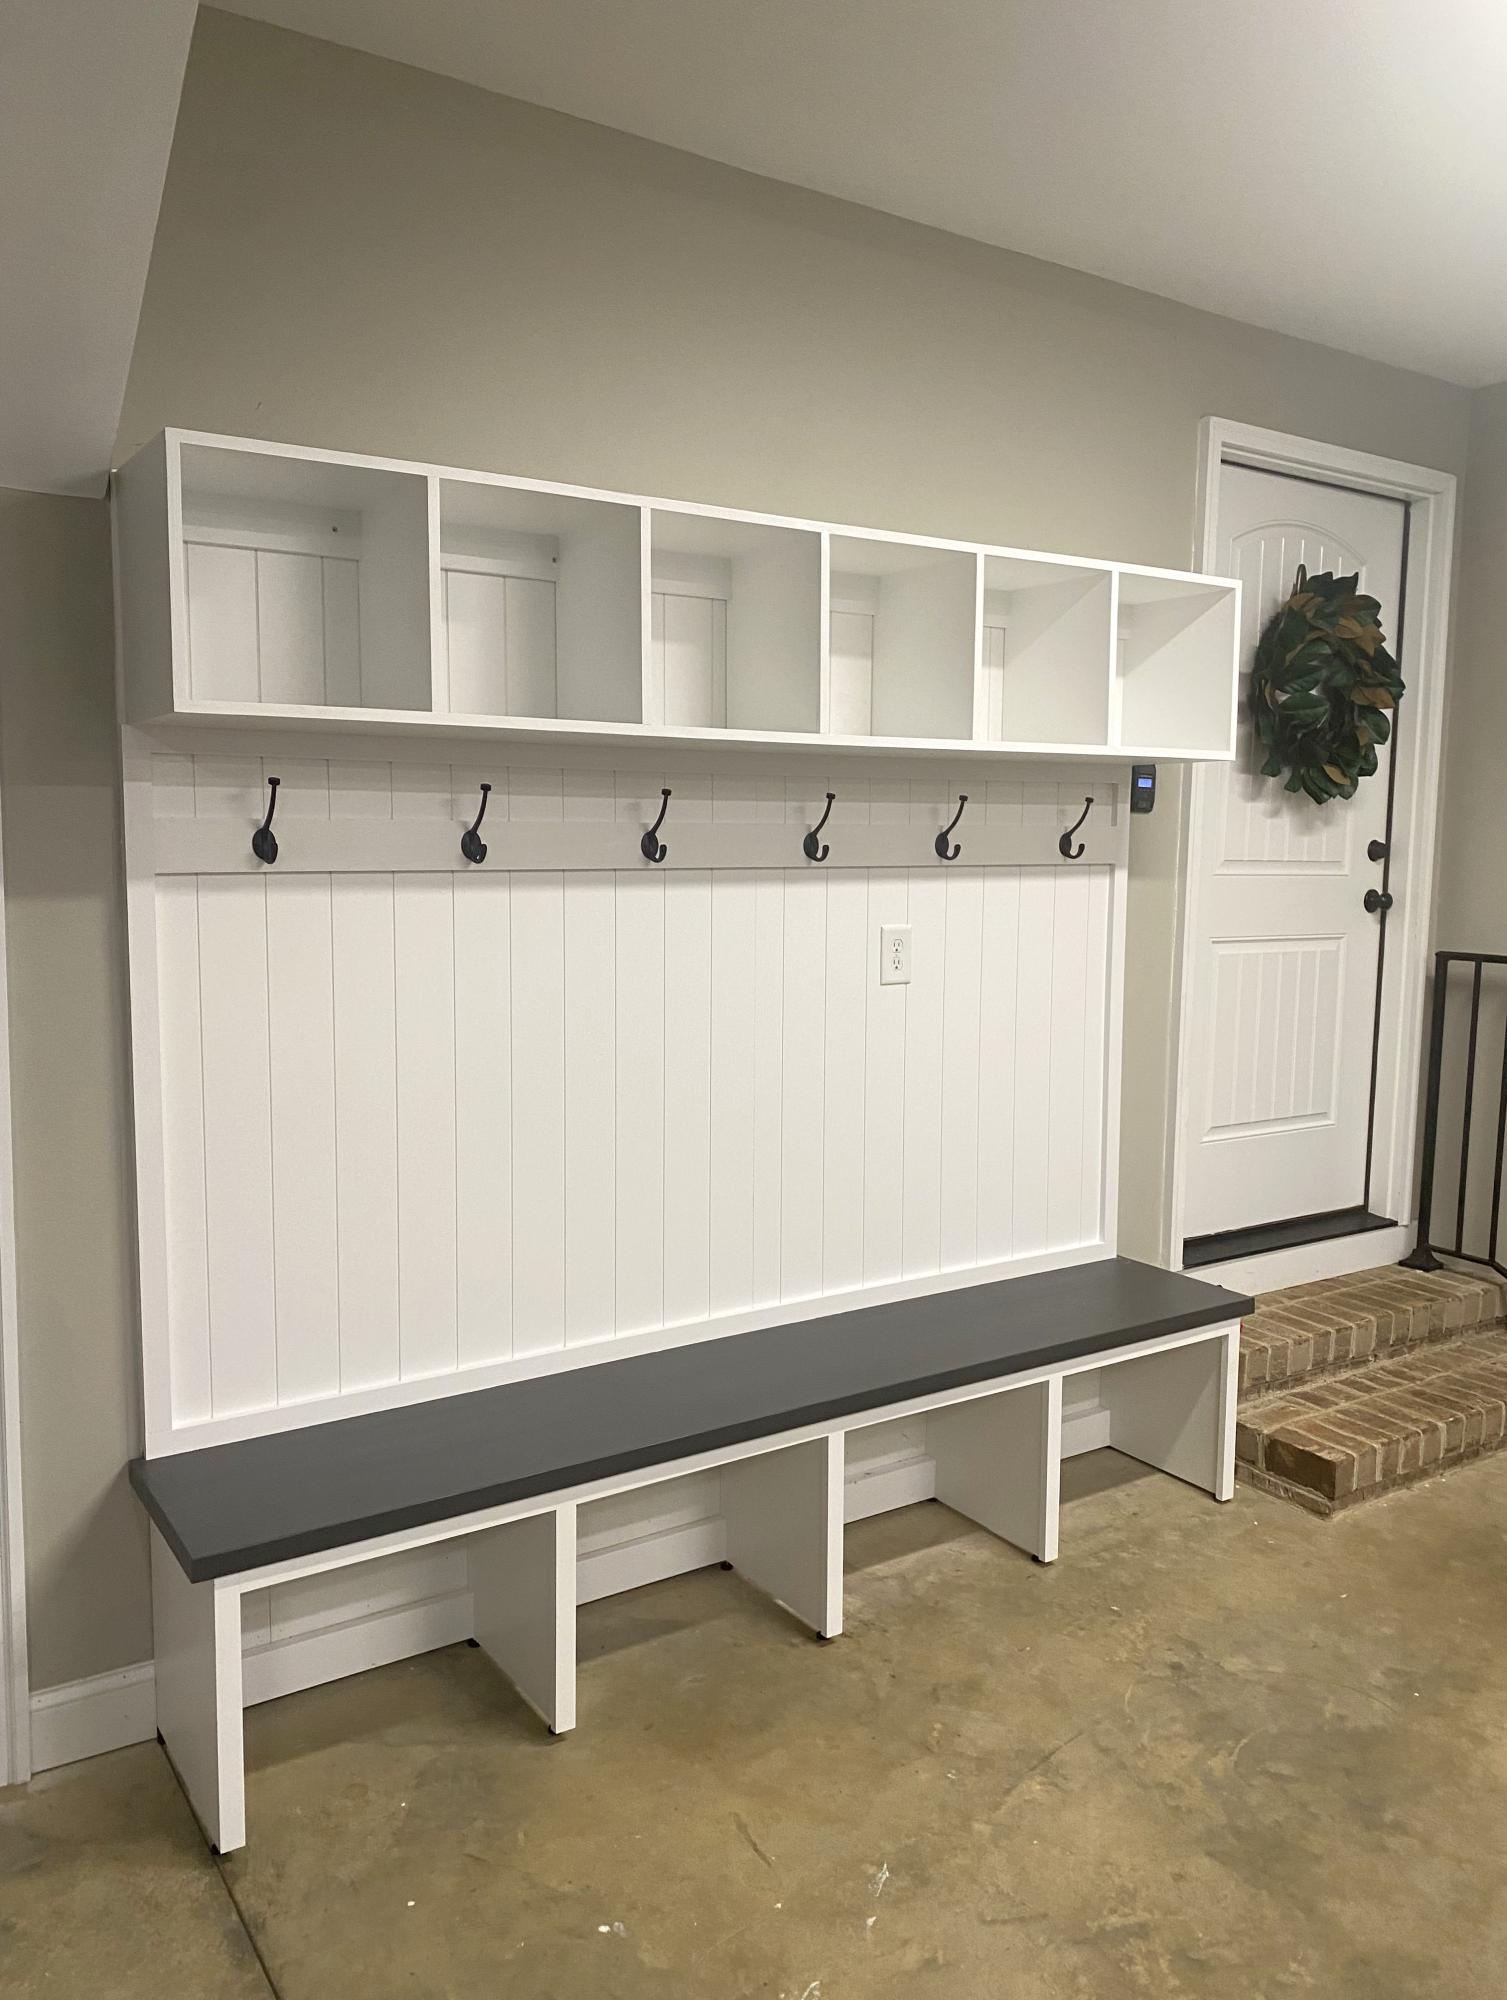
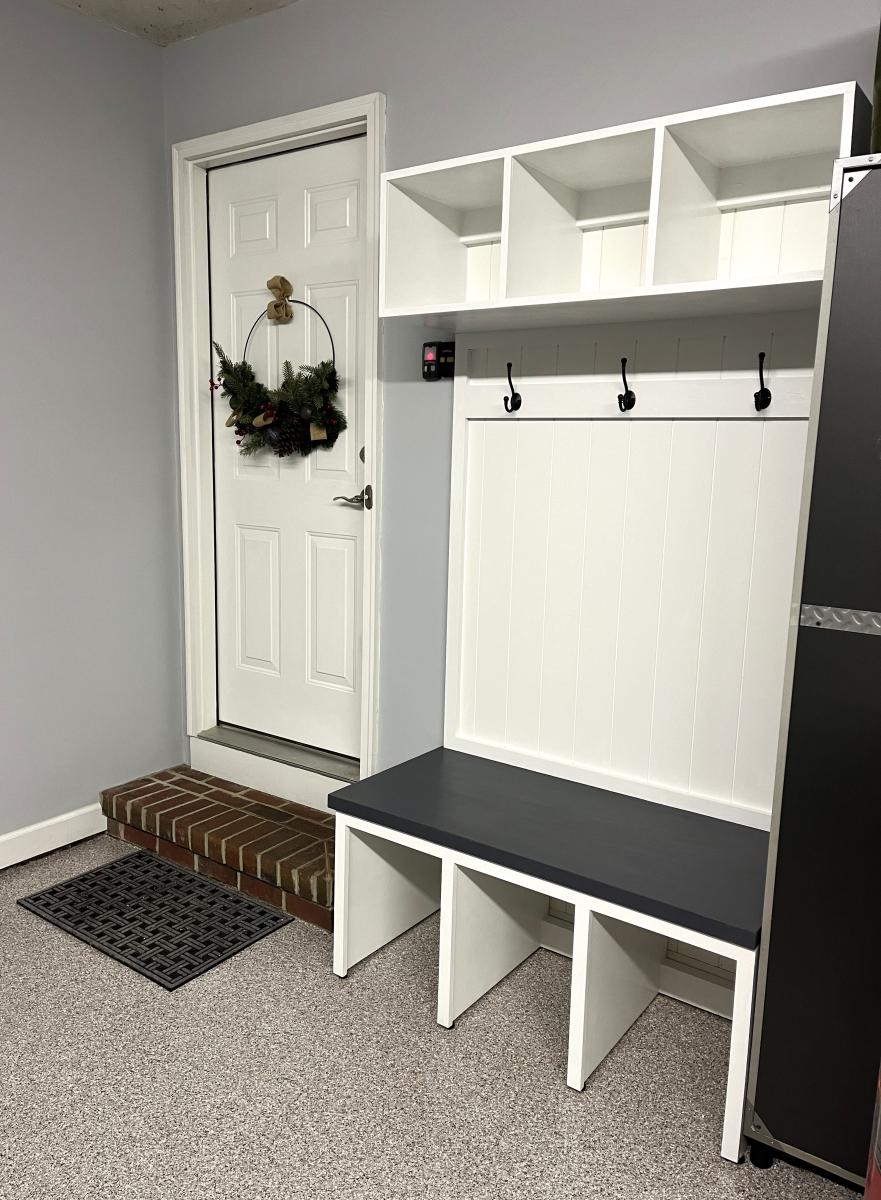
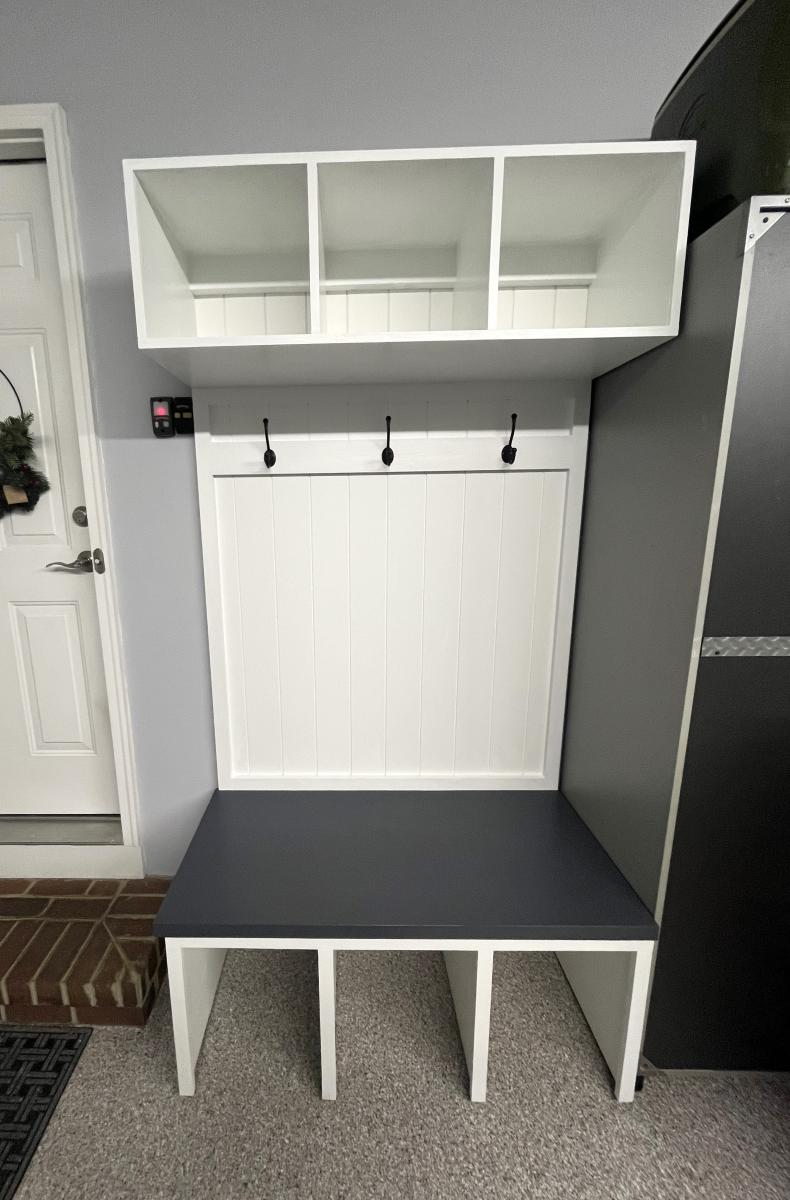
Garage Lockers in different sizes.
Dale Smith
My niece is here for the summer! We needed a guest bed fast, that didn't take up an entire room! She chose this day bed!
Her bed is in the computer room, so there isn't enough room for a twin size bed. I modified the plans to fit a standard crib mattress. Now, when she isn't using the day bed, it doubles as a lounging spot to read. It is soooo cute!
For the storage baskets, I cut shipping boxes to size and mod podged fabric to them, and added some cute little knobs.
Sat, 03/23/2013 - 18:09
I'm wanting to do this exact same thing with a crib mattress. Could you provide the adjusted measurements you used?
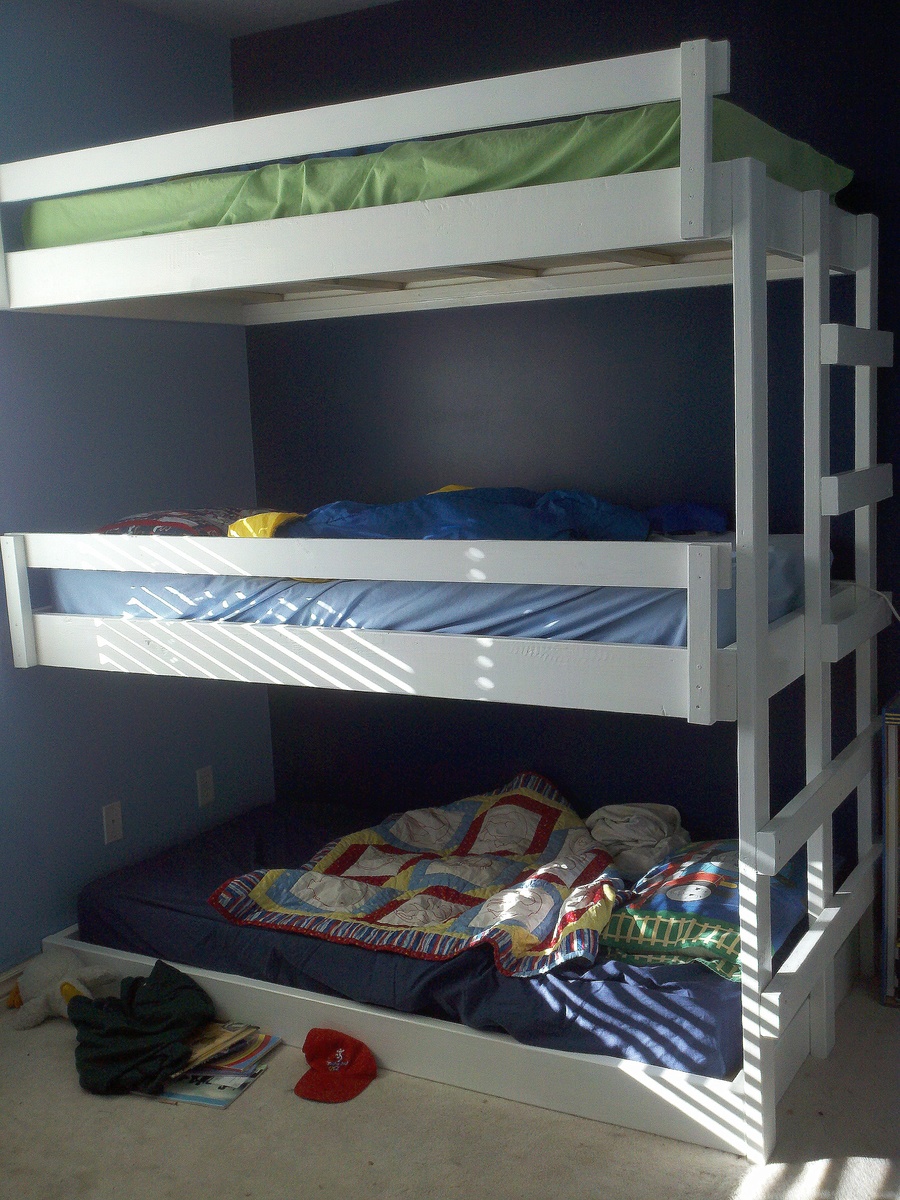
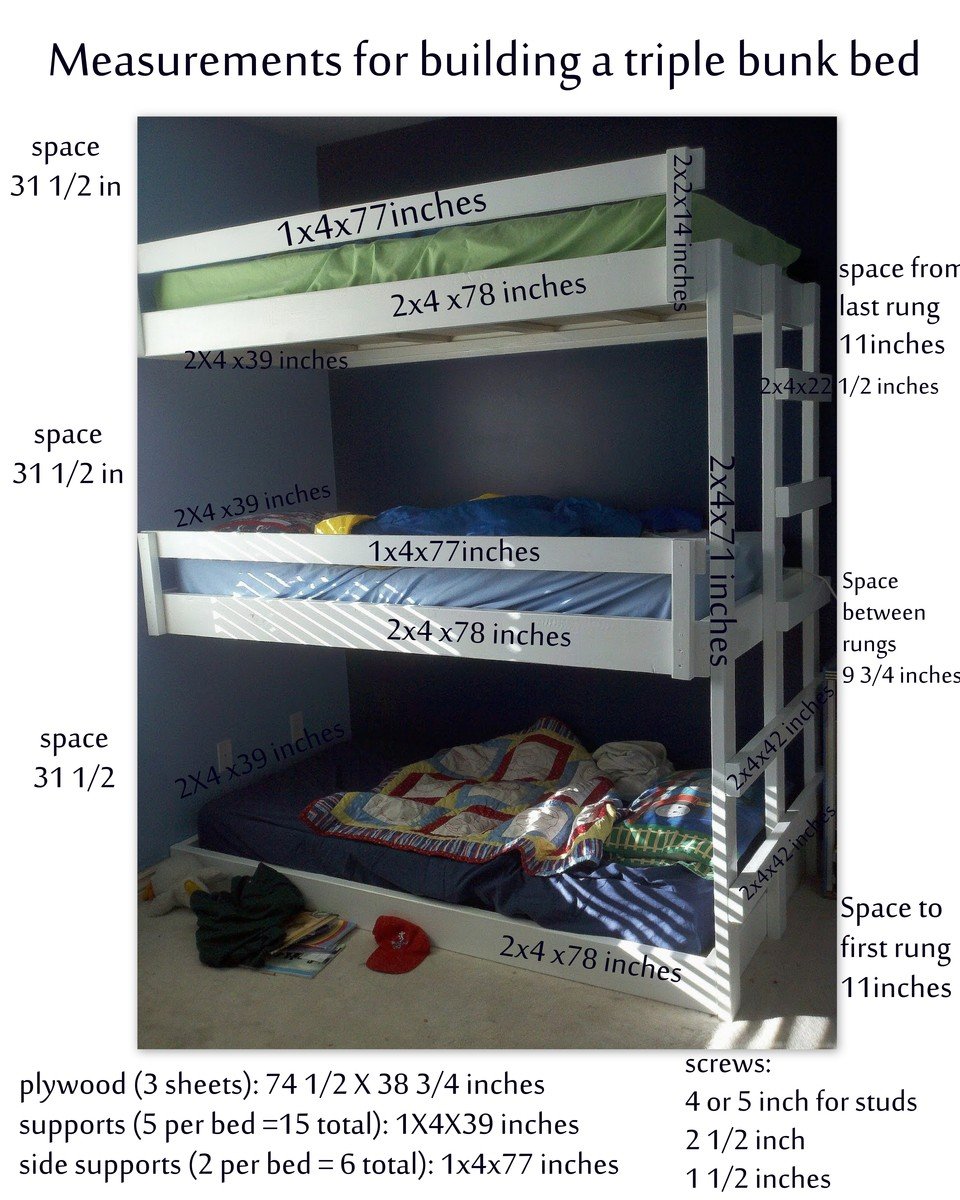
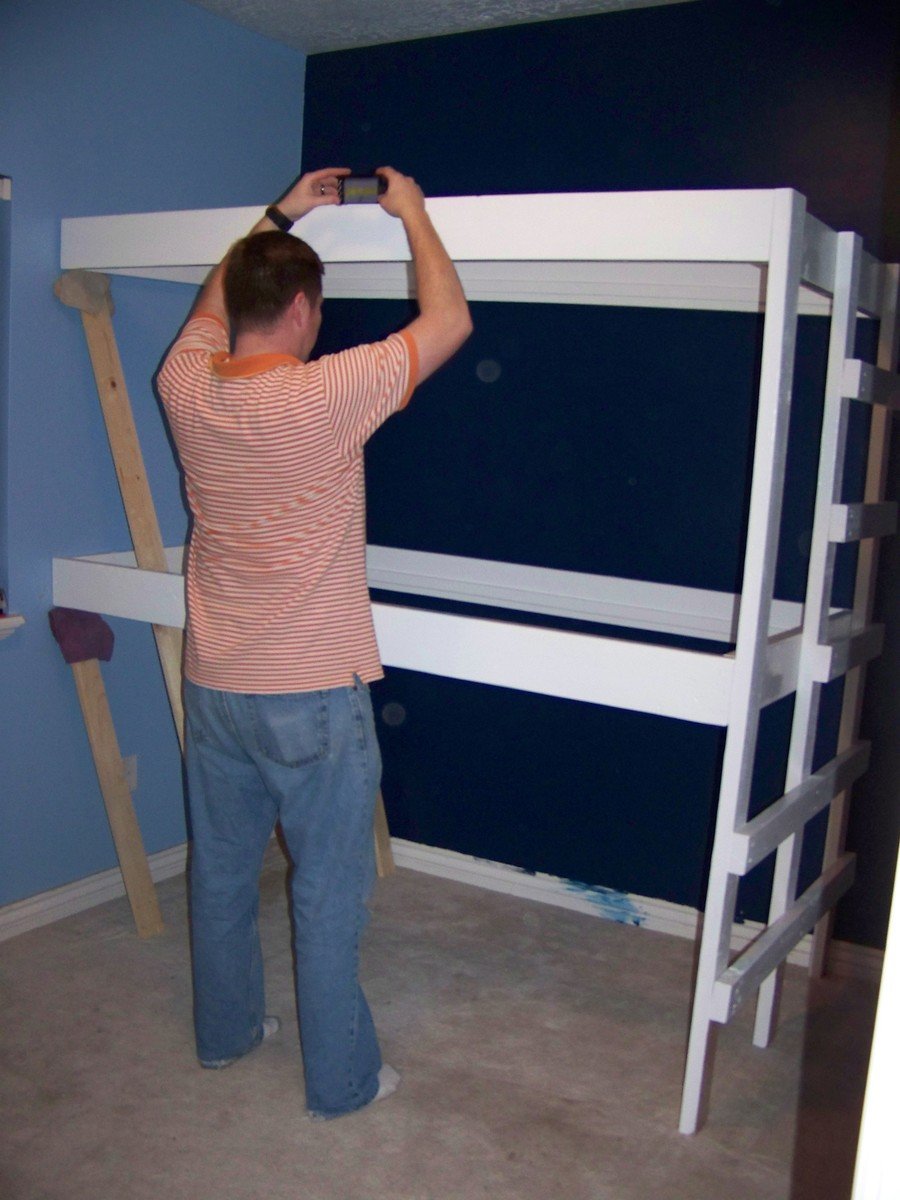
More info on these Triple Bunk Bed Plans on my blog: http://myhomedonemyway.blogspot.com/2013/03/triple-bunk-bed-finished.ht…)
1. Build the Bed Frames: (I will explain the process for one bed...do it three times if you want three beds)
2. Add Side Supports: ( Also do this step three times for three beds. We did it later but would be easier to do now)
3. Add Roll Guard: (do twice...once for each top bunk. We did this later but can be done now)
4. Build Ladder:
5. Paint desired color (you don't have to paint the sides that will be screwed into the wall).
6. Install into the wall in desired bedroom
7. Add Supports (do three times for three beds)
8. Add Plywood (do three times for three beds) 9. Finish
Mon, 04/28/2014 - 13:28
I hope you all enjoy these triple bunk bed plans. The instructions should be easy to follow to make your own!
In reply to Easy Built in Triple Bunk Bed Plans by myhomedonemyway
Sun, 01/22/2017 - 11:06
Thank you so much for sharing your plans! This is great, well built, but still easy to do!

I recently moved to Boulder, CO and finally have a garage where I can actually work on projects. Since I moved here with practivally nothing, I decided I should build my own bed. This is probably one of the most ambitious wood working projects I've attempted. I also tend to be slightly anal, so I've probably spent way more time on this project than most people have or will.
After reading the plans and other Brag Posts, I felt I was ready to start. I ordered the Kreg Screws, and a few other supplies I would need for the Project on Amazon and was off to the races. Several trips to Home depot to get various pieces of wood, (since I wasn't going to fit it all in my Subaru in one go), I finally had most of the lumber for the bed frame. Let me tell you, it's not easy getting straight pieces of lumber (as mentioned before, I'm a little anal). I decided to go with oversized lumber, since I would have more usable leftover pieces for other projects.
I spent several hours after work during the week, and several more on the weekend, sanding down all the lumber with 60 Grit, then applied the first coat of Stain, to raise the grain. I was out of town for the weekend, and let the stained wood sit in my garage while gone. When I got back, I noticed a lot of marks which I didn't notice before staining. Some of these were from the belt sander I used to knock down really rough parts of some of the lumber. But most of the marks were because I put too much pressure on my random orbital sander.
Lesson learnt: Sanding takes time, and patience! DO NOT press down hard on the sander, if you don't want marks on your wood. These marks will be significantly more prominant after staining.
I decided to sand everything again, 60 grit, then 100, then 150. I gotta say, the wood feels so much nicer to touch and I'm glad I decided to re-sand. I spent a few hours after work to get most of the head board pieces done, but noticed that the 2x4 had warped beyond repair... I'm going to get the upper and lower 2x6 pieces ready to assemble with my kreg jig this weekend, and then decide if I want to add a 2x4 in the middle like the plans call for.
I decided to go with just 2x6s for the headboard, I used the Kreg Jig to put it all together, I also attached 4 supports made of some scrap Plywood I got from my neighbor for the headboard.
I stained it all with a Staining pad twice, then applied 3 coats of Poly with a brush. I didn't sand between coats since I was applying very thing coats and I had already sanded everything down with 150 grit.


Fri, 03/02/2018 - 19:17
Sick job dude! What stain is that? I like the color of it and might use it for mine. Did you notice a stain odor at all after applying the stain and covering it with the poly?
Fri, 08/09/2019 - 13:22
This bed is super gorgeous!! Thank you so much for sharing photos!
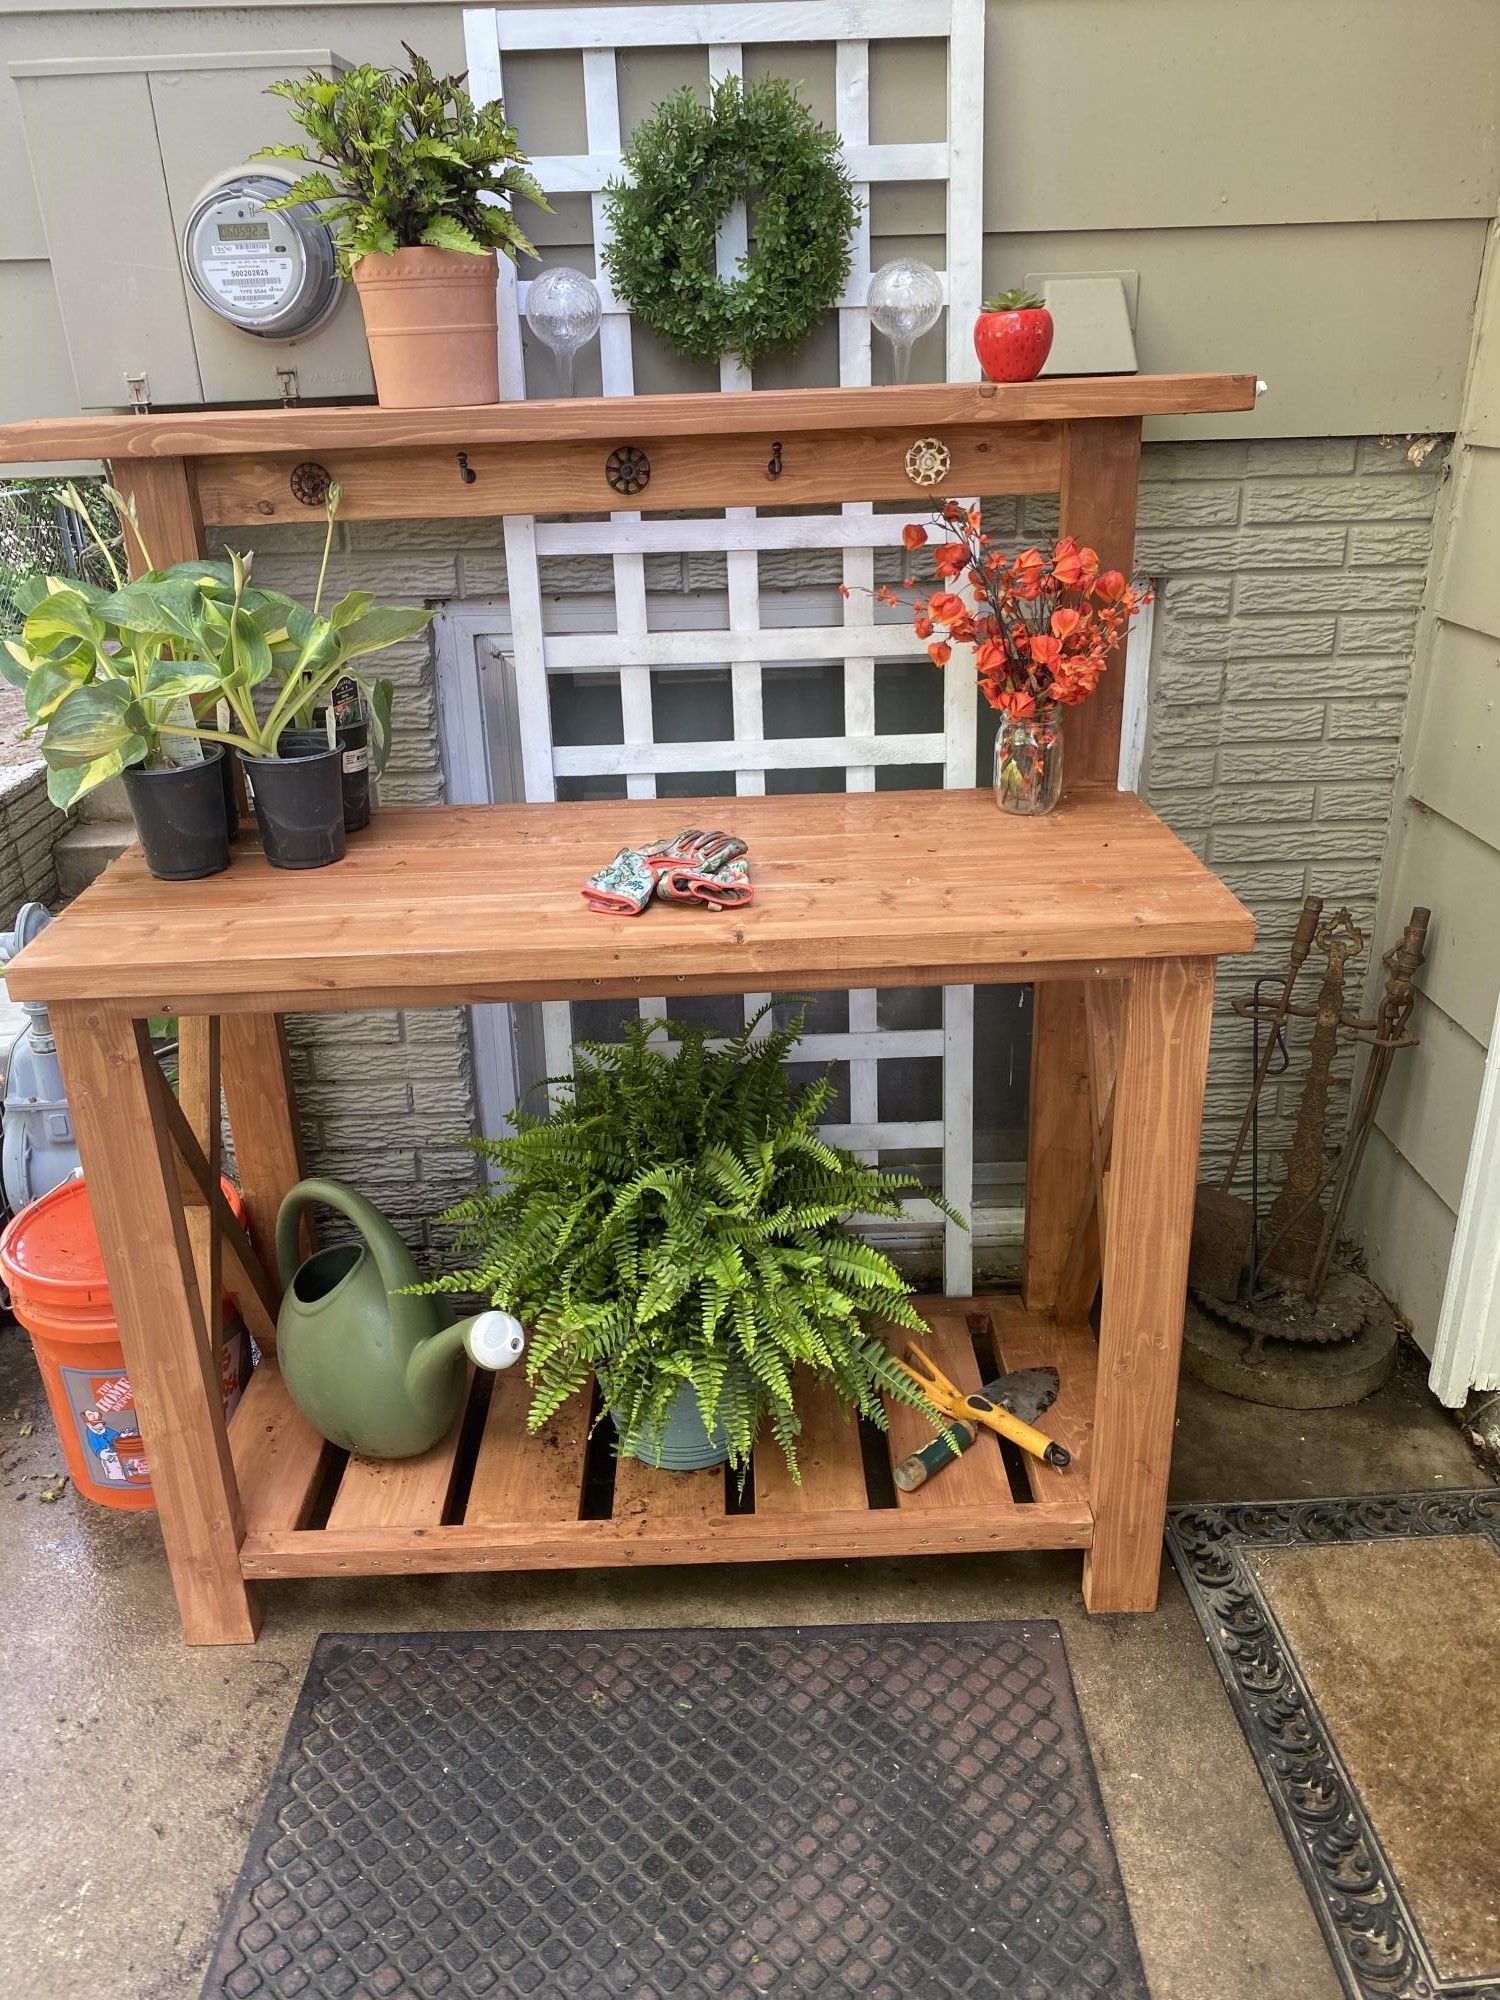
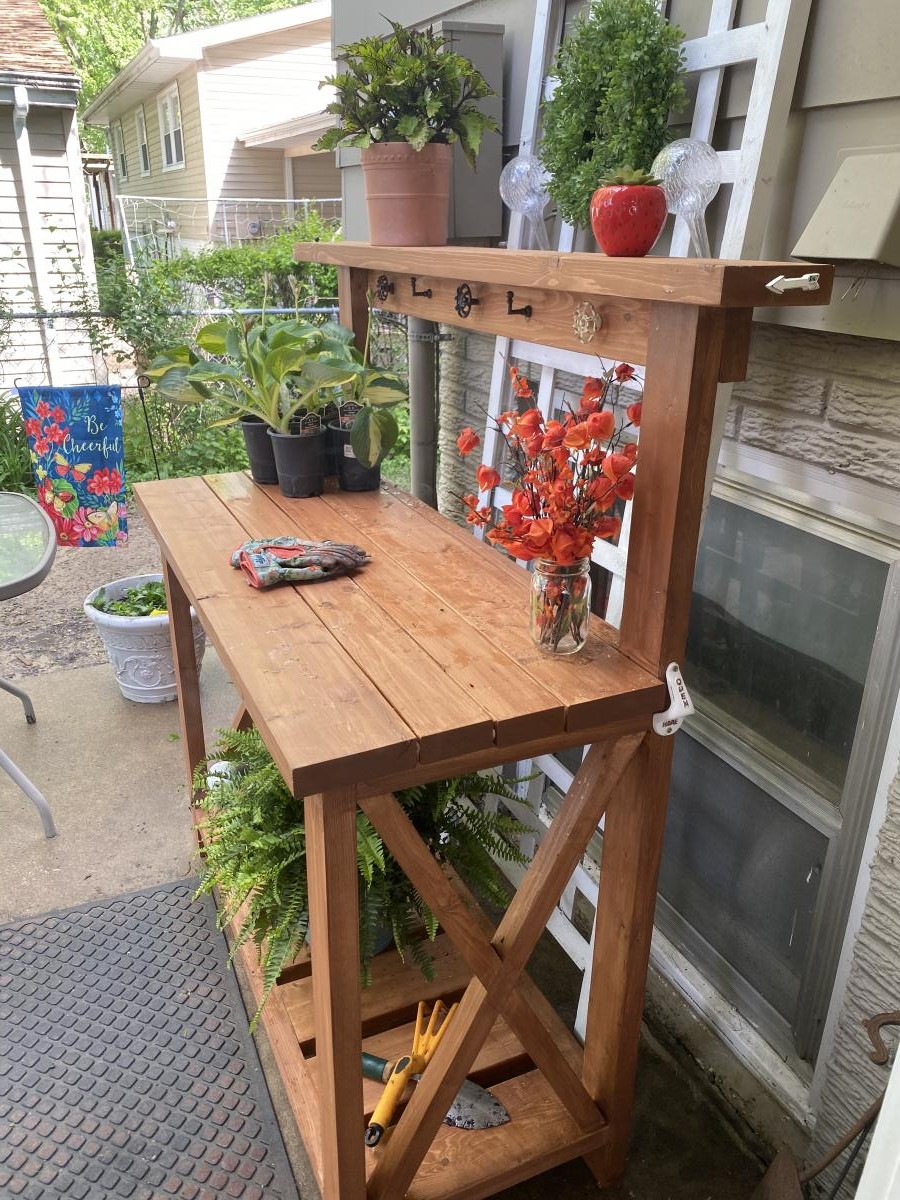
Ana- I can’t thank you enough this was my very first build-EVER. With guidance from my hubby, I was able to build this beautiful pottery bench/ bar. Definitely wish I would have stained some pieces prior to assembling but live and learn. I’m officially hooked on helping in the shop and doing some of my “honey do’s” myself!
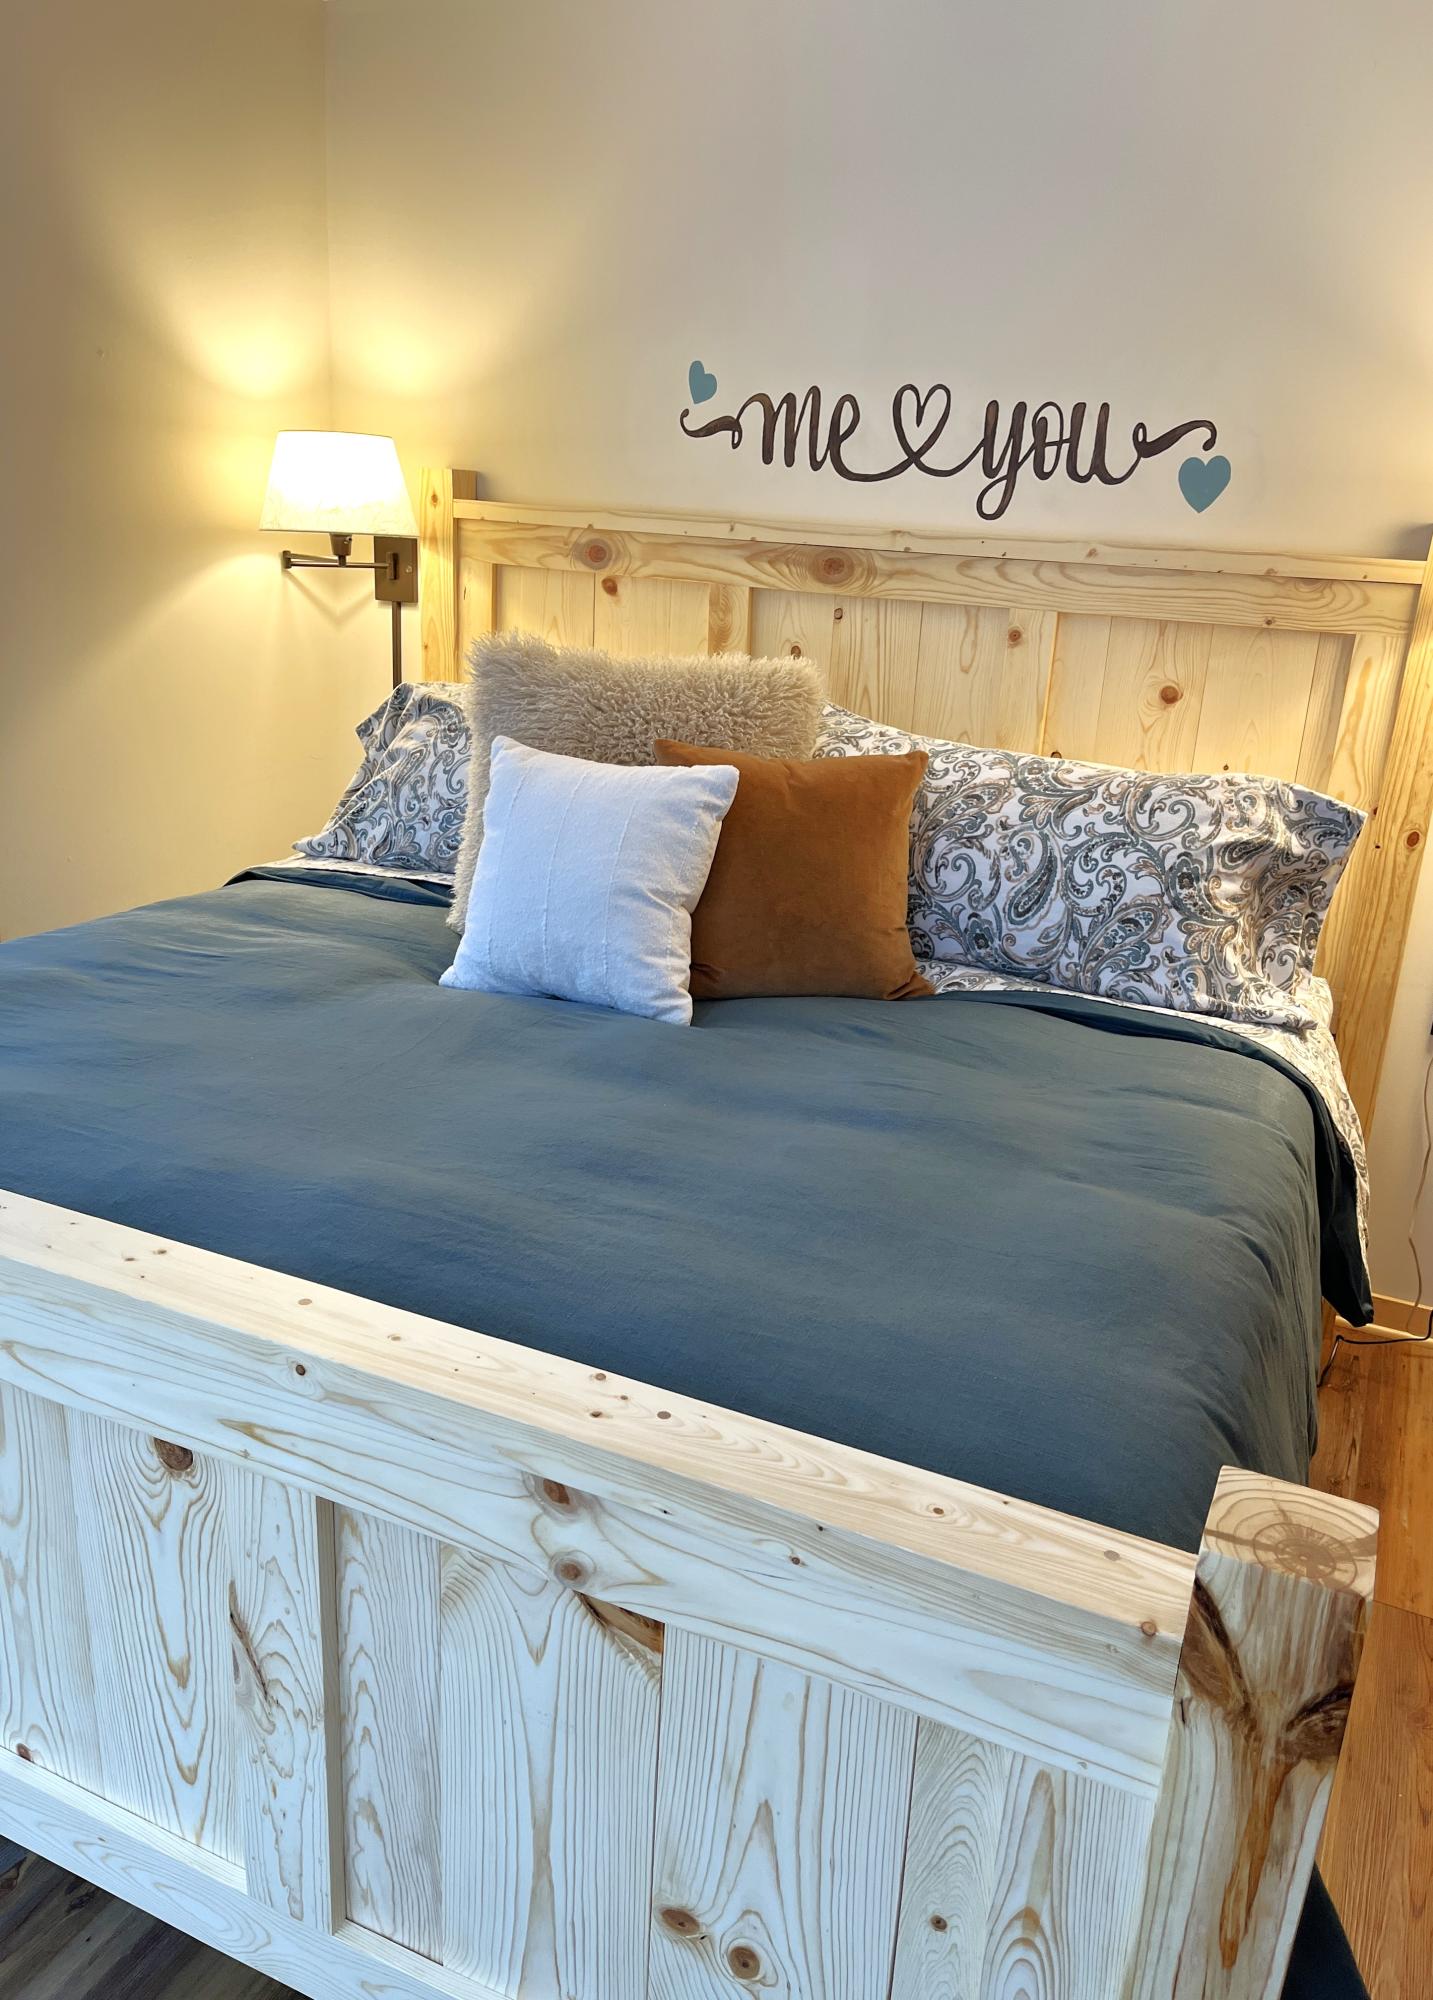
Made the Farmhouse Bed to fit our new adjustable bed. Thanks to Ana White and all her free plans, I’ve been able to build SO many things!
Jessica Benson
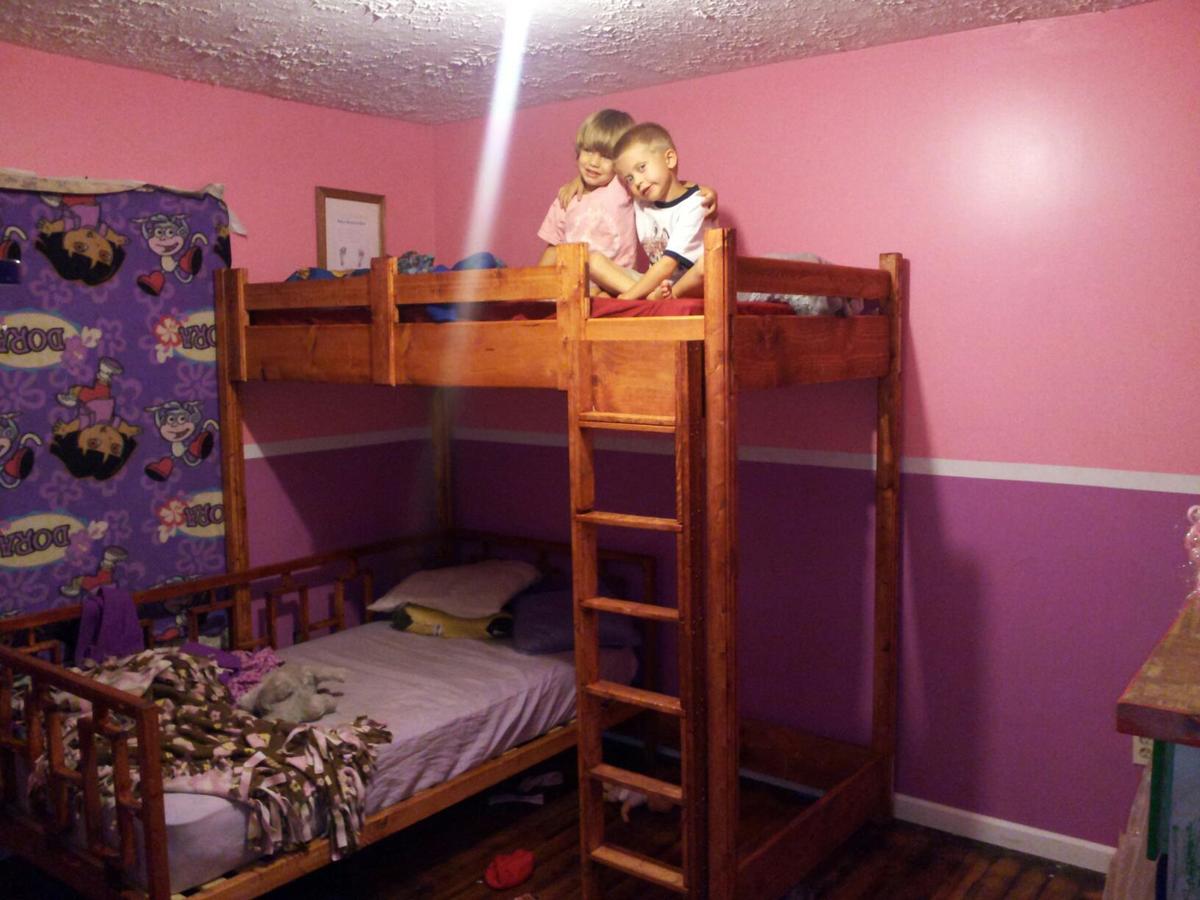
Built my daughter the day bed, and my son needed his own bed. But with a 2 bedroom house they have to share a room for now. So I seen the loft bed and well this is what I came up with. I stained it cherry, and routed the edges to give it a little touch.
Fri, 12/20/2013 - 07:57
This looks great! I like the way you kept it simple yet more rustic type appeal without adding the top board (laying flat).
Fri, 12/20/2013 - 07:57
This looks great! I like the way you kept it simple yet more rustic type appeal without adding the top board (laying flat).
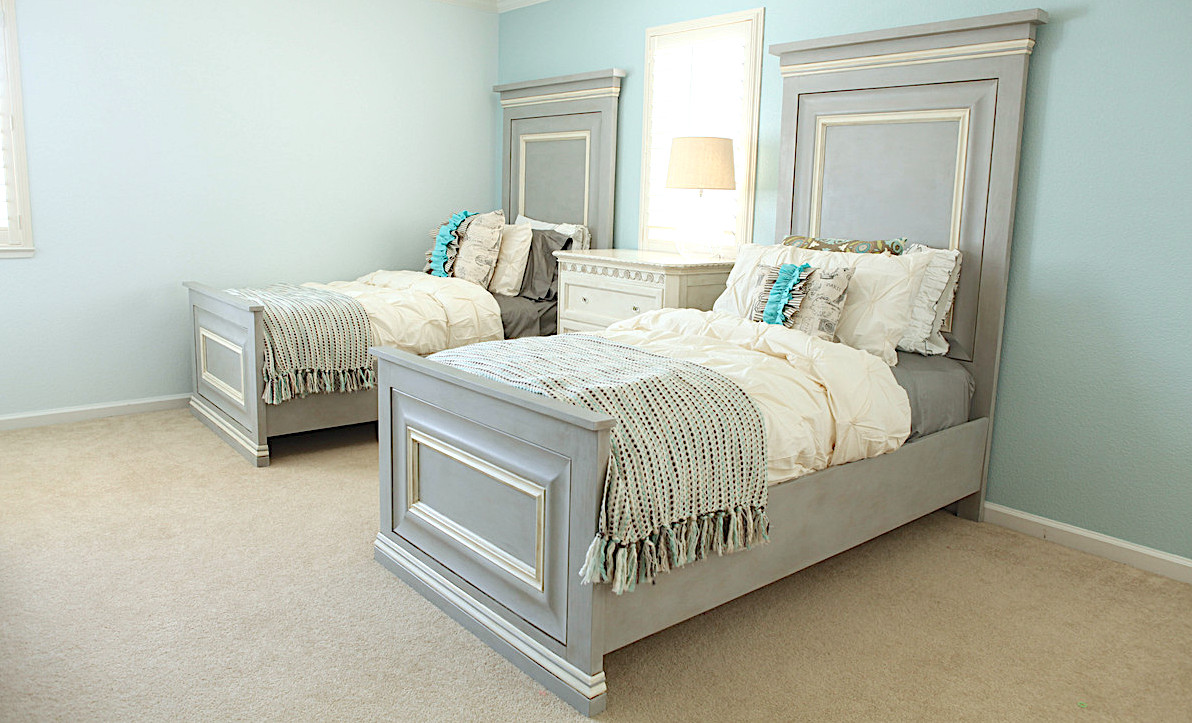
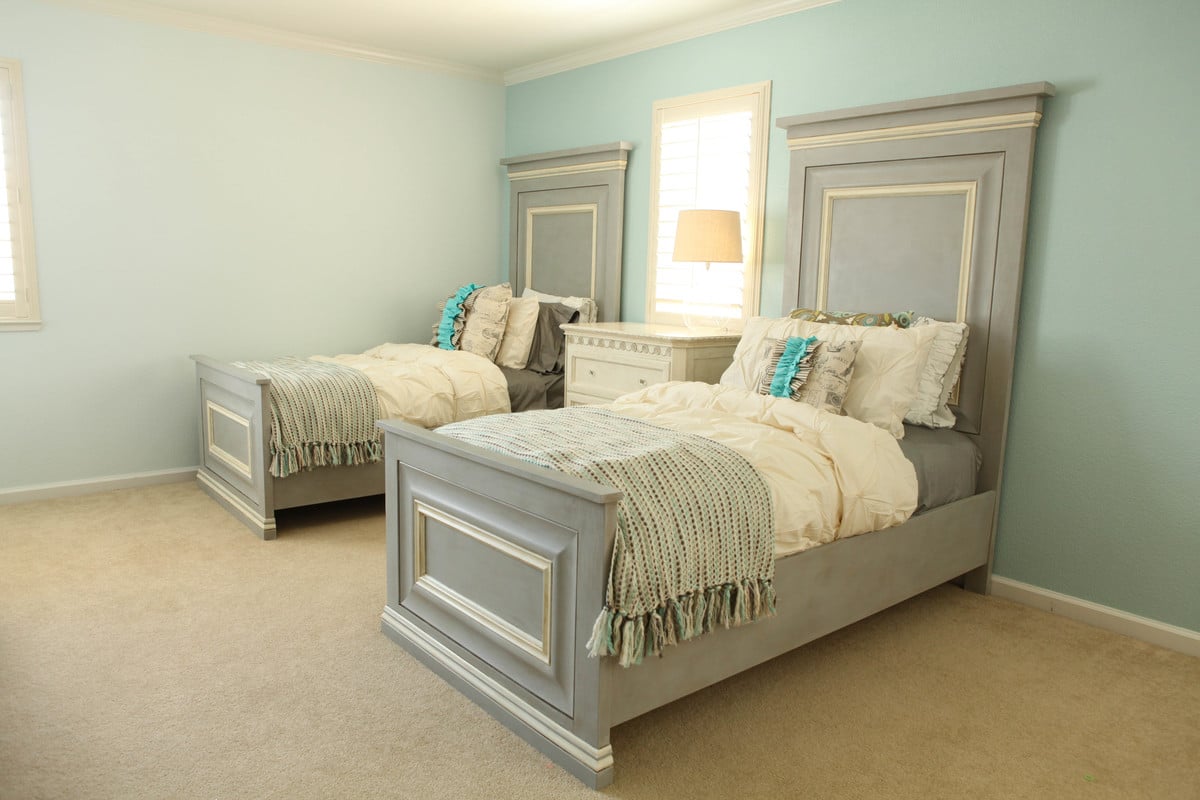
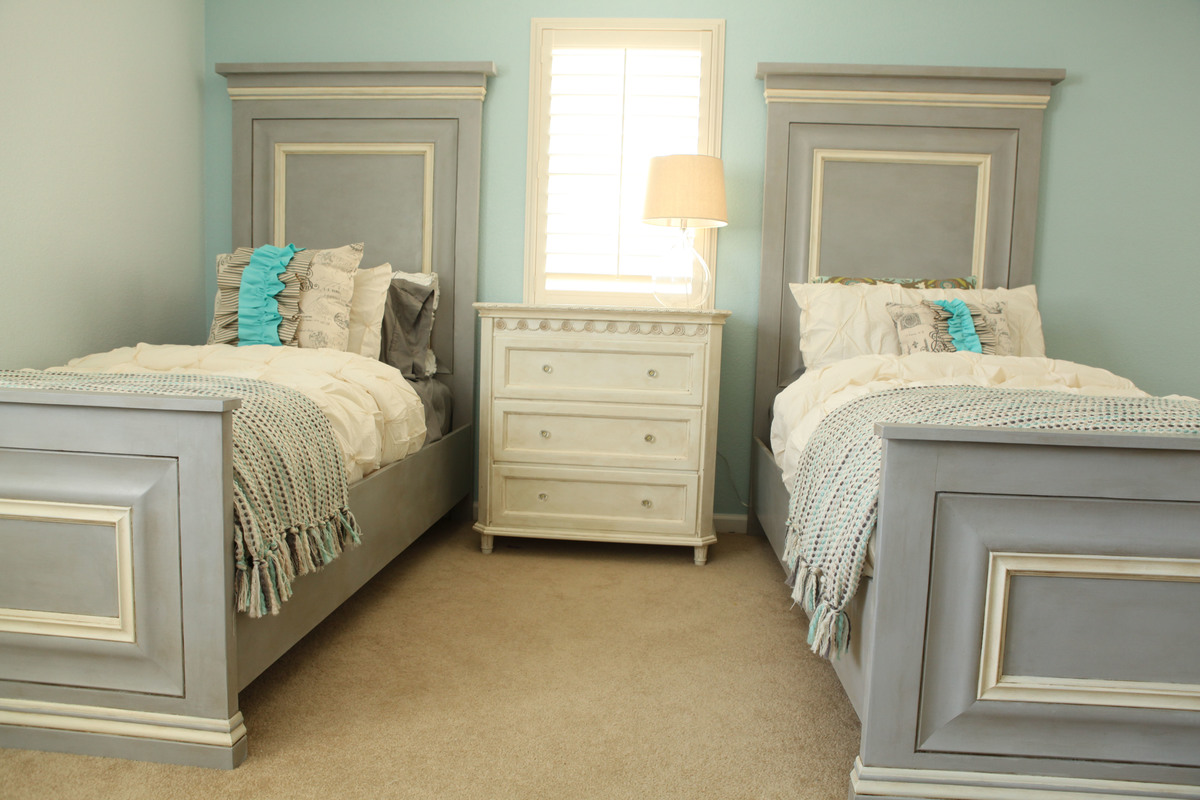
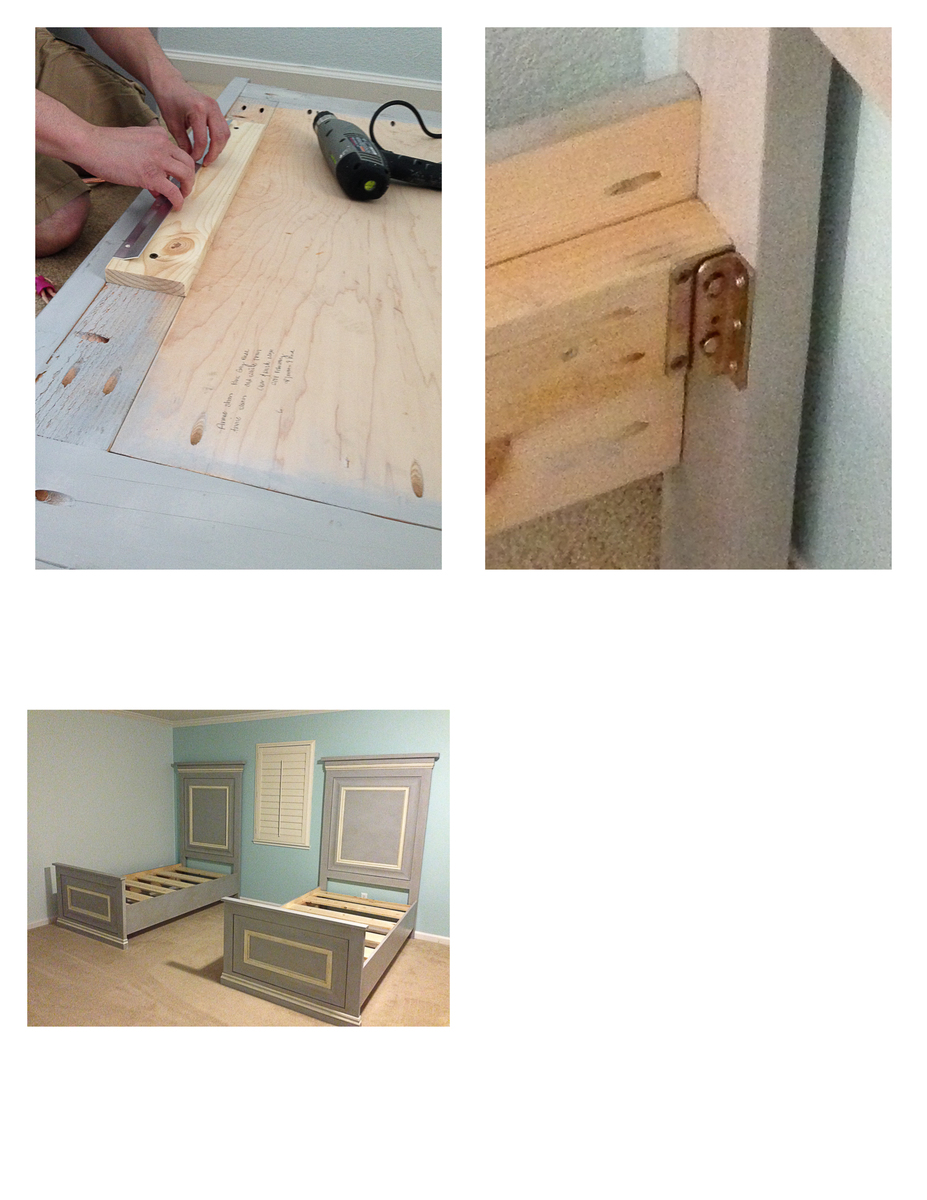
Thank you so much for these awesome plans. When I saw the original twin panel bed, I knew this was exactly what I wanted to build for my two daughters. I love super high head boards, and these are exactly that. I am in love. I did make some changes to the plan. I went with taller side rails, and used metal bed rail brackets. The brackets were super important. We move every few years being in the military, and I wanted something that would with-stand time and moves. I am also quite impressed how solid these beds are. I could never find anything this amazing in a store. I would also like to thank my husband for his help. It was our first build, but definitely not our last. Thank you!
Wed, 06/11/2014 - 17:27
Thank you for your very nice comments:
Here is some info, let me know if I can help further more.
This is what we used for the base molding and the headboard molding at the top. http://www.homedepot.com/p/House-of-Fara-5-8-in-x-4-in-x-8-ft-MDF-Base-…
For the the inner molding we used two pieces of molding: This is the style (link below) we used, but ours was a little bigger, 5 1/4 inches. Couldn't find it on the home depot website, but this is exactly the same style.
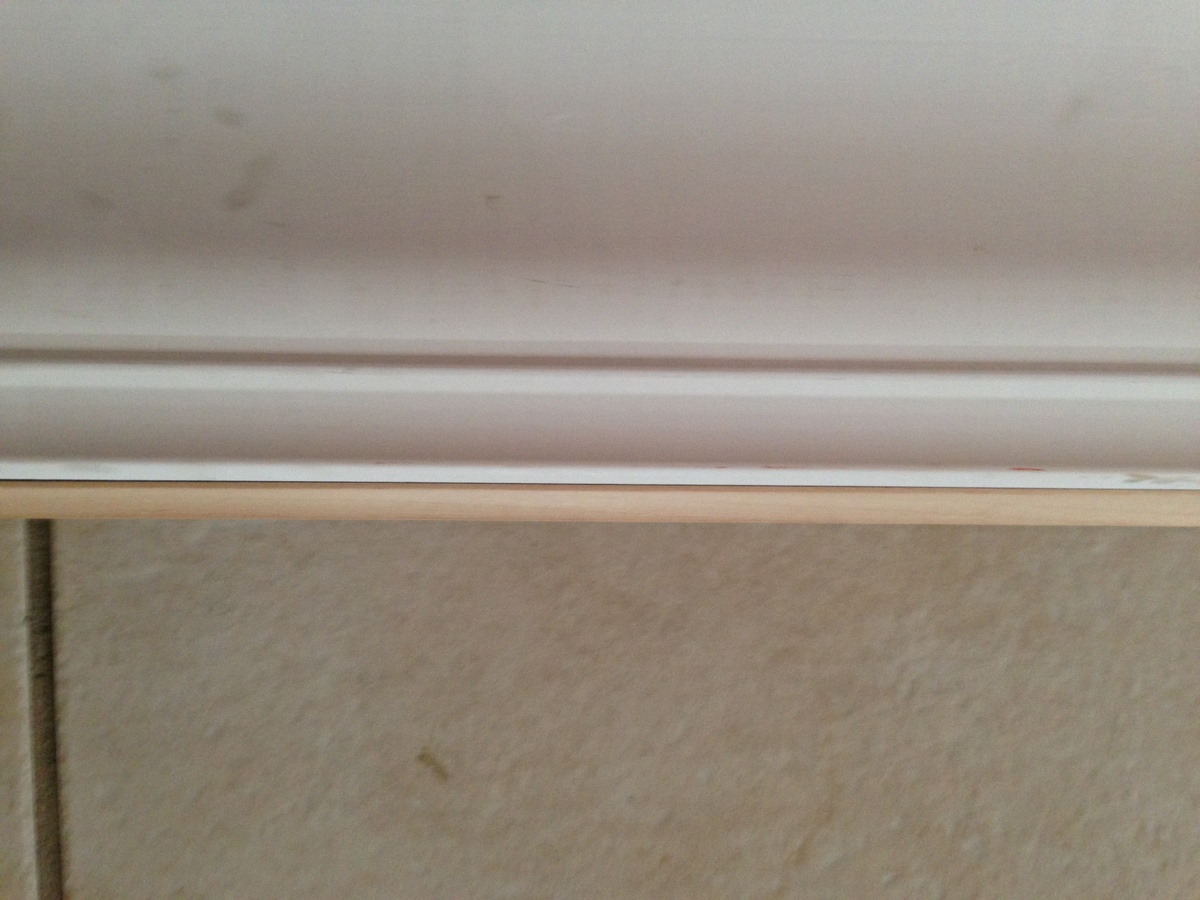
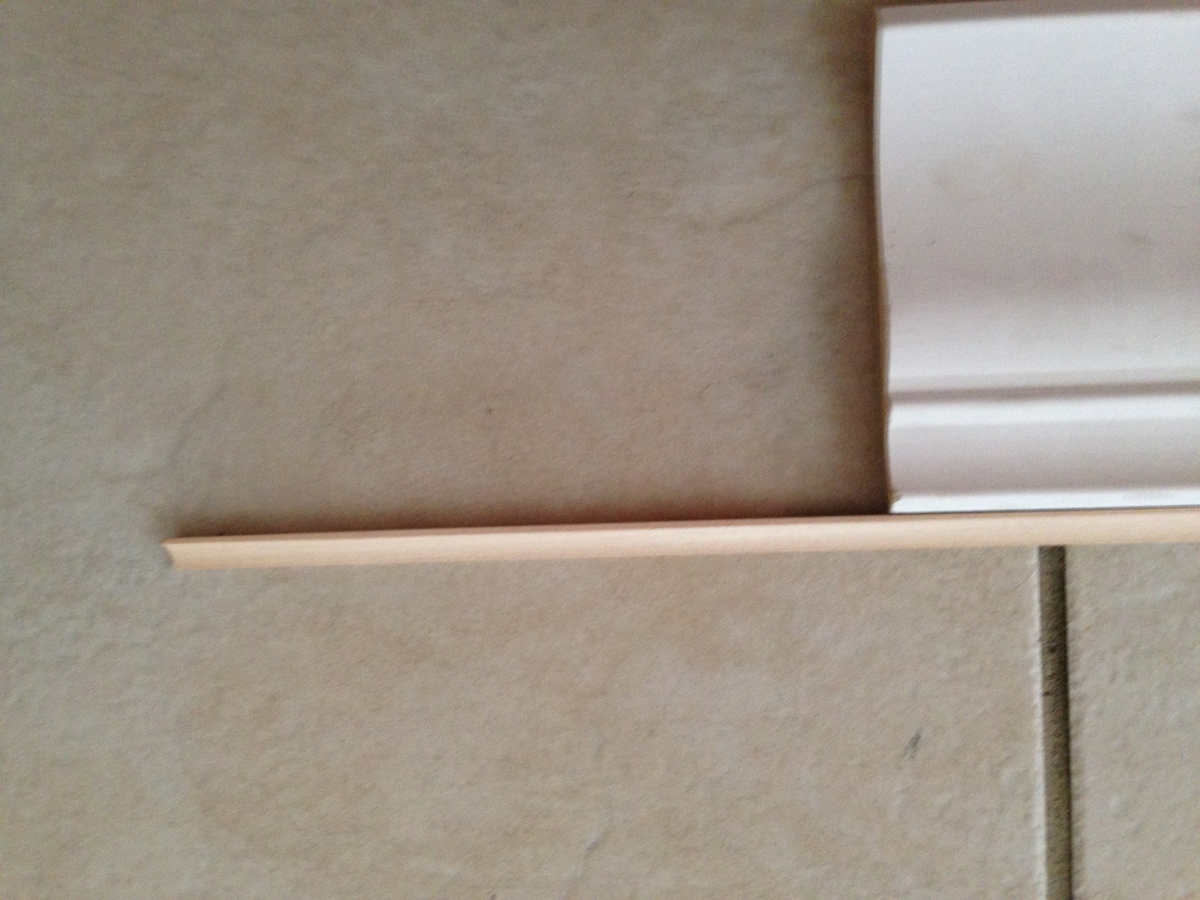
The addition molding below is a finishing molding that we had to use since the above molding was not flush to the back board. It finished really nice. Glad we added this addition dimension. You can easily skip using it with different "above" molding.
http://www.homedepot.com/p/American-Wood-Moulding-LWM47-9-16-in-x-4-1-4…
http://www.homedepot.com/p/American-Wood-Moulding-WM100-11-16-in-x-11-1…
For the side rails we also used 10 inch boards. I thought it made the bed look more proportioned. I will add additional pics of the molding, so re-check pictures. Again, let me know if you have further questions.
Mon, 07/20/2015 - 18:51
I'm in awe!! Thank you so much for sharing, I just saw your beds and had to comment and say thank you for sharing and beautiful job! Ana
In reply to Your Bed is Beautiful!!! by Ana White
Sat, 11/28/2015 - 15:53
Thank you! You are the one made it possible. We truly feel inspired when we look at your page. Thank you for sharing all your plans. You are the best.
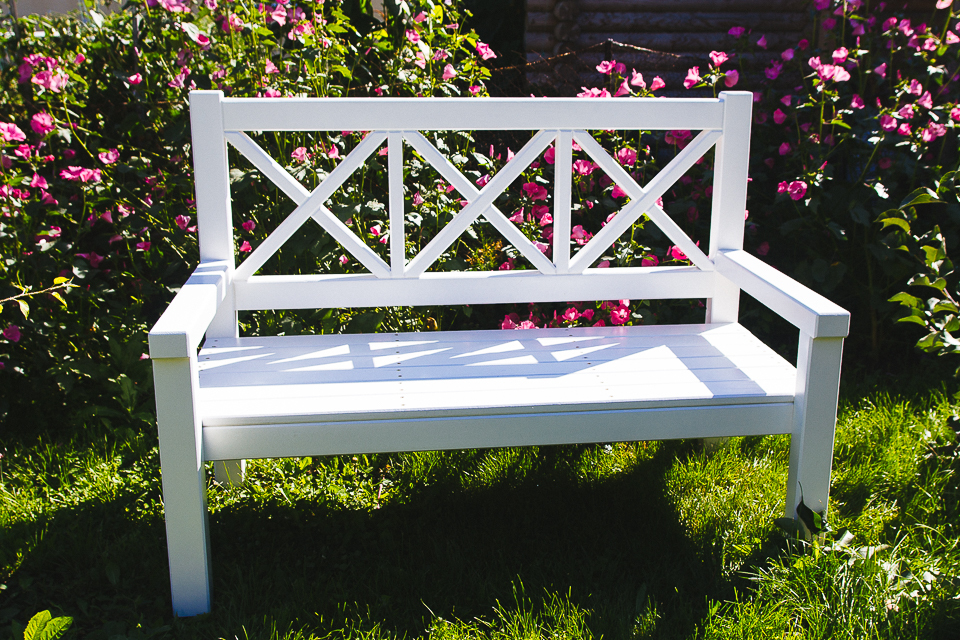
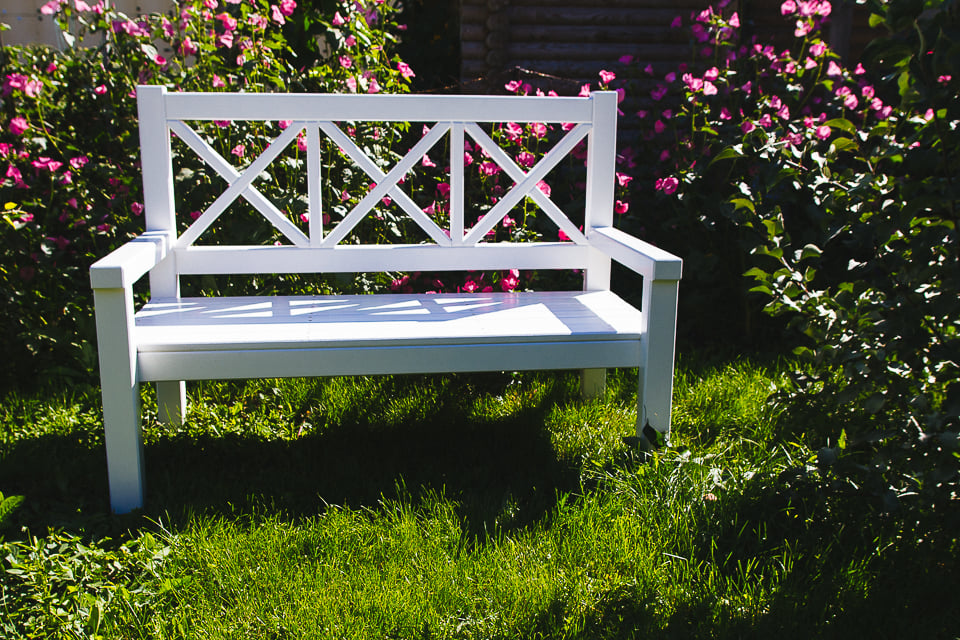
Inspired by Ana White project, but assembled with tencions and mortises, without screws.

My wife had begged and begged for something like this, so I took the plunge. This was my first build and I’m getting the itch to try other things! We built the ship lap wall and sign together as well!