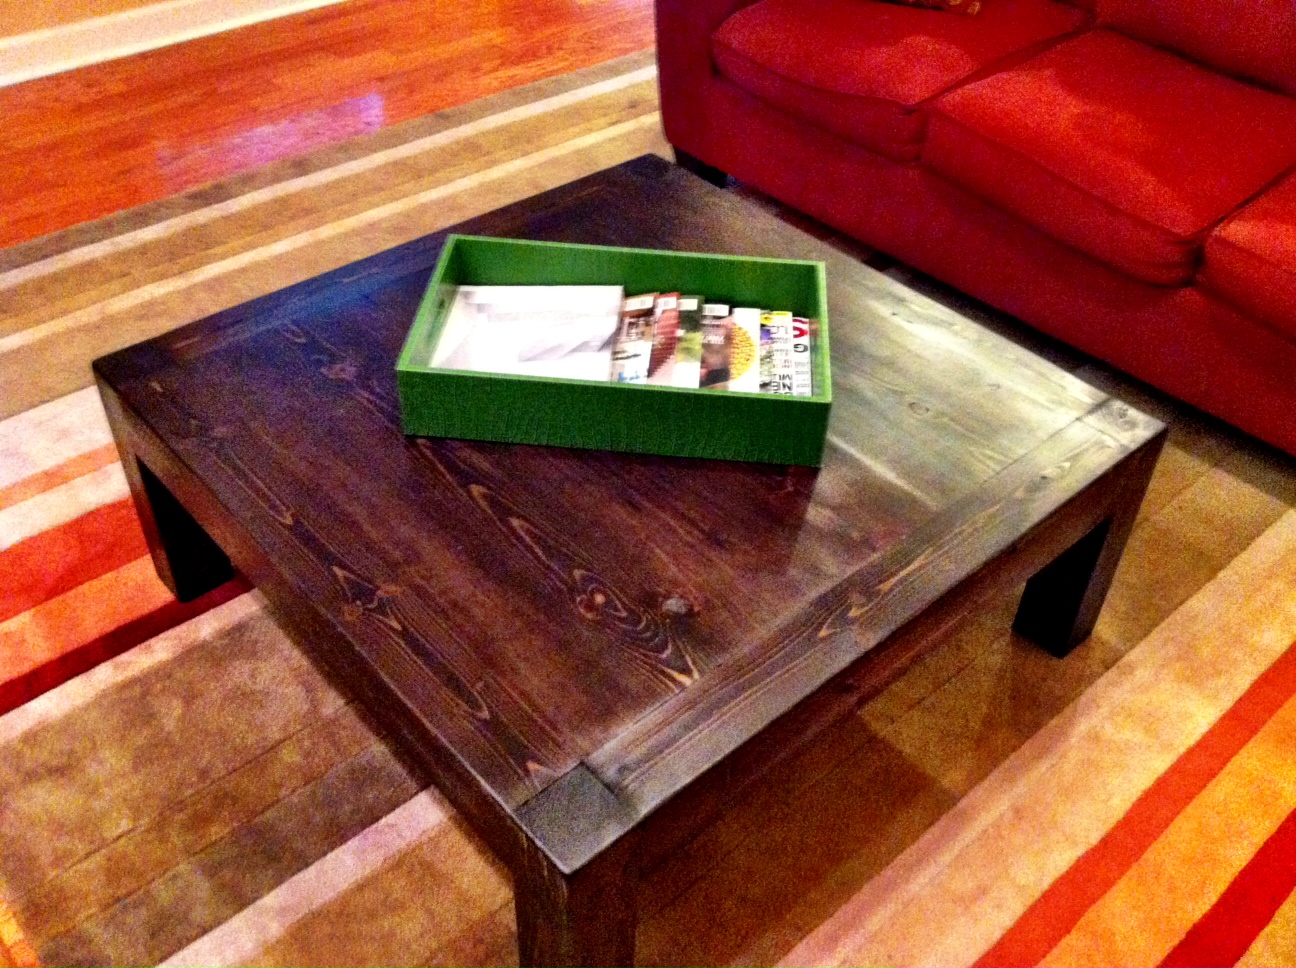
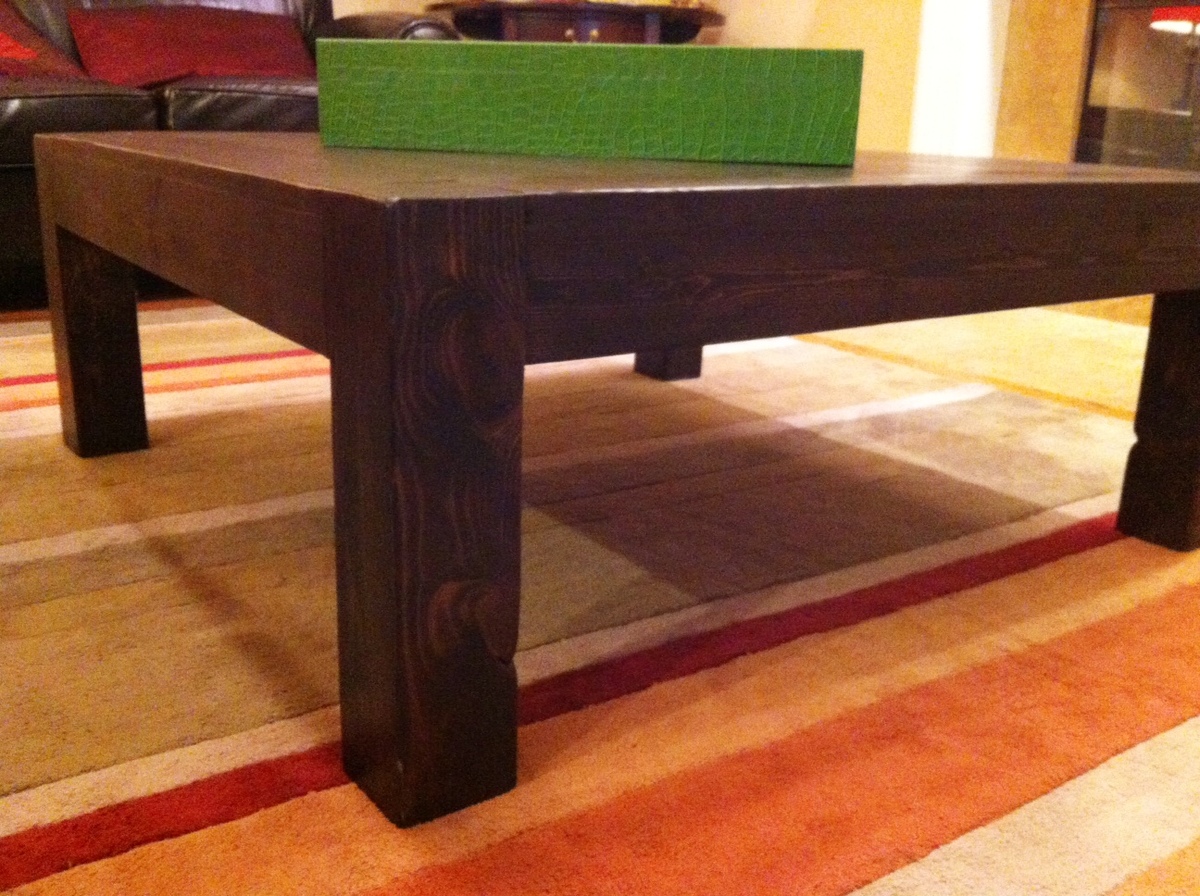
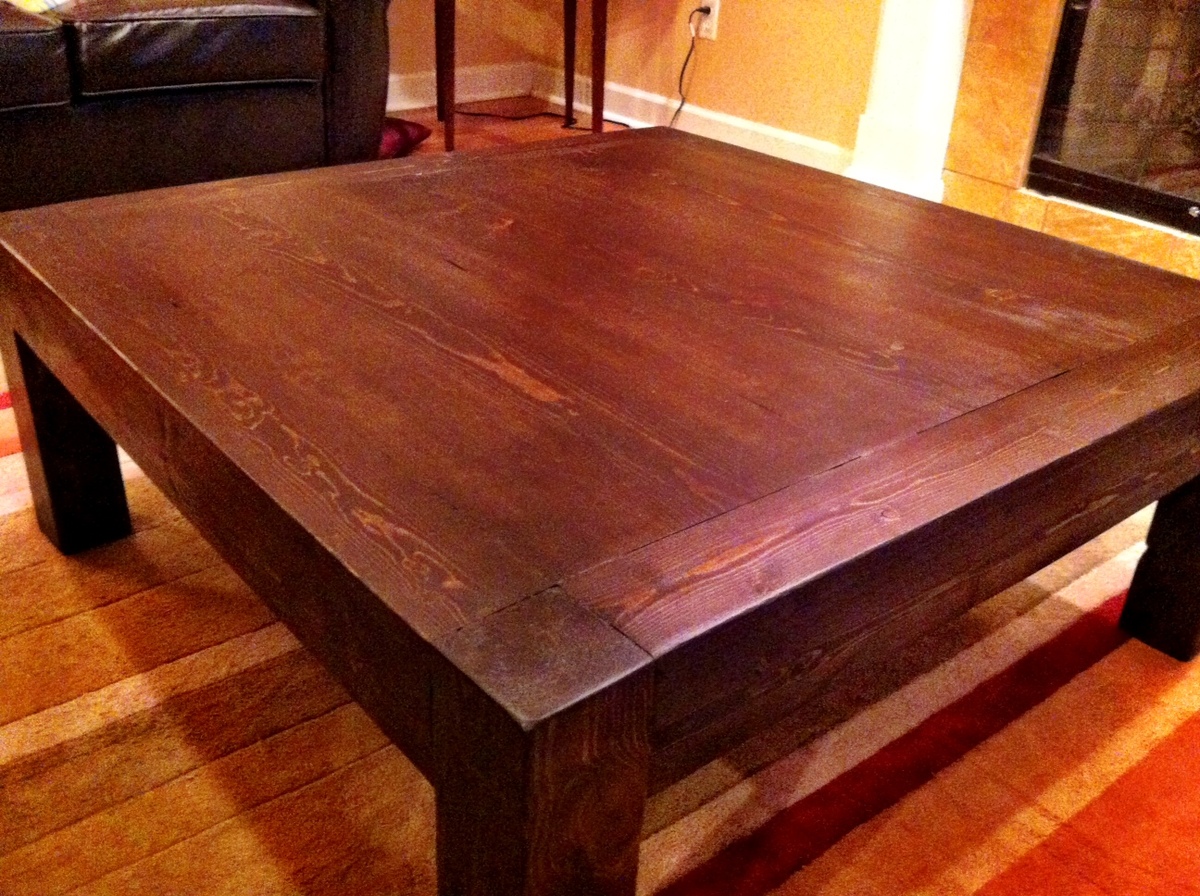
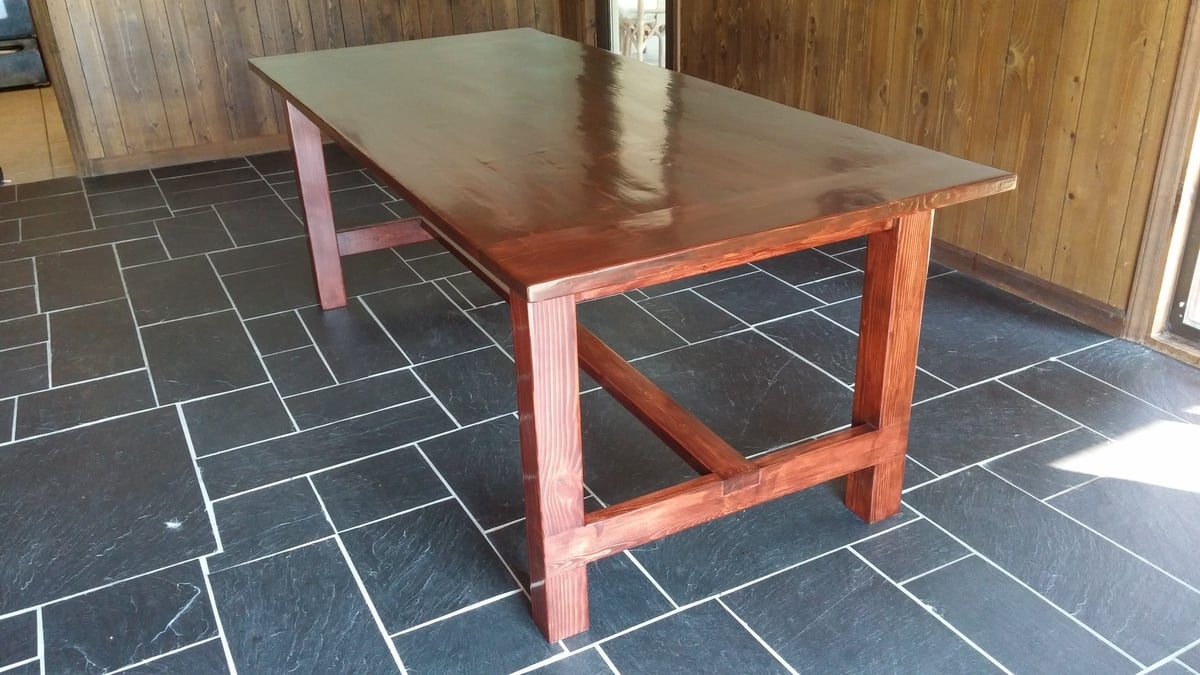
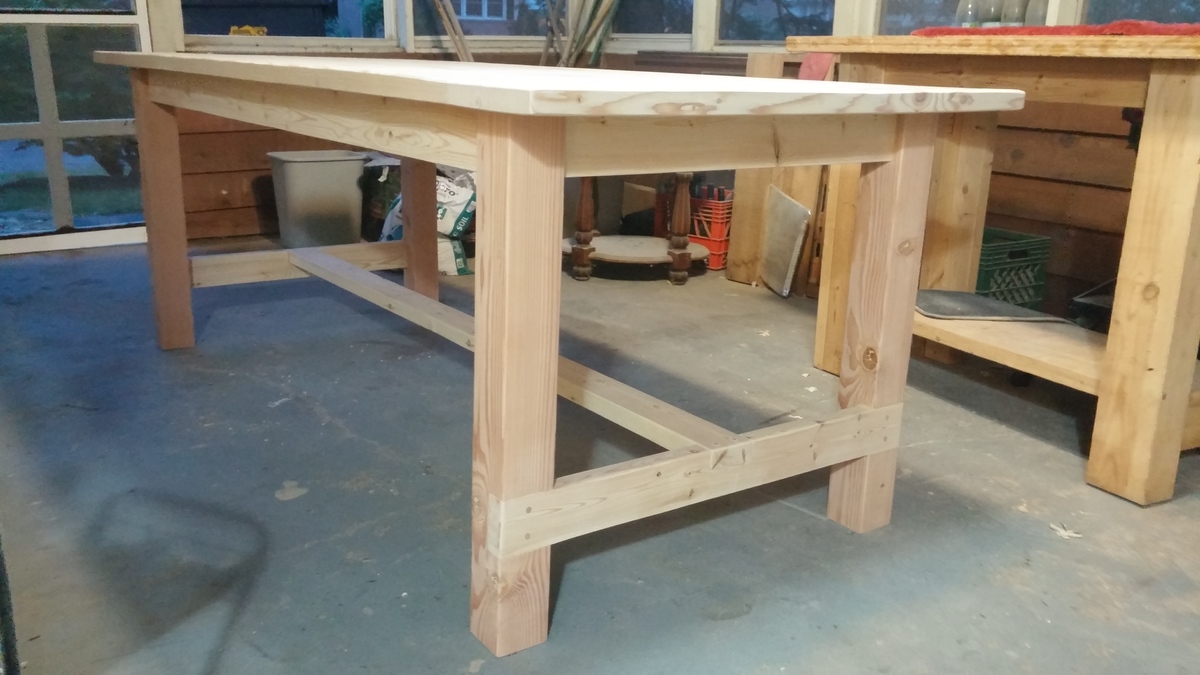
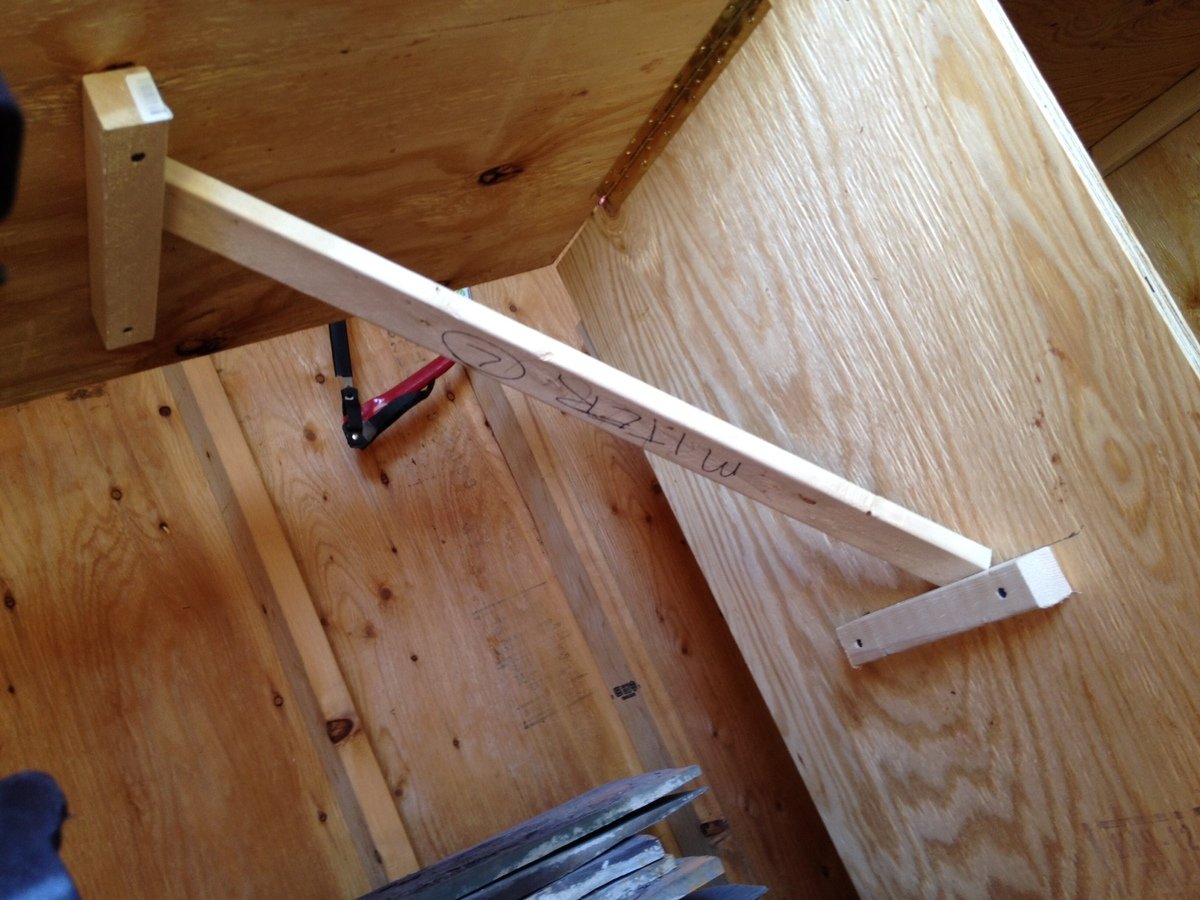
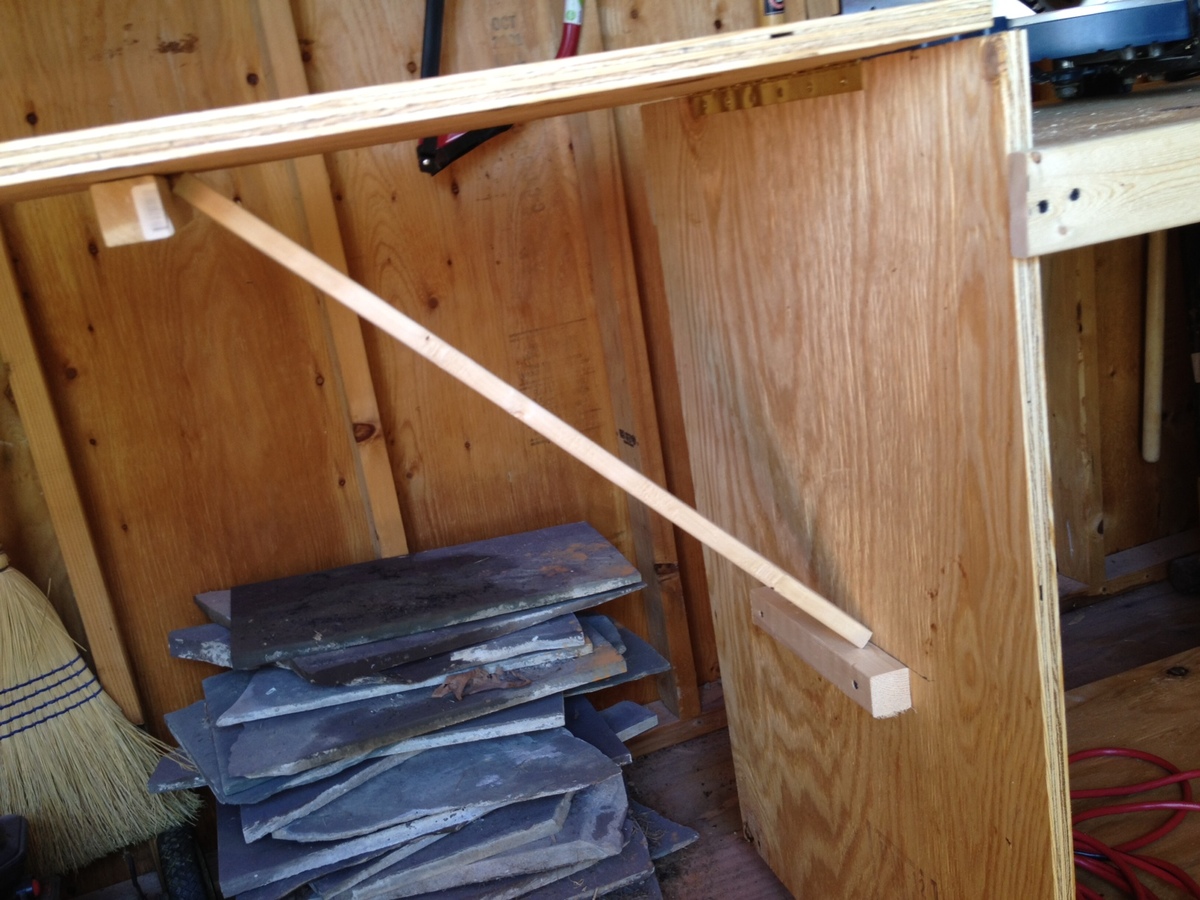
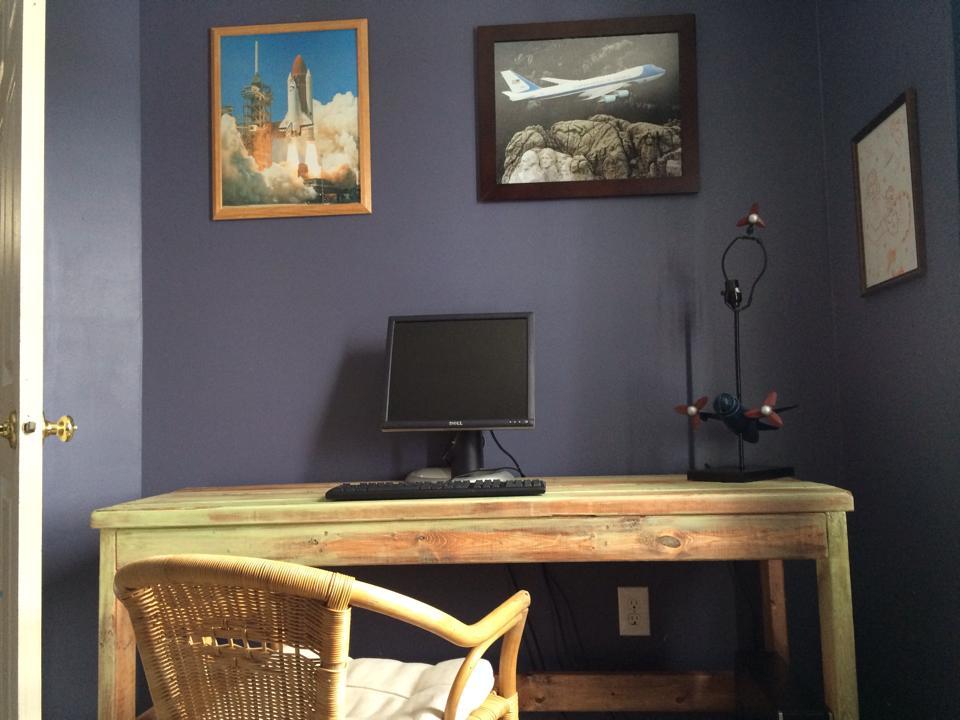
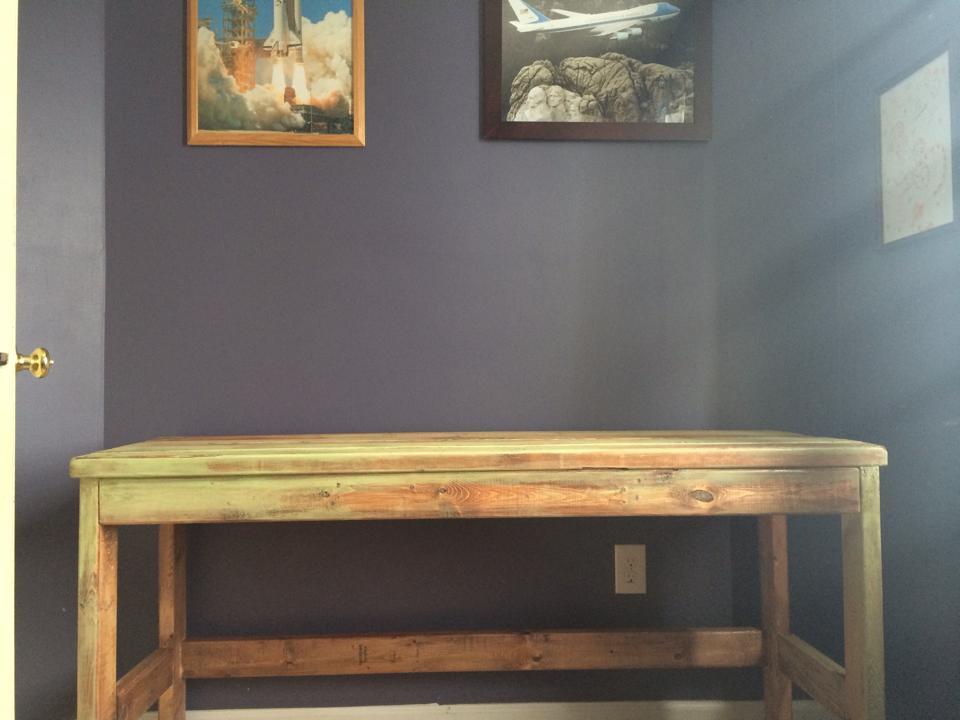
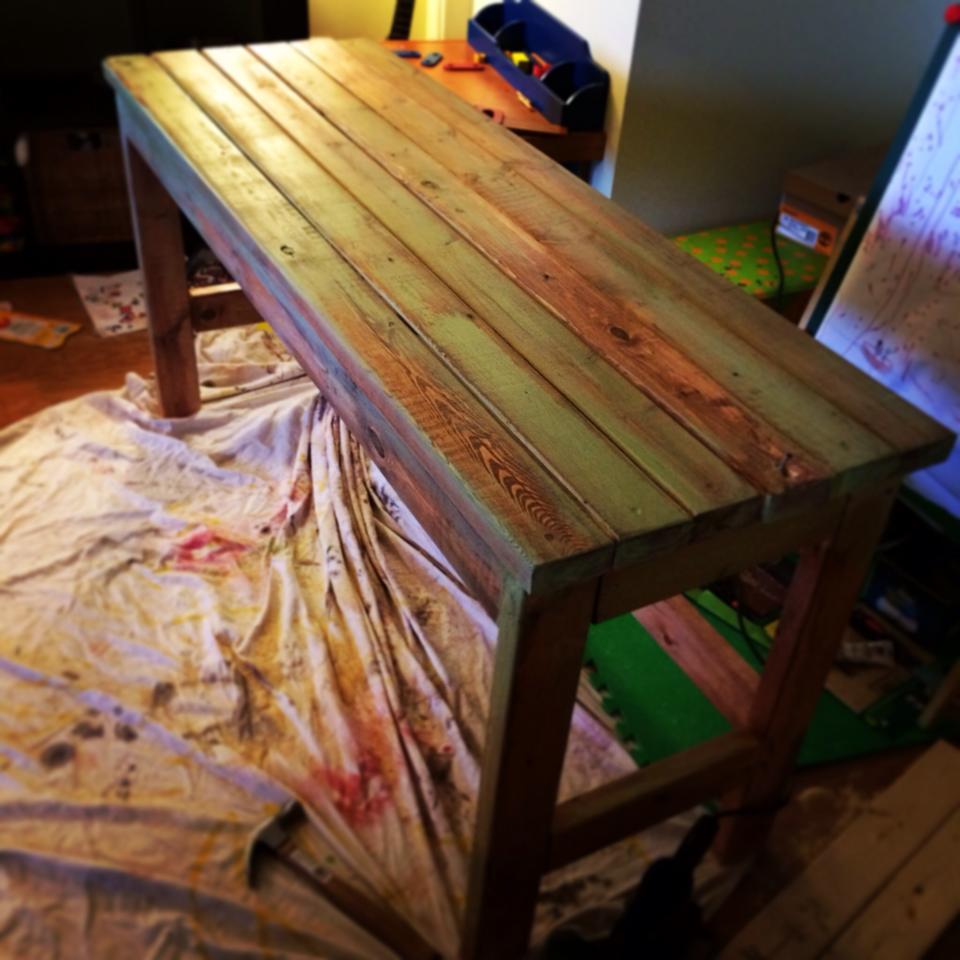
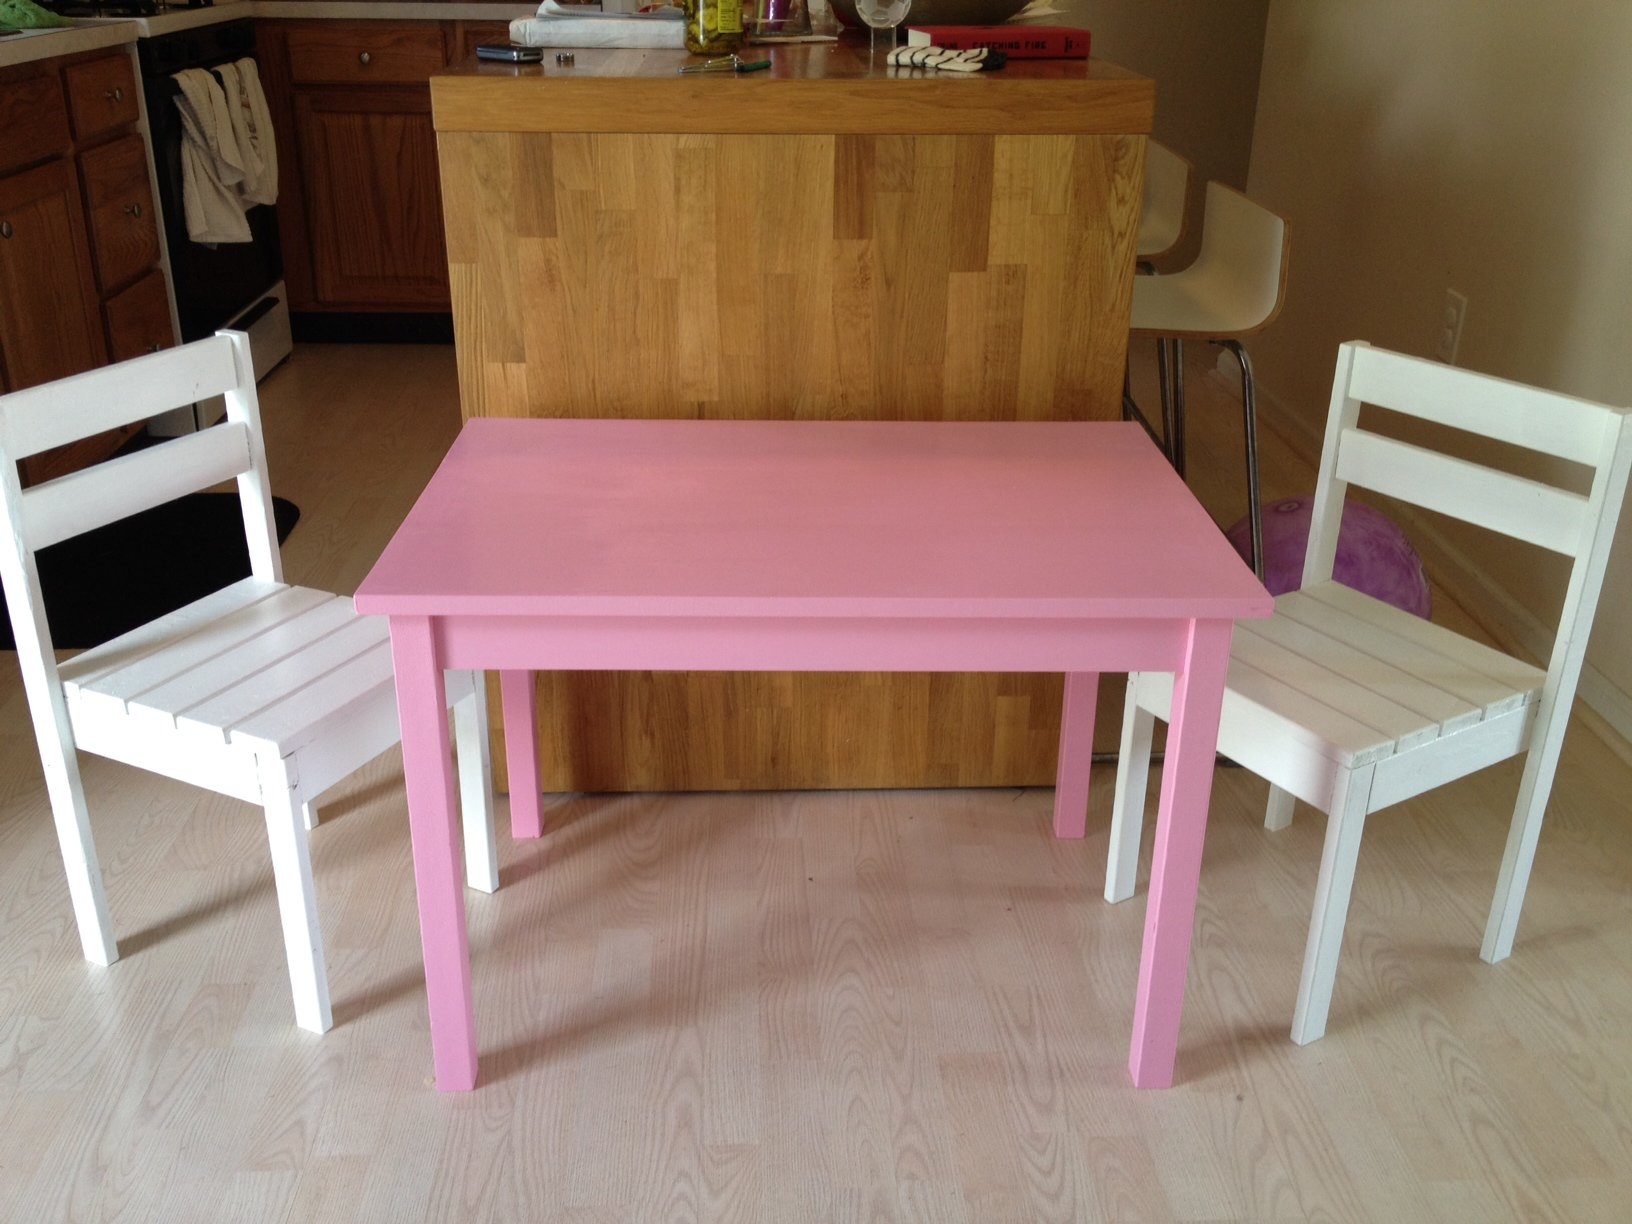
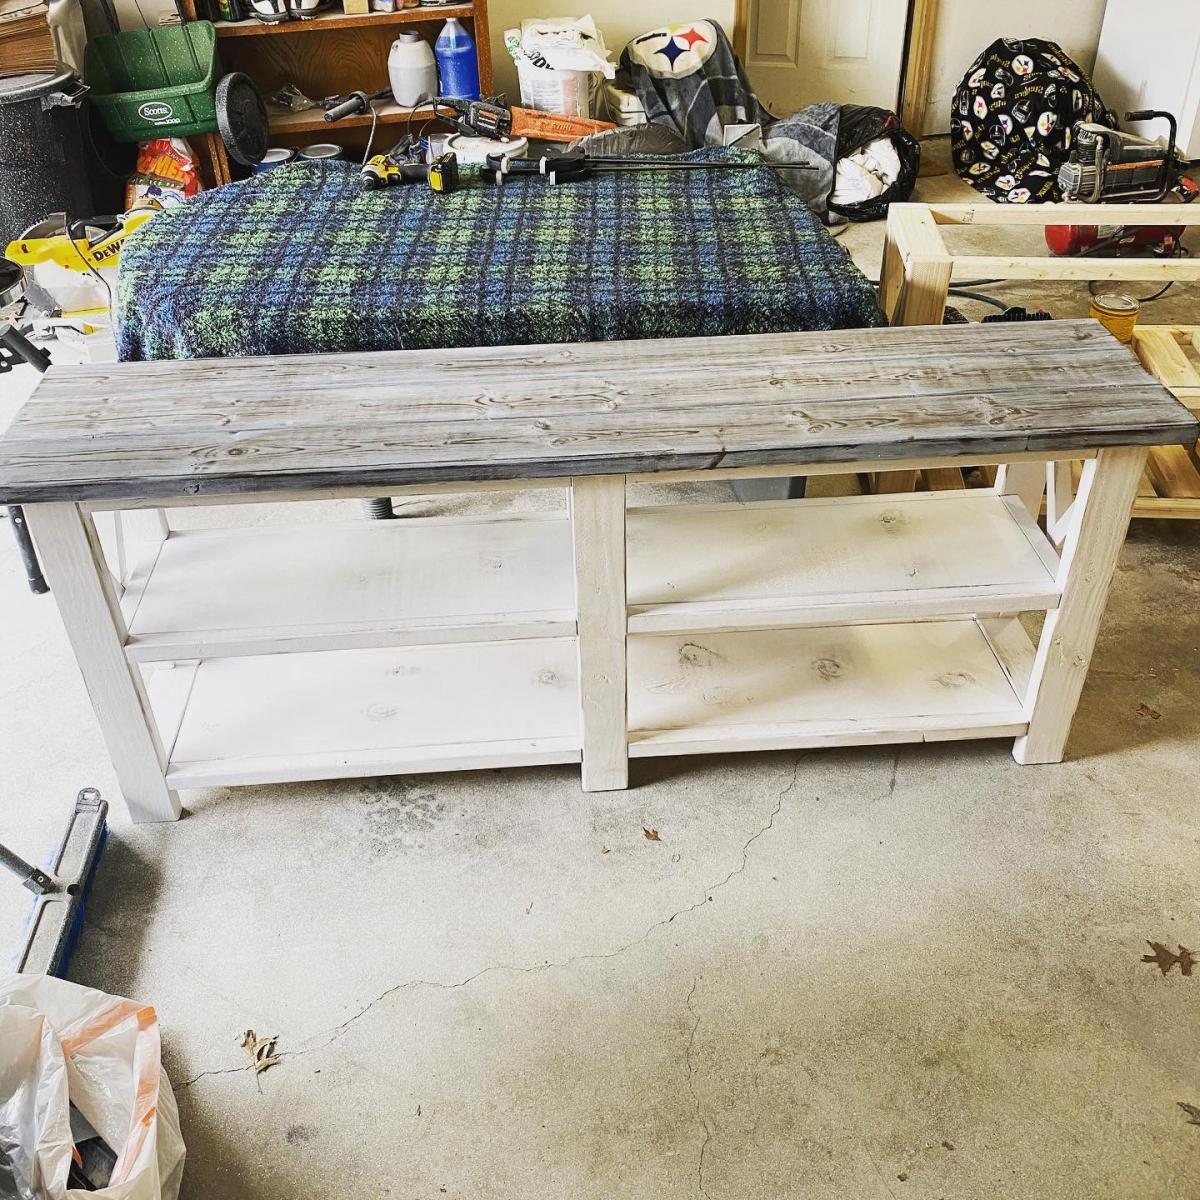
Farmhouse Table
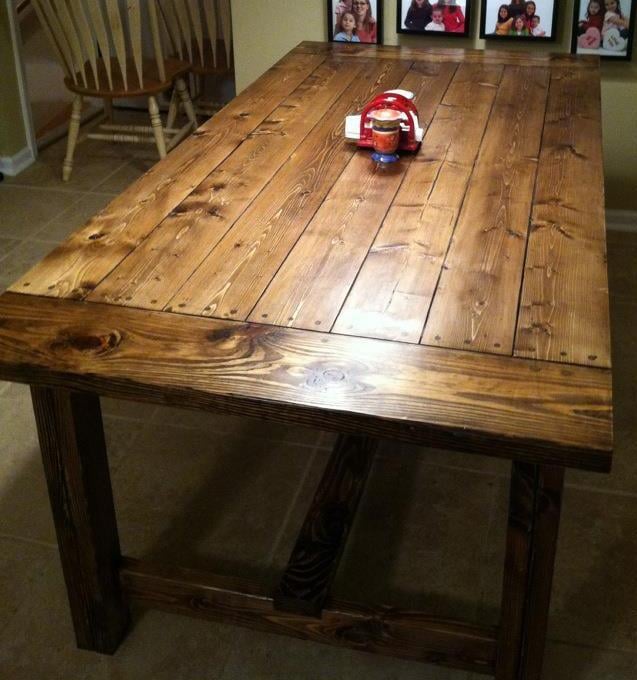
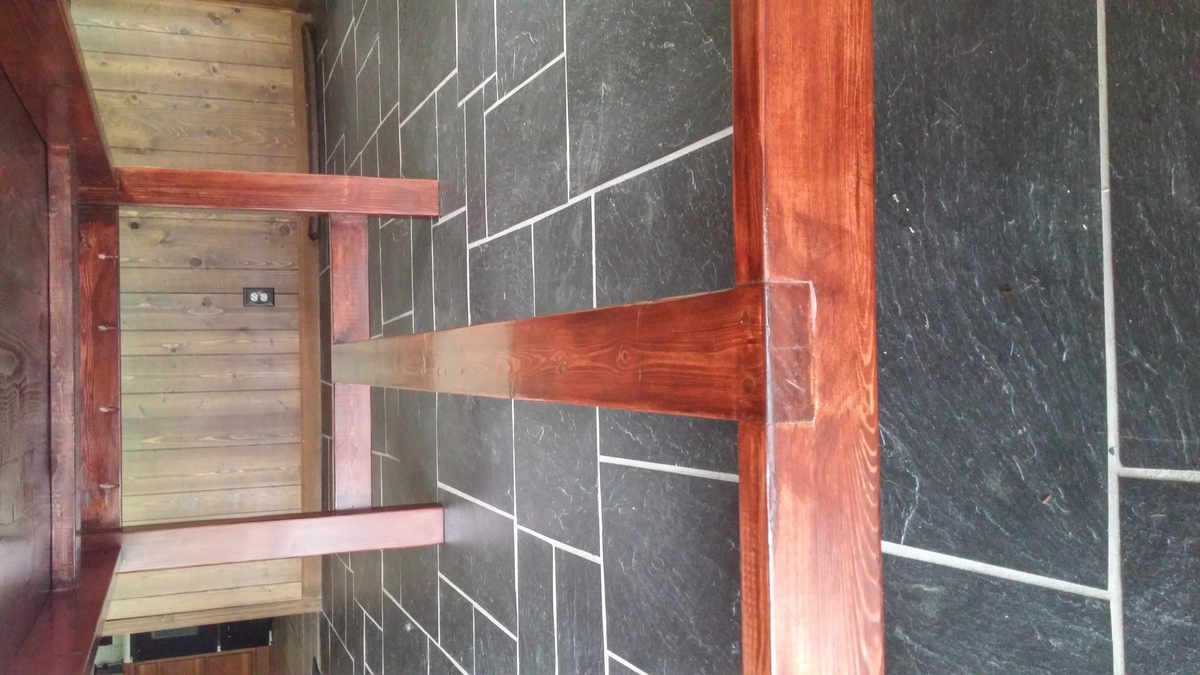
Farmhouse table from plans. Shortened length to 6.5 feet to fit our area. Good plans.
Built from Plan(s)
Estimated Cost
$90
Estimated Time Investment
Day Project (6-9 Hours)
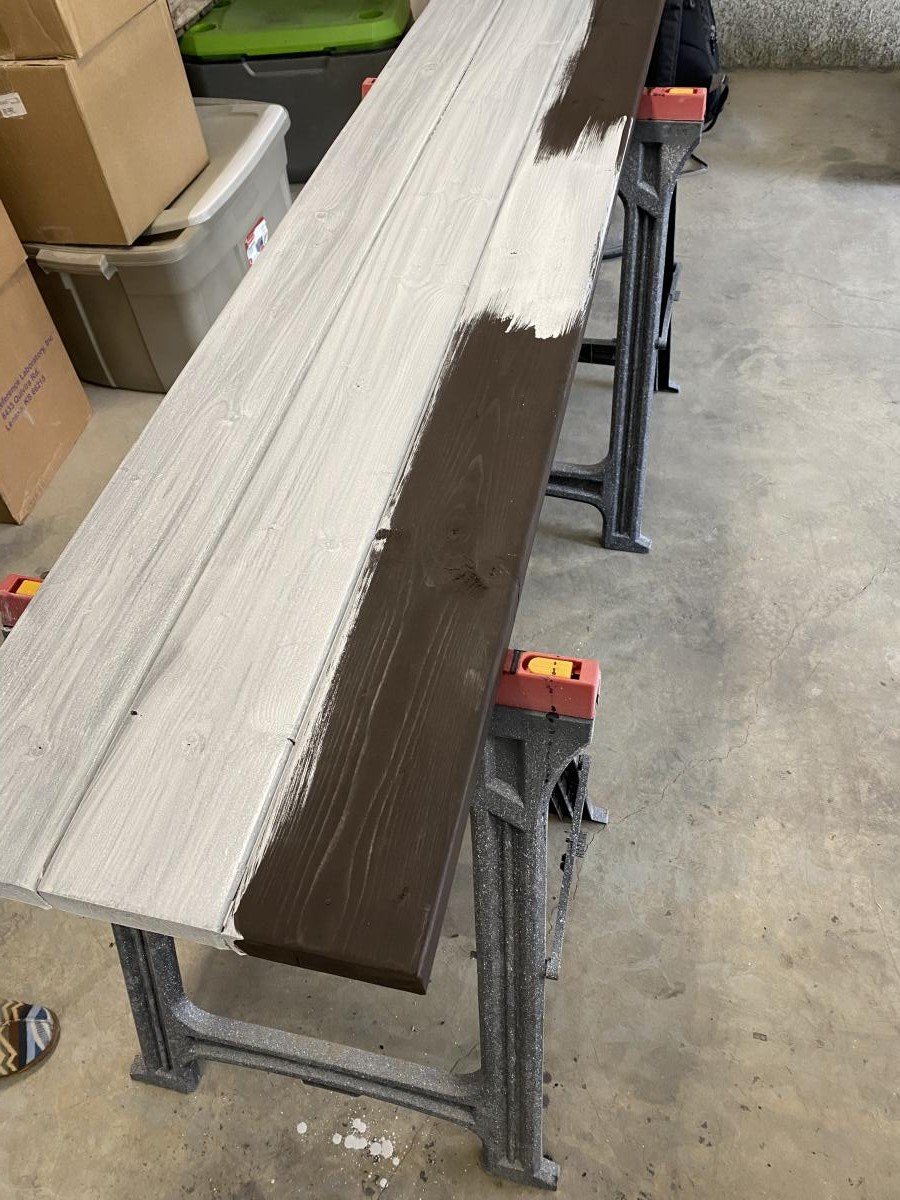
Finish Used
Minwax oil-based Dark Walnut with two coats of brush-on poly all around. One additional coat of brush-on poly on the top followed by one coat of wipe-on poly.
Recommended Skill Level
Beginner


Comments
lipstickandsawdust
Mon, 05/14/2012 - 07:39
Nice
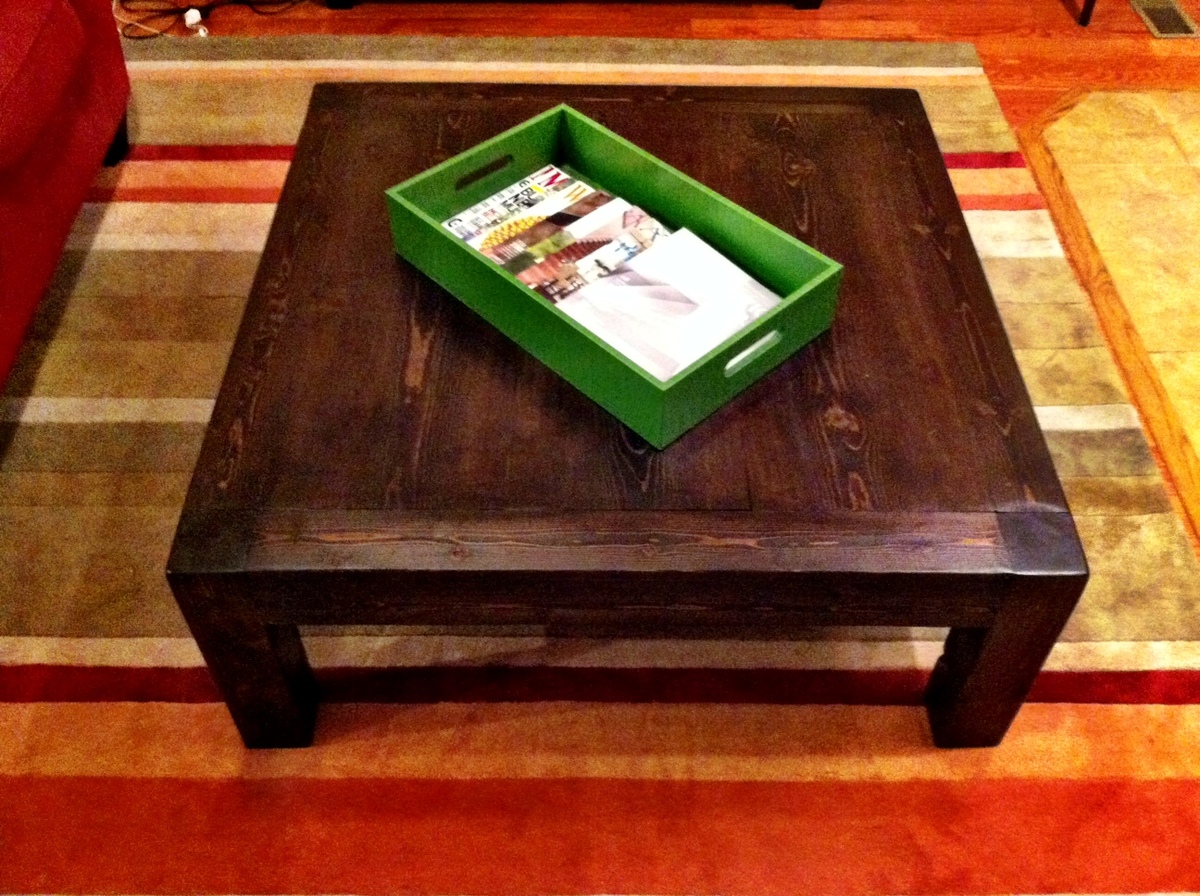
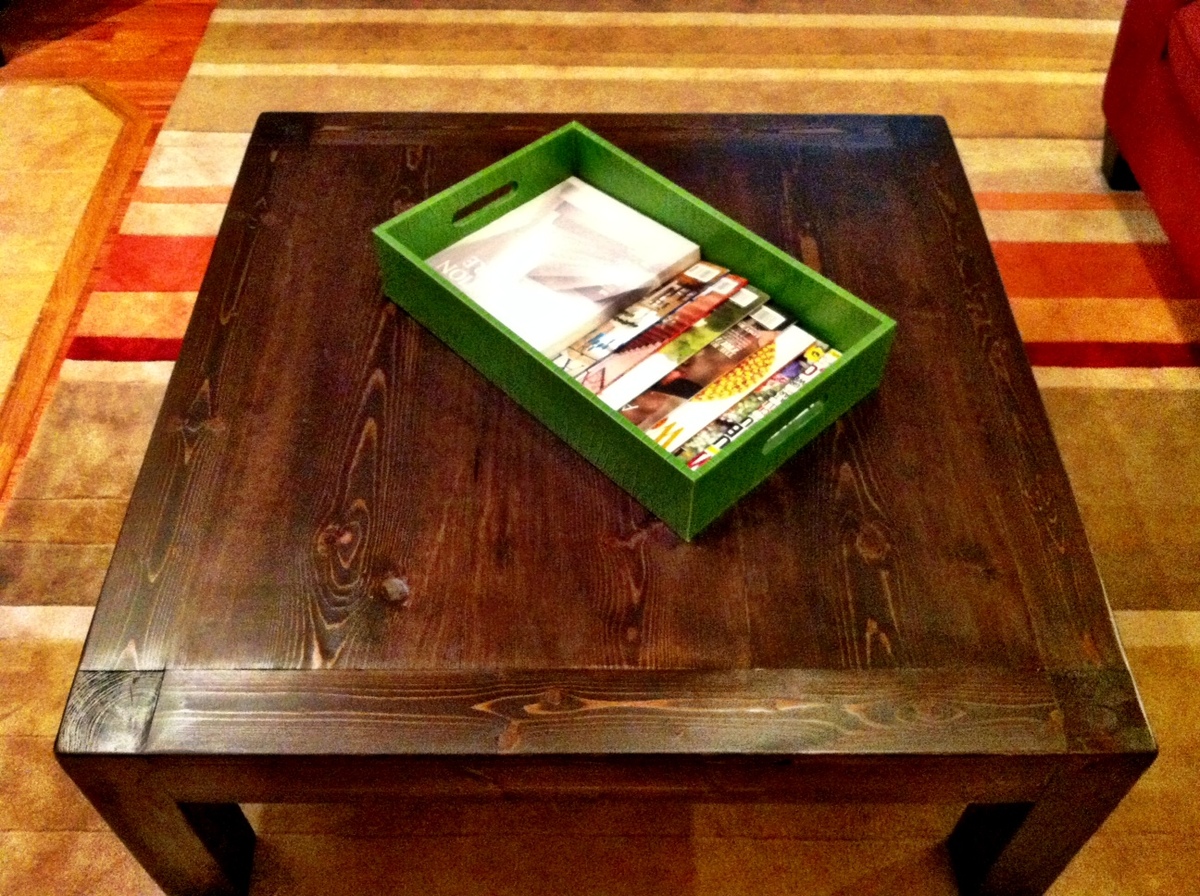
Very nice, nice stain work as well. I also really love the "filled" screw holes. I think it gives it so much character. I too have made this table and wanted the markings to show through. Thumbs up!
Debi_G (not verified)
Sun, 06/10/2012 - 16:30
well done!
Love it. Planning to make one for our new house once we get settled.
shelleyschwartz
Mon, 07/30/2012 - 12:40
Love it!!!
Great job!!! On my list to make and I too will be making it to fit my dining area. Love the stain!!
Michaela Graves
Wed, 11/07/2012 - 09:06
Filled Screw Holes
I ALSO Love the "Filled" hole look! I'm going to be building this table this weekend, any suggestions on getting that look?
Cjmiksch
Fri, 02/15/2013 - 07:21
Plans for this table
New to the site, can anyone help me get to the plans for this table? I love everything about it.
Joyous_Jems
Fri, 02/15/2013 - 10:40
Plans for this table
Just go to the blue bar above Ana's picture at the top of the page where it says "plans" and type in the kind of table you're interested in. Prepare to drool over all the gorgeous furniture and projects!