Community Brag Posts

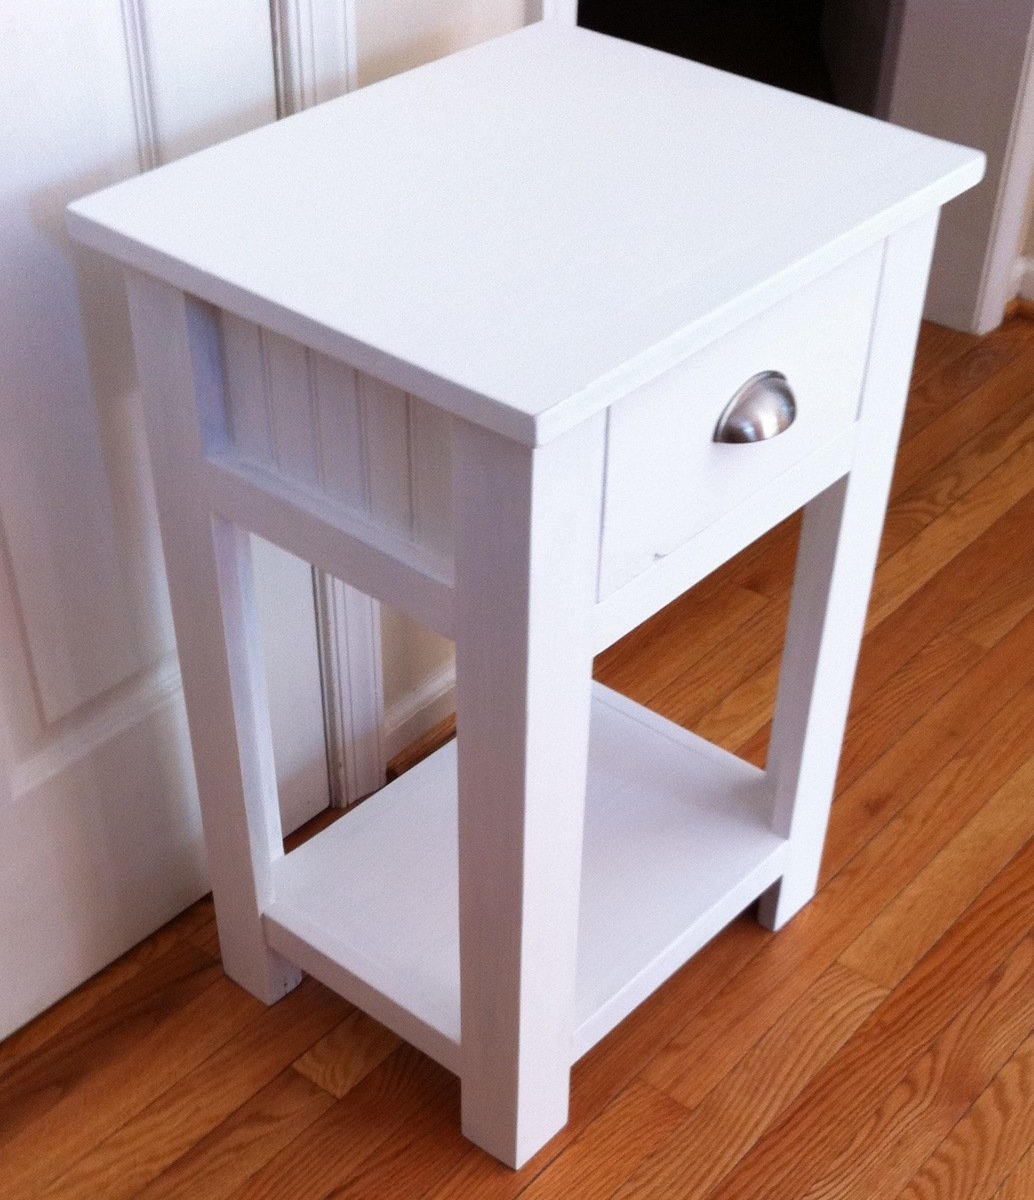
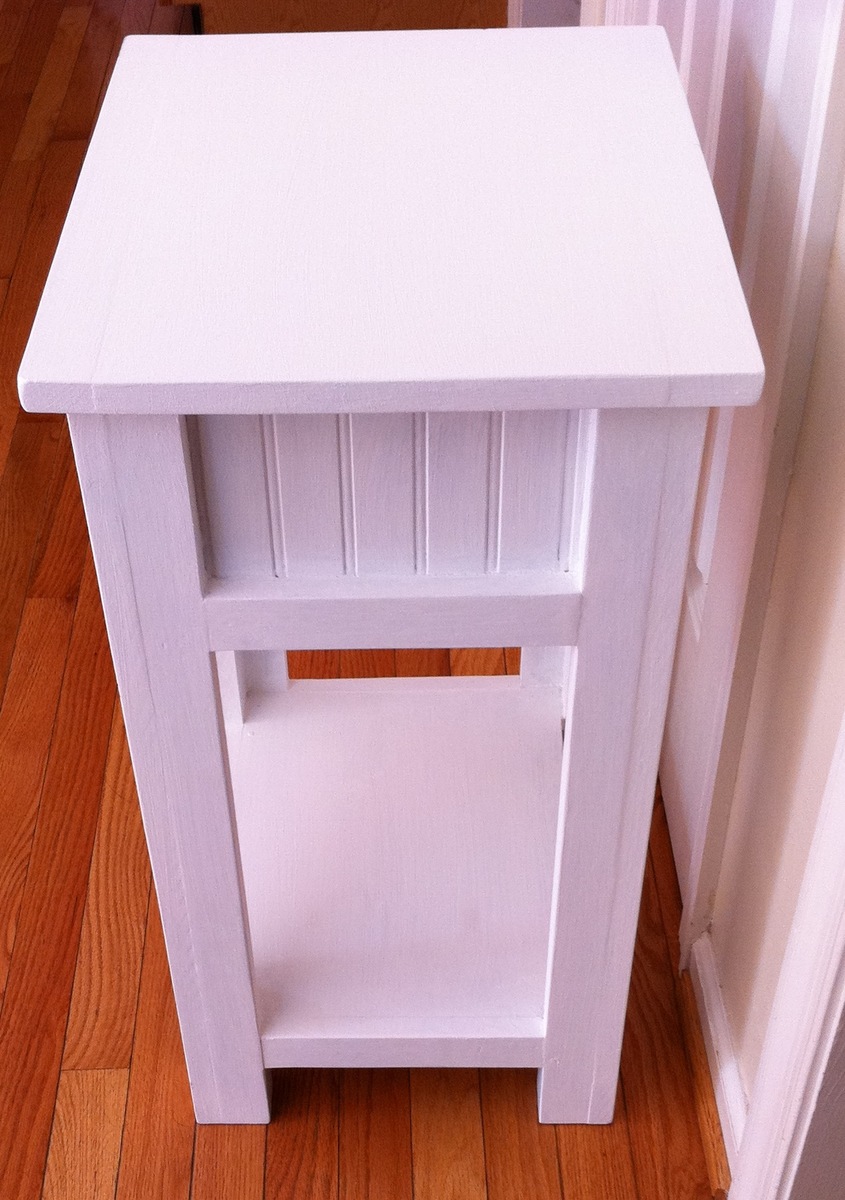
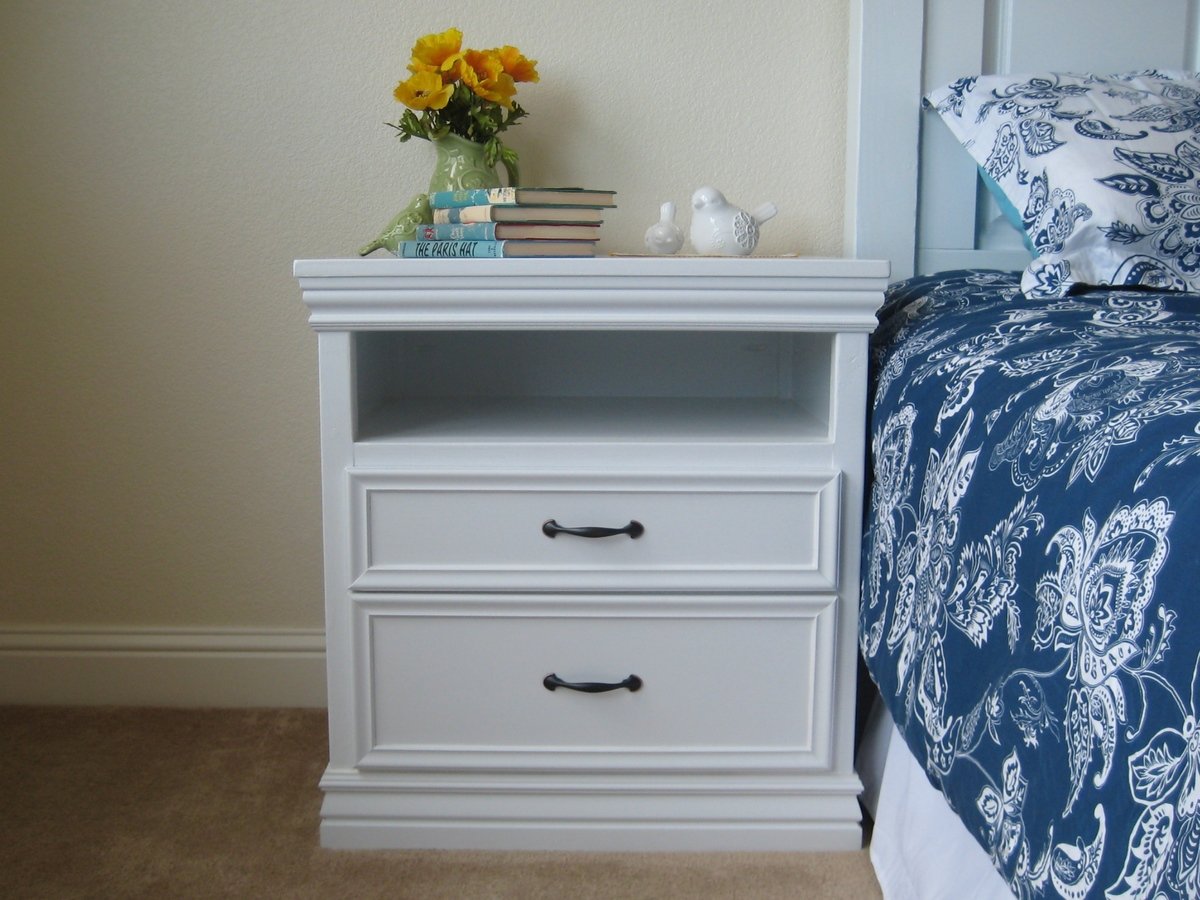
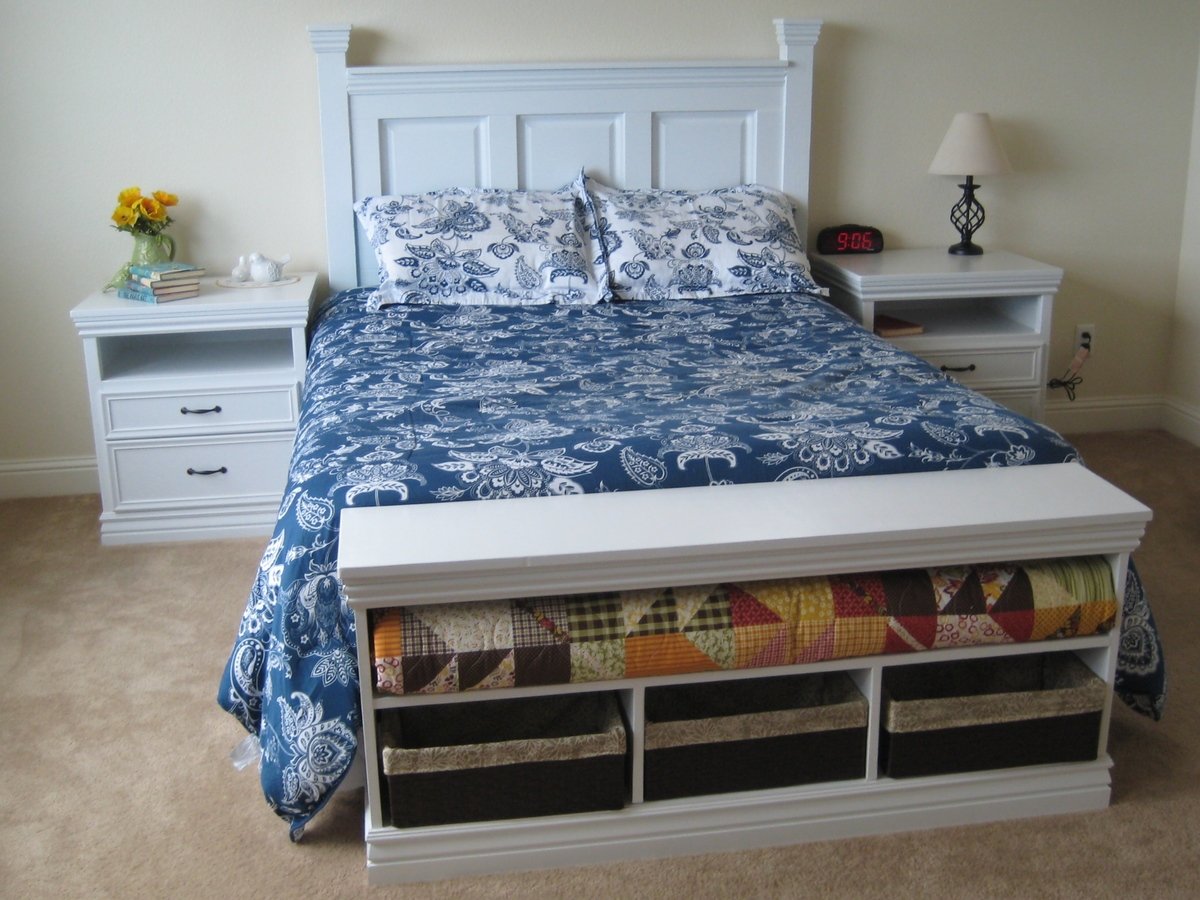
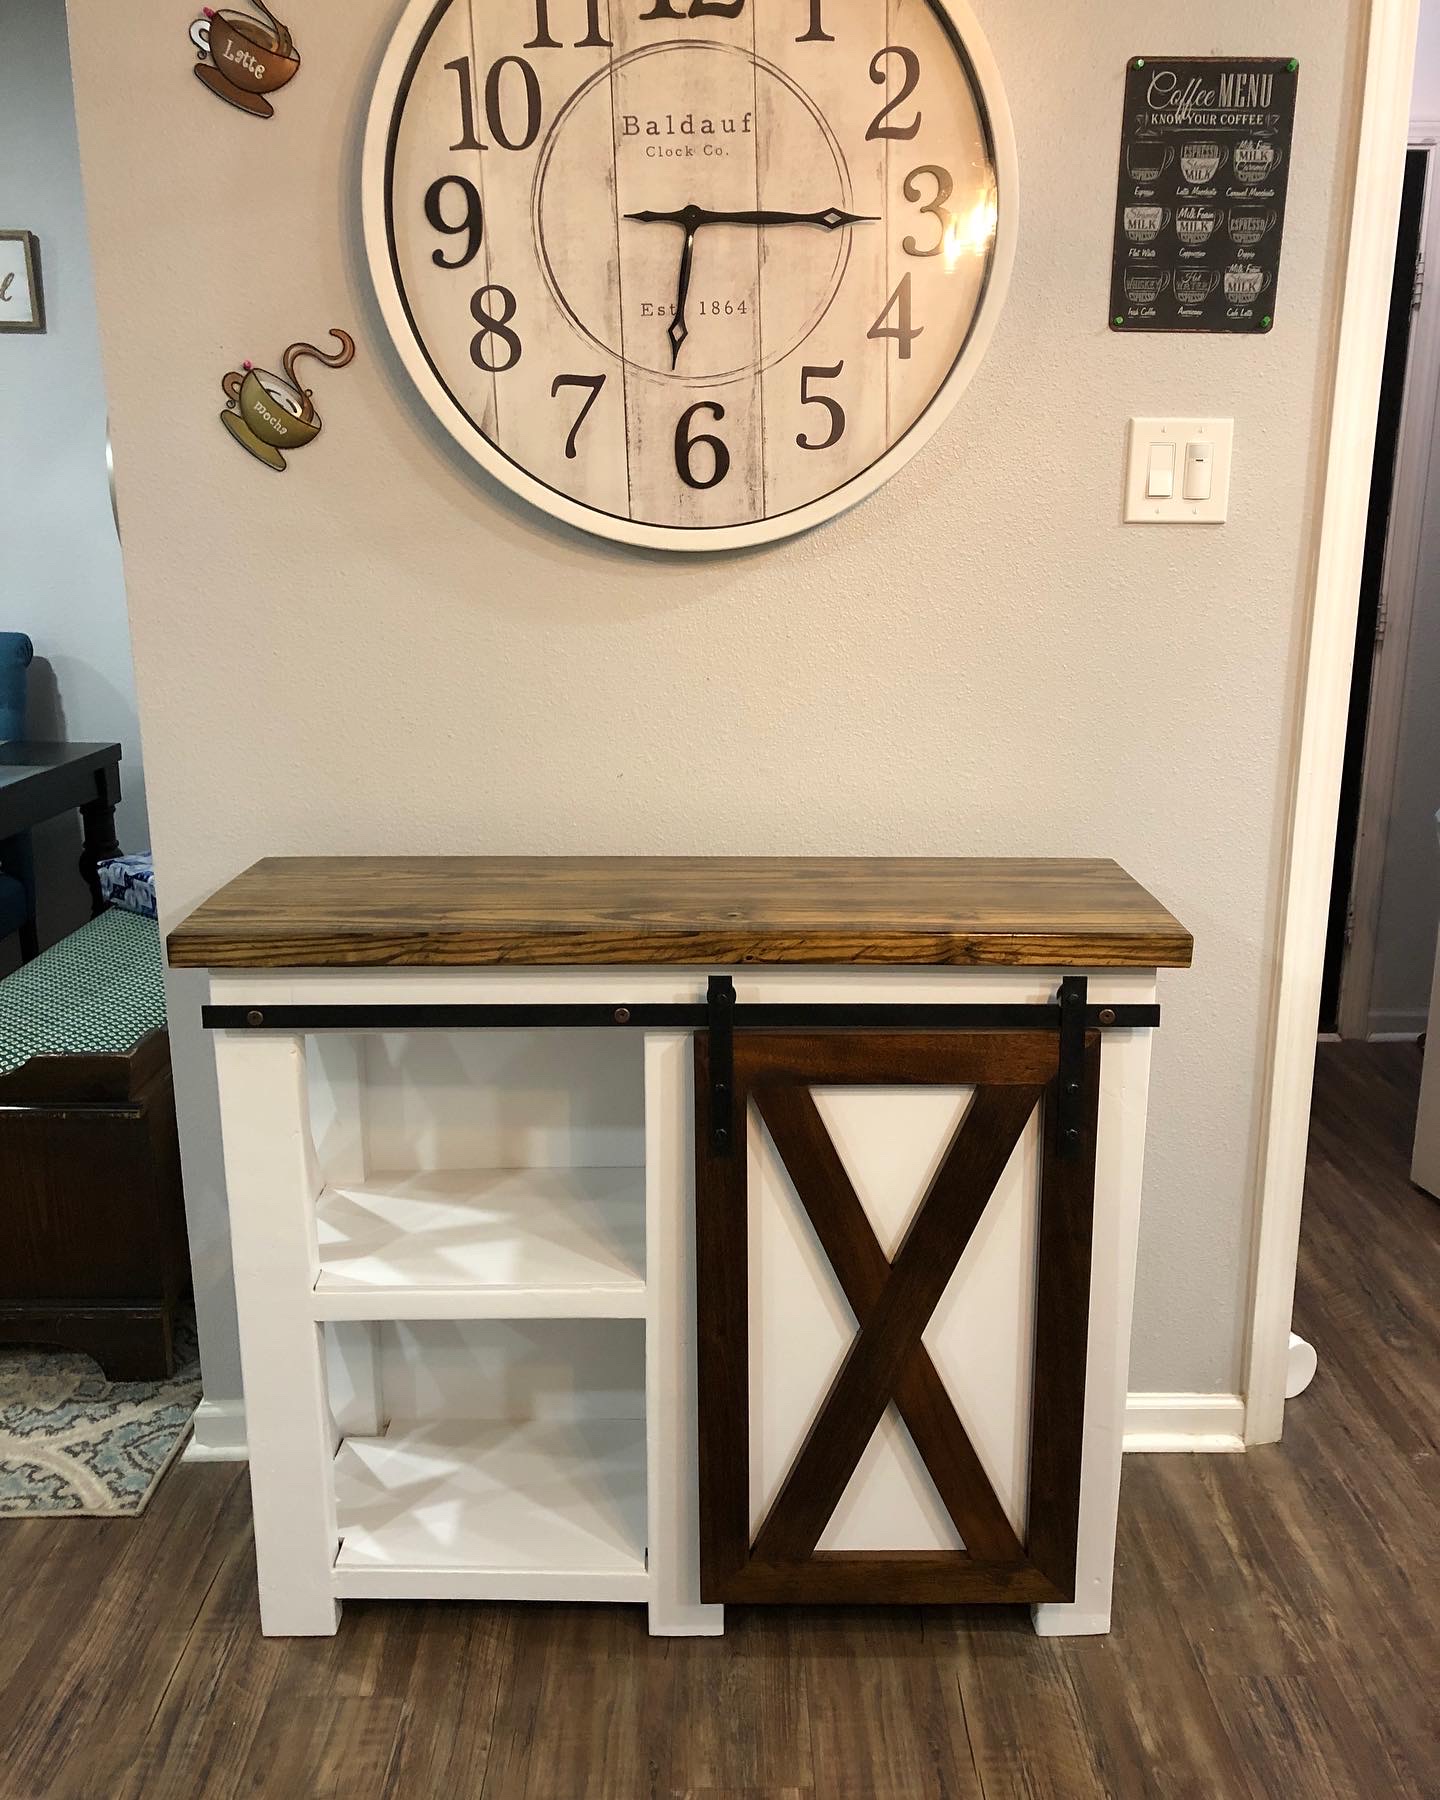
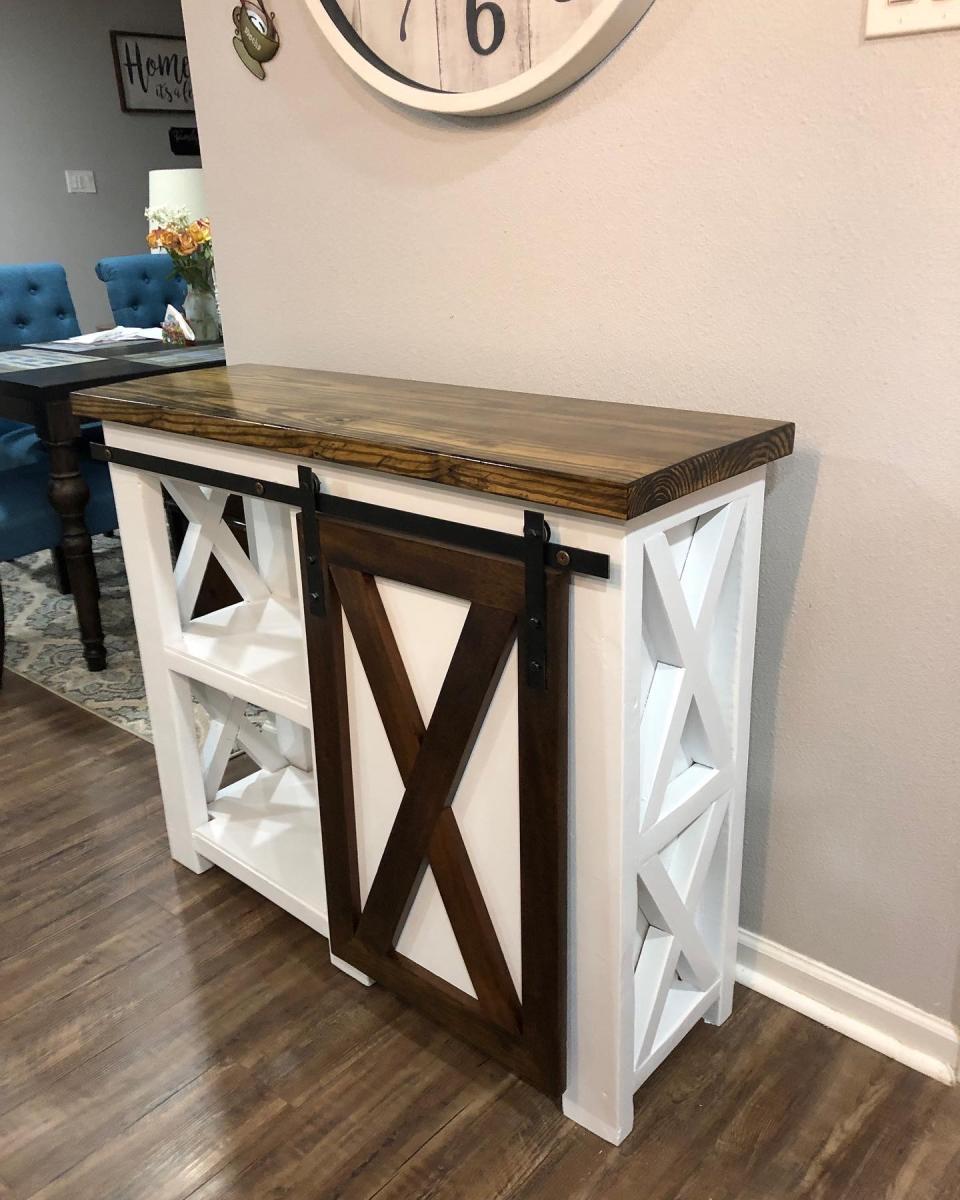
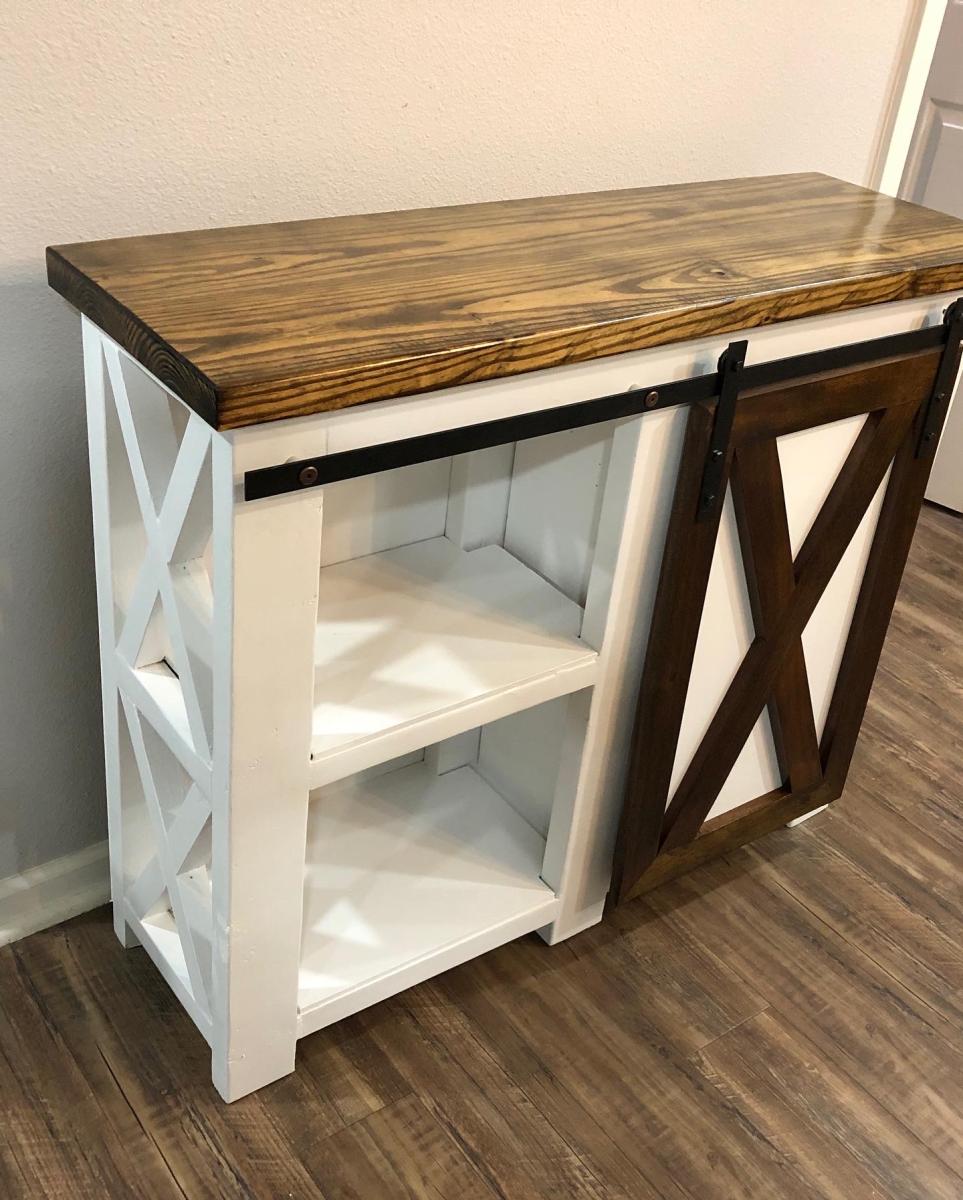
Simple White Nightstand

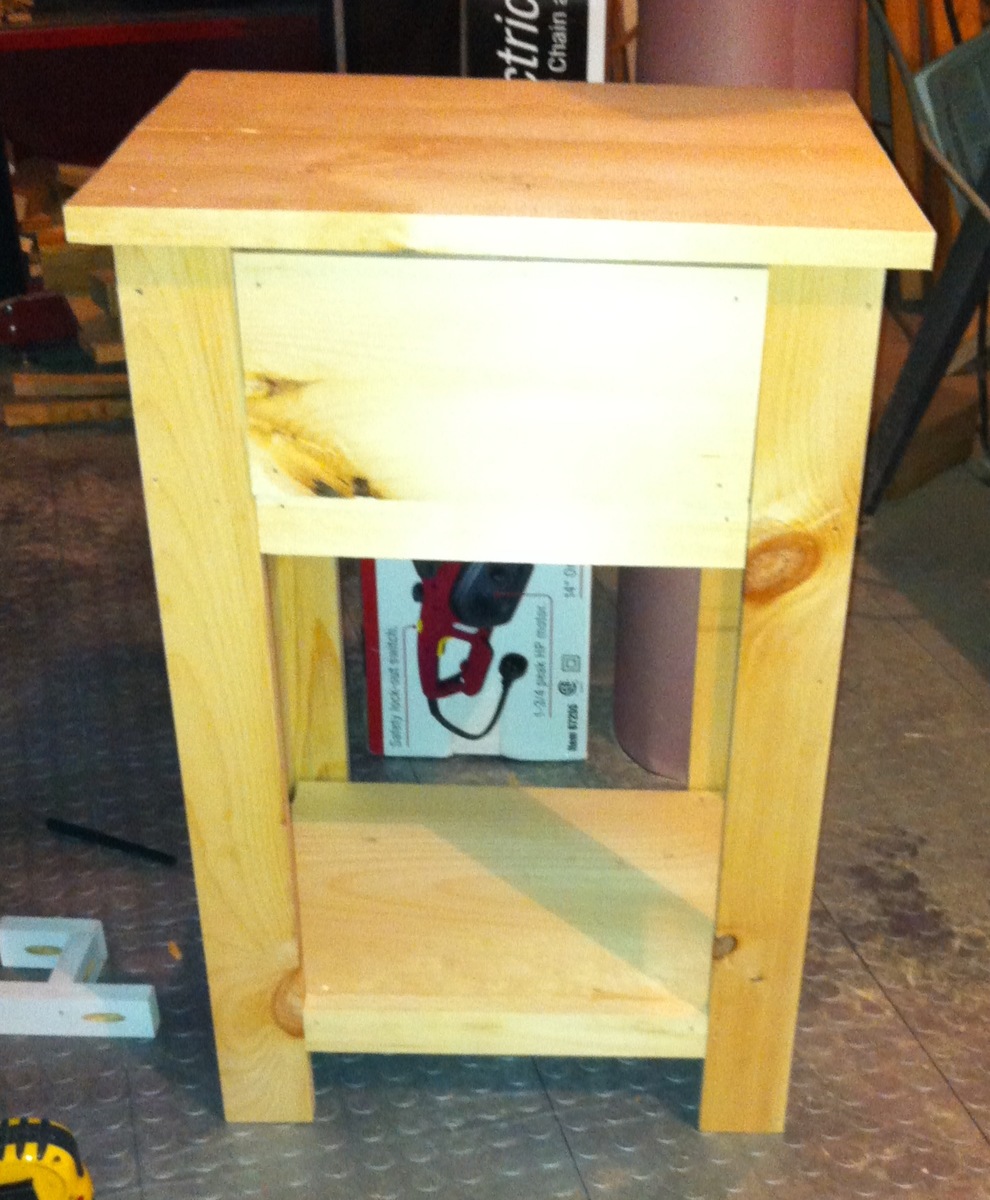
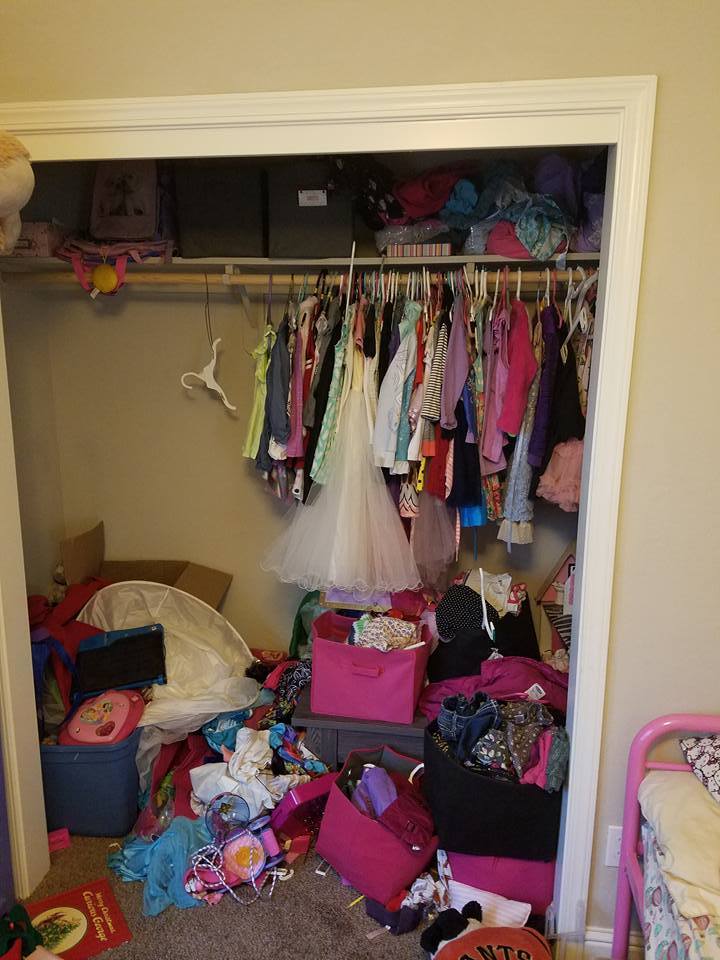
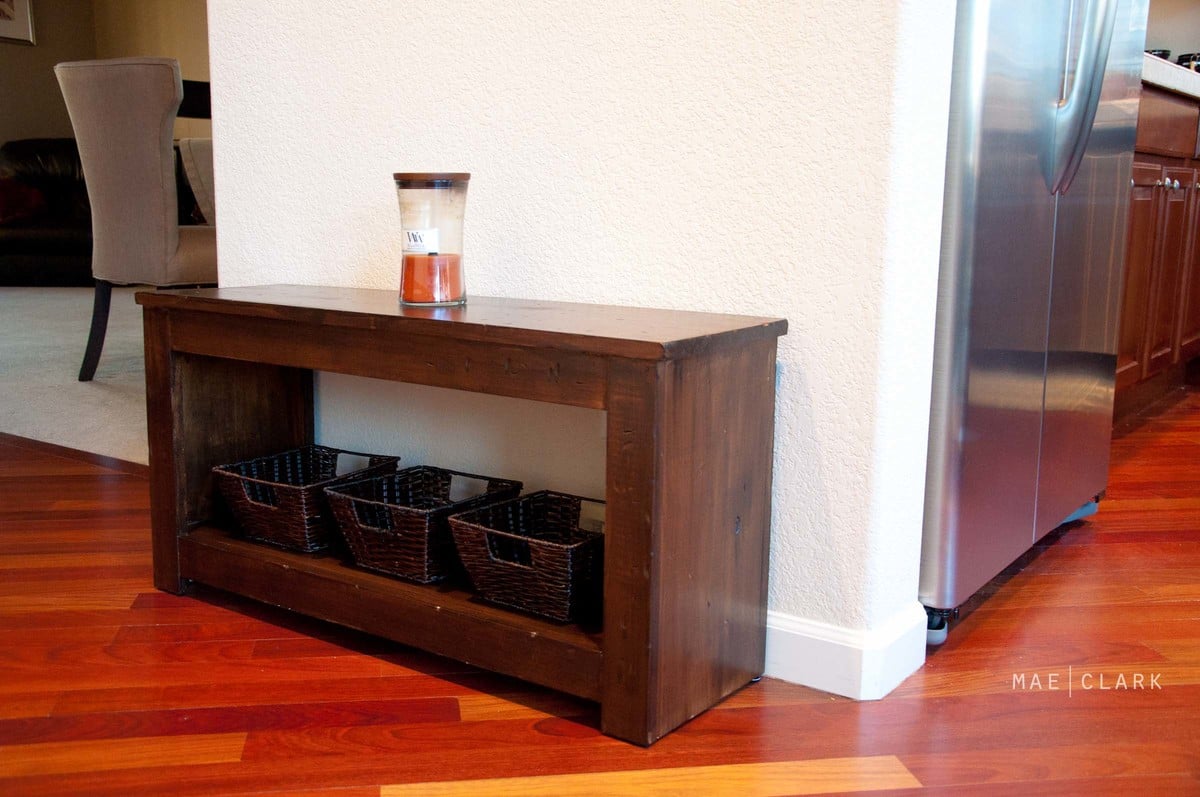
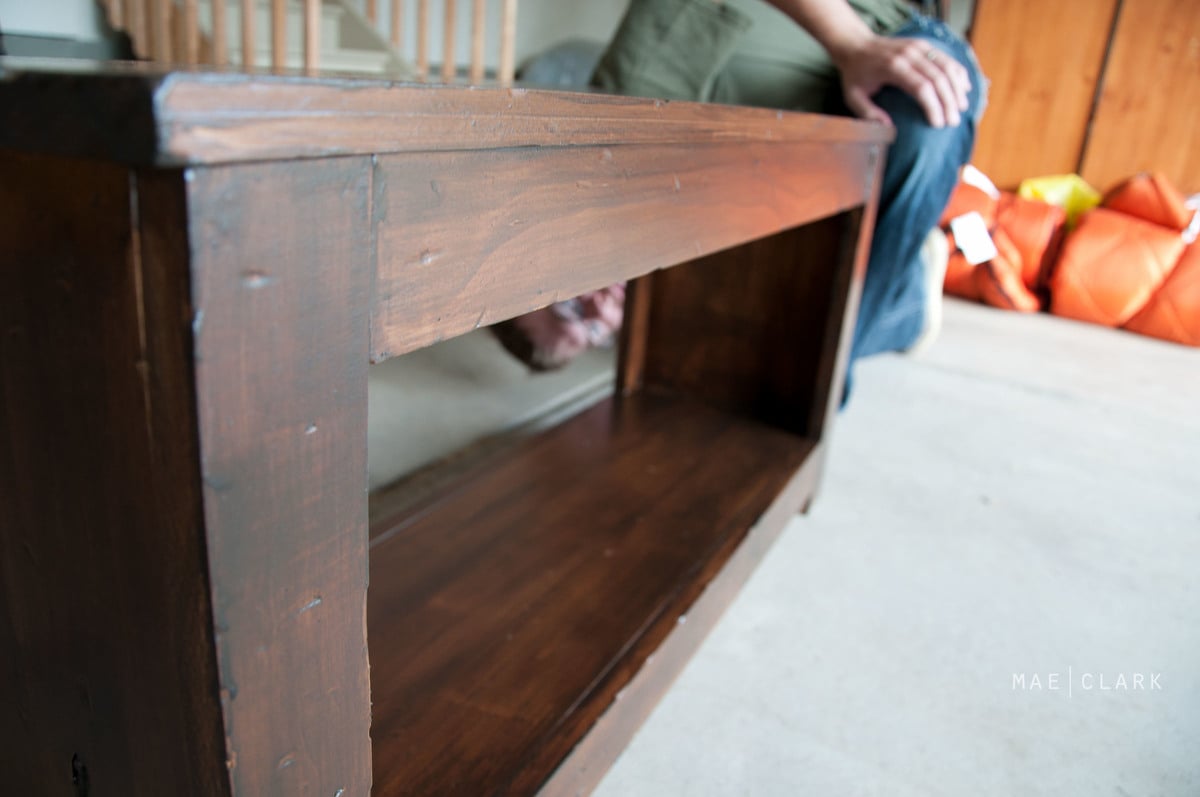
It is a friend's birthday on 5/6 and I noticed she didn't have a nightstand so instead of buying a present, I decided to make her a nightstand. I really liked how the person who built "Lee and Beth's Simple Nightstands" used bead-board on the sides, and I have a lot of bead-board left over from our master bathroom renovation, so I decided to use it, too, and that way I wouldn't have to buy the wood for there, because I didn't have any extra plywood to use there. I also used the bead-board on the back and as the bottom of the drawer.

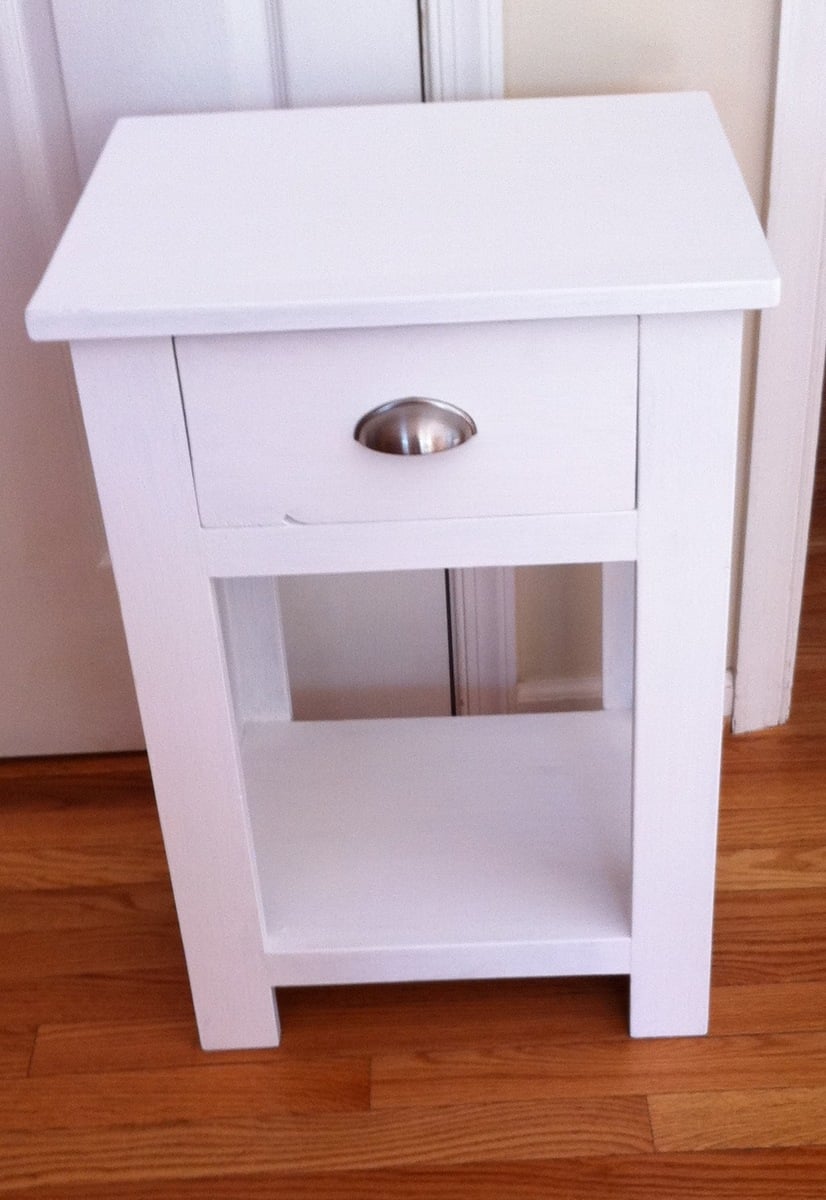
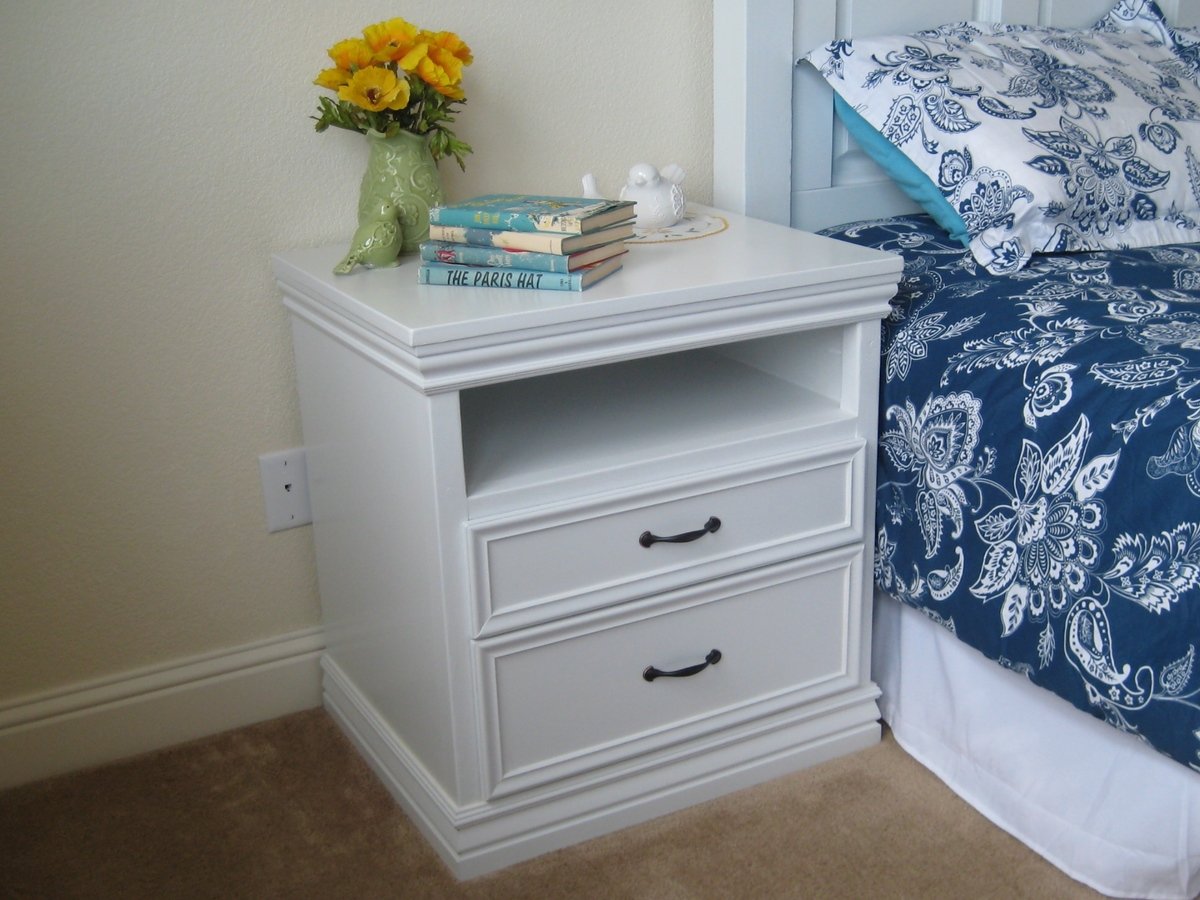
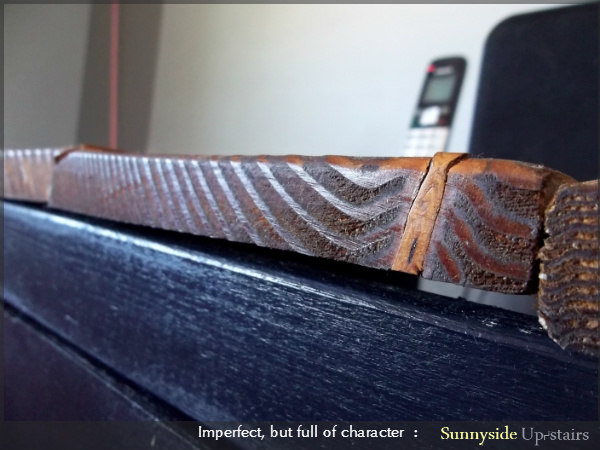
It looks more modern-cottage than it does modern, like I wanted, but it still looks good.

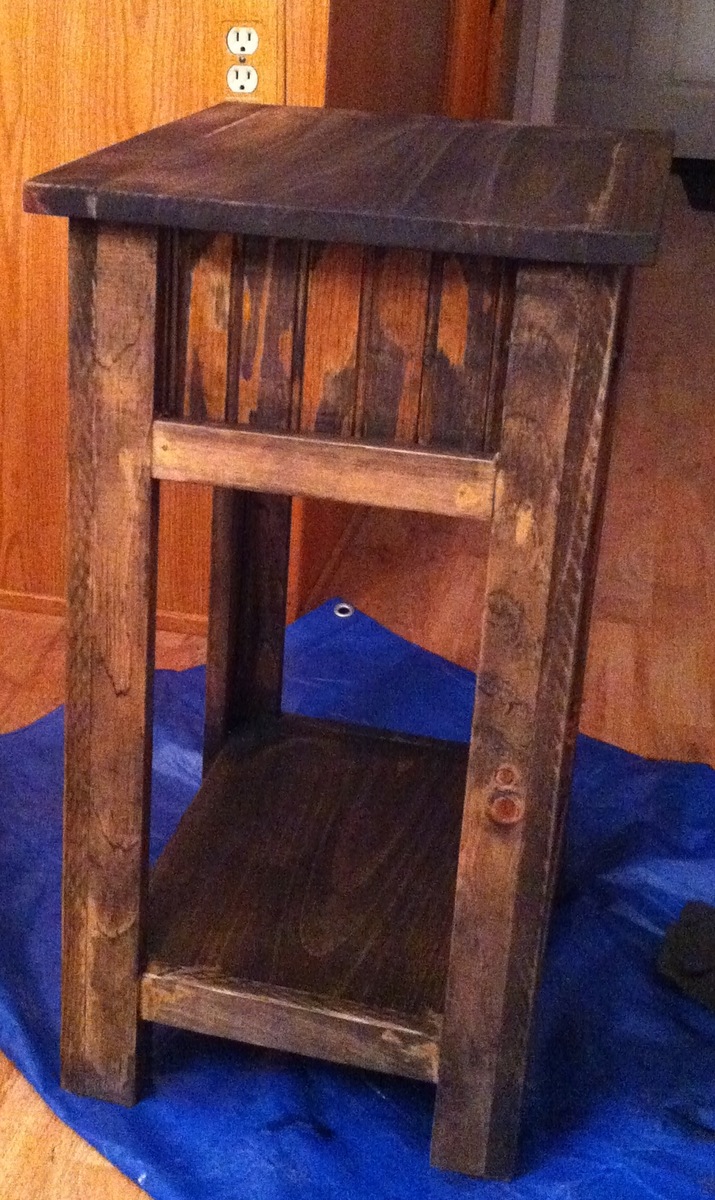
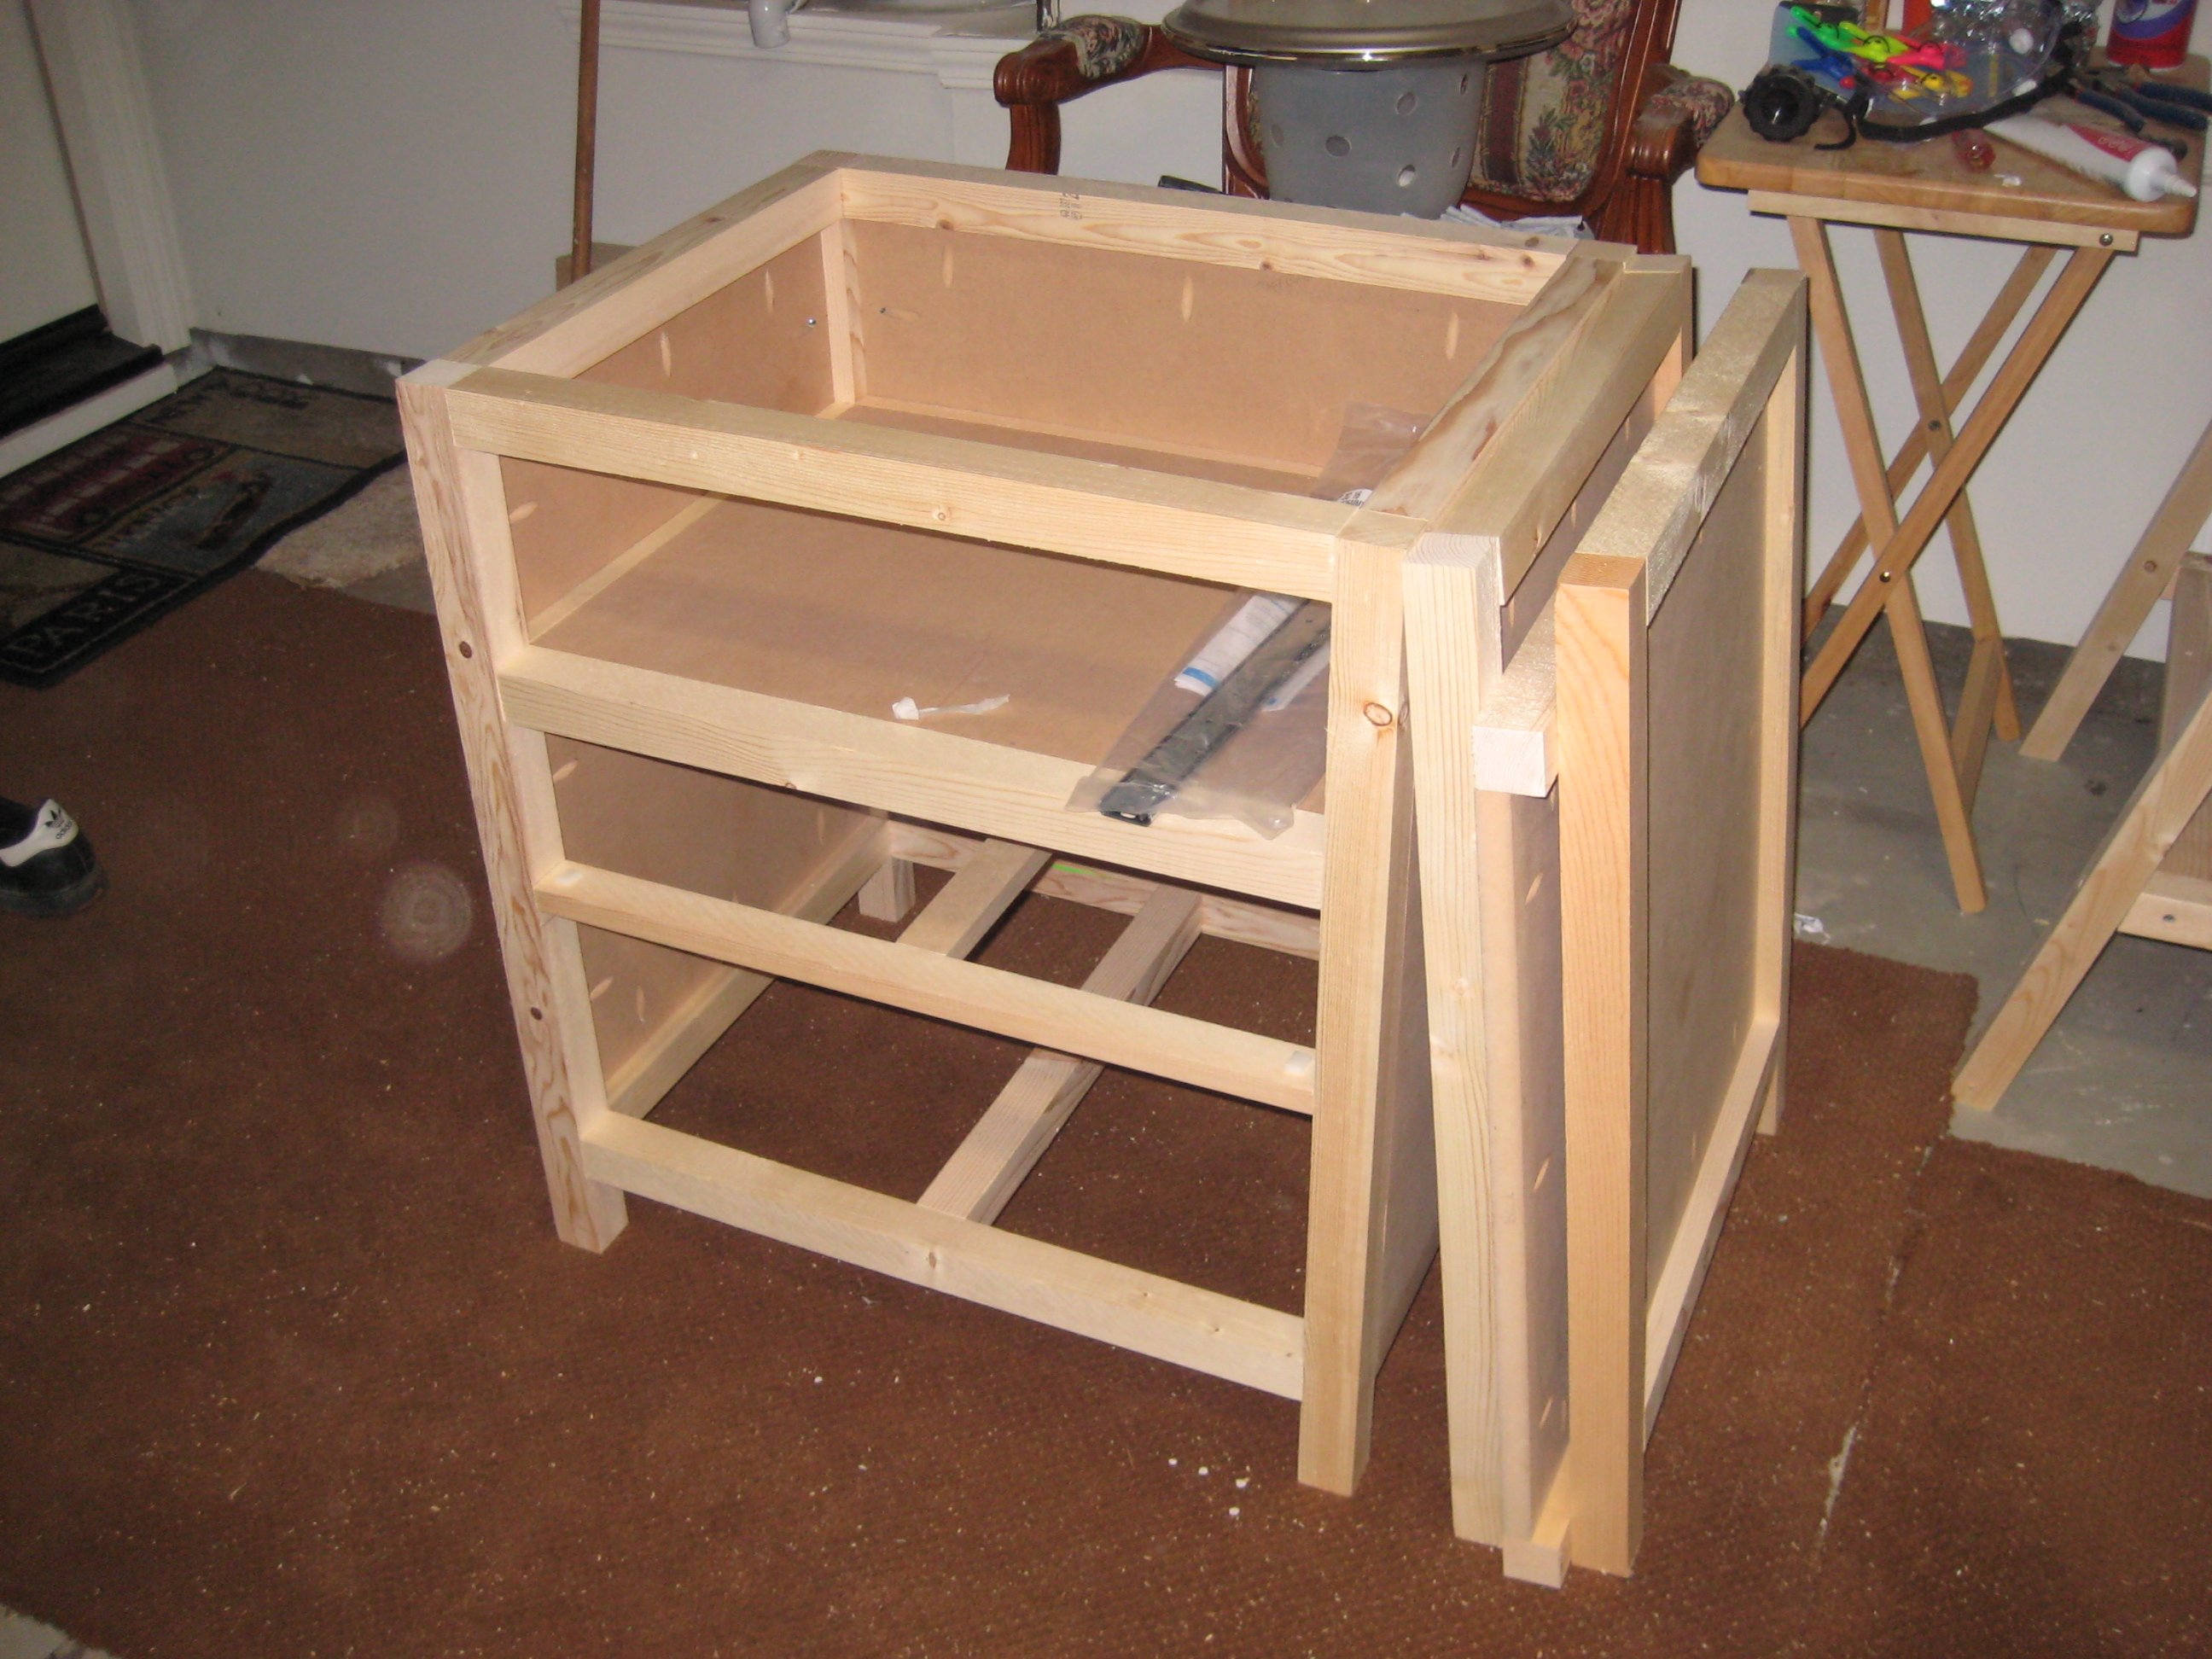
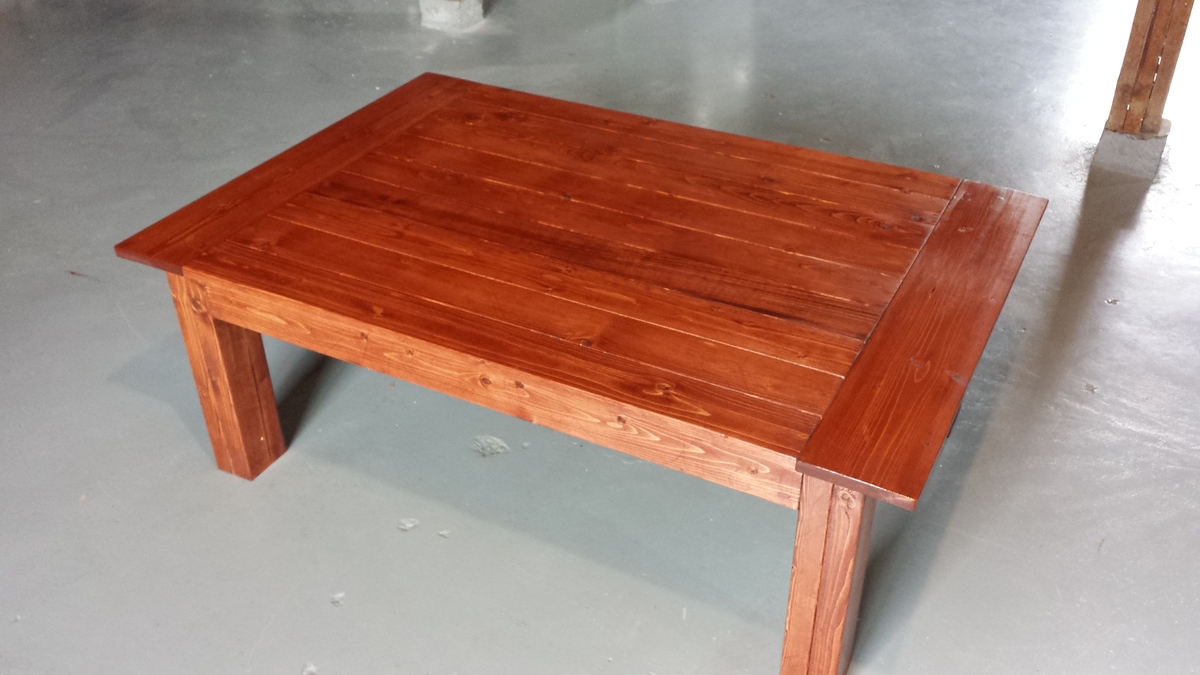
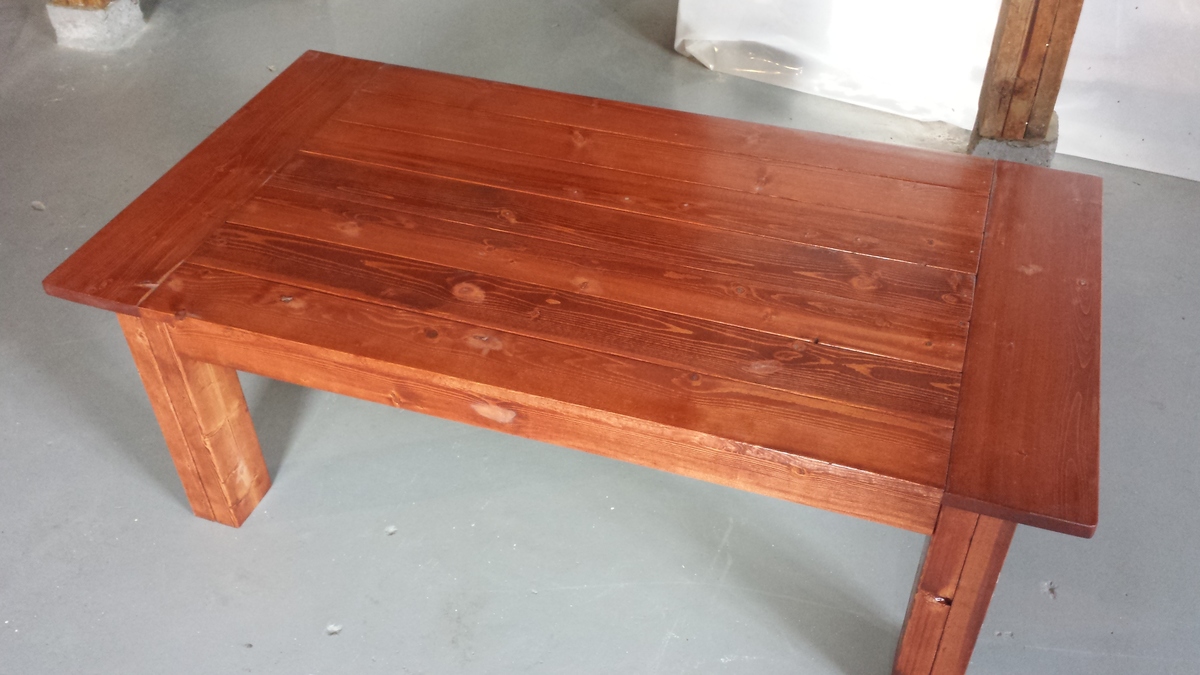
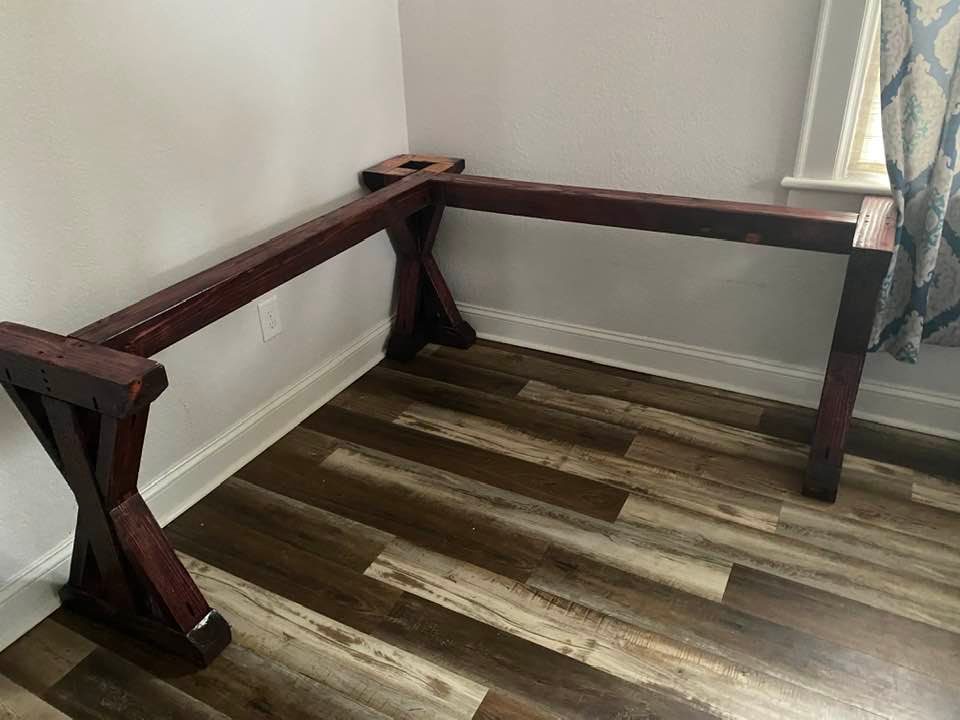
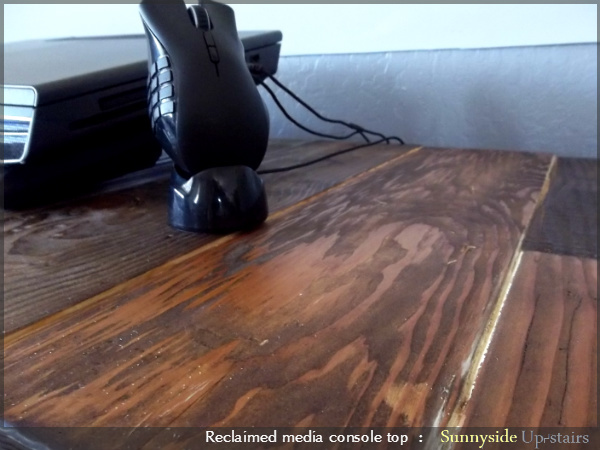
Pictures are of what it looked like pre-sanding and wood-filling, with 1 coat of the stain on it, and then finished with white paint.

With the combination of scrap wood and new wood, I only spent $20 on new wood for the project, and $5 on the drawer pull!

For the top, instead of a 1x12 and 1x3, I used a 1x12 and and then flanked it with 2 1x2s - for a more balanced look. I also cut the 1x12 at like 19 1/2 inches instead of 18 1/2.

Built from Plan(s)
Estimated Cost
$25
Estimated Time Investment
Weekend Project (10-20 Hours)
Finish Used
I originally wanted this to look just like the one that Ana has posted (minus the distressing) - in an espresso stain with the brushed nickel pull on the drawer. I forgot to add the pre-stain and put the stain right on the wood and it looked horrible. The wood did not take the stain well, nor was it even, and the wood filler was visible all over the place. I decided to paint it a flat white instead. I put on 2 coats of white primer and 3 coats of FLAT white paint. I don't really like glossy paint as I feel like it's harder to get it to cover right. I haven't done it yet, but will add a couple coats of satin polyurethane to protect it.
Recommended Skill Level
Intermediate

Comments

Farm House Table

Submitted by lscrandall on Mon, 07/01/2013 - 08:23

Ana thank you for the wonderful plans. It was my first major project, and it will not be the last. I purchased your book this weekend and love it!!! Thank you for all you post to your site.

Estimated Cost
$127.50
Estimated Time Investment
Weekend Project (10-20 Hours)
Finish Used
I also conditioned the pine wood before I stained so it would not become so blotchy like pine wood can.
Recommended Skill Level
Intermediate

Comments

sgilly

Mon, 07/01/2013 - 10:50

This really turned out nicely! Great job.
I'm really impressed with your clean garage floor, too! :-)

Pottery Barn Inspired Truss End Tables

Submitted by Amandaard on Mon, 06/22/2015 - 14:11

I changed up the plans so this table would fit my space better. This was my first time building with a Kreg jig and a miter saw(I'm a newbie). Love how it turned out!

Built from Plan(s)
Estimated Cost
$15
Estimated Time Investment
Afternoon Project (3-6 Hours)
Finish Used
Cabot brand in Aged Leather. One coat.
Recommended Skill Level
Beginner

Just my size closet

Finally got around to getting my daughter's closet organized. Made some adjustments to the plans to better fit our size needs. Everyone in the family is very happy with how it came out.

Built from Plan(s)
Estimated Cost
$75
Estimated Time Investment
Weekend Project (10-20 Hours)
Finish Used
paint
Recommended Skill Level
Beginner

Address marker/planter

Submitted by Anonymous (not verified) on Mon, 12/27/2021 - 13:03

I made this simple but elegant projects for a last minute Christmas gift.

Comments

Not so "Rhyan" Nightstands

Submitted by Kimbers on Sun, 05/08/2011 - 19:05

I used the Rhyan end table plan (with a few alterations) to make my nightstands. I changed the dimensions so mine turned out to be 20”D, 25”W, 27”H, I extended the side and back panels all the way to the top to close in the shelf and I made the bottom drawer larger. I decided to use under mount drawer slides but I think I will try out the side mount slides in the future though.

I wanted them to match the headboard and bench that I made for my bed so I added the same molding that I used on those pieces to finish it off.

I pre cut every piece for the main body of the nightstand and predrilled all of the Kreg holes which made it a really quick piece to put together! I purchased the Mini Kreg jig for this project and am so glad I did. Totally worth the money!

Built from Plan(s)
Estimated Cost
About $80 For 2 Nightstands
Estimated Time Investment
Weekend Project (10-20 Hours)
Finish Used
I painted with Rust-oleum painters touch semi gloss white and then sprayed a few coats of polyacrylic on the top.
Recommended Skill Level
Beginner

Minnie Mouse step stool

It was time for potty training and when it came time to wash her hands her arms were a little too short. So I threw this step stool together over a few hours and with the little one being a Minnie Mouse fan I had to add the Mickey head. Great project for those wanting something easy and quick.

Estimated Cost
$15-20
Estimated Time Investment
Afternoon Project (3-6 Hours)
Finish Used
Disney paint from wal-mart and Rustoleum clear coat.
Recommended Skill Level
Beginner

Comments

disneynut

Fri, 07/05/2013 - 05:37

I loooove this! Nice job! I will have to add this to my to-do list. Thanks for sharing :)

Tryde coffee table

I've made a couple of tables from this plan now, and I love the simplicity of it. I changed the top to 1x4, 1x6 so that it doesn't look so bulky.

Built from Plan(s)
Estimated Time Investment
Day Project (6-9 Hours)
Finish Used
stain, Minwax Red Chestnut. Polyurethane three coats
Recommended Skill Level
Beginner

My take on the chicken coop design

Submitted by Anonymous (not verified) on Thu, 12/30/2021 - 13:01

When we became accidental chicken owners, we had to build a coop fast. I found the plans for Ana’s replica of the Williams Sonoma chicken coop and got to work. They were very easy to follow and easy to modify to fit our own needs and aesthetic. We decided to enlarge the coop and remove the planter in the original plans do we could accommodate more chickens while keeping the original footprint. Instead of plywood, we used cedar reclaimed from an old fence we had recently replaced. We also enlarged the rear door to make clean out as easy as possible. I cut pieces of corrugated plastic that fit inside the door and windows to winterize the coop when temps drop below freezing. The run is designed to follow the shape of the coop and is large enough to give our 5 chickens plenty of space. The planter box runs the length of the chicken run, providing some plants to munch on inside and shady vines that will eventually cover the outside. Thanks for the awesome plans!

Comments

Stratton Daybeds times Two

Submitted by karahart on Wed, 05/11/2011 - 08:25

I built my first daybed in May of 2010, and my second one in August of 2010. I've since moved one of the daybeds to my new nursery I'm creating. These beds are so versitle, so sturdy, and can be moved anywhere and 'go' with whatever decor. I love both of them!

Built from Plan(s)
Estimated Cost
$450 for BOTH beds
Estimated Time Investment
Week Long Project (20 Hours or More)
Finish Used
I primed the beds with Kilz oil based primer, then added a bunch of ultra white paint by Behr. I finished with sanding down the edges and staining them, before applying a top coat of polycrylic. Only use polycrilic, not polyurethane for white painted furniture!
Recommended Skill Level
Intermediate

Allen/ Ana White Island

Submitted by tfj1283 on Sun, 07/07/2013 - 17:16

This was my husband and my first DIY project and we were thrilled at the outcome! It took us a day to build and then a couple days to stain and paint.

Built from Plan(s)
Estimated Time Investment
Weekend Project (10-20 Hours)
Finish Used
It is stained with min wax Jacobean and painted with Martha Stewart's Barn red. This was a super fun project; thanks Ana White!
Recommended Skill Level
Beginner

Industrial Coffee Table

Built this industrial coffee table without plans

Estimated Cost
$100
Estimated Time Investment
Day Project (6-9 Hours)
Finish Used
Walnut, paint, polyurethane
Recommended Skill Level
Beginner

Comments

Grandy Sliding Door Console (Modified)

Submitted by NicJT86 on Wed, 01/17/2018 - 00:22

My version of the Grandy Sliding Door Console. My modifications: 

- Length 6.5 feet long (instead of 90inch). Same height and depth.

- Bought hardware from amazon, purchased hardware is larger than the plans call for. Changed face frame top from 1x4 to 1x6 to create clearance for the wheels and top overhang. 

- Wanted a deeper top so I added a 2x3 between the two top boards. I did this also for looks! It stained so nice!

- Modified the mounting spacers for the rail to allow the door to hang closer to the cabinet. 

Advice: Pay attention to the size of the hardware. 

If buying door hardware make your door close to the same thinkness as a standard interior door. This will help them hang correctly and close the space between the frame and the door. 

Lastly, use pocket holes! 

Built from Plan(s)
Estimated Cost
Door Hardware= $70
Wood= $250
Stain + paint= $30
Estimated Time Investment
Week Long Project (20 Hours or More)
Finish Used
Dark walnut stain and Black Fox paint from Sherman Williams
Recommended Skill Level
Intermediate

Farmhouse rustic L shaped desk

Submitted by Devorlast on Sun, 01/02/2022 - 17:34

This was my second project. My Wife asked me for a desk and gave me a pintrest link, except that they had no dimensions, cut list or even material list. I found some youtube vids that covered same type desk and made my own plans.
Again, the whole thing was made with table saw and battery powered drill. Well, not counting the sander and hand plane.
I was initially going to provide the plans, material list, cut list etc but a lot of the cuts were done by eyeball and I don't wish the pain of doing this project without a miter saw on my worst enemy...
Overall it came out a lot better then I thought it would considering my lack of experience and "know how". Table top is held together using pocket holes and wood glue, the article on Ana's website about table tops helped me a ton!
As for stains its cherry on the bottom and aged white on the top. The 4x4's that I used for the base were of some red hued wood so the cherry color blended them with the white wood 2x4's that make up the decoration supports.
If you have any questions feel free to ask, this was my second project and I learned a lot of do's and dont's.

Total cost ~$200.
Total time, for me it was about 30 hours over two weeks, if you know what you doing and got the right tools probably half of that.

Comments

Spa Bench

My first project! A friend of my husband's came to visit for a weekend and was nice enough to show me how to use my handy dandy new air nailer. We had the bench put together in 15 minutes! And so began a beautiful friendship with furniture building...

Built from Plan(s)
Estimated Cost
$30
Estimated Time Investment
An Hour or Two (0-2 Hours)
Finish Used
dark oak polystain - distressed with hammer, nails, screwdriver, chains
Recommended Skill Level
Starter Project

Leftovers and Reclaimed Wood Media Console

Last winter, our friend's boss built our kitchen cabinets. We've had cuts of plywood leftover, sitting in our garage since then.

Our home needed a media console, so I thought to give building one a shot now that I own a circular saw and am only slightly afraid of it. I didn't follow a plan, honestly, but I did look at Ana's Classic Storage Wall, Extra Wide Media Unit as inspiration.

The console is actually a slate-indigo-black, called Napoleon. The top is made of reclaimed 1x6s that I mixed and matched with scrap 1x6s and gave one coat of Dark Walnut. We ordered handles for the doors and it needs another coat of paint (we ran out of the quart we had on hand), but we love it!

Estimated Cost
$30 using leftover plywood, otherwise, $100
Estimated Time Investment
Week Long Project (20 Hours or More)
Finish Used
Olympic Flat in Napoleon
Watco Danish Oil in Dark Walnut, Watco Wipe-On Poly
Recommended Skill Level
Intermediate

Comments

JoanneS

Tue, 07/09/2013 - 16:30

Love this! The reclaimed wood top is fab, and the color looks perfect. I checked out your blog - your apartment is looking awesome!

yurra-bazain

Wed, 07/10/2013 - 02:18

Thank you for your kind words. :) Our apartment wouldn't be furnished today if not for ana-white.com. The motivation I've gained by learning and sharing back here has been key to keep me building the things we need, the way we want them. =D You've built so many things; I'm so impressed!

Dollhouse Bookcase

Submitted by Beccyem on Thu, 07/02/2015 - 16:43

This sweet bookshelf was the perfect summer project. Our girls loved painting it and have already spent hours playing with it. We used High Gloss paint.
Here is a link for a video where you can see the kids painting it and how it looks in their room. https://www.youtube.com/watch?v=3tYXcWxQJ_U

Built from Plan(s)
Estimated Time Investment
Afternoon Project (3-6 Hours)
Finish Used
High Gloss- white base. Pink for skirting boards, roof and windows. Kids used a spray can for the pink accents and roof. Wood has lots of holes and cracks so we just used wood putty. Would be a great idea to use Chalkboard paint on the back, but we have not done this yet.
Recommended Skill Level
Beginner

Comments

Kids Table & Chairs

Submitted by jeffh on Fri, 01/19/2018 - 12:12

I washed the plans for the farmhouse table in hot water!

I modeled this kids table off the farmhouse table and then made the chairs out of 3/4" plywood with bright colours.

Estimated Cost
two 2x10s and four or five 2x4s, plus screws and stain for the table. All four chairs were made out of one sheet of 3/4" plywood. The stain and paint probably cost more than everything else put together, but I still have tons of it left. If you exclude the leftover stain, I'd guess about $75-$100 for everything.
Estimated Time Investment
Weekend Project (10-20 Hours)
Finish Used
Can't remember. Walnut was the stain colour.
Recommended Skill Level
Beginner

Coffee Bar with diy barn door

Submitted by dnieves33 on Tue, 01/11/2022 - 08:57

Built this coffee bar with the diy barn door hardware. Wife loves it. This is made of about 80% reused / repurposed wood. Thank you Ana for the great videos and simple to follow plans.

Comments

Our Closet (and first build!)

Submitted by Alaskagirl on Mon, 05/16/2011 - 14:10

Our master bedroom unfortunately had no closet, so for almost 2 years we had been using 4 store bought (cheap) racks that would break under the weight of the clothes and keep having to be replaced. There was however, a big nook in one wall of the room that could definitely be some kind of closet. I sat down and drew up a plan of what I thought would fit, but then had no idea how to go about building it. The plan sat in a drawer for months until after asking a friend about a shelf her husband built she sent me a link to this site and told me that's where she got the plans. I found the closet system plans and they were so close to what I had drawn up I was blown away! IT was no problem modifying the measurements to fit our space. I am SO happy with the results, all I need to do now is wait for some dry weather so we can paint!

Estimated Time Investment
Afternoon Project (3-6 Hours)
Recommended Skill Level
Beginner