Community Brag Posts
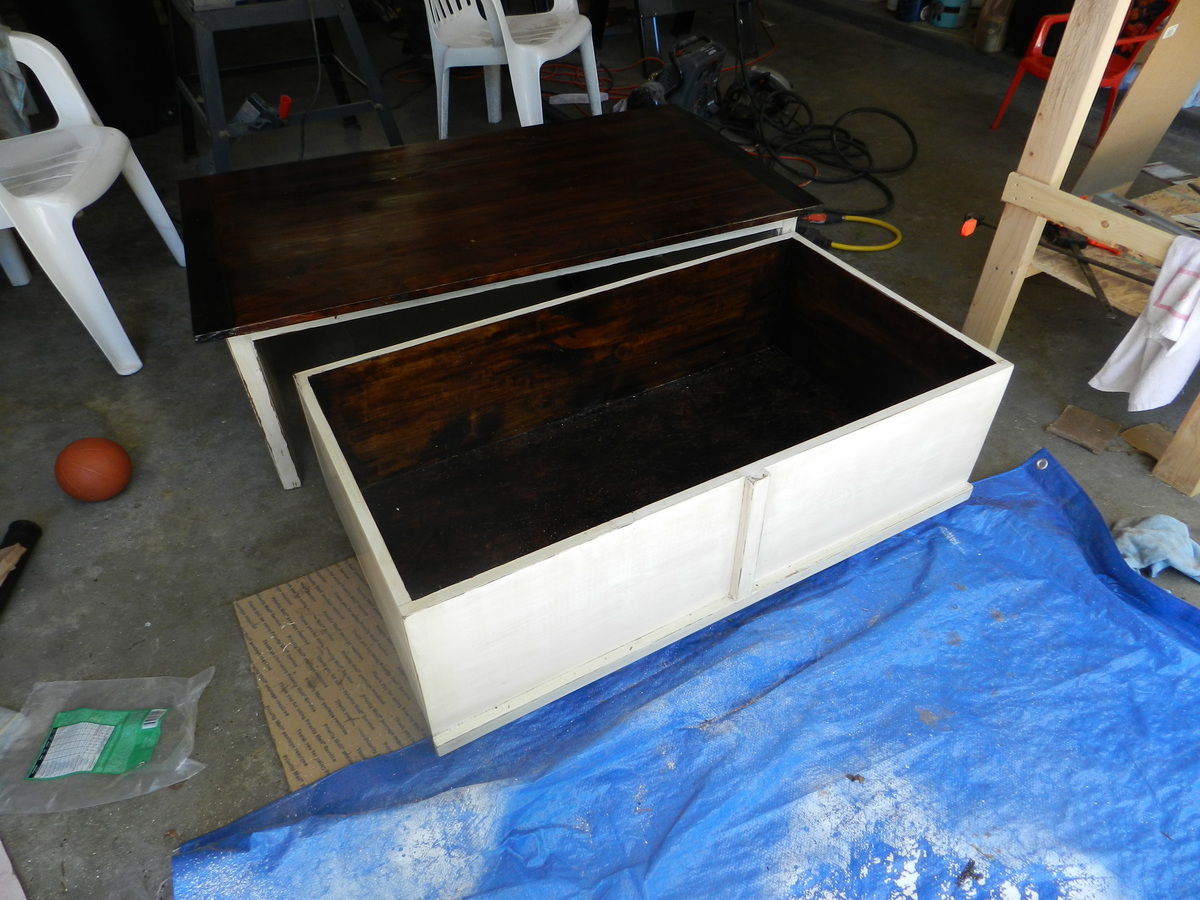
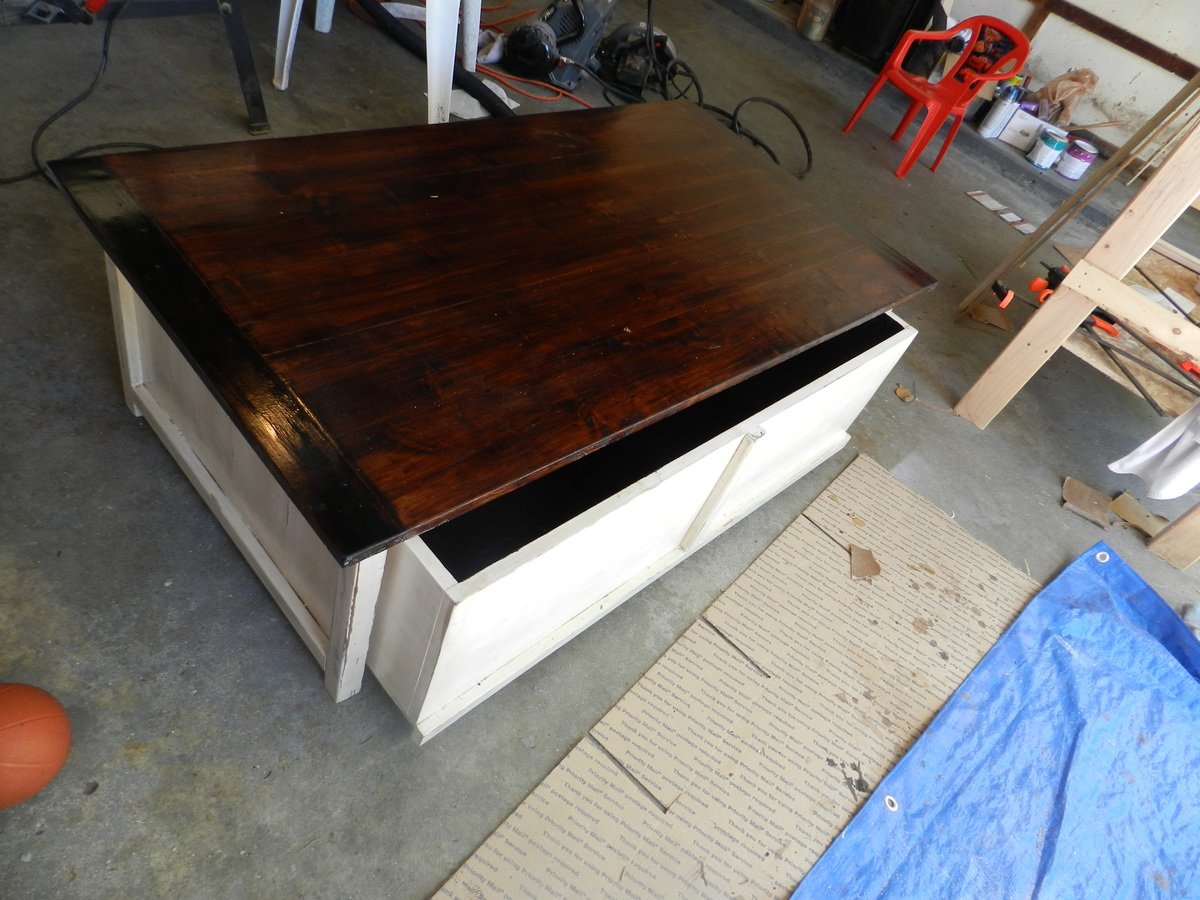
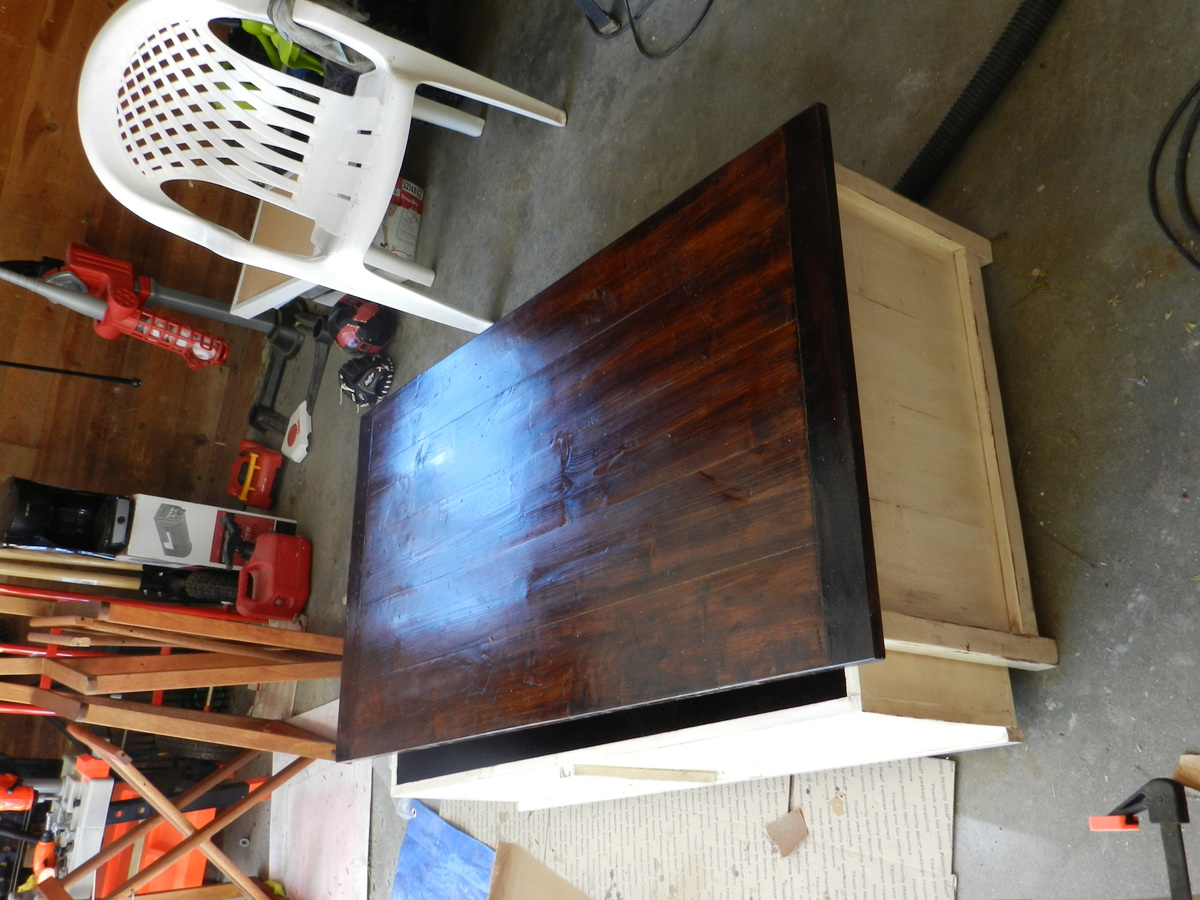
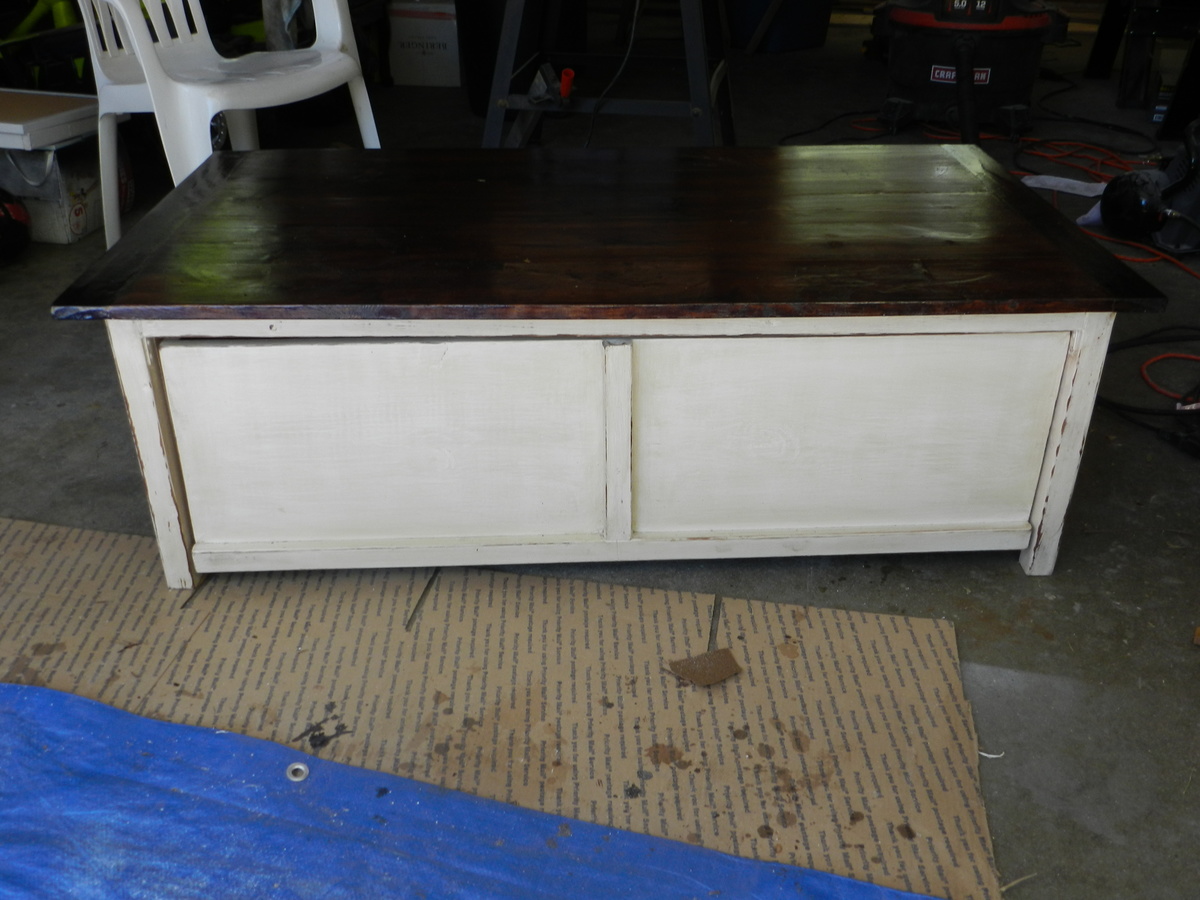
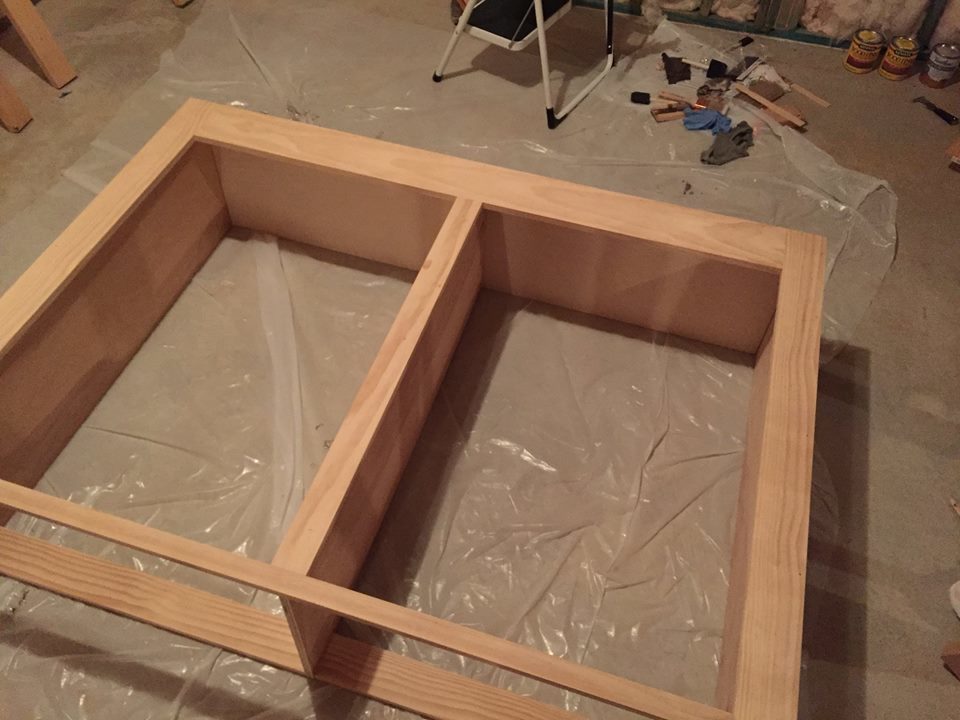
Coffee table with toy box trundle
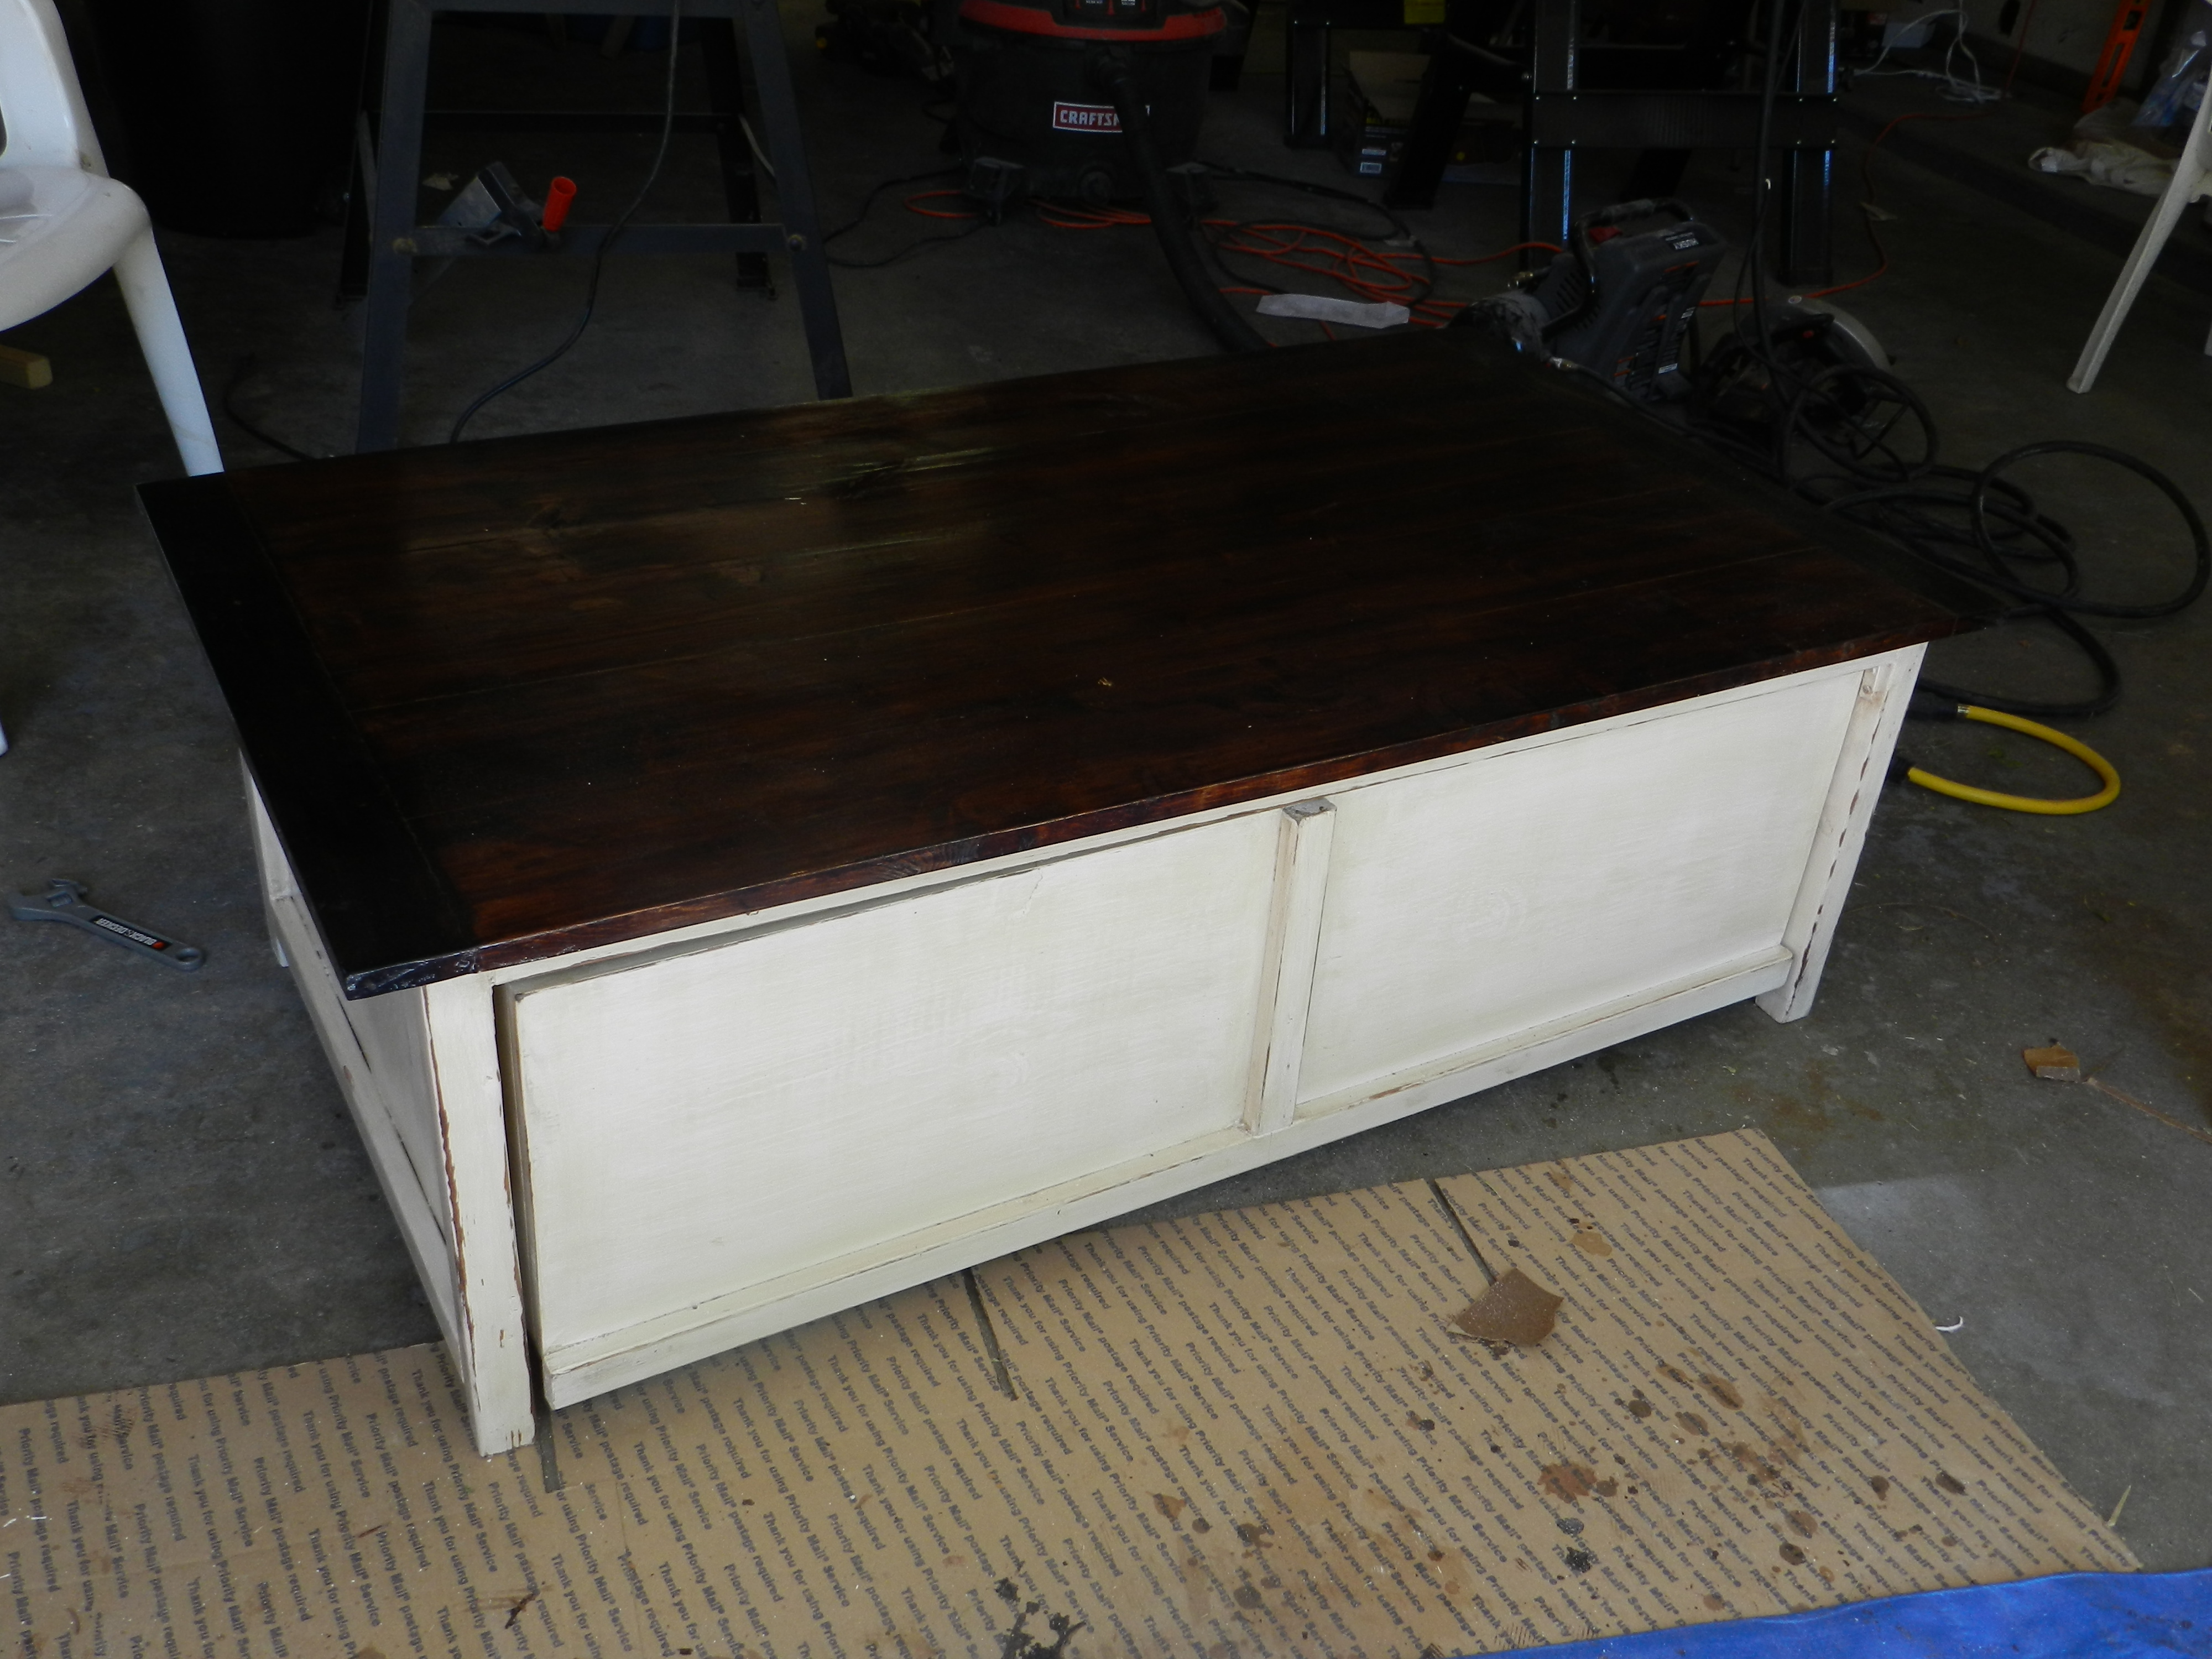
This was my second project ever, so I know it is far from perfect, but I am so happy with it. It is super useful since I have 3 little kids that are so far the only grandchildren from both sides of the family and I have the impression that toys come to our house to reproduce.
I made a mistake on choosing the stain for the top, and had to adapt to what I wanted, but I kinda like the end result, although it is more formal than what I had wanted at first.
It is a gloss mission oak, from miniwax.
I built this without the Kreg, but I have bought one since, so my next project should be better!
The paint is Antique White from Glidden (DUO), distressed until my shoulders could not handle it anymore.
Building is so empowering, I am so happy I found this site! Thanks Ana for all the great work!
Built from Plan(s)
Estimated Cost
100
Estimated Time Investment
Weekend Project (10-20 Hours)
Finish Used
Miniwax Mission Oak Gloss Polyshade for top and inside the trundle.
Glidden Antique white and distressing with sandpaper and stain.
Glidden Antique white and distressing with sandpaper and stain.
Recommended Skill Level
Beginner
Comments

Farmhouse Table
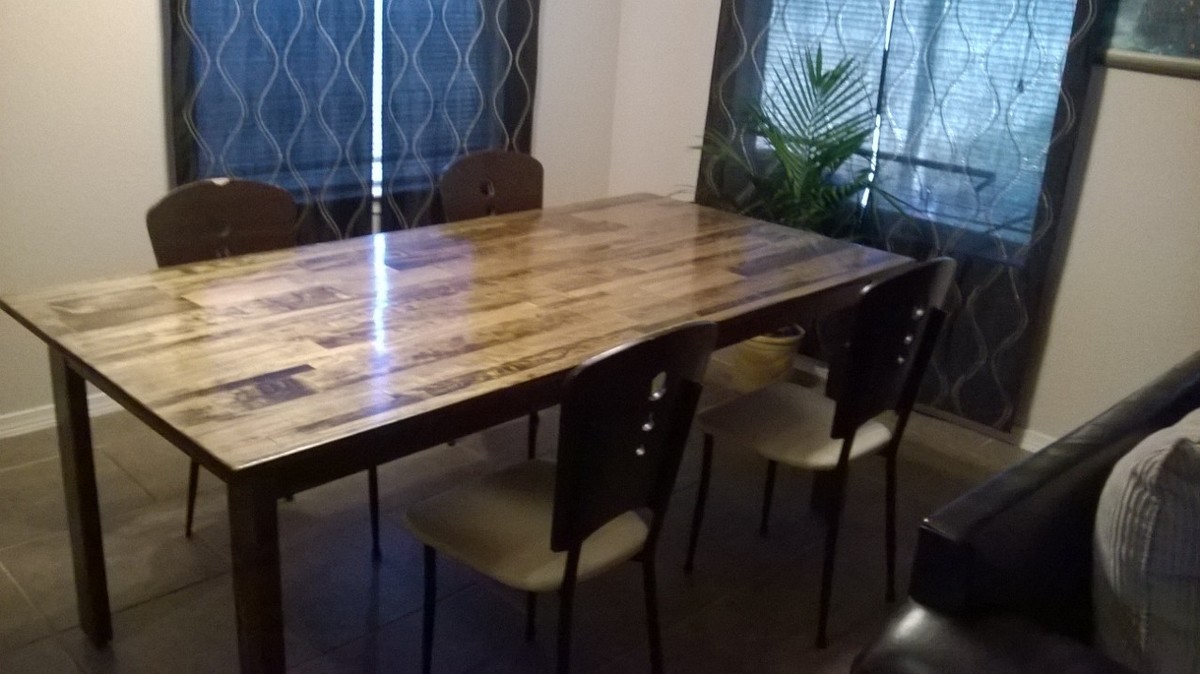
This build was done with all pocket holes. I used some pre-made project boards for the top and joined them with pocket holes and glue. Also I used all pine for this project. The chairs are just old chairs from my previous table. Stained with special walnut and finished with semi-gloss poly and finishing wax. I rubbed and buffed the finish to get the nice shine. This project took a while because I decided to let the poly cure for about a week before finishing and placing in my dining area.
Estimated Time Investment
Weekend Project (10-20 Hours)
Finish Used
Minwax Special Walnut and Minwax Polyurethan (Both of them were Oil based)
Recommended Skill Level
Beginner
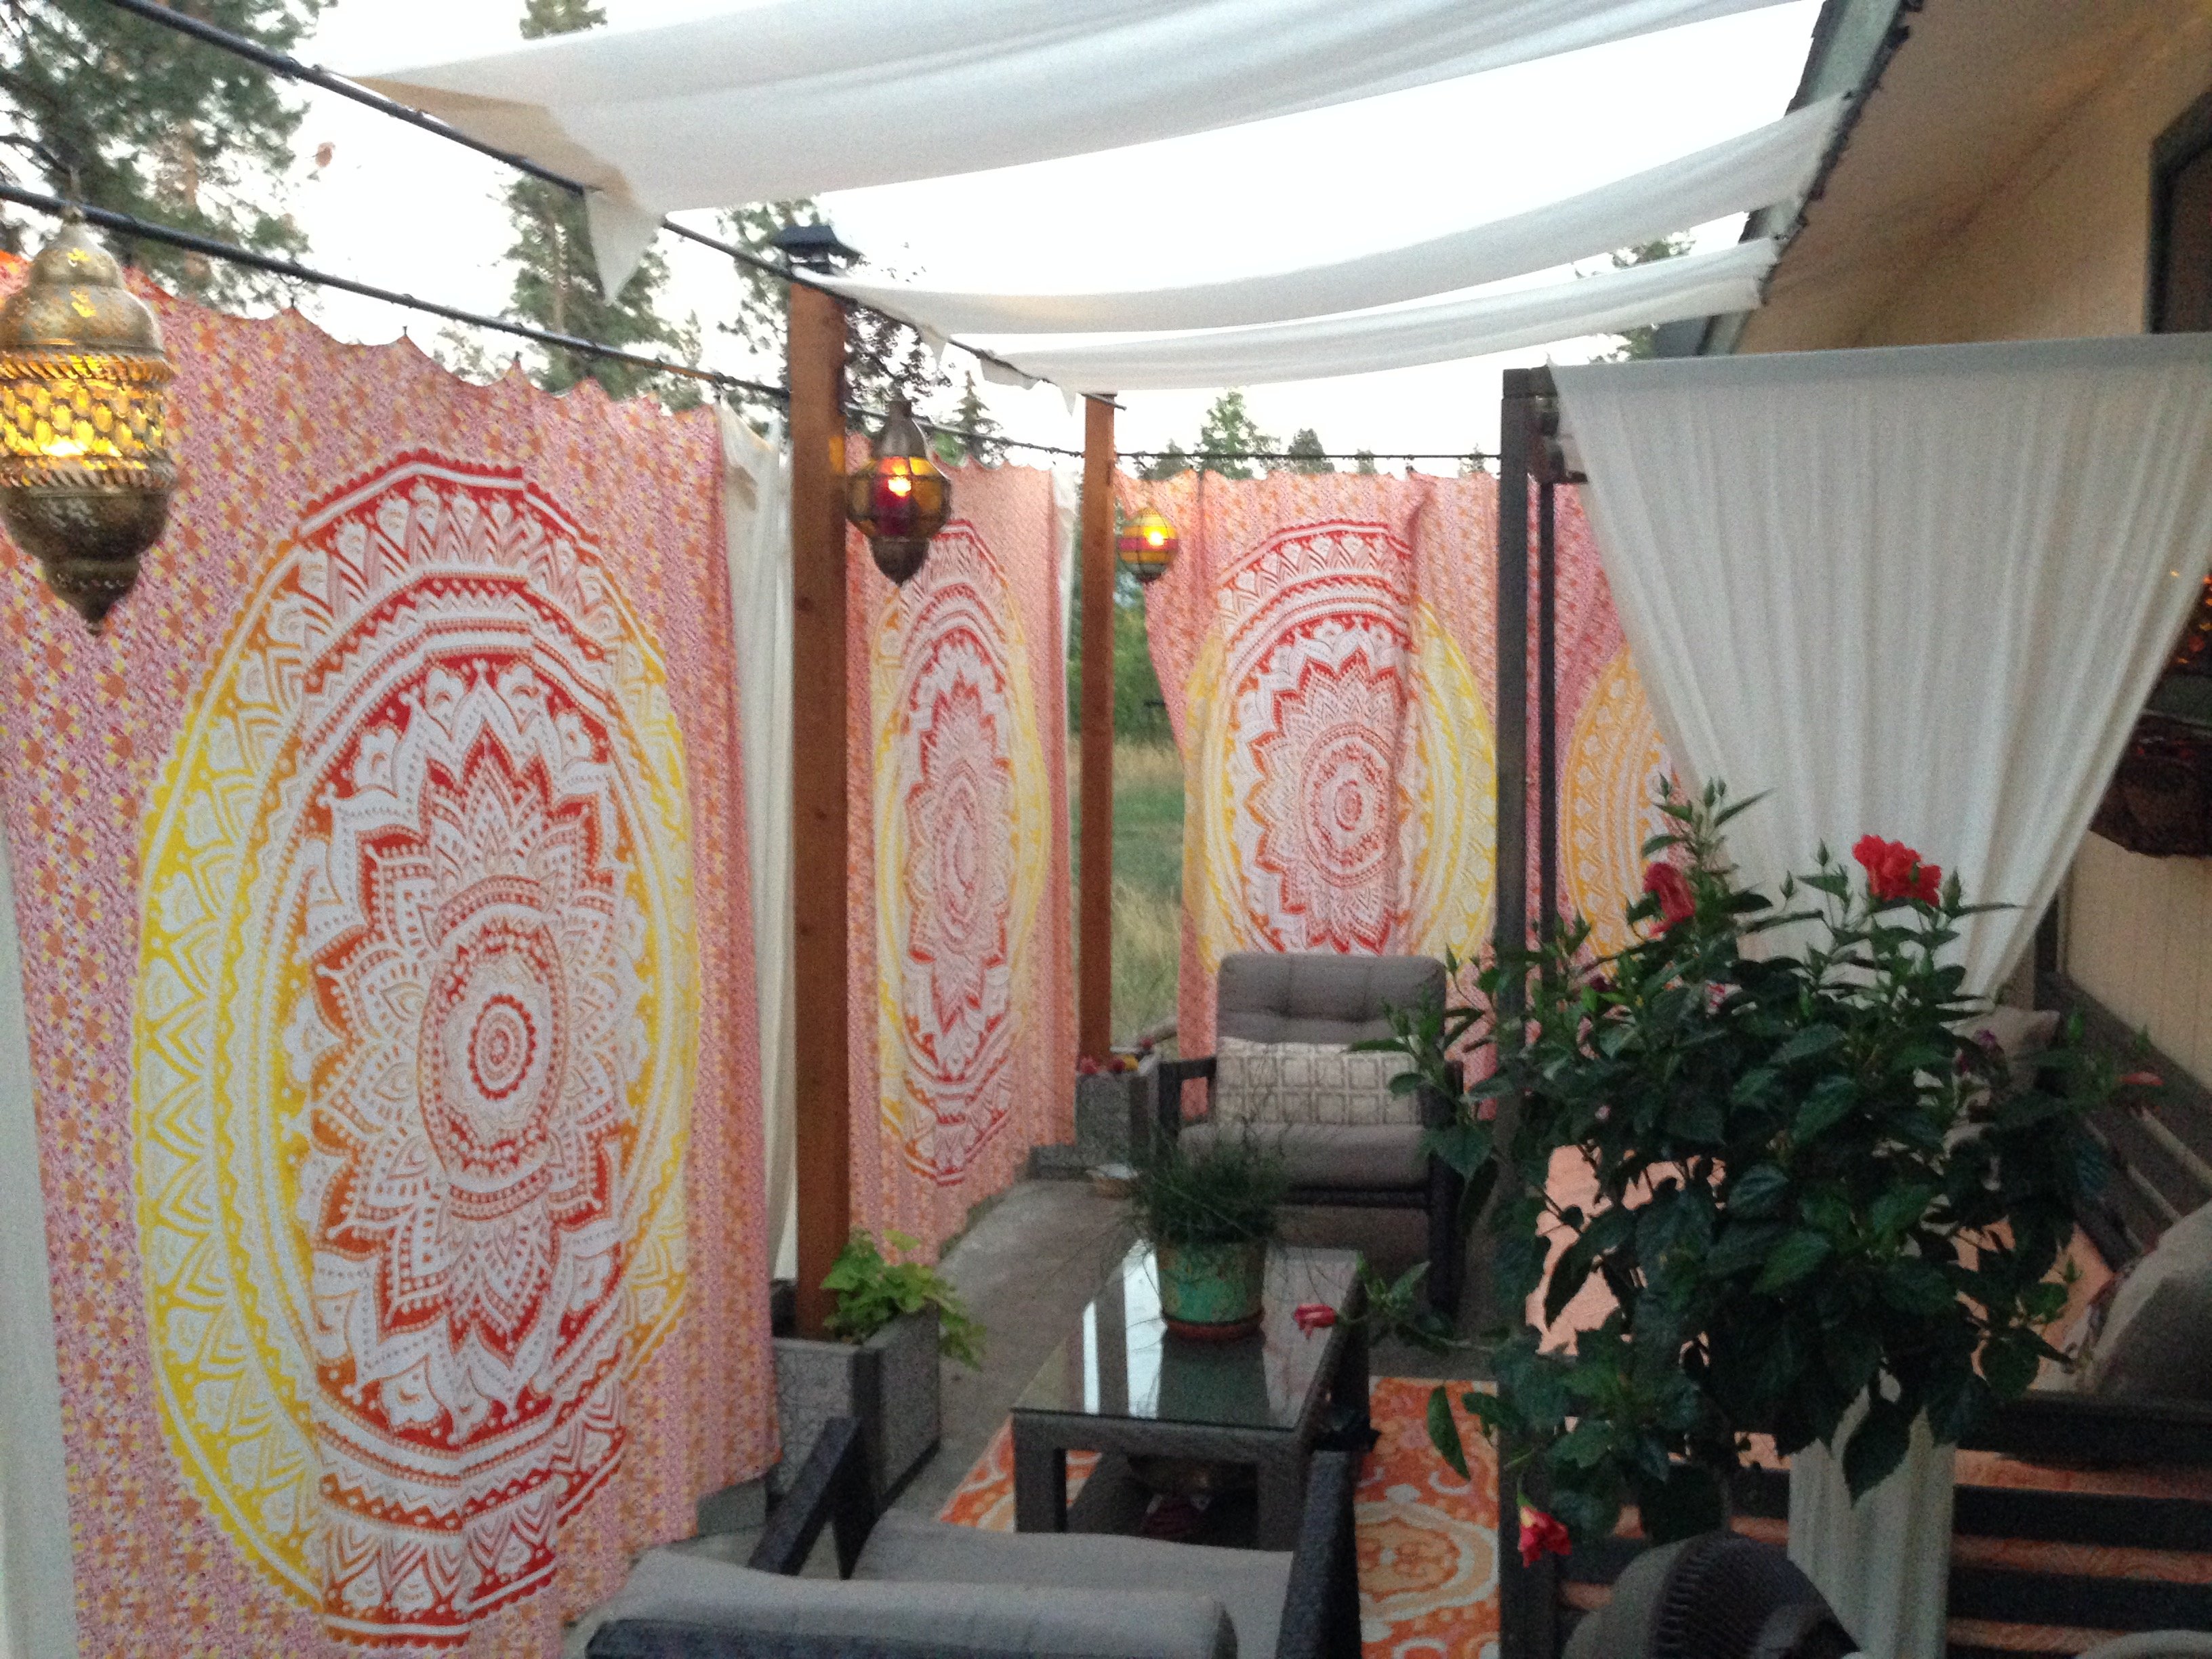
Outdoor Daybed with Canopy
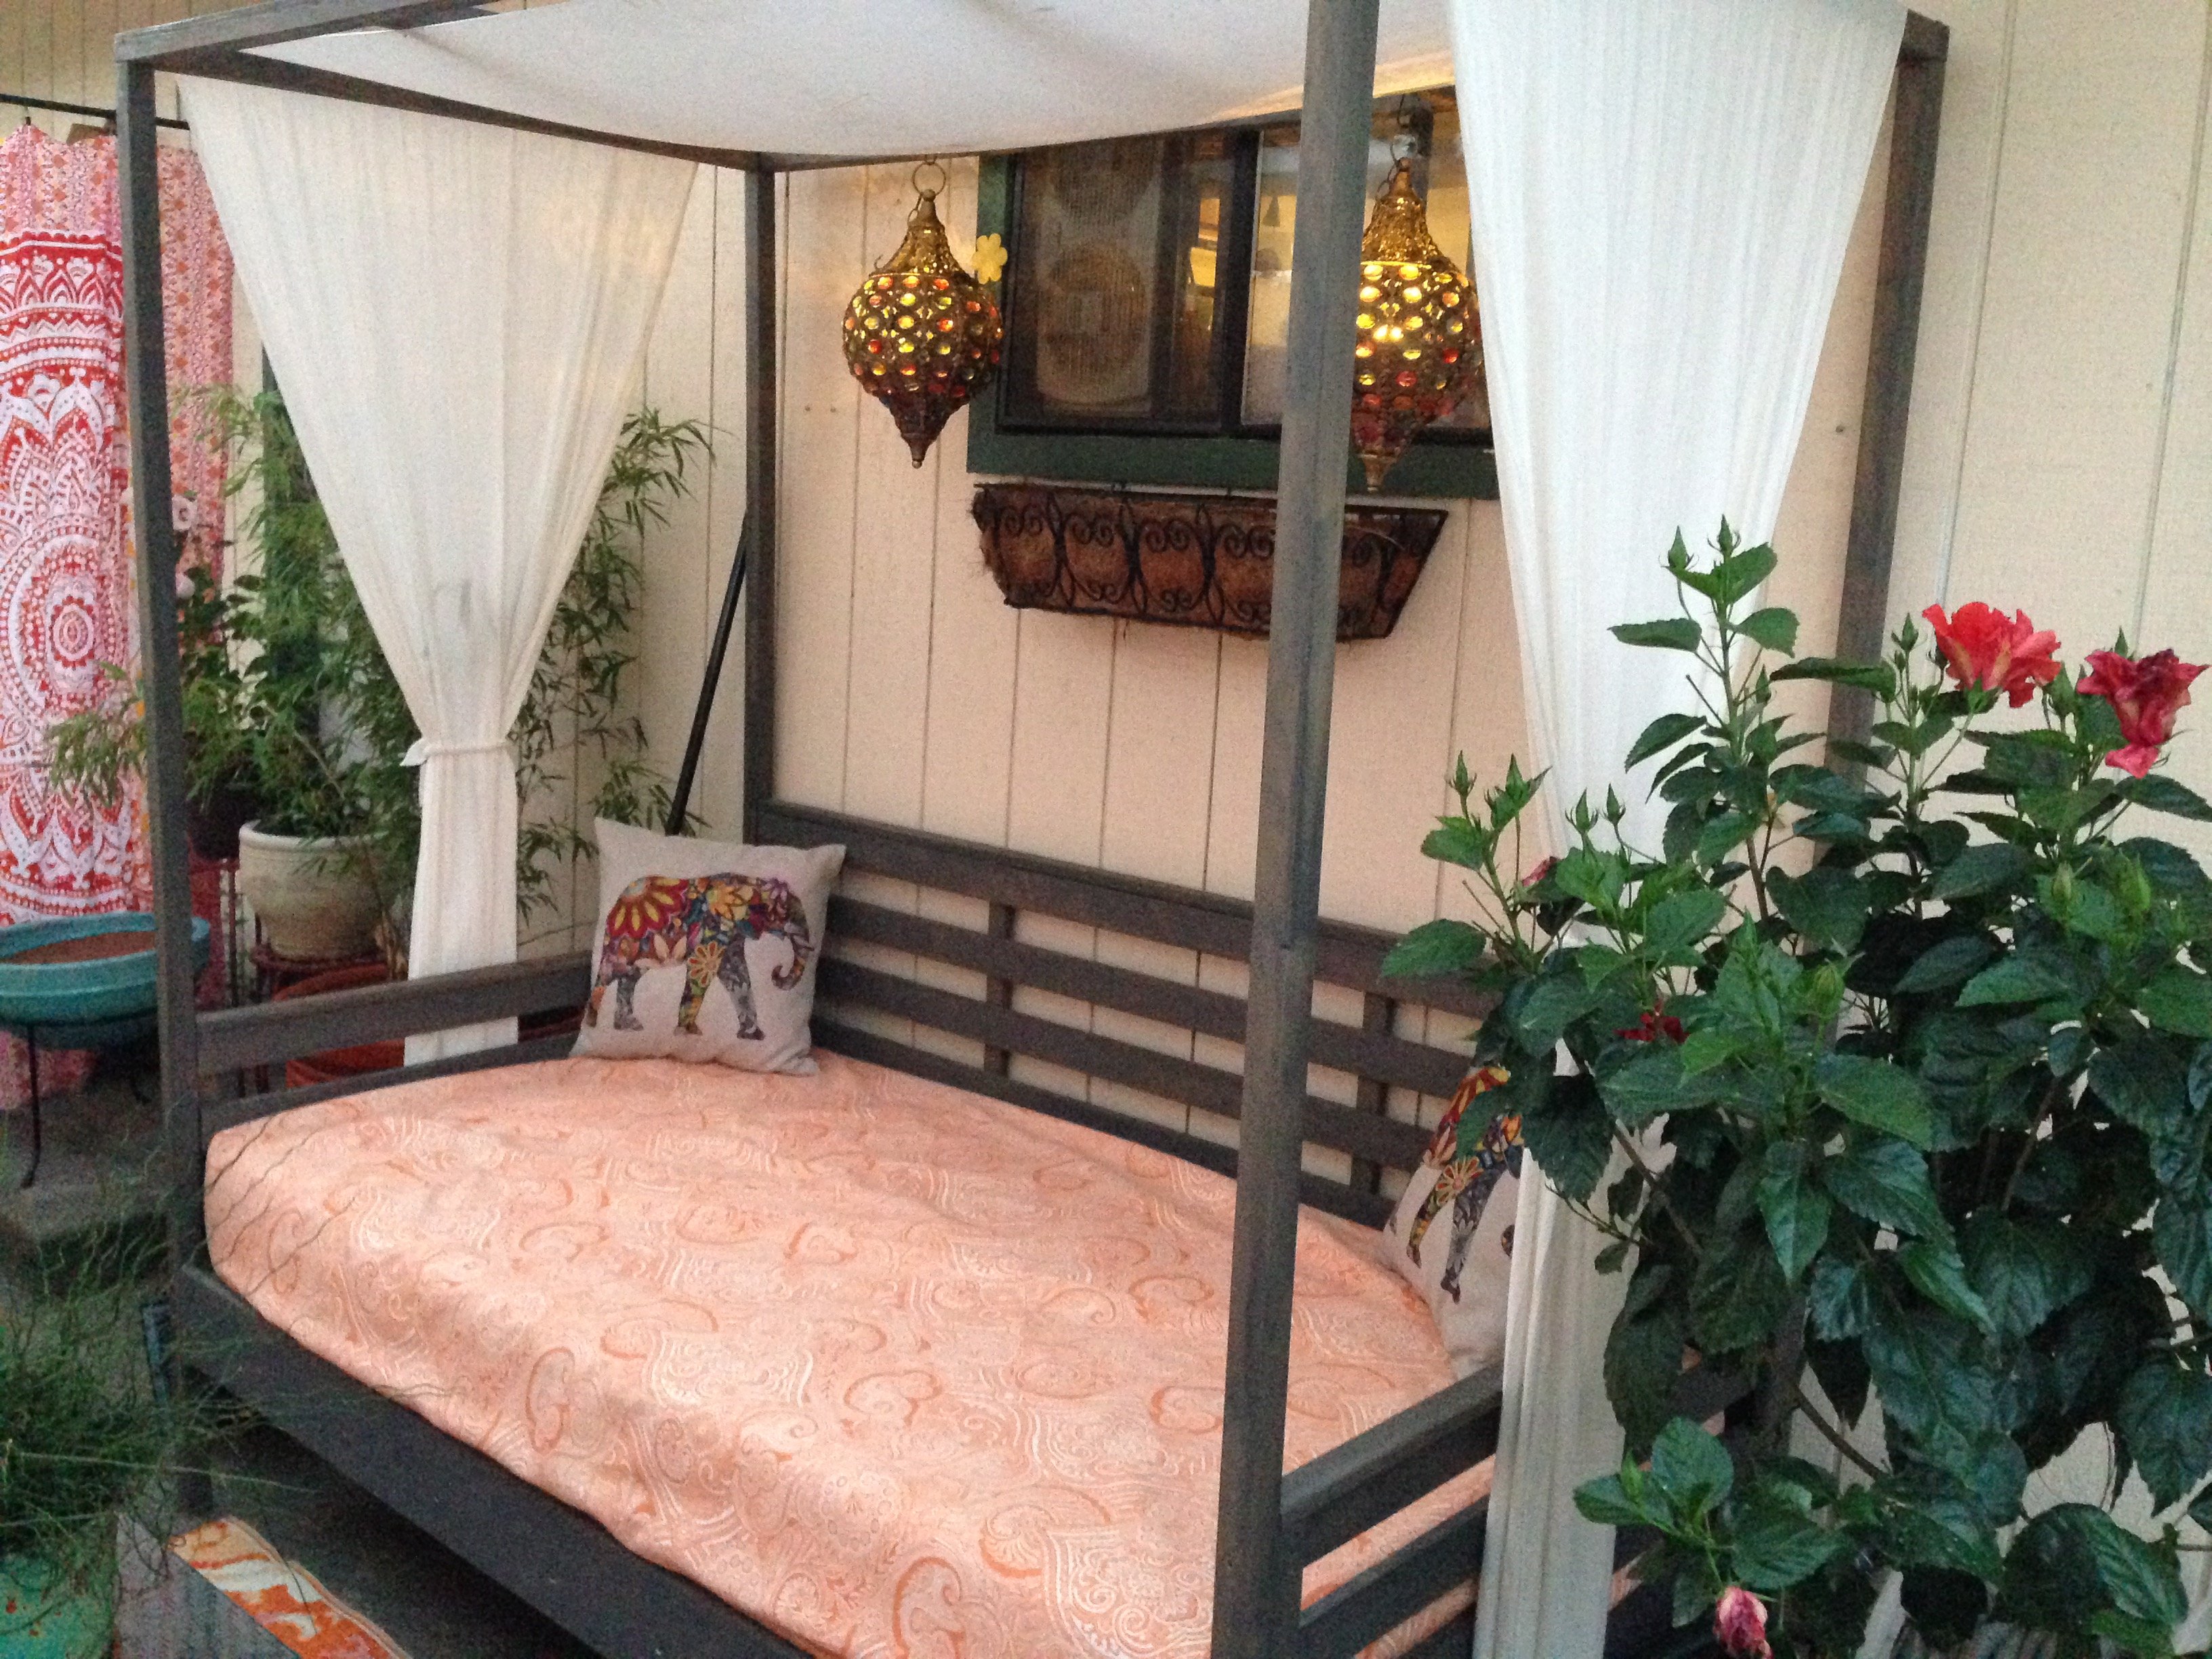
This was an awesome, quick, and easy project. The sanding, staining, and drying, took forever for me but the actual cutting and assembly was super quick. I have this on an uncovered patio and my local store didn't carry cedar in the sizes I needed so I went with the cheapest wood I could find and used a high quality oil based outdoor stain. I am hopeful it will hold up to our pacific NW winter because it won't be coming in. Considering I had never made anything before and had never used a miter saw, sander or quick square, I am happy with the time it took to finish this.
Built from Plan(s)
Estimated Cost
$150 for lumber, screws, stain, and glue
Estimated Time Investment
Weekend Project (10-20 Hours)
Recommended Skill Level
Starter Project
Open Bench Hall Tree
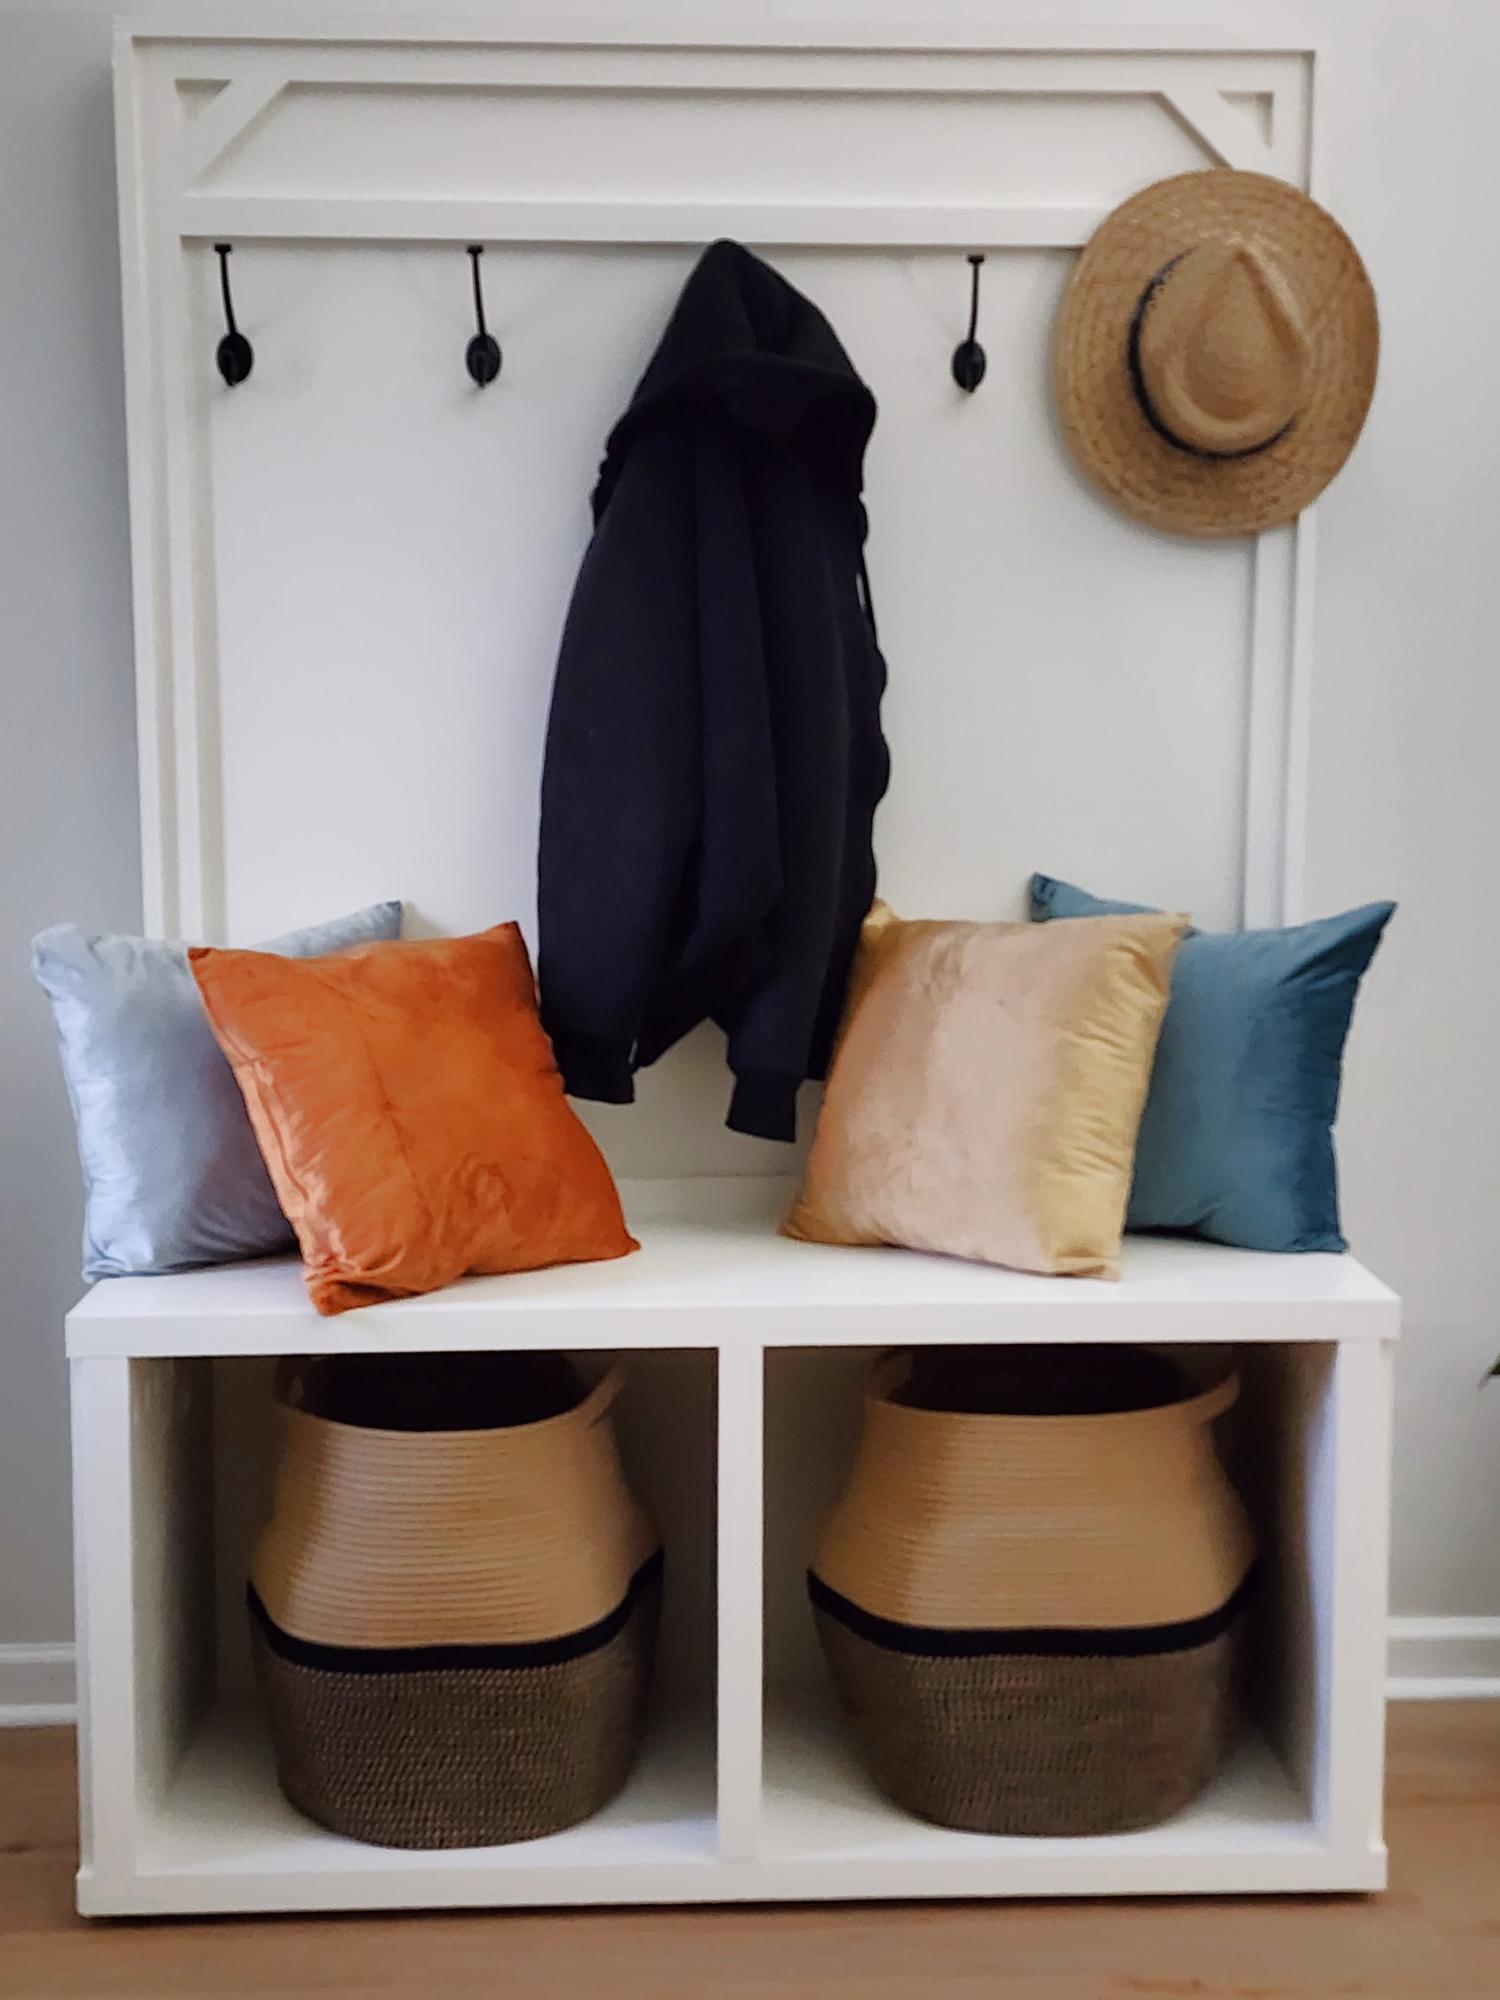
My husband built this coat rack and it is amazing and beautiful.i love it. I know the hooks look crooked in this picture but they are definitely straight.
Tracey and Wilbur Fawbush
Built from Plan(s)
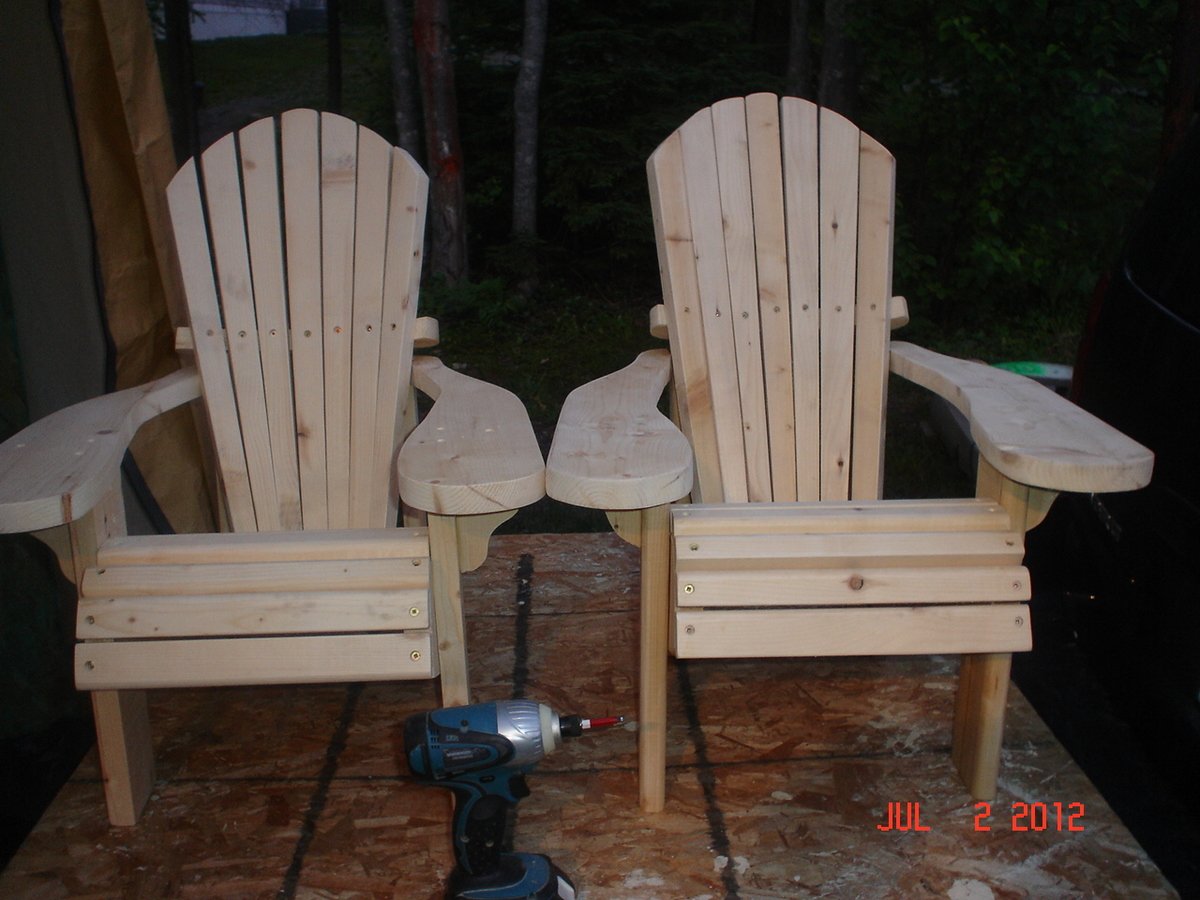
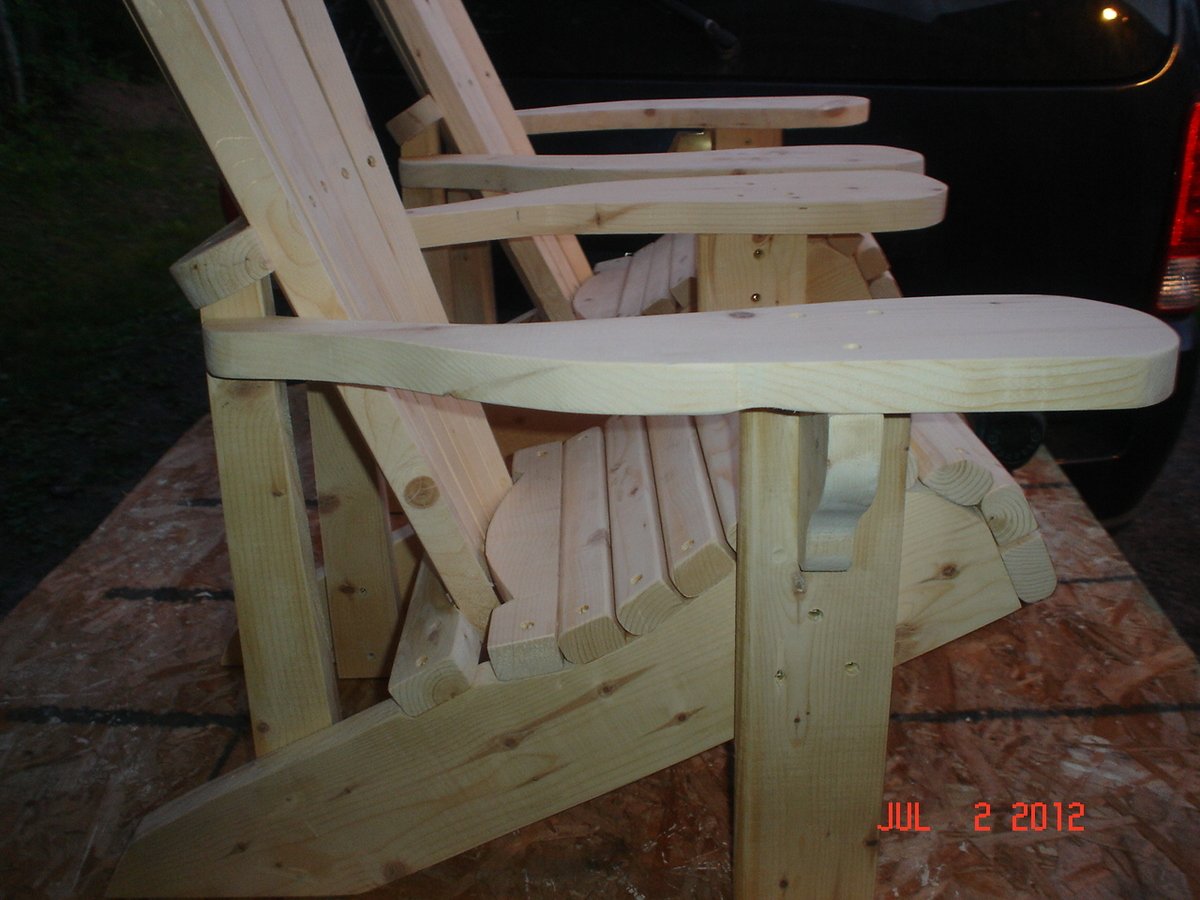
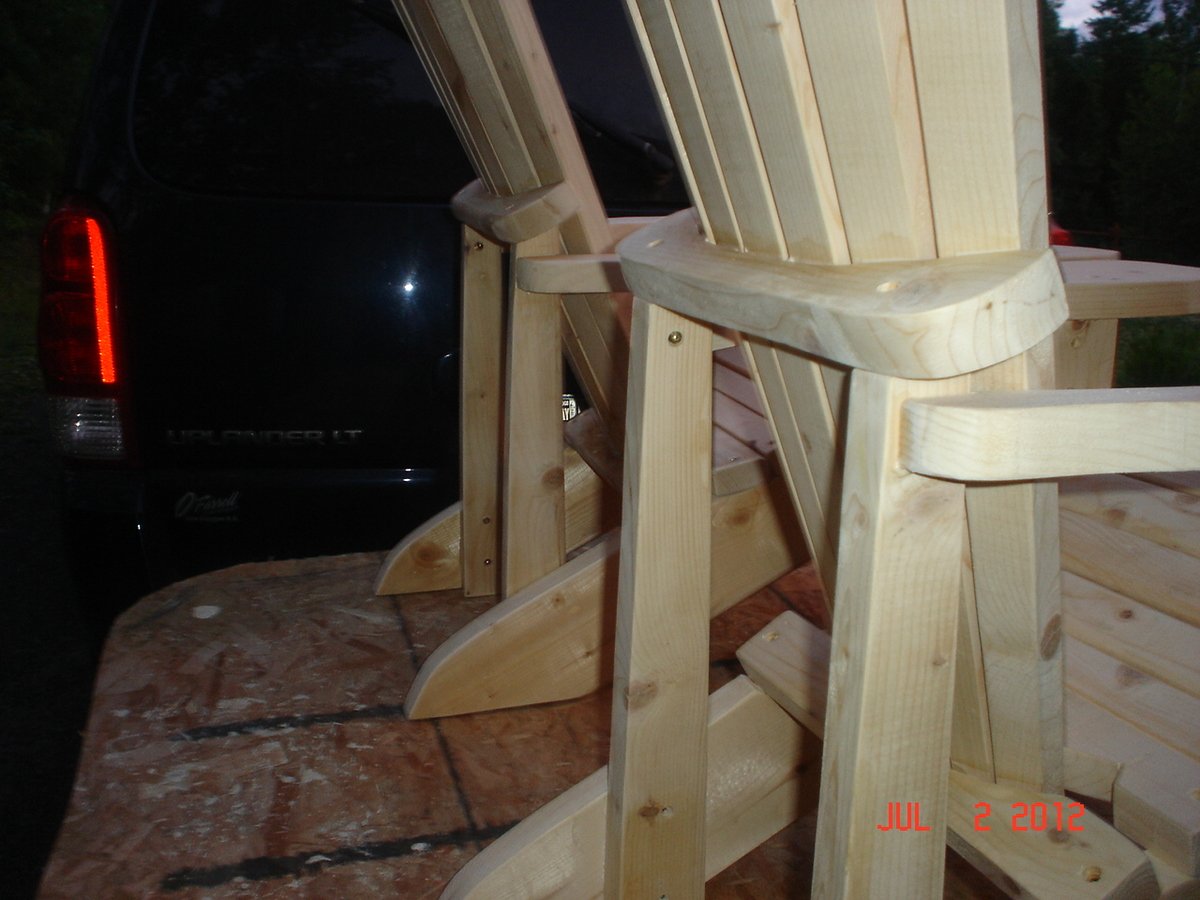
Adirondack Chairs
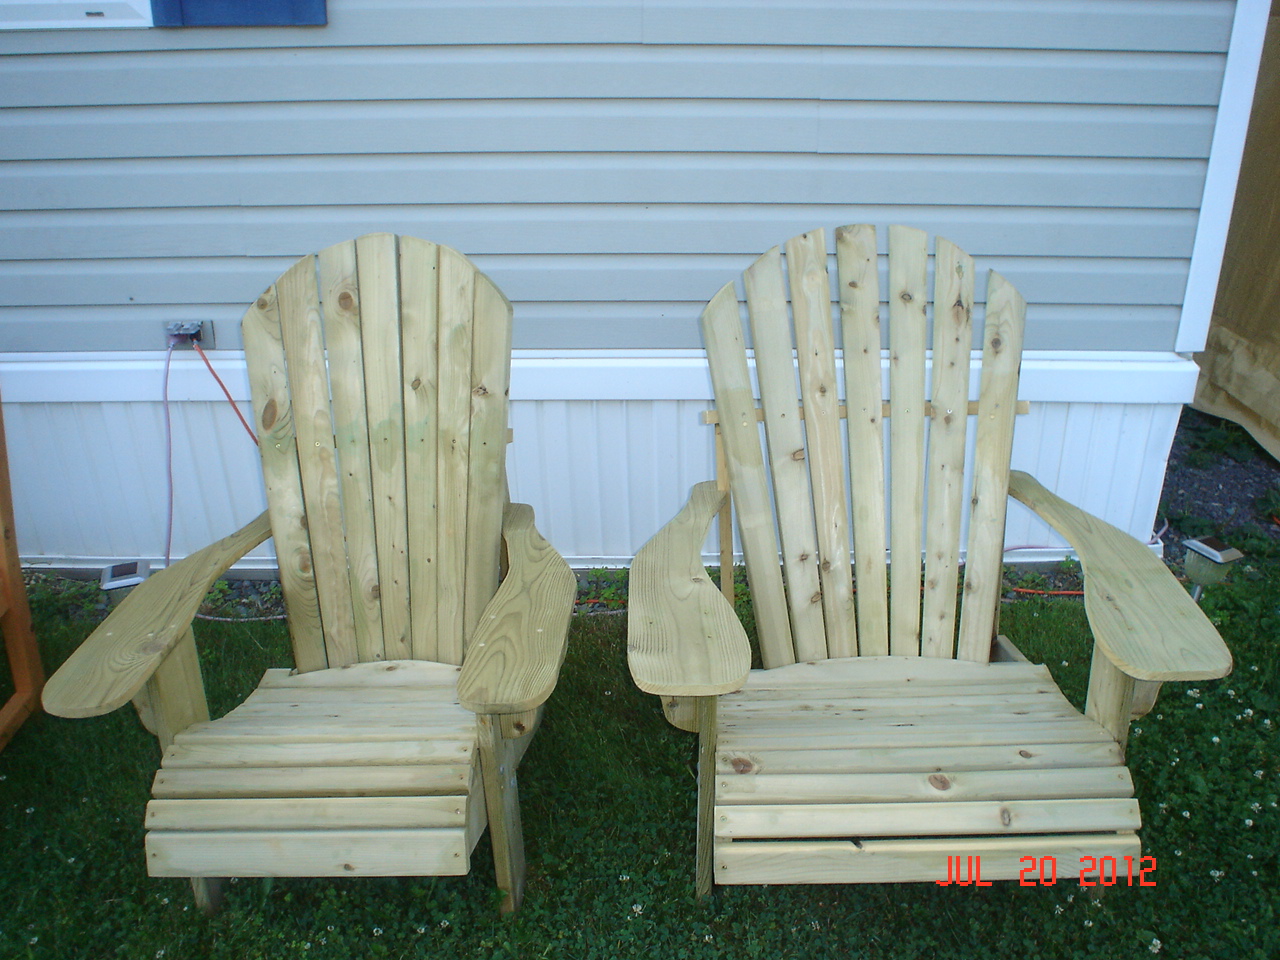
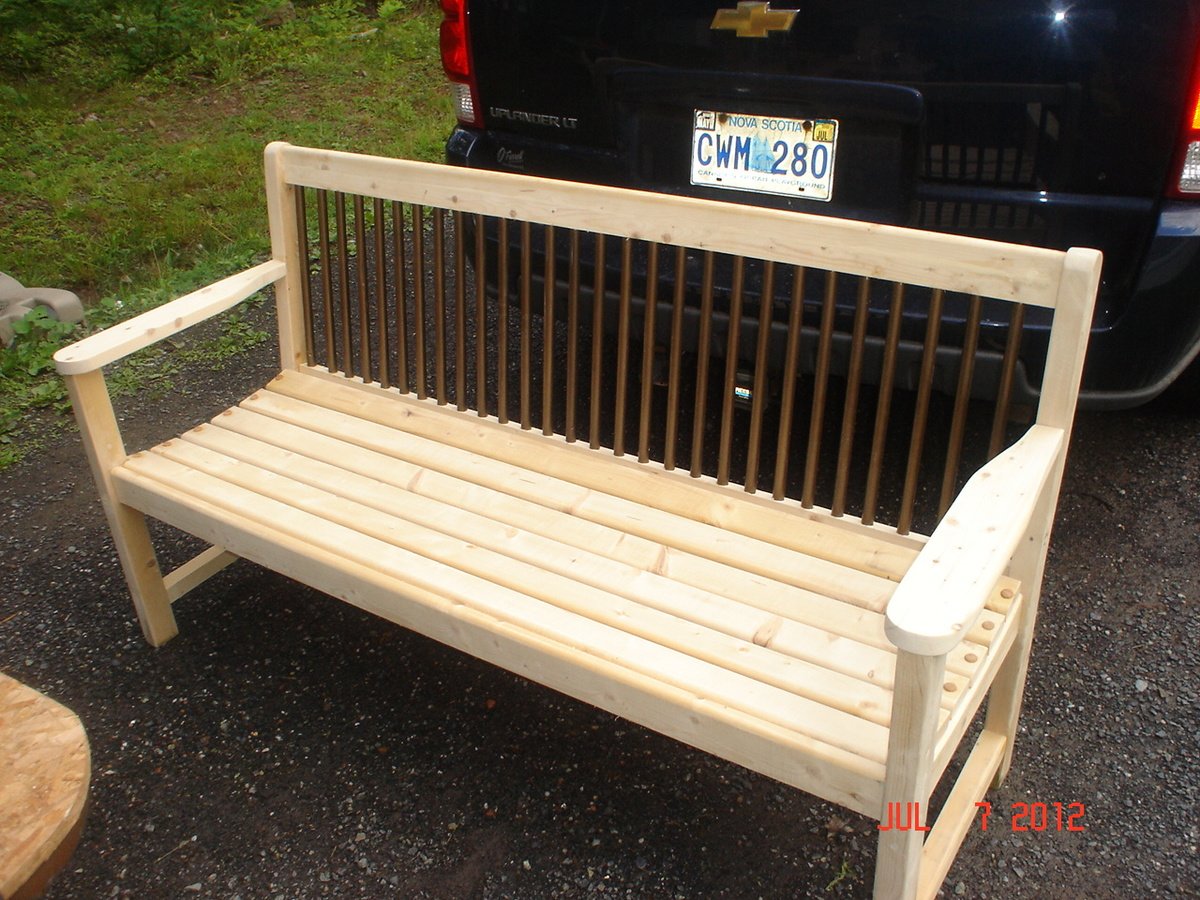
Here are some of the outdoor projects that I do to make extra money, Adirondack chairs...adult and kids sizes....patio tables....garden benches, used old pipes for the slats!!!
Estimated Cost
$15-$40
Estimated Time Investment
Afternoon Project (3-6 Hours)
Finish Used
Olympic Red Toner..with water repellent, good for seeing the wood grain!!!
Recommended Skill Level
Intermediate
Comments

Thu, 08/09/2012 - 04:56
Beautiful work!
Wow, really nice and I love the idea for the back slats! Great job!
Tue, 08/14/2012 - 14:52
beautiful!!
would you consider posting your plans?? they look really great & comfy!
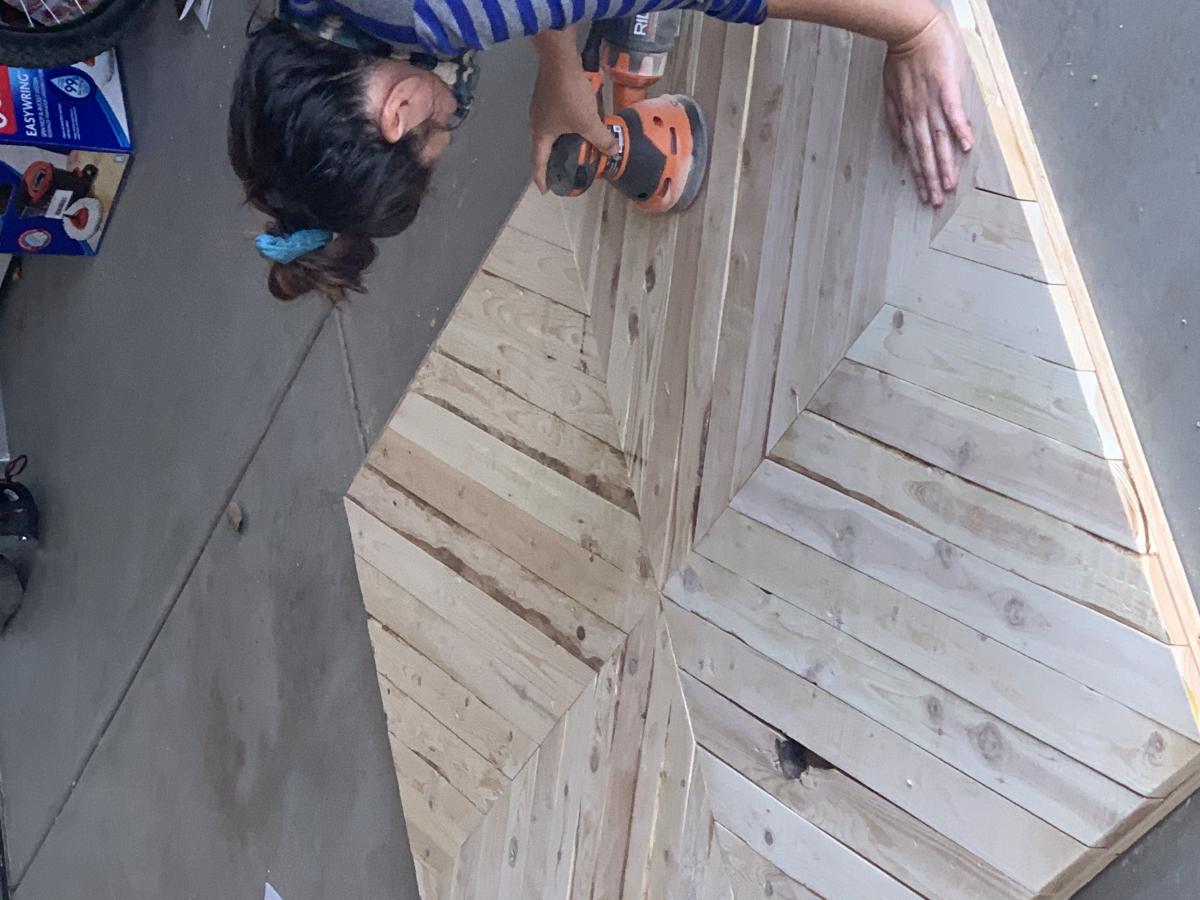
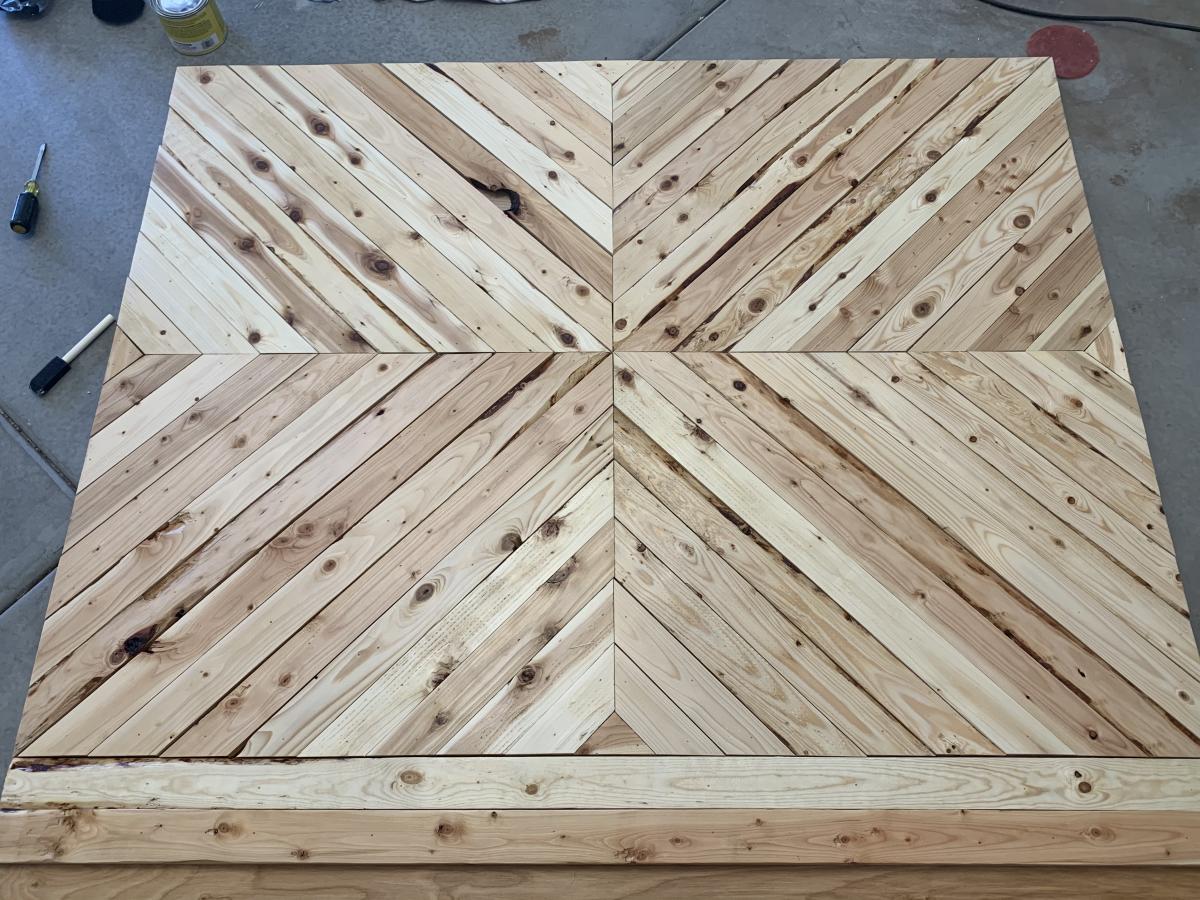
Chevron Bed
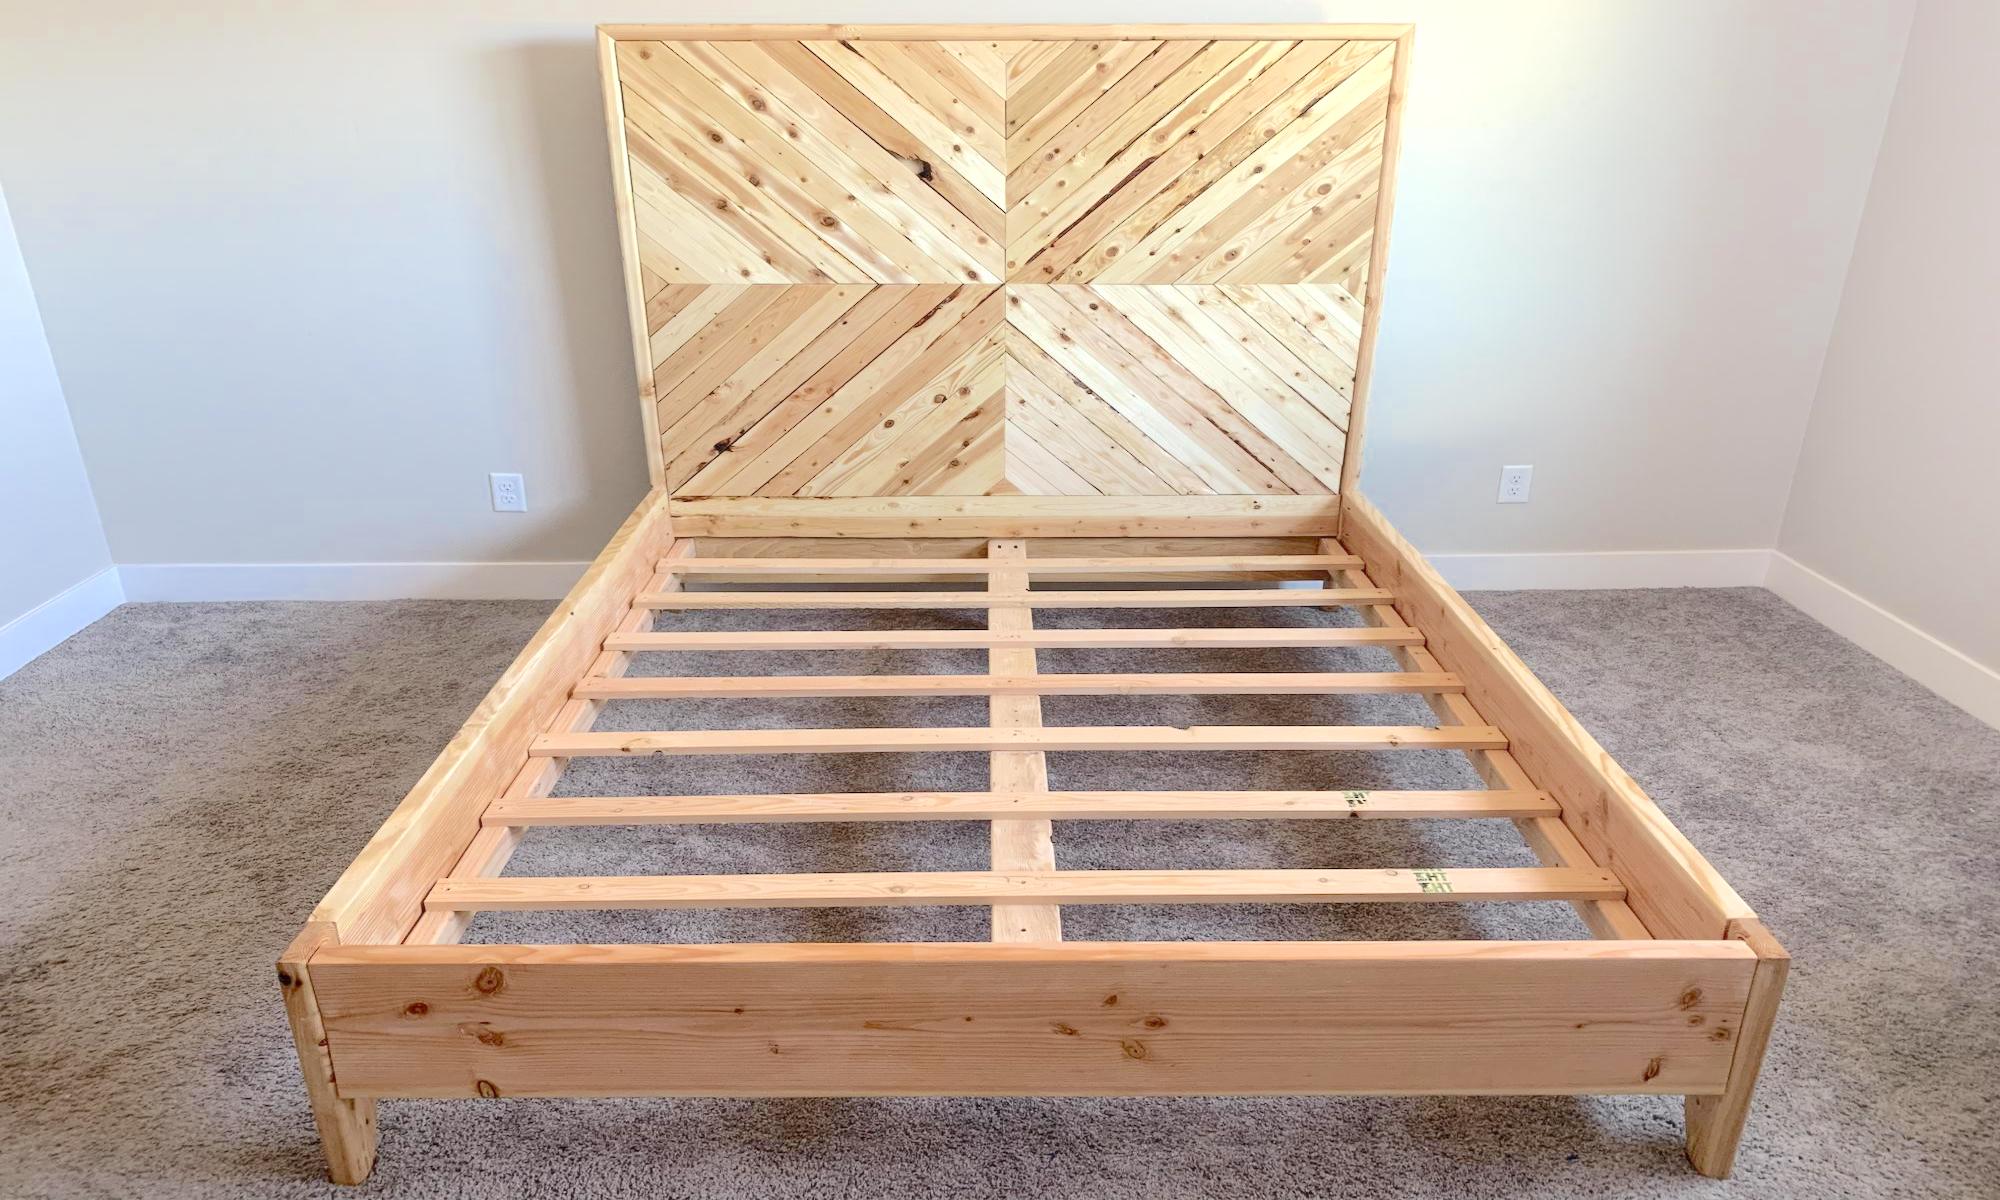
It was my very first project. Took forever to find the perfect stain, which in the end turned into a shellacking. We decided to keep it natural.

Built from Plan(s)
Estimated Time Investment
Week Long Project (20 Hours or More)
Finish Used
Natural clear Shellac - 3 coats
Recommended Skill Level
Intermediate
Comfy Outdoor Couch
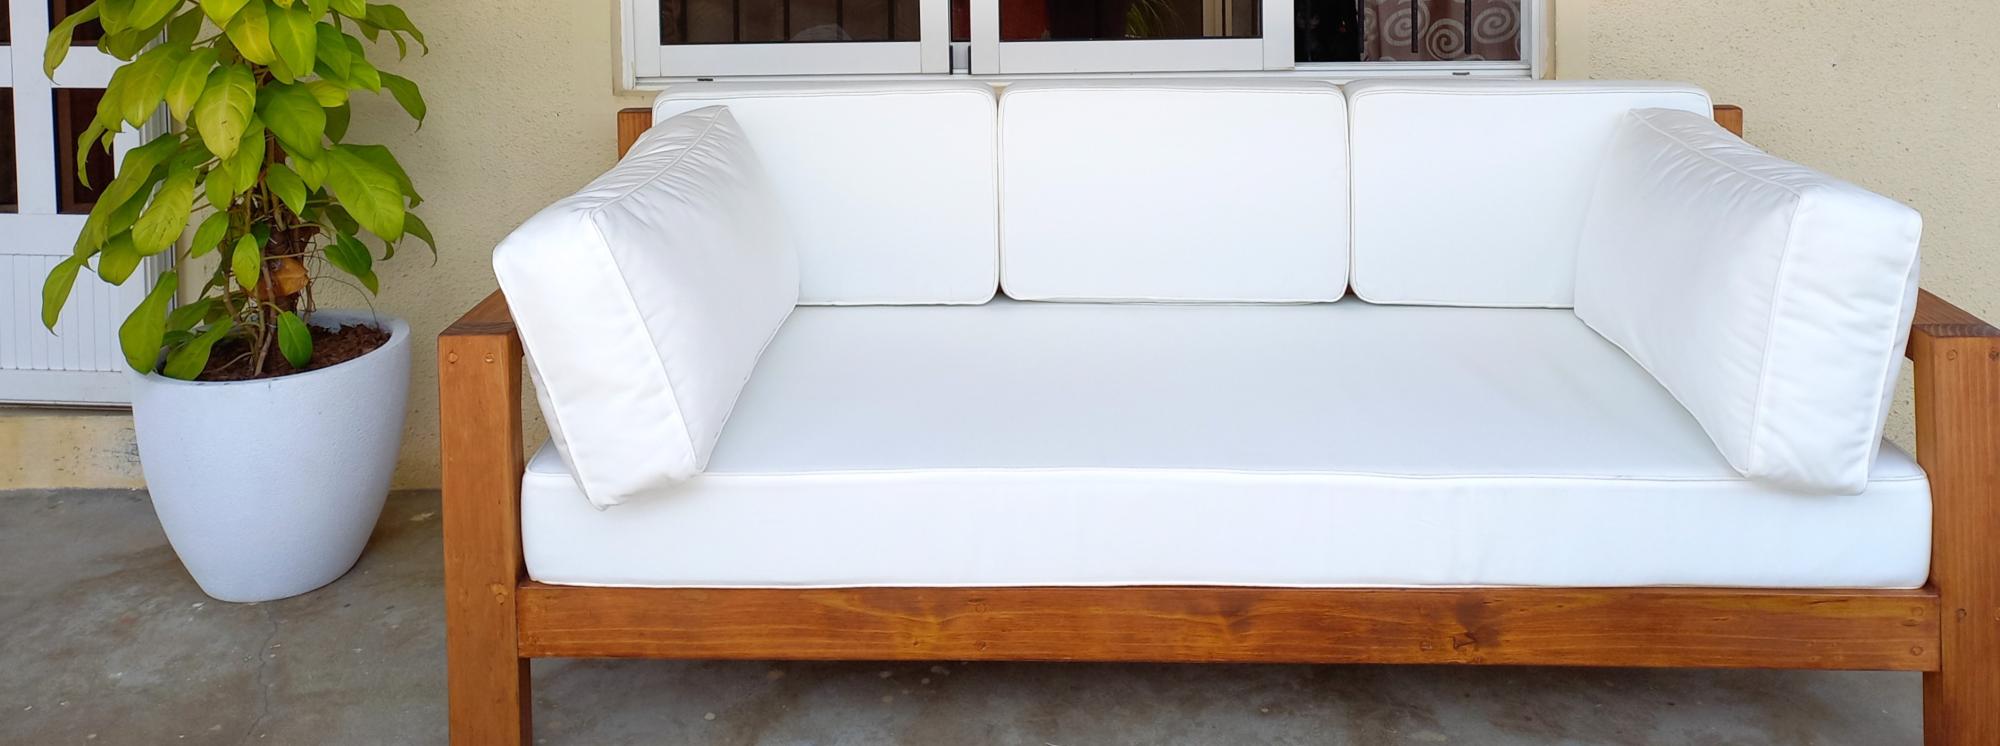
DIY outdoor couch, reader build
Daybed cushions and pillows, modified depth
Built from Plan(s)
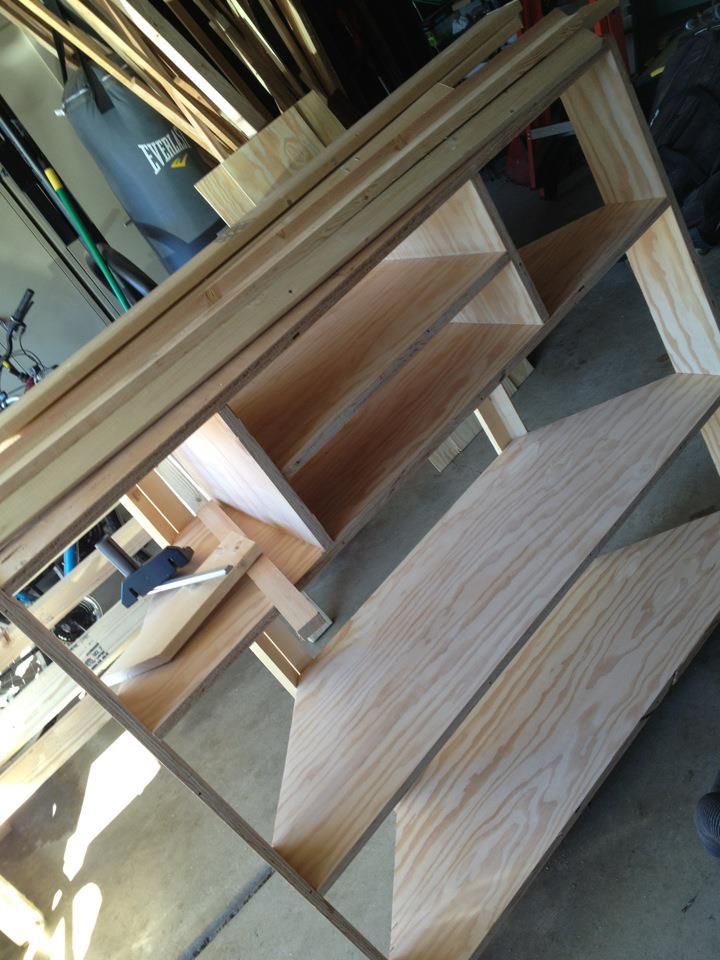
The no more "you make a better door than a window" media cabinet
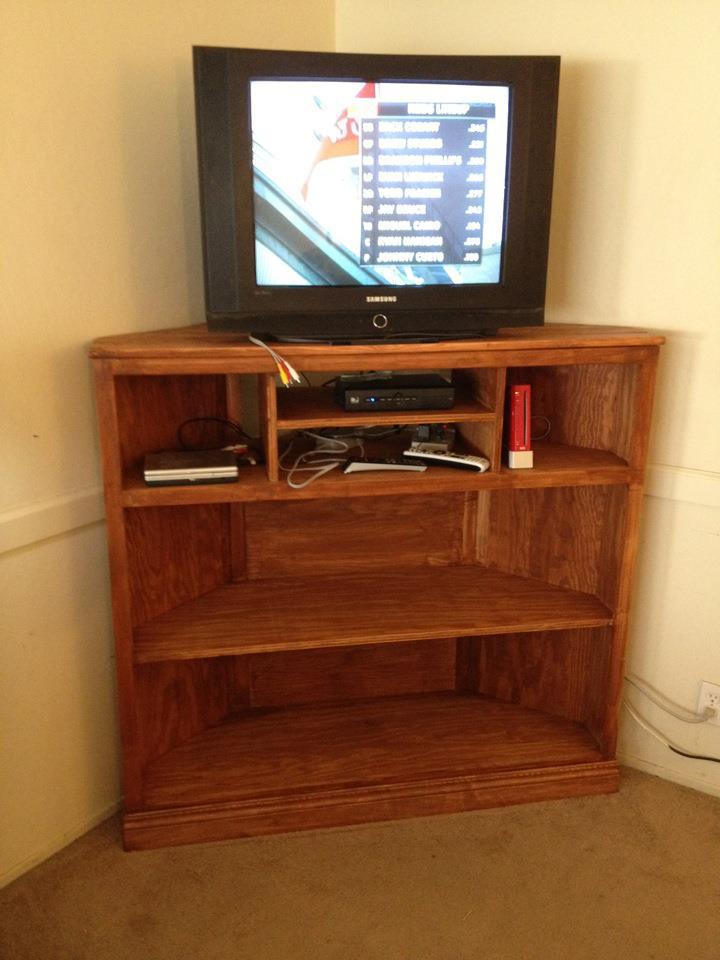
I absolutely fell in love with the Tall Corner Media Console the moment it was posted. We had a decent corner stand for our TV, but it was low and was hard to watch when kids and adults alike were constantly saying "I can't SEE!" or "You're in my WAY!". I've learned that explaining "you make a better door than a window" over an over to a 7yo and a 4yo only takes longer.
Two dilemmas faced us:
1 - Which comes first, the chicken or the egg? DH insisted that we needed a big screen tv before building the console. I insisted that we needed the console first, so that we would have a place for the tv. Since it was determined the that console was cheaper than a tv, I won :)
2- What to color it? Paint? Stain? I was the one building, so DH said he didn't care, but that he liked the idea of staining. Having never stained before I was a bit intimidated - paint was my safety net. DH got this one, but only after I made him choose the stain.
I have the doors built and they are in the garage. With other things in the living room we wouldn't be able to open them all the way anyway. That and my final build weekend topped out at 105+ deg - and I was DONE being outside :) All in all, i like the open look of it, although I reserve the right to install those doors if need be.
Built from Plan(s)
Estimated Cost
$200
Estimated Time Investment
Week Long Project (20 Hours or More)
Finish Used
Minwax Wood Stain - Vermont Maple
Recommended Skill Level
Intermediate
Comments

Thu, 08/30/2012 - 18:18
Great job!
You did a fabulous job and I can definitely see it working without the doors too. The nice thing about stain is that can easily be covered with paint, if you change your mind down the road.
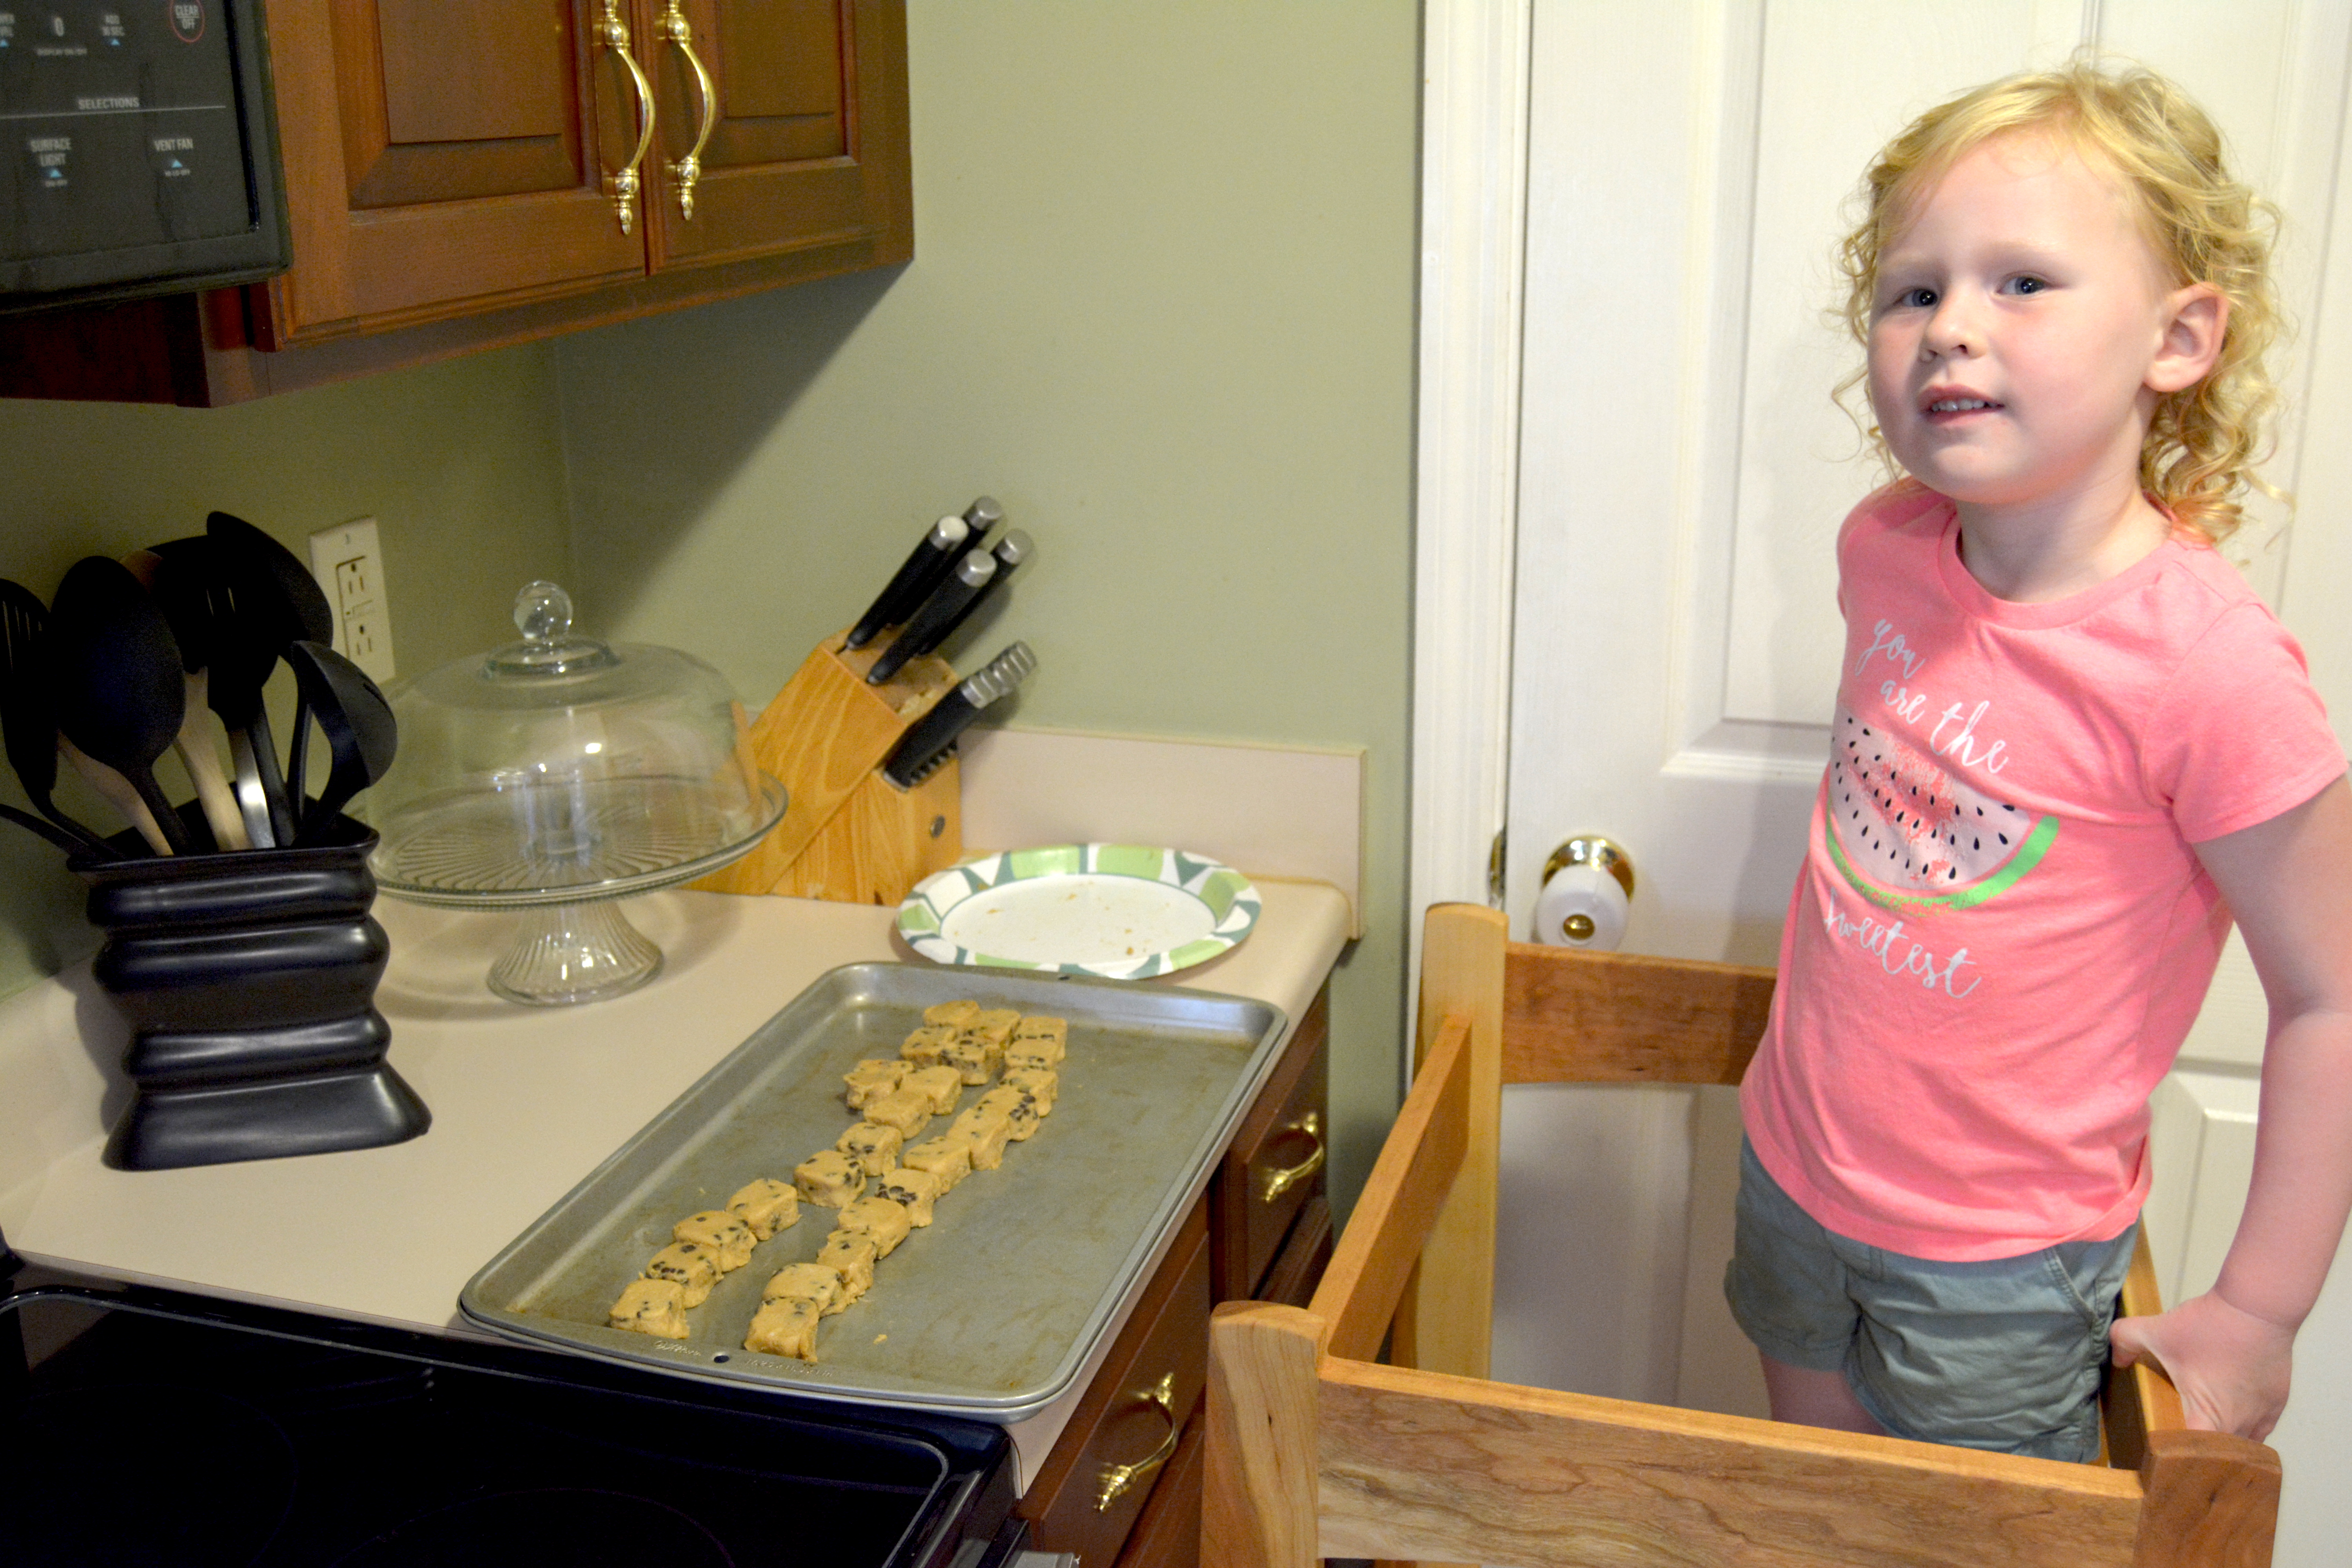
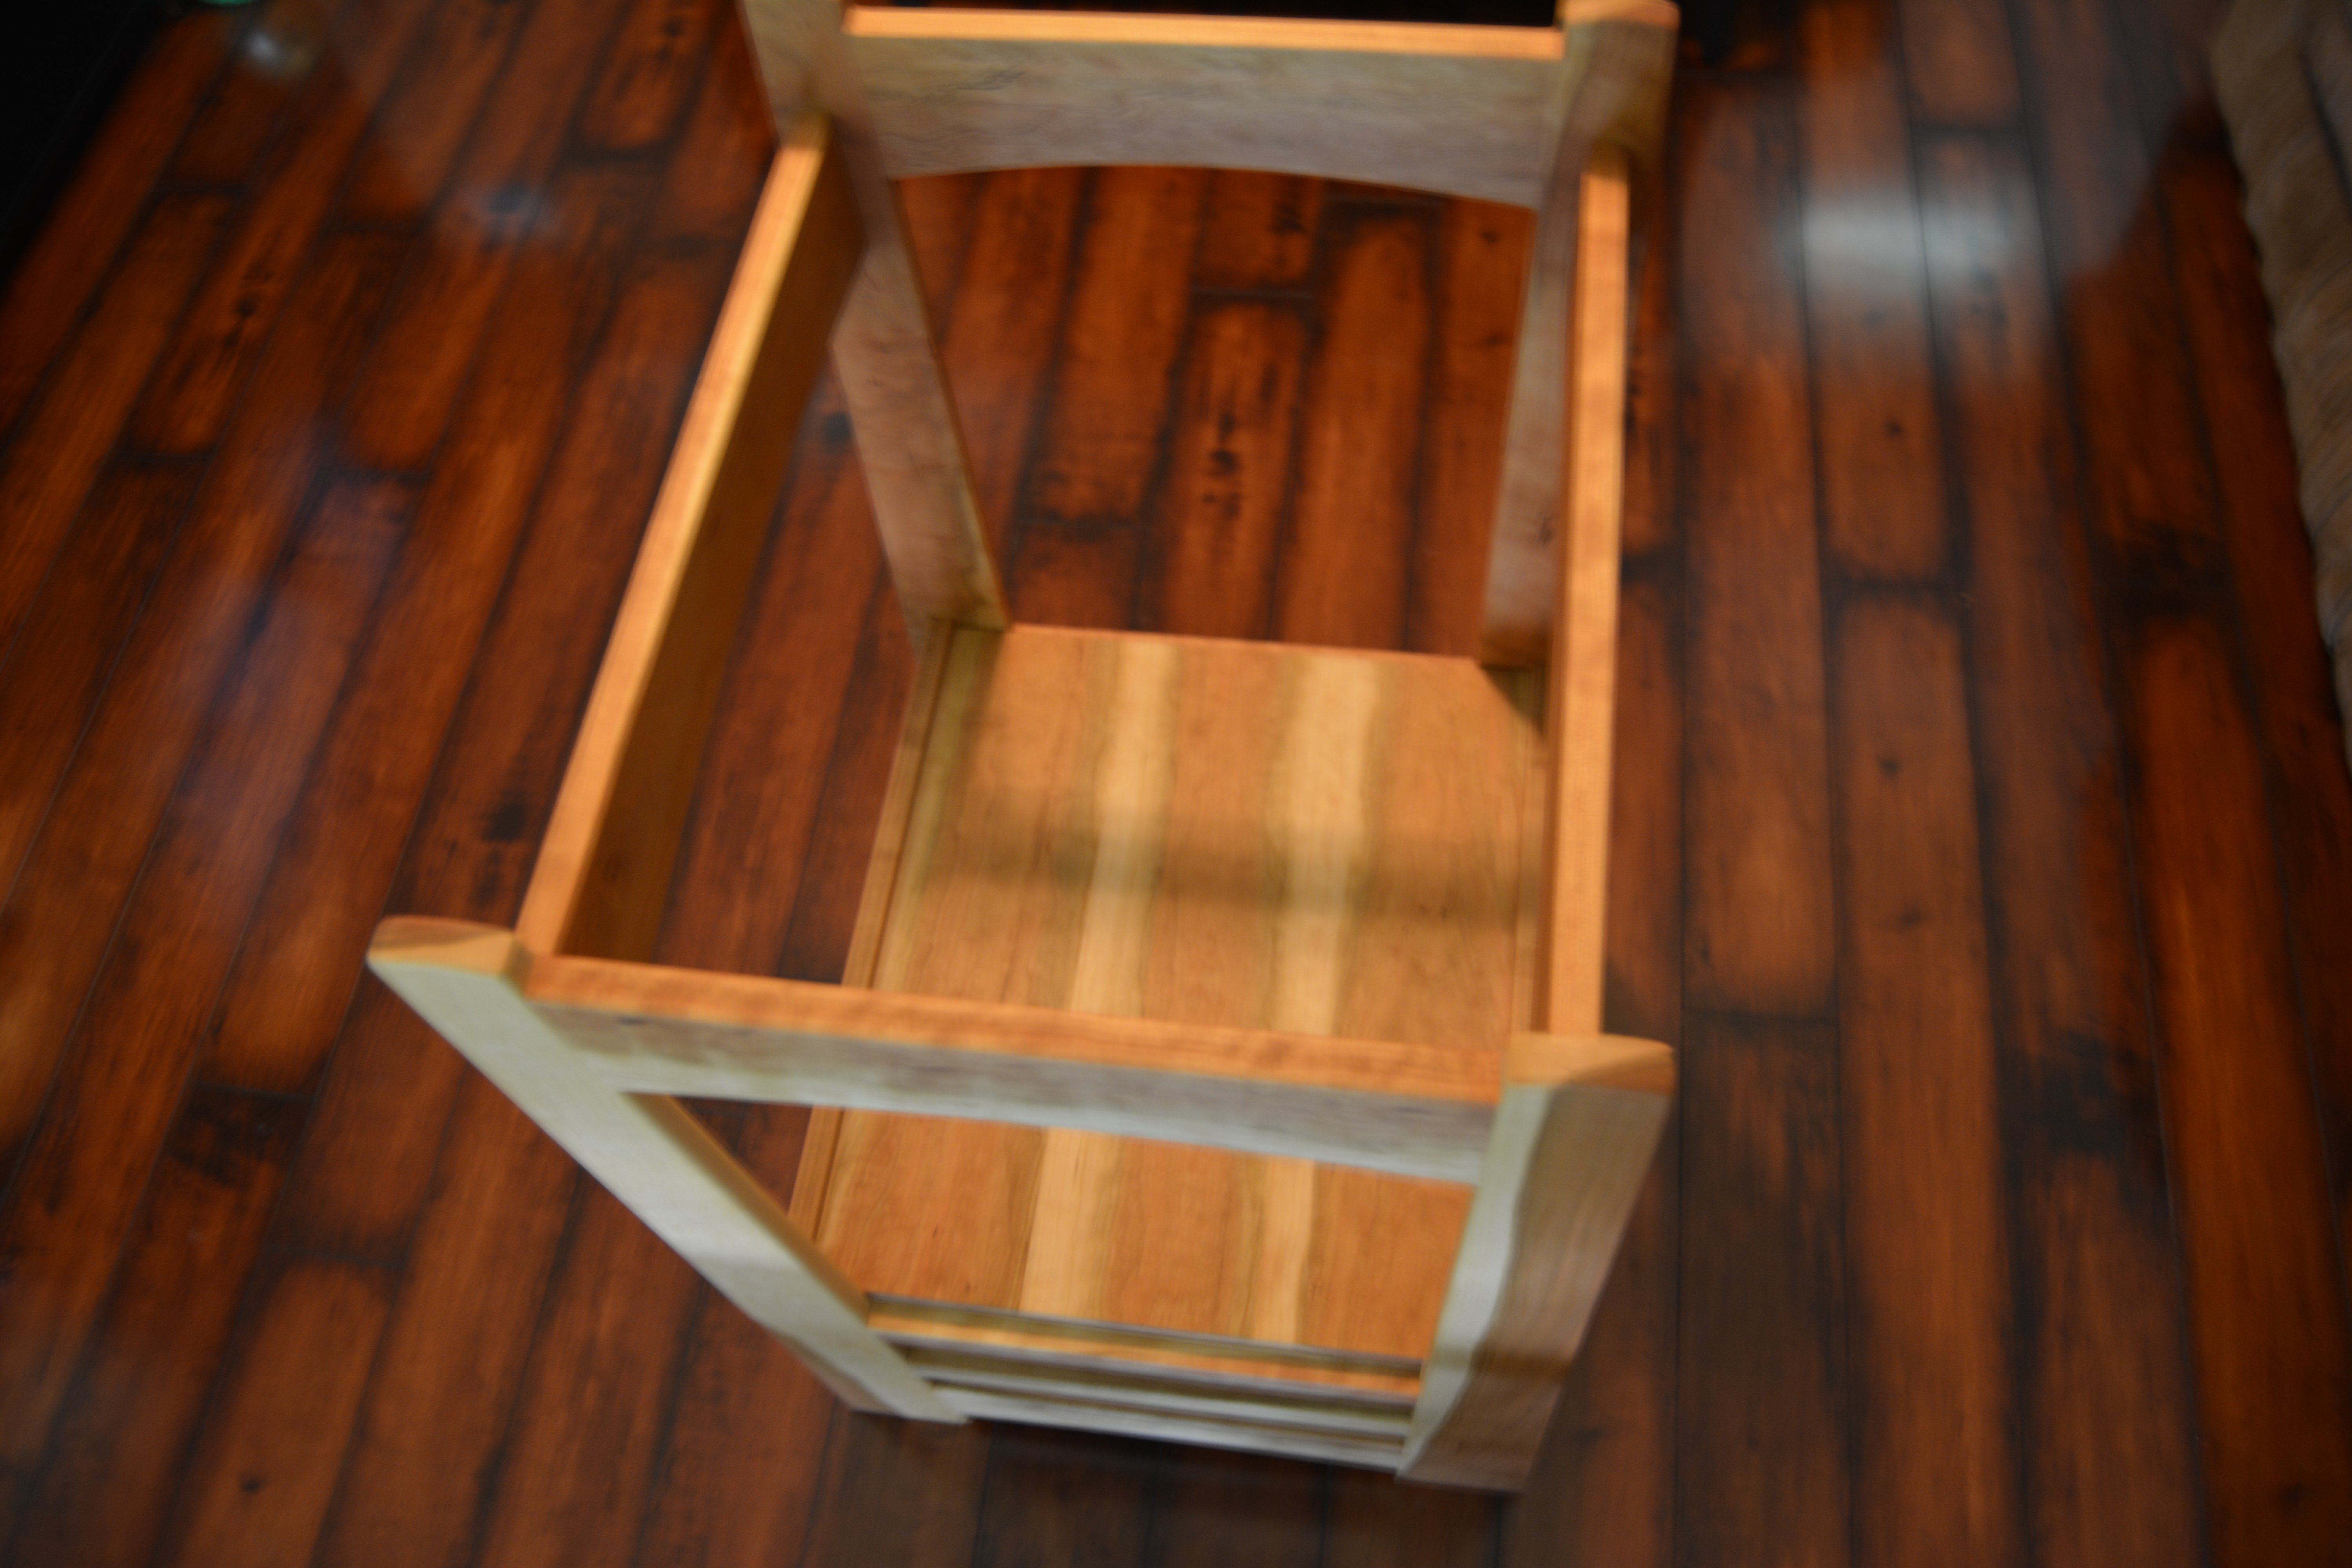
Kitchen Helper
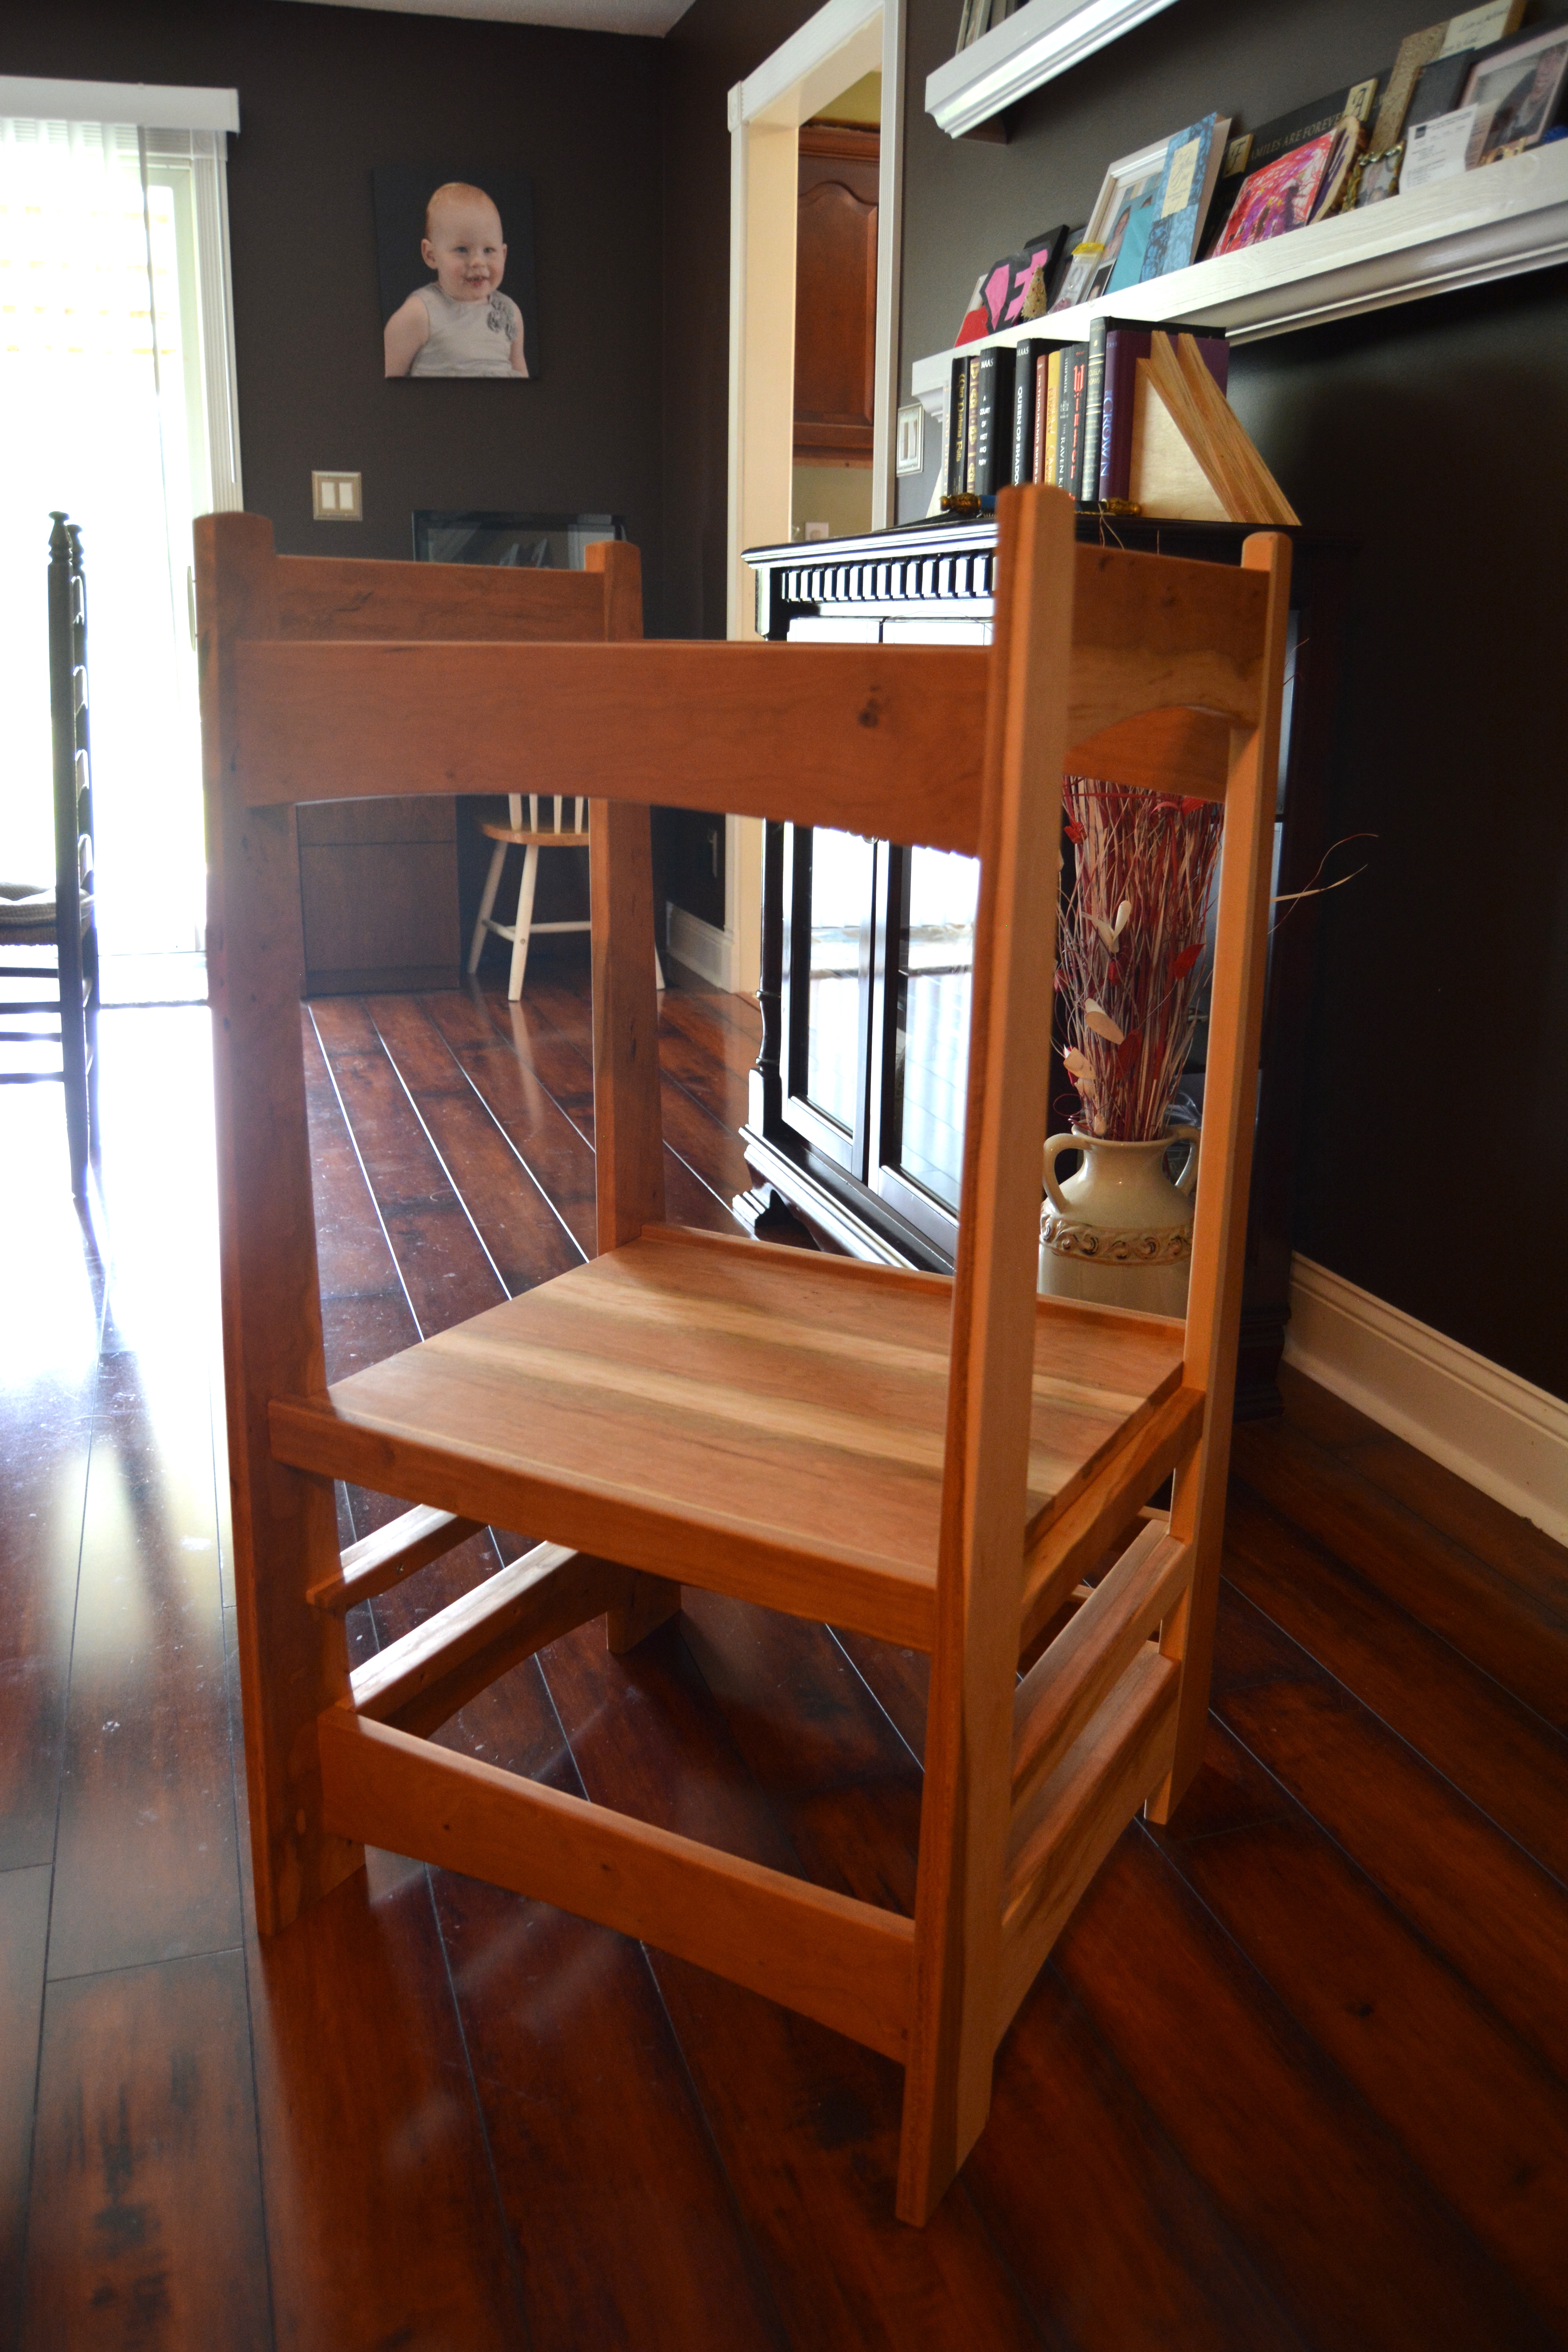
This project has been one that I've been putting off for a while now. My wife was threatening to just go out and buy one so I figured it was either now or never! Our little girl loves to help in the kitchen and standing in one of our old wobbly dining chairs just wasn't cutting it anymore.
I knew that I wanted to build something that would be more like an heirloom piece of furniture instead of one of the cheap knockdown types that you see in stores. I am sure that I could have possibly come up with my own design, but Marc already had already come up with a good design in the arts and crafts style, which is my favorite style of furniture. I saw no reason to come up with a "new" design just to say I did, plus I was lazy, and Marc already had plans hahaha. In all honesty, I think sometimes as woodworkers we get in our own way trying to be "original", when at this point, it's pretty much all been done before.
Estimated Time Investment
Week Long Project (20 Hours or More)
Recommended Skill Level
Advanced
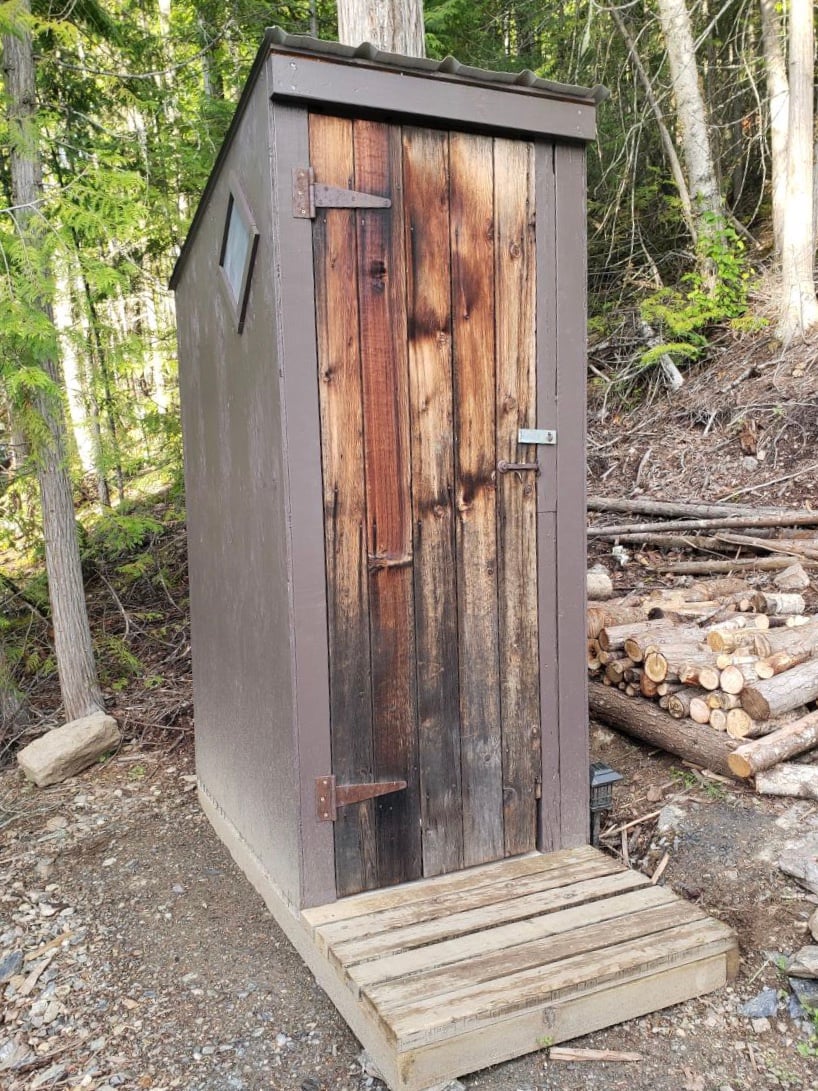
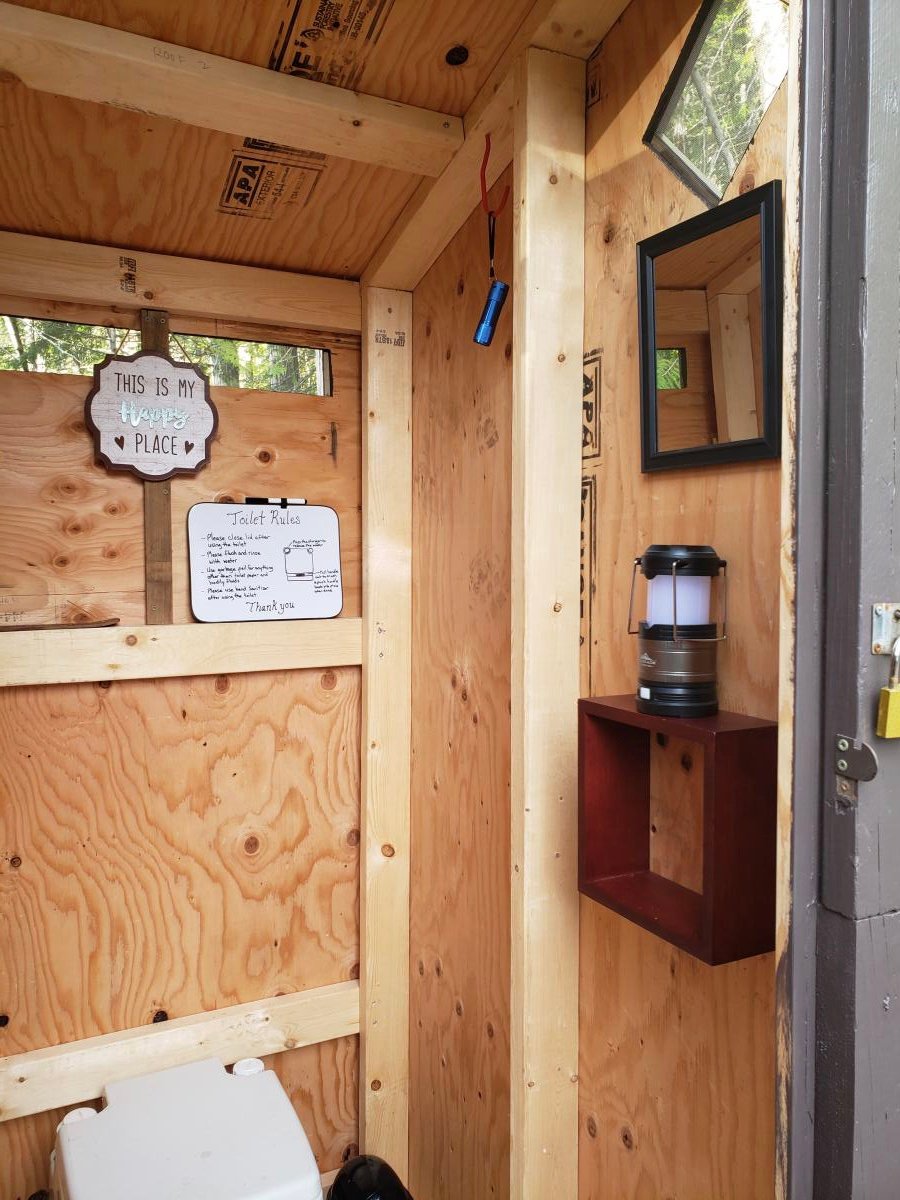
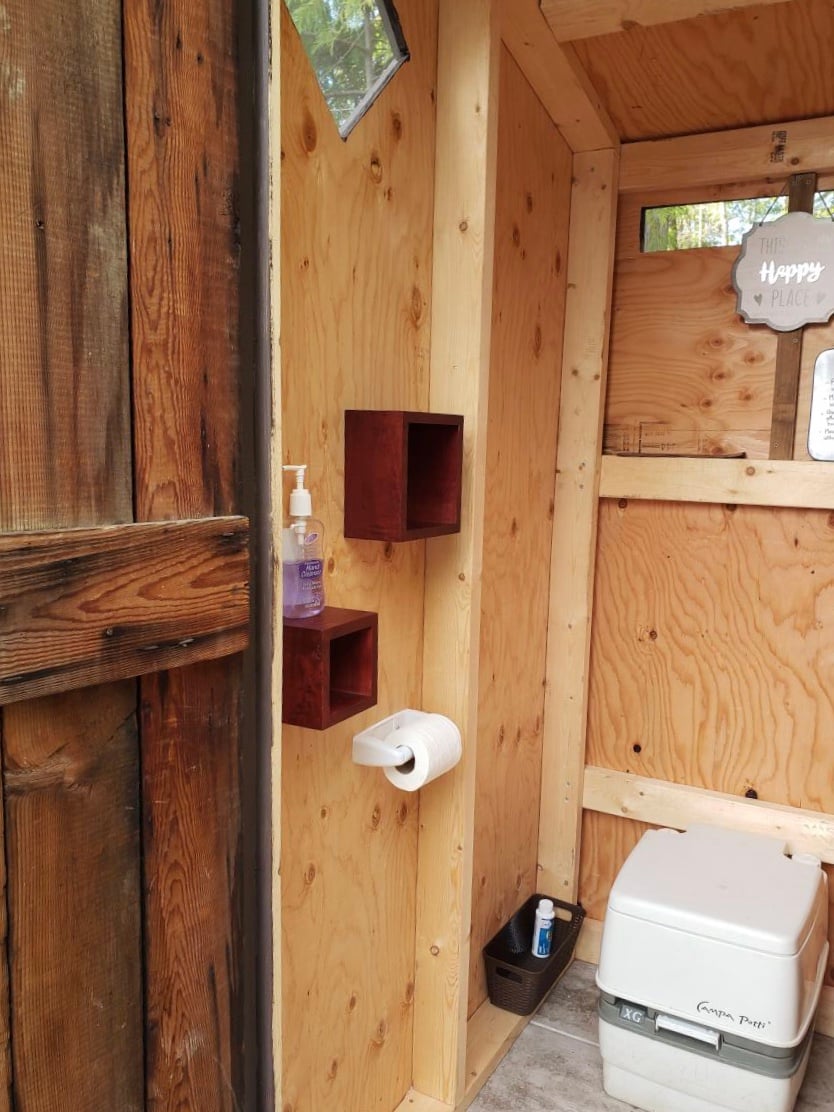
Simple Outhouse
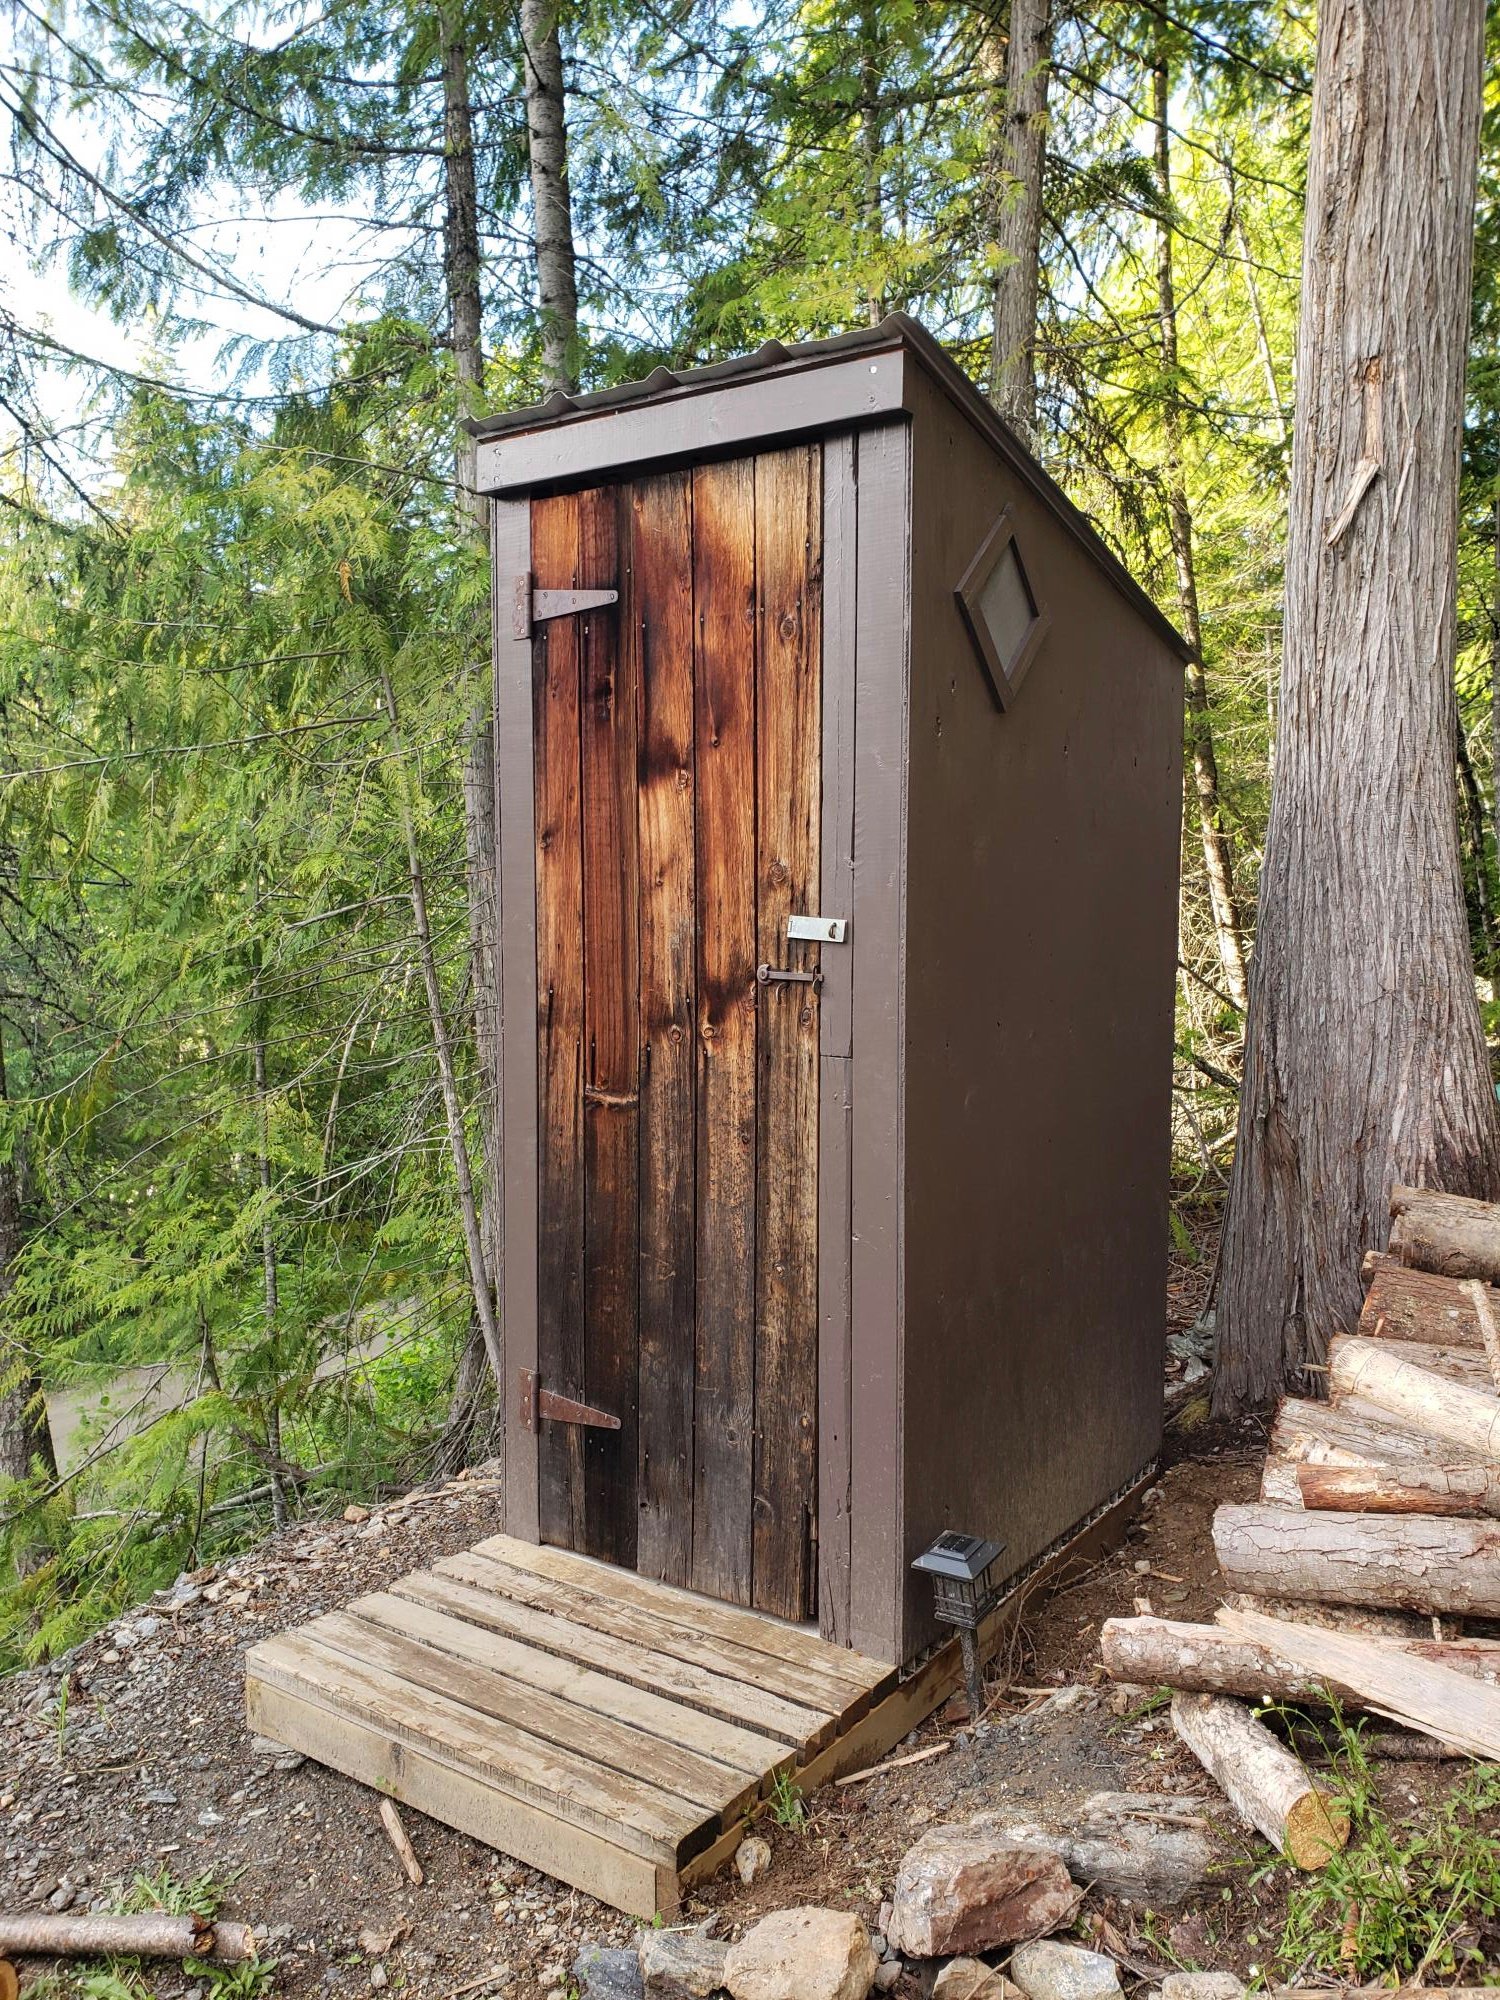
We used the plans from the Simple Outhouse to make a space to hold our porta potty. The door is a repurposed barn door and I think it looks amazing! These plans were perfect for us as we were able to build it in panels and reassemble on our property by the lake. Some screened windows to allow for ventilation and light were the finishing touches. Thanks Anna for the simple to follow plans!

Built from Plan(s)
Estimated Cost
$200 Canadian
Estimated Time Investment
Weekend Project (10-20 Hours)
Finish Used
We used pressure treated wood for the base and deck. For inside, we repurposed some scraps of composite decking. Painted with exterior latex "driftwood".
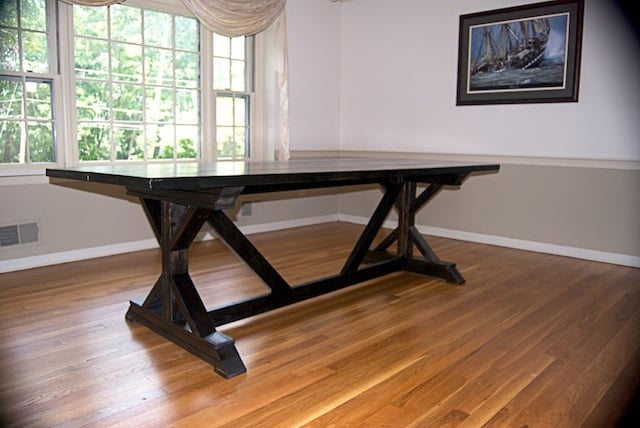
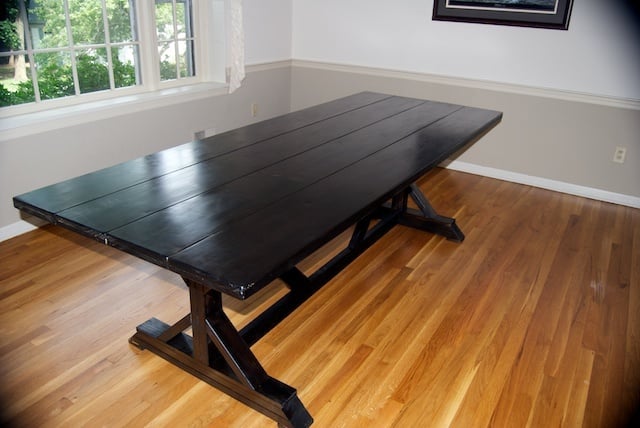
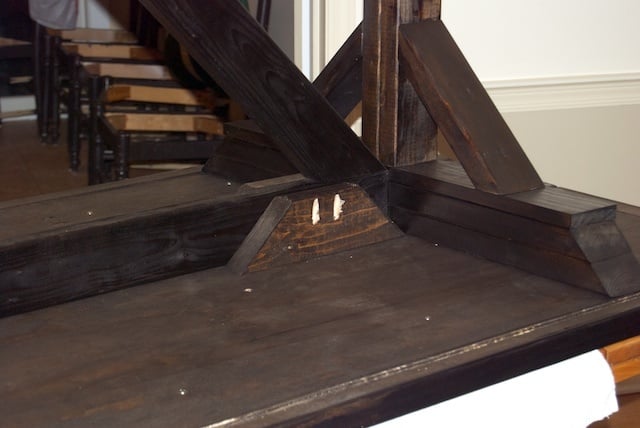
Fancy X Farmhouse Table

This is my first project and I am so happy with it! Thanks for the plans!
You can see my step by step process here:
http://ordinaryhappilyeverafter.com/blog/category/table/
I'm especially happy with how I was able to attach the top to the bottom without drilling through the top. I describe that here:
http://ordinaryhappilyeverafter.com/blog/2012/08/my-table-is-done/
Thanks for the inspiration!

Built from Plan(s)
Estimated Cost
< 150
Estimated Time Investment
Weekend Project (10-20 Hours)
Finish Used
Minwax Jacobean (2 coats)
1 coat polycrylic satin finish on top followed by 3 coats of wax
3 coats polycrilic high gloss finish on base
1 coat polycrylic satin finish on top followed by 3 coats of wax
3 coats polycrilic high gloss finish on base
Recommended Skill Level
Beginner
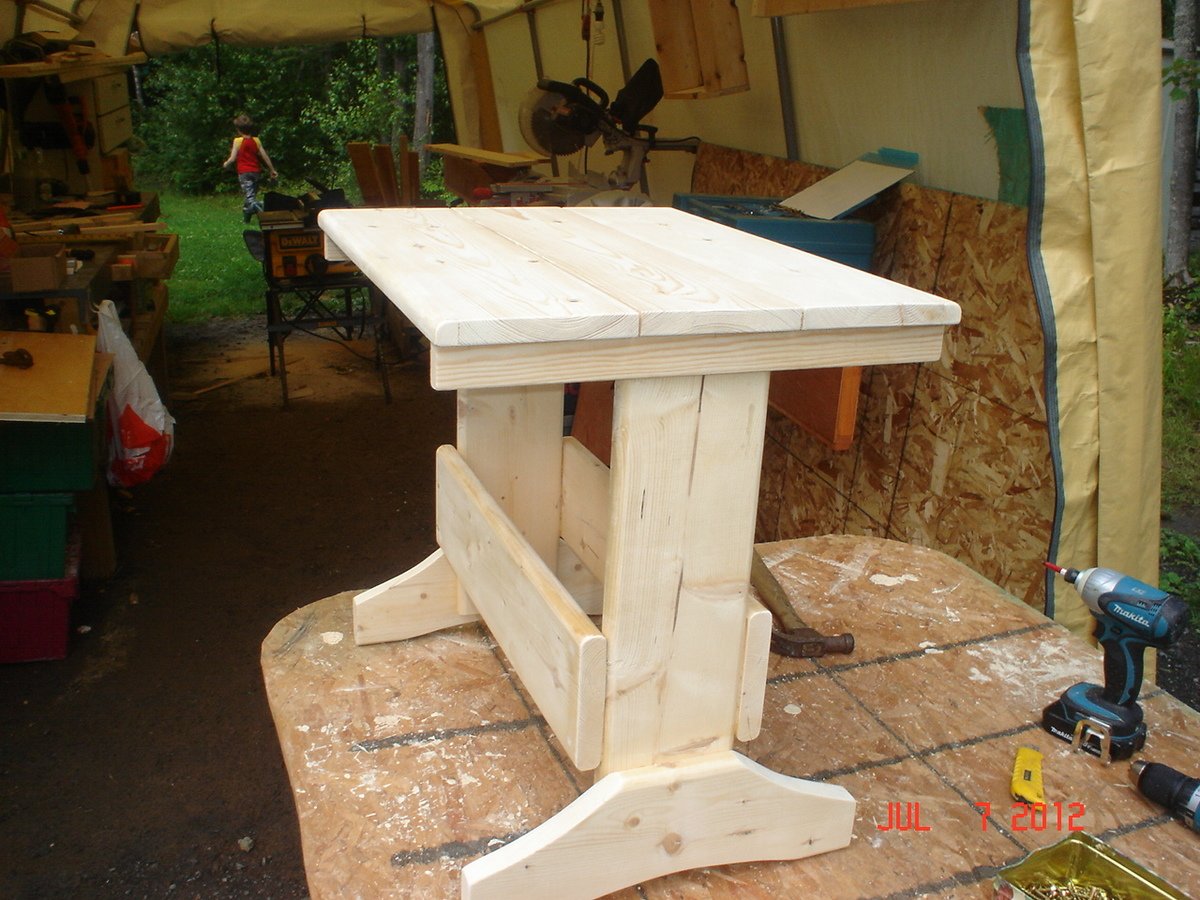
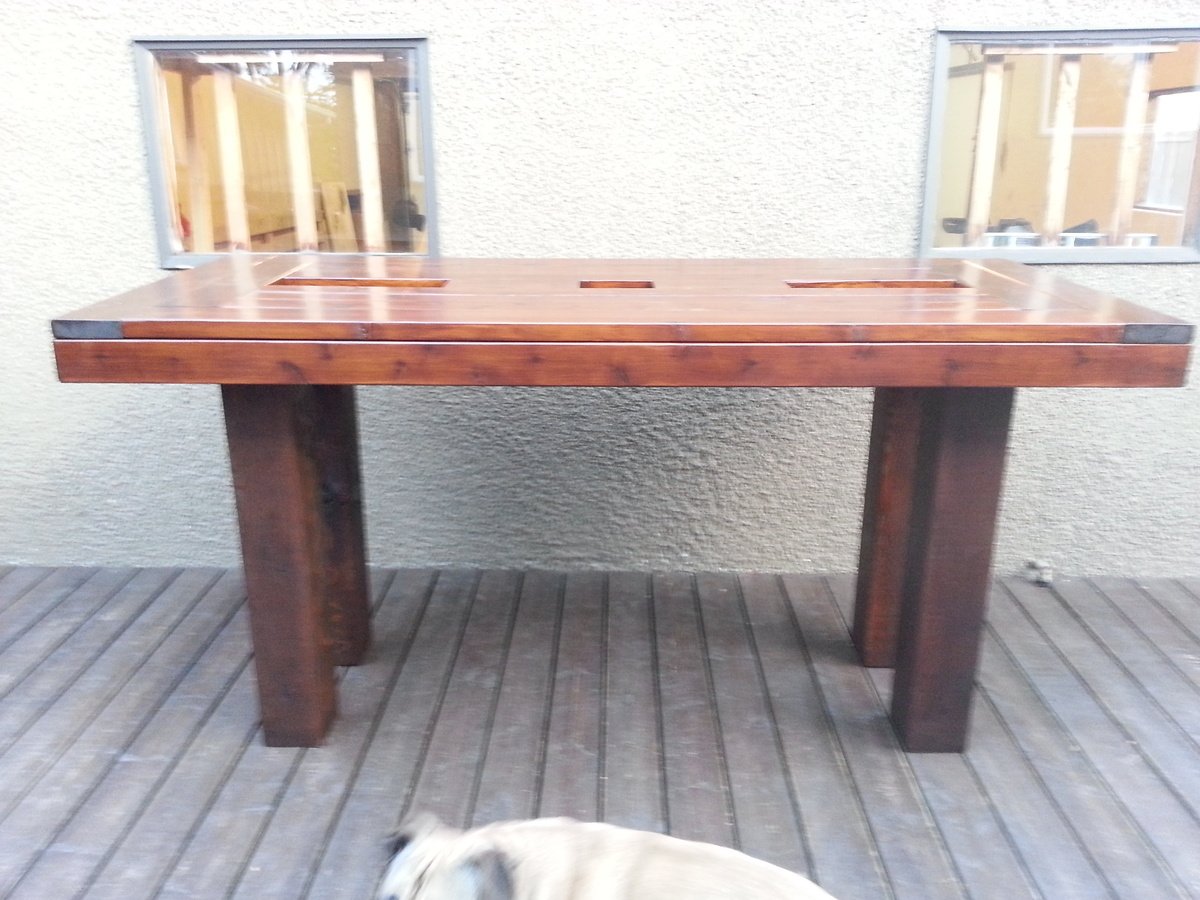
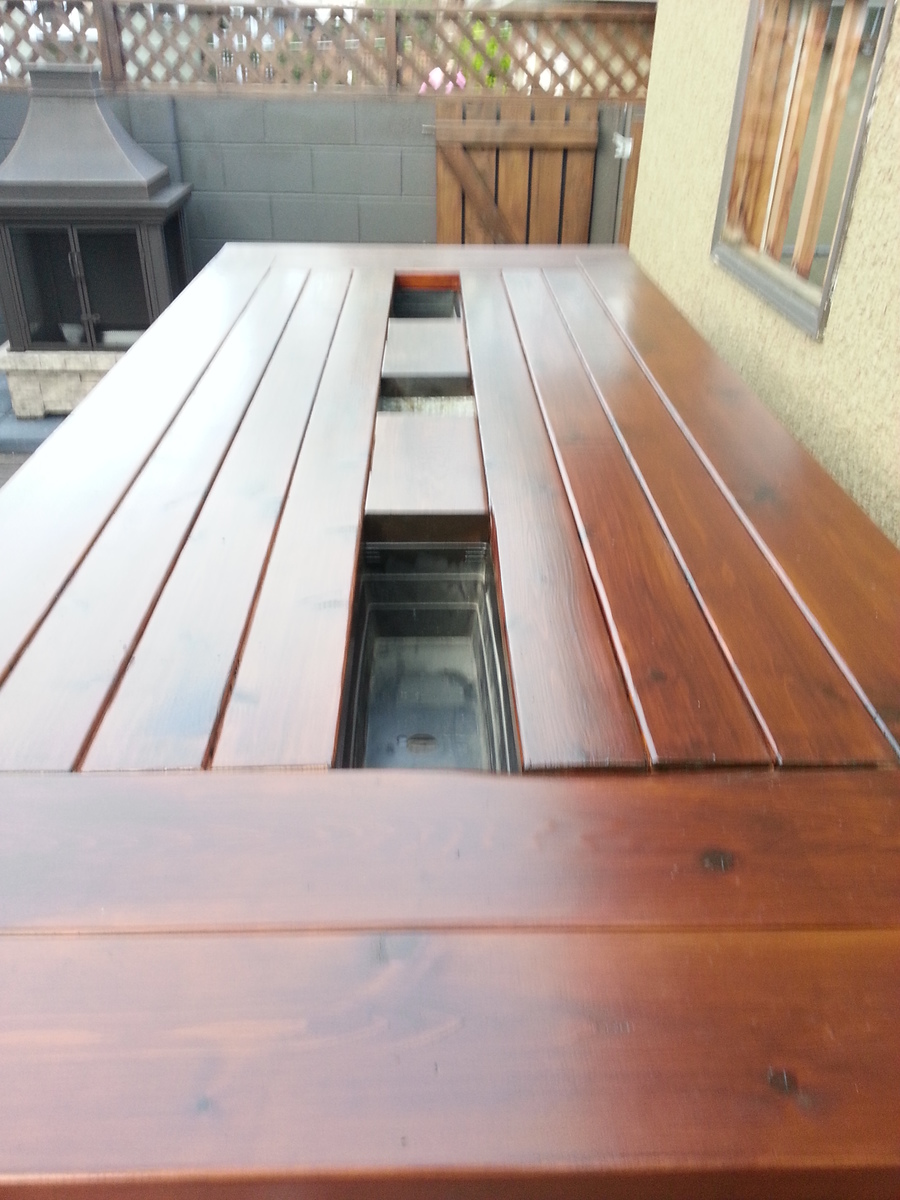
Bar Height Patio Table
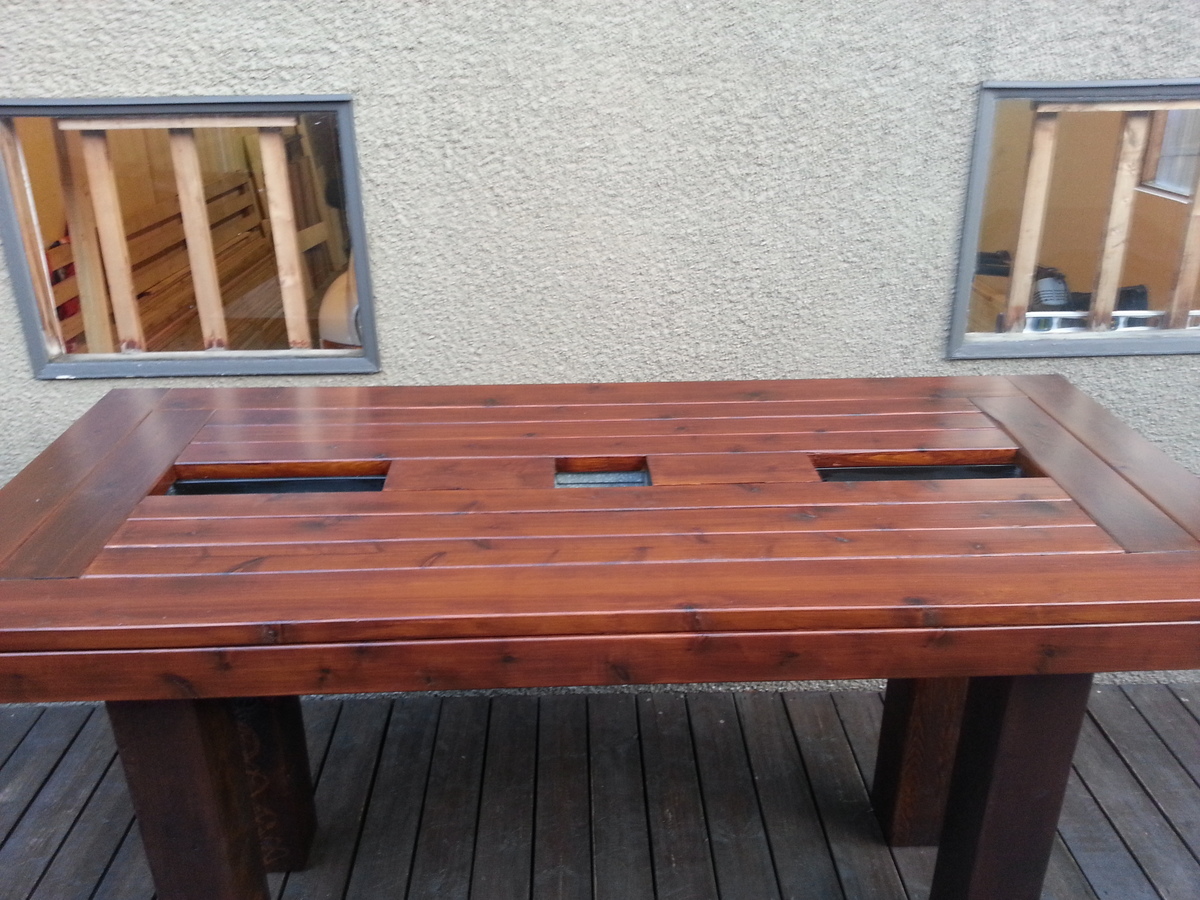
Built this from a couple of the plans on here and ideas I have seen around the web. This is the very first project I did and with plans from Ana White I found it pretty easy to get through the whole thing. I built this to be bar height and now that it is done I might cut it down to be regular table height just because I didn't realize how big it would actually be. But first I will build a couple chairs and a bench to go along with it.
Estimated Time Investment
Week Long Project (20 Hours or More)
Finish Used
I used Sikkens Cetol 123 system, 3 coats and the colour is dark oak.
Recommended Skill Level
Starter Project
Comments
 You really did a great job on this! Love it!
 Work Bench
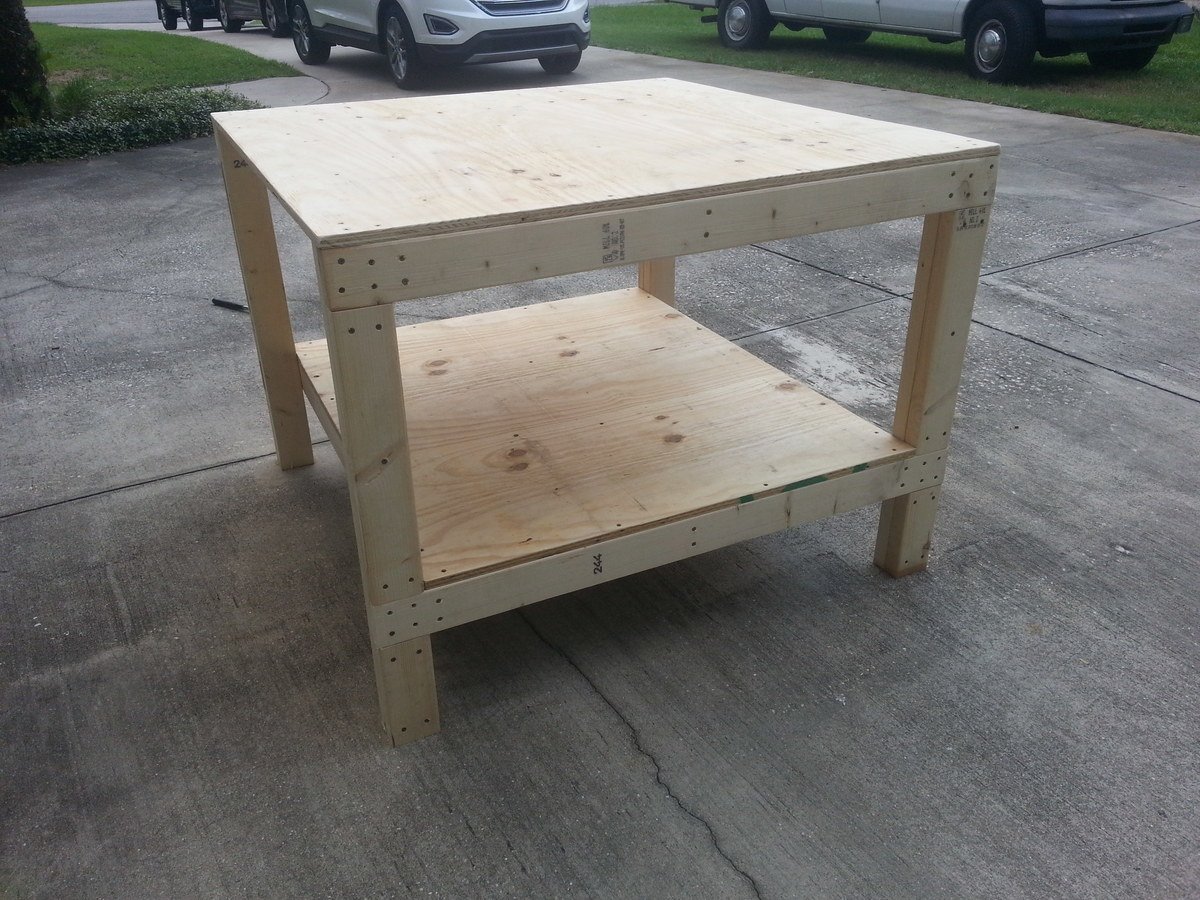
I needed more room, so I changed the dimensions to a 4 x 4 table. Used the same amount of materials. I made the side leg measurements 48" wide and the cross braces 45". My top sheet of plywood is 48" x 48" and the bottom sheet is 48" x 41". The rest of the leg measurements are the same.
A little overkill on the screws, but made it extra sturdy.
I saw this site, copied down the materials list, bought everything I needed and was finished before dinner. I did it all myself, only had my husband cut the plywood, the rest was all me! Woo hoo, so proud of myself!
I rough sanded the edges and corners to get rid of any splinters.

Built from Plan(s)
Estimated Cost
$50
Estimated Time Investment
An Hour or Two (0-2 Hours)
Finish Used
Rough sanded the top, corners and edges.
Recommended Skill Level
Beginner
Wooden Bunny Easter Basket

Happy Easter for the grandchildren. Your post inspired me....thankyou. I was happy with my
outcome.
Built from Plan(s)
Seasonal And Holiday
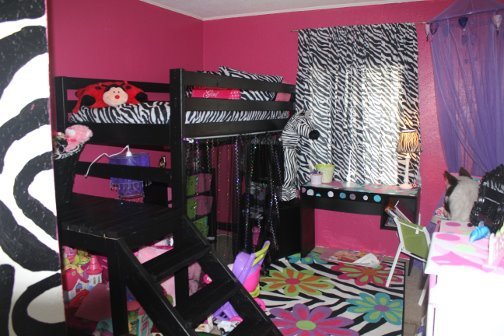
Hailey Storage Bed
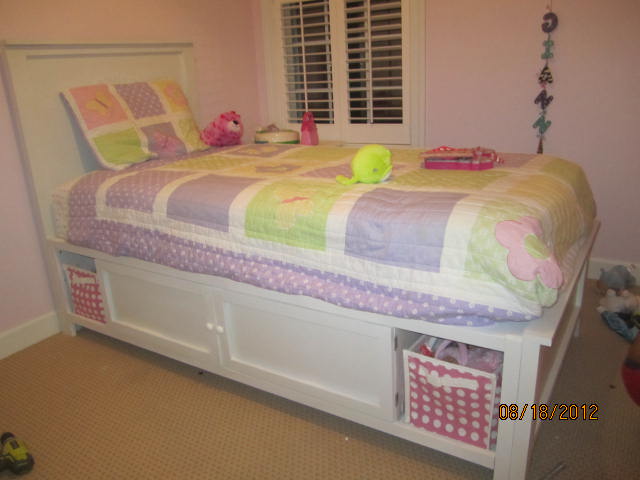
I think I Iove this bed more than my little girl. It's really a beautiful bed with lots of storage. I put magnetic closures on the insides of the cabinets to hold them closed. I also put the same applique on the headboard as Ana. I looked for a different one, but it's the girliest we could find at the time and my little princess loved it. It's a very sturdy bed. I put a week long project, but again, as I've stated before on other posts, it would probably not take nearly as long if you have help with the building or especially with the kids! When you have to stop every 5 minutes and take care of kids and home, it takes a little longer. All the building mommies out there know exactly what I'm talking about! Thank you so much, Ana, for all you do and for all of the empowerment and motivation.
Estimated Time Investment
Week Long Project (20 Hours or More)
Finish Used
Valspar White Spray Paint, 2-3 coats, sanding in between coats
Minwax Polycrylic Spray
Minwax Polycrylic Spray
Recommended Skill Level
Intermediate
Comments
Stone Bird House
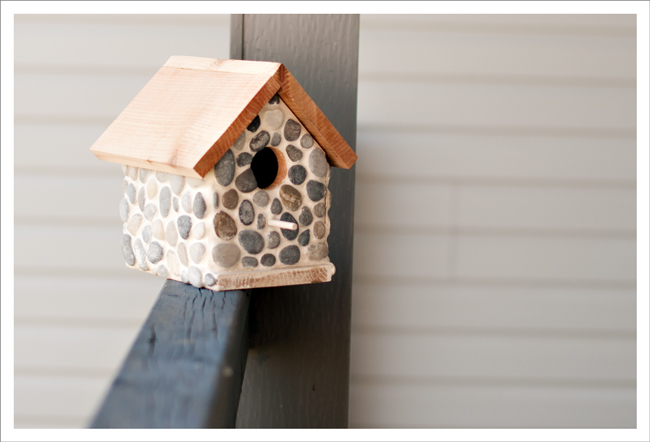
I've been collecting small flat rocks off the road every time I take the dog for a walk. Unfortunately my grout cracked, I probably used the wrong type. Anyone who can tell me what I should have used instead? Suggestions very welcome, as I might try this again.
Built from Plan(s)
Estimated Cost
$5.00
Estimated Time Investment
An Hour or Two (0-2 Hours)
Finish Used
Tiled road rocks. No finish.
Recommended Skill Level
Starter Project
Comments

Mon, 06/09/2014 - 14:28
Too cute!
I love this idea! What kind of grout did you use? I would imagine that for such large gaps between the rocks, you'd have to use a sanded grout (most state whether they're for indoor/outdoor use, but I've only seen ones that say both). But it could have cracked because the wood underneath expanded or contracted or the grout wasn't the right consistency.. Love, love, love!

In reply to Too cute! by Lady Goats
Wed, 06/18/2014 - 09:30
Thanks so much
Thank you for your comment on my birdhouse! I talked to a contractor who suggested that my grout was too watery when I started. I also used Polyblend non-sanded grout. I may use sanded next time. Trying to decide if I should give it another go, I kind of want to!
RH Inspired Shanty Hutch & Sideboard + glass doors
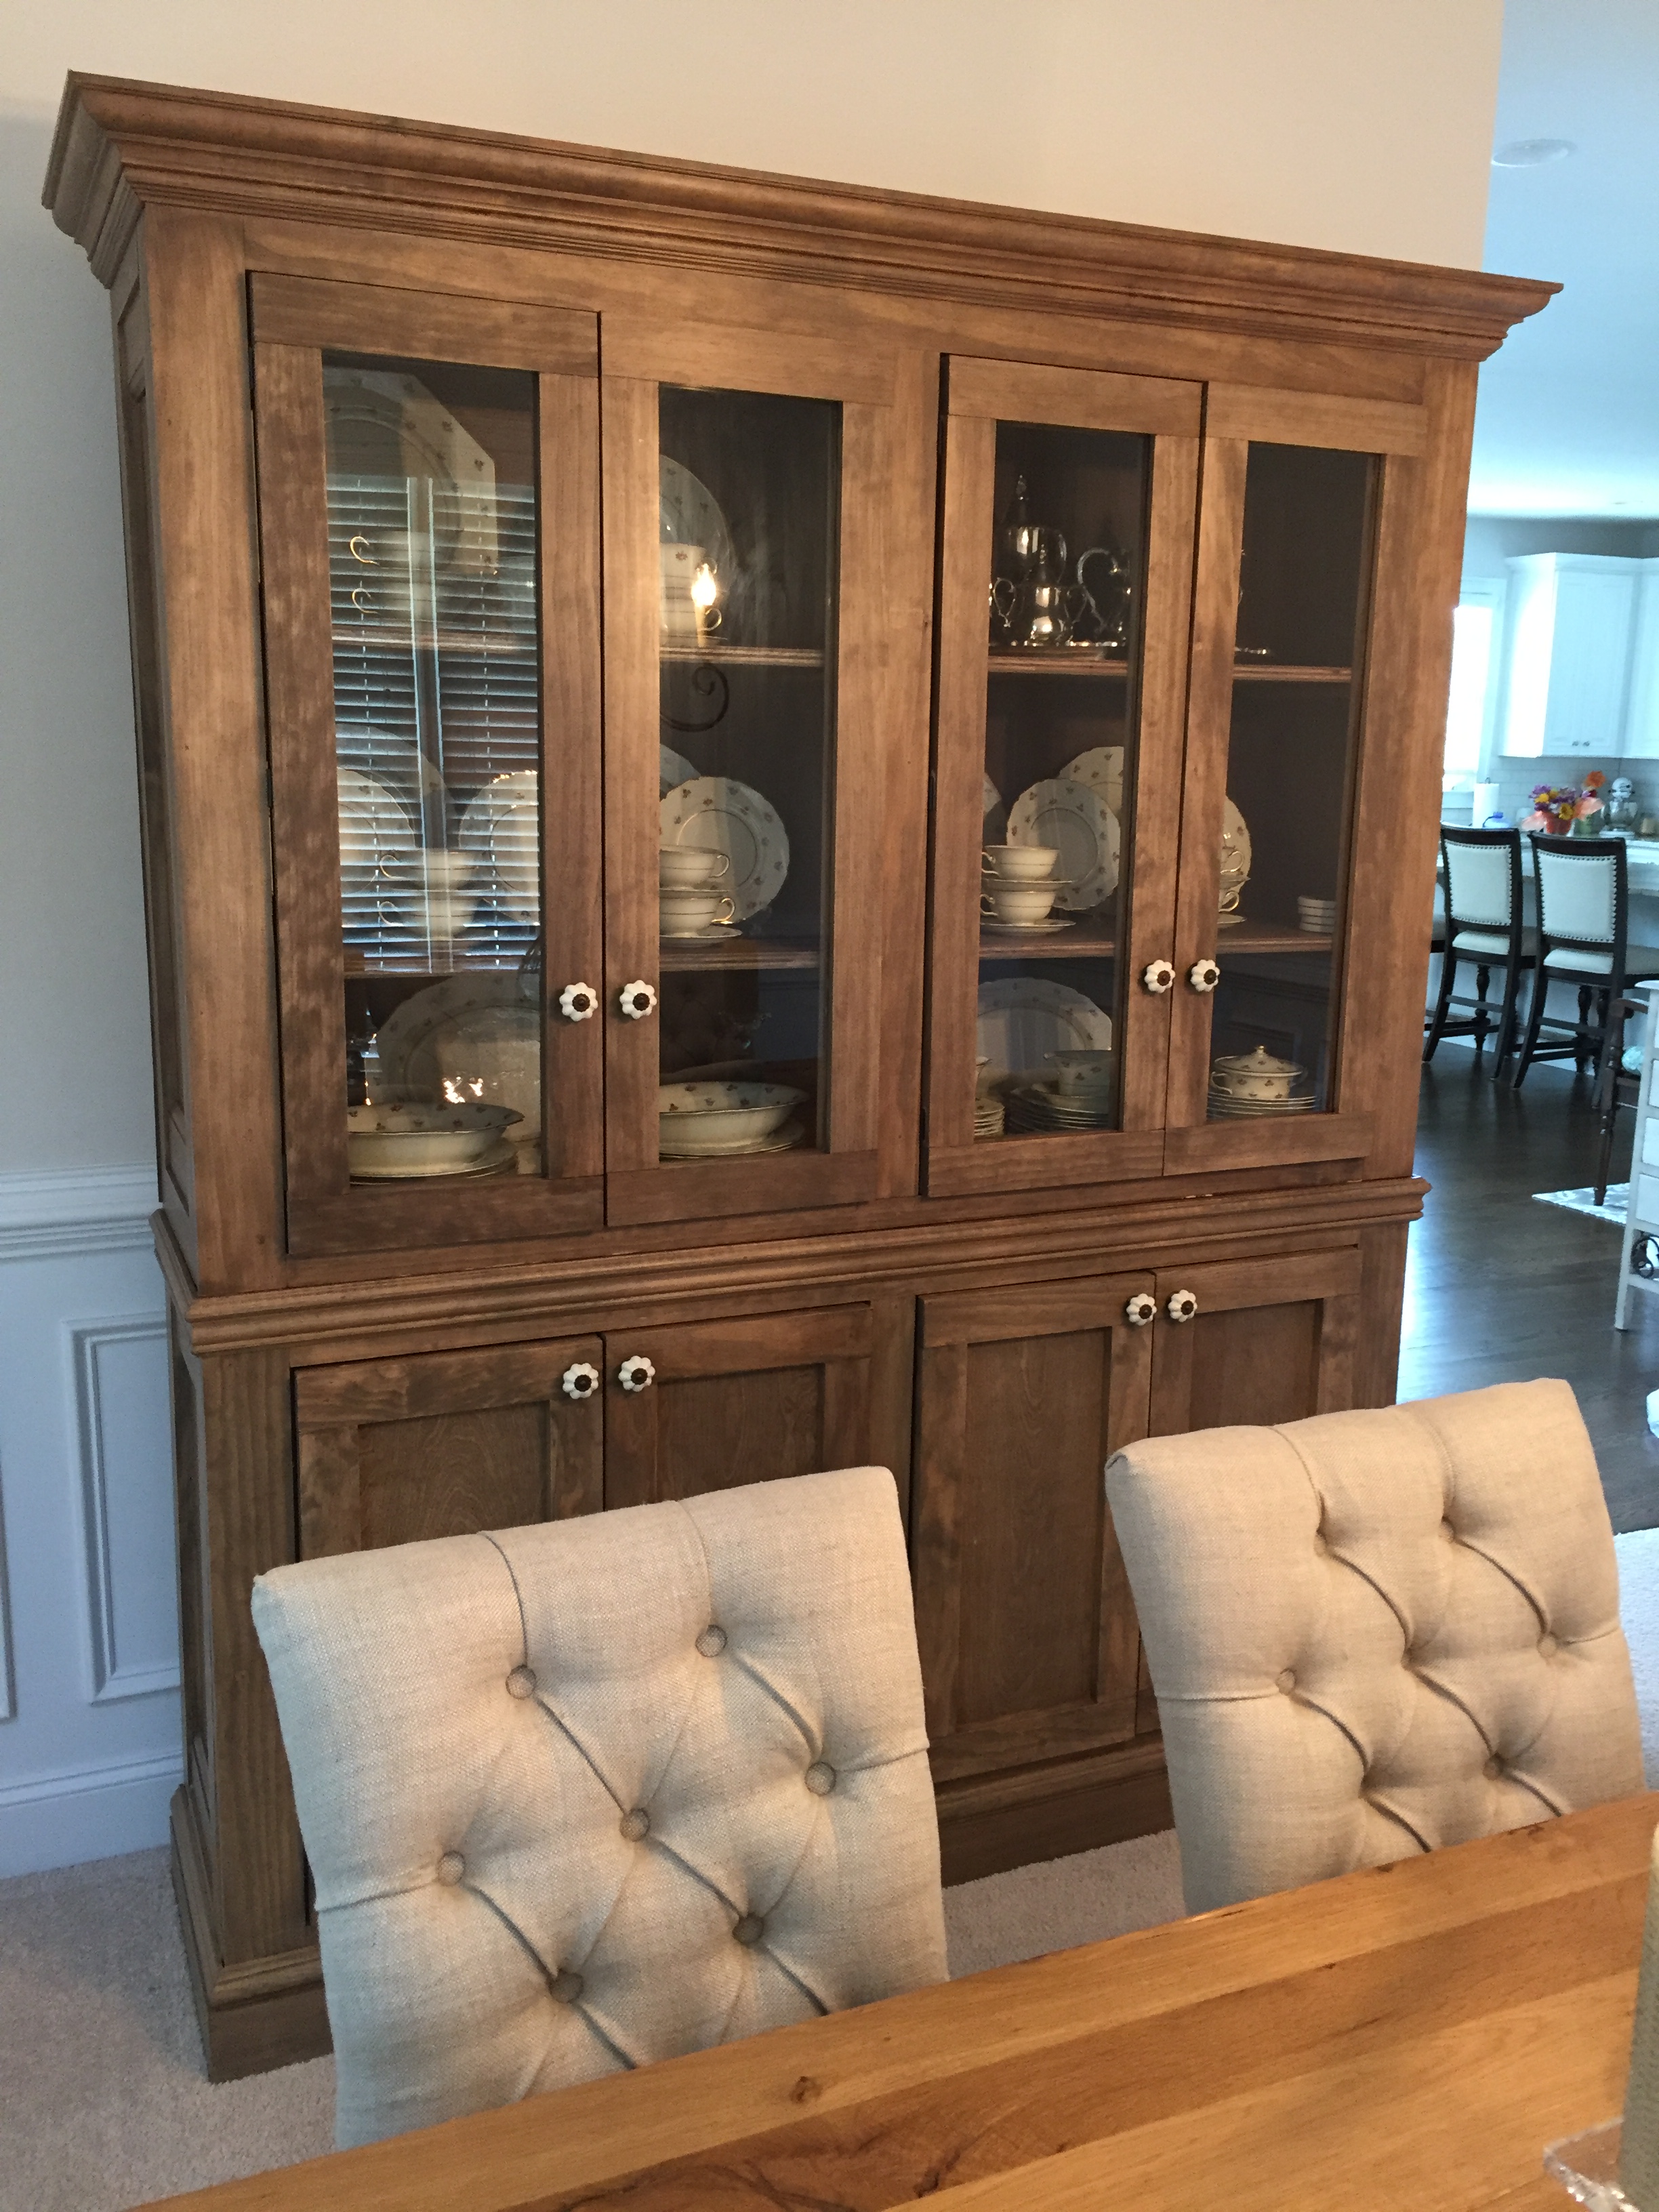
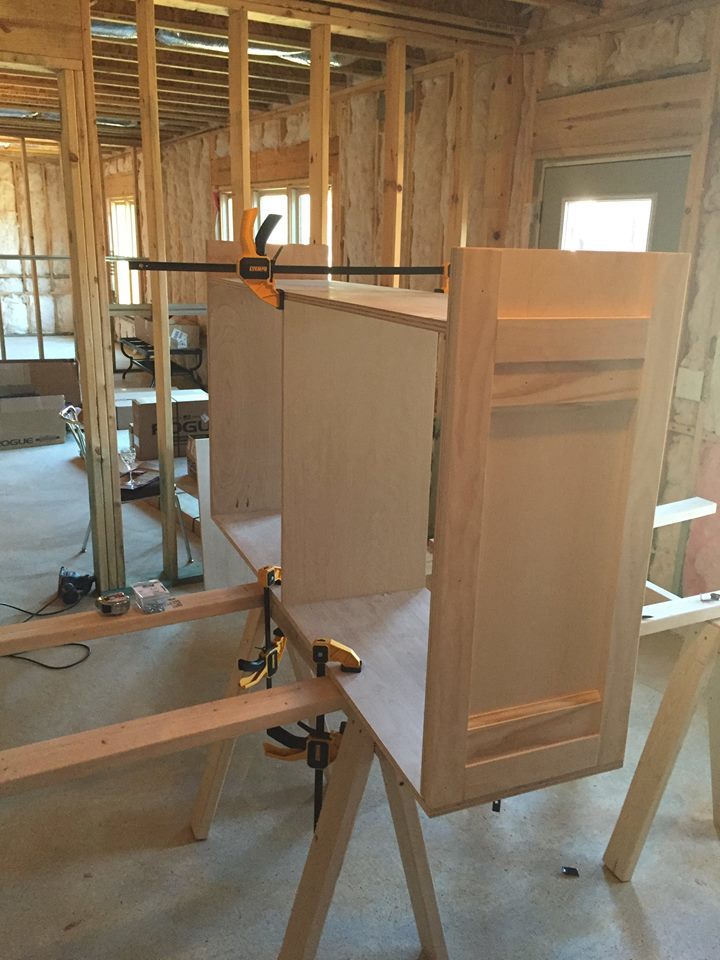
This was my first woodworking project ever - and am thrilled!! Thank you Ana-White.com!! I needed a beautiful china cabinet for a fraction of the retail cost. Once I found plans on this website, I bought some power tools and got started! I only worked a couple of hours each weekend so it took a while to finish.
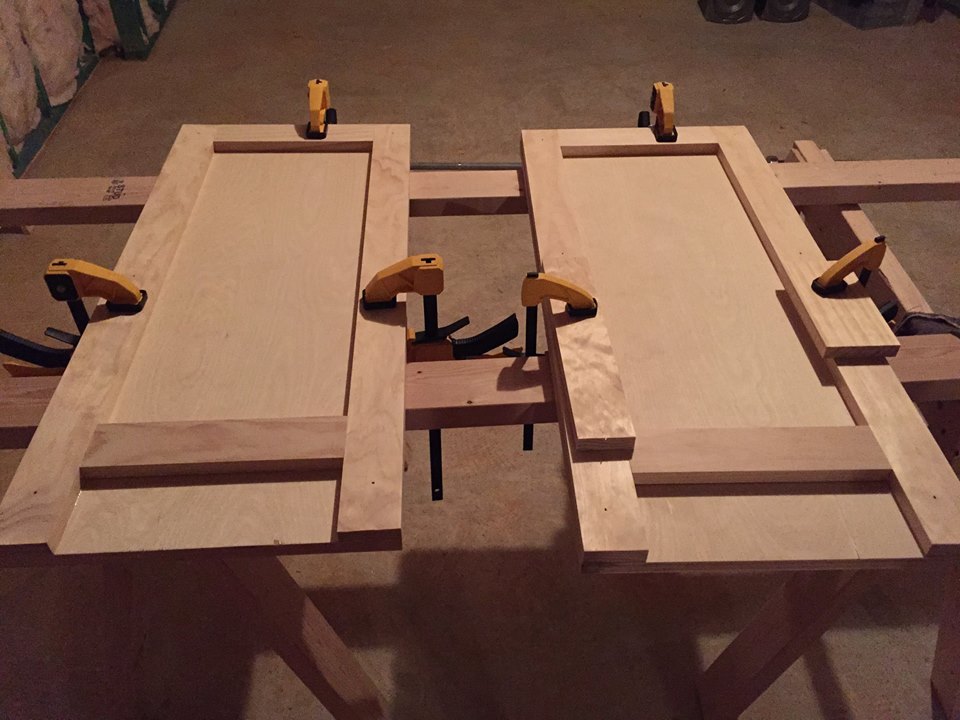
I modified the Shanty sideboard and Shanty hutch plans in a few ways: Shorter overall width to more comfortably fit my dining room, shorter height (which I now regret), fewer shelves in the hutch, different method to attach shelves, and added glass doors to the hutch. My shelves were not perfectly flush with the cabinet walls (oops) so I couldn't use pocket holes to attach them. Because I detest traditional shelving hardware, I just secured 1/2-in quarter round to the walls and rested the shelves on that.
For the glass hutch doors, I built frames similar to the sideboard doors' frames -- two frames for each door, for a total of 8 frames. On 4 frames, I used a rabbit router bit to create an inset for the glass I bought and had cut at Lowe's. I secured the glass with glazier's points and silicon caulk, then attached an un-routered frame to the back of each door with screws. I chose to keep the screws on the back visible and accessible so that I could easily replace the glass if needed without destroying the door.


Built from Plan(s)
Estimated Cost
$630 plus $70 for fancy door knobs
Estimated Time Investment
Week Long Project (20 Hours or More)
Finish Used
Followed Ana-White staining tutorial and used Minwax Weathered Oak (1st coat) and Minwax Special Walnut (2nd coat). Used matte polyurethane clear coat.
Recommended Skill Level
Intermediate
Comments
Wed, 12/05/2018 - 10:10
Plywood Type?
Looks awesome! Did you use Pine/Maple/Birch plywood? Just wondering - i always have trouble matching my plywood to select pine!
High Loft Bed
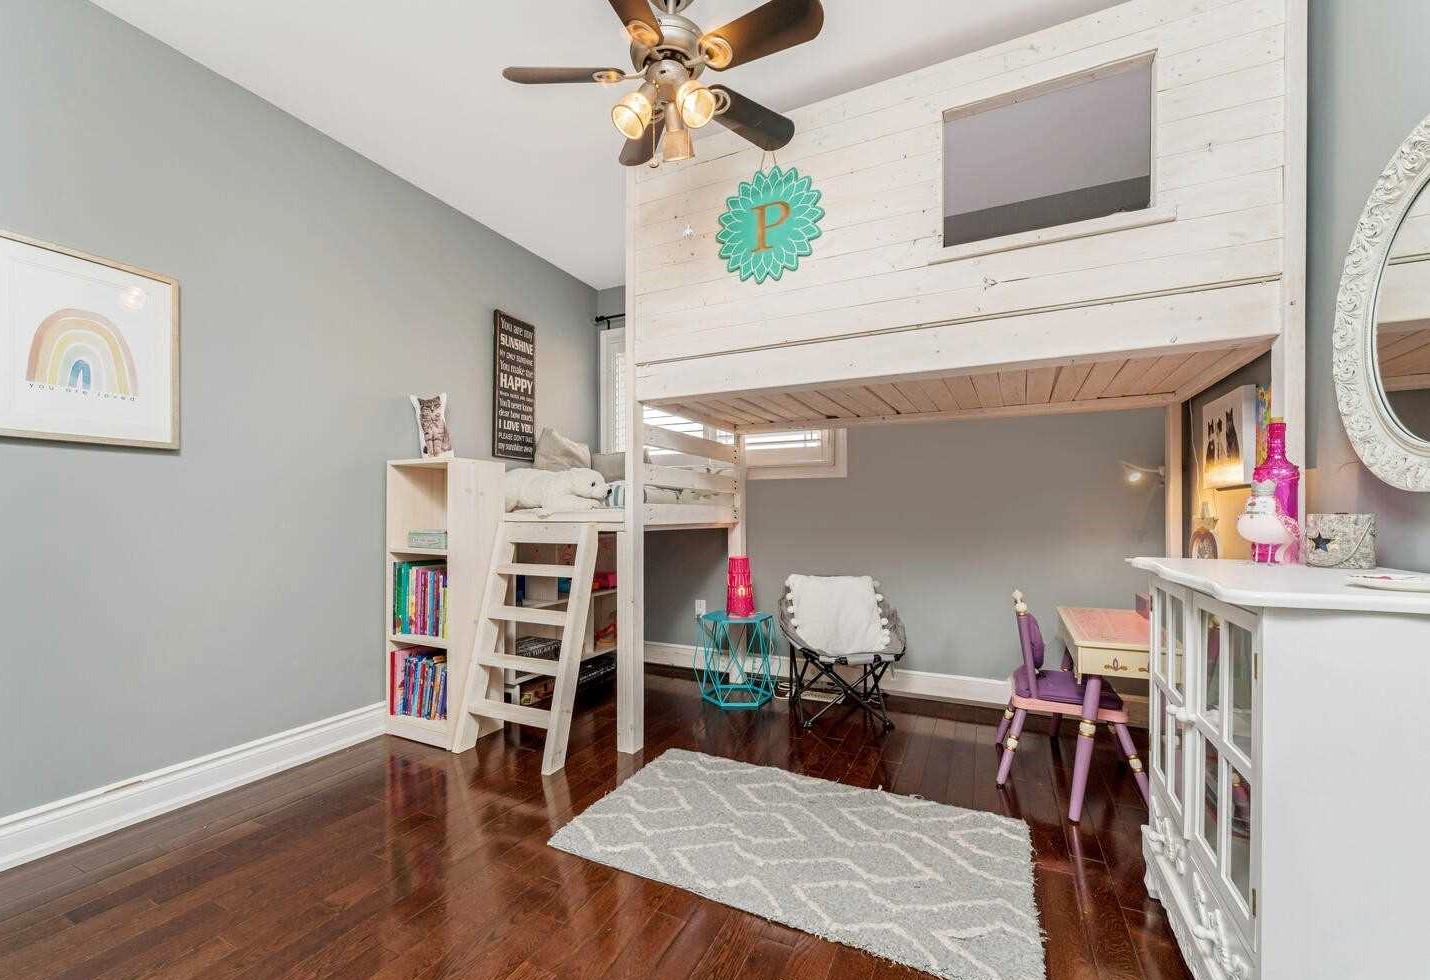
I built this bed a little higher so it will last my daughter a lot longer.
Such a great way to get back all that floor space! The 2x4 frame makes it super strong as well.
Diane
Built from Plan(s)
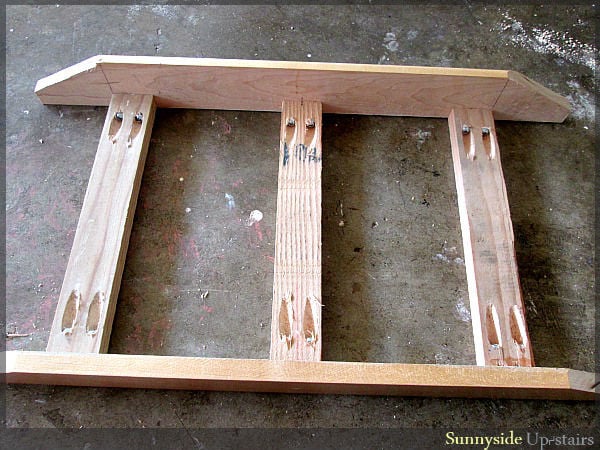
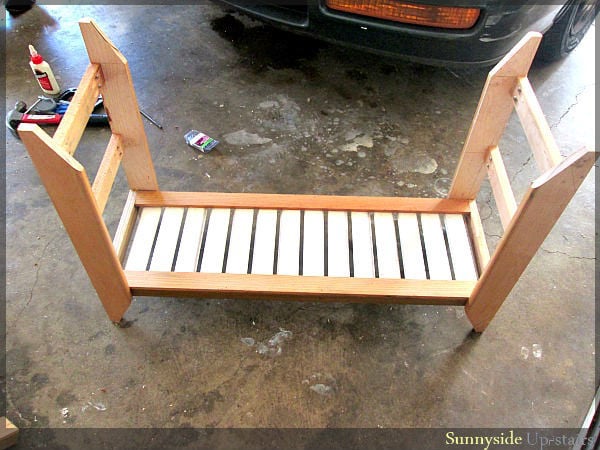
Boardwalk Shoe Bench
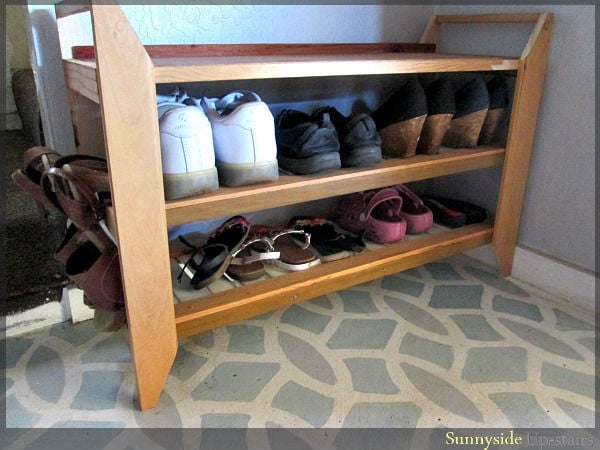
I love the legs on Crate&Barrel's Boardwalk Bench, but I was on a tight budget (under $10), so I needed to make many modifications so that I could use the random pieces of wood I had accumulated from my local deconstruction warehouse, including free wood louvers for the slatted shoe shelves. If you'd like to make your own, more photos of my process are on my little blog: http://sunnysideup-stairs.blogspot.com/2014/05/boardwalk-shoe-bench.html

Estimated Cost
$5
Estimated Time Investment
Afternoon Project (3-6 Hours)
Finish Used
None applied, yet. :)
Recommended Skill Level
Beginner
Comments

Tue, 06/10/2014 - 17:06
Great bench!
Great use of materials! The lines are elegant, it's a wonderful build! (Also, I love the floor!)
:)
Joanne
