Fireplace Accent Wall with Mantle
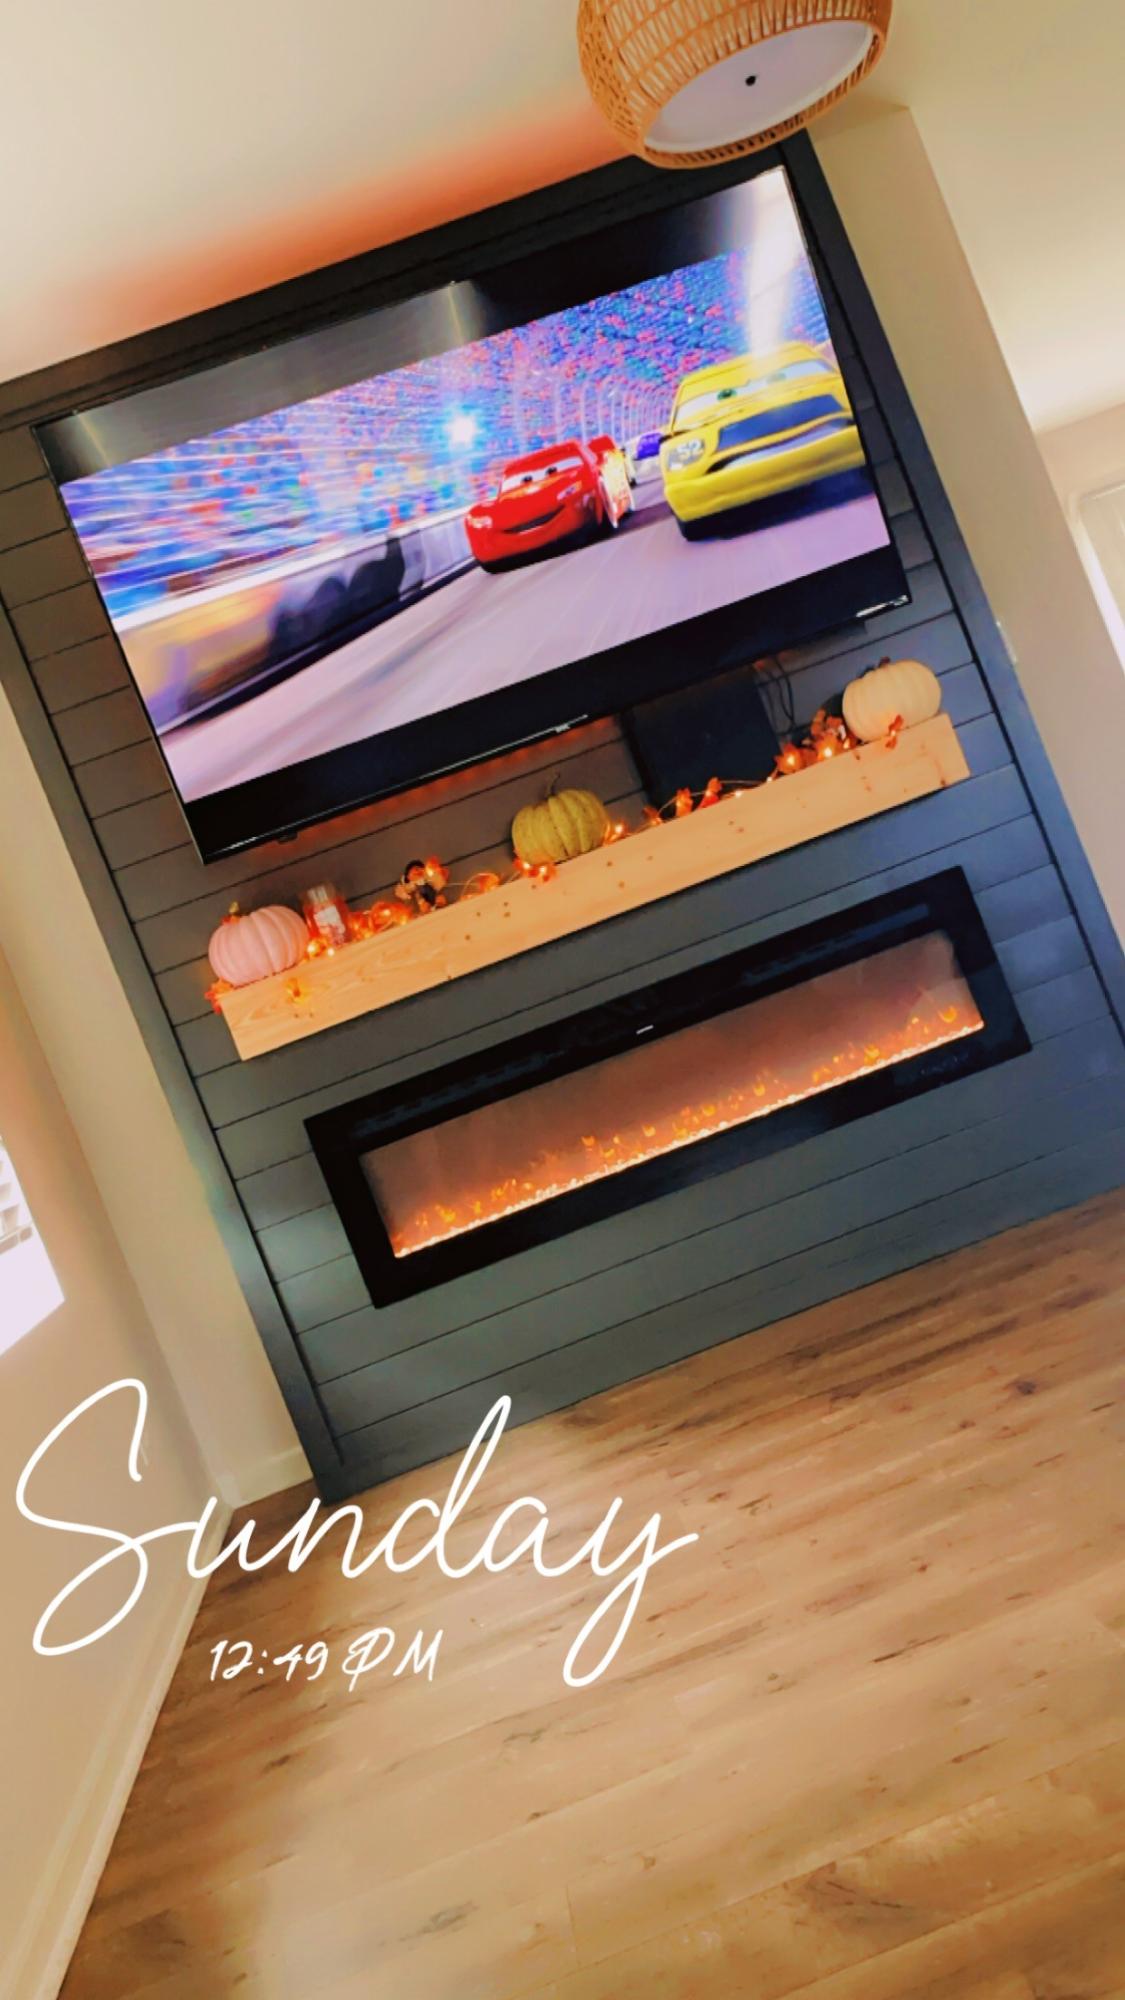
Finally decided to do this wall and I’m obsessed 😍 -Kaity
Built from Plan(s)
Finally decided to do this wall and I’m obsessed 😍 -Kaity

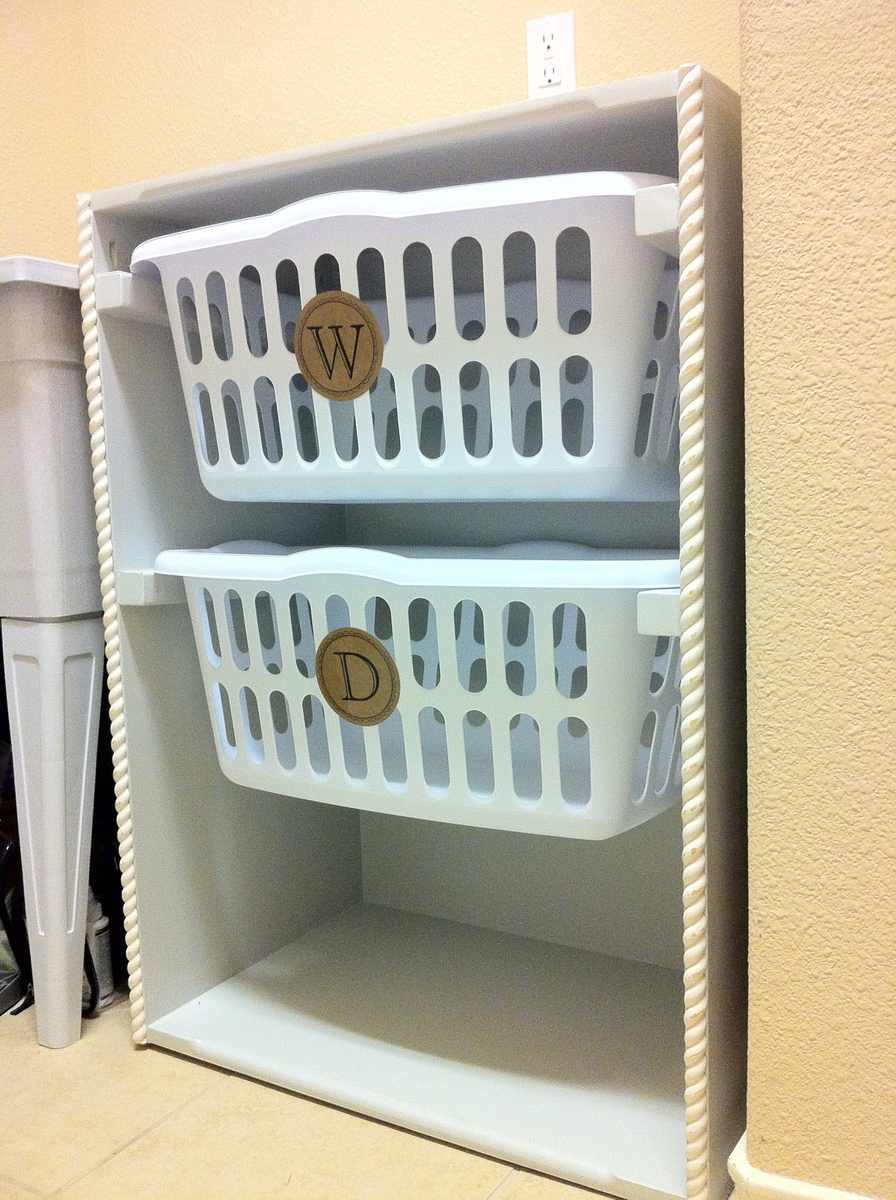
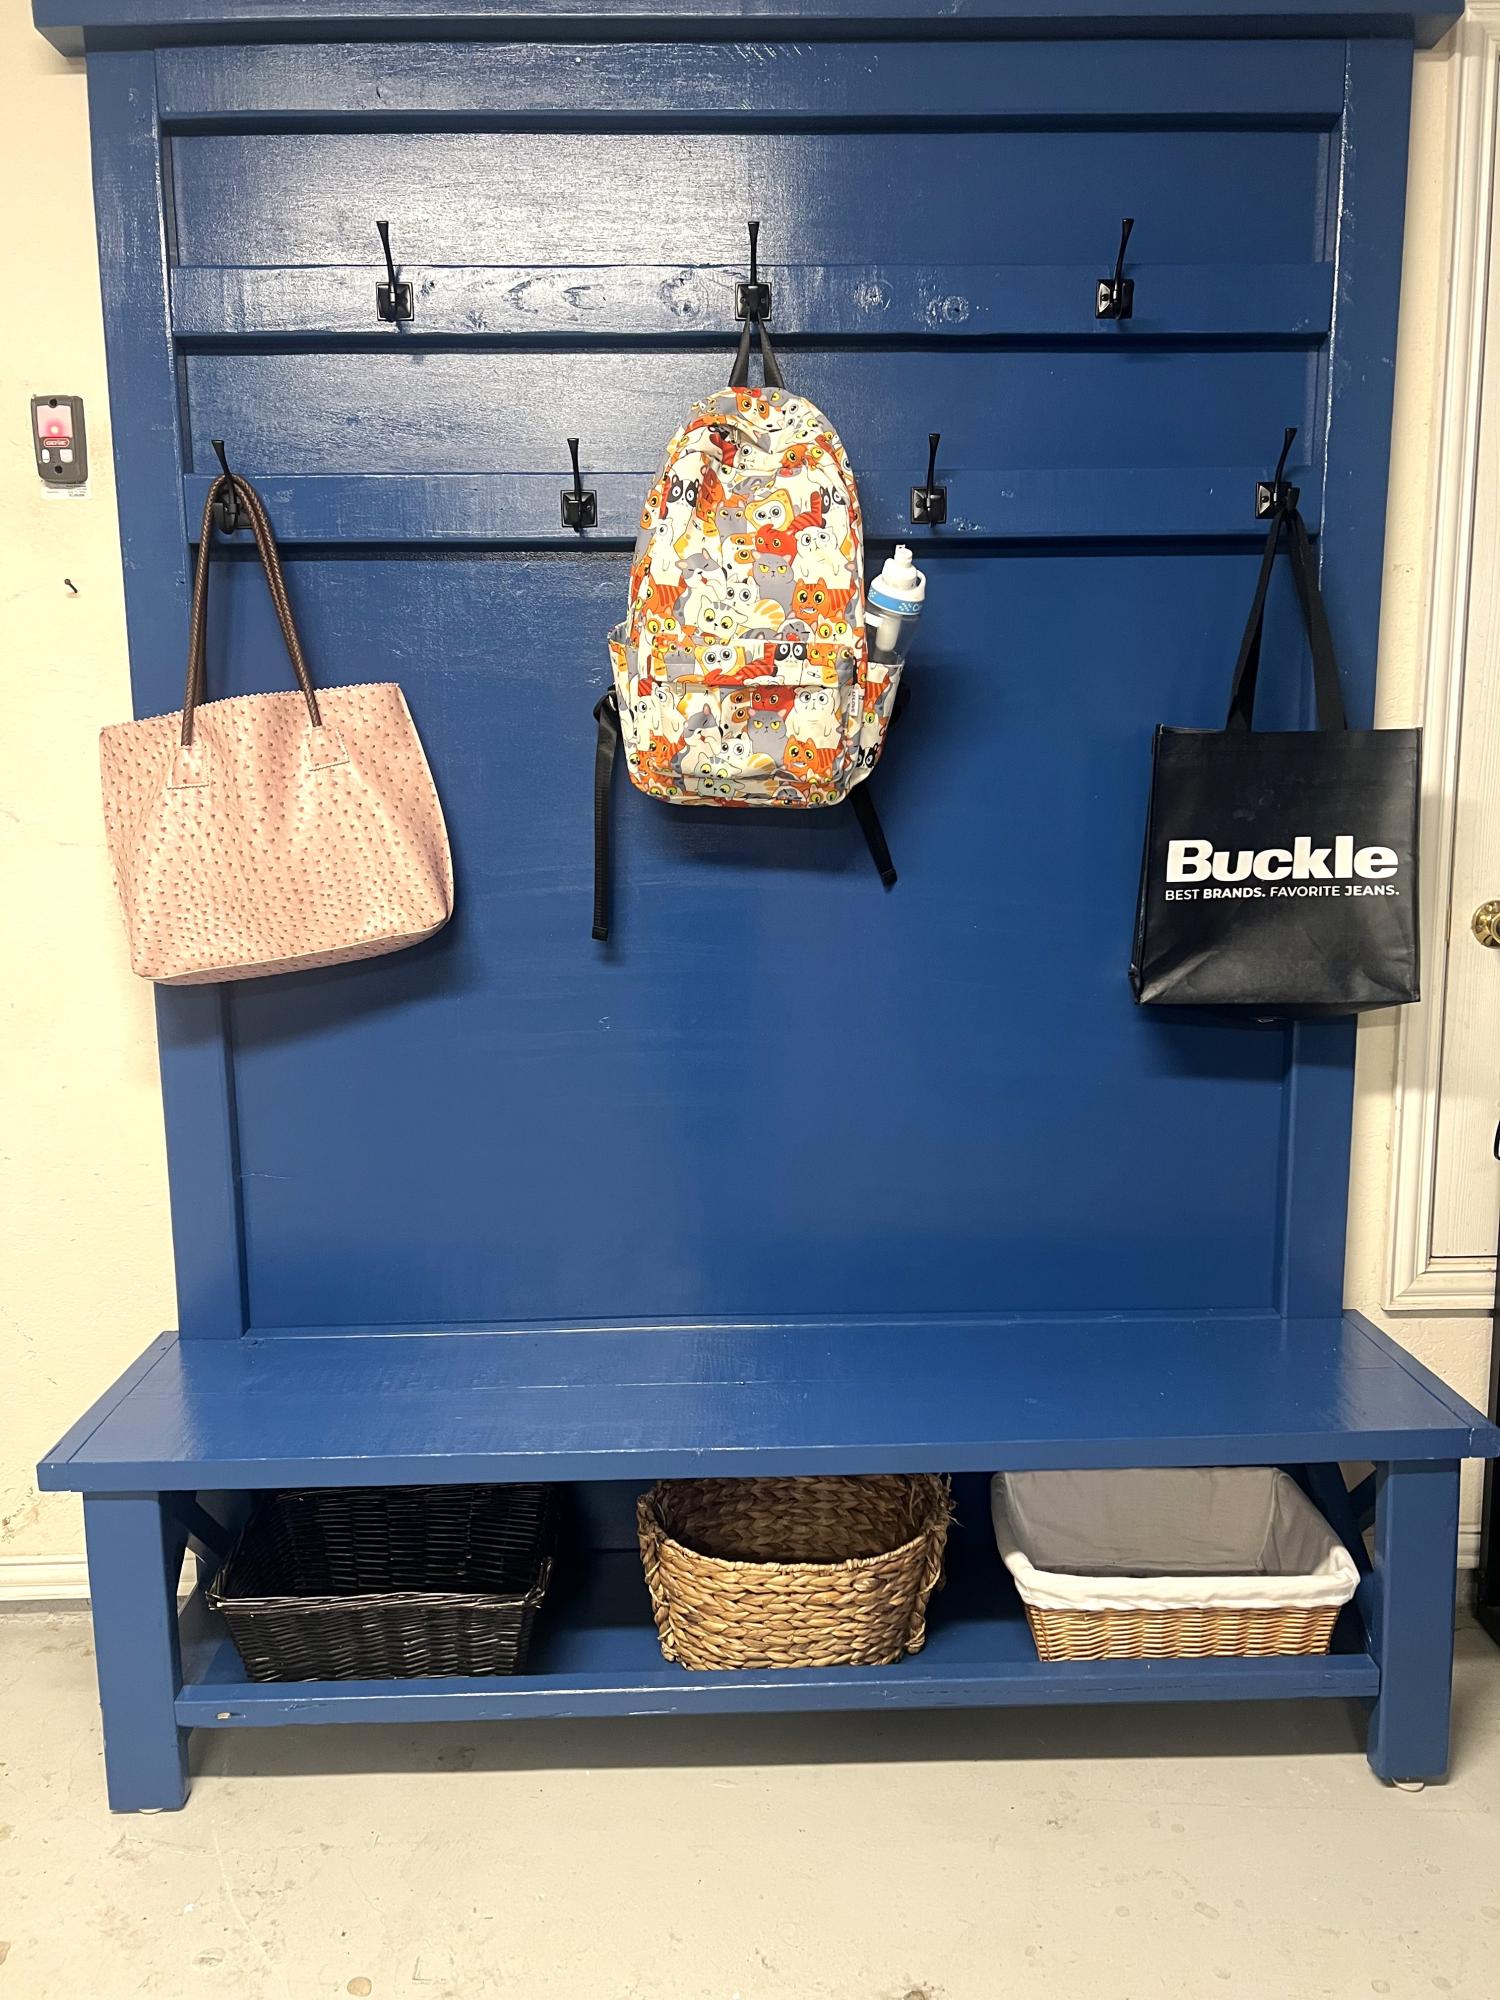
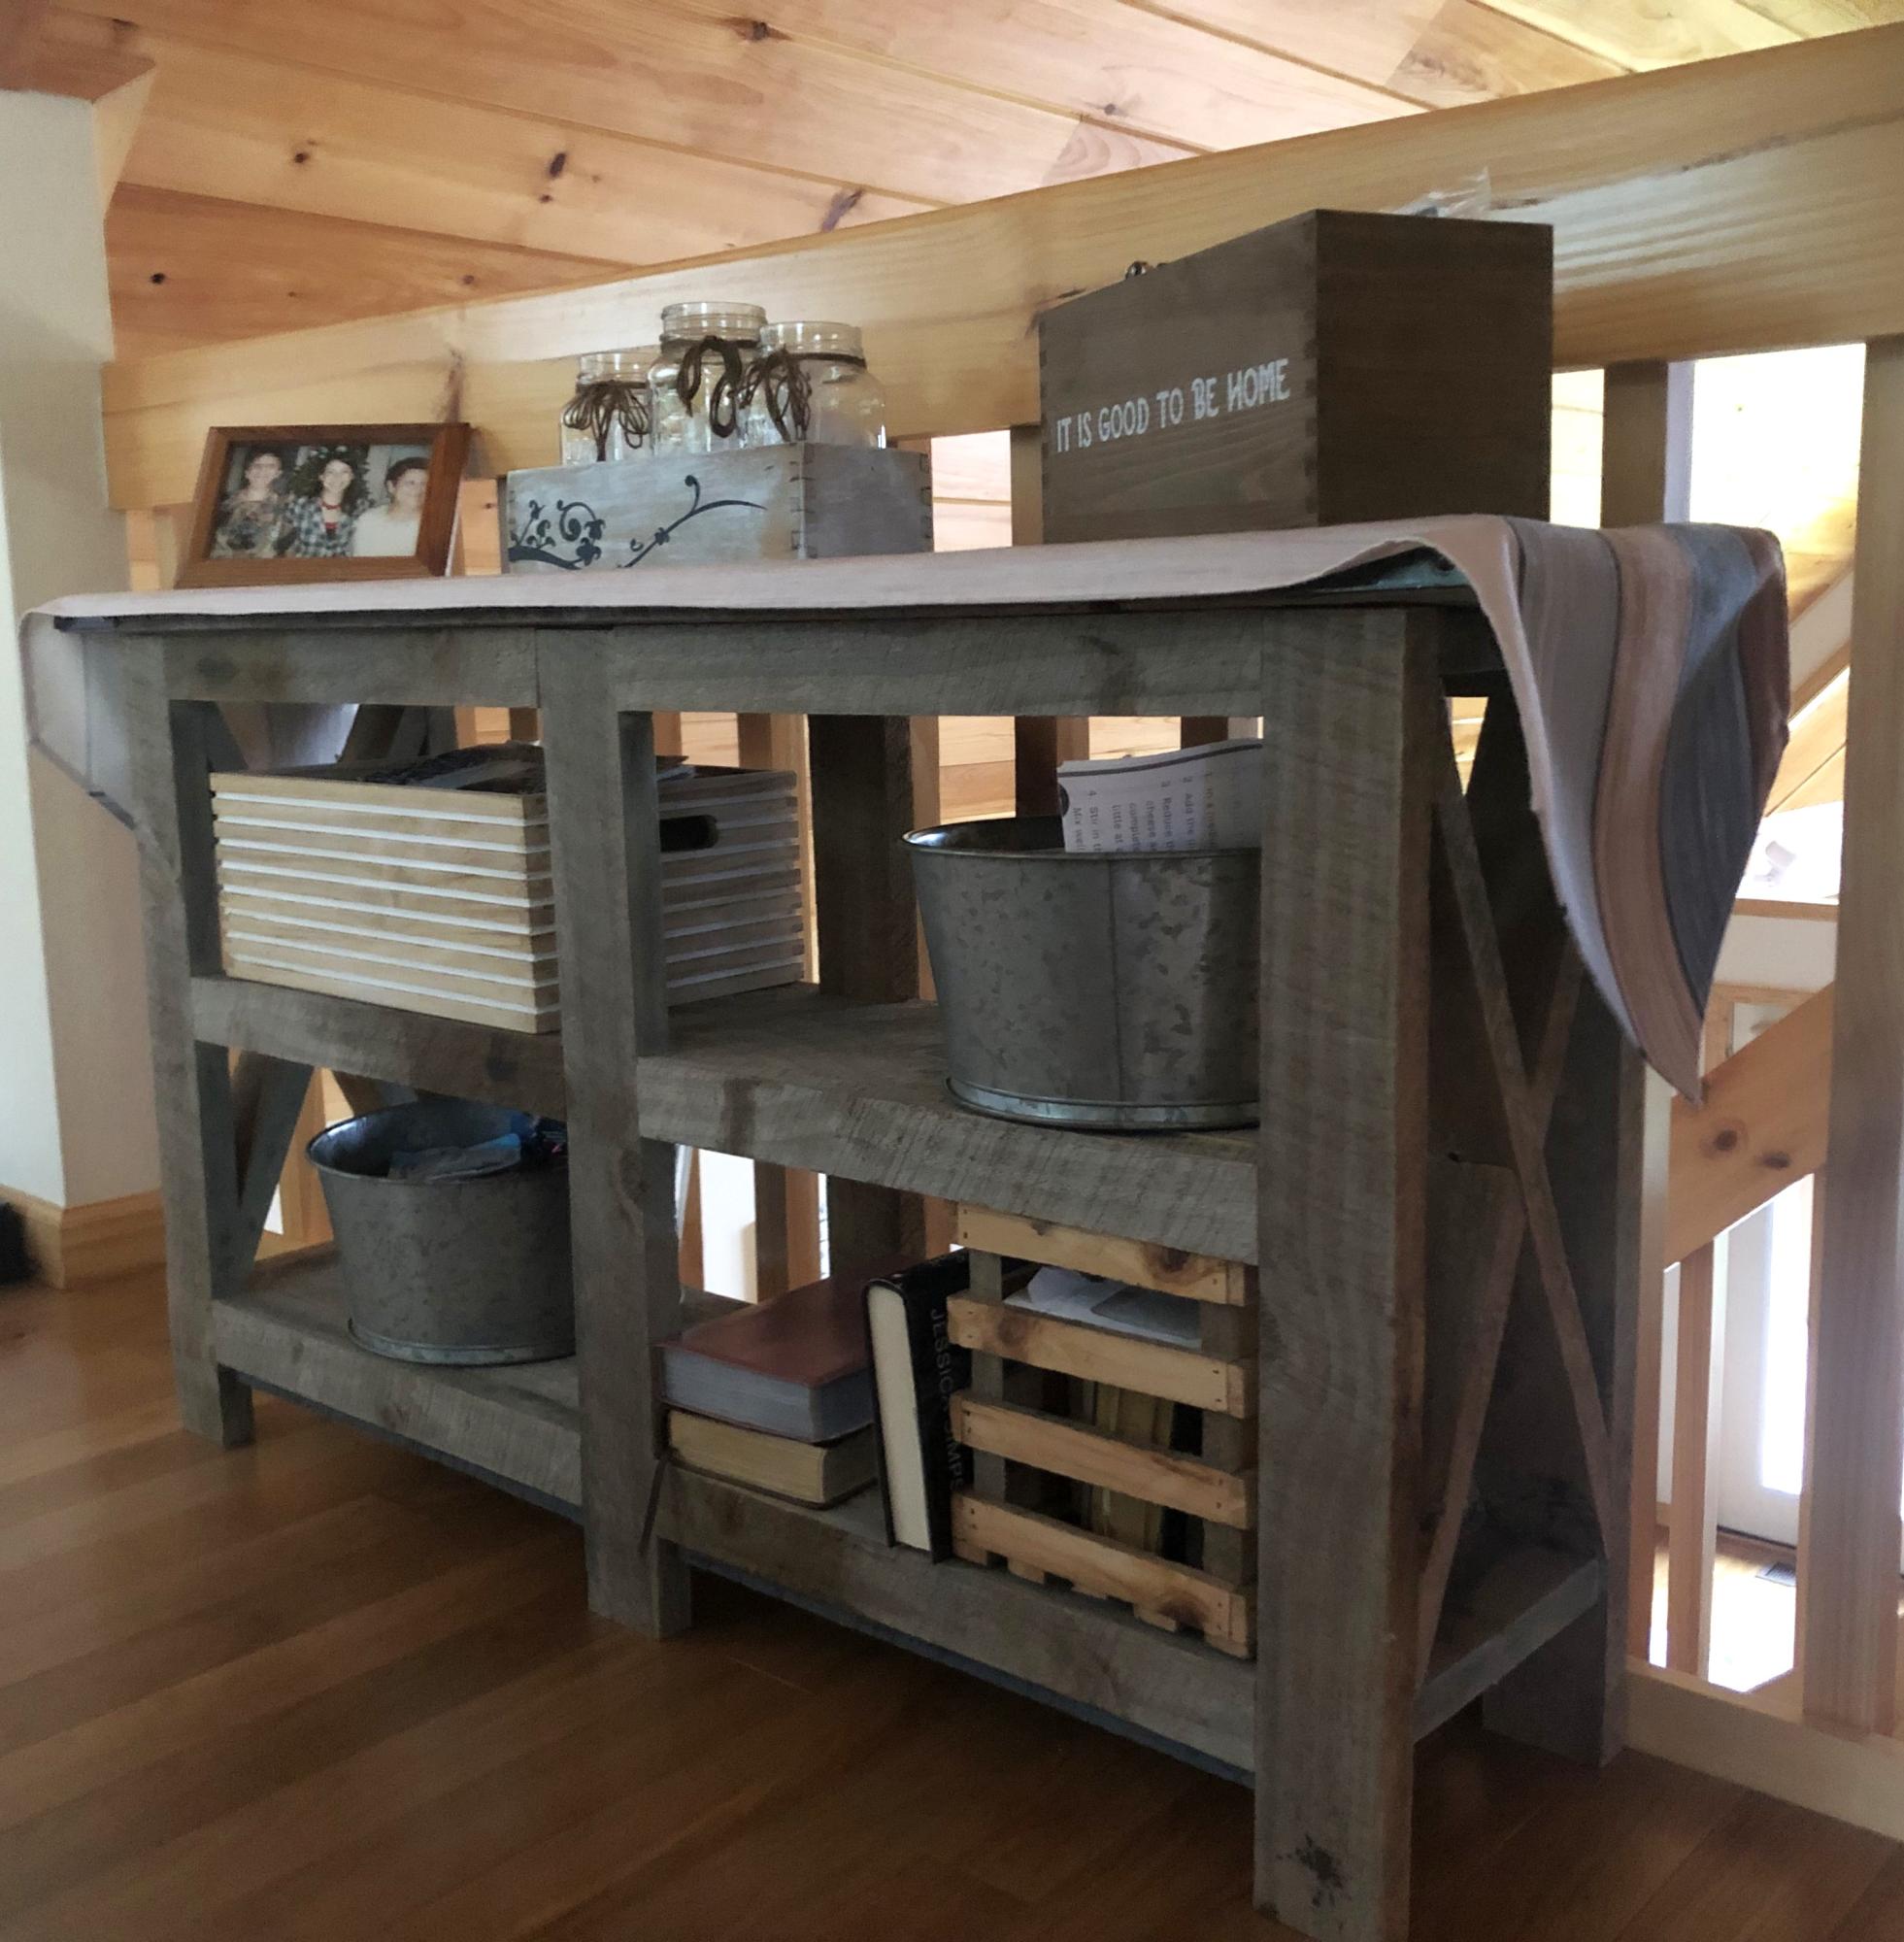
My very first build inspired by the Ana-White.com website. I would declare this as a success. Decided to make two laundry drawers and keep the bottom open for extra supplies. Perfect for our household.
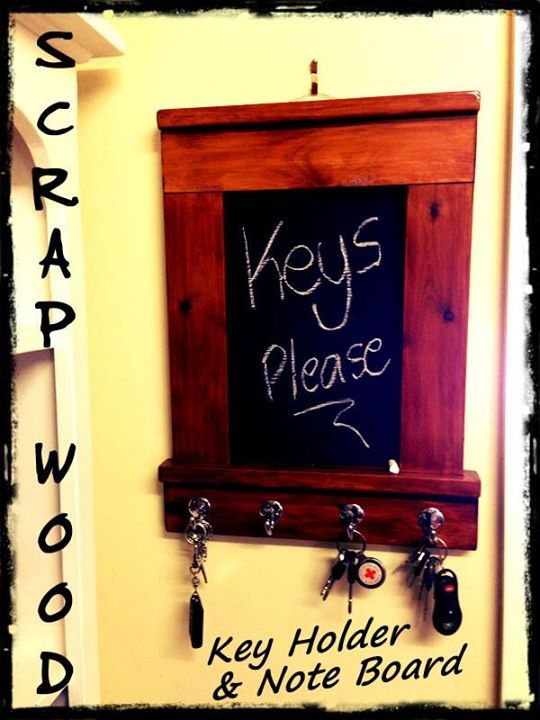
This creation was made using scrap wood, hooks I got from Bunnings and some blackboard paint. Apparently now Brodie doesn't know where the keys are. This was based on Ana White's Craftsman Frame Plan.
I am not sure what happened first time I posted this as it was posted as Guest (sorry). Anyway....
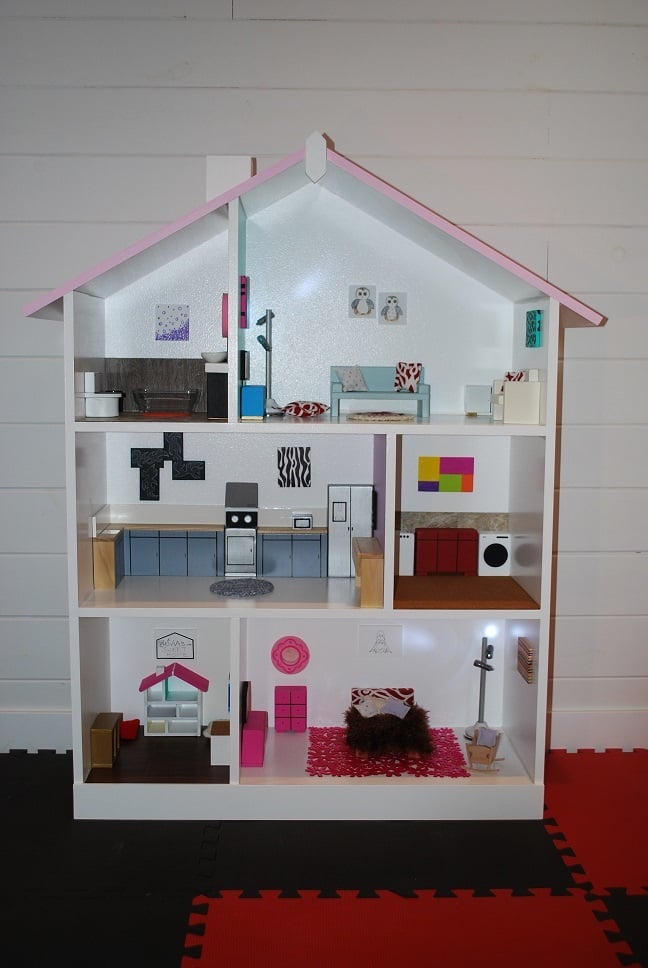
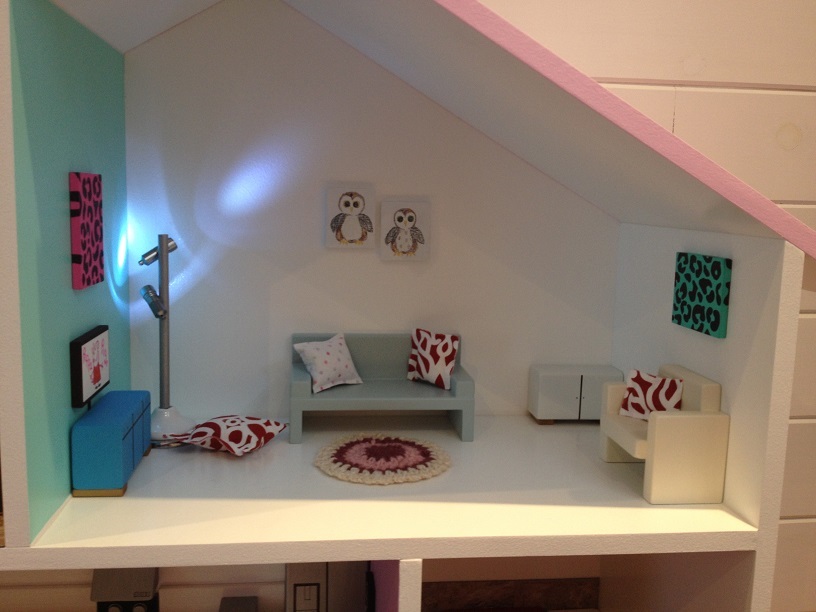
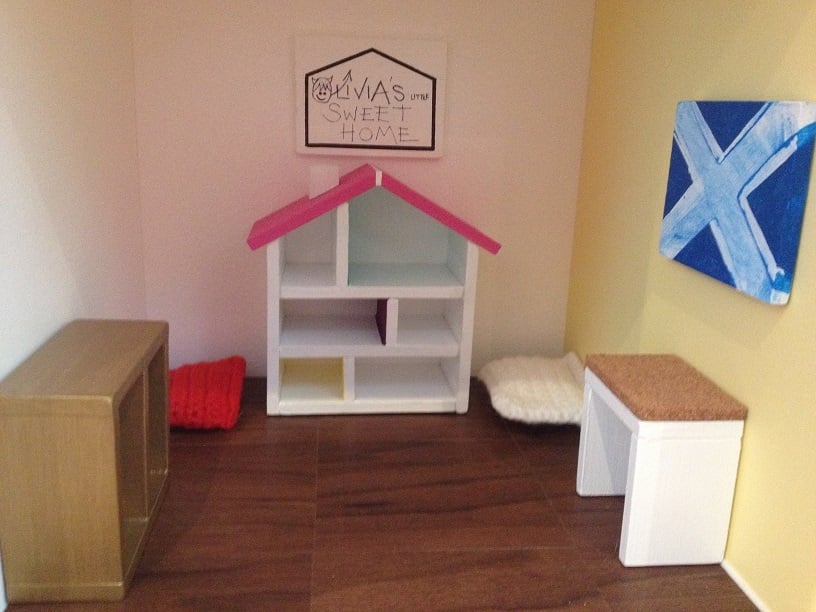
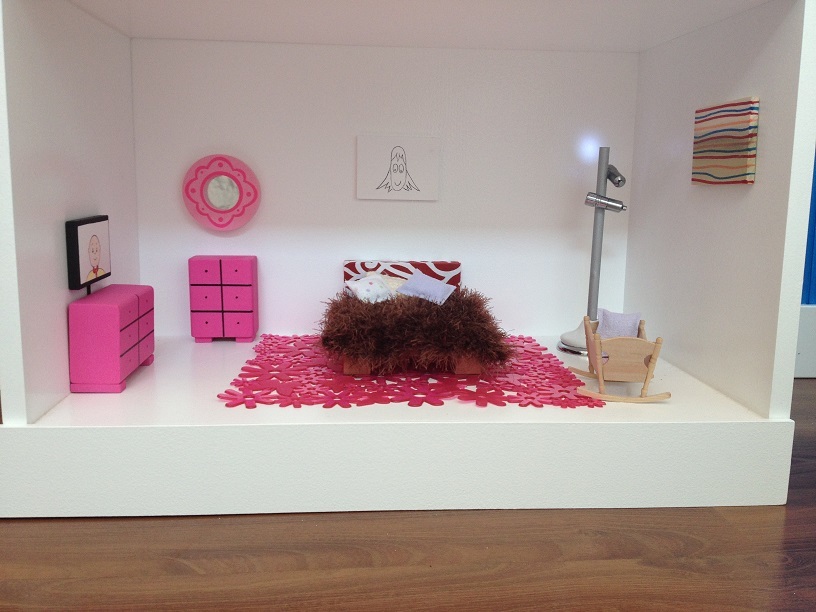
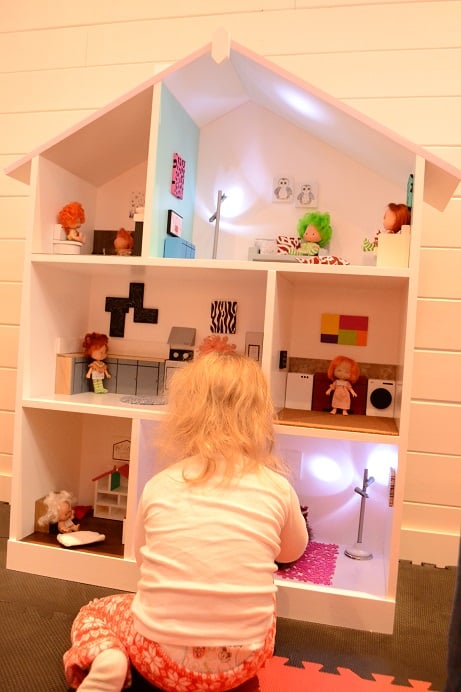
When my daughter was born I promised that I would make her a dollhouse. A few weeks ago I found these plans, and absolutely loved the visual layout of the rooms. I stuck with this layout and tweeked the dimensions according to what worked best for the space it would proudly sit in. It is 46 inches high and 31 inches wide at the walls, and is made from 12 inch wide MDF which I primed with a latex primer and then finished off with a semi-gloss white on the majority of the walls. I also mixed the colors for the roof and also the 3 accent walls to give it an extra wee shot of color.
I was very, very happy with the end result, and having caught what I now know as the "dollhouse bug" I thought "what about if I added a chimney ?". So I added it. I then though what about adding a roof ridge and gable to the roof. The house looked even better. Progressing onto full-blown "dollhouse-flu", I then decided to make a chair for what would later be the living room. That was it, fully addicted now I couldn't stop and found myself obsessively planning, designing, messing up, re-designing, cutting, building and painting until I reached the point where last night I attended my first "DA" meeting.
I found Dollhouse Annonymous very helpful and although not cured, I realise that it is perfectly acceptable for a 44 year old Scotsman to build a dollhouse for the daughter (naughty 2 1/2 year old daughter) that is the love of his life. If she is happy when she unwraps it on Christmas morning, then all of the work shall be worth it.
This site is top of my bookmark list and I love it. !

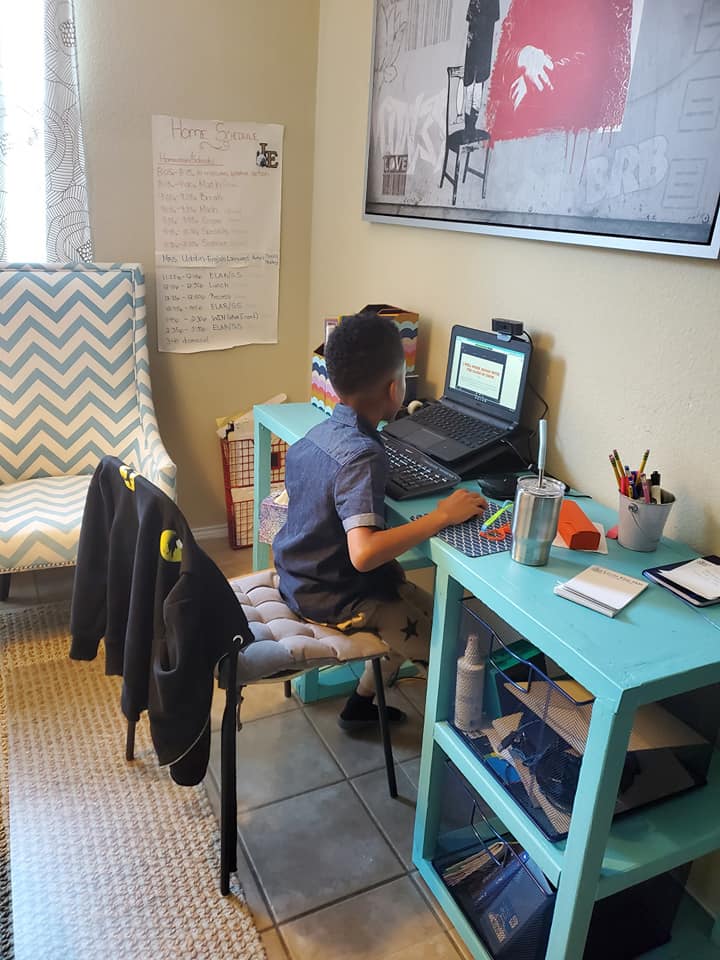
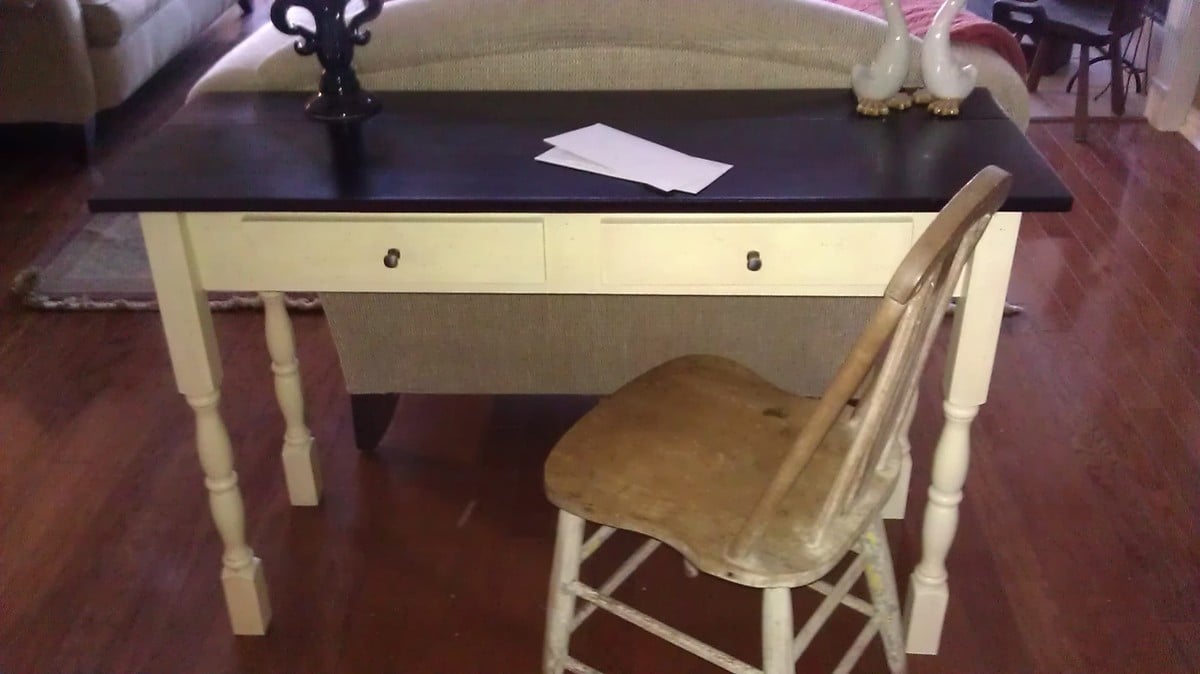
Due to Covid we had to have a desk for our son and the options for ordering were limited and costly. I love Ana White's projects and found her plan for a parson desk. While I have read many of the plans and dreamed of actually building something this was my first completed project. This was fun and my son is happy that he was able to help with the painting.
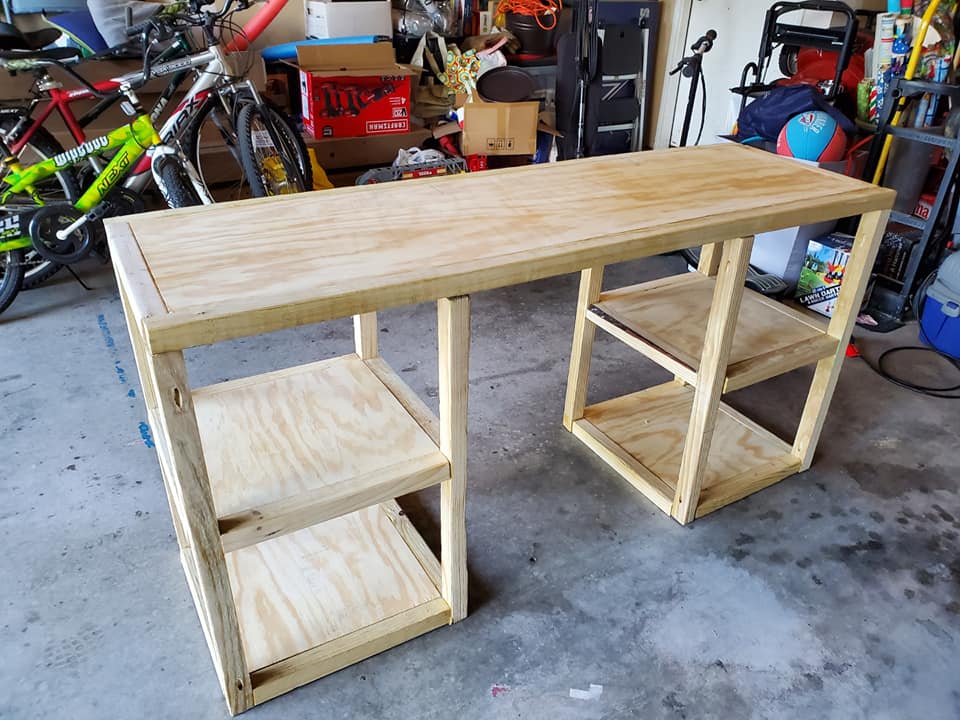
I adjusted the dimensions to fit my space and added a shelf on the bottom. I built it using my Kreg Jig.
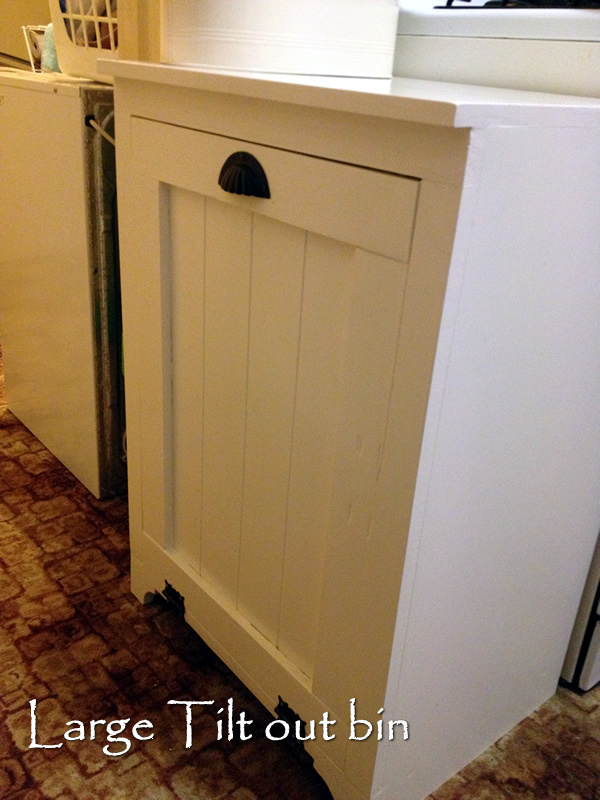
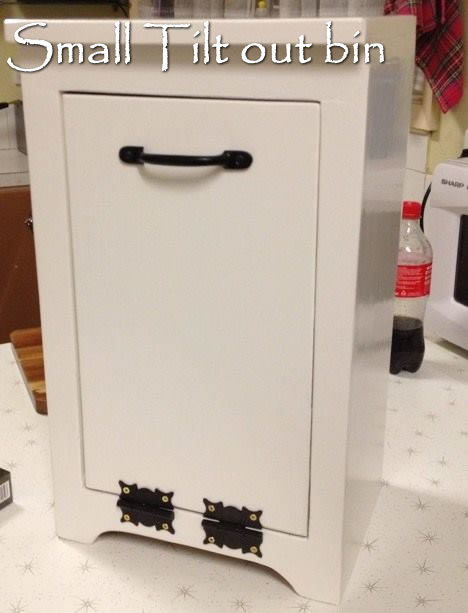
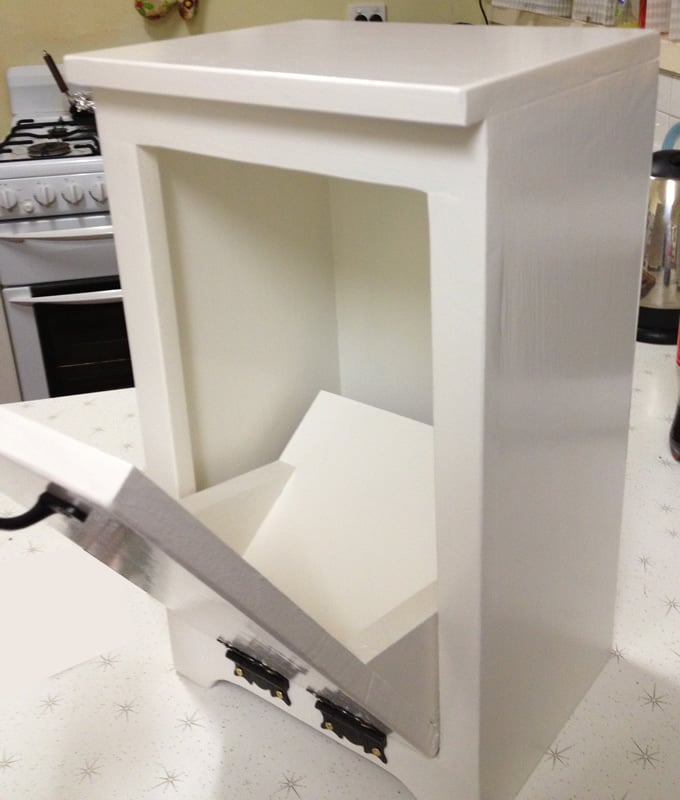
I love this bin so much I built a large one and a small one. The small one is for the bathroom. The large on is for the kitchen. This is actually a rather easy build. I used mdf. I grooved the front panel on the large bin to add character. This was built from Ana White's Wood Tilt Out Trash or Recycling Cabinet Plan.
Thu, 09/11/2014 - 10:17
Can you give me a few more details about your grooved front panel...
did you just run the panel thru a table saw?
Tue, 01/24/2017 - 16:03
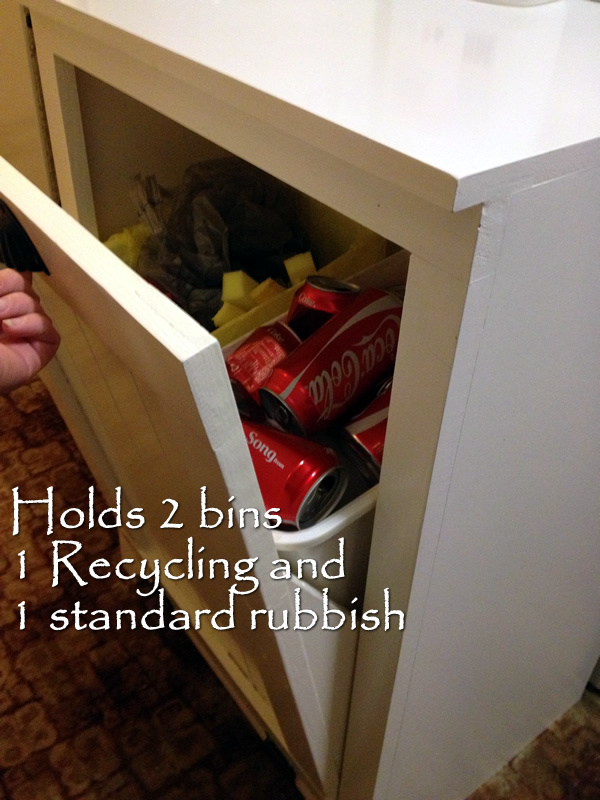
I know its been awhile, however the one you have both normal trash and a recycle bin in.. is that the same dimensions as the ana-white build for a single?
I assume the trash cans are just flipped side ways to hold 2 instead of 1?
looks great, thank you!
Made for my grand daughter. It was too cold in the shop to use carpenters glue, so I used medium thick, gap filling CA (cyanoacrylate)glue, and brad nails instead of screws.
Diy farmhouse table
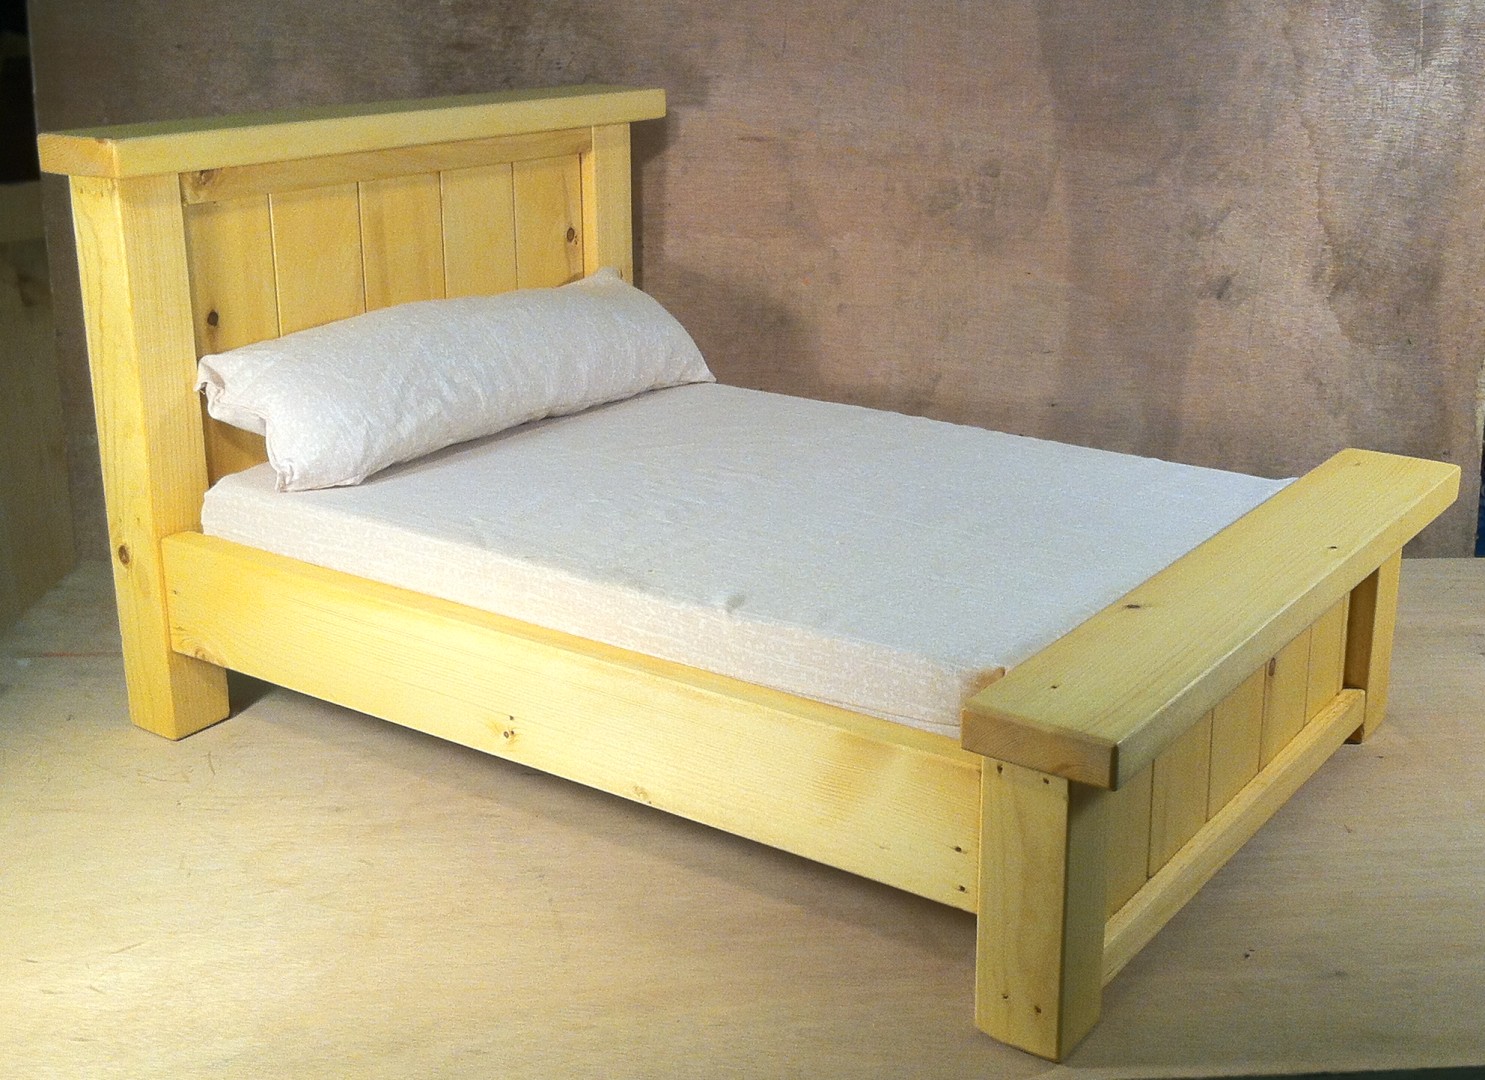
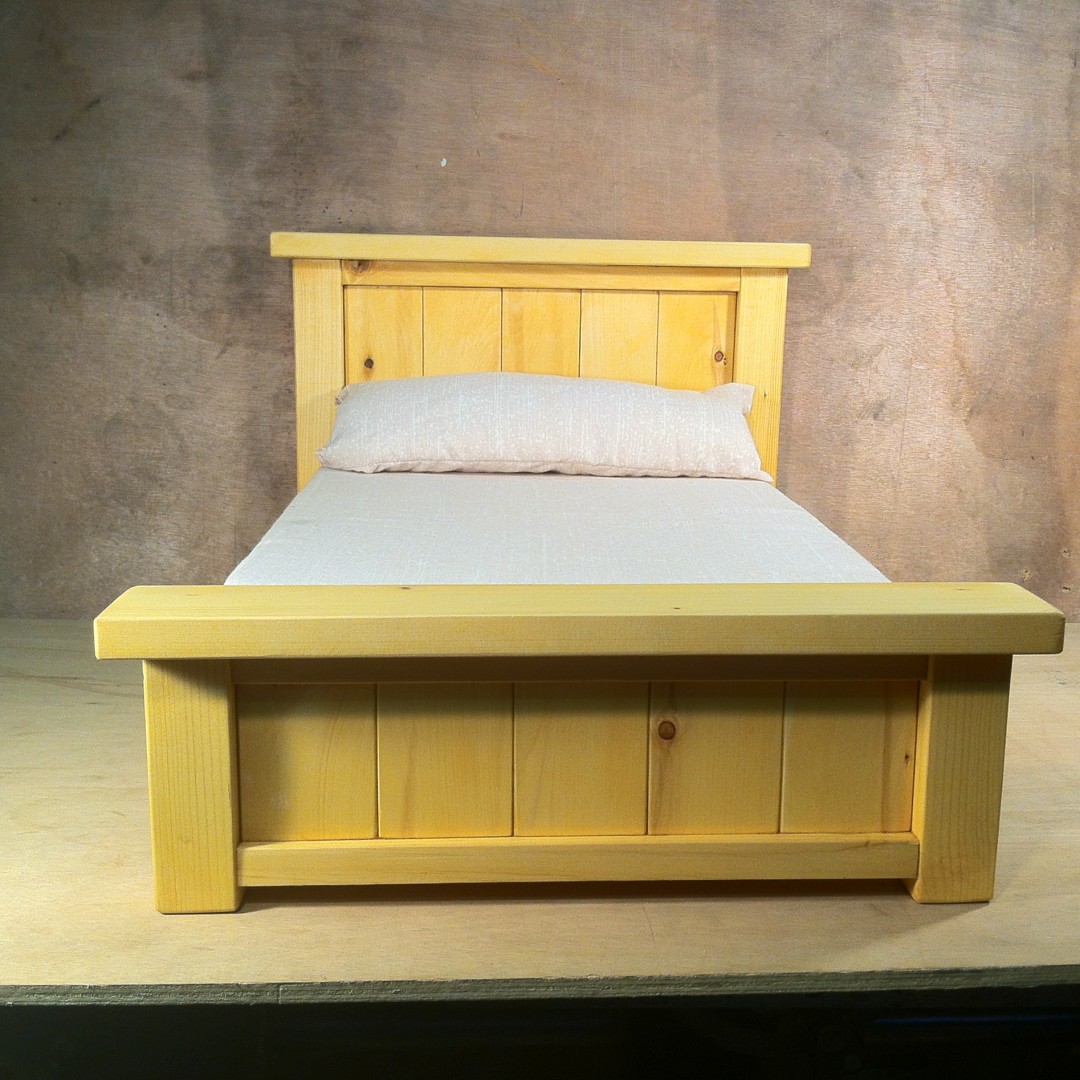
I built a simple panel bed using Ana White’s tutorial and plans. It is a big boy bed for my 3 year old and we love it! I think it turned out so awesome and I am so impressed with how nice it looks. Thank you so much for these amazing plans Ana!
Nikki at titusmom.com
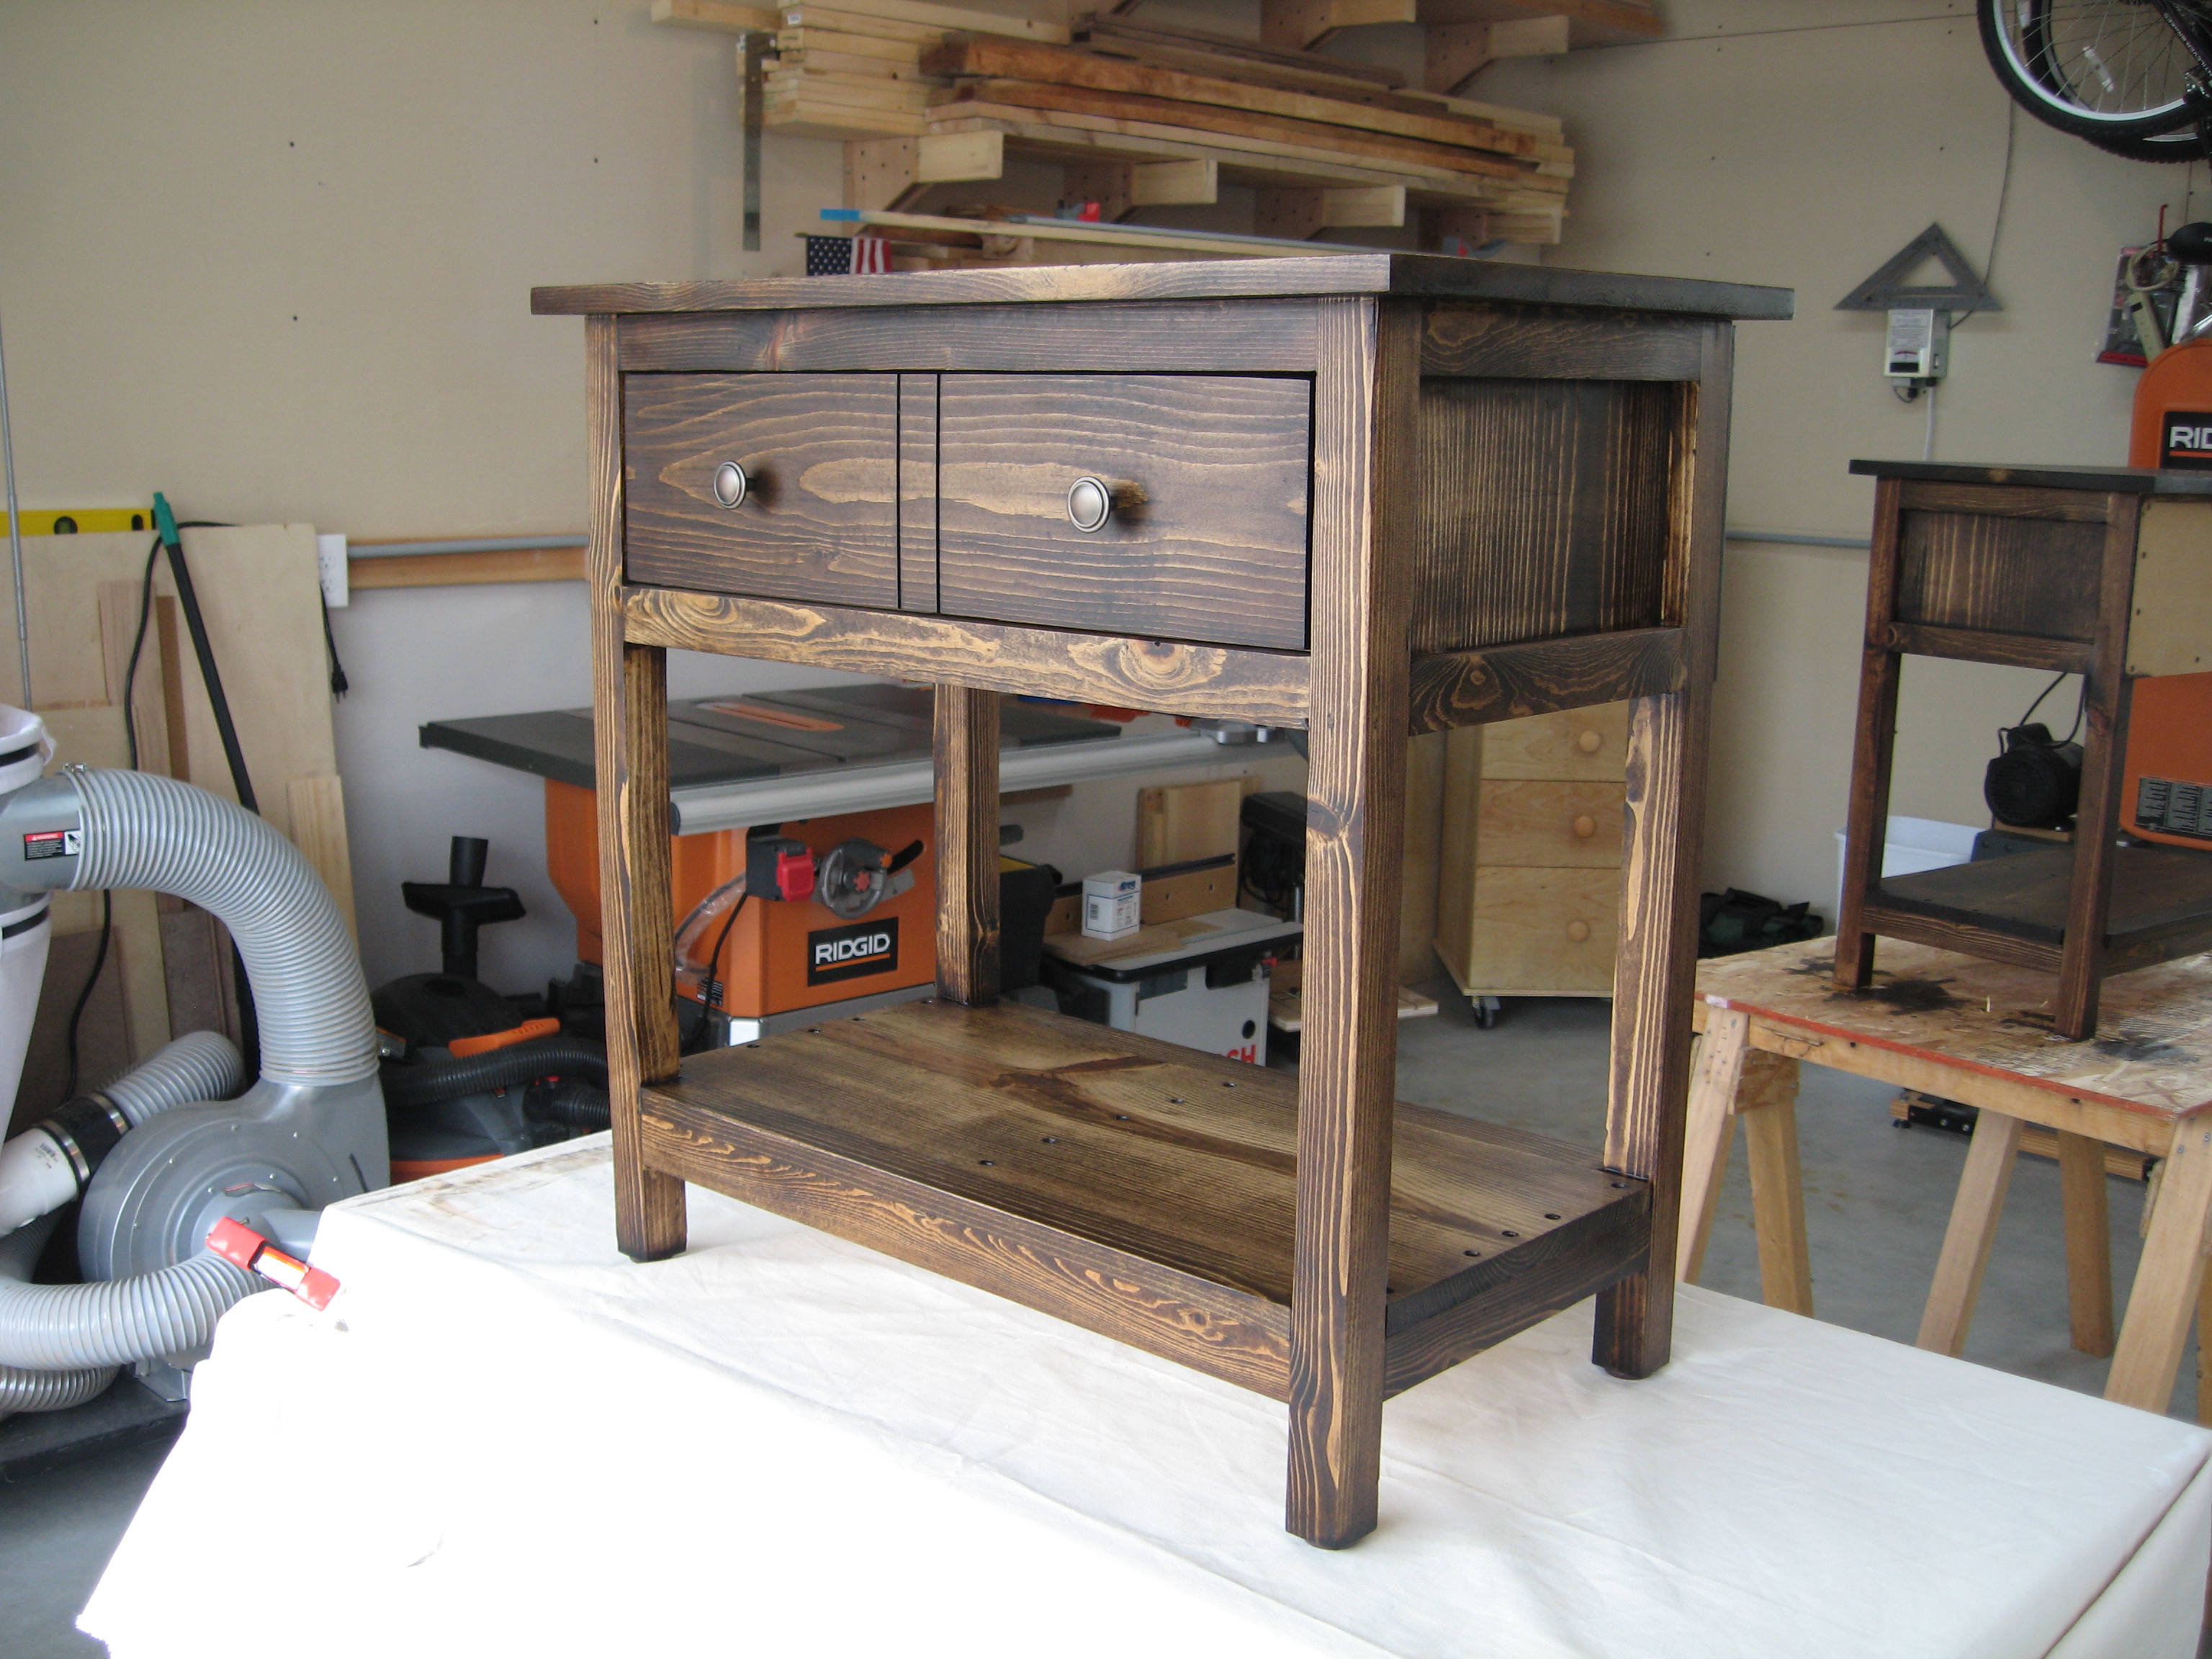
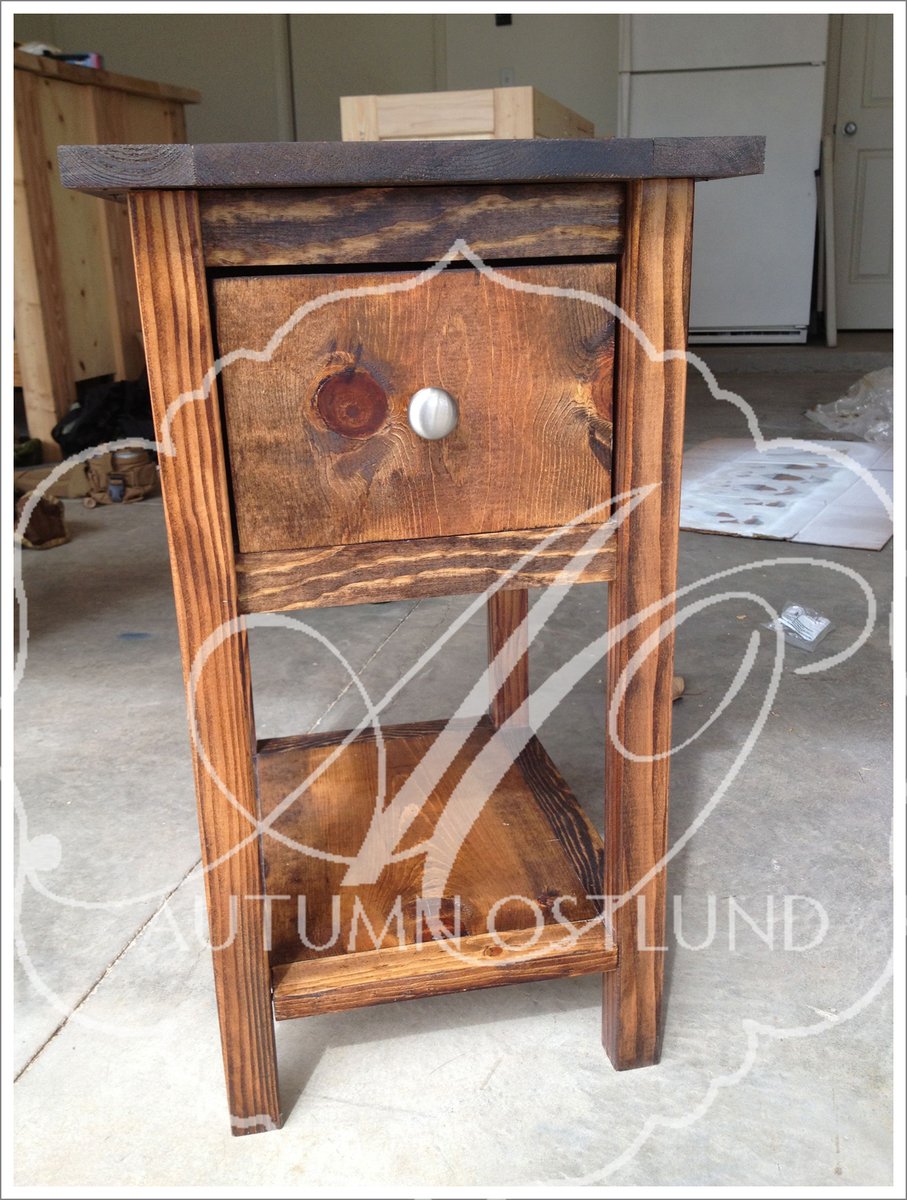
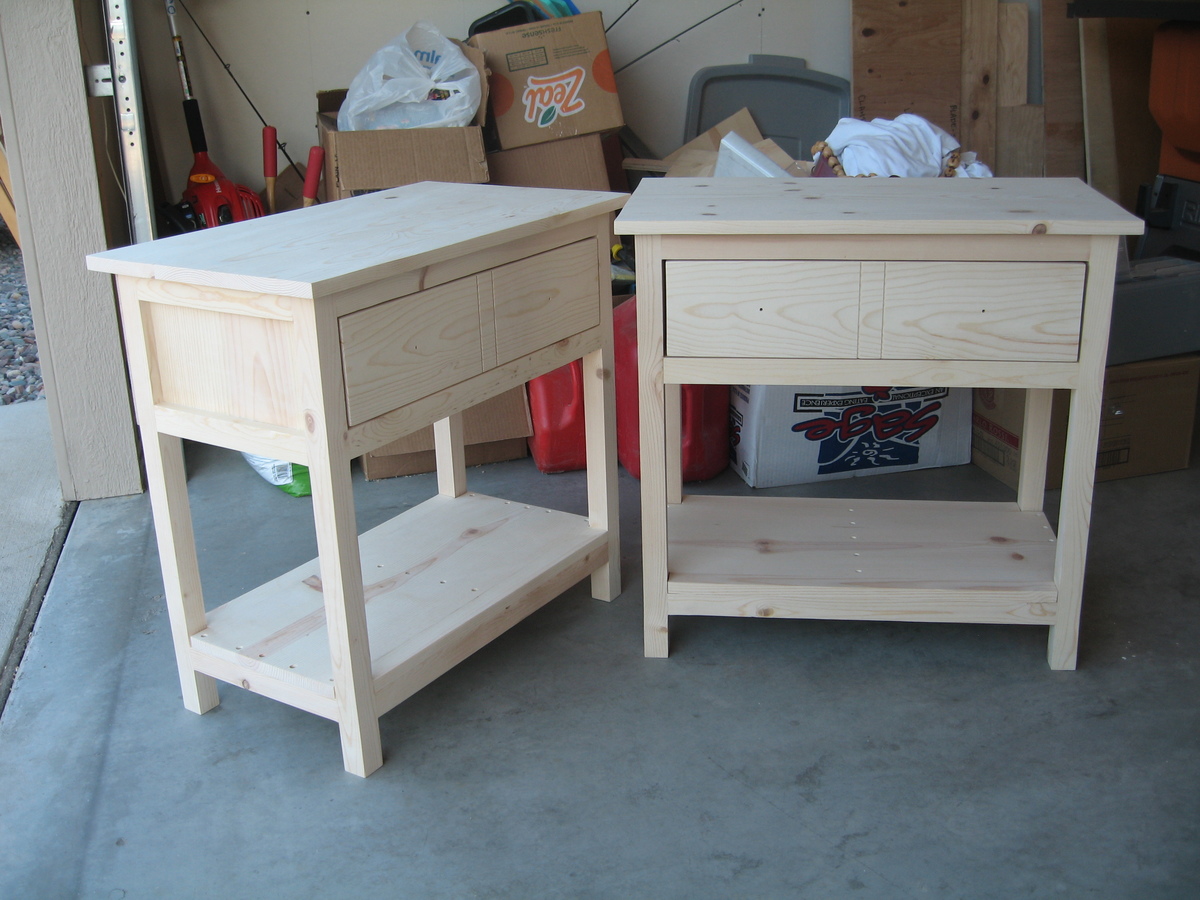
For the 7 years I have been married to my lovely wife we have used an old 70's bedside table and some Rubbermaid boxes as our nightstands. It was time to give my wife a nightstand that she would love. With the help of the Kreg Jig, a new table saw and some trials and tribulations in staining, I have given her a special treat. Best part: She loves them!


Sat, 11/17/2012 - 09:42
LOVE the nightstands, but the story behind them is even better.
Mon, 11/19/2012 - 11:39
These look great. I think I can see a satiny sheen on them that is really pretty!
Tue, 11/20/2012 - 02:11
You did a great job on the night stands. What did you use for the legs? They look like 2x2s but where did you get them?
Wed, 01/02/2013 - 01:47
Funny enough the legs are ripped down to 2x2's but they started as 2x3's. The 2x3's were cheaper at my local big box joint. What was nice about ripping them down on the table saw was that I could get a nice square edge on everything unlike just throwing a off-the-shelf 2x2 on there with their inconsistent rounded edges.
Second Ana White build!

Mon, 08/08/2016 - 16:16
You did a lovely job on this, I think it's my favourite of all of them. Where did you find those knobs? Is there a special technique you used for painting and glazing? It looks like it might not be even everywhere but have a more random pattern to it.

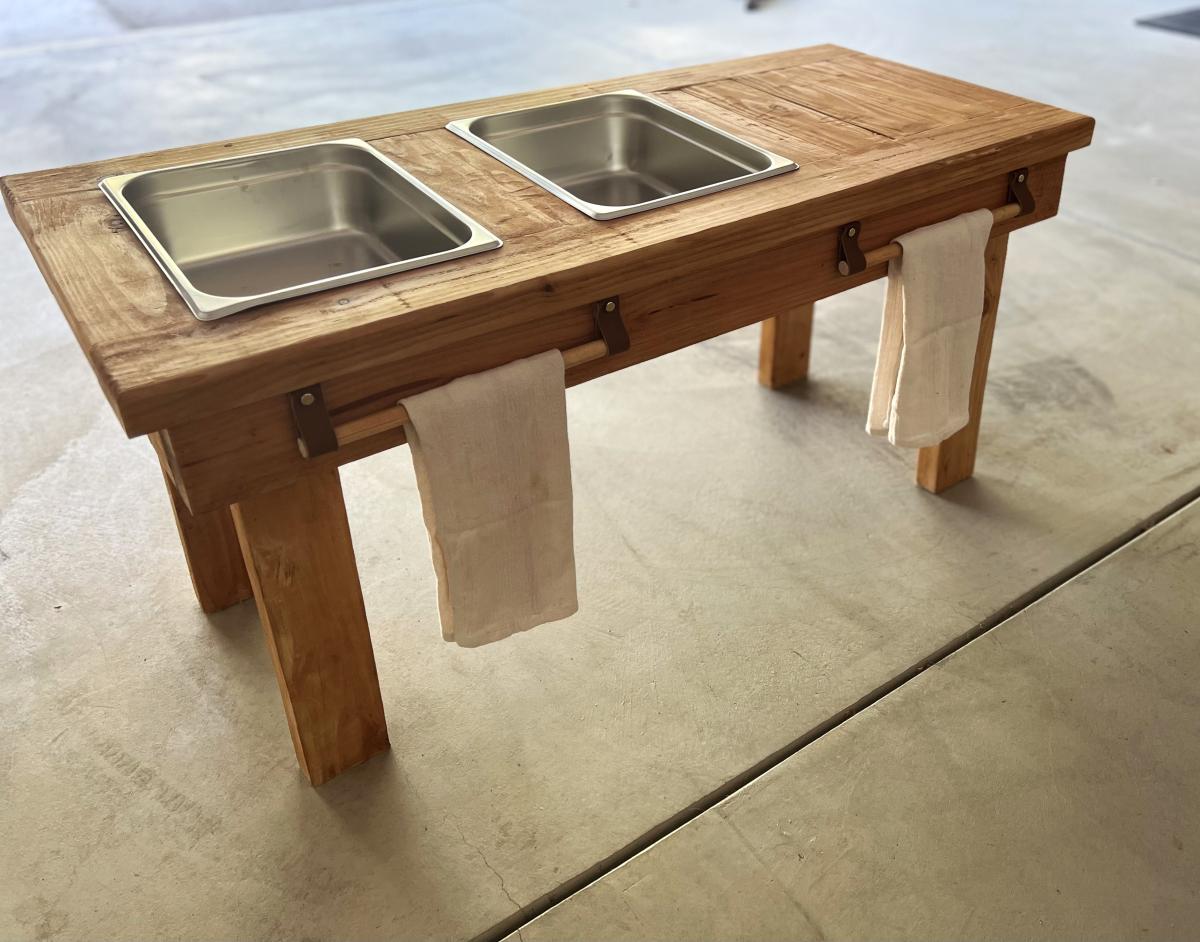
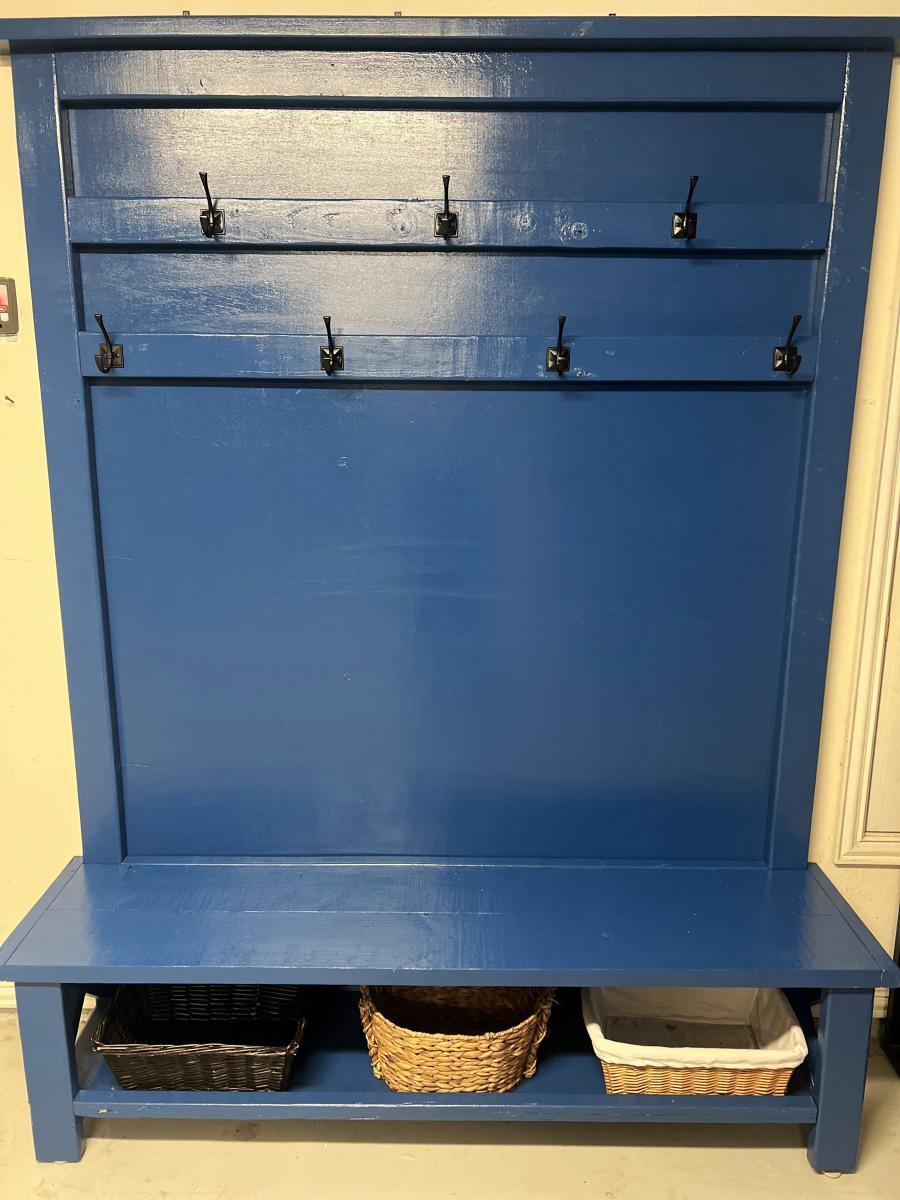
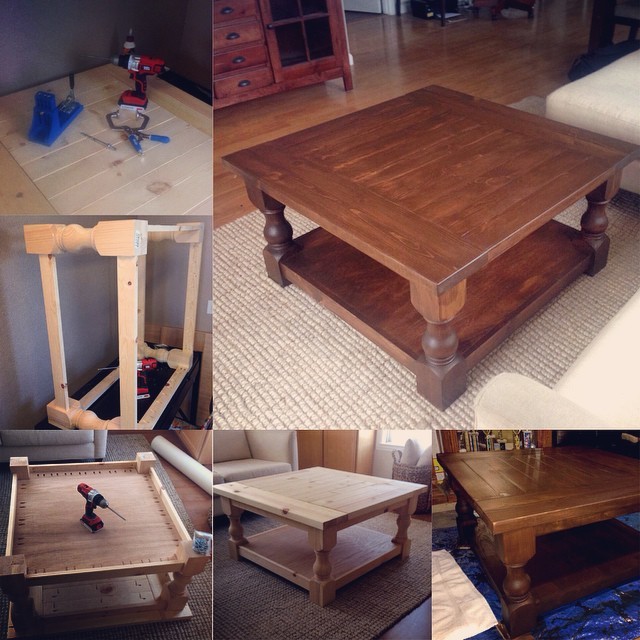
I built this table for my wife for Christmas.
We extended the height to 84” and width to 65”. We also added a 2nd bar for hooks.
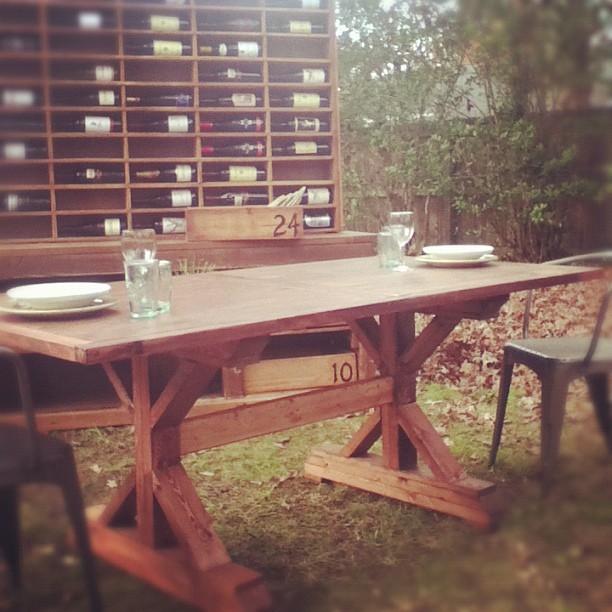
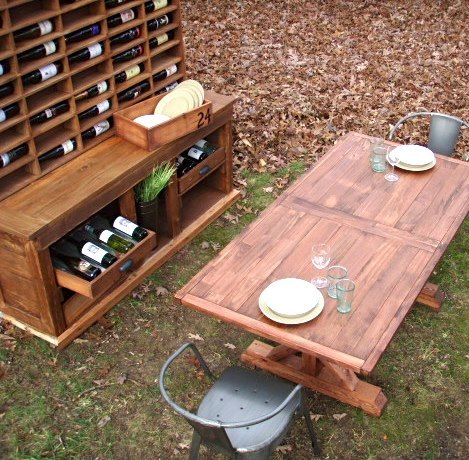
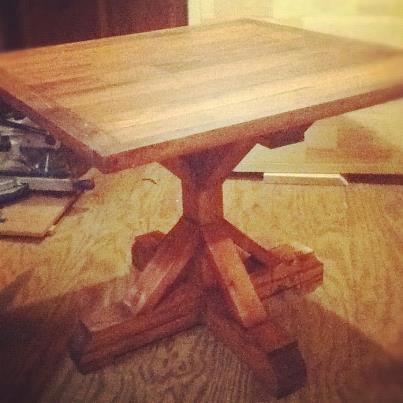
Inspired by the Fancy X Table plans, this table was made from scraps of thresholds and door frames. The table legs were made from the runners and deck board from shipping pallets.
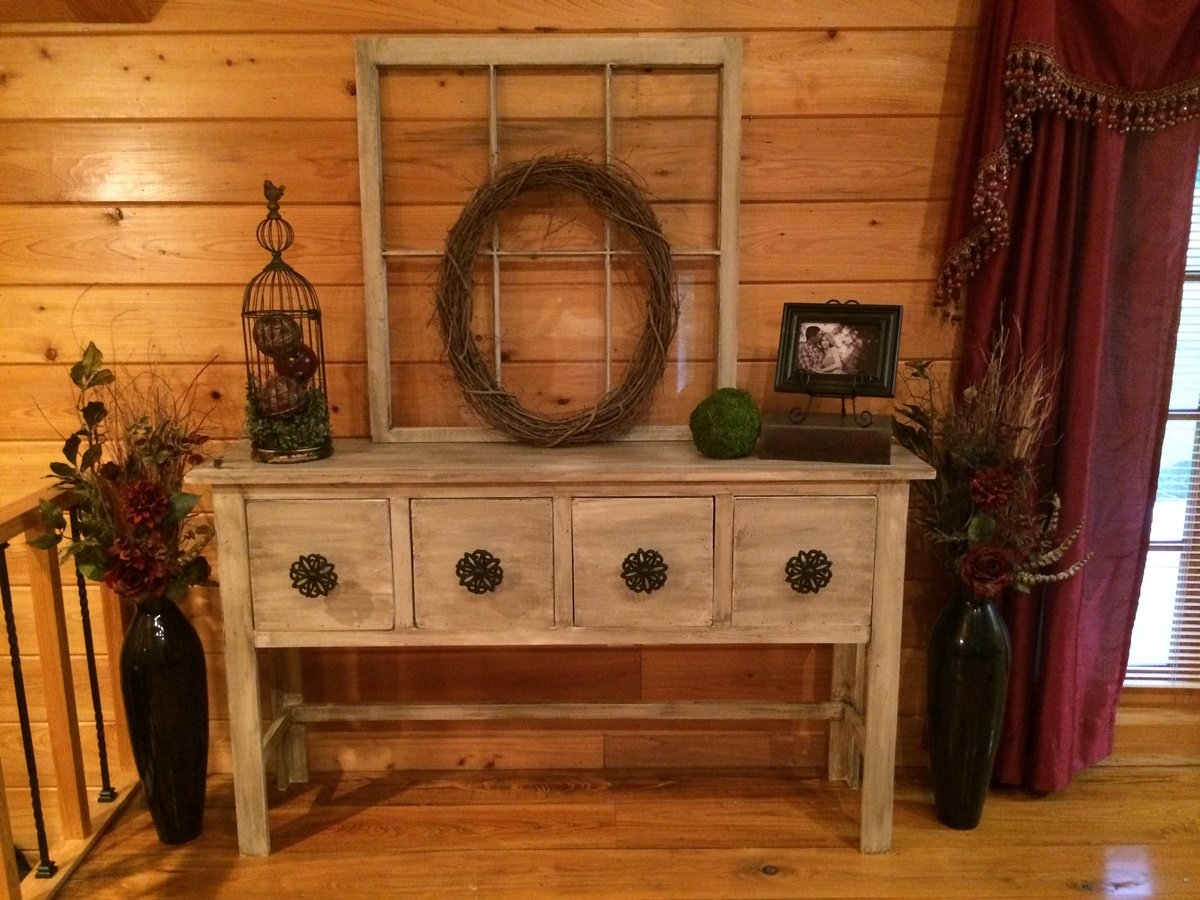
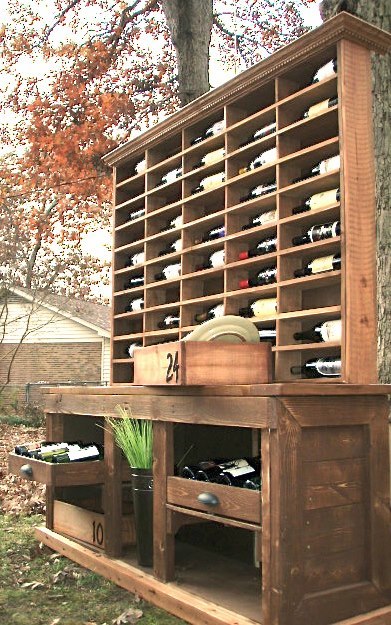
The Vintner's Hutch was created by re-purposing fencing for the wine rack, decking for the buffet top & pallets for the buffet itself.
The little guy featured in the additional pics is a twin to another accent table. All three tables can now be joined to make one 12' long table for the ultimate family feast. Magnets are used to make the connections!
It is an honor to post these on the Brag Board since I was inspired by the old "Knock-off Wood" to start building furniture 18 months ago as a way to bring in income and help pay for my wife's MS medicine. A humble and sincere "thank you, Anna" for reminding me that , even if I can't do much, I will never be accused of not doing what I can. You've inspired me to stop feeling sorry for myself when money was tight and collectors were calling. Now I proudly own Chucked Wood; where old pallets go to live!
Here's to life...
Cheers!

Thu, 11/22/2012 - 05:54
You are very talented. These pieces are beautiful. I would never have guessed they were all made by "upcycling" old wood. Your story is very inspiring. Keep up the good work!
Thu, 11/22/2012 - 20:08
Goodness Pam, I really appreciate your kind words. I am always floored by your brag posts!
Cheers!
CP
Thu, 11/22/2012 - 19:09
Makes me want to sit down there and enjoy the company of great friends and some wine, cheese and some fresh crusty bread. amazing!!! Your wife is very lucky to have you!
Fri, 11/23/2012 - 02:08
Makes me want to sit down there and enjoy the company of great friends and some wine, cheese and some fresh crusty bread. amazing!!! Your wife is very lucky to have you!
This was my first handmade diy furniture project ever. It turned out much better than I anticipated. The lumber store that I used did not offer knotty pine in 2x6 dimensions so I improvised with 2x4s. This project was a little time consuming due to the fact that I am a complete novice and I had to gather all of the necessary tools and learn how to use them. Everything considered I am very happy with the result and I really enjoyed this project.

Sat, 09/06/2014 - 17:24
Congrats on an awesome project! You did a beautiful job and the finish is gorgeous!
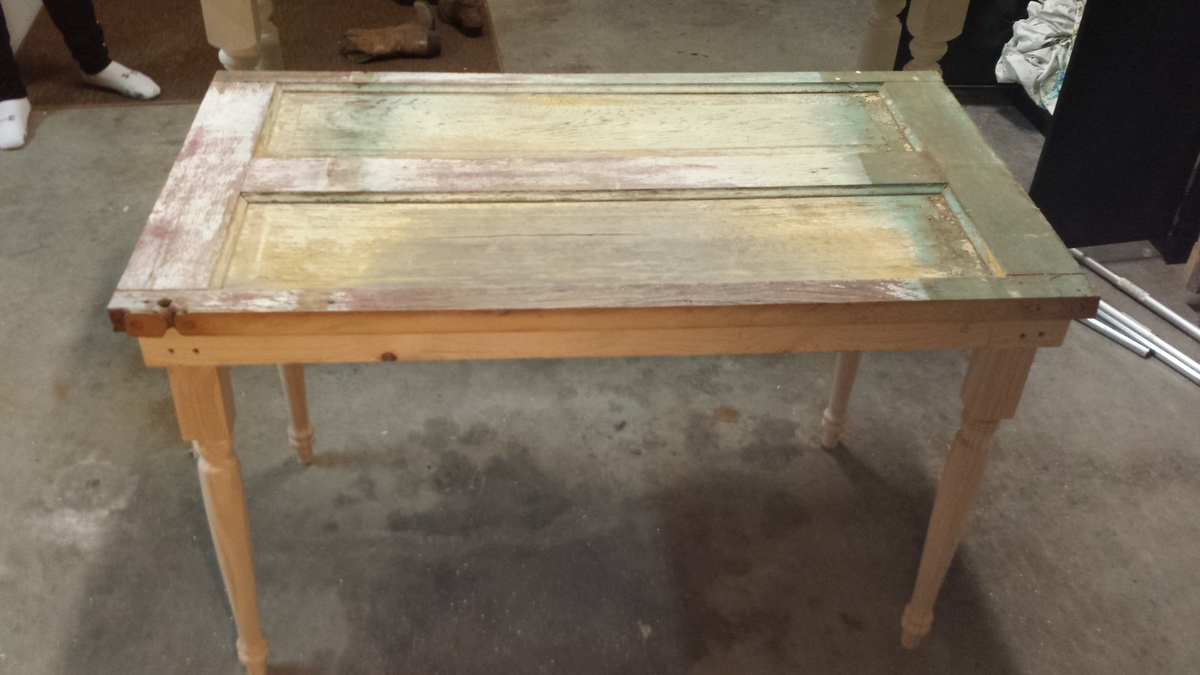
I made this computer desk for my college age daughter out of a 150 year old door that we got from her grandfather's homestead. I think it turned out fantastic. I need to add a glass top to complete.
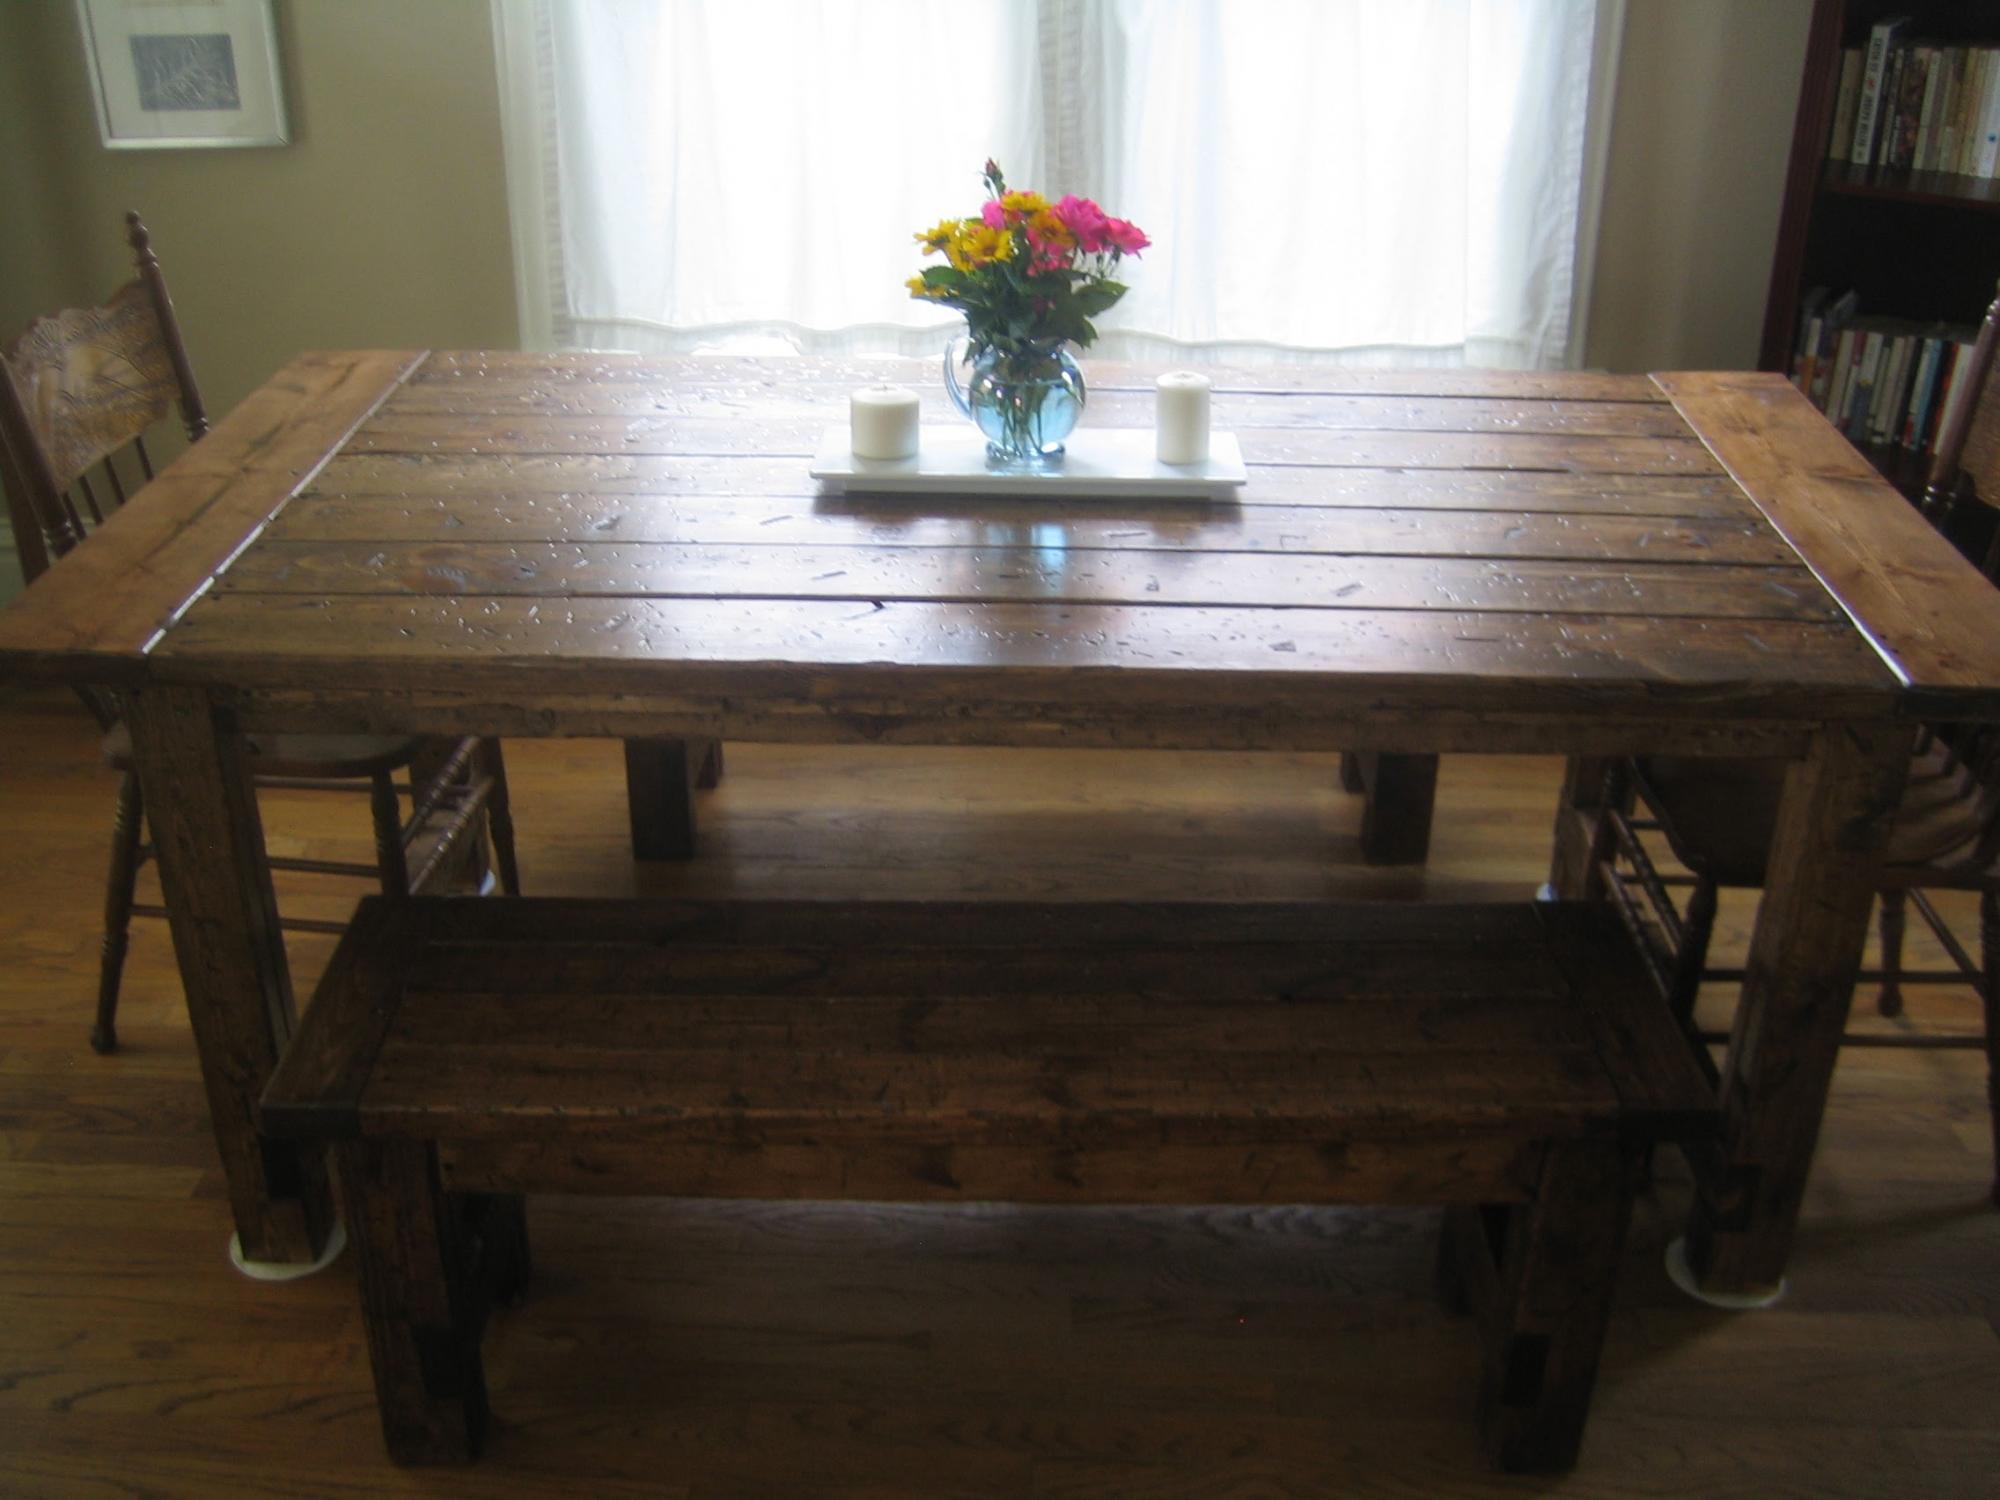
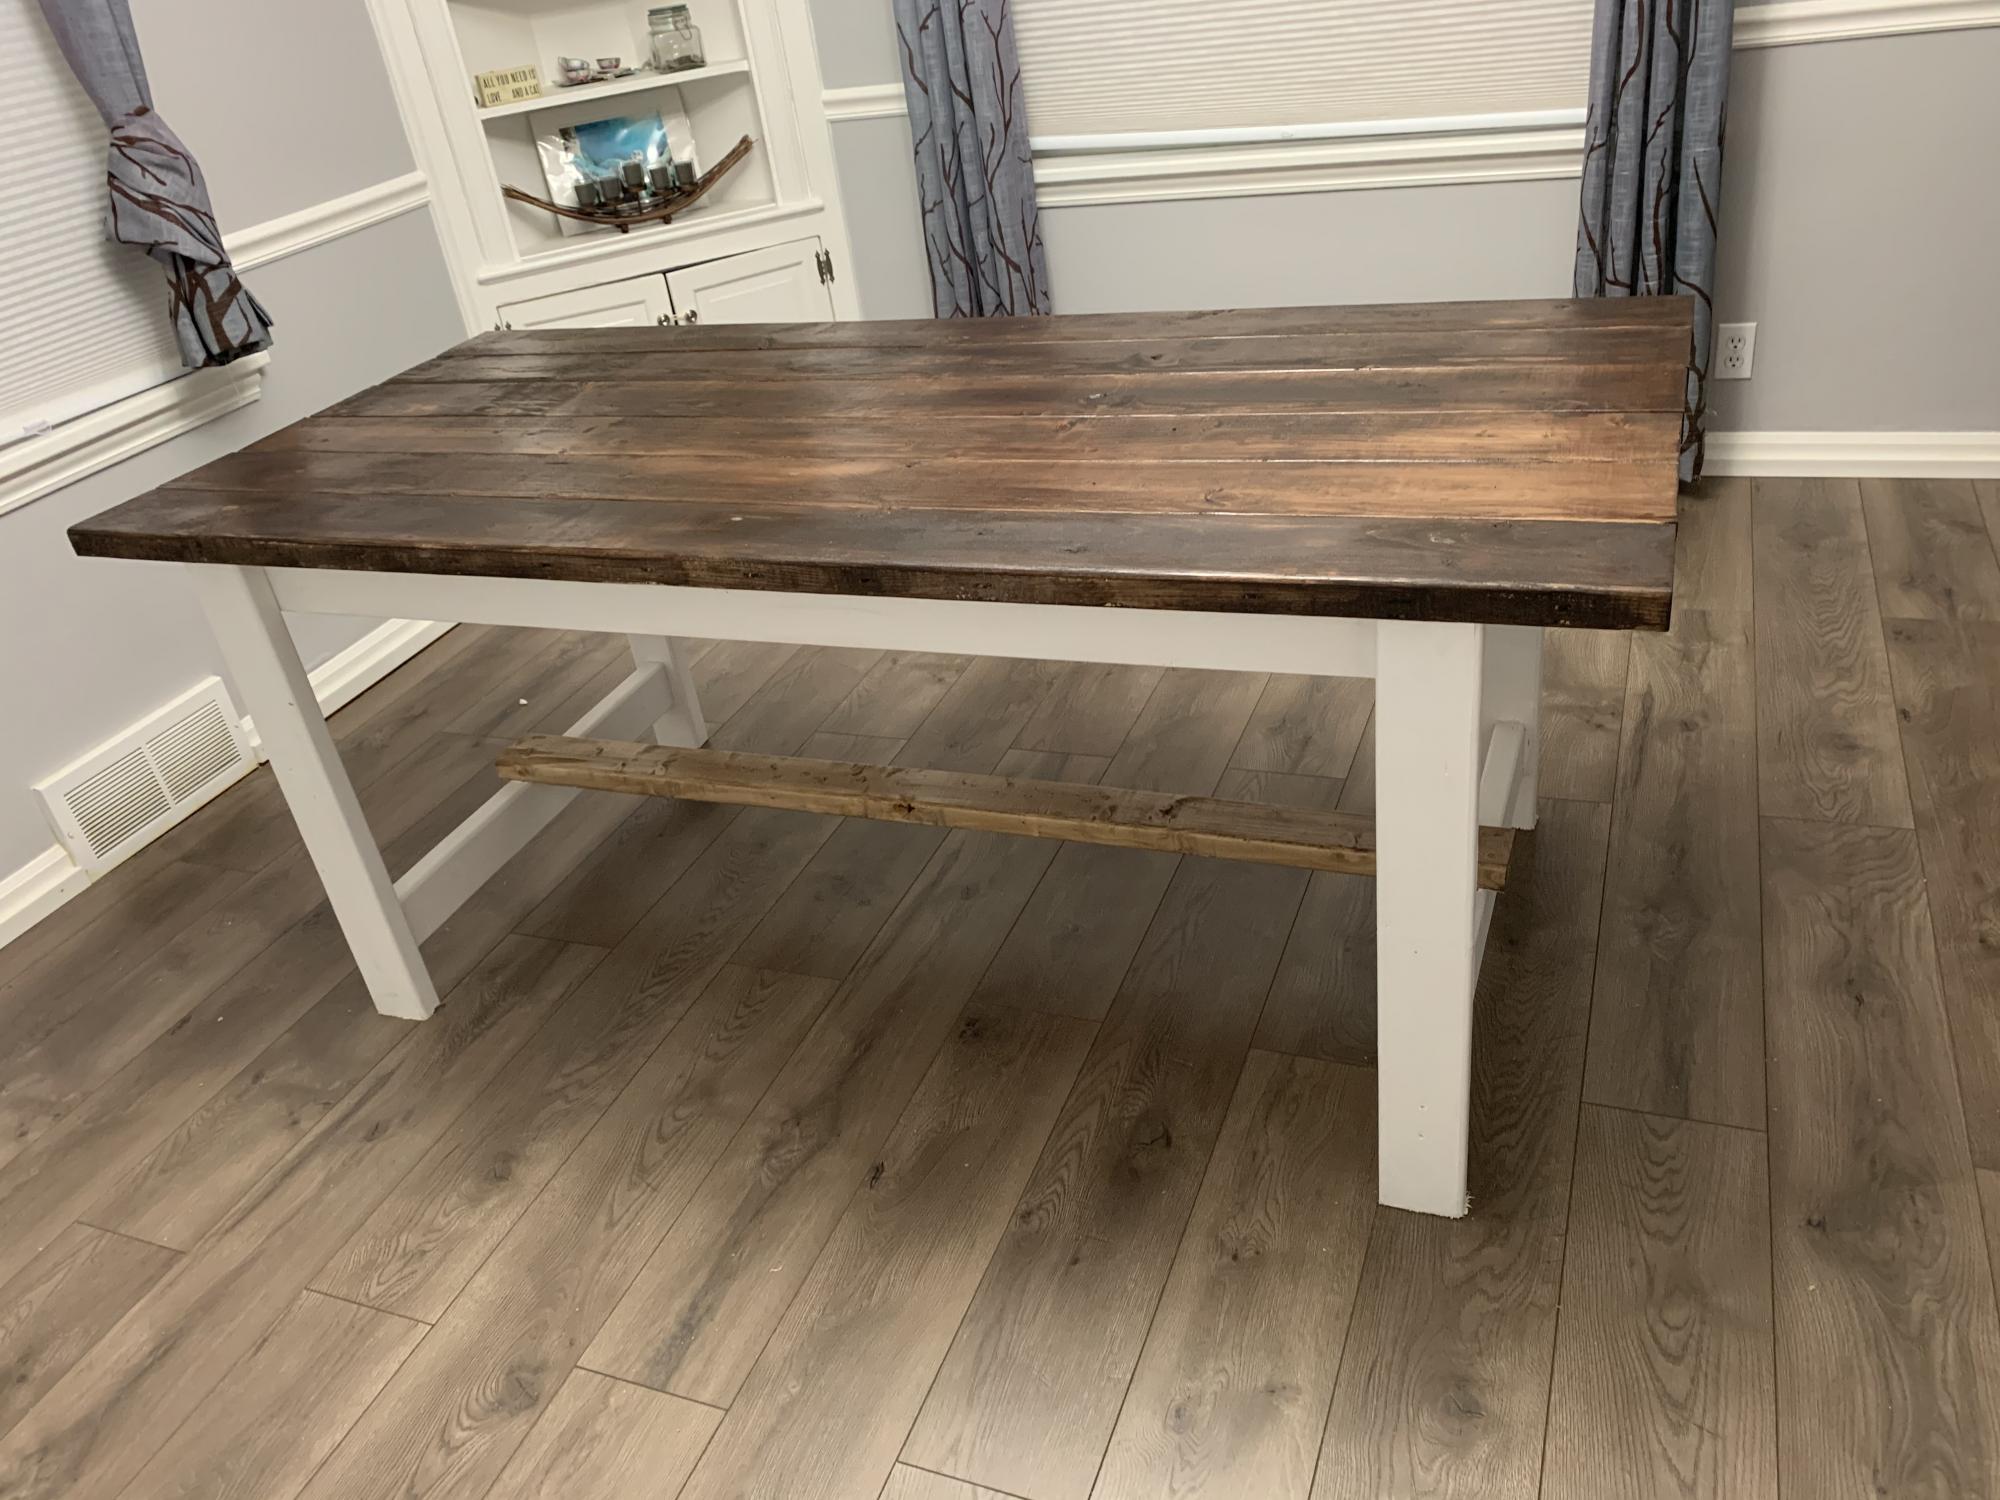
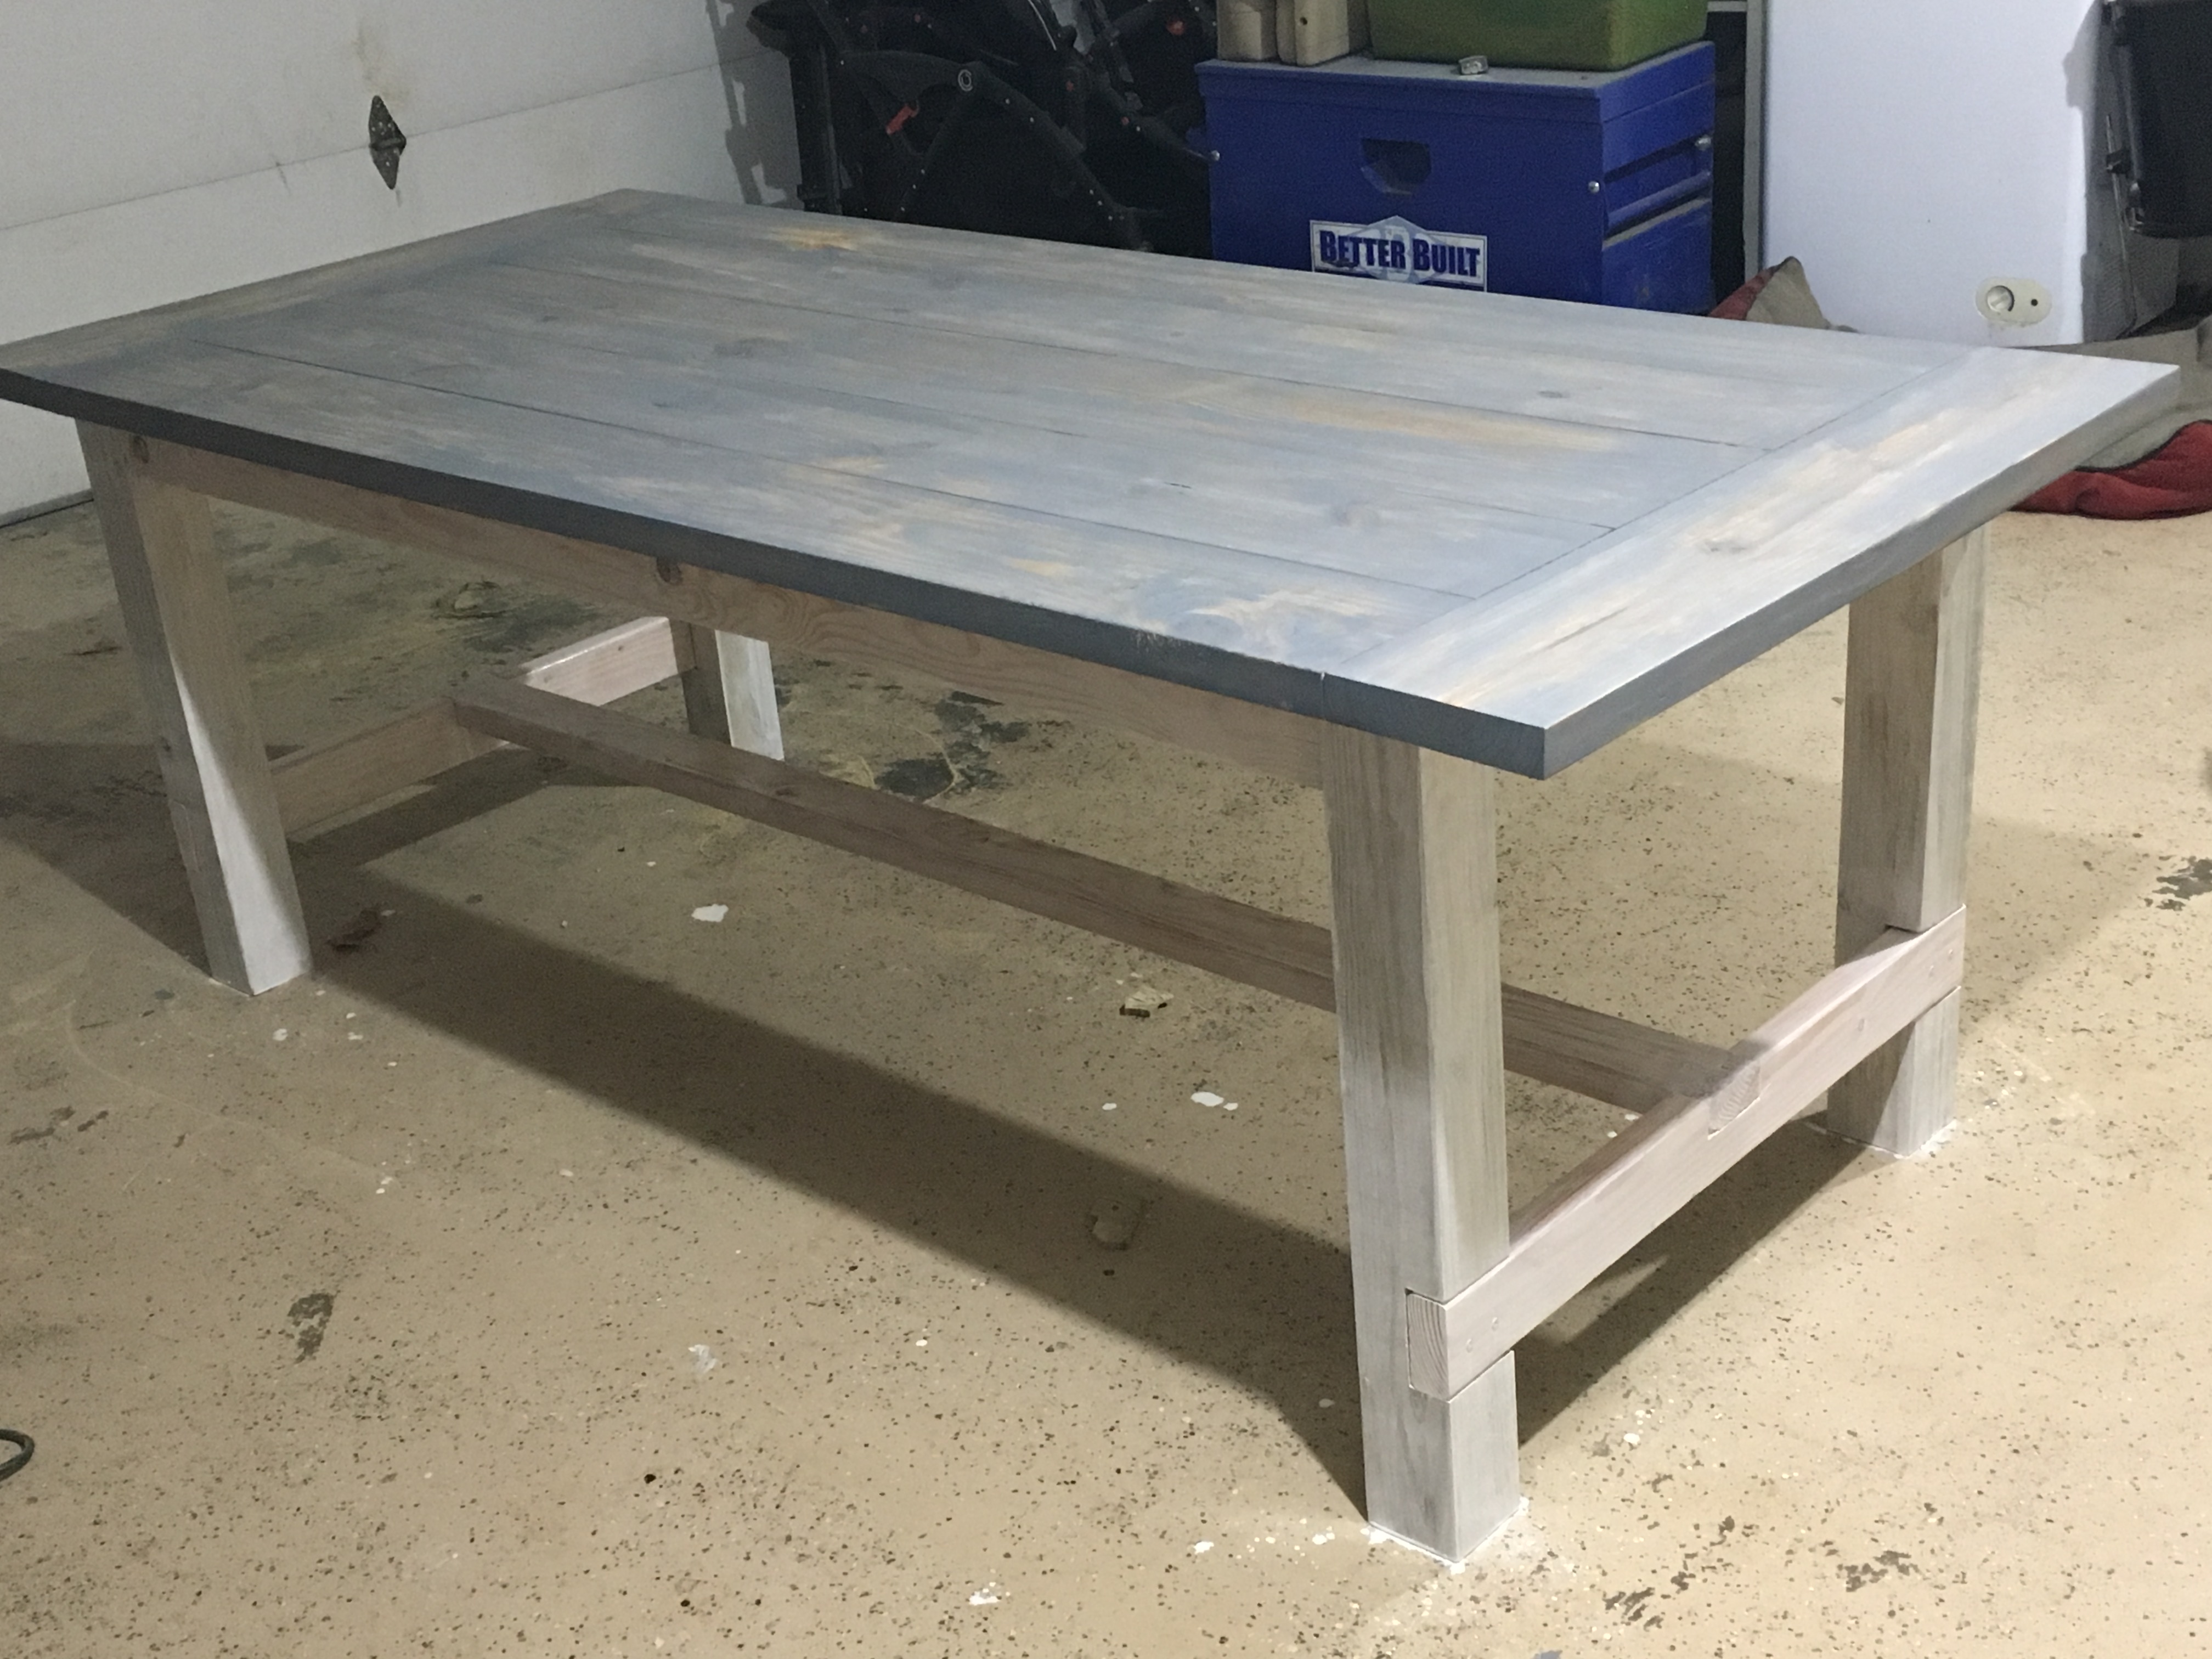
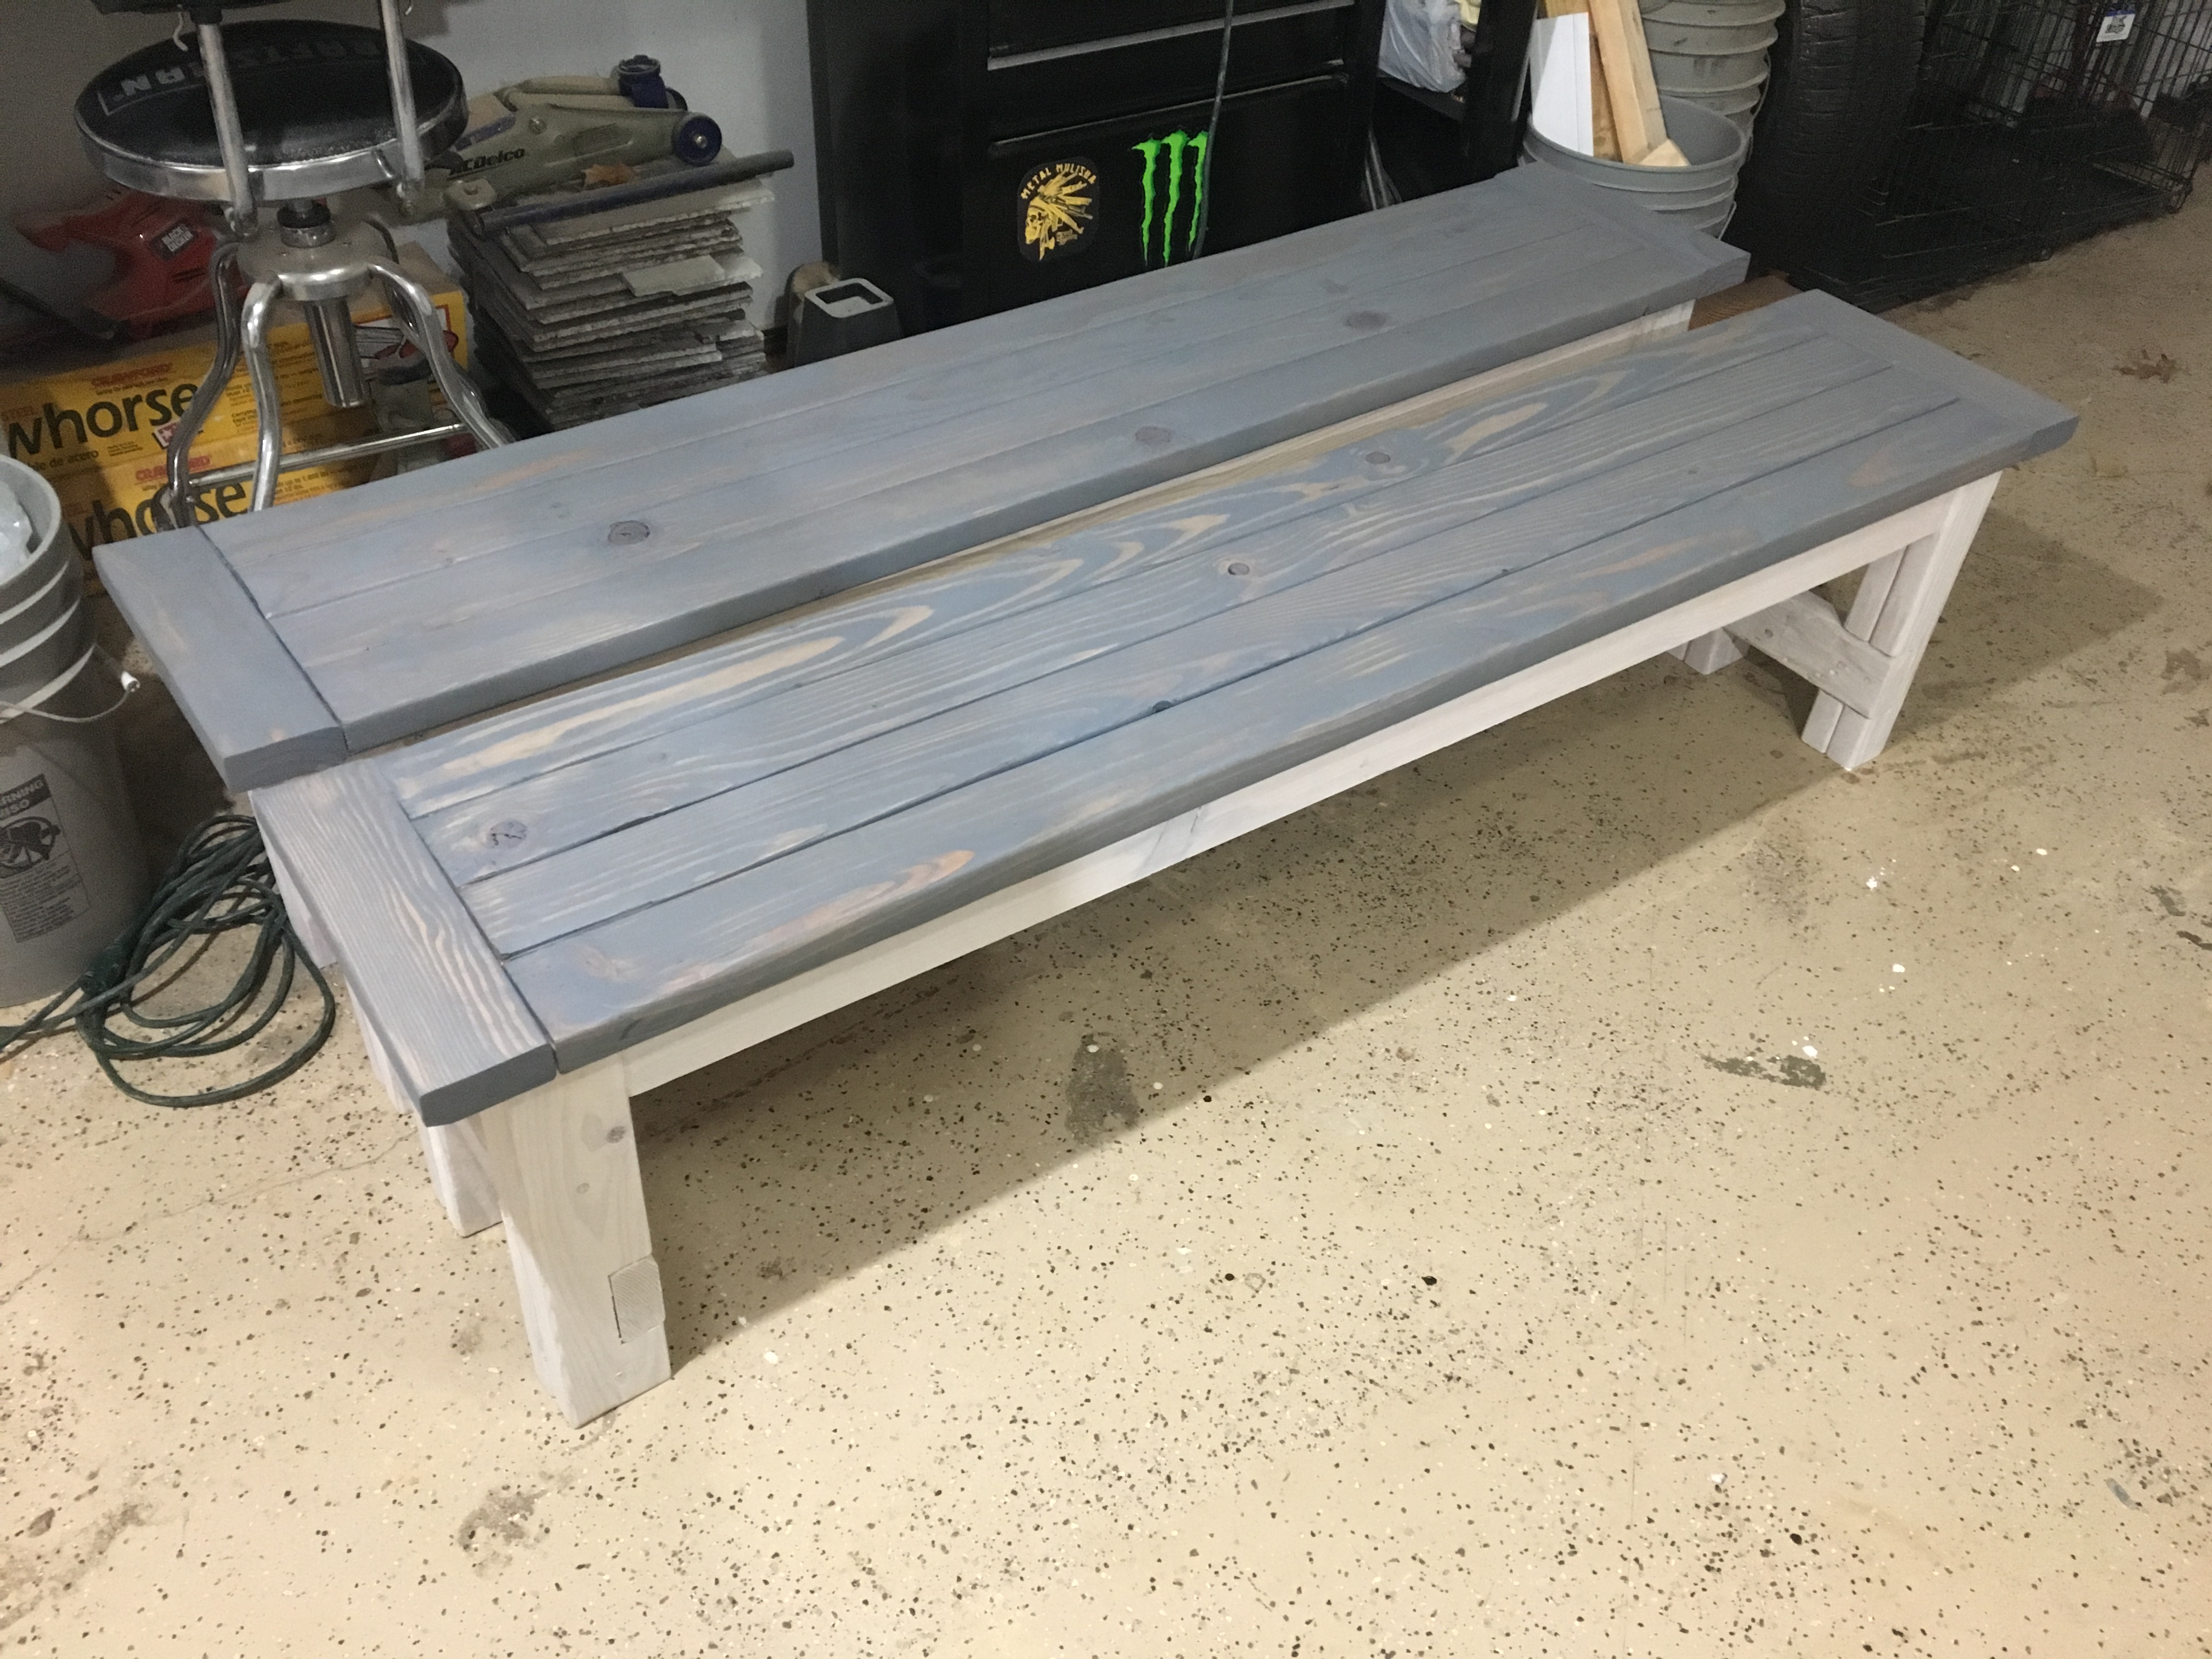
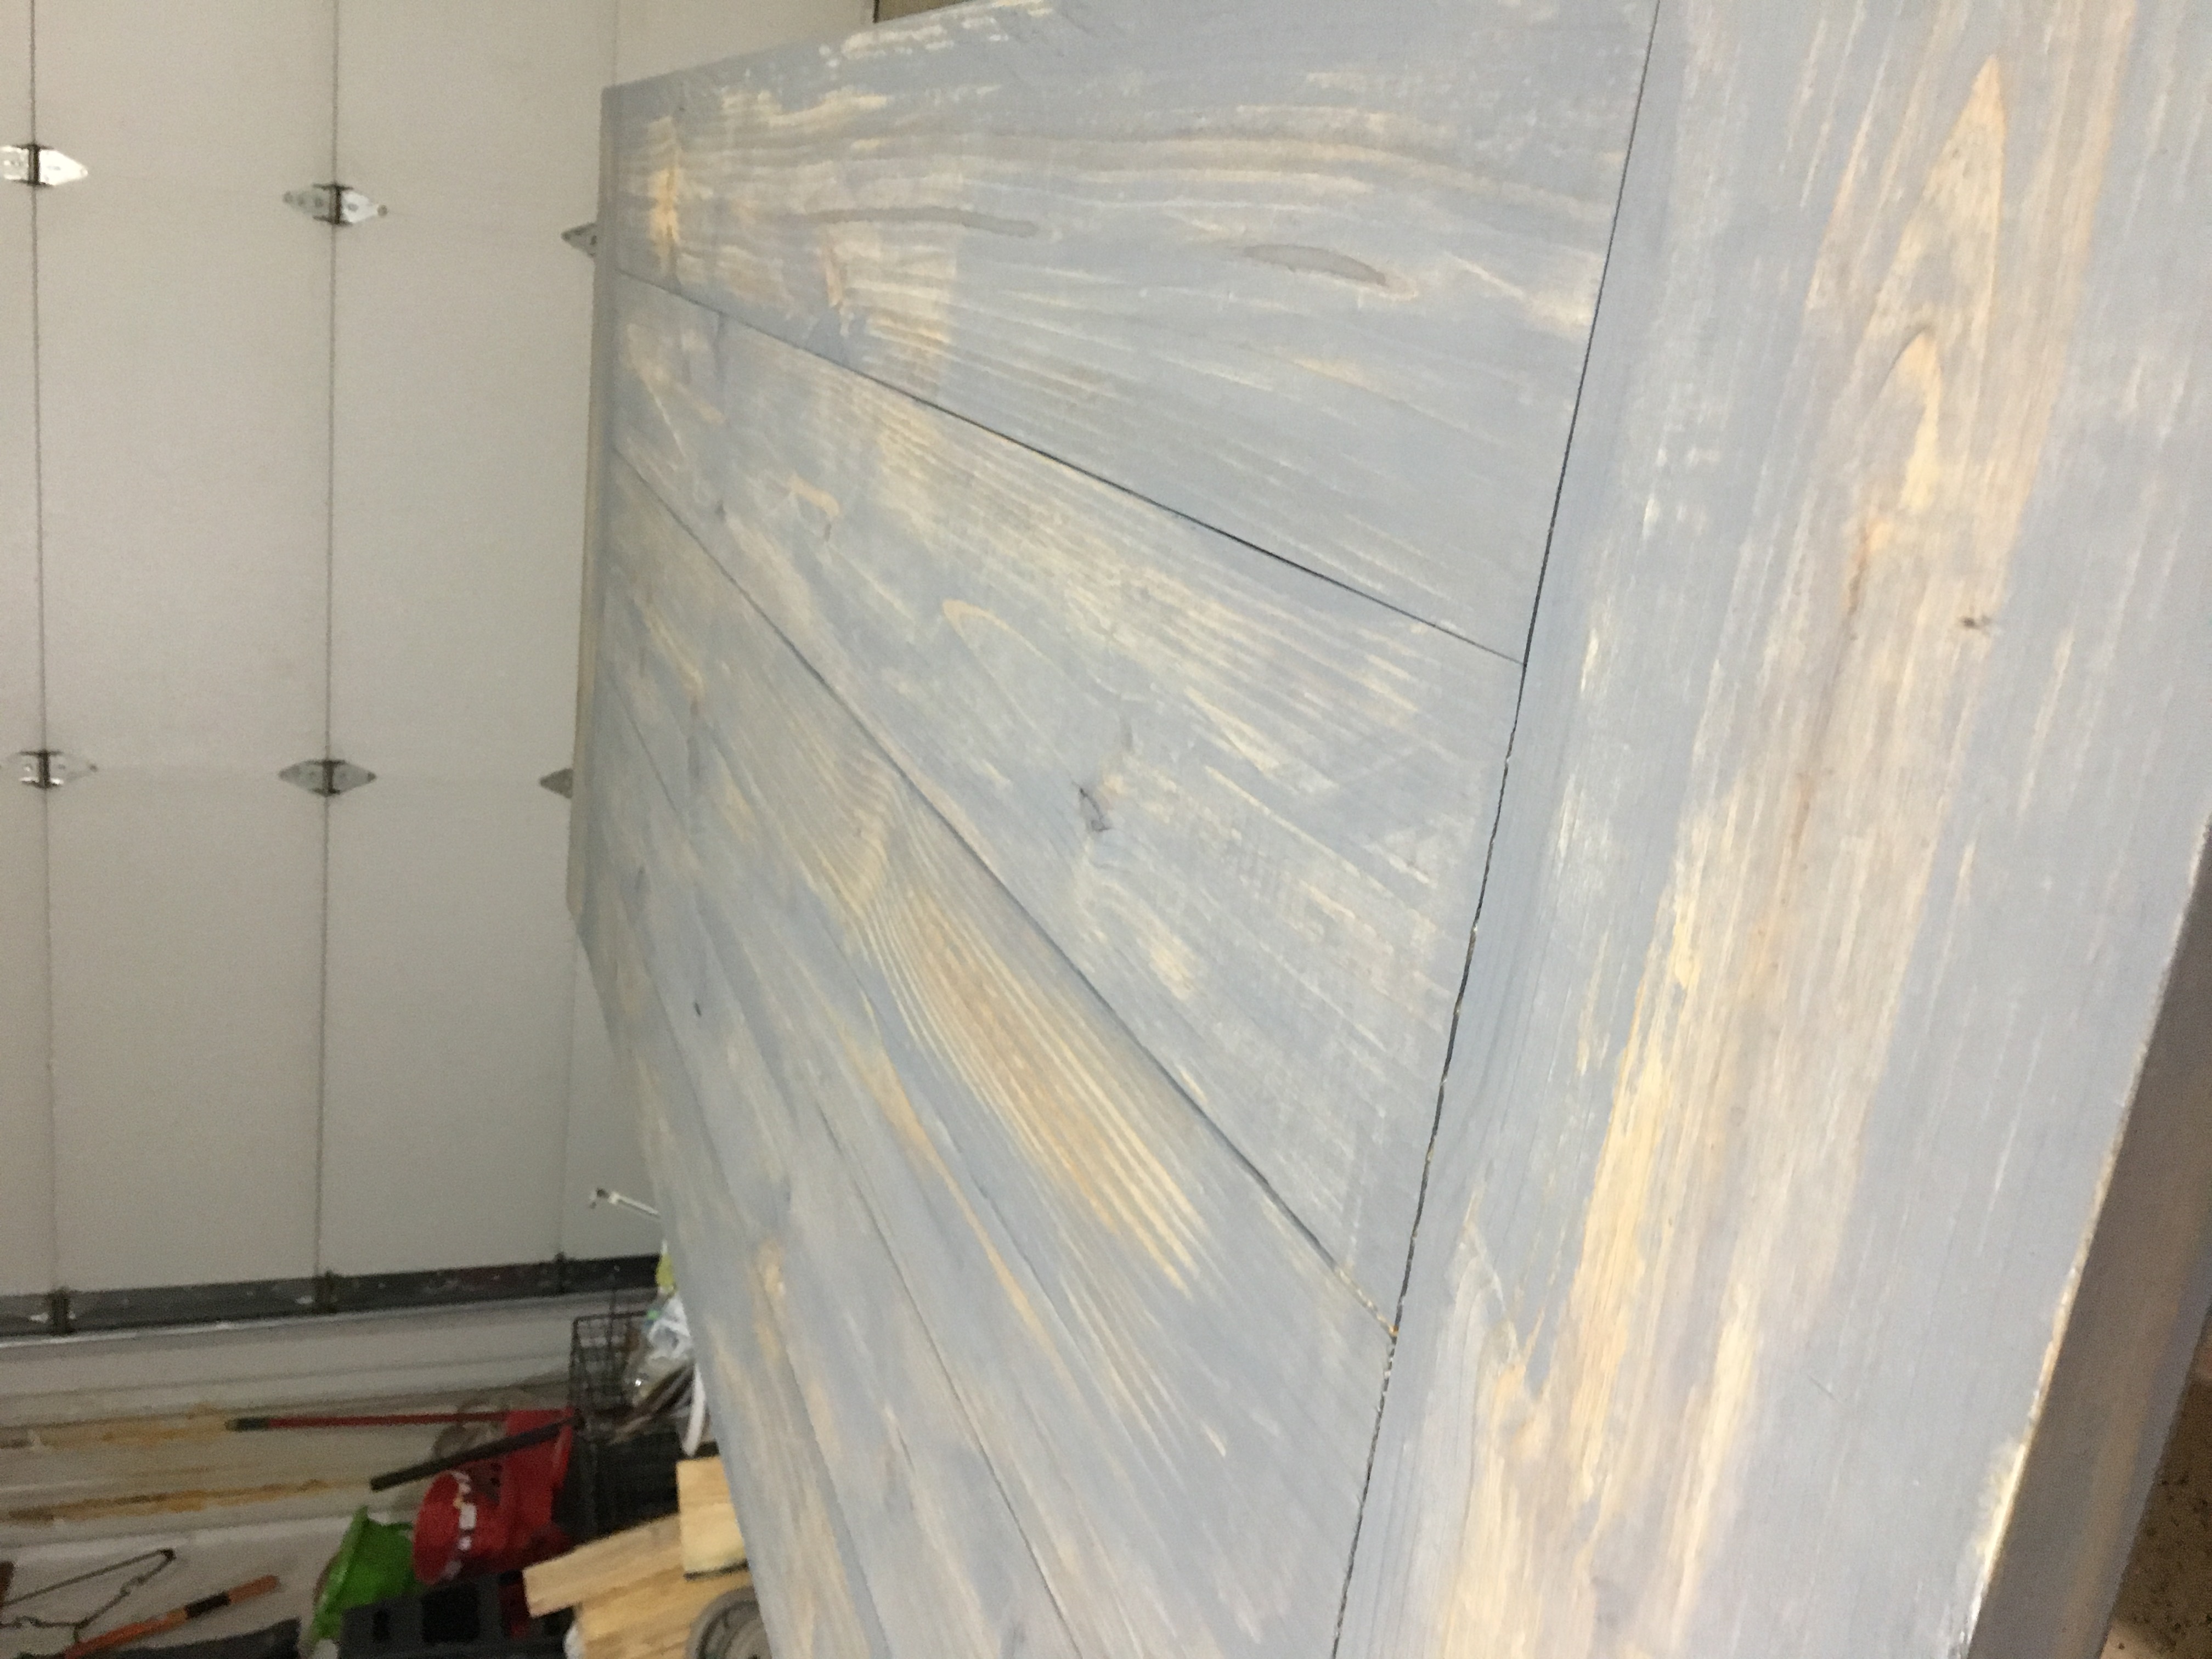
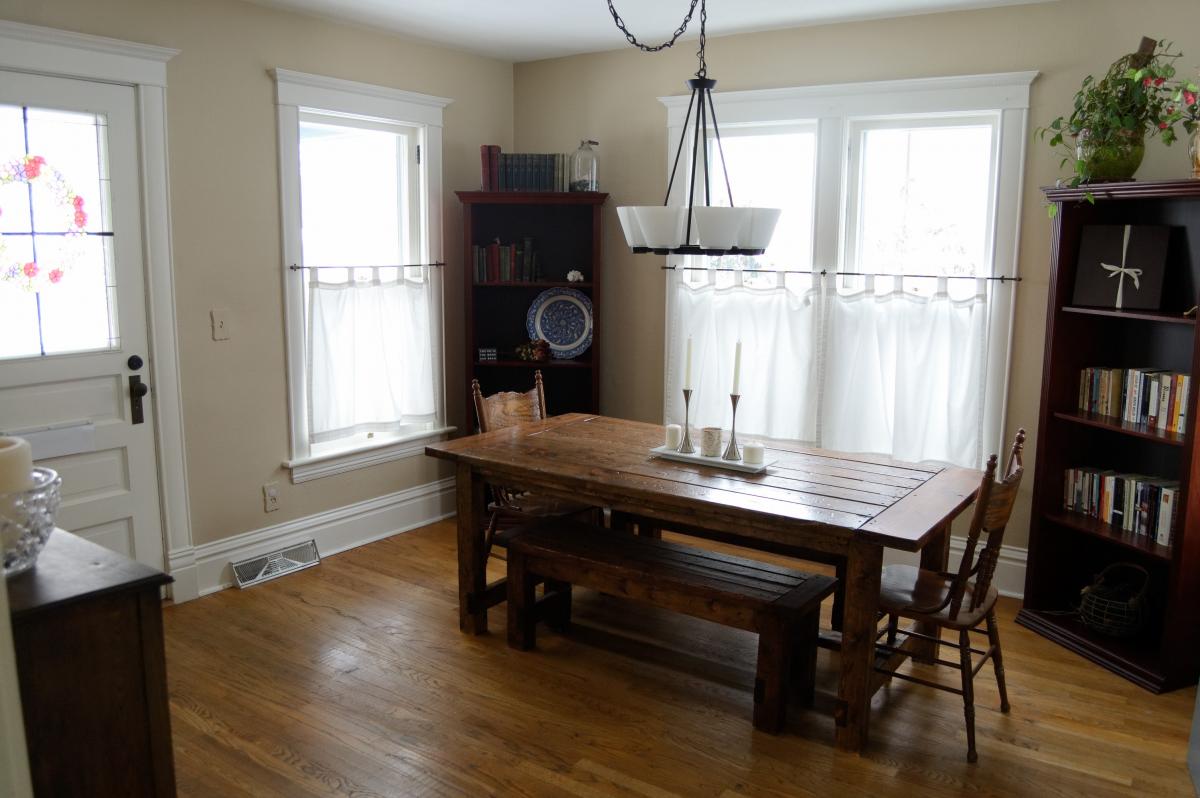
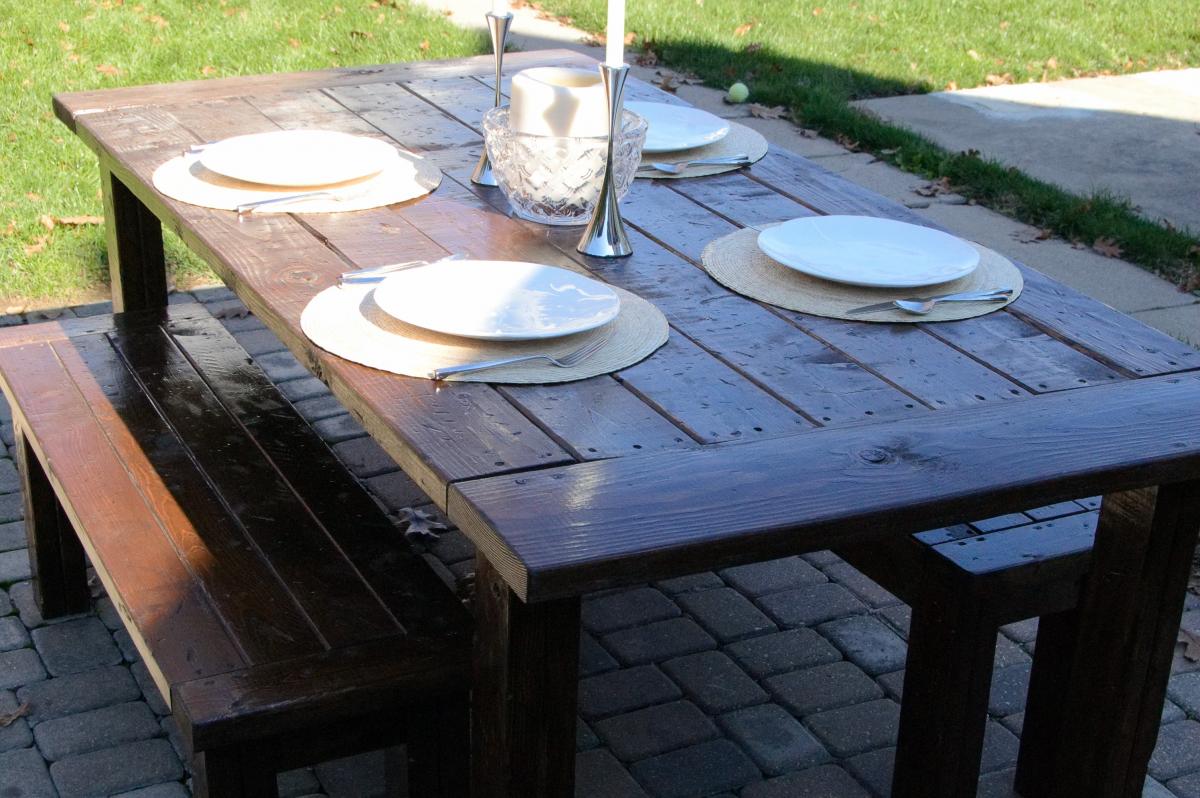
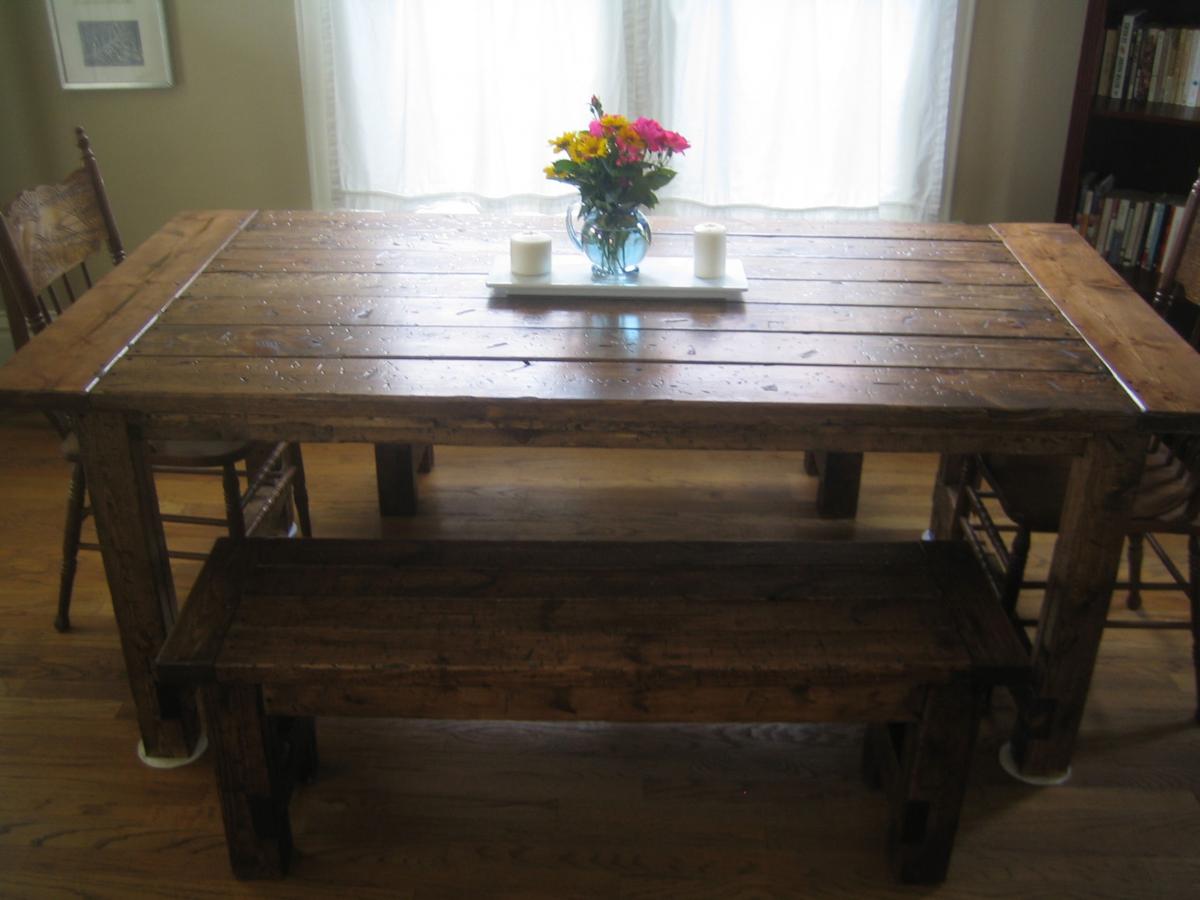
Made a vintage/rustic farmhouse dining room table with matching benches. Fairly easy DIY job. The notches were the most difficult. Quite heavy, so I suggest using less 2x2 for under-table supports. Turned out beautifully and very happy with it.
My Wife of fifty years showed me a picture of this Ana White X Table a few years ago, then flew down to Florida to visit our Grandchildren. Two days later I sent her this pic. She asked how I completed it so quickly and I told her I would have had it don sooner but it took me a day to find the weathered barn wood.
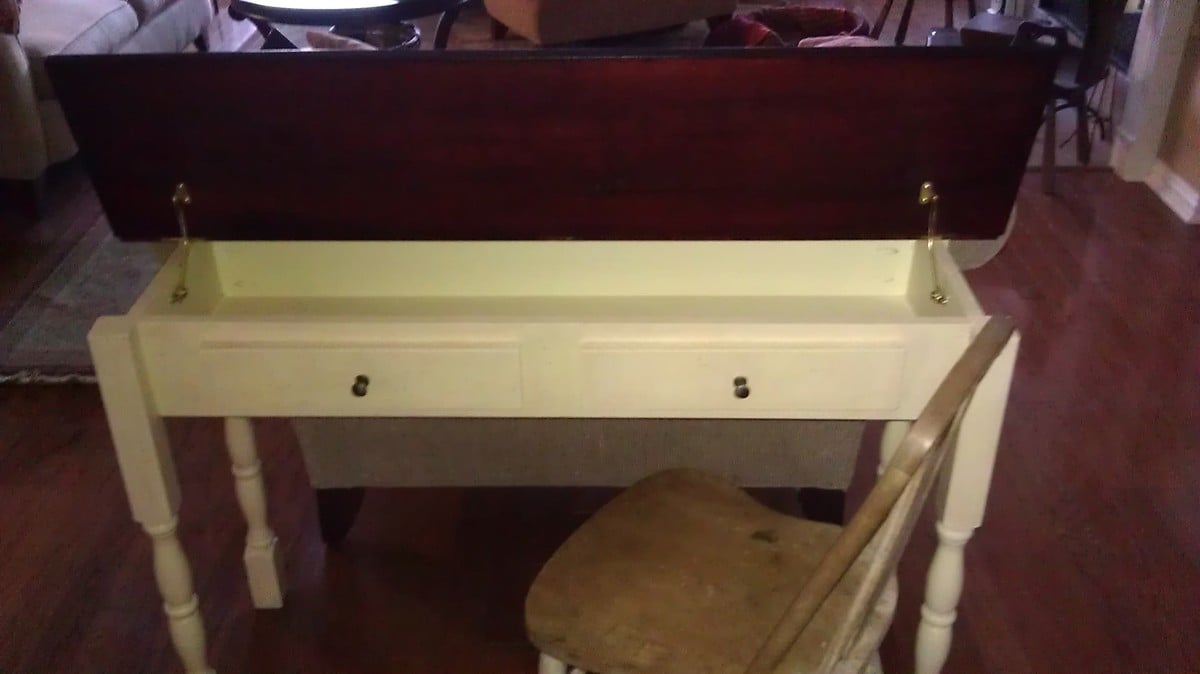
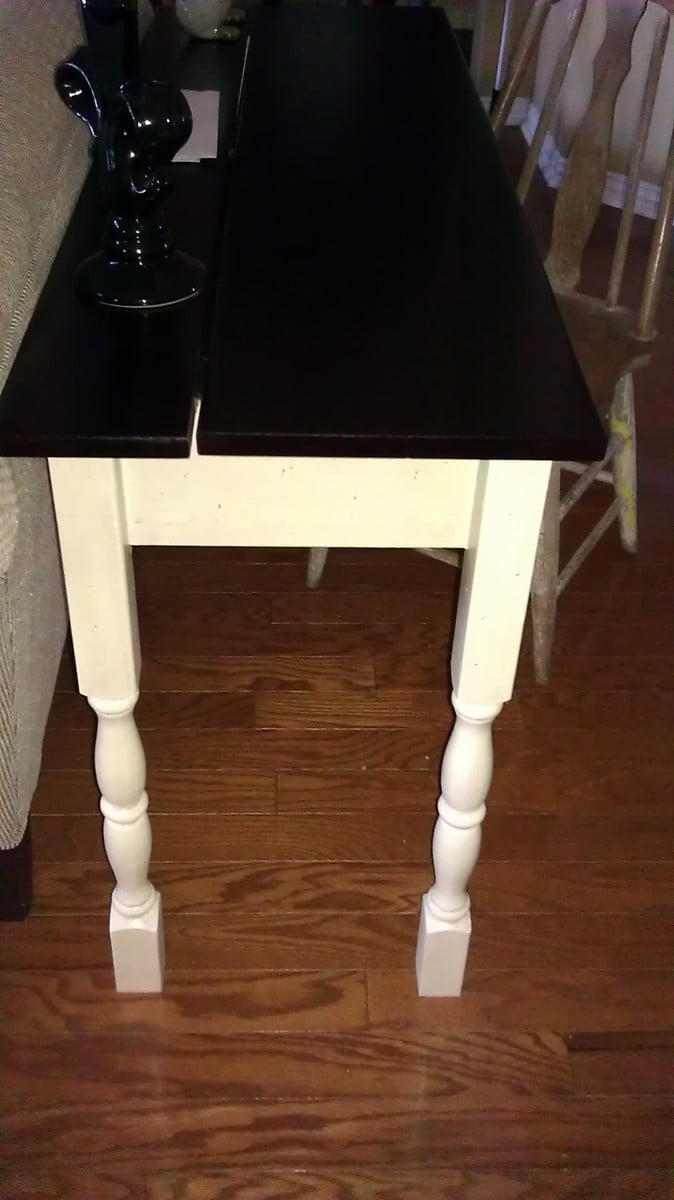
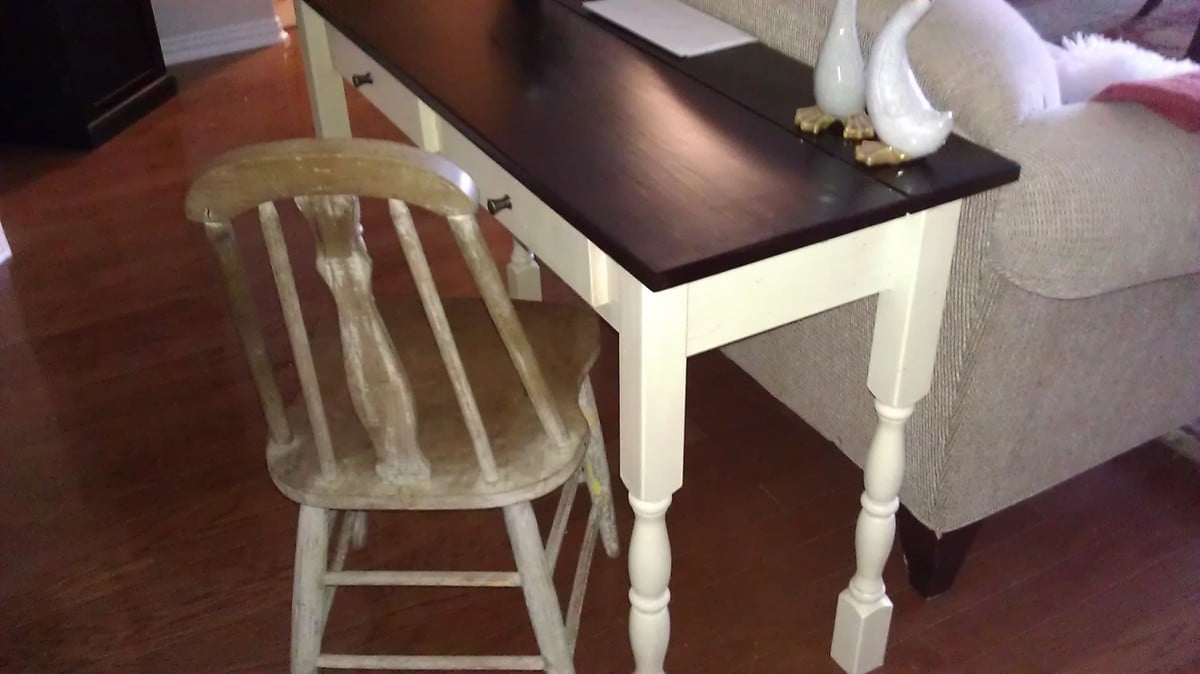
What a fantastic fun project. I spent more time on the finish than I did building this piece. I used outdoor rail posts for my legs because it's all I could find. These rails were larger than the 2x2 required so the back top board had to be a 1x6 to accommodate for this size leg. Besides the narrow hinges I also used some supports under the top so the top would stay up when opened. I didn't want any tiny fingers getting smashed.
I am thinking of doing this one again but altering it to be a sewing machine table. I'll post a picture if I am successful.
Thank so much for the fun project.
Janet