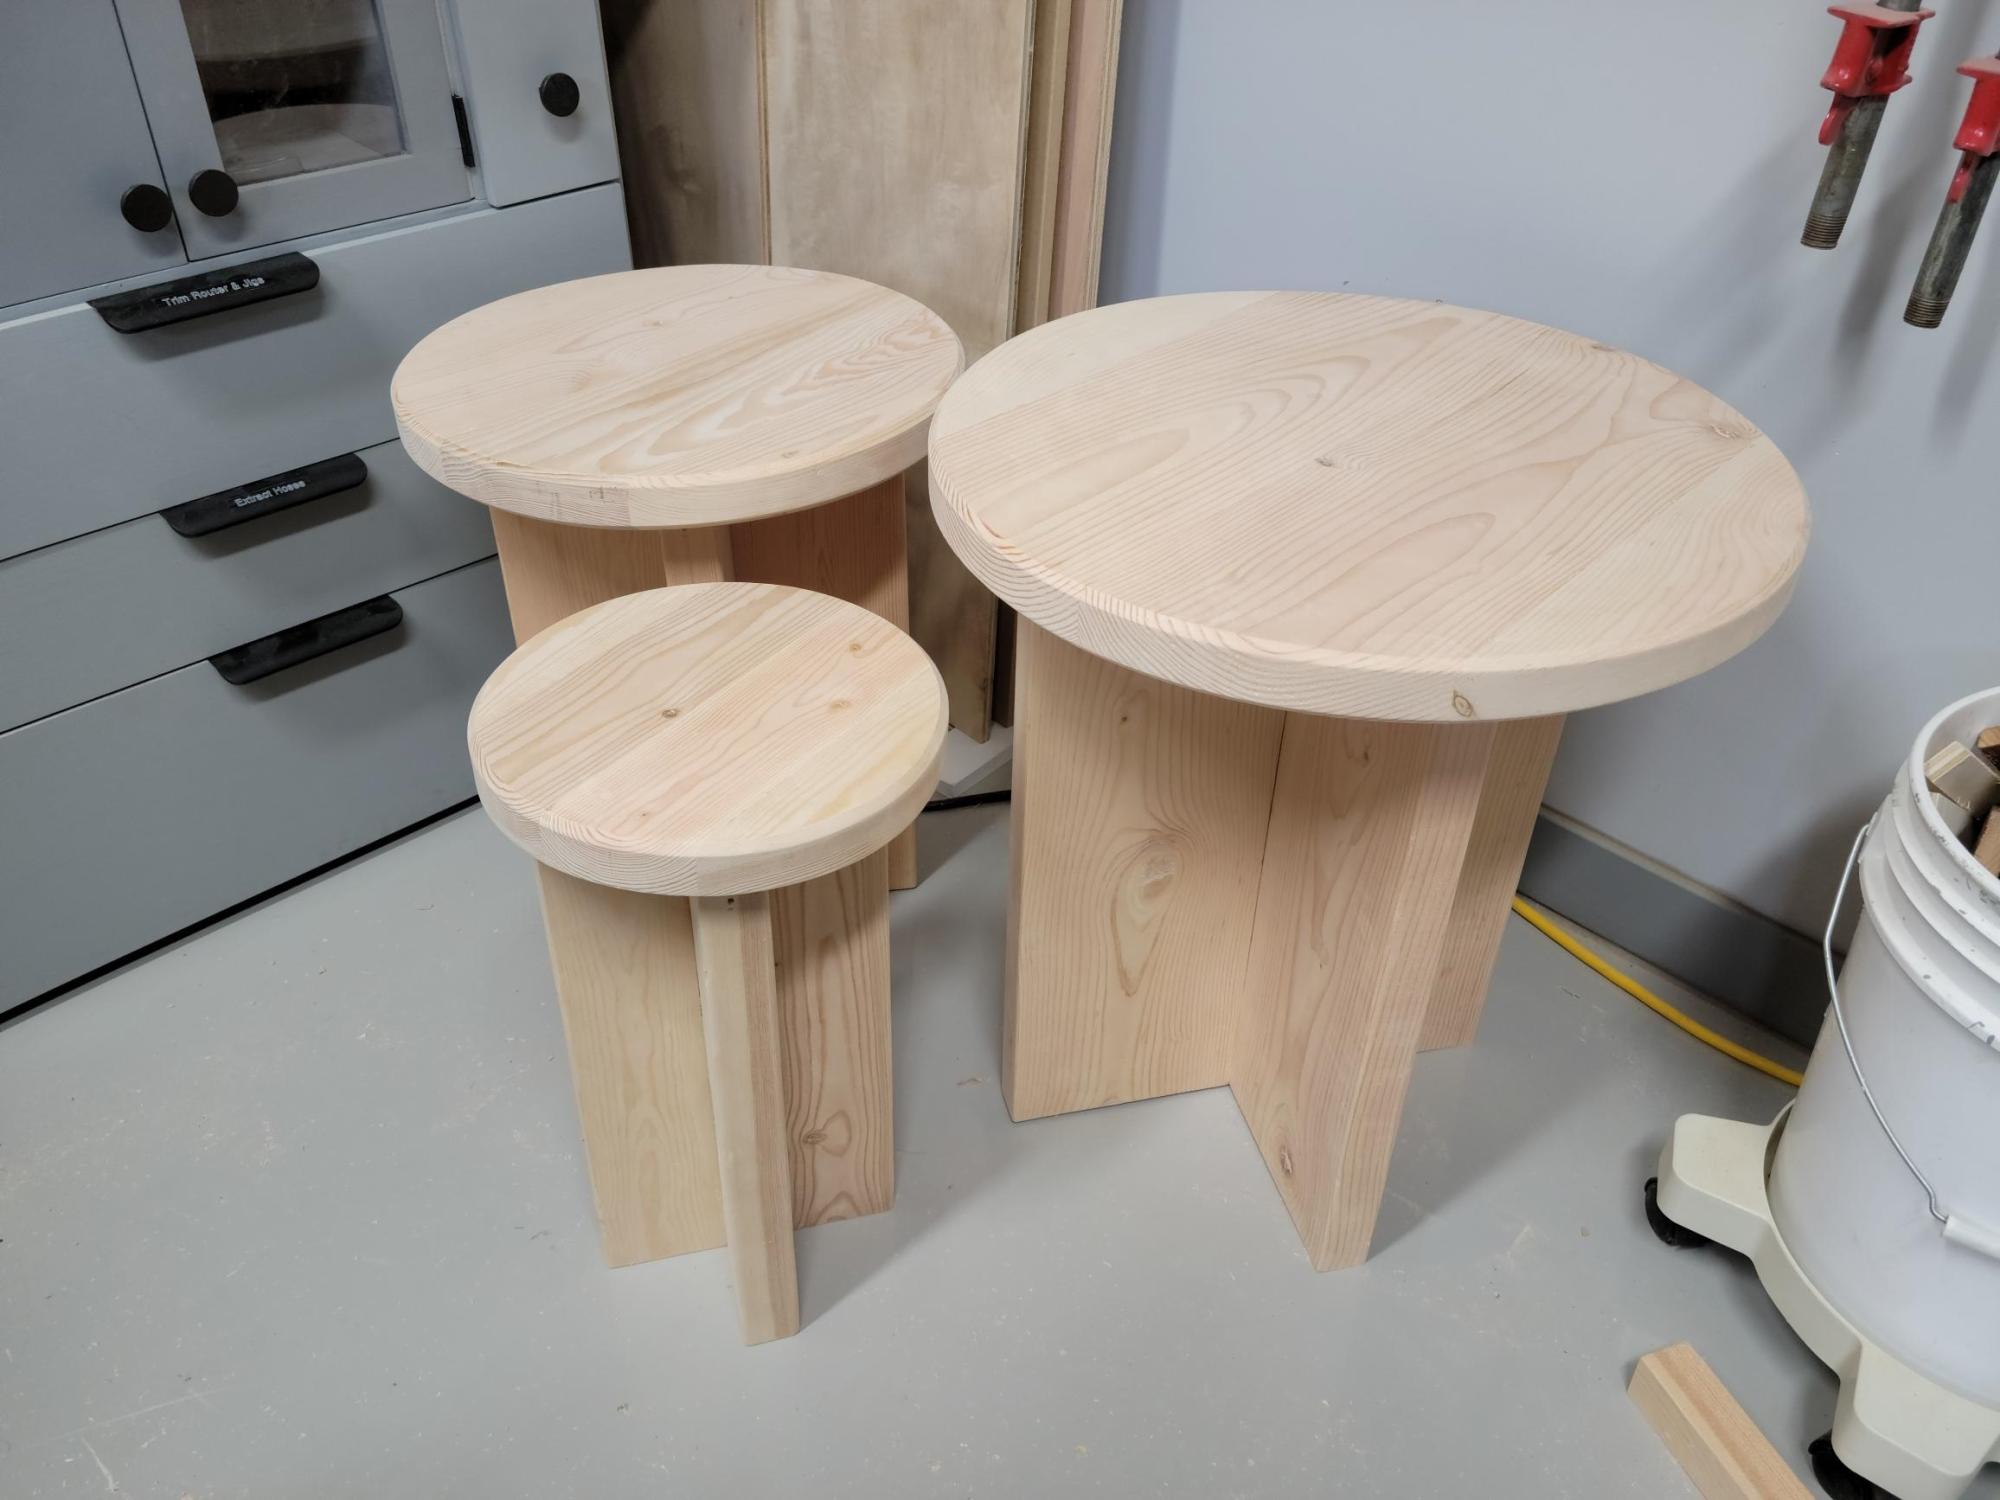
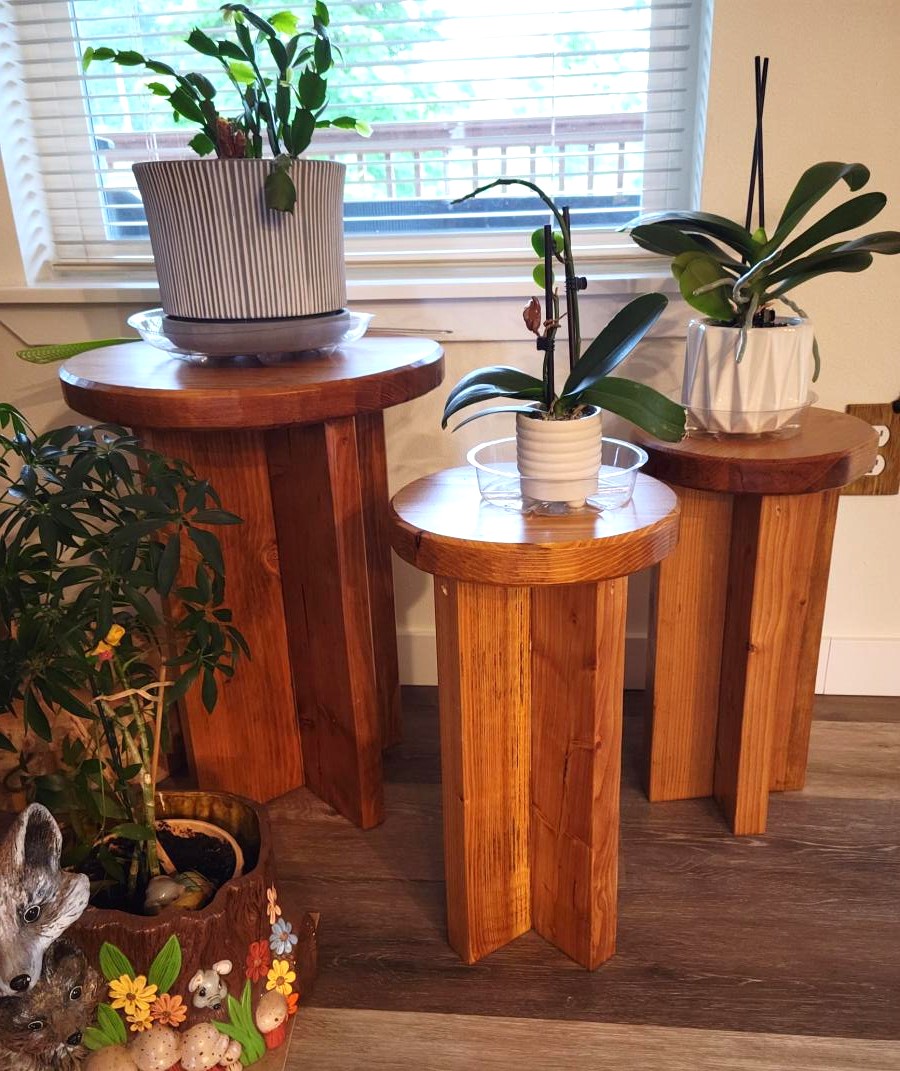
I first made a set of these for my wife to use on the deck. She liked them so much that she's using them in the living room! (Second photo.) These were made from rough lumber left over from a building project so took a fair amount of time to cut and prep. I don't have a planer so the belt sander outside was put to good use. Then, to make them them fit well, I recut the sides, and rather than pocket holes I glued them into a plank before cutting the rounds with my table saw. That also gave me a tight flat top.
Her friend saw them and wanted a set, so here they are. Again I recut the sides and glued them to create a smooth plank. This time I used the router and a circle jig to cut the tops, giving me a much nicer finish. They will be stained mahogany and finished with multiple coats of polyurethane.
The large one I simply upsized from the original plan, roughly scaled. It is 22" tall, made with 2x8 lumber selected and purchased at the box store. My wife's friend is totally delighted with them! Thanks Ana for the inspiration.


Comments
Ana White
Wed, 10/02/2019 - 10:37
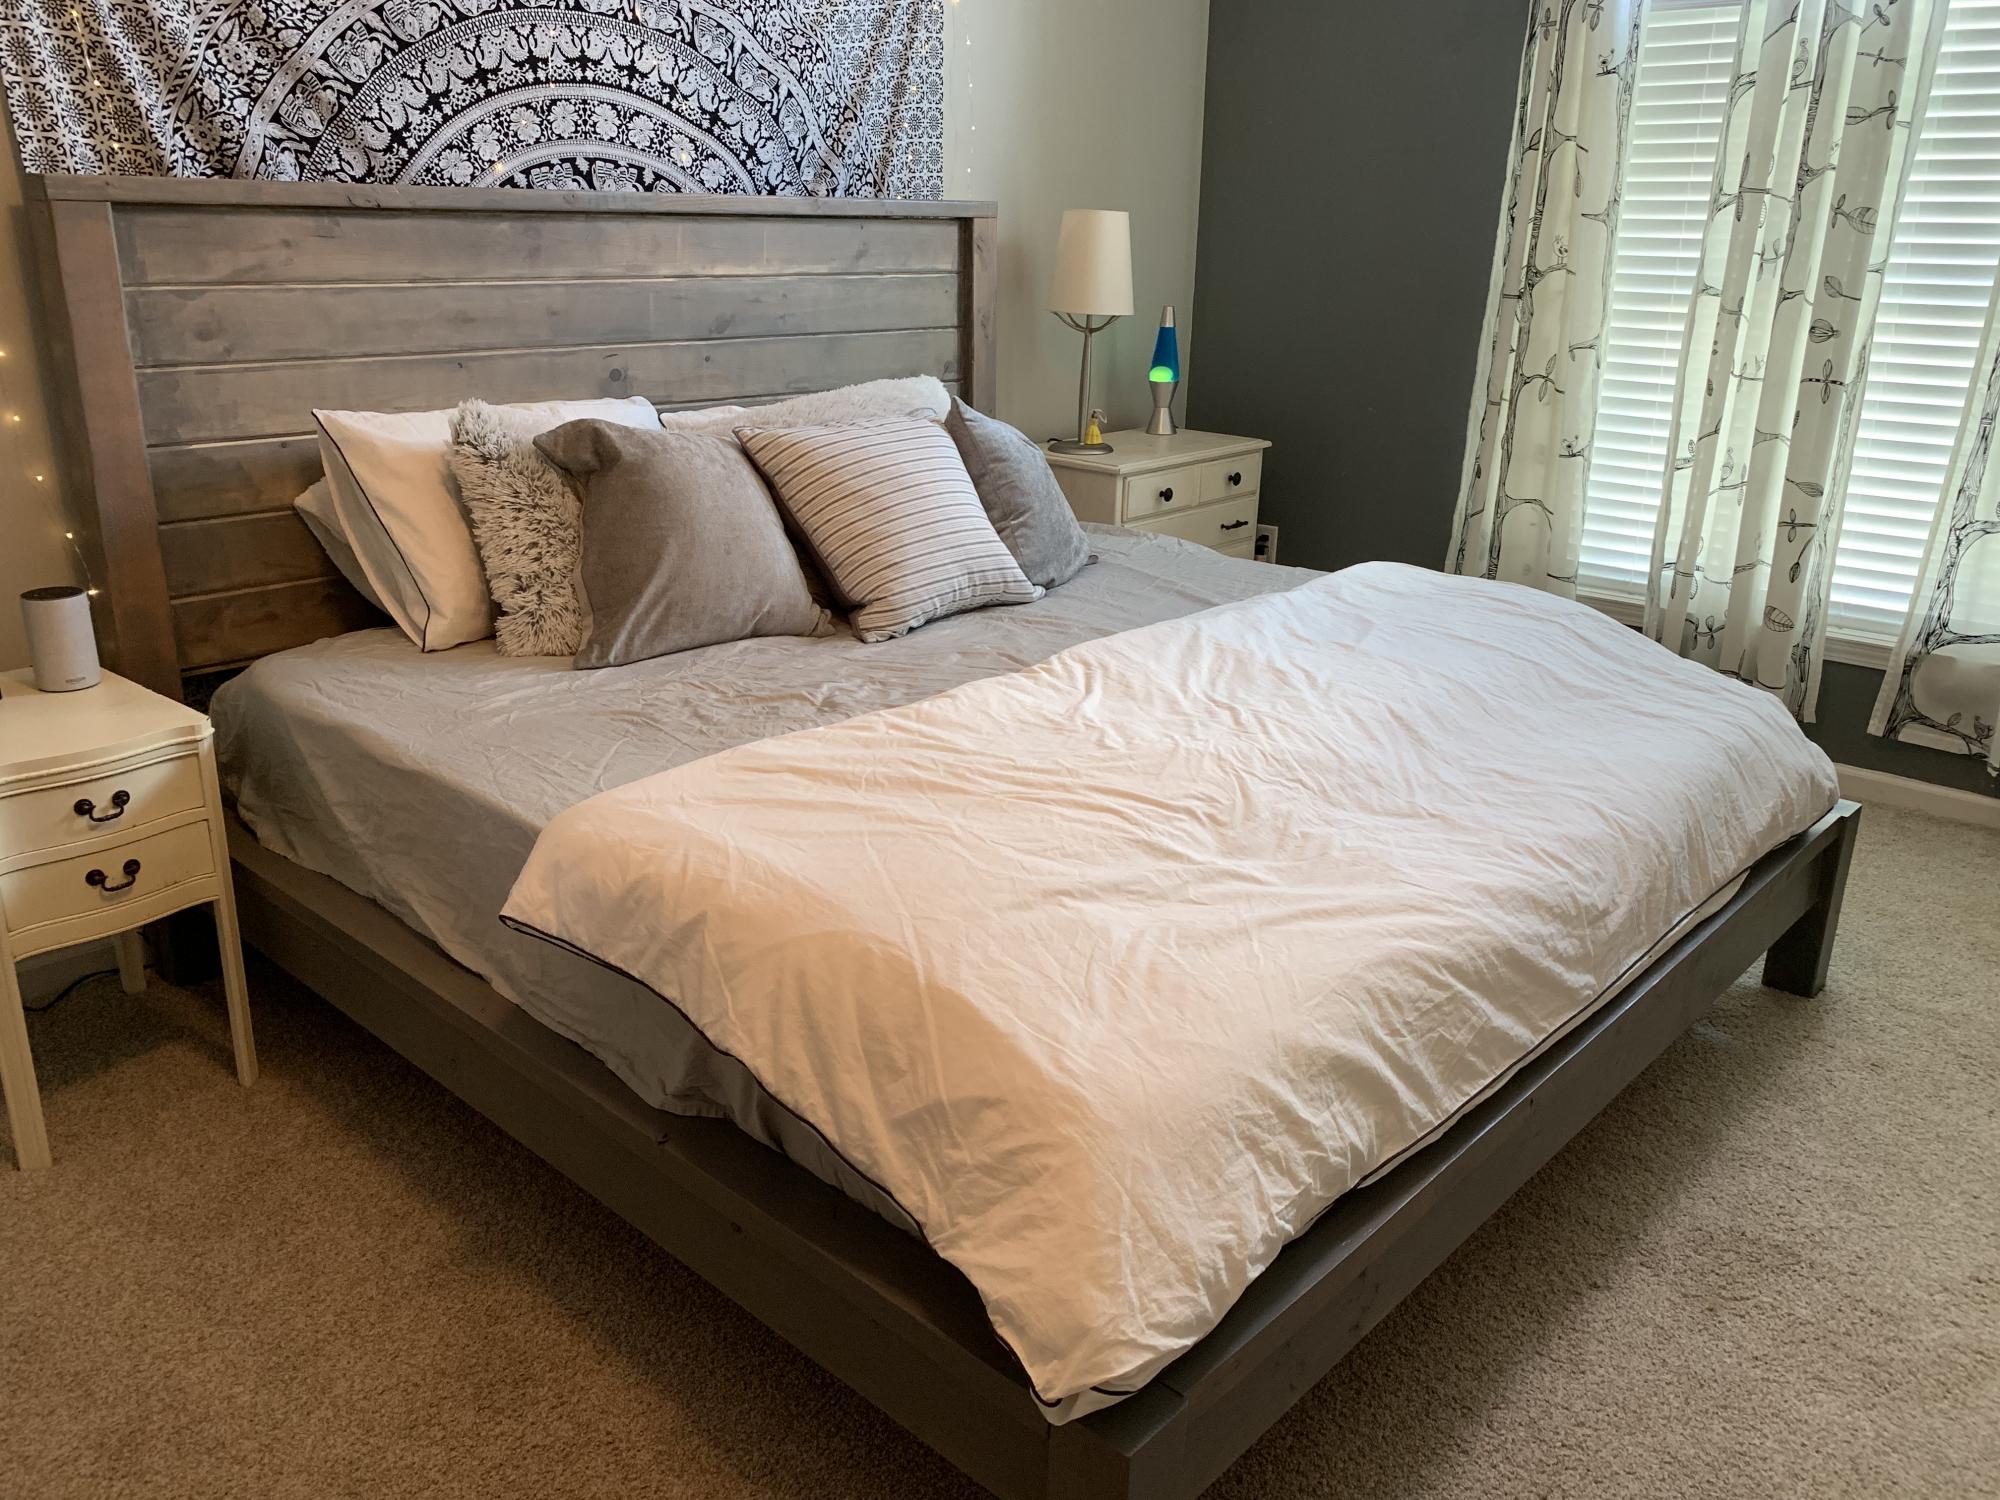
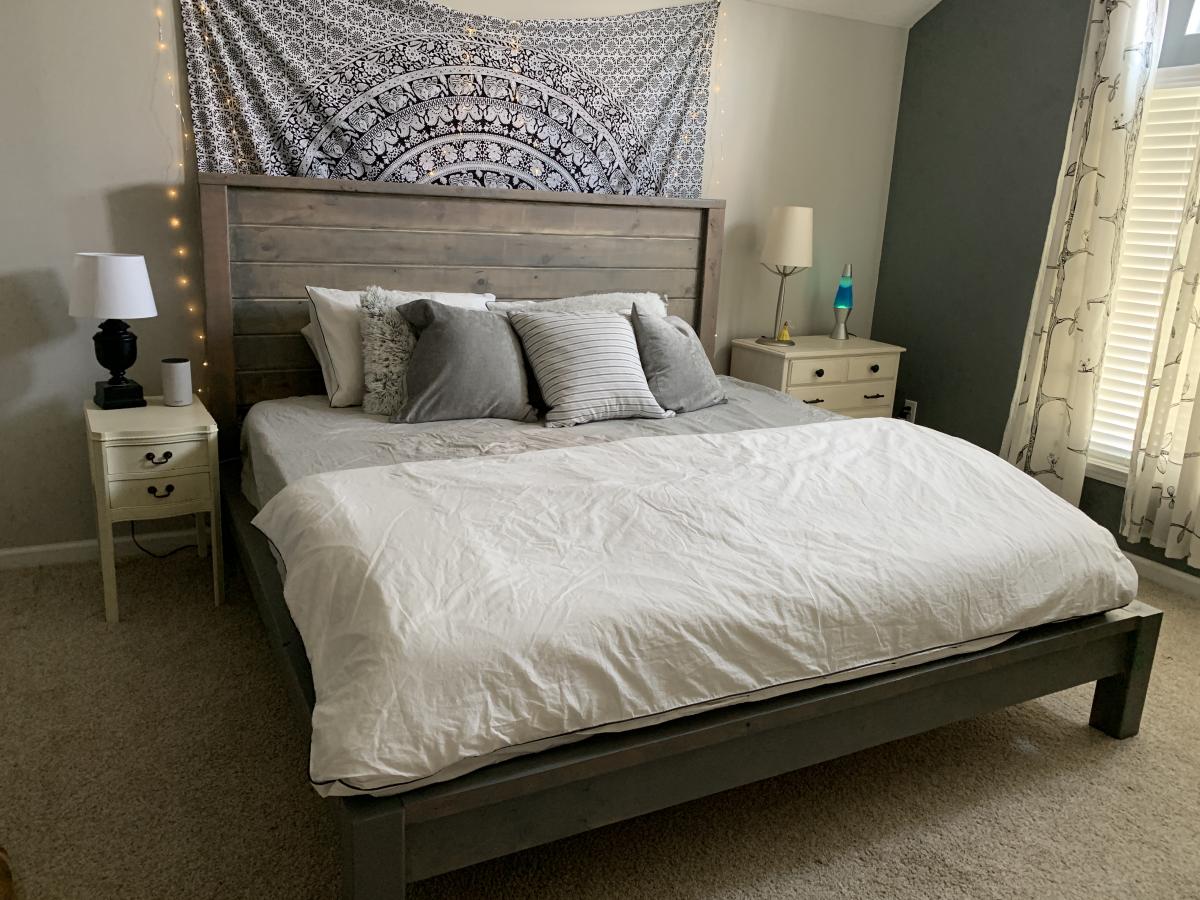
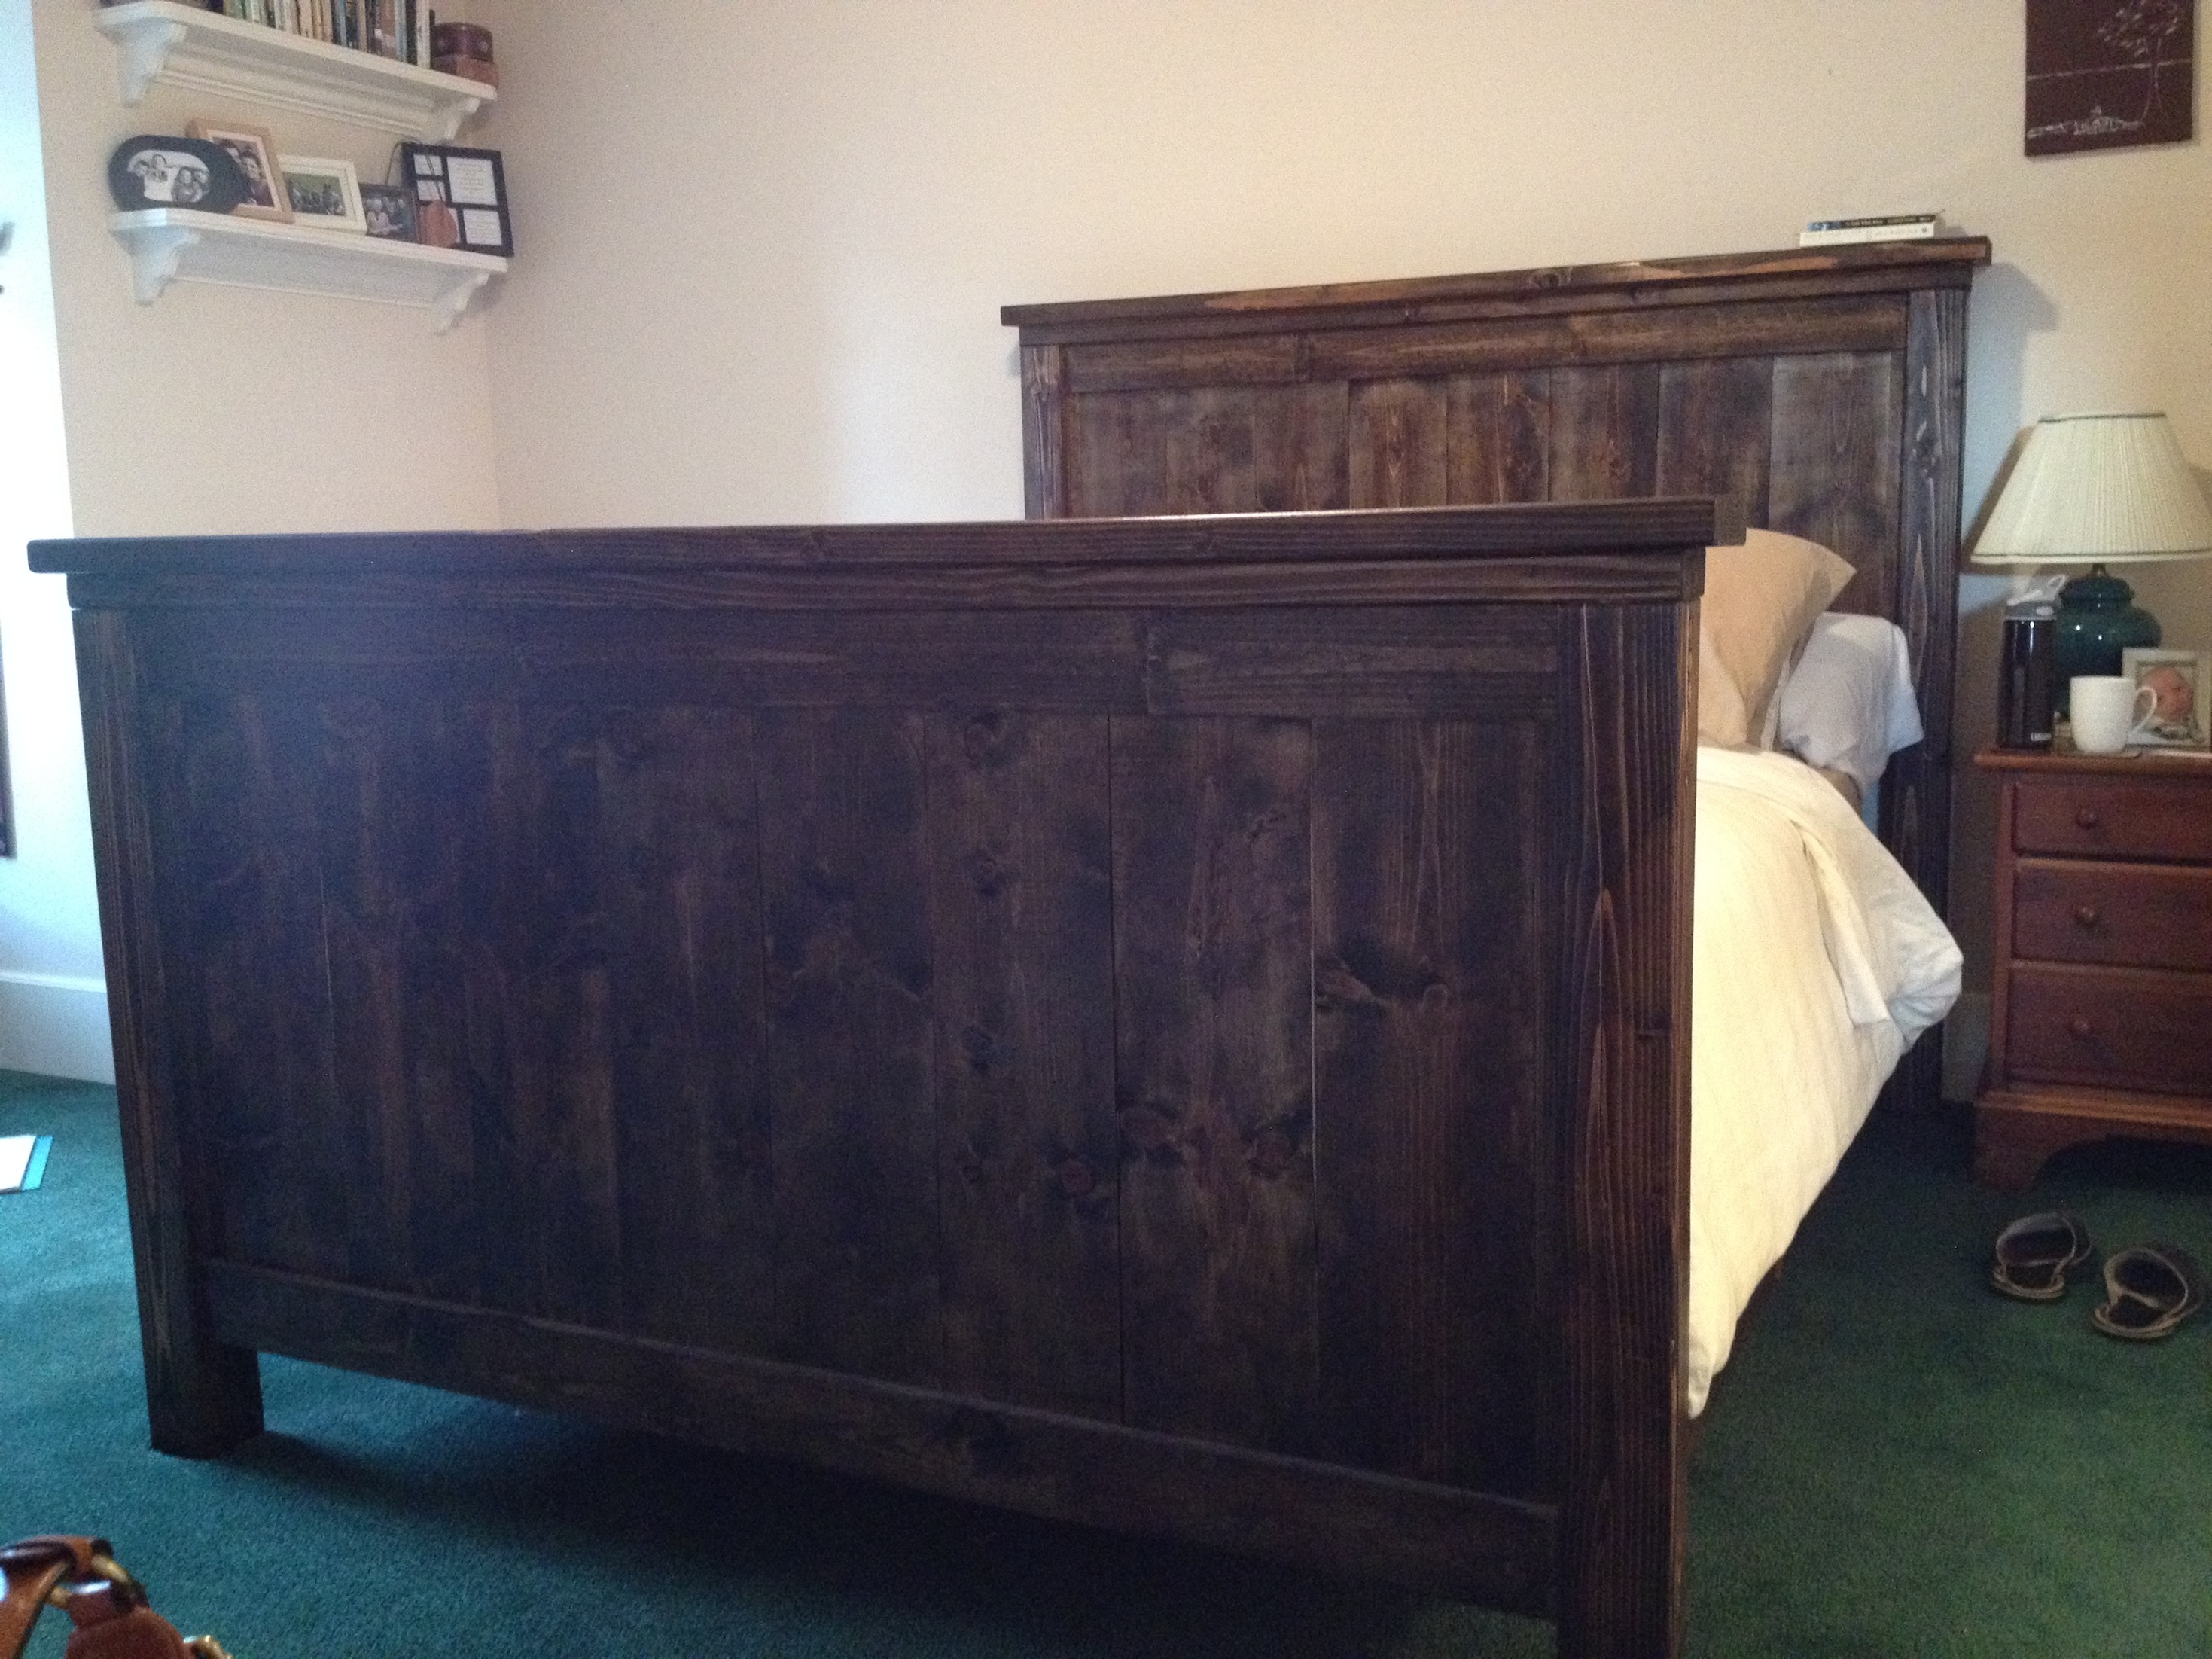
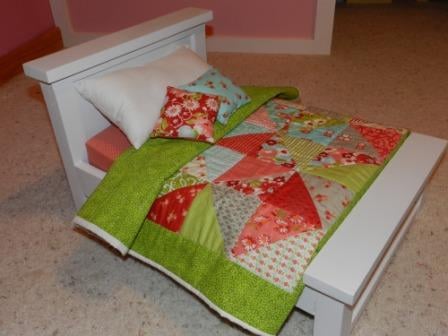
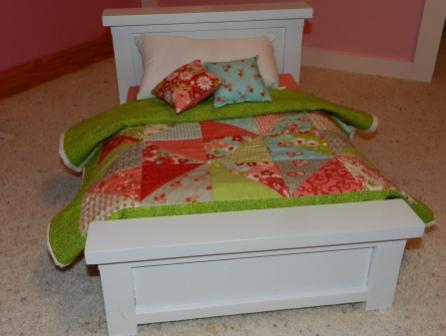
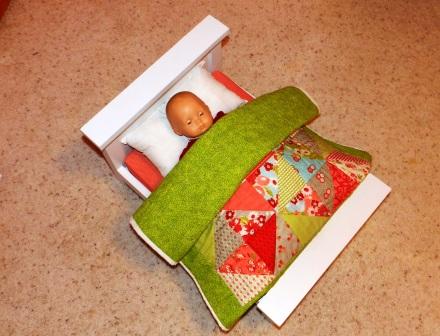
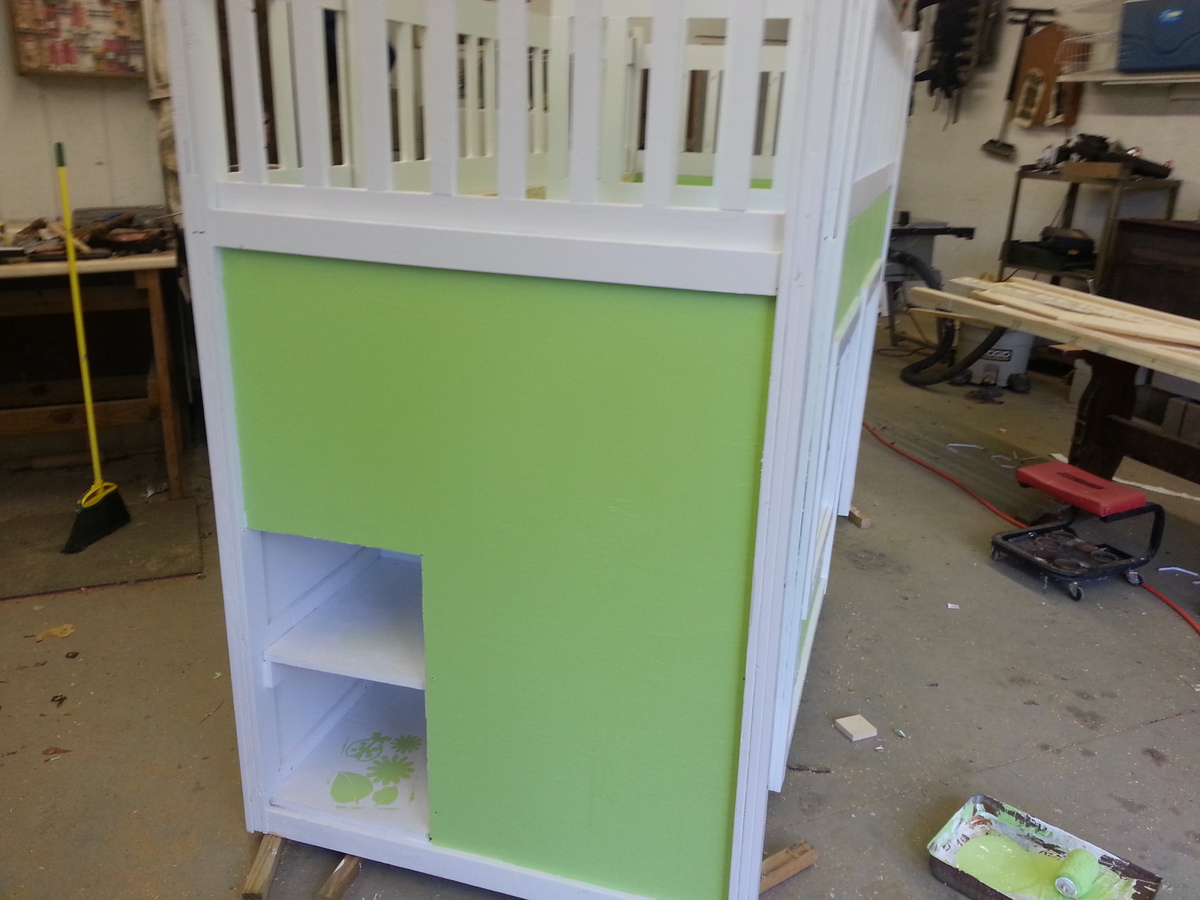
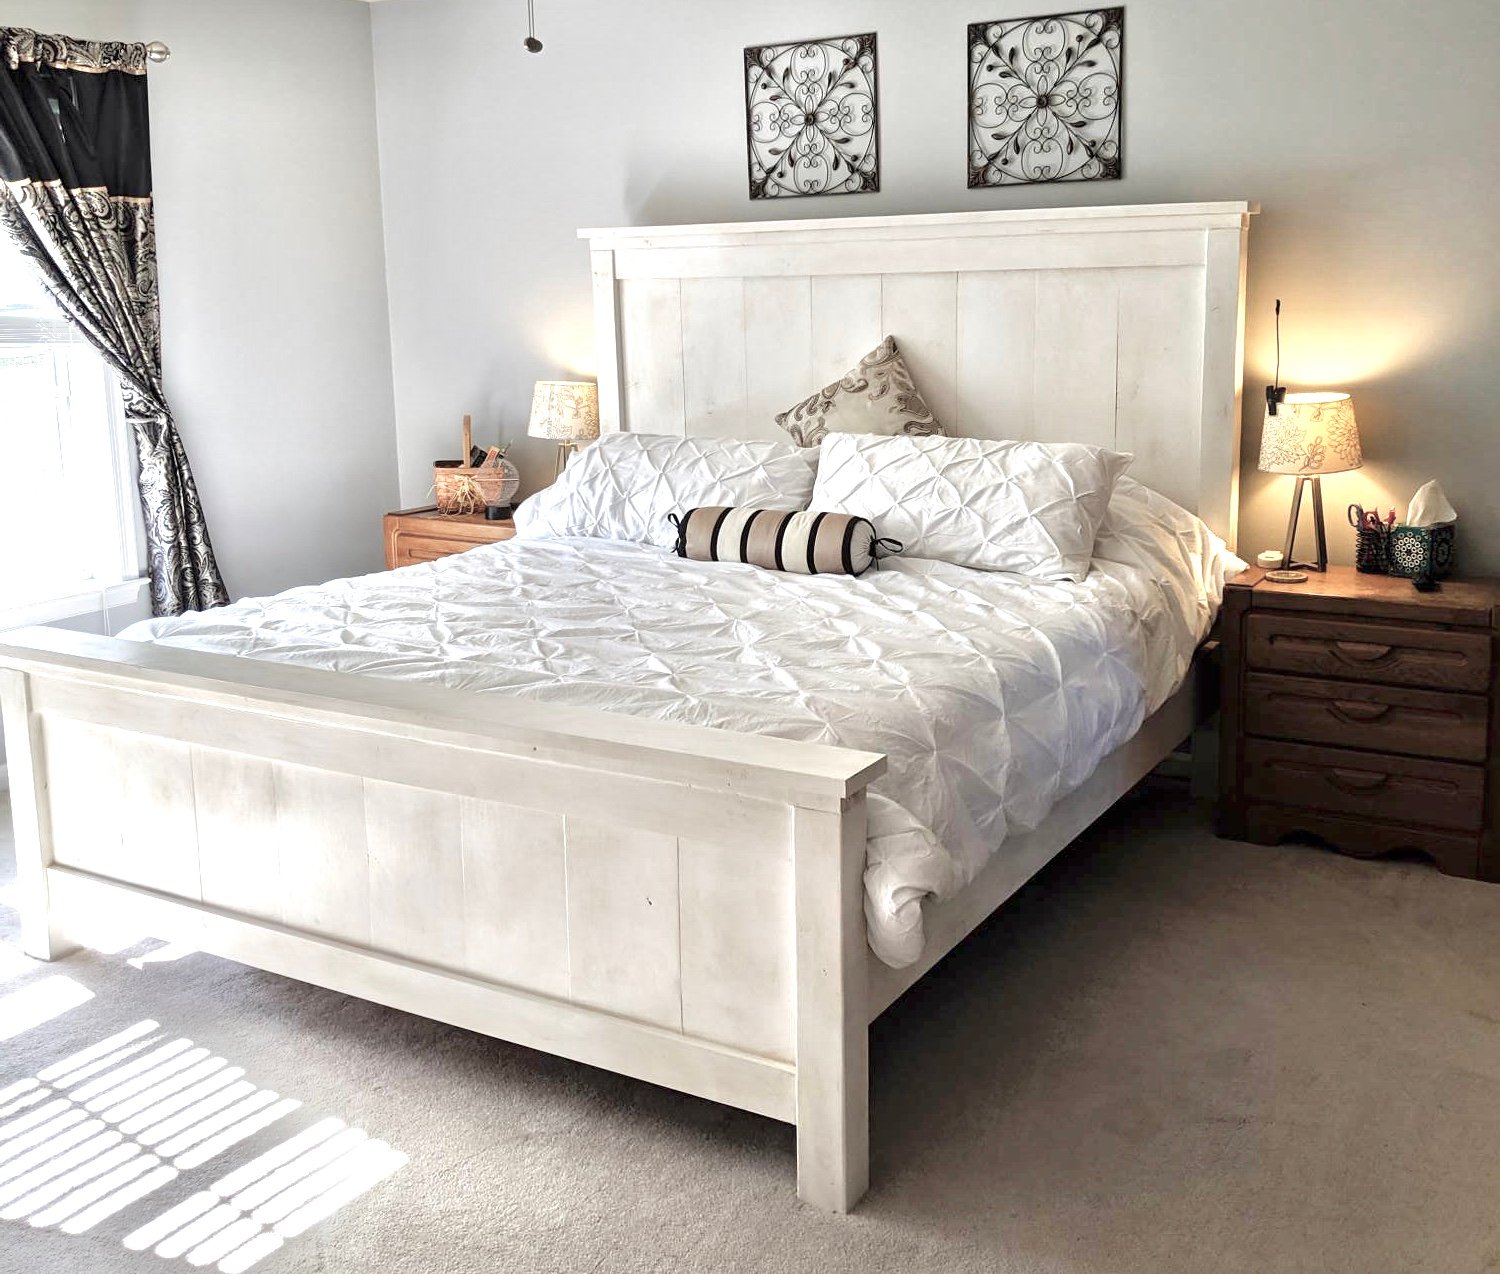
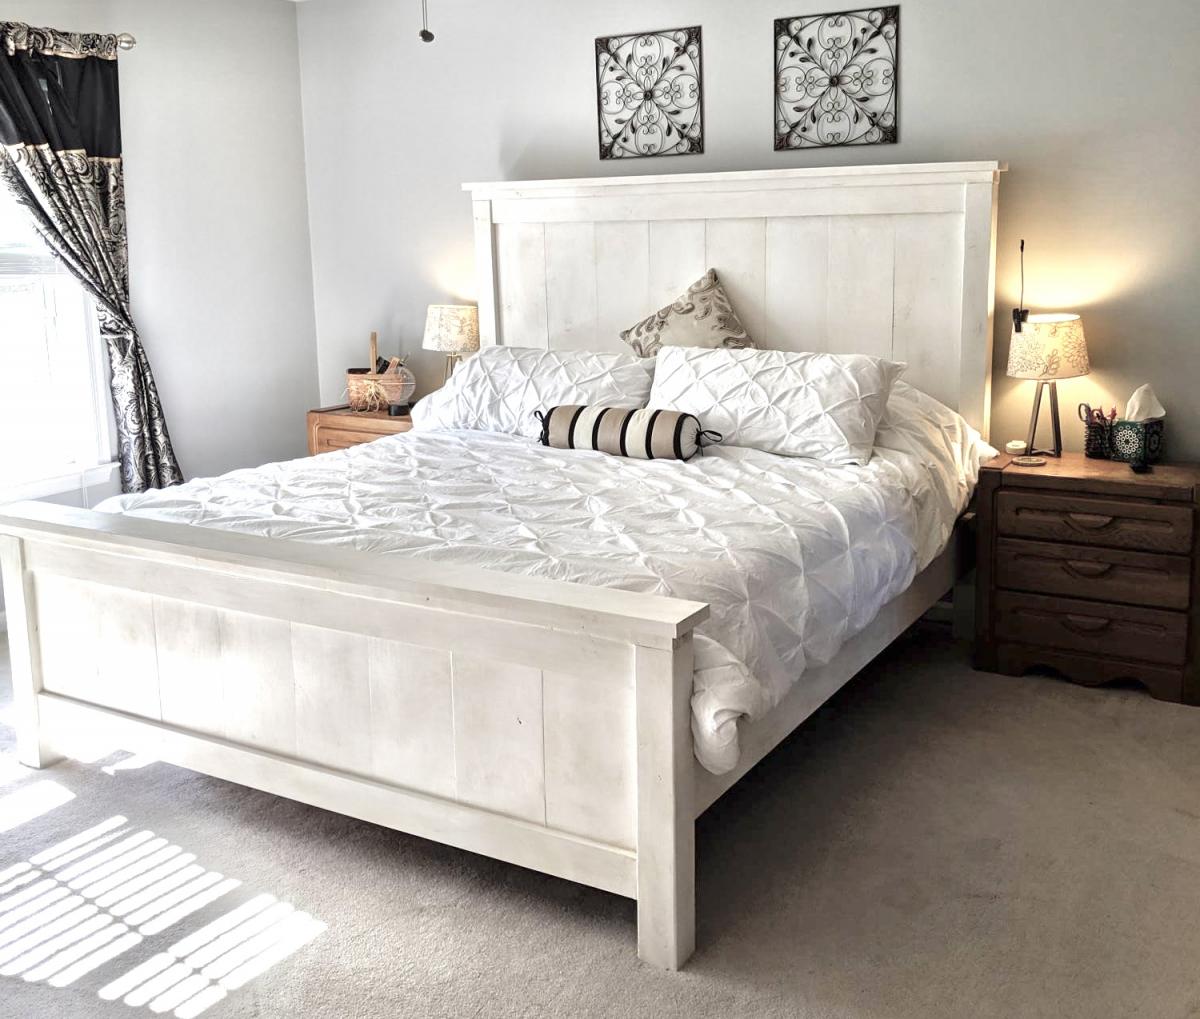
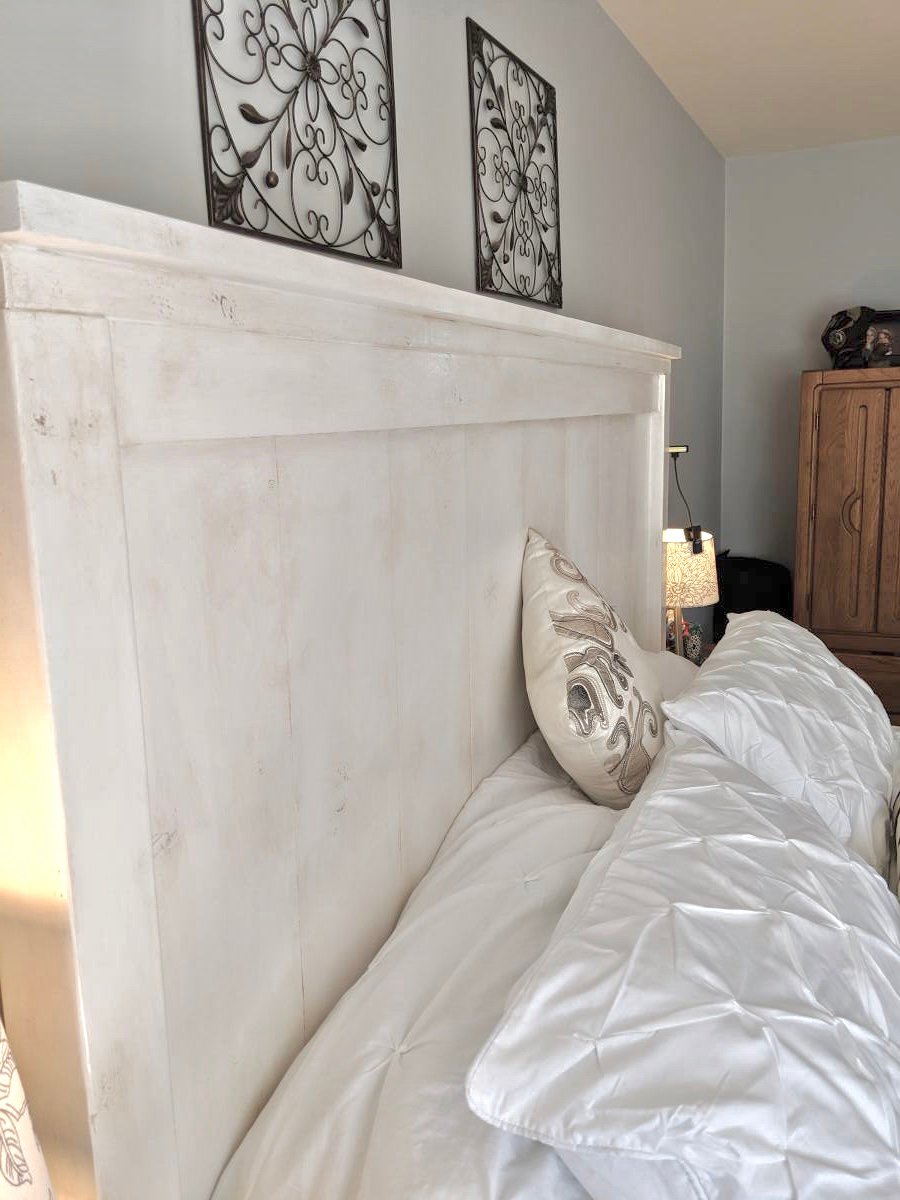
This bed is beautiful!!! …
This bed is beautiful!!! Great job! It's perfect in your teen's room!
andrew14321
Thu, 10/17/2019 - 04:10
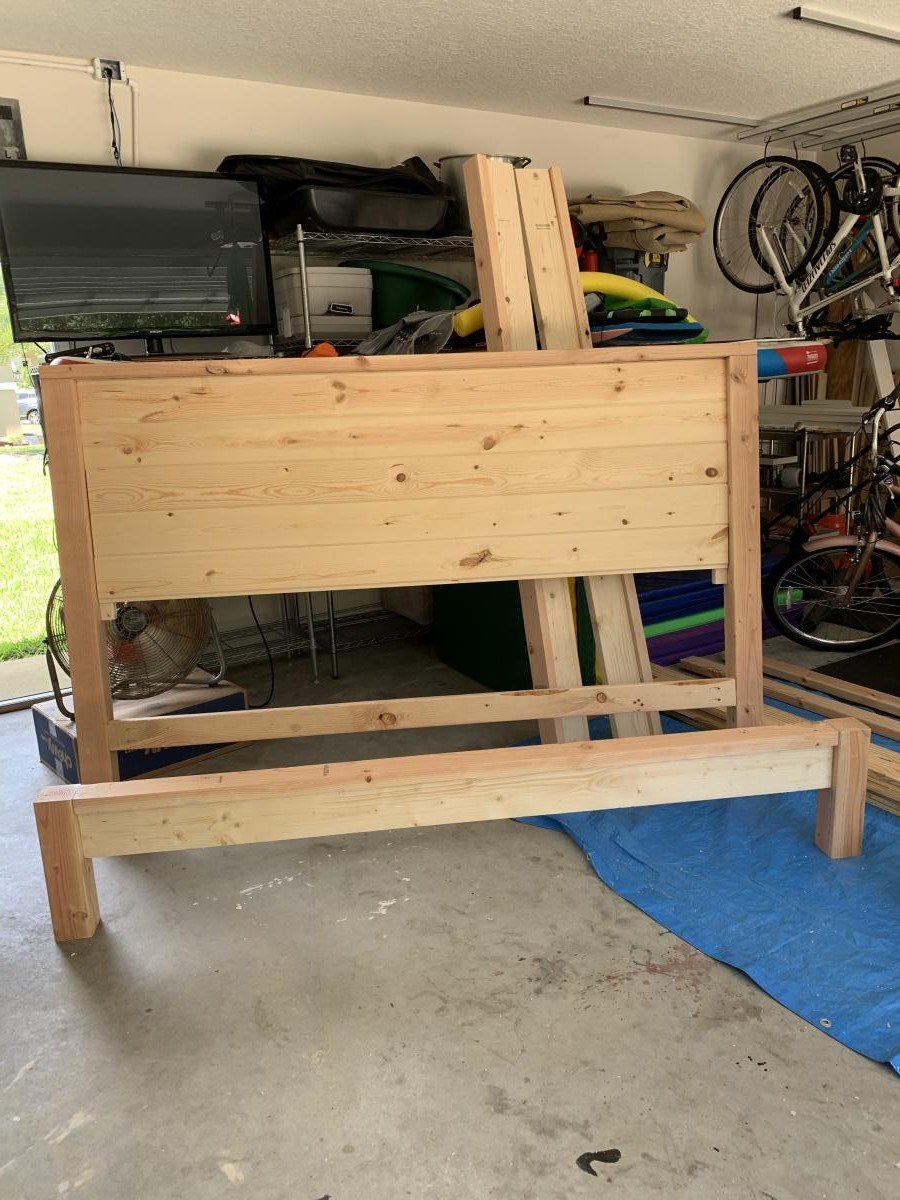
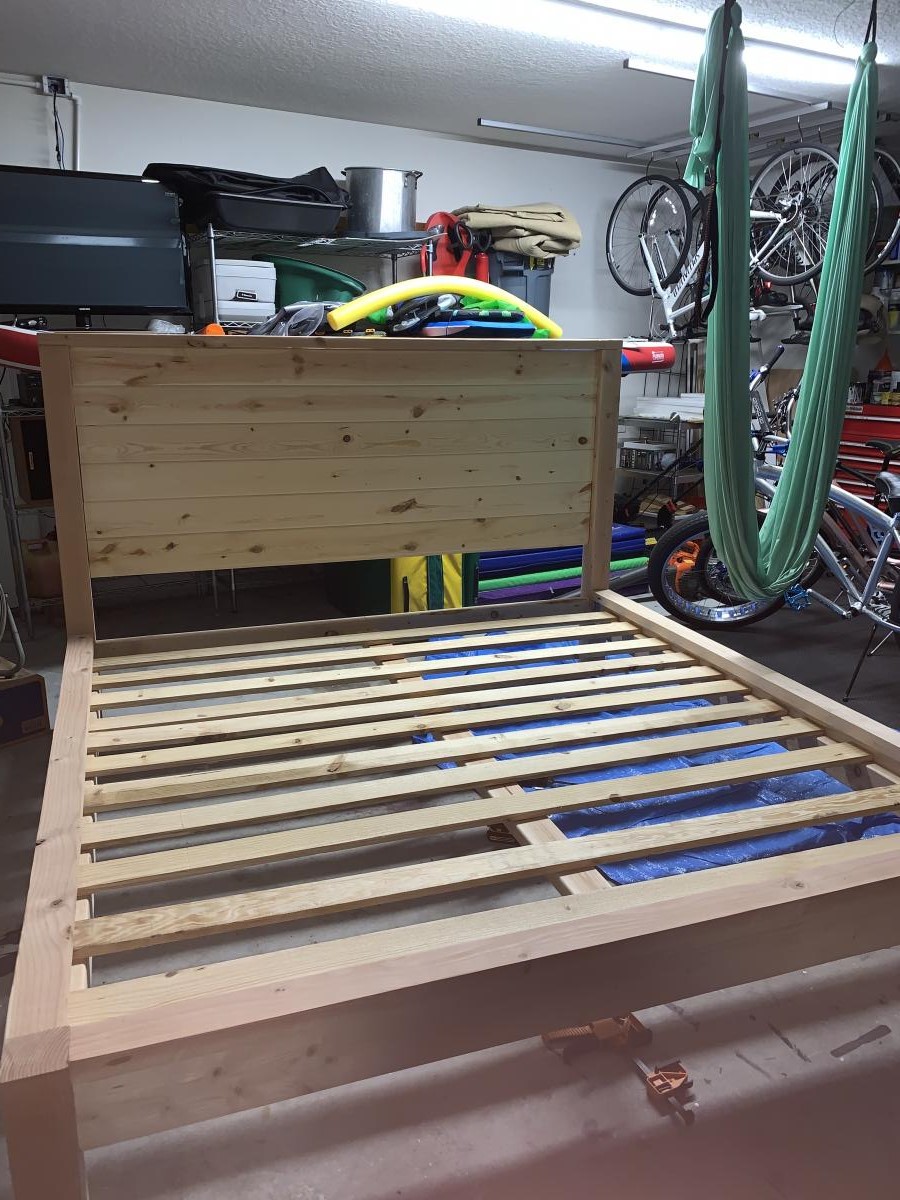
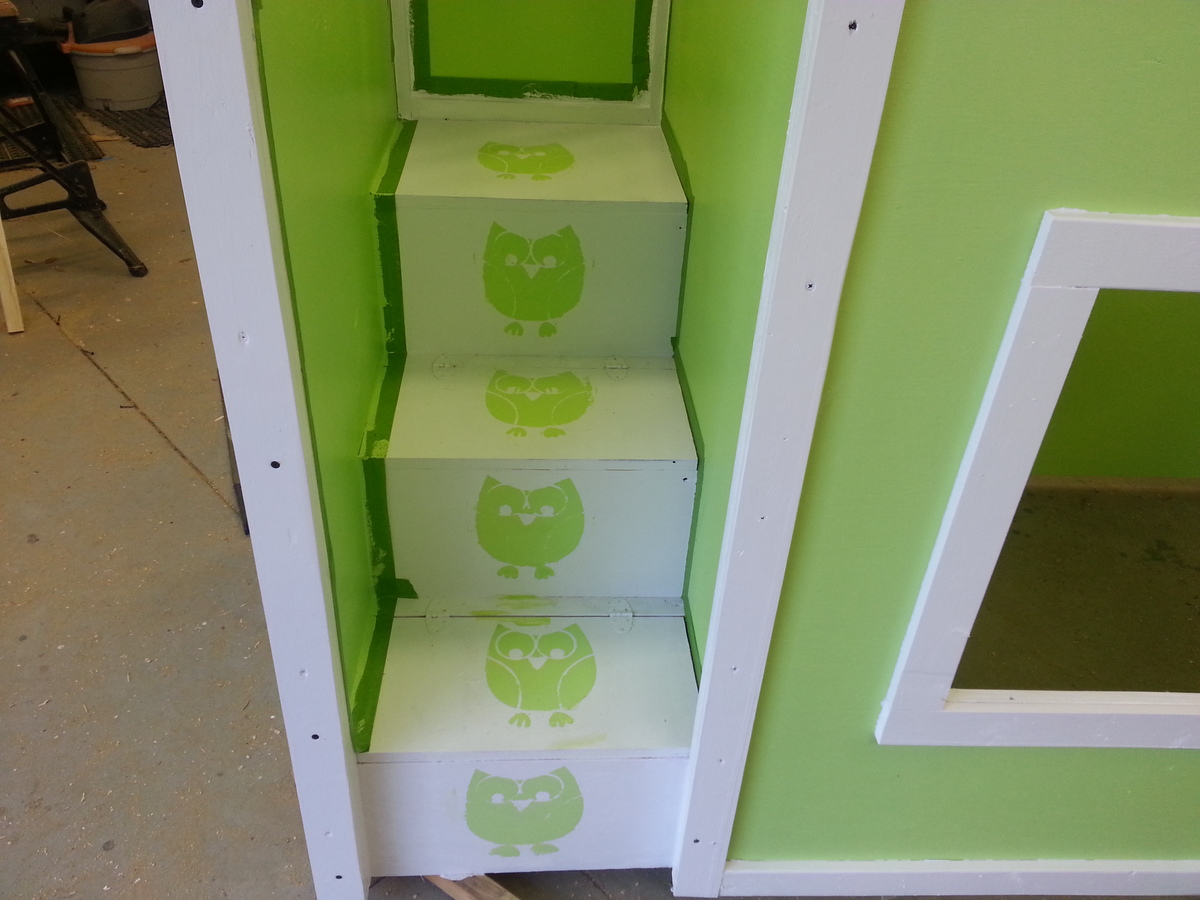
The bed looks great! What…
The bed looks great! What type of stain did you use?