X consol table
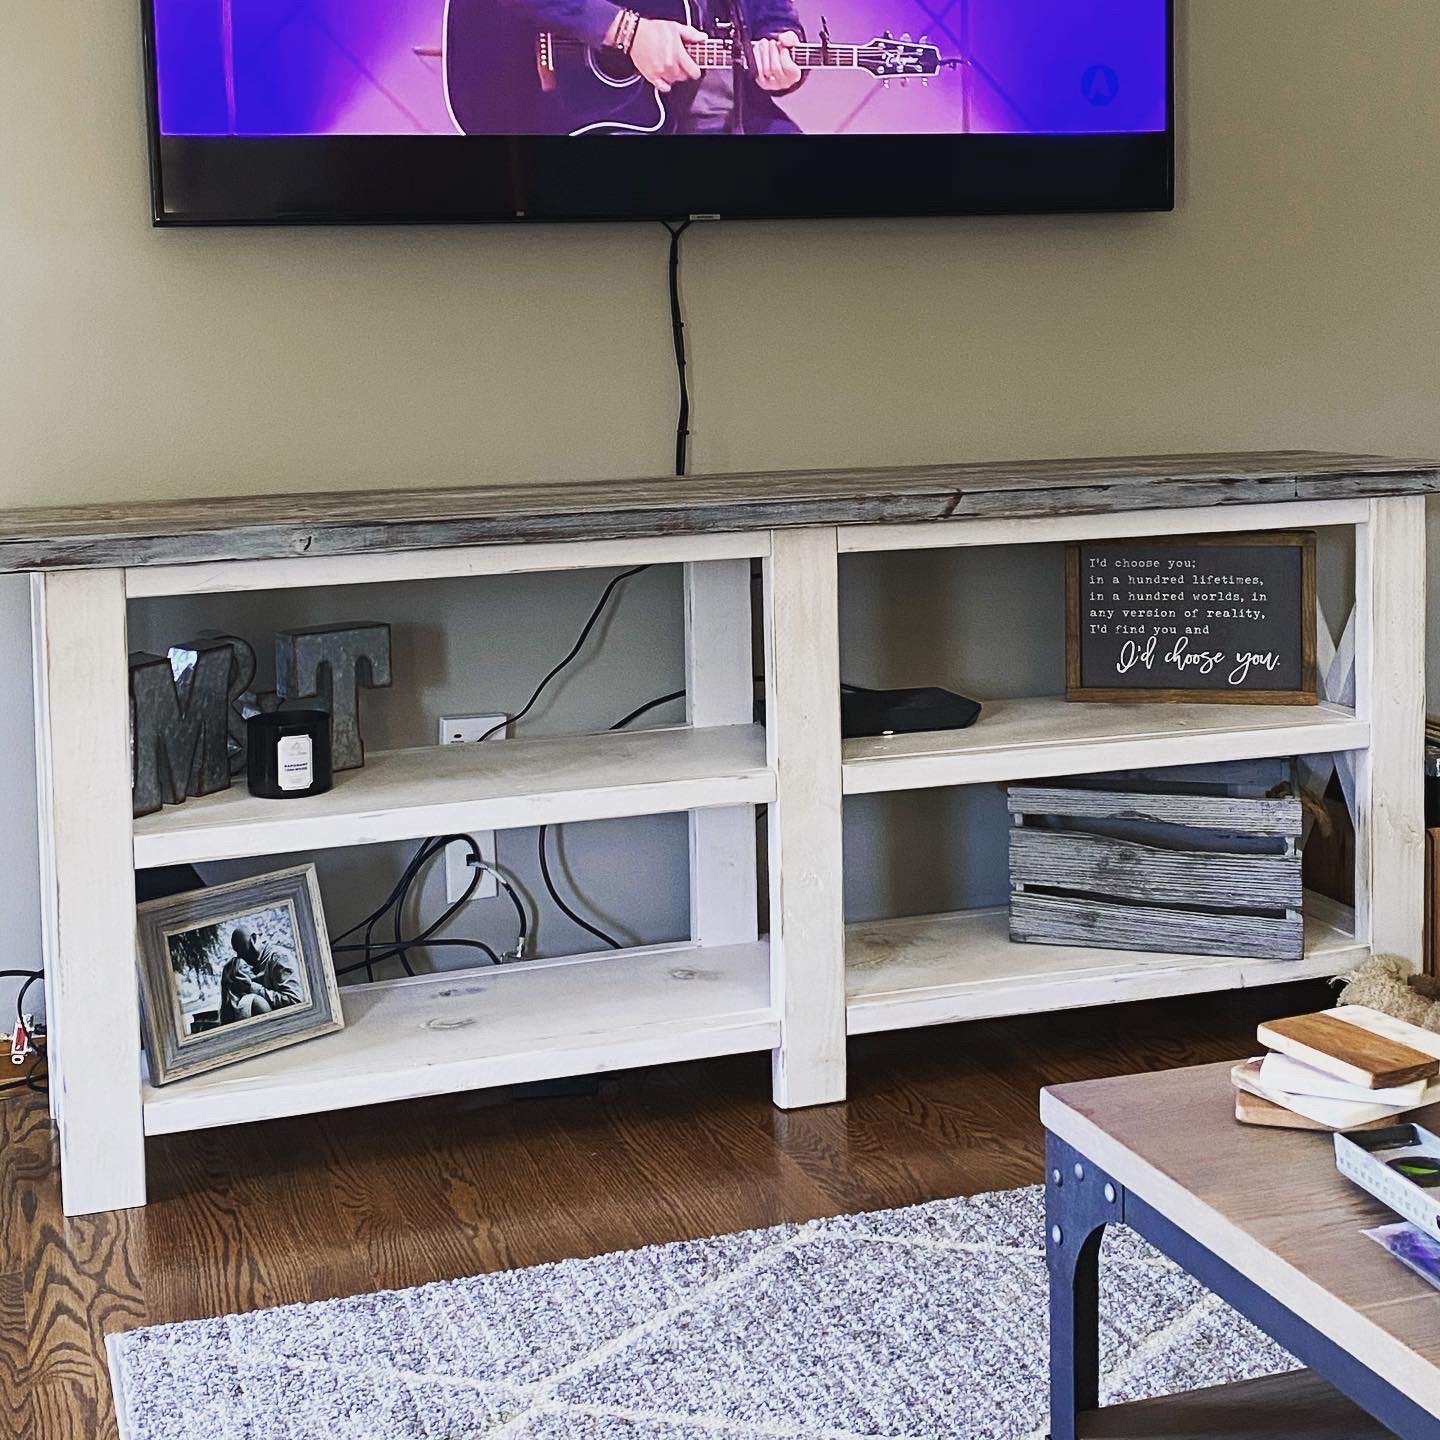
Rustic x consol table Weathered.
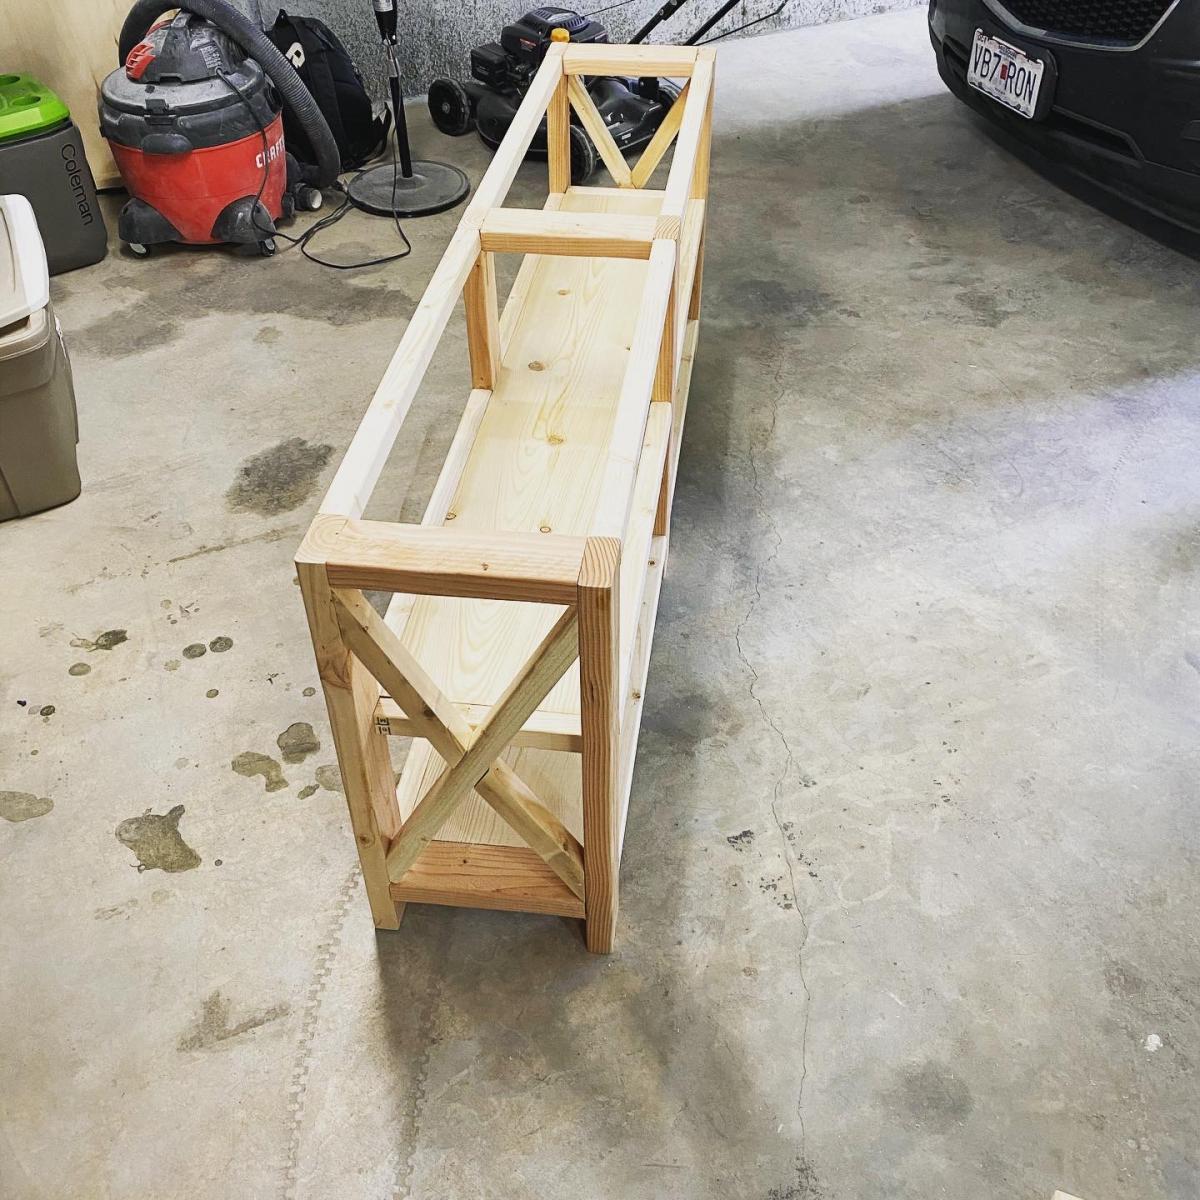
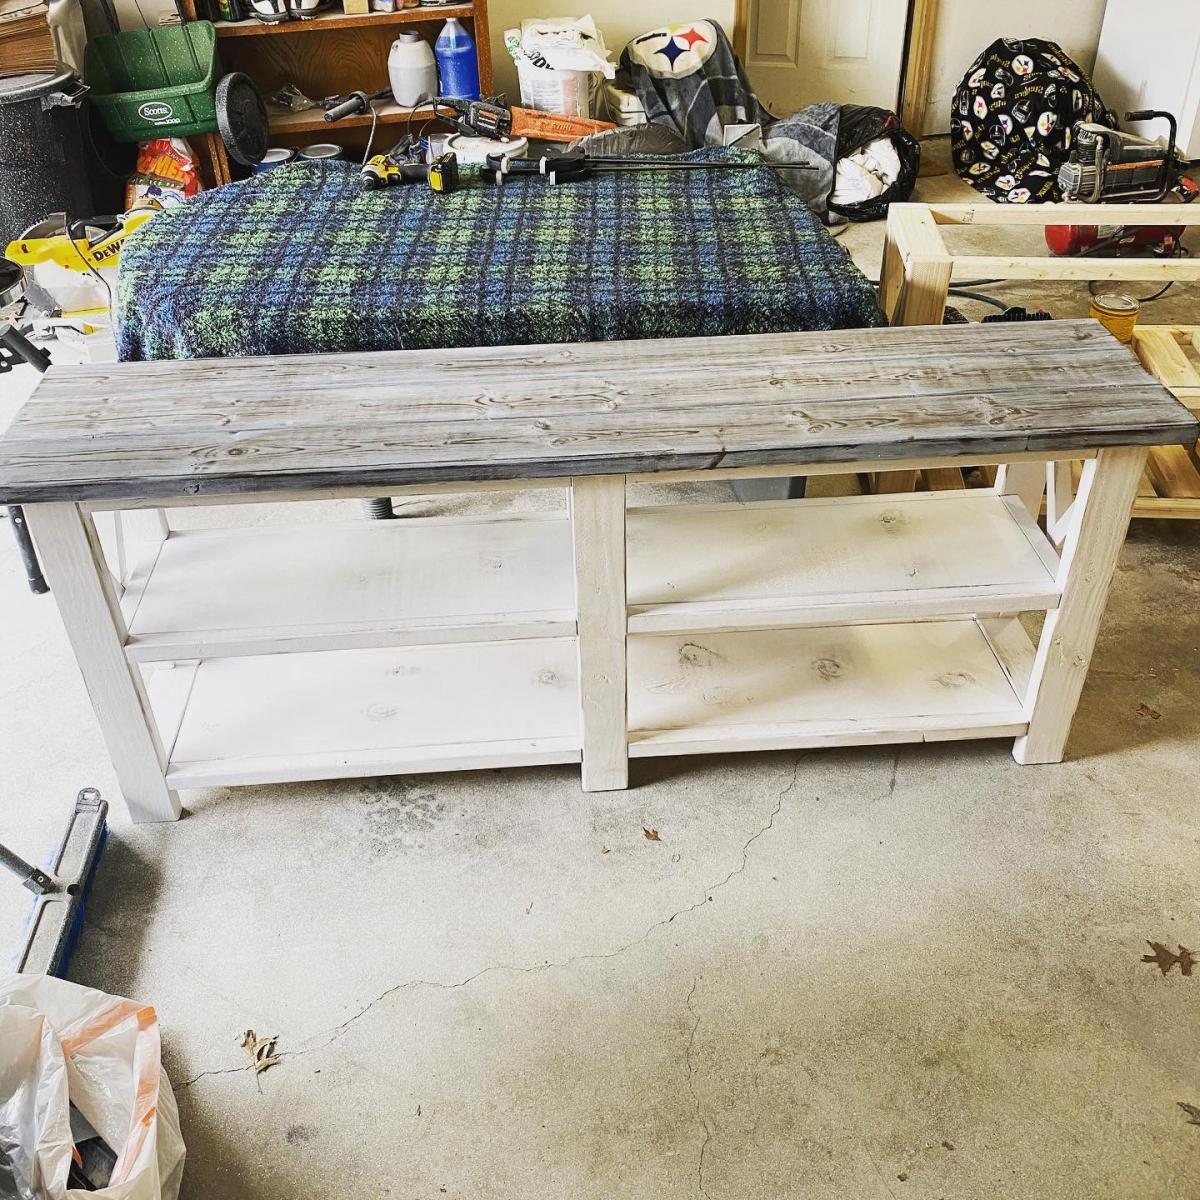
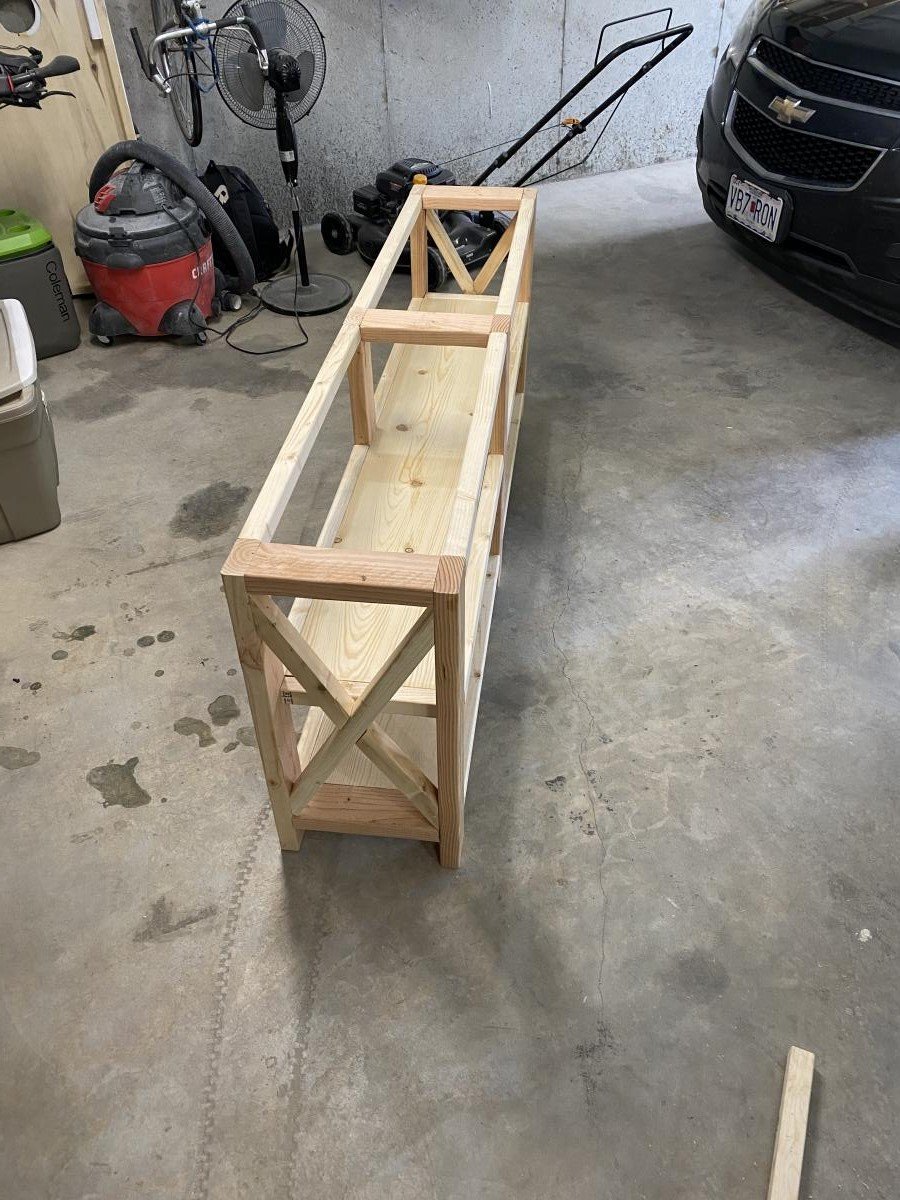
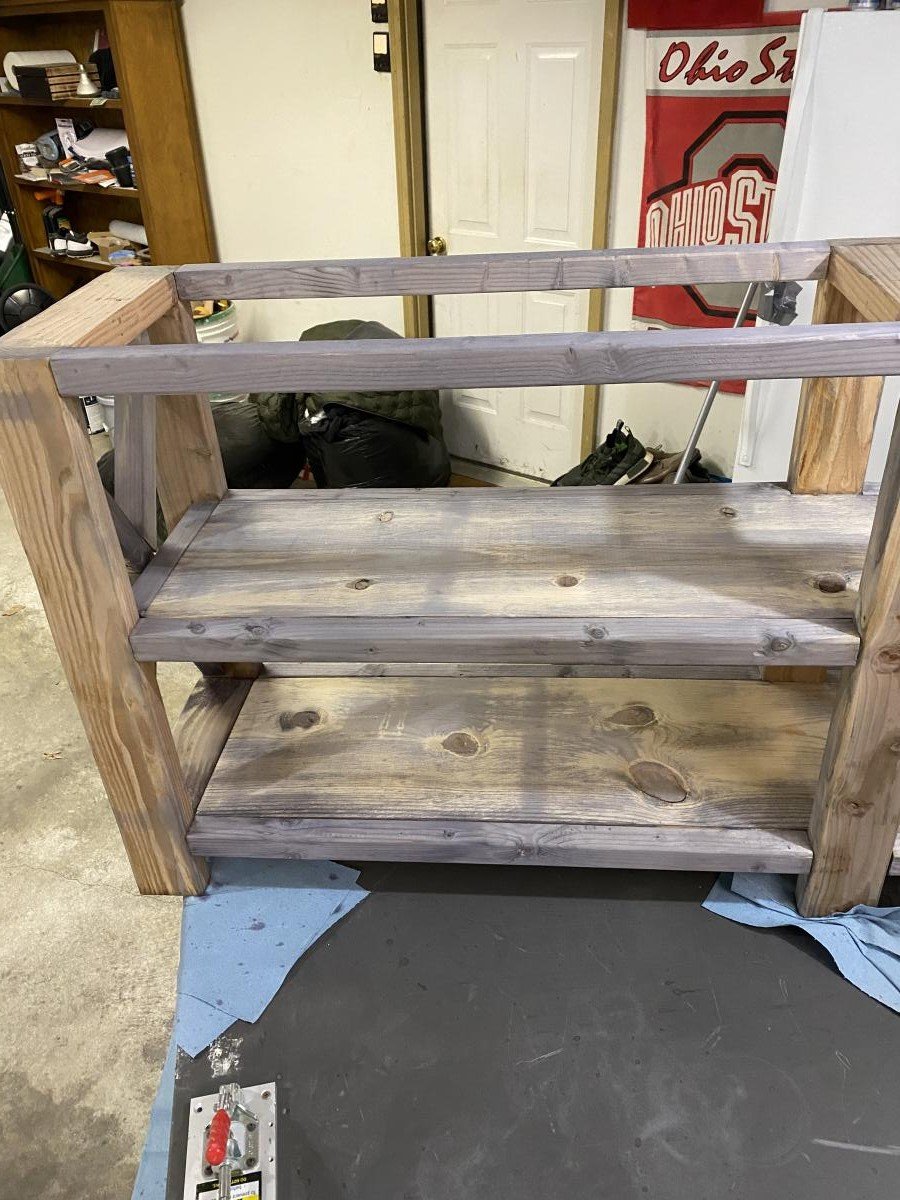
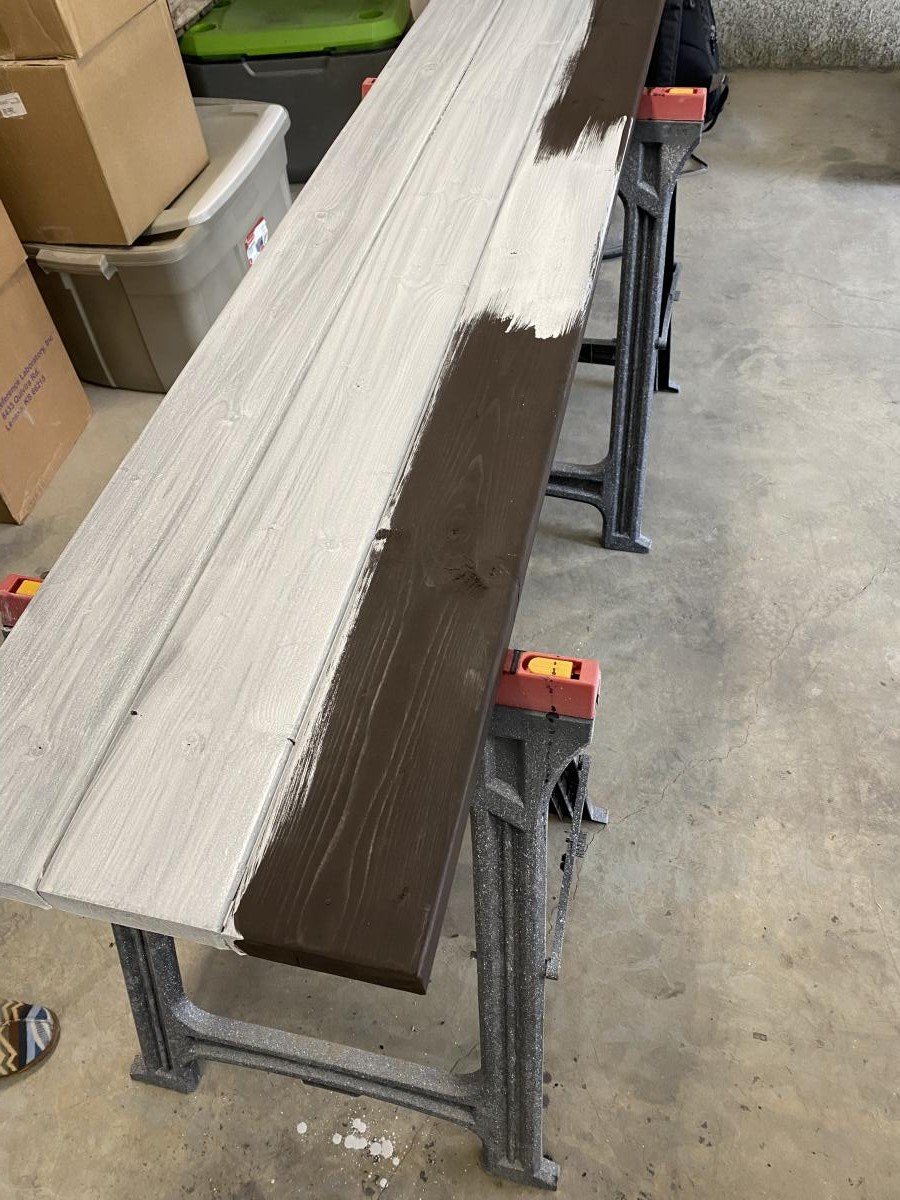

Rustic x consol table Weathered.


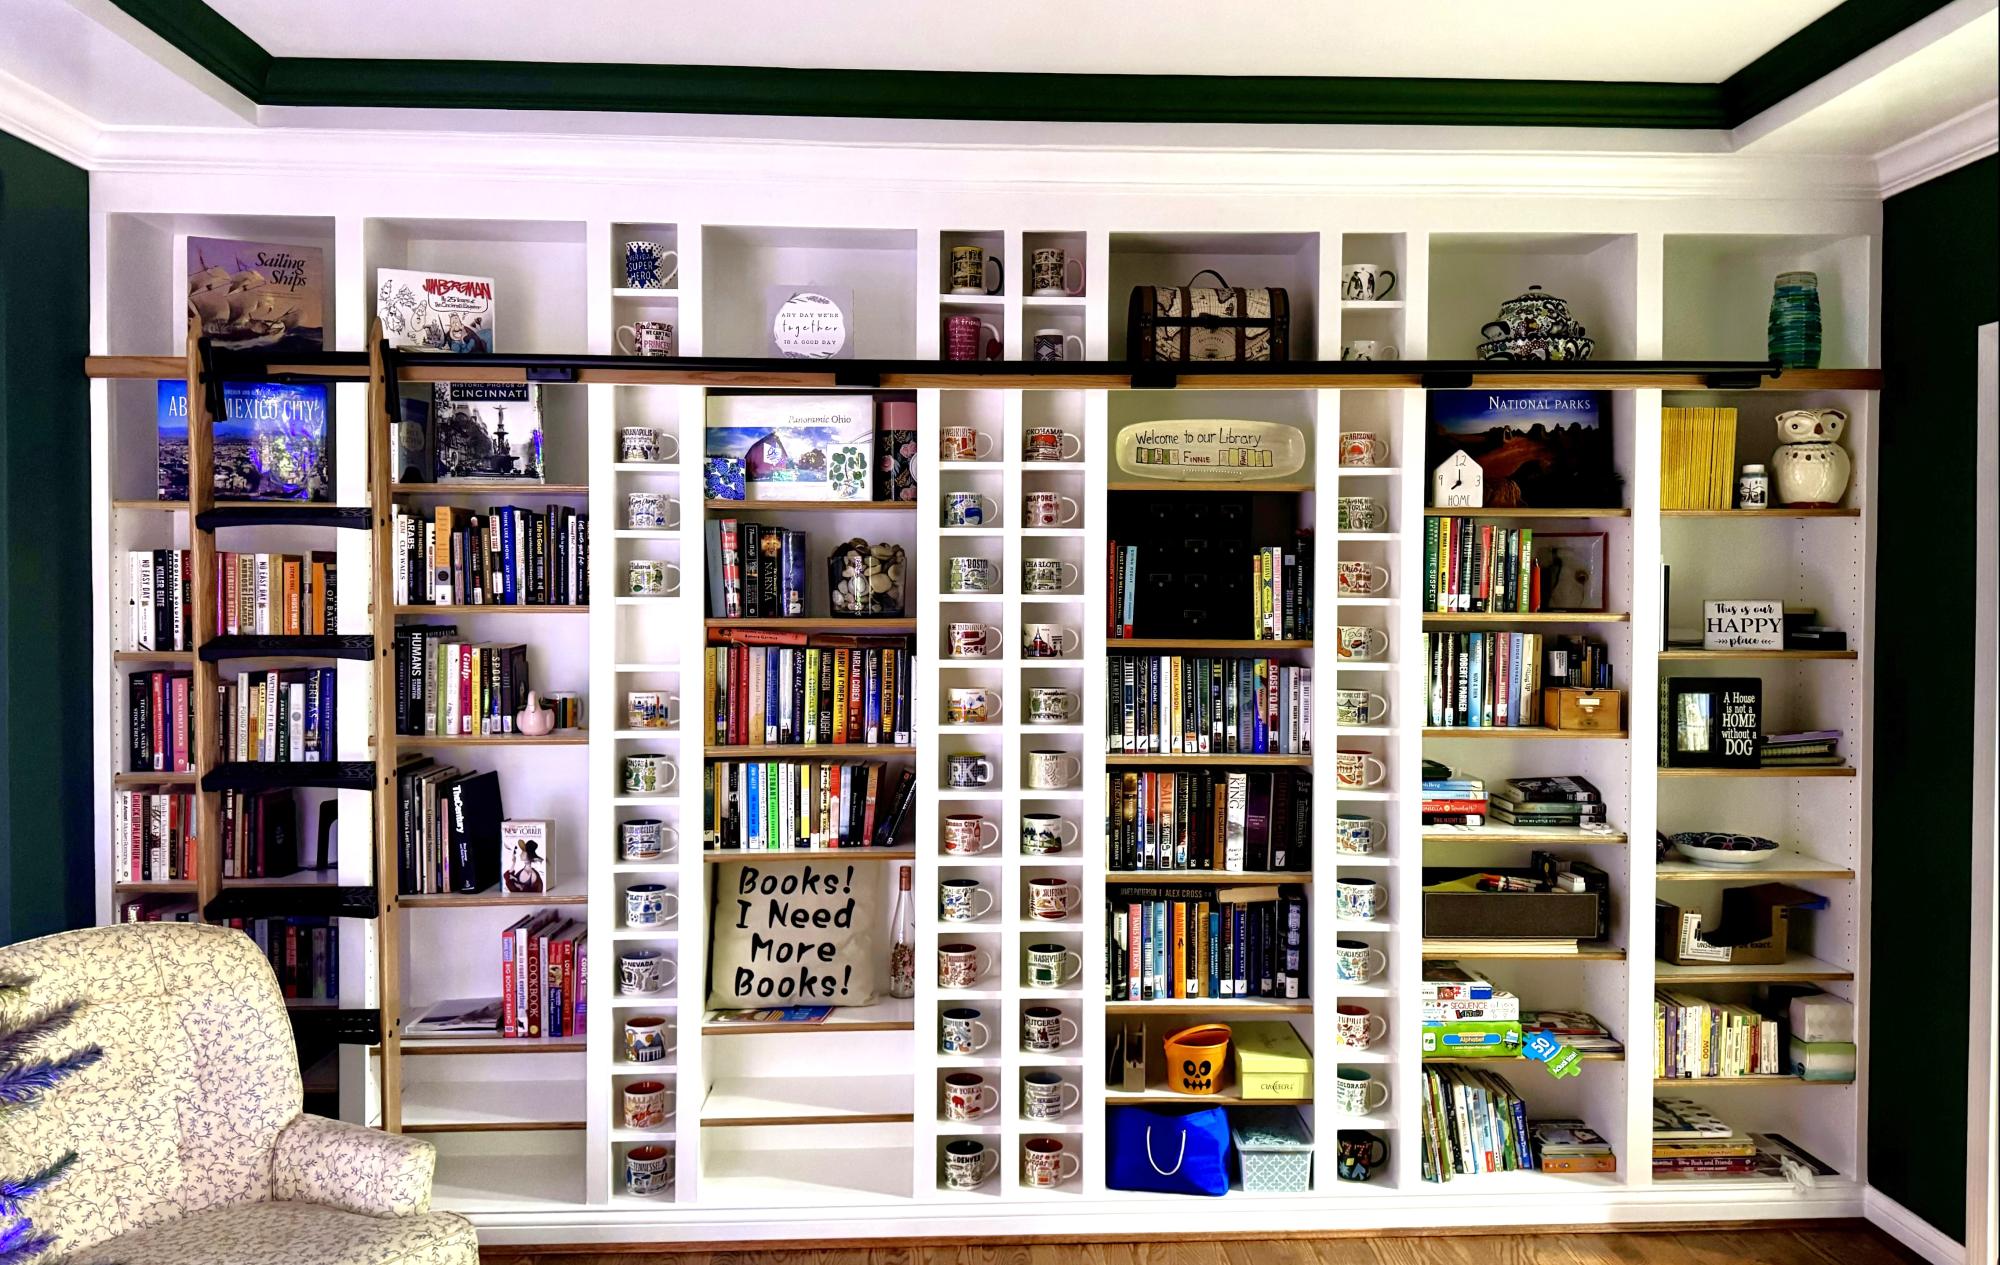
These bookshelves are modified from the Extra Wide Console Bookcase Plans from your website. They were constructed using 3/4 inch plywood for the bookcases, 6” MDF boards for the cup cubbies, and 1/2 inch plywood for the shelves. Purchased a jig from Rockler to drill the 1,000+ shelf holes and built the rolling ladder from oak using the plans and parts from Rockler. What began as a plan for a simple bookcase morphed into selling the dining room furniture and converting the room (which we had only used once in over 2years) into a library that we enjoy every day!
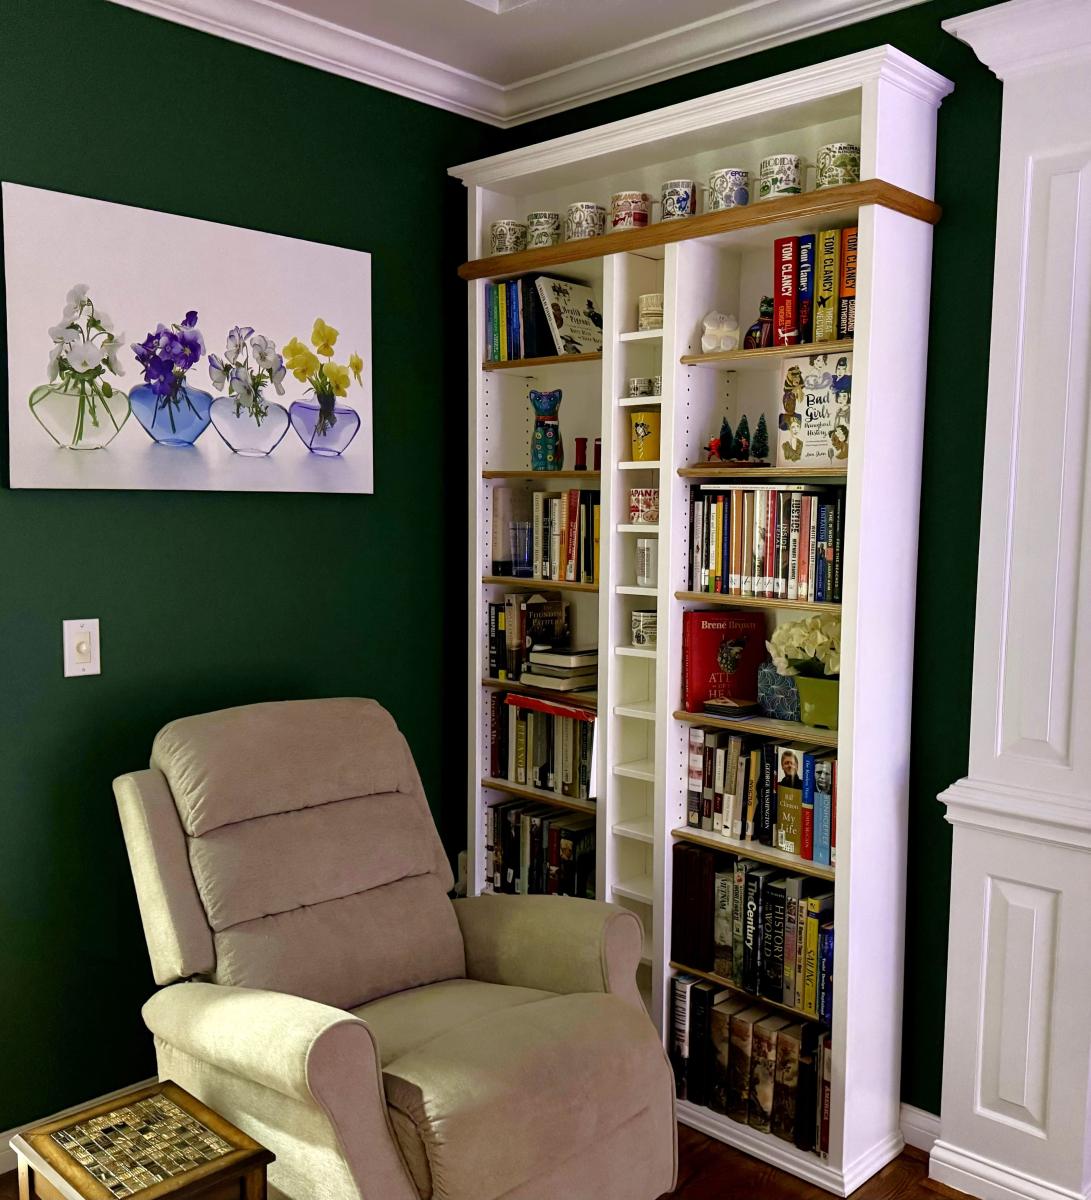
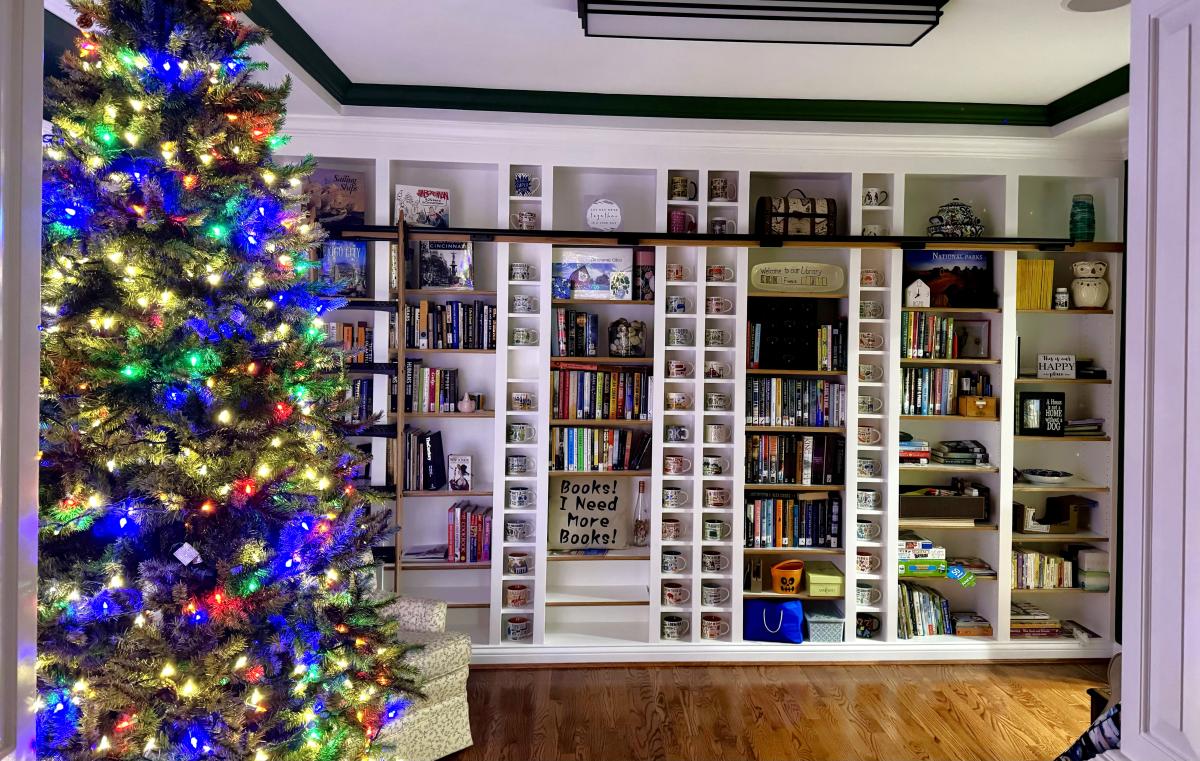
I did this project 99.97% alone (if you call "alone" with a 1-year old and 3-year old nearby). This was a challenging project that took longer than expected (one full week, working well into the night after the kids went to sleep). I used furring strips for the 1x3s and 1x4s. They cost about $2 less per board! Total cost of this project includes paint, screws, etc.
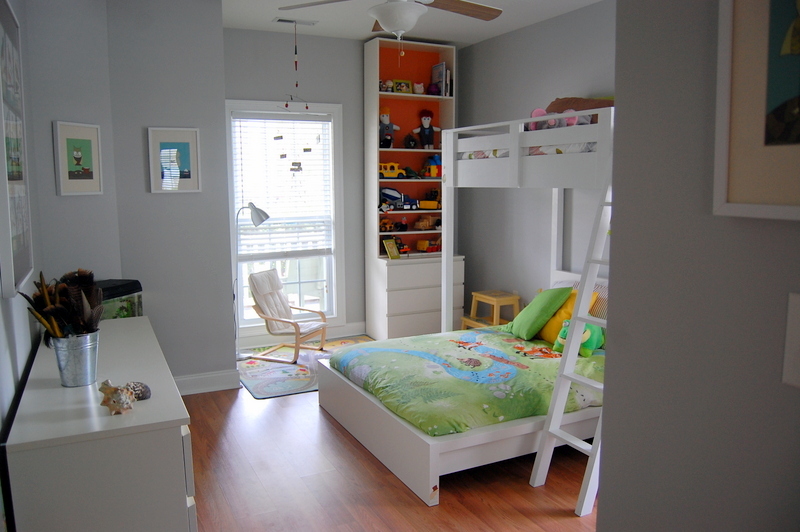
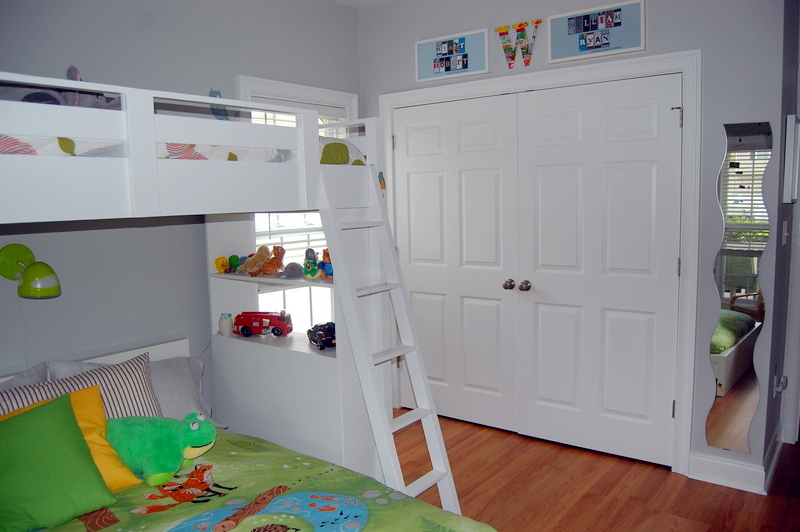
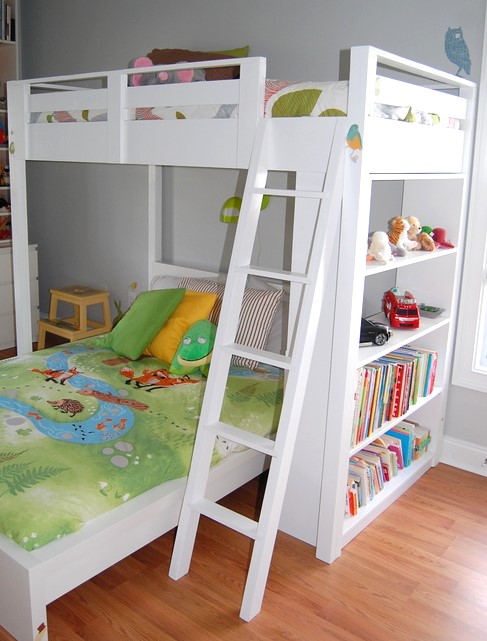
Tue, 05/29/2012 - 03:00
What a beautiful room. The bed looks just perfect in there. I love everything from the bed, to the bedding, to the wall color!
Mon, 10/22/2012 - 20:40
I have been looking for something similar to this but with a futon in the bottom. Anyone seen plans for such a critter?
Thu, 06/20/2019 - 11:46
AMAZING! I can't believe you tackled this with toddlers!
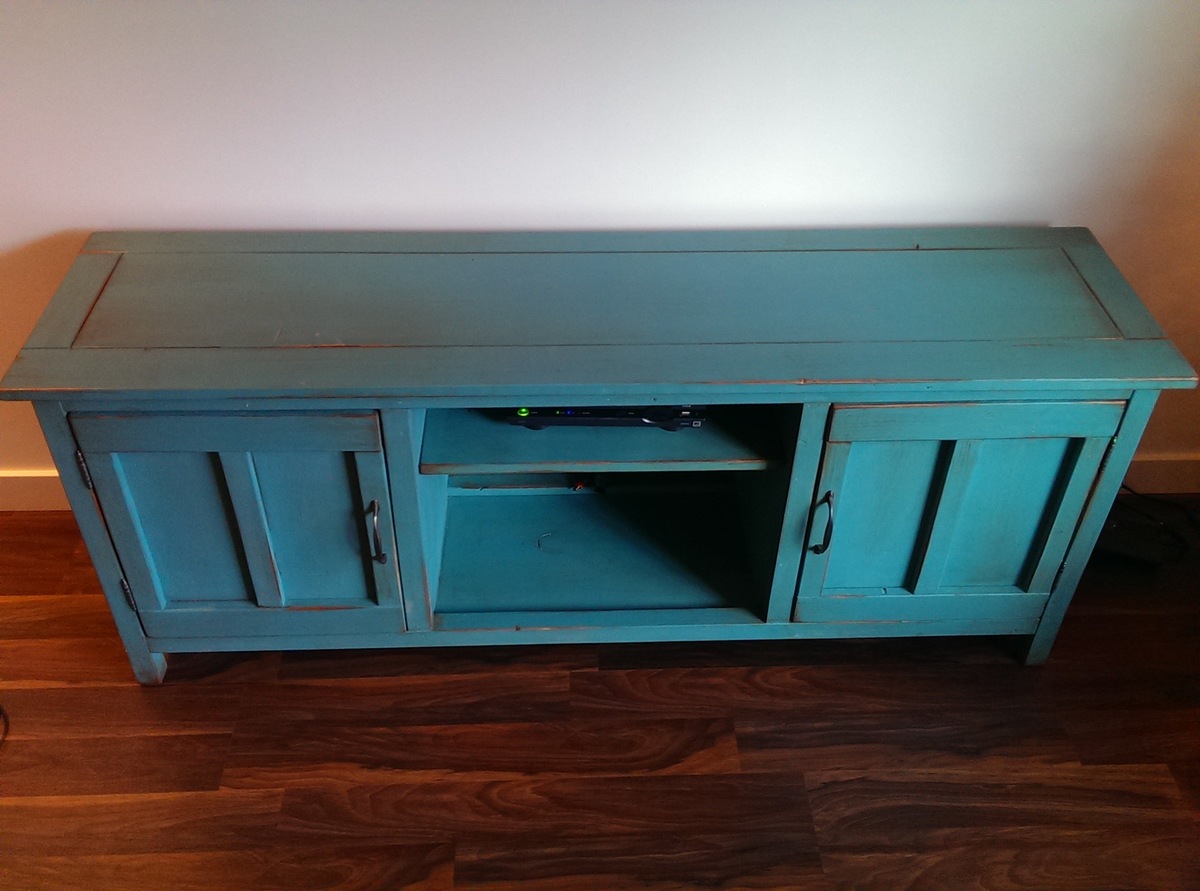
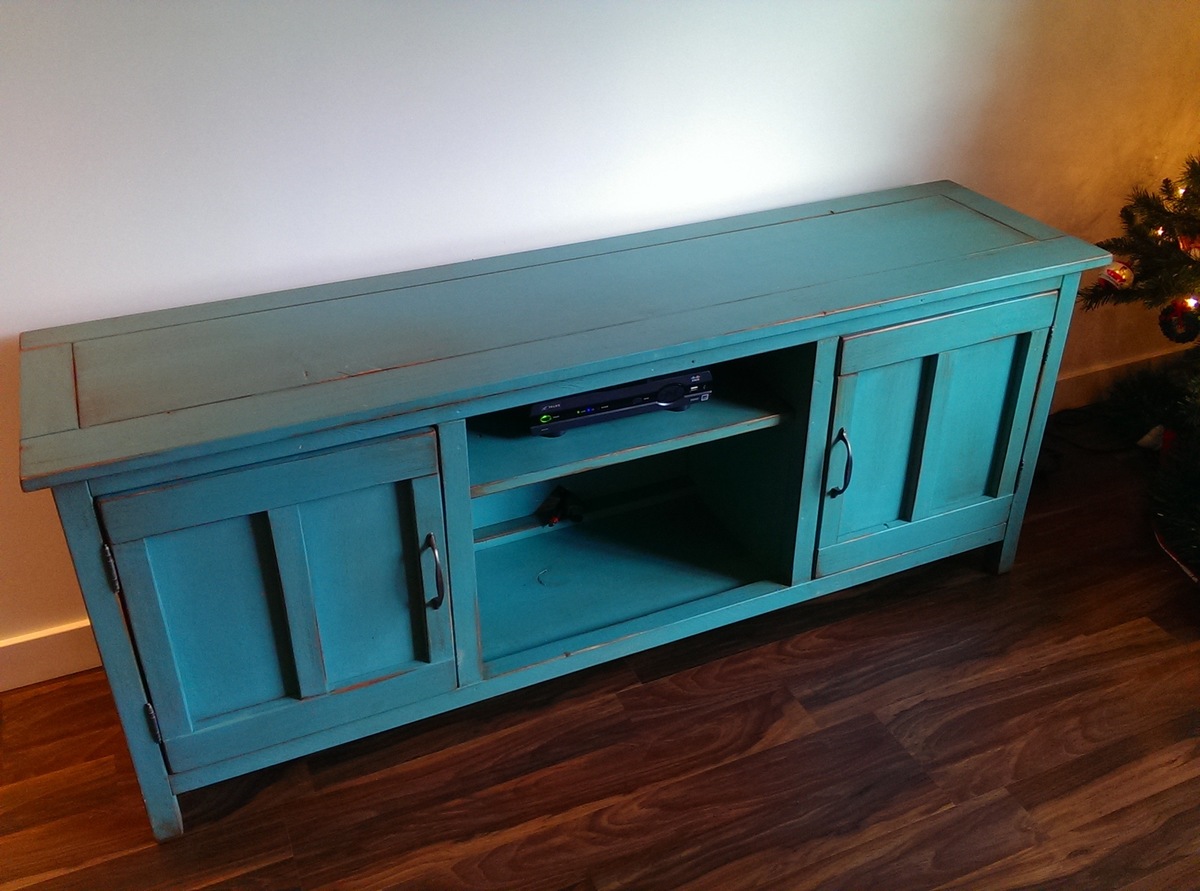
My first furniture Build. My wife wanted rid of our old bookshelf turned TV console. I saw this online and went for it. Finished it with a serious splash of color. We love it so much we decided to go with teal as our primary livingroom accent color. Pretty proud of this little guy. Thanks for the great design!
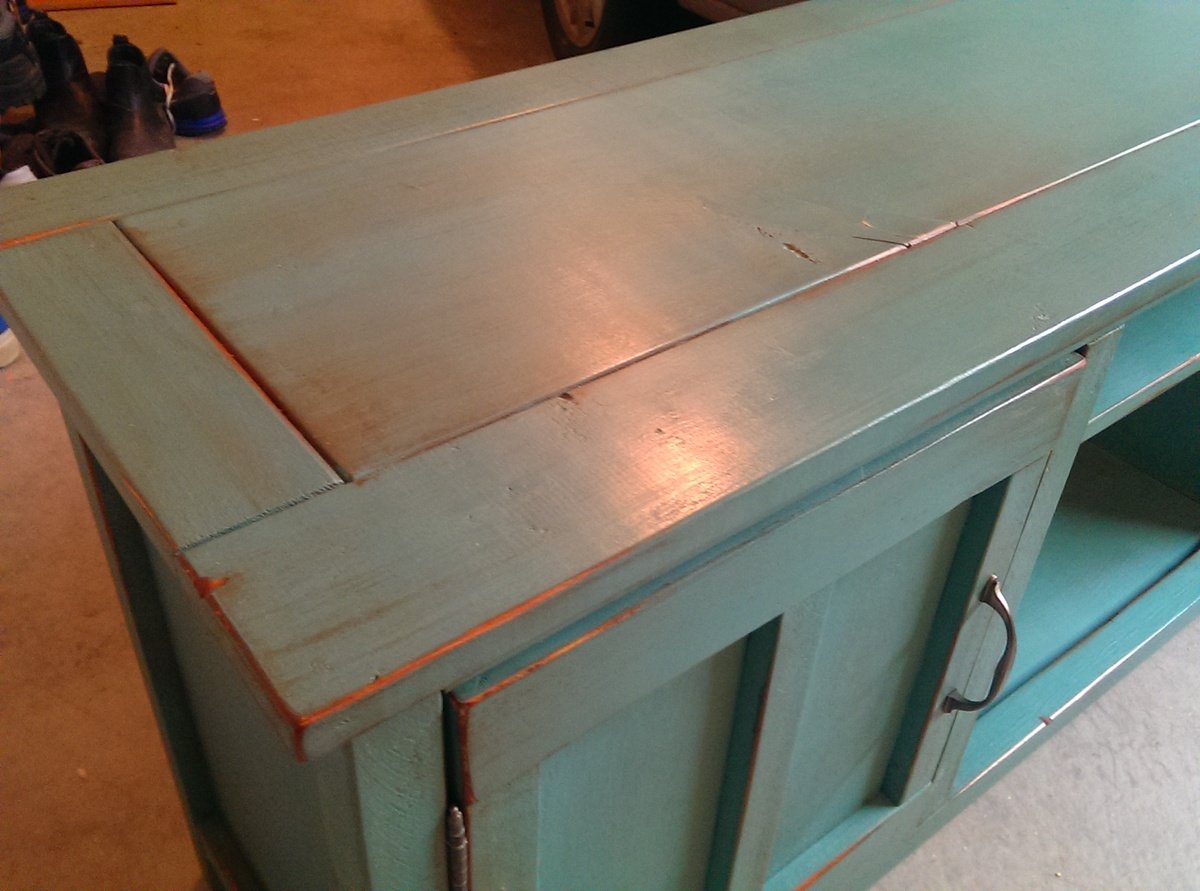
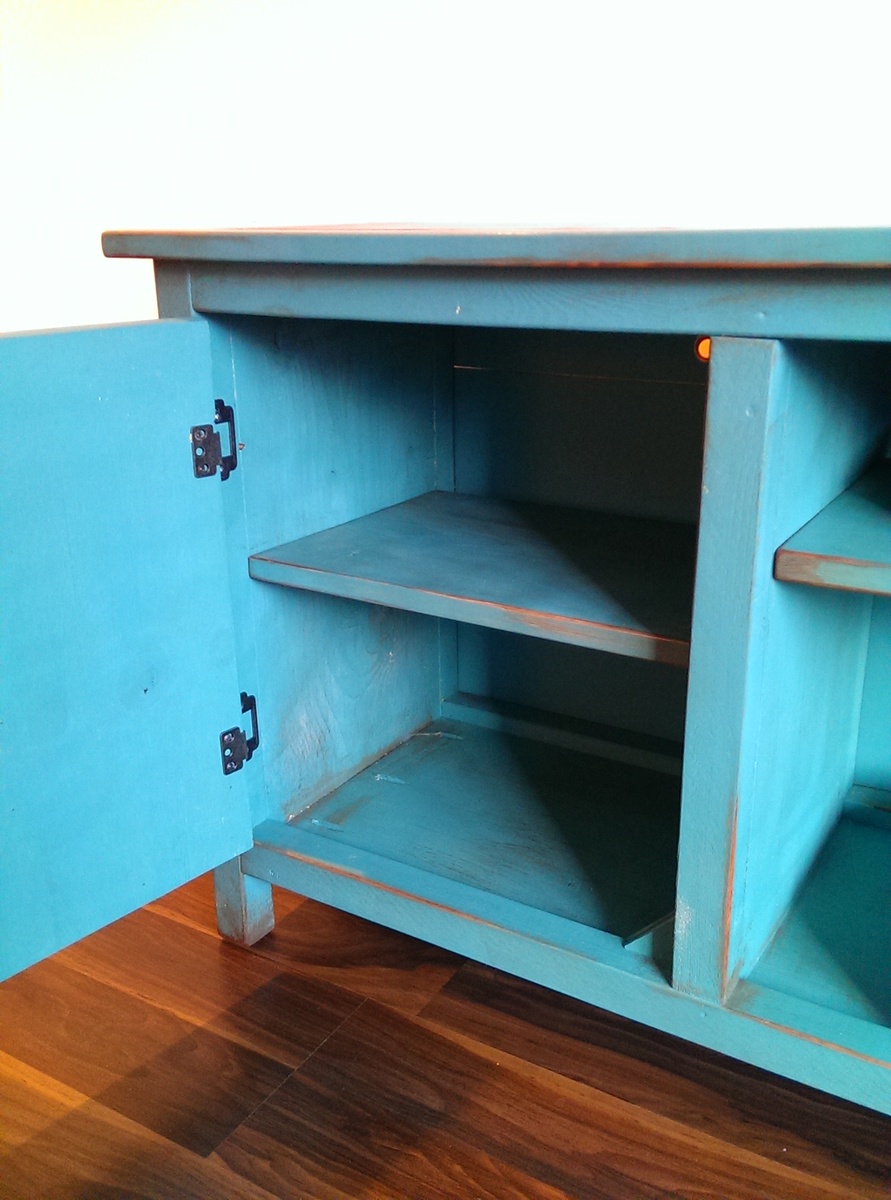
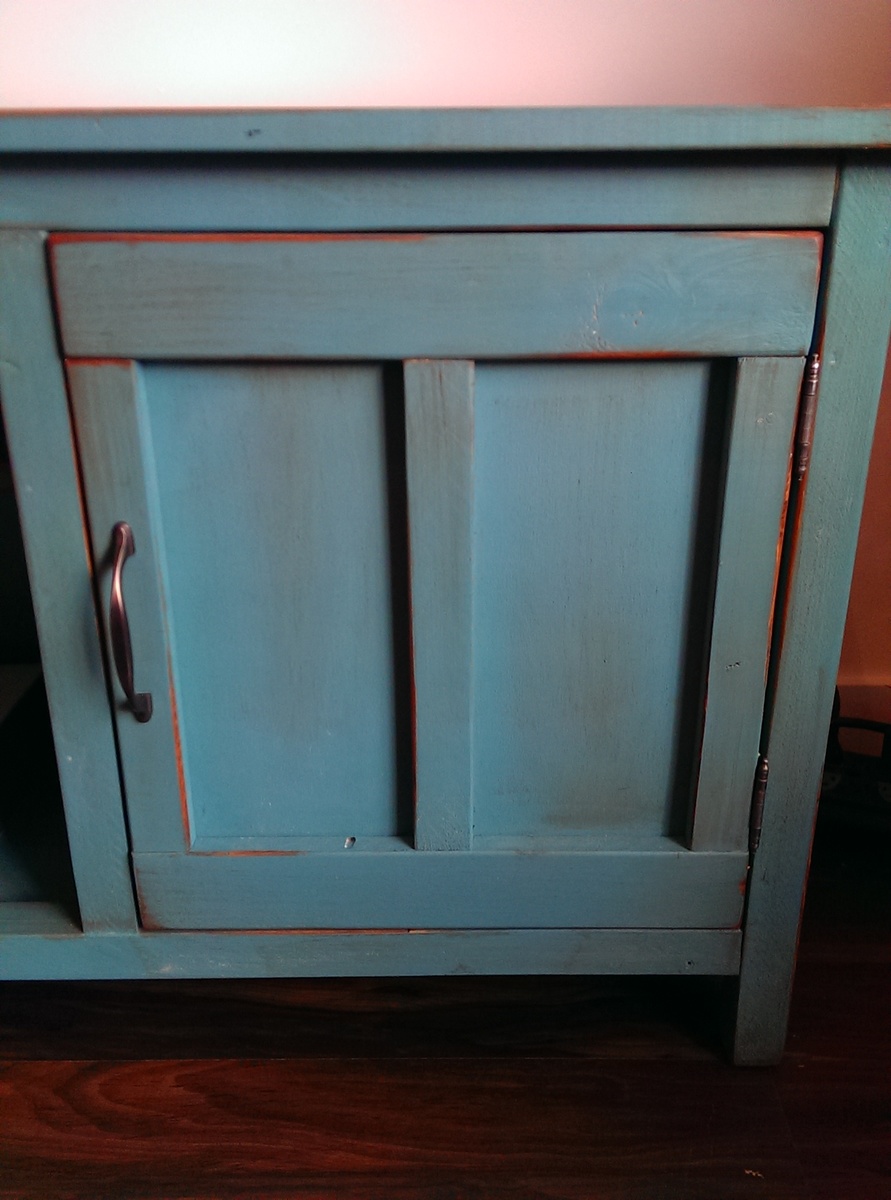
Fri, 03/14/2014 - 20:13
Beautiful! I love the color and the finish. Great job!
Mon, 01/04/2016 - 14:39
Looks gorgeous!!! Going to build one of these soon - love how you finished yours.
I had a friend make a request for a console table. We came up with this design to fit her space and needs. It was a pretty easy build.
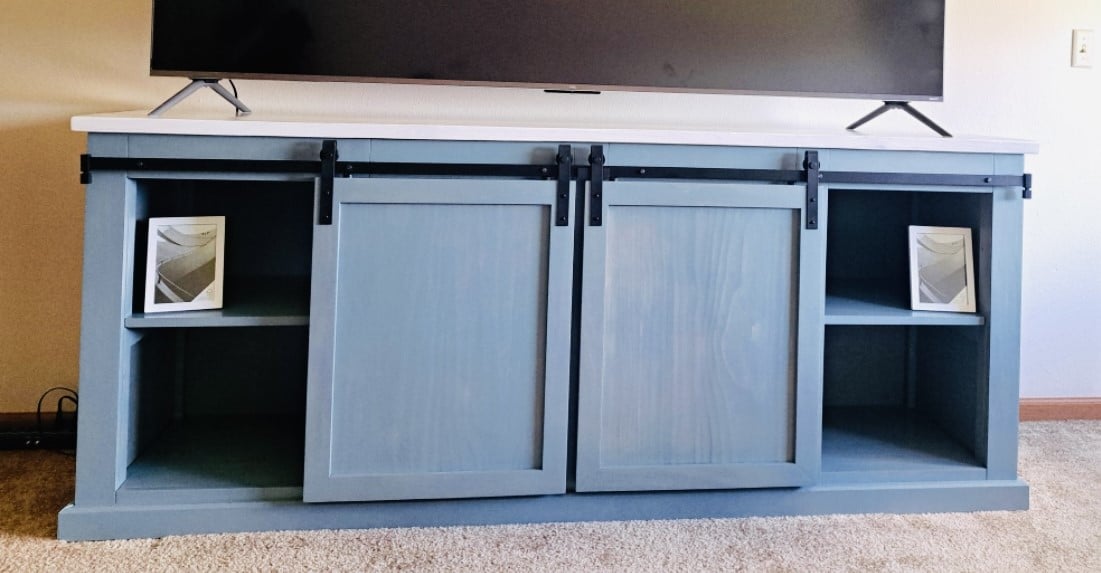
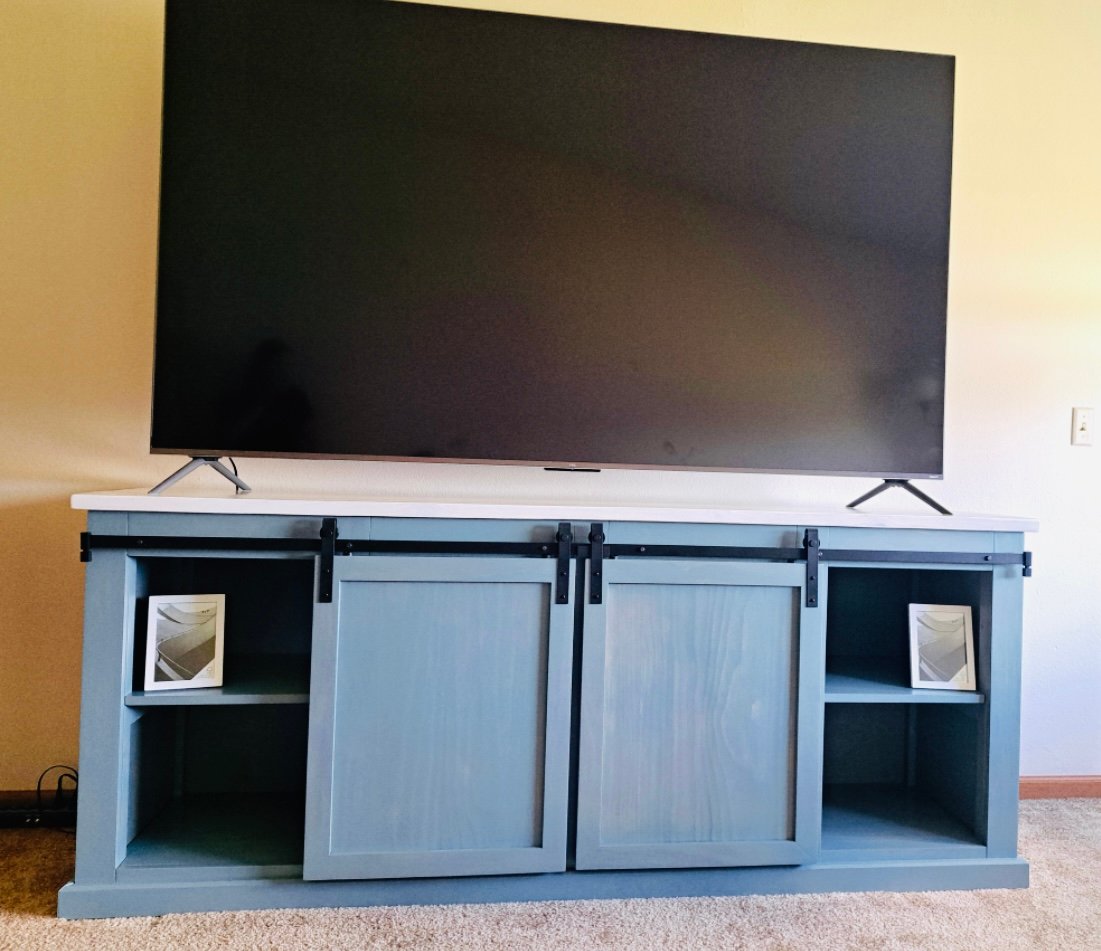
Our grandson needed a tv stand for his new apartment. They liked the plan from your website and this is our version.
Steve Mawhorter
Sat, 11/18/2023 - 13:31
Love your finish choice, it looks amazing! Thanks for sharing.
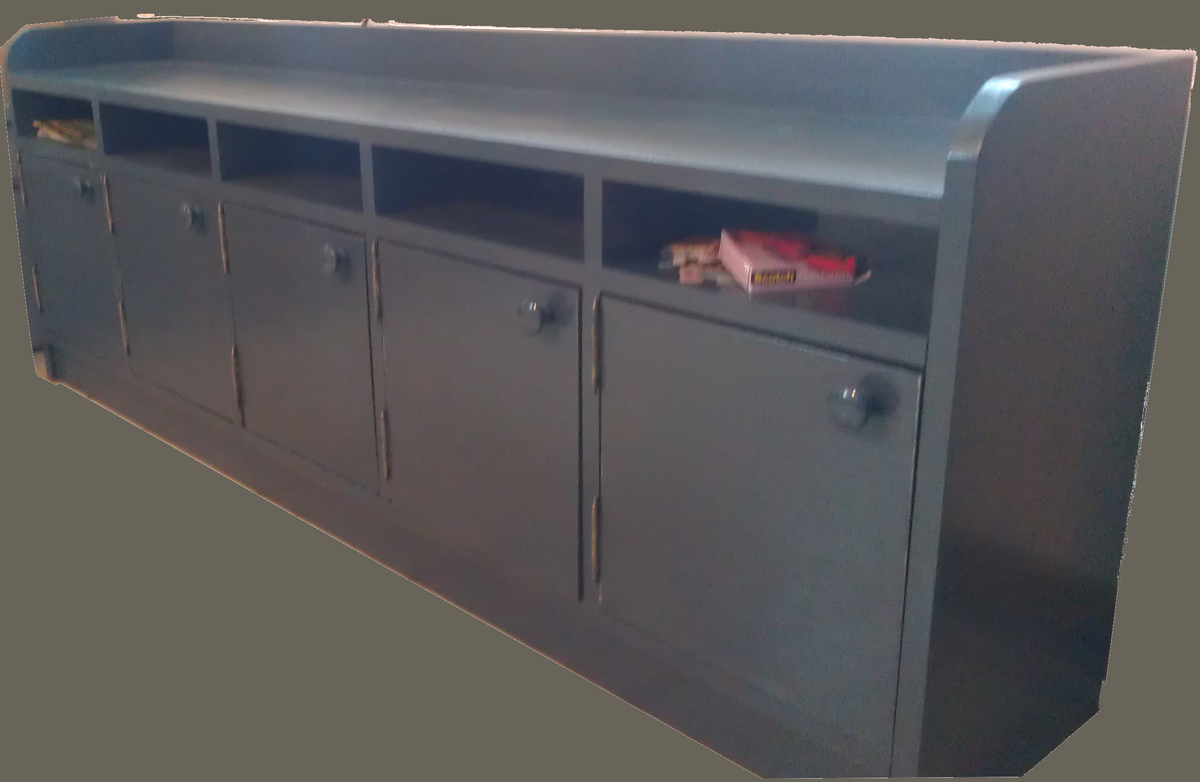
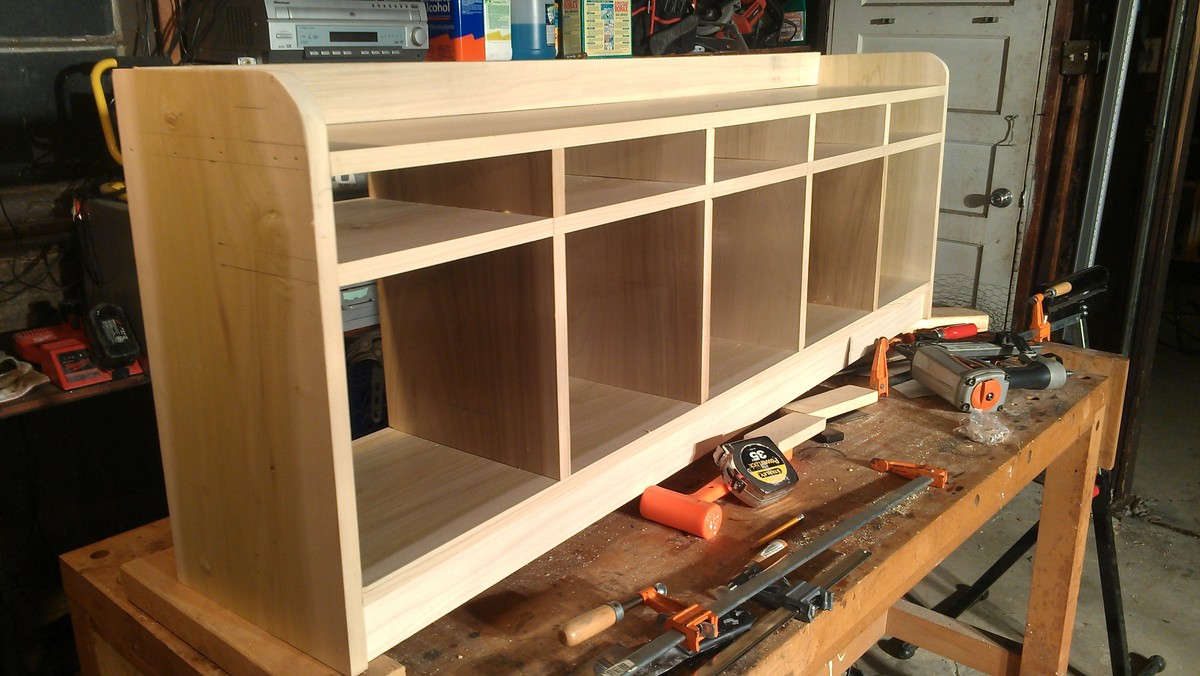
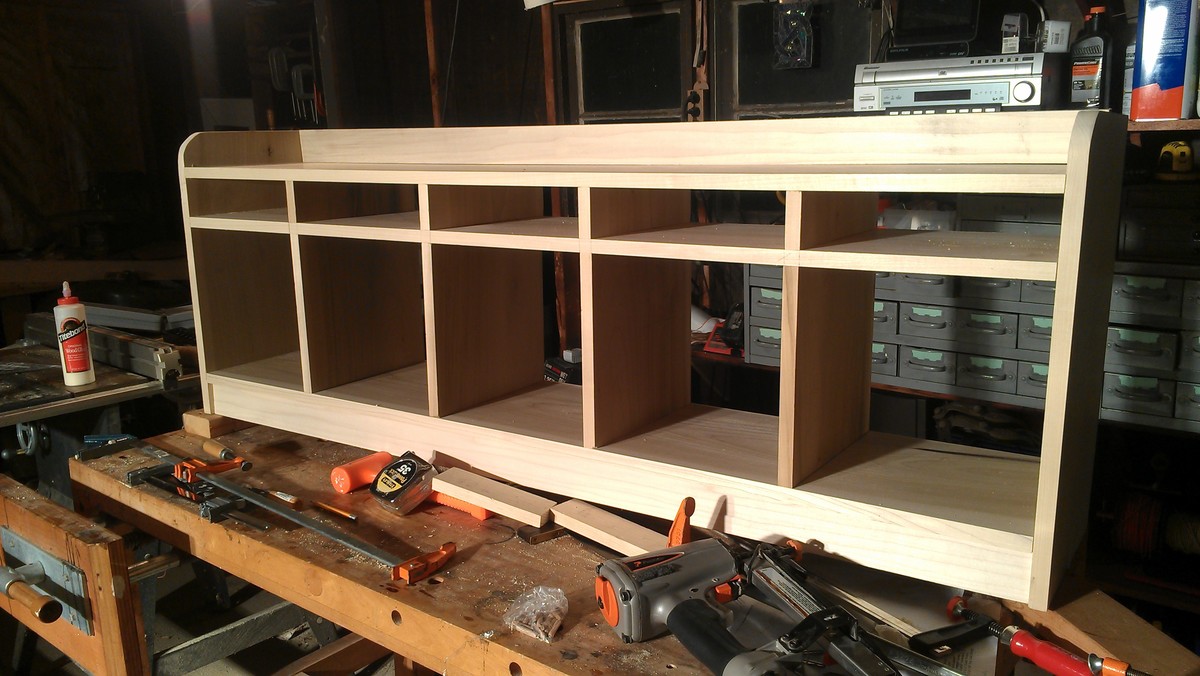
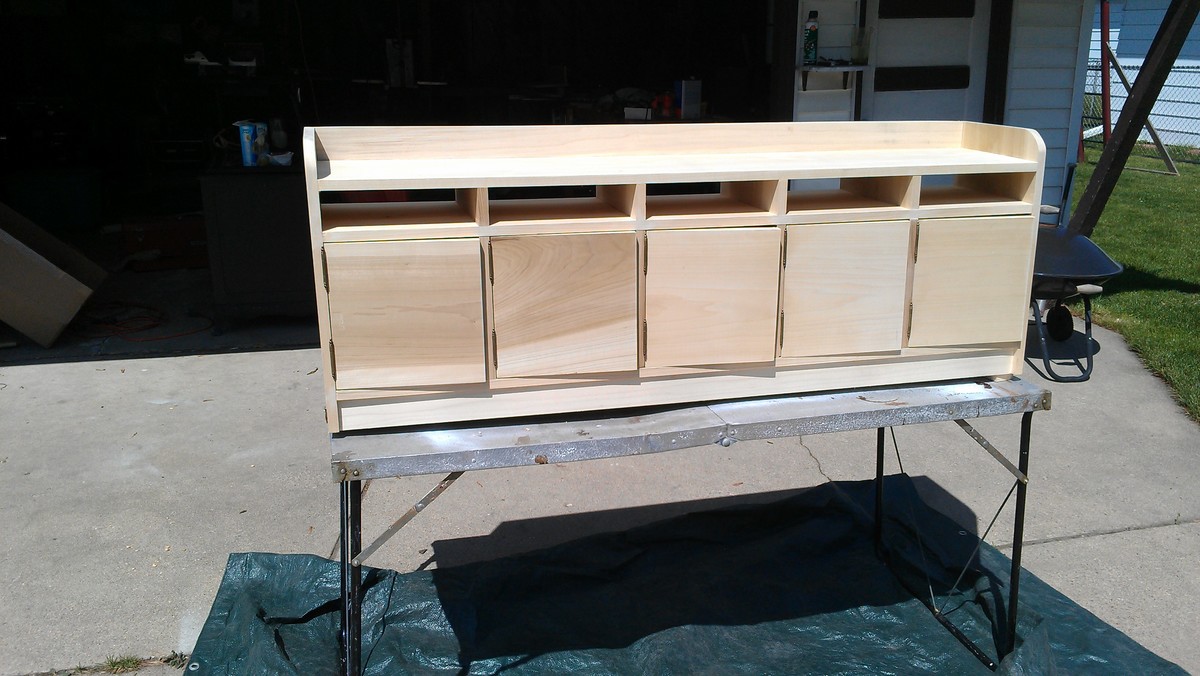
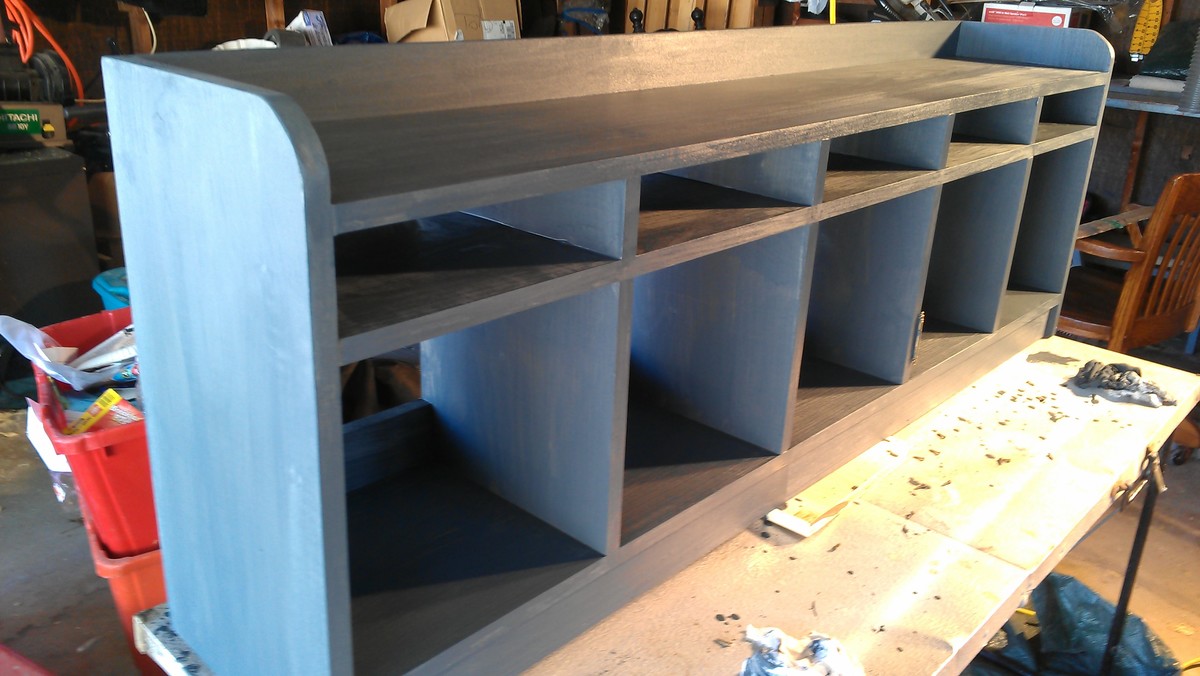
We saw this cubby bench and thought it could work for us... but there's 5 of us.
So we redrew the plans to add two more cubbies.
I also like the idea of being able to hide everything, so we put doors on.
The issue I had was cutting 1x12 material with the chop saw. Cutting with the circular saw (even with a guide) can sometimes leave you with an "almost" square edge. Even with a 12" saw you can not make the cuts on a 1x12. You need a sliding saw for that.
One option is to cut the boards over sized by 1/4 in and then use the table saw to get a square edge with the miter gauge or rip fence.
I only worried about this due to putting doors on the cubbies. It's your using baskets you don't have to be so exact.
I made this garden bench for my niece's 3rd Birthday. She loved it!
I was able to use wood that had been leftover from past projects. I only had to buy a few boards. The paint was largest expense.
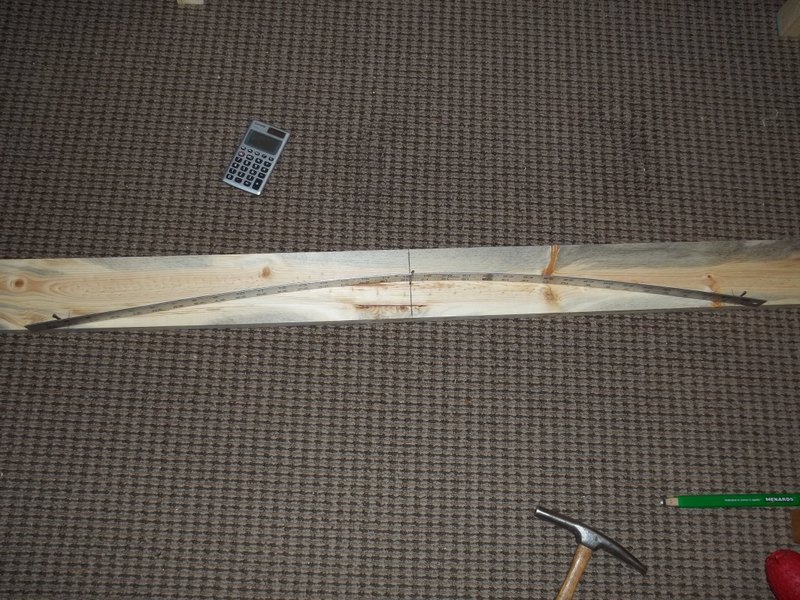
The most difficult part was the arch. I did that by bending my ruler along some finishing nails.
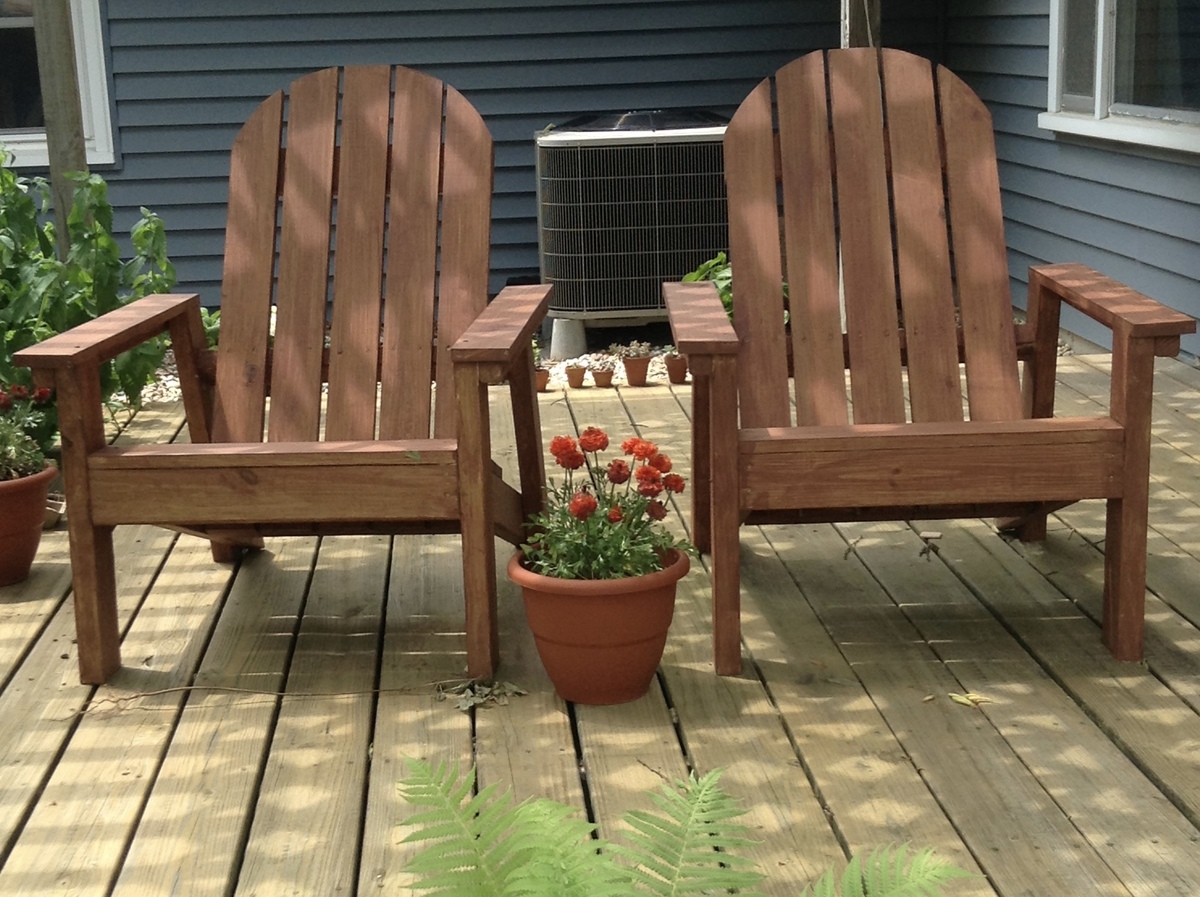
These chairs were really fun to build. This was my first project and they turned out great. Thanks Ana!

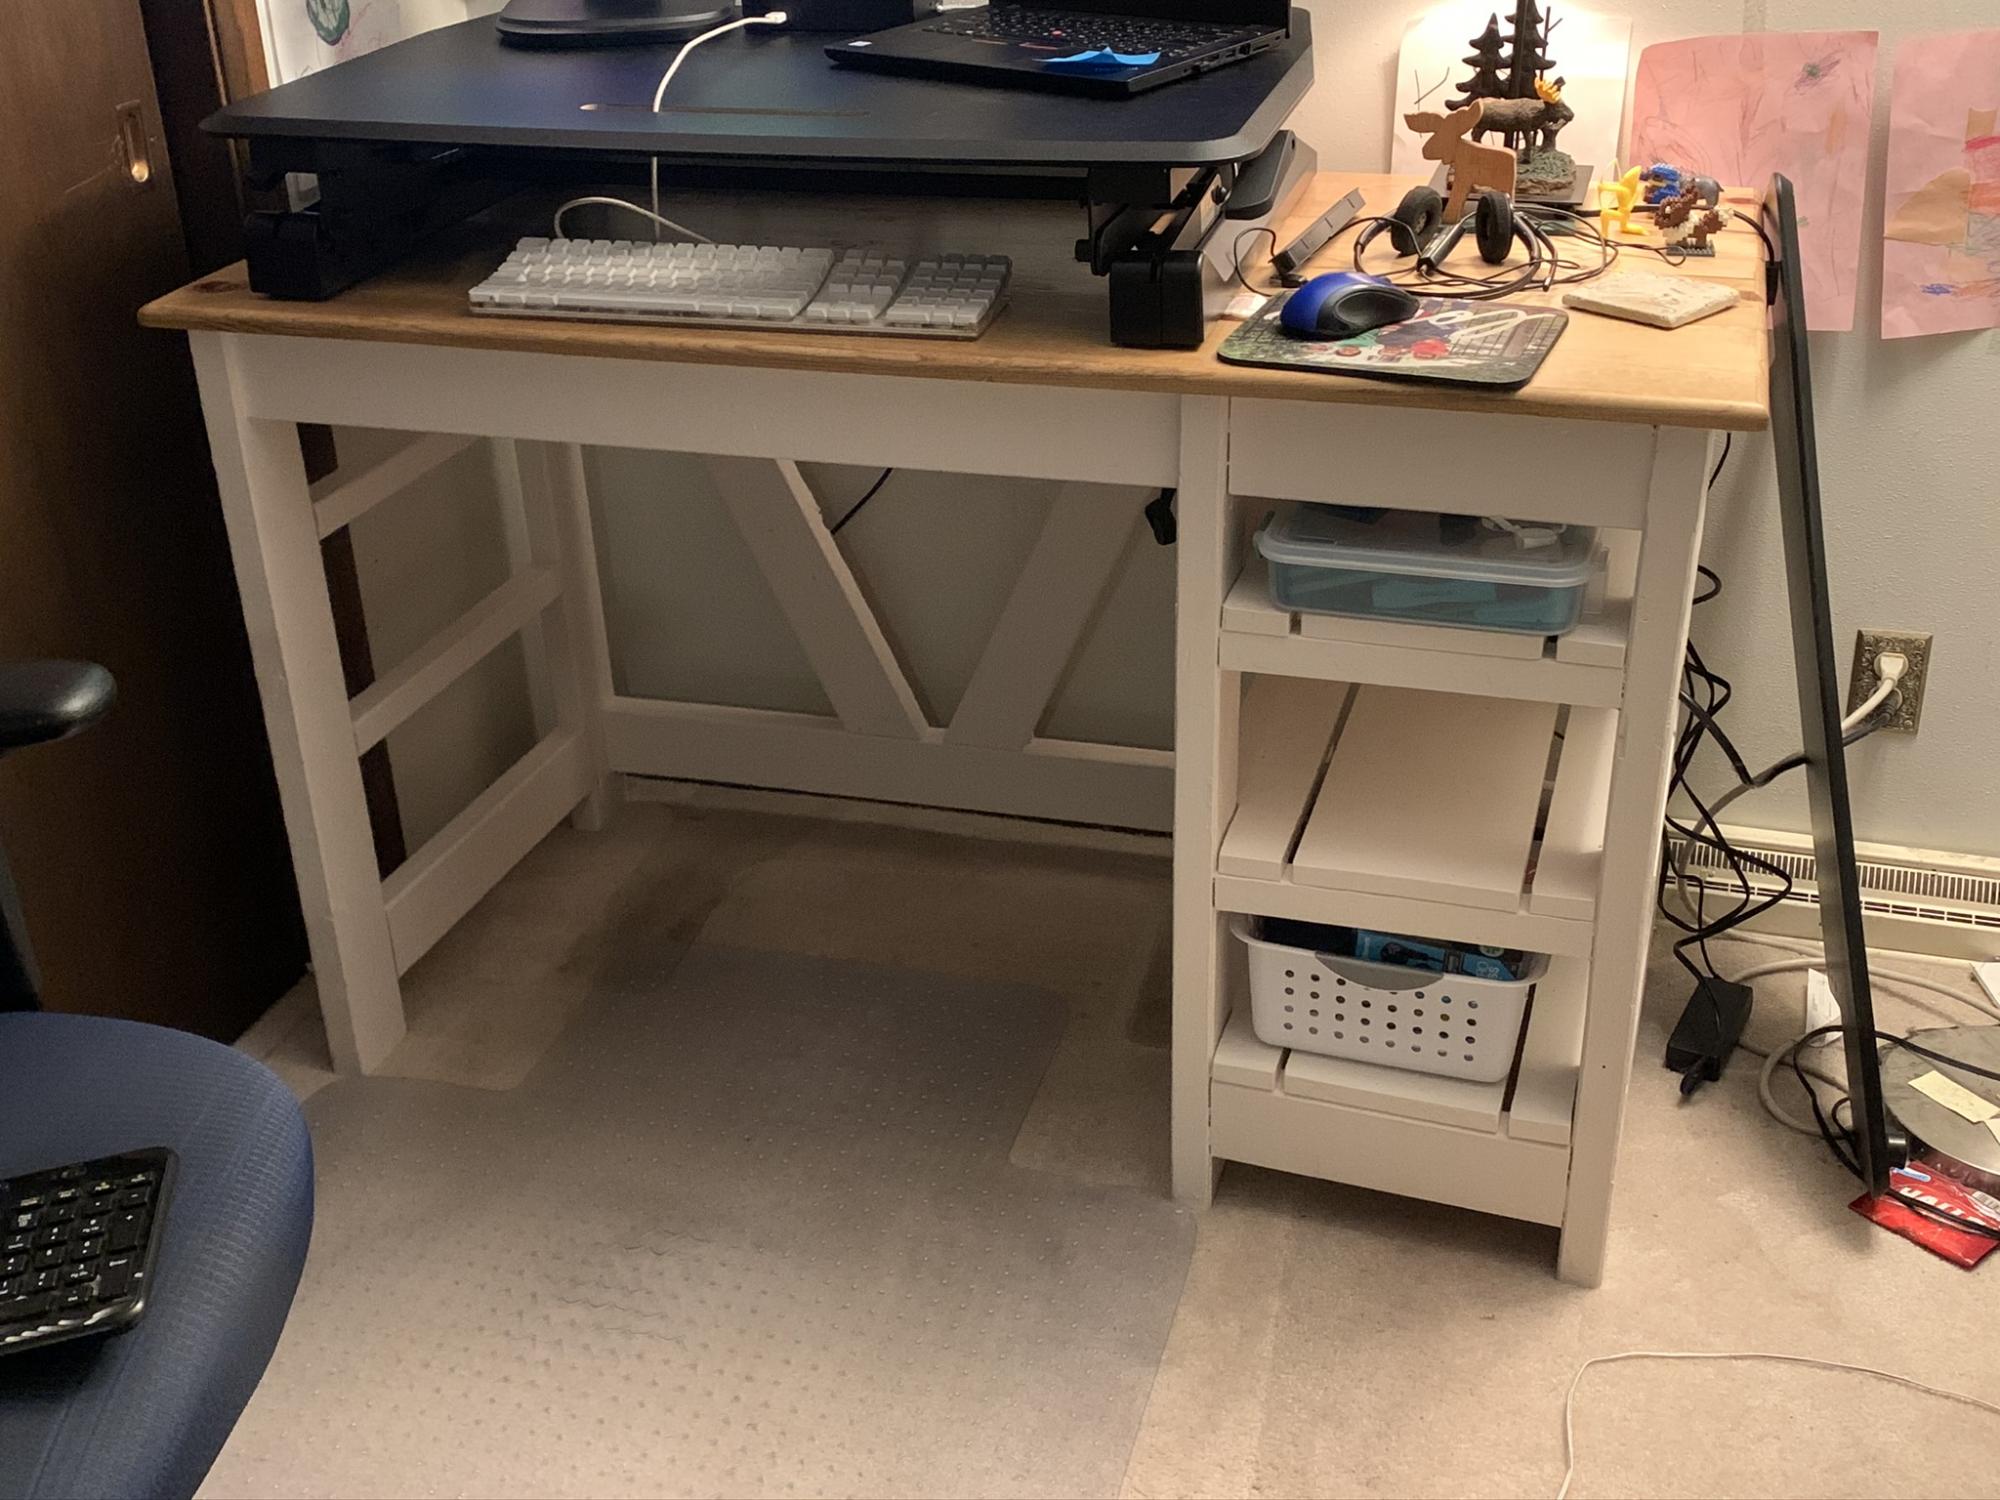
I changed the design a bit and added shelves to fit bins and a pencil box.
I did it! My hubby cut all the wood for me because the saw still scares me, but I assembled it!
Sat, 09/08/2012 - 11:52
hi i love this table do you mine sharing with me the wood sizes and assembly intructions THANKS!
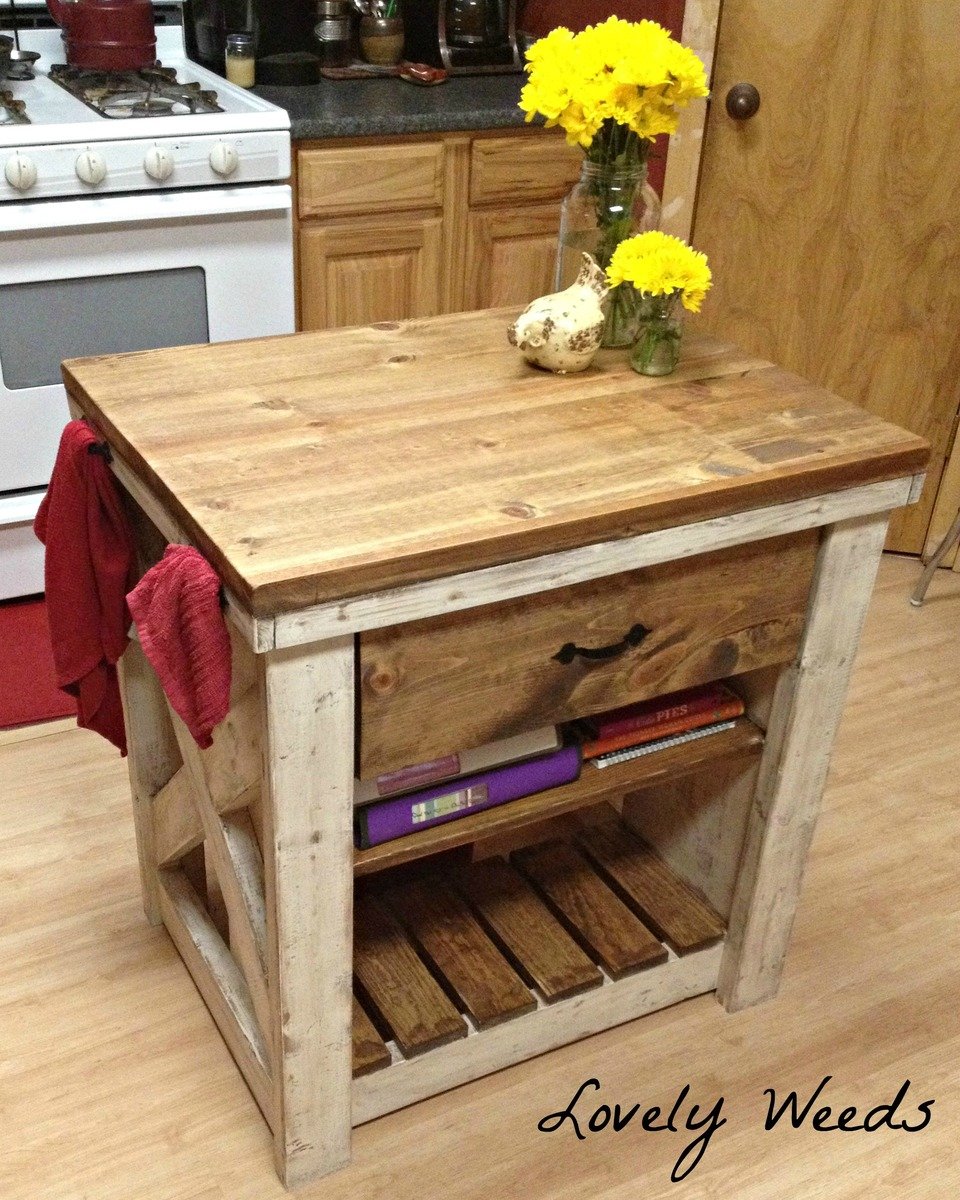
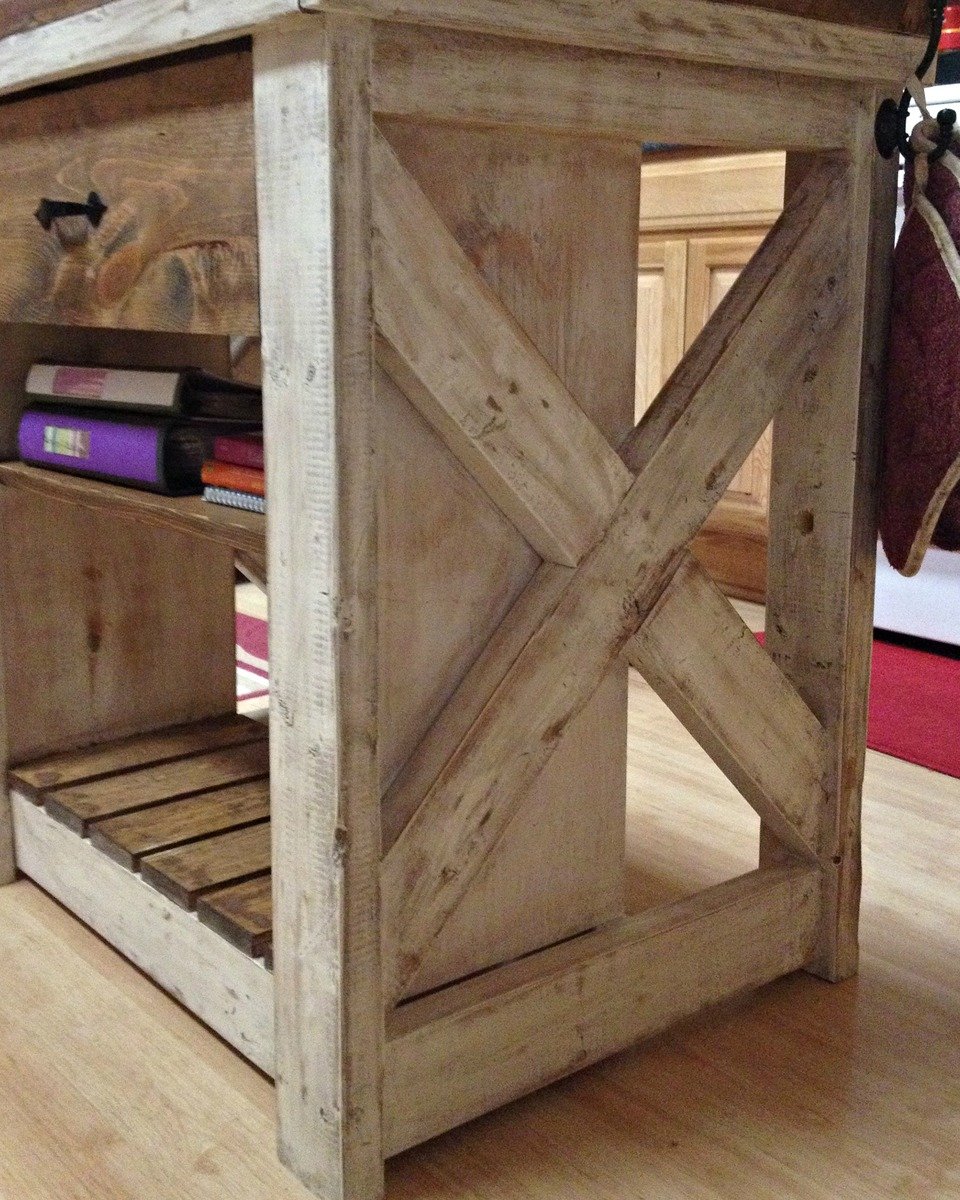
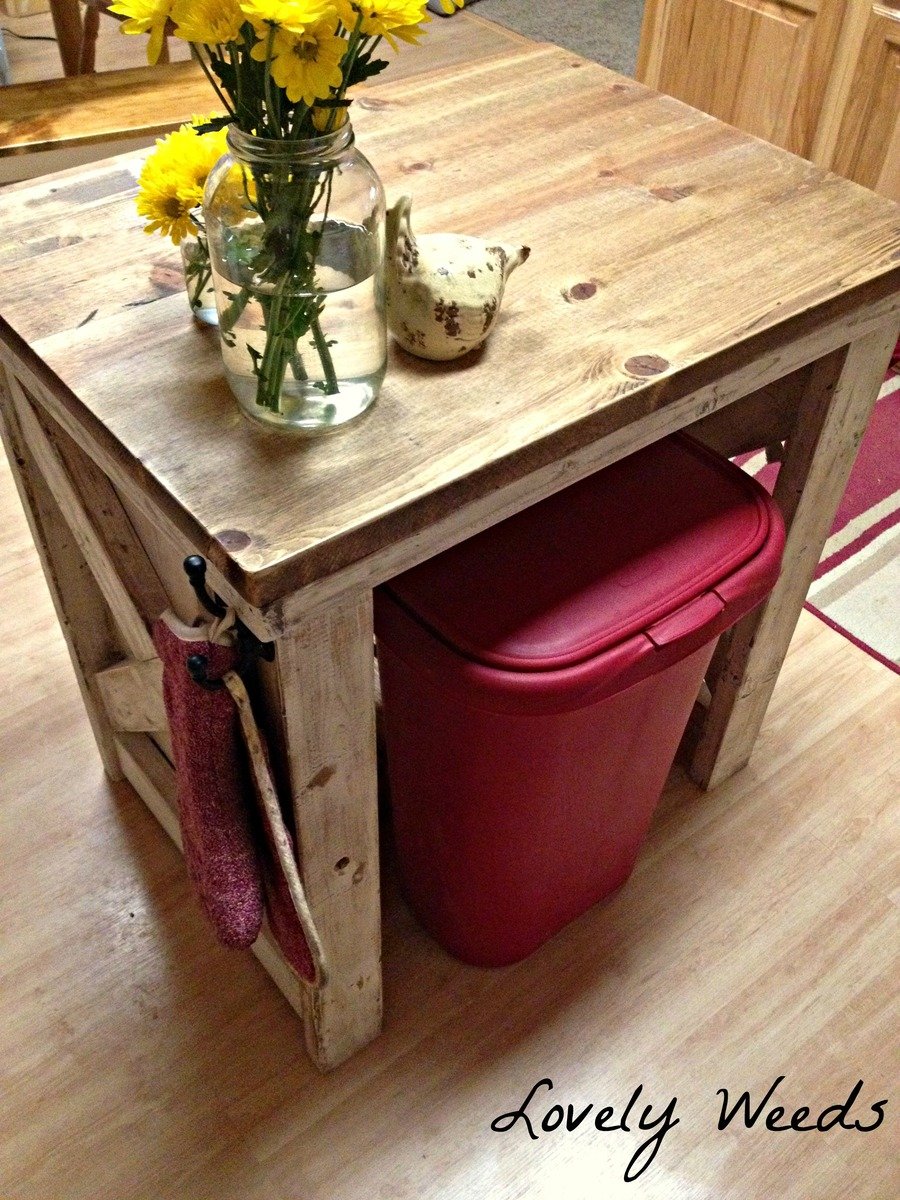
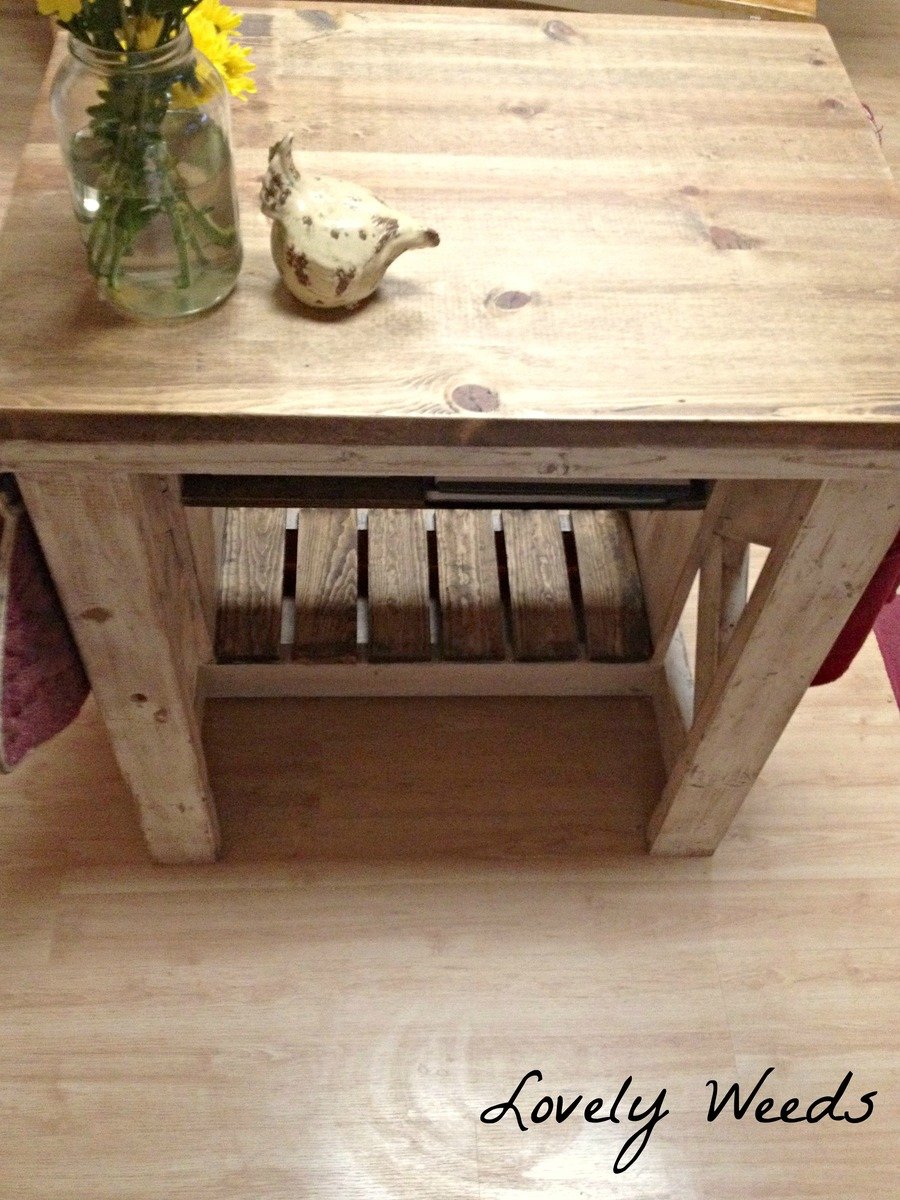
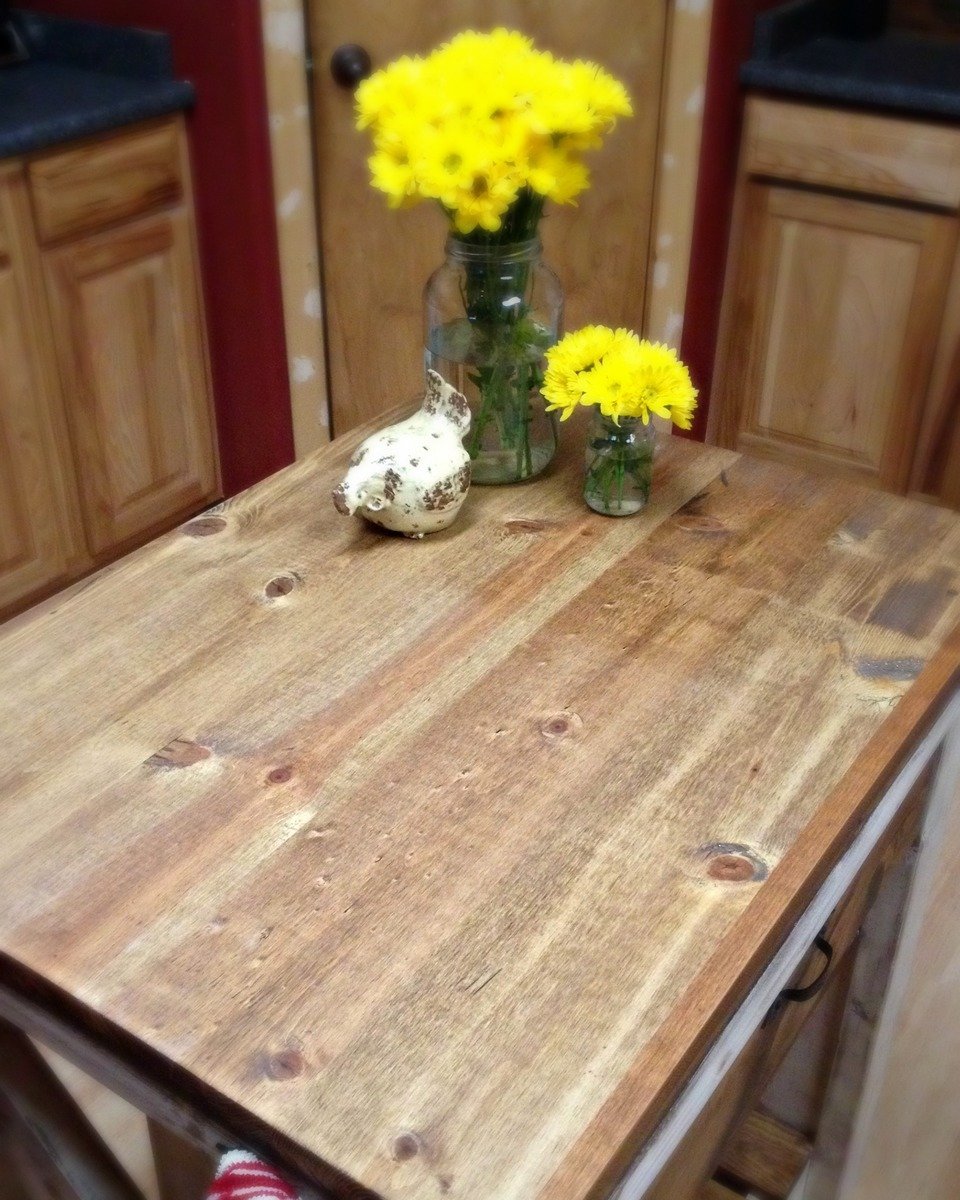
I’ve been hoarding my scraps for the past six months or so hoping to build this as soon as possible. I paid roughly $34 for it!
Everything but the 1”x8” drawer face and the project panel top came from my scrap pile. My aunt and uncle’s renovation dumpster provided the missing 2”x4”s. There are nail holes, dings, and some general bruising, but who says that’s a bad thing?
I omitted the piece of trim beneath the drawer to allow more room for storage on my shelf. I absolutely love my island, and as usual Ana's plans were flawless!
You can see details on how I built and finished on my blog here: http://lovelyweeds.blogspot.com/2014/02/island-paradise.htmlit
Thanks for taking a look!
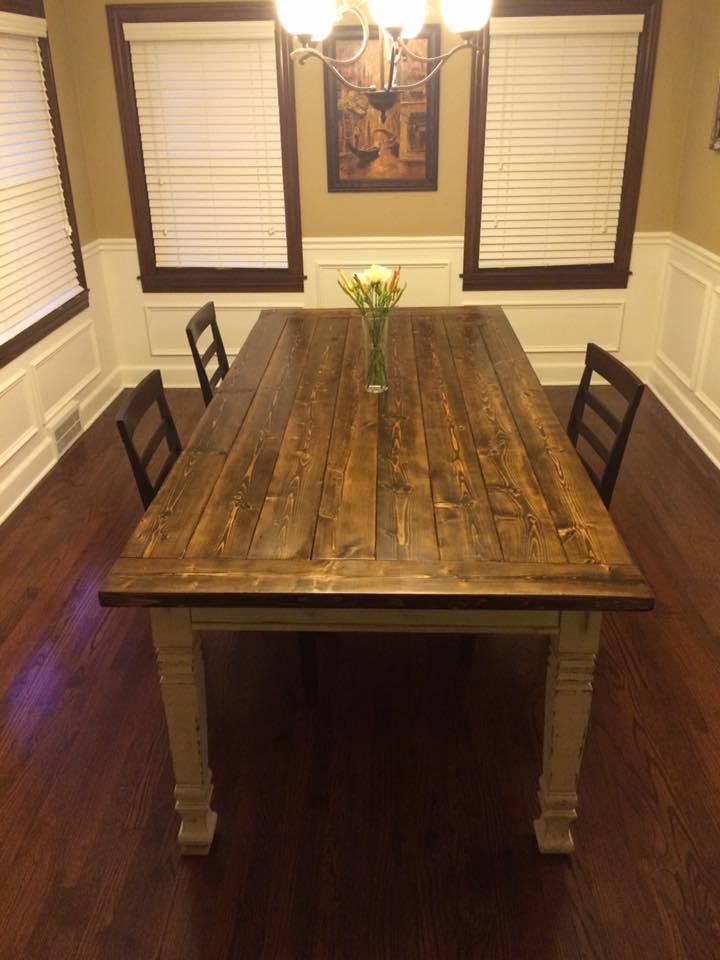
Used Ana White's Husky Farmhouse Table plans/instructions and then made some of my own modifications to make the legs removable and expand the dimensions a bit. Turned out pretty good! This was my first project :)
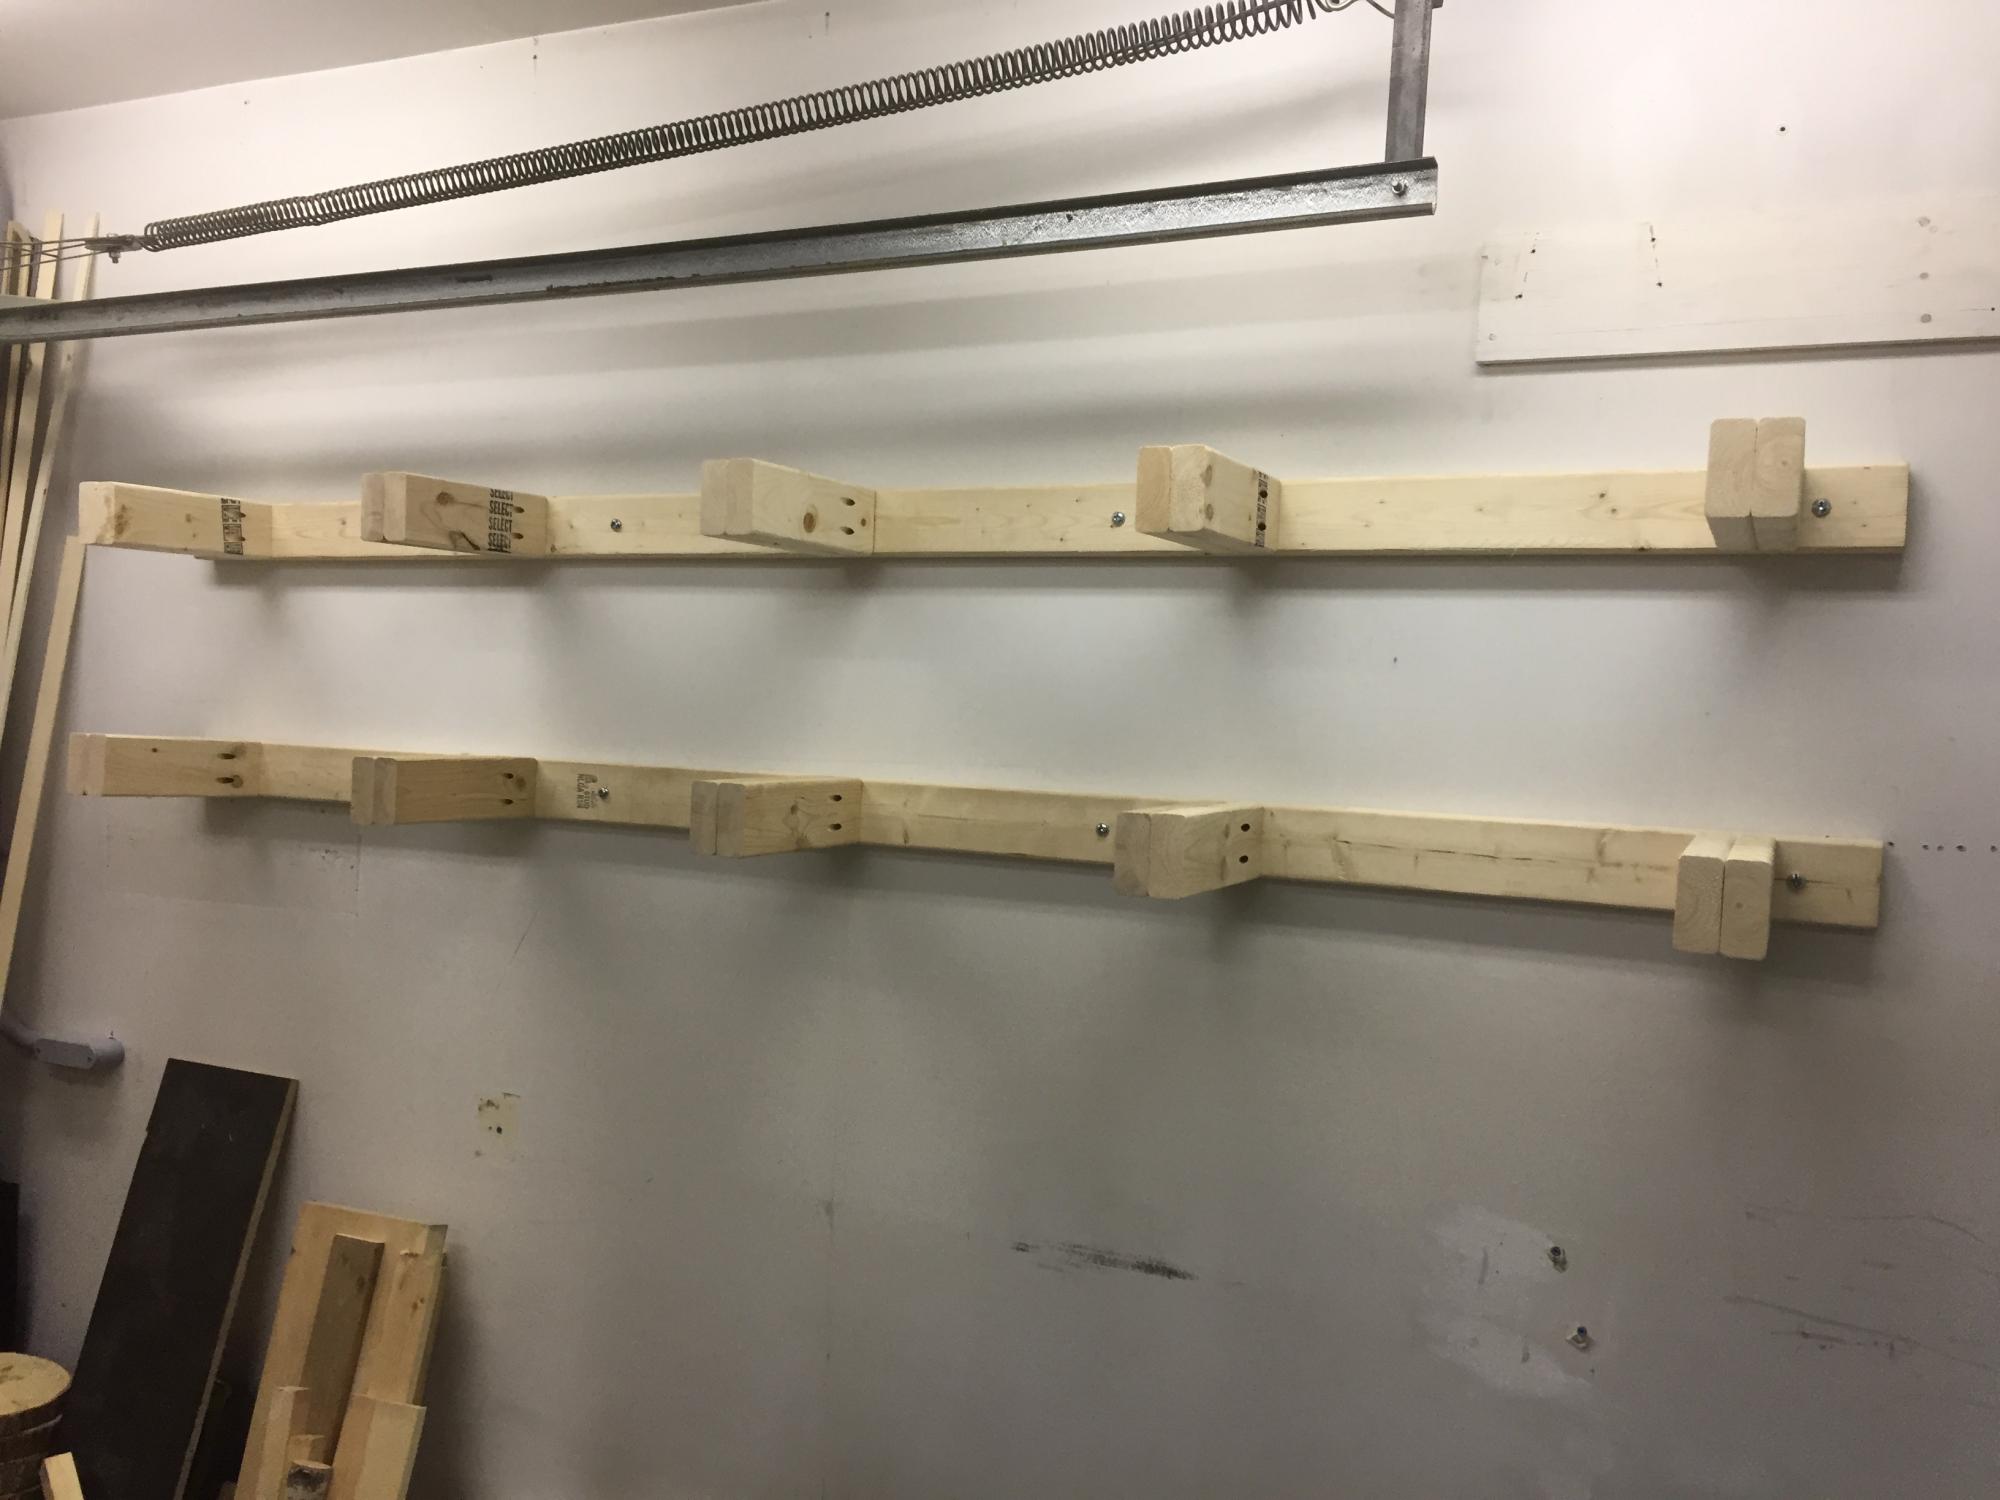
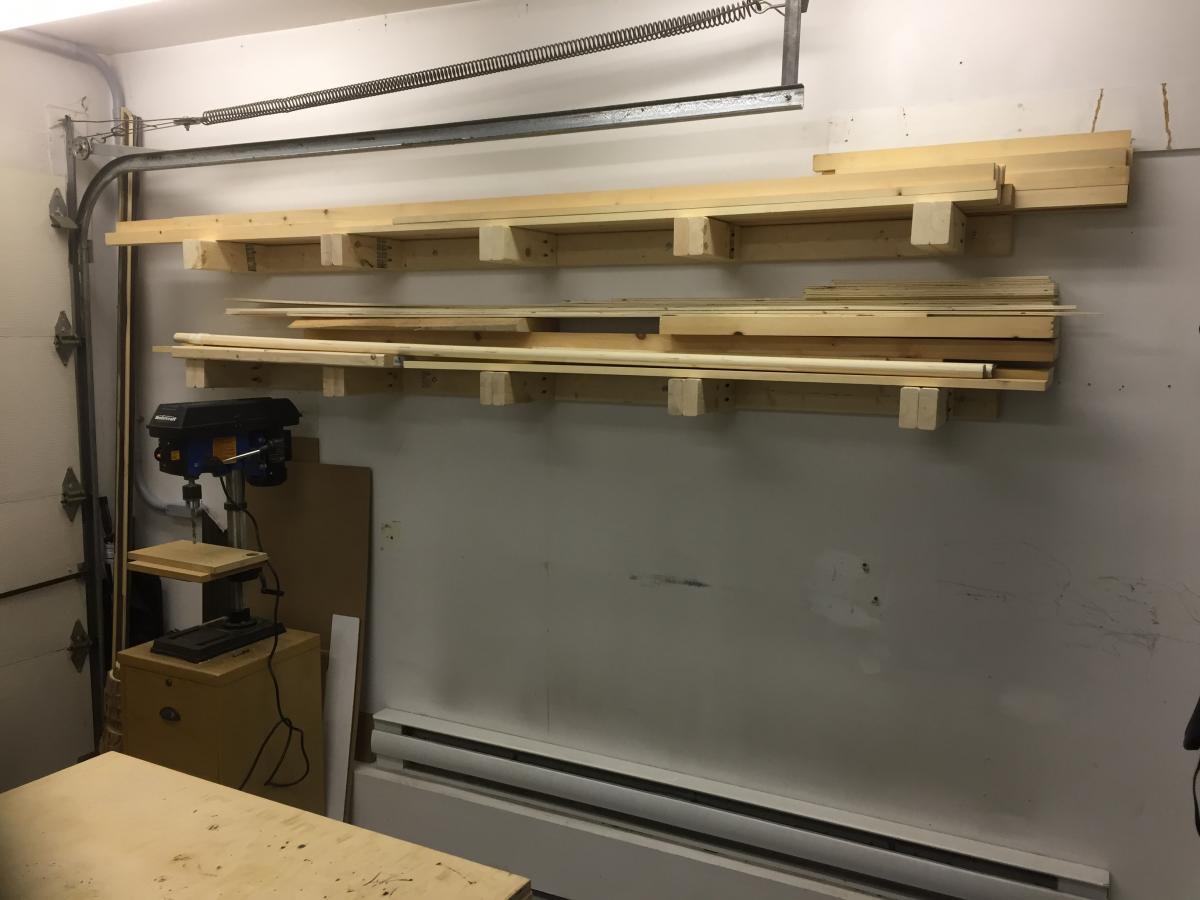
We built this lumber rack for about 20$ of 2x4s. It was an easy build and uncluttered our garage.
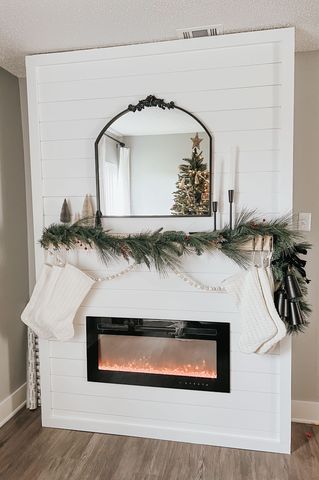
"I still can’t believe my mom and I built this beautiful fireplace.” - Megan Shaffer on Instagram
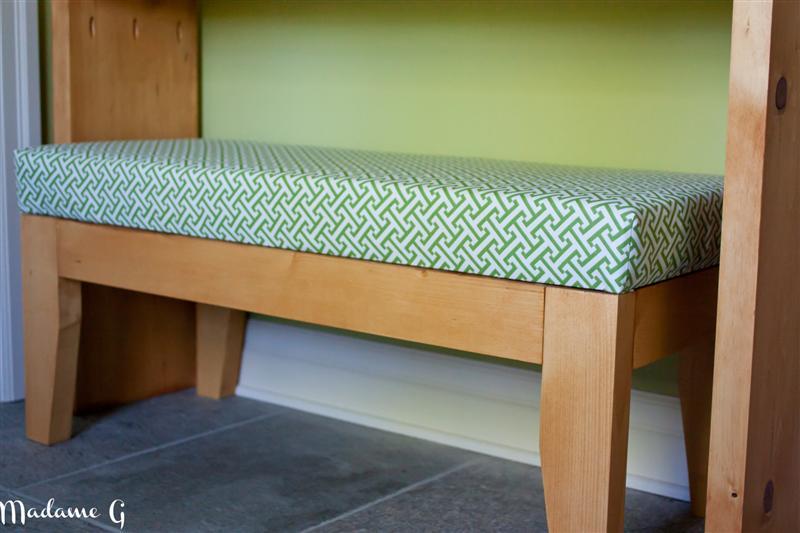
This is my second build and i really like it. I used pine and Waverly Cross Section Green to cover the foam. The plan is realy easy to follow and i used killer B method for the upholstery part. http://ana-white.com/2011/03/upholstered-bench. With two kiddos, it took me a couple of weeks to finish it but its a day project if your have more time than me! The only problem i had was to find high density foam. I finally find it at an upholstery shop but it cost me more for the foam then for the rest of the project. I used varathan oil base stain in light wallnut. I will finish it with a coat of vanish soon. Sorry for my bad english, my first language is french! Genevieve alias MadameG
Wed, 06/06/2012 - 09:32
Genevieve, I always enjoy your posts. Your English is good - better than some people who grew up speaking it here in the US!
I have a daughter named Genevieve. Her father thought Genevieve Bujold was beautiful and wanted to name his little girl for her.
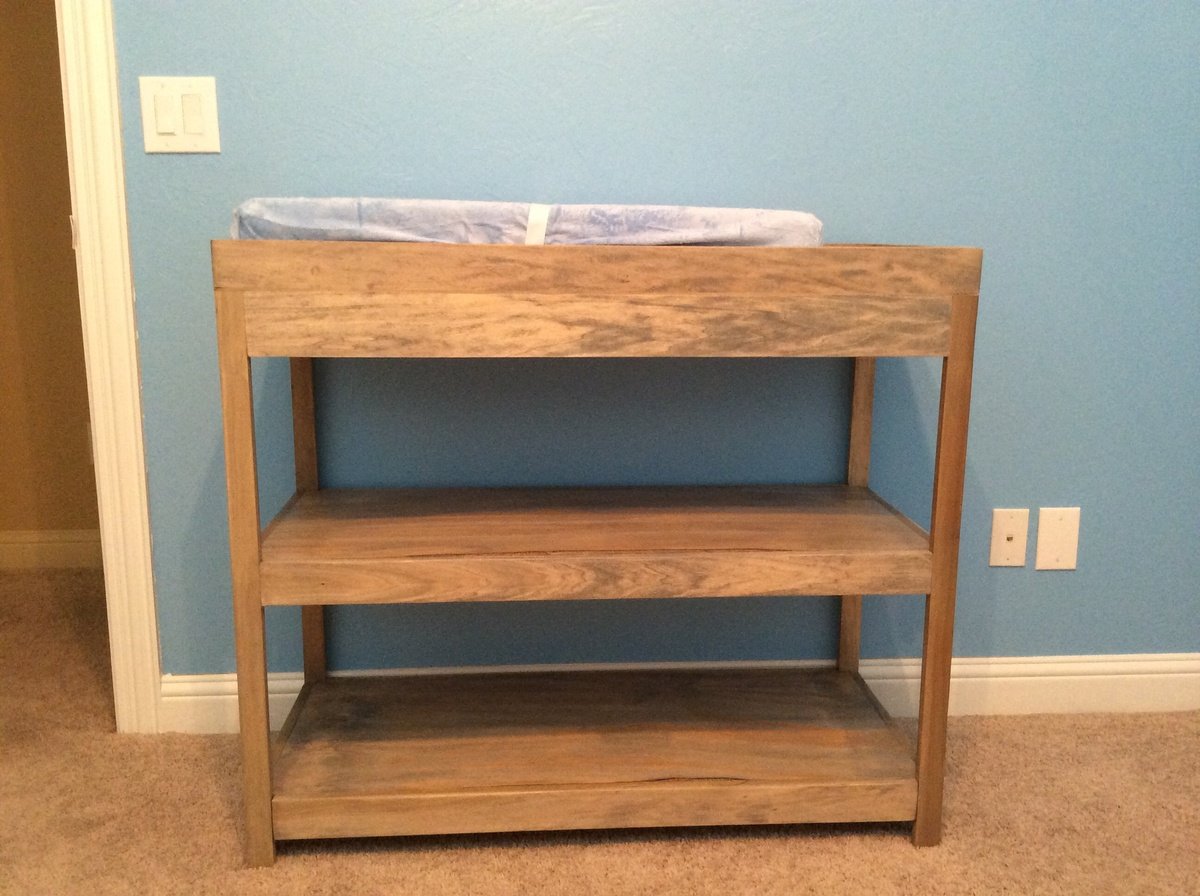
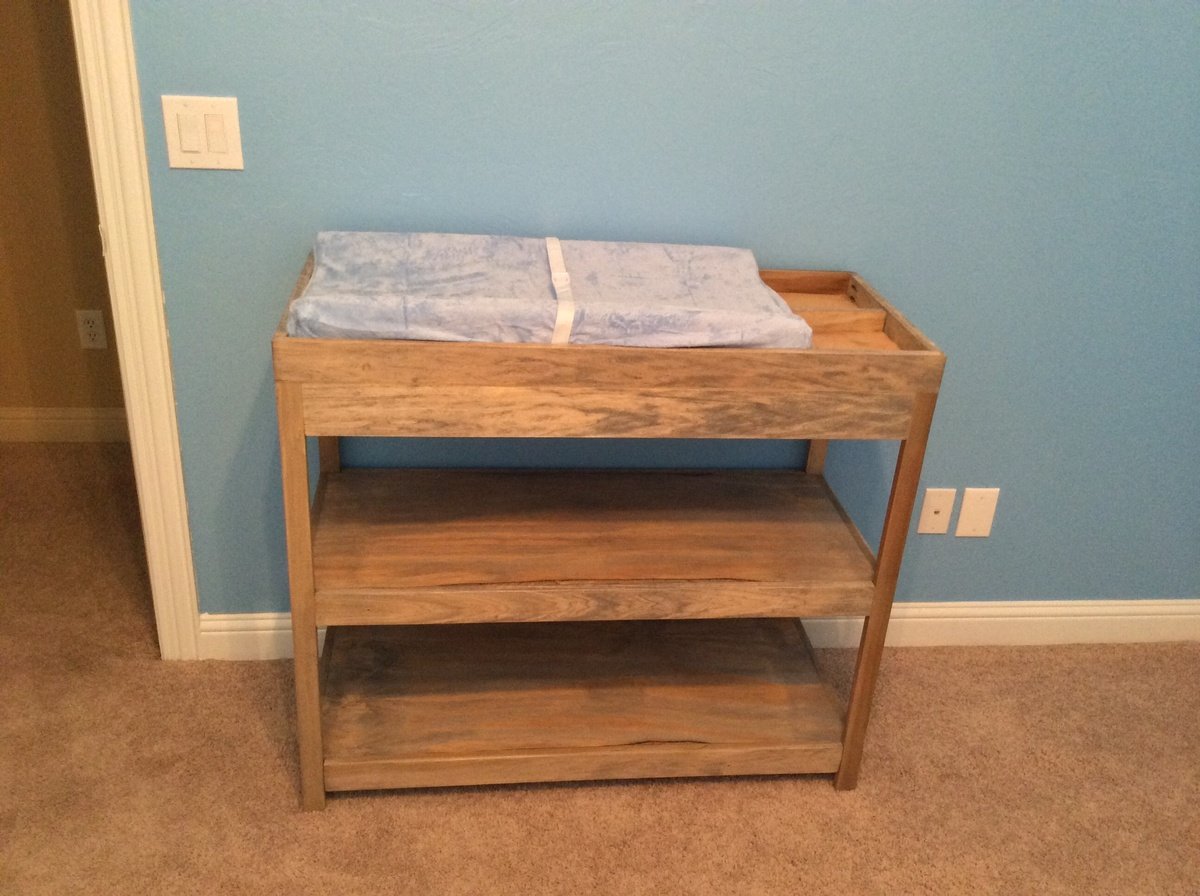
This was my first project so I stuck mostly to the original plan. The only change I made was to make the width 16 1/2 instead of 15 1/2 to fit the pad. I was going for a driftwood finish to match the crib we got.
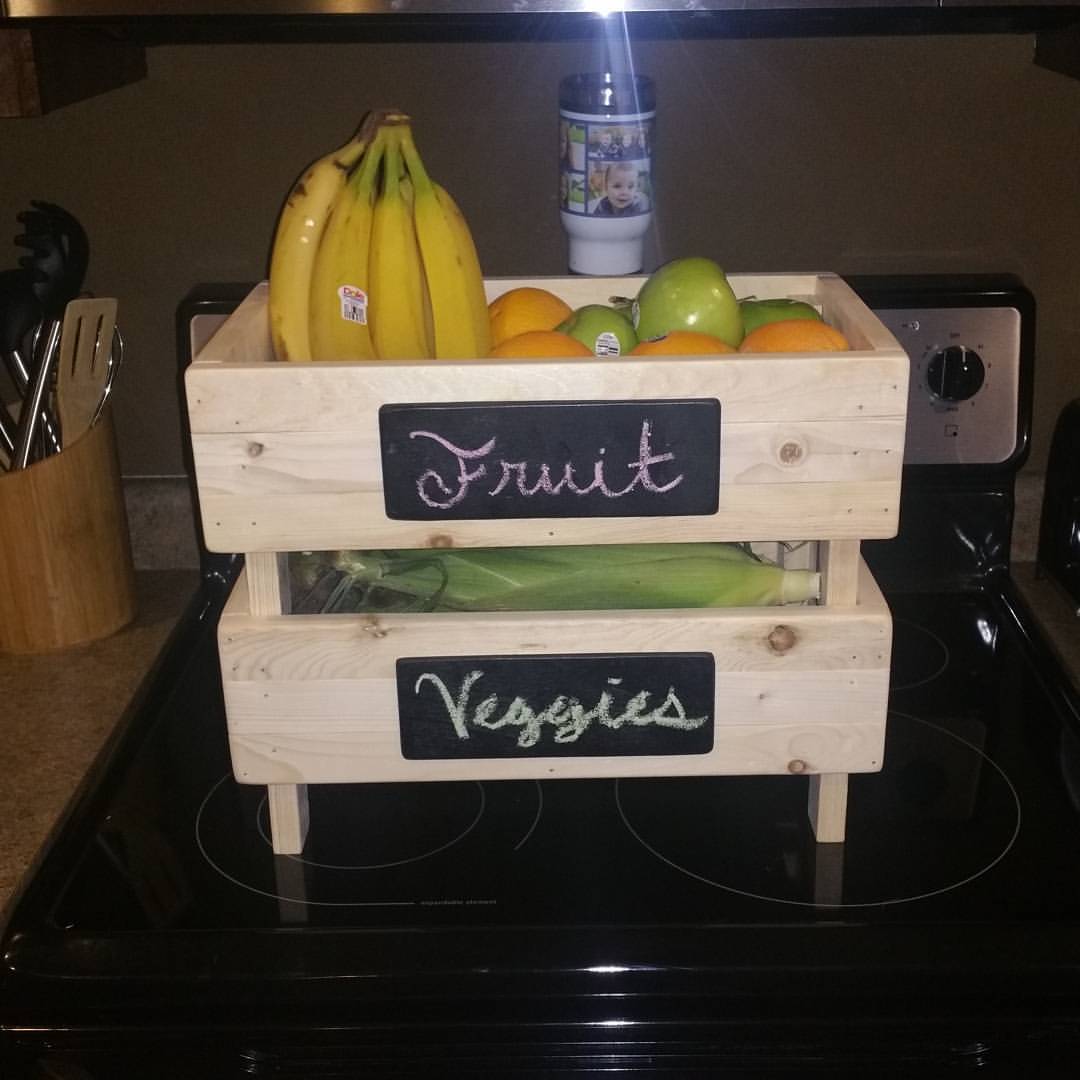
Love all of the projects on this website. I am just getting in to woodworking but am loving learning all of things that I can do with these wonderful plans. I used all 1x2s for my fruit and veggie crates since they didn't have what I was looking for here at my lowes. Kind of limited on lumber around these parts unless I drive an hour away. A good sanding and these crates came out great. Smooth and stylish!
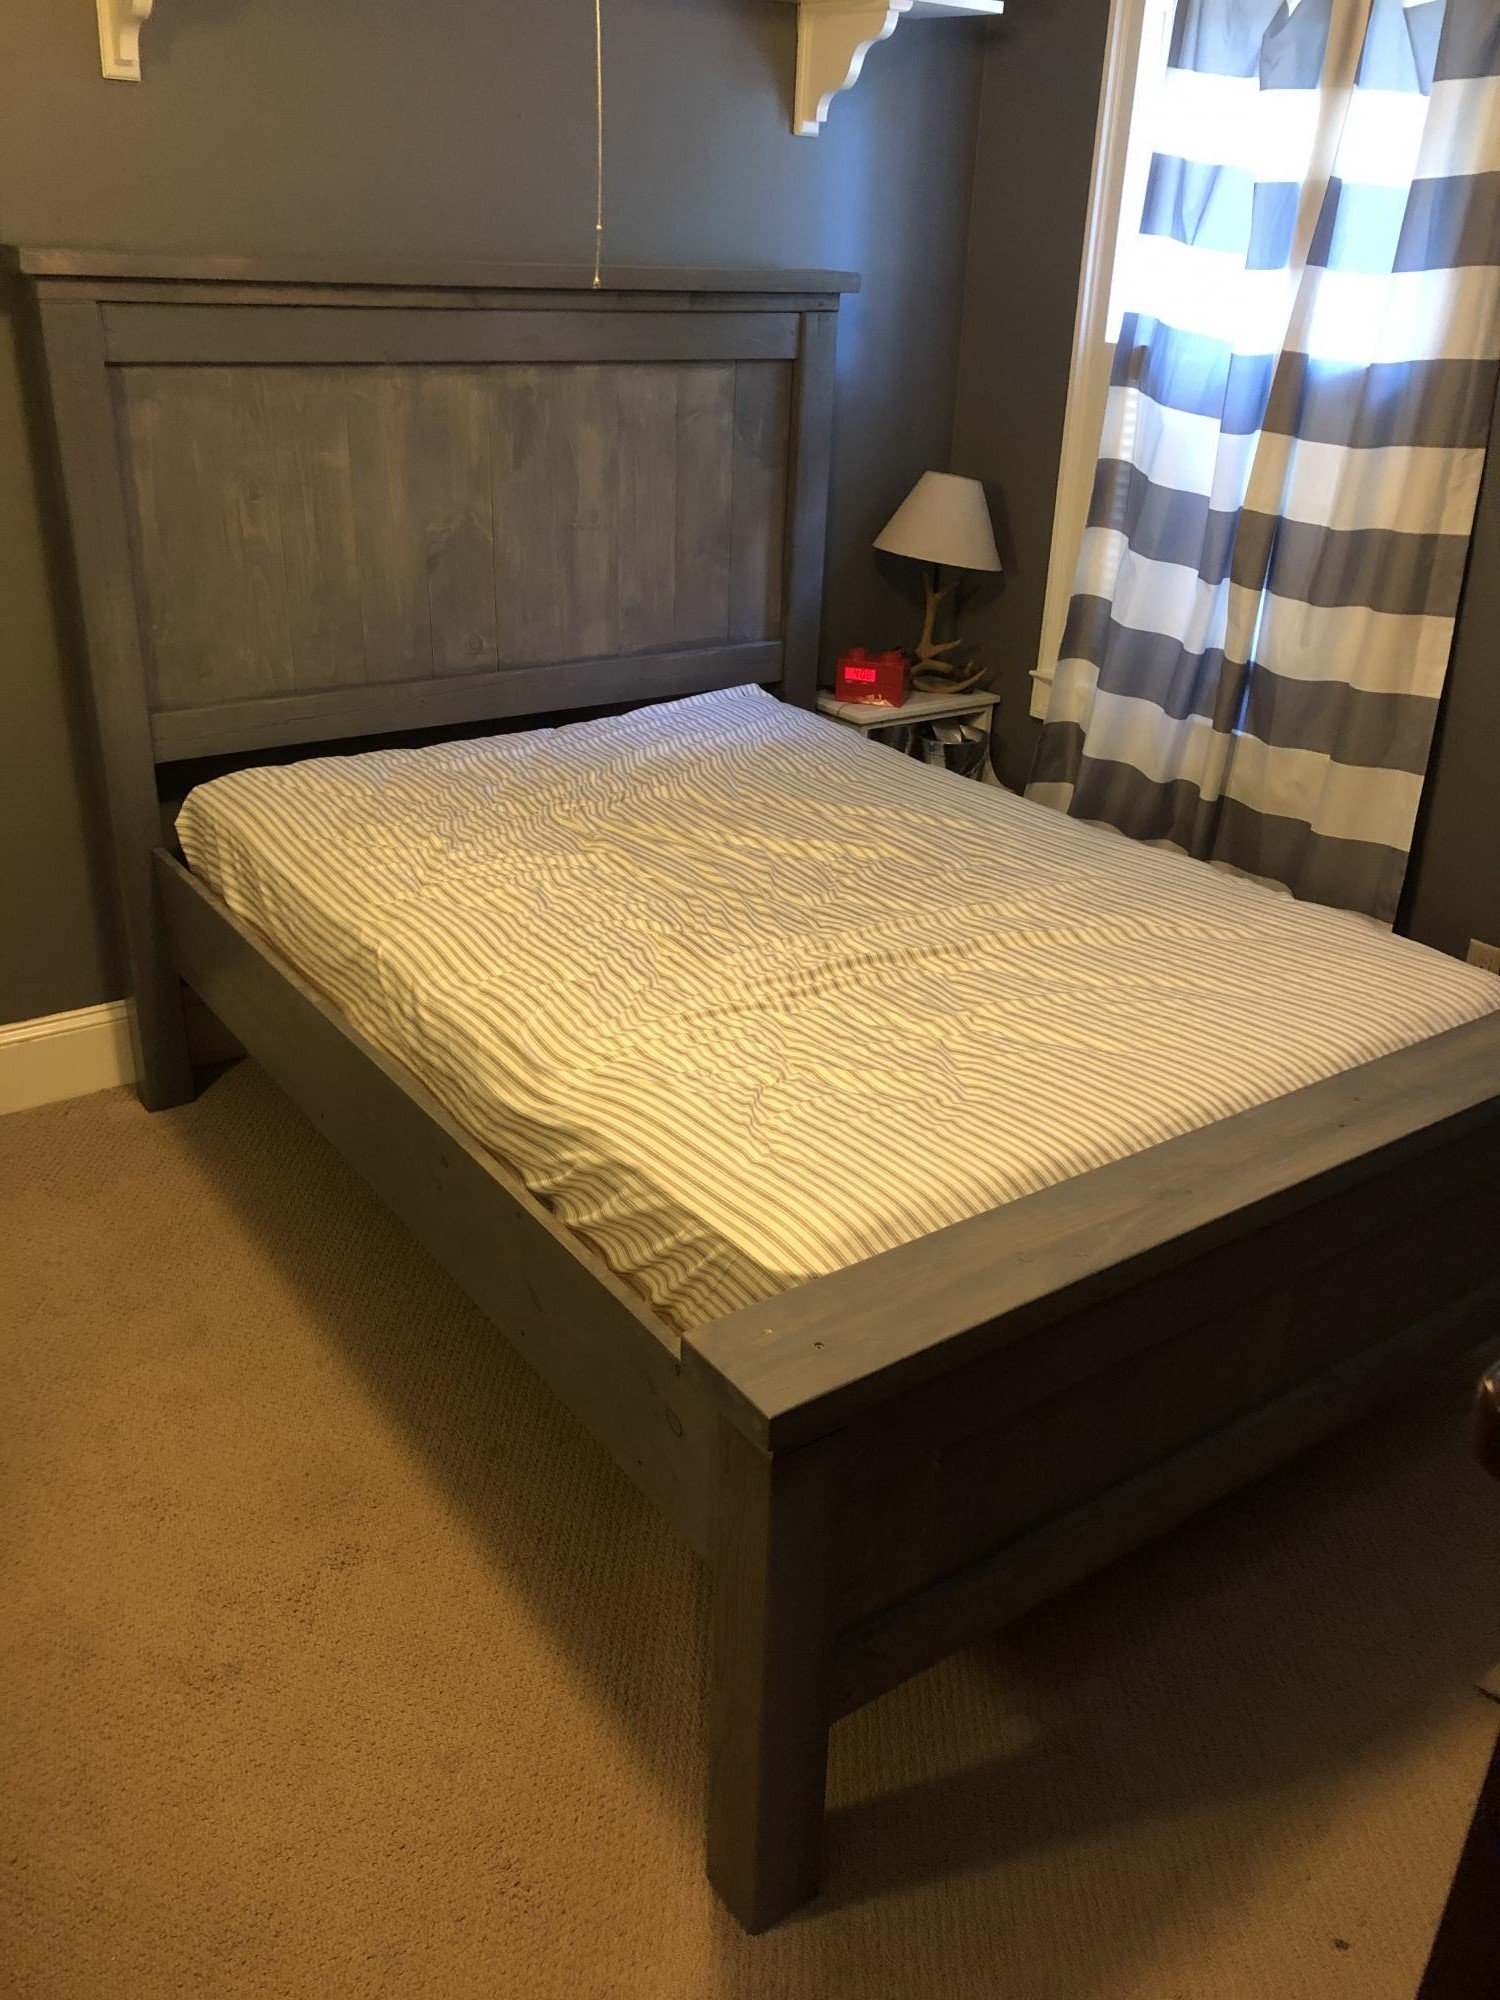
We built the full sized Farmhouse bed and stained it with gray stain. Are building a trundle to put under later this week. We added 3 inches to the height to be able to add the trundle.

Farmhouse side table by Home with Jules

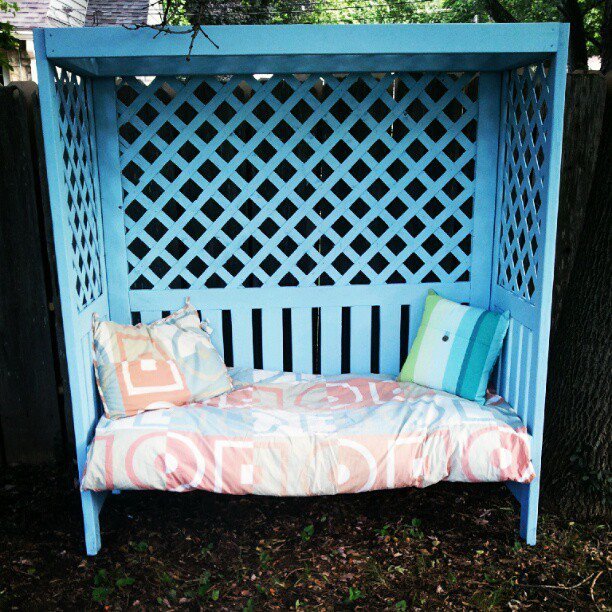
This was not built using one of Ana's plans. I have a book of 2X4 projects that my daughter gave me and actually got me started woodworking. This beauty was one of the projects. It was easy to build and easy to put together but not easy to paint. The lattice was the cheapest she could buy and was "furry". I tried sanding which took forever but it was still a mess to paint. I am including the link to the plans: http://woodtools.nov.ru/projects2/WoodPlan/lattice-bower.pdf
If you build this be sure and sand and paint before putting together-it's so much easier.
It looks amazing in her backyard and she is loving it.