Community Brag Posts

Farmhouse Stair Railing

Submitted by Anonymous (not verified) on Wed, 01/03/2024 - 08:44

We built our house 5 years ago and I’ve disliked our stairs since then. They were never finished and were big and bulky compared to the rest of the house. These plans were the perfect fit. We switched the top 2x4 for an actual handrail, purchased from a big box store. We used pocket holes to install it and I couldn’t be happier. It’s now my favorite thing in the house. We plan on adding a loft and will use these plans for the railing.

@livingsmallerintheholler


Wood planter with trellis

Submitted by jwright on Mon, 07/02/2012 - 11:07

This is a quick and easy cheap build. I priced planters this size at the store and they were about $75 with a trellis. I built this one for under $20. Thanks Ana!

Estimated Time Investment
An Hour or Two (0-2 Hours)
Finish Used
Stained with some leftover stain I had in the garage
Recommended Skill Level
Starter Project

Wood Work Table (based on iCoffee Table)

Submitted by zduchene on Fri, 04/18/2014 - 13:11

We have some large open spaces at our office and are converting them into workspace areas. We needed some large tables that would accommodate four people but we did not want to spend thousands of dollars on furniture. We needed something that would be useful and inexpensive to build. I started poking around on the web and found the iCoffee Table from the “A Touch of Arkansas” blog. I loved the design and I thought with a little bit of tweaking I could make it work for us…and it did!

Estimated Cost
200
Estimated Time Investment
Day Project (6-9 Hours)
Finish Used
Varathane Kona
Recommended Skill Level
Intermediate

Grandy Console/Couch Table

Submitted by Anonymous (not verified) on Mon, 07/18/2016 - 05:15

Thank you for the plans!

I used the following for the wheels,  they are AMAZING and dont require you to tear apart any pulleys. These wheels have bearings in them too,  which make them slide super quiet and smooth!

http://www.homedepot.com/p/Barton-Kramer-1-1-2-in-Precision-Bearing-Stainless-Steel-Wheel-2-Pack-43/205649620


Tony S.


Estimated Time Investment
Week Long Project (20 Hours or More)
Finish Used
Early American
Recommended Skill Level
Intermediate

Comments

Codding58

Tue, 07/19/2016 - 12:49

Wow, you did a great job on this project!   I really like the finishes that you used, they contrast very well!   I have been eyeballing this build for some time now, I think I'll give it a shot!

Our garden enclosure!

We decided that we wanted a raised garden and found the plans here on Ana's site that we really liked. The plans were really easy to follow and it only took about a day and half for our kids and myself to build for my wife. Only issue I had was the door... that is getting it square but I figured it our later after looking at it long enough. The two 2 x 4's the door sits in between were not level. So I have got to adjust them and the door in the coming days to correct it. Other than that we absolutely love it! Thank you for providing the plans to all these projects. This is the second thing that I have made from this site. I will be making another post later on regarding the other project! I might add I have never done anything like this ever and honestly I think it turned out great :-)

Built from Plan(s)
Estimated Cost
$250
Estimated Time Investment
Day Project (6-9 Hours)
Recommended Skill Level
Intermediate

DIY Linen Cabinet

Submitted by Anonymous (not verified) on Mon, 01/08/2024 - 10:07

My husband and I built the Hemnes Linen Cabinet for our daughter and it turned out beautifully! Thanks for the plan, Ana.

Cheryl

Built from Plan(s)

Comments

Craftsman Style/Farmhouse Table Hybrid

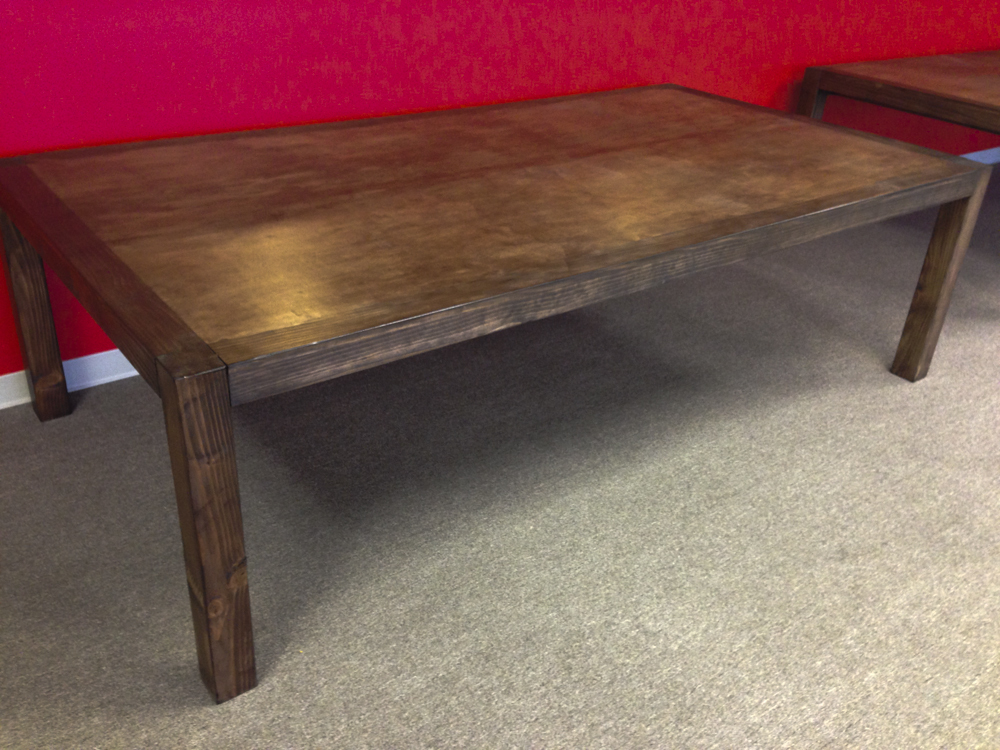
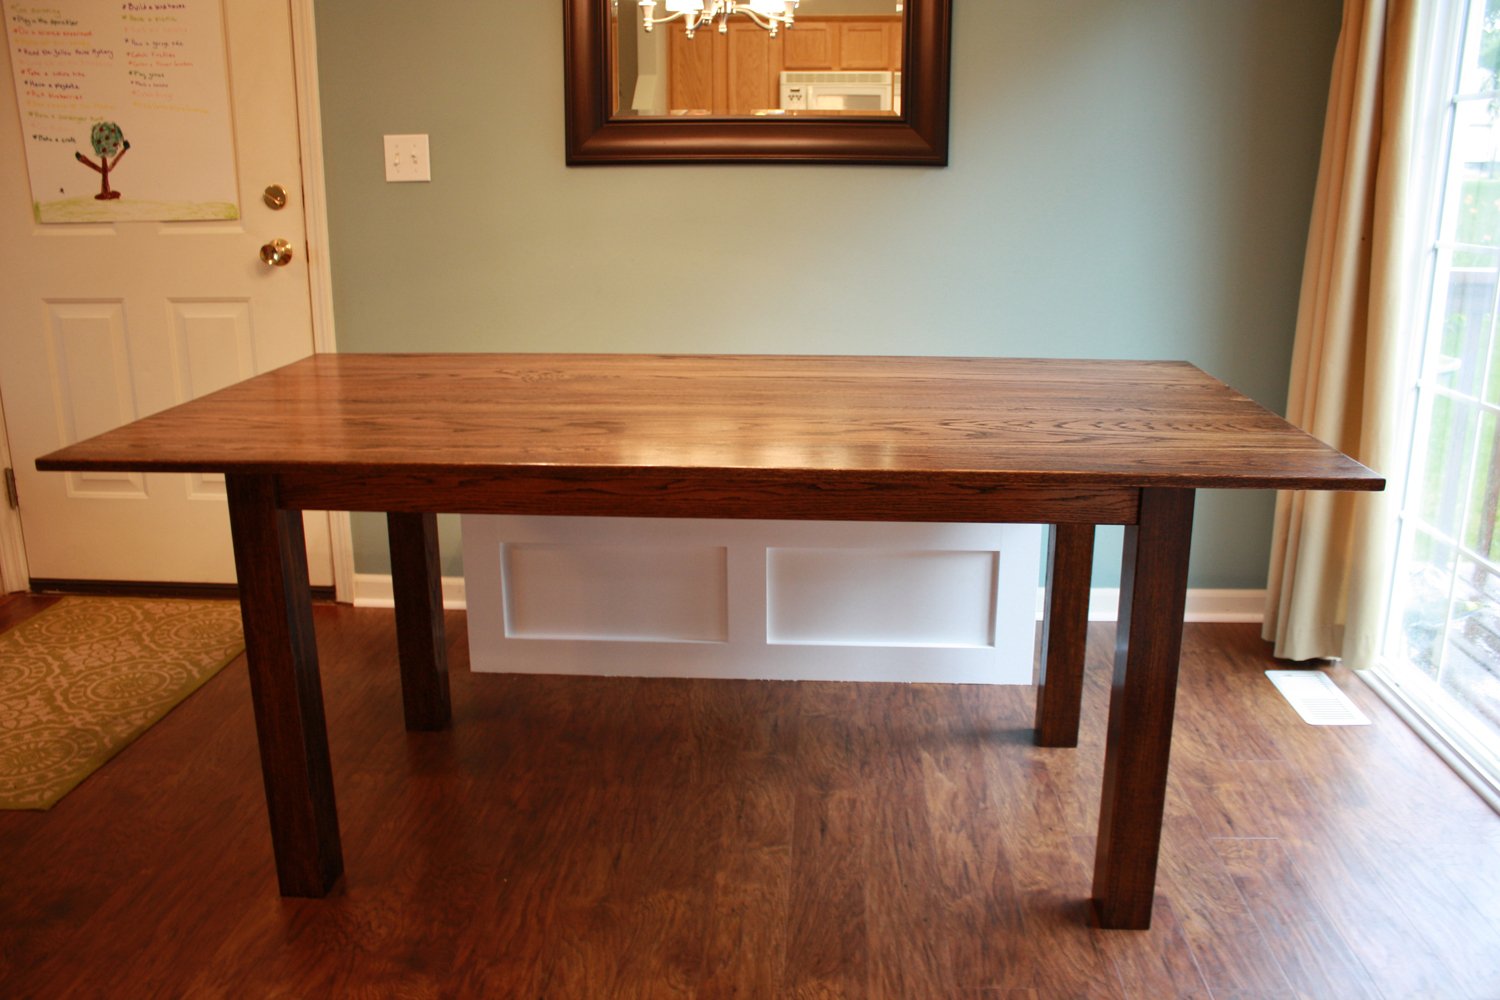
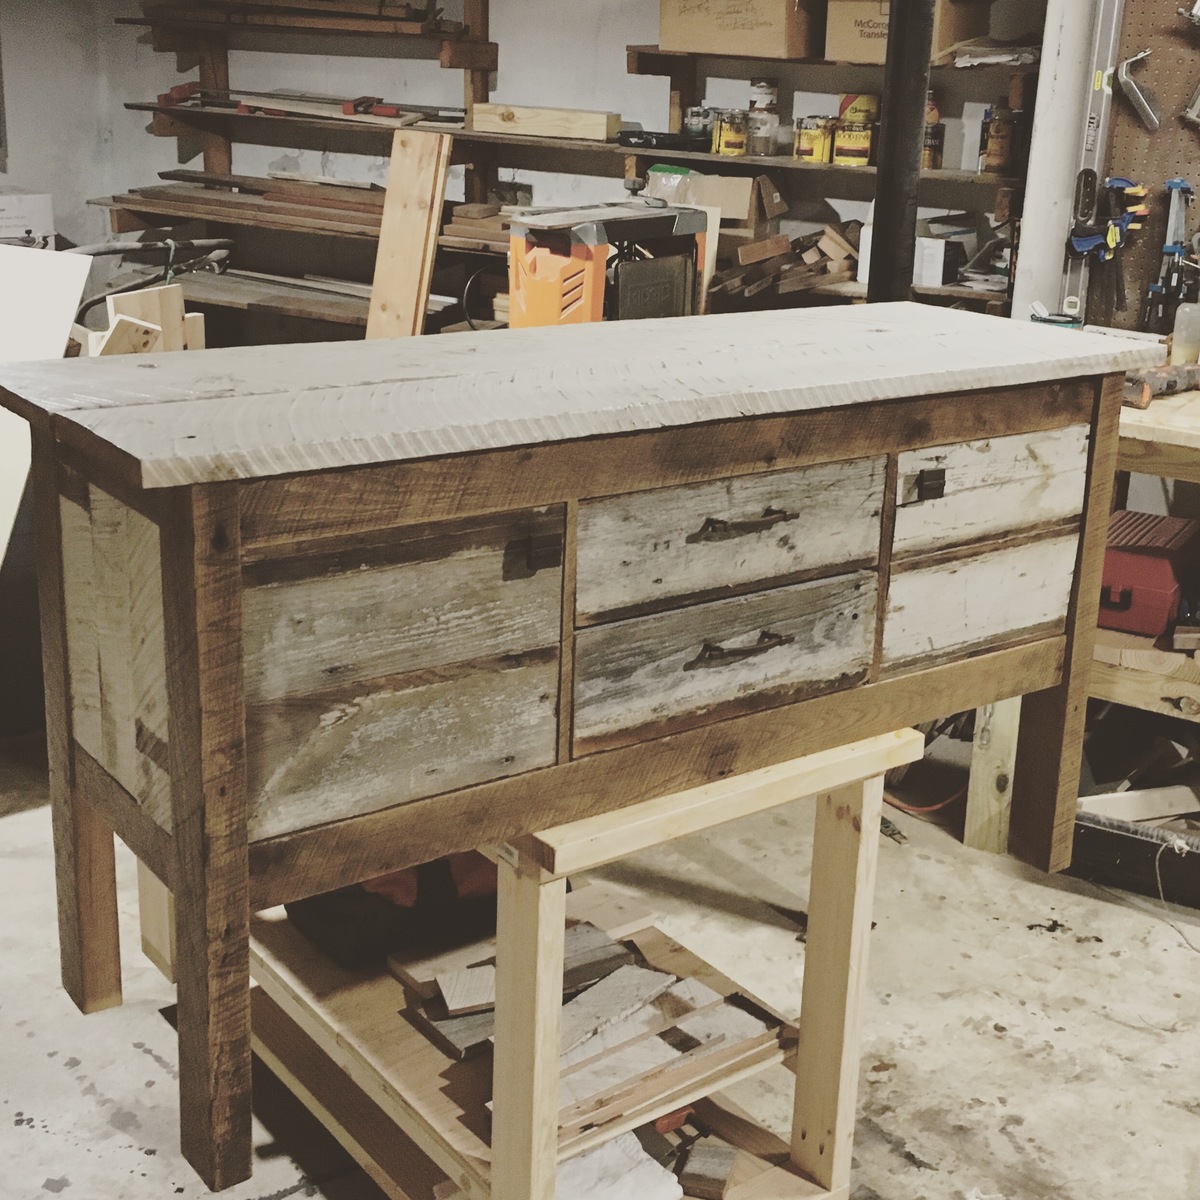
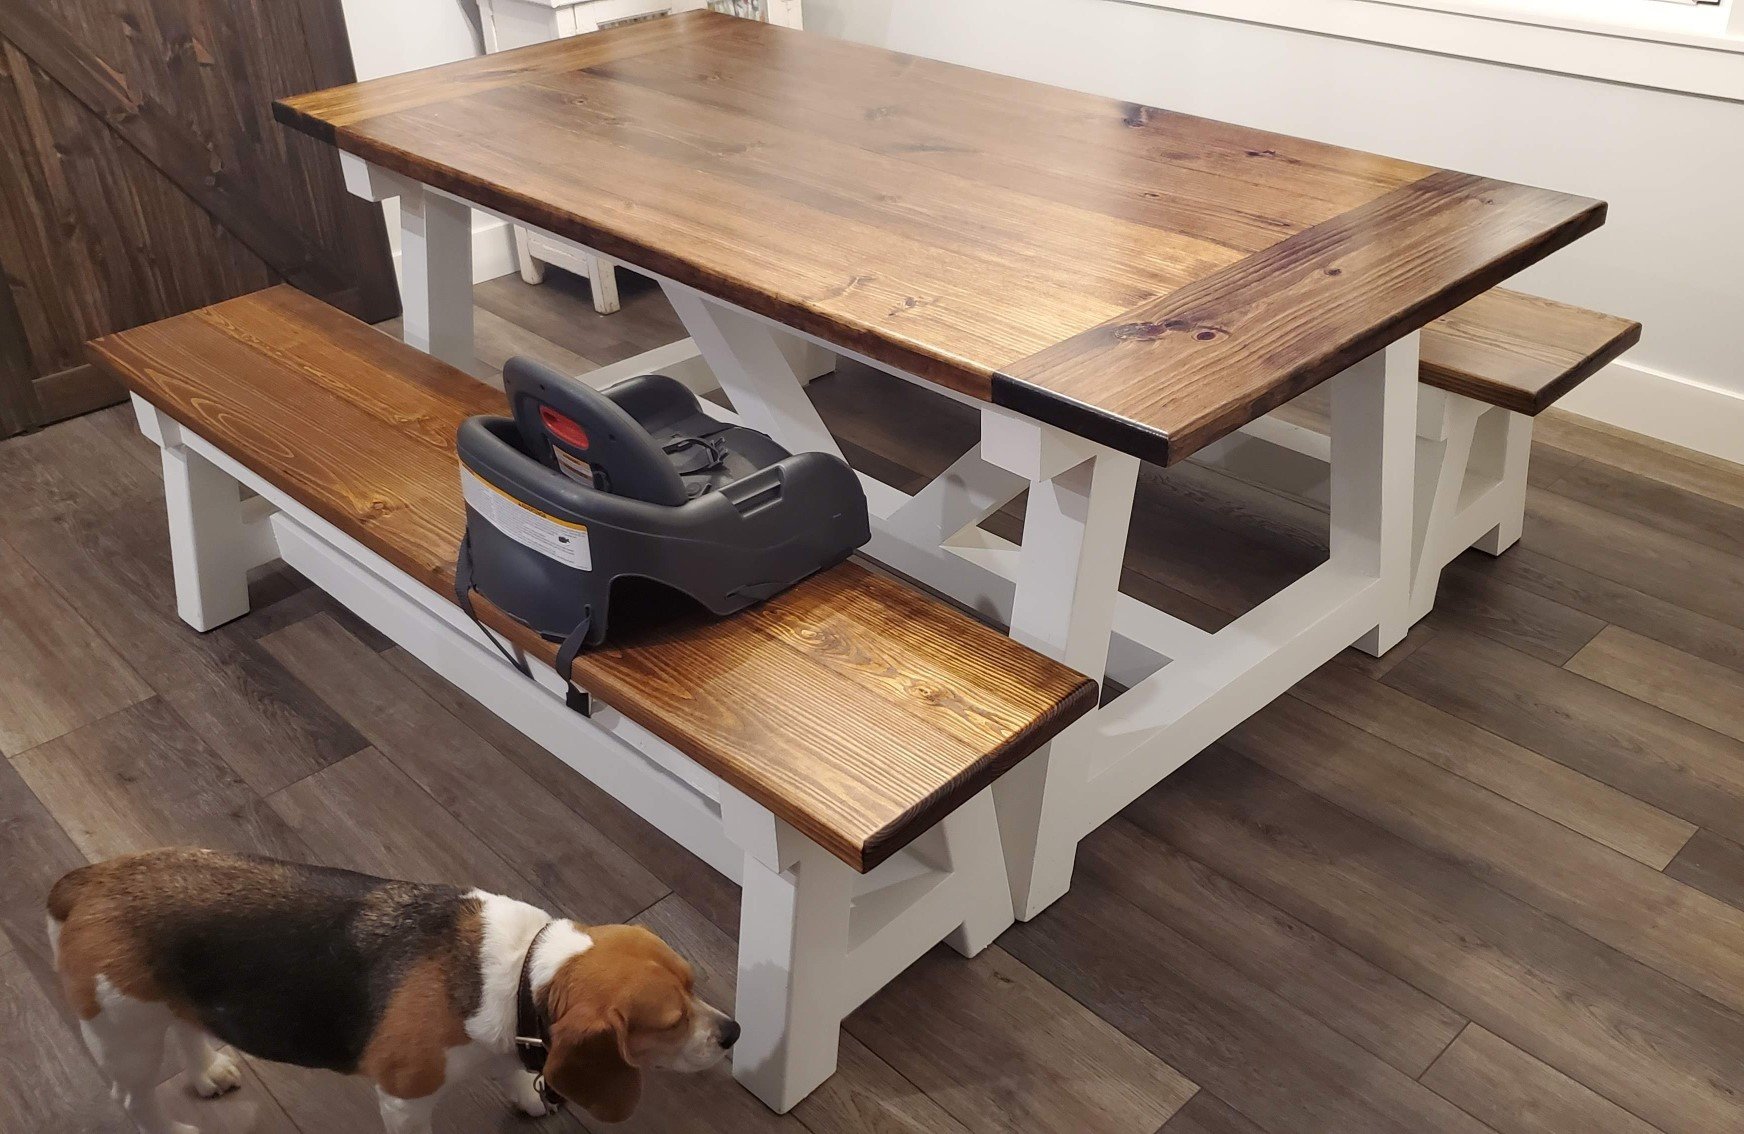
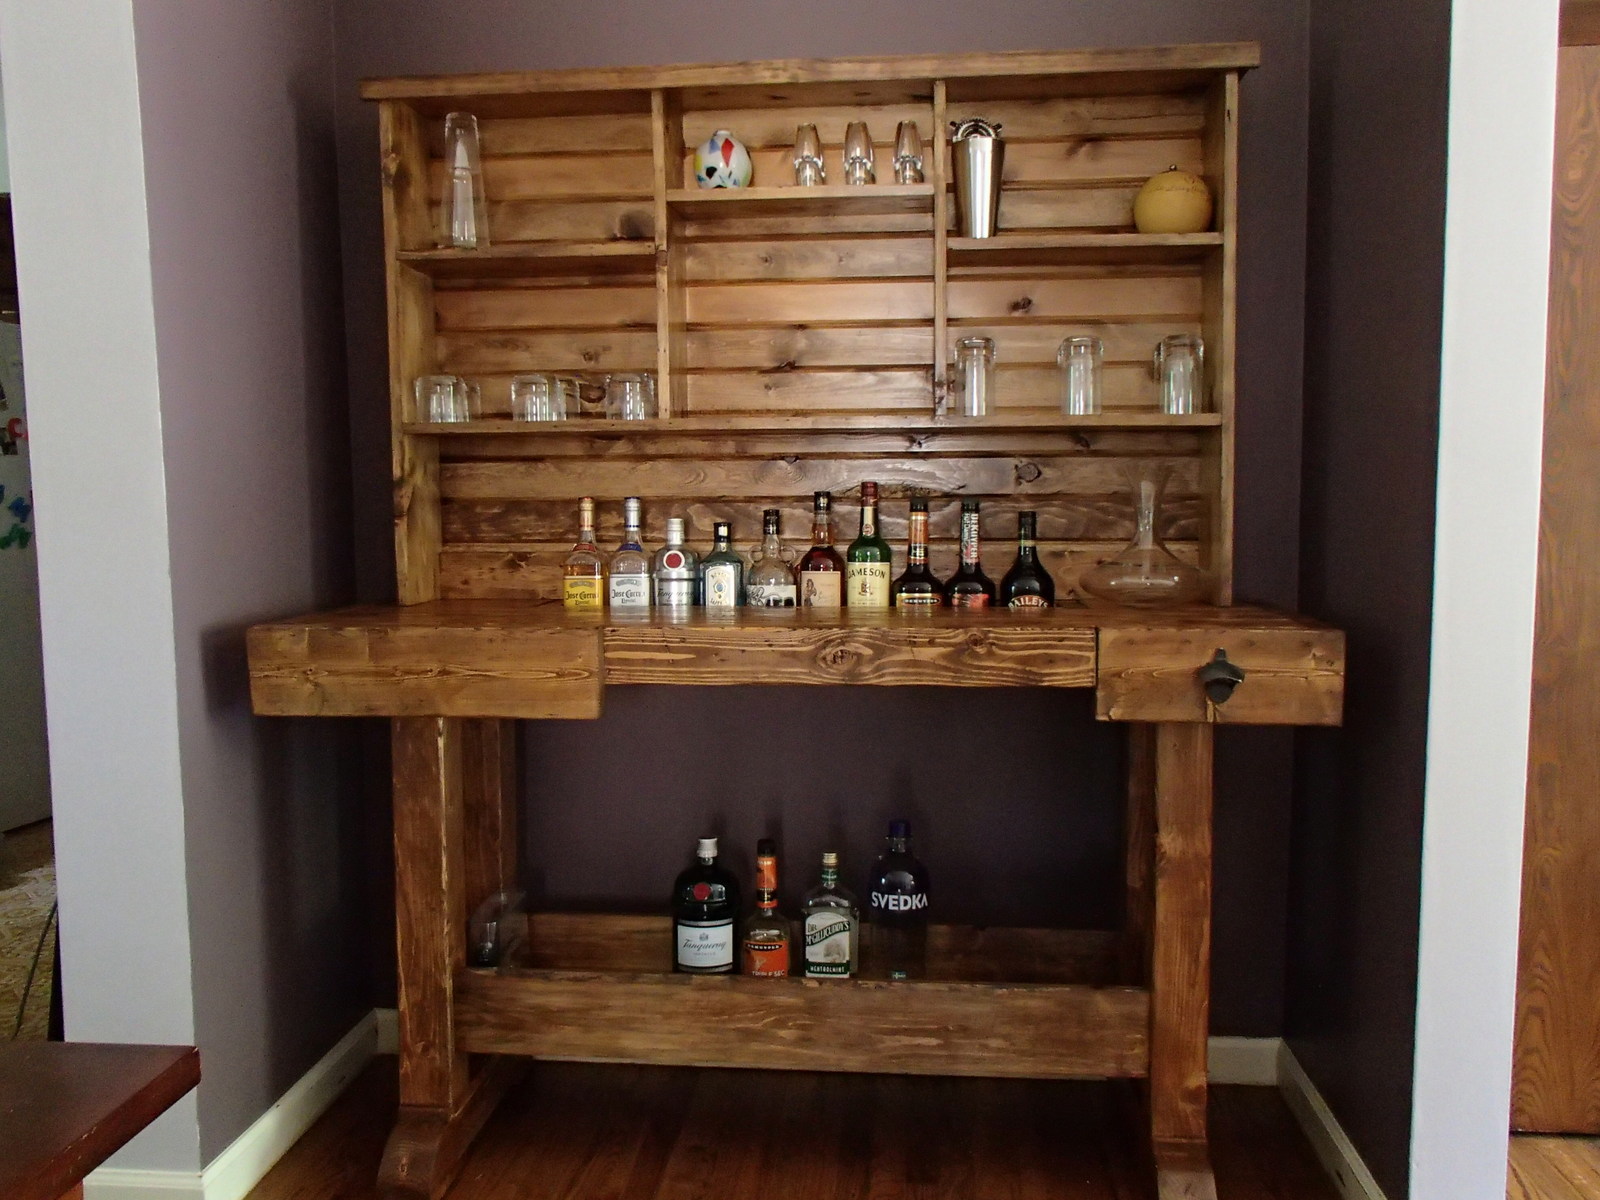
A few months ago we decided to build ourselves a new table based on the Farmhouse Table plans. We knew we wanted to make the table out of some red oak that I had gotten for free, so we would deviate from the plans a bit. Long story short, I deviated from the plans _quite_ a bit. We had planned to make the table essentially with free materials, but that changed when I spent several days squaring up the rough stock I had been given. I also joined a crowned plank in the center of the table-top...big mistake. After glueing, screwing, and sanding, I realized there would be no way to get the crown out of the top. So...the first table-top became the bench cover and the other half is going to be used for a computer desk in another room. After a trip to the local lumber yard, I had about $220 worth of red oak: 4 1x4x14ft planks for the legs and 7 1x6x6ft planks for the table top.

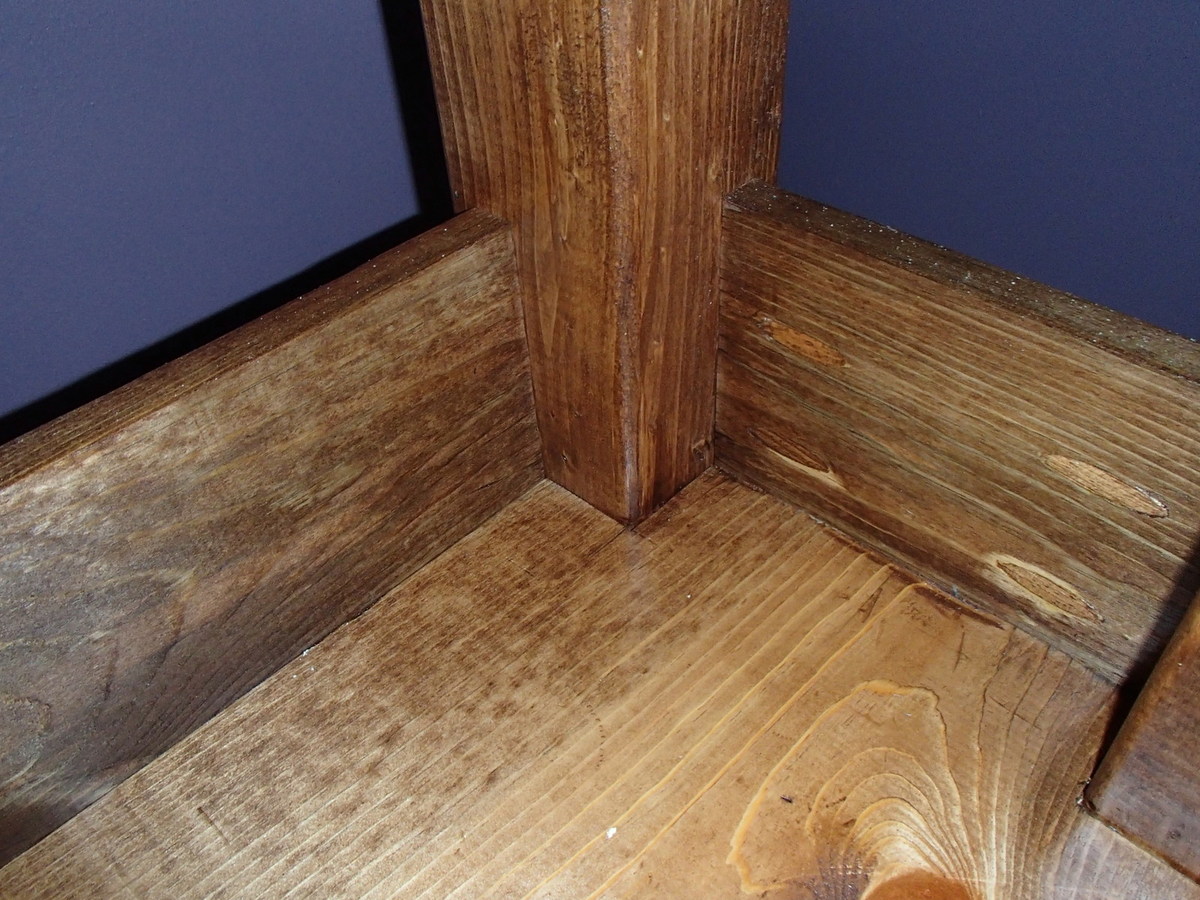
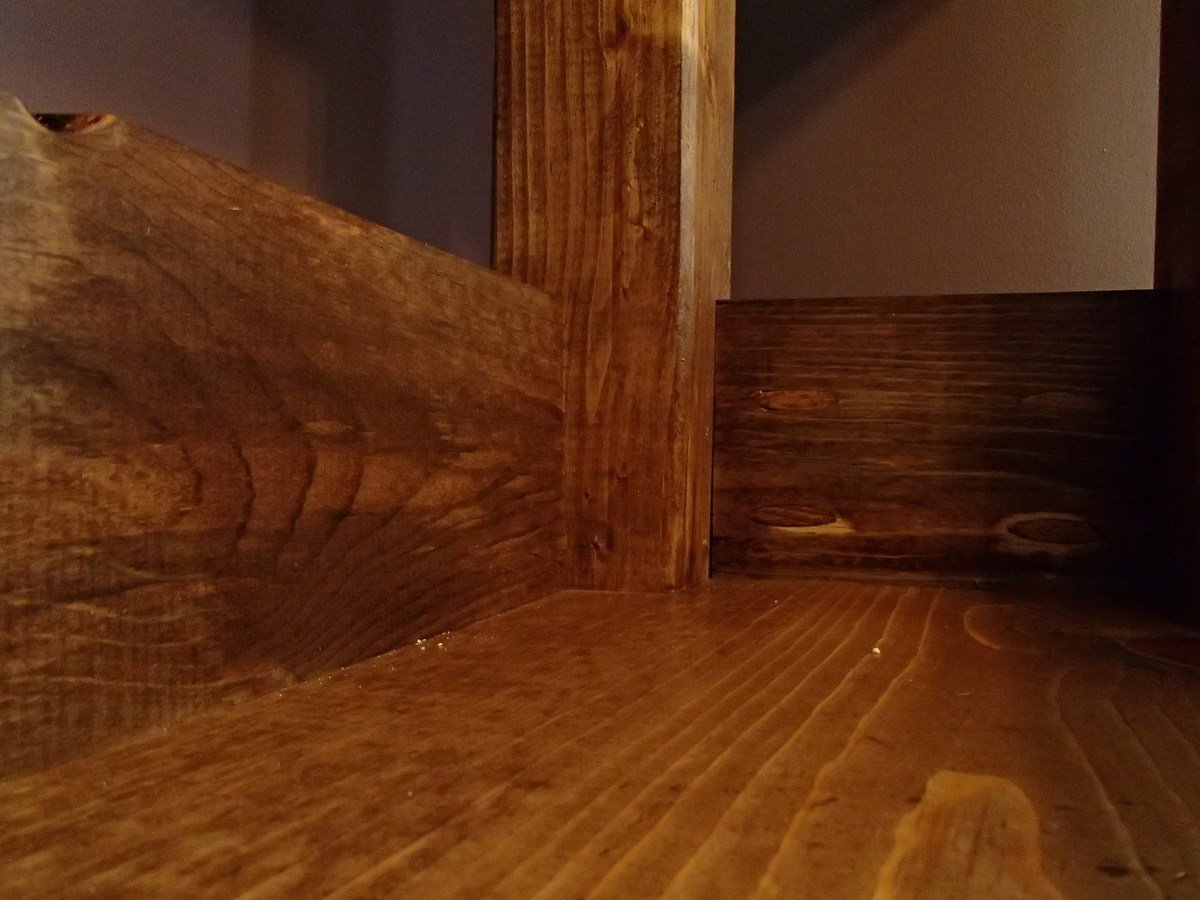
I began by cutting the 14 ft. 1x4's to length and then joining them with lots of glue and clamps to form the legs. Next I set up the table saw to notch out the tops of the legs to receive the box. I prefer this method over using a circular saw or jig-saw. Picked up my wood-chisel to clean things up and then sanded, scraped using a card scraper (I would highly recommend a scraper for the smooth finish and handcrafted feel the tool provides), applied two coats of stain, and finished with two coats of wipe on poly.

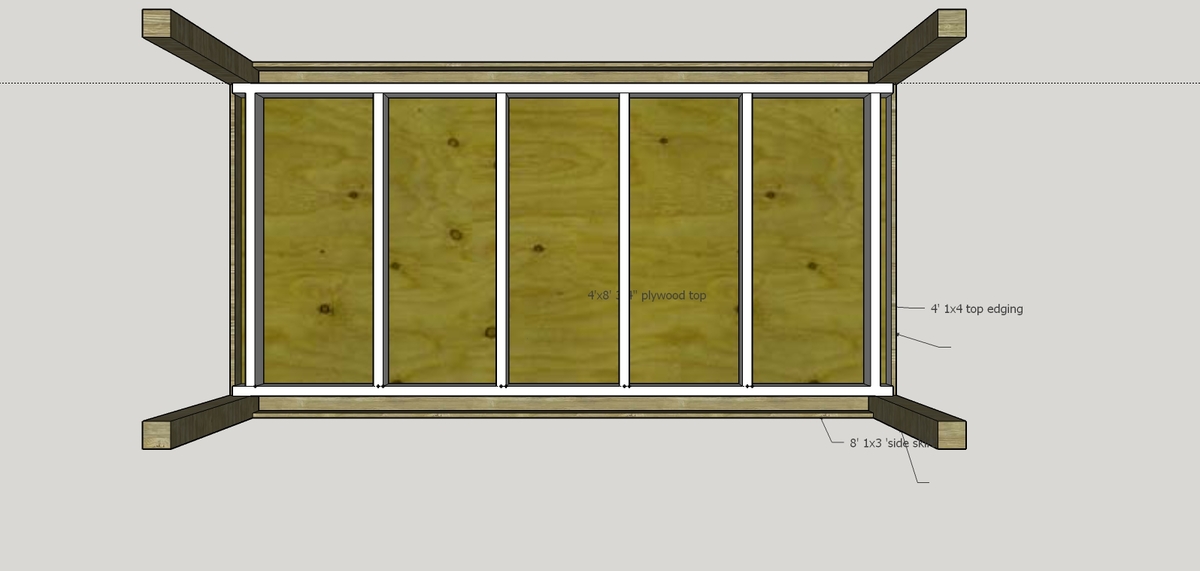
I followed Ana's plans to construct the 2x4 base, modifying it to fit the size of my table and the specific overhang I sought. I also simply used 2x4 scraps to span the width of the box, and then Kreg jigged them to the box and table-top for support.

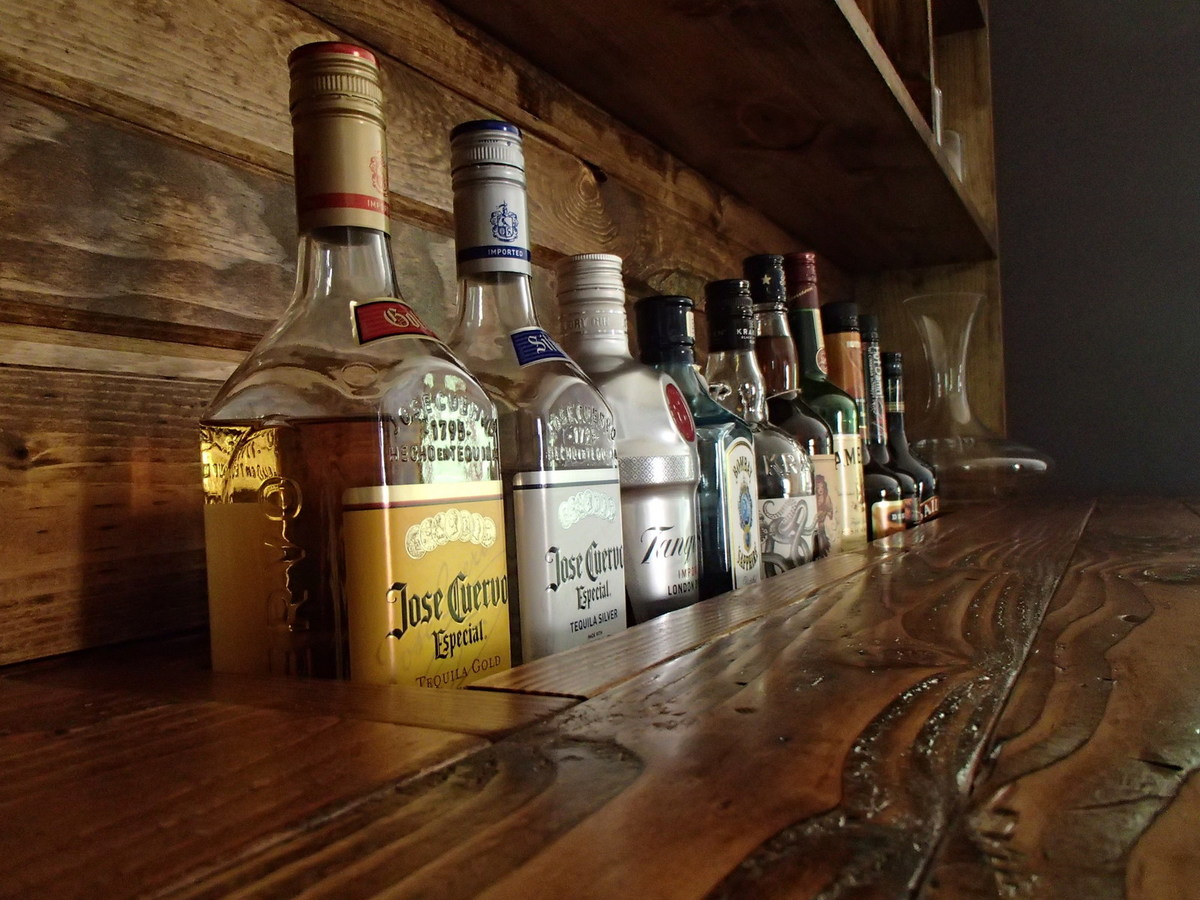
I joined the table-top planks using a Kreg Jig and glue. Lots of sanding and scraping again, and then I flipped the top, attached the box, and attached the legs. I used more of the 1x4's for the skirts to hide the 2x4 box.

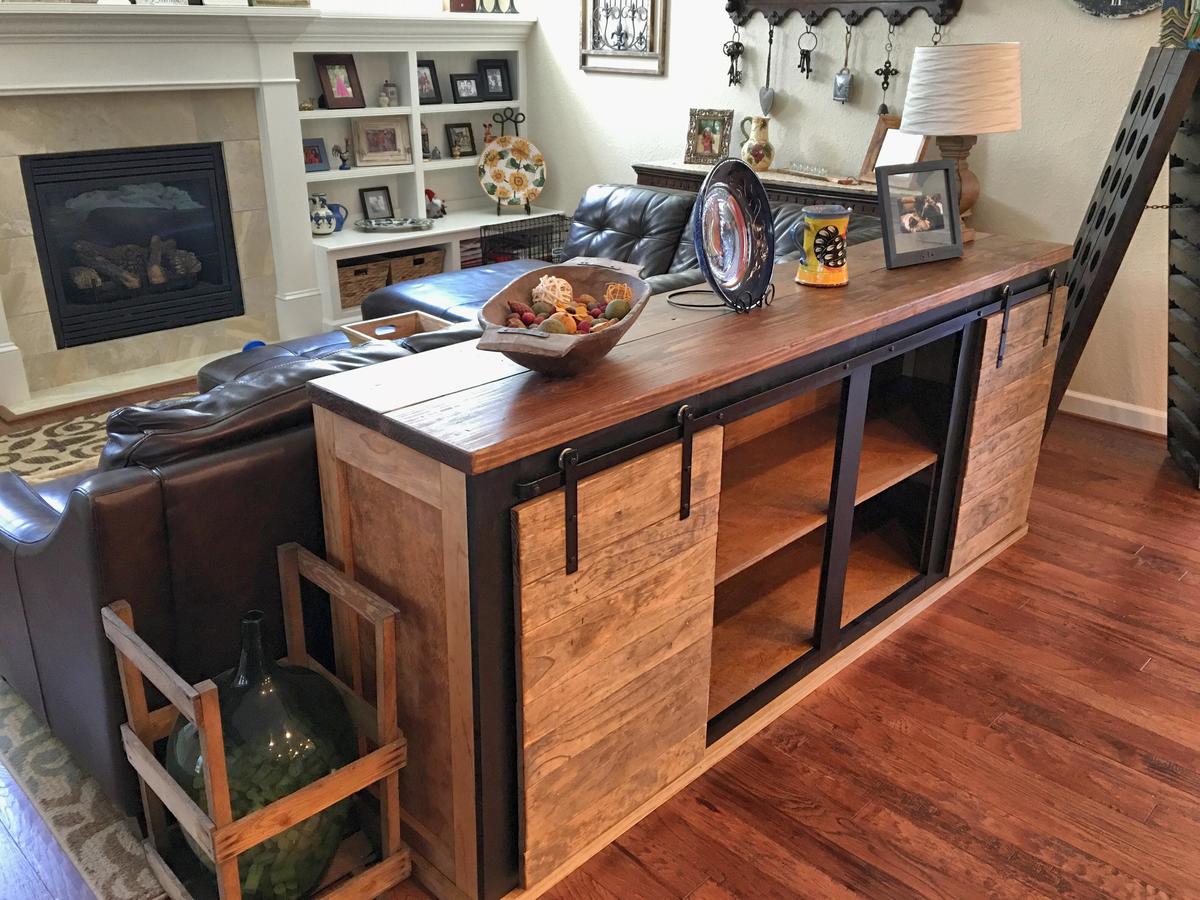
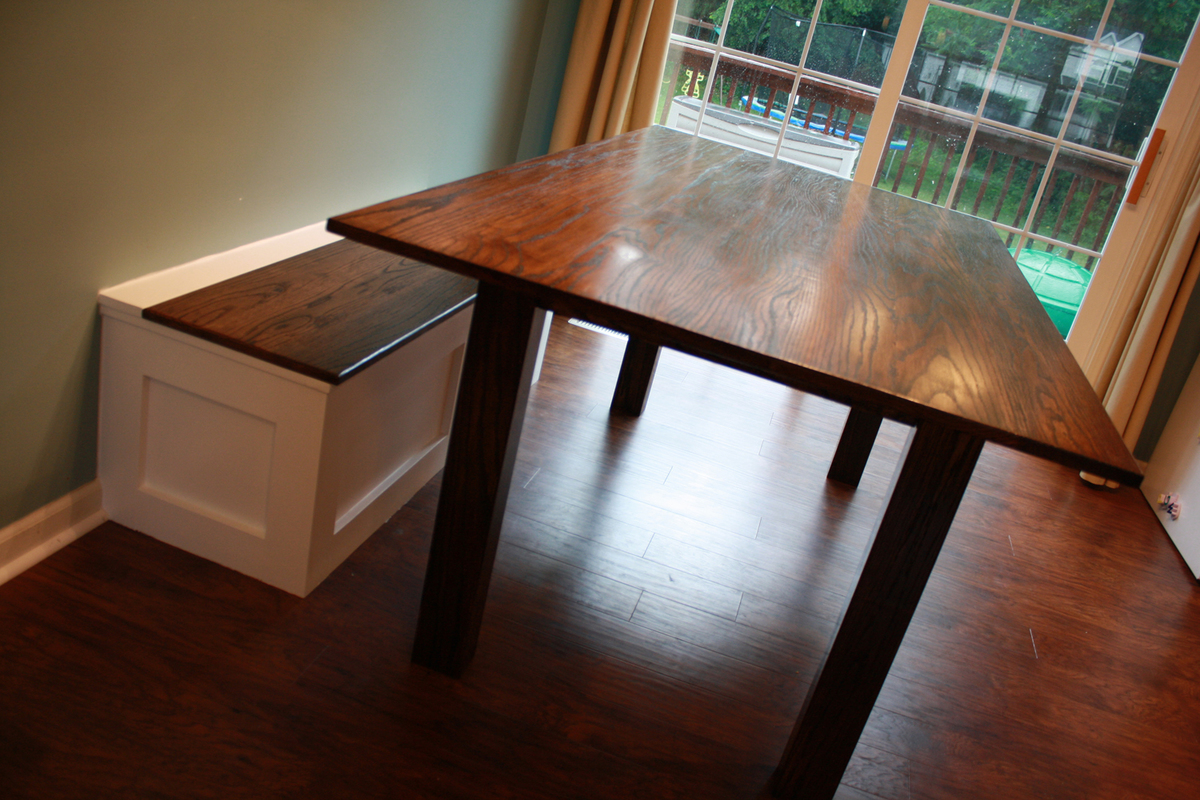
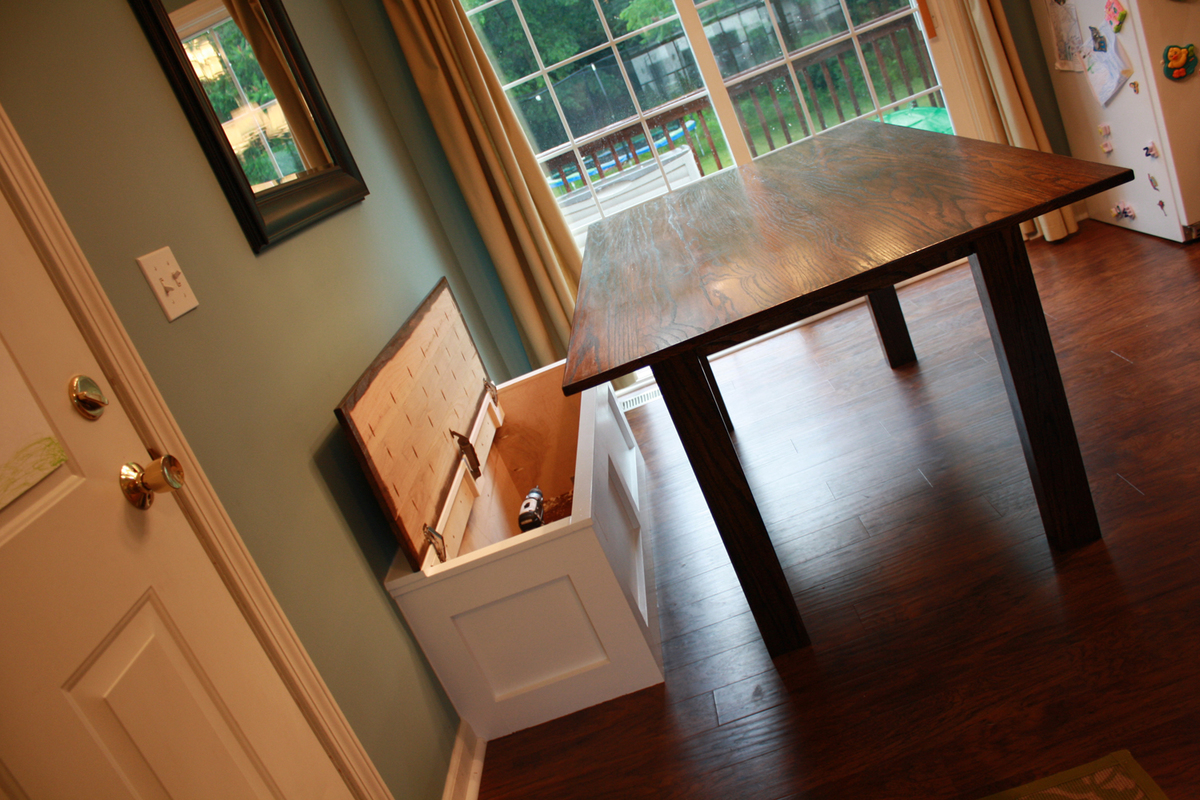
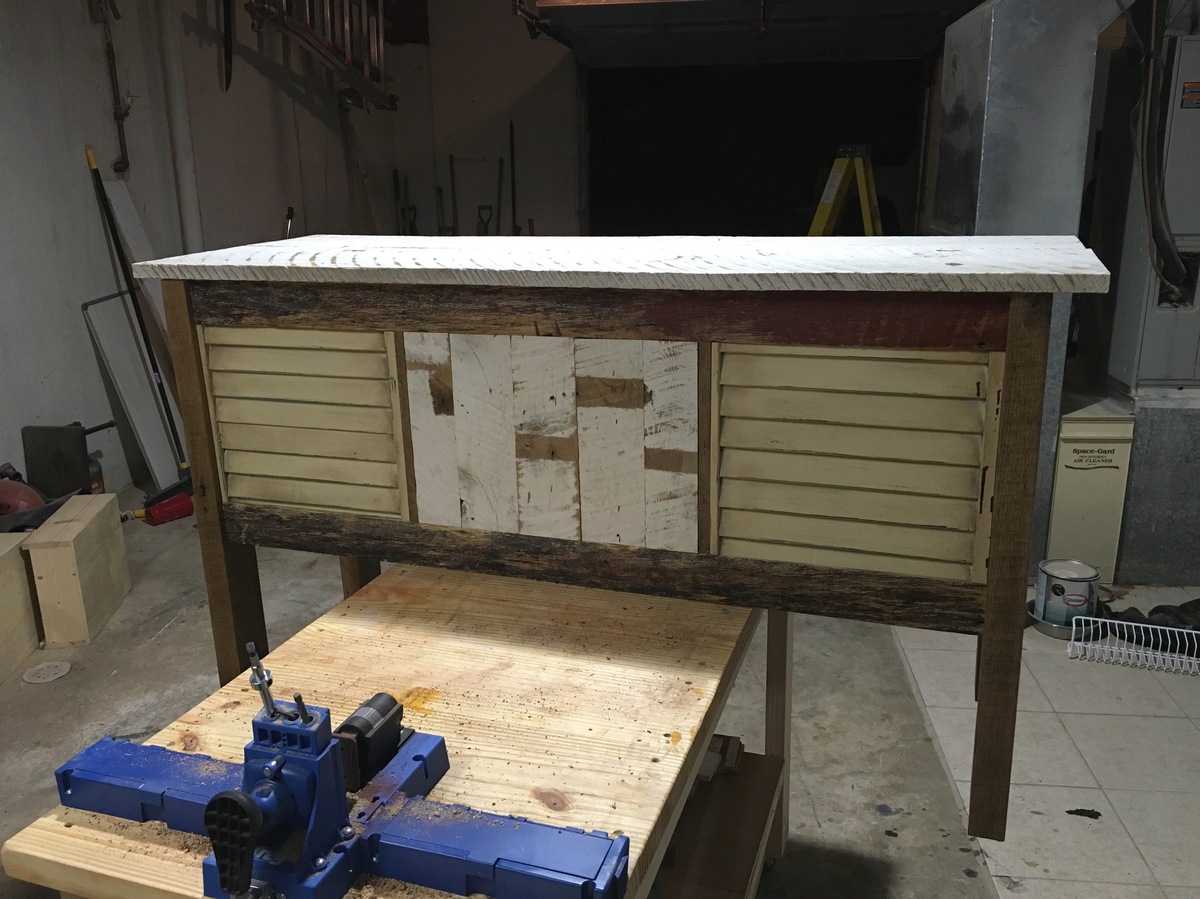
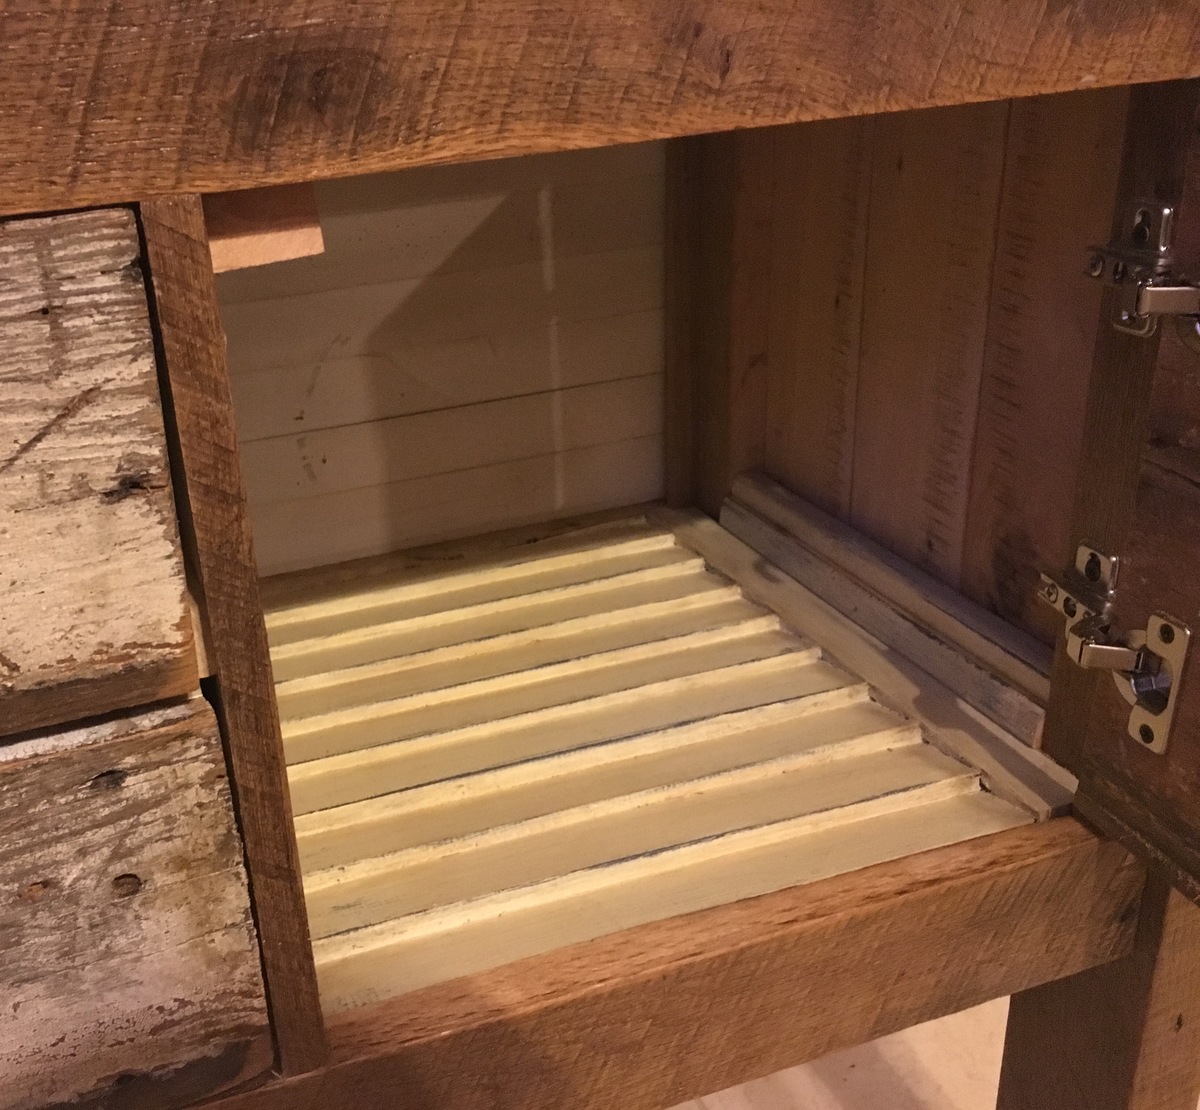
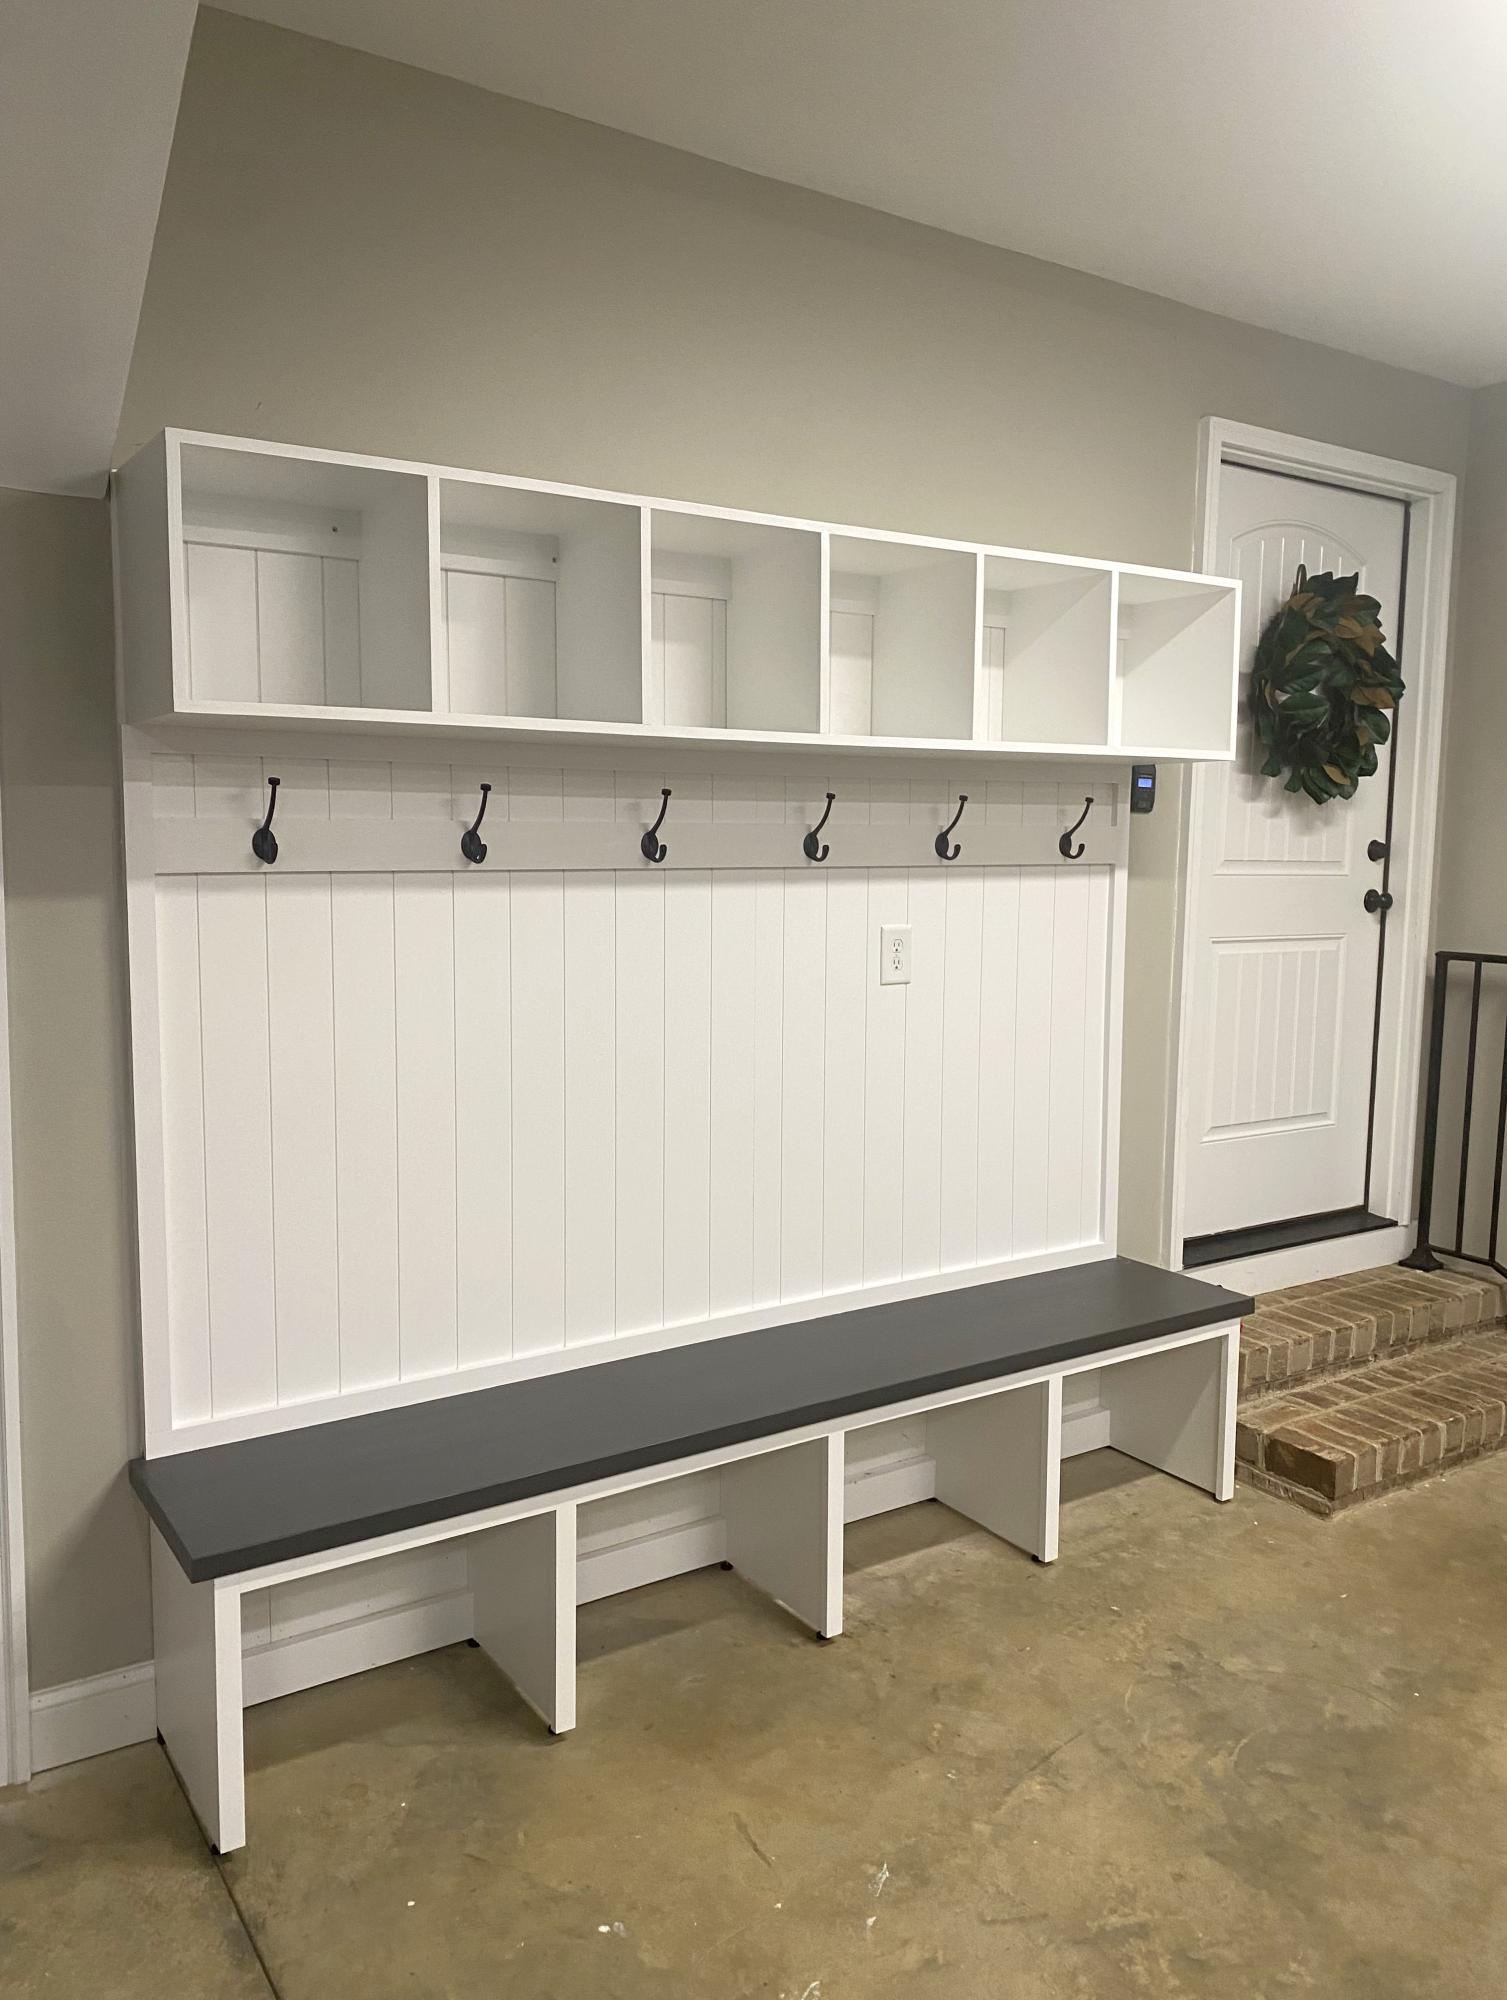
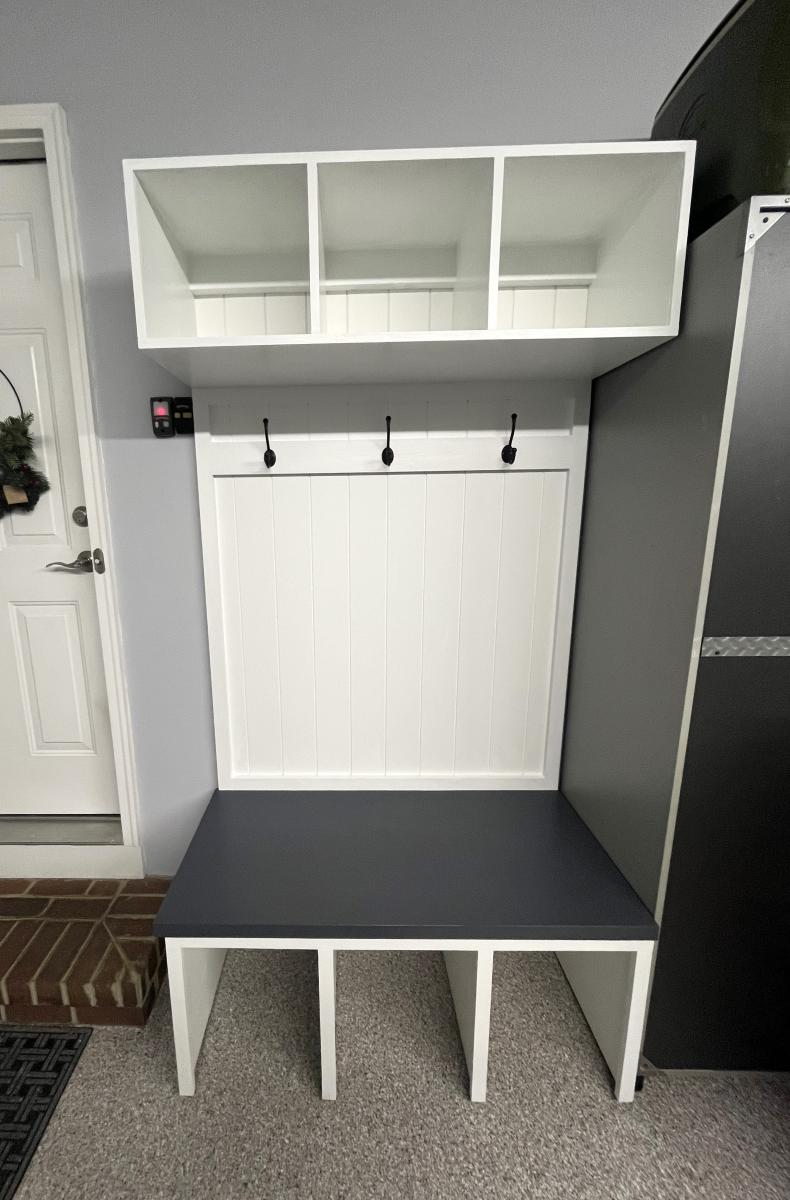
We decided that we wanted to build a built-in bench for storage instead of a free standing one to accompany the table. I followed the plan at the following site, modifying it as necessary to match the length of our table. I also only built the bench and not the wall unit (http://www.thisoldhouse.com/toh/how-to/intro/0,,20301255,00.html). My mistake with the first table-top ended up being a blessing of sorts when we were looking for a sturdy bench-top.

All in all, we love it! It took a good deal of time to finish the table—in part because I'm a horrible perfectionist. The bench, on the other hand, was finished in a day's work.

The table is constructed entirely out of red oak. The bench-top is also red oak. The bench is birch plywood and pine.

Total cost for table: $220 for wood; we already had all other supplies
Bench: $25; again, we already had most of the materials needed.

Estimated Cost
220
Estimated Time Investment
Week Long Project (20 Hours or More)
Finish Used
Minwax Jacobean 2750; Minwax Wipe on Poly
Recommended Skill Level
Intermediate

Comments

Arts and Crafts

Fri, 07/06/2012 - 17:04

The table was a very rewarding project. We've only been using it for two days now, but it already feels like it's been there for years. The straight, clean lines of the Craftsman style are by far most appealing to me among furniture and architectural style.

Good luck on your table!

laundry room organizer

Submitted by erinnist05 on Mon, 04/21/2014 - 12:00

We revised the design a bit to make it fit in our space. We also made room for our dog food bin at the bottom

Built from Plan(s)
Estimated Time Investment
Weekend Project (10-20 Hours)
Finish Used
Paint
Recommended Skill Level
Starter Project

Comments

IGBuilders Challenge Bailey Console

Submitted by Anonymous (not verified) on Fri, 07/22/2016 - 06:31

My entry into the IG Builders Challenge. Modified the Ana White Bailey Console a few ways. Instead of 2 large drawers, I installed 2 doors on each end, with 2 drawers in the middle. Century old barn wood used throughout. The legs are reclaimed oak floor joists, front stretchers are oak, rear stretchers are poplar. Heart pine planks users as door and drawers fronts. Heart pine front the same barn used as the top as well. Barnwood skins used on each end and the middle of the backside. Reclaimed shutters were used on the door compartment bottoms, and the rear.  I may eventually add a lower shelf with some of the leftover poplar and barnwood skins at a later date. 

Built from Plan(s)
Estimated Cost
$85
Estimated Time Investment
Weekend Project (10-20 Hours)
Finish Used
Minwax polycrylic.
Recommended Skill Level
Beginner

Fancy Farmhouse Bed

Submitted by aennali on Sat, 07/07/2012 - 00:08

This bed has been a true labour of love over the last few months!

I made all cuts with a hand saw, and mainly used a kreg jig to assemble the bed.

The 'insert' in the headboard is made from macrocarpa window trim and tongue-and-groove panelling, which was leftover from when my parents built their house. The rest I bought from a local supplier as rough sawn timber, which I got dressed by a woodworking guy who lives nearby. Had I bought all the timber I used, the cost would have been closer to $400.

I didn't add the moulding that is included in the plan - it's just my preference.

It took a bit of work to convert Ana's plans into metric measurements, but I got there in the end! I love my bed

Estimated Cost
NZD$300
Estimated Time Investment
Week Long Project (20 Hours or More)
Finish Used
I started with 2 coats of Danish Oil. After deciding I wanted a deeper colour, I applied one coat of Briwax furniture wax, in Rimu, with super-fine steel wool.
Recommended Skill Level
Intermediate

Comments

Debi_G (not verified)

Sat, 07/07/2012 - 05:36

Your bed is fantastic! Love everything from the clean style to the finish. Congrats!

From Scrap to Sweet!

Submitted by Jake on Wed, 04/23/2014 - 11:12

A friend wanted a small box for her cosmetics. She gave me the dimensions of her present container but my mind and my saws envisioned a different end. My only promise was that she would get three drawers. To keep cost low I used only scrap lumber I found around the garage. I added oak dowels for strength and decoration.

Estimated Time Investment
Weekend Project (10-20 Hours)
Finish Used
Finished only with a lot of sanding, two coats of Danish oil, and two coats of poly. Also once it was completely dry a coating of Johnson's paste wax.
Recommended Skill Level
Intermediate

Comments

booksnotbombs

Tue, 08/12/2014 - 11:51

I happened across your profile this morning, and I've spent a good part of the afternoon looking through your projects, as you've posted more brag posts than most people I've seen on Ana's website. I loved seeing all your projects and experimentation! Your sense of humor doesn't hurt, either. :) Keep it up, and I look forward to seeing more of your work in the future.

Jake

Tue, 08/12/2014 - 14:32

Over the past four years I have learned a lot. The most important lessons are experiment and don't let the frequent screw ups get you down. Lately I have been concentrating on learning to weave seats (reed and rush), build small boxes, and turning wood. Today was terrible. Nice bowl blank I cut from a Hackberry log turned out to have cracks and a really nice scoop built up of poplar and walnut broke into two flying pieces when my gouge caught at 1200 RPM. Only thing to do is start over and hope you learned something.

If you are new to woodworking check for square at every opportunity and be safe. Accidents happen in milliseconds.

I HEART Ana White Outdoor Chaise

Submitted by Anonymous (not verified) on Sun, 07/24/2016 - 19:57

THANK YOU ANA FOR ALL THE GREAT PLANS!!


I am in southern california (mild weather) so i just used pine and coated them with urethane. 

Estimated Cost
$60 each
Estimated Time Investment
Day Project (6-9 Hours)
Finish Used
Urethane
Recommended Skill Level
Beginner

Modern Park Bench

Submitted by Tim PIZZ on Sat, 05/16/2020 - 06:17

This was one of my first projects. I just used a circular saw but a mitre saw would be better. I’ll look for one soon. It was rewarding, fun and we love how it looks on our back patio.

Built from Plan(s)
Estimated Cost
$200
Estimated Time Investment
Weekend Project (10-20 Hours)
Finish Used
I primed the pieces with Sherwin-Williams exterior latex primer before assembly then painted with Sherwin-Williams Resiliance exterior latex. We chose “Retreat” as our color.
Recommended Skill Level
Beginner

Workbench and Hutch with modifications

I decided to do some modifications to the original plans to make it more like the Pottery Barn original. I made the legs 4x4s like the original, as well as the horizontal bases of the legs. The major change that this entailed was in the bottom shelf. I notched the edges of the 1x12 so that it would fit flush, then connected it to the legs with pocket screws. The lowered ledge on the table top is two 2x4s on the bottom, a 2x4 on the front and back, and a 2x6 cut to size for the ends. I then attached it using pocket screws on the front, and just 2.5 inch screws from the back. The rest is pretty much the same as the plans. For the back of the hutch, I used 1x4 carsiding to give it a more finished look. It only cost a couple cents more for each 8 foot piece.

Estimated Cost
$150
Estimated Time Investment
Week Long Project (20 Hours or More)
Finish Used
Minwax wipe on poly
Recommended Skill Level
Intermediate

Comments

Getting Started, slow on posting

Submitted by pondrider on Fri, 04/25/2014 - 09:42

Thanks to our daughter who gave me plans from Pintrest for the popular locker. This is my first project in a long time. It has been followed by a few projects which have been inspired by plans or skills from the site.

Thanks

Recommended Skill Level
Starter Project

My first real project

Submitted by Anonymous (not verified) on Tue, 07/26/2016 - 12:56

I started woodworking about 6 month ago and I love it! 

I made our kitchen table and nightstands.


This was a real test! The drawers took as long as the frame, if not longer.

It's all worth it when it turns out this good though!


Thank you for all the wonderful plans, my wife practially has all the furniture in our house in line to built by me. 

Estimated Time Investment
Week Long Project (20 Hours or More)
Finish Used
Minwax Jacobean
Recommended Skill Level
Advanced

Scrapwood wooden houses

Submitted by Kate_14 on Mon, 05/18/2020 - 13:49

I built these cute little houses with scrap wood. They are easy to customize!

I used 1x6 boards for the house and 1x2 boards for the roof. I attached the roof with bradnails.

Estimated Cost
0$
Estimated Time Investment
Afternoon Project (3-6 Hours)
Finish Used
Paint and stain
Recommended Skill Level
Starter Project

Email Me
Free Plans

Get new plans sent right to your inbox for free!

    We won't send you spam. Unsubscribe at any time.

    Back