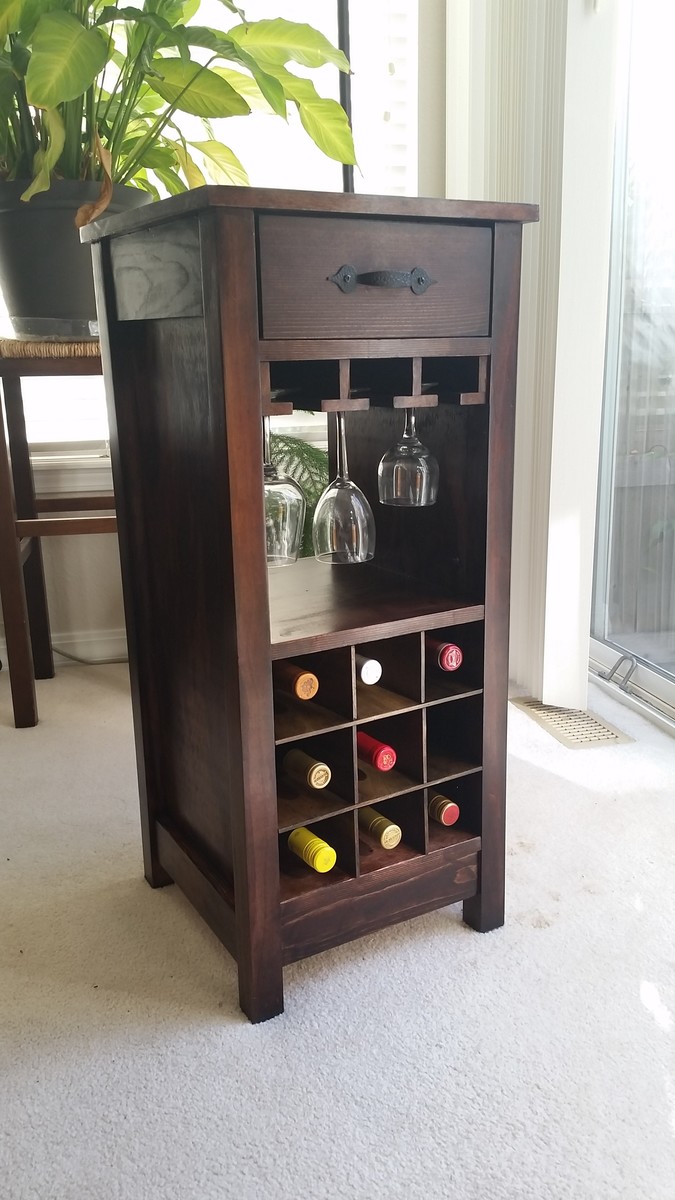
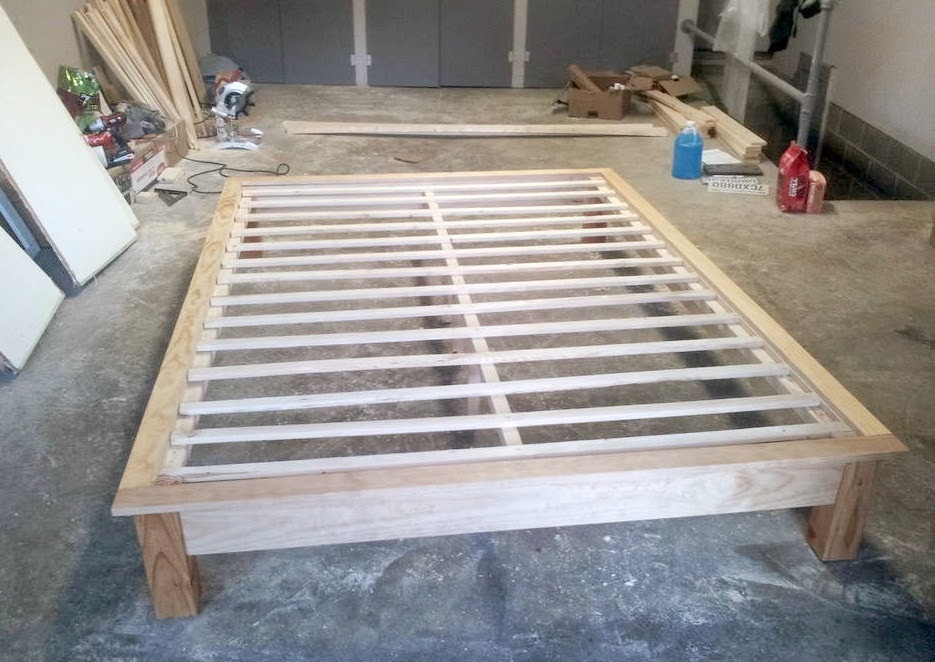
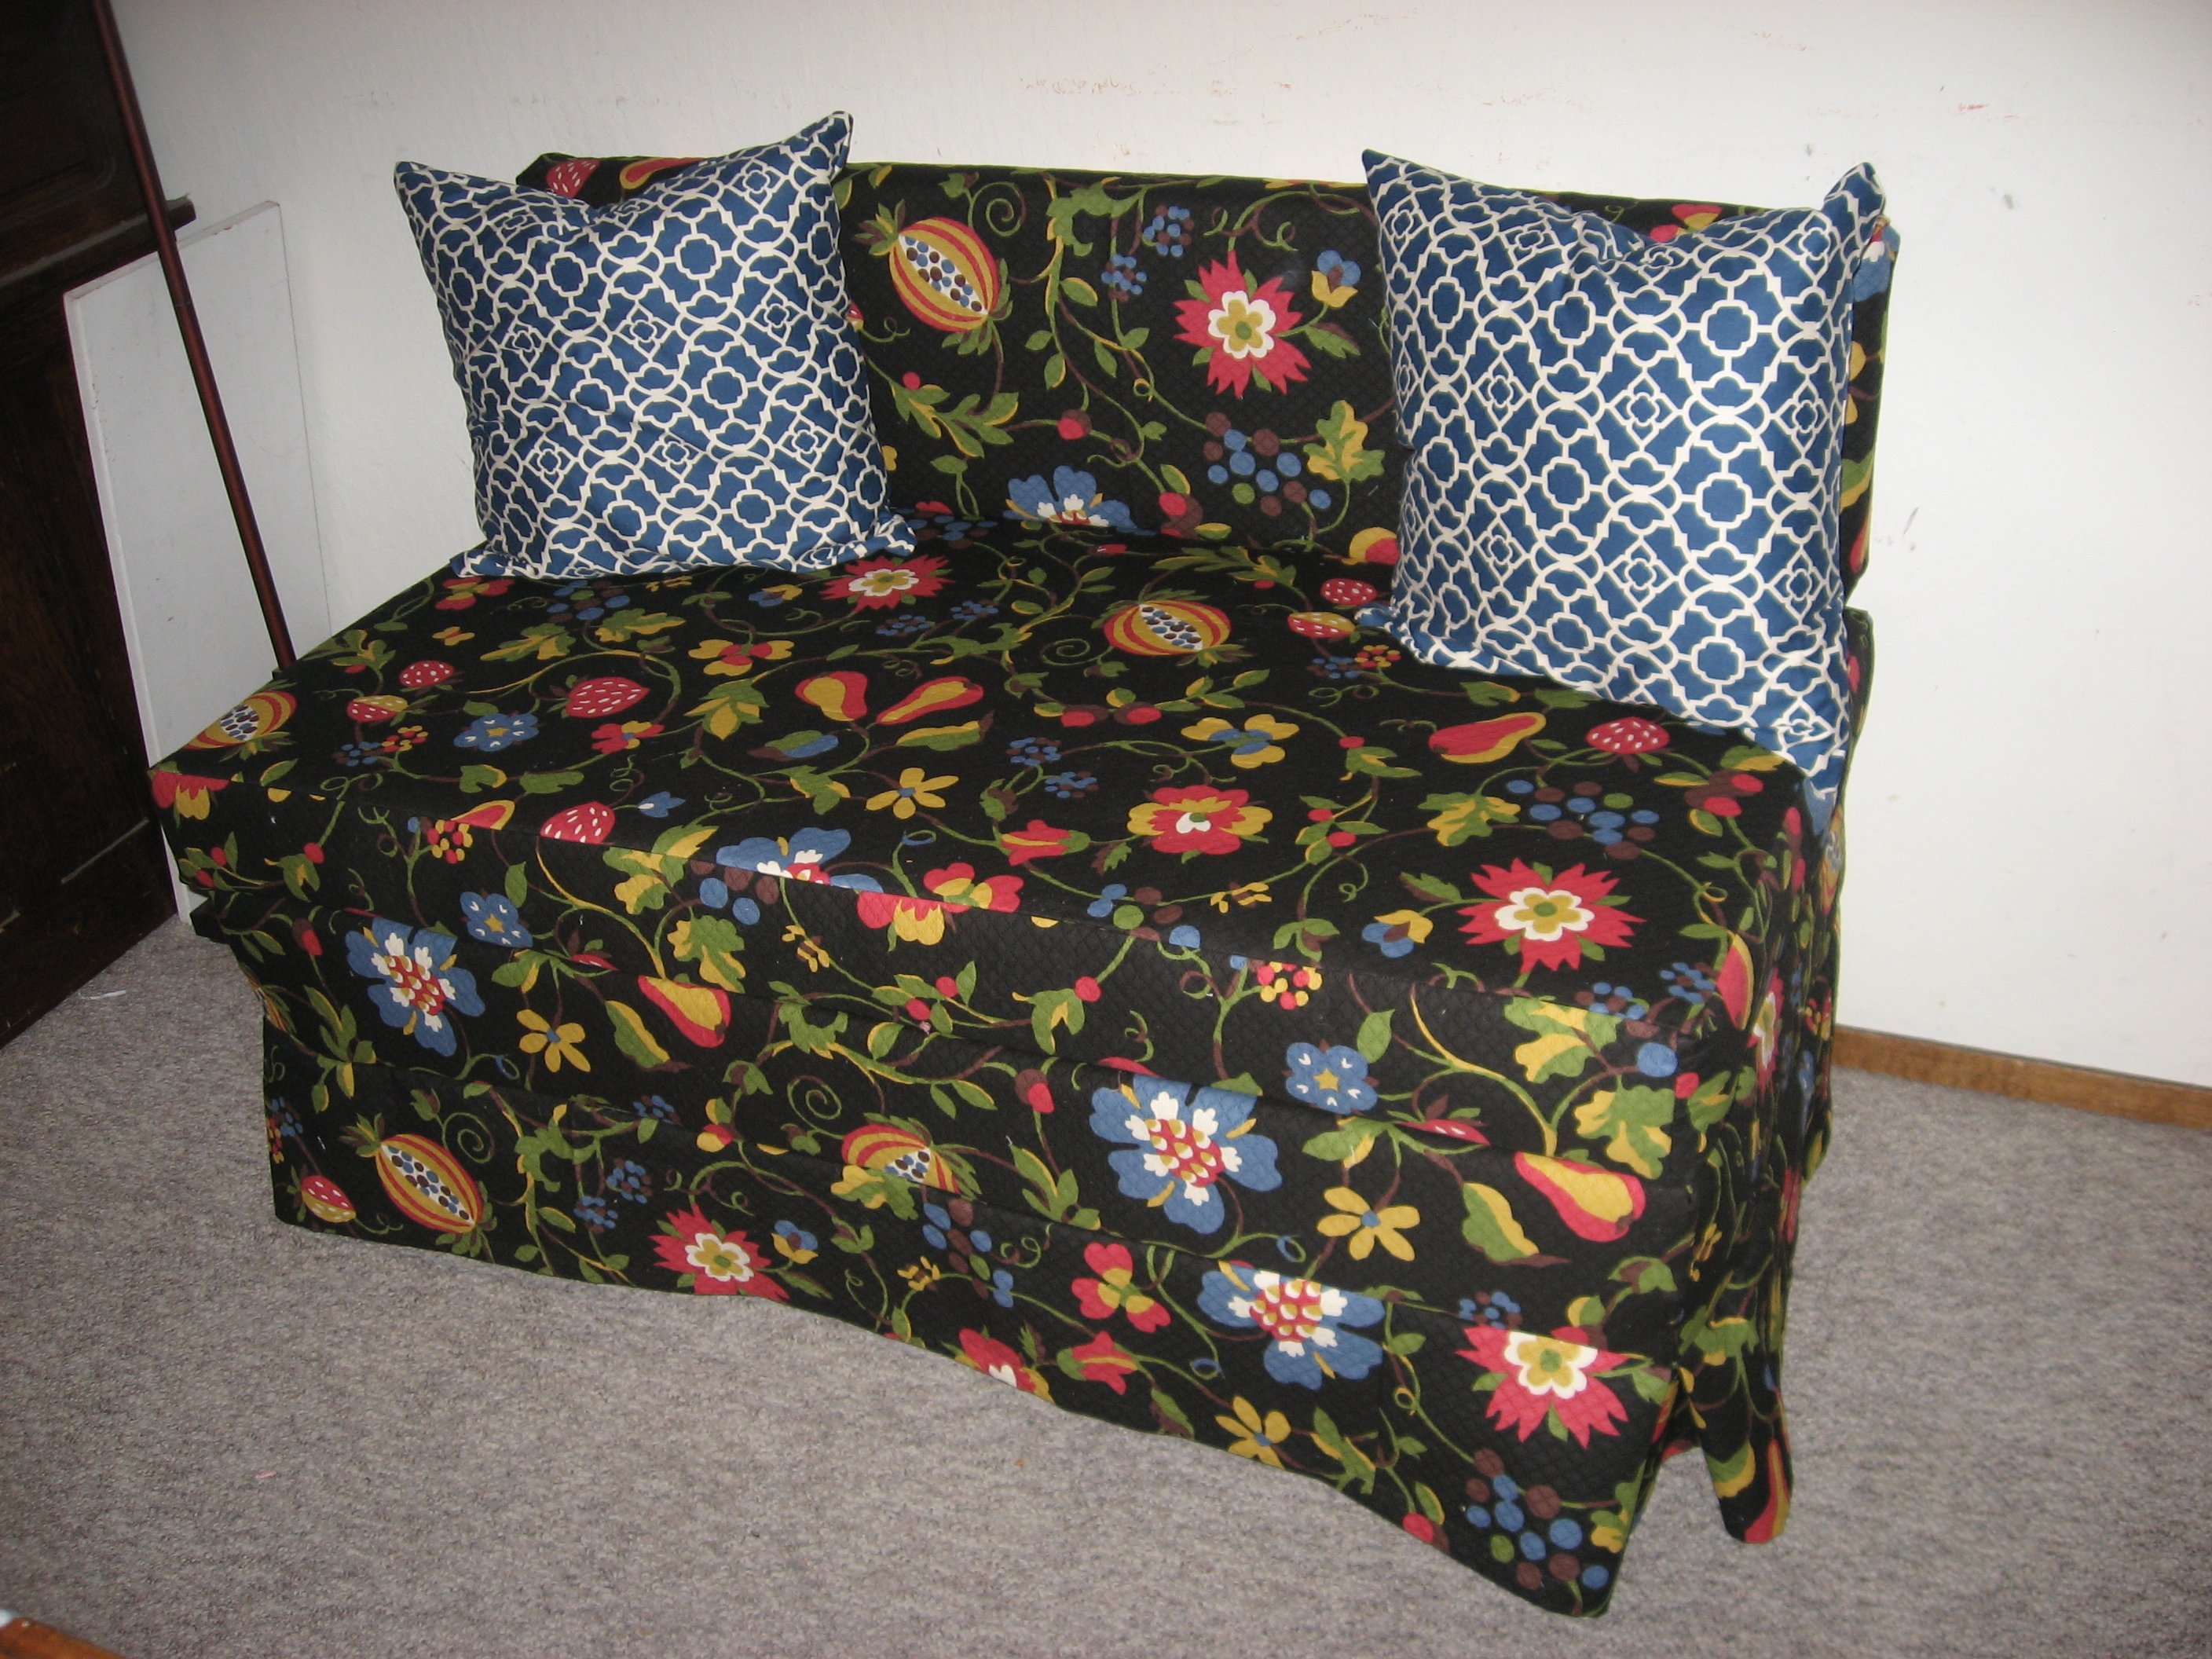
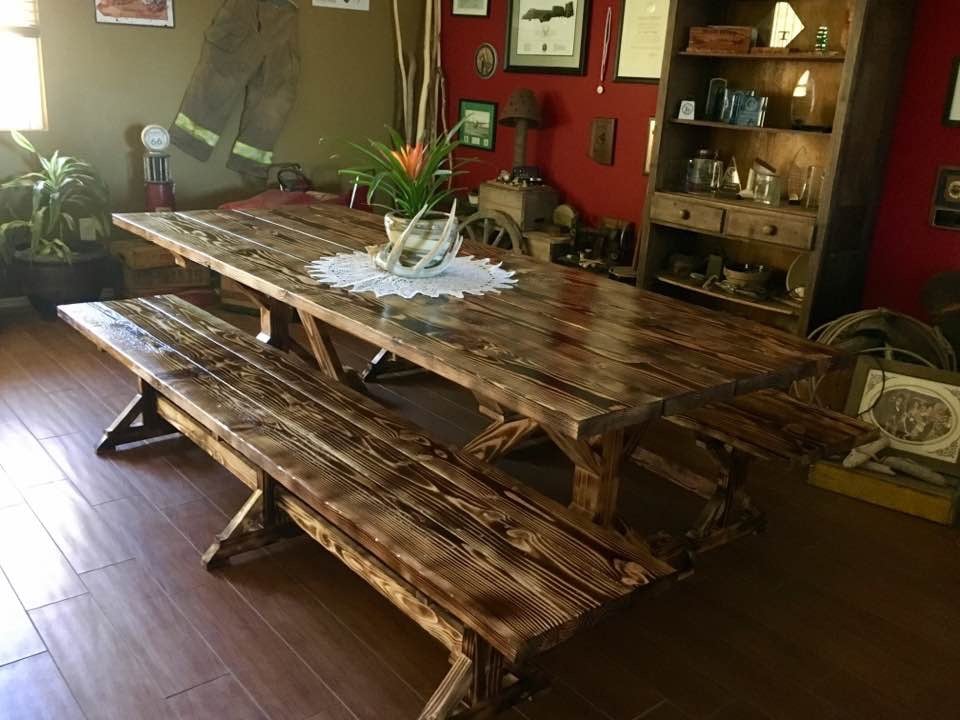
I have been wanting a banquette for years and when I spied Ana's version in the post about Grace's birthday party, I knew I could do it. I waited for the plans, and yesterday, I got out the tools and in 6 hours (real time - including cooking meals for kids, potty breaks, and life in general) I had my bench done.
I am so pleased with it. I had all the fabric on hand already, and was able to buy batting, foam and pillow forms all 50% off at Joann's, plus 2 zippers for the blue cushions. The woman who was cutting my foam asked me what I was making, and I told her I was building an upholstered bench for my dining room. She said "wouldn't it be less trouble to just buy one already made?" Clearly she has no idea how much this would have cost me. As it stands, I had the lumber and fabric on hand, so my total purchase price was just over $95.00. I would estimate the cost to build to be about $200.00 for everything, depending on how expensive your fabric is.
I love to sew, so I had no problem with the fabric portion of the project, though I did as Ana did and did not upholster the back of the bench. Instead of adding a piece of fabric across the back of the frame, I extended the side fabric by about 6 inches on each side and stapled it to the back. I hope that makes sense. I used a metal cleat to hold the seat back in place. I also used 3 L-brackets to attach the bottom to the frame. I think people will slide into their seat and I didn't want the seat cushion to move.
Not bad for a few hours work!
This project would be an easy starter project for building, though it is a little more advanced when you factor in the sewing. Here is the tutorial I used for the toss pillow cushions: http://sewmamasew.com/blog2/2011/02/add-a-zipper-to-your-pillow/, and here is another from the same blogger for boxed cushion covers (just leave the bottom off of yours for this project, since it will be stapled to the plywood, skip the zipper and handle, and add piping if you want to fancy your cushion up): http://sewmamasew.com/blog2/2008/07/summer-sewing-perfectly-portable-cu…
Thanks Ana for the constant inspiration!


Comments
mdart90
Tue, 06/07/2016 - 07:46
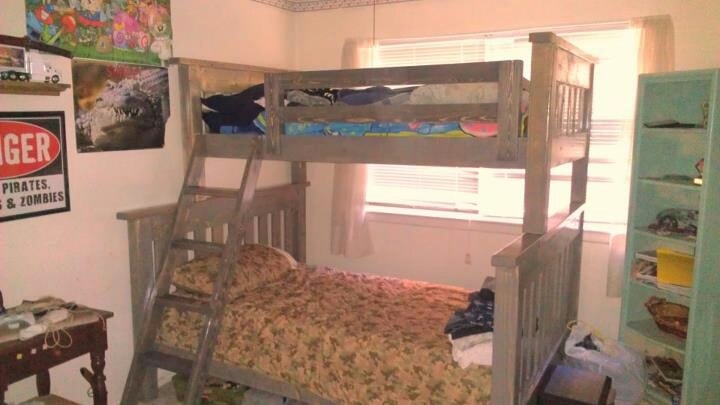
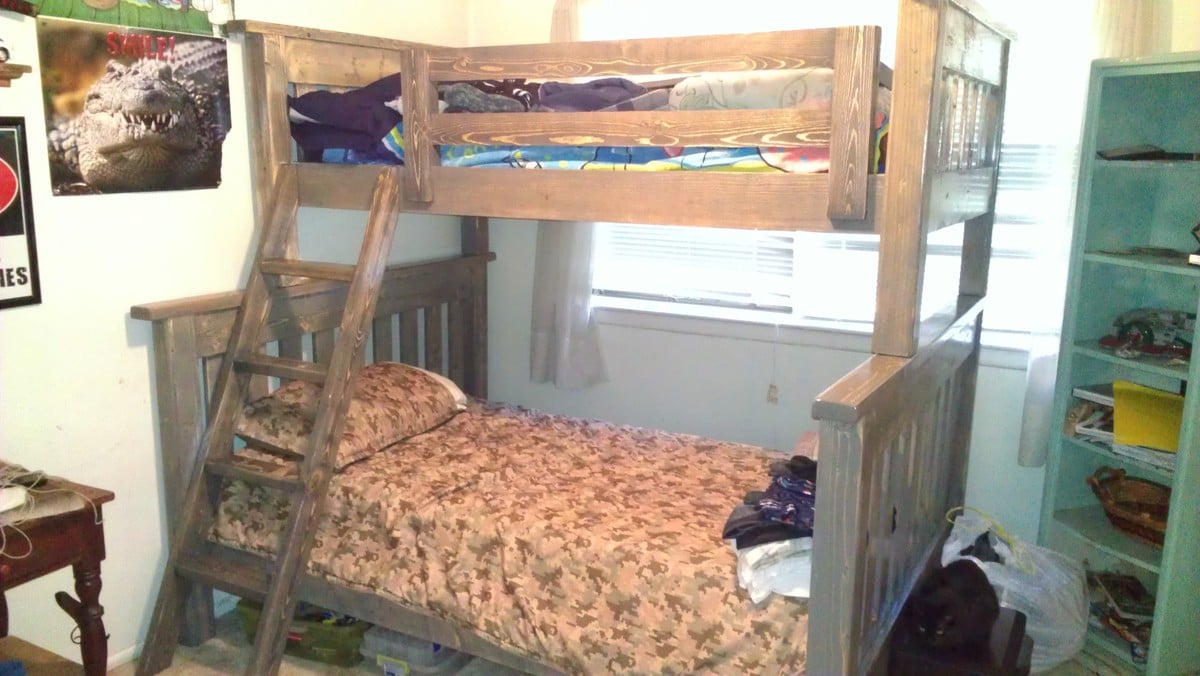
Really nice! Wha stain is
Really nice! Wha stain is that?
ericaf
Fri, 06/10/2016 - 07:09
Stain color
Thank you. :) I don't remember exactly, I believe it was regular Minwax wood stain, walnut and/or red mahogany. I will try to find what I actually used.
mdart90
Sun, 06/12/2016 - 11:54
Thanks for the information!
Thanks for the information!