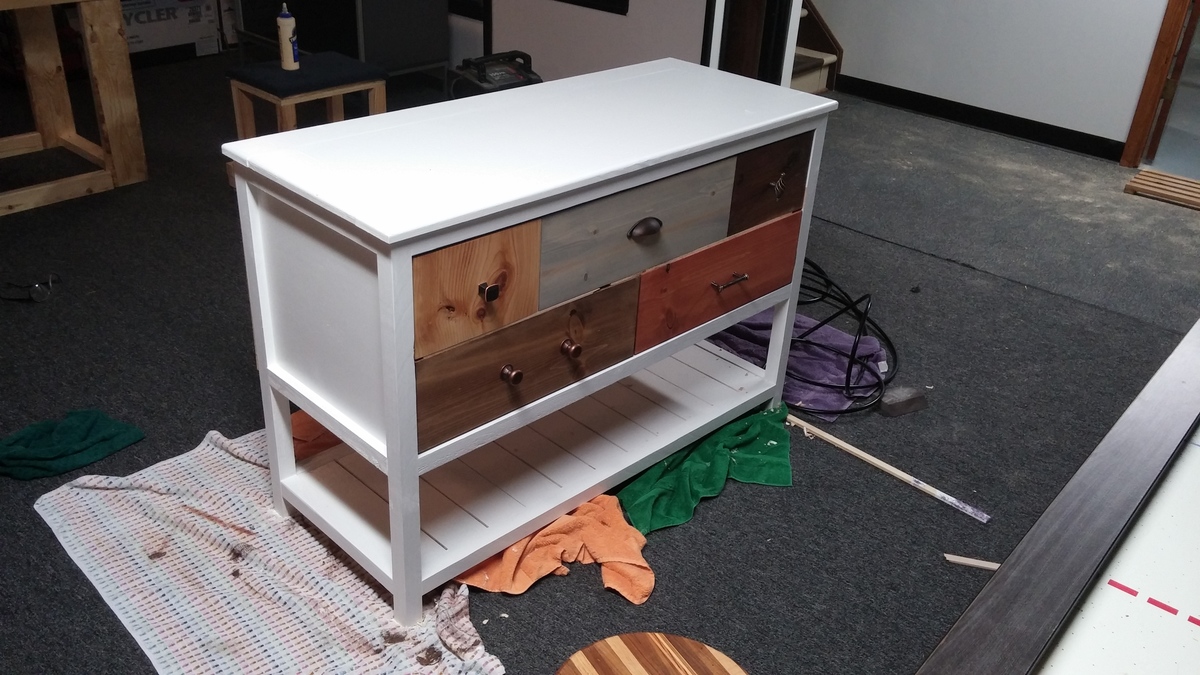
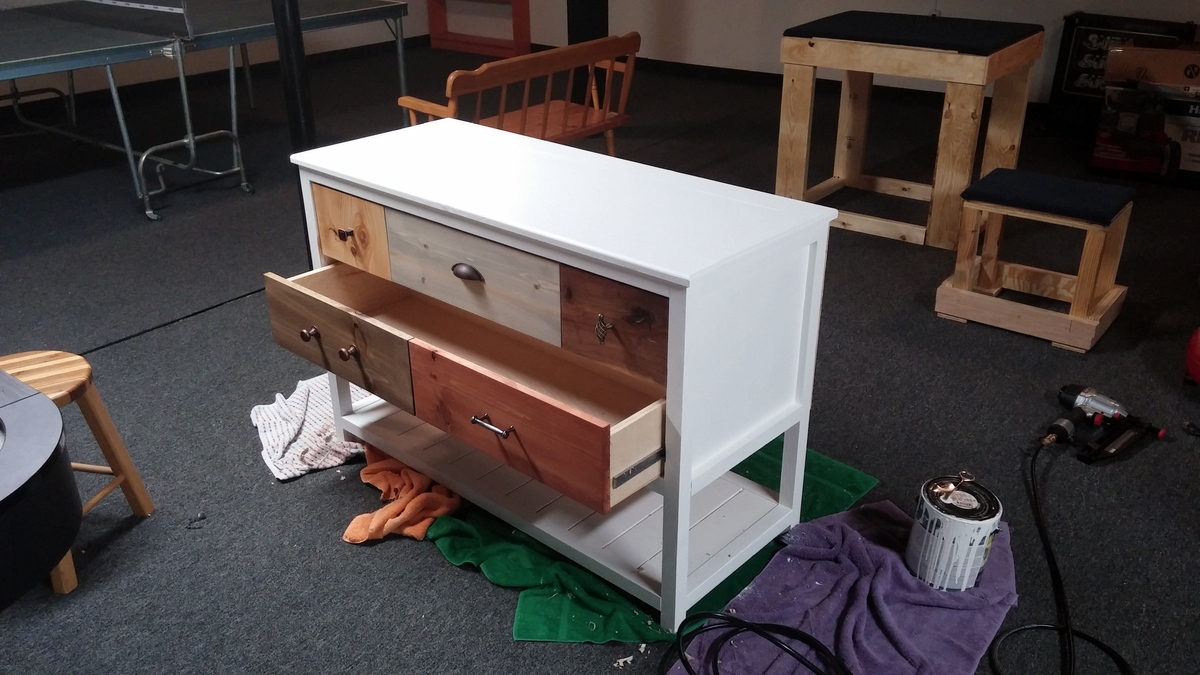
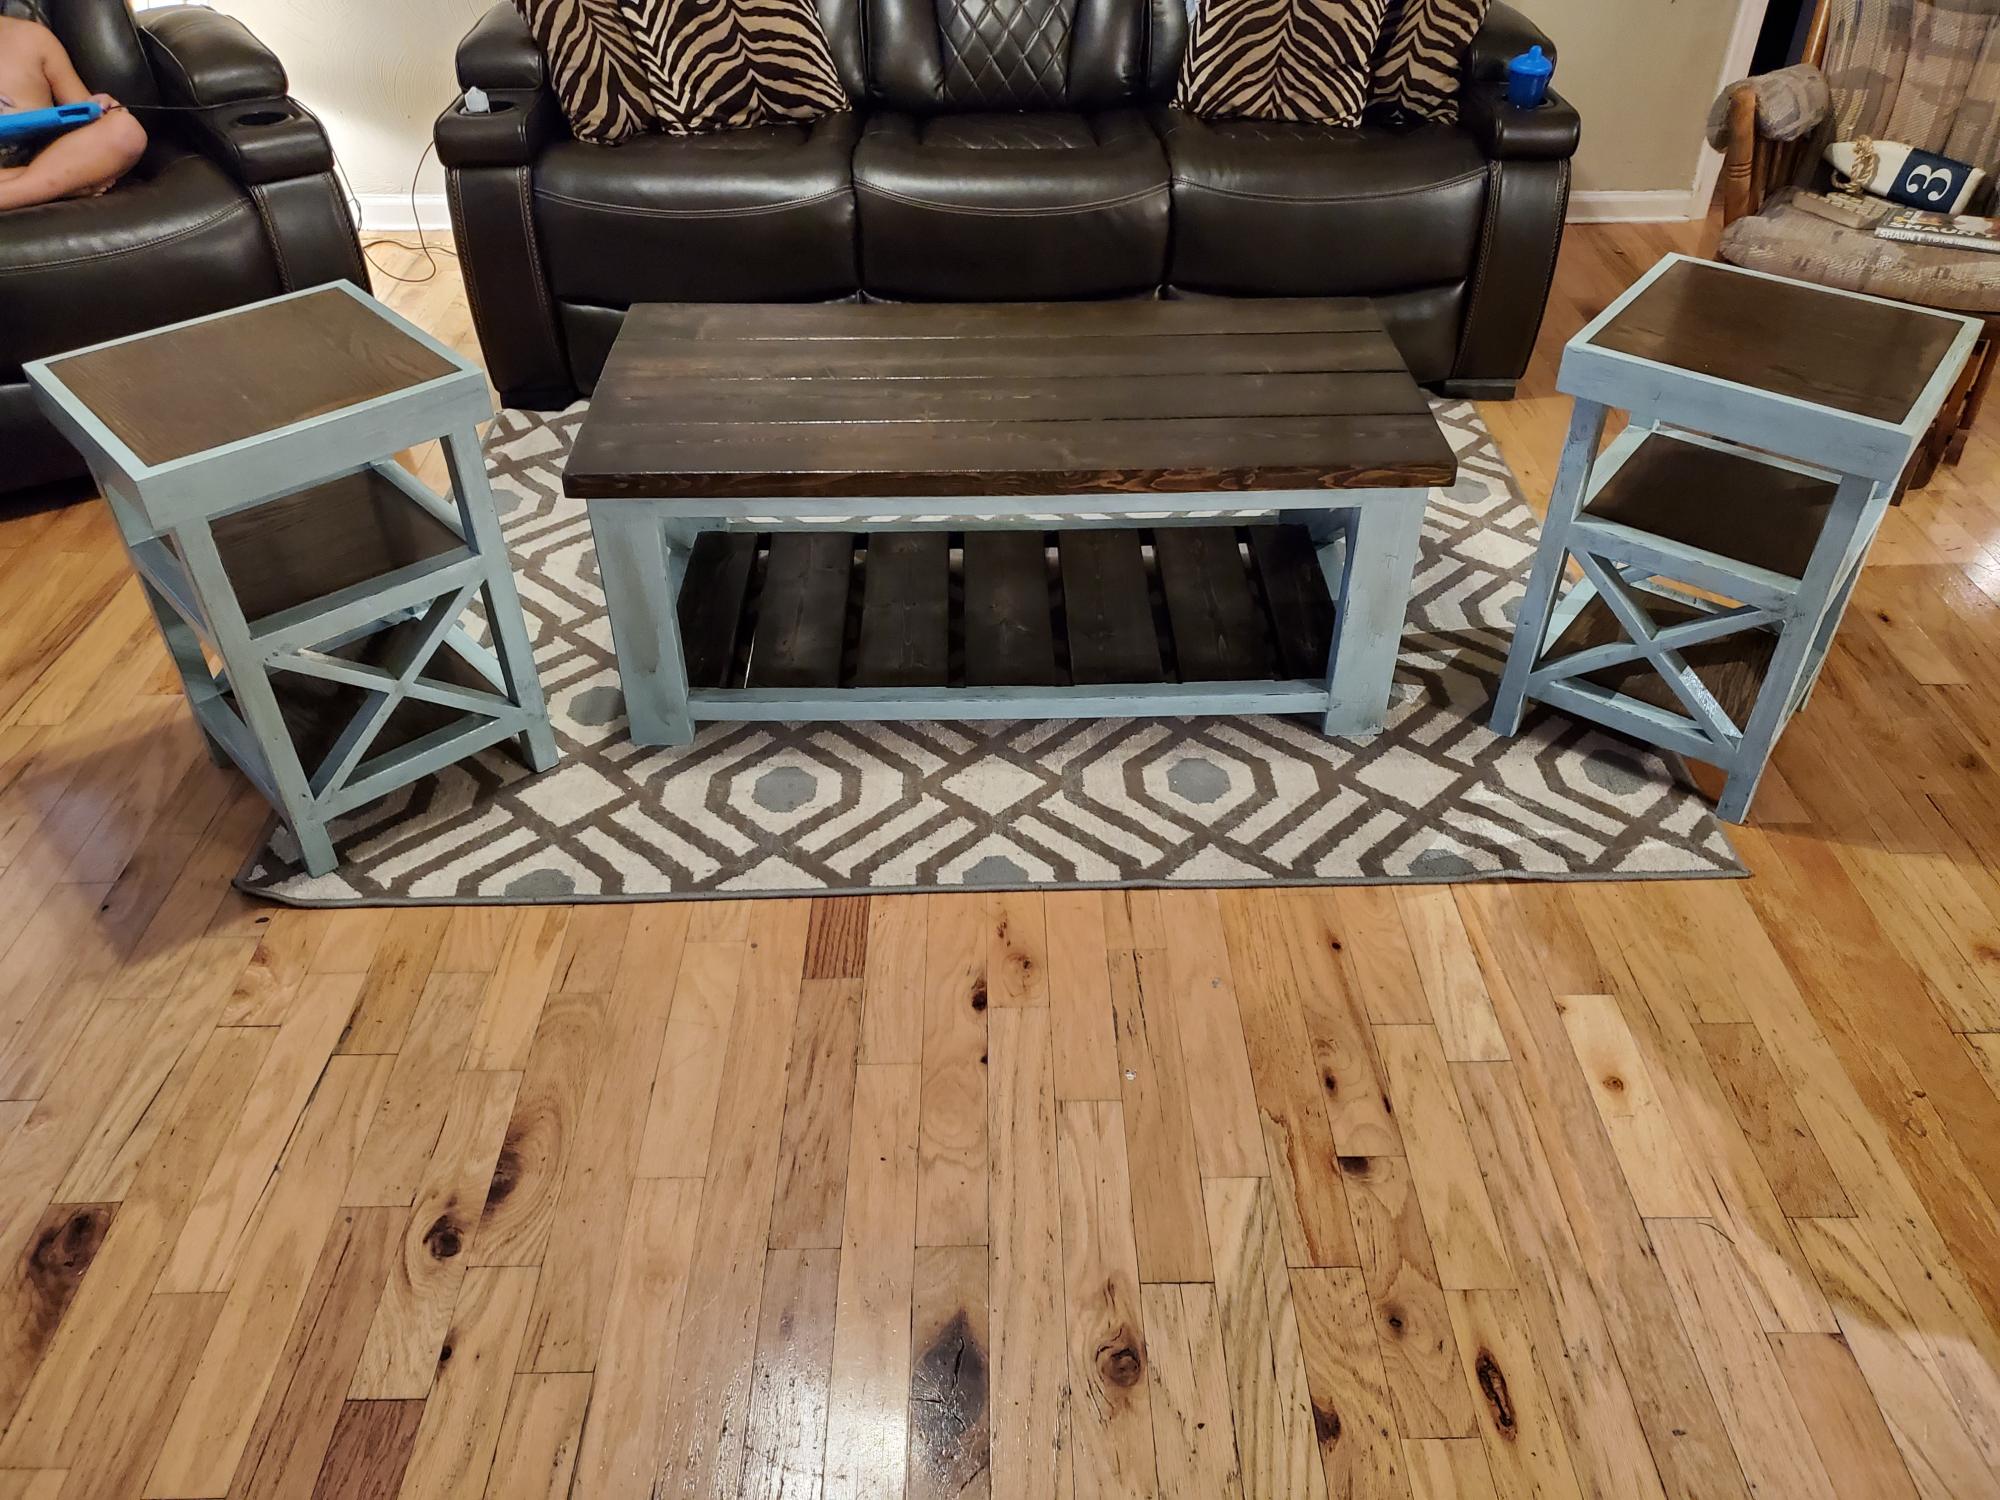
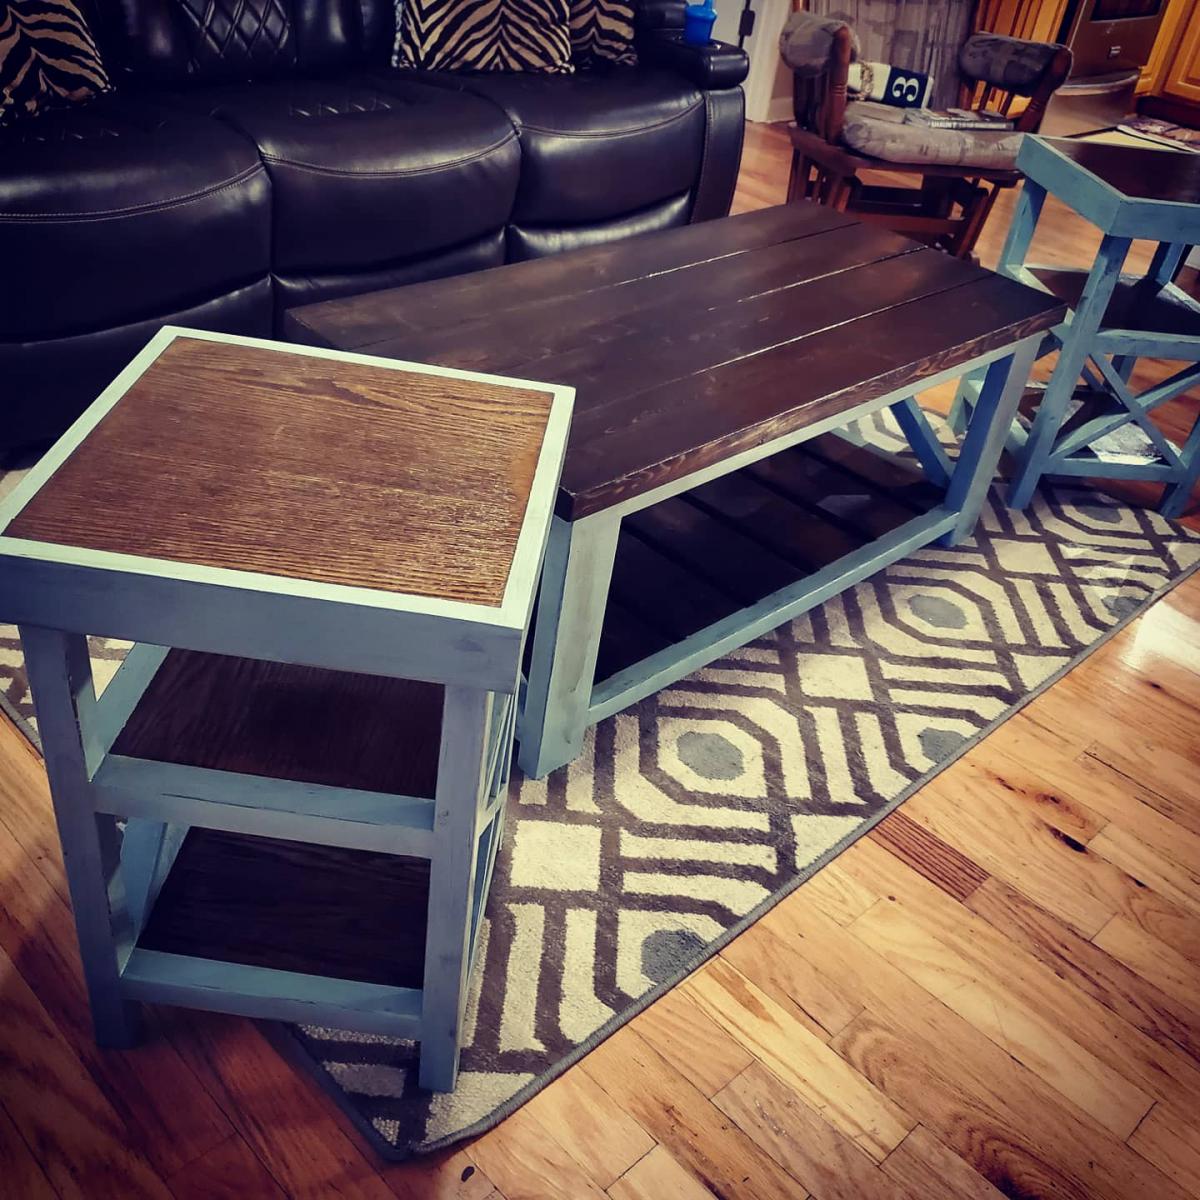
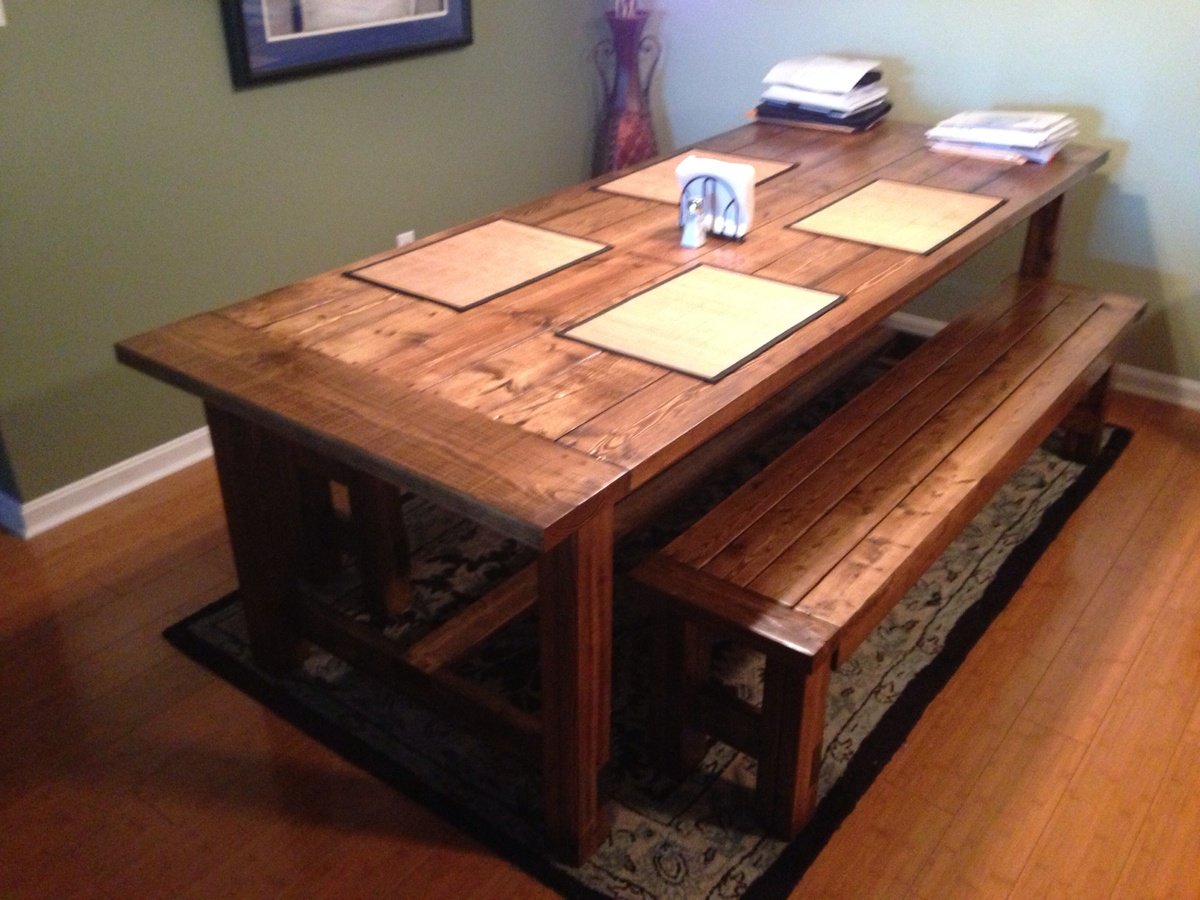
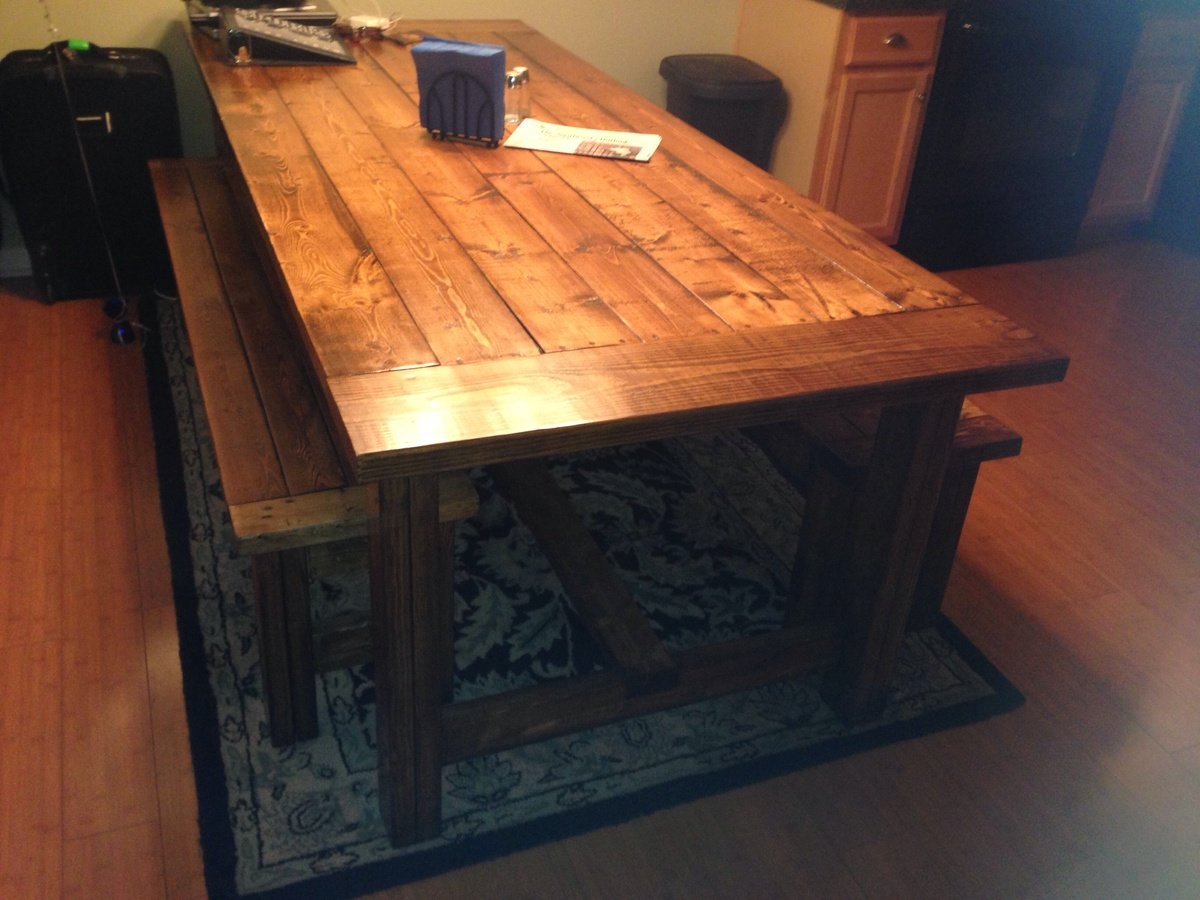
Voila! Une table. First Furniture Project, thanks to Ana and all Braggarts
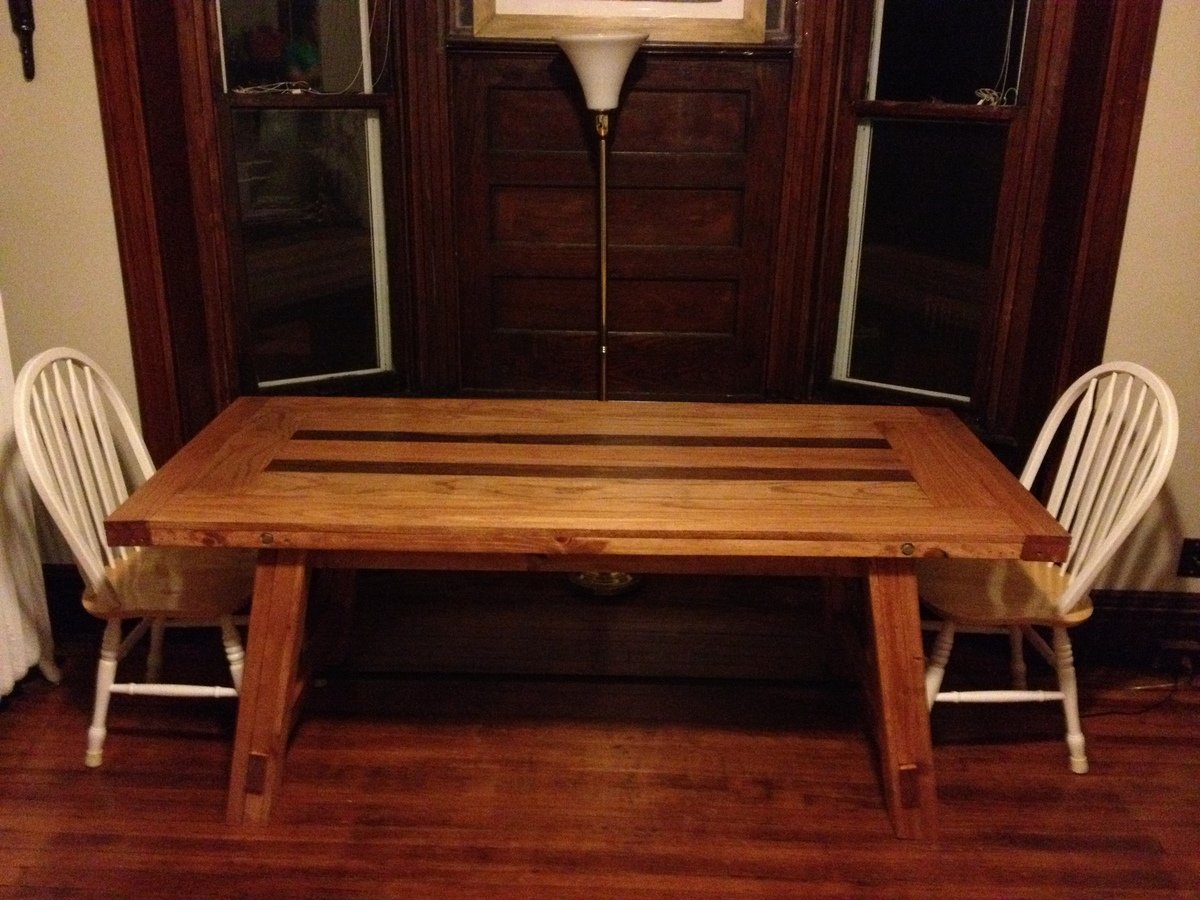
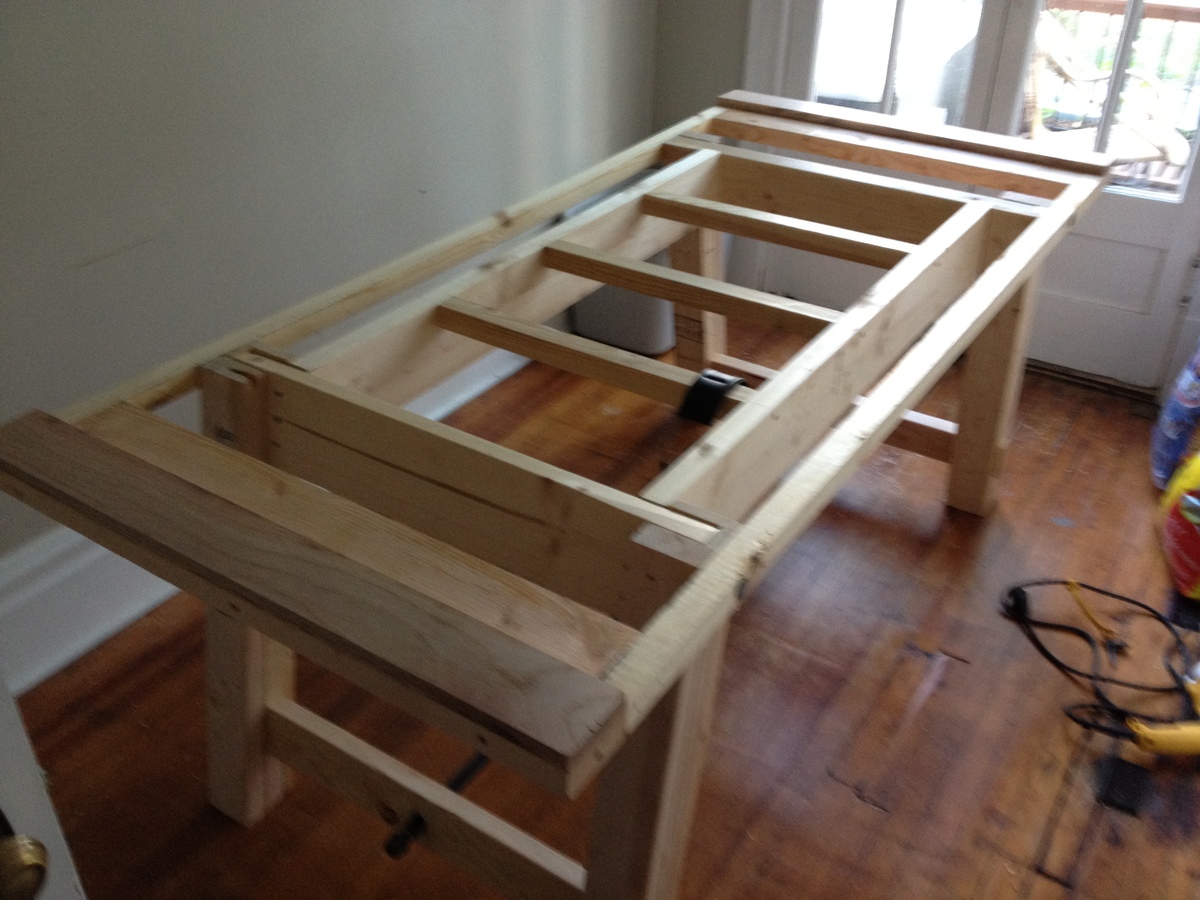
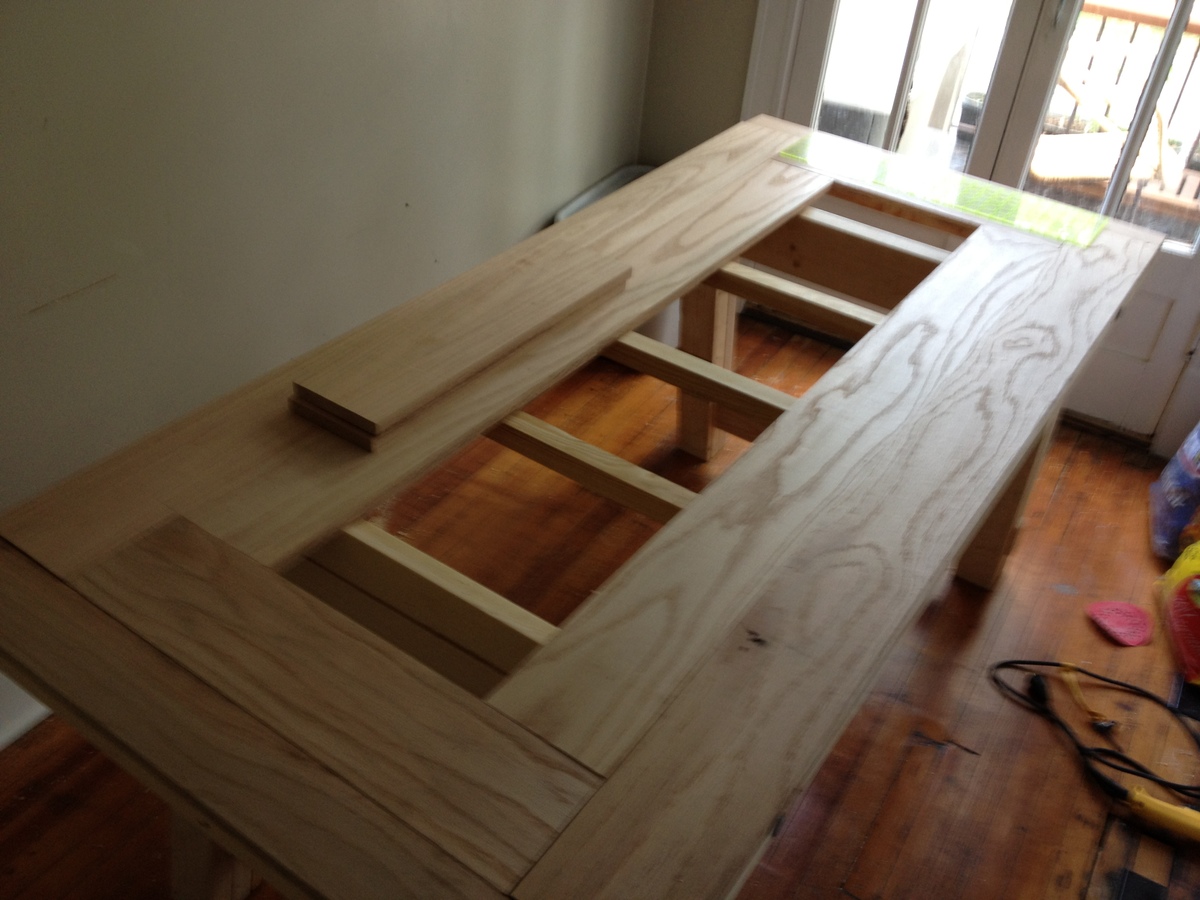
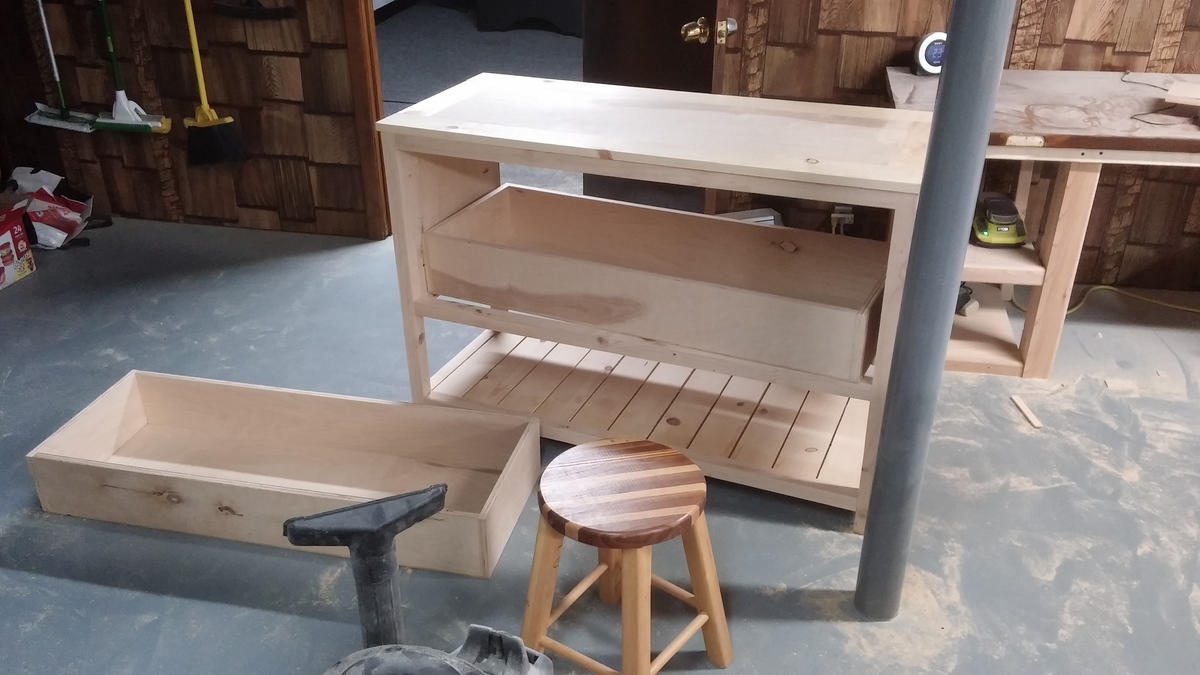
So I built this table in the last few weeks. I am looking to make furniture for a living at some point down the road, being sort of tired of my current profession. Starting a new hobby takes some initial investment, but my wife was enthusiatic. The whole table took about 4 days of work. I ran into a few problems with sizing of some of the pieces but they are all covered in the commments sections.
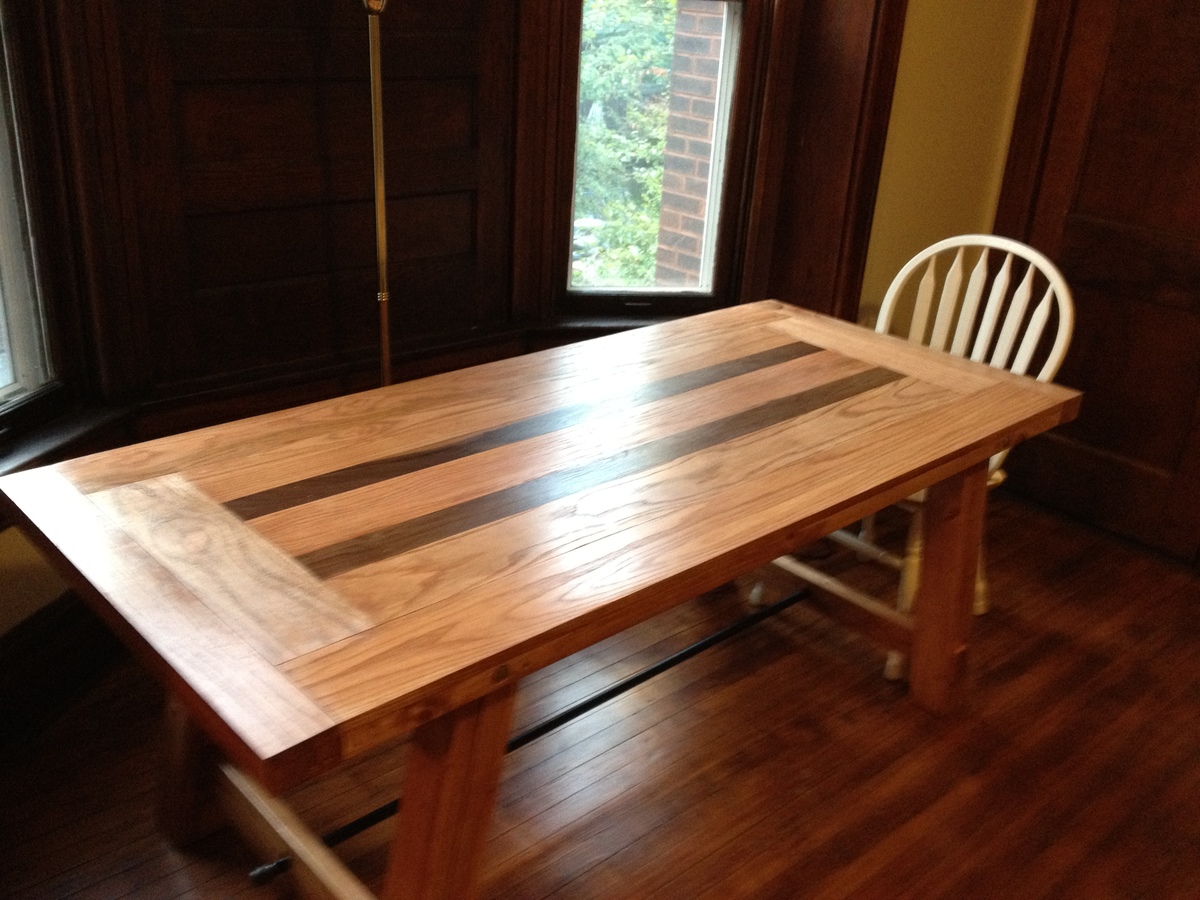
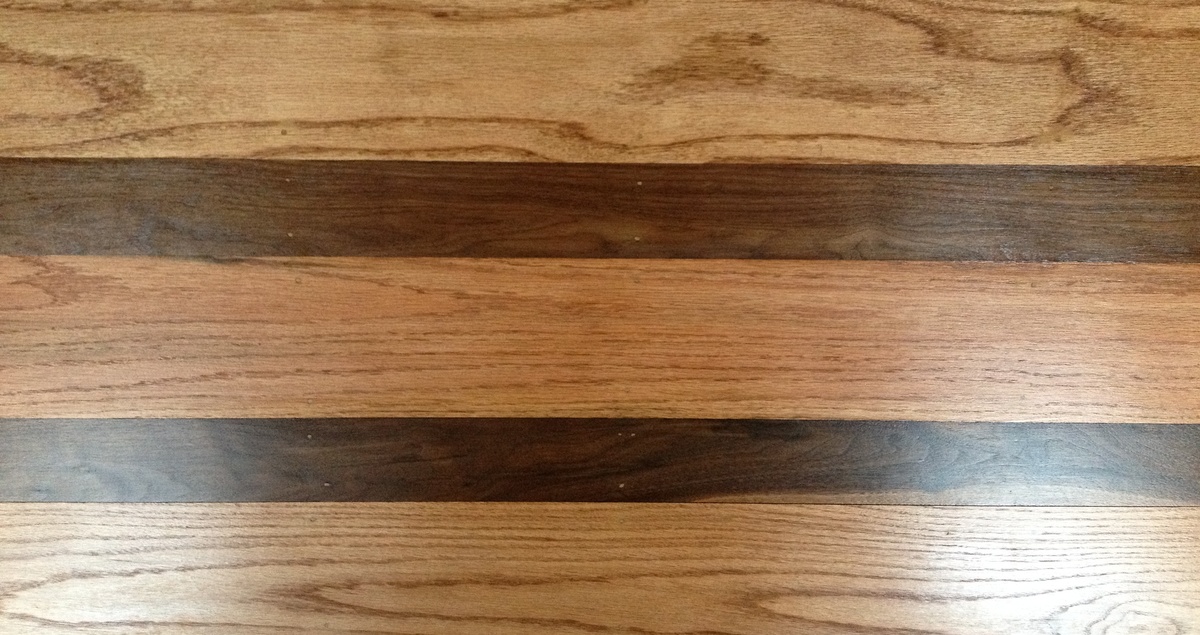
Materials: Fir for the legs, red oak and walnut on top. You may notice the top is pieced together a little differently than Ana's plan. This is due to some creative problem solving. Namely, the 1X6s for the top weren't quite the right width.
Finish: Satin Polyurethane (4 coats) and Minwax Cherry Oil based Stain (1 coat). Note, the spray cans of polyurethane are a waste of money.
Entire project was 350 dollars. I Probably could have done it for 300 or less had I more experience. Now I need some chairs. Saw some cool ones here. http://wudfurniture.com/furniture/wud-chair/
Whaddya say Ana? Plans Please! :)


Comments
spiceylg
Mon, 08/27/2012 - 13:40
Gorgeous
Absolutely beautiful build. Totally looks professional.
beis0052
Wed, 08/29/2012 - 15:47
Thankee. :)
Thankee. :)