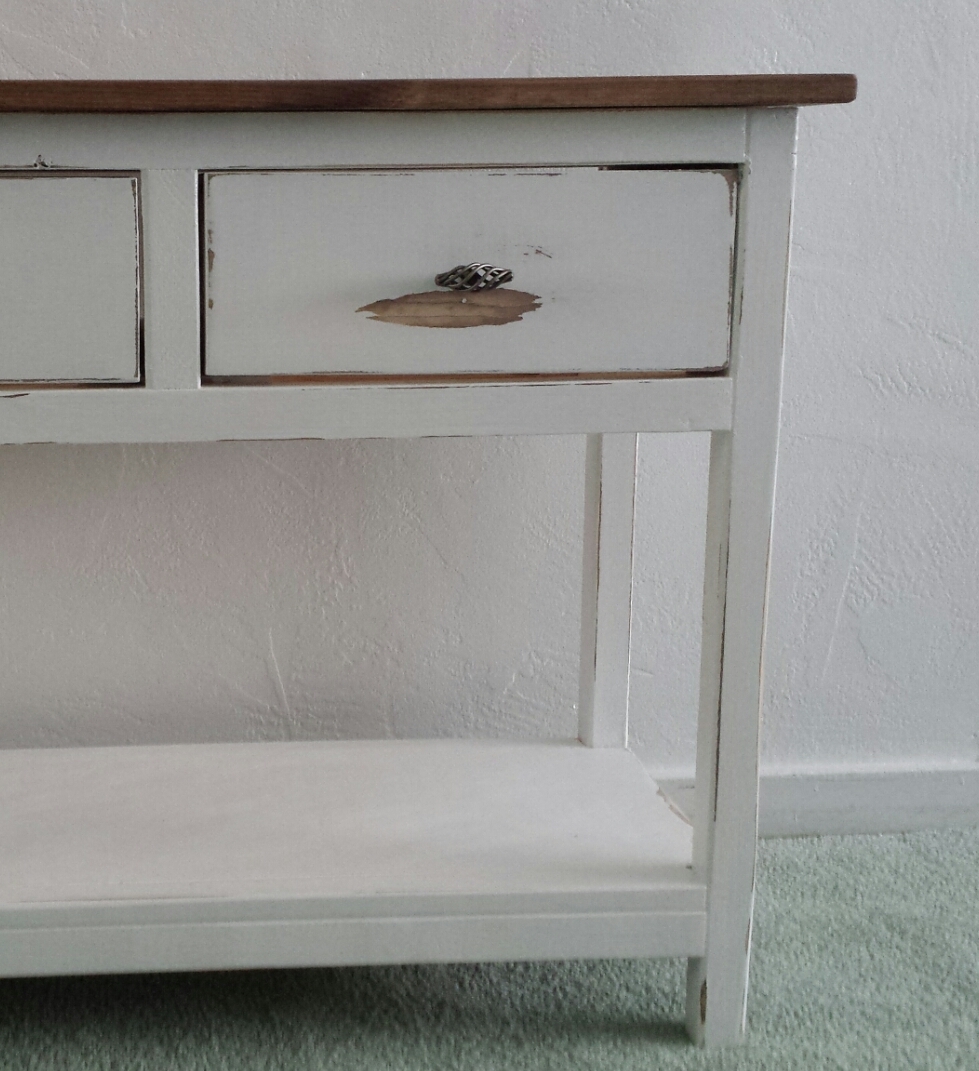
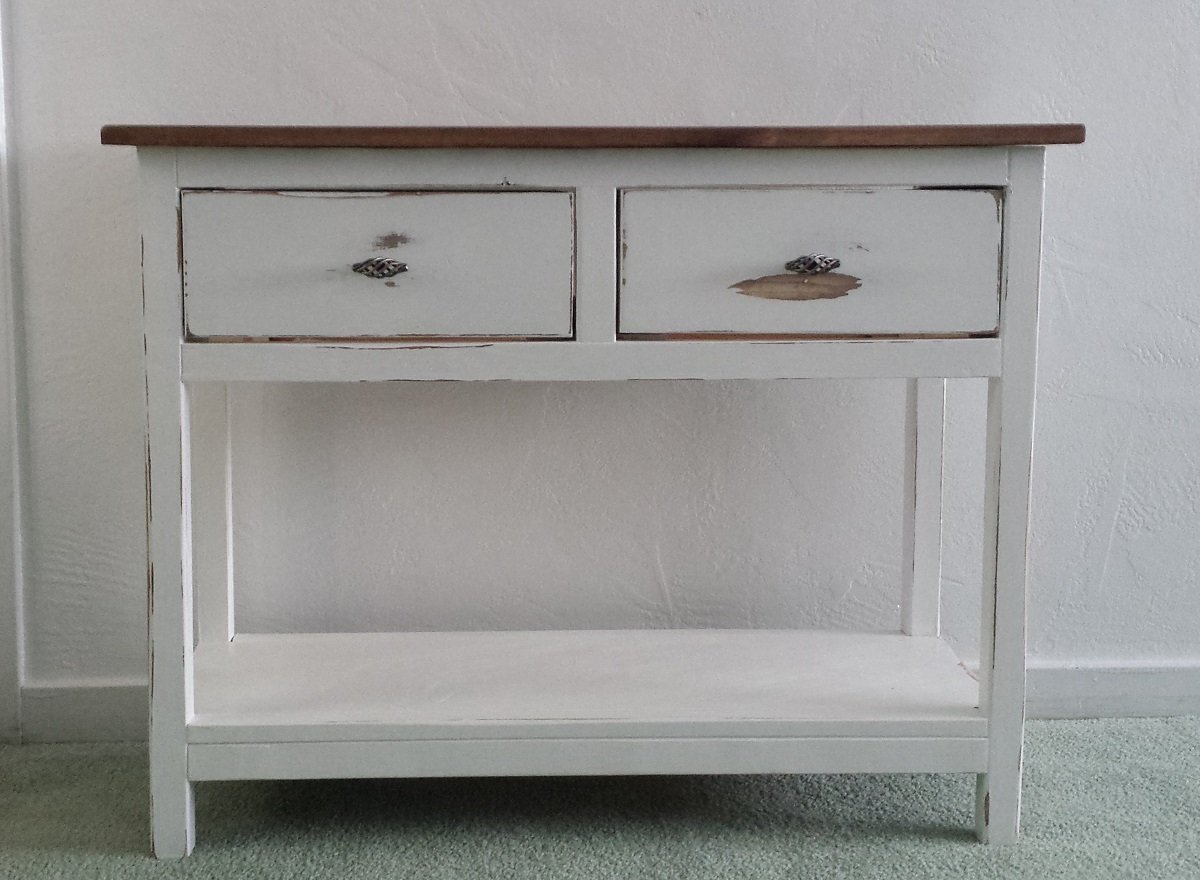
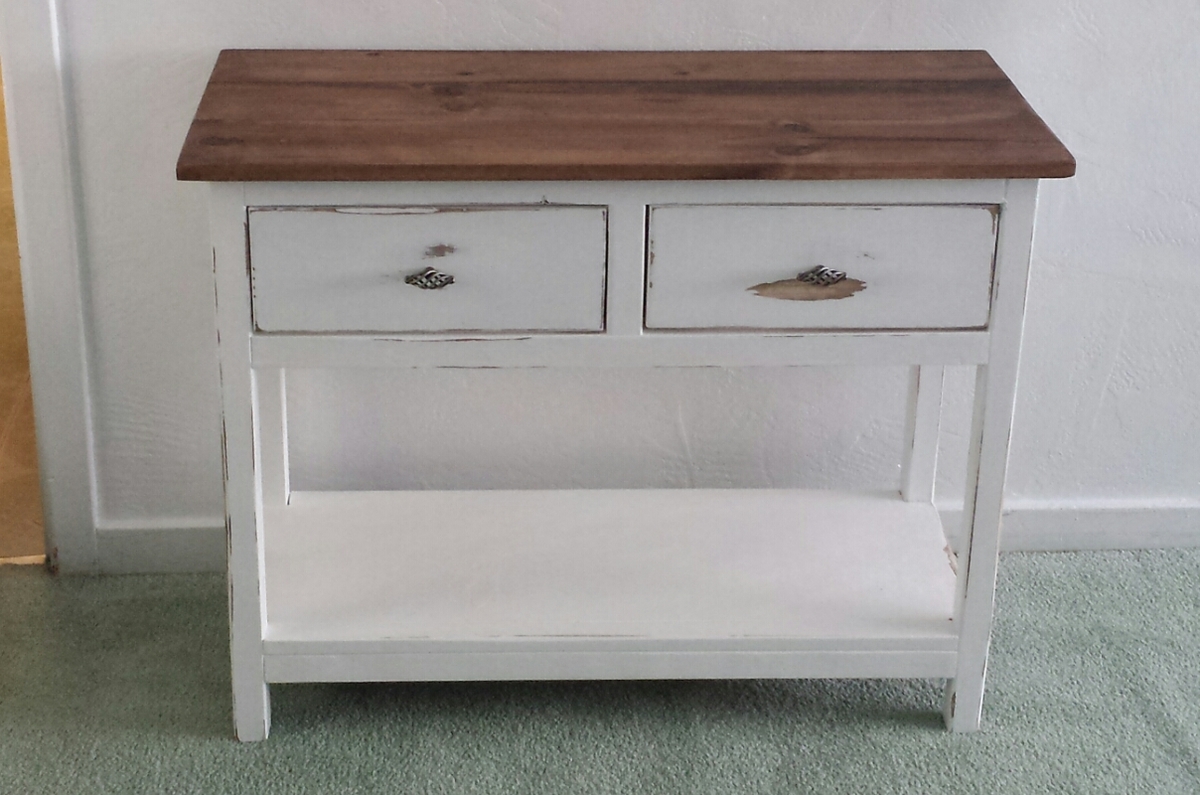
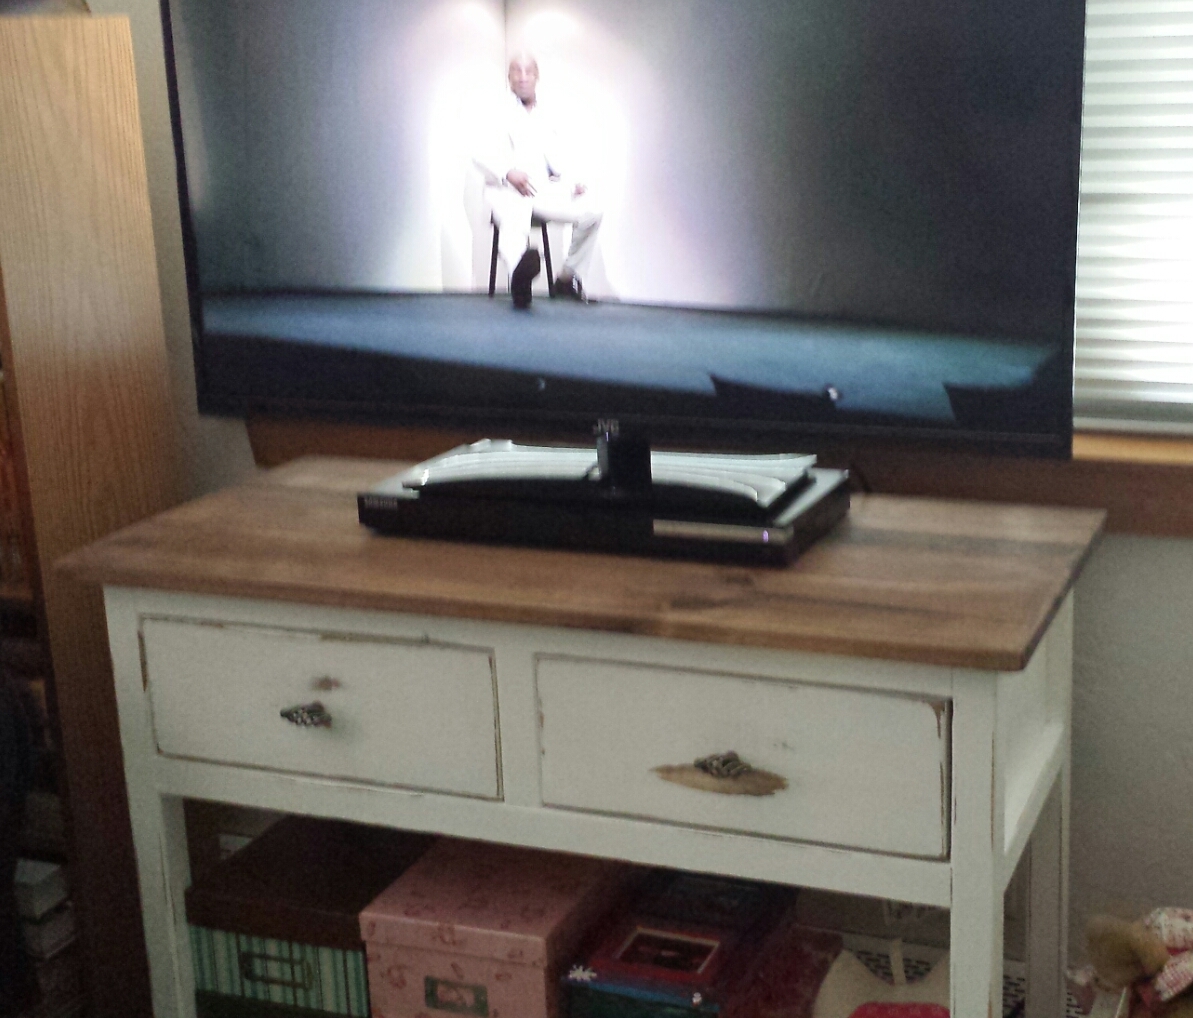
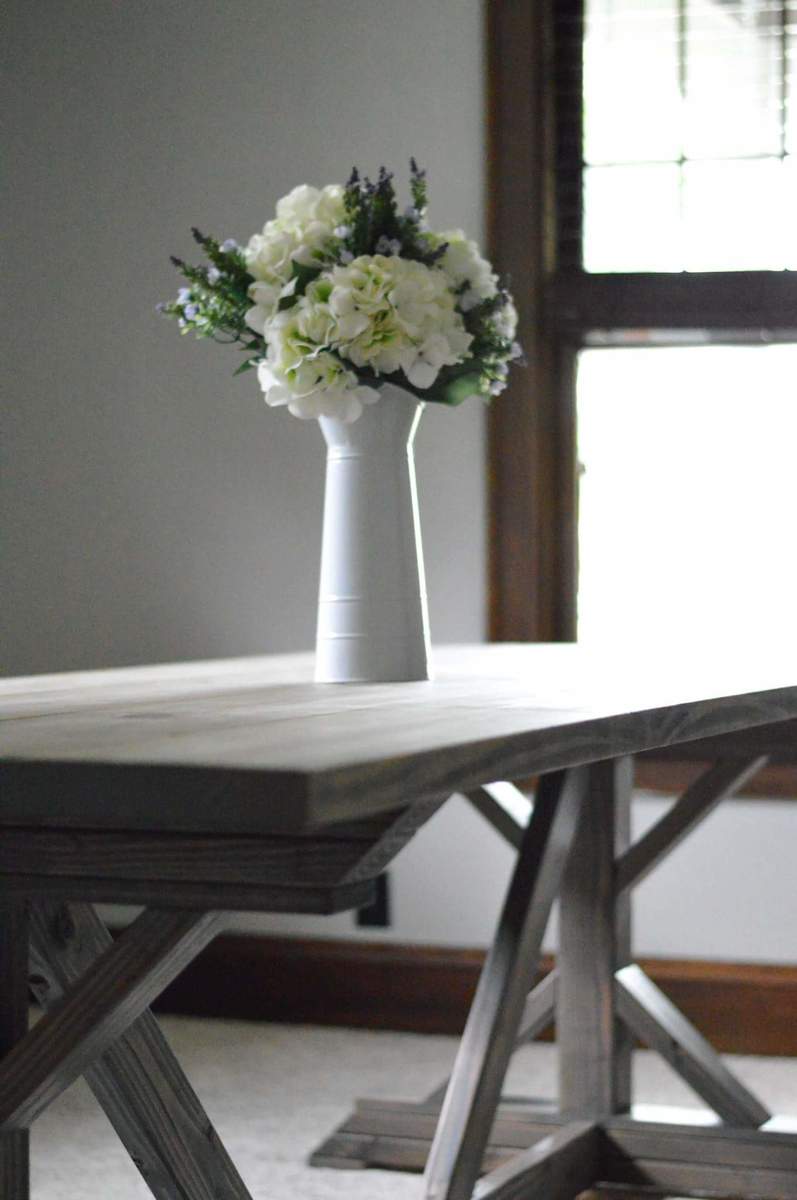
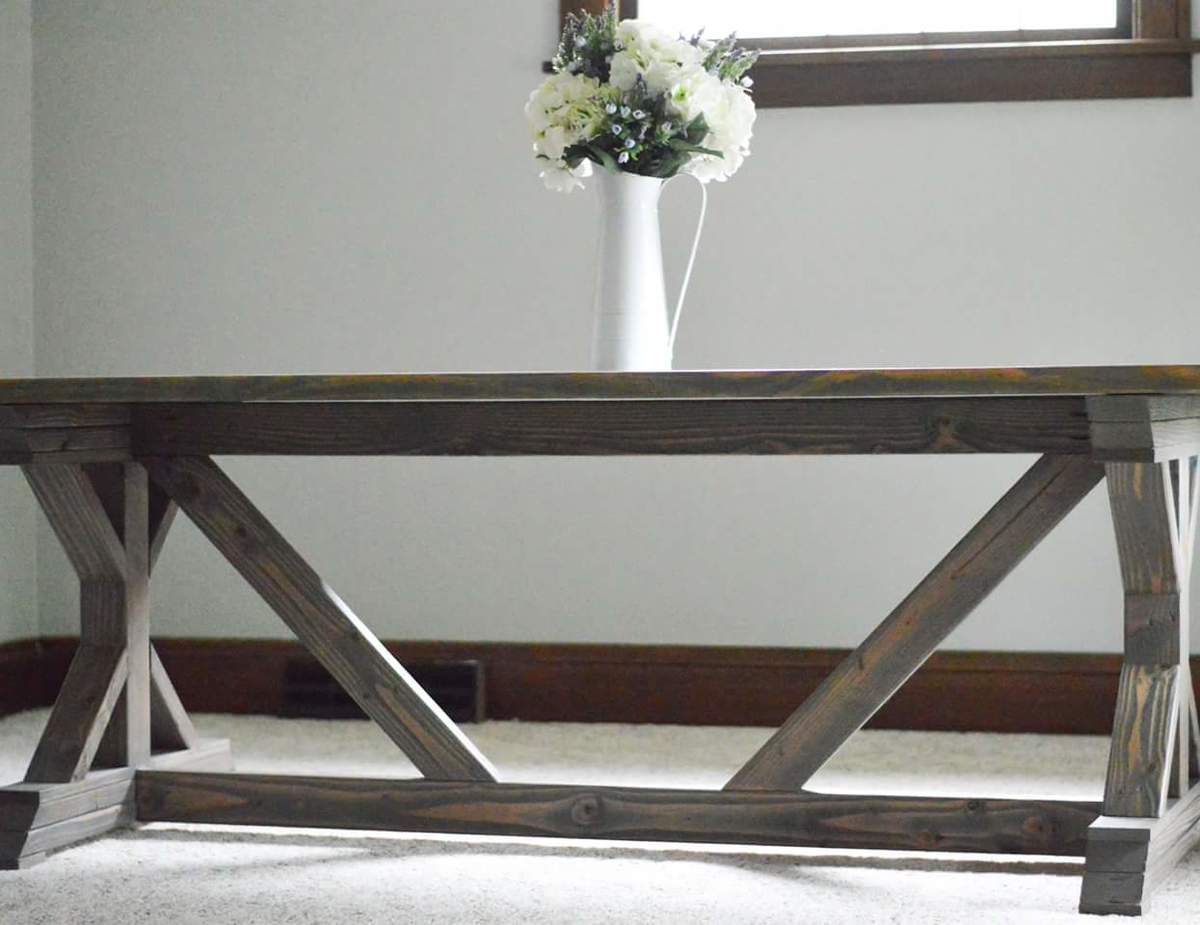
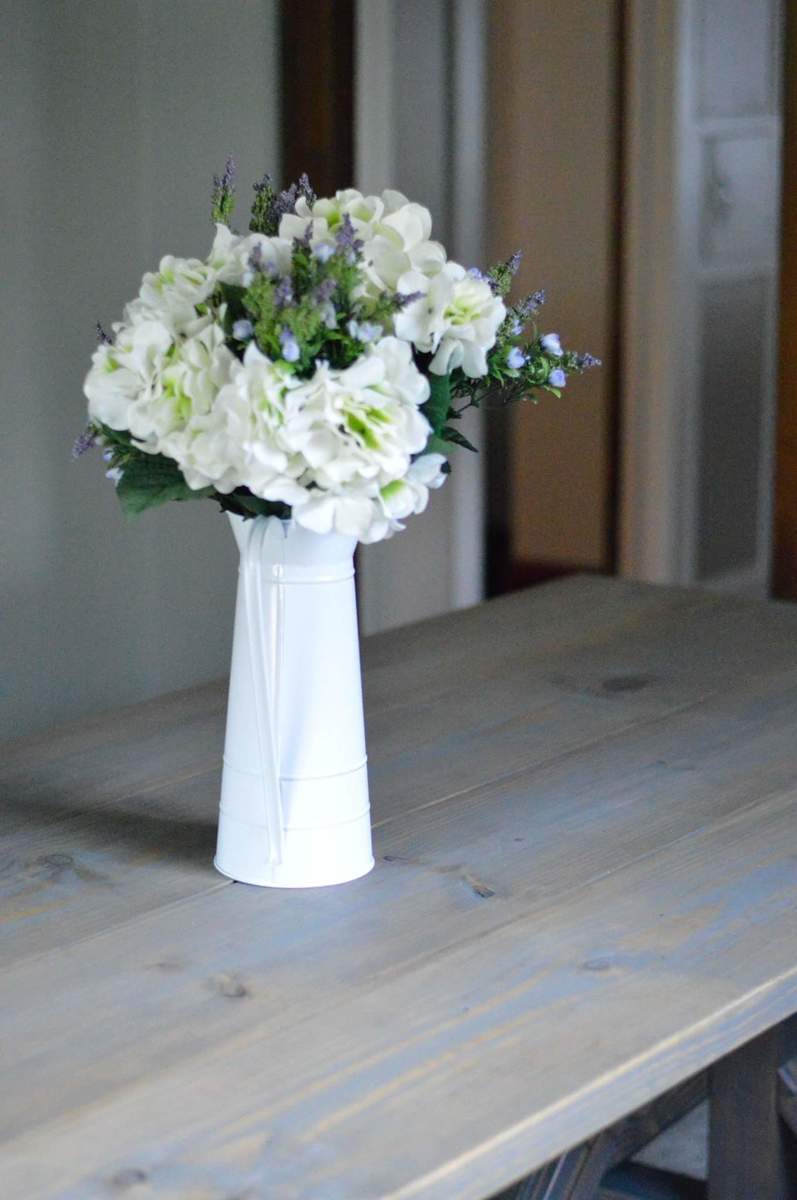
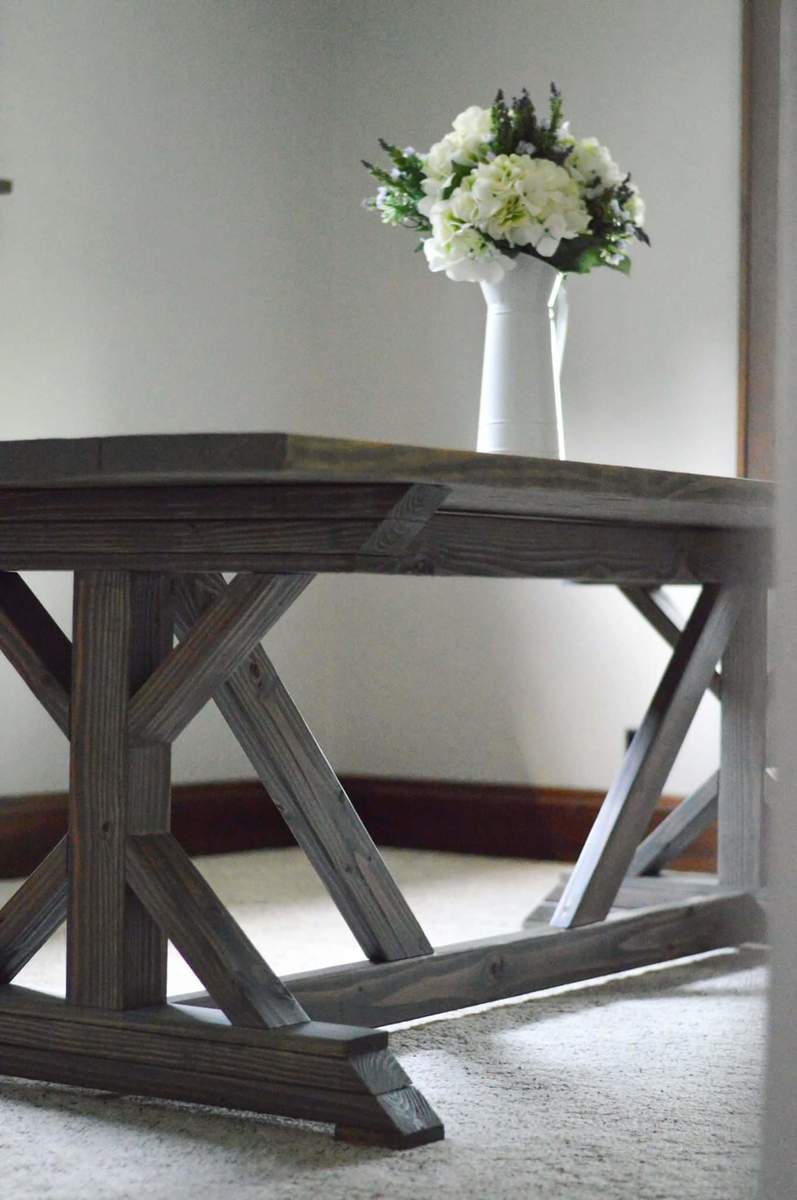
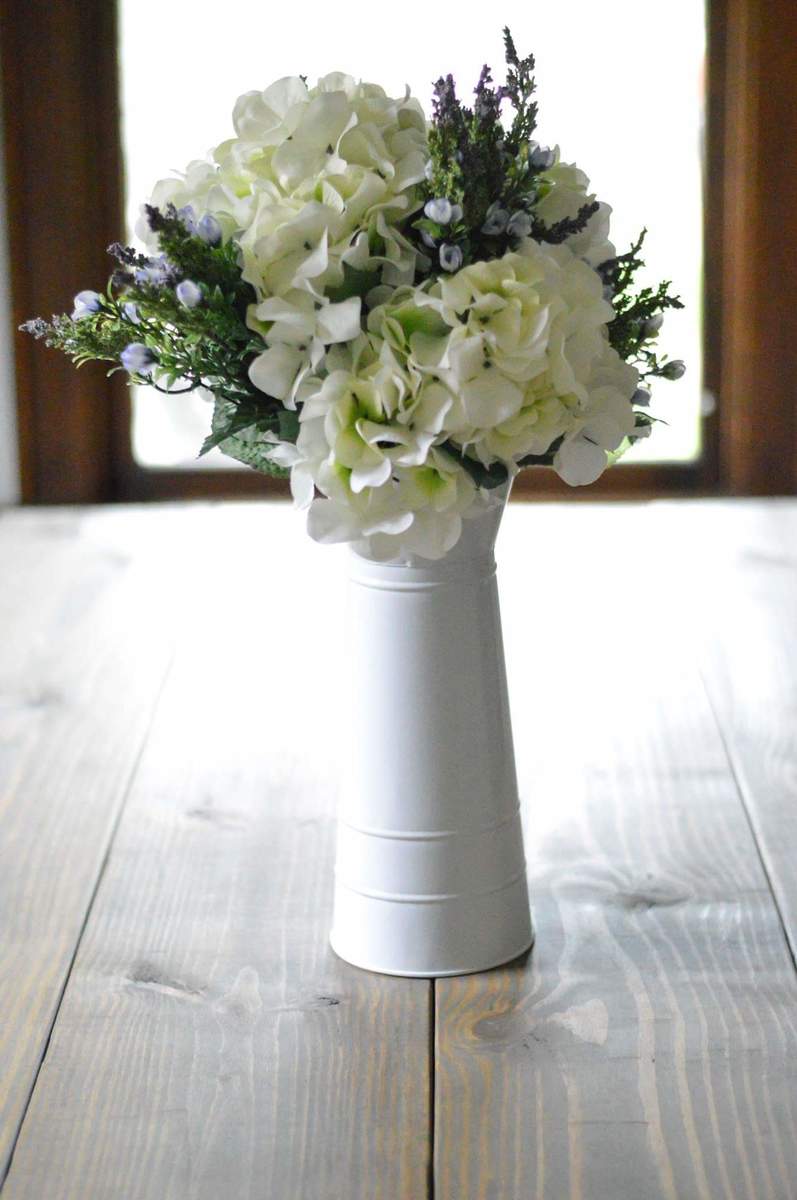
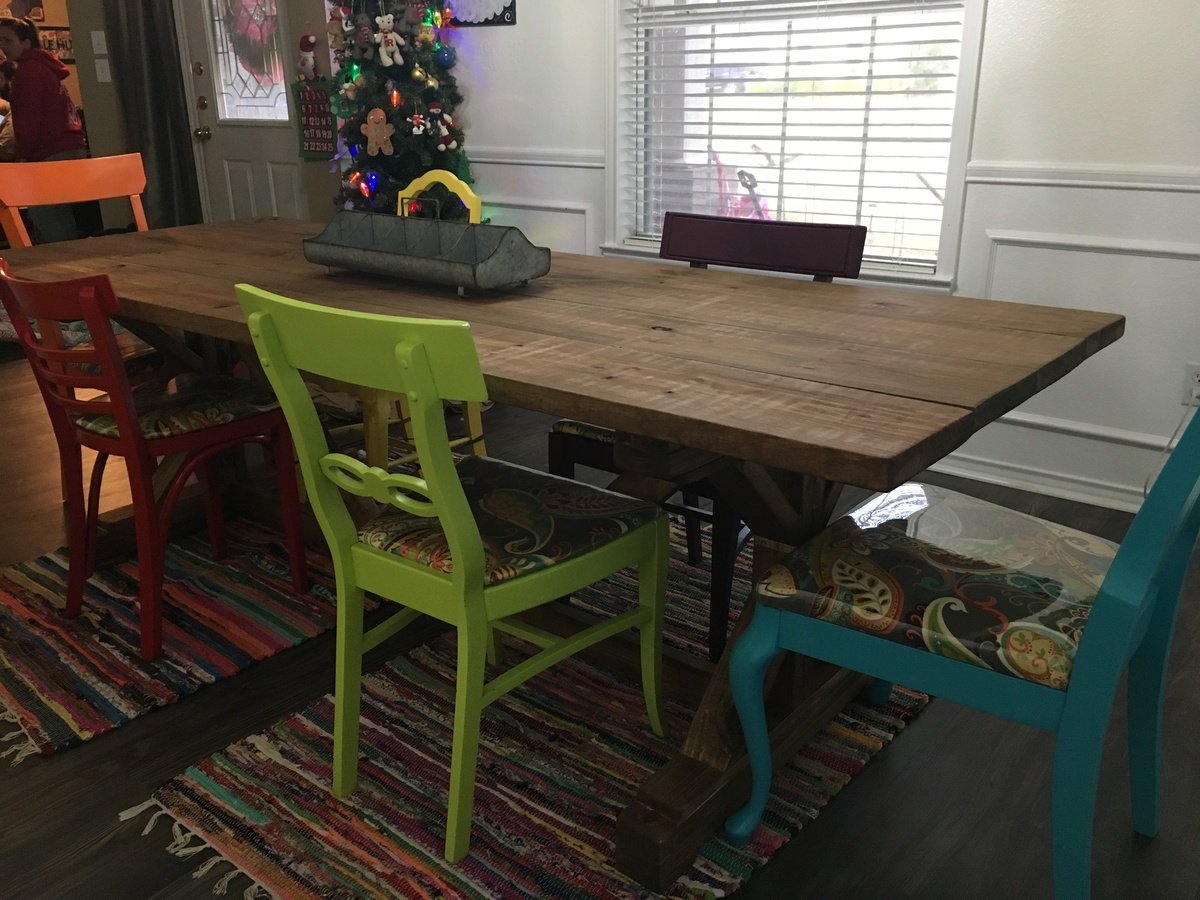
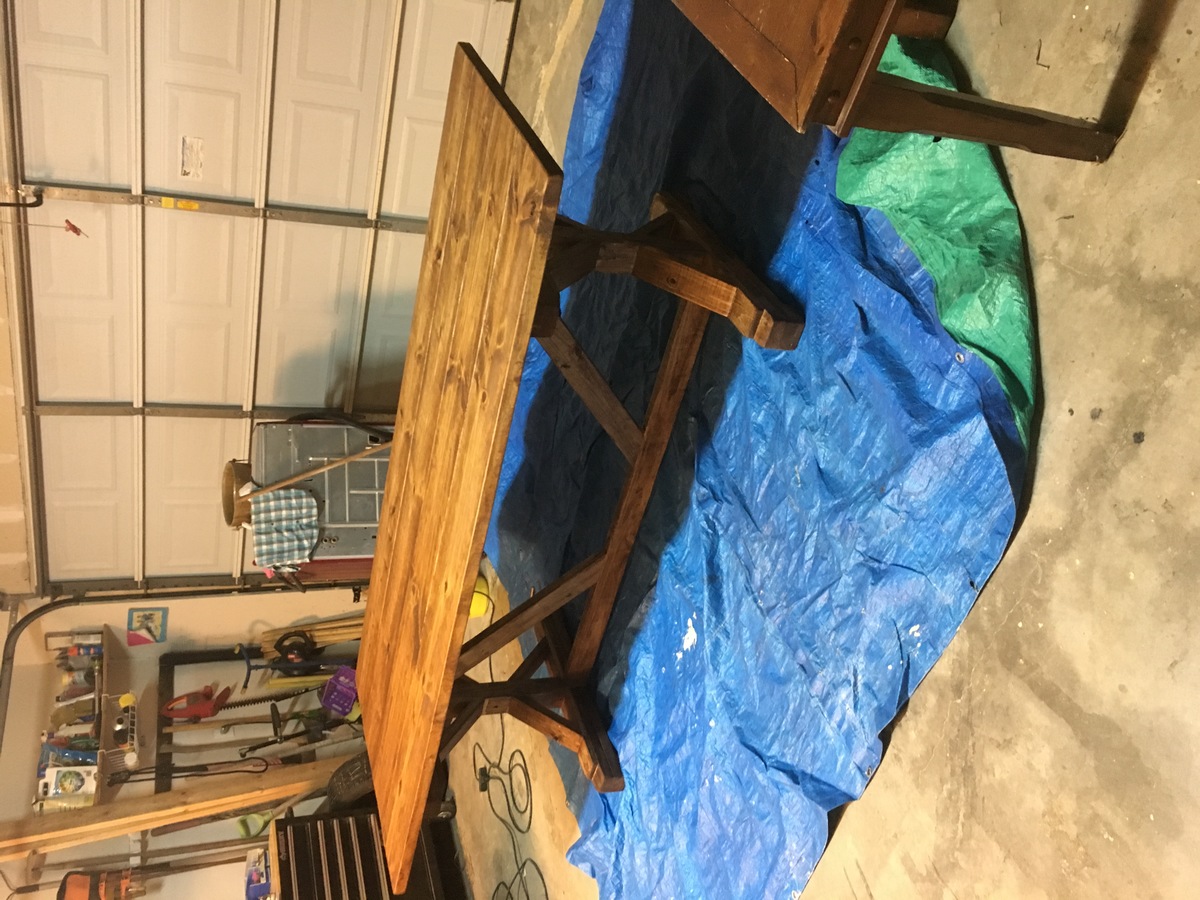
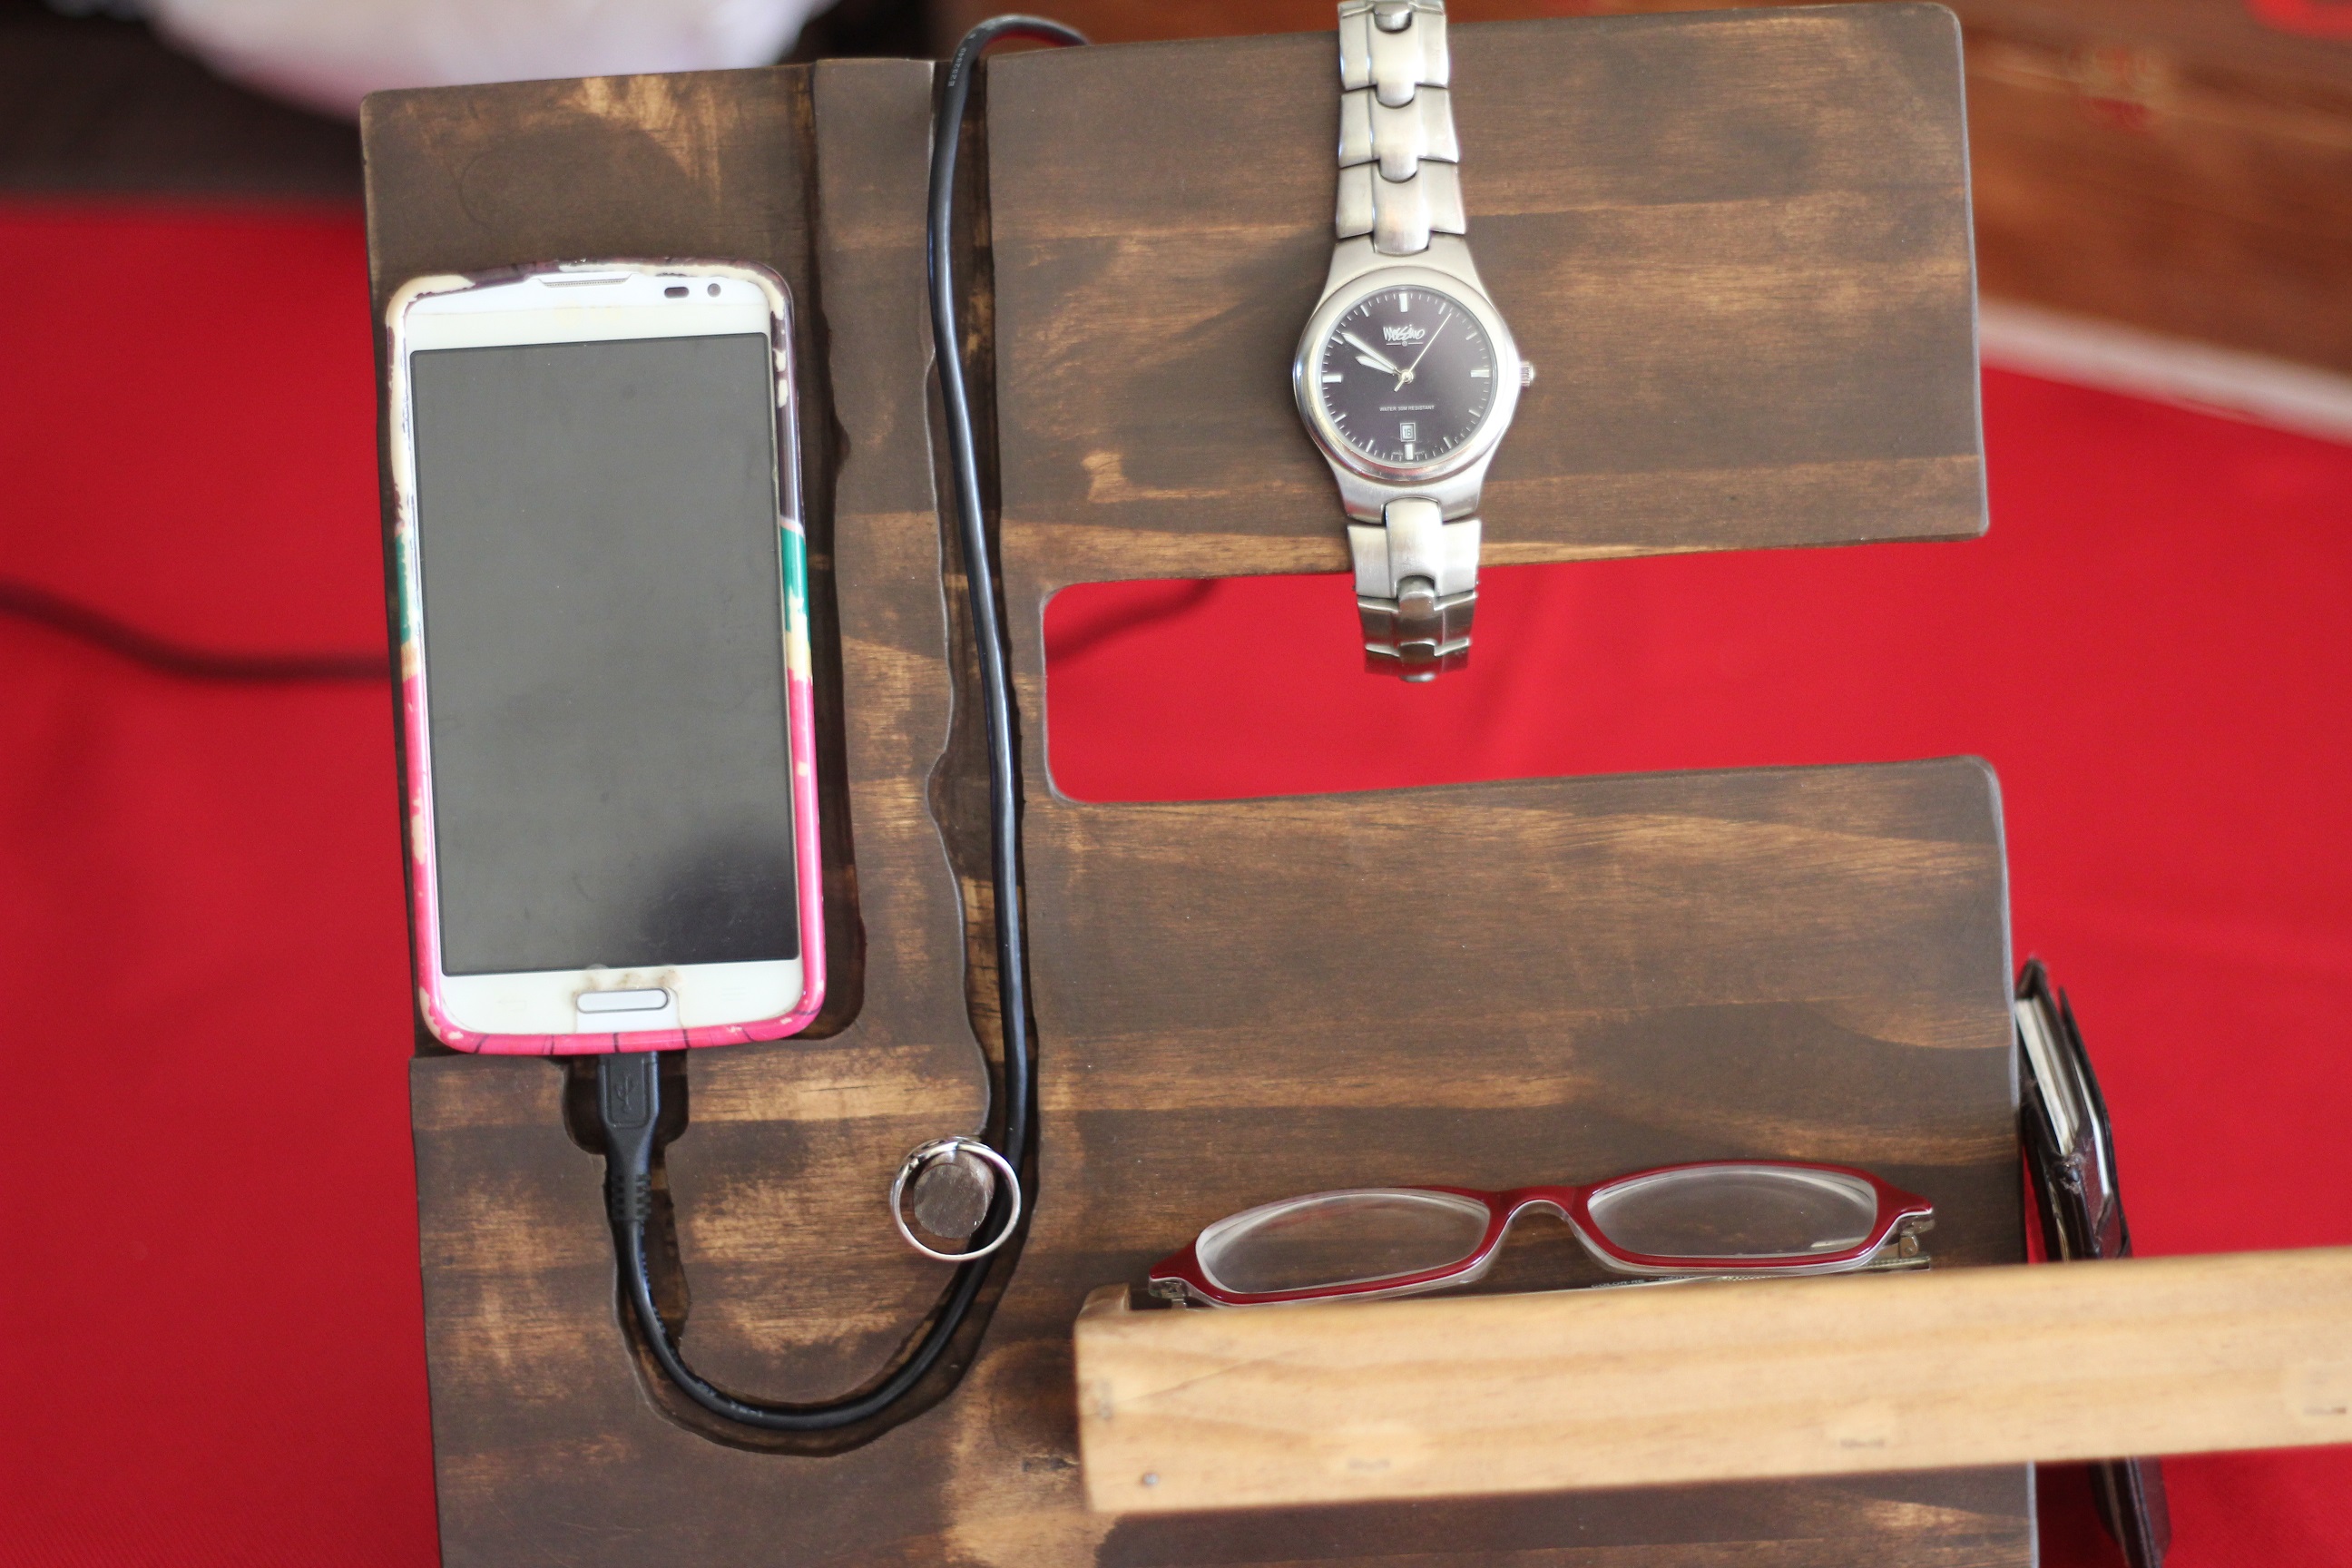
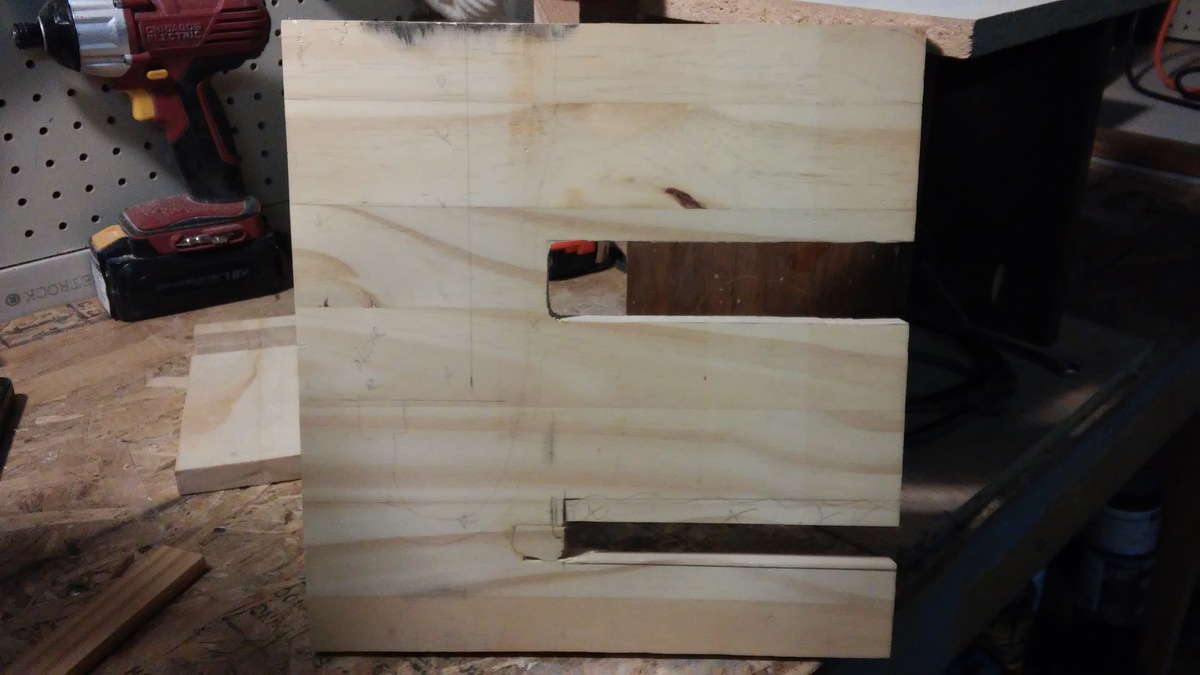
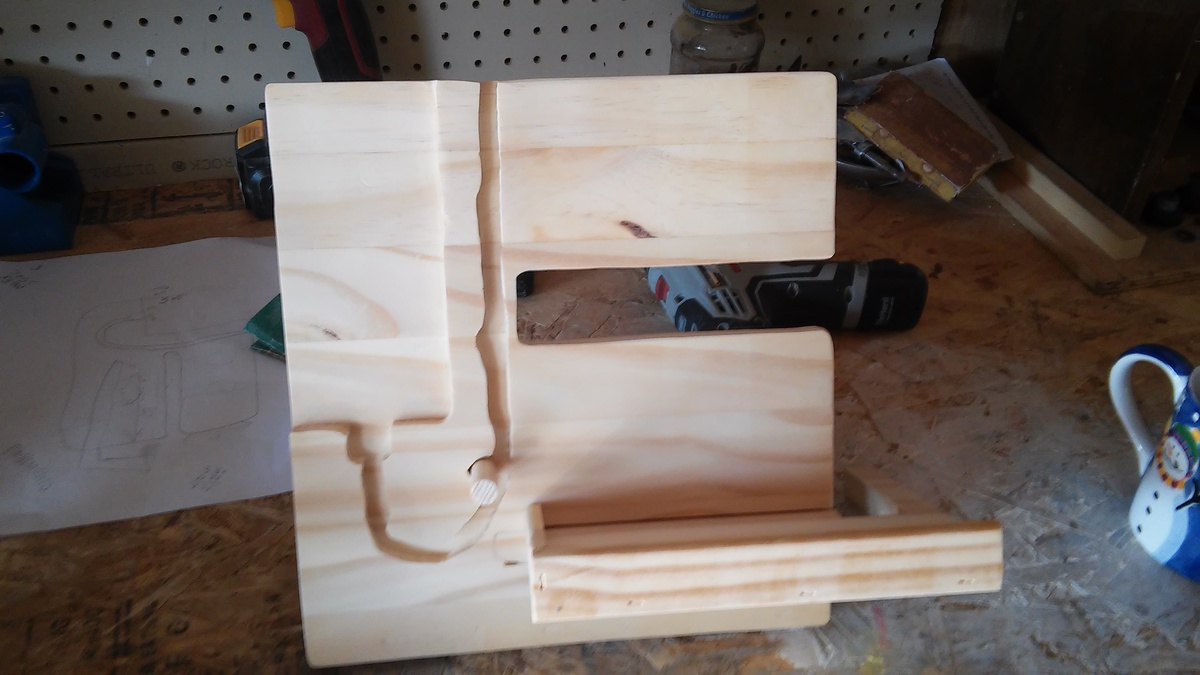
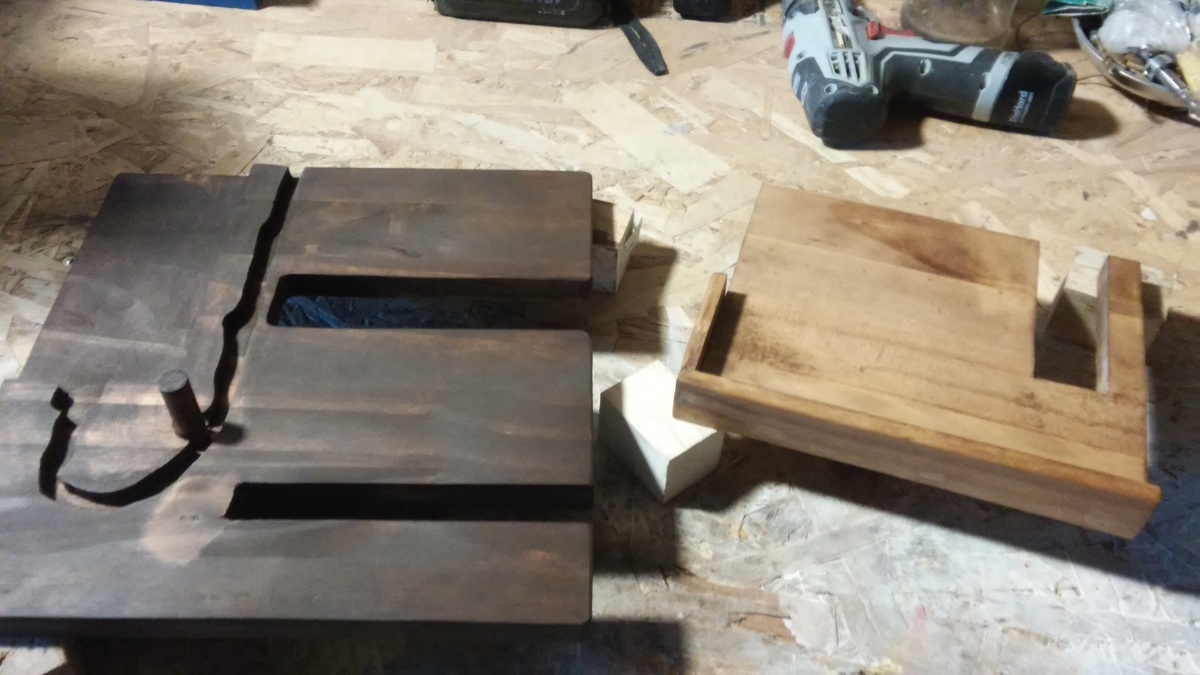
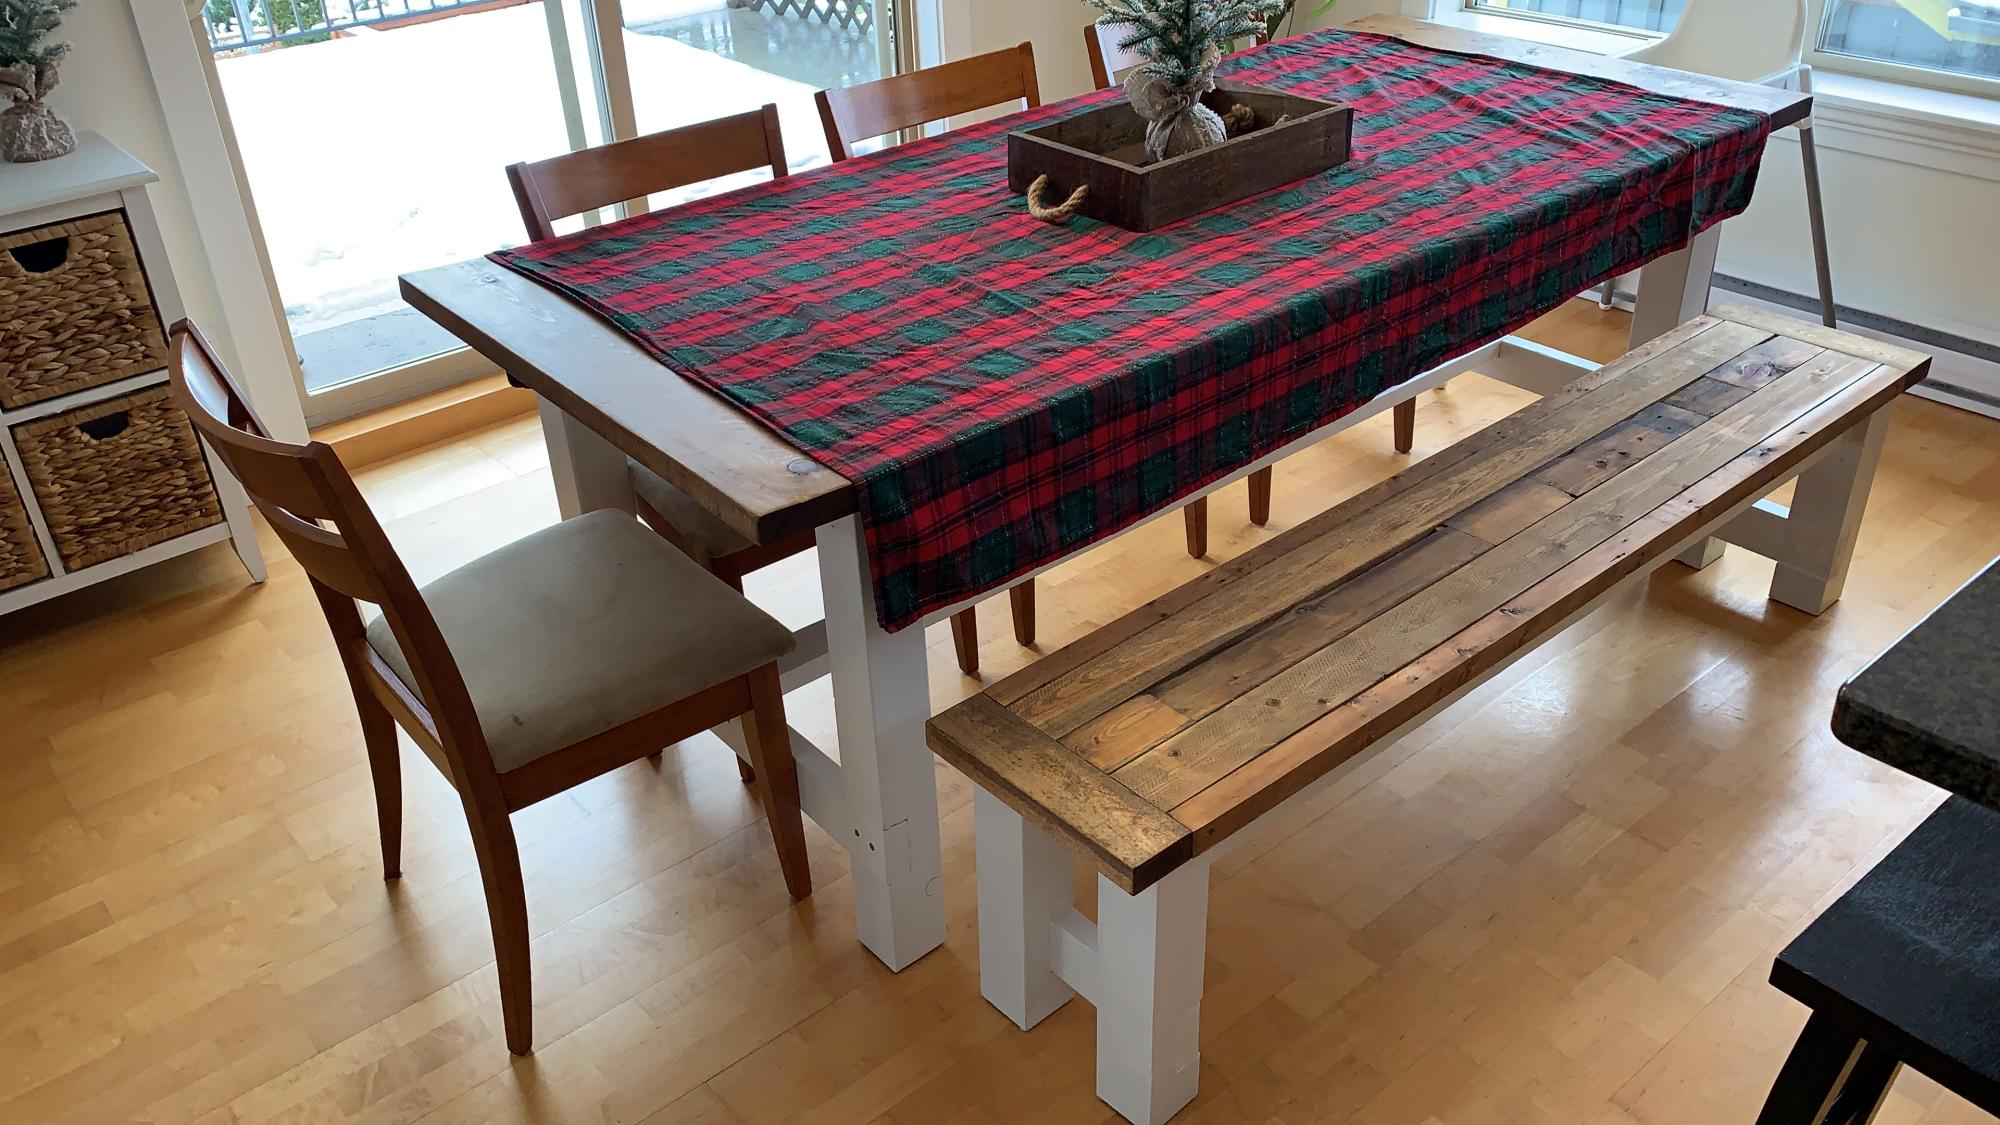
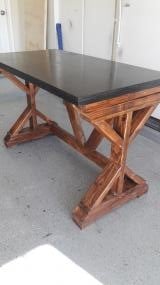
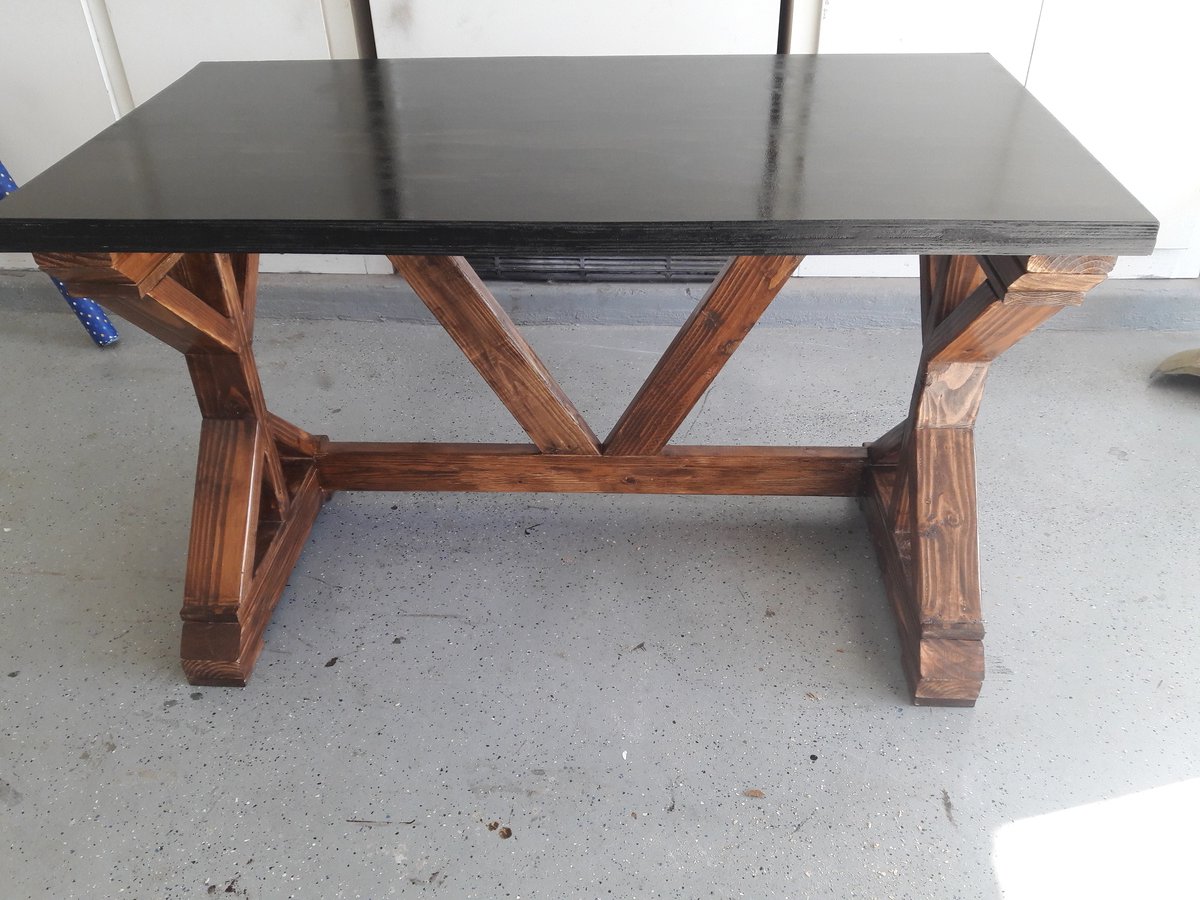
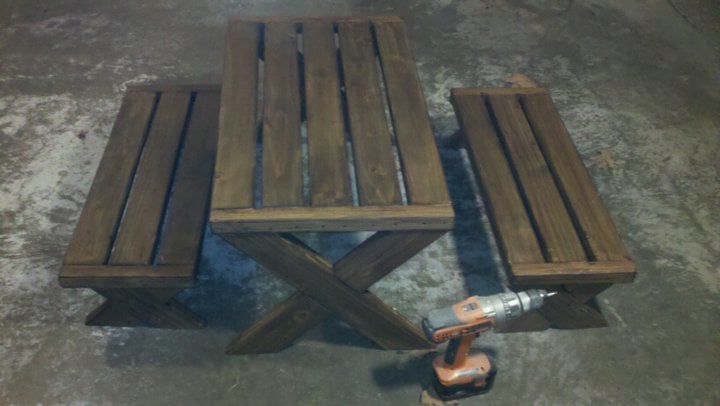
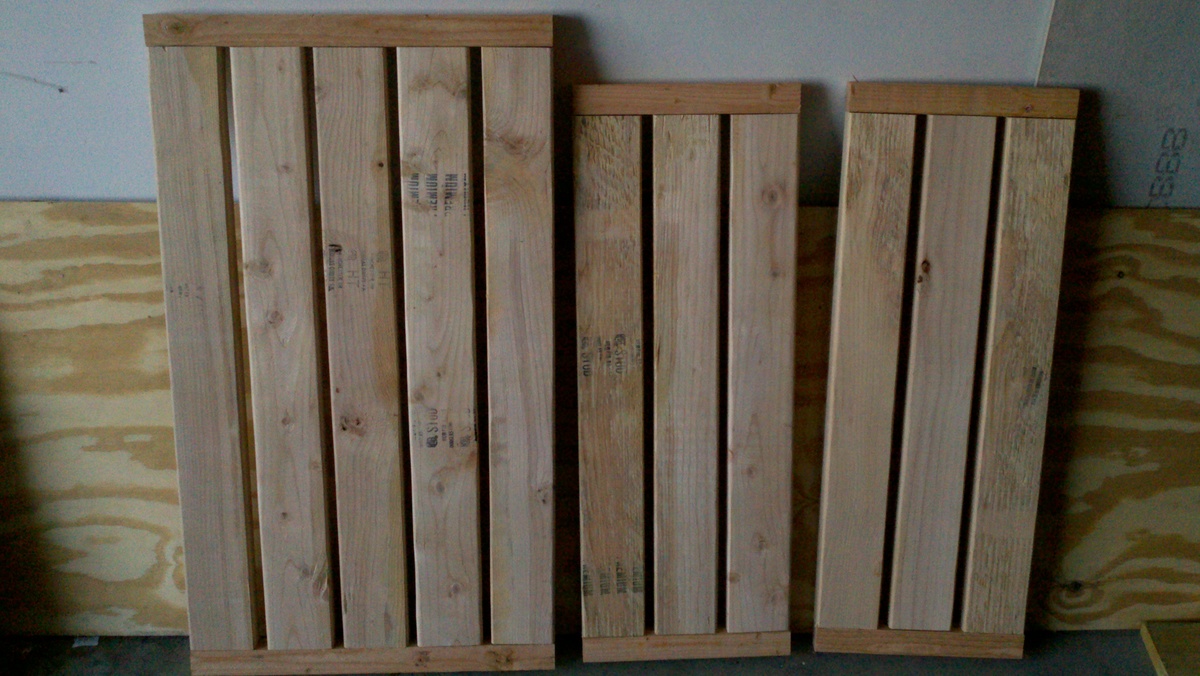
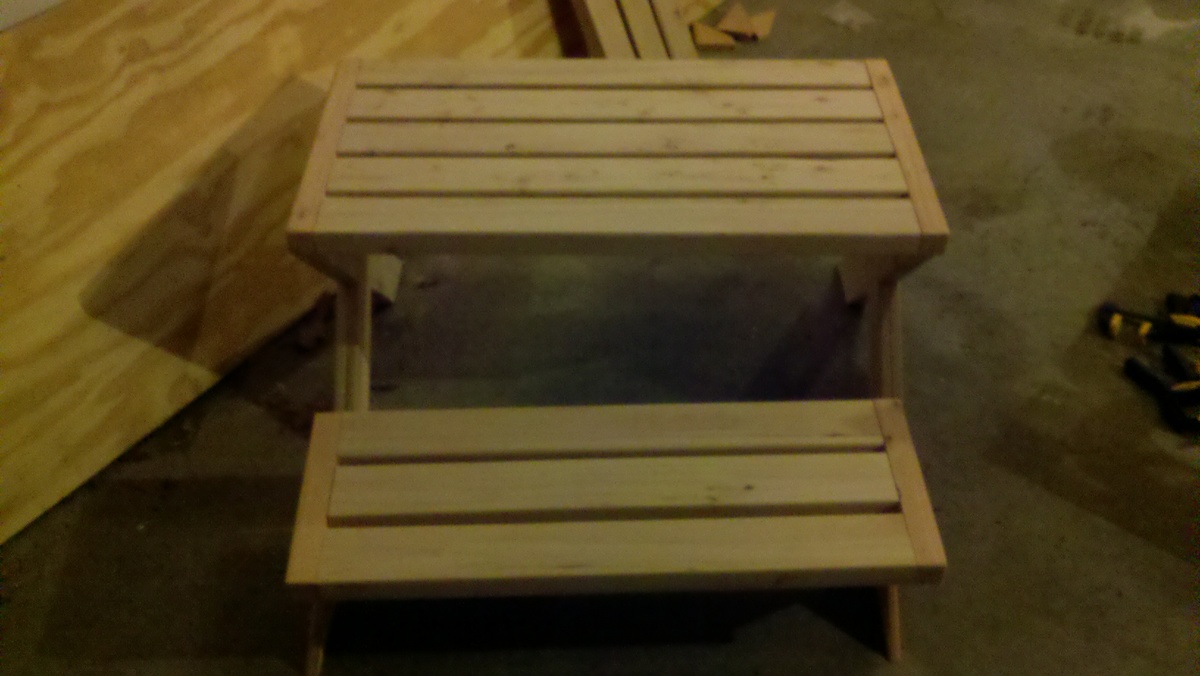
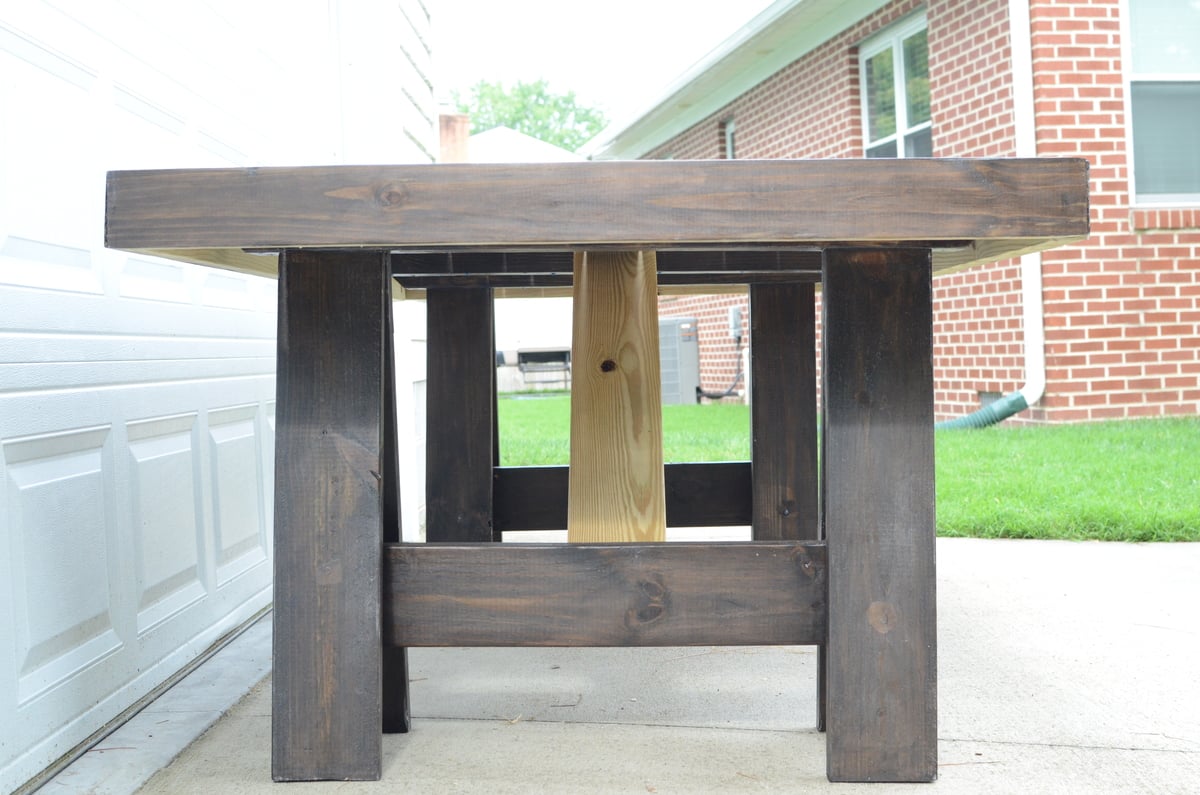
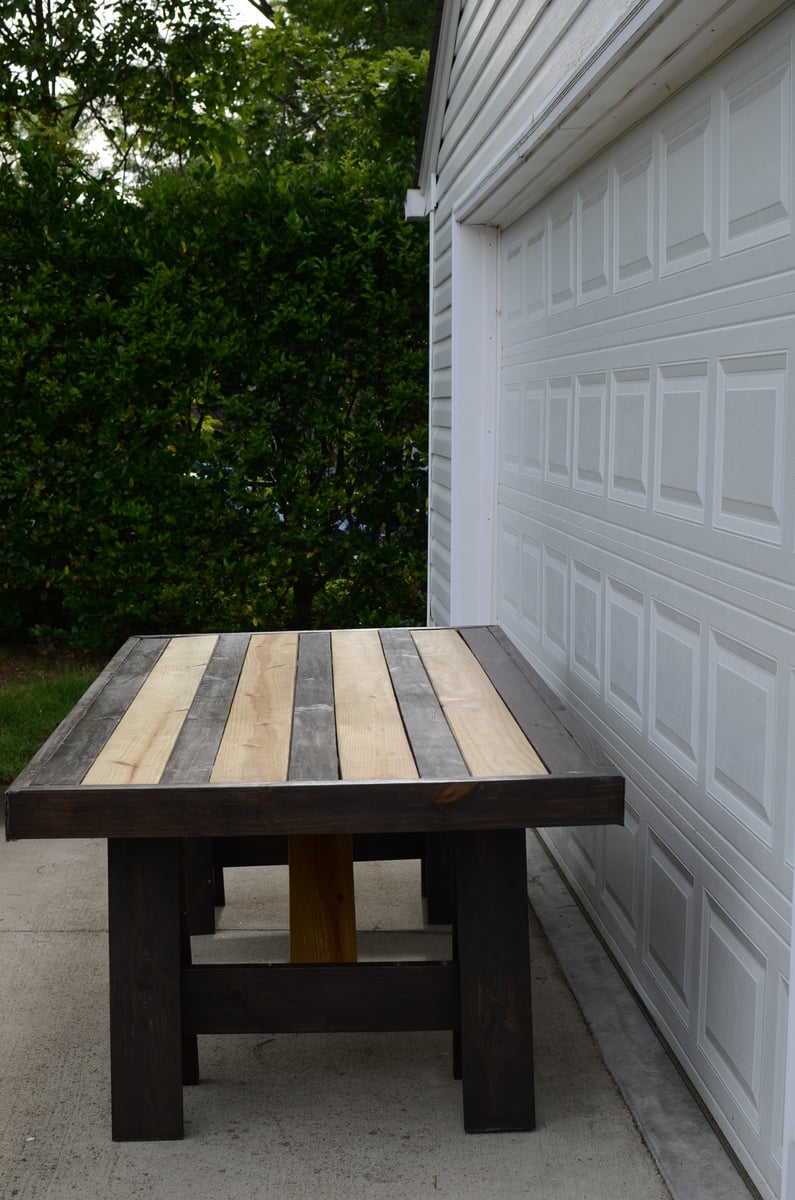
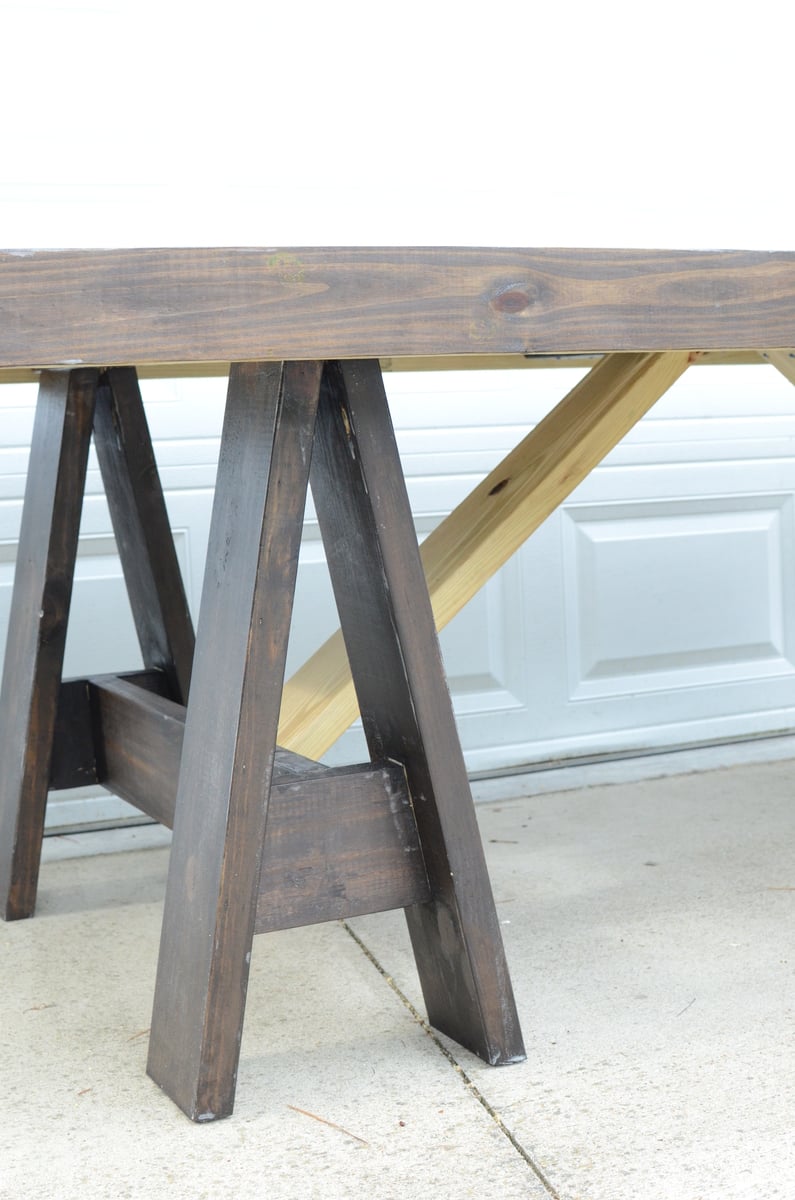
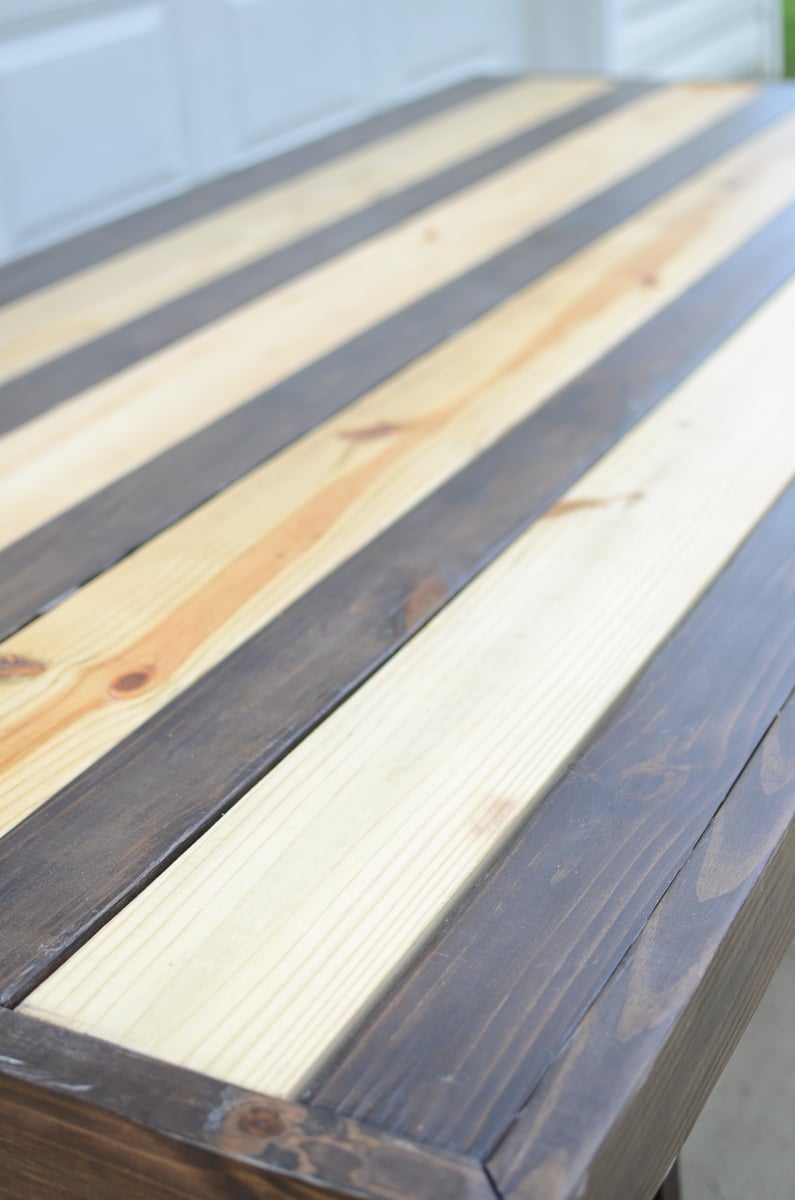
First Rustic X Console table build
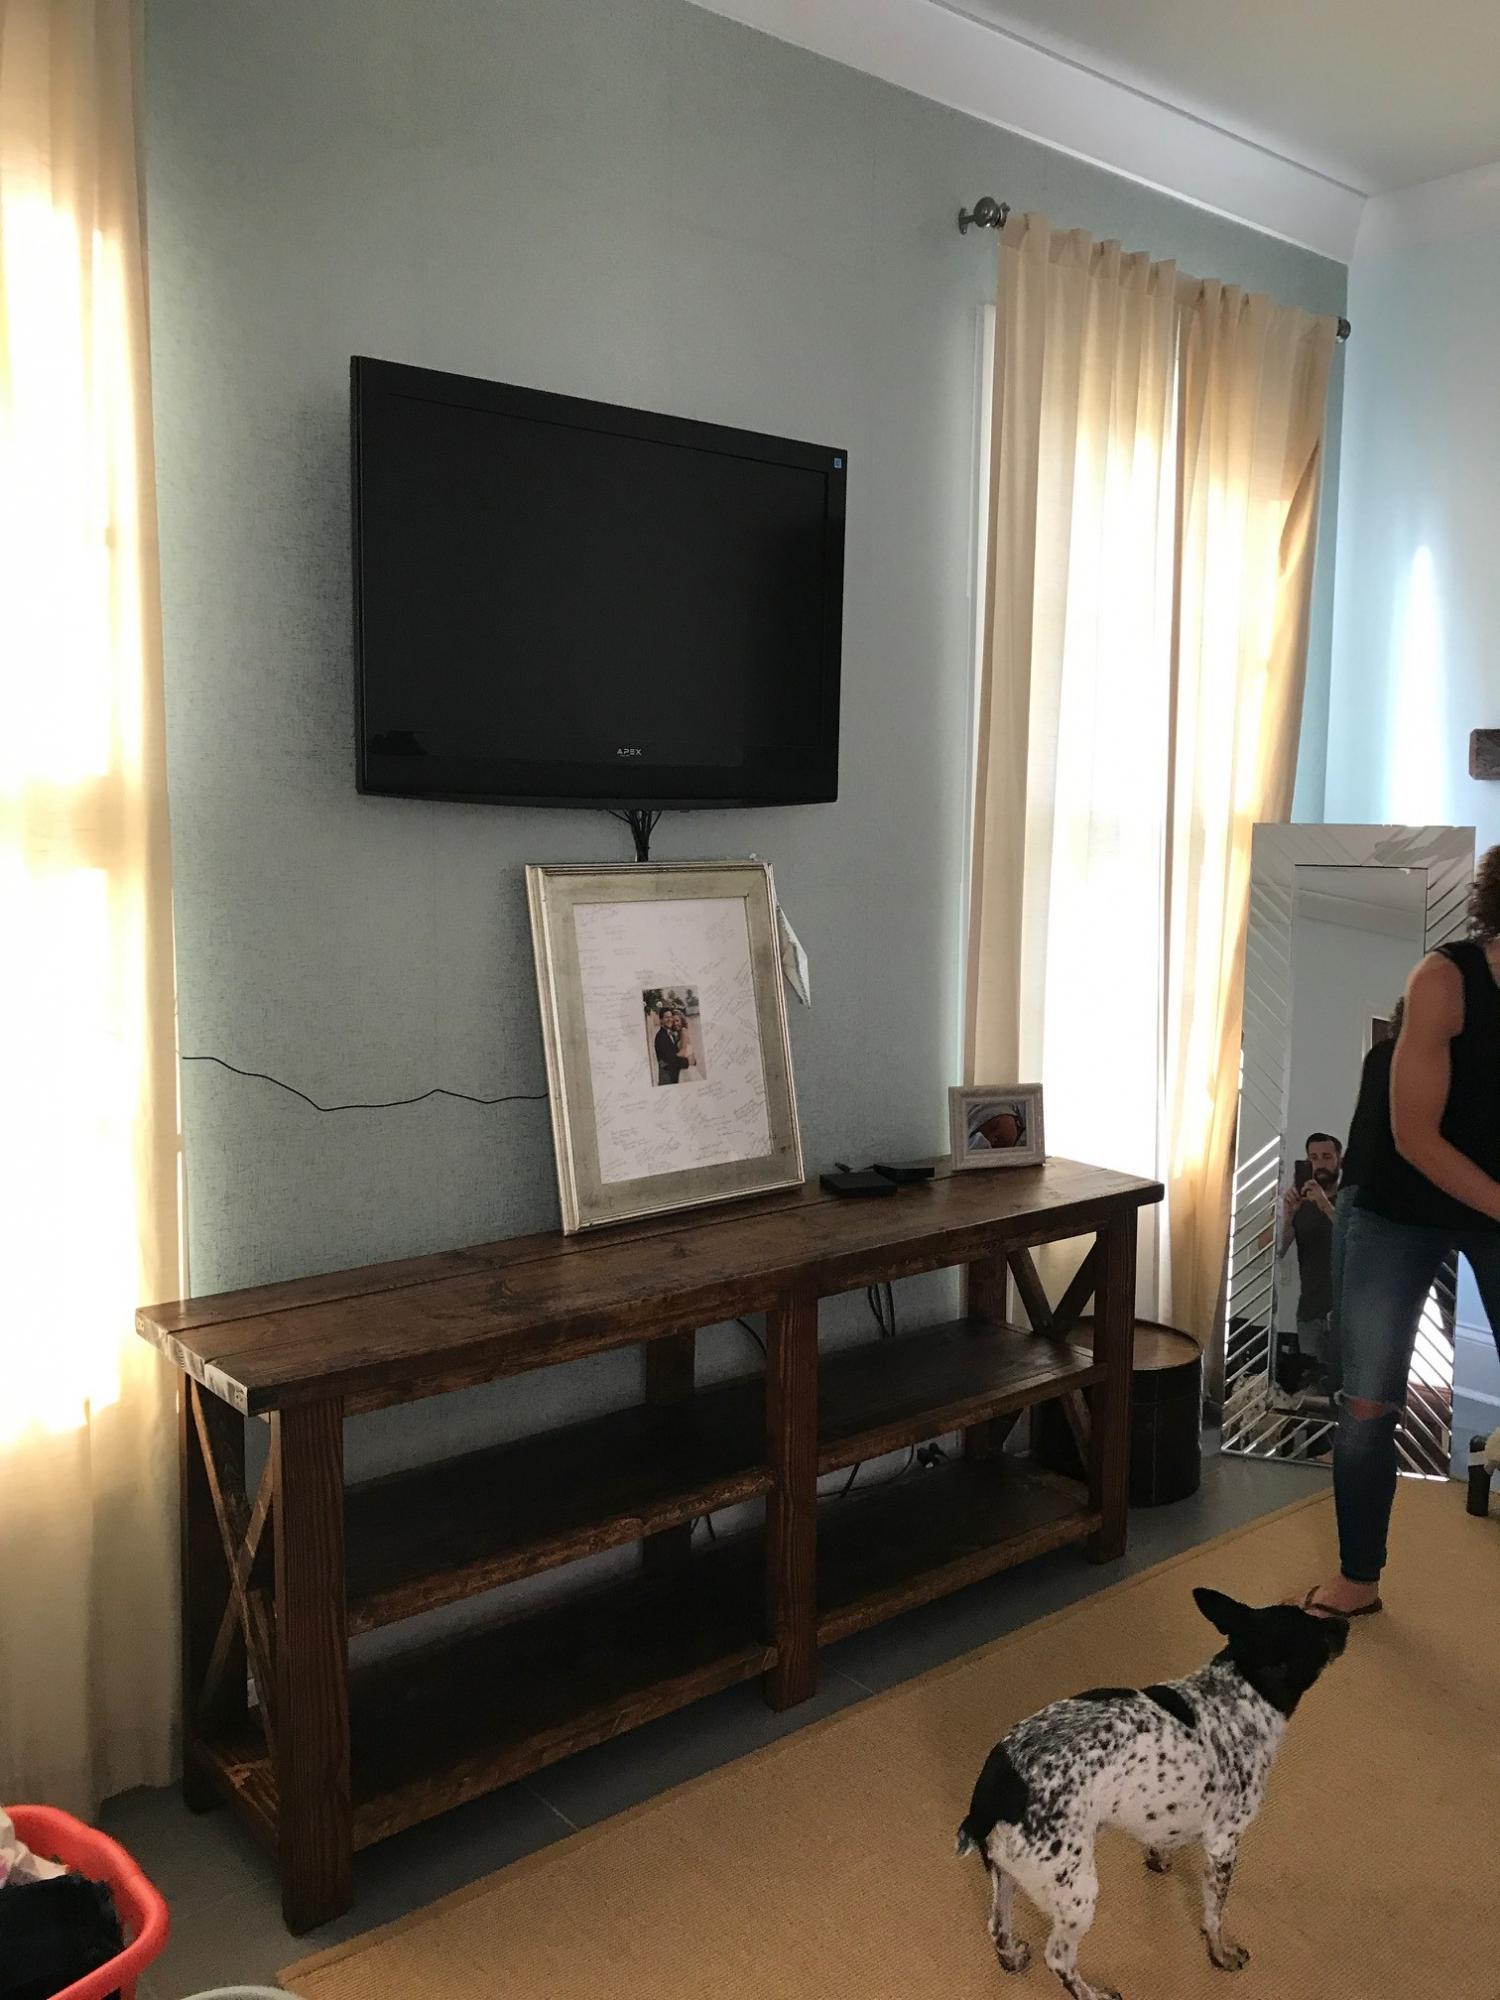
First stab at this table turned out so well a friend bought it off me and I had to build a second.
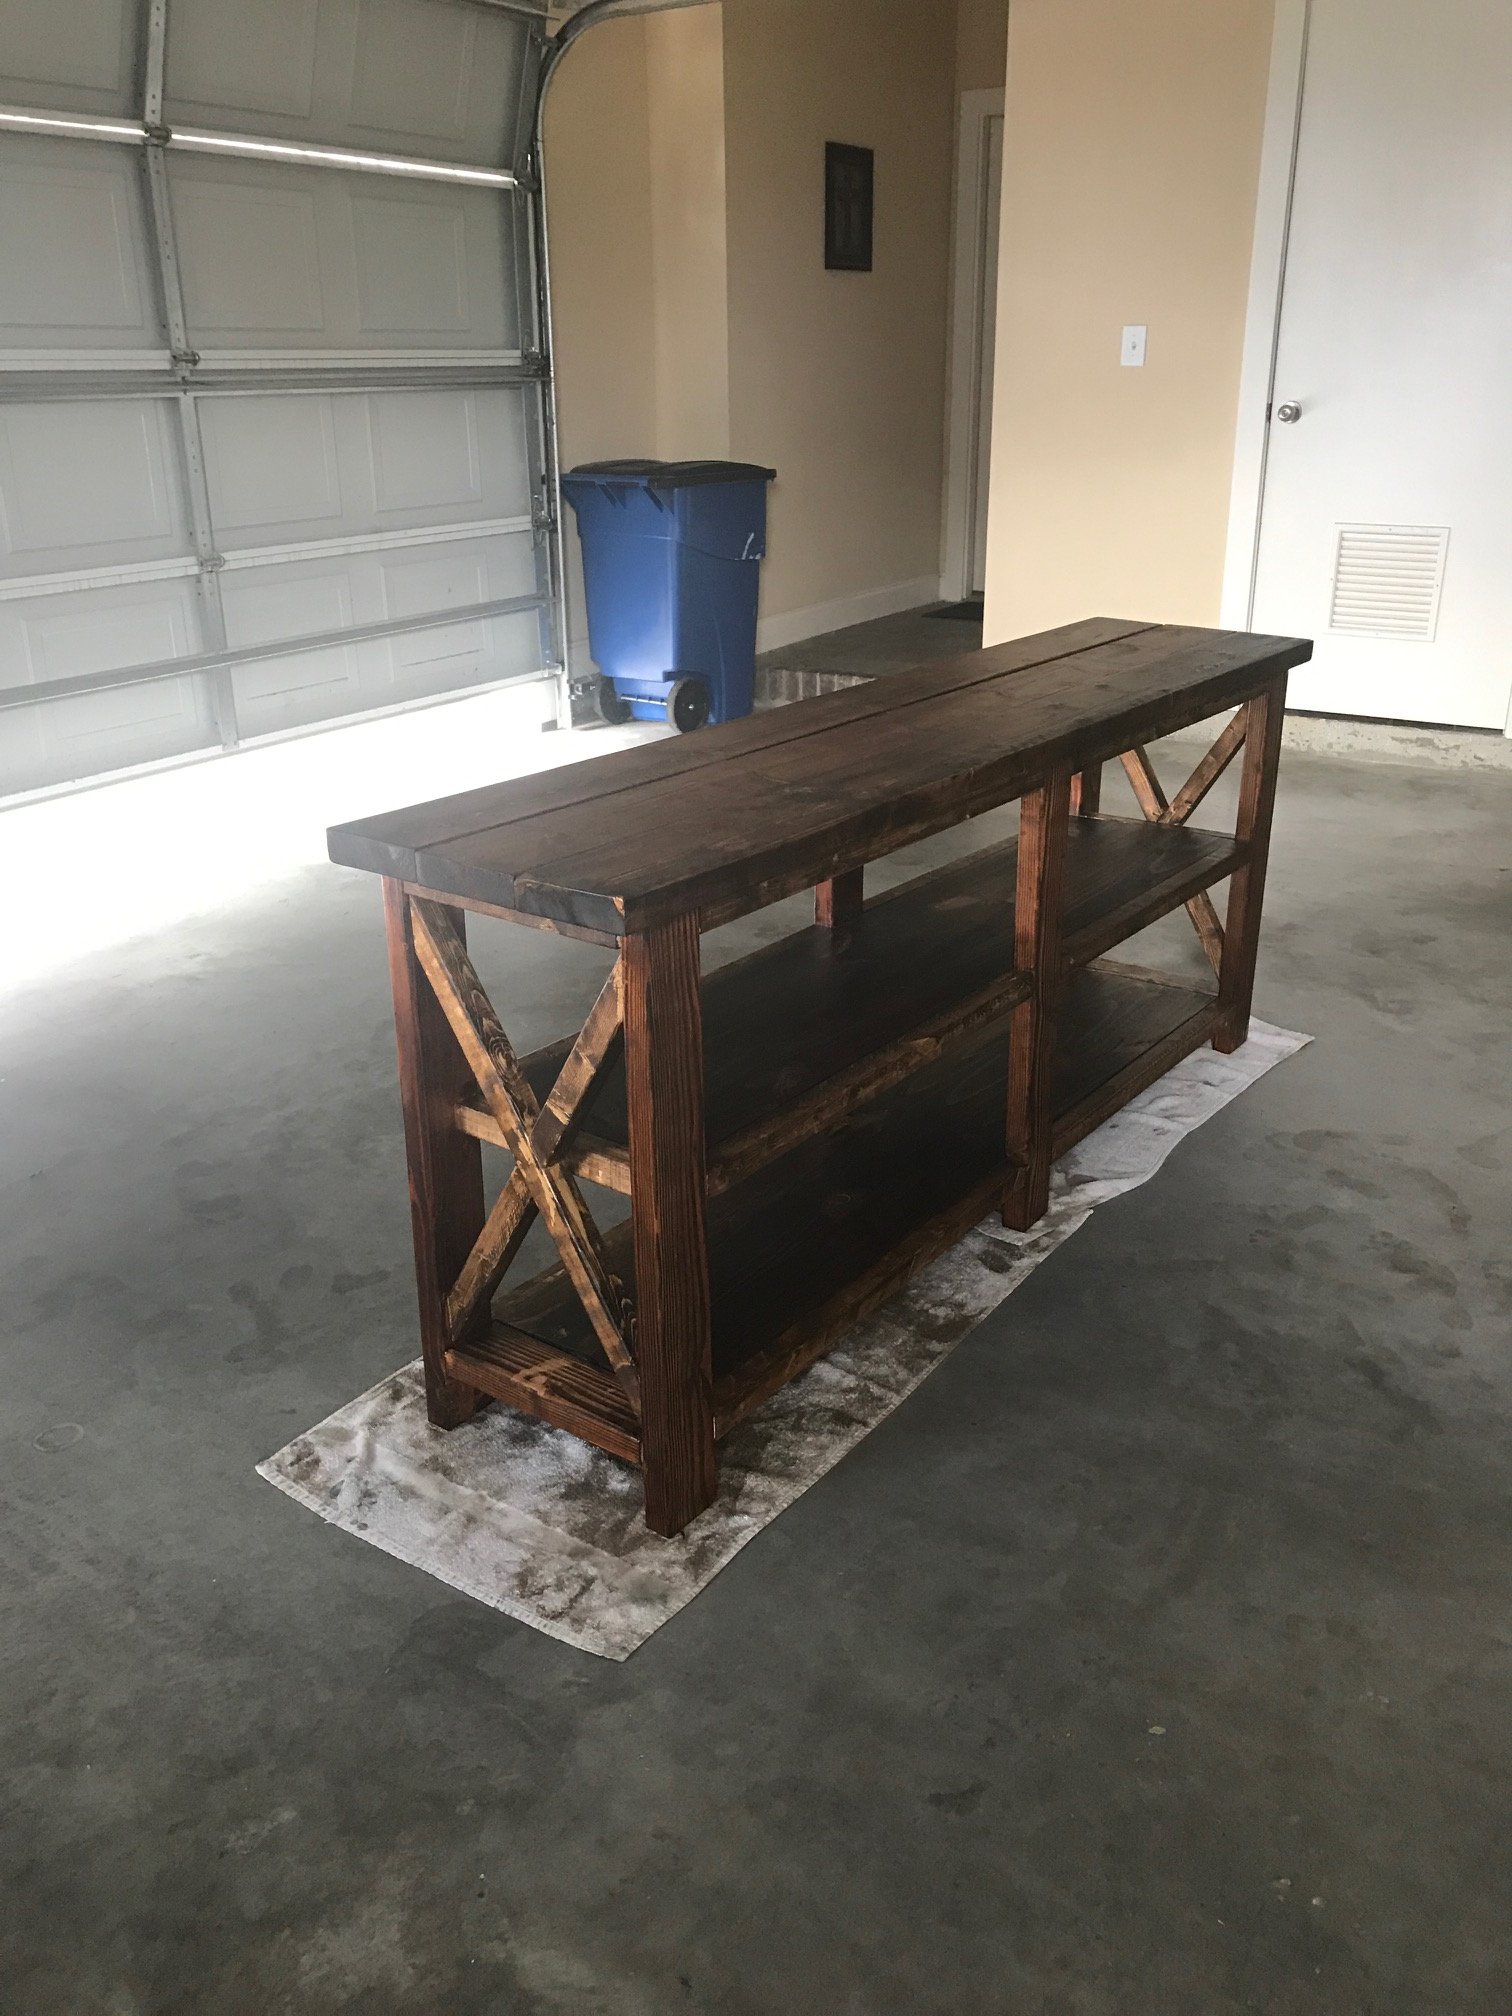
Built from Plan(s)
Estimated Cost
$100
Estimated Time Investment
Weekend Project (10-20 Hours)
Finish Used
Miniwax Provincial Stain and Polyurethane
Recommended Skill Level
Beginner