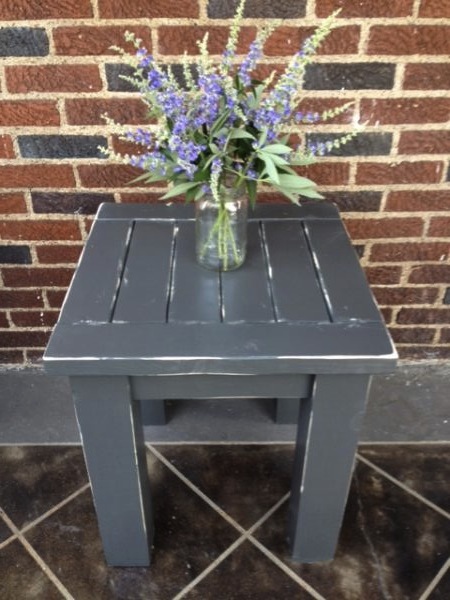
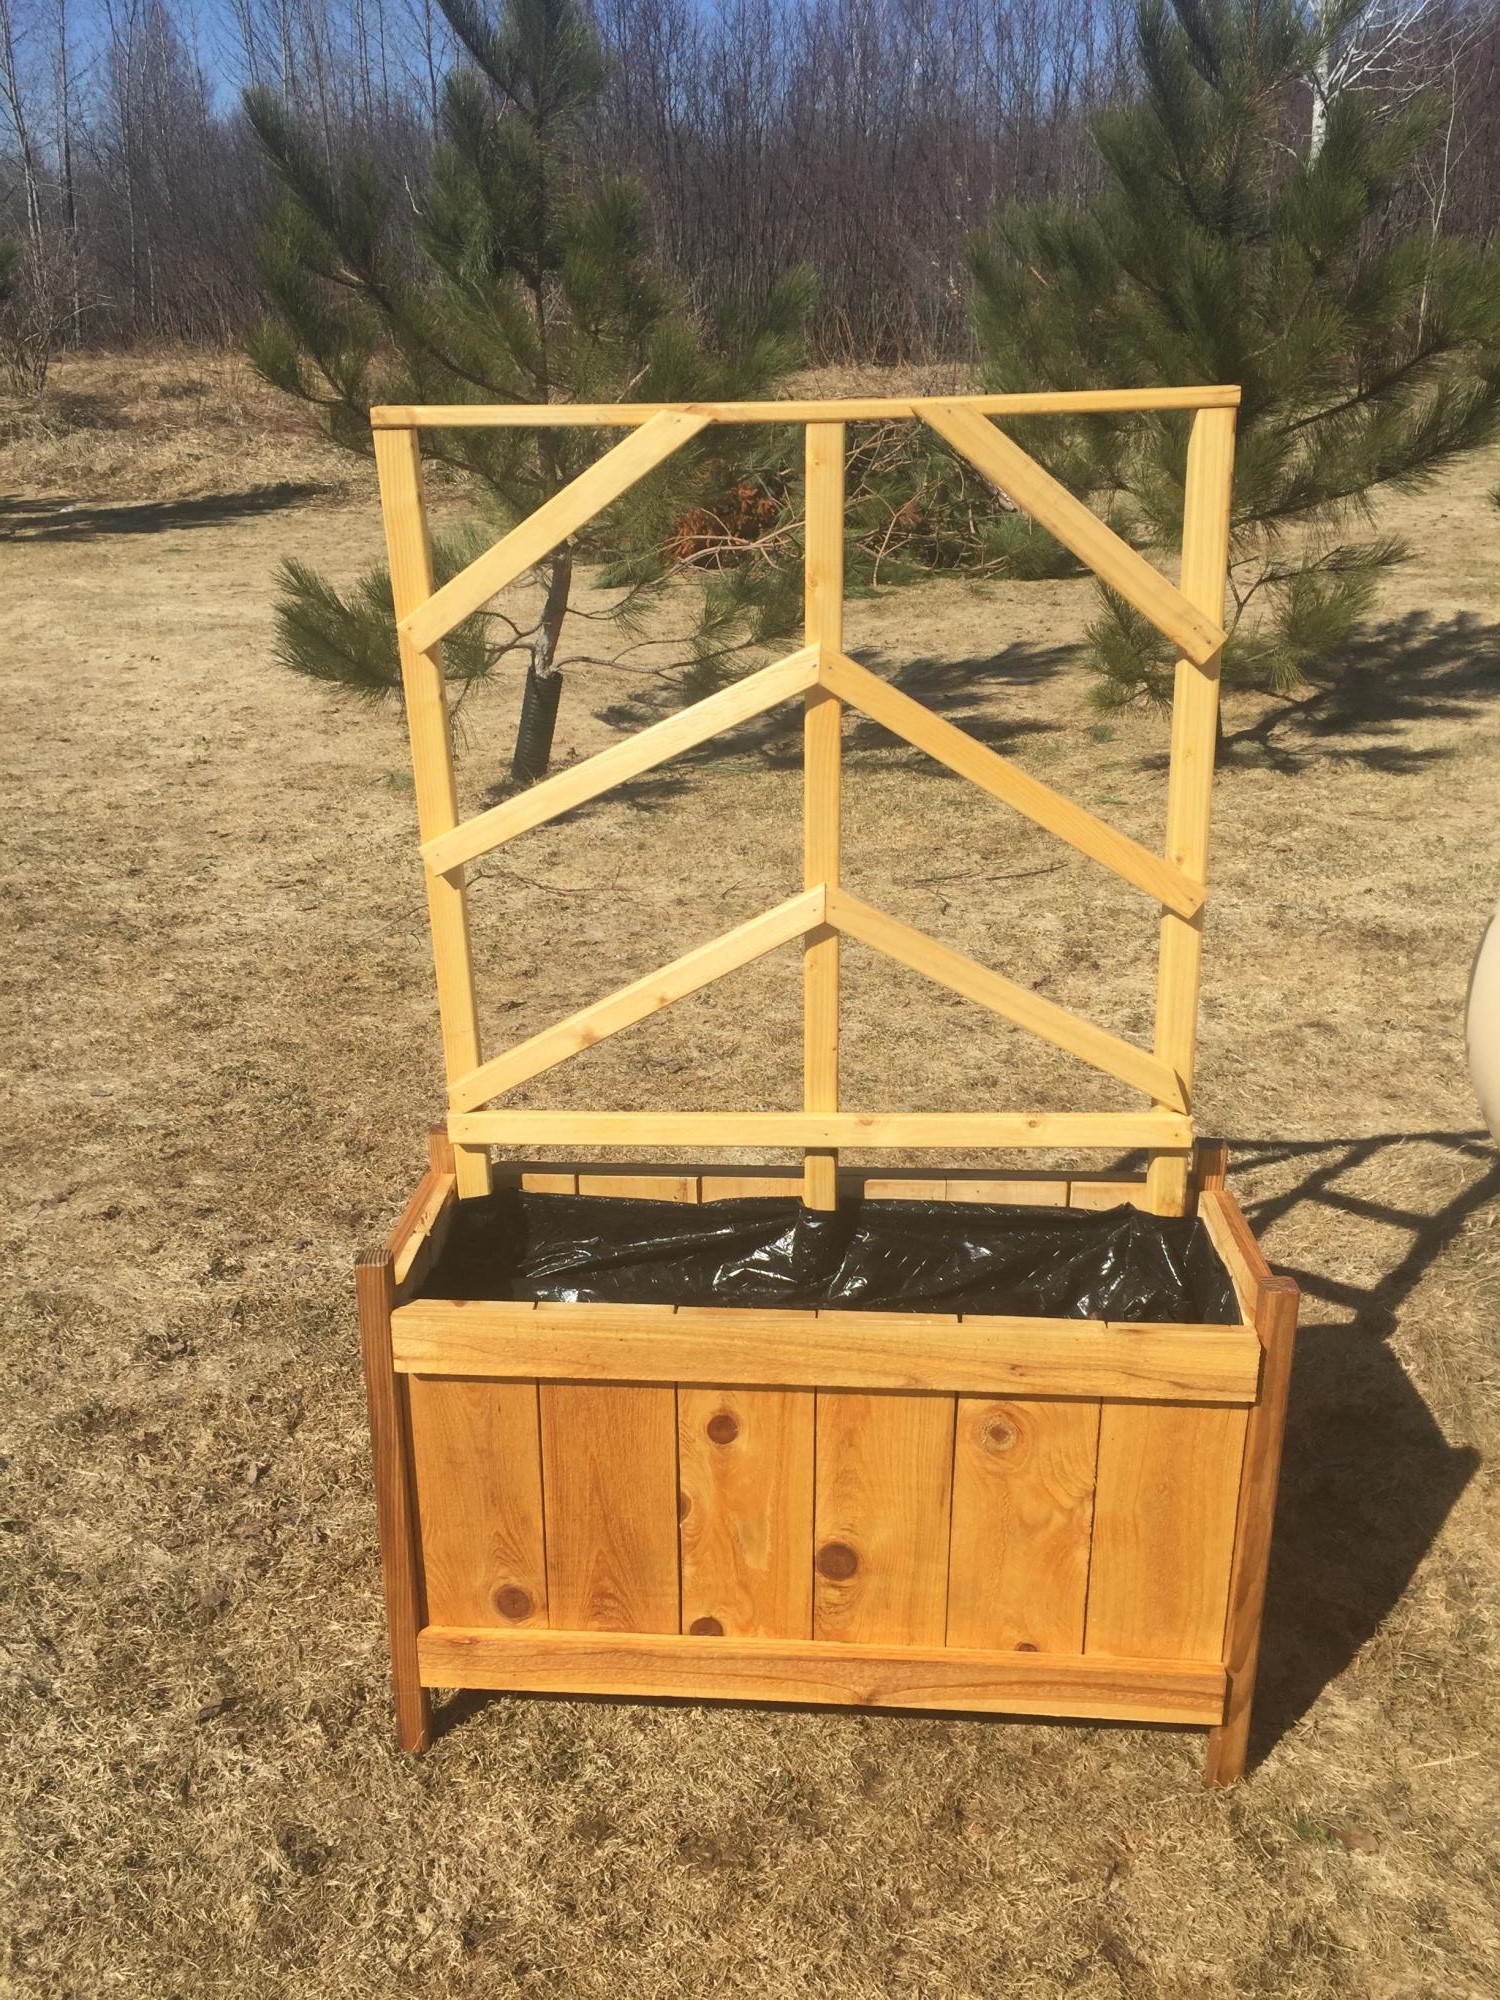
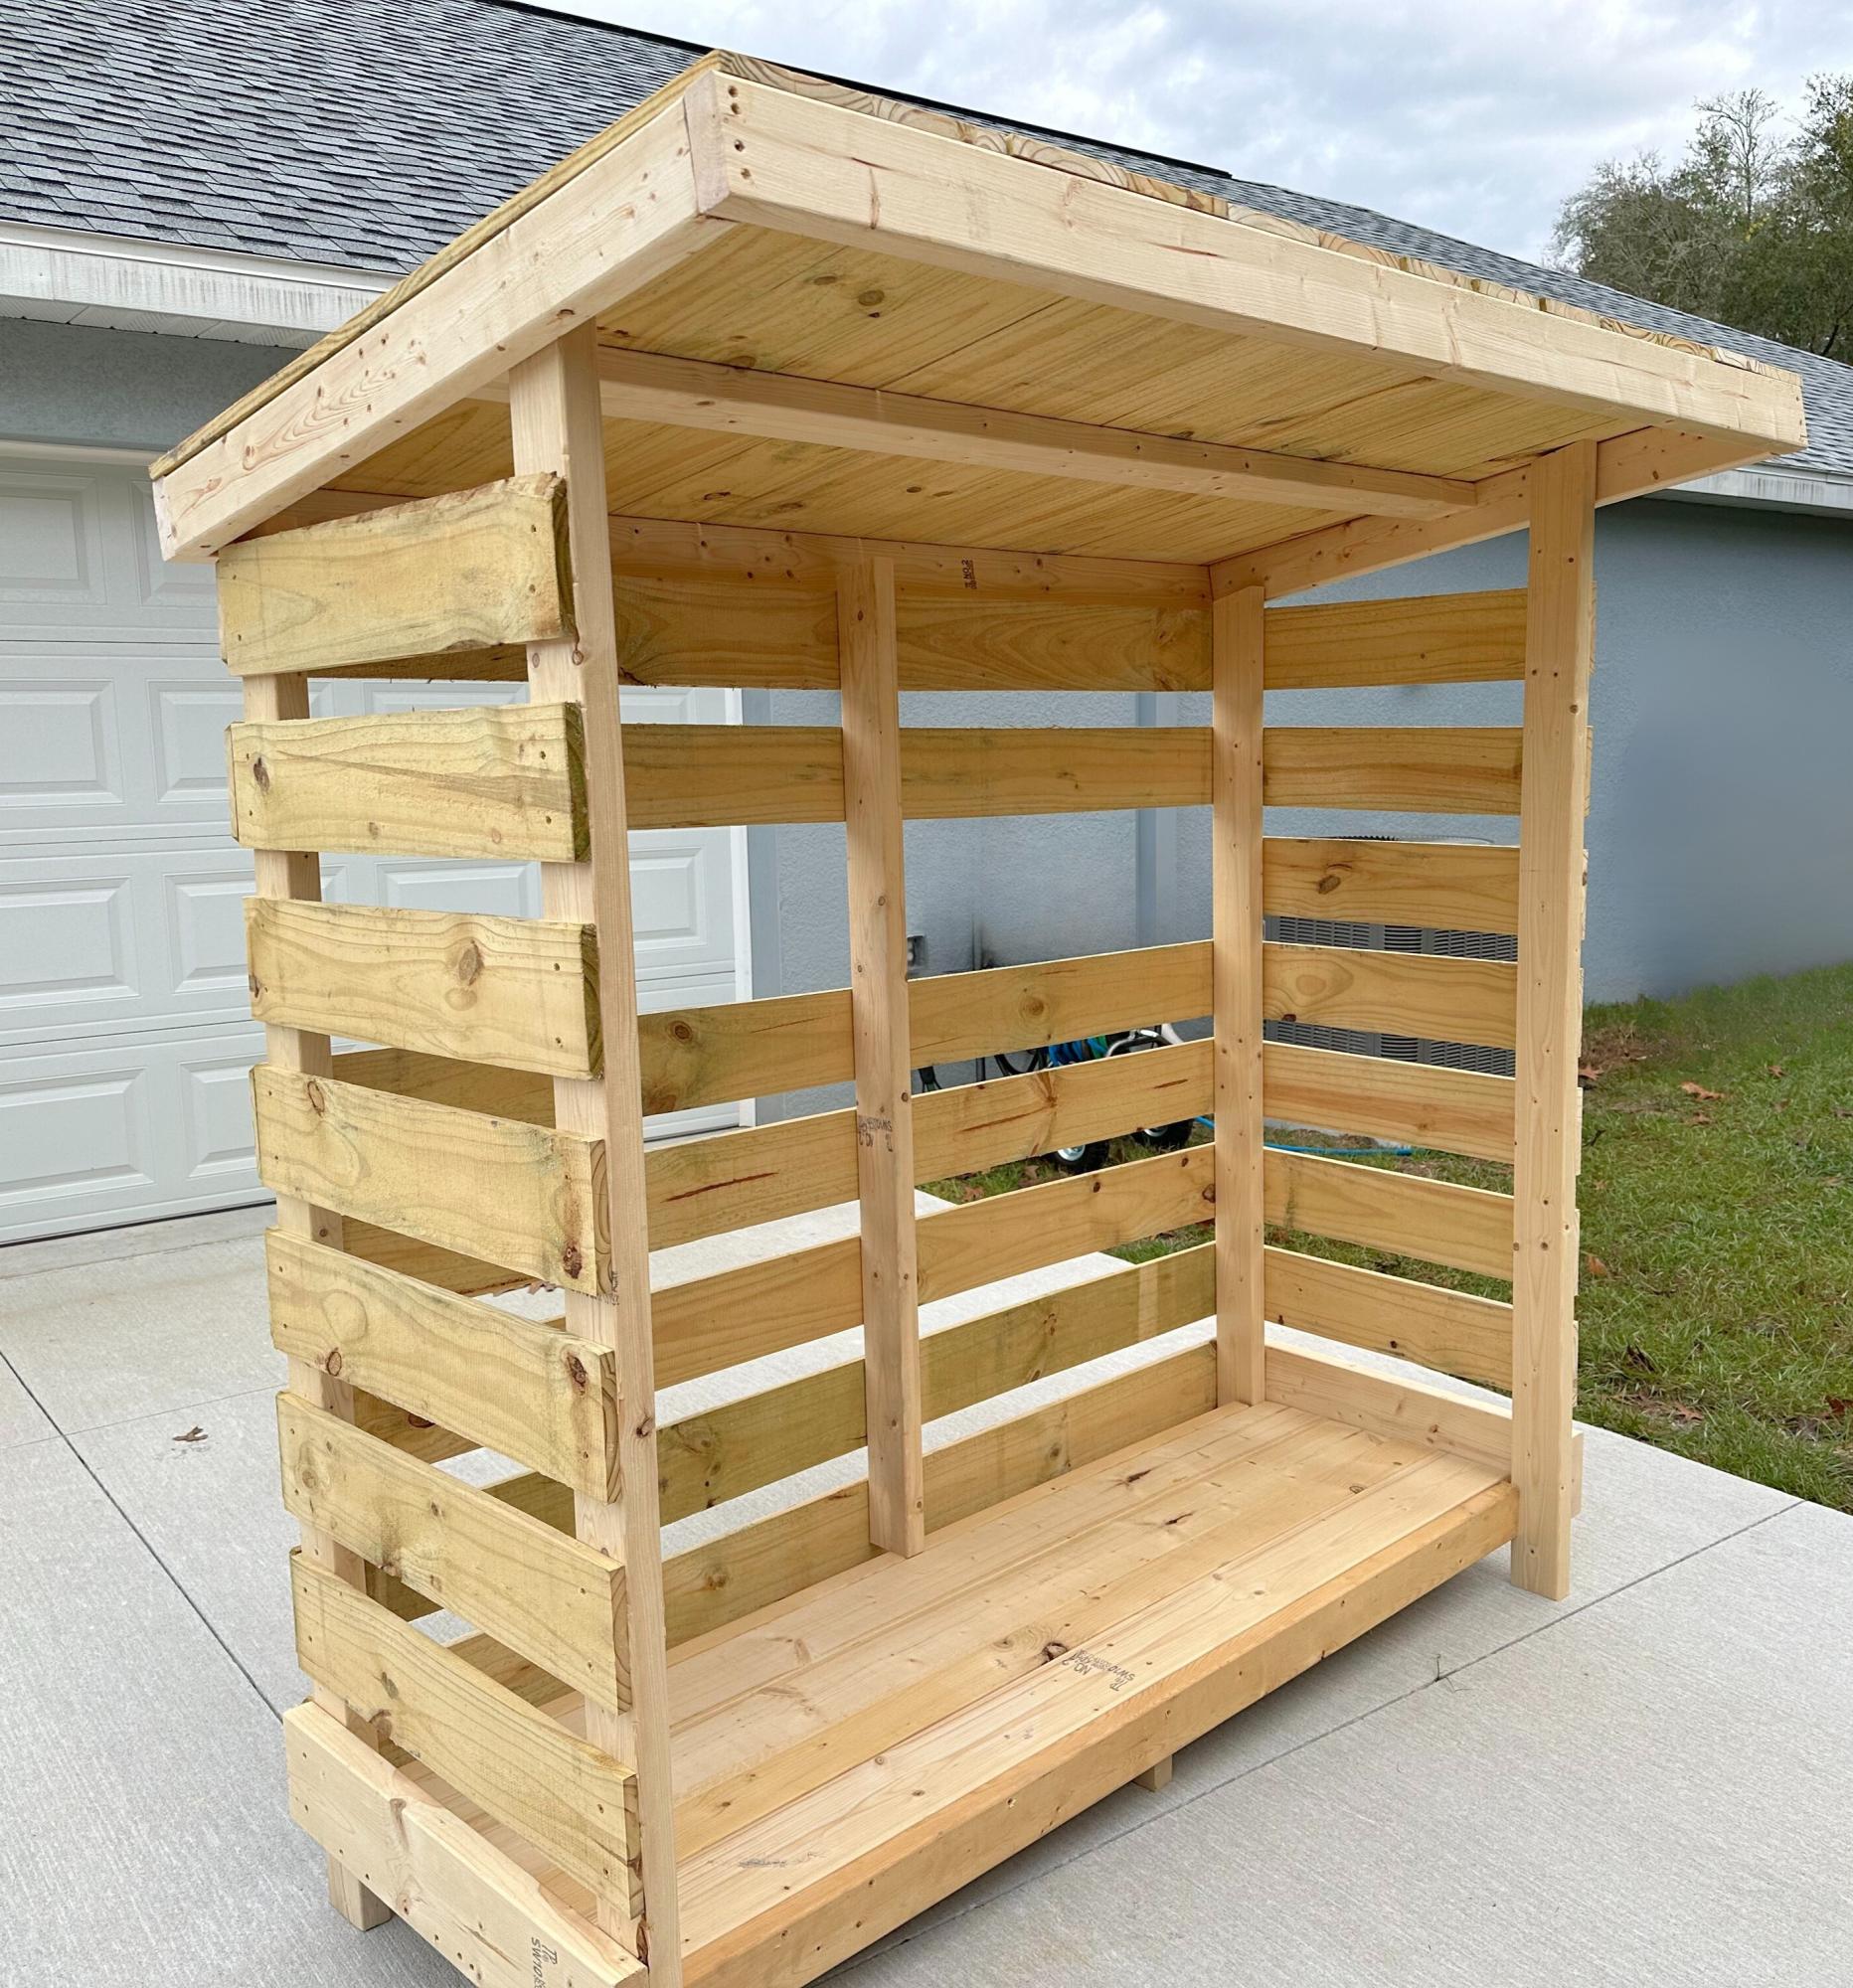
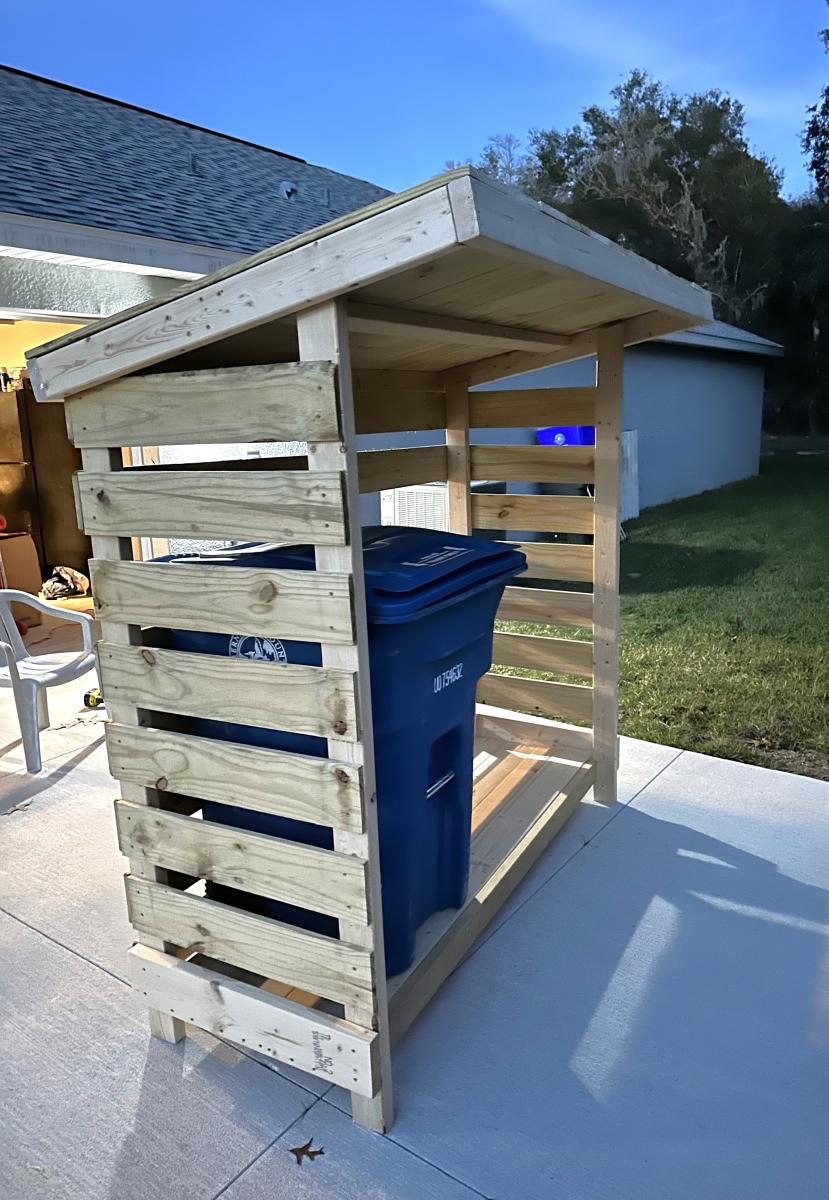
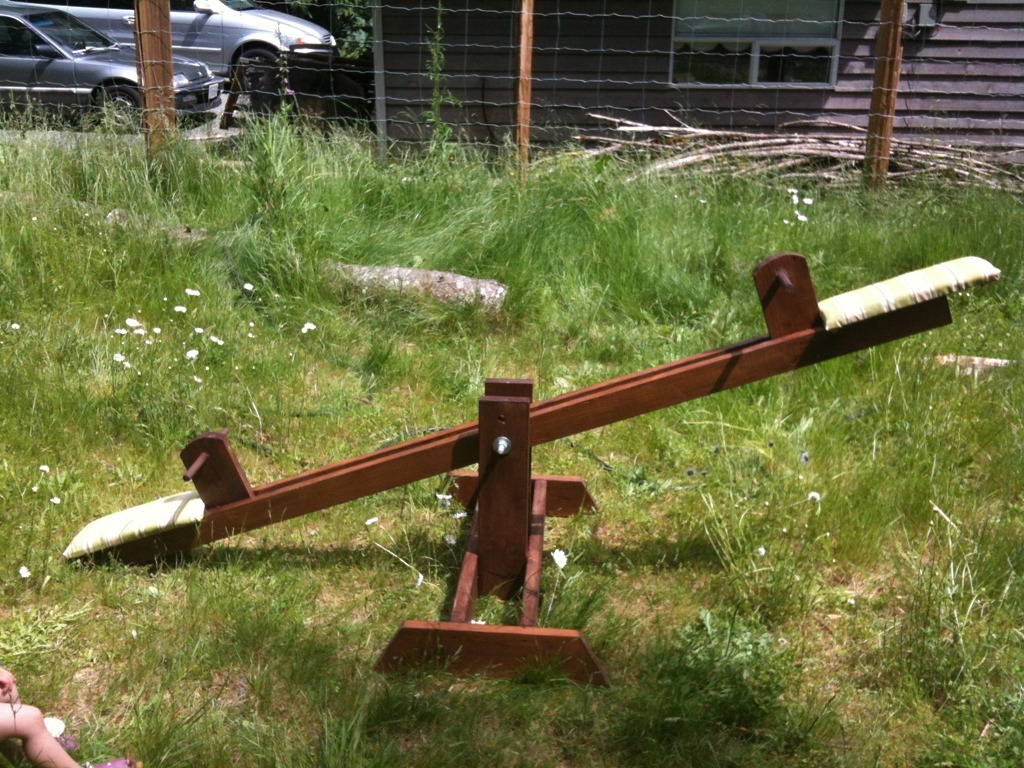
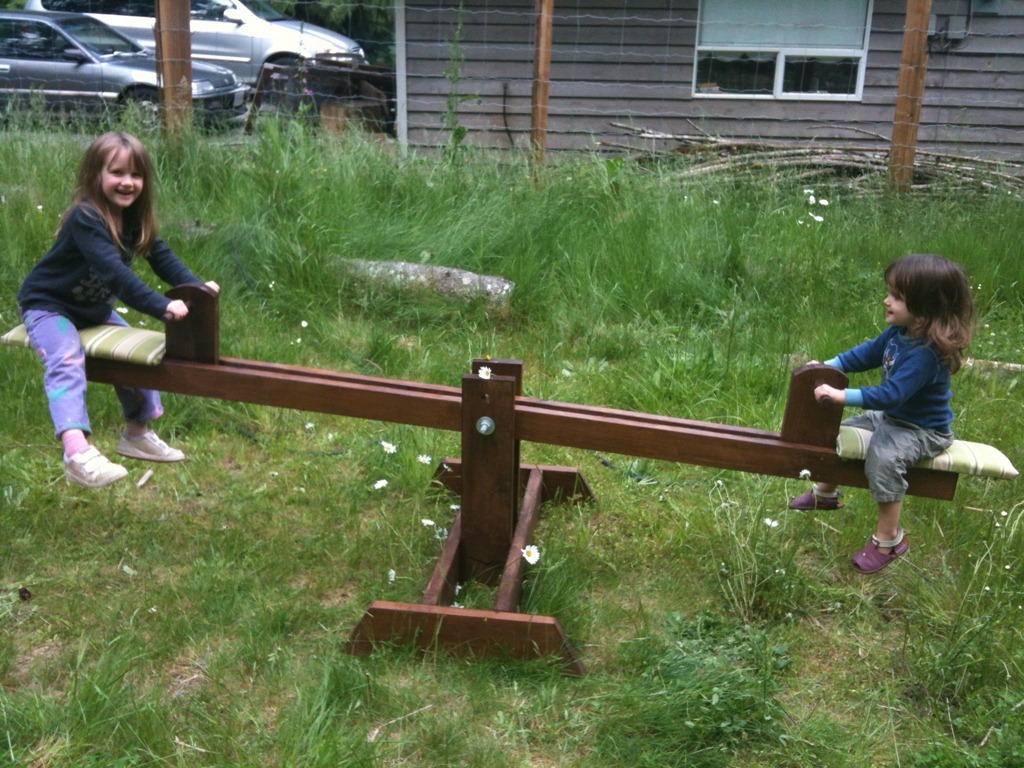
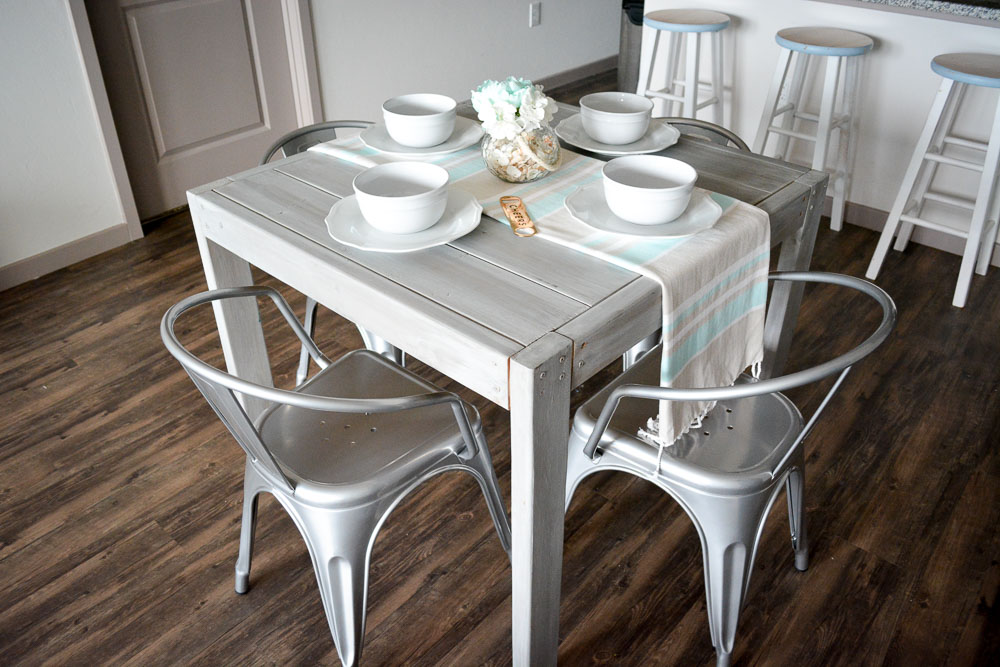
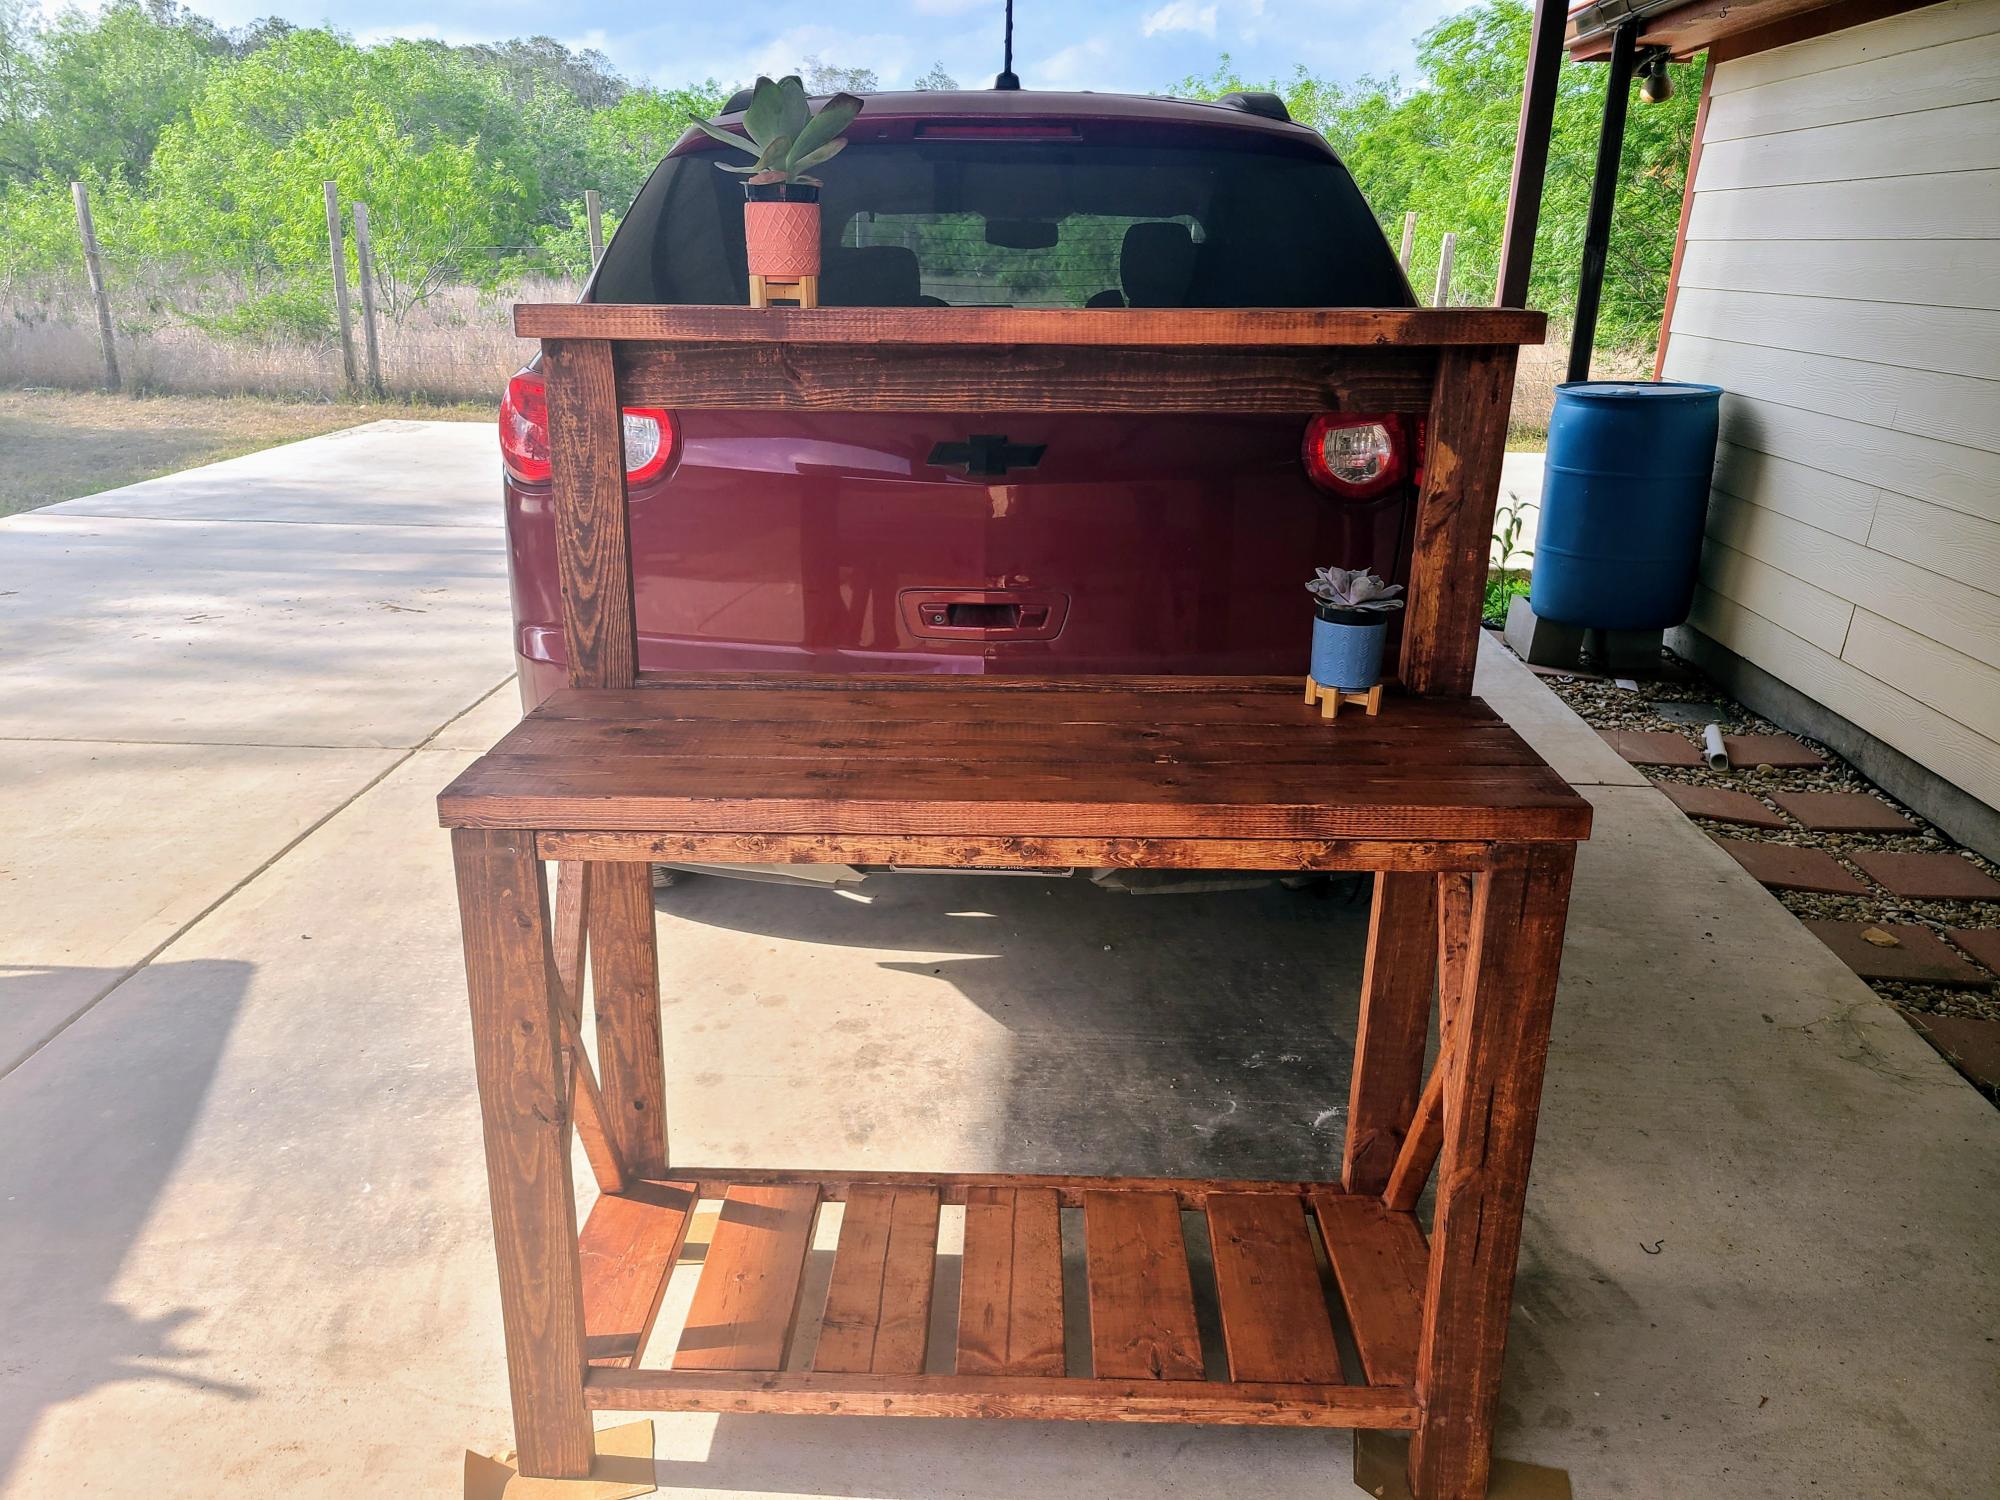
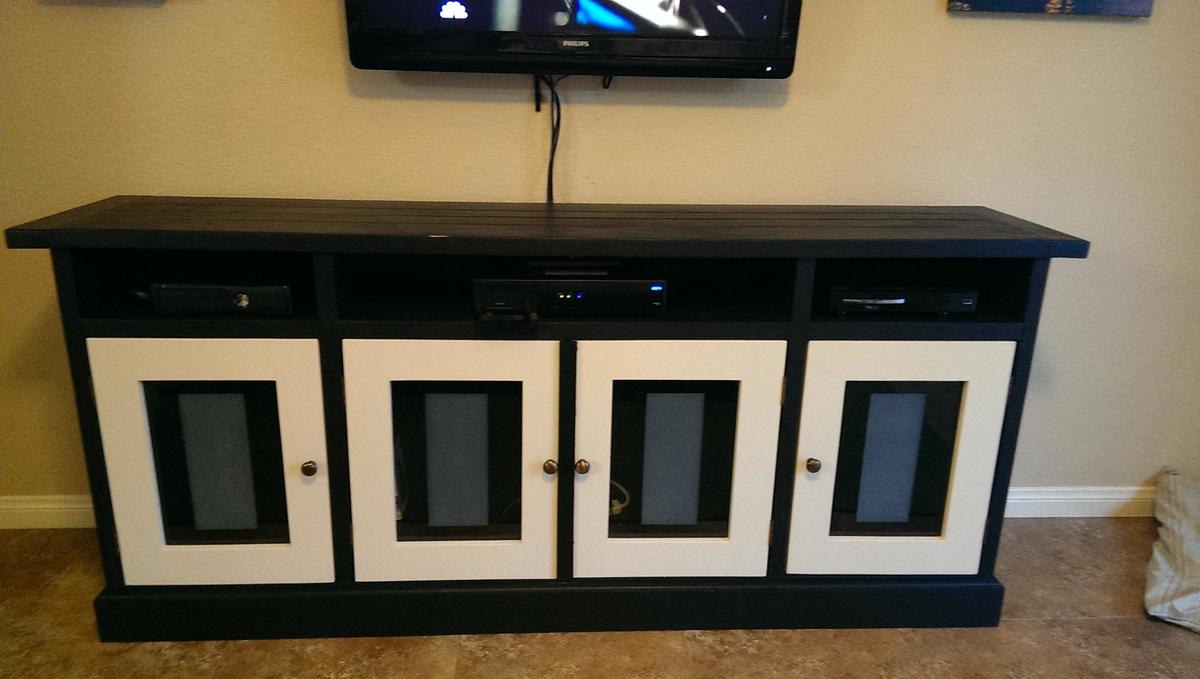
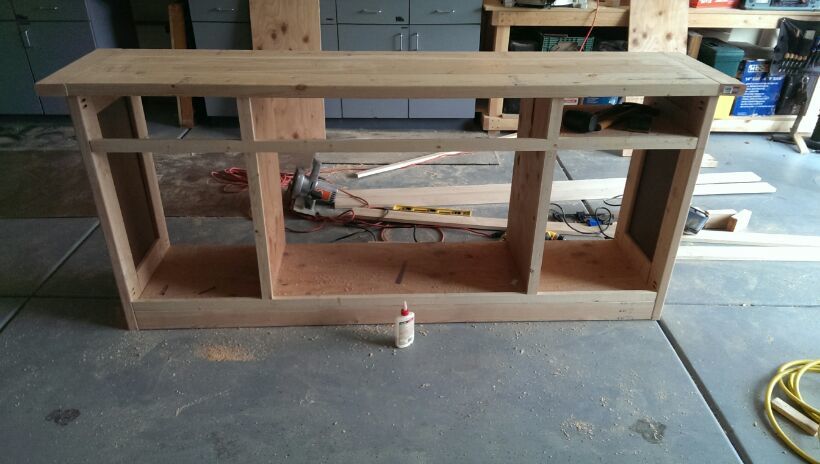
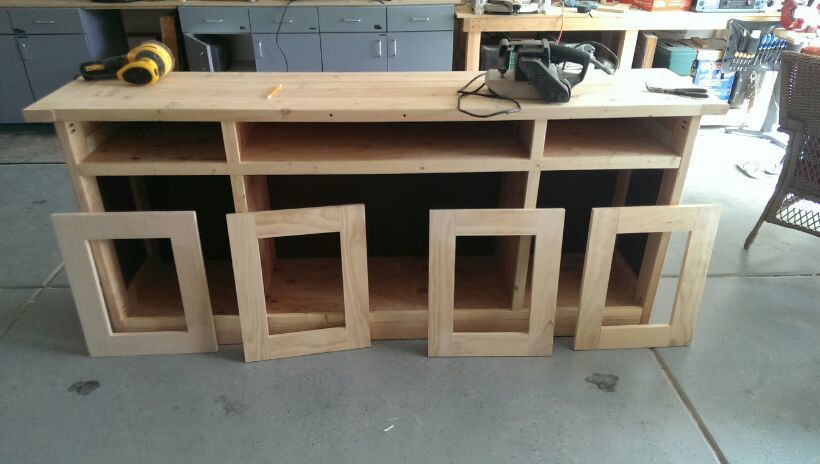
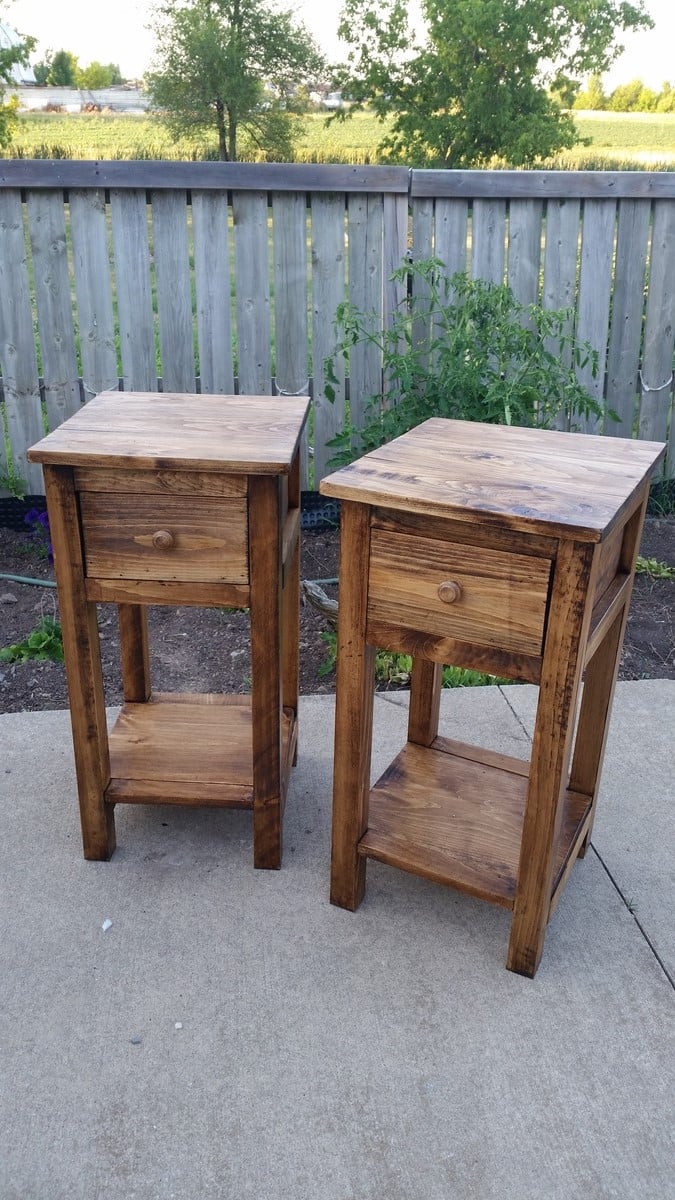
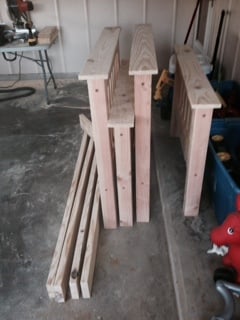
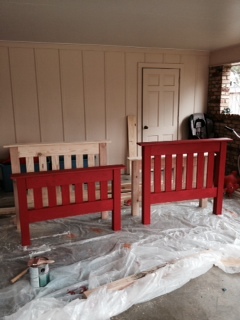
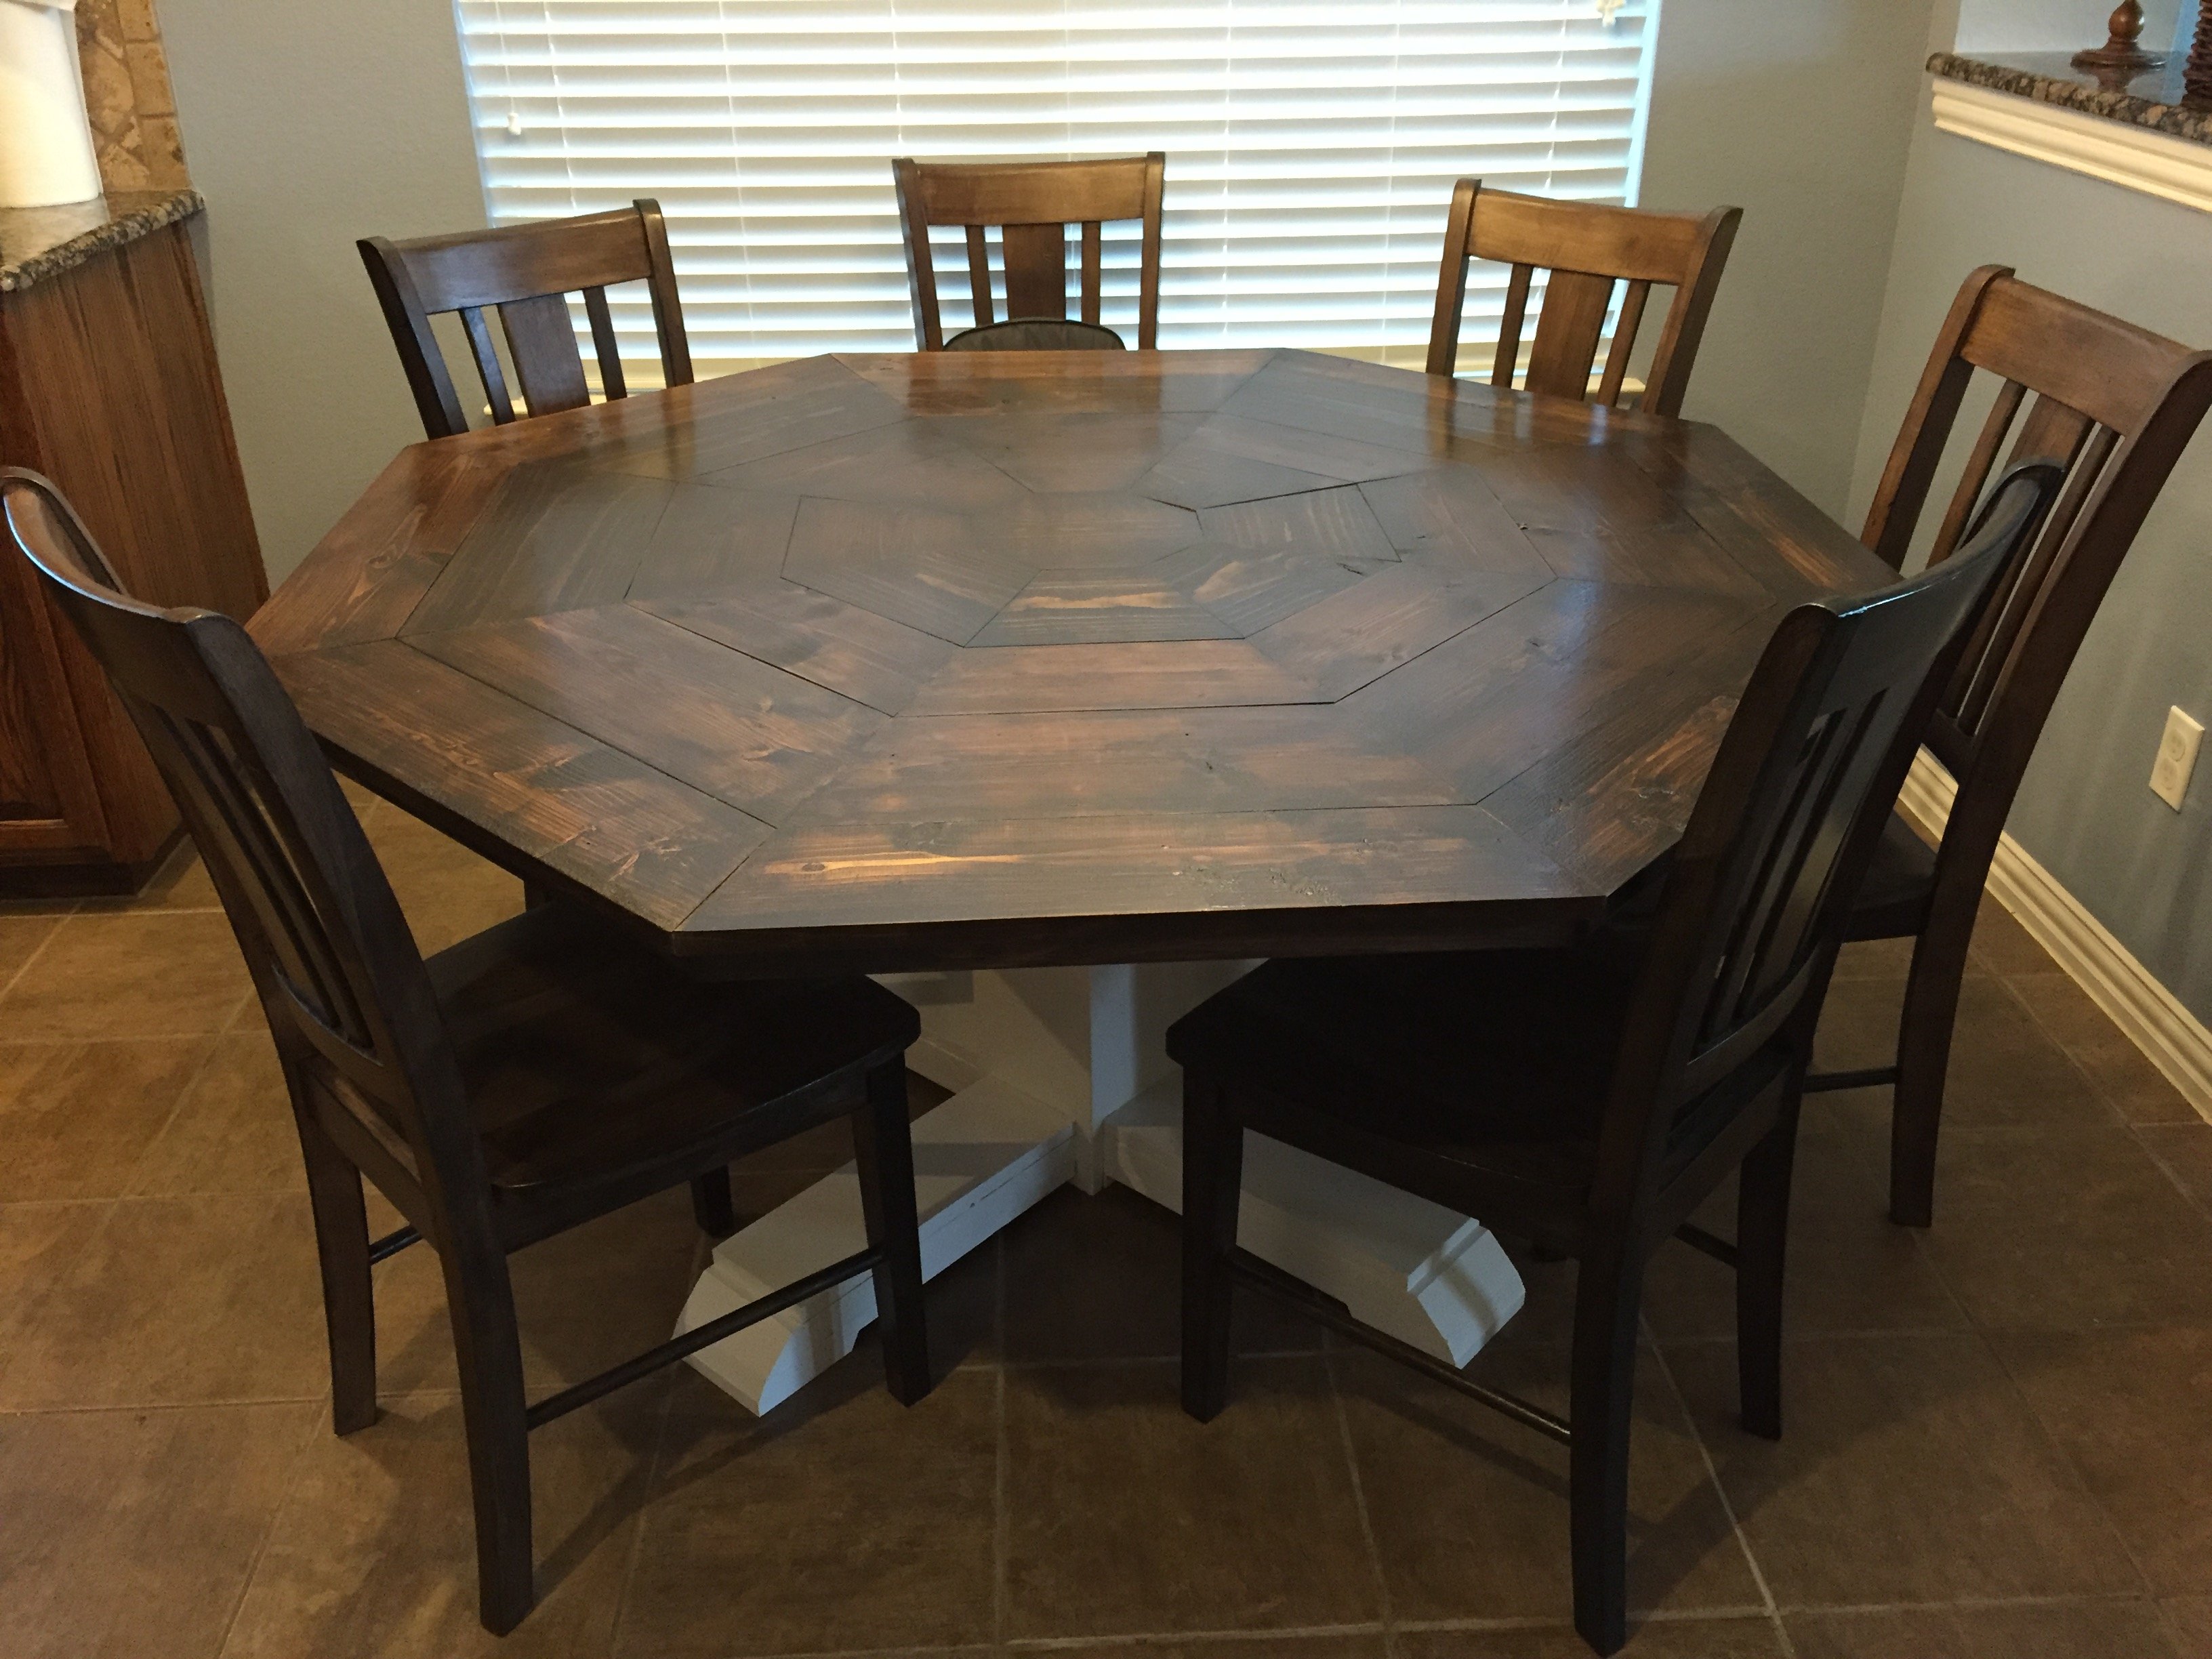
This was a pretty quick and easy project. My third one from this site, as well as being my third one ever. We rented a mitre saw to cut the wood (and cut wood for a few more projects we had on the go at the same time), and then it was just a matter of staining it and putting it together. The staining and waiting for it to dry actually took a couple of weeks, mostly because we don't have a lot of room to do that, so couldn't do it all at once, and it wouldn't stop raining. Once we actually had that done, drilling and assembling only took 2-3 hours at most. (Maybe even less, but hard to judge as I had two children helping the whole time.)
I've put a video of it in use on my blog as well. :)
Estimated Time Investment
Afternoon Project (3-6 Hours)
Finish Used
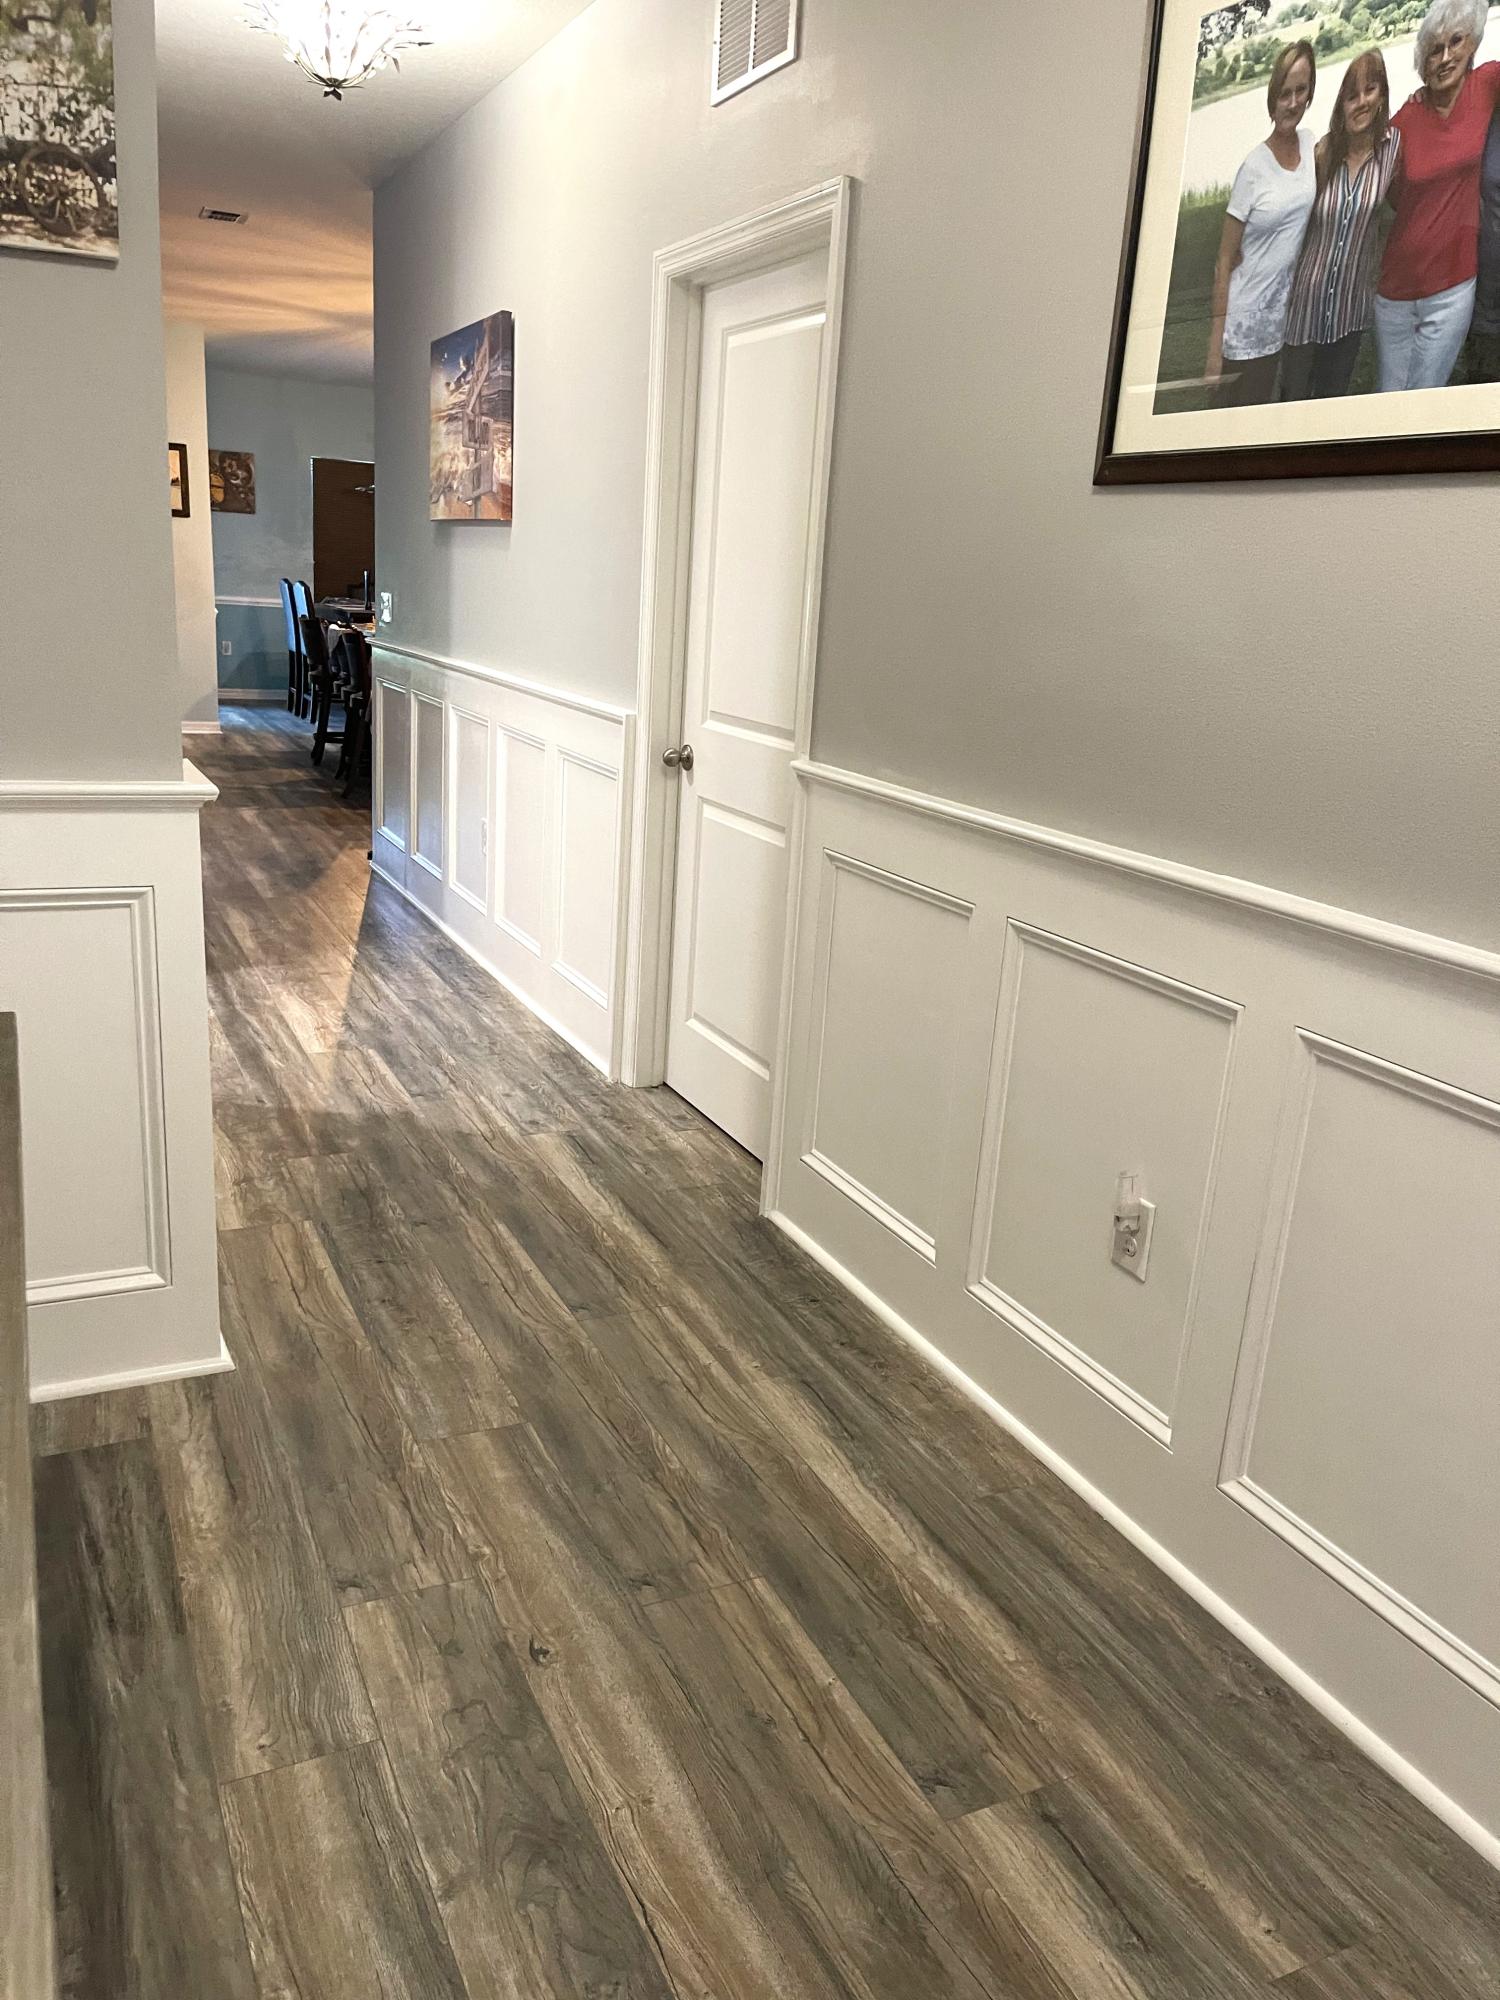
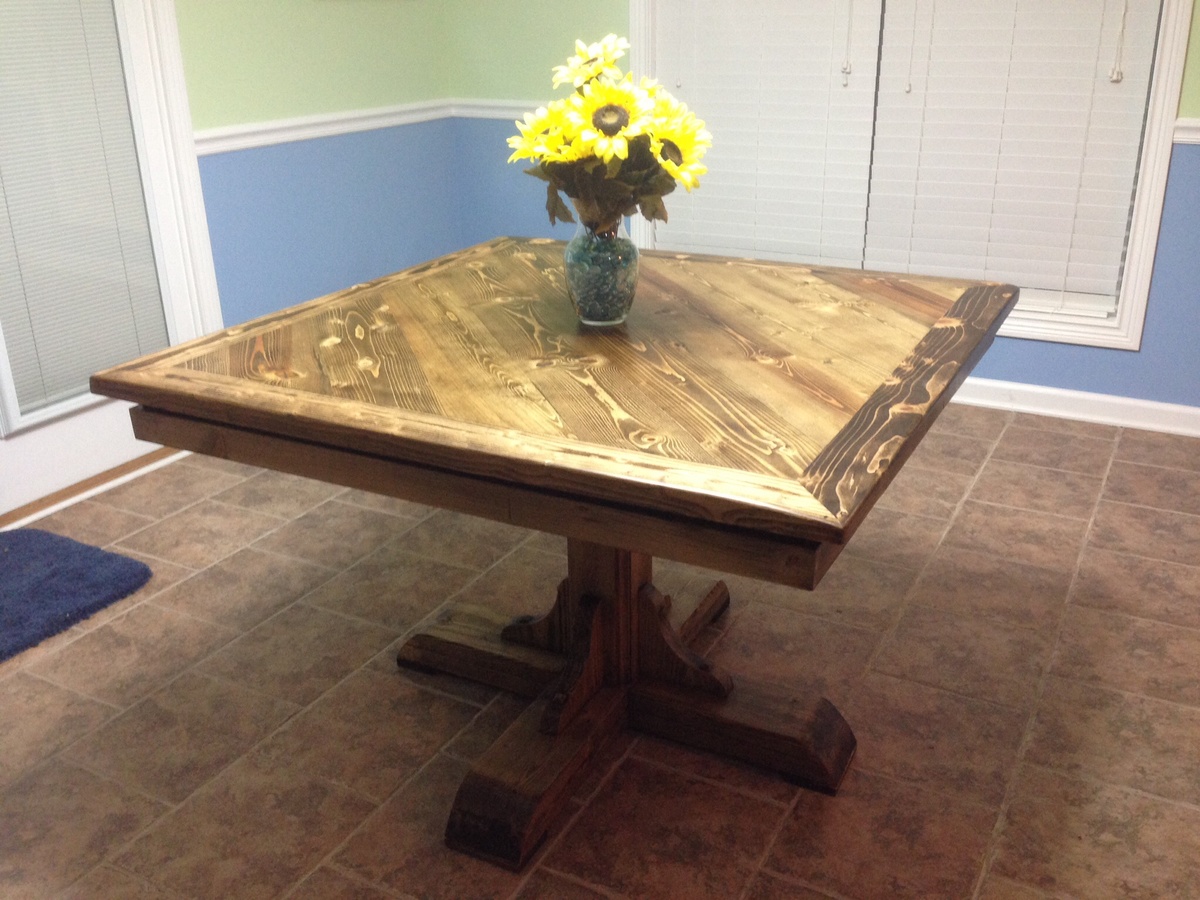
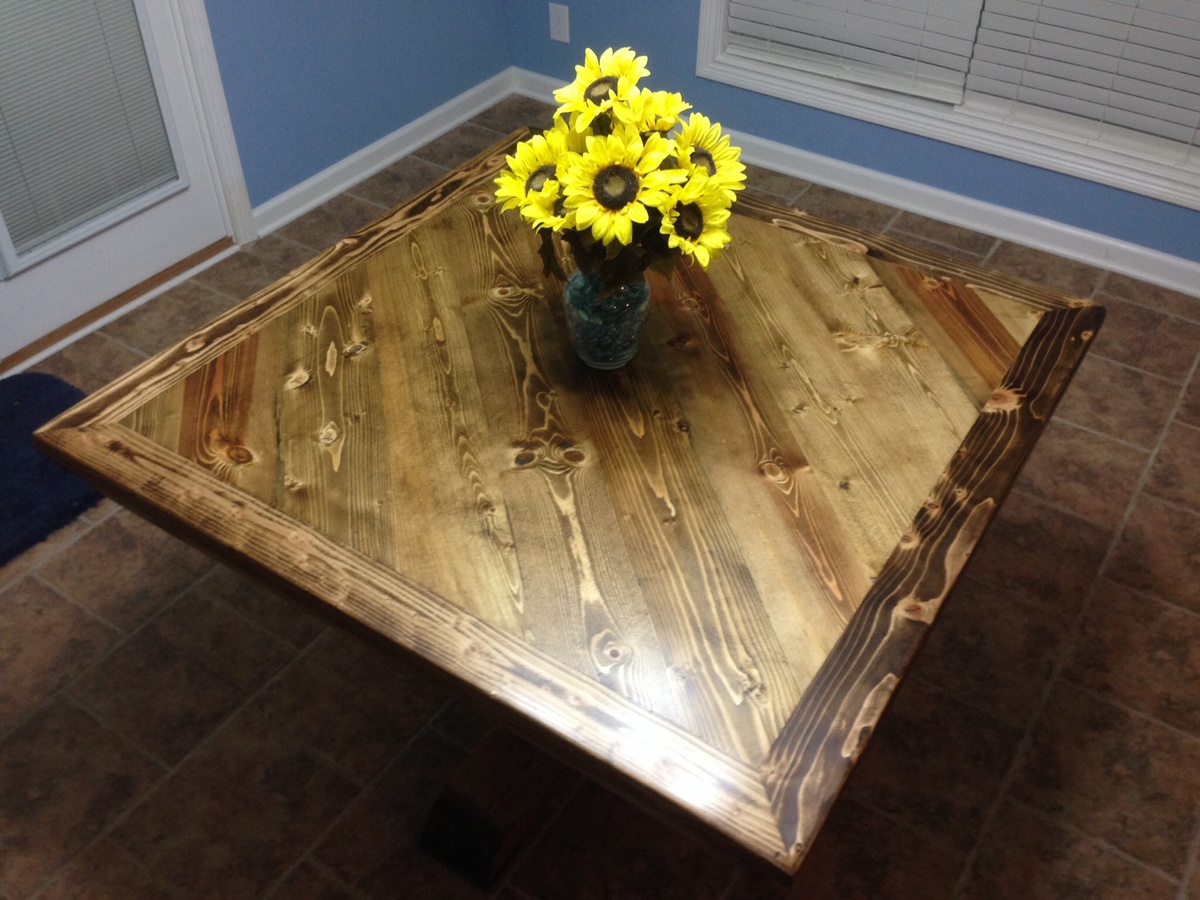
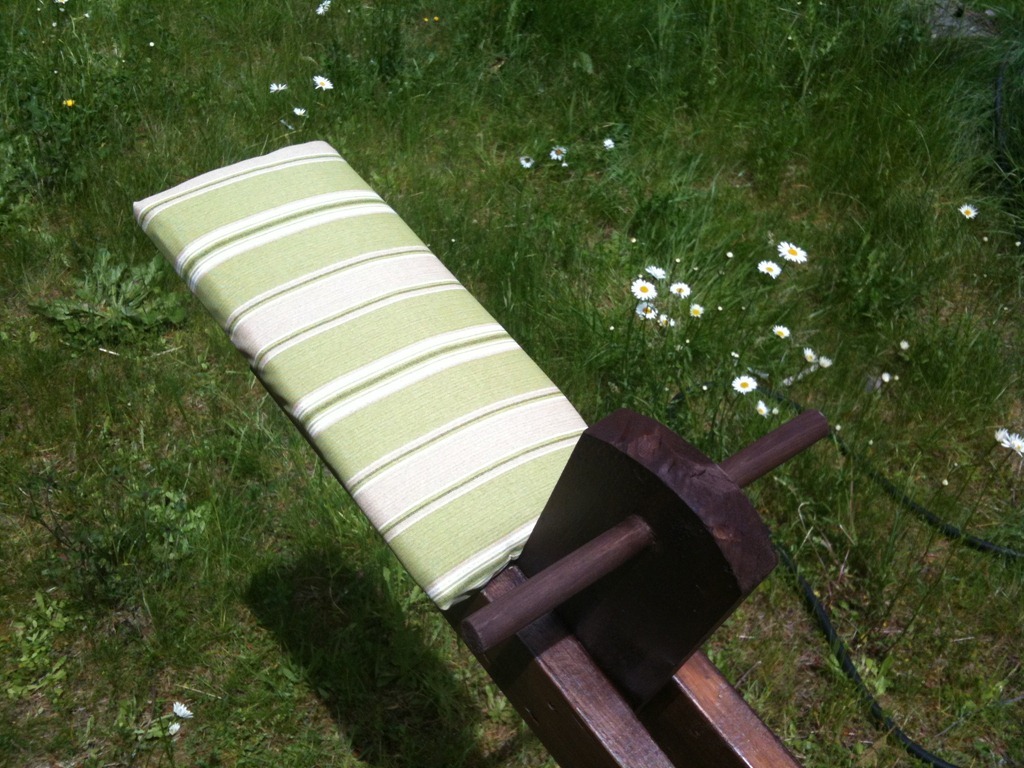
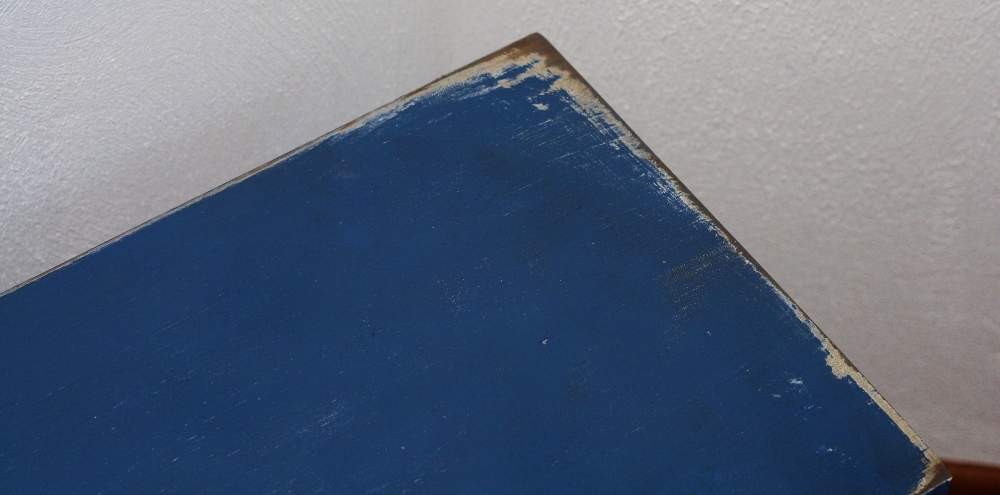
Some of the wood was finished with Behr natural cedar that I had a sample can of, but I ran out and decided I didn't like how orange it ended up being. I bought a can of CIL walnut semi-transparent stain that was on sale for the rest, as well as putting it over the Behr on the ones I had already done.
Recommended Skill Level
Beginner